-
Posts
1,166 -
Joined
-
Last visited
Content Type
Profiles
Forums
Gallery
Events
Everything posted by Ferit
-
Many thanks to all of you, I am very happy with your encouragements... Much appreciated... I have to work more harder to deserve them...
-
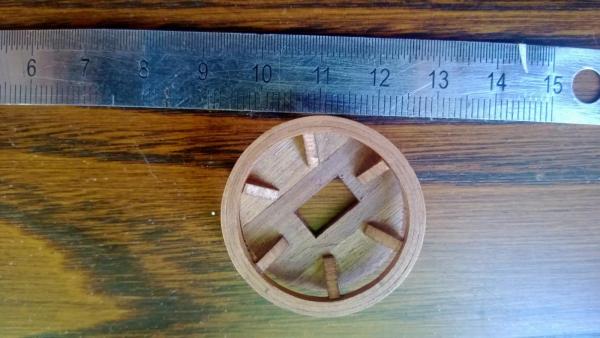
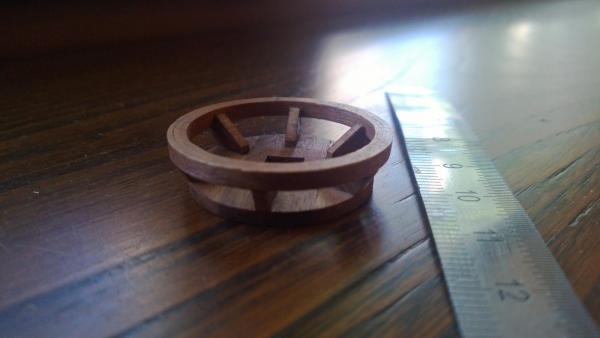
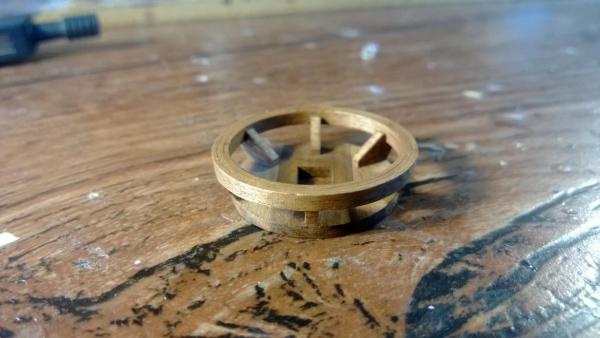
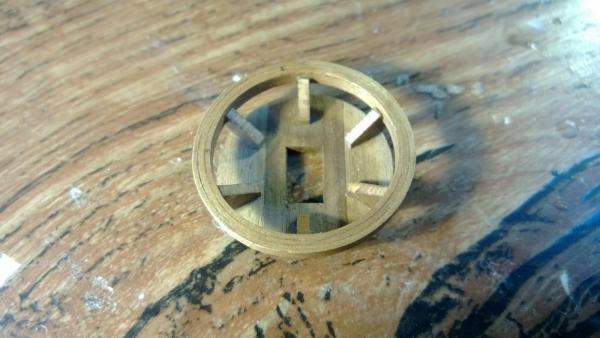
The crow's nest for the spritsail of the bowsprit... For the base, kit had provided plywood, the base was rebuilt with walnut strips...
-
Hi Matti, She looks really impressive and real, floating through the open dark blue sea...
-
Hi Buck, Yes, it's the same glue. Btw, seeing your first campaign had been victorious, it could be said that you will conquer the territories of rigging...:-)
- 515 replies
-
- artesania latina
- whaleboat
-
(and 1 more)
Tagged with:
-

Barrel making
Ferit replied to PJW's topic in Discussion for a Ship's Deck Furniture, Guns, boats and other Fittings
Hello Pete; I think that there would be an answer to your question at the link below, at the post number 105 of "Le Bonhomme Richard by Jeronimo" at Scratch Build Log. There is a fantastic job... (But just barrel not gun barrel...) http://modelshipworld.com/index.php?/topic/300-le-bonhomme-richard-by-jeronimo/page-7 Post #105 -
Hi and thank you Keith for the info, I am quite agree with you. Which tips you have added to the info are very important for bending... And thank you again for your precious comments, extremely encouraging me...
-
Hello Buck, I glued the ropes with this cement. It is transparent, gets dry about 10-15 minutes, lets me manipulate, does not change the color of the robe, does not concrete the robe as CA, let the robe be flexible and is removed very easily after getting dry... Ideal for rigging... There is more than enough... I am putting a very small drop on the thick rope and encircling the thinner rope onto the glue and around the thick one. If you leave the rope at the middle of the work, the spiral does not loose, get glued around the thick rope. BTW, I have seen Robbyn's suggestion for the trunk of the masts. But I found that idea very interesting and wisely for rigging ropes. Thank you Robbyn.
- 515 replies
-
- artesania latina
- whaleboat
-
(and 1 more)
Tagged with:
-
Hi Sjors, Wow!... She looks puissant and powerful...
- 1,873 replies
-
- occre
- san ildefonso
-
(and 1 more)
Tagged with:
-
Thank you Juergen, These words of a craftsman from the fantastic parallel universe (post #222) are much appreciated...
-
Hello Keith, Thank you again ... Between layers I used also CA. Sometimes I have not enough patience to wait that PVA becomes dry. But it's judicious to use PVA. In this wise it's more difficult to see the seam between layers...
-
Hello Sjors, My humble thought is that the success depends on what kind of wood you use, what thickness / width ratio has your strip, which temperature has the water, how long it's soaked and how enduring you are... With the hard wood it's impossible... 2 x 6 mm wood strip is more handleable than 2 x 4 mm's... The water has to be as hot as possible... The strip has to be soaked 5-10 minutes at least... Maybe the strip has to be soaked and bended more than 20 times, bended little by little so that even it becomes dried at every turn... (Please don't consider me as a snappish, I only tried to share my experience that in fact, everybody knows...)
-
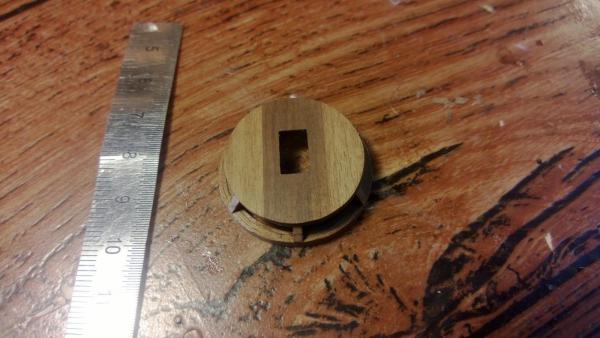
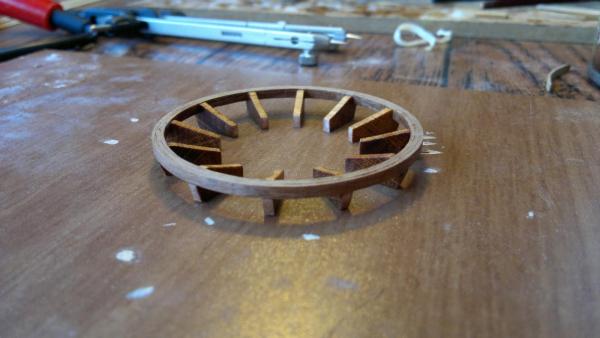
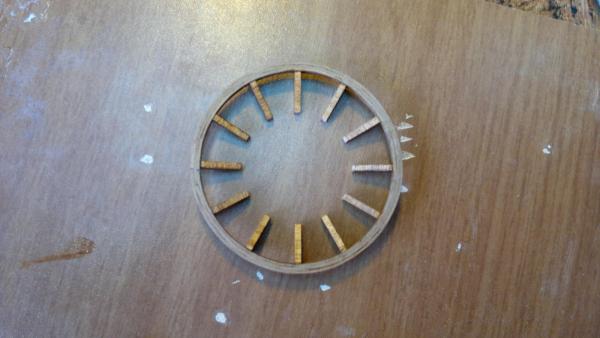
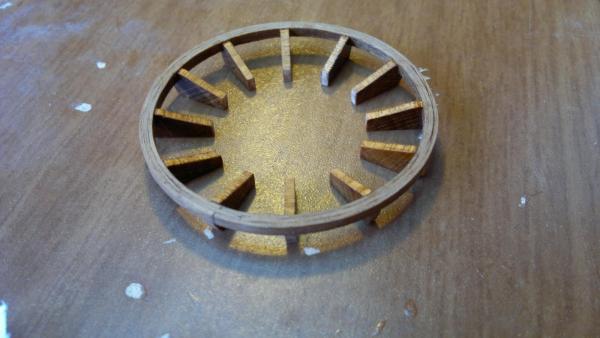
Hello Sjors, Thank you for the comment. That was: Phase 1; I gave a round shape to a wooden strip which had been softened in hot water, by a hot bender tool... Soaked in hot water then bended by the tool, soaked-bended over and over so that even the strip might take a round form... After that, I soaked the strip in hot water for the last time, then without using the bender tool I encircled the wet strip over a piece of timber which had been shaped in a perfect round form, to provide a perfect circular shape. I cut the excessive part of the strip and I glued the junction with CA. I left the strip encircled over the rounded piece of timber. It dried in a good circular form. Phase 2-3; The same procedures with the second strip. This time I also glued two strips together as well. Then the same procedures with the third strip... Finally I took the product out the rounded piece of timber...
-
Thank you Hamilton, It's pleasure to see you following my log and boosting always my courage...
-
Hi Keith, Such heartening words... Much appreciated... And you always make fell what you point out in your motto... Many thanks...
-

La Couronne by majq - Mantua - 1:98
Ferit replied to majq's topic in - Kit build logs for subjects built from 1501 - 1750
Yes... Wow... Very impressive, very clean... -
She had taken small black vitamins and she is improving in beauty ...
- 1,873 replies
-
- occre
- san ildefonso
-
(and 1 more)
Tagged with:
-
Crow's nest... Three walnut strips 1x3 mm rounded by bender then glued together... There would be four crow's nests in different scales...
-
Me to, I think as Chris Watton, I am quite satisfied with the Corel's kit. I decided even on Corel again for my second build. Many years ago I have bought my kit which has not been laser cut, I have had to make some adjustements. I don't know if today their kits are being produced with laser cut materials...
-
Hello Andy, She looks really great, clean etc...
- 1,148 replies
About us
Modelshipworld - Advancing Ship Modeling through Research
SSL Secured
Your security is important for us so this Website is SSL-Secured
NRG Mailing Address
Nautical Research Guild
237 South Lincoln Street
Westmont IL, 60559-1917
Model Ship World ® and the MSW logo are Registered Trademarks, and belong to the Nautical Research Guild (United States Patent and Trademark Office: No. 6,929,264 & No. 6,929,274, registered Dec. 20, 2022)
Helpful Links
About the NRG
If you enjoy building ship models that are historically accurate as well as beautiful, then The Nautical Research Guild (NRG) is just right for you.
The Guild is a non-profit educational organization whose mission is to “Advance Ship Modeling Through Research”. We provide support to our members in their efforts to raise the quality of their model ships.
The Nautical Research Guild has published our world-renowned quarterly magazine, The Nautical Research Journal, since 1955. The pages of the Journal are full of articles by accomplished ship modelers who show you how they create those exquisite details on their models, and by maritime historians who show you the correct details to build. The Journal is available in both print and digital editions. Go to the NRG web site (www.thenrg.org) to download a complimentary digital copy of the Journal. The NRG also publishes plan sets, books and compilations of back issues of the Journal and the former Ships in Scale and Model Ship Builder magazines.


