CDW
-
Posts
7,755 -
Joined
-
Last visited
Content Type
Profiles
Forums
Gallery
Events
Everything posted by CDW
-
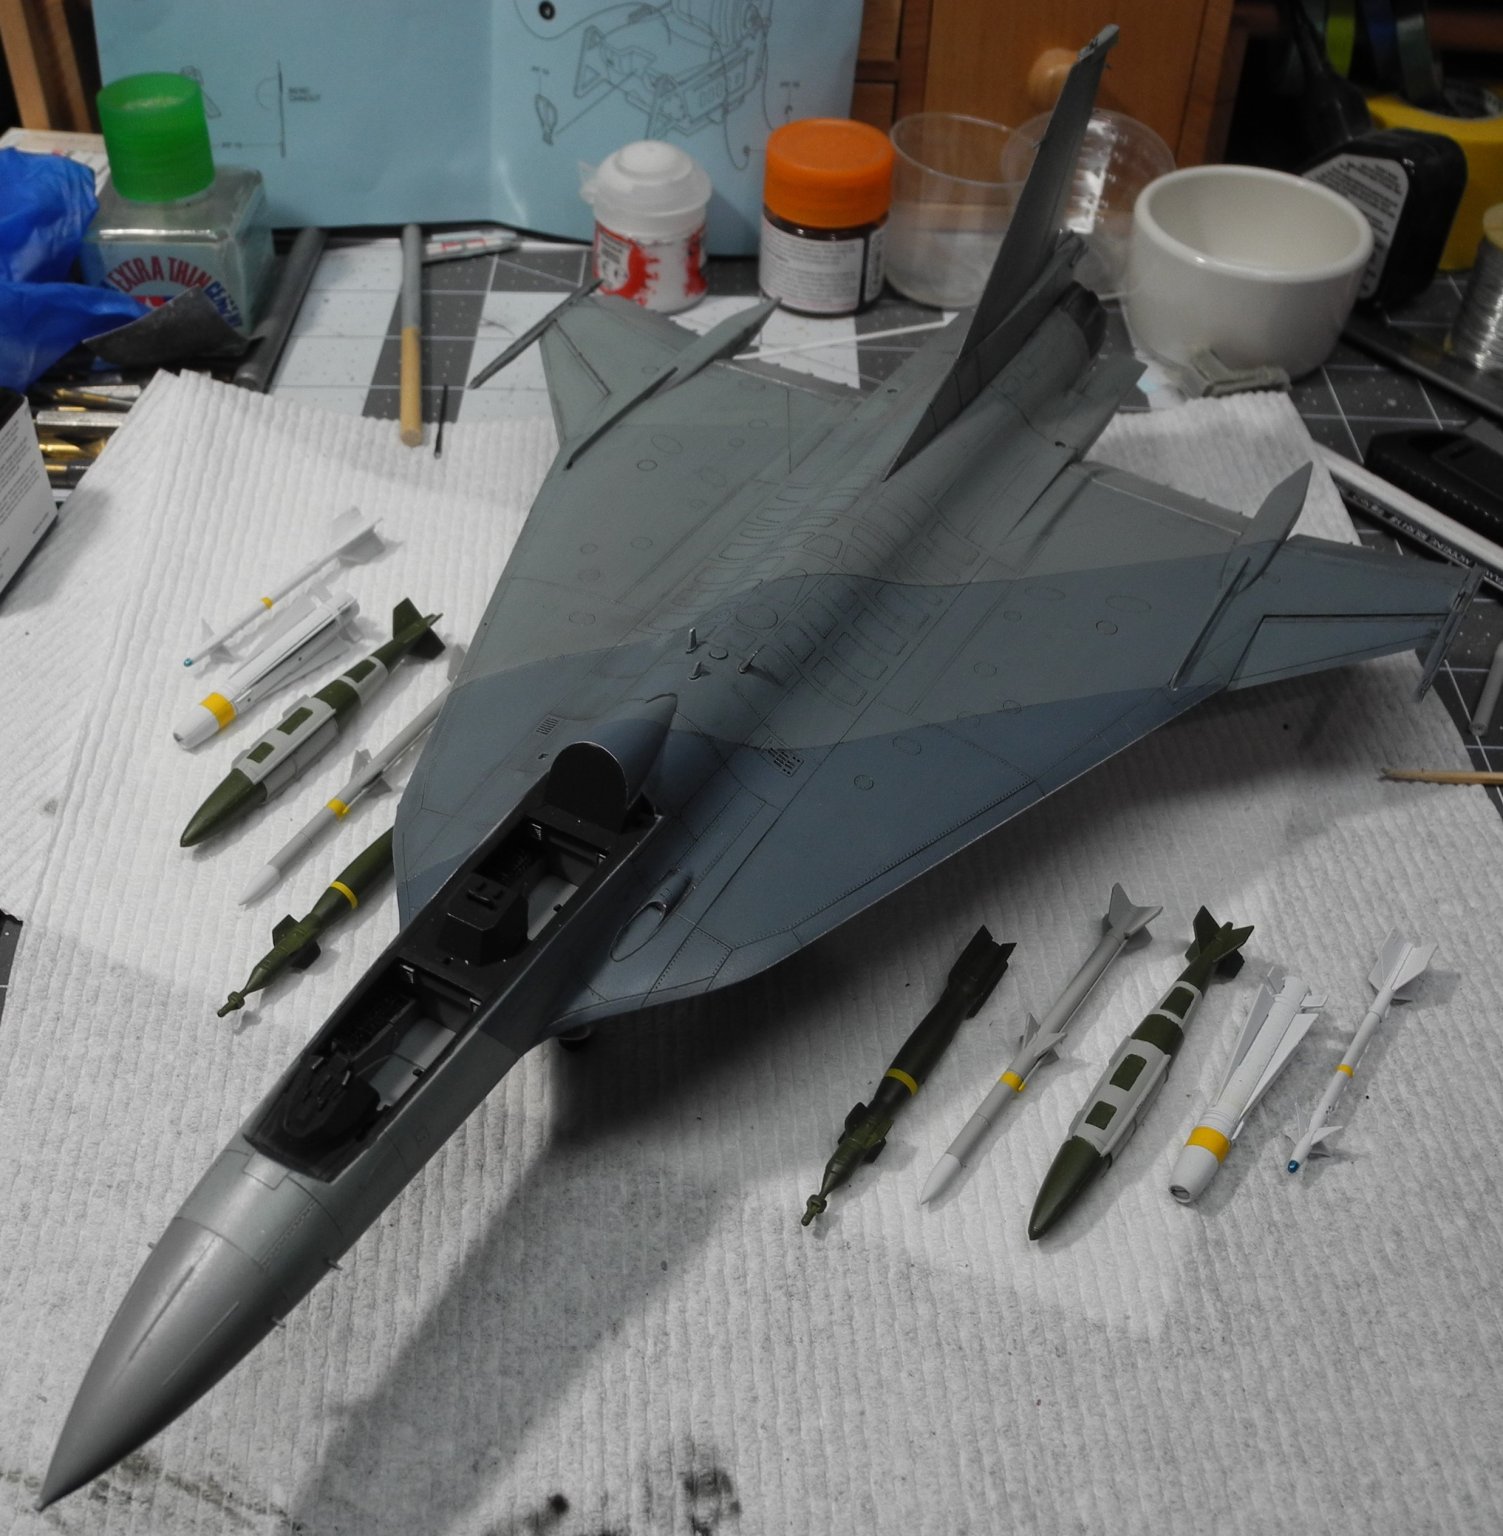
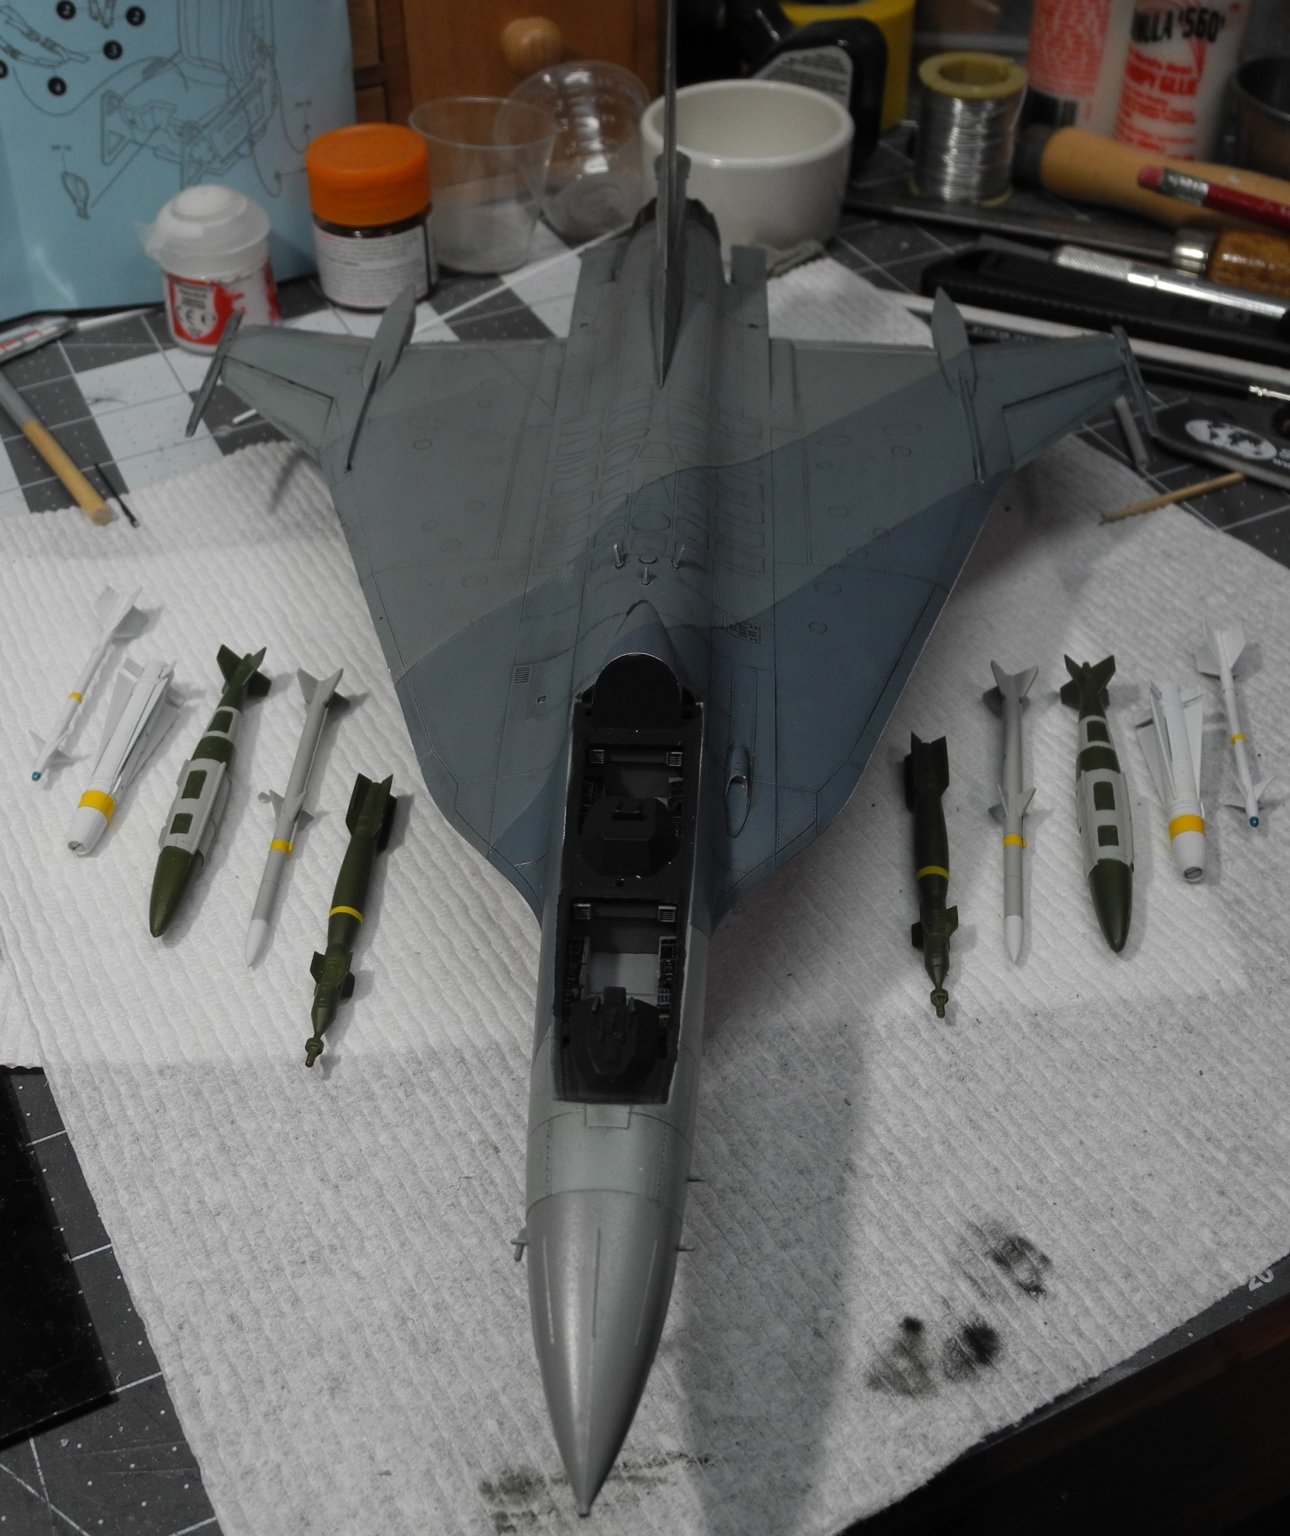
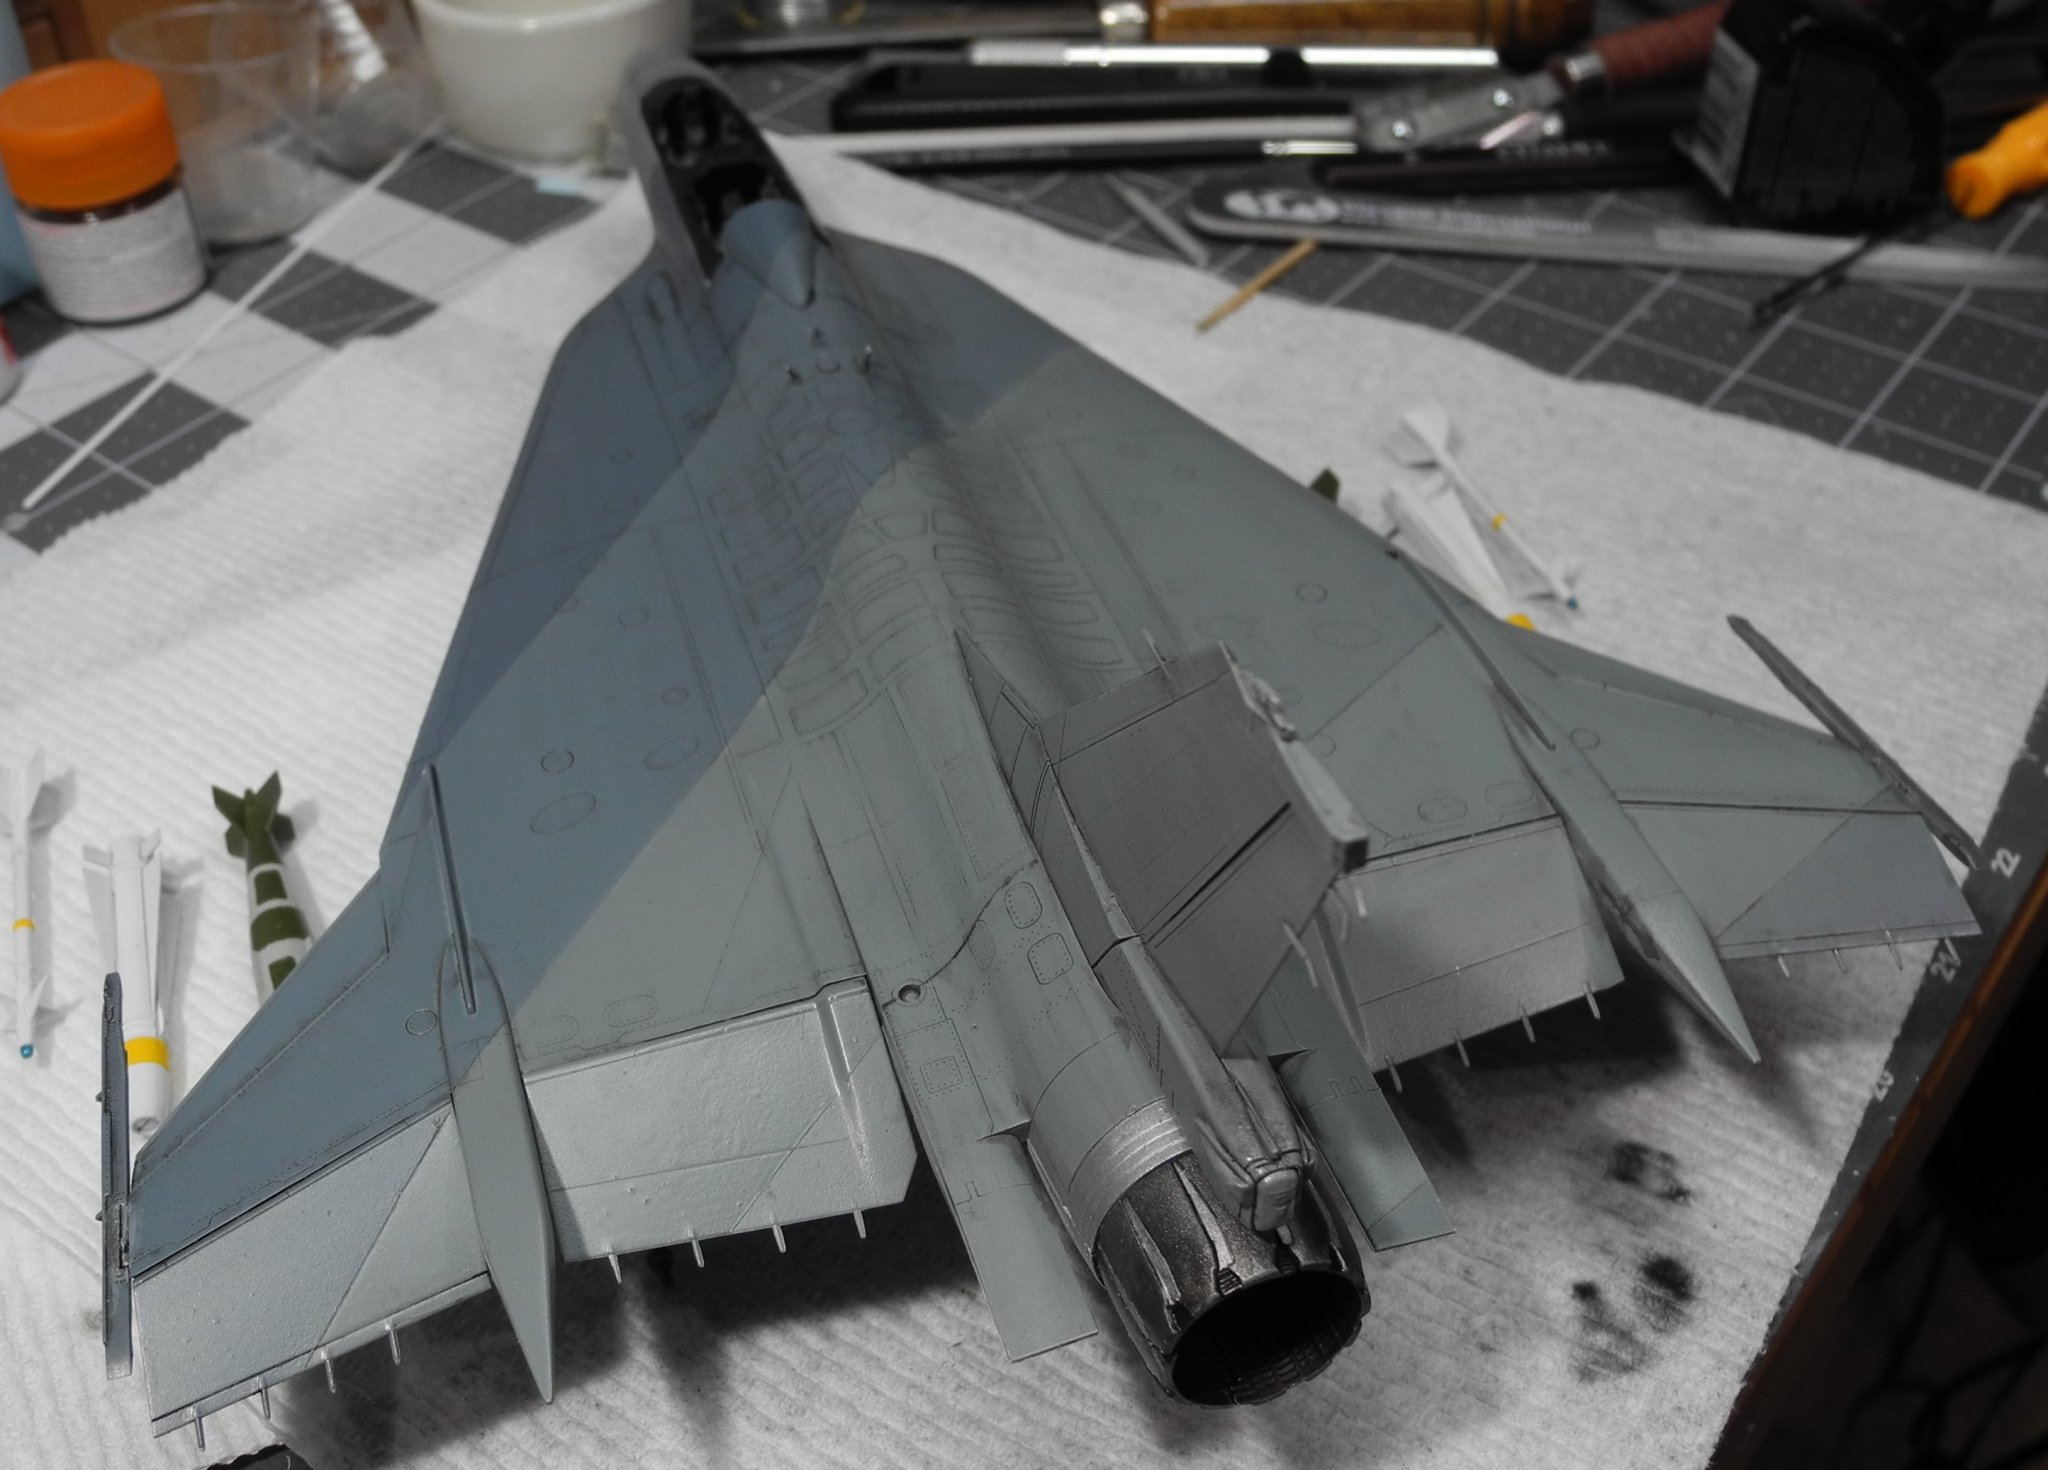
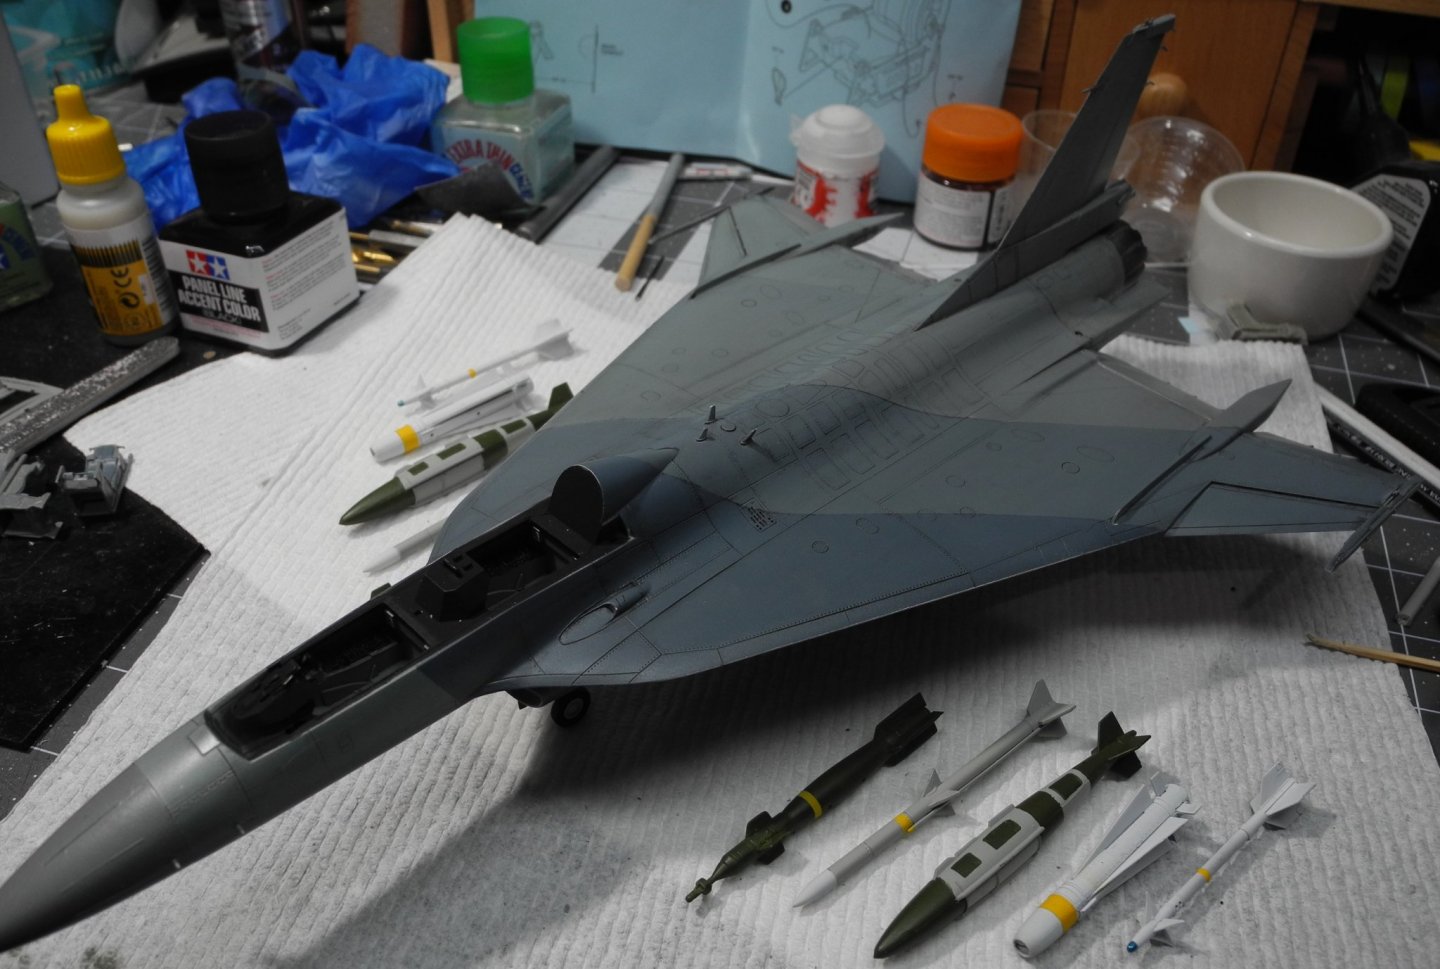
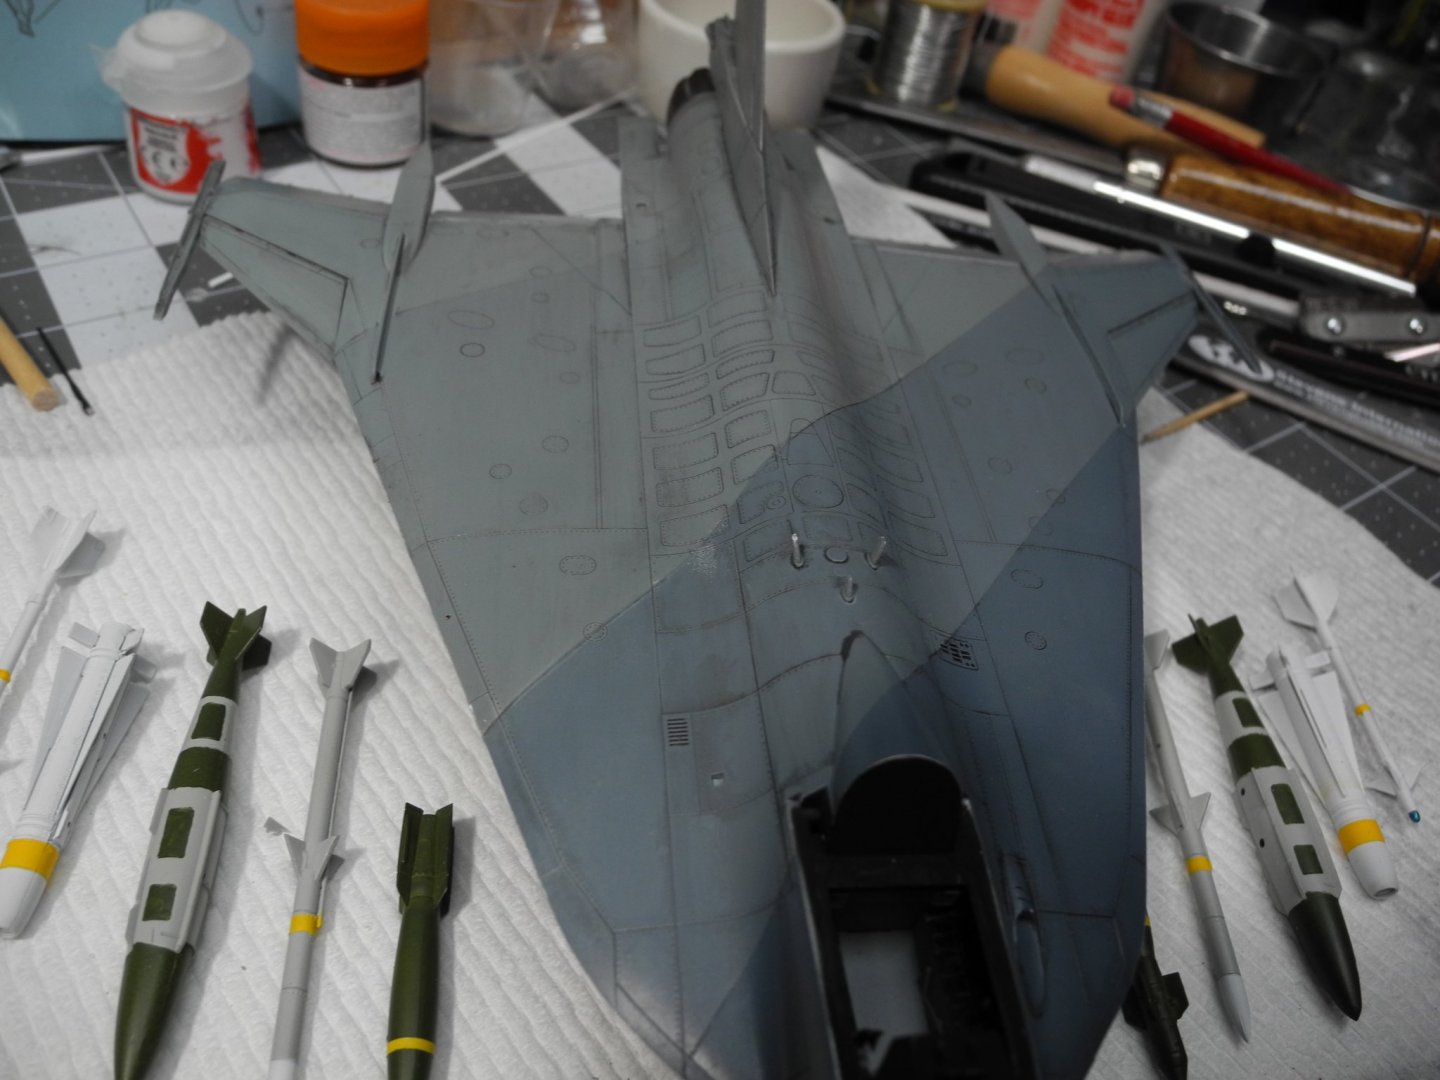
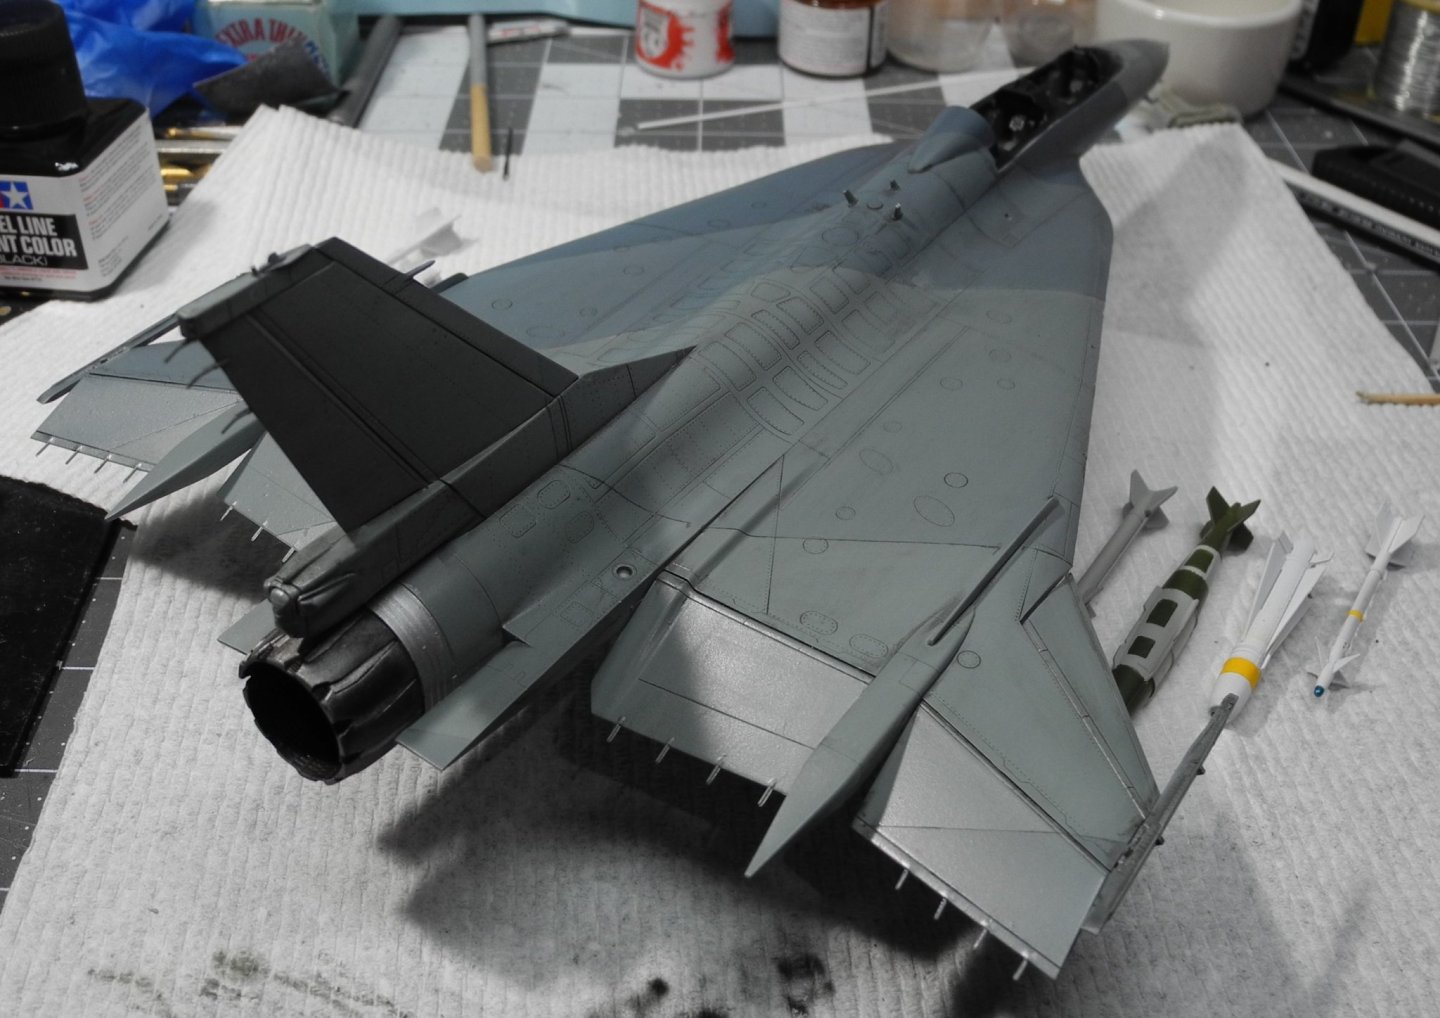
 Here is some ordnance on display and panel line accents. The photos reveal some touch ups I need to do. Funny how photos can show things that escape the naked eye.


- 43 replies
-
- 11
-

-
Dadgum Javlin, that's some beautiful wood work you're doing there. Great job! One of my old friends (RIP) made beautiful furniture. One day, I asked him if I could see his wood working shop, thinking I would see all kinds of fancy power tools. When he walked me back there and opened the door, I was shocked to see all he had were hand tools. Even things you would swear someone had turned on a lathe, he had carved and shaped by hand each individual piece. And the American history this man could tell you about was phenomenal. He was a walking, talking set of encyclopedias.
-
Thanks so much Denis. We are having a grand time here. Hope you are doing the same. Two of my daughters and a grand daughter are flying up to Manchester tomorrow morning to spend a week with their big sister. They are really looking forward to seeing snow. 😃
-
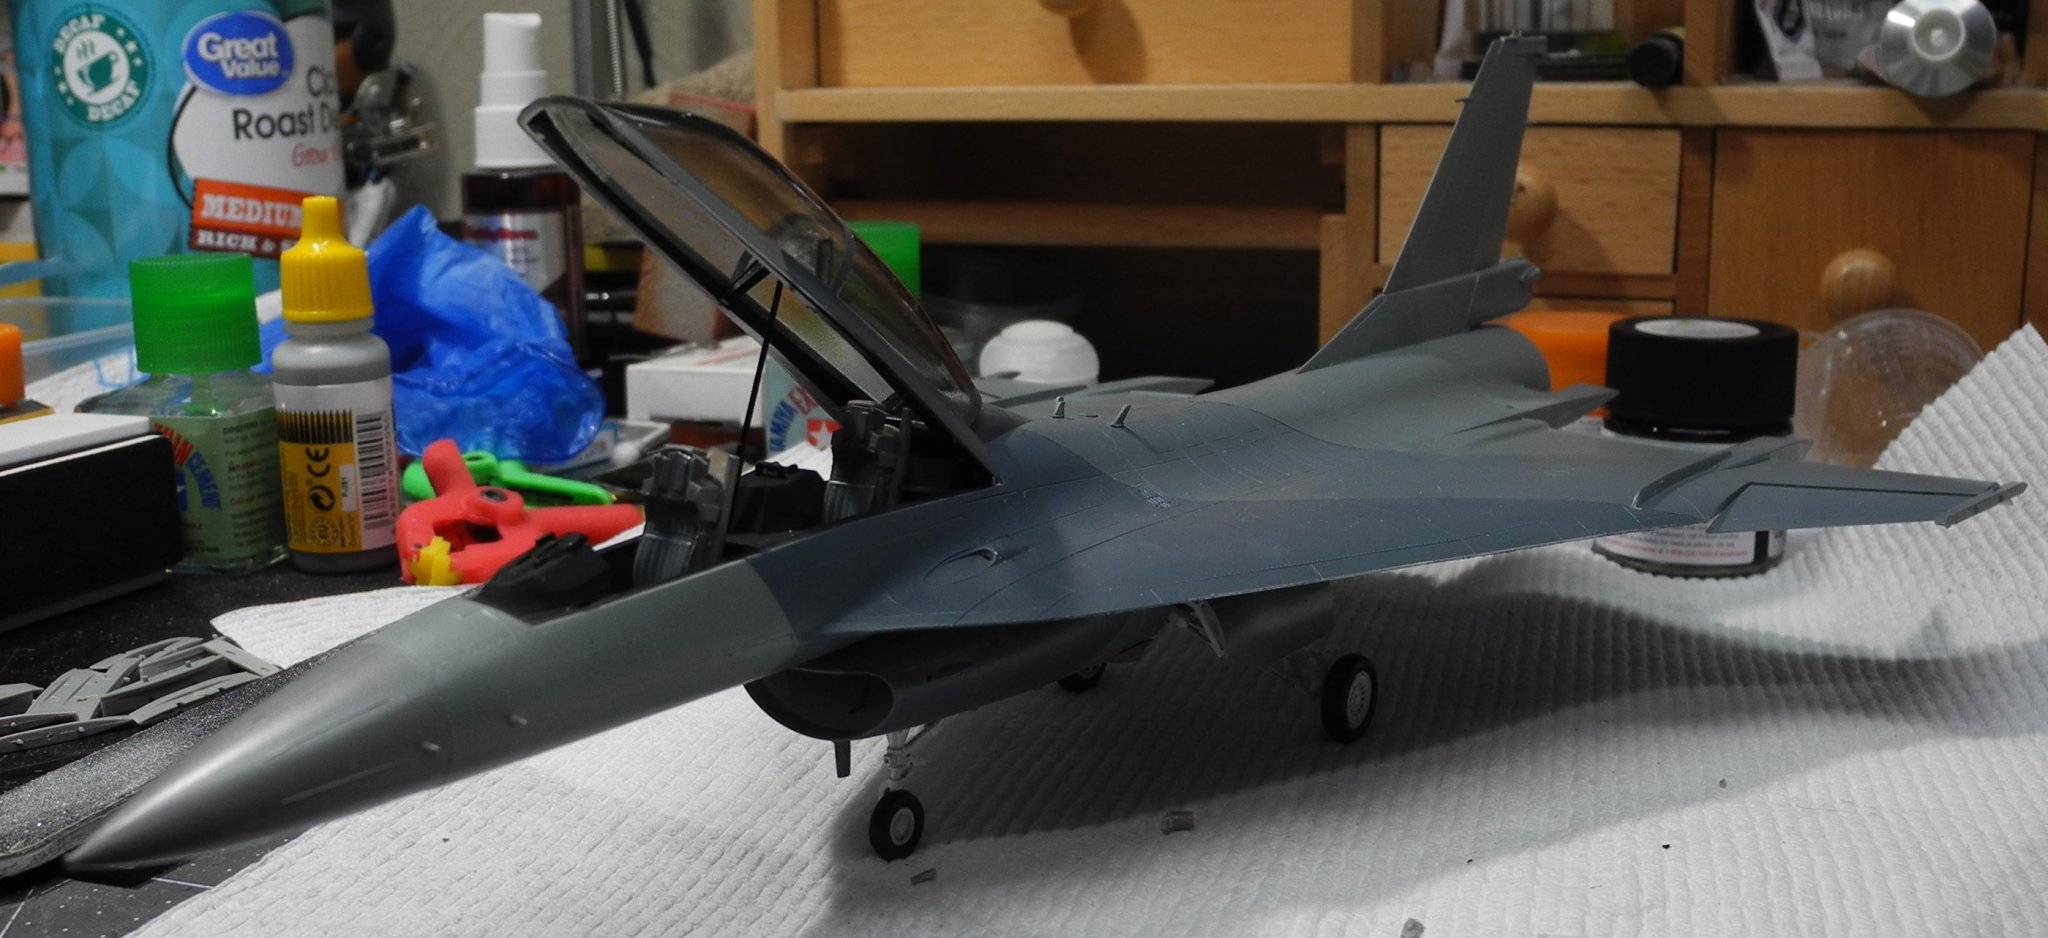
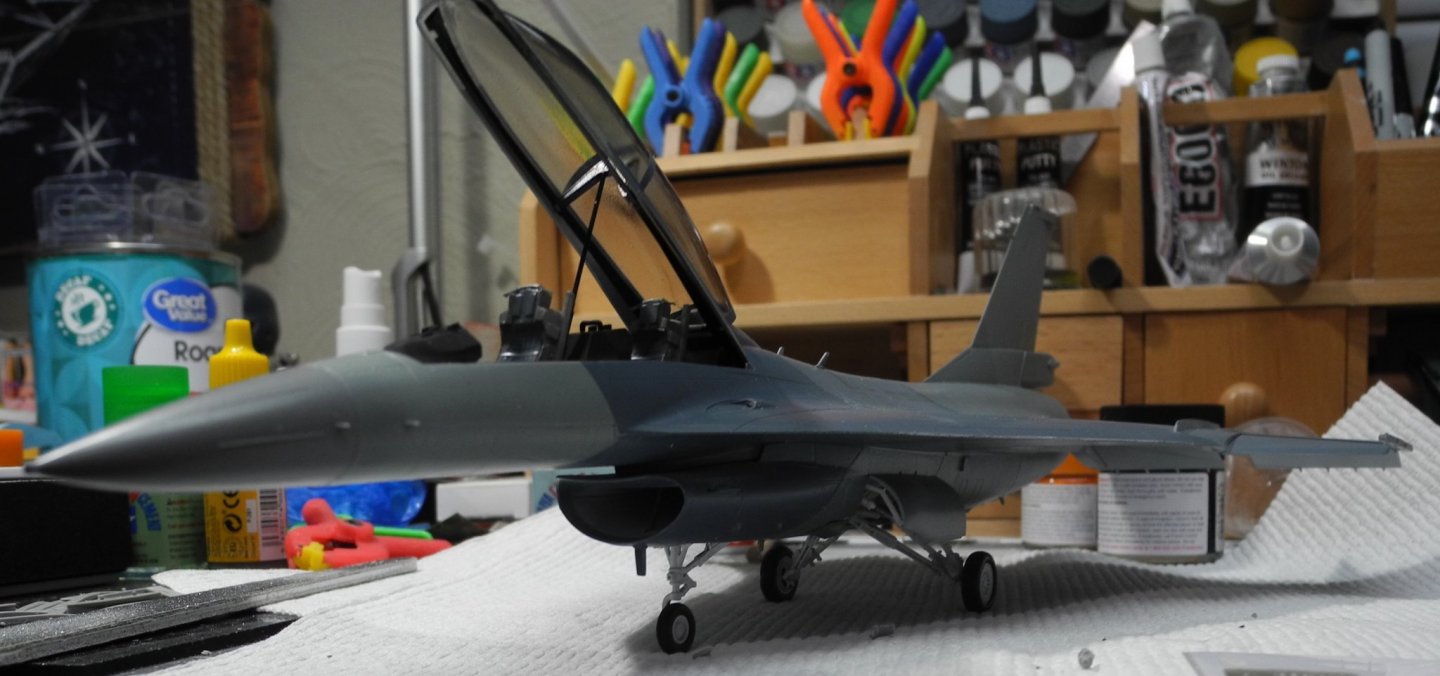
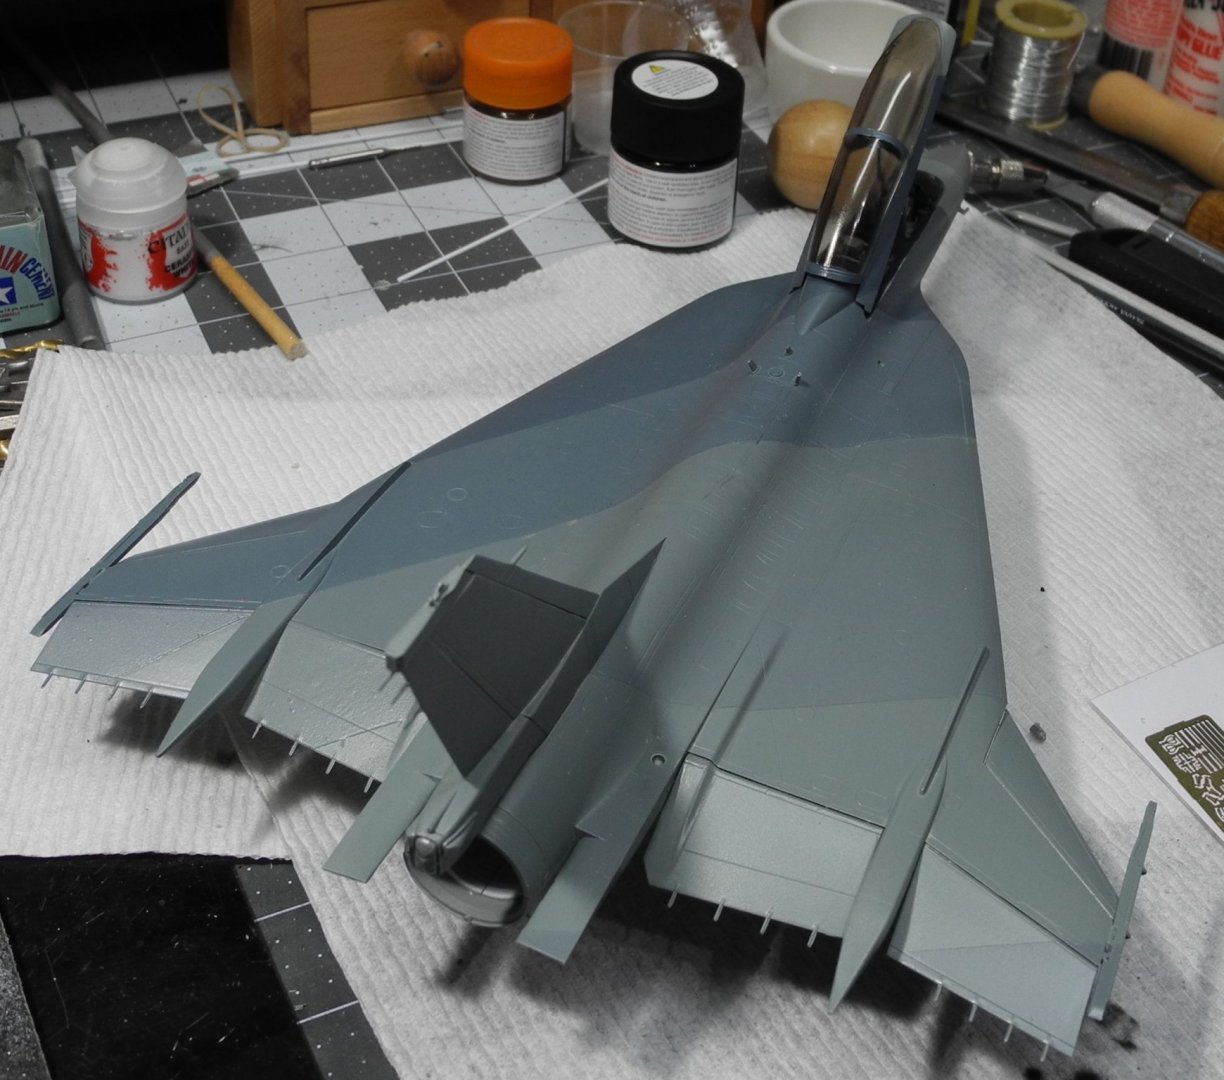
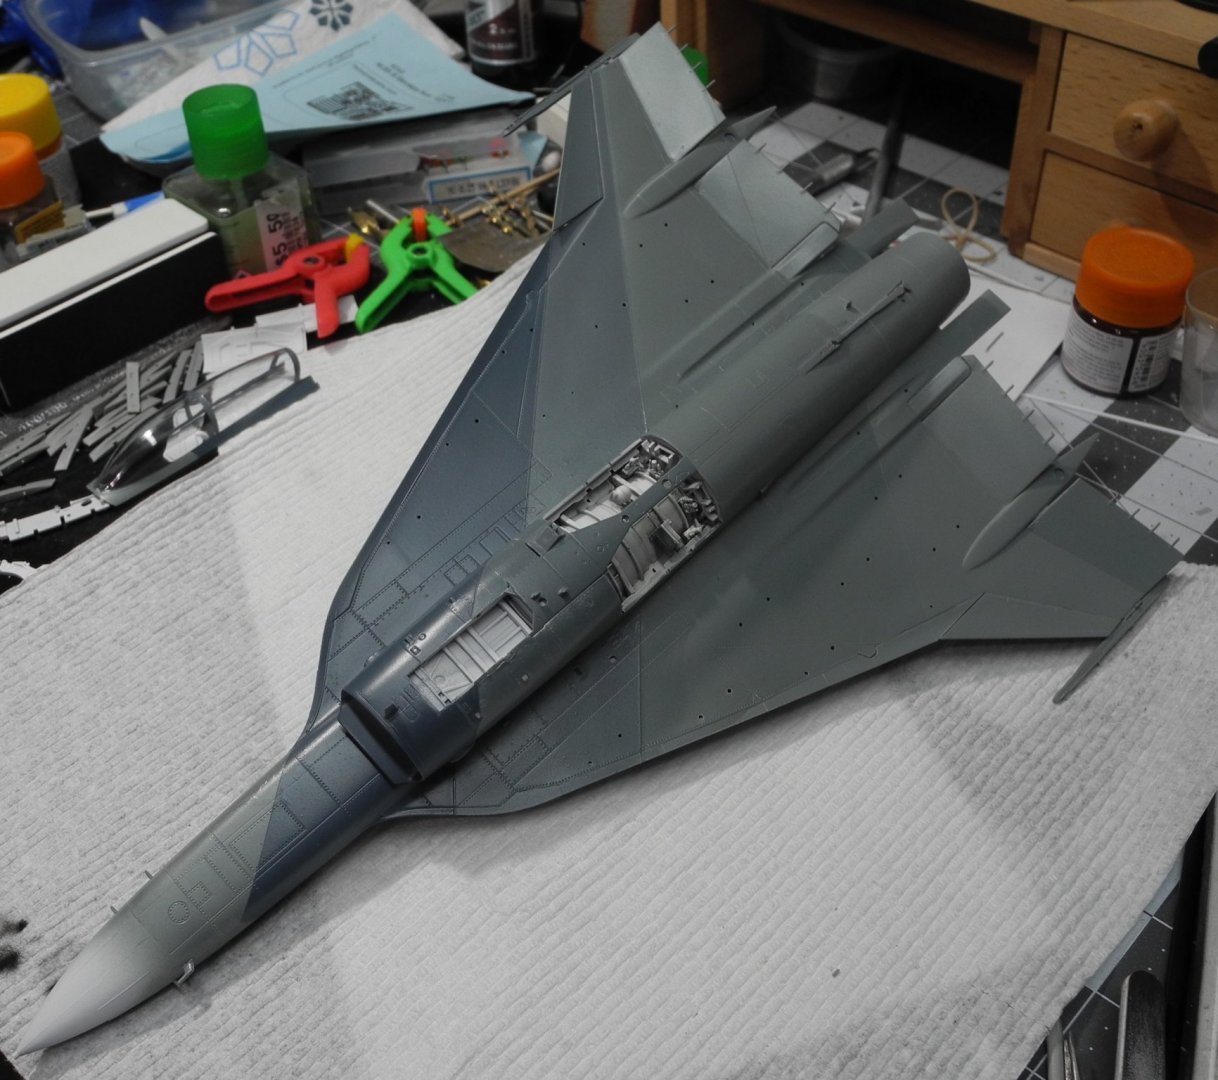
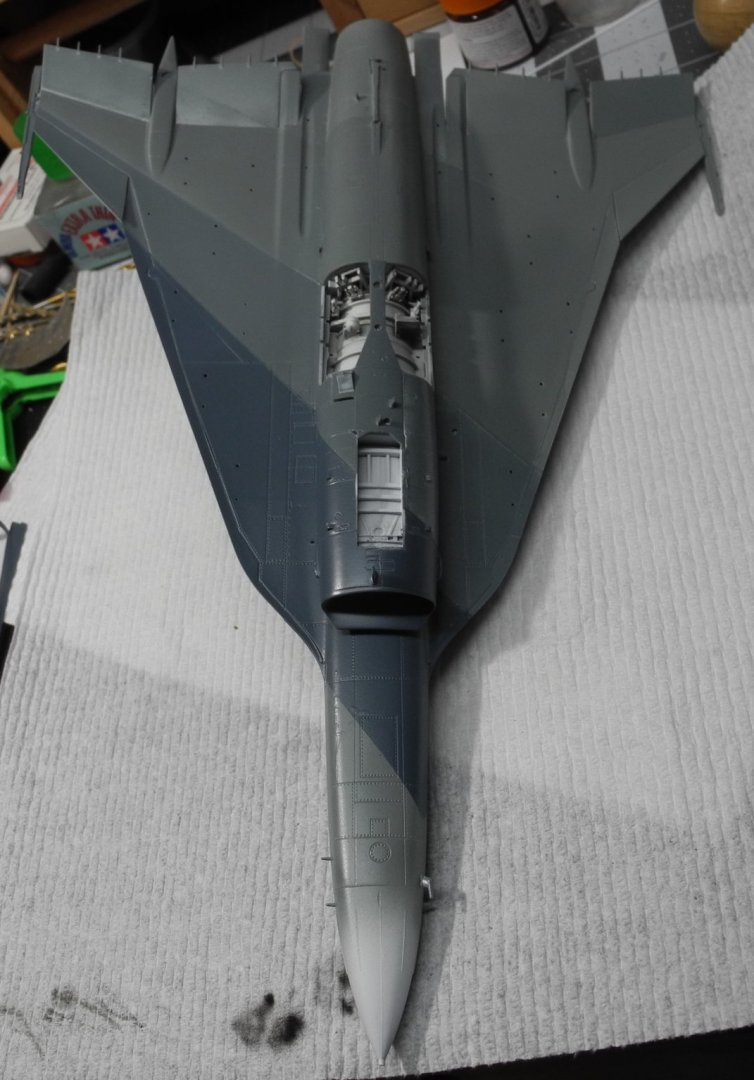
Here's a few photos of where she sits right now. The camouflage is done, still need to add some panel line work. The canopy and seats are sitting in place for photos, but not cemented. Still must add photo etch details and detail painting to the ejection seats. My aftermarket resin ejection seats were too wide to fit inside the cockpit tub. While I could sand away enough to force a fit, it would erase much of the detail the resin seats provided in the first place.I just opted to use the kit-supplied seats and will add the aftermarket photo etch bits to enhance them. It's unfortunate but this kit does not supply any decal markings for the vast array of ordnance provided in the kit. It just won't look complete without the decals, so I had to order a set from a vendor in Australia. That order won't arrive until mid-January so it's going to be a while before I can finish this model. In the meantime, I'll be finishing the cockpit, adding and painting the afterburner, preparing and adding the ordnance pylons, adding panel line details, then applying the main decals supplied in the kit.


-
I like it. Elegant but practical.
-
Thanks Denis. Hopefully, I'll have another update tonight or tomorrow.
-
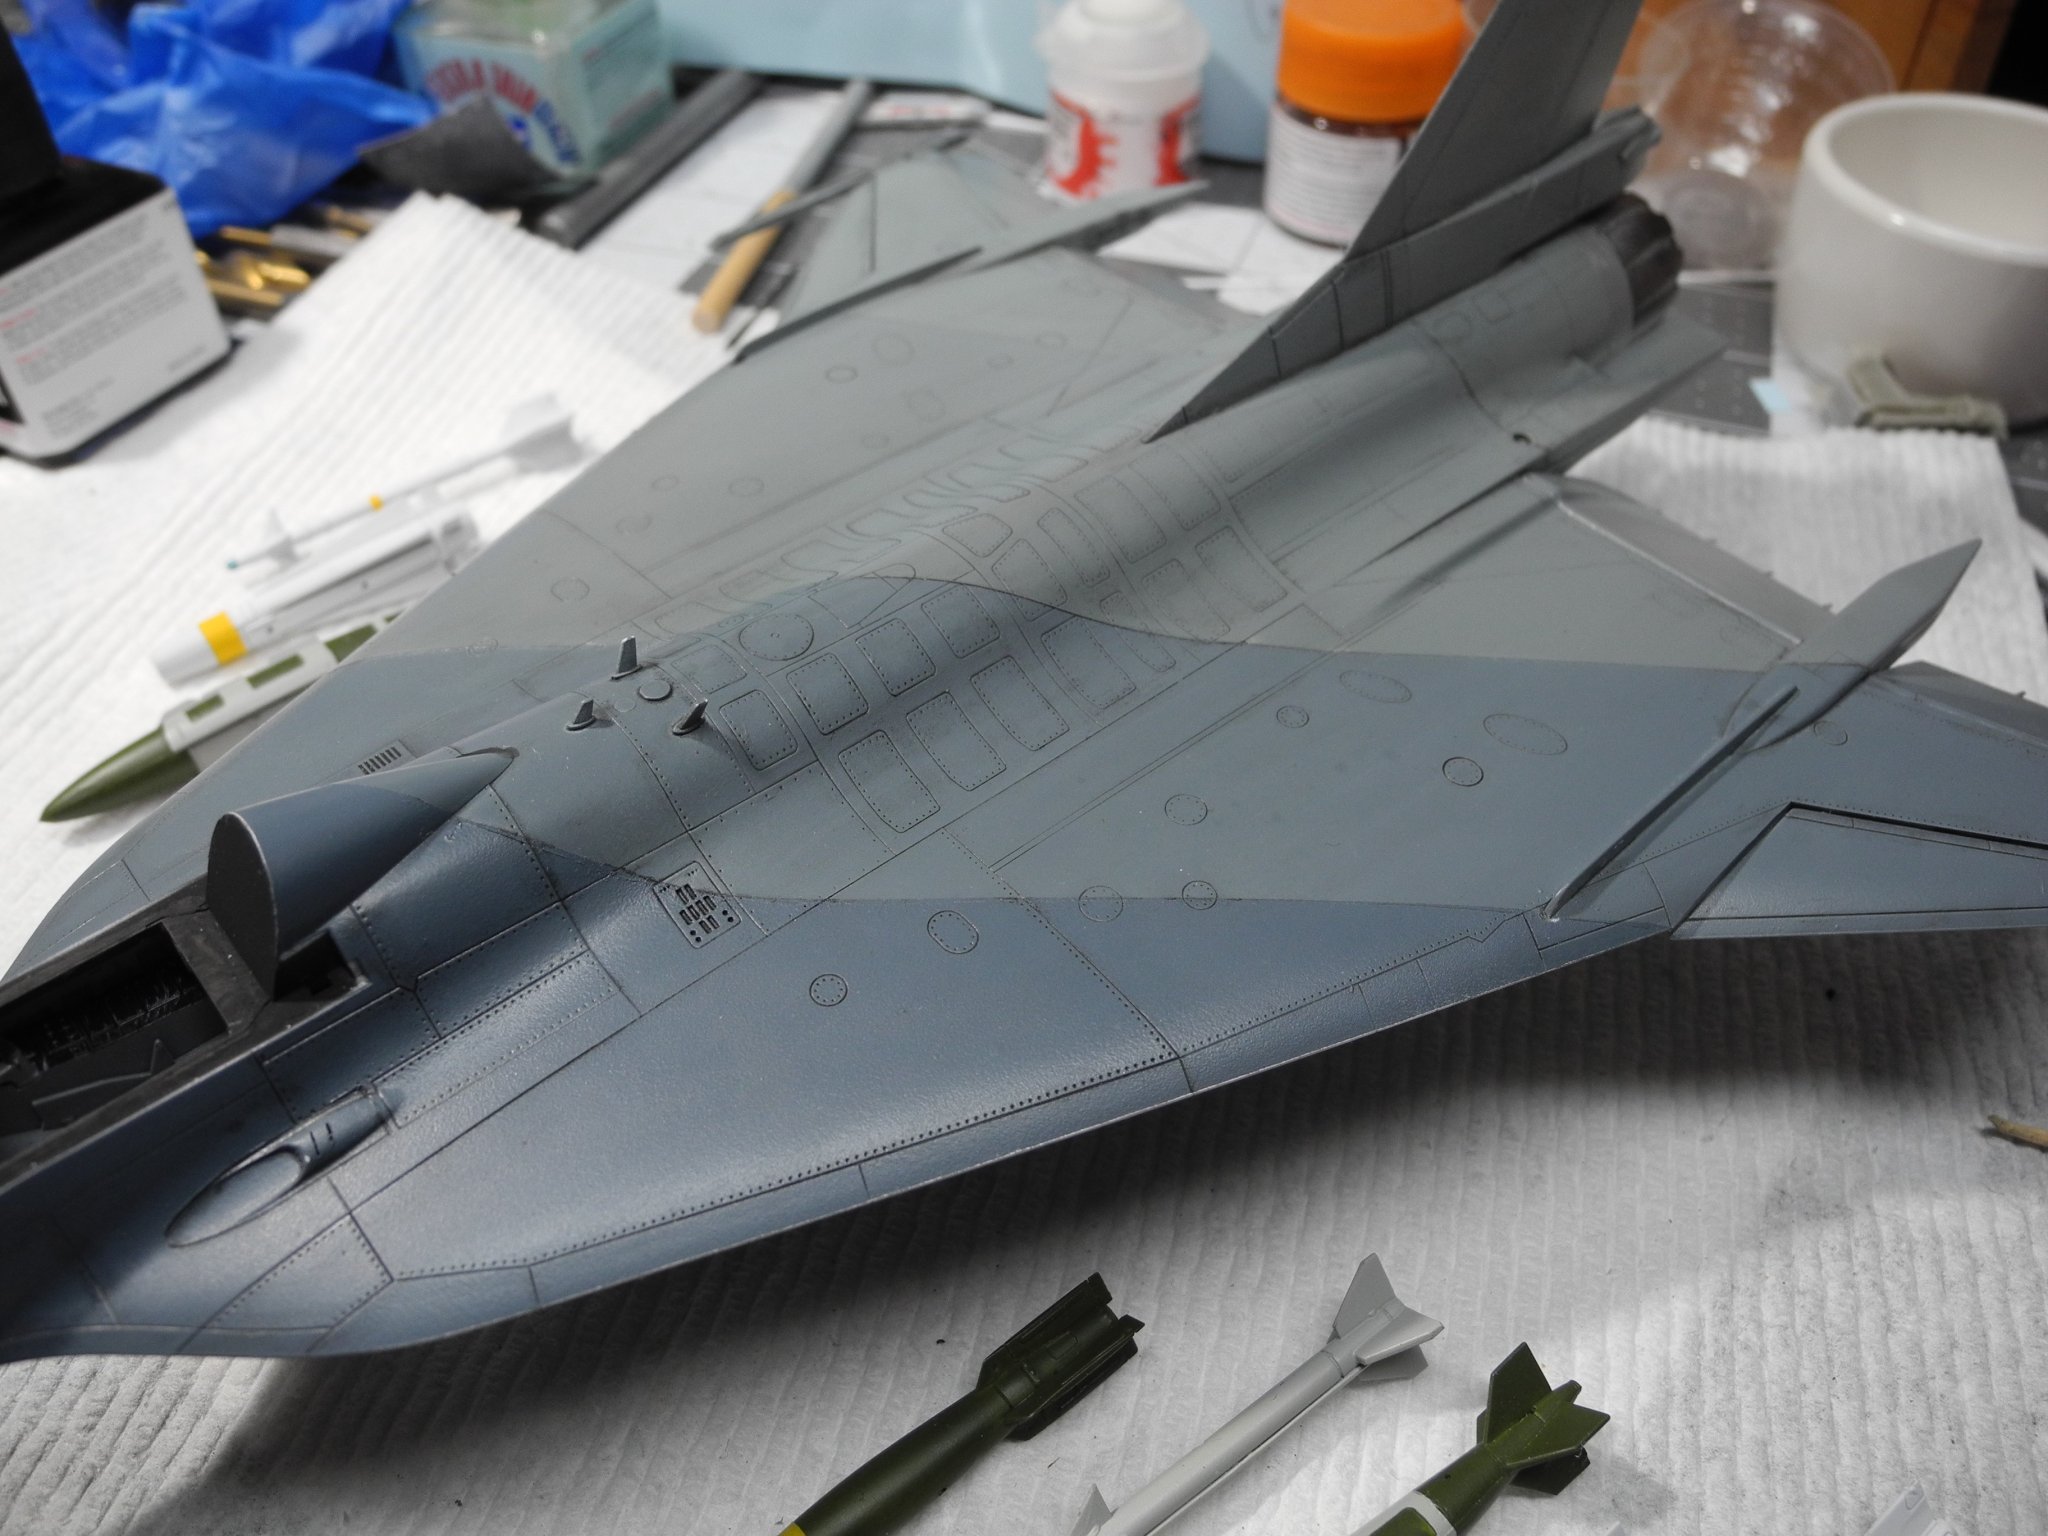
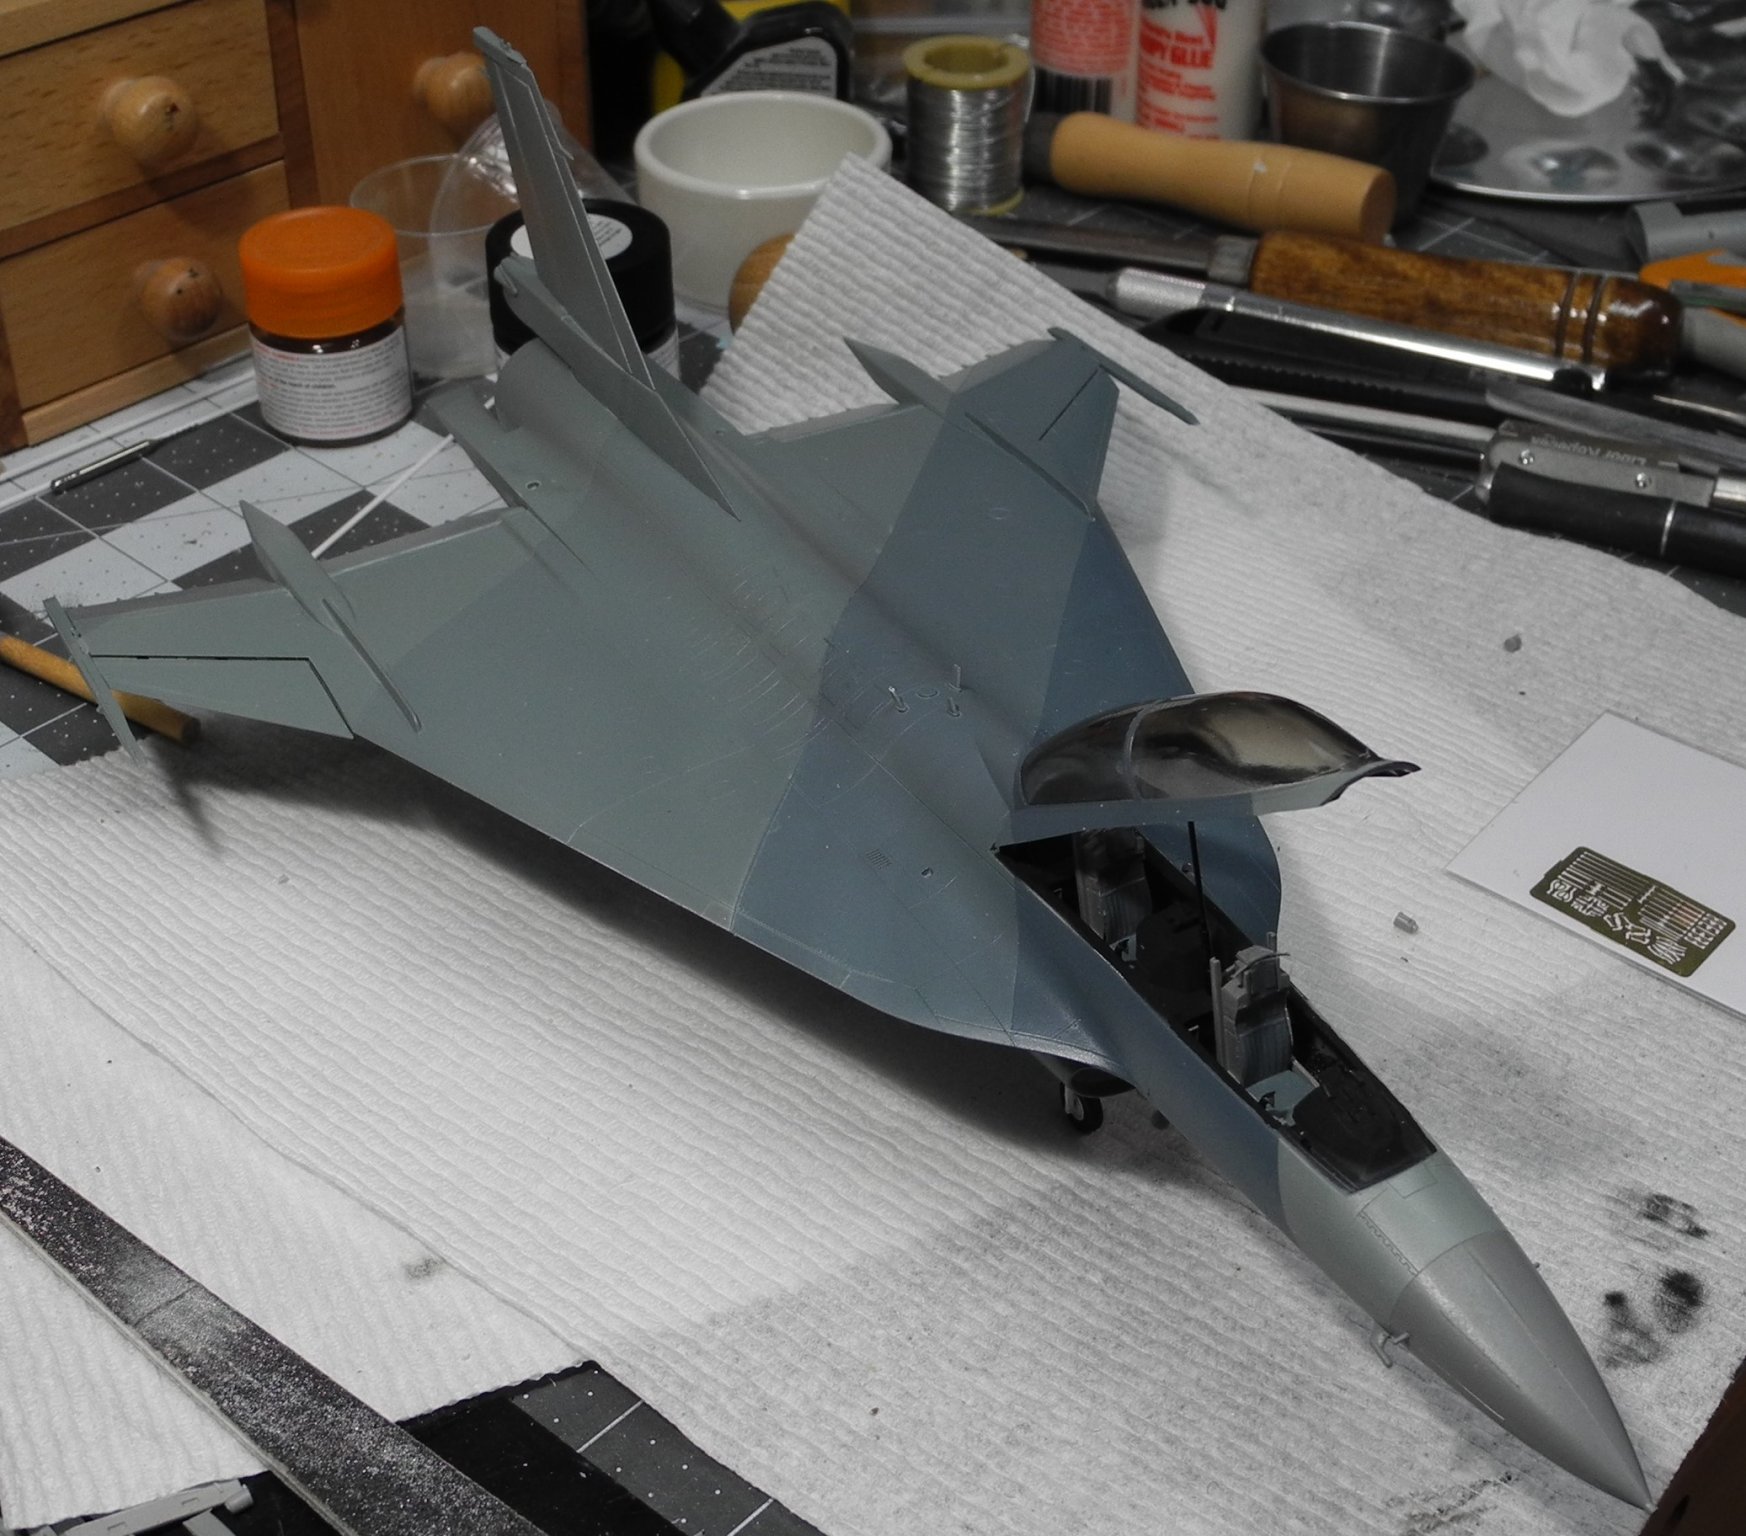
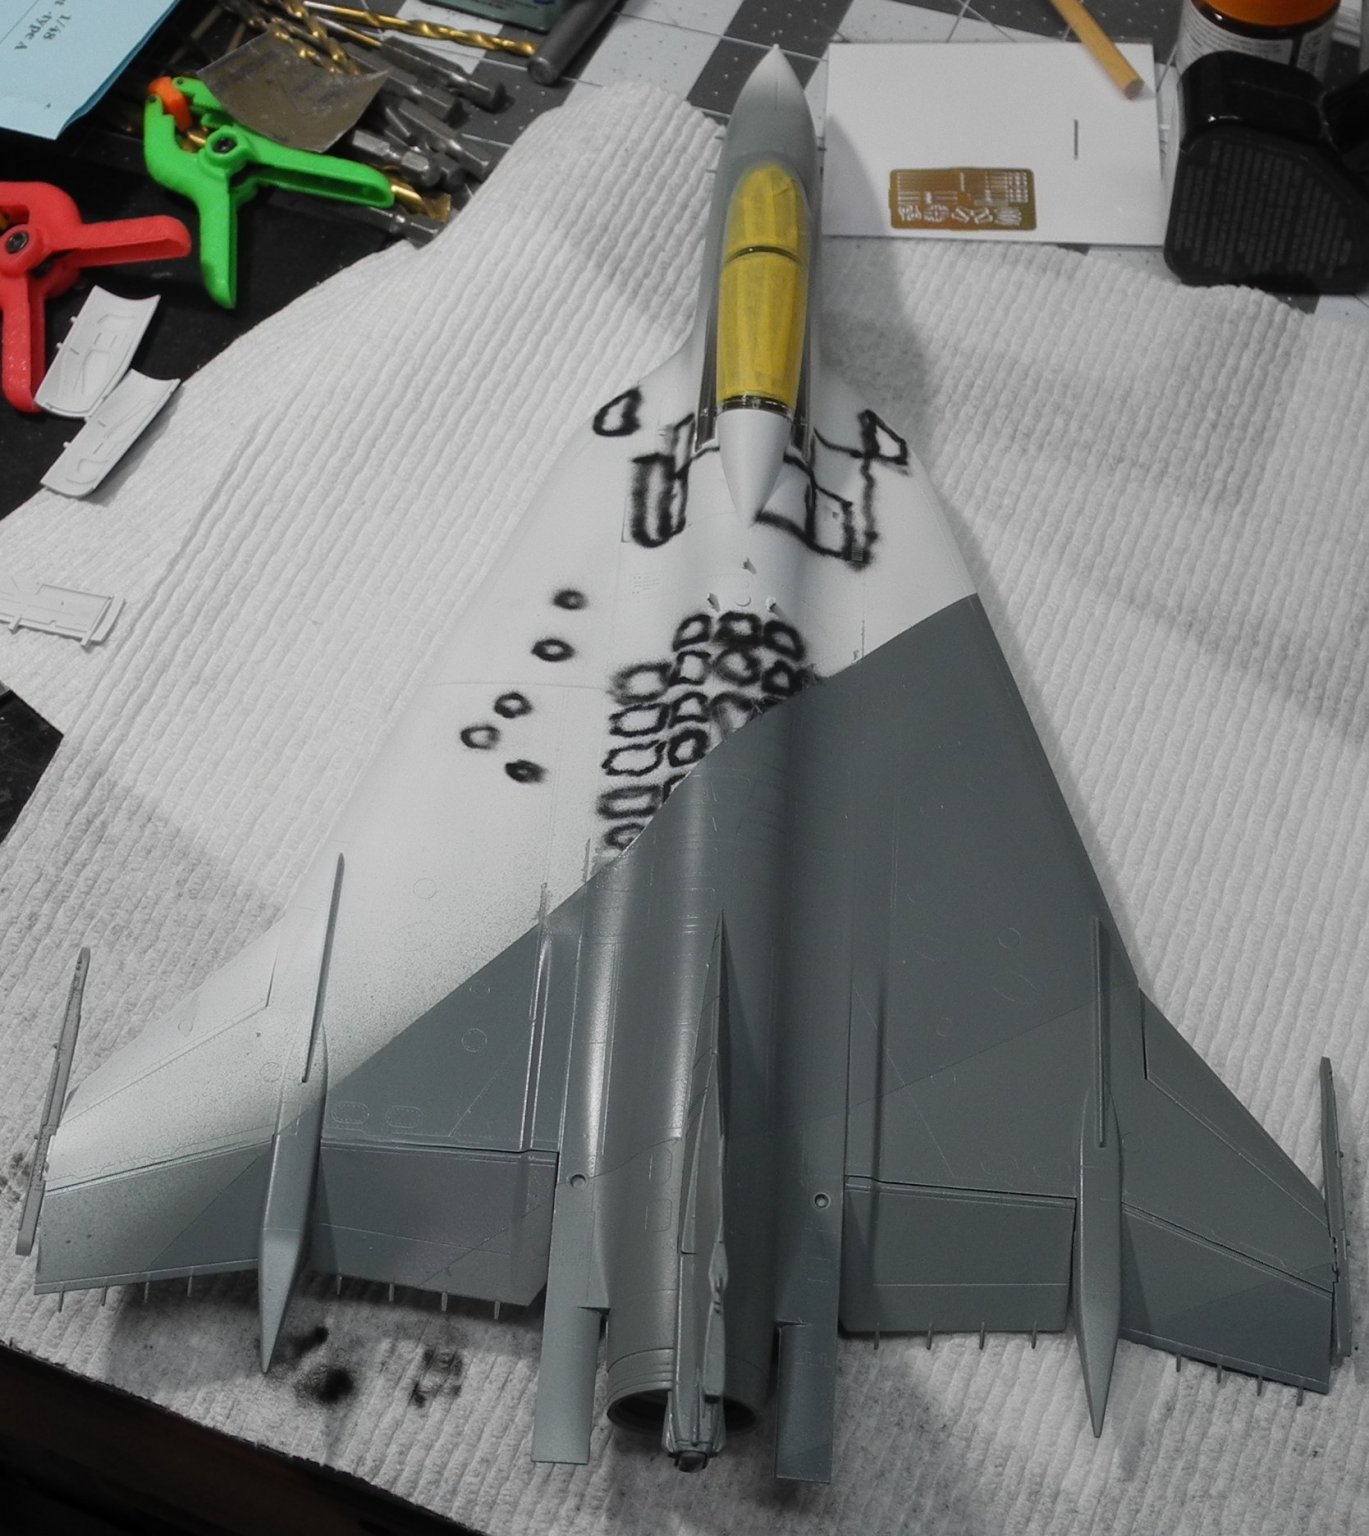
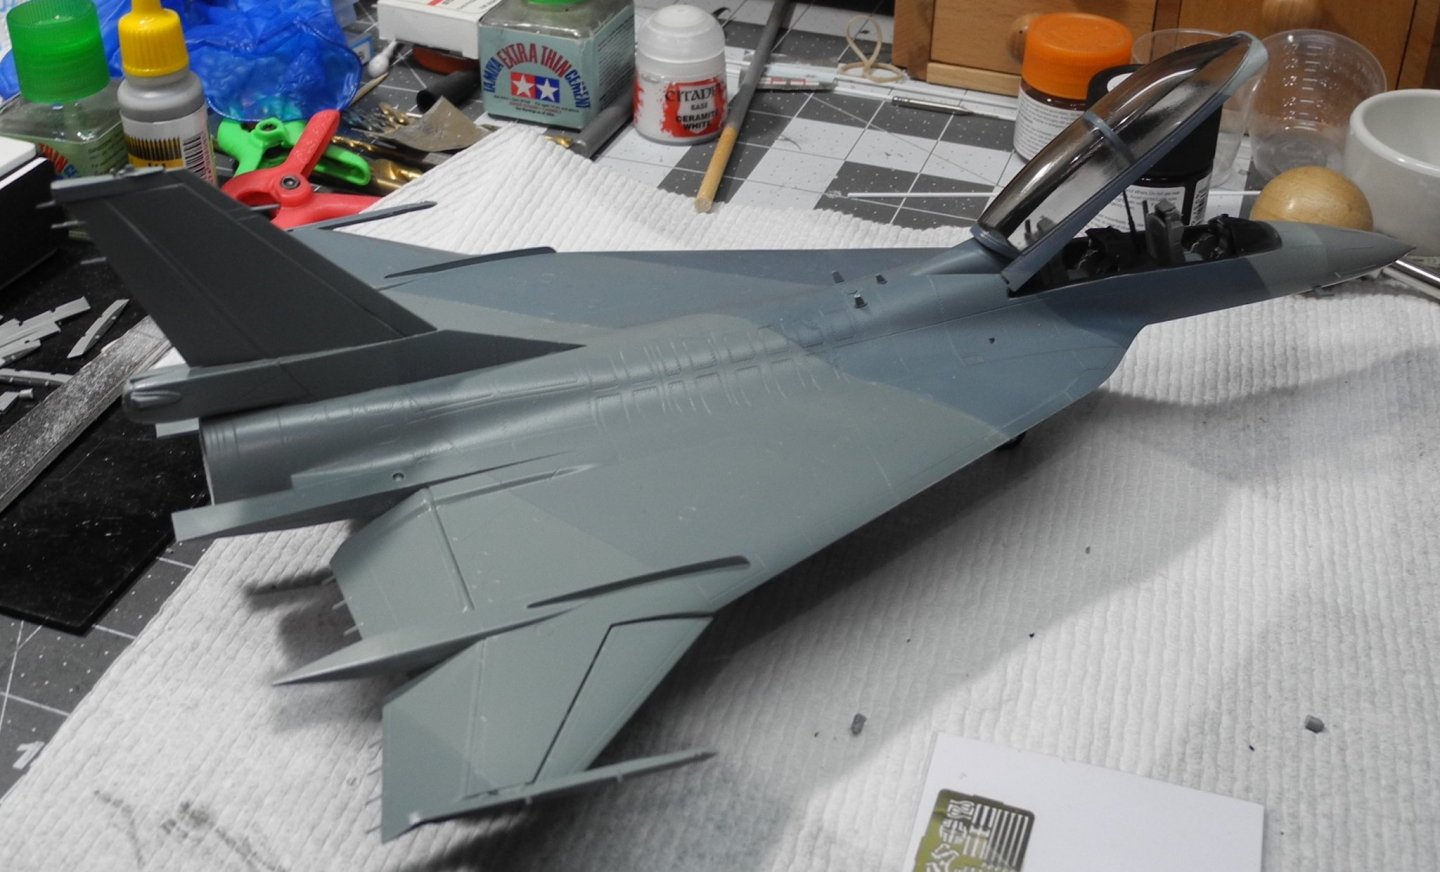
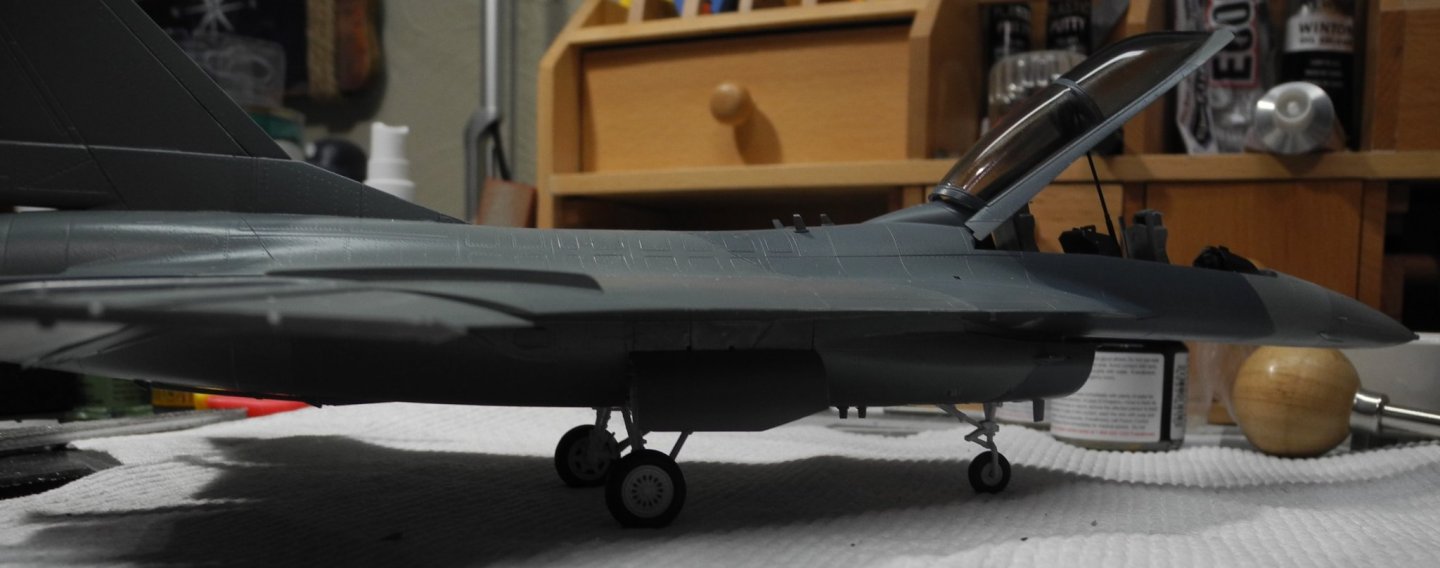
The Heather-Ferris camouflage paint scheme is just about finished. While the finish looks okay, I'm just not a fan of these AK Air acrylic paints. Maybe I received a bad batch, I don't know. I have read where some bad batches got out there but don't know if that's the case here. The problem is, the paint has stayed tacky for days. Never had an acrylic paint act like that. It's common to enamels, but odd for acrylics in my own personal experience. When you first spray this paint down, it looks like crap. Then you take your hair dryer, give it a drying treatment and it looks great. If the paint didn't stay tacky, it would be good.

- 43 replies
-
- 10
-
-
Enzo Ferrari by CDW - Tamiya - 1:12 Scale - PLASTIC
CDW replied to CDW's topic in Non-ship/categorised builds
Your McLaren looks just like the real thing, beautiful! -
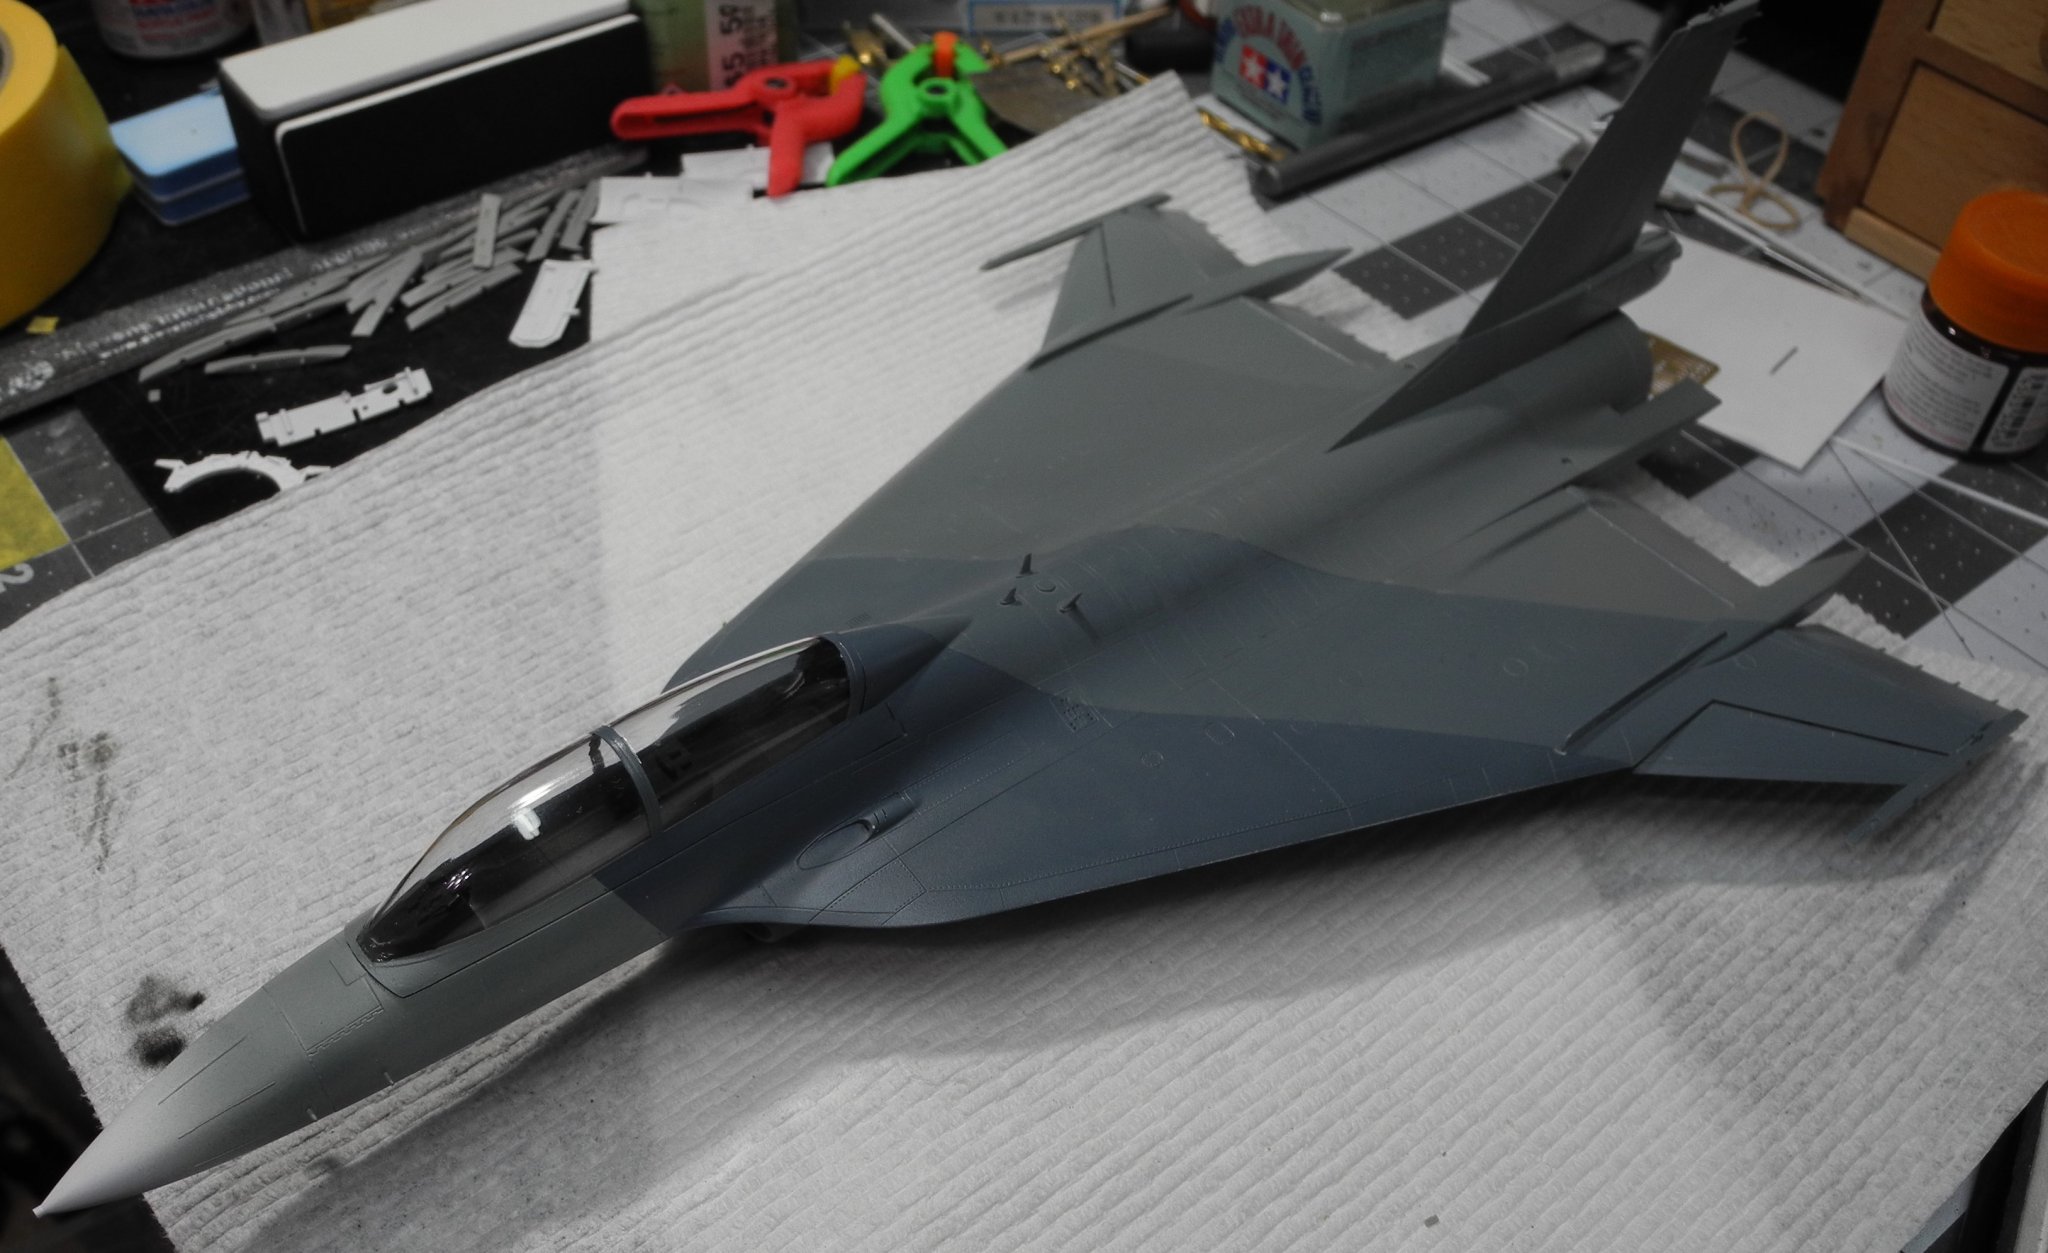
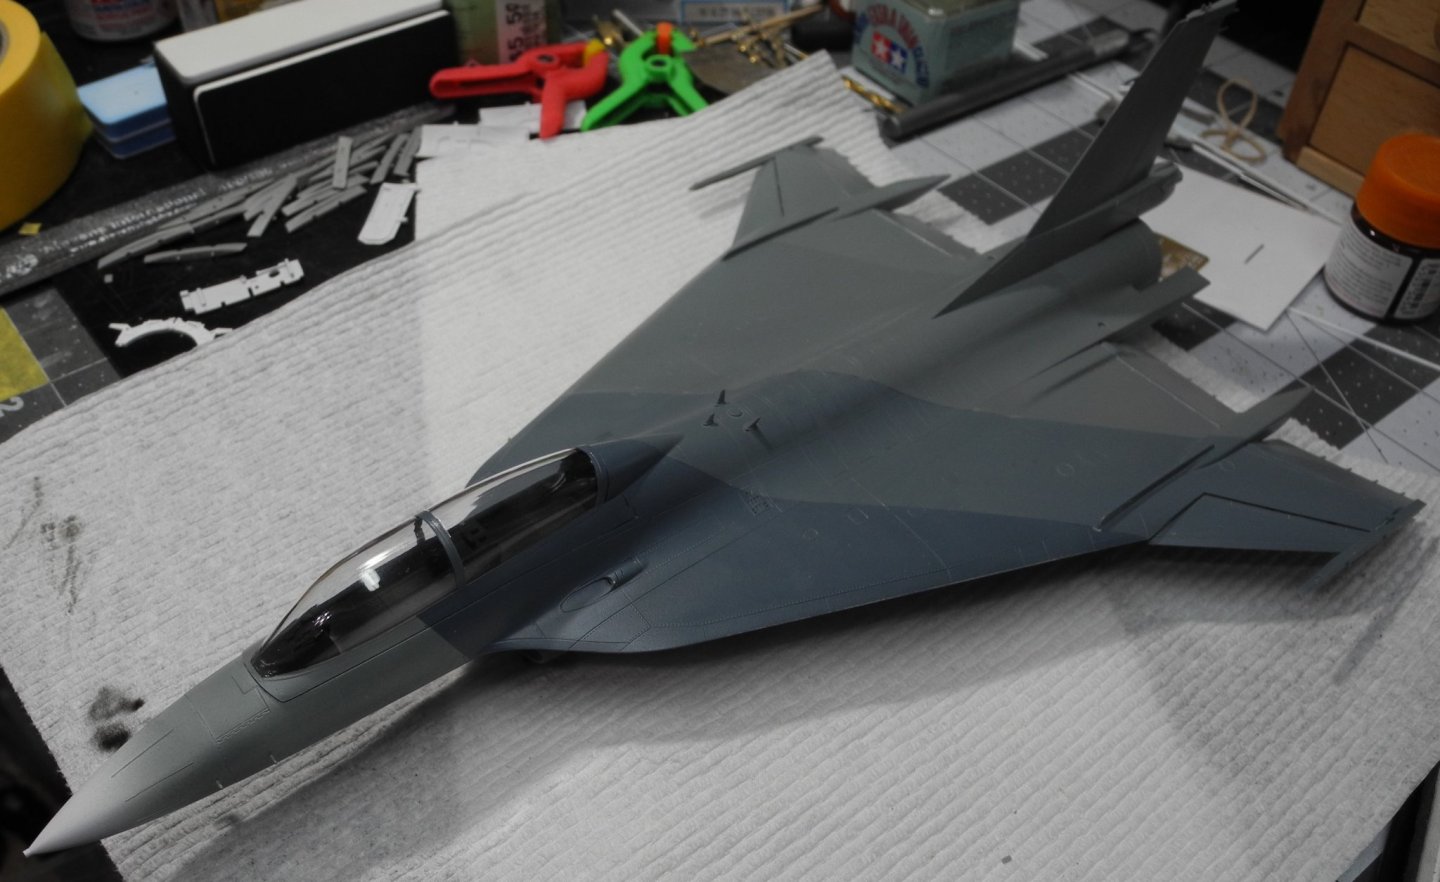
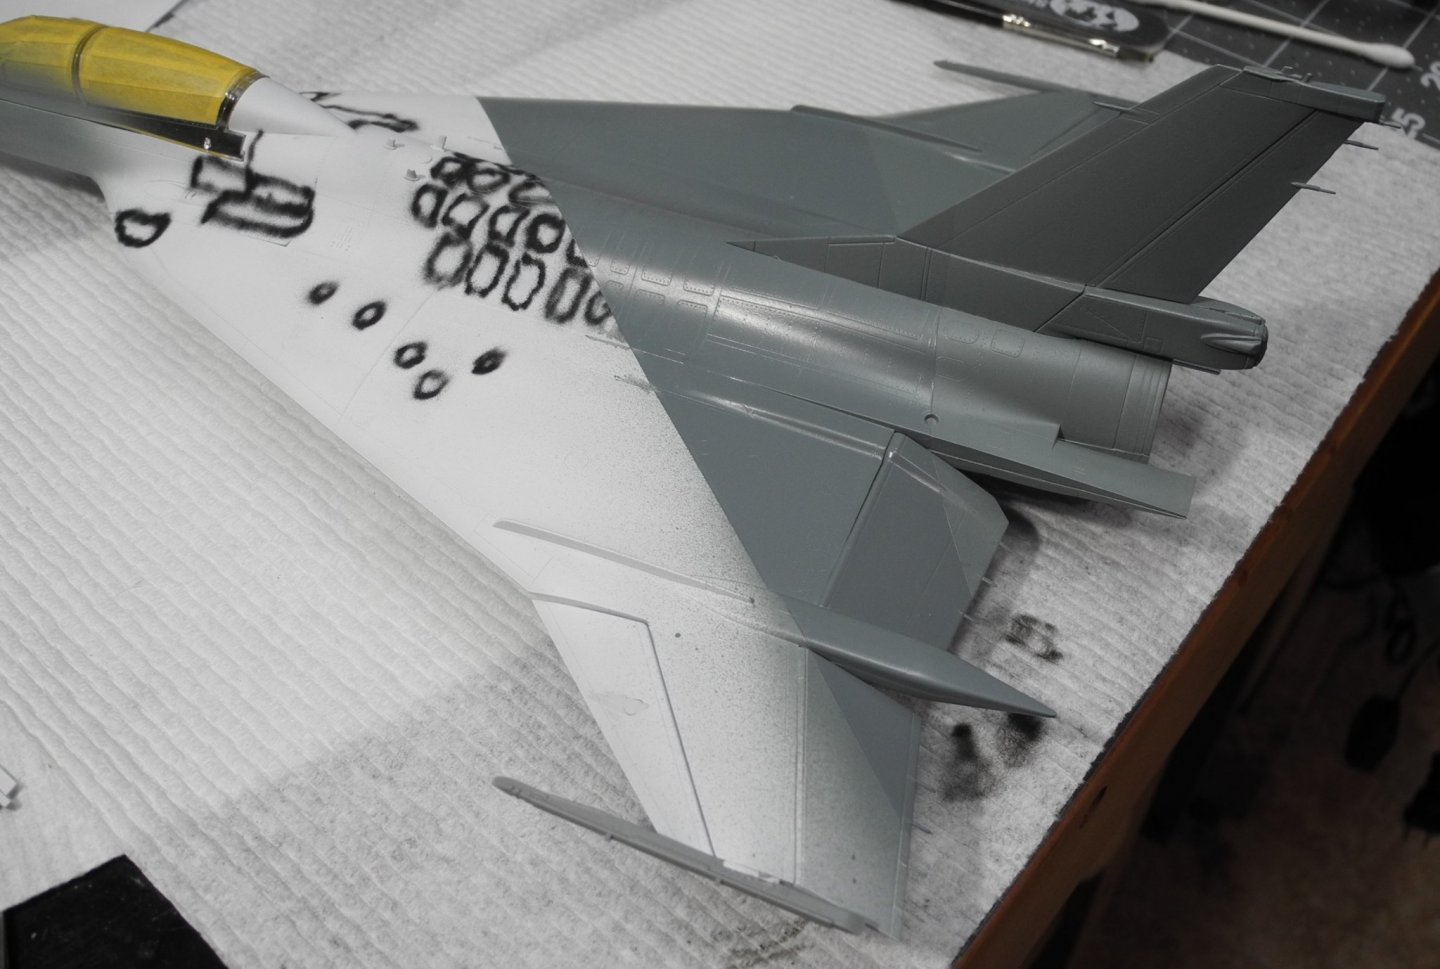
Yeah, I'm almost 60 years into this hobby now but still learning. For AK, they have their own proprietary thinner, but I think Vallejo thinner would work just as well. Having said that, try mixing a small amount in a disposable paint cup first to make sure there is no bad reaction if you are using something other than their own thinner. Mr Color thinner or alcohol will turn the AK paint into a big gum ball. Straight from the bottle, the AK paint settles down into a finish that's just as you described, a cross between an acrylic and enamel. Takes this stuff at least 24 hours to dry and still feels somewhat tacky even then. But I like the finished look of it, a satin finish. I think once it thoroughly dries, it will take a wash very well, with no need for a clear coat prior to the wash. This model will have five different shades of gray in the Heather-Ferris camouflage scheme. Here, I have placed the first two shades of gray, both AK paints. The finished camo scheme can be seen on the instruction page in my first post.


- 43 replies
-
- 10
-
-
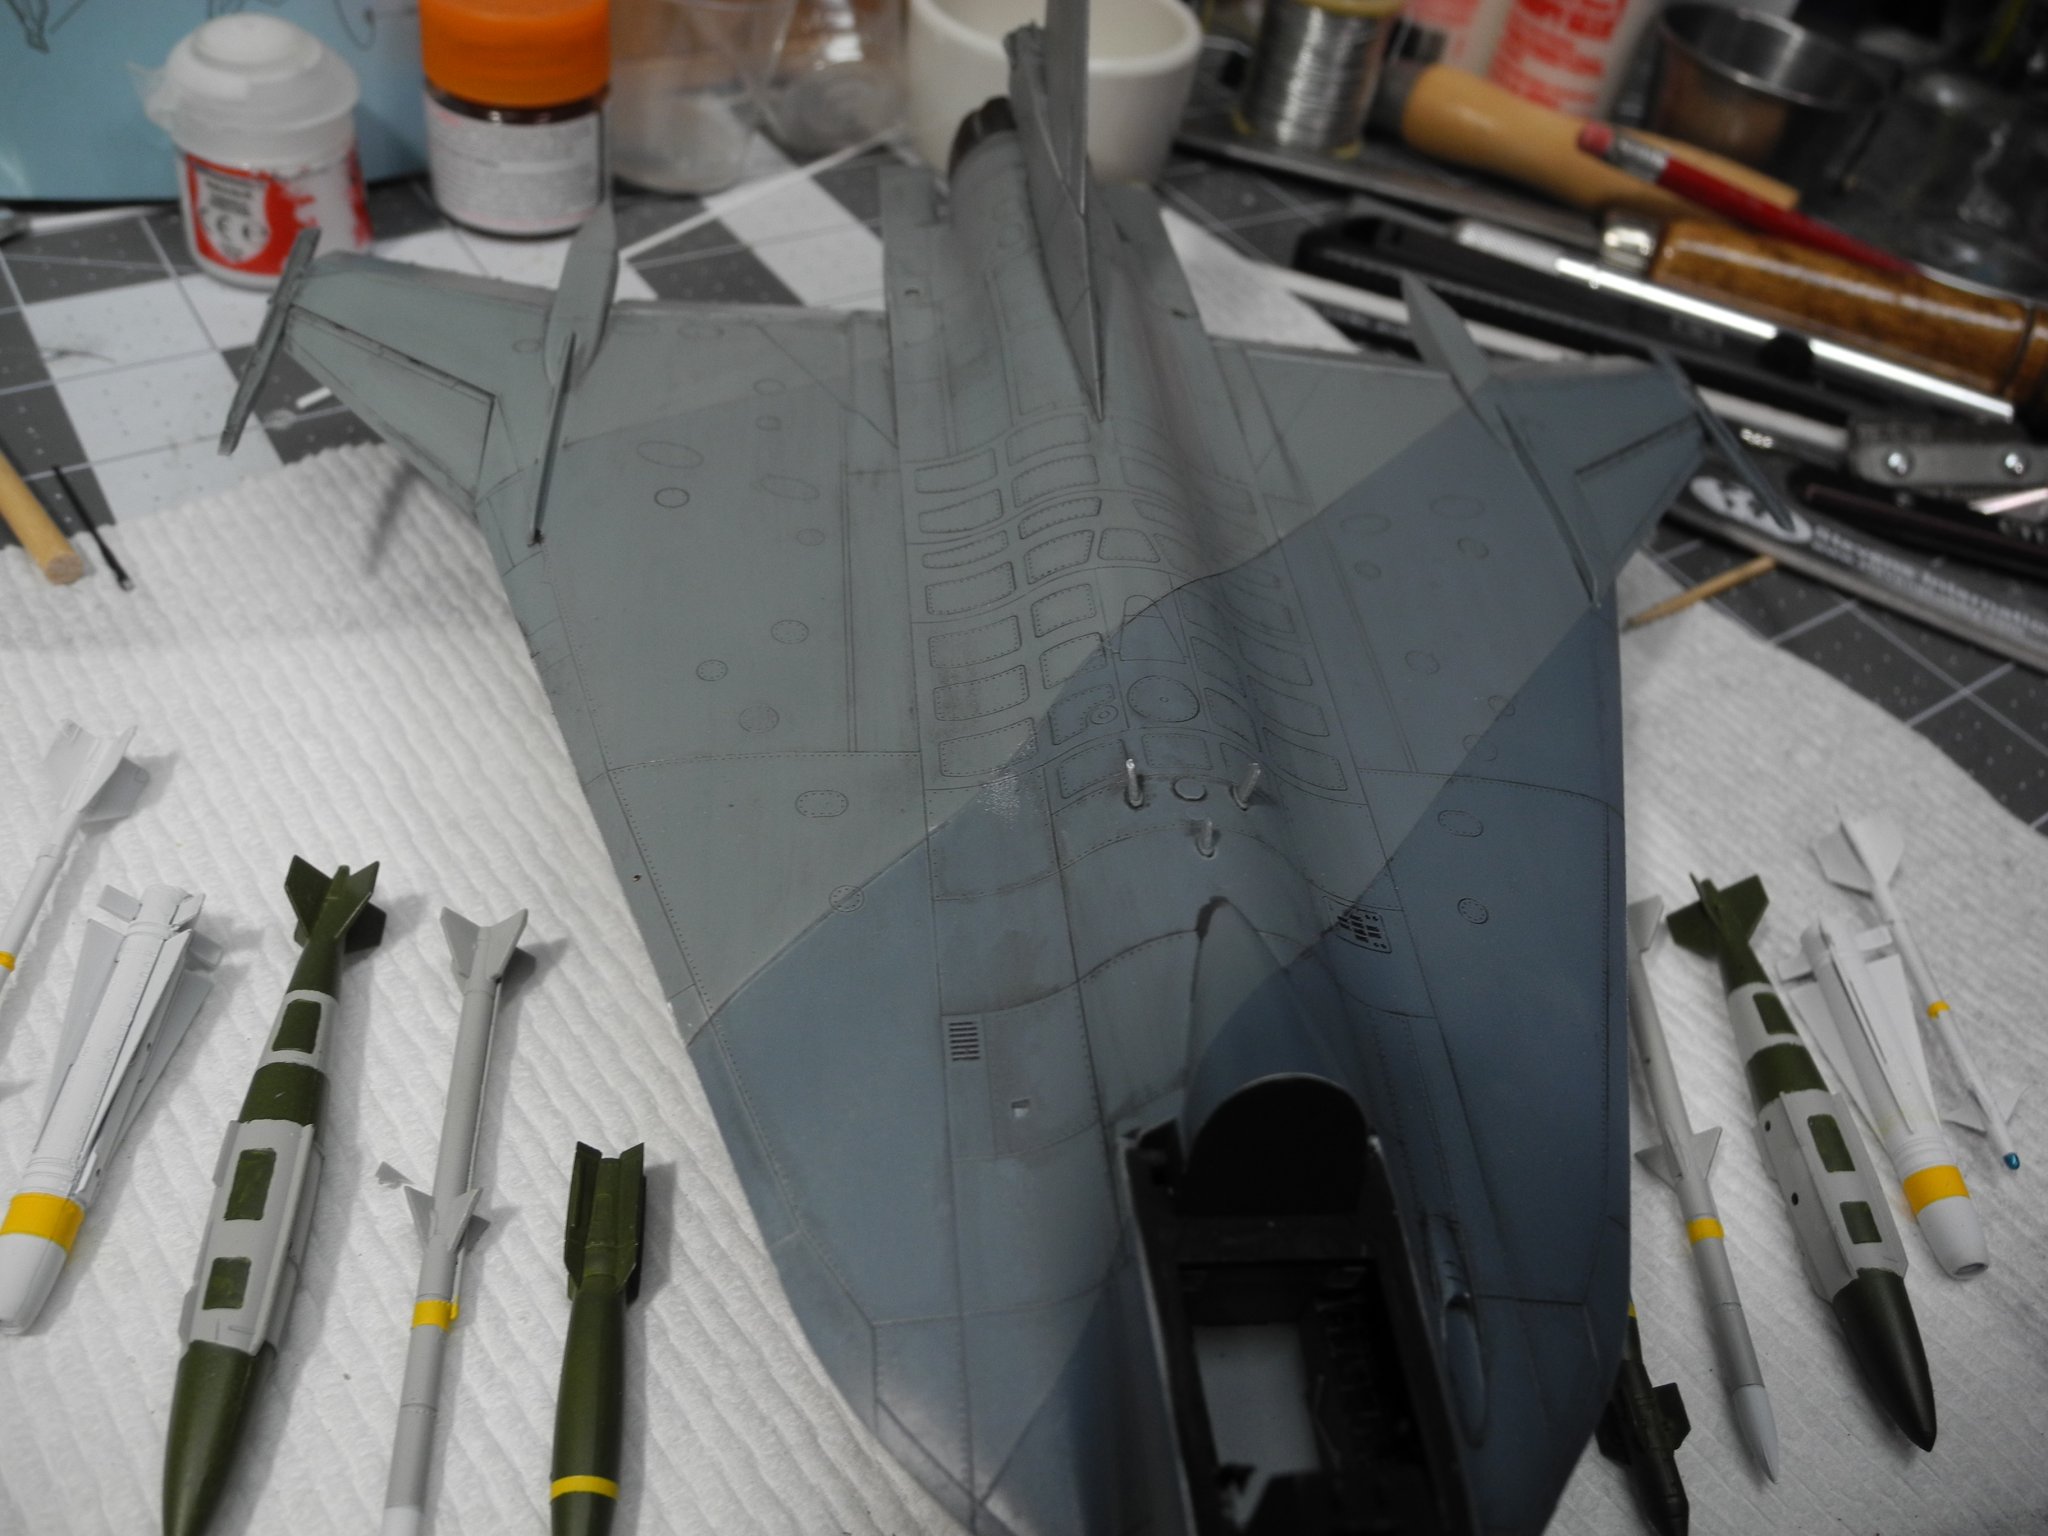
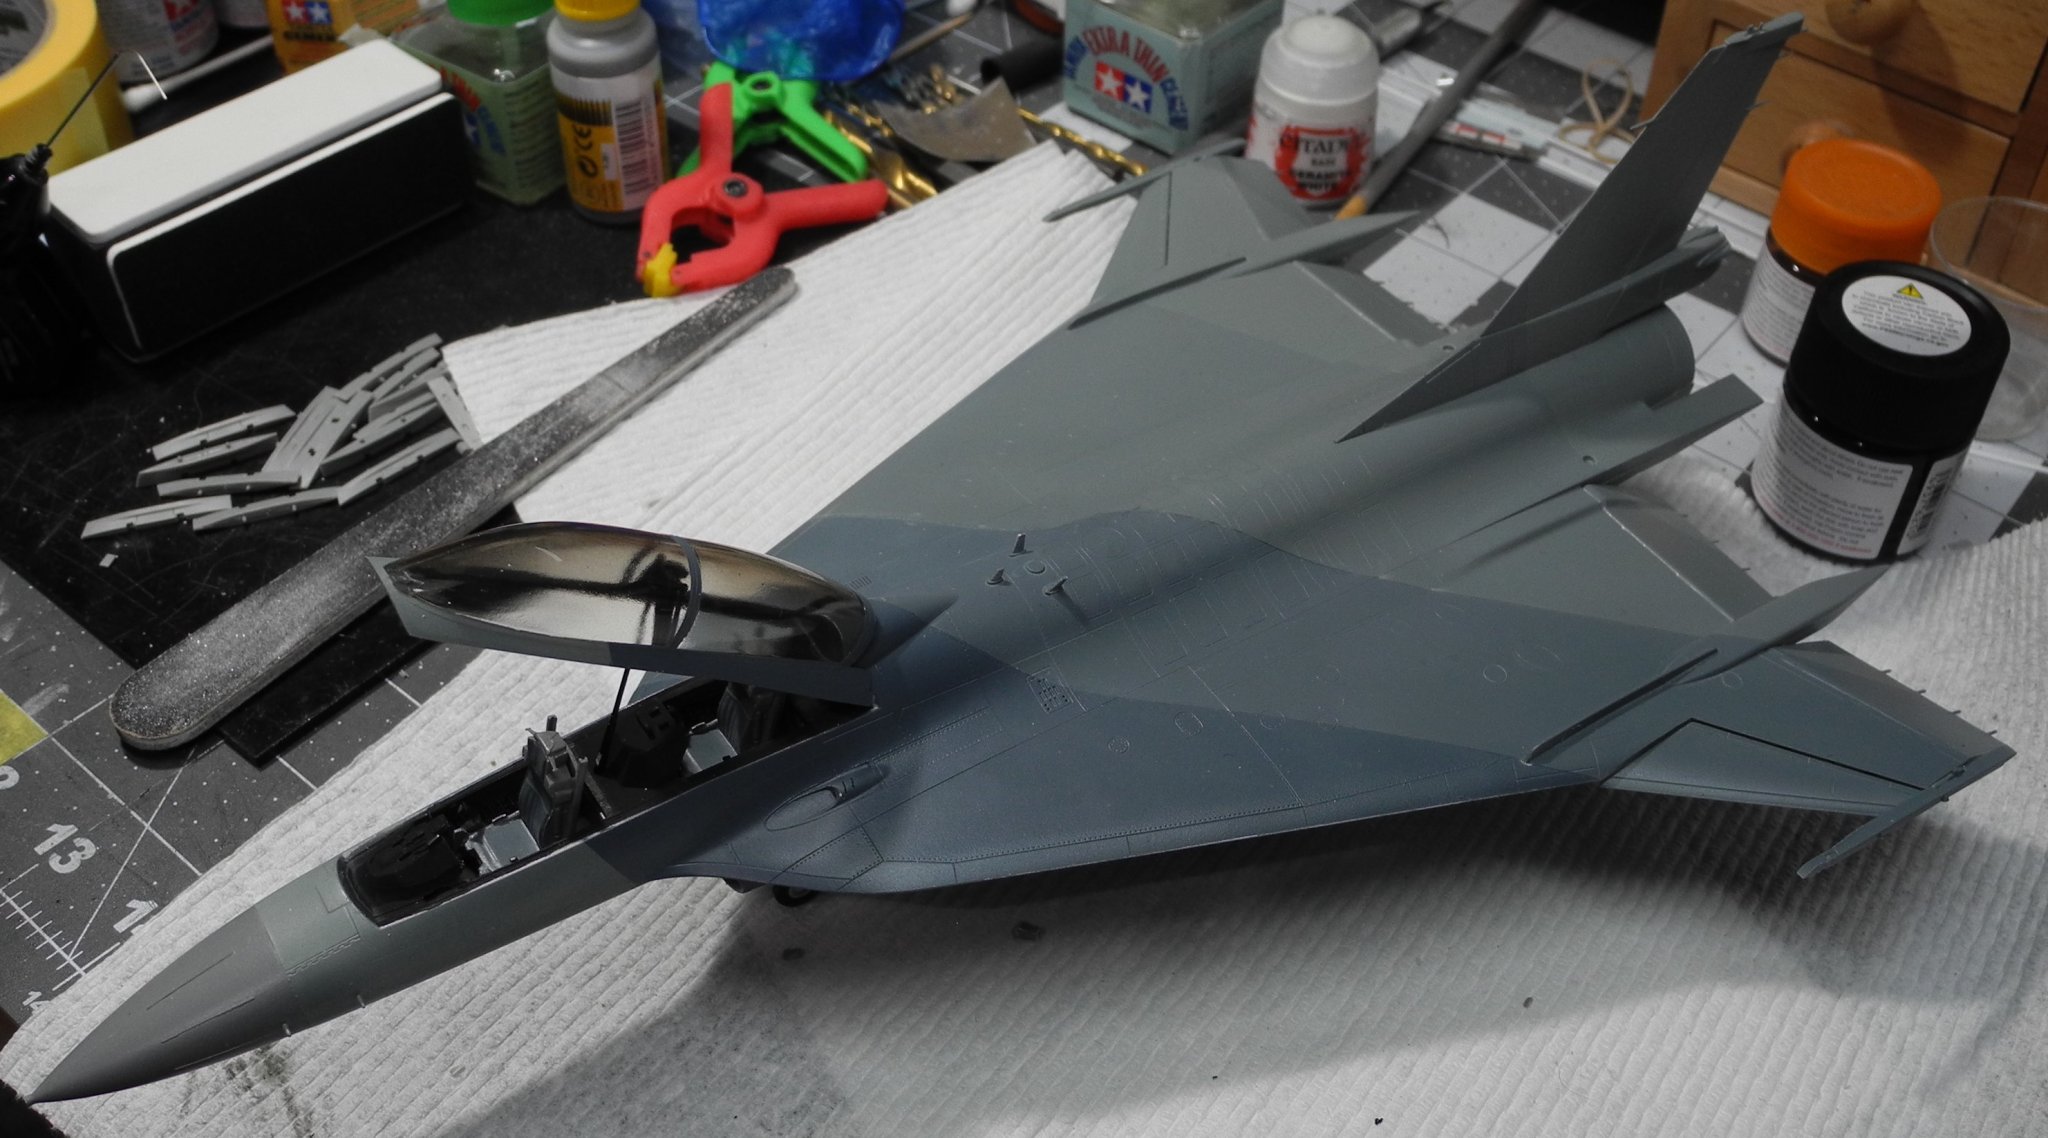
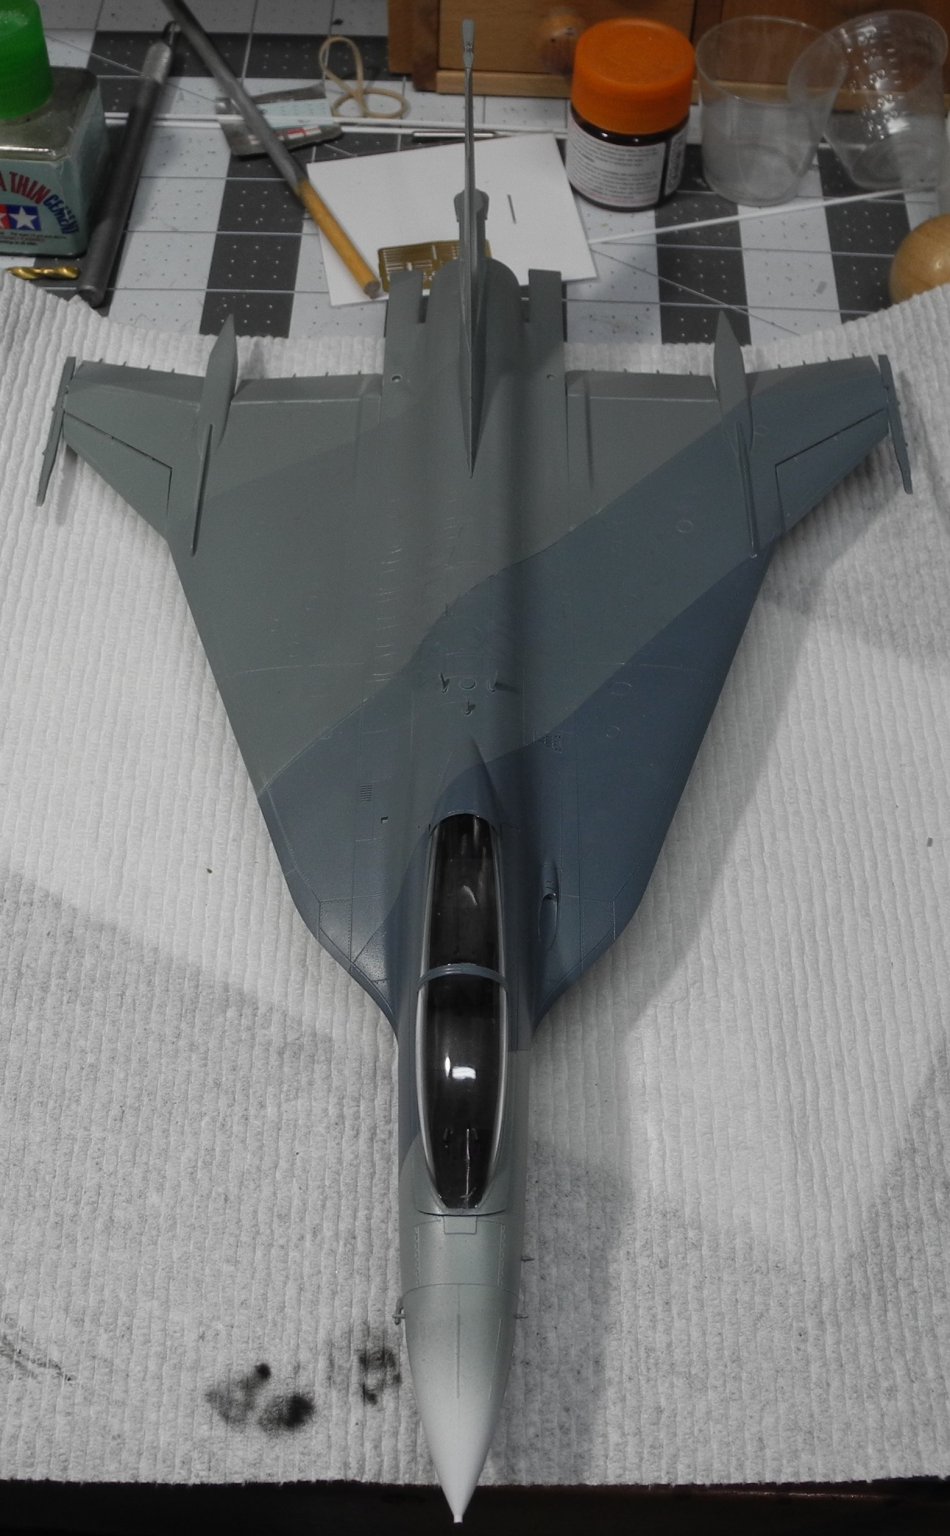
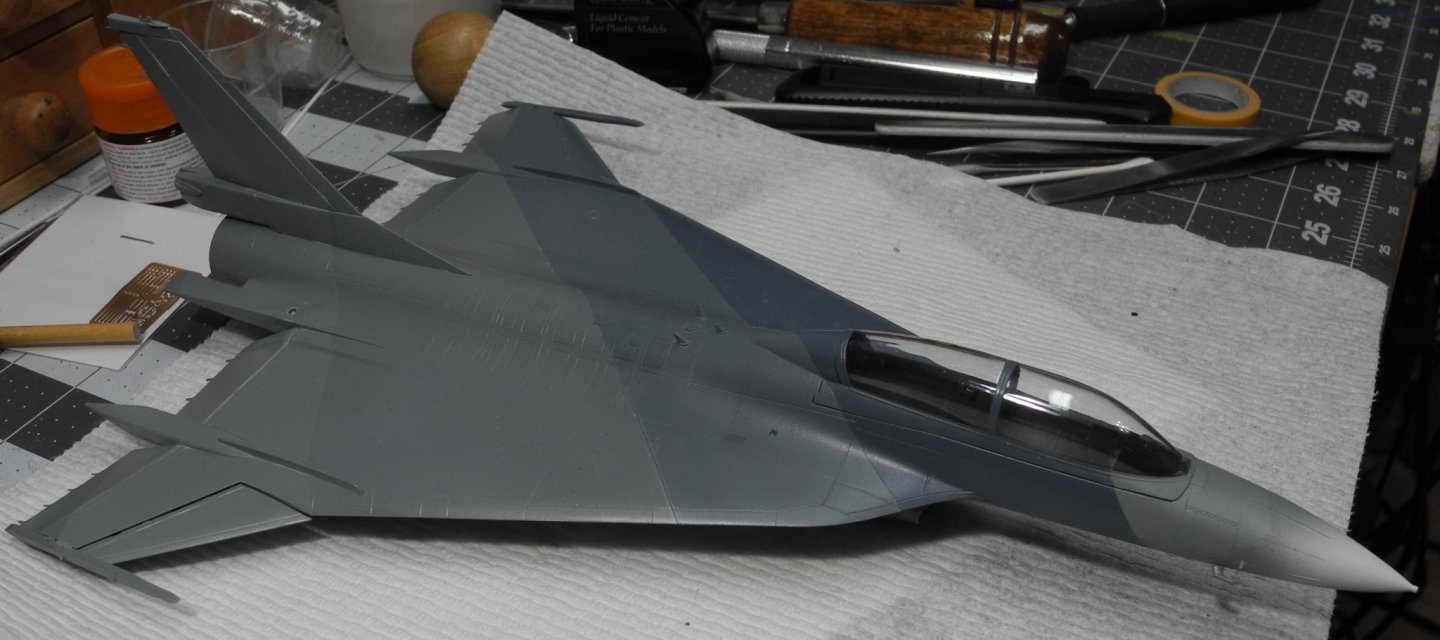
Life has really gotten in the way of modeling the past few days (more than a few actually), but it is what it is. Between other household projects, I've squeezed in some modeling time here and there, but not a steady pace the way I like to do it. Never the less, I finally arrived at the time for exterior paint. First step was giving everything a coat of Tamiya white primer using their bottled primer shot through my airbrush. If you try this cost-effective means of using Tamiya primer, be sure to use an adequate percentage of Tamiya lacquer thinner to primer, about a 60:40 ratio of reducer to primer. Any less reducer and you will likely have clogging issues through your airbrush. Anyway, the primer went on nice and smooth with no issues. Next, I decided to use AK paints for the color coats as a while back, I bought a set of US Modern Aircraft paints that include a large selection of various shades of gray, perfect for my F-16XL. I got careless and forgot that Mr Color leveling thinner does not work with AK paints. I mixed the AK paint with the Mr Color thinner directly in the color cup of my airbrush and that made a huge mess inside my airbrush. Next I had to do a thorough tear down and cleaning of the airbrush before I could move forward. After doing all that, I then added the color to the cup of my airbrush again and then mixed in about 40% AK reducer as is my usual mix ratio for similar color coats of other brands such as Tamiya or Mr Color...wrong again. 40% reducer made the AK paint FAR too thin and I made a big mess with it. I took the model directly to the sink where I washed away the color I had just applied and brushed it all off with a wide soft brush. After drying off the model, I tried again, this time using the AK paint directly from the bottle, no reducer at all. This time it was perfect. The AK paint dries to a nice satin finish, but it DOES NOT LIKE THINNER at all! Even it's own brand of thinner was not needed, the paint is ready to spray straight from the bottle. I should have known better and practiced with it a bit first, as should be done with any paint we are not familiar with. Really and truly, I should not be making mistakes like this. I've been at this hobby long enough to know better, but sometimes I get in a rush and end up paying the price for it. Luckily, using acrylic paints makes it easy to correct a bad situation just by rinsing away the paint with water before it dries. Soon, I'll post some photos of the finished paint scheme, but it's going to take a few days as there is lots of masking to do for this one and each coat needs to dry overnight before masking. Until next time, Cheers!
-
If I was going to get back into 1:1 biking again, I could really go for this:
-
She came out real nice Kevin.
-
This new Triumph Bobber TFC is a looker...
-
Welcome to MSW, Capt. Mike You're off to a great start, and you have arrived to the right place to get the pointers you'll need to make your return to the hobby a treasure rather than a disappointing frustration. Lots of great modelers here who are always helpful.
-
Thanks for the likes and nice comments gentlemen.
-
Huge improvement with the new ship's bell. Looking forward to your treatment for the cannons.
-
Coming along very nicely, Edward. Yes indeed, the holiday season is upon us. I love this time of year.
-
😄😅 One day I'll have to tell you about the time I accidentally turned the sprinkler system on while the marching band was on the field for the half-time show at a big football game. Who woulda' thunk it?
-
I'm guessing you watched the video I posted? It talks about the testing NASA did on the planes using laminar airflow technology, and the fact it gave the F-16XL airframes the ability to fly supersonic without afterburner. Other than that, I haven't heard about further testing, but would be interested in more information. Will be on the lookout for more.
-
If you try it, use Tamiya liquid cement to fuse the streched sprue into the seam. It softens the plastic sprue material and you can push it down into the seamusing a tooth pick or similar tool of your choice. Much less hassle than putty and easy to clean up afterward without sanding away surrounding detail. PS: I should have added, back in the day, this was also a popular method of adding or re-establishing a raised panel line.