HOLIDAY DONATION DRIVE - SUPPORT MSW - DO YOUR PART TO KEEP THIS GREAT FORUM GOING! (Only 20 donations so far - C'mon guys!)
×

CDW
-
Posts
7,747 -
Joined
-
Last visited
Content Type
Profiles
Forums
Gallery
Events
Everything posted by CDW
-
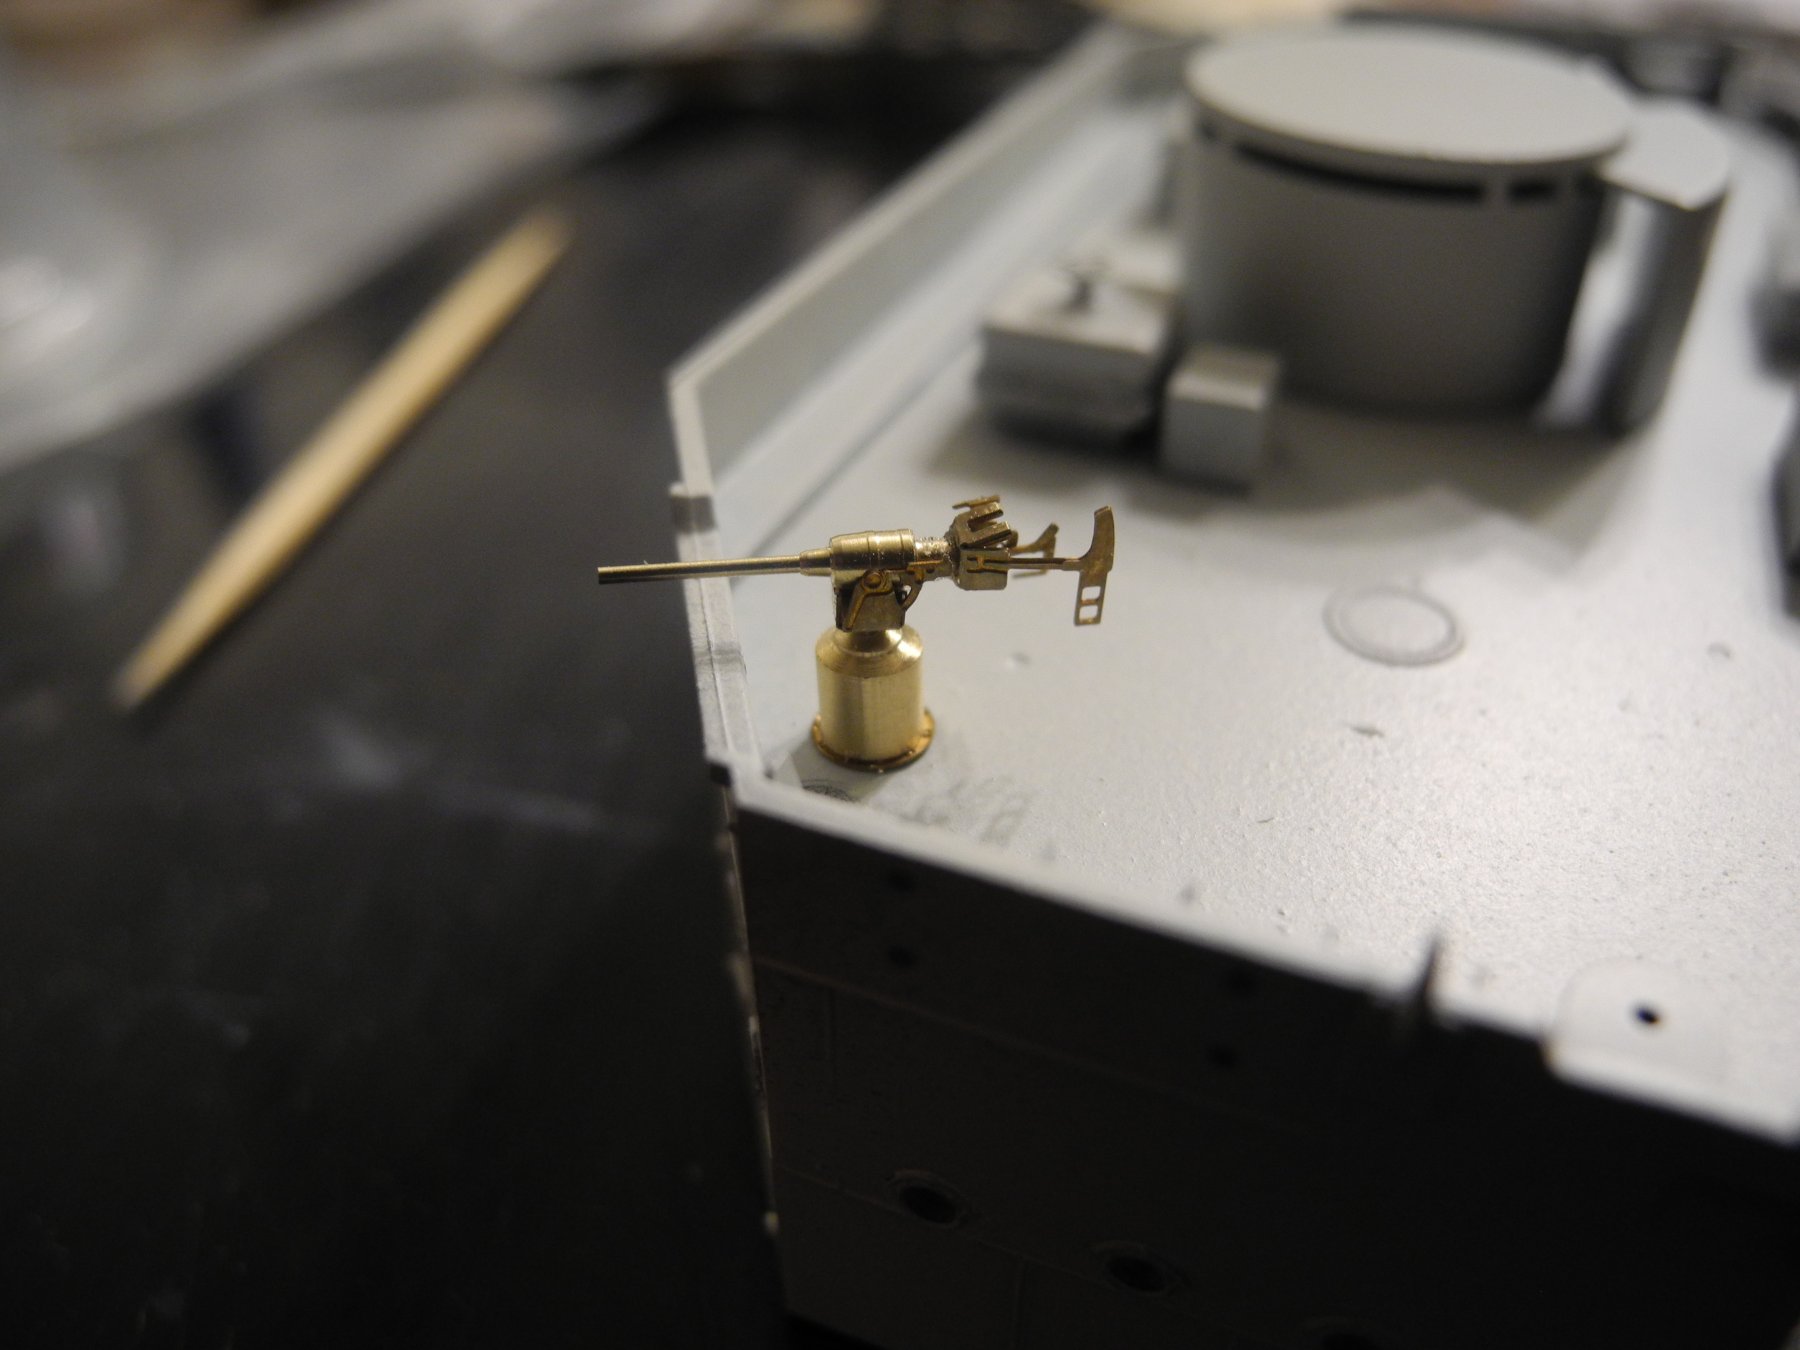
 I just realized the gun in this picture is in the wrong place. This is a 47mm gun, and a 3" gun like I'm building now should be in it's place. I'll need to switch them out when time allows.
- 467 replies
-
- 12
-

-
- mikasa
- wave models
- (and 1 more)
-
I know, Sam. I was thinking the very same thing about painting them. A lot of this photo etch is that way. It would almost look as good unpainted rather than painted. Maybe even "blued" or "blackened" would look better than paint as well.
- 467 replies
-
- 5
-
-
- mikasa
- wave models
- (and 1 more)
-
I am so glad Pontos saw fit to include some extra photo etch parts in reference to the parts necessary to build the guns. There are some very small and delicate pieces that require folding...and there's only a small chance the modeler won't either break or lose a couple of them in the process of building 16 guns. Without those extra parts, one would be "screwed" as they say here in Ybor City. I don't know if it's strictly an American thing or not, but as kids we had this little game we played called Tiddly Winks. The game had a bunch of small plastic disks and a cup. The object was to scatter the disks on the floor, then using one little disk in your hand, squeeze the edge of the disk against one of the disks on the floor and cause the disk on the floor to "plink" - fly off and into the cup. Well putting these parts together reminds me of playing tiddly winks. You'll sometimes hear that dreadful sound of "plink", and you know you've lost another part. They are WAY too small to find once they go "plink" unless it's just your lucky day.
- 467 replies
-
- 6
-
-
- mikasa
- wave models
- (and 1 more)
-
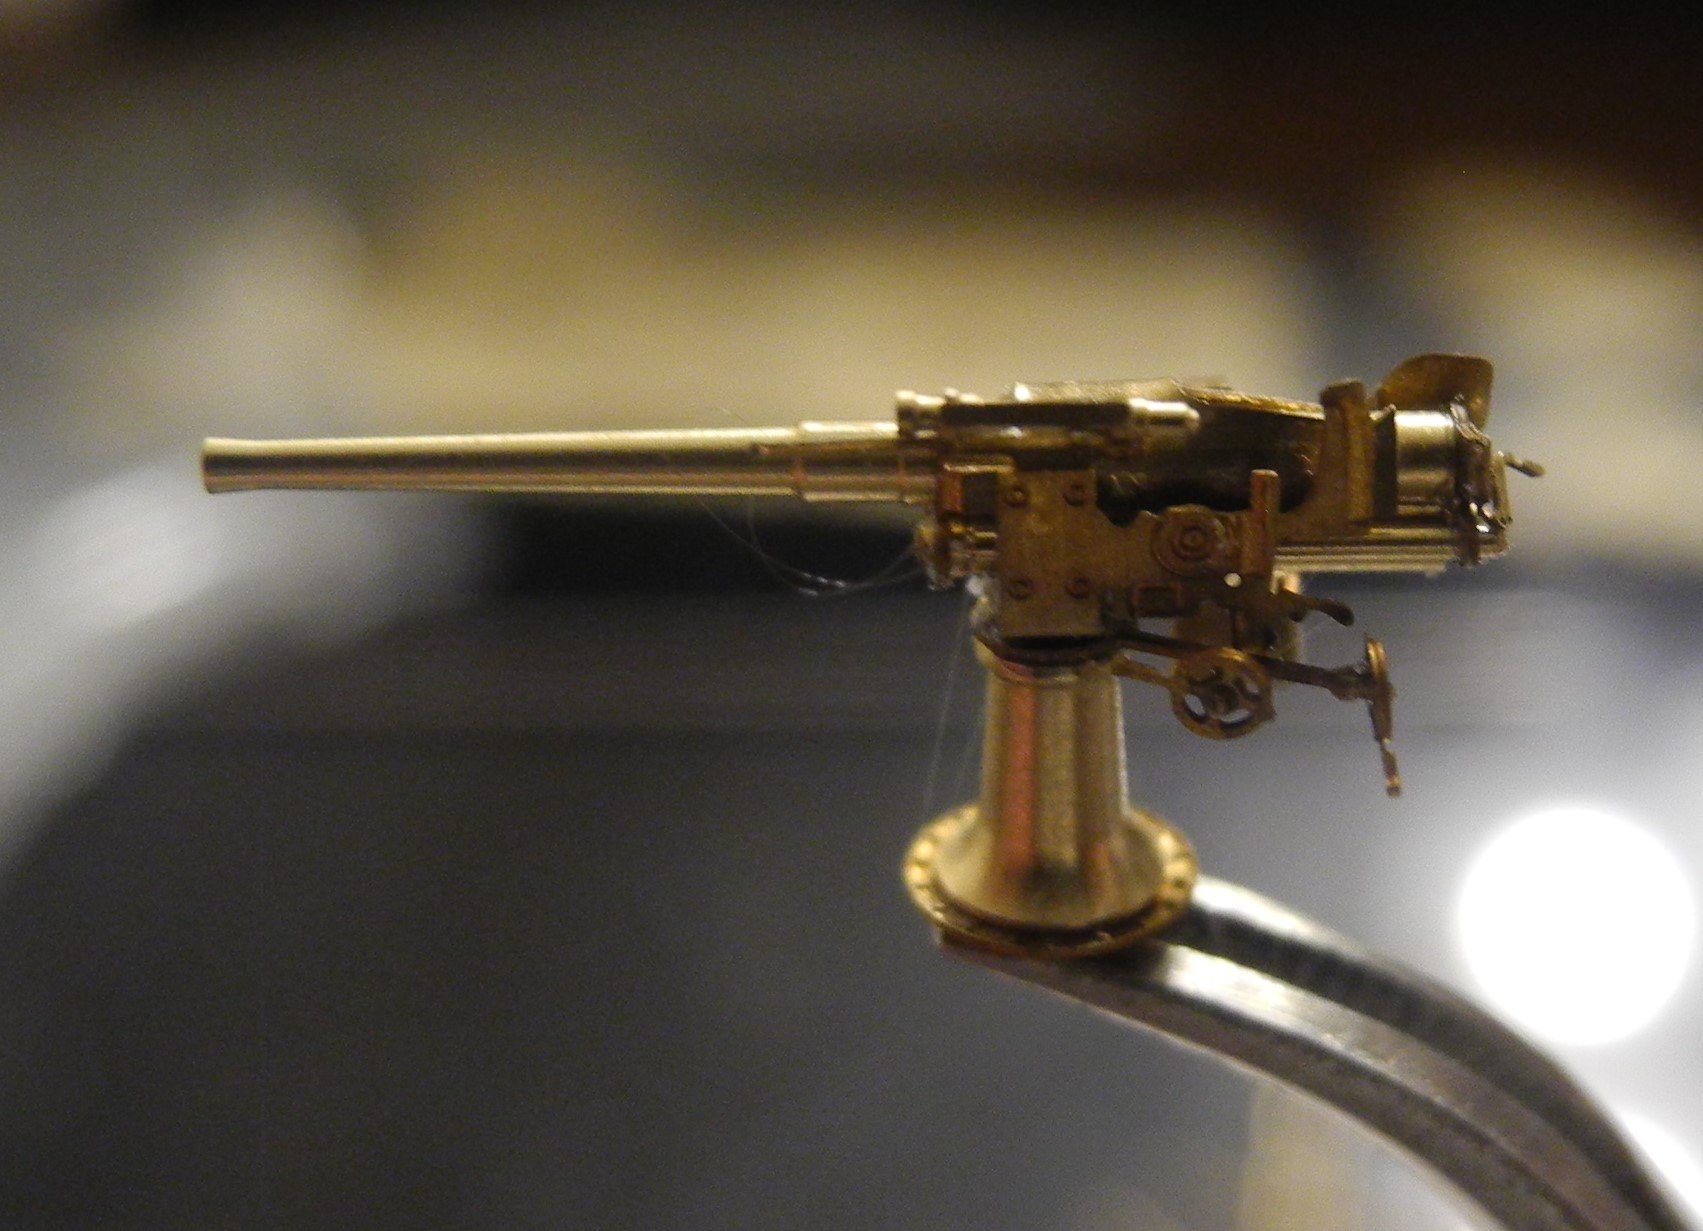
My speed picked up a bit on these last two guns...got two done in an hour. But I doubt I'll get much faster than that. This leaves me with a solid six or seven hours to do the remainder of the 3" guns. And it says nothing of how long it will take to do the dozen or so remaining 47mm guns that need to be built. Stay tuned for more guns...🤐
- 467 replies
-
- 17
-
-

-
- mikasa
- wave models
- (and 1 more)
-
And I almost need an atomic microscope to see it, Sam. No joke, these macro photos are the best look I've had at what I actually built. I didn't even see those 'glue strings' until I saw my own pictures. 😄
- 467 replies
-
- 6
-
-
- mikasa
- wave models
- (and 1 more)
-
I think it's time for a sanity check. Just spent close to 2 hours building this little 3" gun. There are a total of 16 of them to build. Sheesh. 😏 Besides that, I got some more painting and a little gluing of parts together today. Maybe I can move a little faster with the 3" guns now that I know the proper order of assembly. Pontos can be rather terrible at giving one a clue as to sequence/order of construction. I guess they figure, if you are a good enough modeler to tackle their update sets, you're good enough to figure out the best build sequence for your self.


- 467 replies
-
- 14
-
-
- mikasa
- wave models
- (and 1 more)
-
At the rate we're going, it's hard to imagine or tell what folk might be doing 50 years from now. I guarantee that 50 years ago, none of us would have predicted what we're seeing today. I do vividly recall reading and looking at the periodicals 50 years ago and being dazzled by the things skilled modelers could do with a kit from that vintage. And it was all good. I would sit and look at the pictures and read the articles for hours at a time wishing I could do something just a fraction as good as what I was looking at/reading about.
-
Just remember, these models were cutting edge stuff when they came out way back when. Makes me wonder what modelers will think of our models 50 years from now...probably pity the stone age Neanderthals that built them. 😄
-
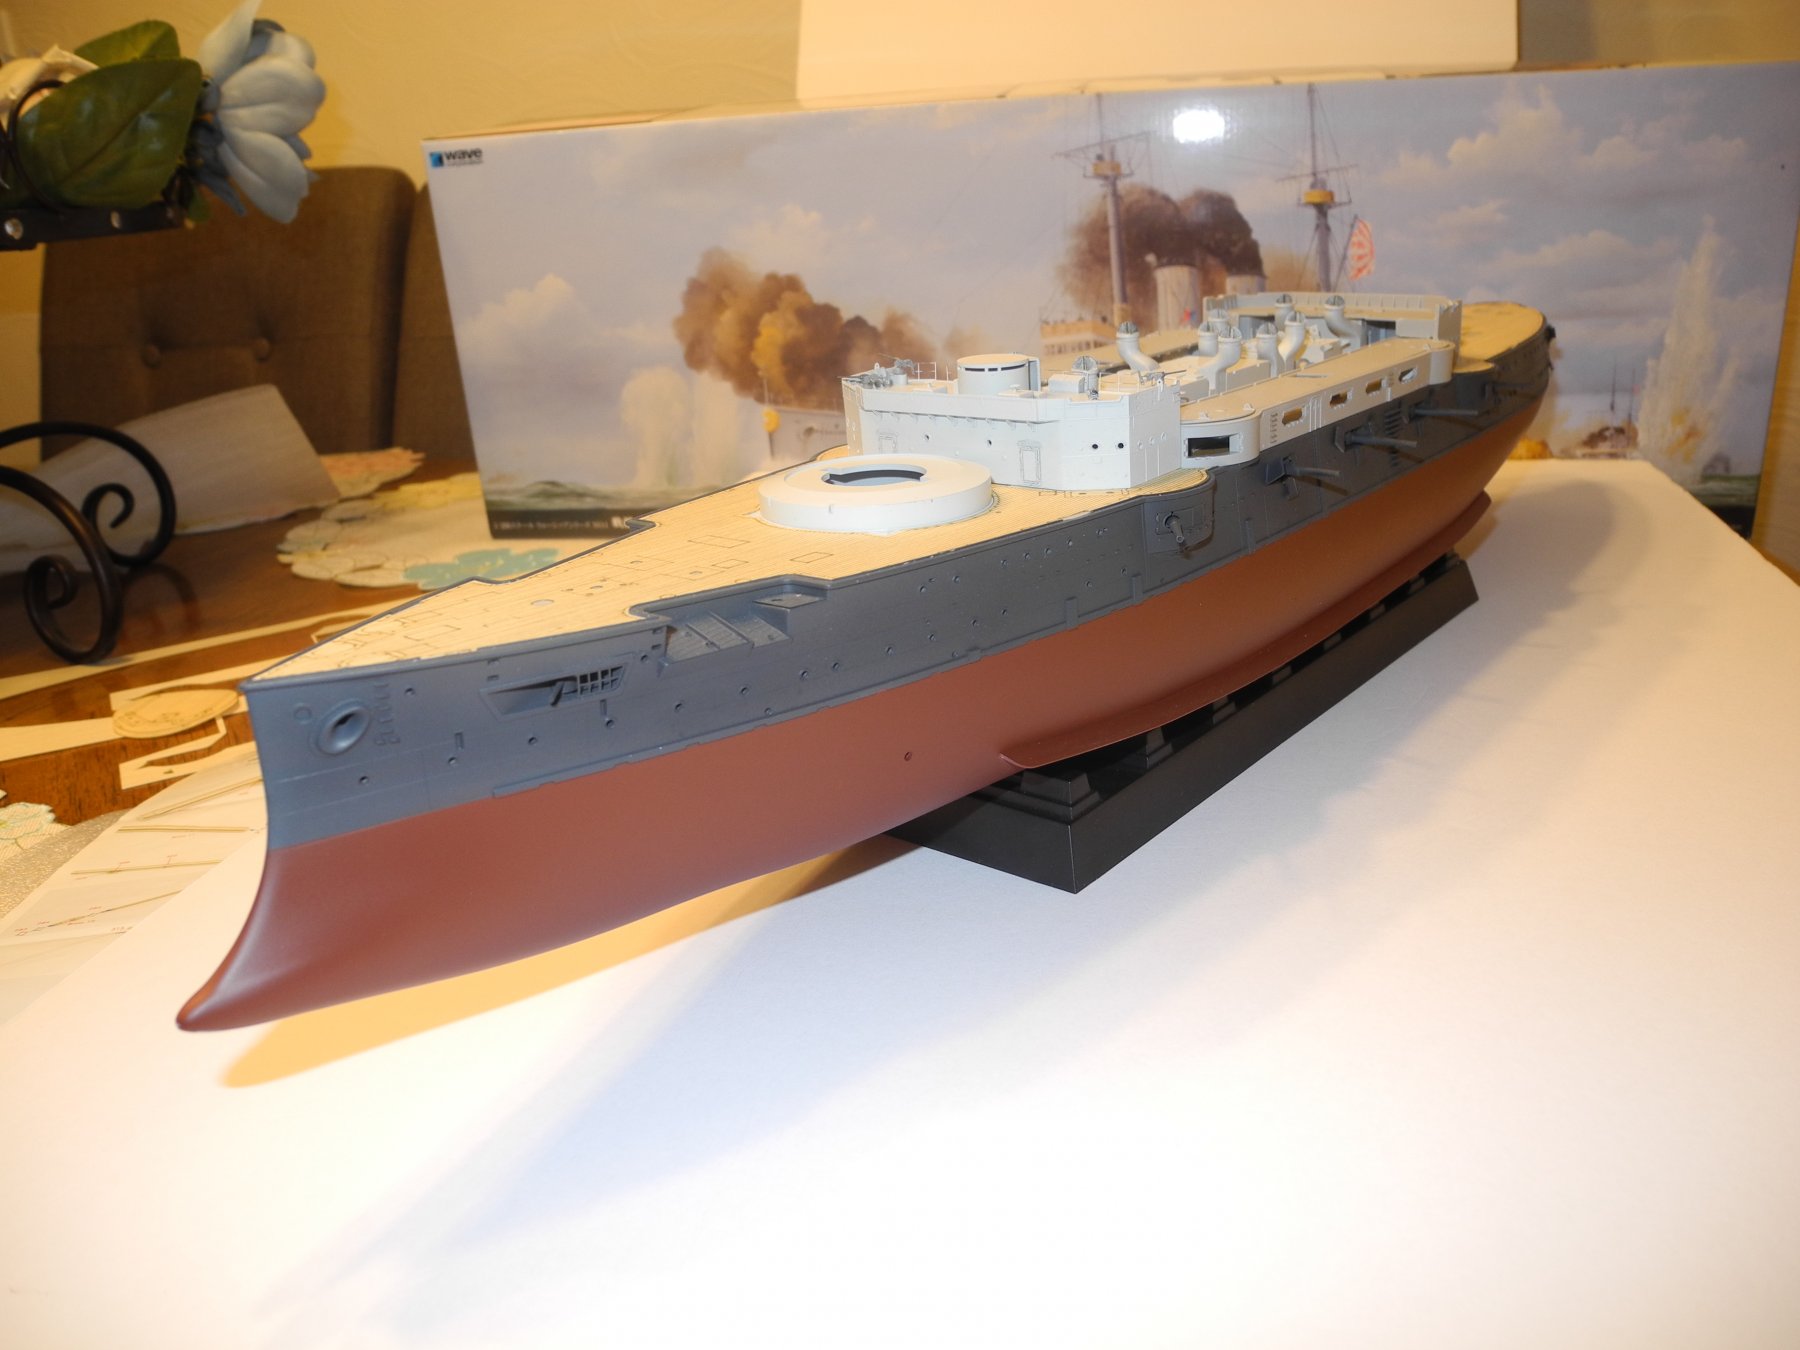
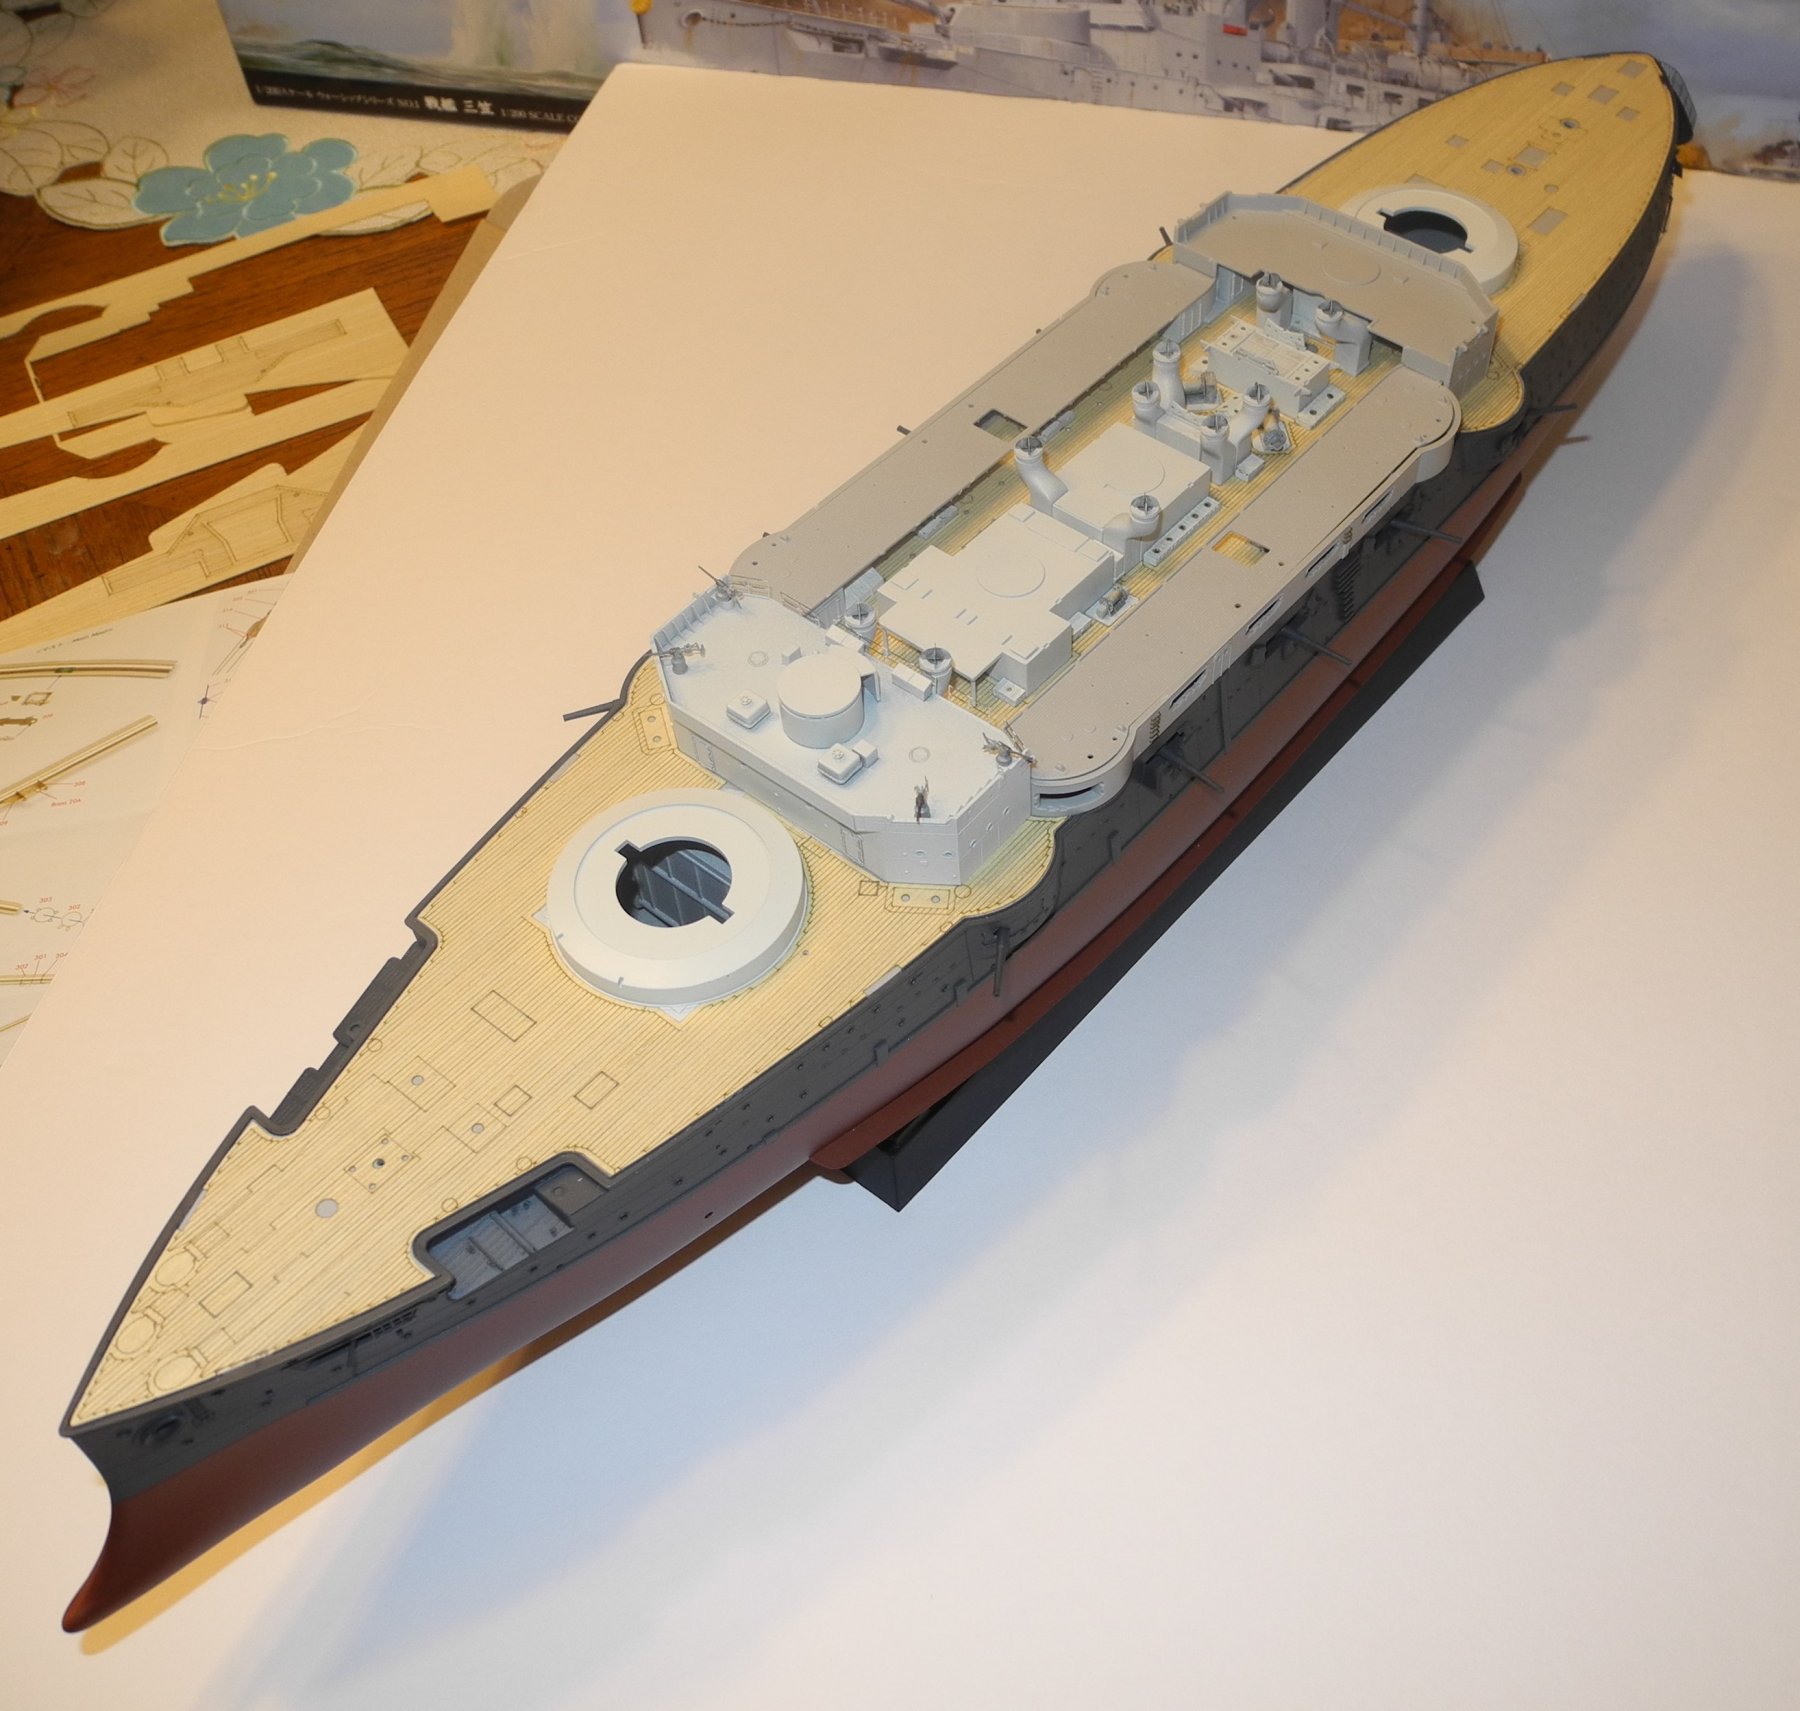
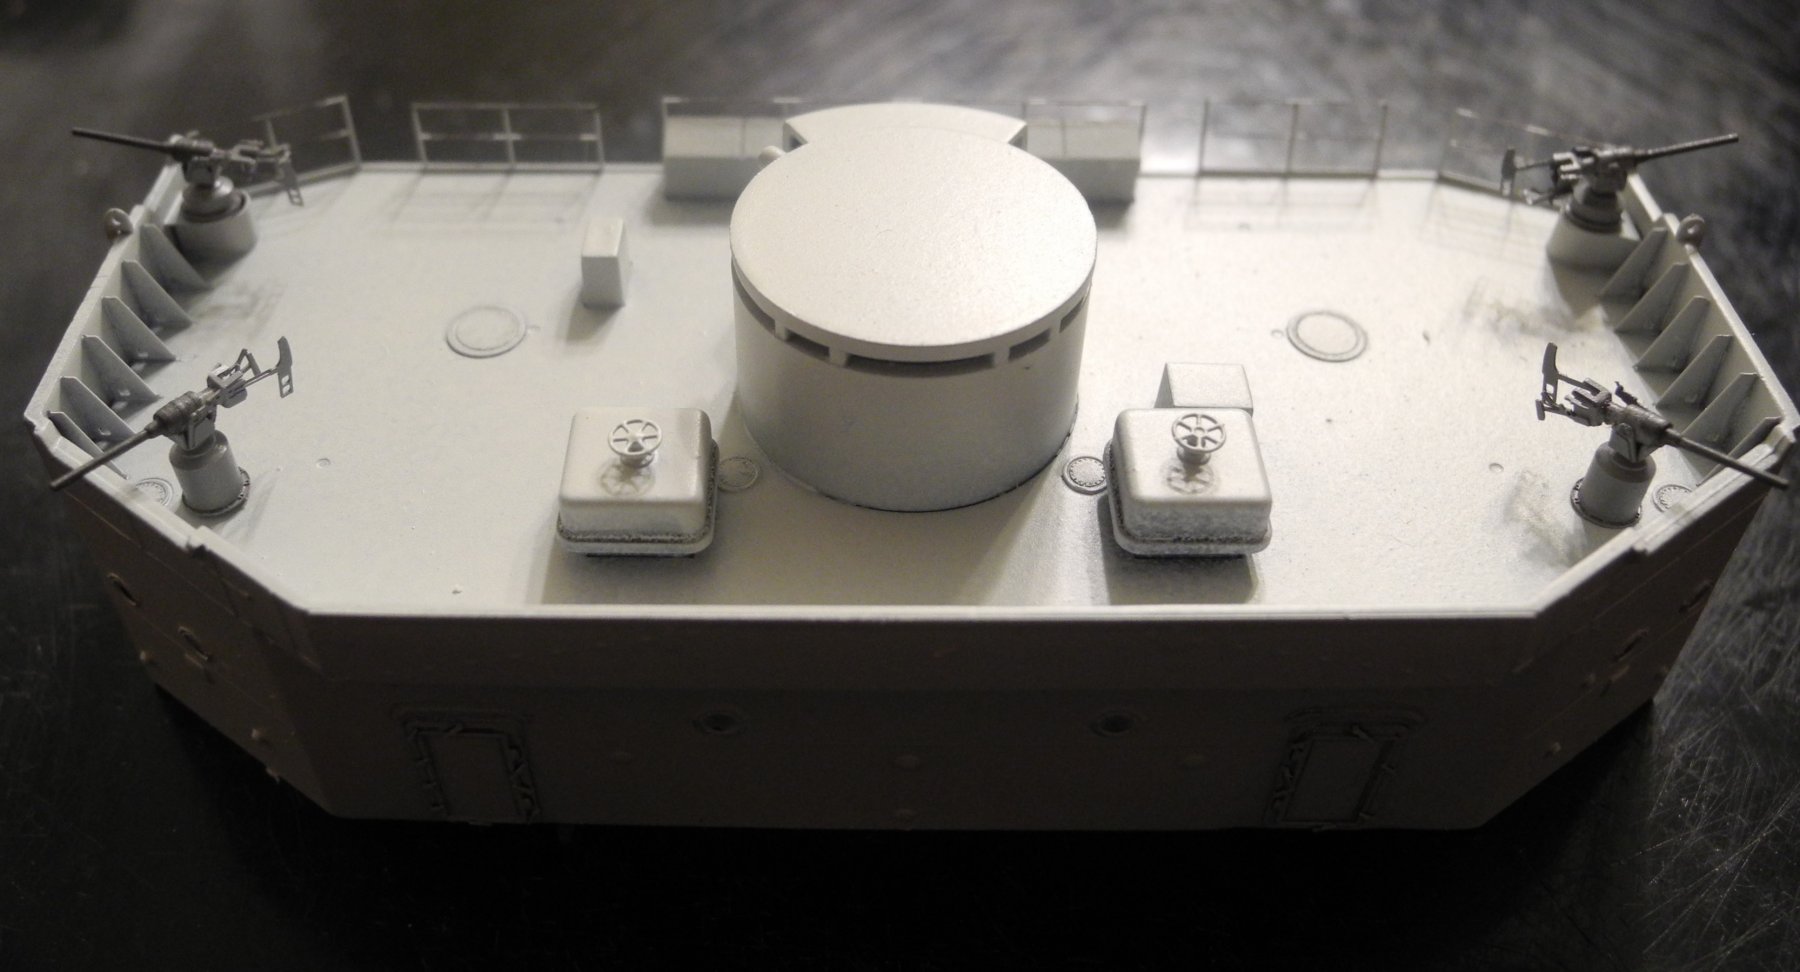
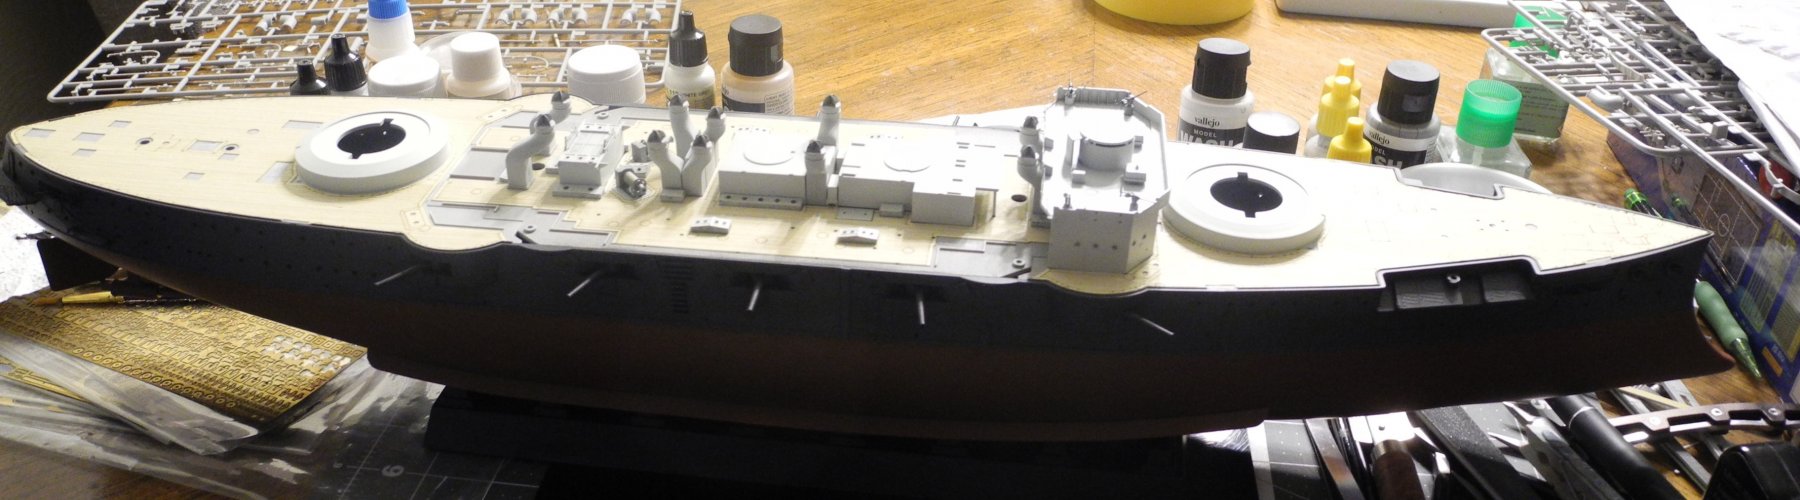
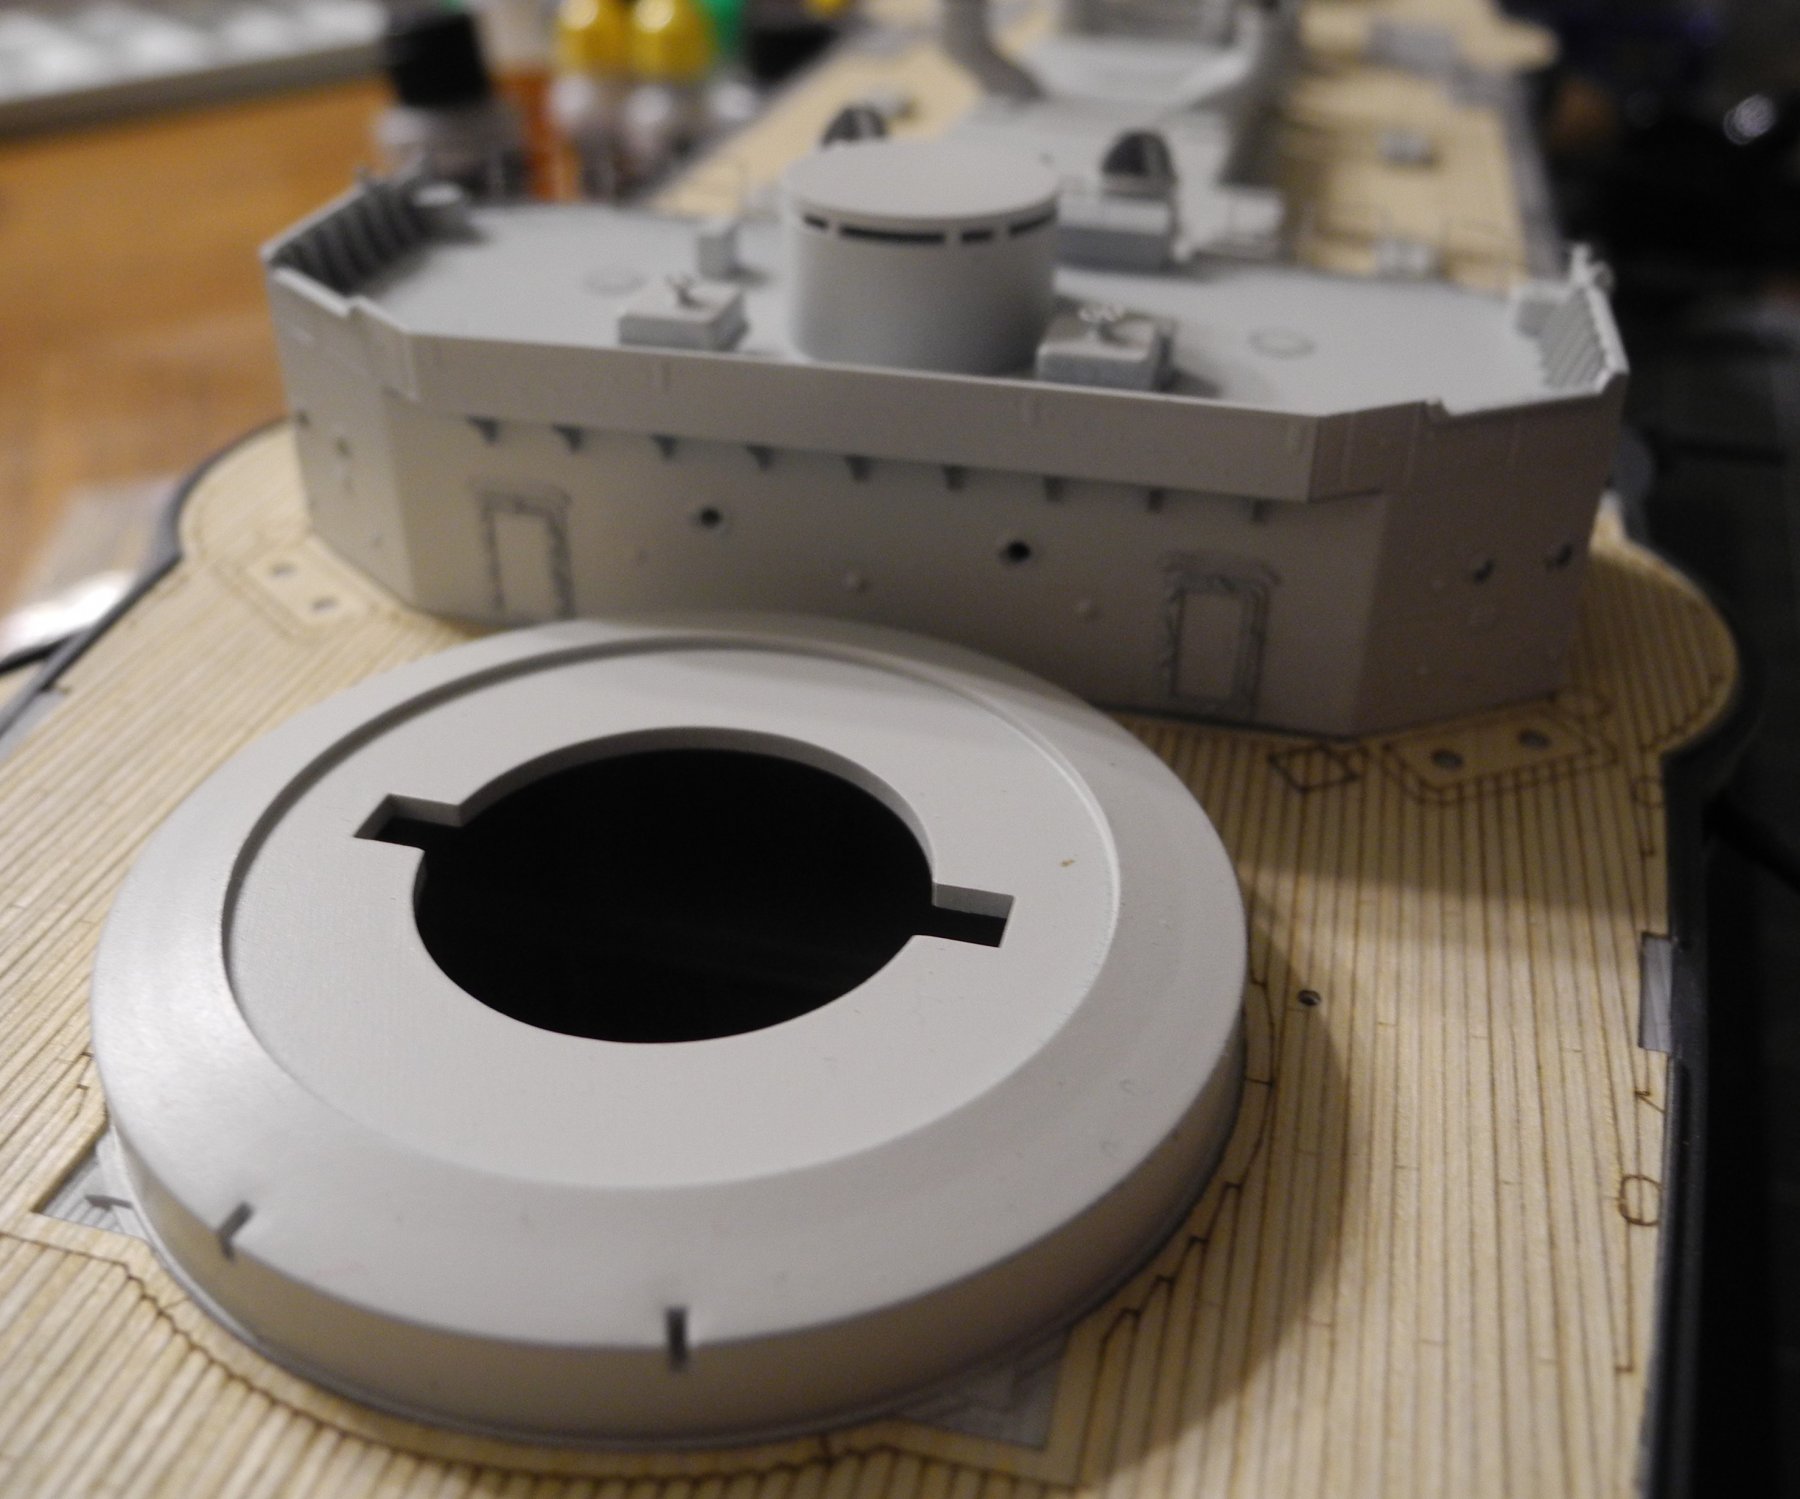
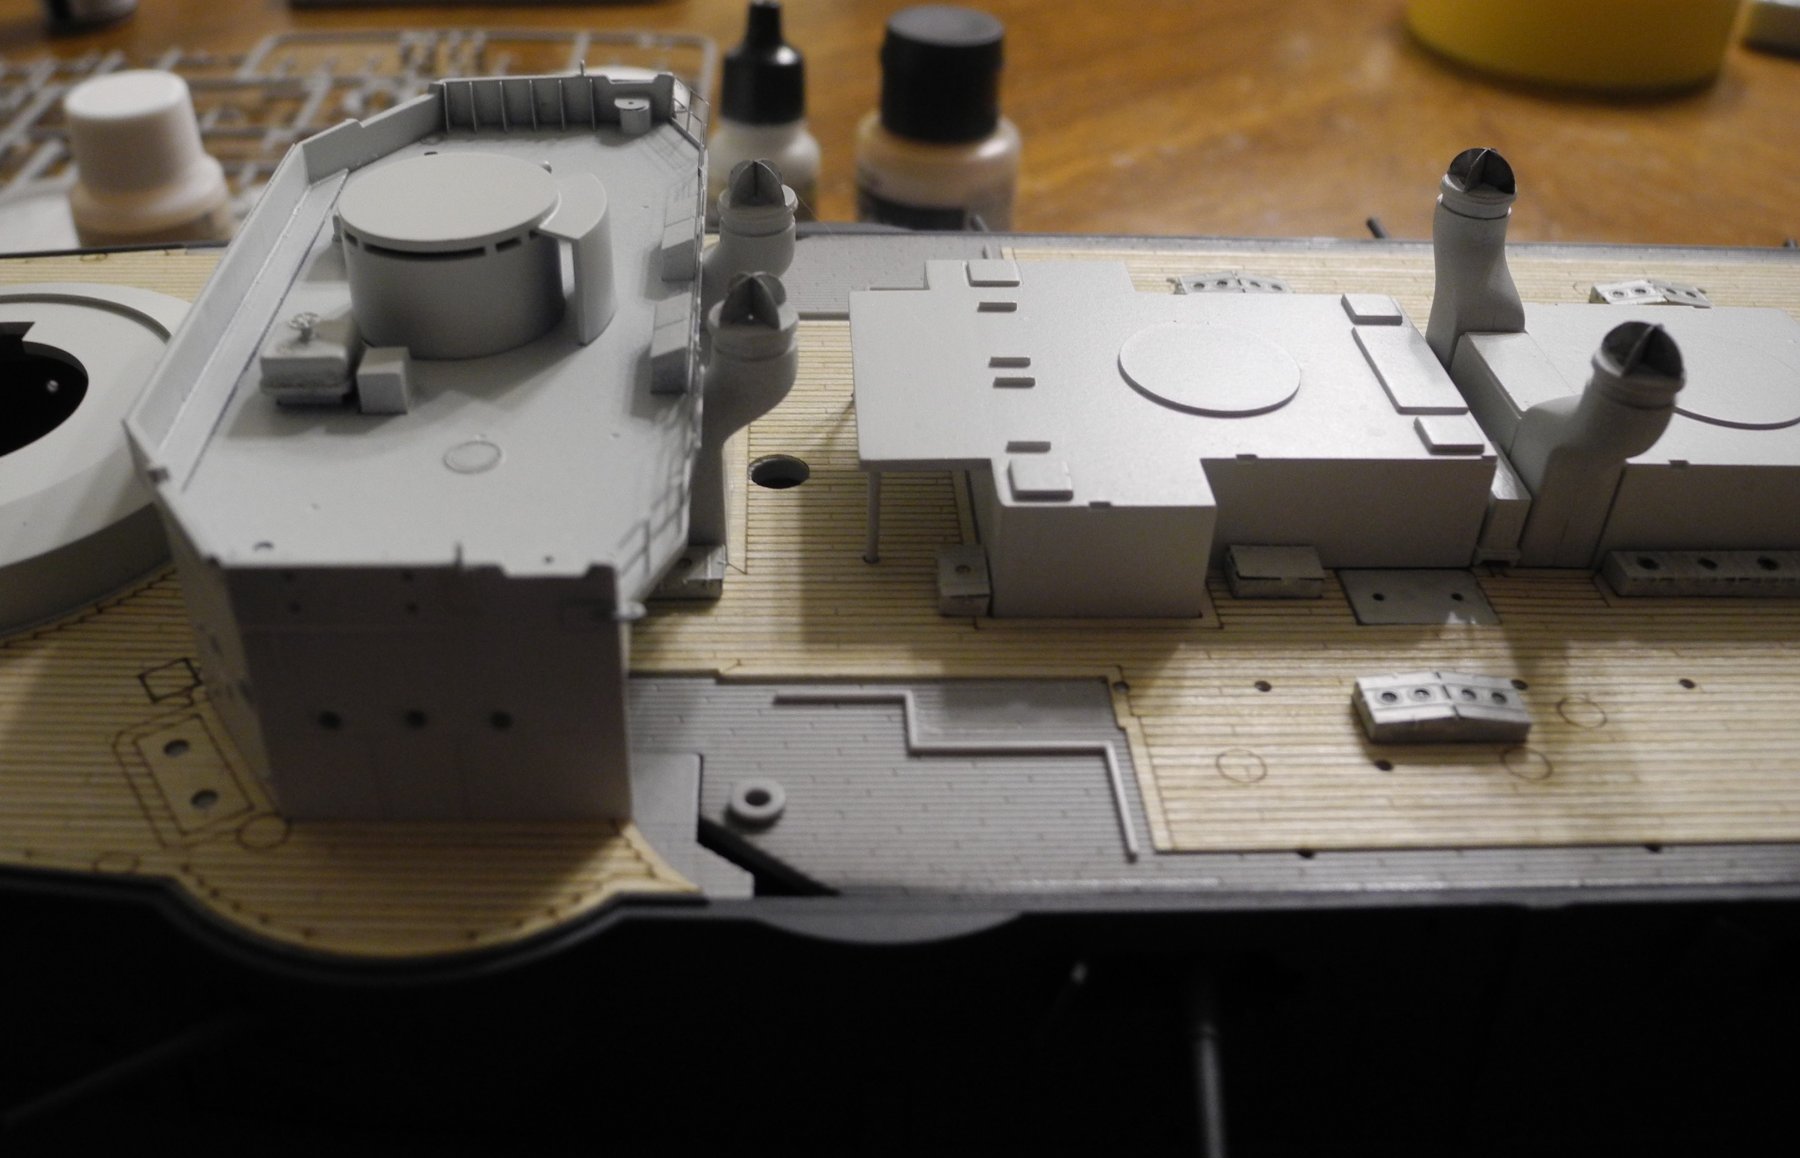
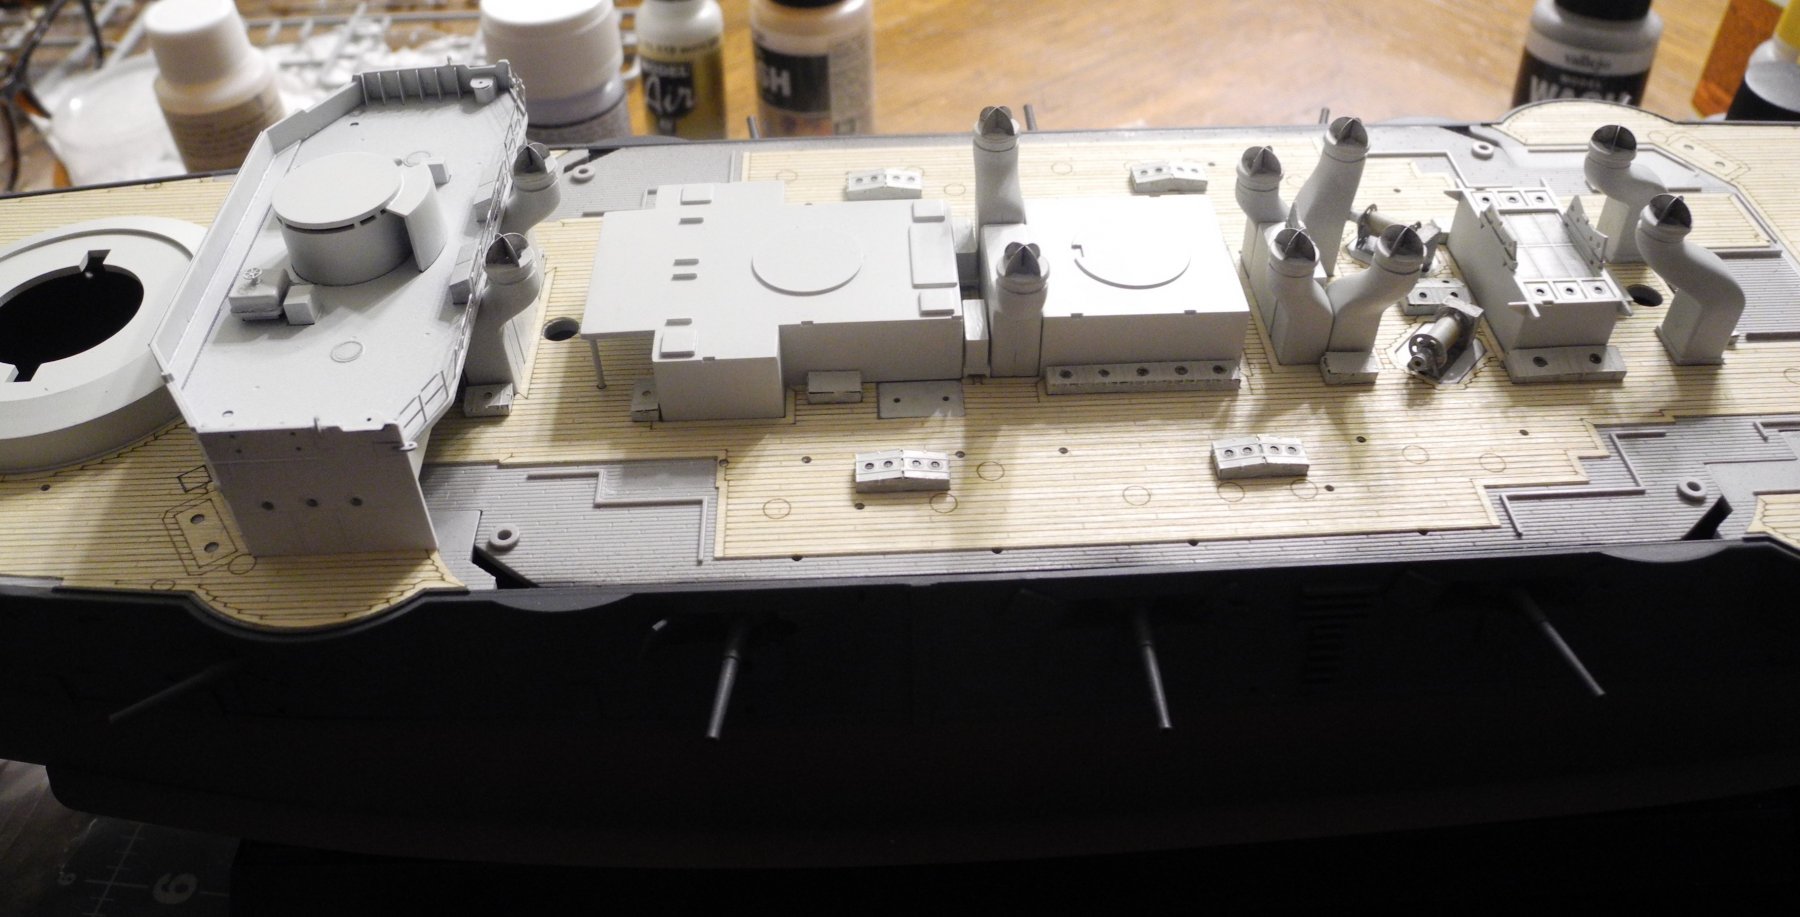
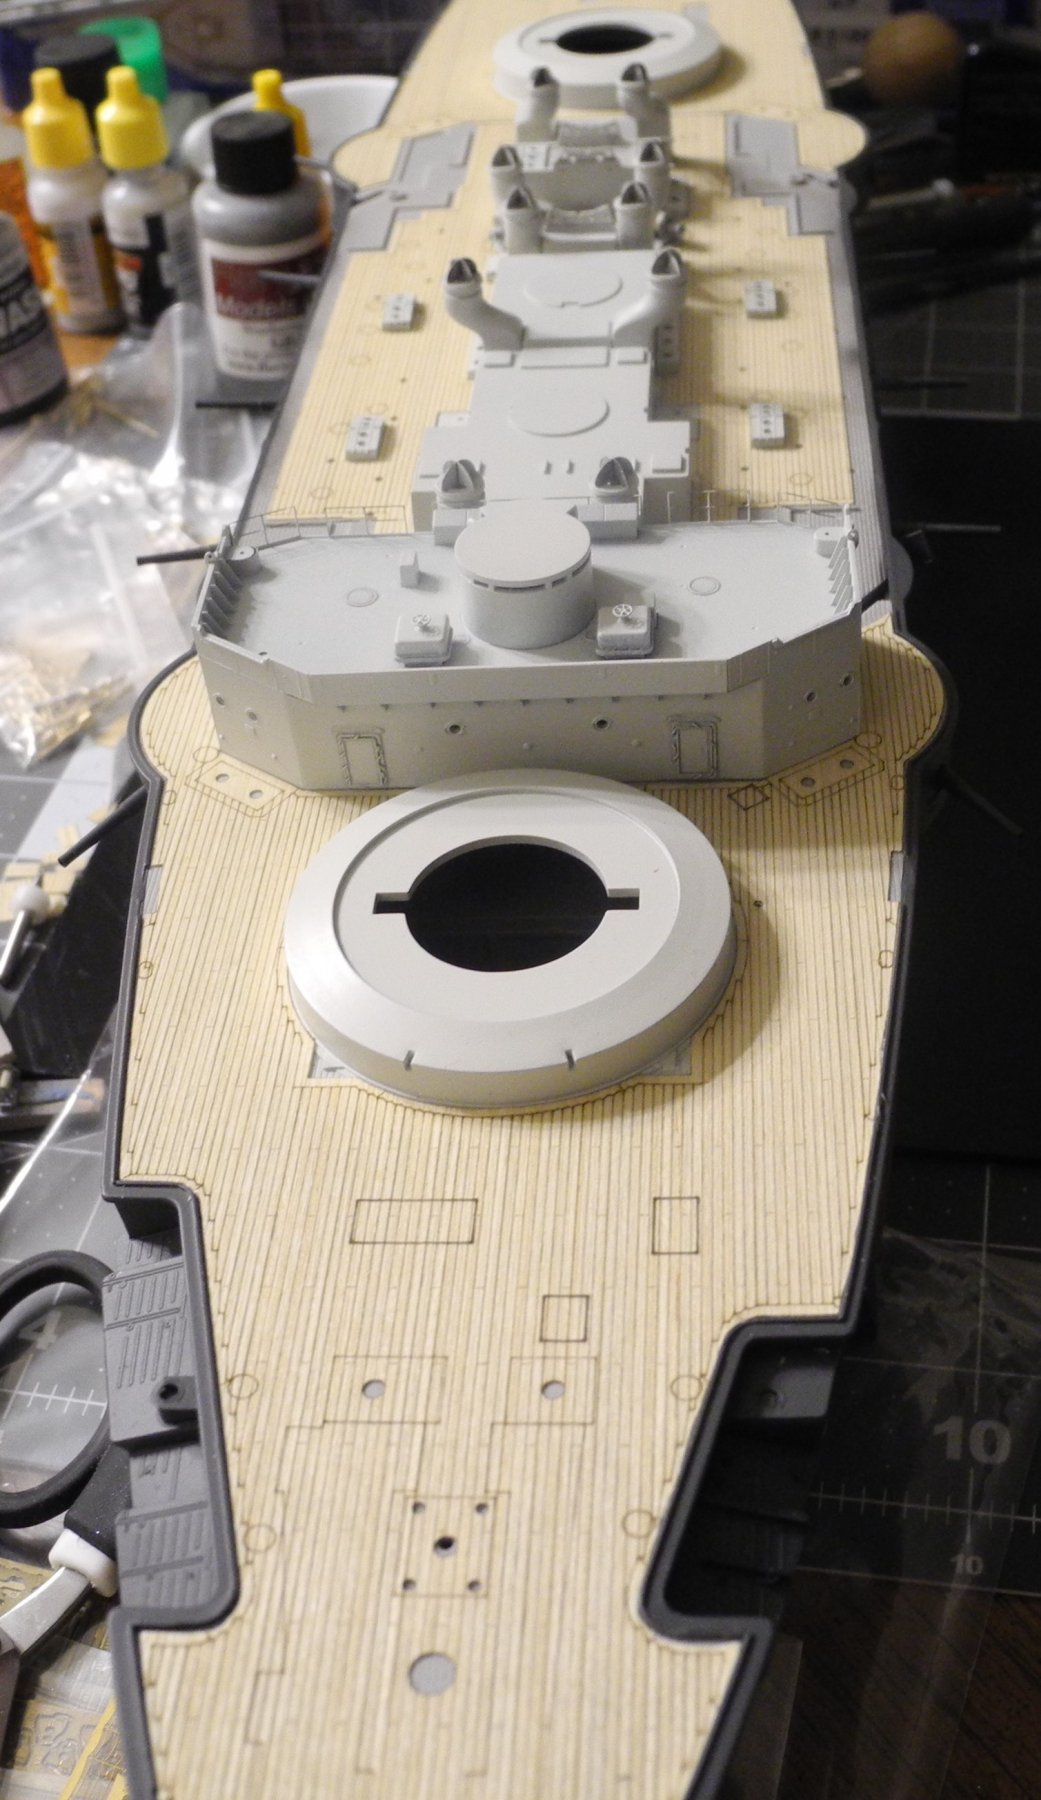
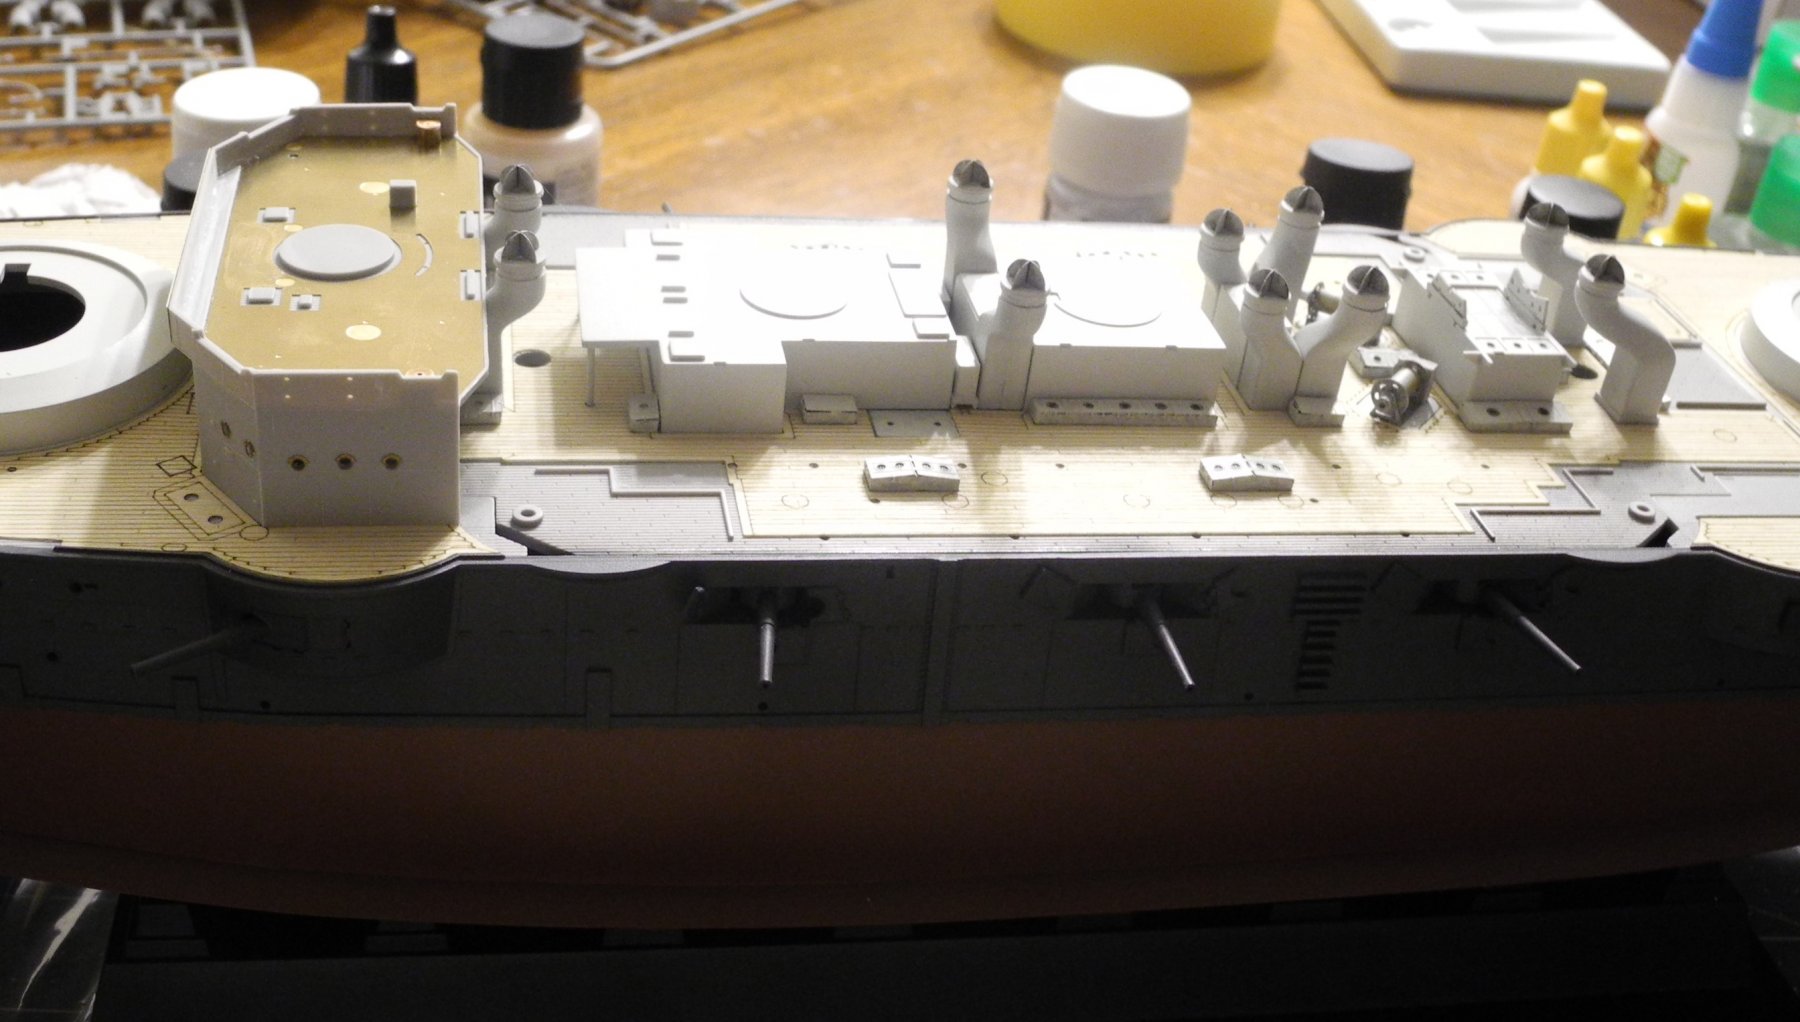
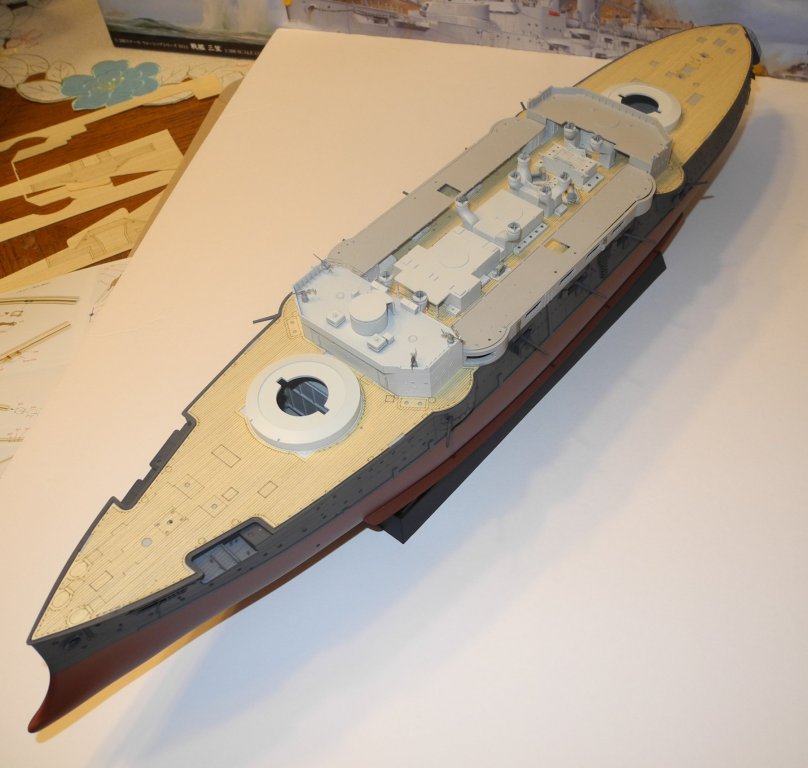
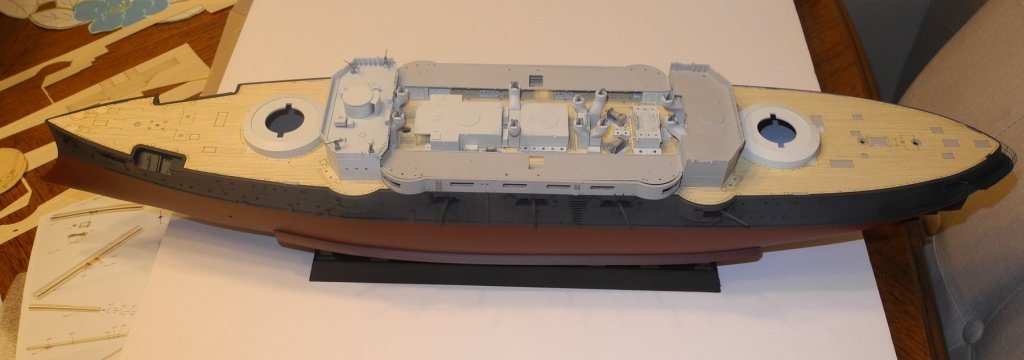
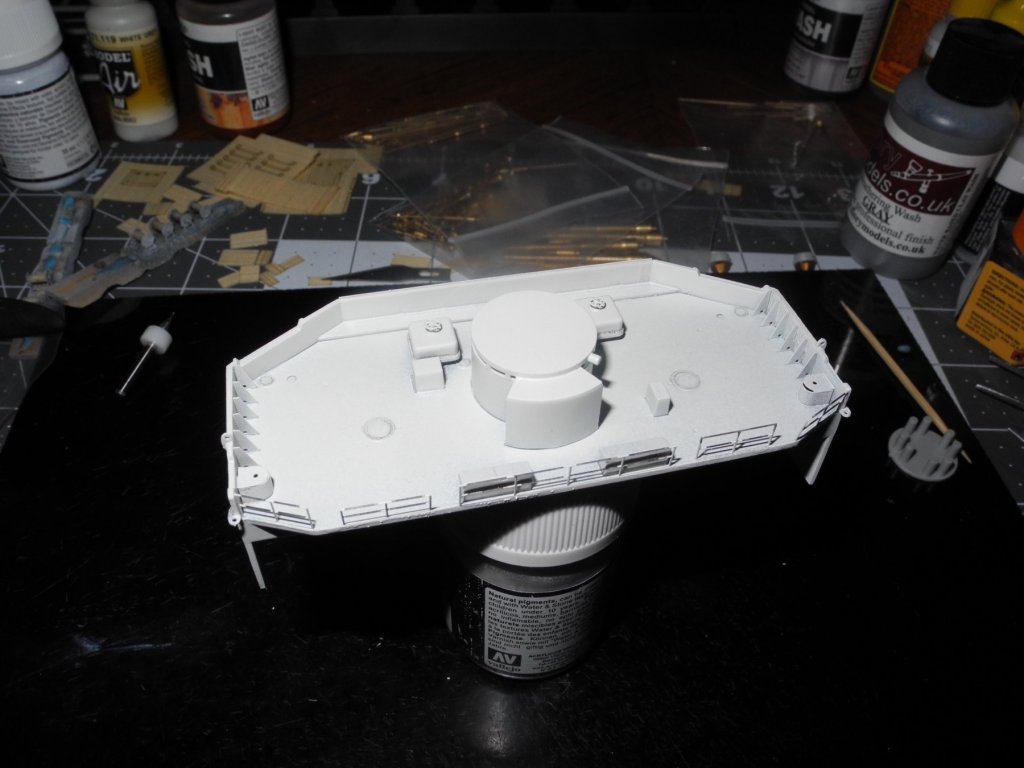
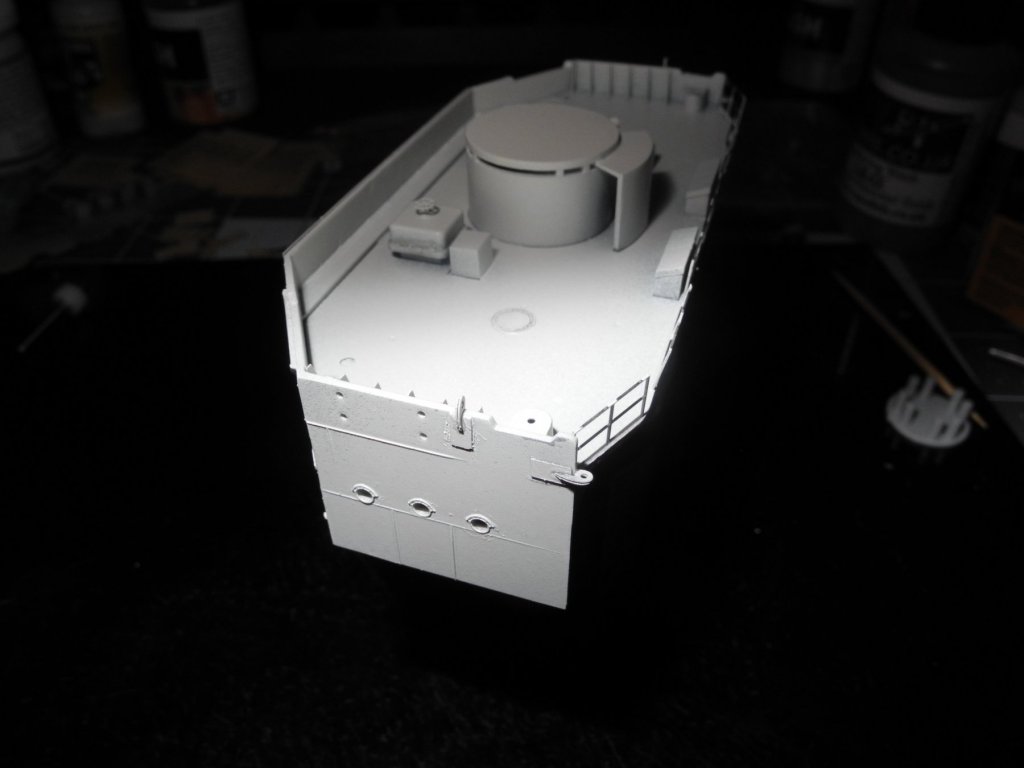
I've been working off and on on this thing all day long, but it's one of those days where it seems like nothing much got done. Under this next level of superstructure and decks, there are details that were painted and added, but you can't see those with my pictures. Just wanted to get some dry fit photos to see where we're headed with this model. Before this next level of decks are permanently added, a number of significant details must be added. Guns in particular. If I am to add any sailors to the gun deck, I need to wait for my figures to be delivered before adding the next deck level. Once added, it would be much more difficult to put any in sailors place there.


- 467 replies
-
- 11
-
-
- mikasa
- wave models
- (and 1 more)
-
No worries...my idea of weathering and stain is minimal at best. Remember, I worked as the operations chief for a major general and I know first hand the expectations of maintaining a high standard. Been there, done that, and got the tee shirt. Not on a ship, but nevertheless under a general officer. If that gentleman saw anything out of sorts, there was hell to pay...guaranteed.
- 467 replies
-
- 7
-
-
- mikasa
- wave models
- (and 1 more)
-
I would say that if a modeler used a 3D CAD program to design his/her model, then printed it on their 3D printer, most definitely that would be scratch building. Hands down.
-
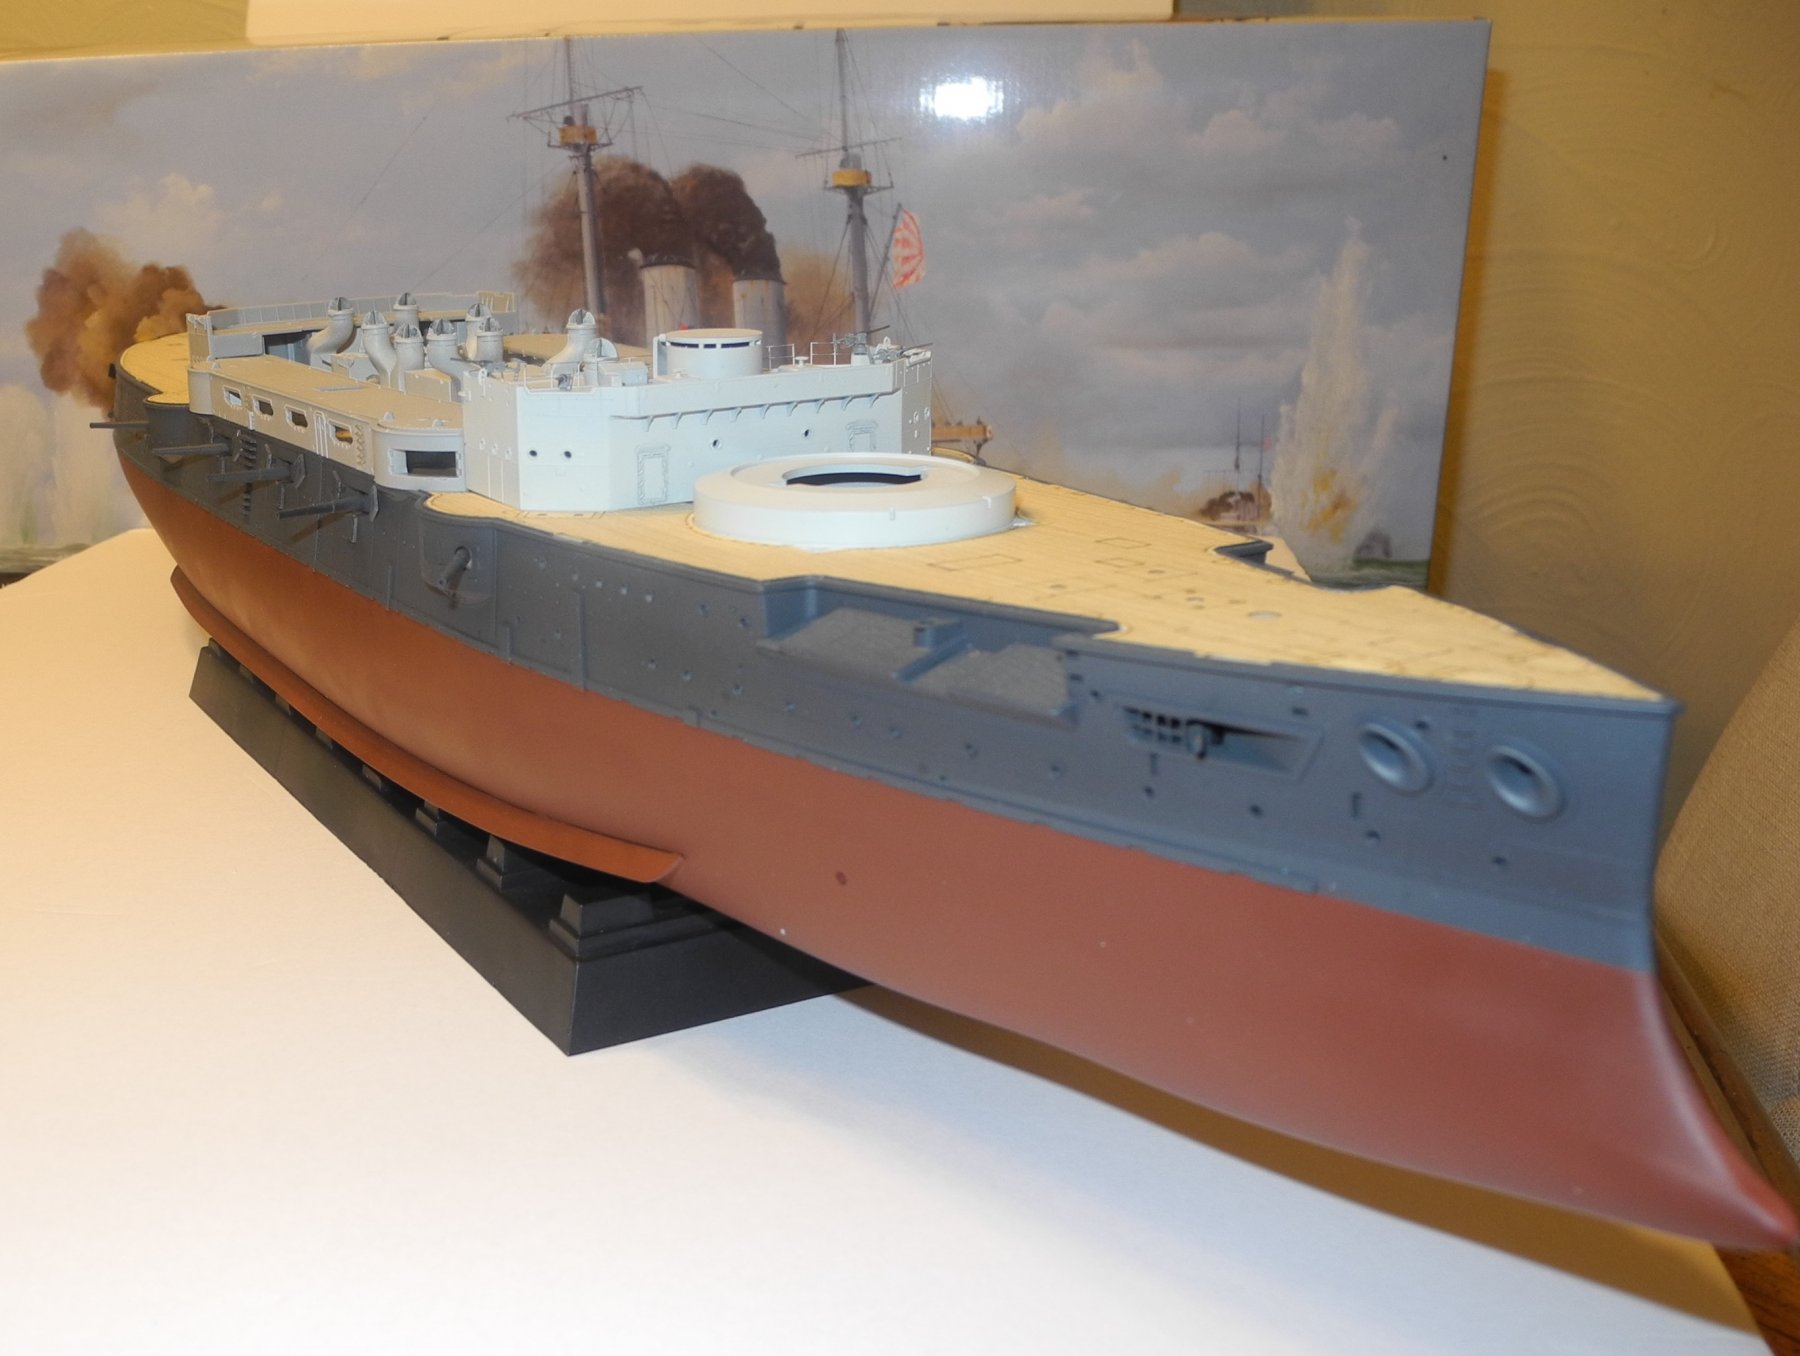
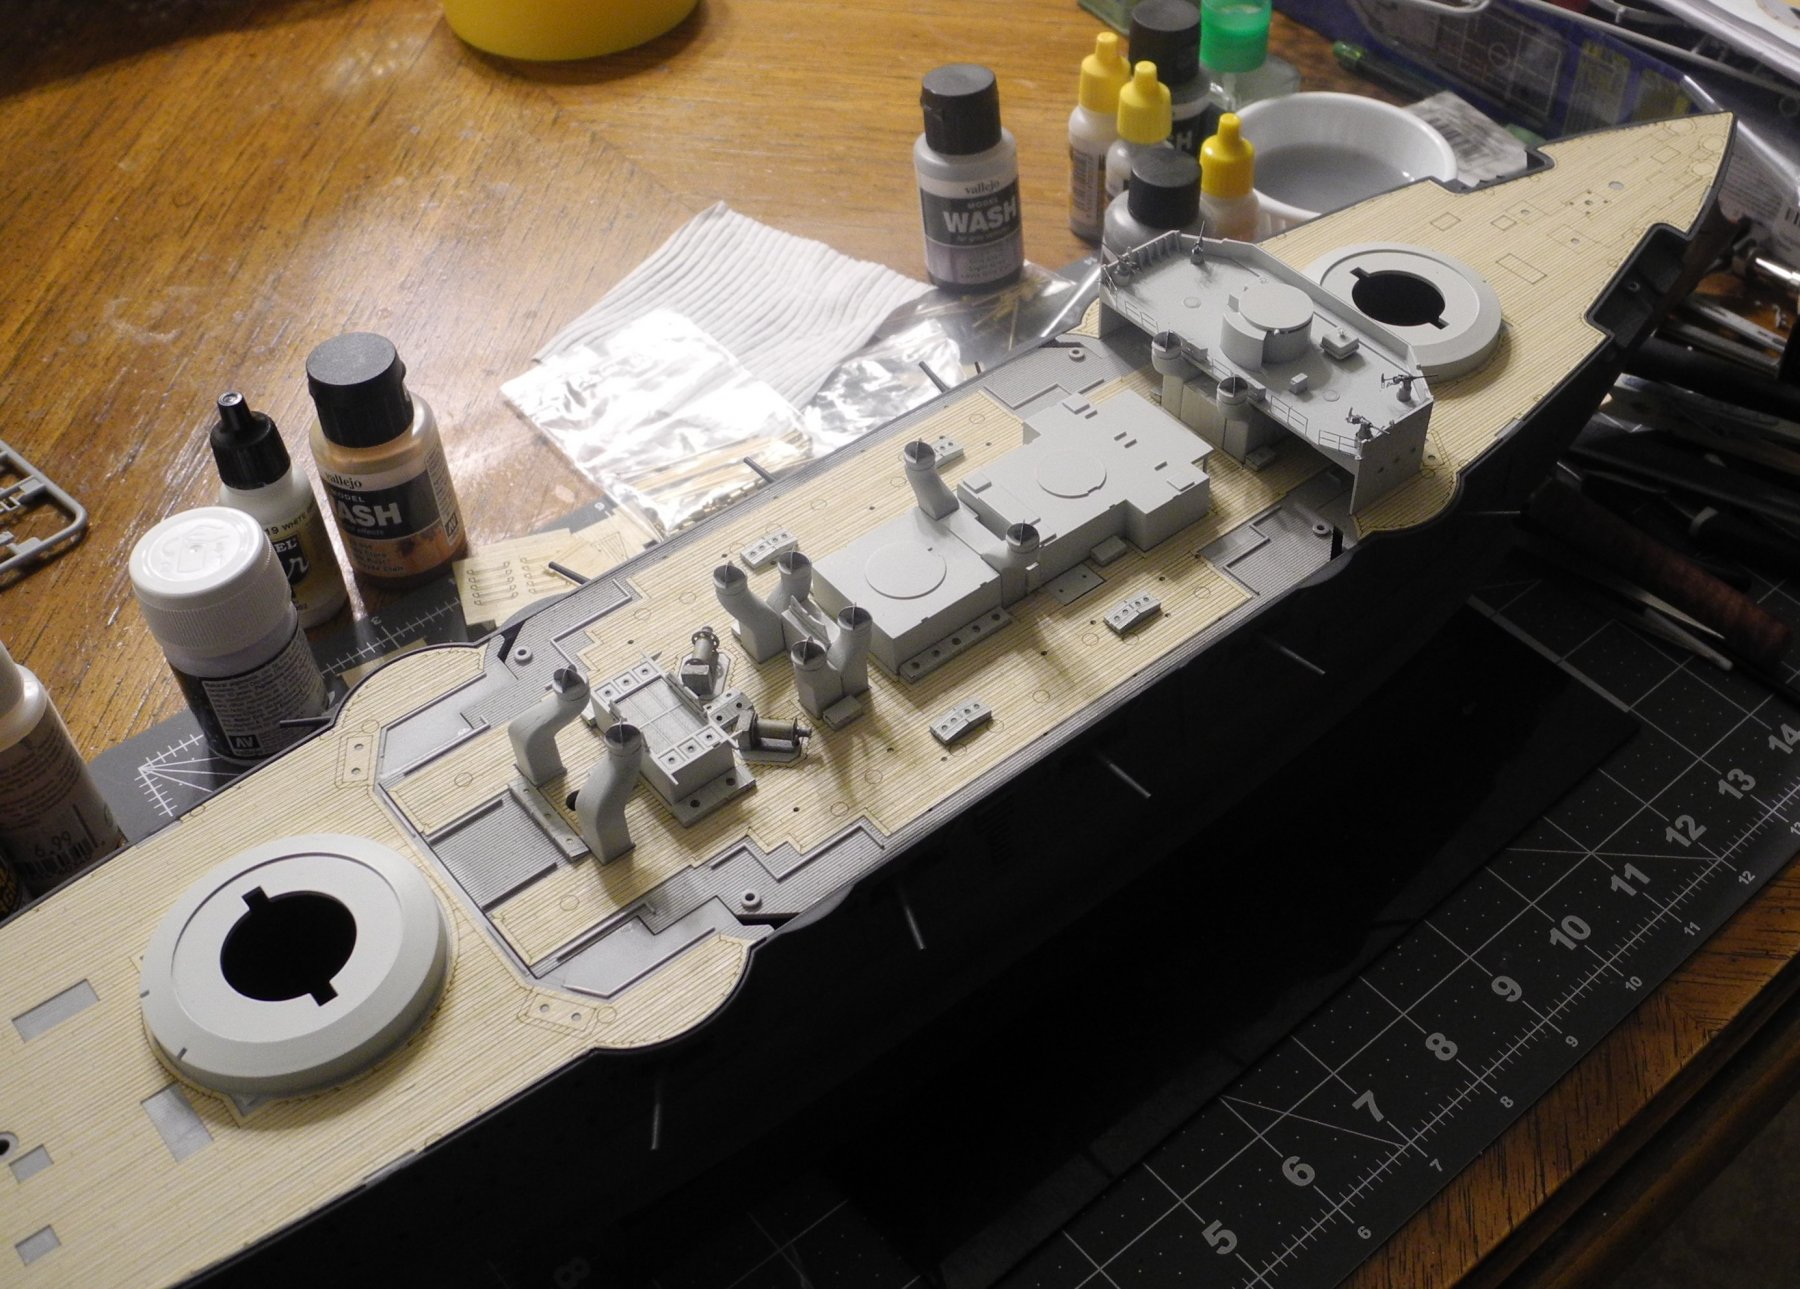
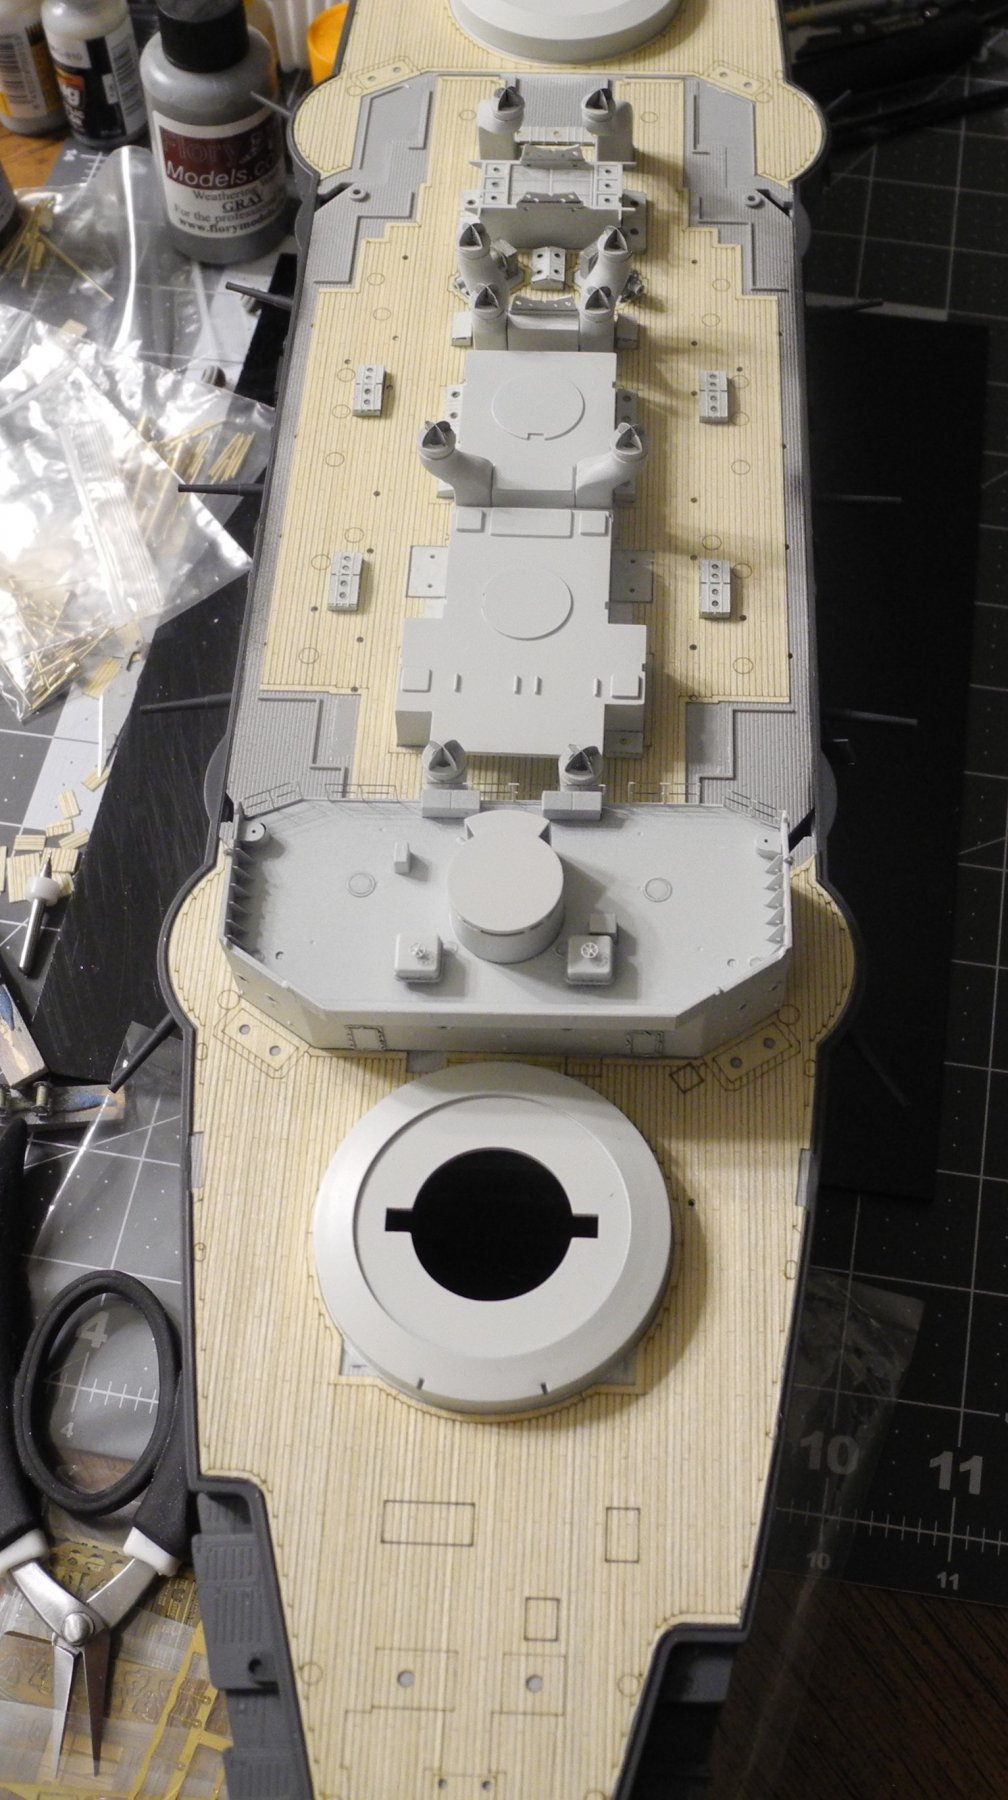
Come to think of it, certain areas on the deck of the ship, and it's probably safe to say around all the coal chutes, there would be coal dust/staining where the frequent resupply of coal would have taken place; regardless of how much combat the ship had been in. So I need to dirty up those areas a bit before everything is all said and done. I'll have to check the model railroad section at the hobby shop for some black ballast that might be a reasonable representation for coal in this scale.
- 467 replies
-
- 4
-
-
- mikasa
- wave models
- (and 1 more)
-
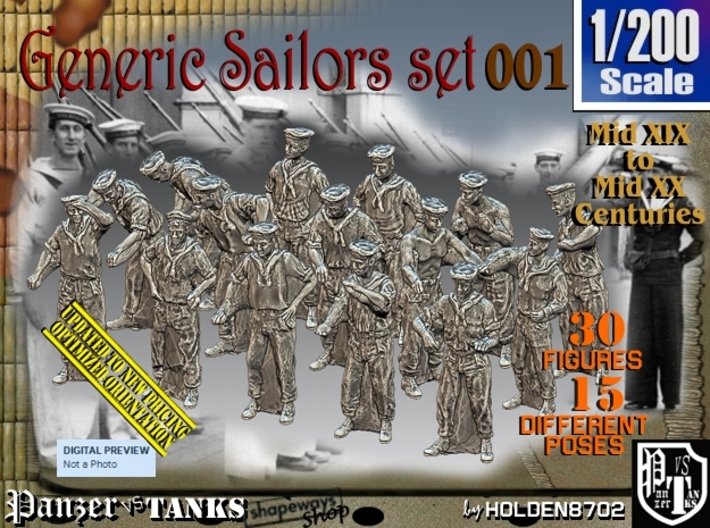
Thanks, Jack. I just found these 1:200 scale sailors at Shapeways, and ordered a set. I think I can make these work for me.
- 467 replies
-
- 8
-
-
- mikasa
- wave models
- (and 1 more)
-
Thanks Popeye. In the particular paint scheme I am doing, I don't think the ship would have ever seen any combat yet, and not too much time at sea, either. So I don't intend to add much in the way of severe weathering or battle damage. I want to begin looking for some 1:200 sailors, maybe from Shapeways? Want to give it a somewhat busy look by adding some action figures. Maybe could add some guys shoveling coal into a few of those "coal chute covers" on deck. Gonna look to see what I can find that's close to being period correct.
- 467 replies
-
- 5
-
-
- mikasa
- wave models
- (and 1 more)
-
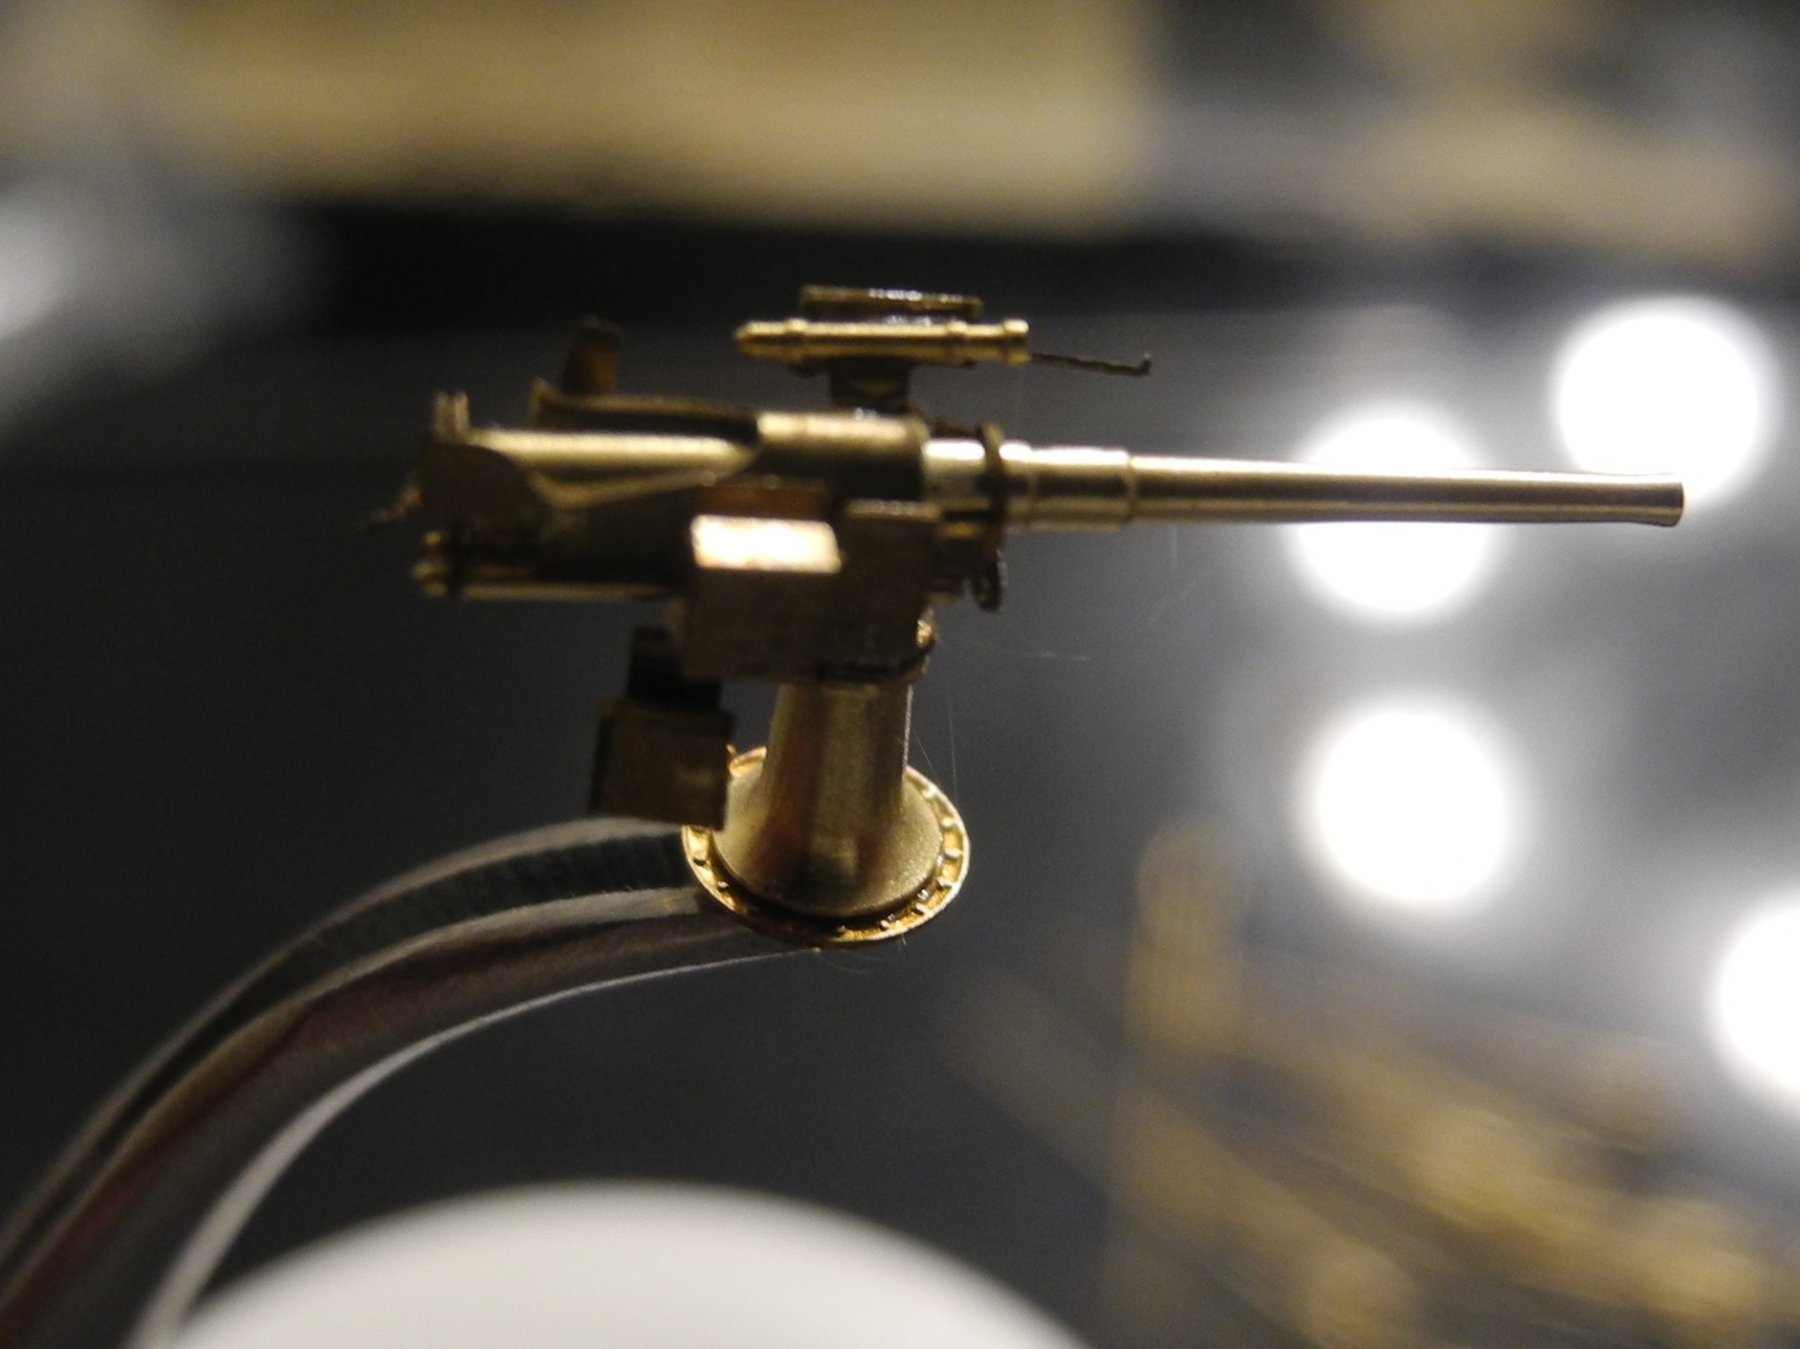
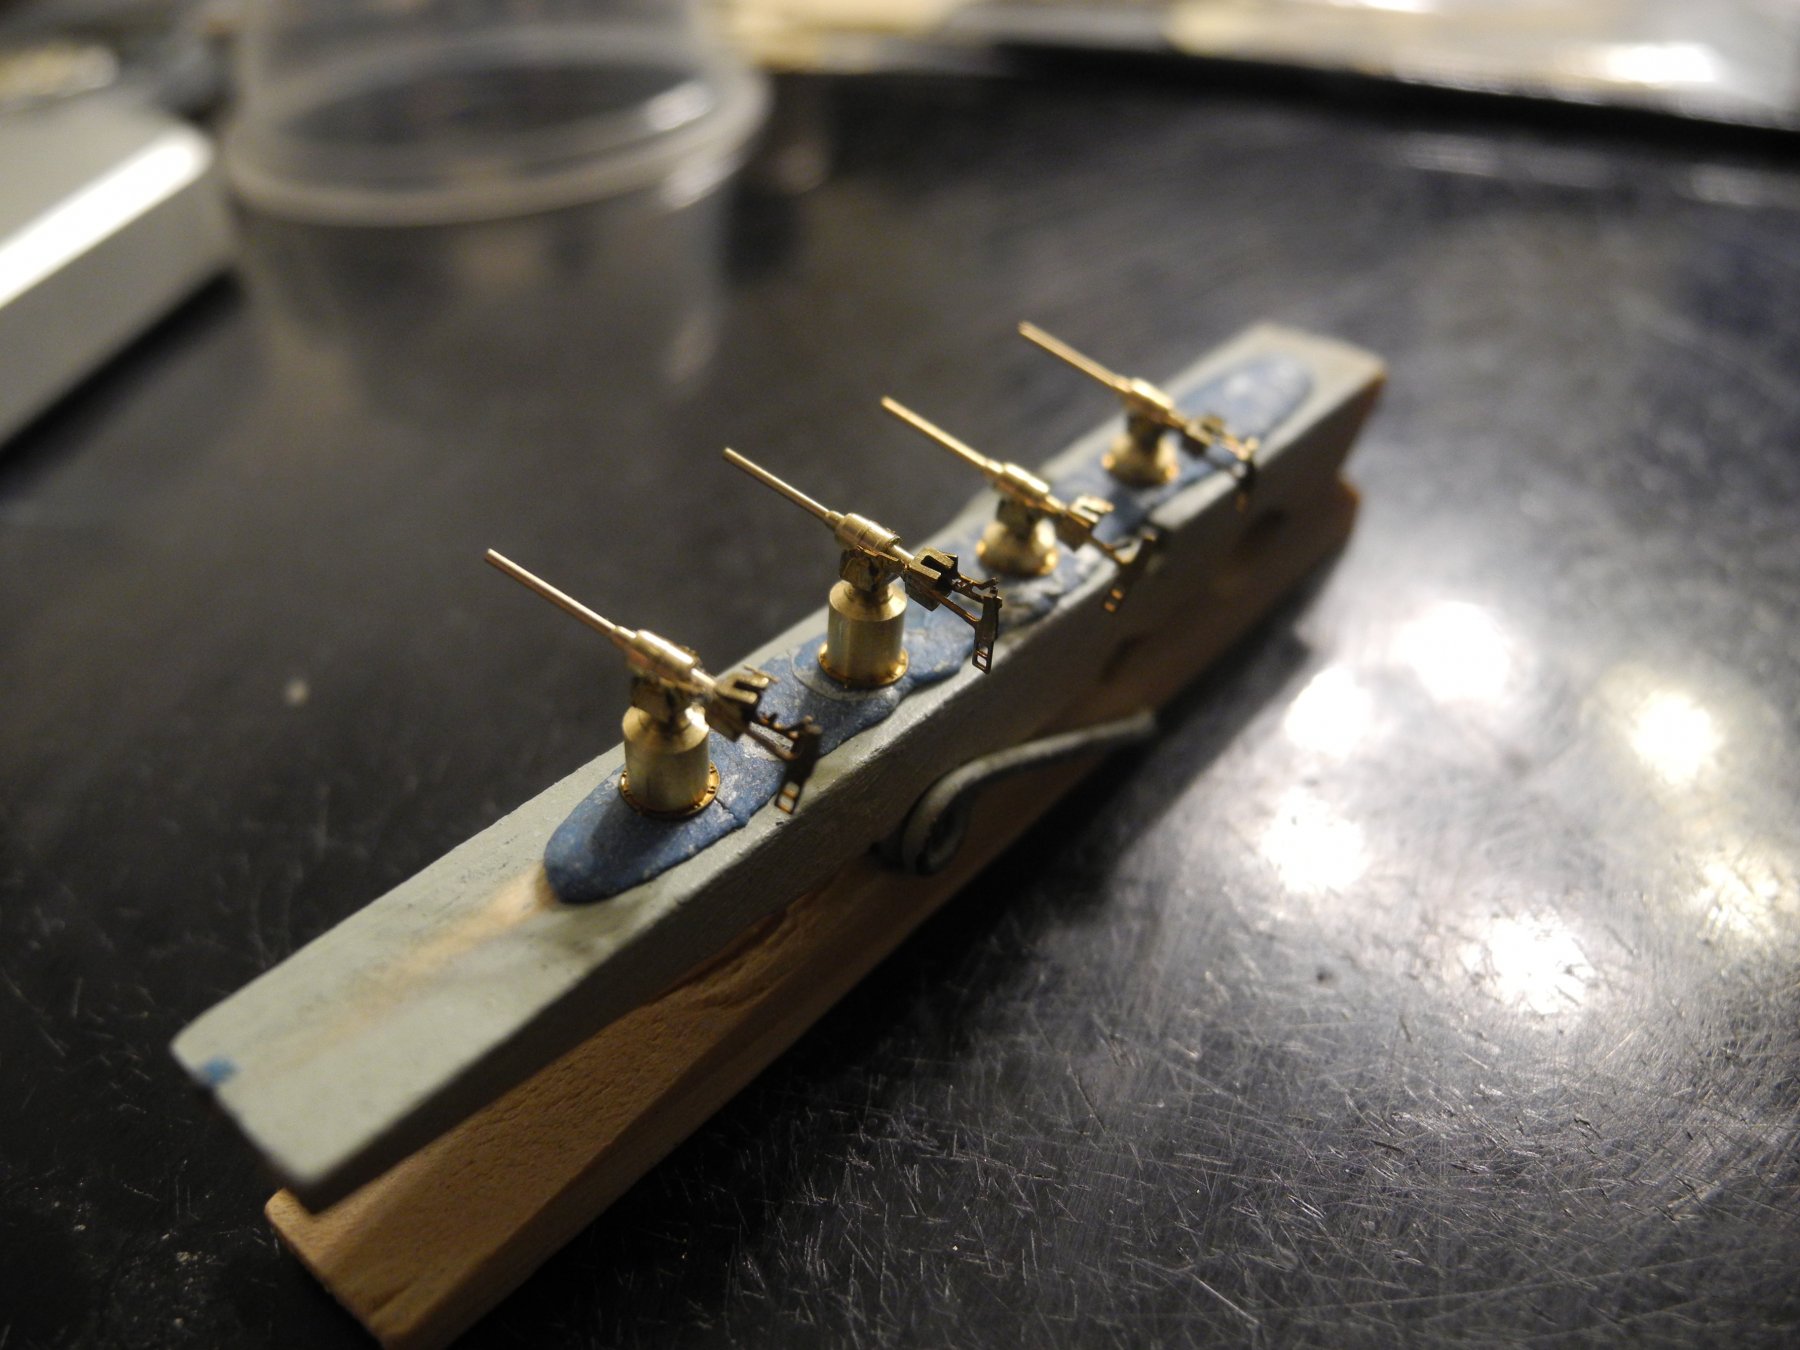
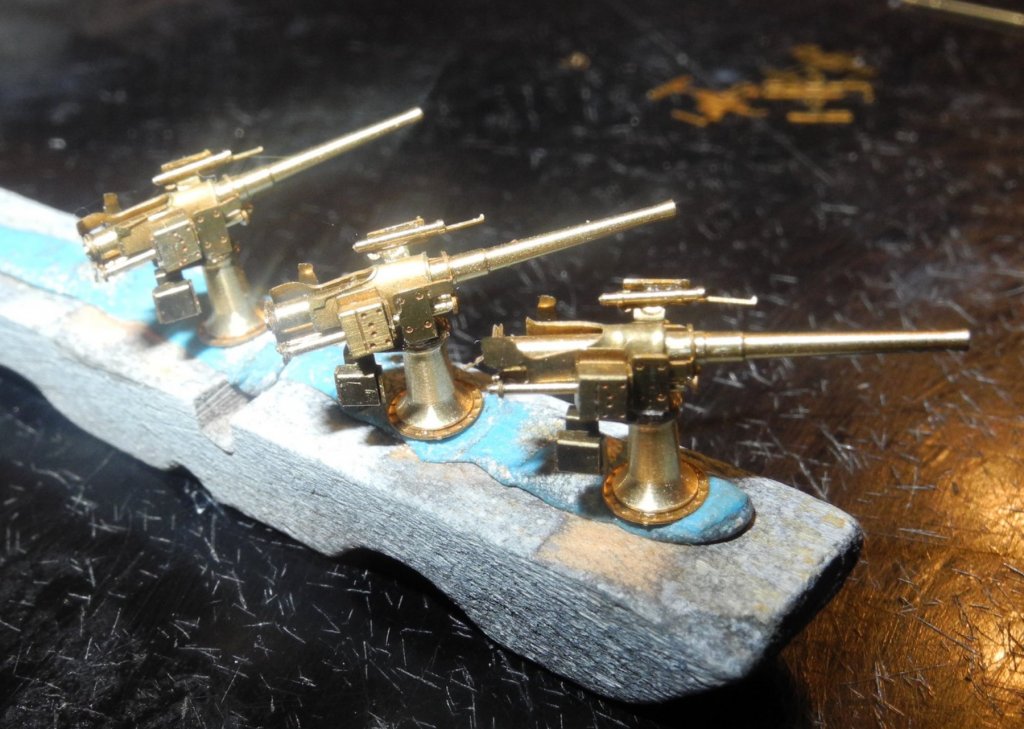
One of the four 47mm guns that are mounted to the front bridge lower deck.
- 467 replies
-
- 11
-
-
- mikasa
- wave models
- (and 1 more)
-
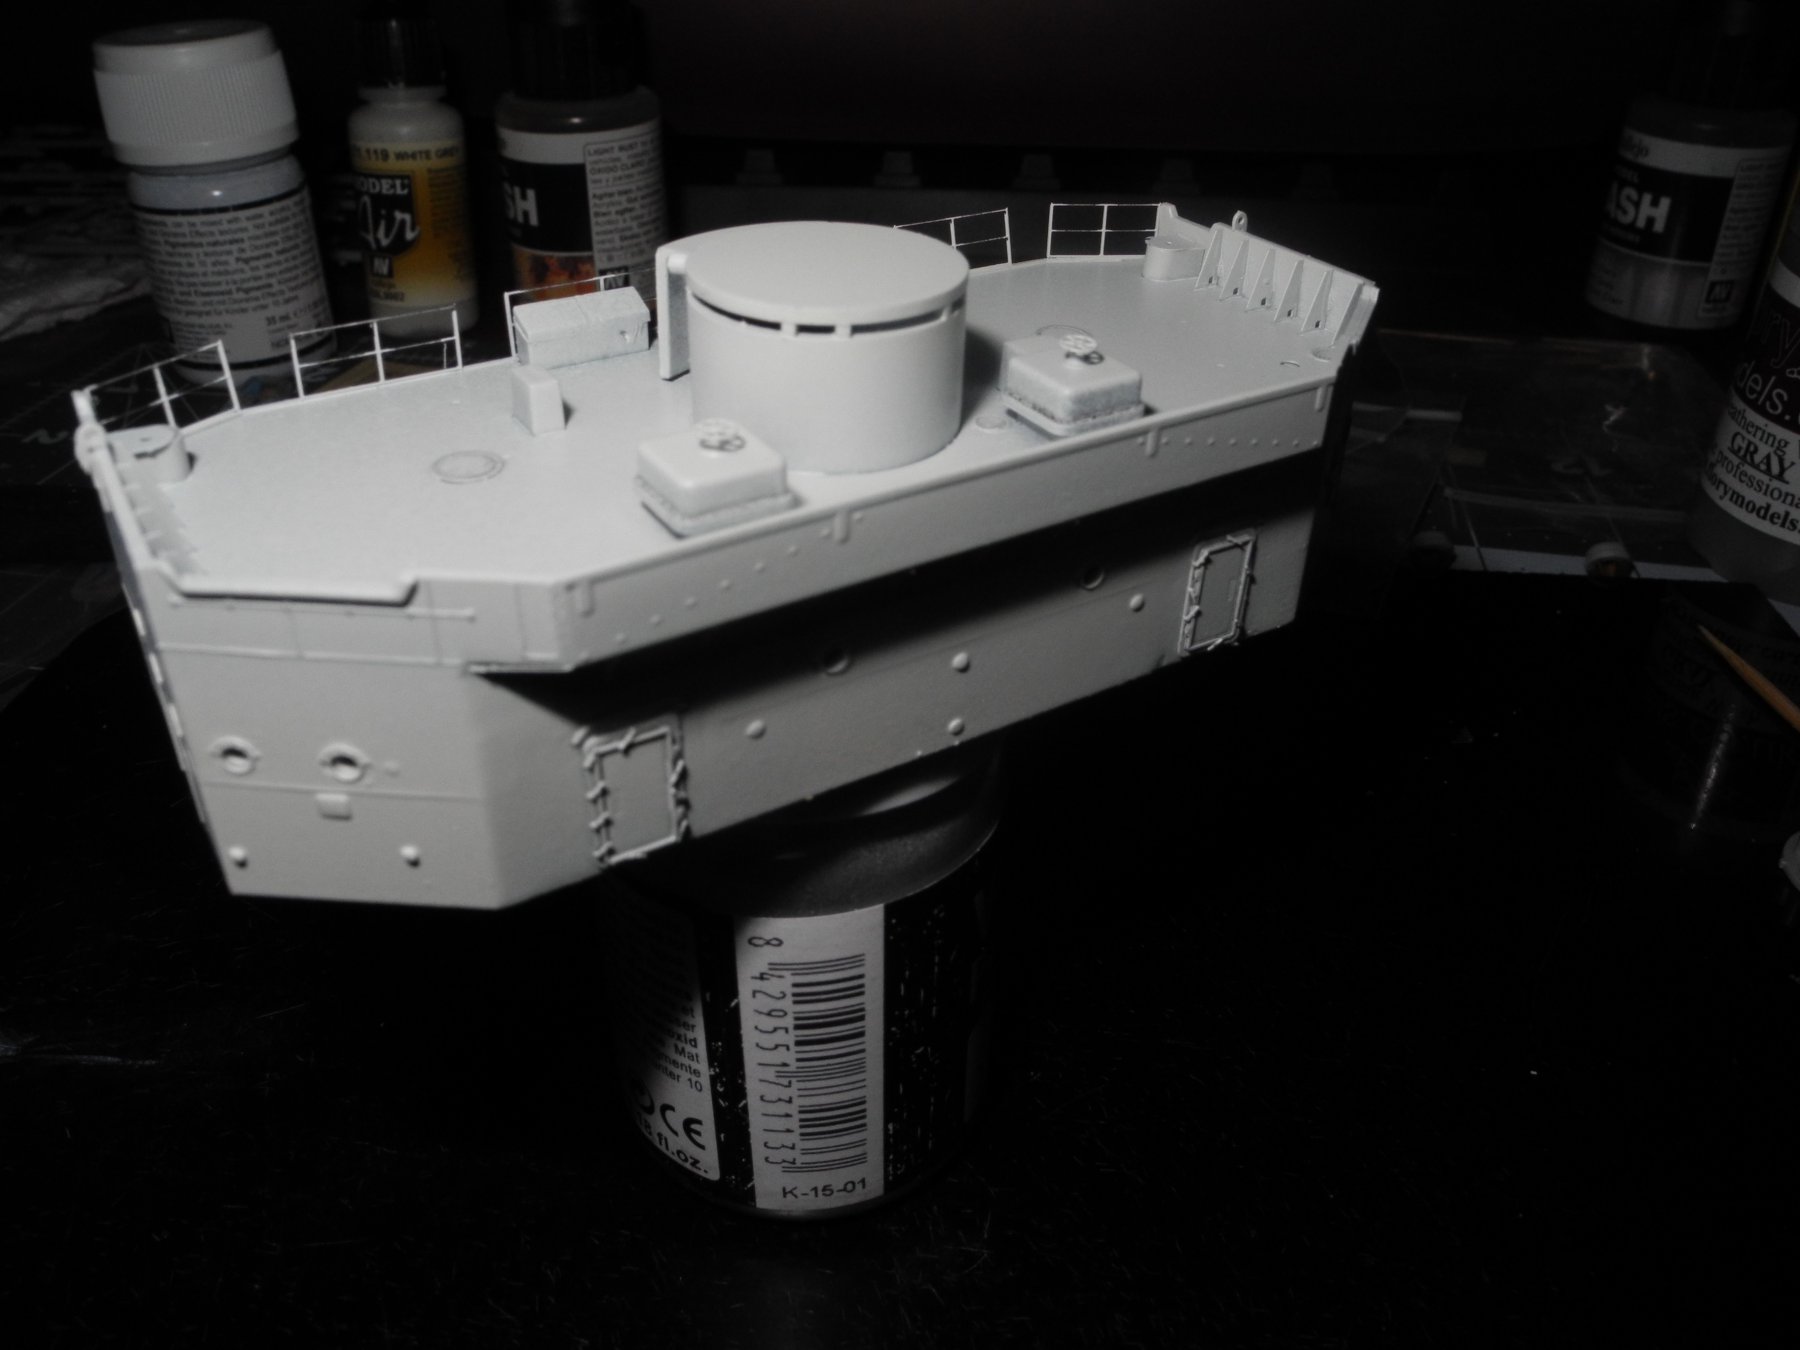
With some paint and a few more details added. Sorry, but my lighting and photography skills are awful. Will build some small guns that go on the bridge next.

- 467 replies
-
- 10
-
-
- mikasa
- wave models
- (and 1 more)
-
Nice that they give you the boom cables with the photo etch. A very realistic look to it, the way the cables sag and all. I like it.
-
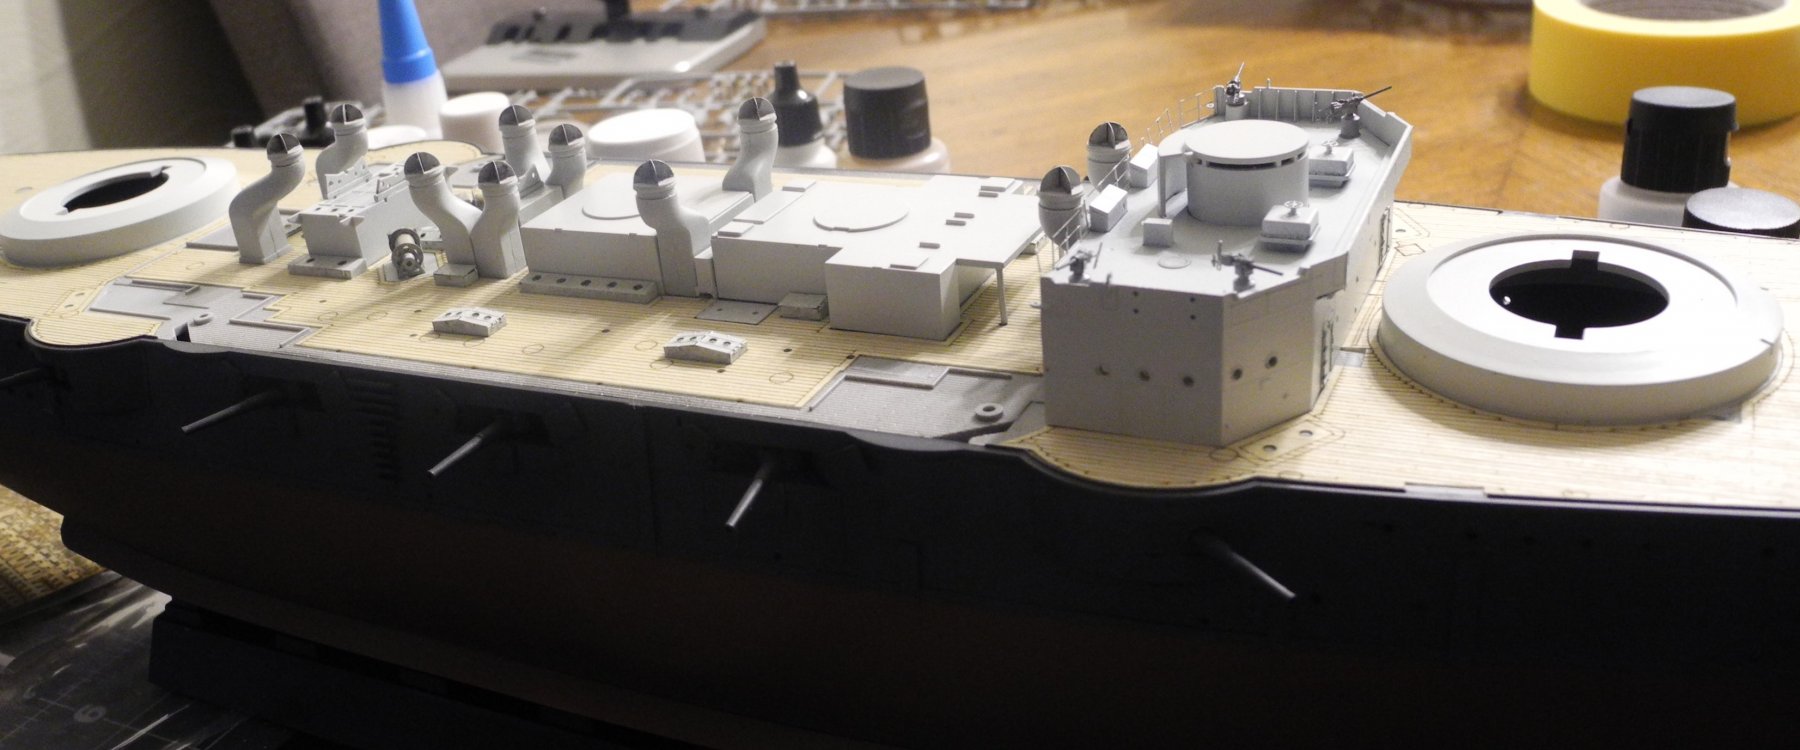
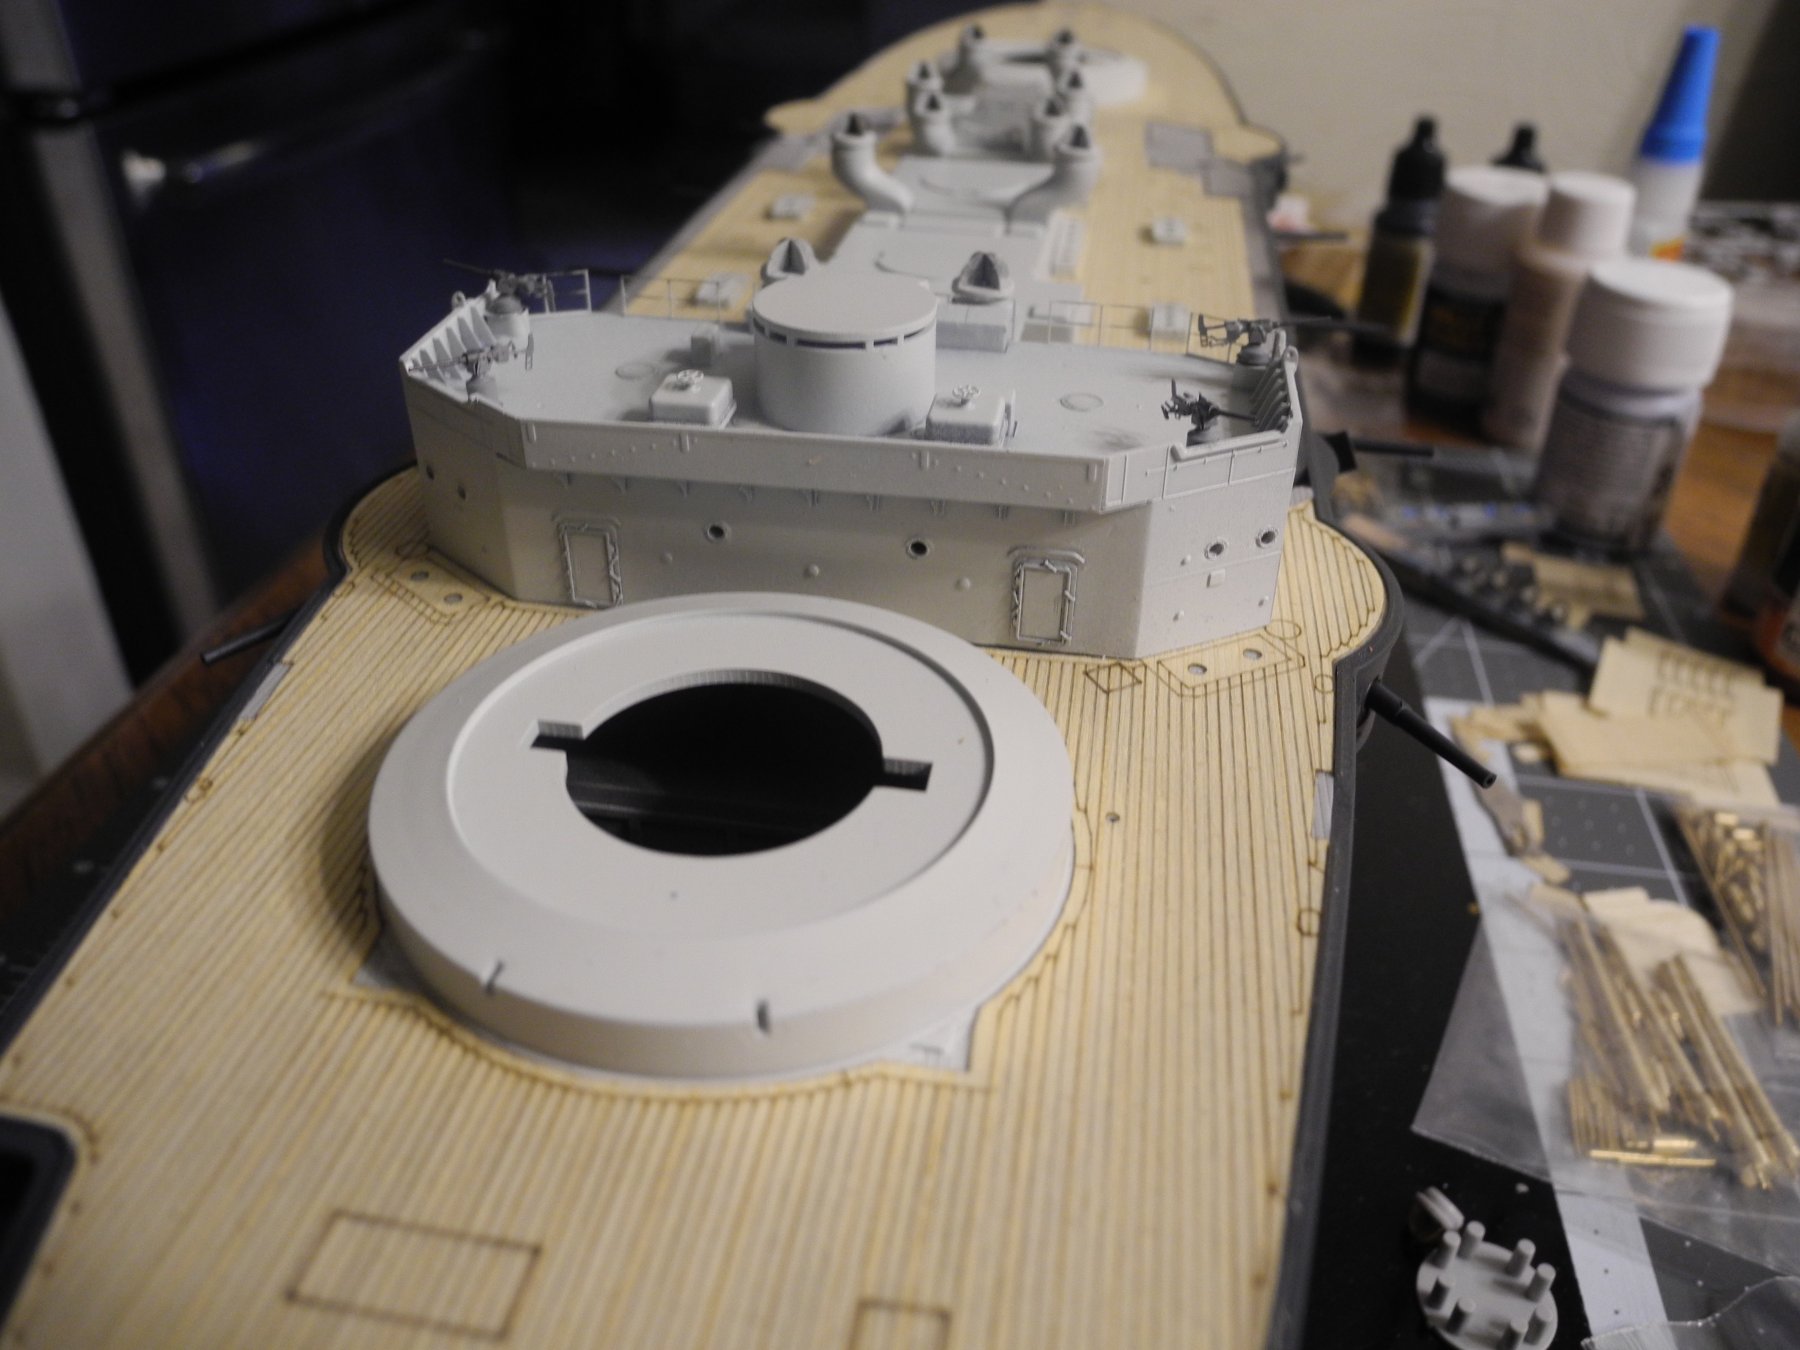
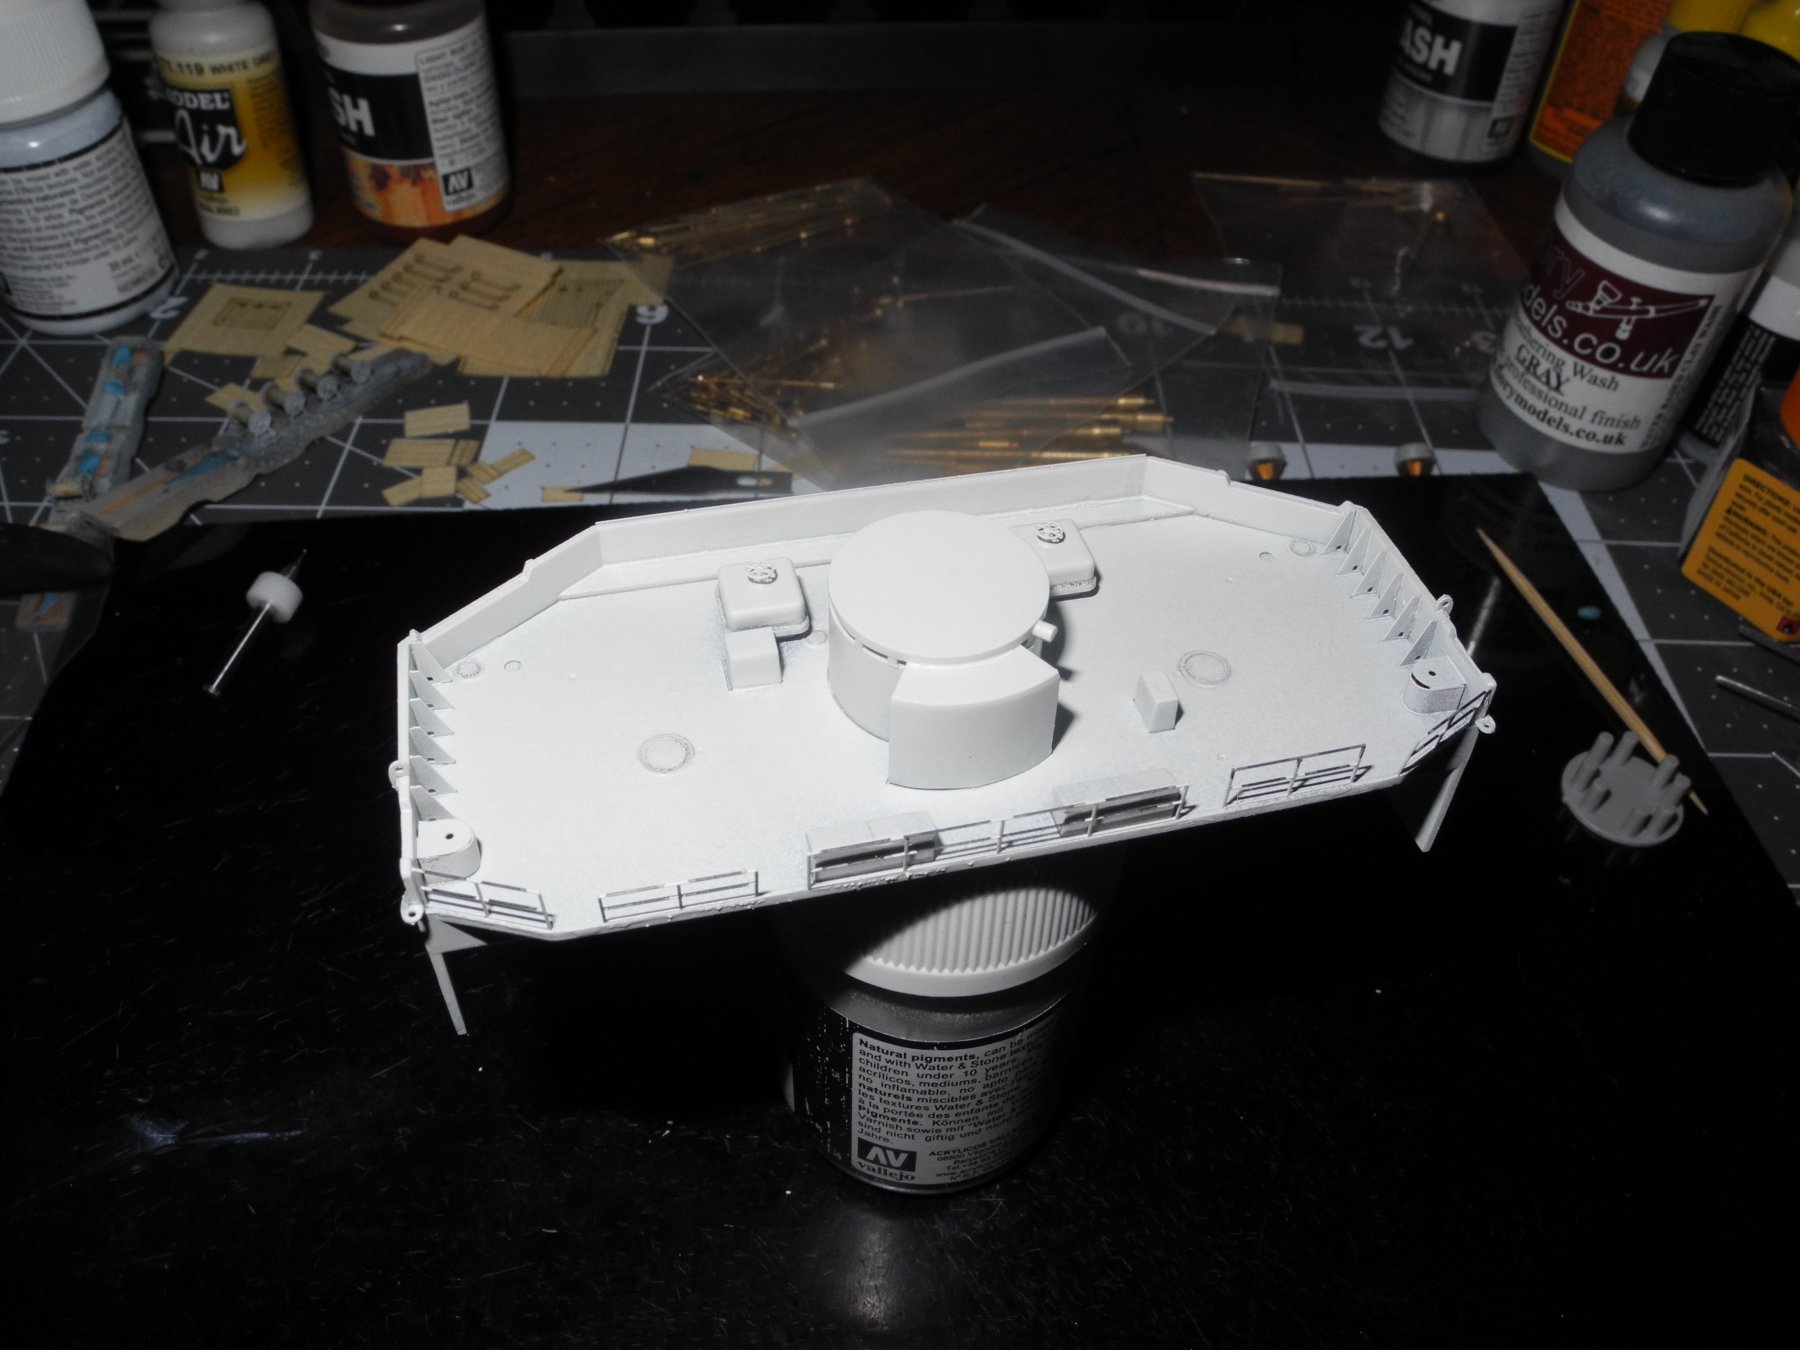
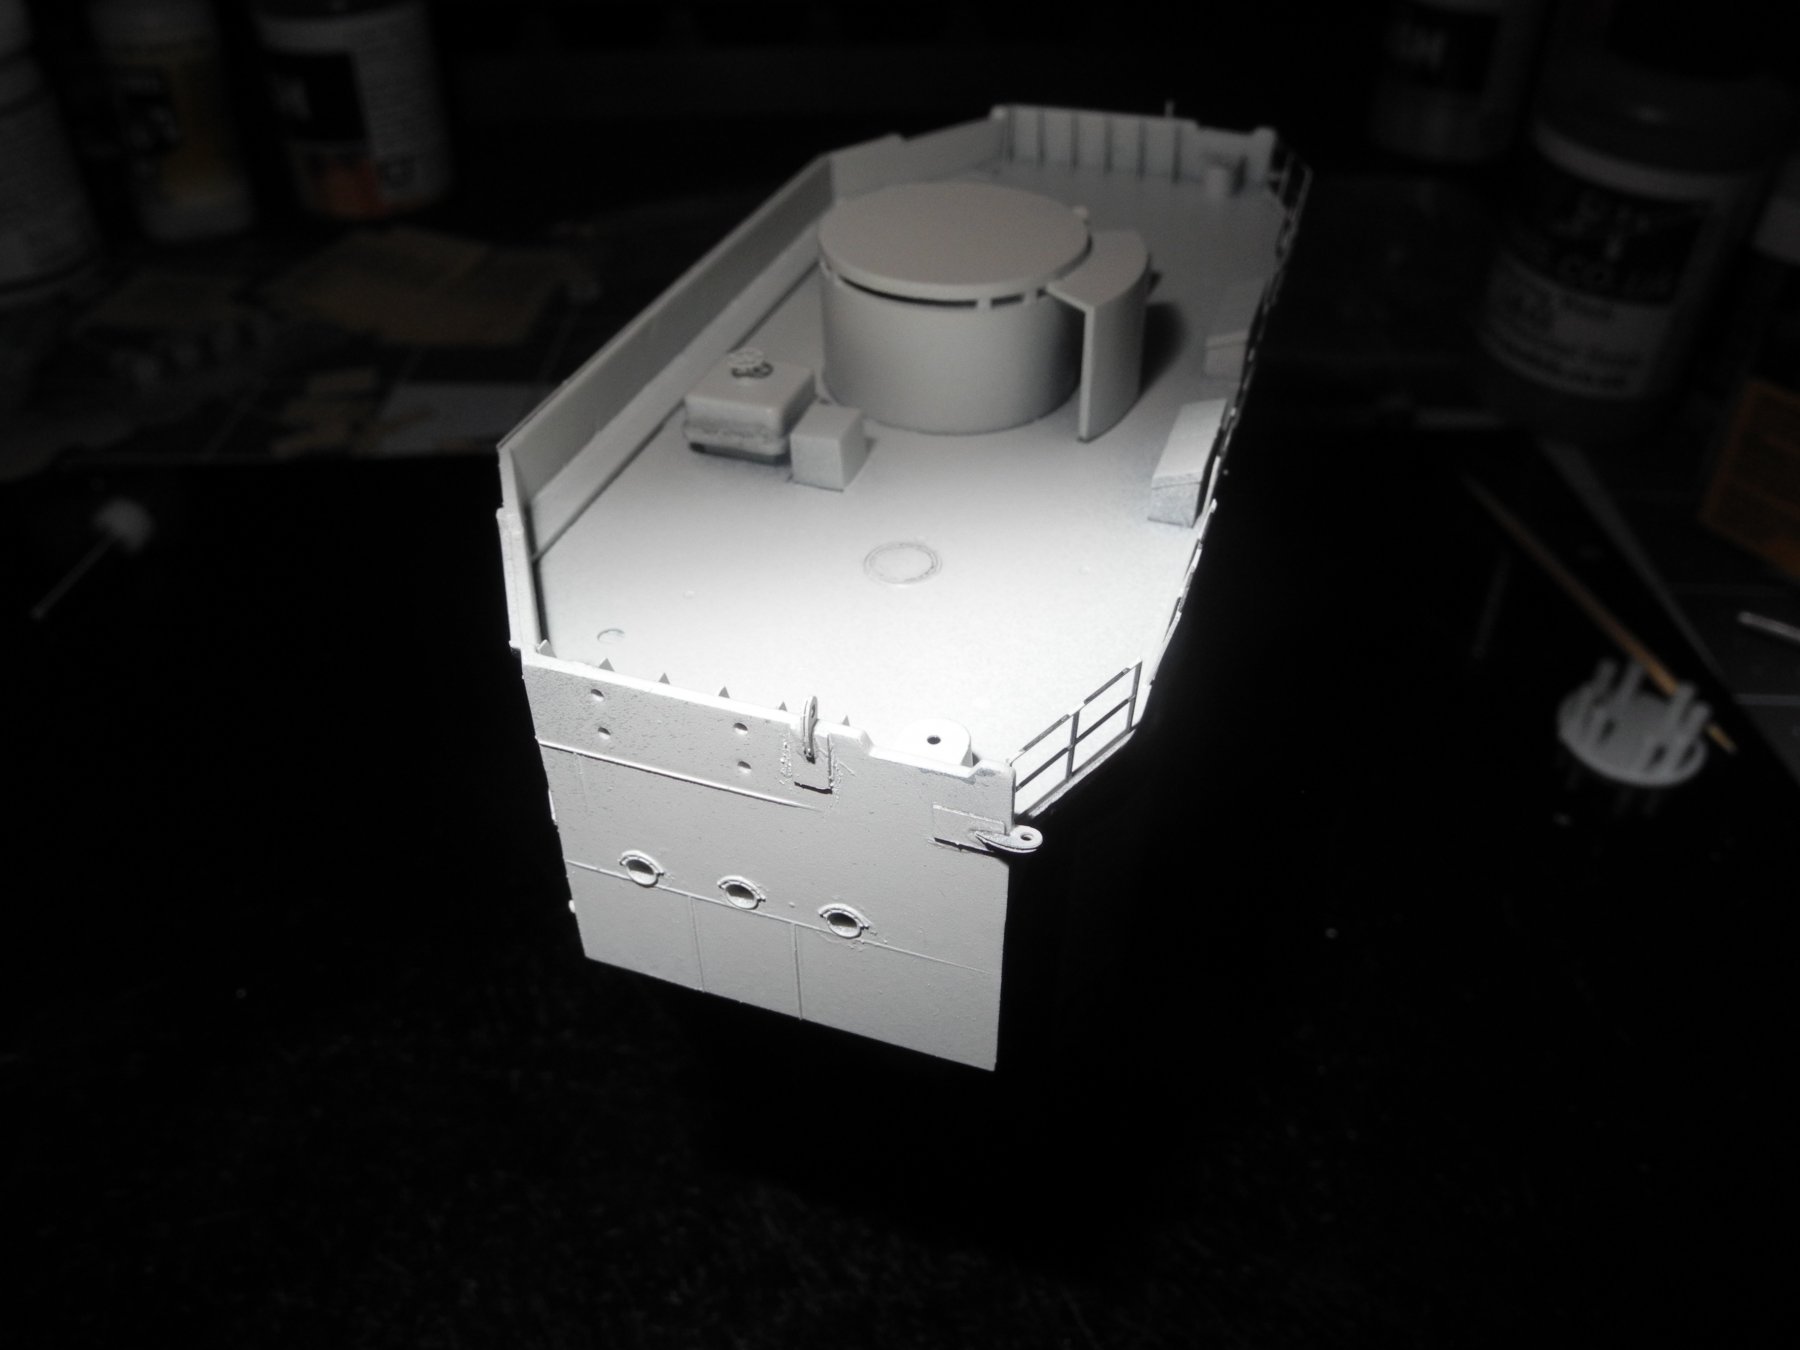
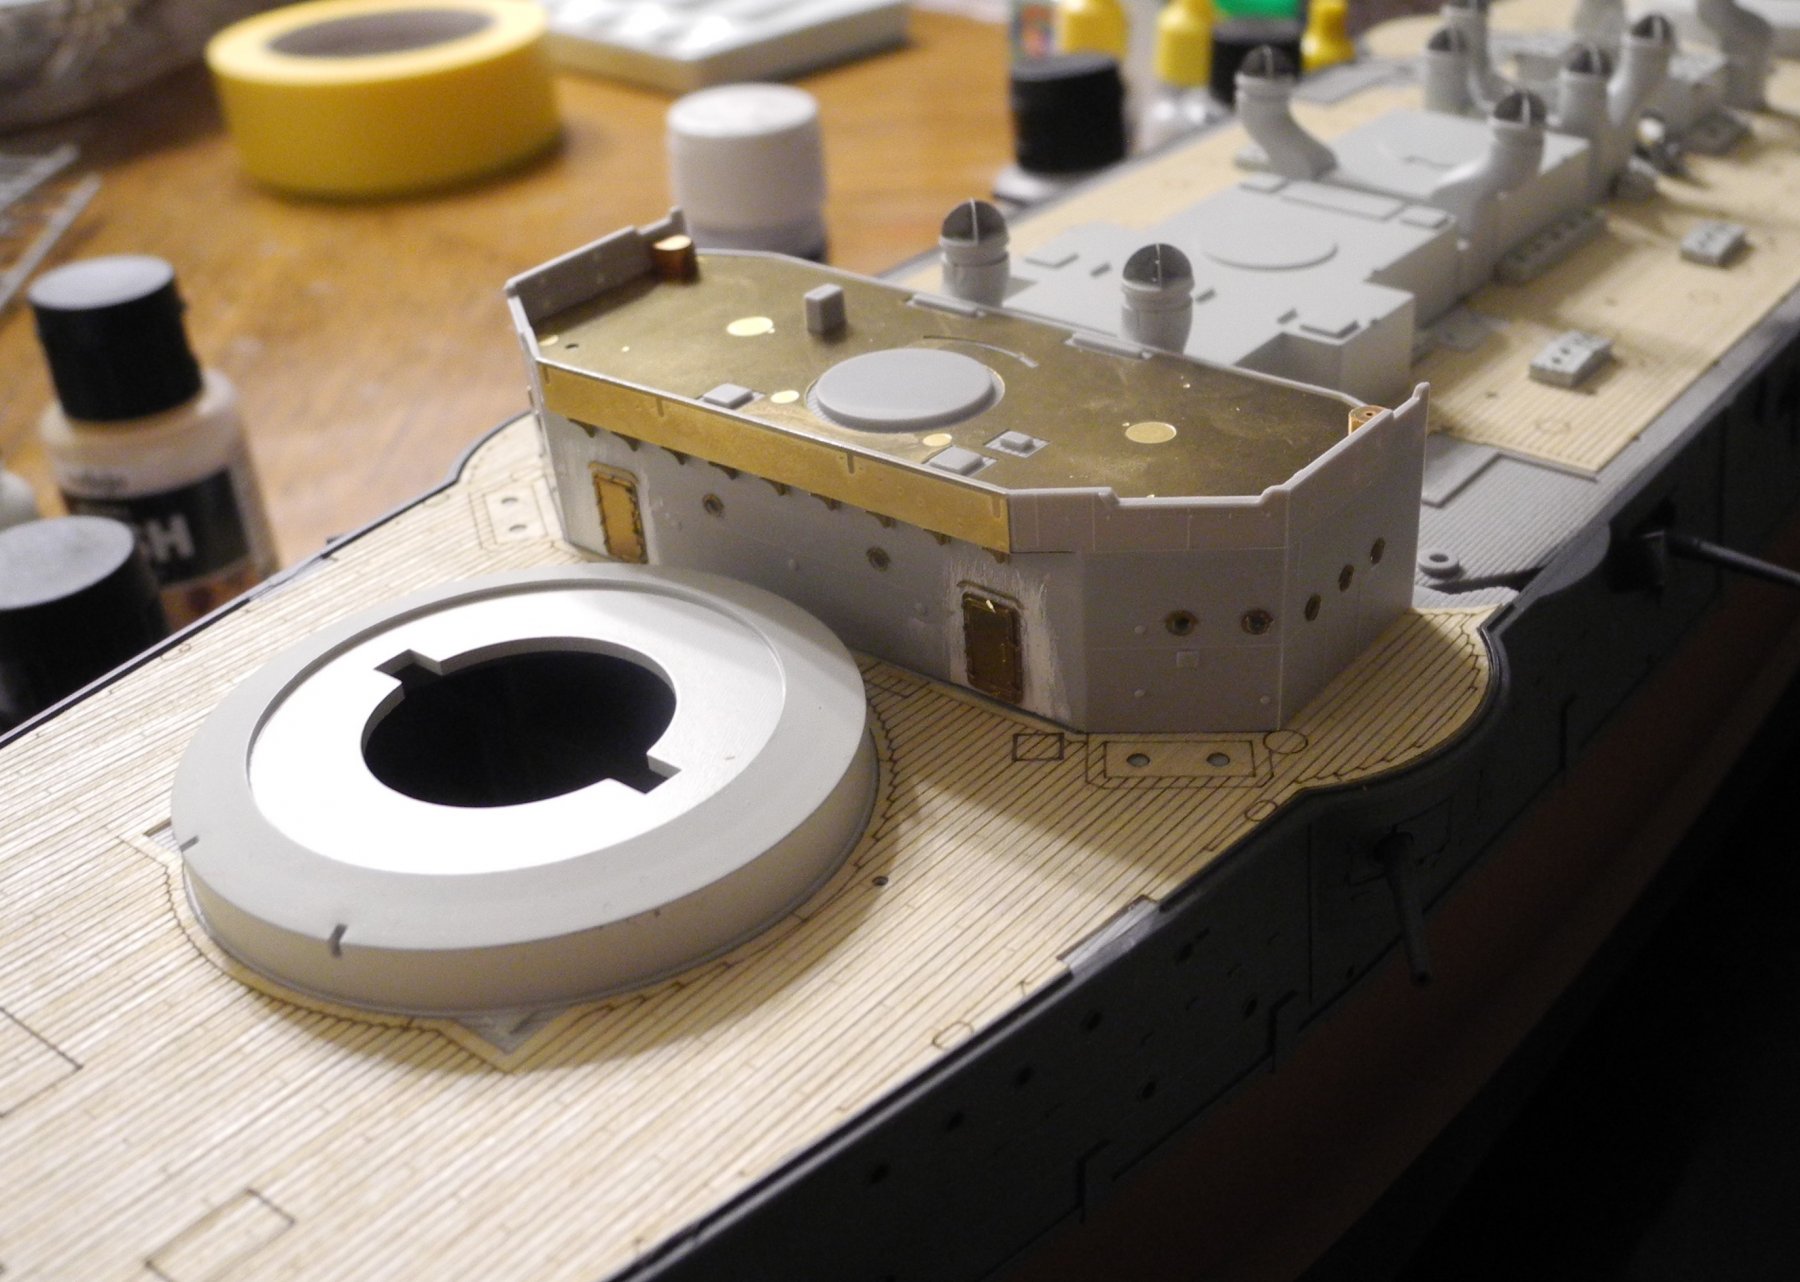
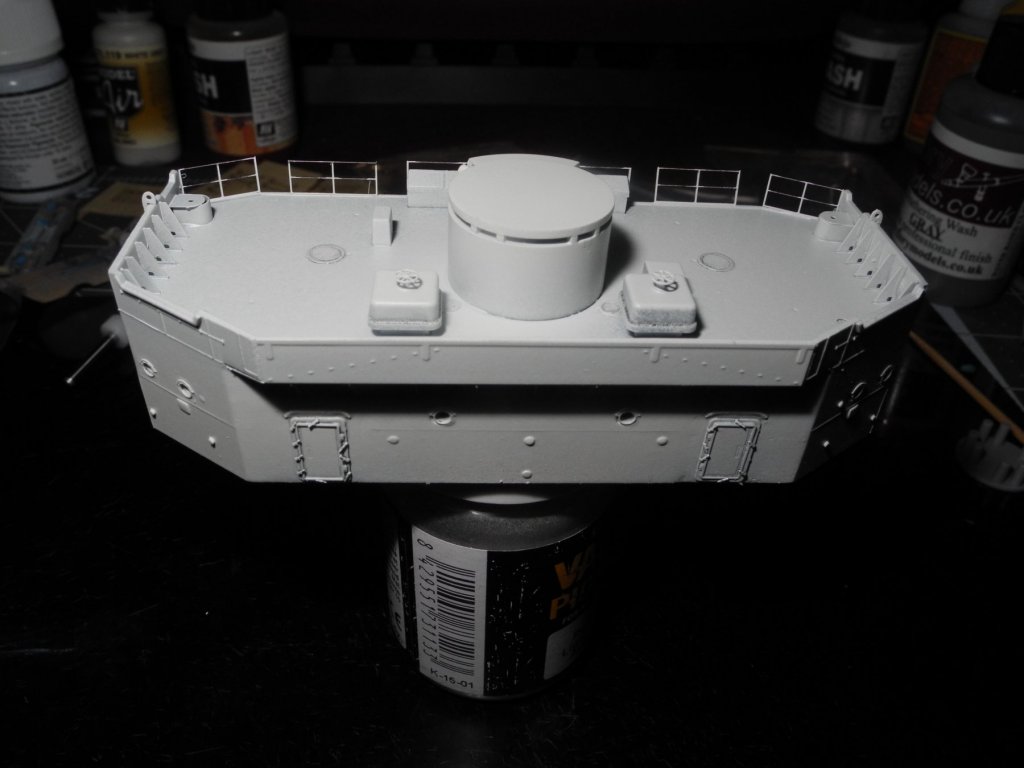
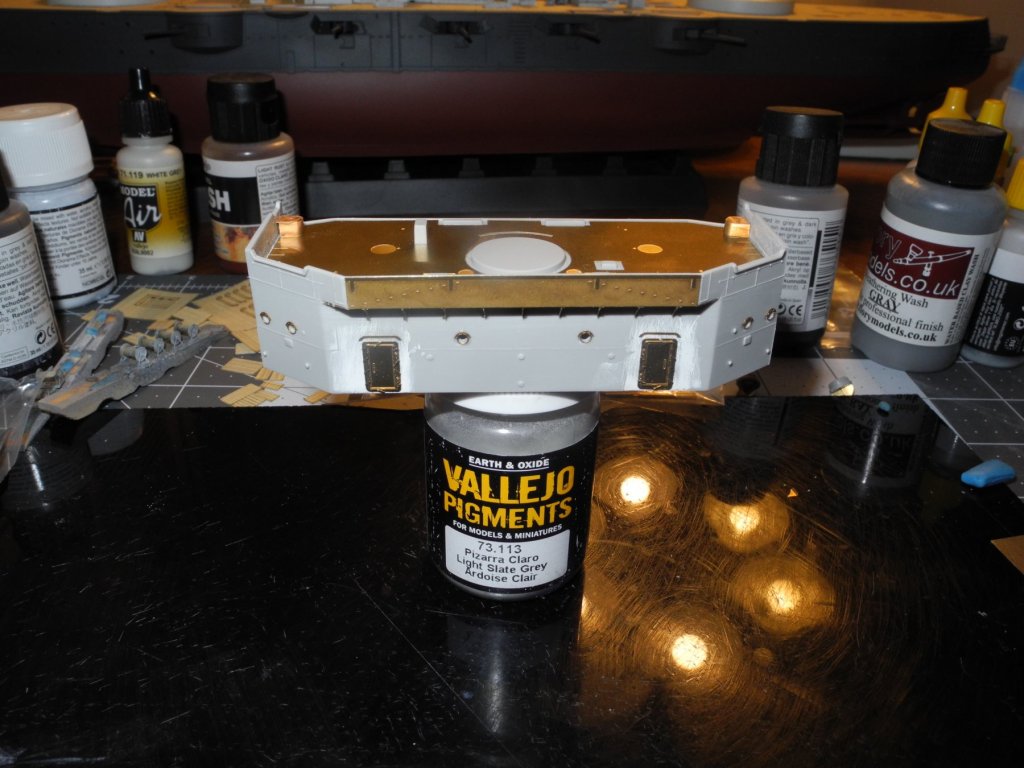
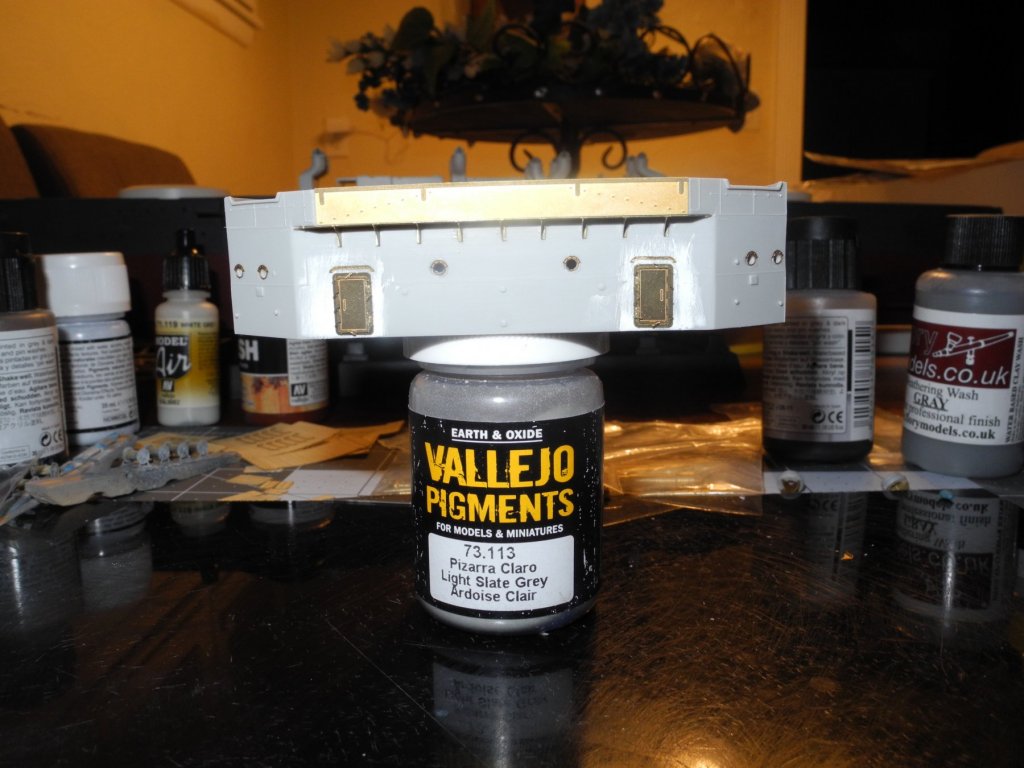
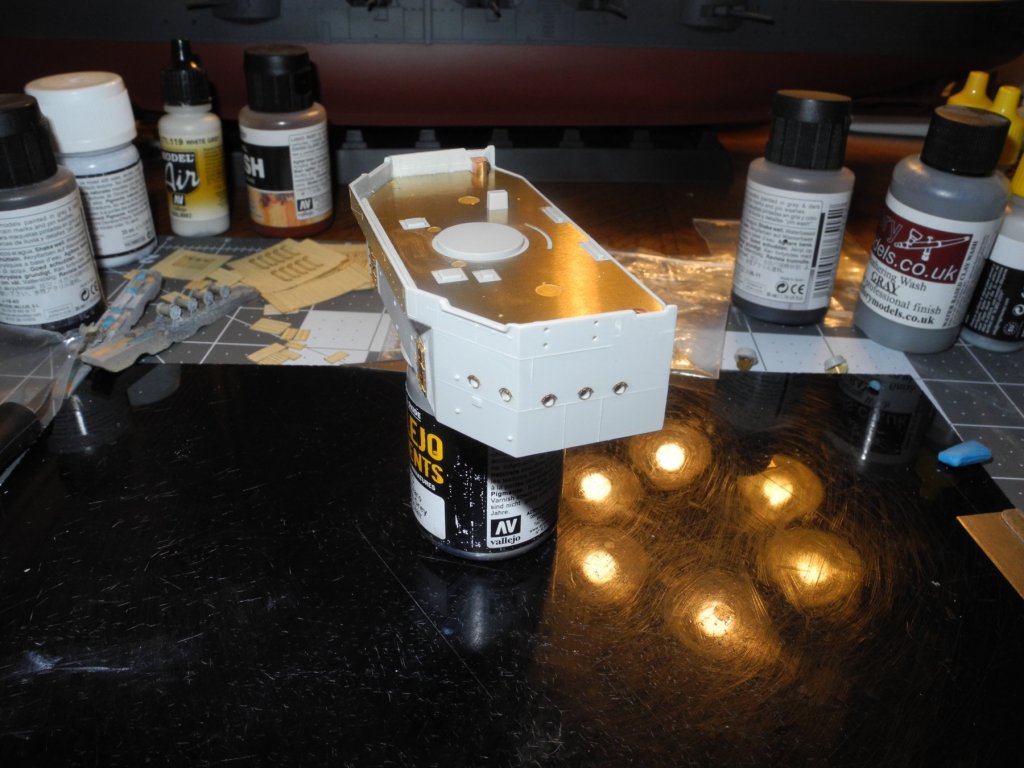
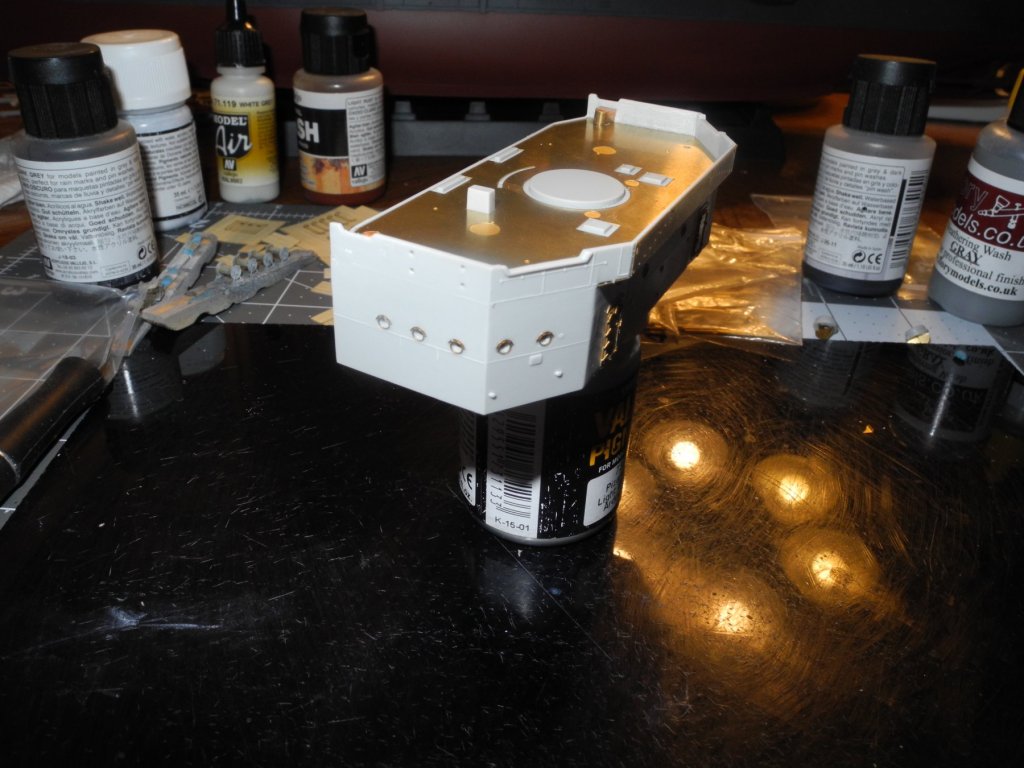
Spent some time, but it doesn't look like much done today. The front bridge requires cutting, filing, and sanding before adding photo etch details to build it. The entire deck gets replaced. Structural details, gussets, portholes and doors have to be added. Next will be a host of other bits and pieces including guns, before the bridge is done. This will take a few days before taking on the rear bridge which is nearly a clone of the front bridge. A little difference, but not a lot.
- 467 replies
-
- 10
-
-
- mikasa
- wave models
- (and 1 more)
-
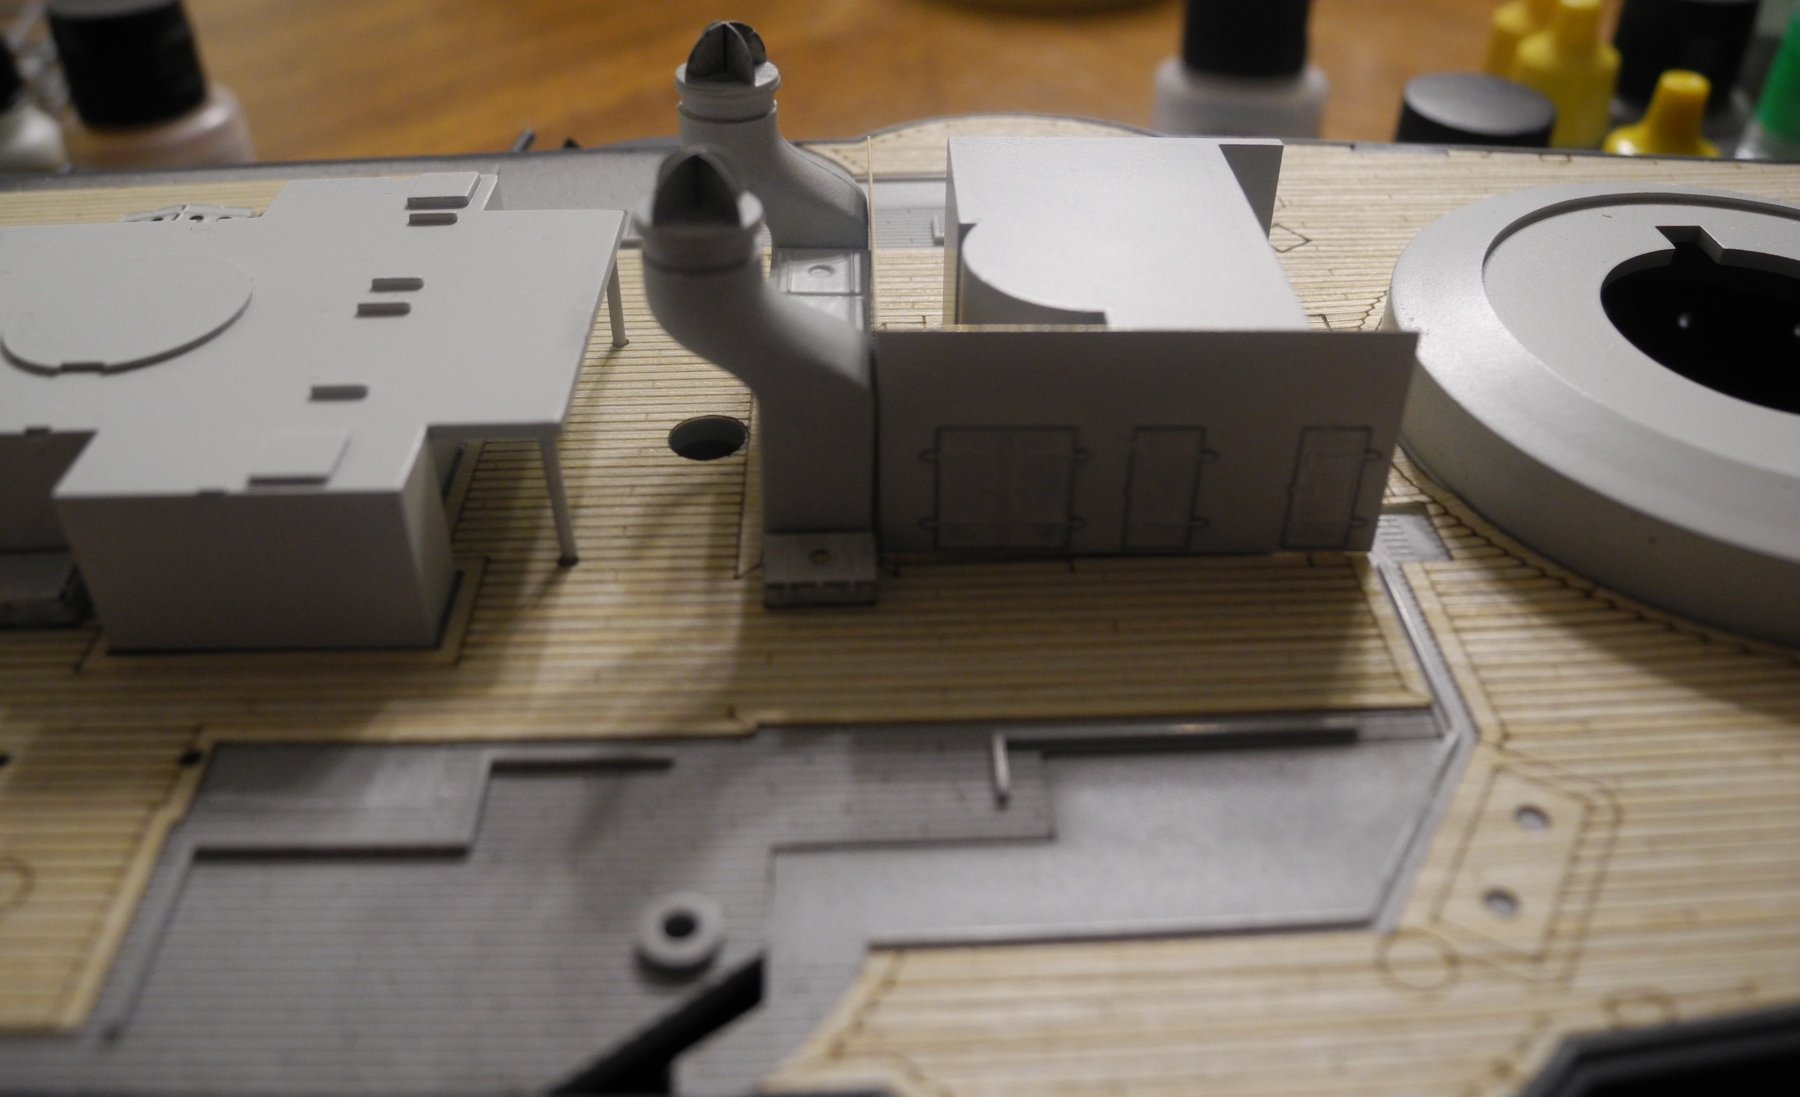
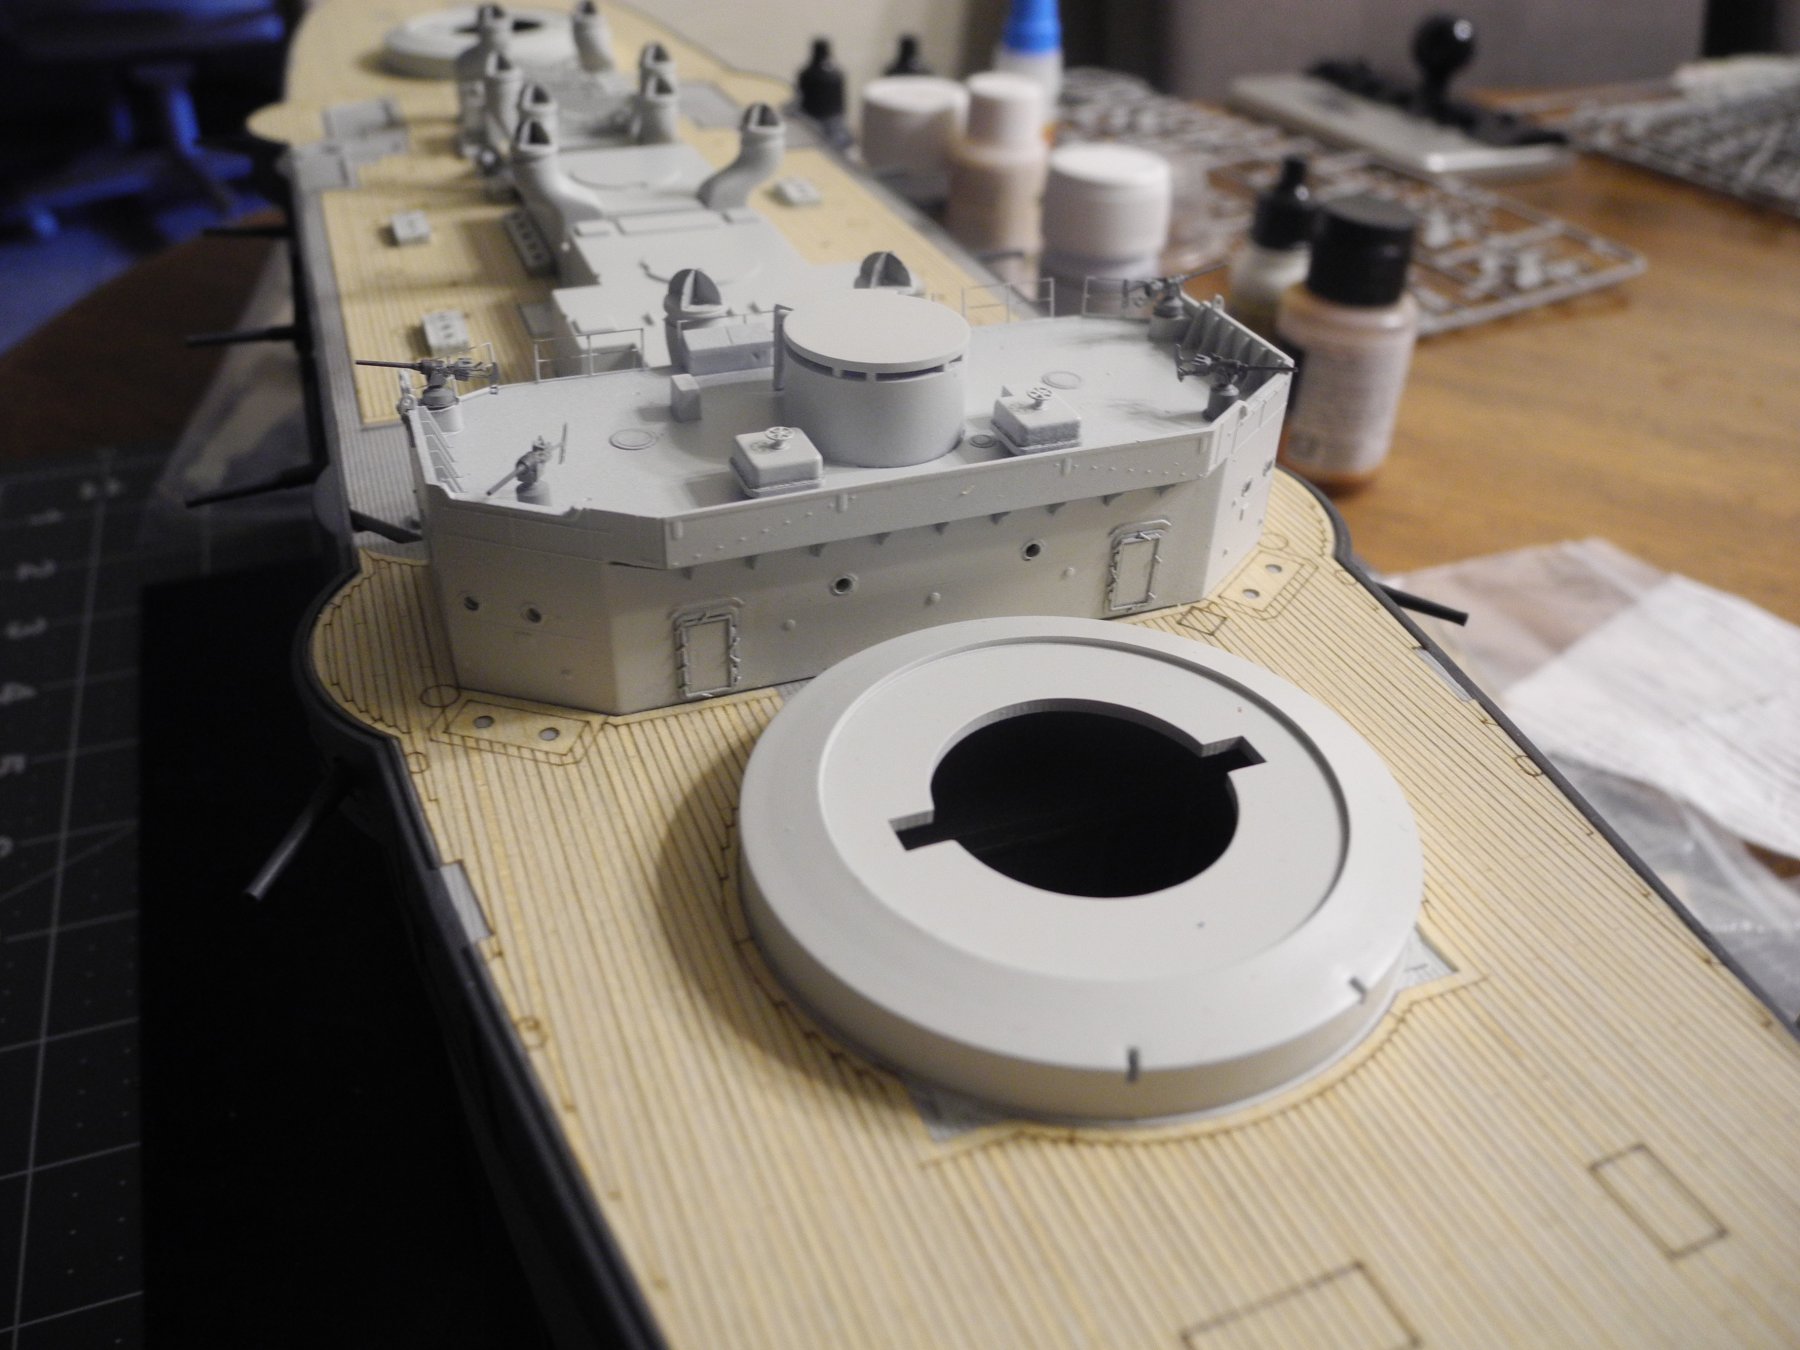
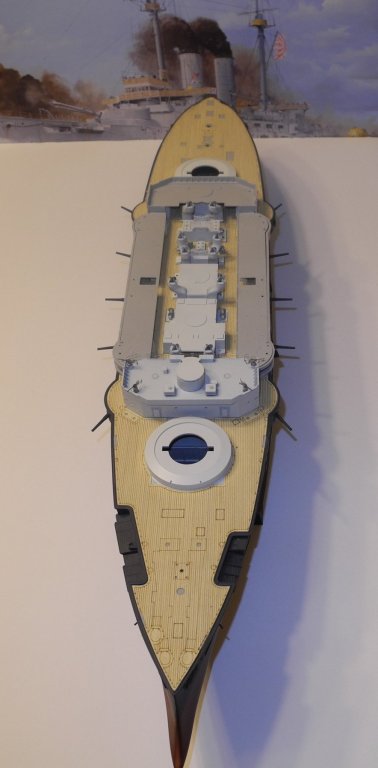
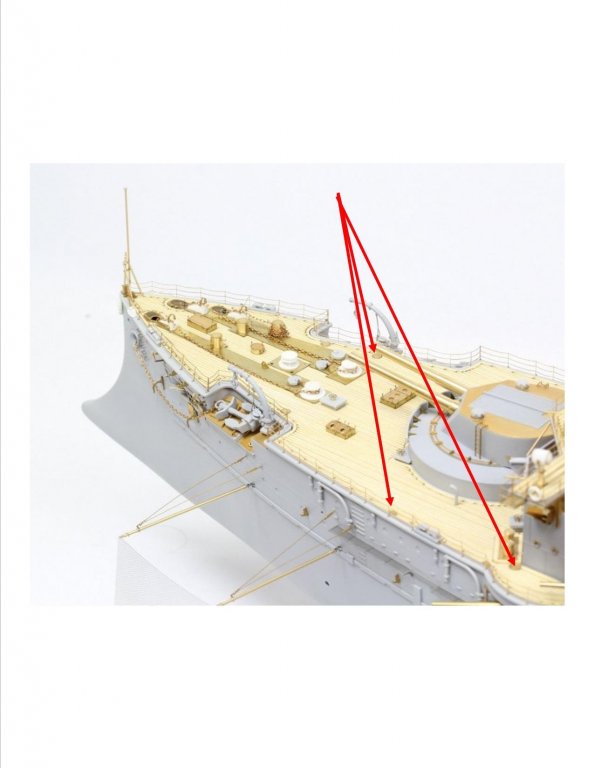
Thanks for the photos, OC. Yesterday, Popeye had asked whether I needed to remove some round spots on the wooden deck. I answered, no, they were markers for some unidentified PE disks that are shown on the plans but not identified for what they are. In later conversation, we decided the round covers are actually coal chutes...where they loaded coal for firing the turbines into the ship's hold. These covers are dotted all over the deck of the ship. My comment was simply that the actual parts are not identified as to what function they serve. But I think we have that much cleared up now. Thanks!
- 467 replies
-
- 6
-
-
- mikasa
- wave models
- (and 1 more)
-
Once again, you've done some remarkable brush work on that crane. It looks outstanding, OC. You must have a very small brush to paint inside that boom.? PS: I like the combination of kit parts with the photo etch ones to build your crane. Looks very good that way.
-
Must have been one heck of a big sweat shop in that hold below for all the poor blokes shoveling coal. No wonder this ship has so many ventilators. Lots and lots of coal dust.
- 467 replies
-
- 5
-
-
- mikasa
- wave models
- (and 1 more)