

dgbot
-
Posts
3,993 -
Joined
-
Last visited
Content Type
Profiles
Forums
Gallery
Events
Posts posted by dgbot
-
-
-
Your model is really looking good keep going. What is the color of the paint you are using?
David B
- Omega1234 and Dimitris71
-
 2
2
-
You are doing an incredible job with a bad kit. Making a silk purse out of a pigs ear. Most Vics I have seen have been painted you are doing a fine job going natural keep having fun.
David B
- Mike Dowling, CaptainSteve and GLakie
-
3
-
-
You have got a real beauty there. The Royal Caroline makes into a gorgeous model but it not for the faint of heart. I hope you will let me sit and watch the fun. It was on sale but was outside my limited budget. Make us proud.
David B
- Dimitris71, Omega1234, cristikc and 1 other
-
4
-
One of the ways I learned planking was to set up battens on the hull about 4 planks width. Tack them on and bend them around the hull making adjustments as you did it. Start at the wale then come from the keel up. This will give you the run of the planking. I have done a few bluff bows in the past and this method will help you visualize your runs that way less dropped planks and a more pleasant run. This also involves spiling and the use of templates. Time consuming and a pain but worth the effort when done. Keep up the good work and remember to have fun.
David B
-
-
-
At work we used an adhesive by 3M that worked great. It was used for repairing foam backing and was easily removable if needed.
David B
- Dimitris71 and Omega1234
-
2
-
-
My first kit years ago was A&L's America. Bad instructions dried out wood that would crack if you tried to flex it. My second one was the Harvey. Same problems and it did not exist. I did a better job on it but looking back knowing what I can do now it would be perfect for kit bashing which I am a big fan of.
David B
-
-
There is an outfit called Task Force 72. They build steel navy in that scale. The reason is the size. It is much easier than 1/8 but does not take up space. You would need a trailer to haul these things around at 1/48.
David B
-
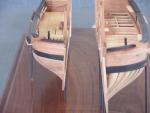
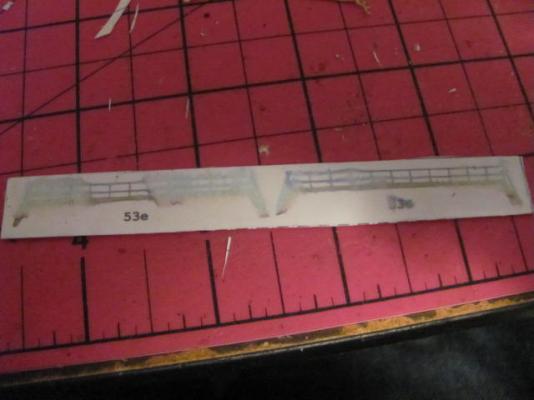
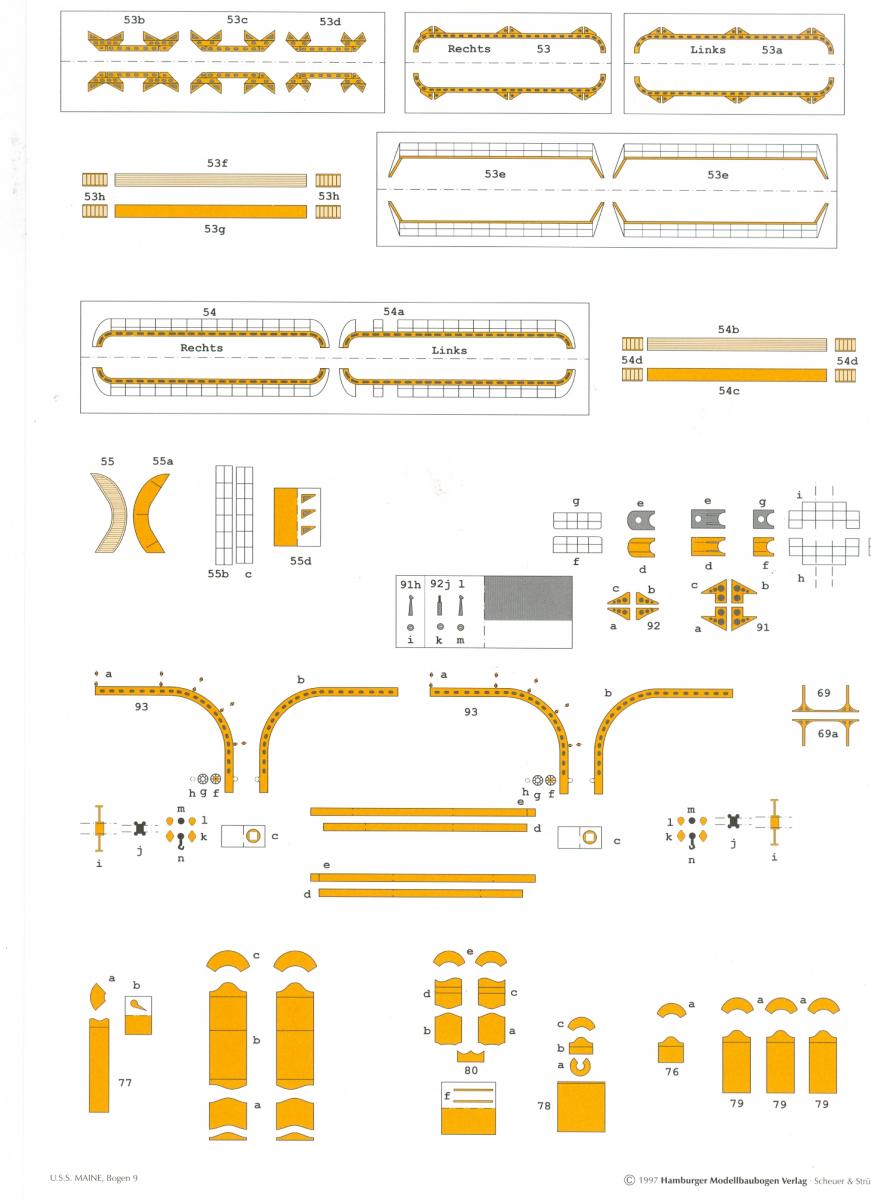
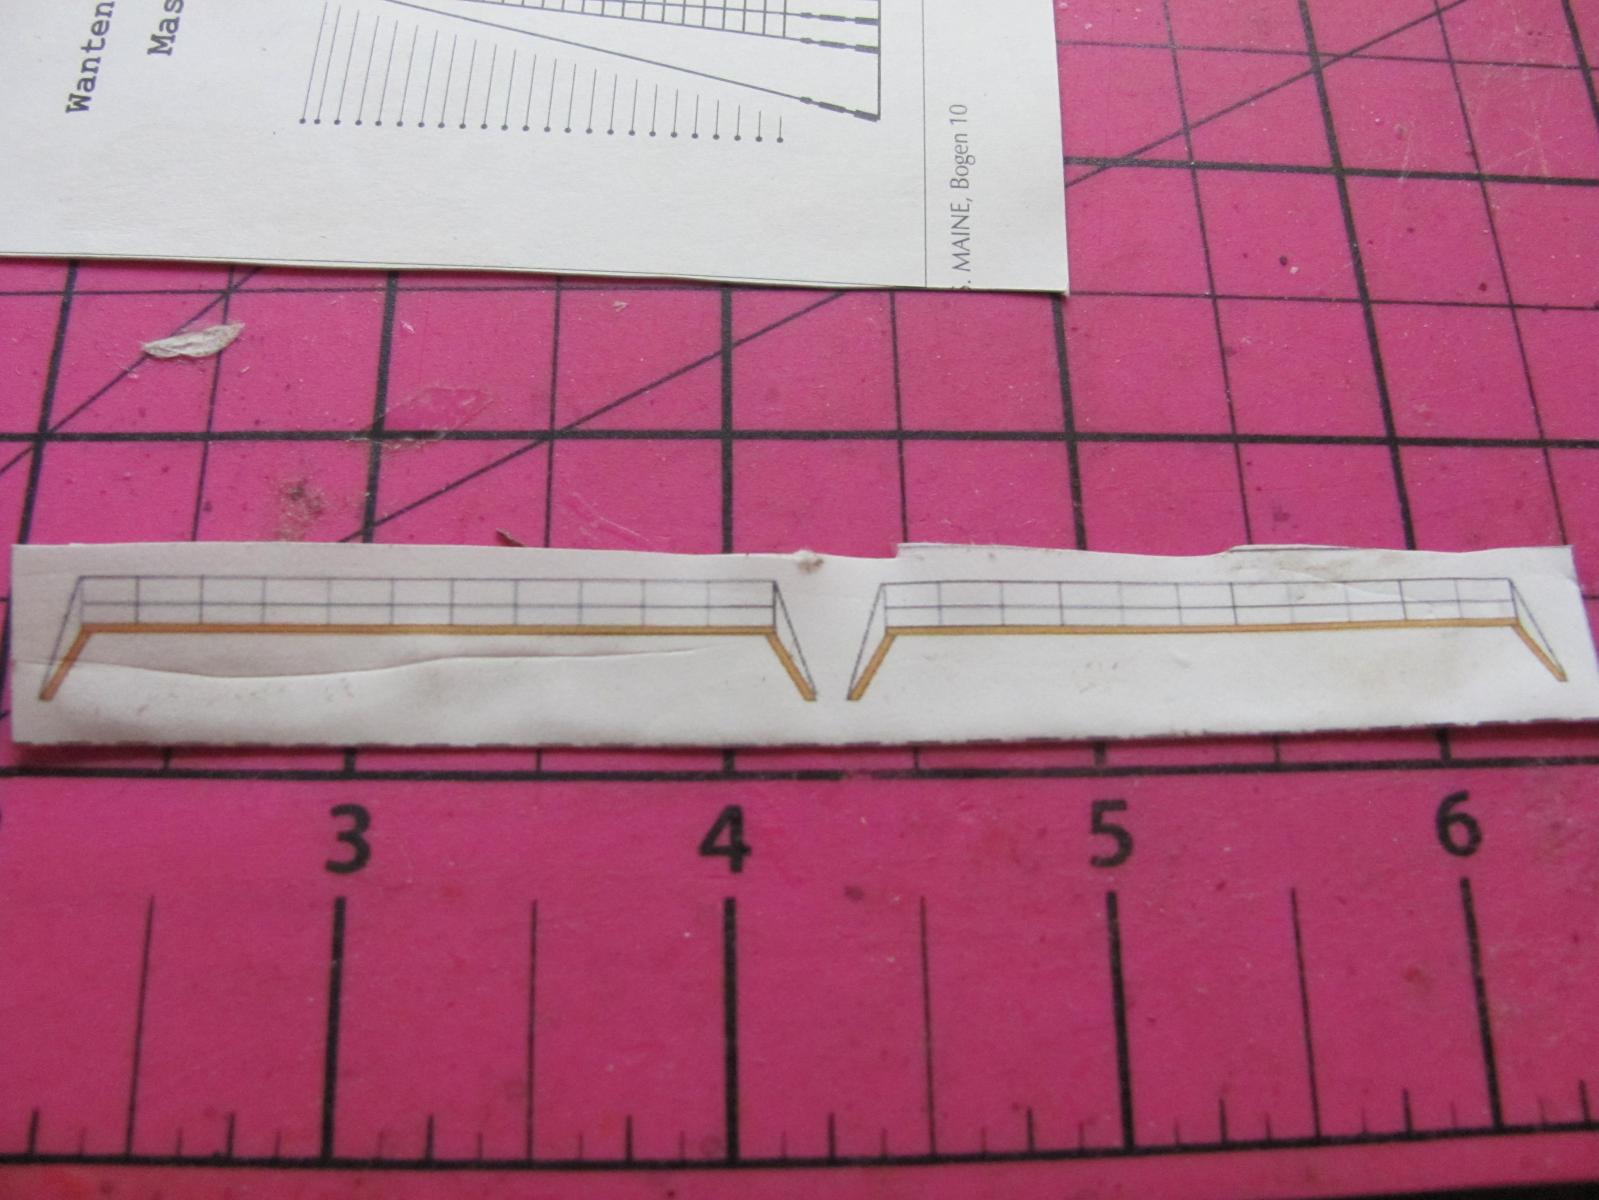
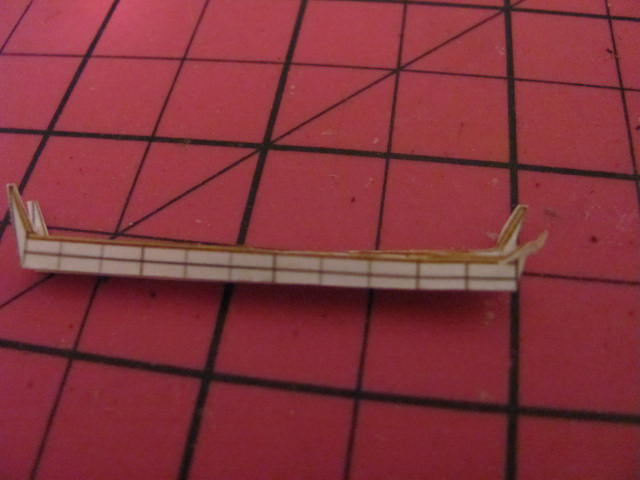
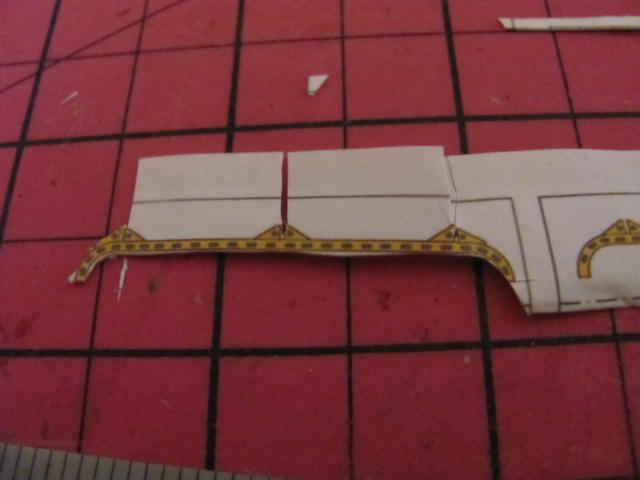
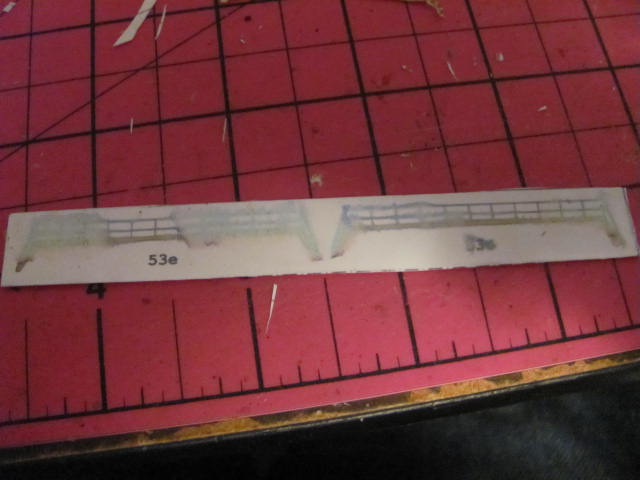
I am finally getting back to the Maine and it is not as easy as it sounds getting into the groove is what helps. The first thing was print out some more sheets to cut out the blanks. I first started on the scaffolding and walkway.
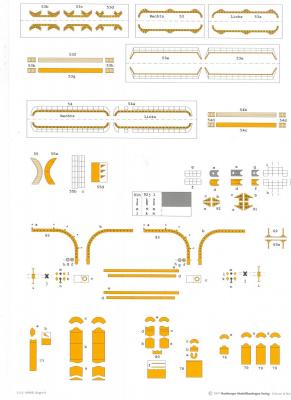
Then fold and glue the parts as before. I started on the walkway first but it came out bad because the tip of my scalpel. And the end result it came out pretty sloppy. And I had to redo it.
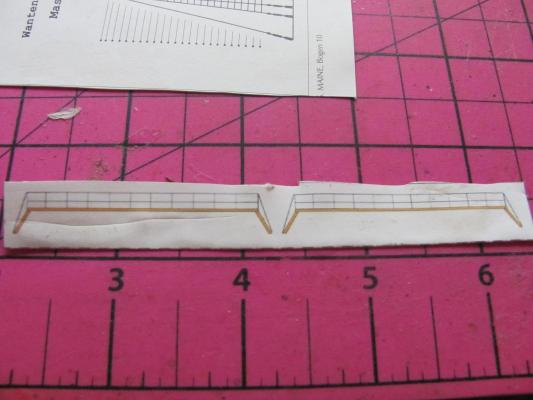
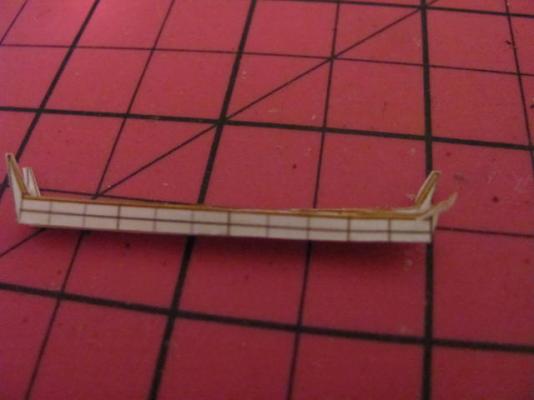
did another blank and put a weight on it so the part did not warp and went to the scaffolding.
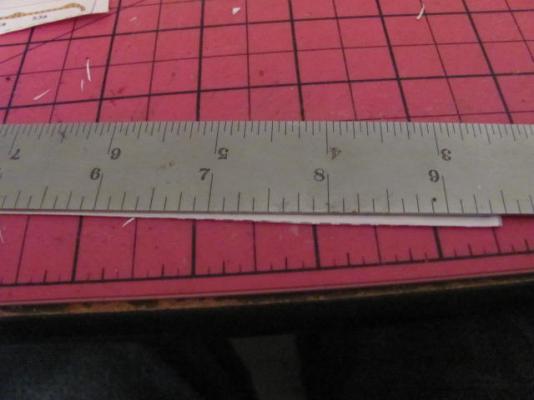
After cutting the blank and folding and gluing I started cutting and using a straight edge to keep from damaging it.
I noticed that the tip of my blade was starting to dull so I grabbed my strop with compound and brought back the tip. The compound is from Flex Cut and is an Aluminum and Titanium Oxide. Works great for putting the edge on and polishing at the same time.
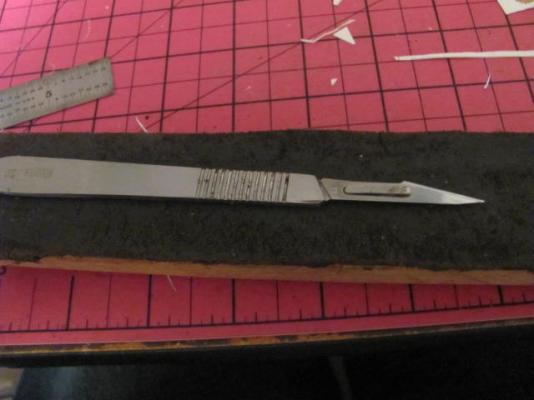
By cutting the inside cures first with light stokes yields a fine cut. That is the reason for a sharp tip.
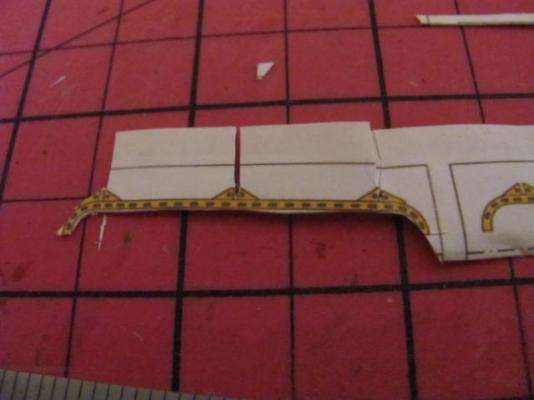
The next part was the walkway and I had a rude surprise the glue diluted with the ink and have to redo the part accidents happen but you learn from every redo that you have if you can afford it.
Well tomorrow is another day of having fun.
David B
- ggrieco, canoe21, Ryland Craze and 5 others
-
8
-
Awestruck and amazing.
David B
- mtaylor, Dimitris71, Canute and 1 other
-
4
-
Another common scale for a large model would be 1/72. That way you have your three types and it would be easier to manhandle.
David B
-
-
It is the little things that give a model life and a story. Beautiful work.
David B
- riverboat and Dimitris71
-
2
-
Thanks for your helpful response regarding the plywood.
If I understand correctly, it is partially cut through via laser but not completely. I once built a model where I got sheets of wood with lines printed on them and nothing more. I had to cut them out with an xacto knife (having nothing more sophisticated). The result was not exceptionally pretty.

Skip
I gave up and bought a scroll saw that made the job easier.
David B
- Eddie and Mike Dowling
-
2
-
-
May you get better soon and may the grace of god be with you.
David B
- popeye the sailor, GLakie, mtaylor and 1 other
-
4
-
Go for it Dan, I will see it from the newsletters and cheer you on. I know you can do it.
David B
- mtaylor, Dimitris71 and Omega1234
-
3
-
Erik, your Longboat is really shaping up. Now comes the fun part. I will be going through your log when I start mine and pray I do as well as you.
David B
- Erik W, Canute and Dimitris71
-
3
-
Hey Boyd, this explains it better than I can. https://en.m.wikipedia.org/wiki/Worm,_parcel_and_serve
While you read that hit the link "cuntline" and it explains the grove between the cables more.
Thanks for the link it describes the process perfectly for those who have never heard of the term before.
David B
- mattsayers148, mtaylor and GLakie
-
3


HMS Dragon 1760 by Siggi52 - FINISHED - Scale 1:48 - English 74-Gun ship
in - Build logs for subjects built 1751 - 1800
Posted
Magnificent work Siggi I will be calling the guys in the white coats to take you to a nice room.
David B