EJ_L
-
Posts
2,246 -
Joined
-
Last visited
Content Type
Profiles
Forums
Gallery
Events
Everything posted by EJ_L
-
 I'm sorry to hear that! Something similar happened to my dad many years ago when his Constitution came under attack by an unnamed 3 year old.... Even on my own builds I have snapped off yards and lately I have been breaking the delicate carvings that I am working on. It is extremely frustrating and like you say, breaks the rhythm. Take a break for a little while if you need to but, I hope it doesn't keep you from finishing this build as you are near the finish line and doing a great job. If cat attacks are a common issue or may repeat in the future, you could always make the models of just the hull as it would appear after launching and before fitting out. Instead of masts, you could always use launching flags. This is also a good practice if the rigging is just too overwhelming.
 -
Looking forward to seeing those castings! Are you planning on installing them on the hull prior to painting? Curious as to your thoughts as you are in a unique position in that you have the choice of doing the detail painting off the hull and then installing where as normally that tedious task of detail painting has to be done with the parts molded onto the hull making the painting more difficult. If you strike out at the next hobby store, you may be able to find the resin through Michael's online. I've had luck with going that route on recalled items as the online stores often get access to the replacement product faster than the local stores.
- 2,699 replies
-
- 2
-

-
- heller
- soleil royal
- (and 9 more)
-
What you have so far is looking very nice. Getting the lines to the proper tensions without distorting other lines, shrouds or even the masts themselves is always a tough challenge especially in the standing rigging. The running rigging is not as important since it can realistically be loose as tensions on those lines vary depending upon their use in changing situations. You are well on your way and I think you will have a nicely rigged ship!
-
Congratulations on finishing your ship! She looks great and you should be proud of what you have created. Enjoy your well earned drink and best of luck on your next build. I look forward to following along with it!
-
I have a similar vacuum that I use to find small pieces also. When we moved from the old house I used it on the floor in the old shipyard and found a lot of tiny parts that had been lost over the years. Especially eyebolts. I bet I lose easily a couple dozen on every model. I am considering making a separate oval piece with the lettering done on it. In fact, that is how I plan on doing the test pieces. My thinking is if I do a test piece that I love, I can simply insert it into the complete carving rather than try again and risk screwing it up. We shall see...
-
It is indeed nerve racking! Honestly, the worst part isn't so much that something breaks, that is just about inevitable. The worst part is when a tiny piece breaks and falls to the floor and gets lost in the carpet. That means I either have to grab the flashlight, get down on the floor and comb the carpet until it turns up all the while hoping that it didn't take a crazy bounce and get to far away from the common search areas or get lost in dog fur or I have to start over which is never fun. The lettering at this small of a scale is still eluding me a the moment. I'm thinking I am going to have to do some sort of printed decal or if I can find a pen with a fine enough point I may be able to just write it in myself. Going to do a lot pf practice though on some scrap to see how it turns out.
-
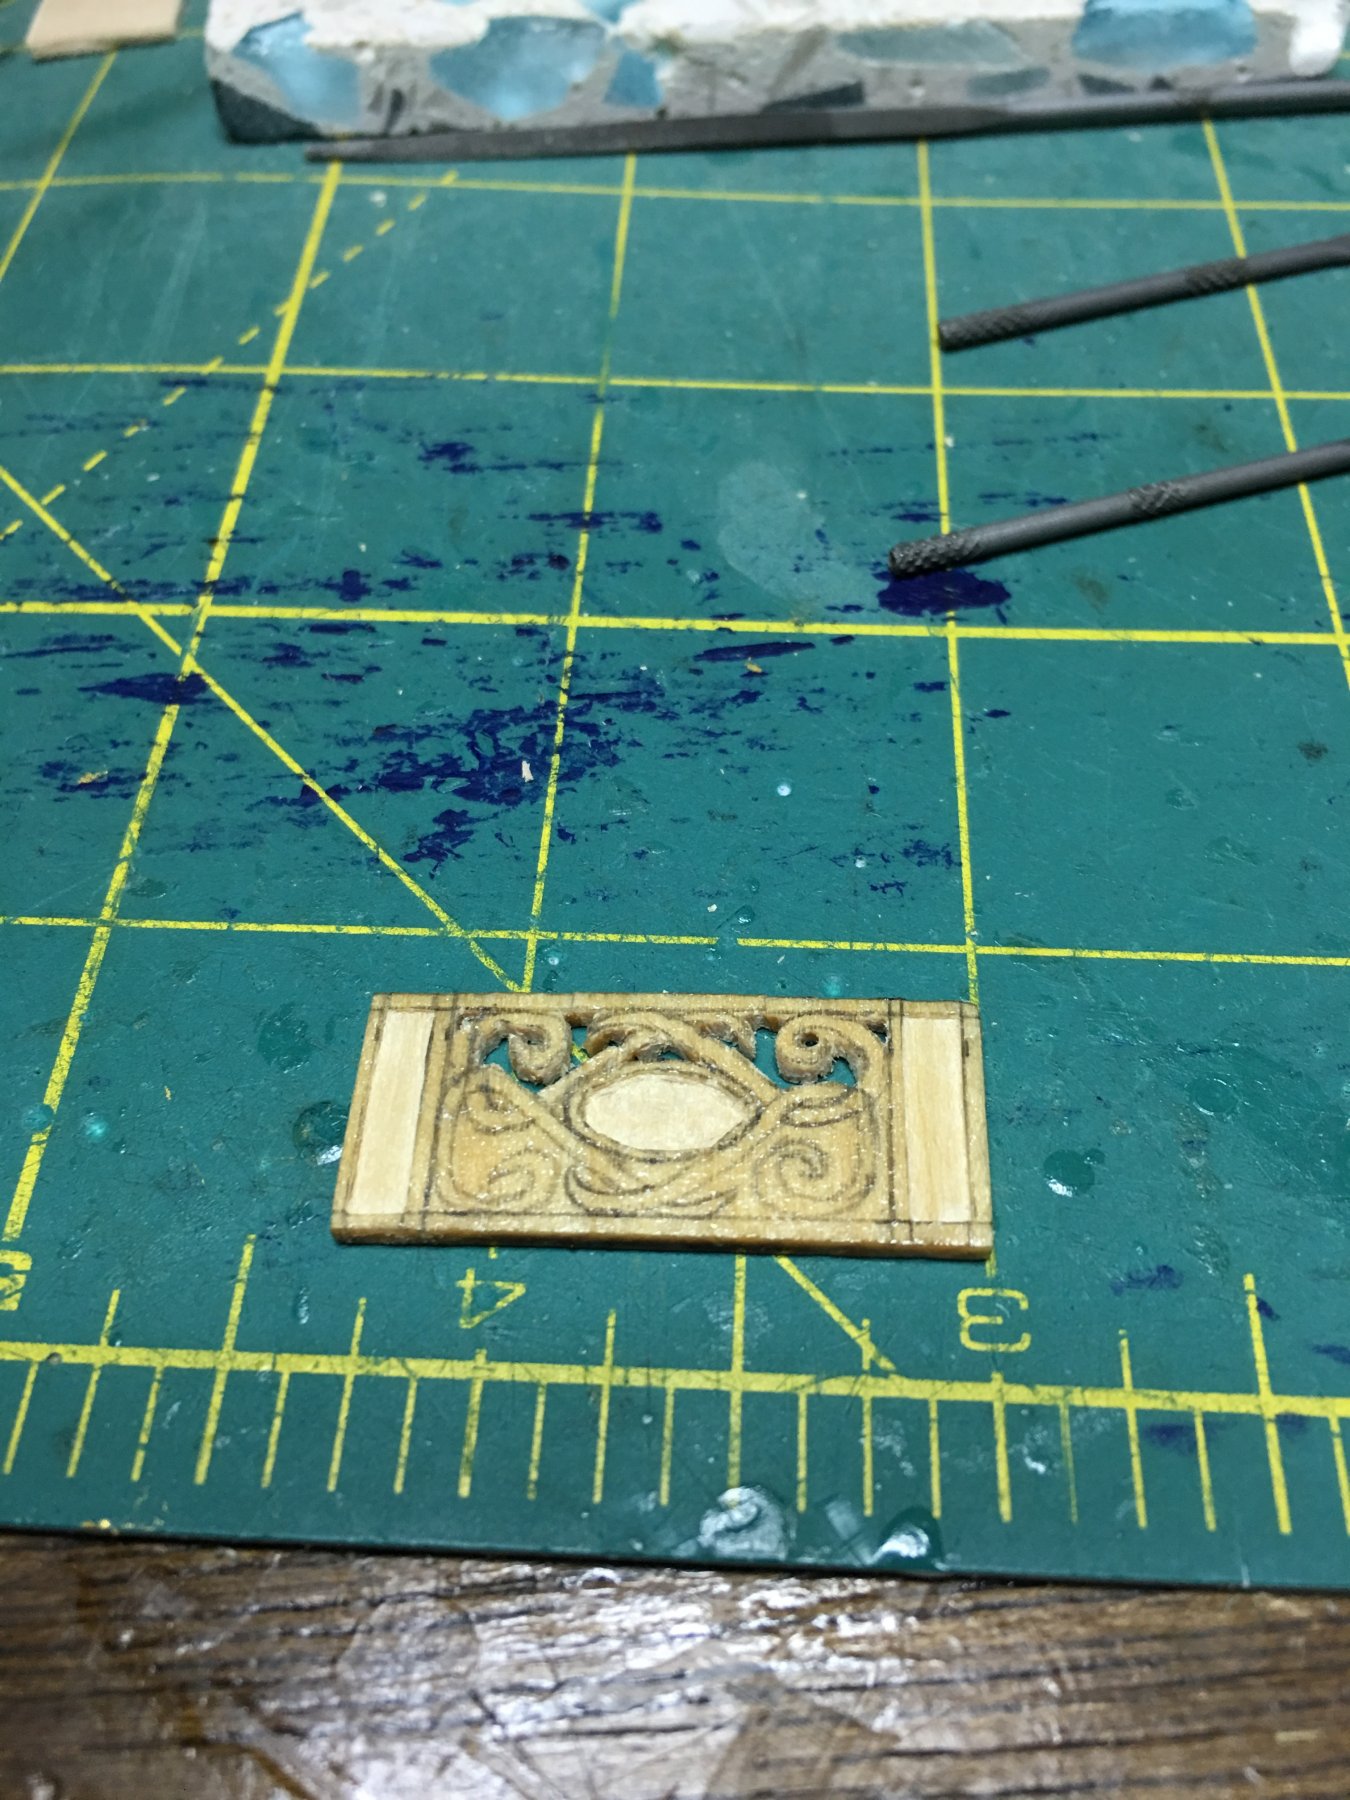
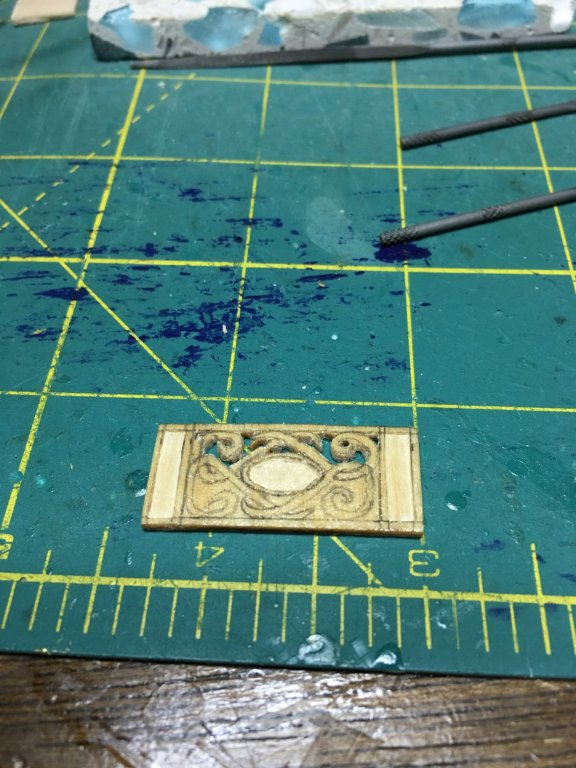
A little more progress. Both sides are now matching and I’m now cutting out the center. The real challenge is going to be figuring out how to get Le Soleil Royal in that center oval. The oval is only 8.5mm wide and 4mm tall. Not sure how to make that work just yet...

- 961 replies
-
- 10
-
-
I always find that the spaghetti stage is where I become truly awestruck by the rigging and the expertise that those sailors had to make it work right. During battle it would not have been uncommon to see the rigging looking like that as lines were destroyed by canon fire. To be able to make sense of it all and repair it quickly and correctly was truly a masterful skill. Good luck!
-
I also agree with Henry on this as the flags would need to be readily and easily accessible for signalling purposes.
-
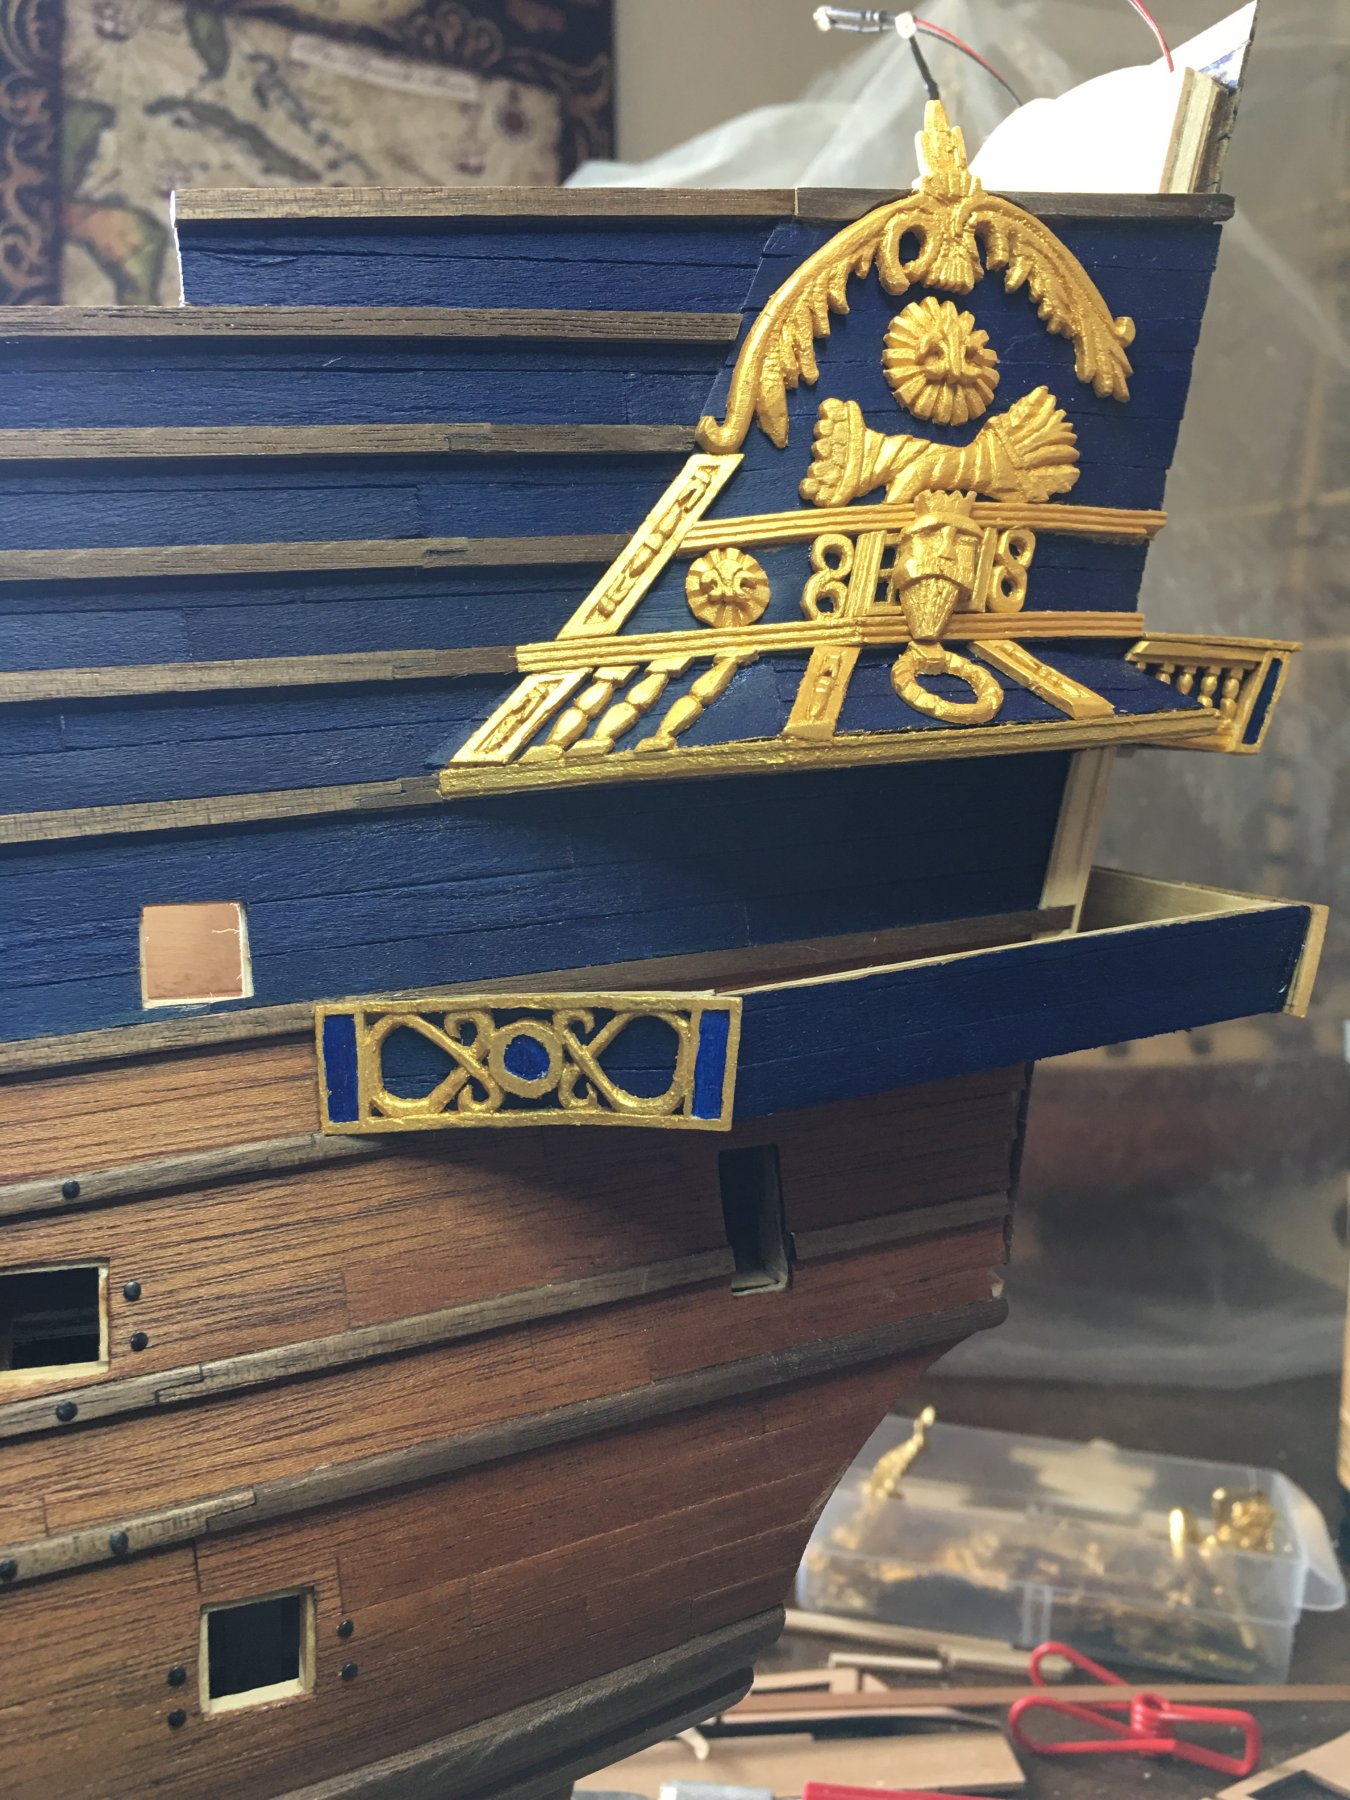
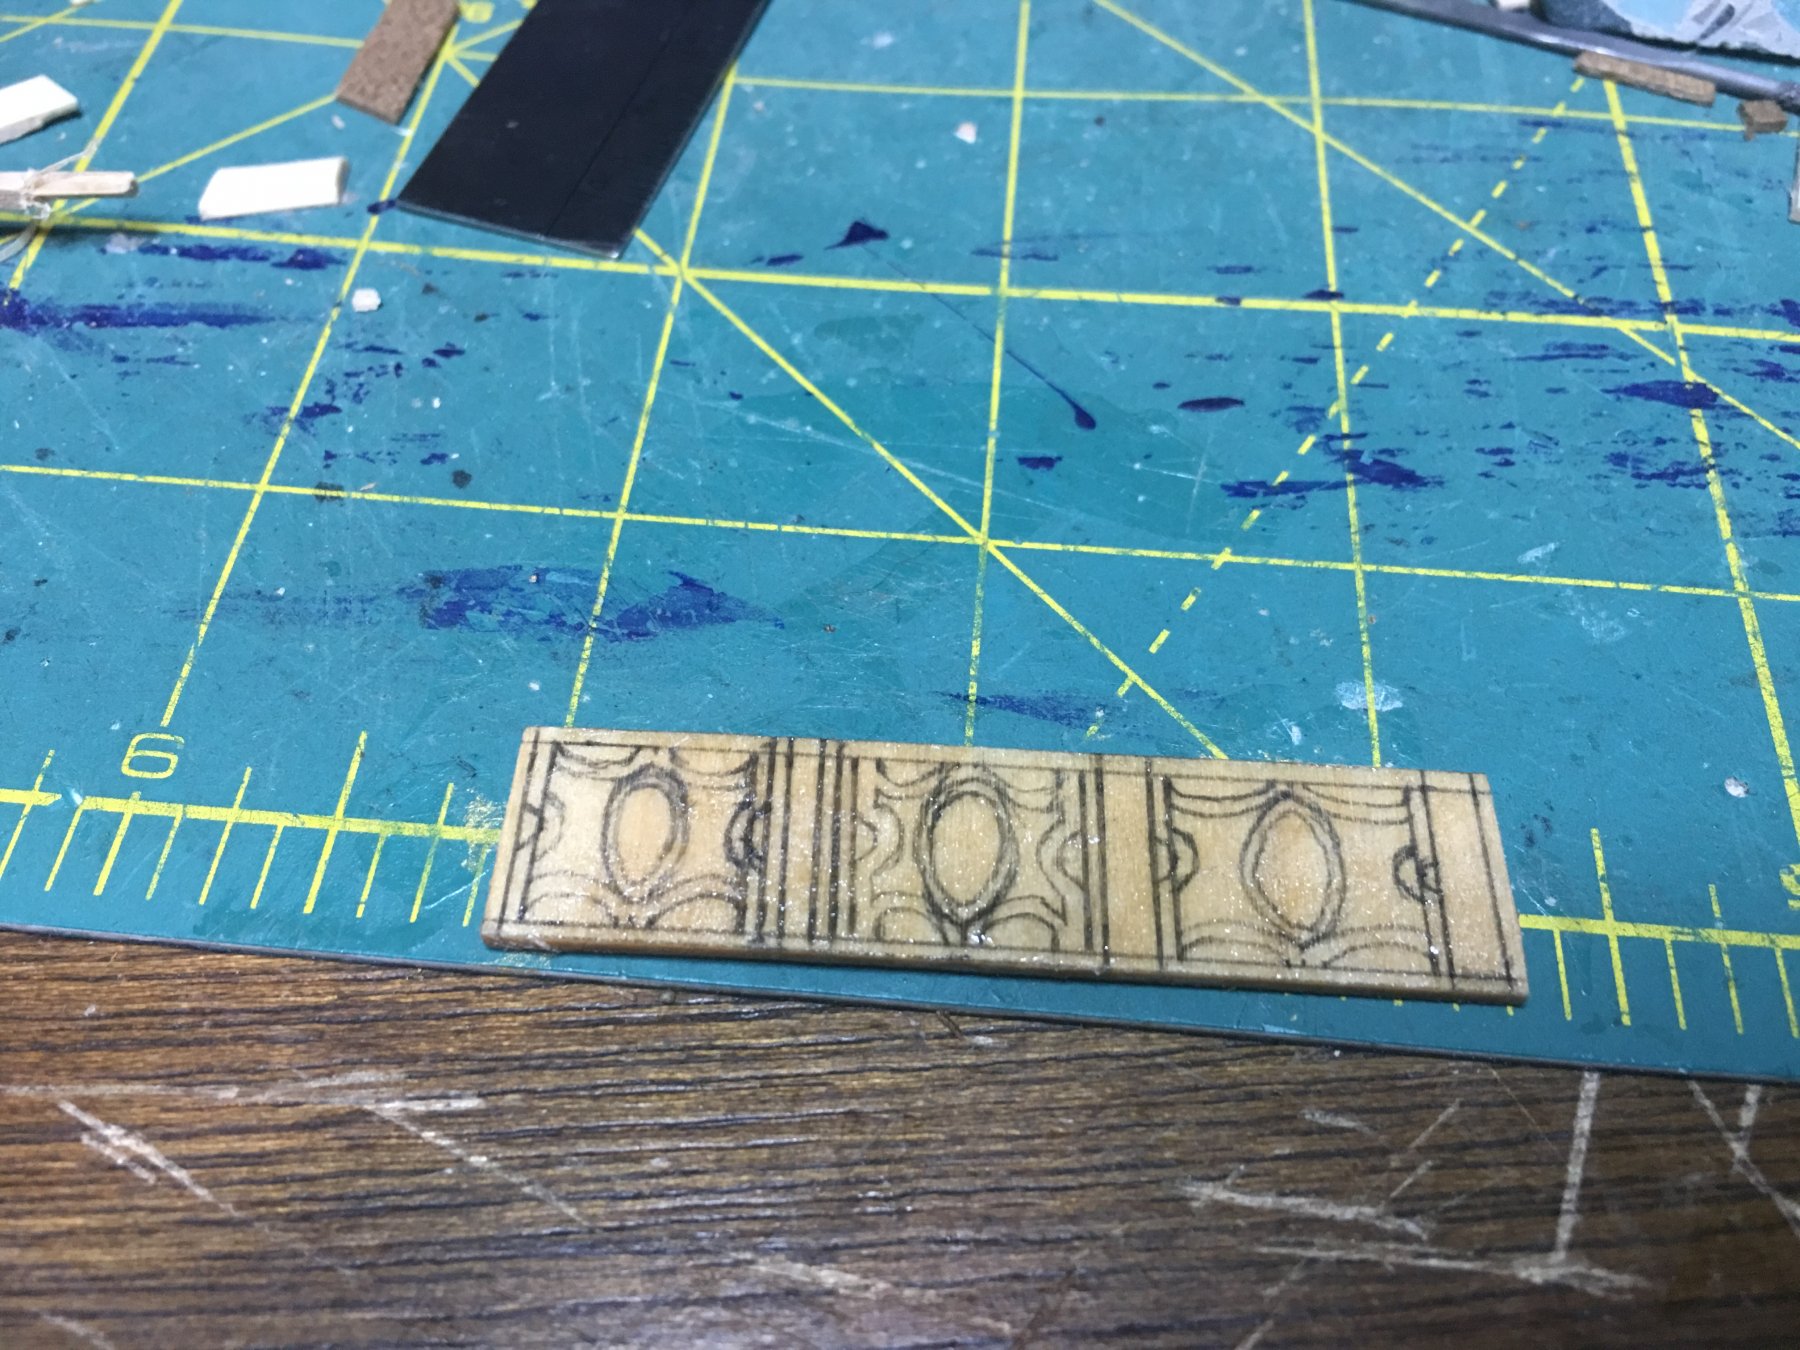
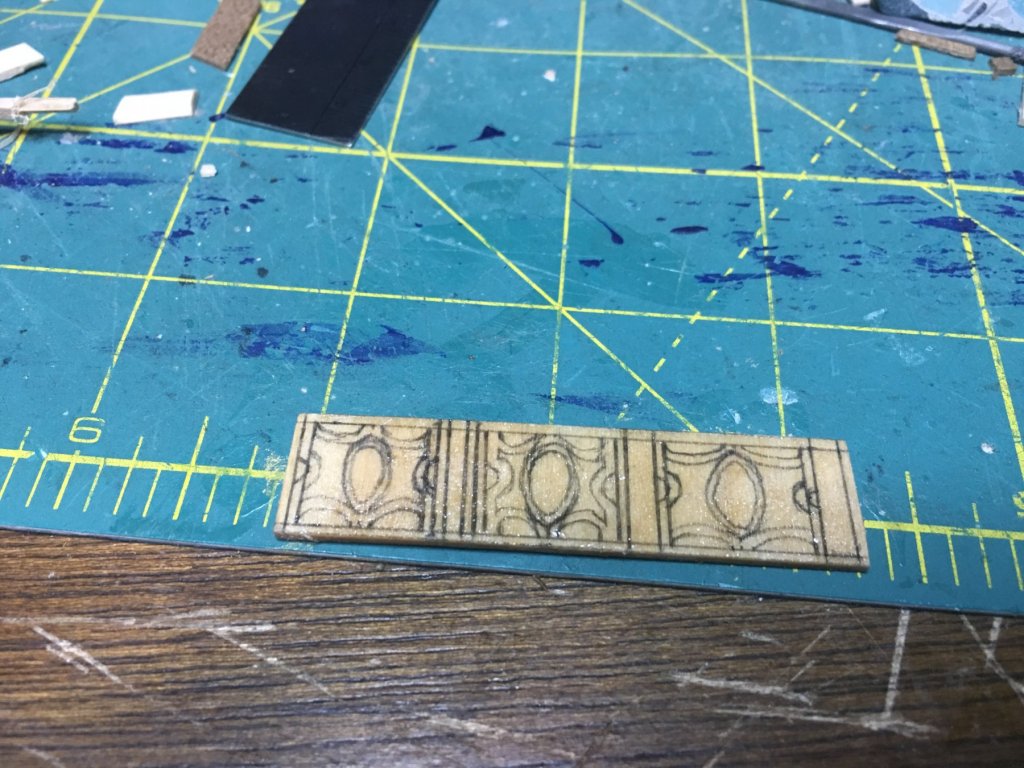
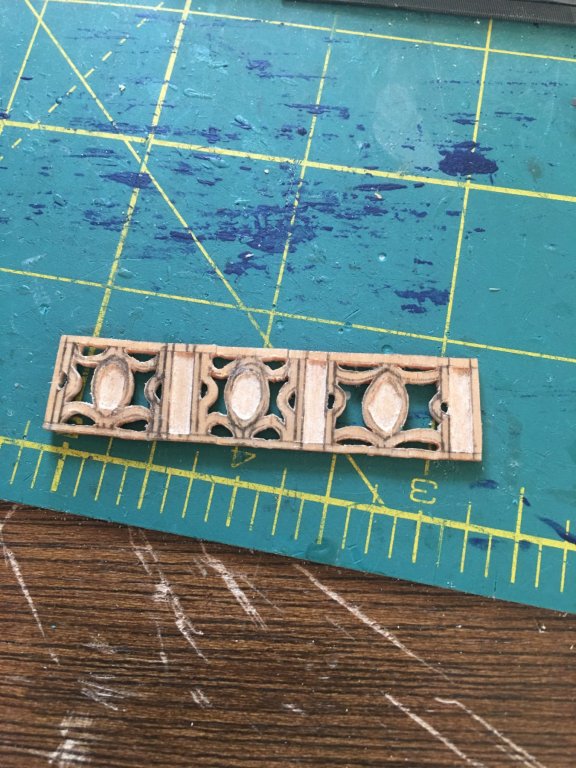
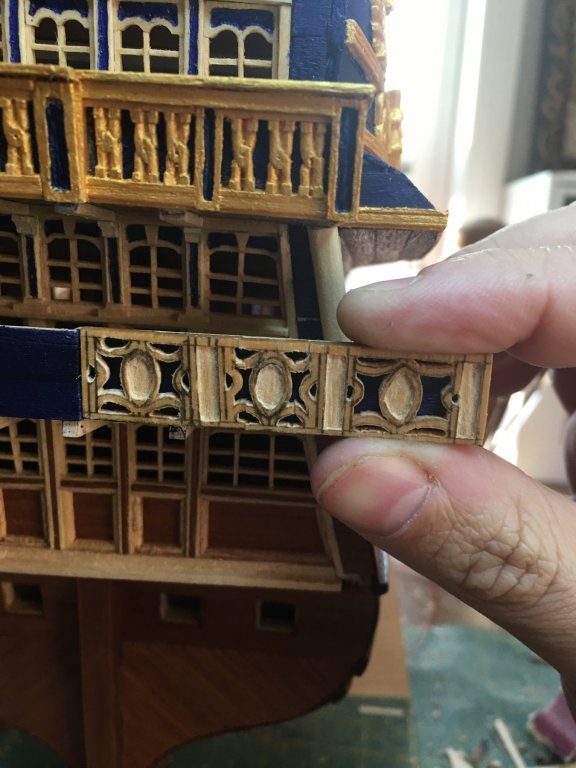
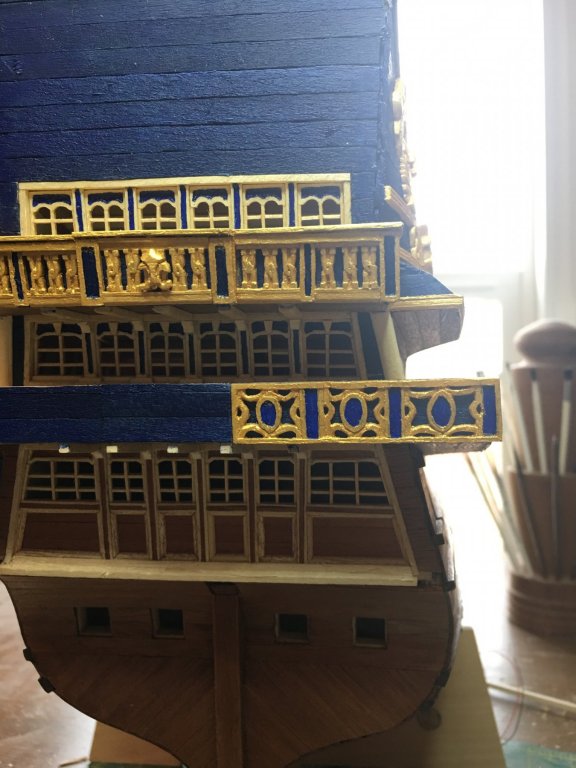
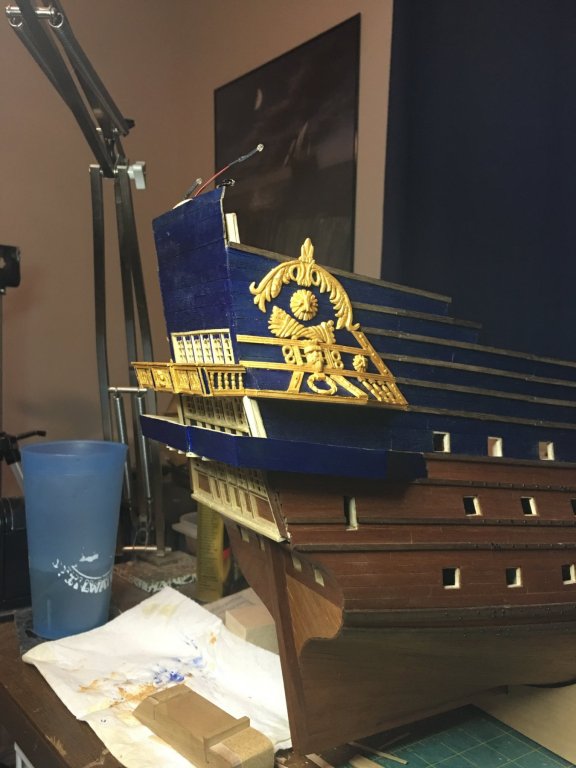
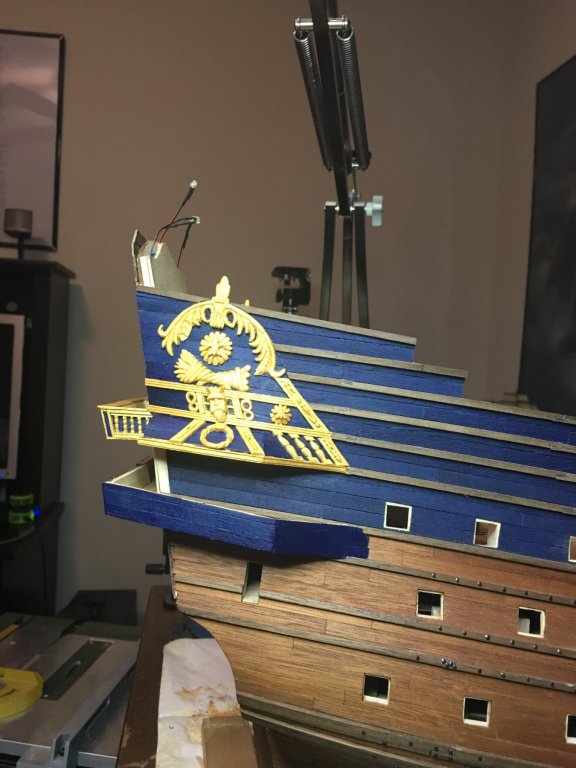
First carving set has been made. Very time consuming and frustrating when little pieces break off but I got one done! The process is actually simple in design. Draw it out on the blank and then I coated the blank in super thin ca glue to help keep the wood bonded together but still easy to sand off. Then I cut out the rough shapes using drill bits and a #11 blade. Once the rough cutting is done I used the #11 blade and the micro files to finish shaping and smoothing. Finally paint and install. Still have the touch ups to do and and some other small details that need to be made for the oval centers and of course all the other sections which I’m starting the next piece of when I get done with this update. As always, thanks for looking in and enjoy the pictures!
- 961 replies
-
- 14
-
-
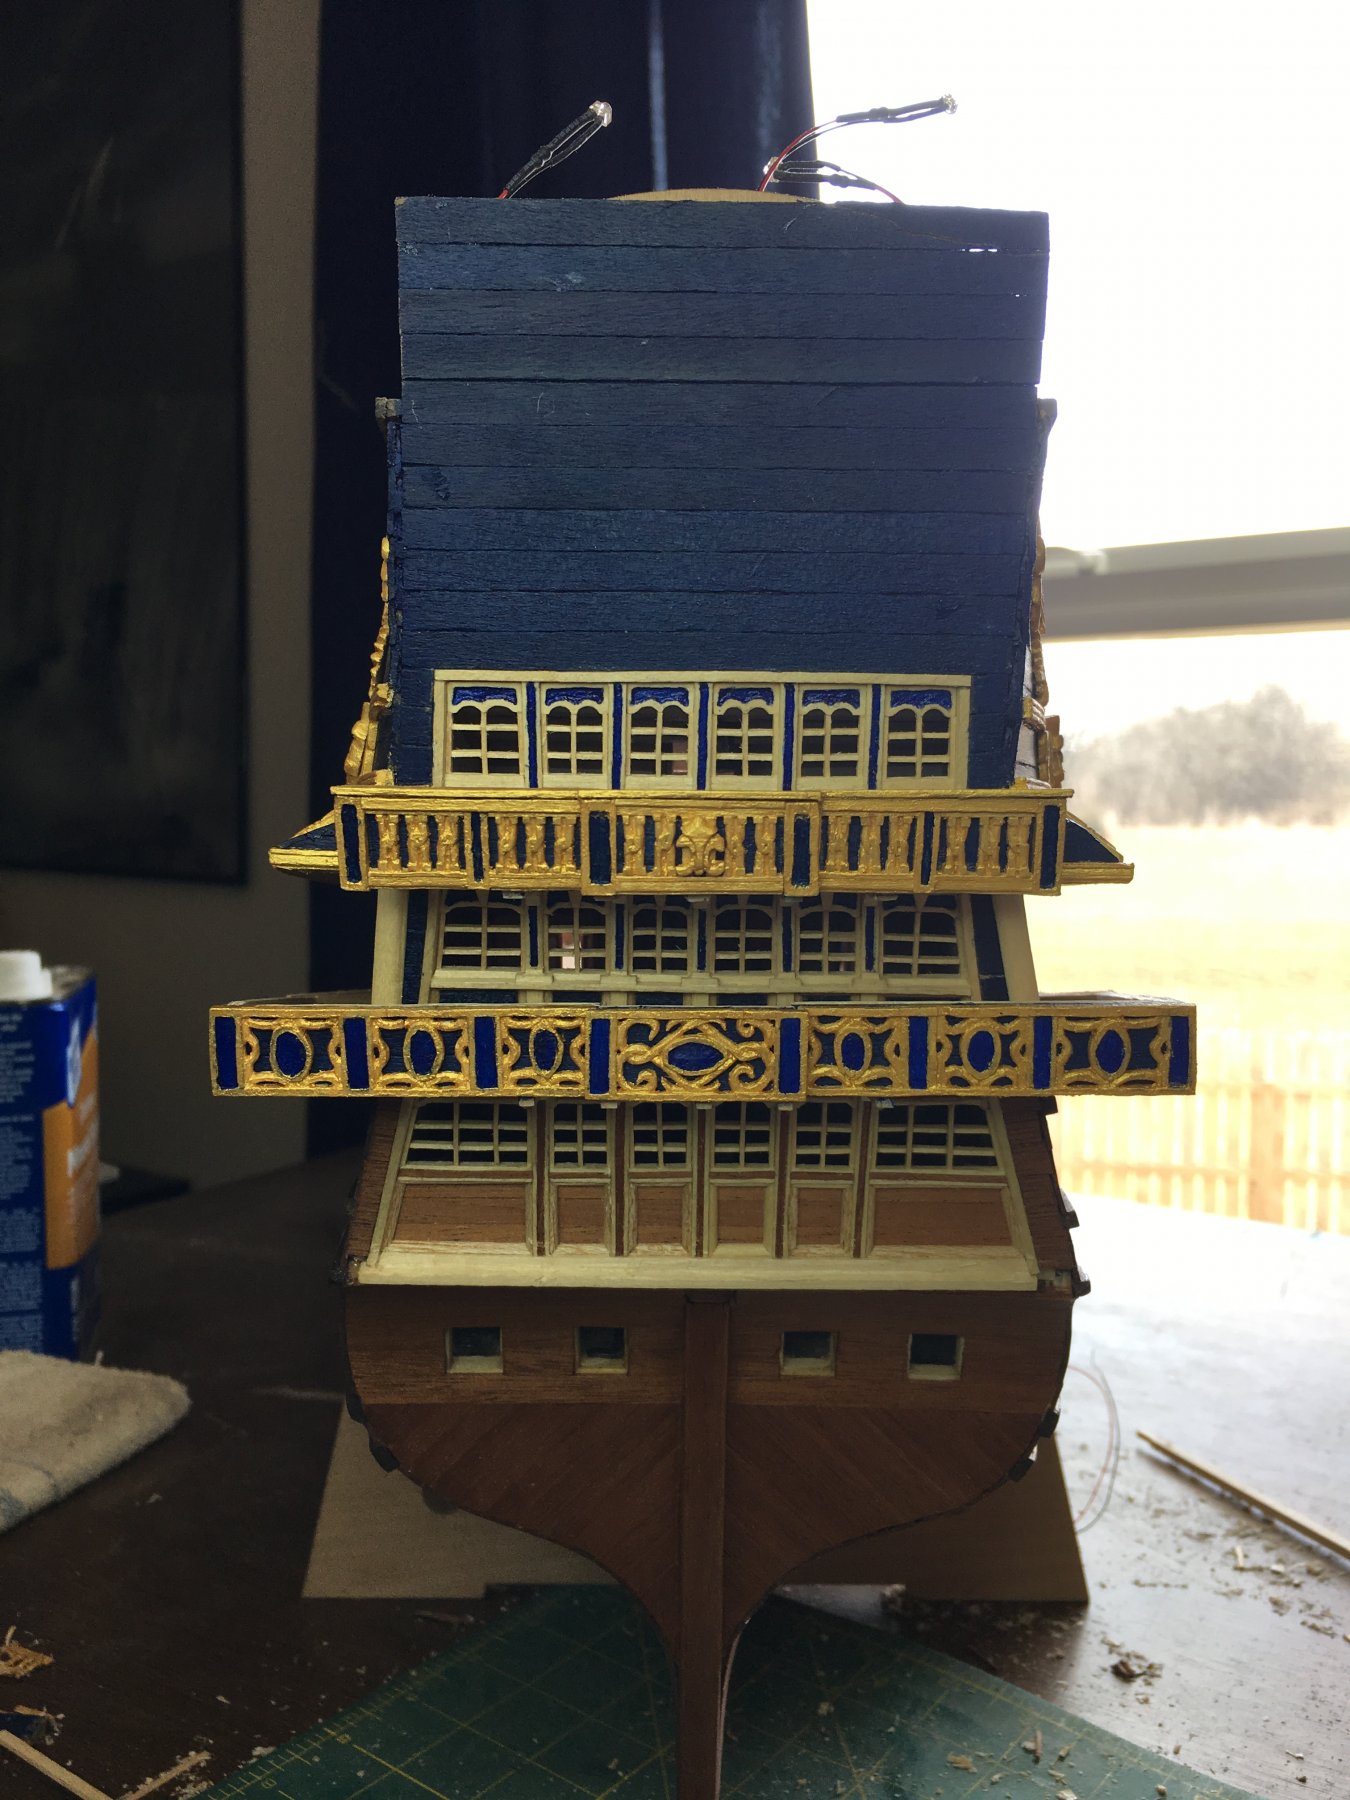
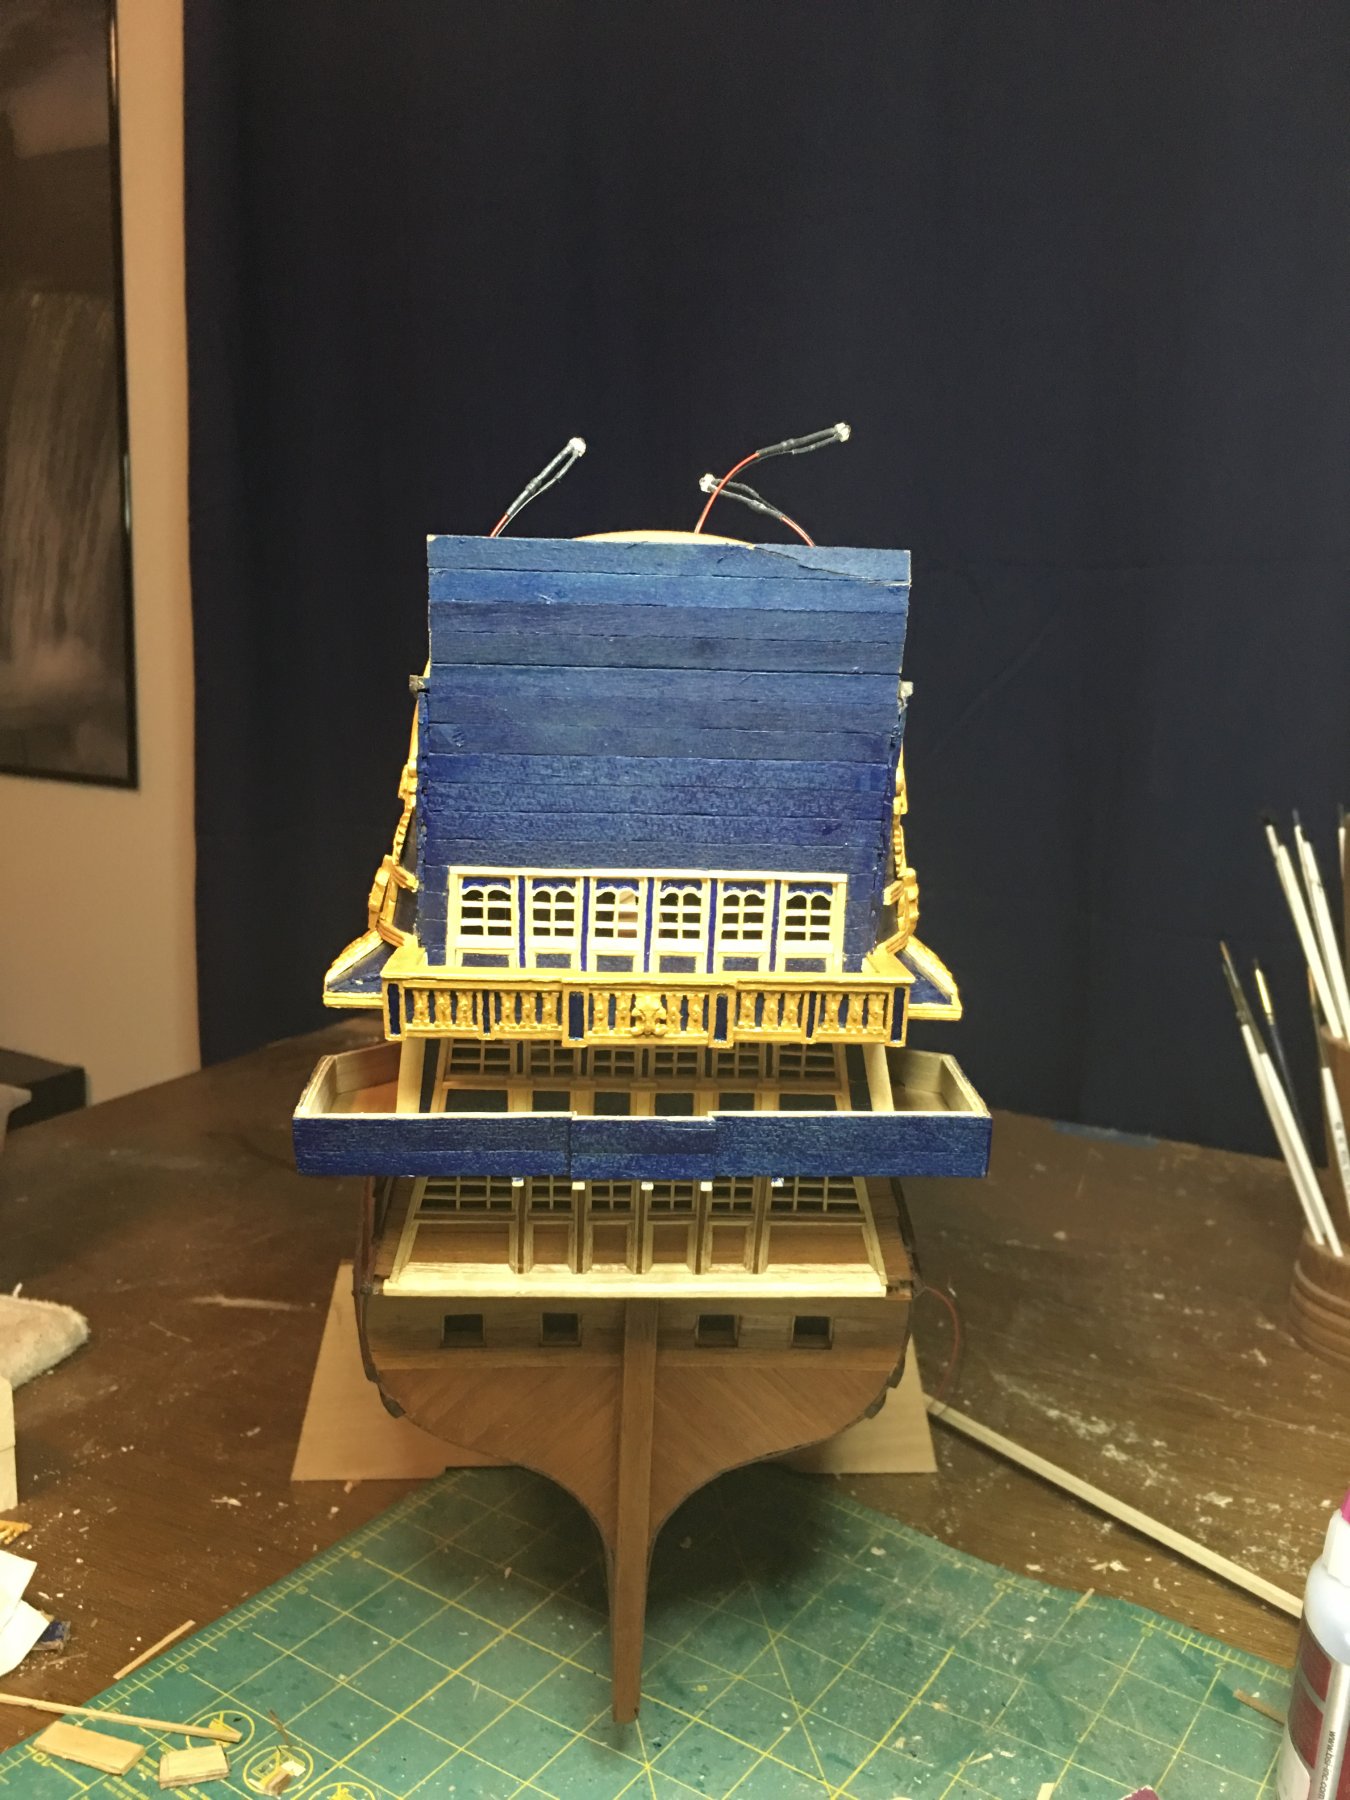
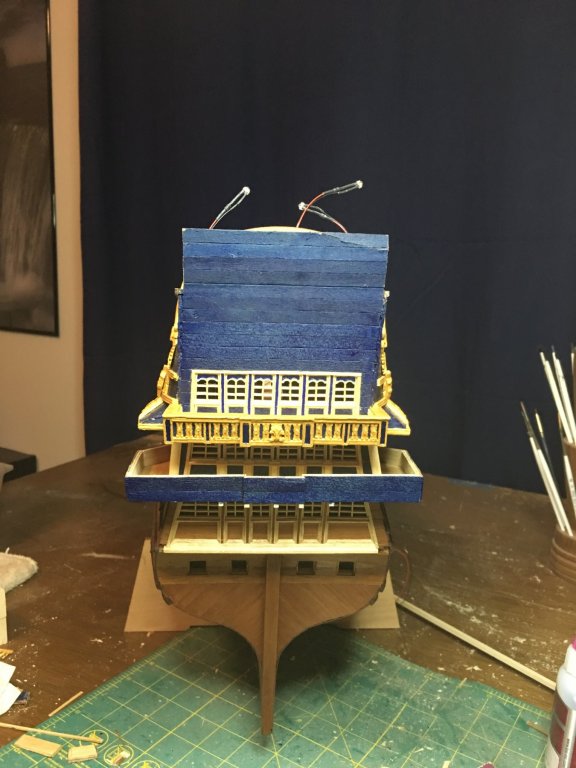
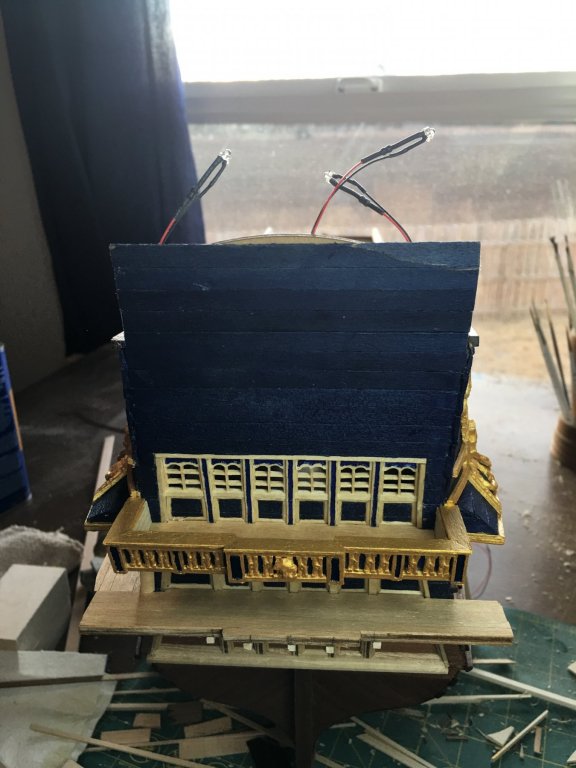
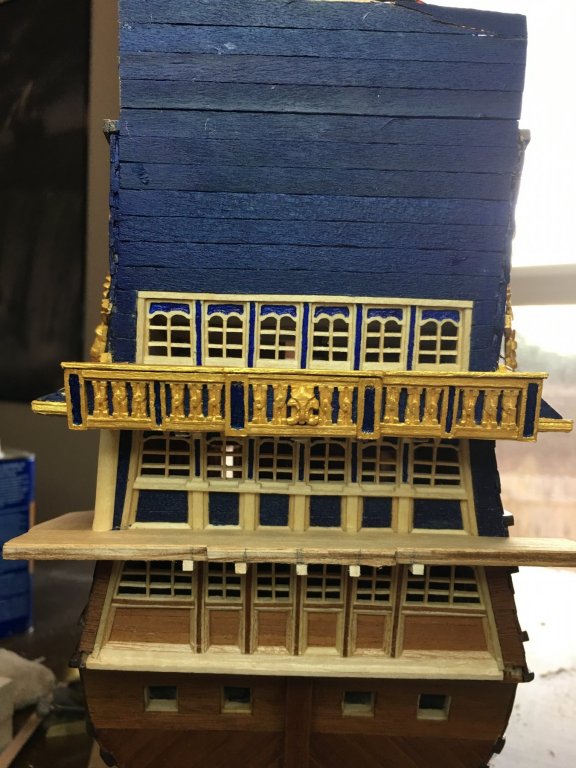
As good fortune would have it I managed to get in a very productive build session tonight and the middle balcony is now built. Time to start adding the decorations! This is going to take some trial and I’m sure many errors. I have a plan, we shall see how it turns out.... Till then enjoy the pictures!
- 961 replies
-
- 12
-
-
Thanks everyone! I've been hard at work at my job....but also the ship and have a good start on the middle tier balcony. Hoping to have the bulkheads completed in the next day or two and ready for the ornamentation's to start. This tier will have more intricate carvings that I will have to make but, I am feeling more confident that I can get them done. Picture updates soon!
-
Regardless of correct to the ship or not, you have made a very nice lantern! Historically correct details, they are what make a ship beautiful but, makes modeling one a pain especially when the accuracy of those details is speculation. The nice thing with something like those lanterns is that it is a part that can be replaced with relative ease. You can attached your lantern as is to complete your build and later, much later perhaps when your brain has finally relaxed from this build and you feel like revisiting it, you can always research and build a replacement. As I've said and many others have also, you have done an incredible job on this build and the build log. It will and should be one that anyone building this ship can use for a reference. Be proud of what you have built, for we are all privileged to have seen it!
-
Great start to your molds. Speaking from experience of already having to carved several of the Fleur-de-lys, having a mold of them will greatly expedite the decorations as well as any others that you can get to mass produce from a mold. When looking at the various carvings and their positions on the hull, I constantly wonder about how consistent they would have been in size, shape and location? Each one would have been hand carved which due to human error, almost certainly means there would have been some variance in appearance if only on a minor scale. Then there is the placement of which function would have forced them to be adjusted to not impede or hamper the ships operations. This likely would have caused some variance of design to fit in smaller or larger spaces due to gun port alignments, wales, chain plates, ladders, sheaves, etc.. While aesthetics were an important part of the ship and therefore an important part of the model, it makes me think that we may spend more time worrying about the perfect alignment than the original builders did! Just my thoughts as I fret and worry the same about how I am going to make everything fit and what it looks like. In any case, I'm looking forward to seeing how yours turn out. Can't use the same process myself on my current build as I want them all to be wood but, I am curious for future projects.
- 2,699 replies
-
- 1
-
-
- heller
- soleil royal
- (and 9 more)
-
I will echo the beautiful sentiments! Very nice work. I would have to say that while having a kit out of the box ready sounds great especially for beginners, it is the changes that we do to each build that make them unique.
- 75 replies
-
- 5
-
-
- constitution
- mamoli
- (and 2 more)
-
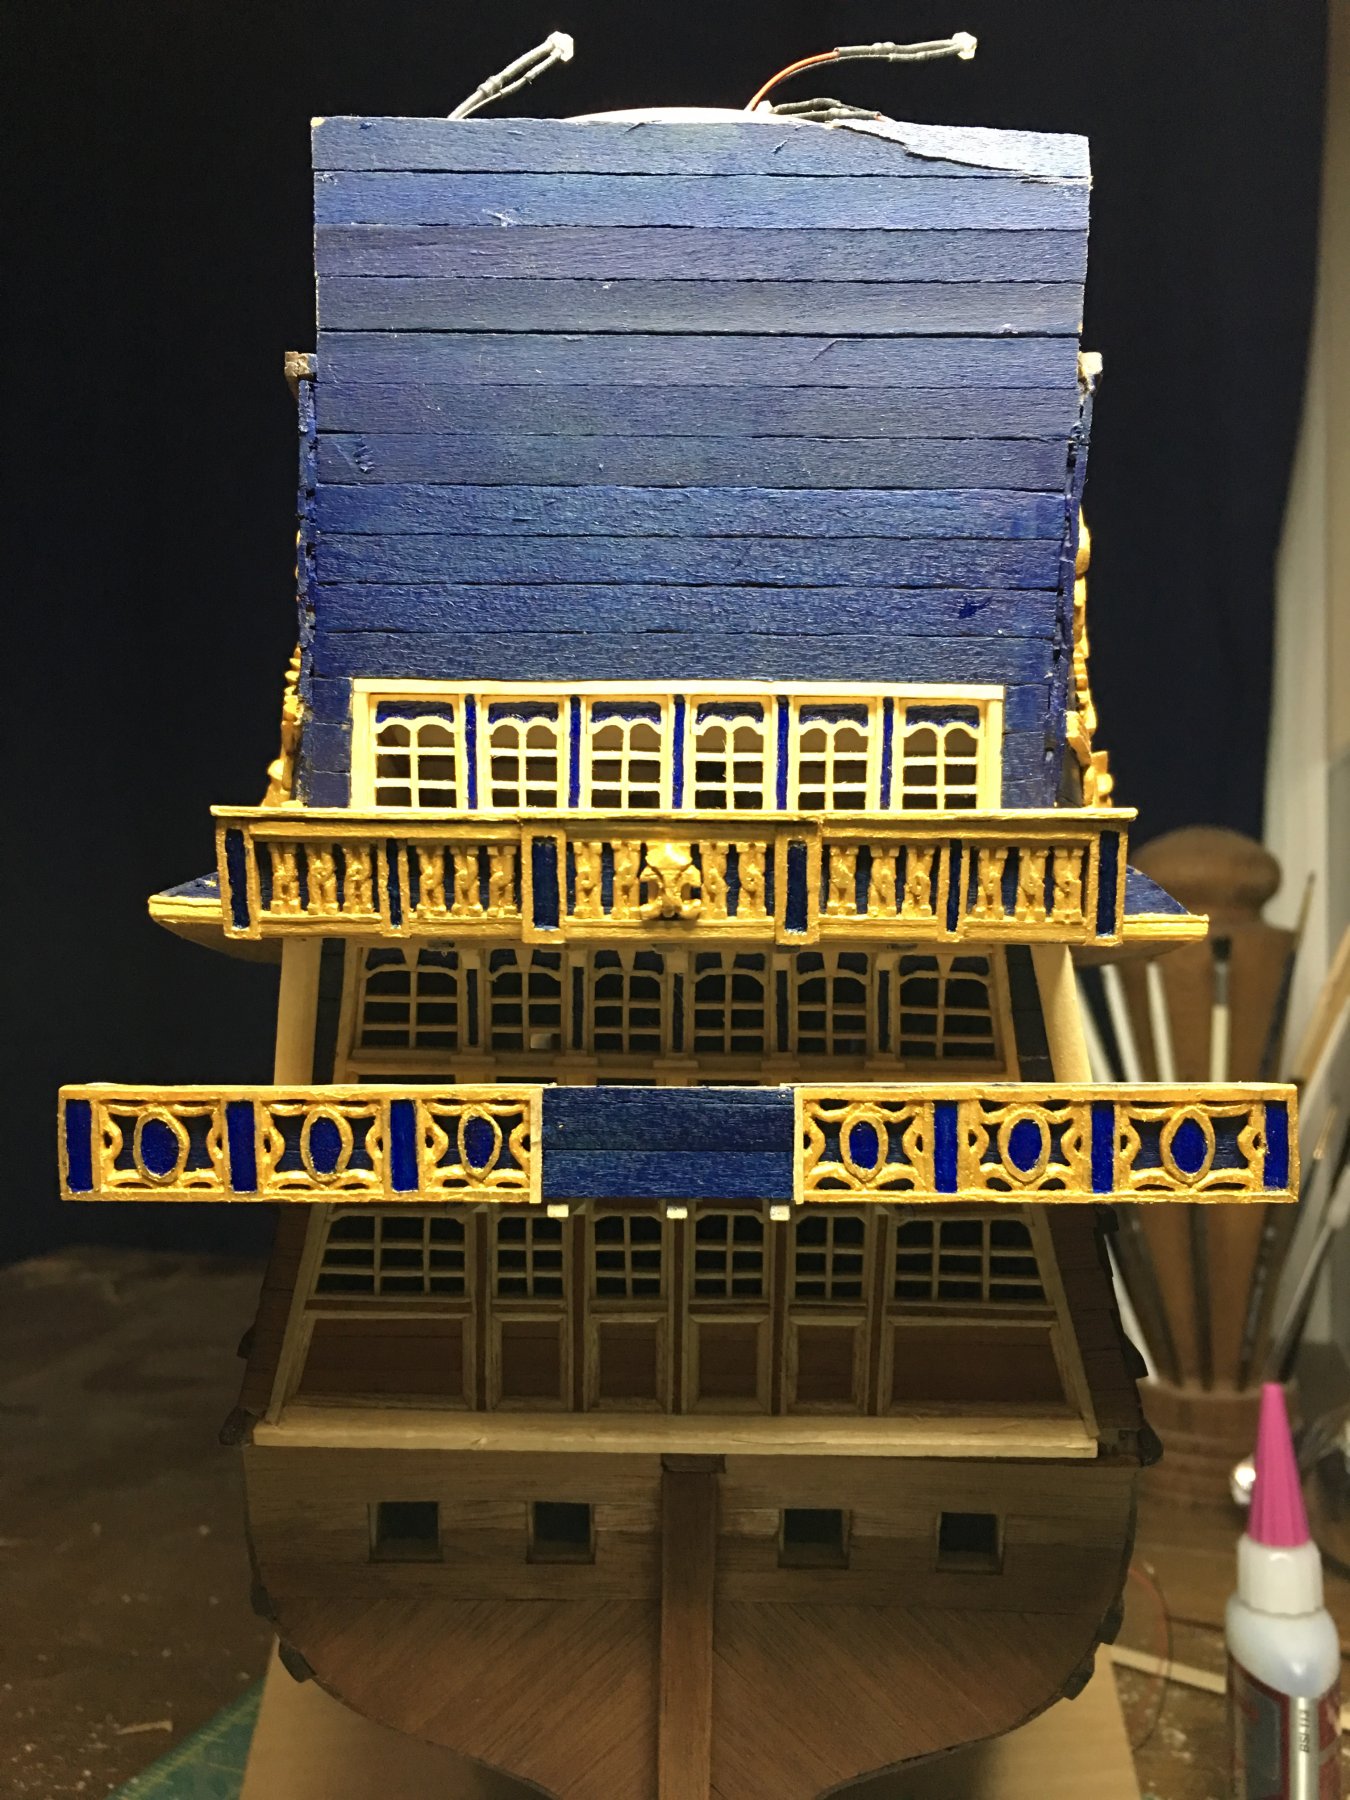
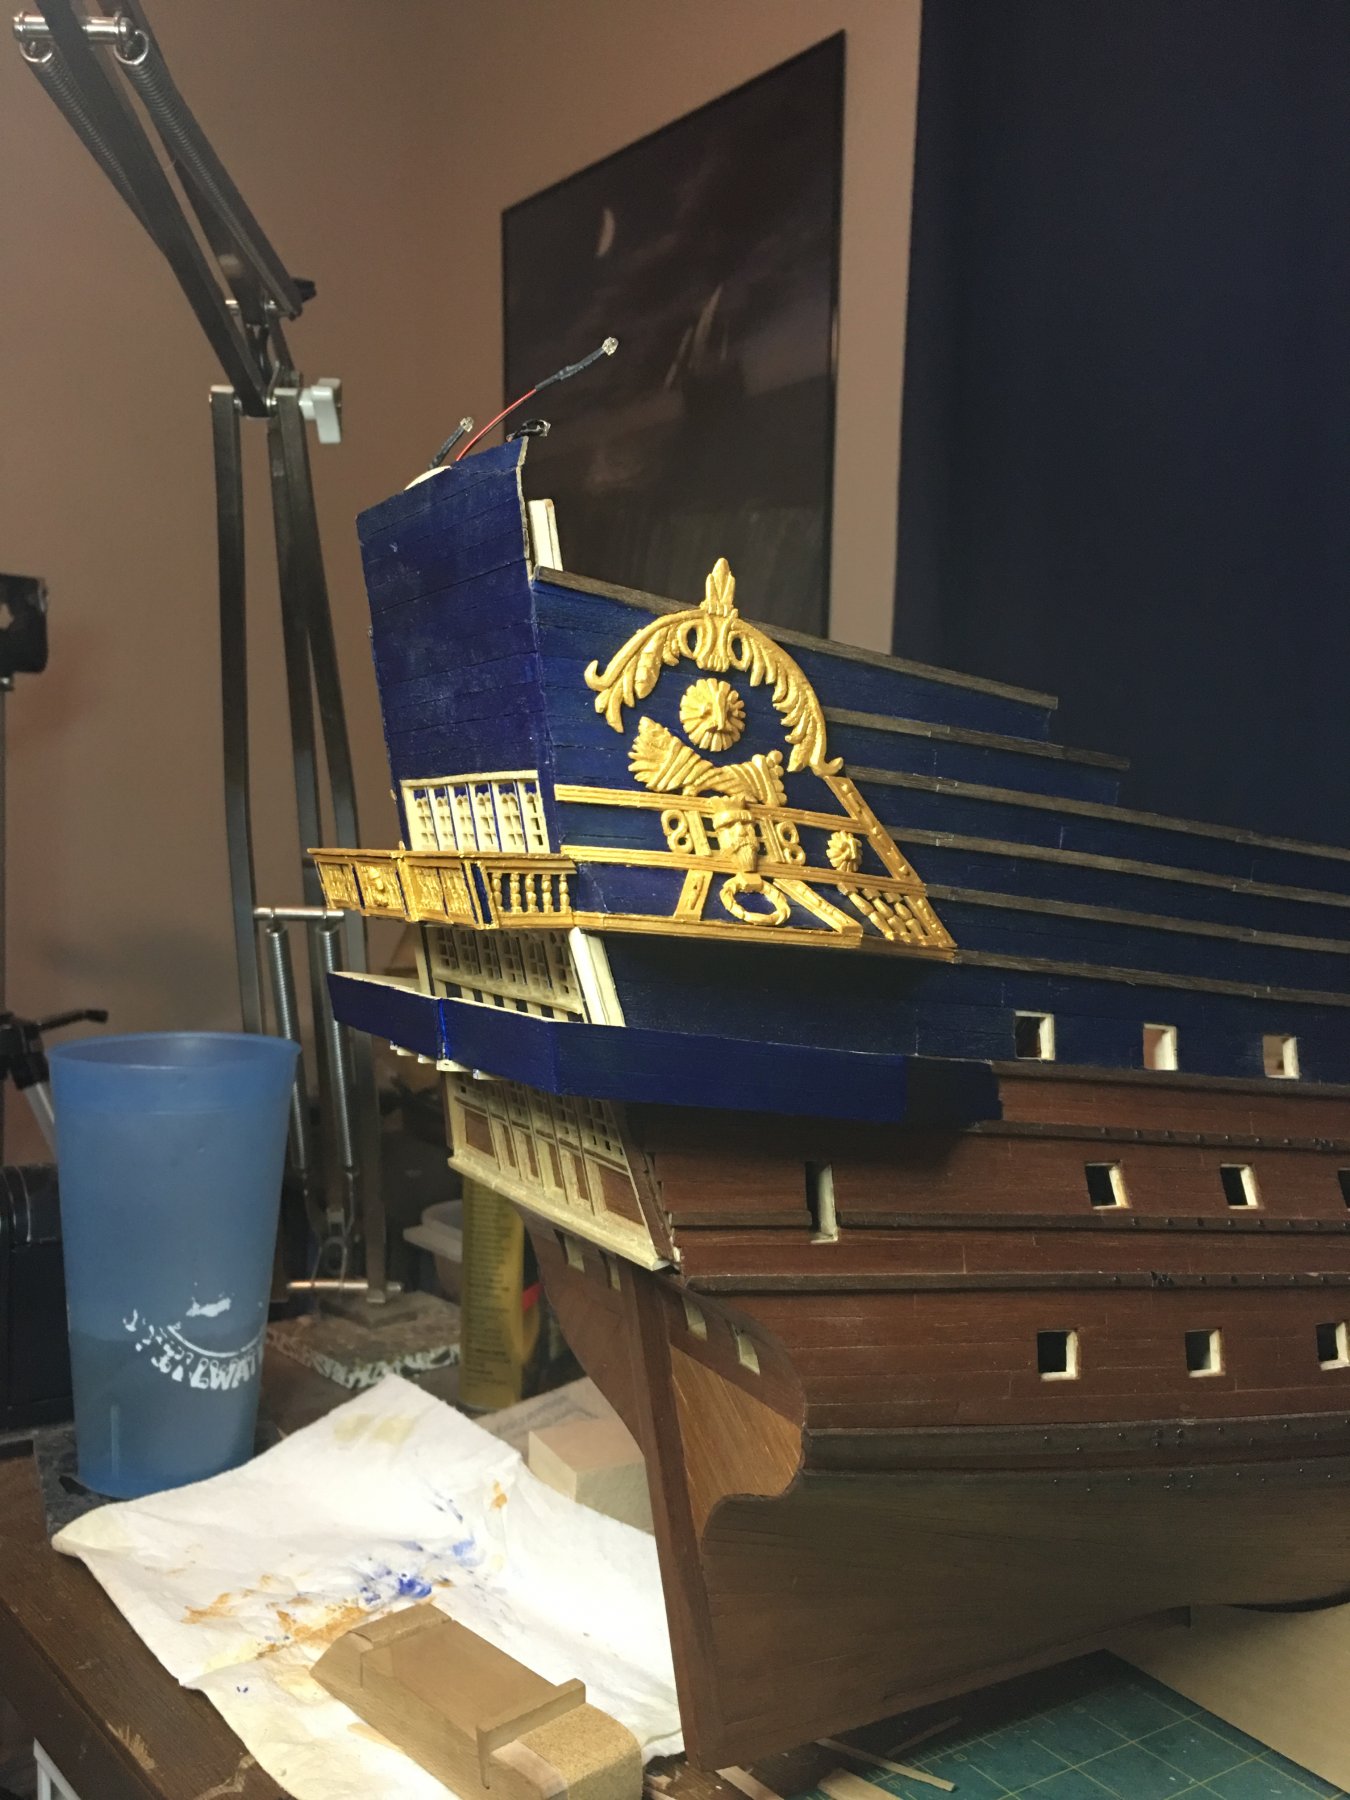
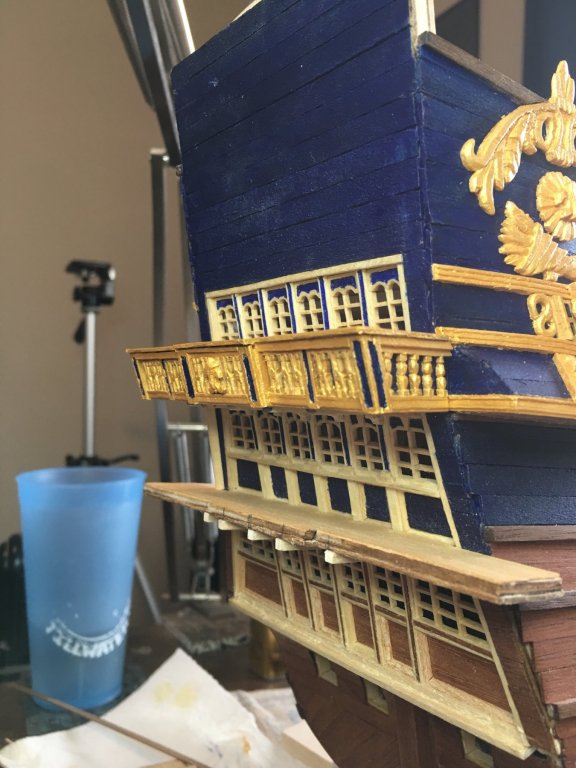
At long last the upper balcony is complete! Little touch up paint to do but the overall construction is done. Now to drop down a level start the middle balcony and quarter galleys.
- 961 replies
-
- 11
-
-
The gun carriages are looking good and those utensils are awesome! That will be a great detail to add life to the model.
- 228 replies
-
- 4
-
-
- gunboat
- model shipways
- (and 1 more)
-
Thanks Vic! That sounds like exactly what I've been doing lately. Slow and tedious work to be sure but that is what brings in the wow factor when done. I'm still building away on the balcony. Finished one corner and about halfway through the other now. Then the center and done. With the simple balcony... The plus side to all of this is hopefully the others will not have to be scrapped and rebuilt. I was hoping to have pictures this weekend but of course I ended up being sick again and while not as severe as the last round, it still kept me away from the shipyard during a lot of prime build time. Having 50 degree temperature swings every day and a very dry winter is not helping with cold and flu season. Anyway, I know this is a dull moment in the log as not much is being posted so thanks for hanging in there with me and I promise there will be something new soon!
-
Beautiful finish! Cutting the gratings can be a pain that is true. Nice substitution on the bow gratings.
-
That is a great before and after set of pictures. Amazing really! And to think, that could easily be what a ship's deck looked like during battle and yet, those sailors could still manage to make sense of that confusion and keep the ship workable.
-
Welcome to MSW Neil! Good to have you with us! Best of luck to you with your Ballahoo. I will echo others on here by saying to be sure to start up a build log for help. I look forward to seeing your work.
-
Welcome to MSW Miroslav! Best of luck to you on your new sloop build. Just last summer I finished building La Couronne myself. If you ever return to her, I would love to follow along with you as she is a ship that is not often built on here. Your sloop build should prove a much easier build though and I look forward to seeing the build log!