EJ_L
-
Posts
2,246 -
Joined
-
Last visited
Content Type
Profiles
Forums
Gallery
Events
Everything posted by EJ_L
-
 My father has similar issues with his plastic Connie kit. The plastic has become so brittle that he has been forced to abandon much of the original in favor of custom made or extras that I had laying about. Well done for powering onward and recovering. She has become a fantastic build, and so close to finishing.
 -
I was curios as to how you were cutting all those curved lines, scroll saw, knife, etc... while I have done the "hundred hole" method, usually on inside curves and extremely tight radii, that would not have been my first guess. With as tiny of details as you are working, that may be the smart way though, and I certainly can't argue with the results.
- 2,699 replies
-
- 4
-

-
- heller
- soleil royal
- (and 9 more)
-
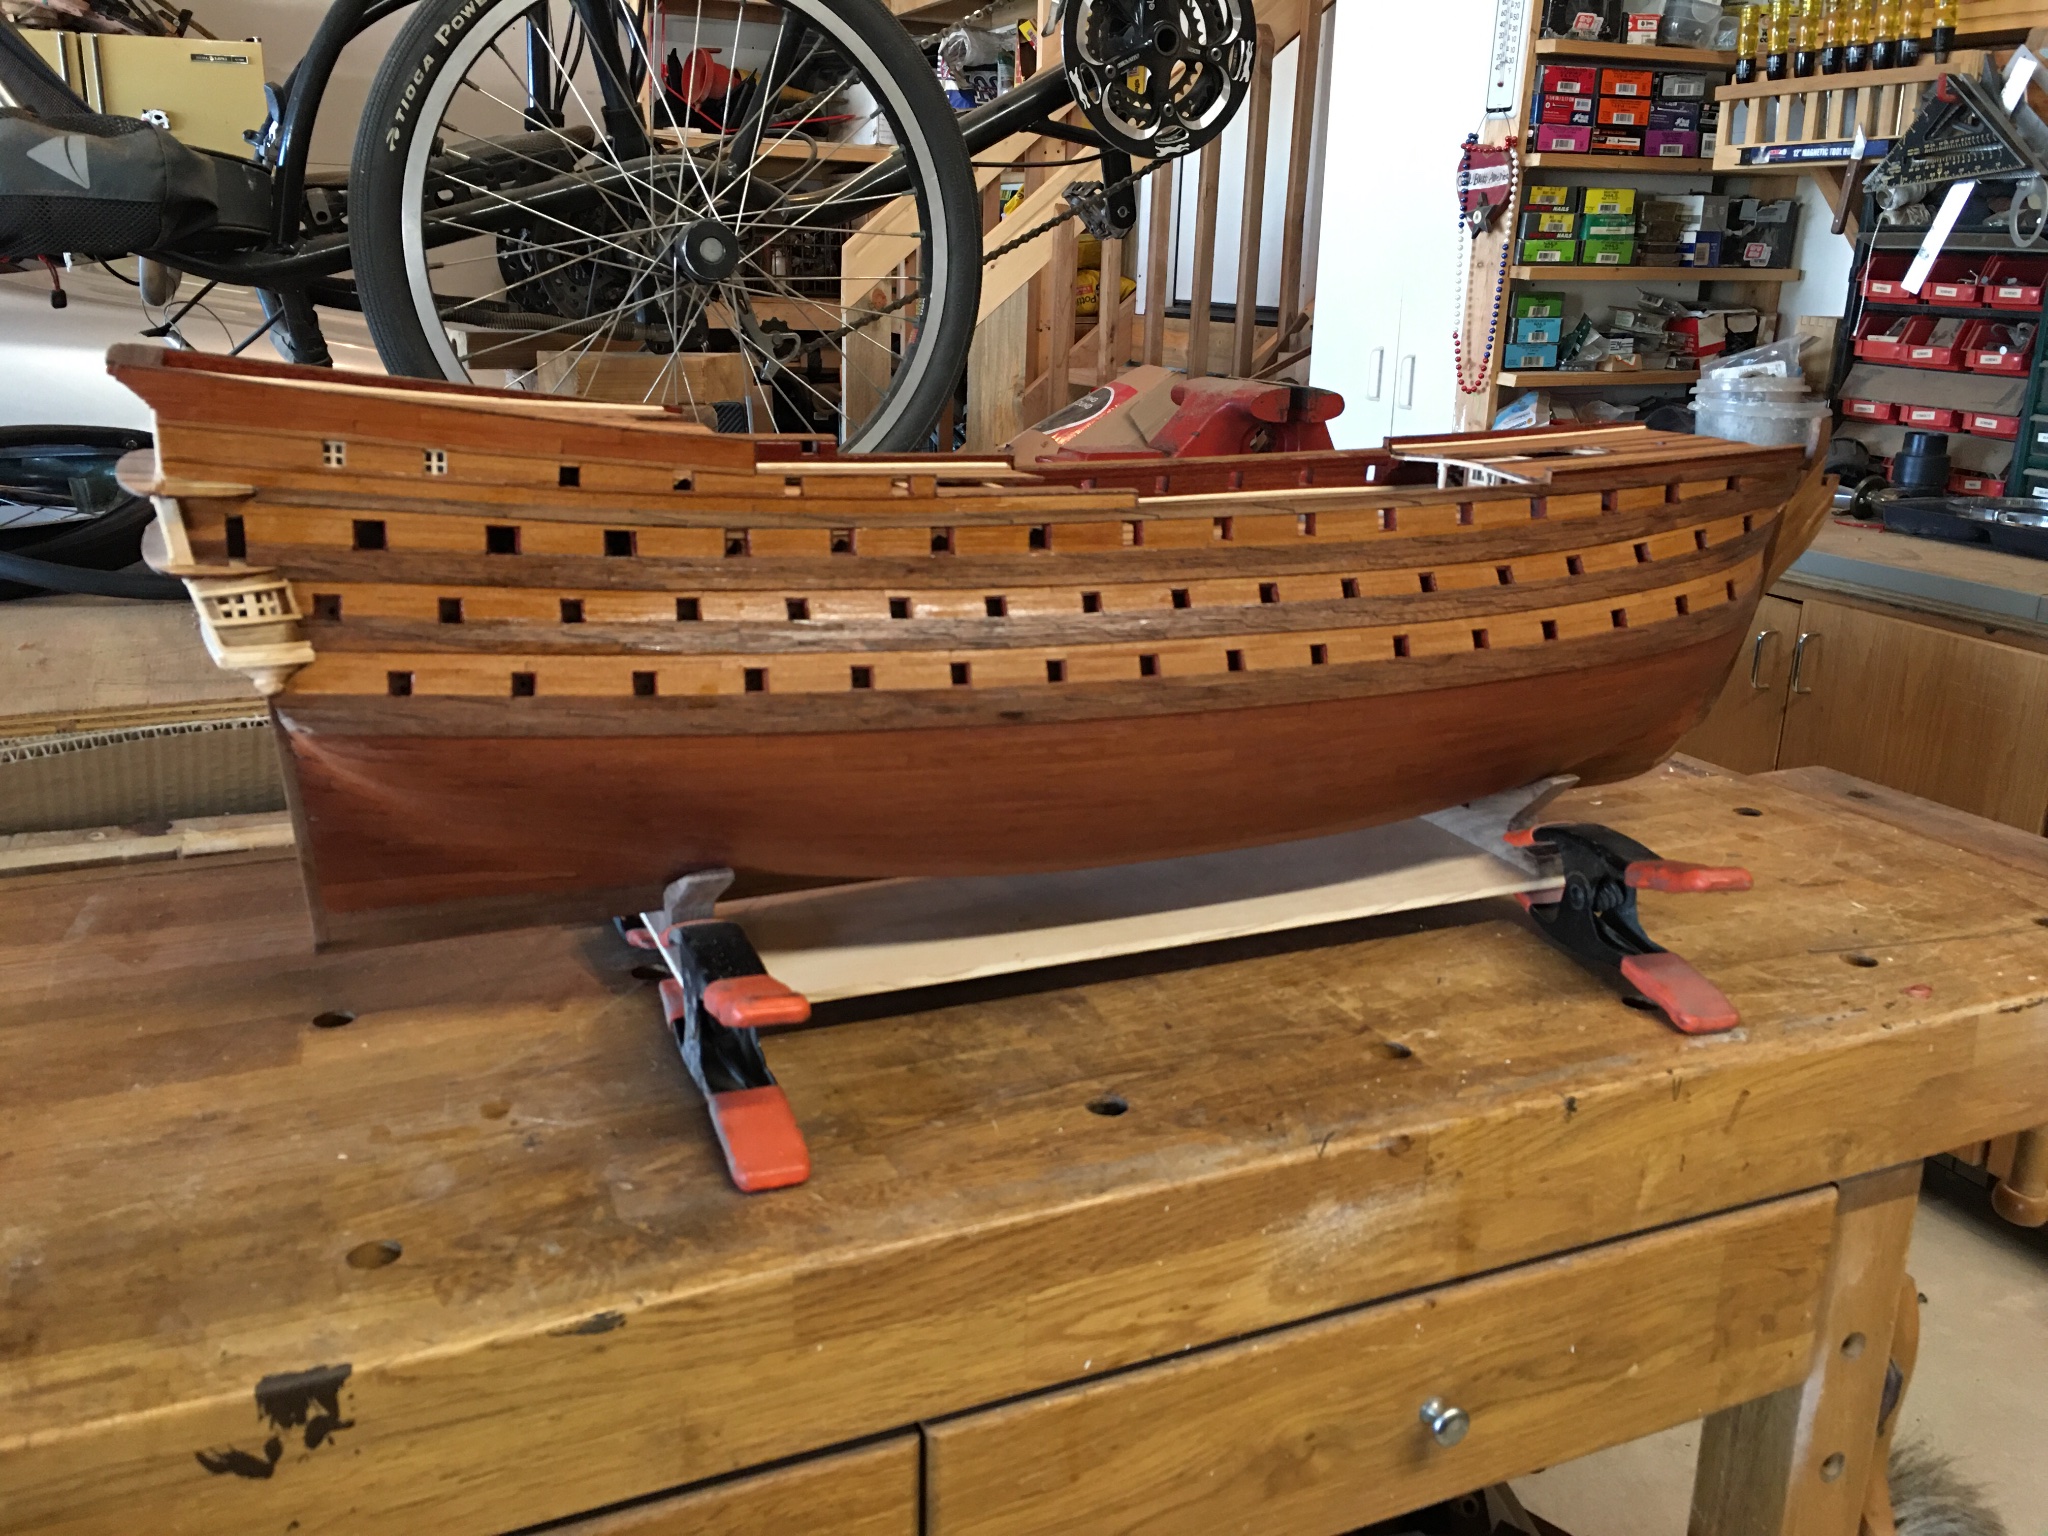
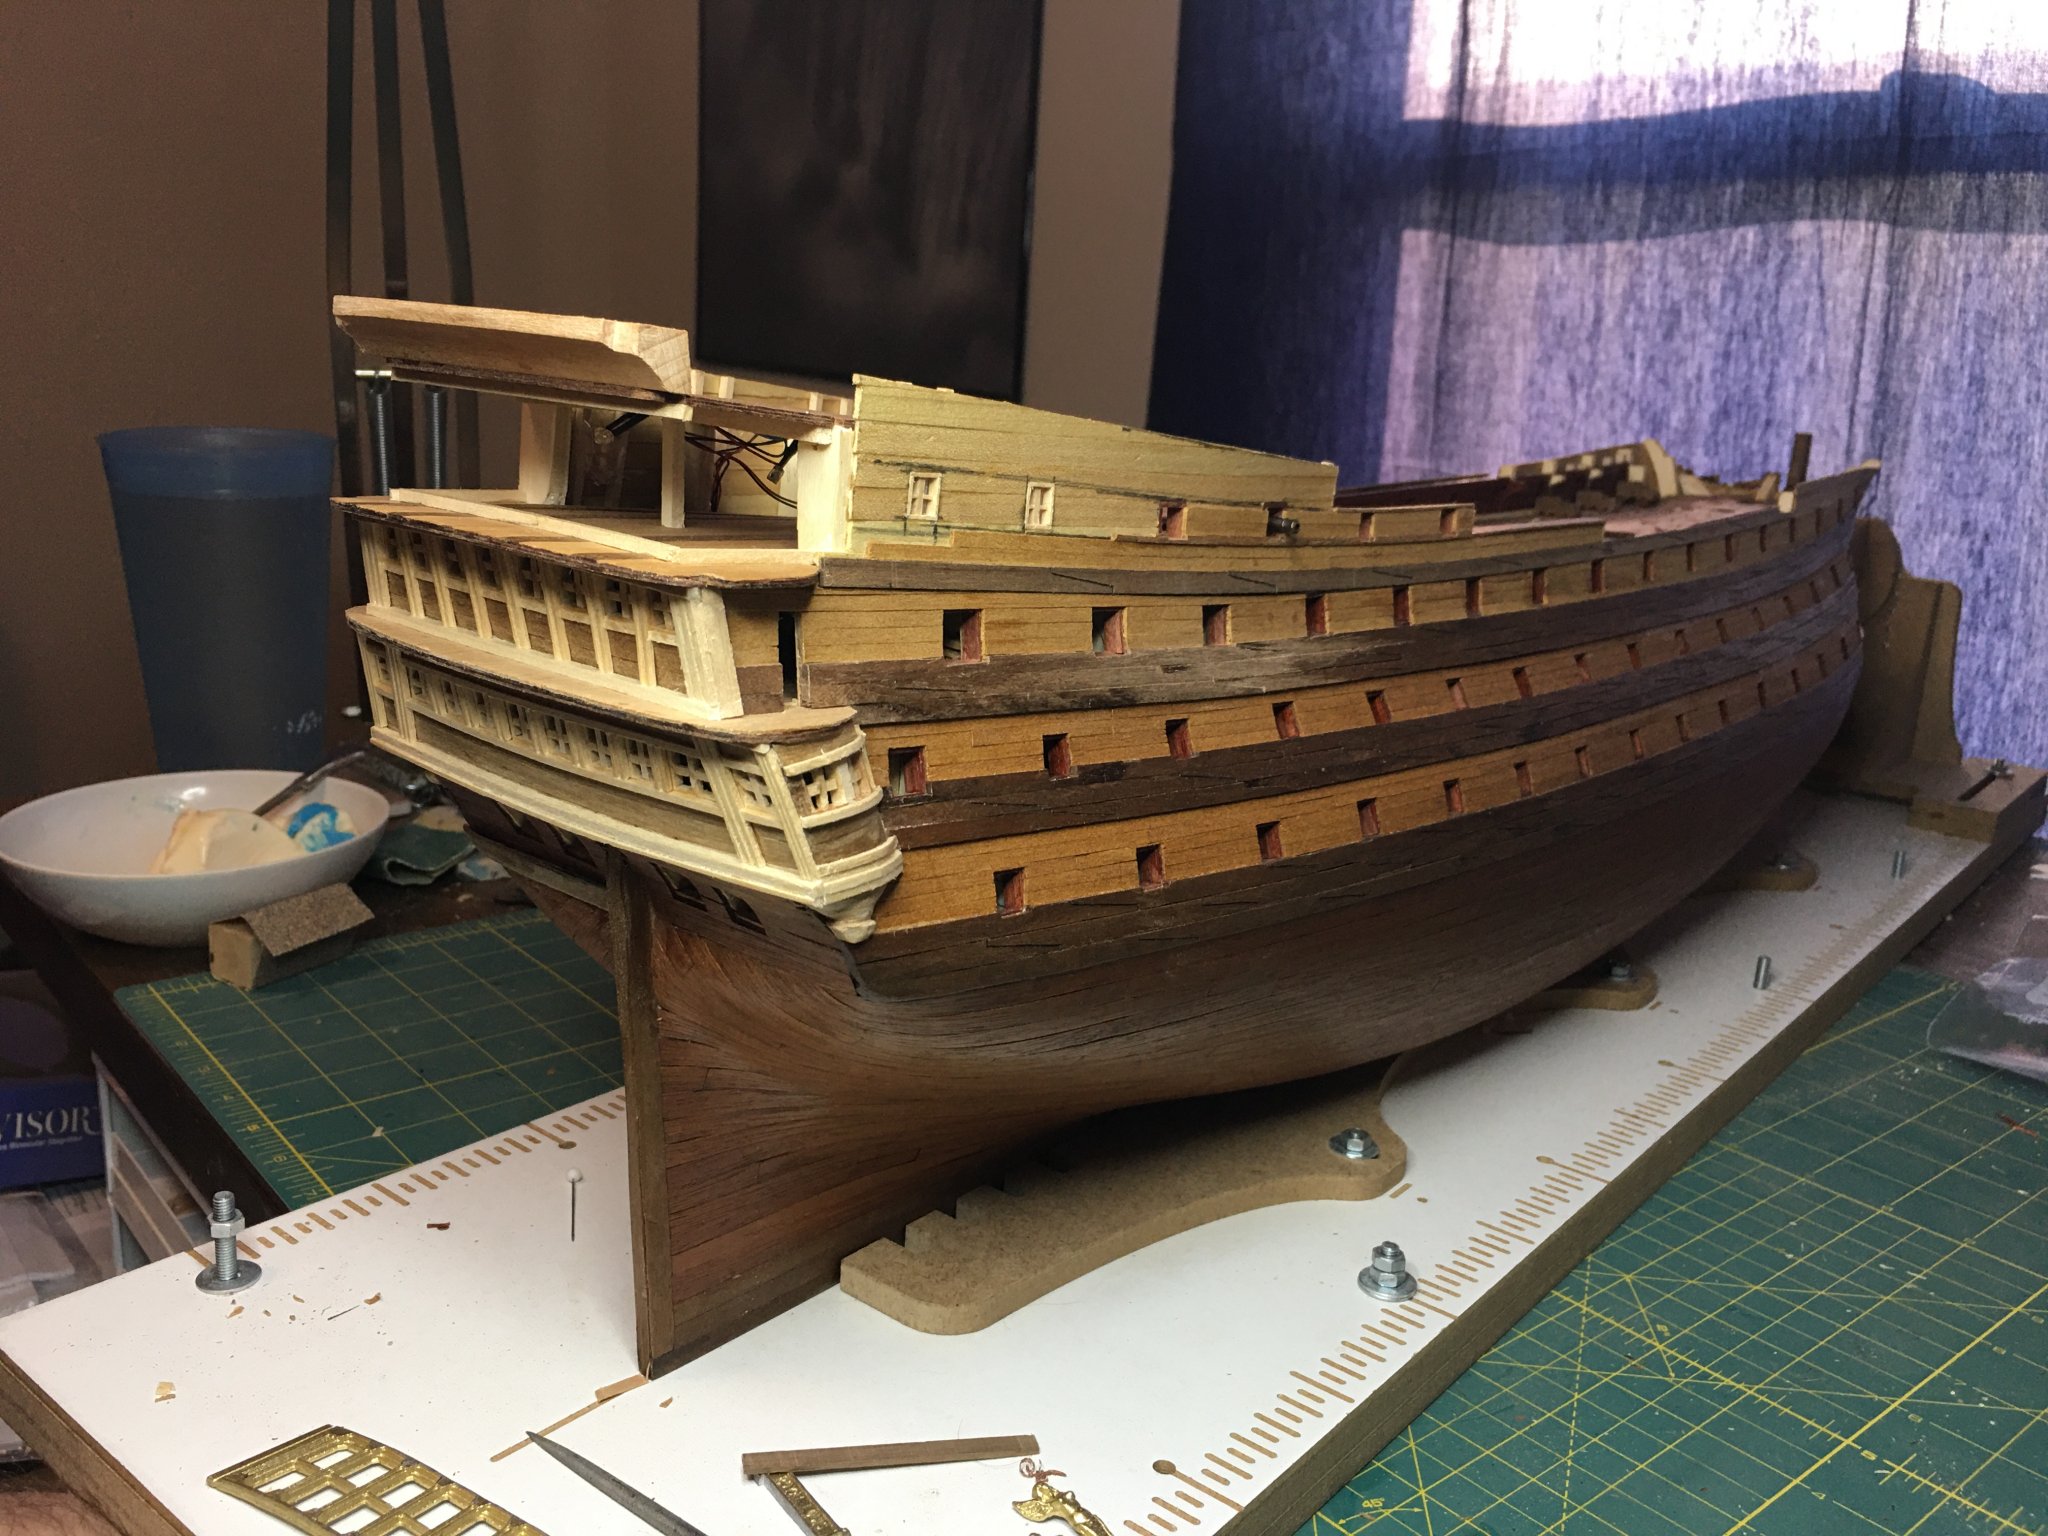
Quick update, the hull is fully planked! Just applied the clear coat and now waiting for the ship to dry. In the meanwhile I can give the shipyard a much needed cleaning. Now to start working on details, furniture, trim and decorations. I will add some better pictures once she is dry and I can move her to a better lit area.

-
Ah! No, that they did not provide. My S.R. kit did come with some made of metal, but they looked terrible in my opinion so they were tossed to the scrap pile. I had not given much thought to making those transitions decorative, just plain walnut at the moment. Might be worth reevaluating though.
-
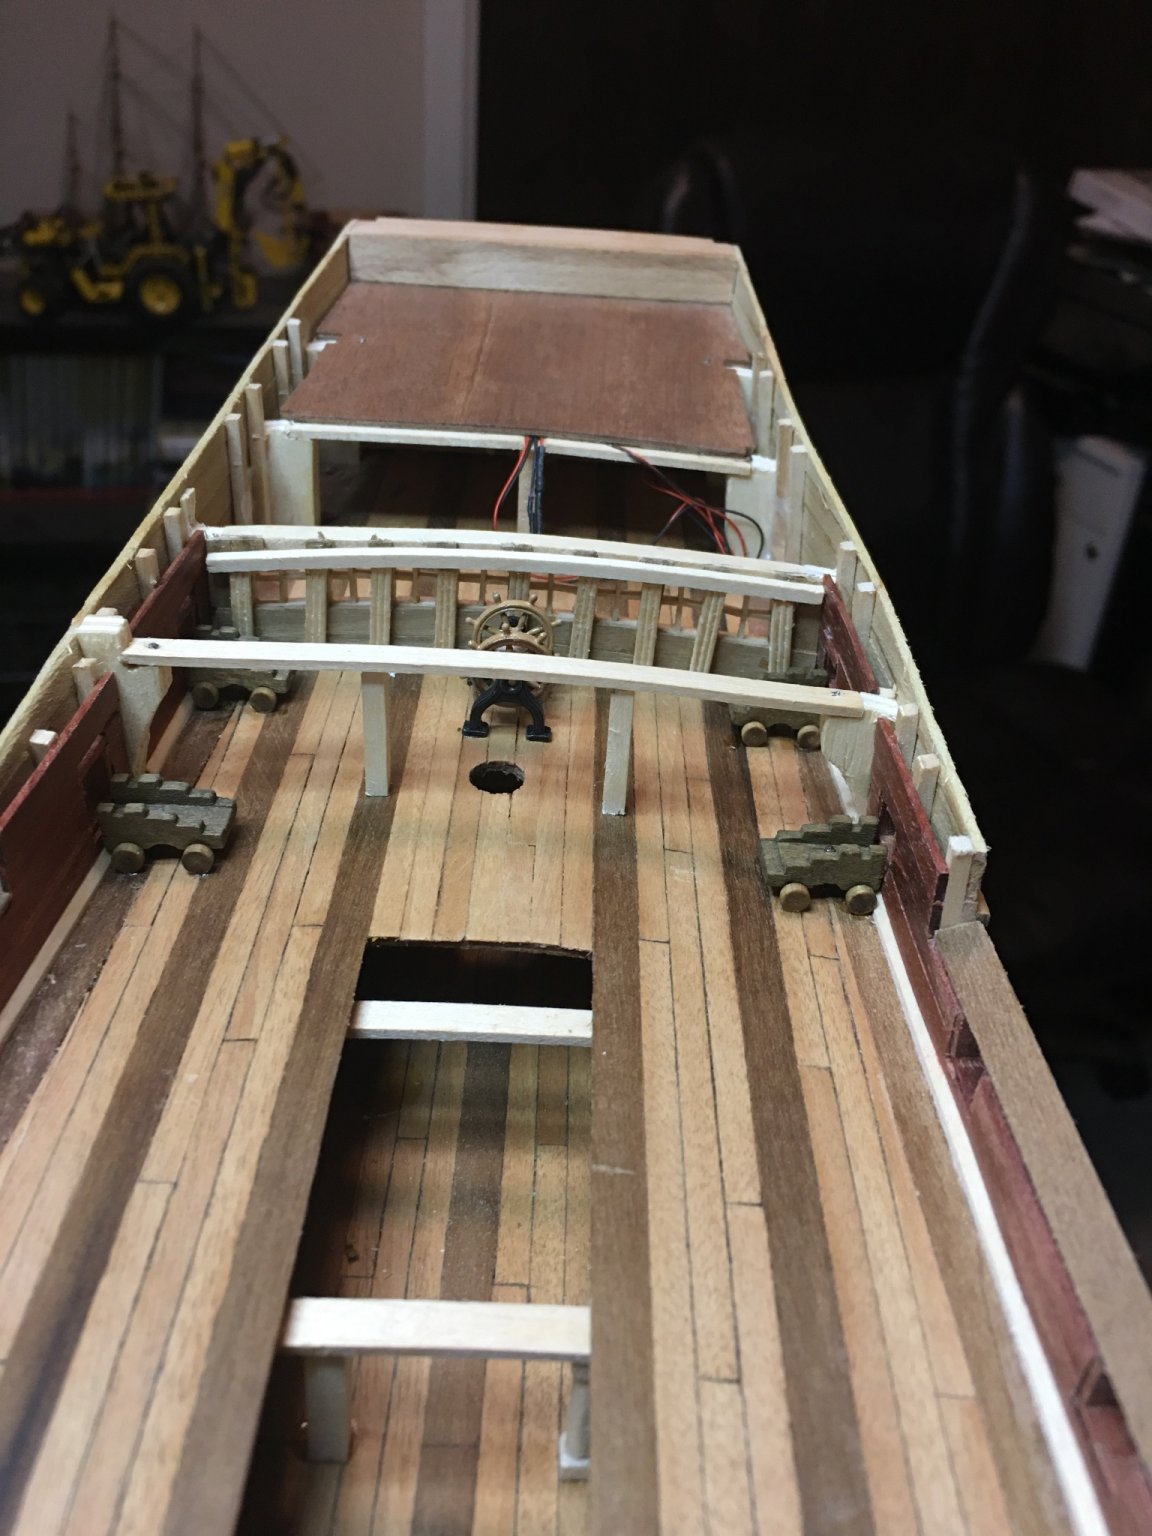
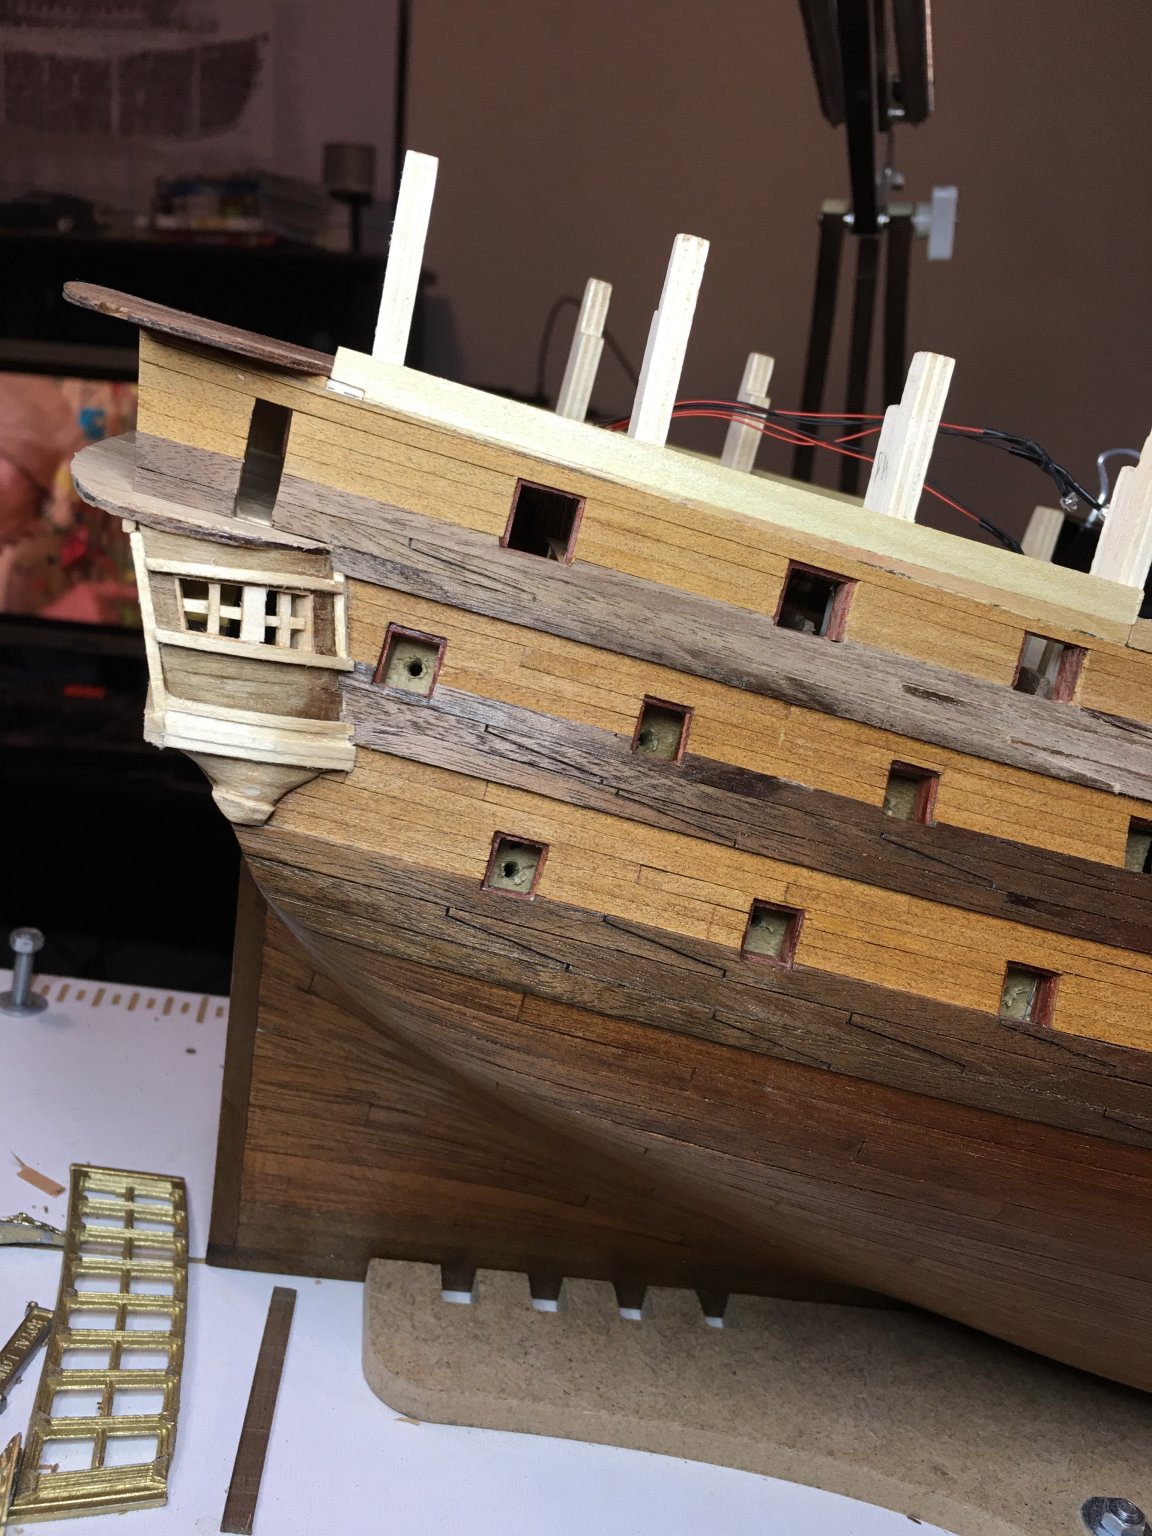
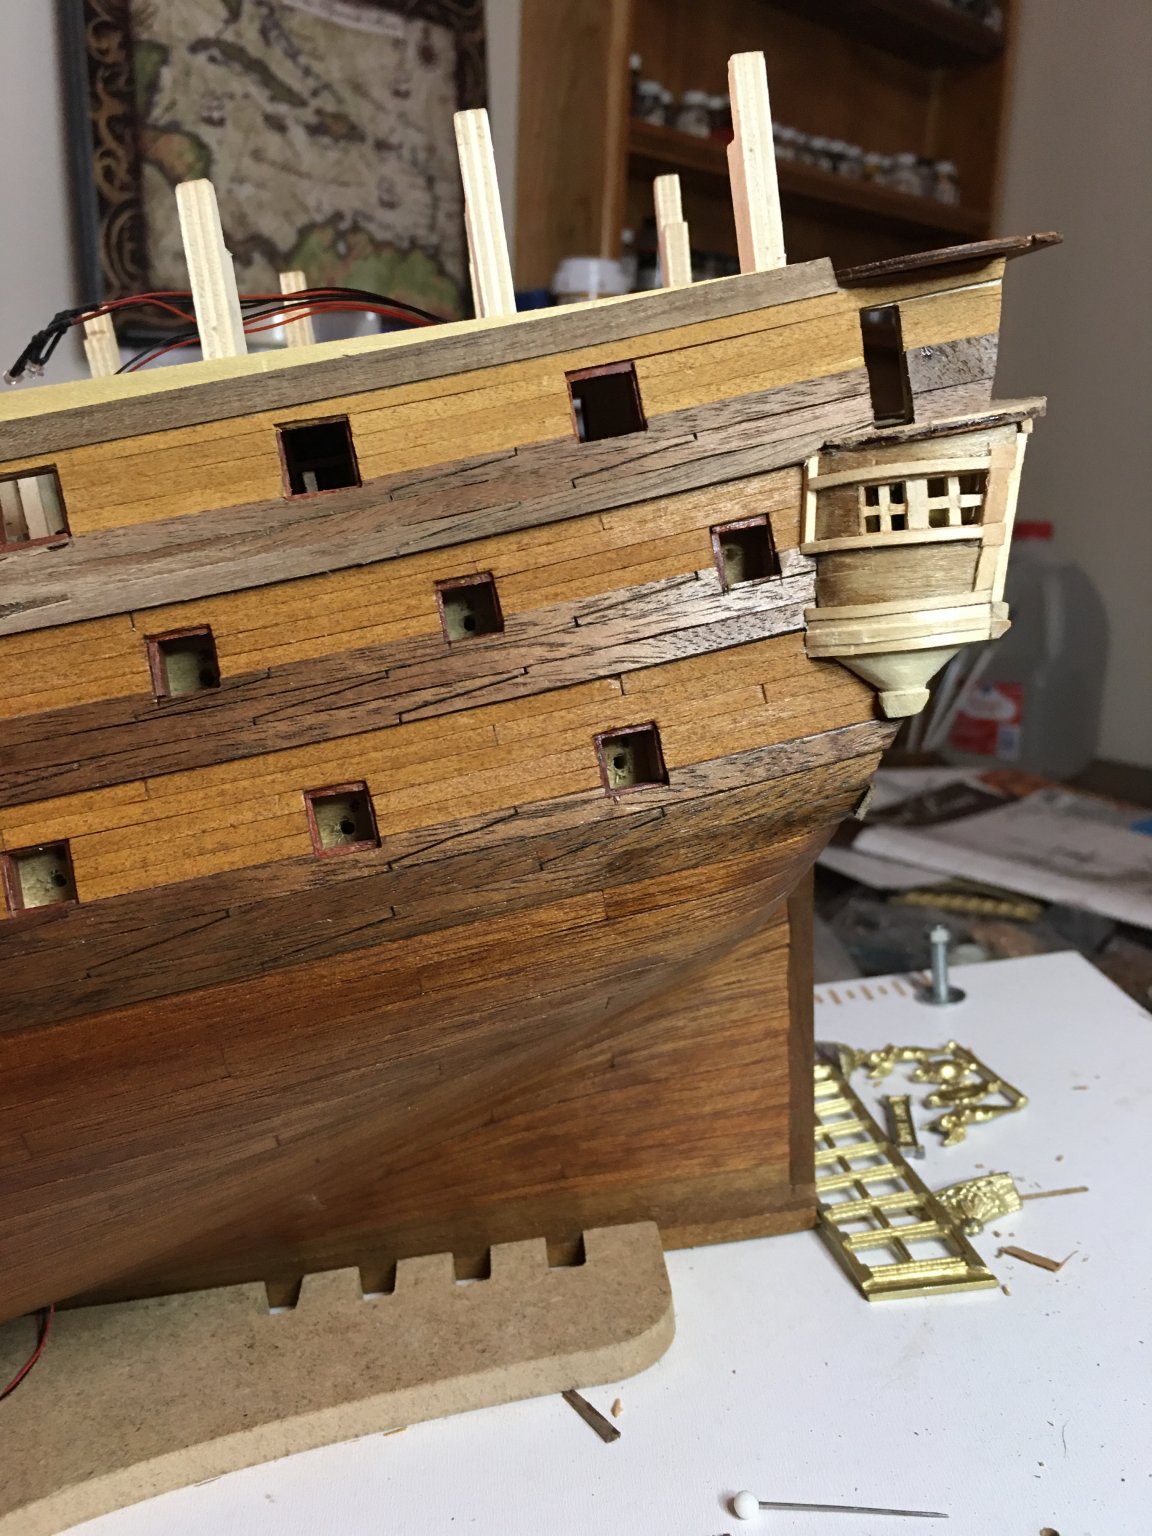
I'm not completely sure which pieces you are referring to Marc. Can you point to them on a picture or where they go? I have a lot of fittings so it is likely that the kit did come with them. I will say in regard to the fittings/furnishings/decorations etc., that the kit provided pieces are of decent quality. For someone not looking to make their own, these can be easily cleaned up, painted and used to create a very pleasant model. The biggest issue with them are the ones such as window frames and the decorative railings. Their appearance is fine, the railings are actually quite nice, however they were cast straight. While the metal is soft enough that it can be bent to proper contours, it also breaks easily and since it is so soft, it is easy to mar the designed with pliers or clamps if extra caution is not taken. My other piece of warning on them is pay attention to how they fit as you are building. Especially the stern windows and the decorative arched transom pieces. Part of my problems stem from the fact that I modified my stern to allow for interior cabin spaces which has change the designed shape enough that the frames do not fit properly. Even if I had not done so, I think there would likely be some issues with how they fit if care is not taken while building. Most of these I will only be using for reference or place holders for dimensions as I intend to do my own carvings and detail work. A couple of others though I am using in limited capacity. The ships wheel is one that I decided to use. The cast metal wheel assembly is fairly nice and since the wheel is nearly completely hidden under the poop deck, I saw no reason to make my own. The stern has the ship's name on plaque that was part of the lower cabin window assembly. I made my own frames and trim but I did cut free the name plaque as it is nice and will install it once it is painted and the hull is prepped.
-
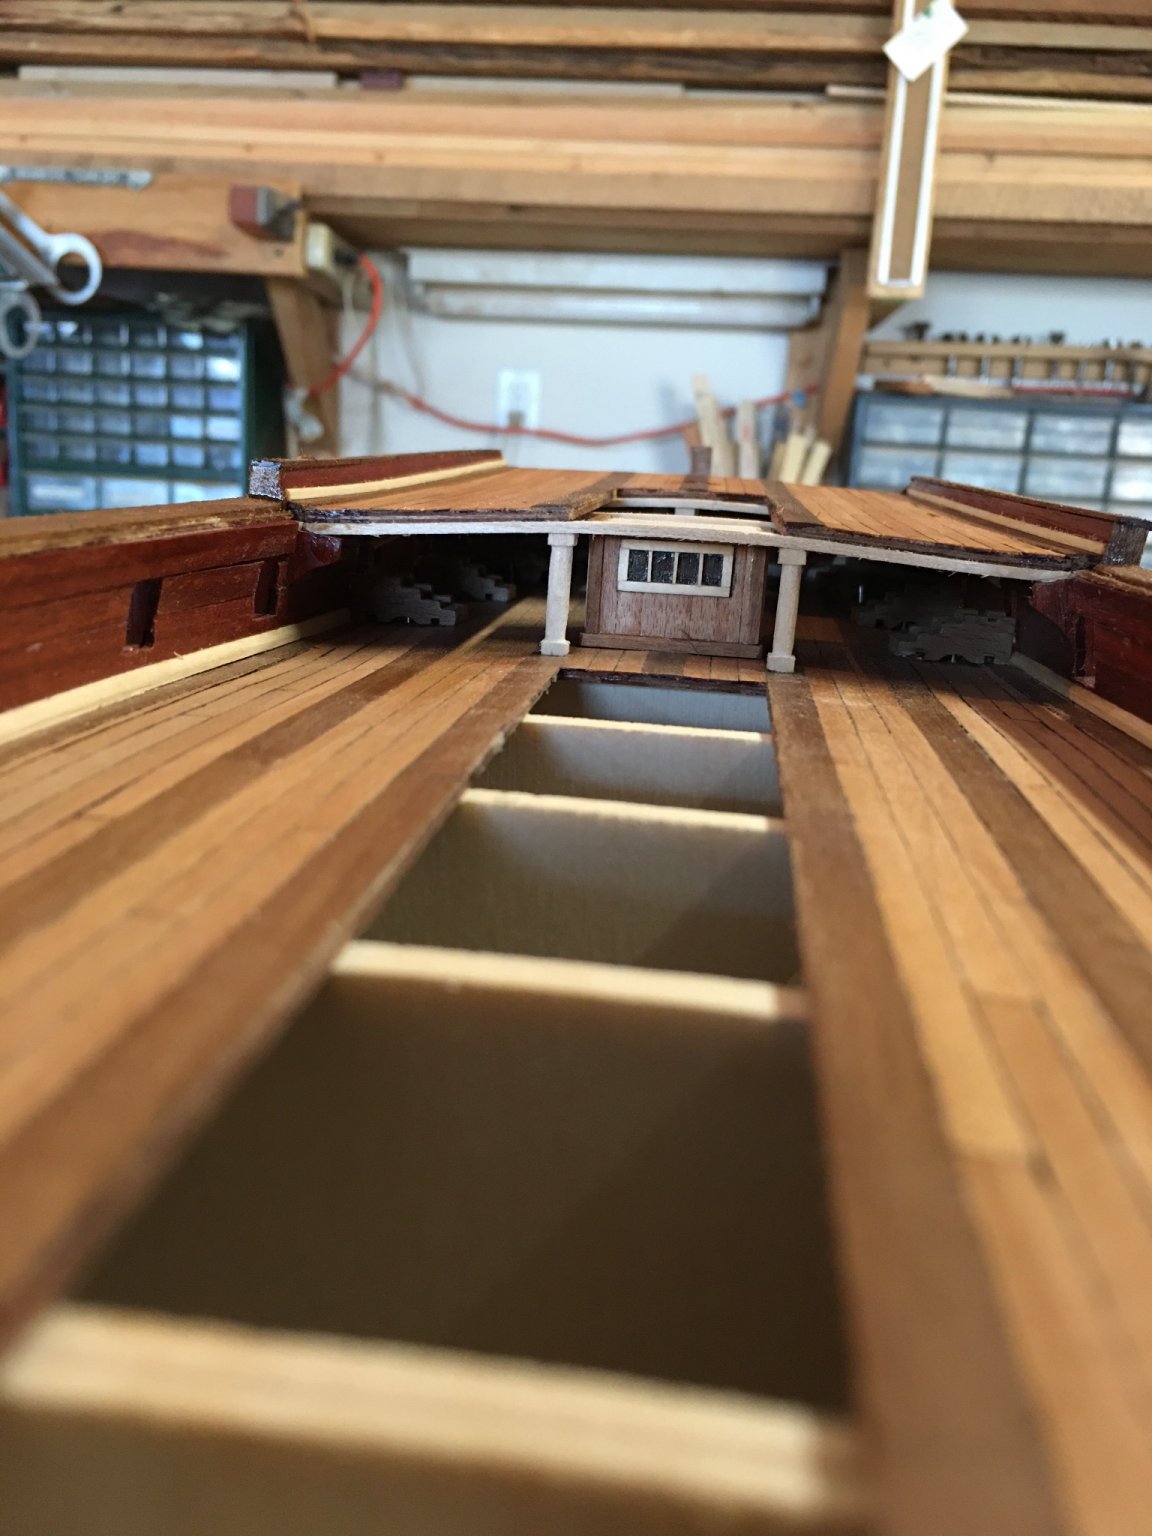
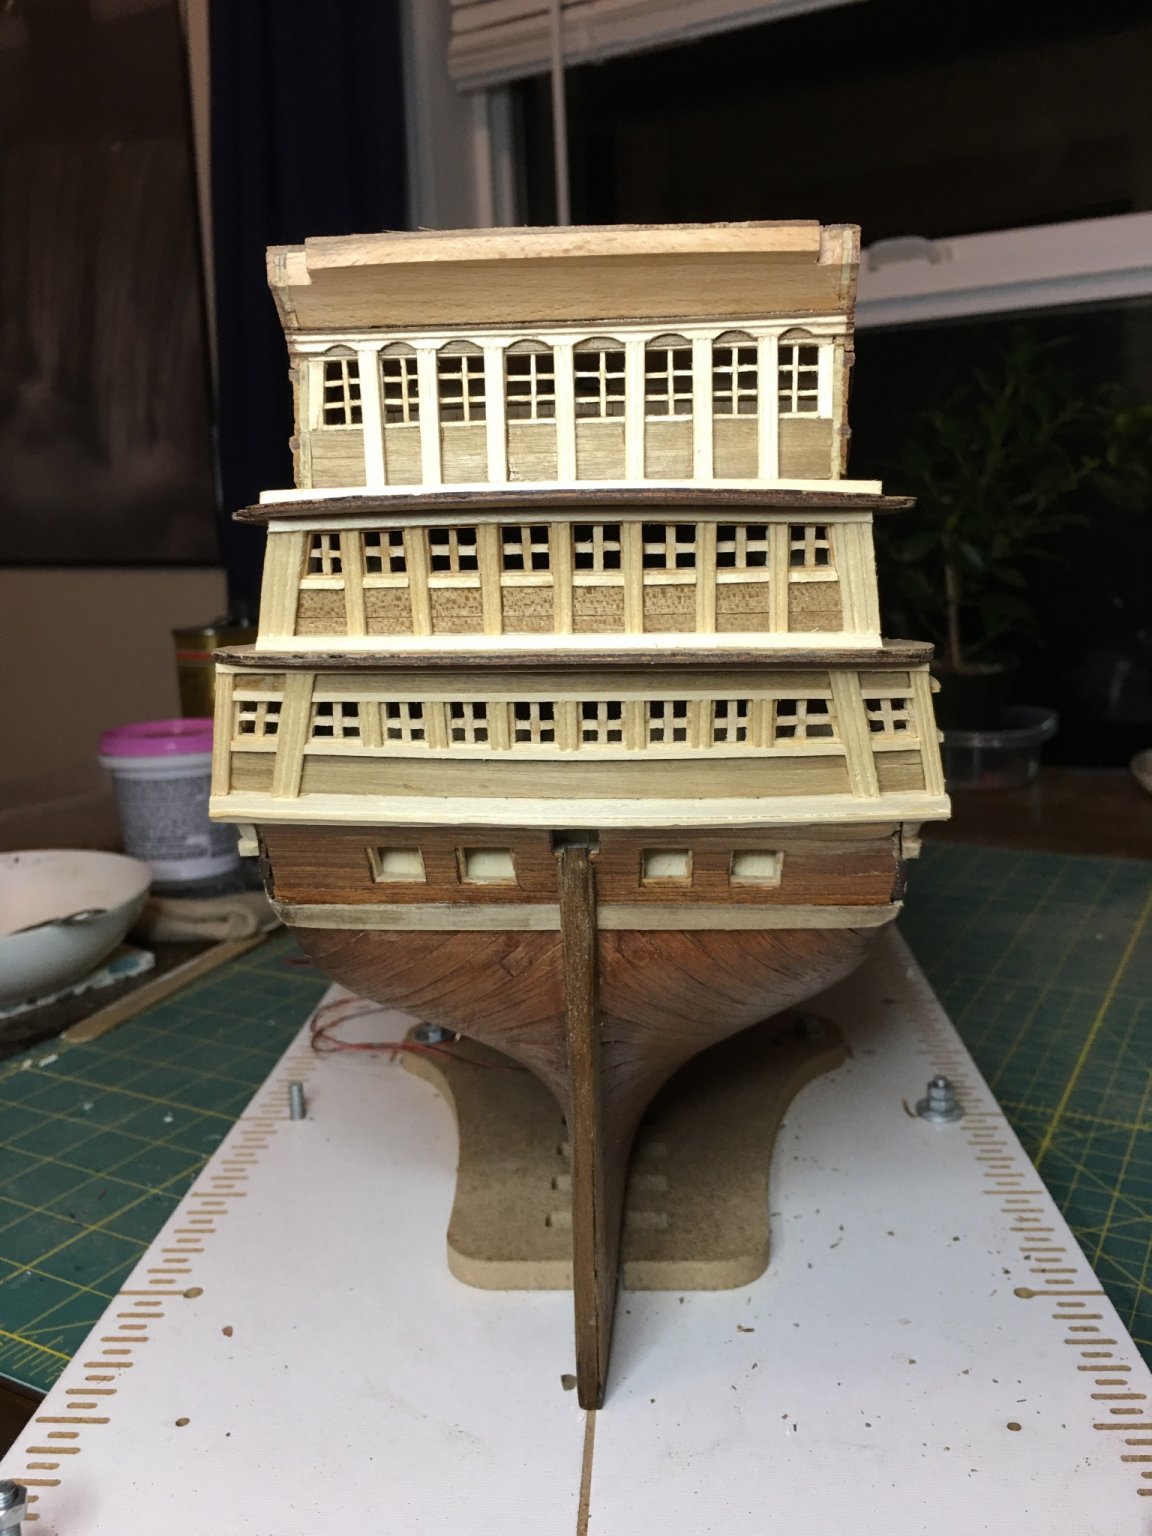
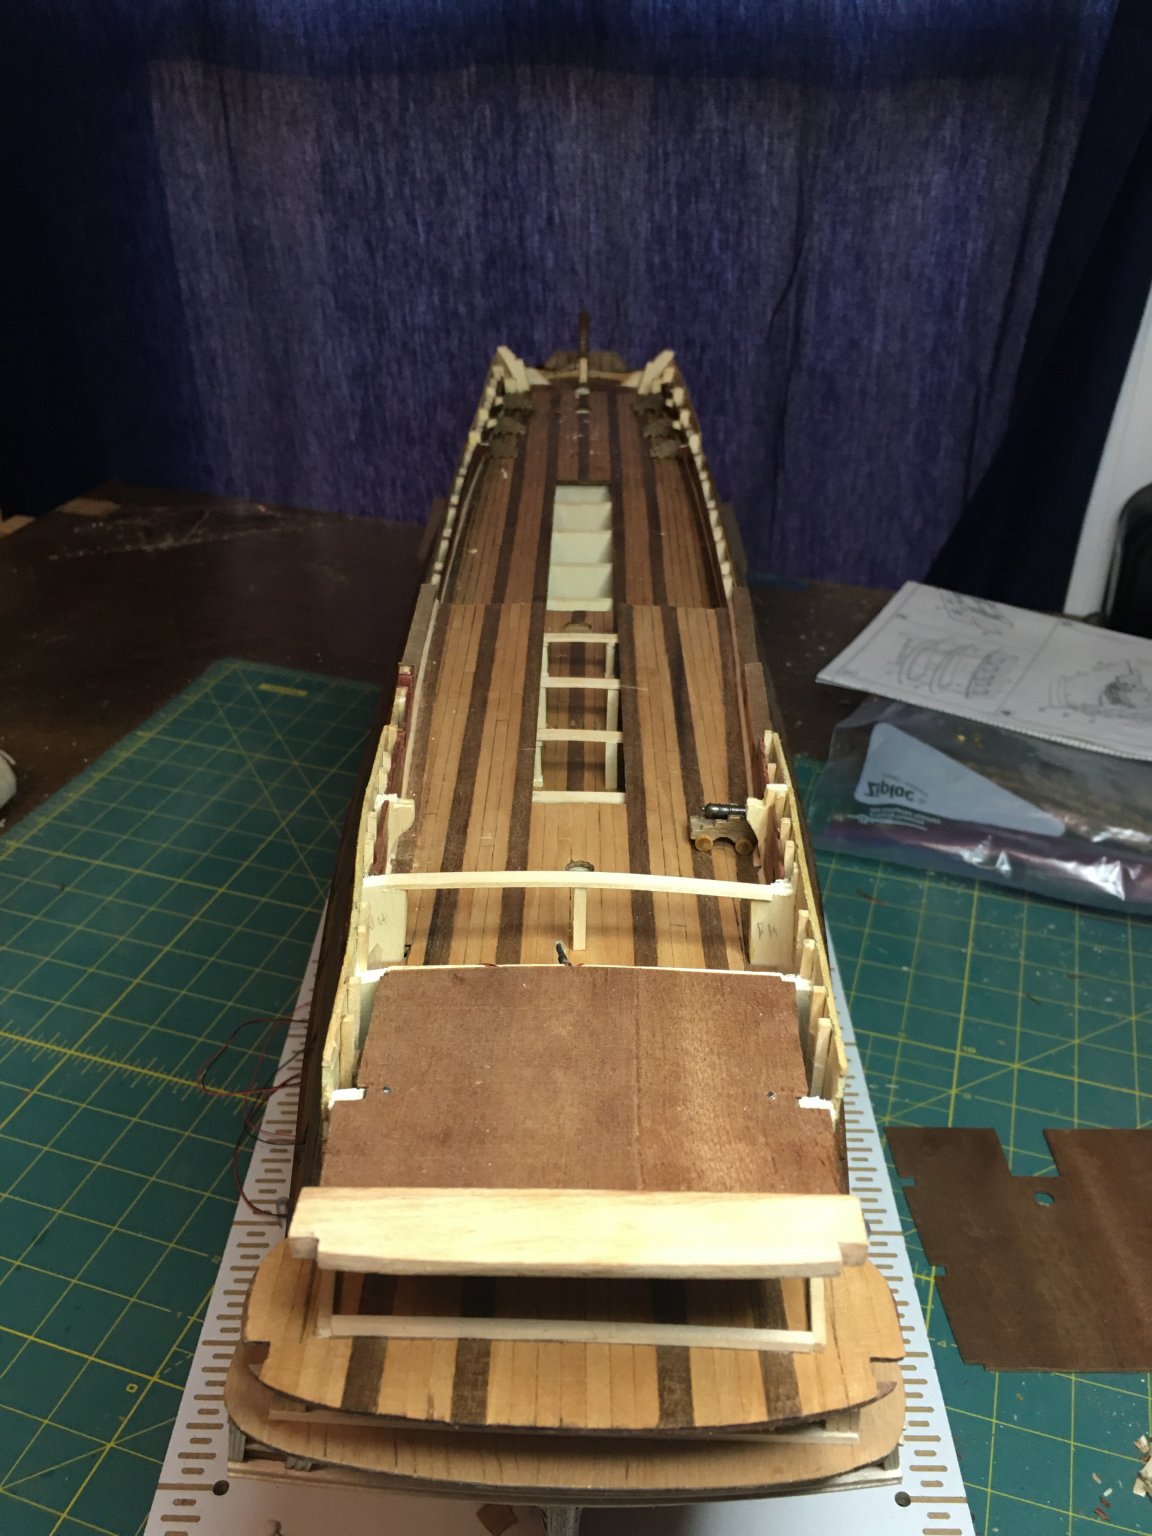
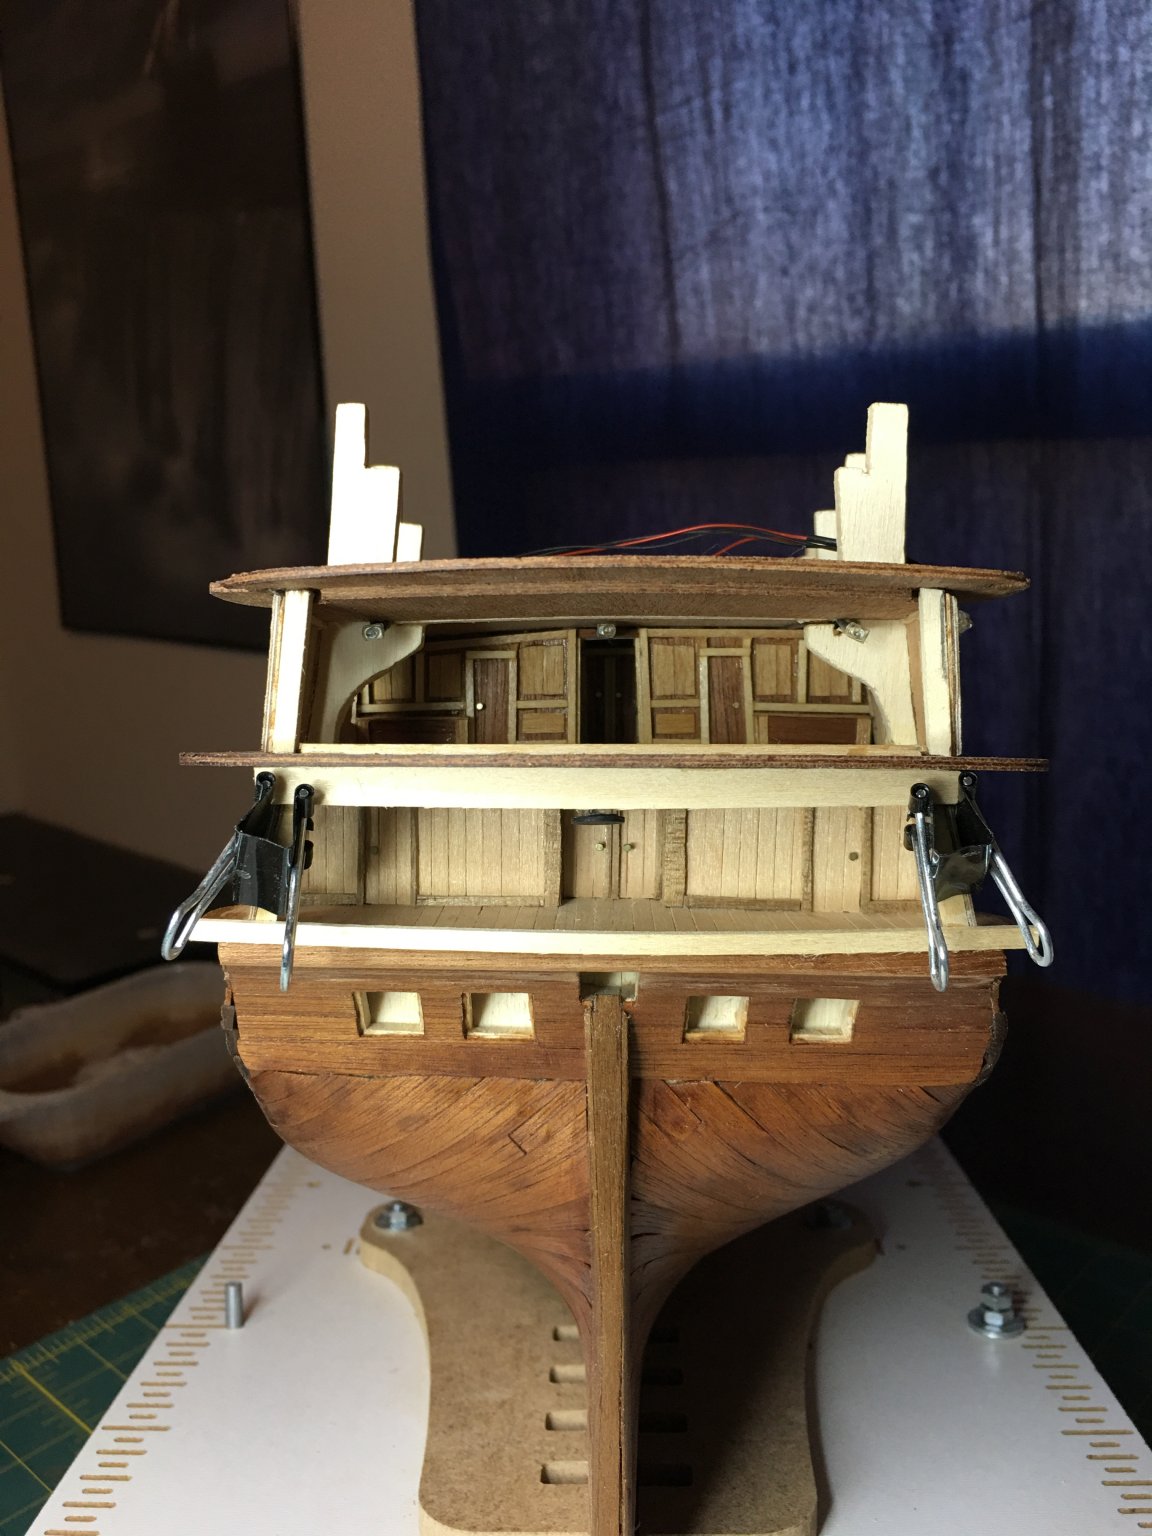
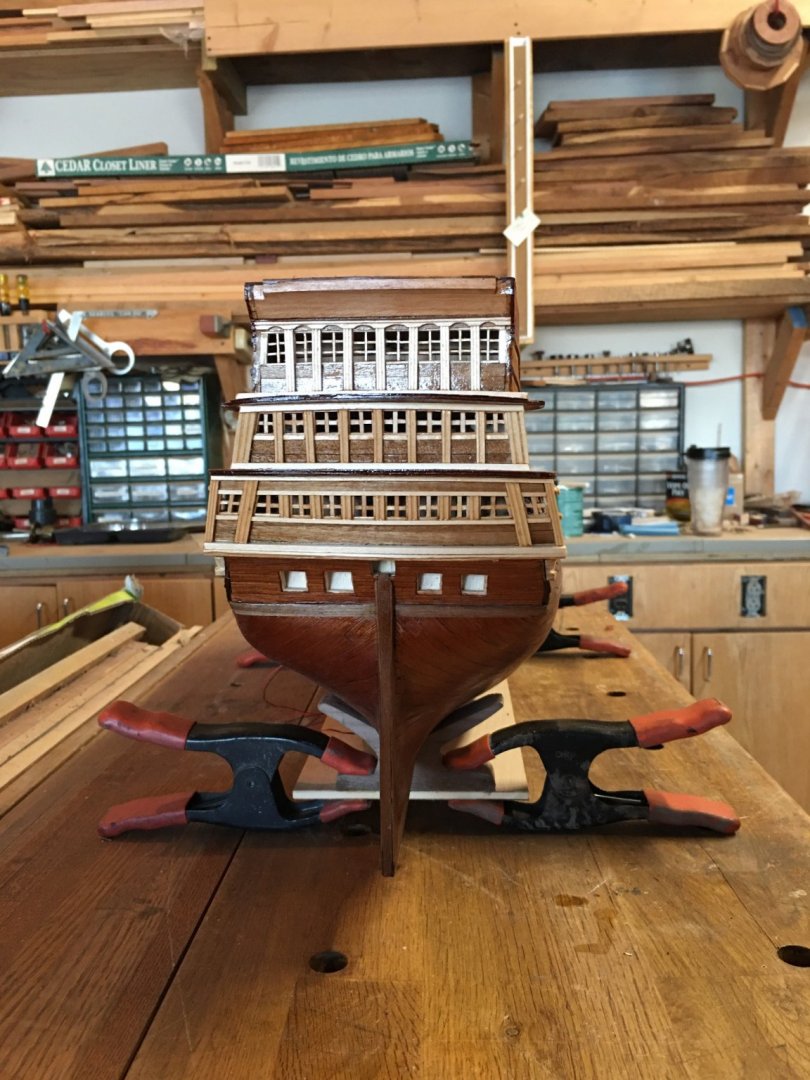
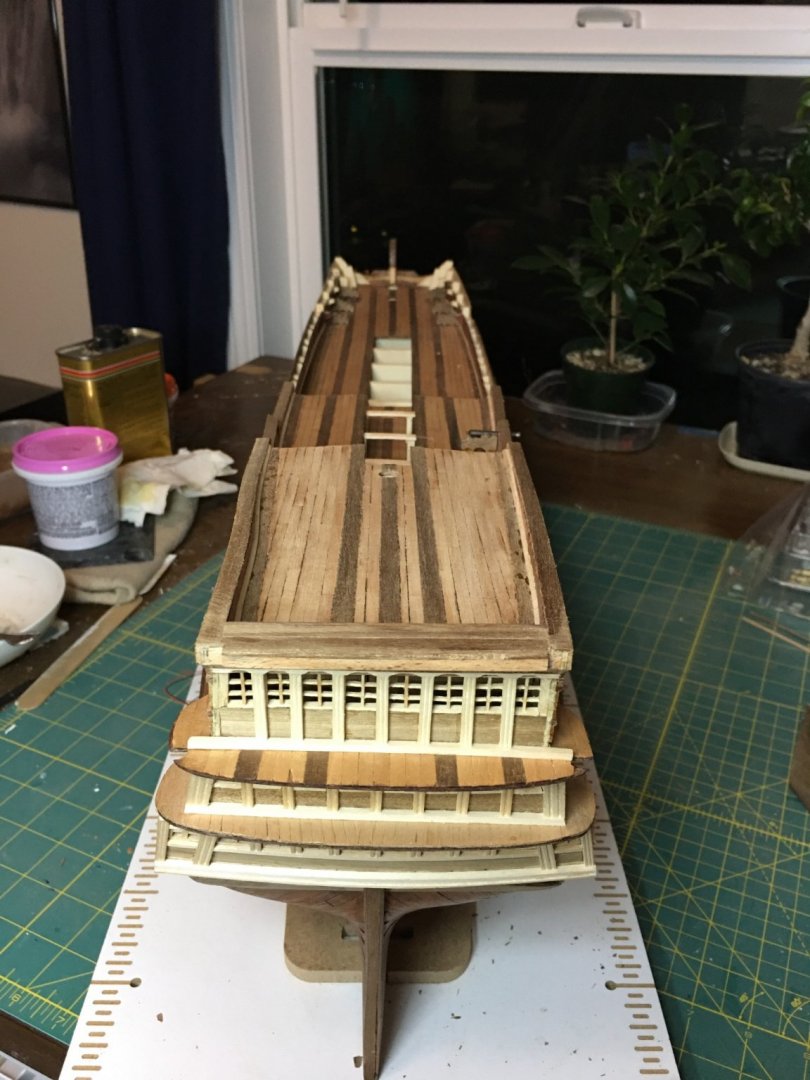
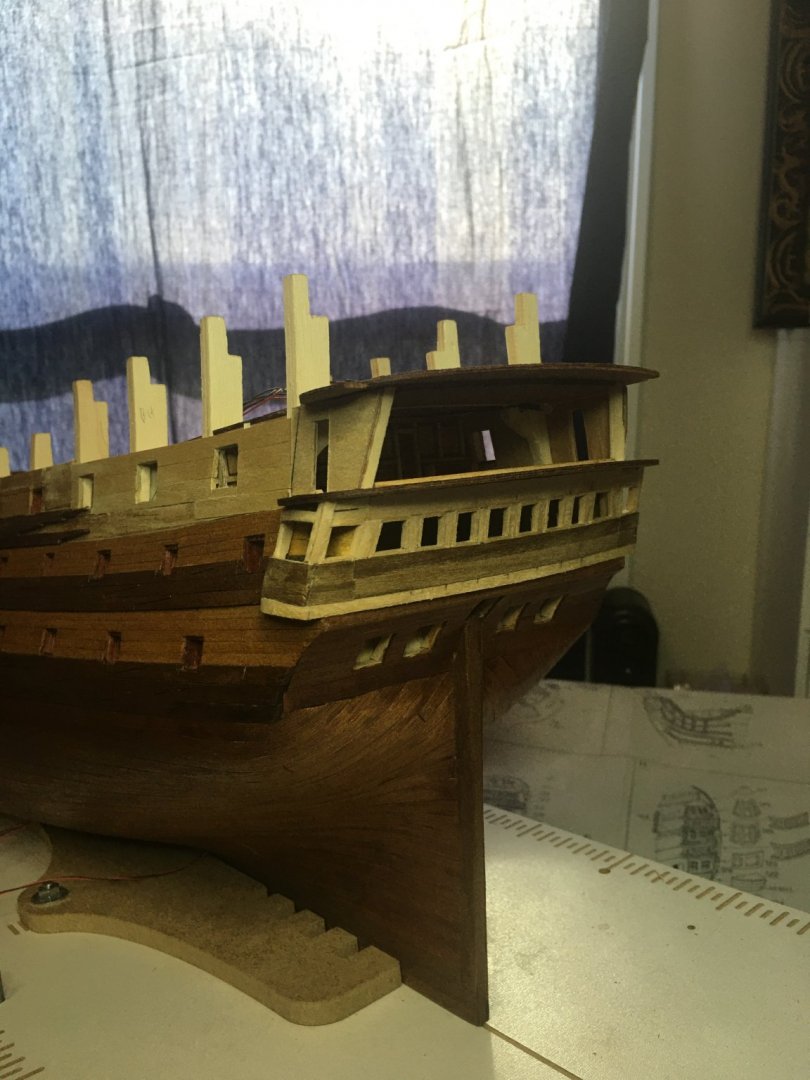
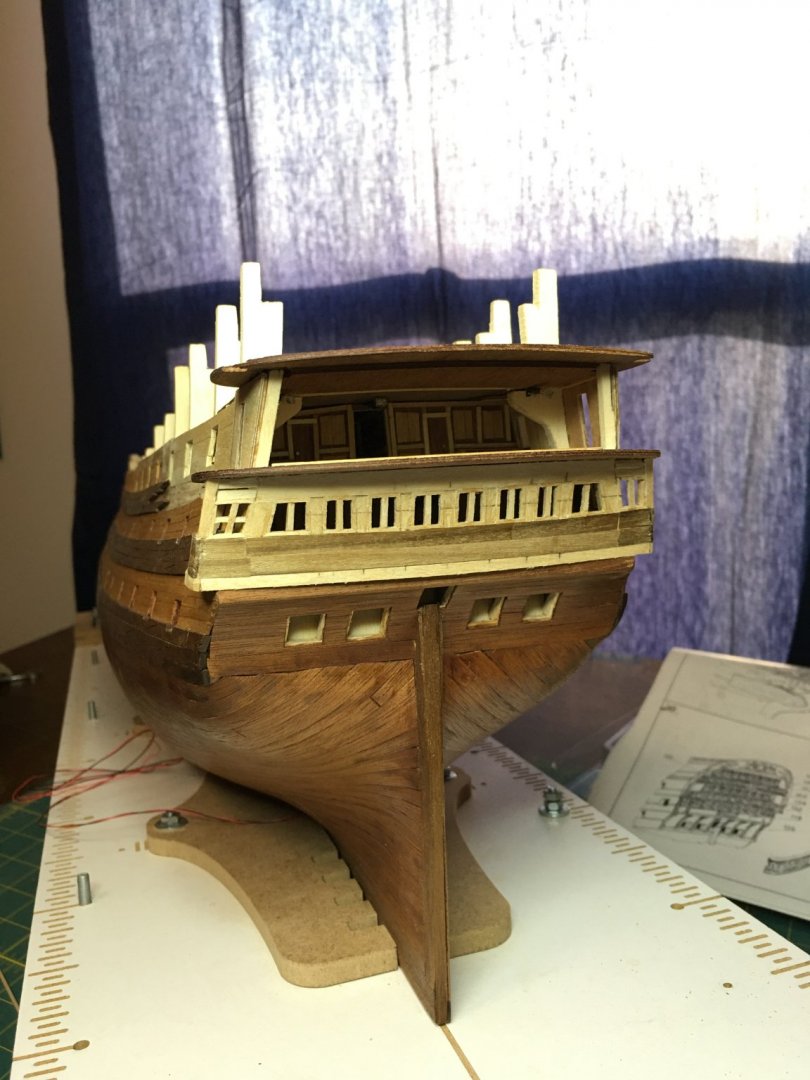
Thank you all for continuing to follow along. I know this has been a slow build so far. This update has the stern planking, poop deck, and cabin windows completed and ready for finish. I have spun the build board around and am ready to finish the bow and forecastle work. Once that is built, it will be out to the shop for more sanding and sealer.


-
Beautiful work! Well done!
-
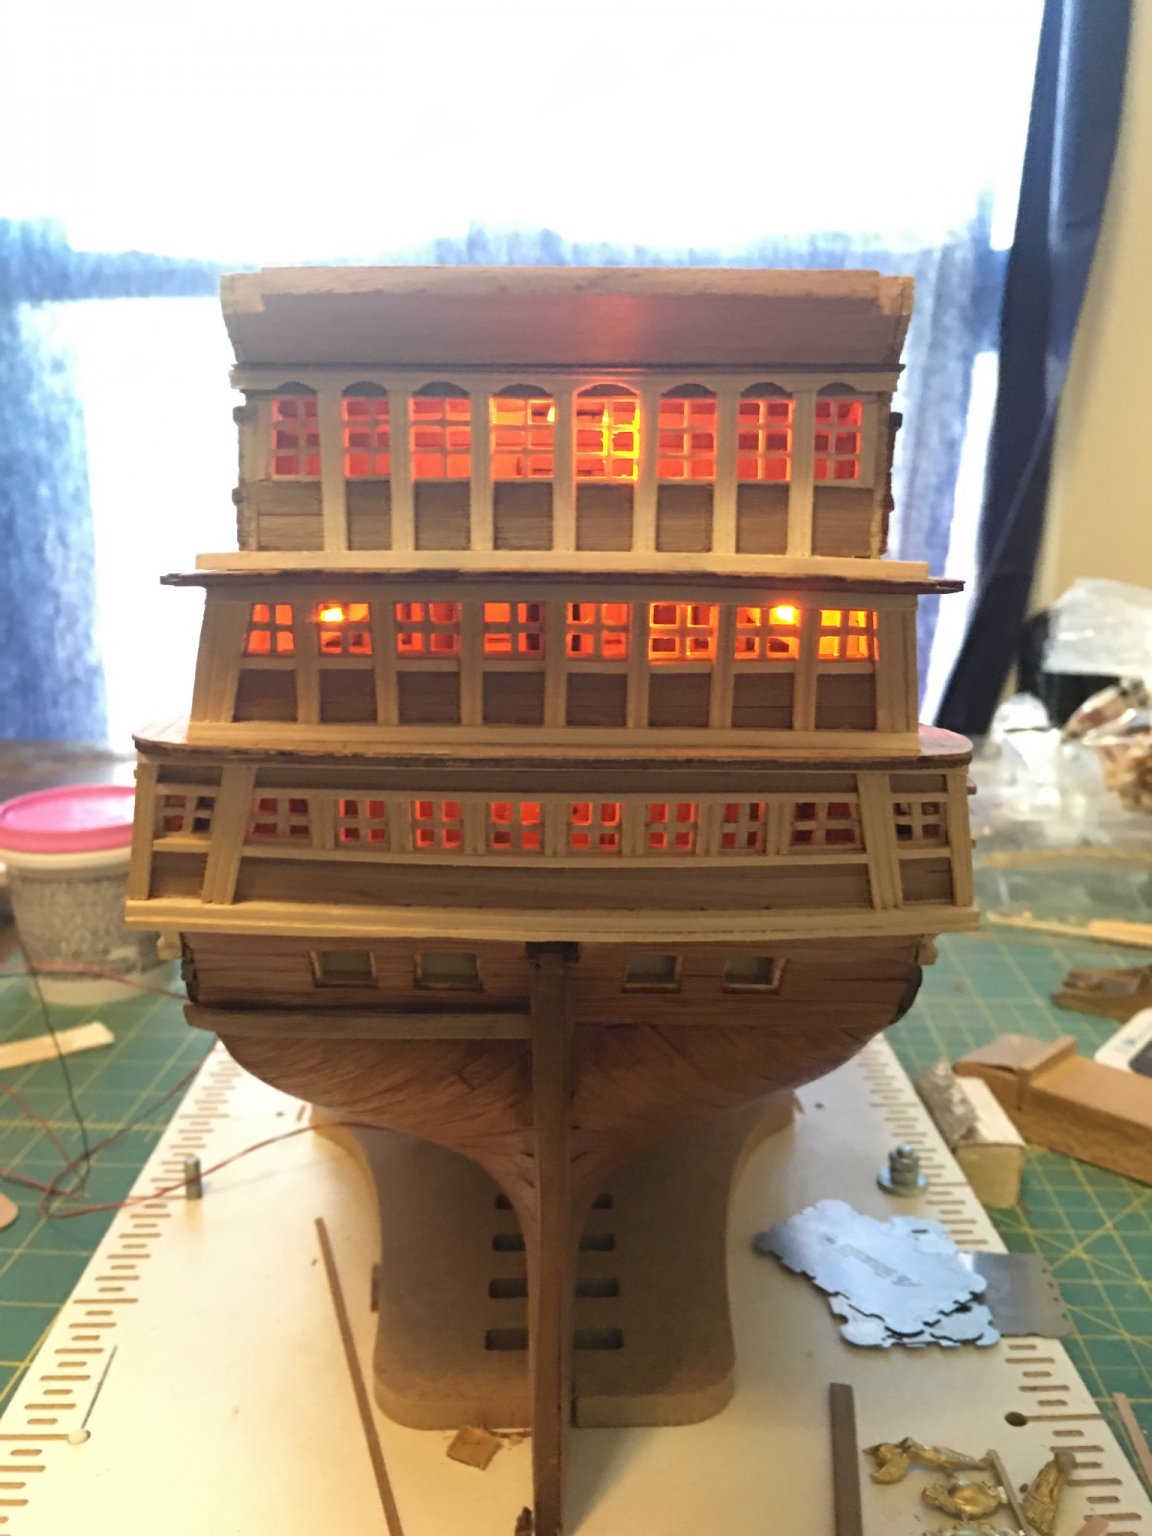
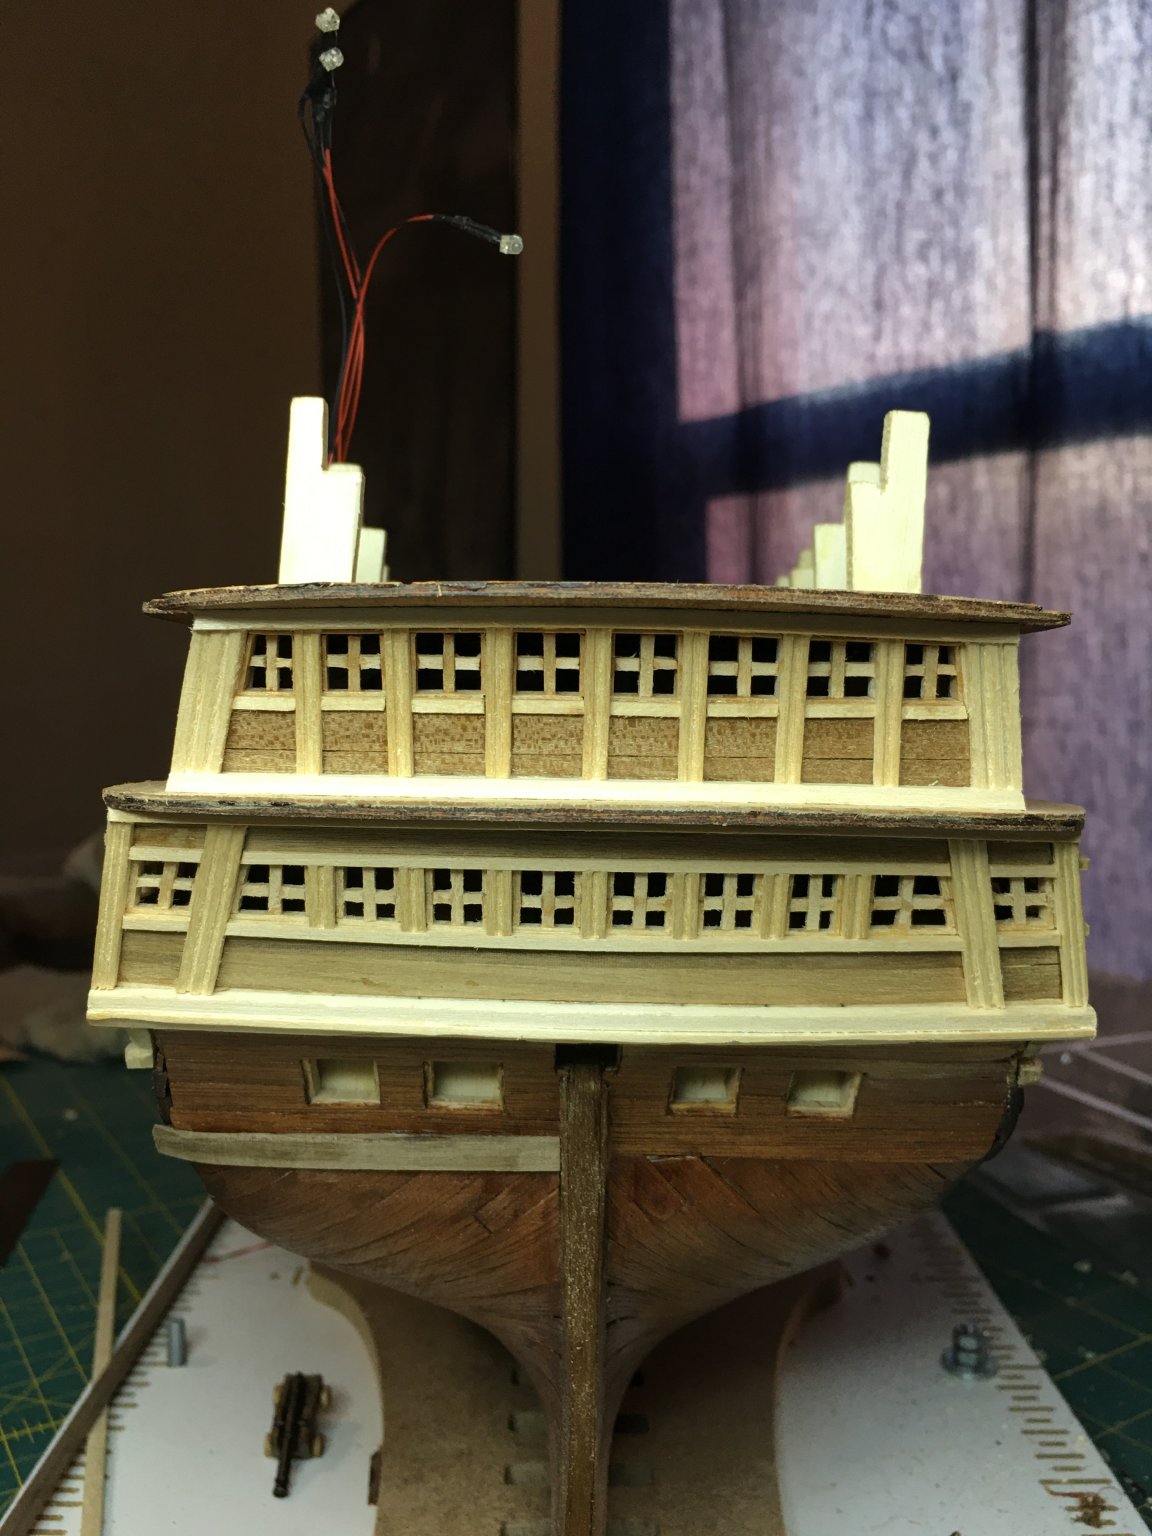
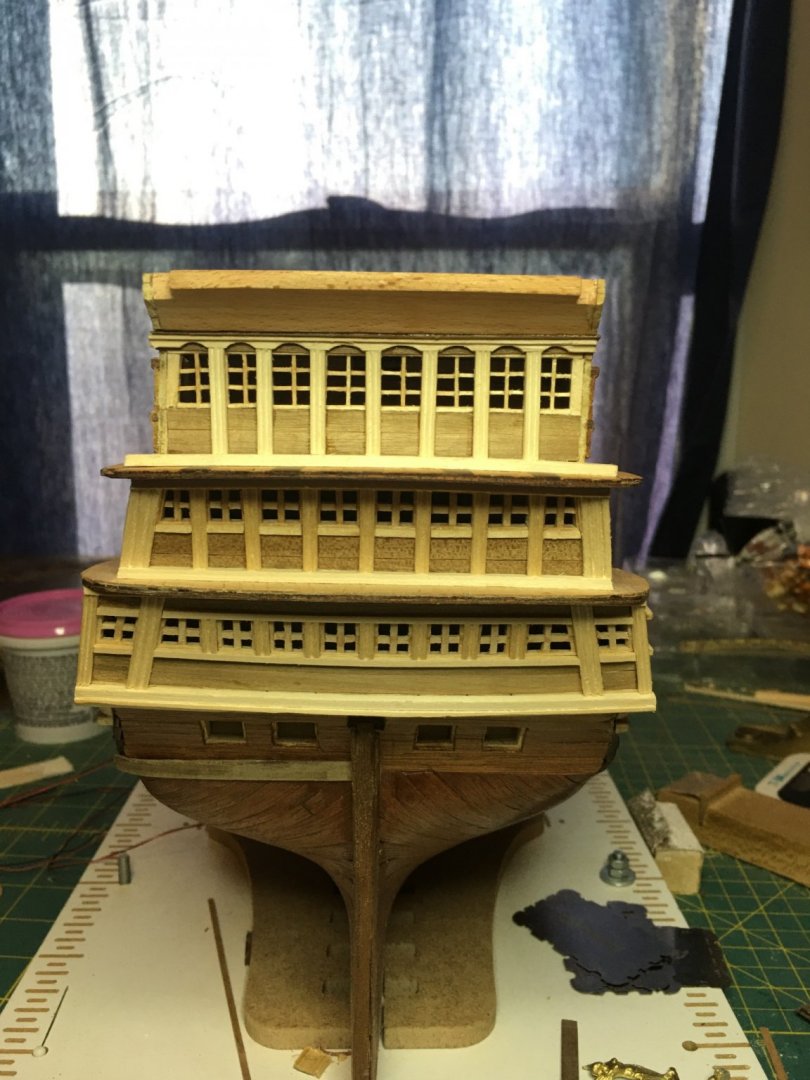
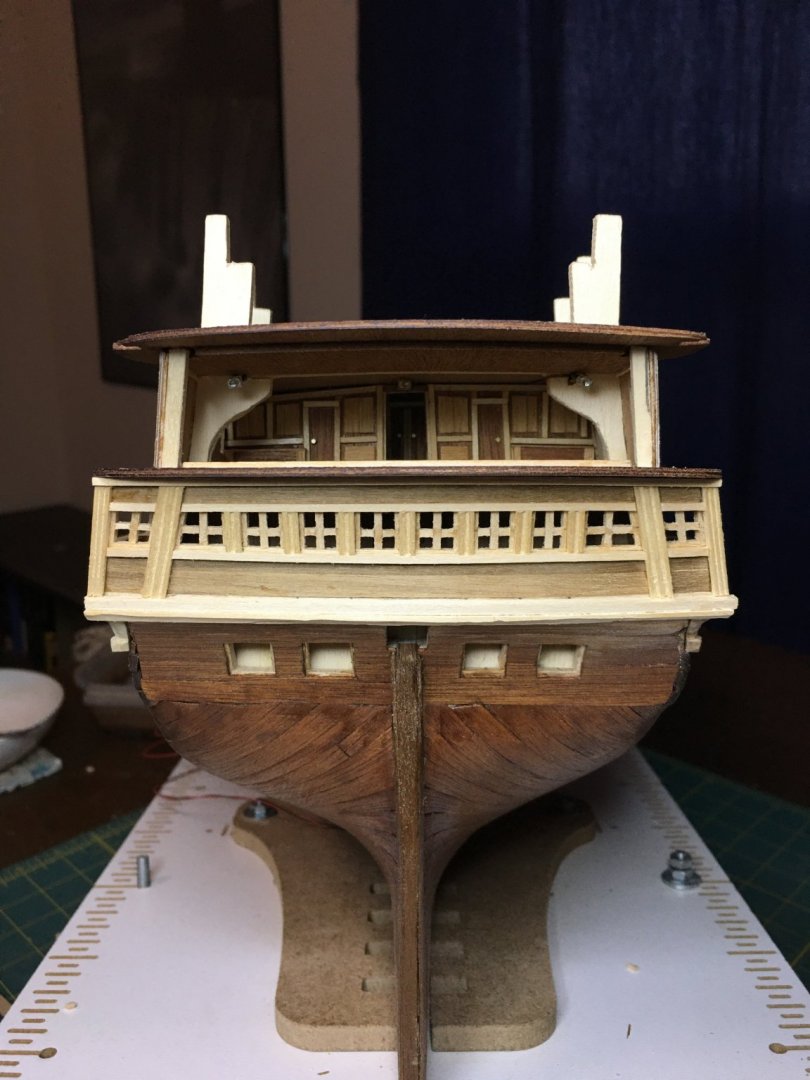
Spent the week working on the last tier of stern windows, enclosing the captains cabin.

-
A little more work. Getting all of the pieces installed that will shortly be covered up.


-
Not a lot has been done lately as I have been busy on other projects. Now that those are wrapped up, I am back to working the planking ever upward. Hopefully I will be able to top out the stern bulkheads soon followed by the forecastle. Once everything is topped out, I can start working on the decorations.
-
Beautiful! The weathering is well done. Naval ships were usually well kept by their crews as a point of pride, but natural wear would still be present. I think you are doing an excellent job in showing this.
- 2,699 replies
-
- 2
-
-
- heller
- soleil royal
- (and 9 more)
-
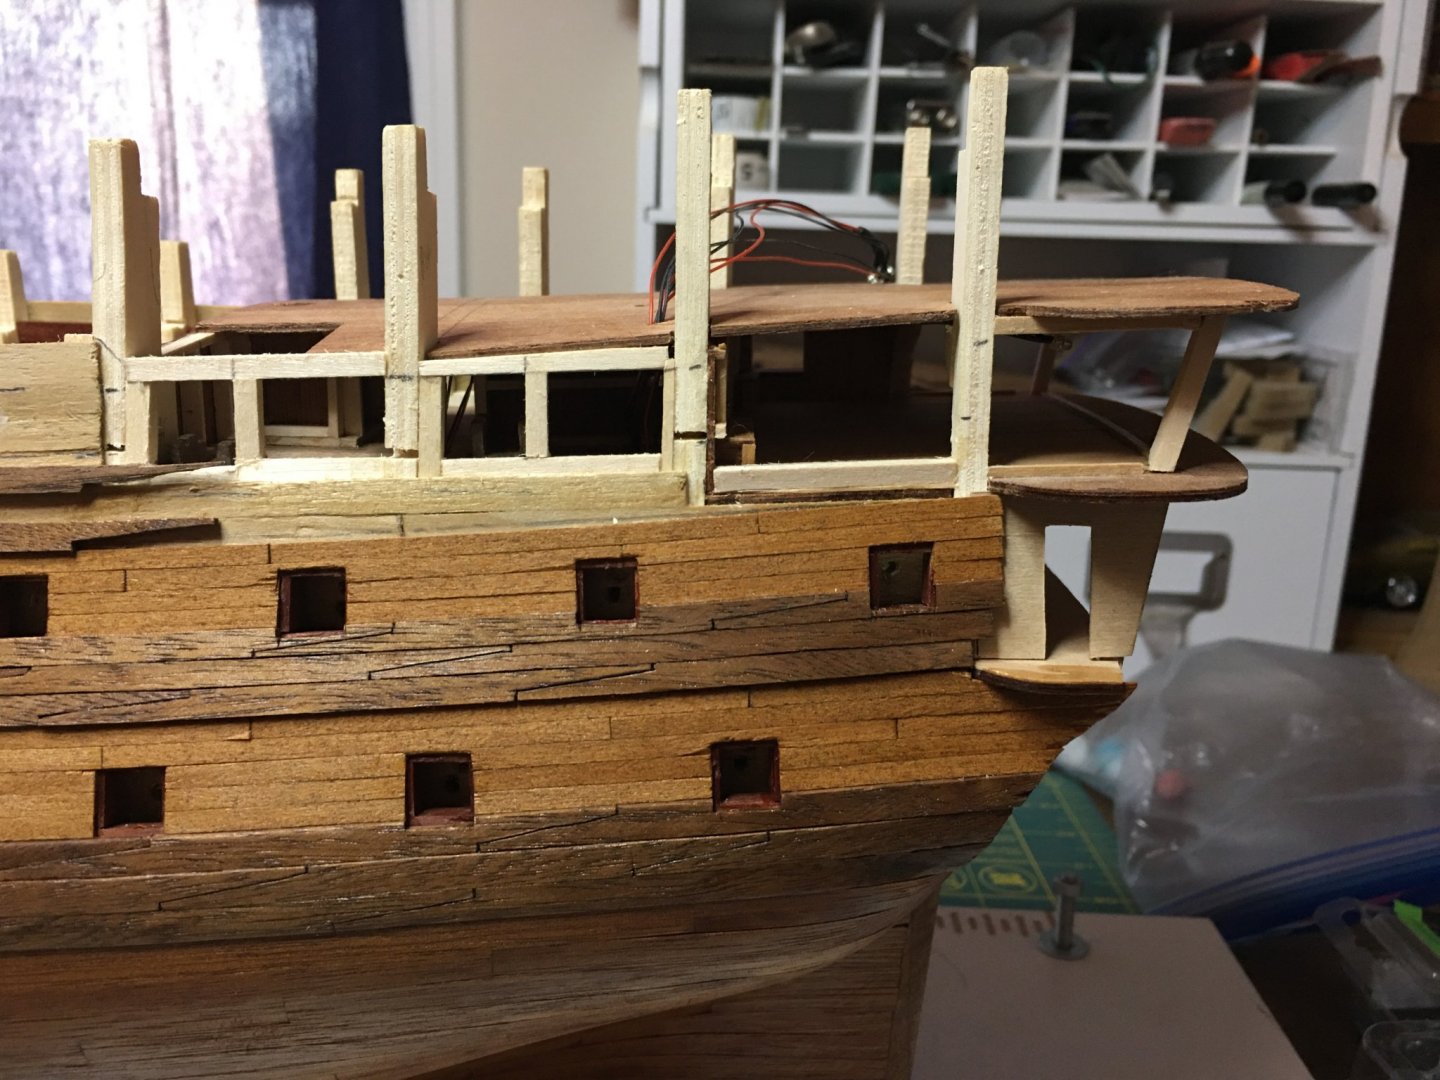
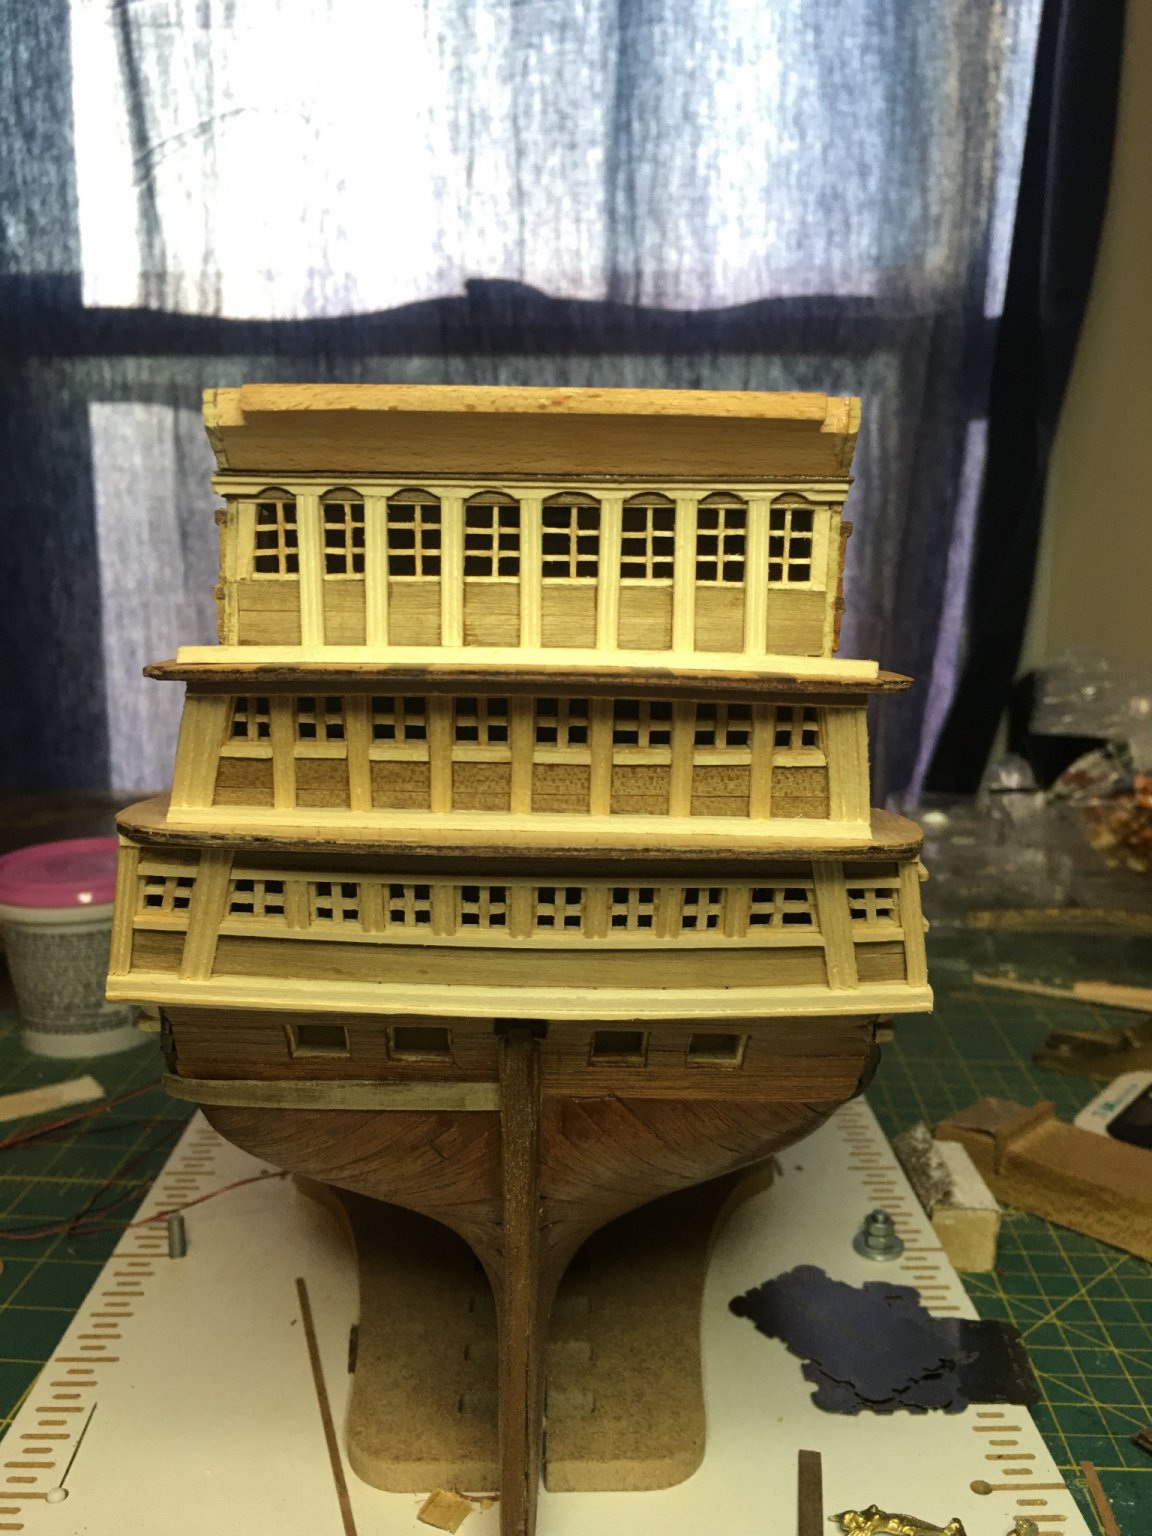
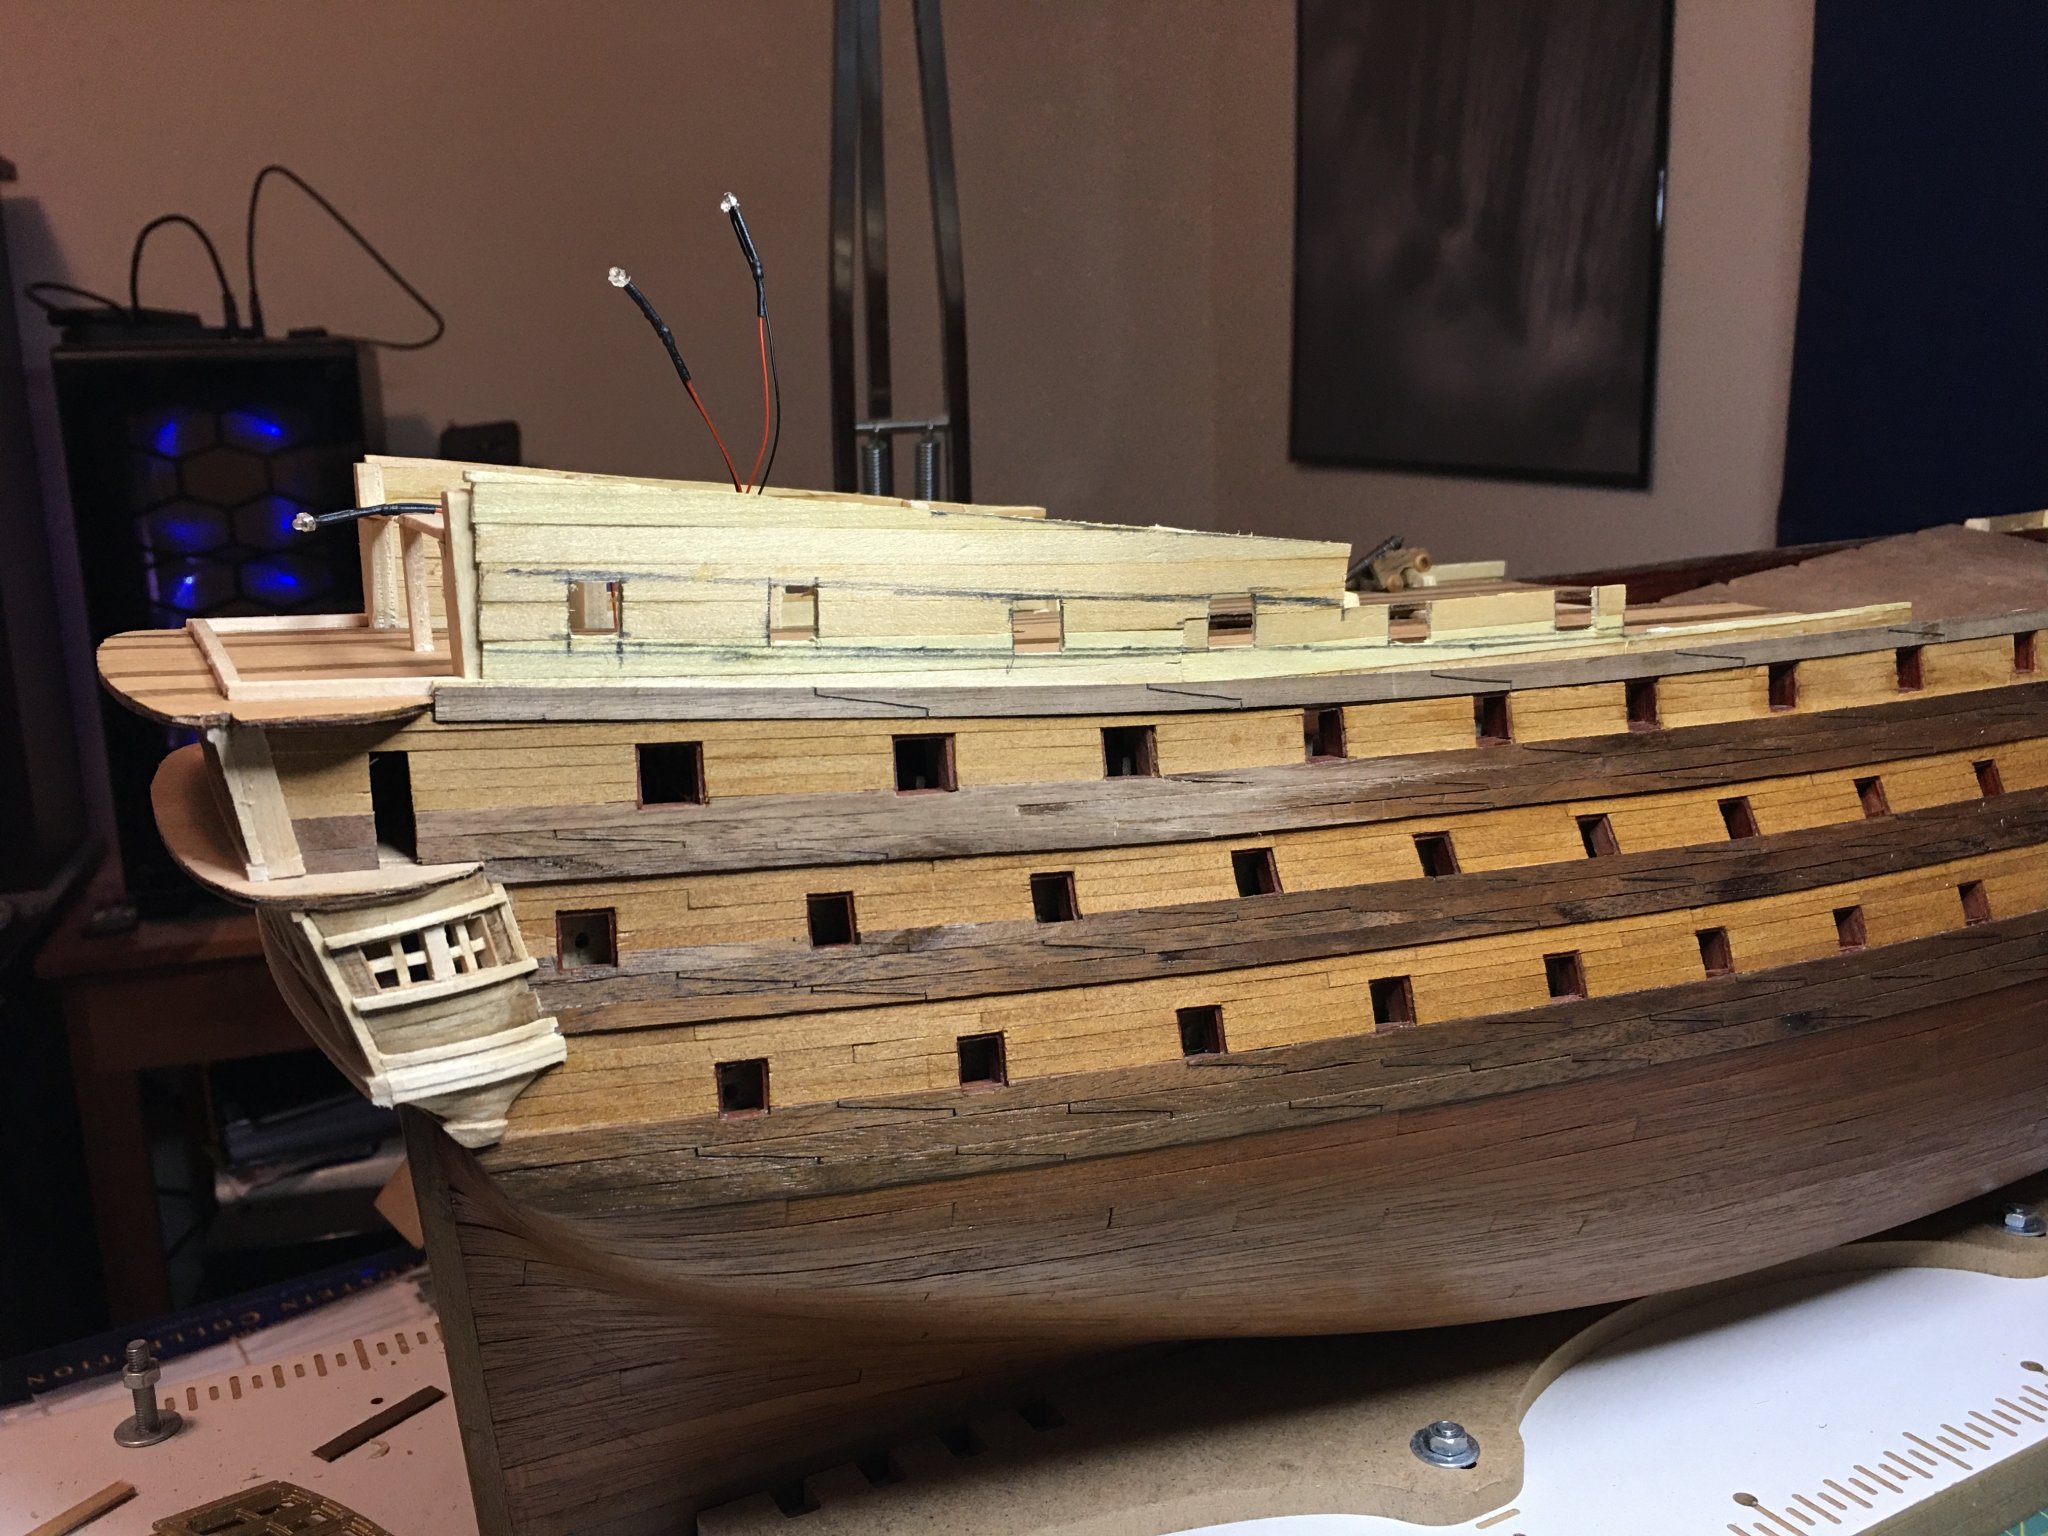
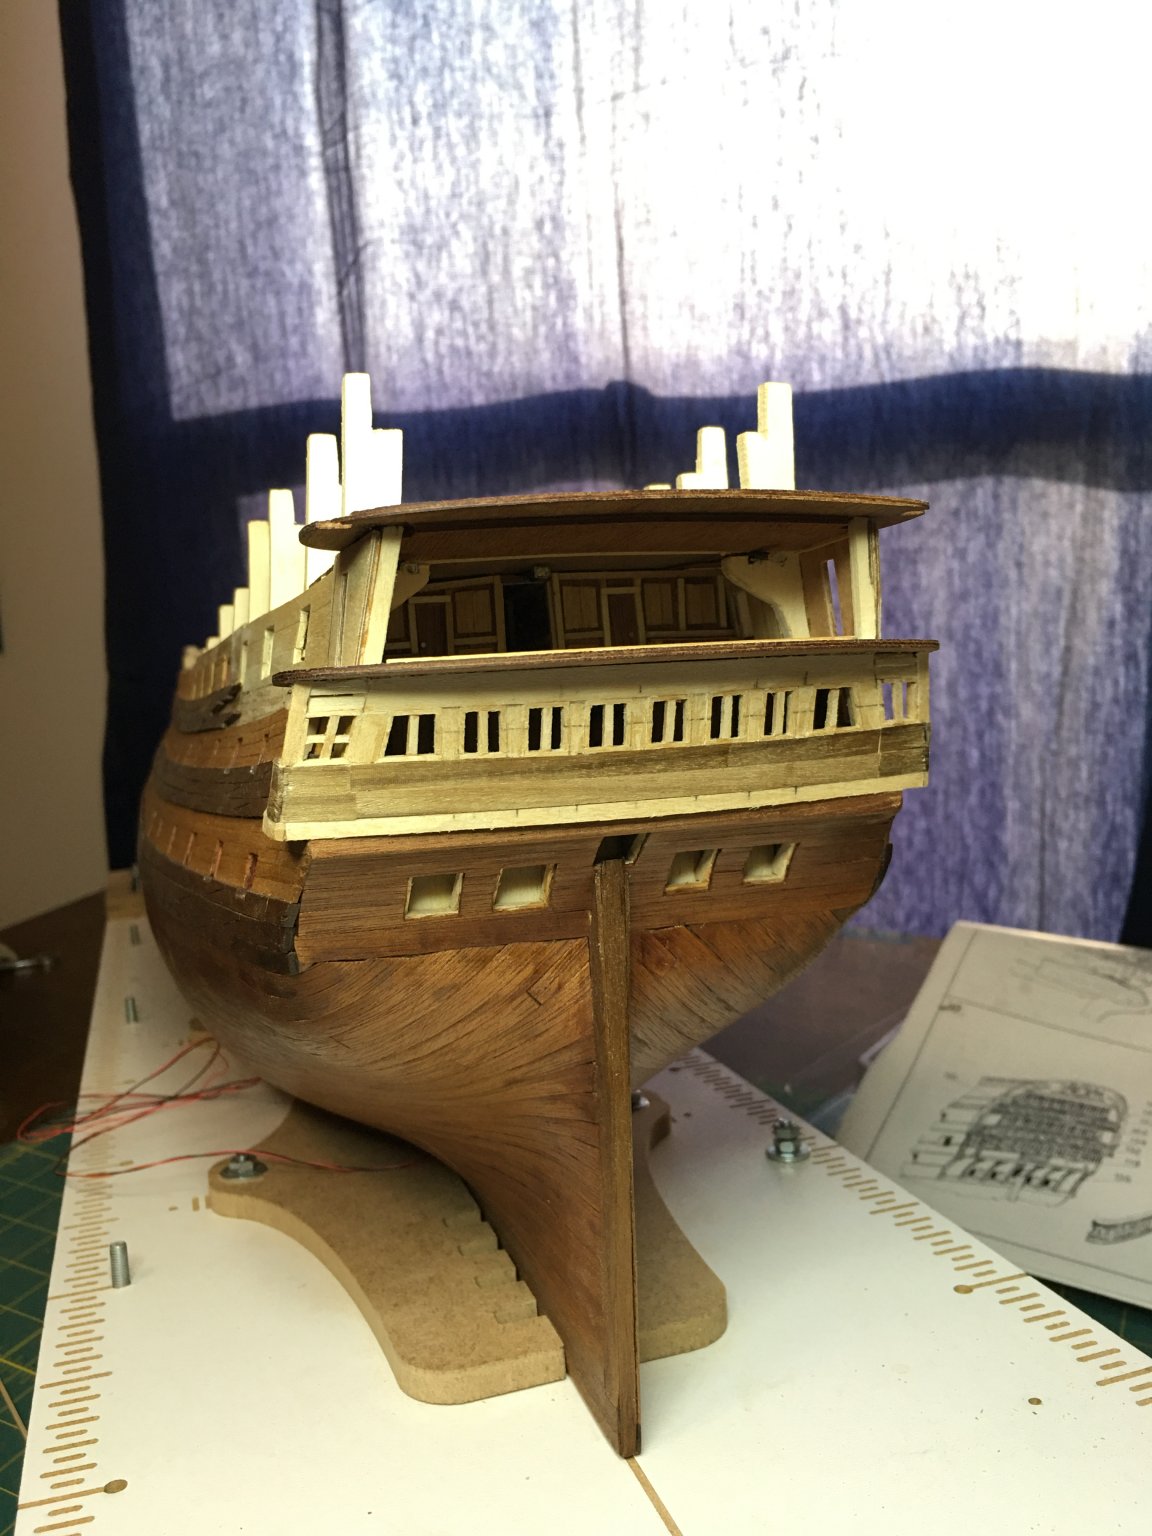
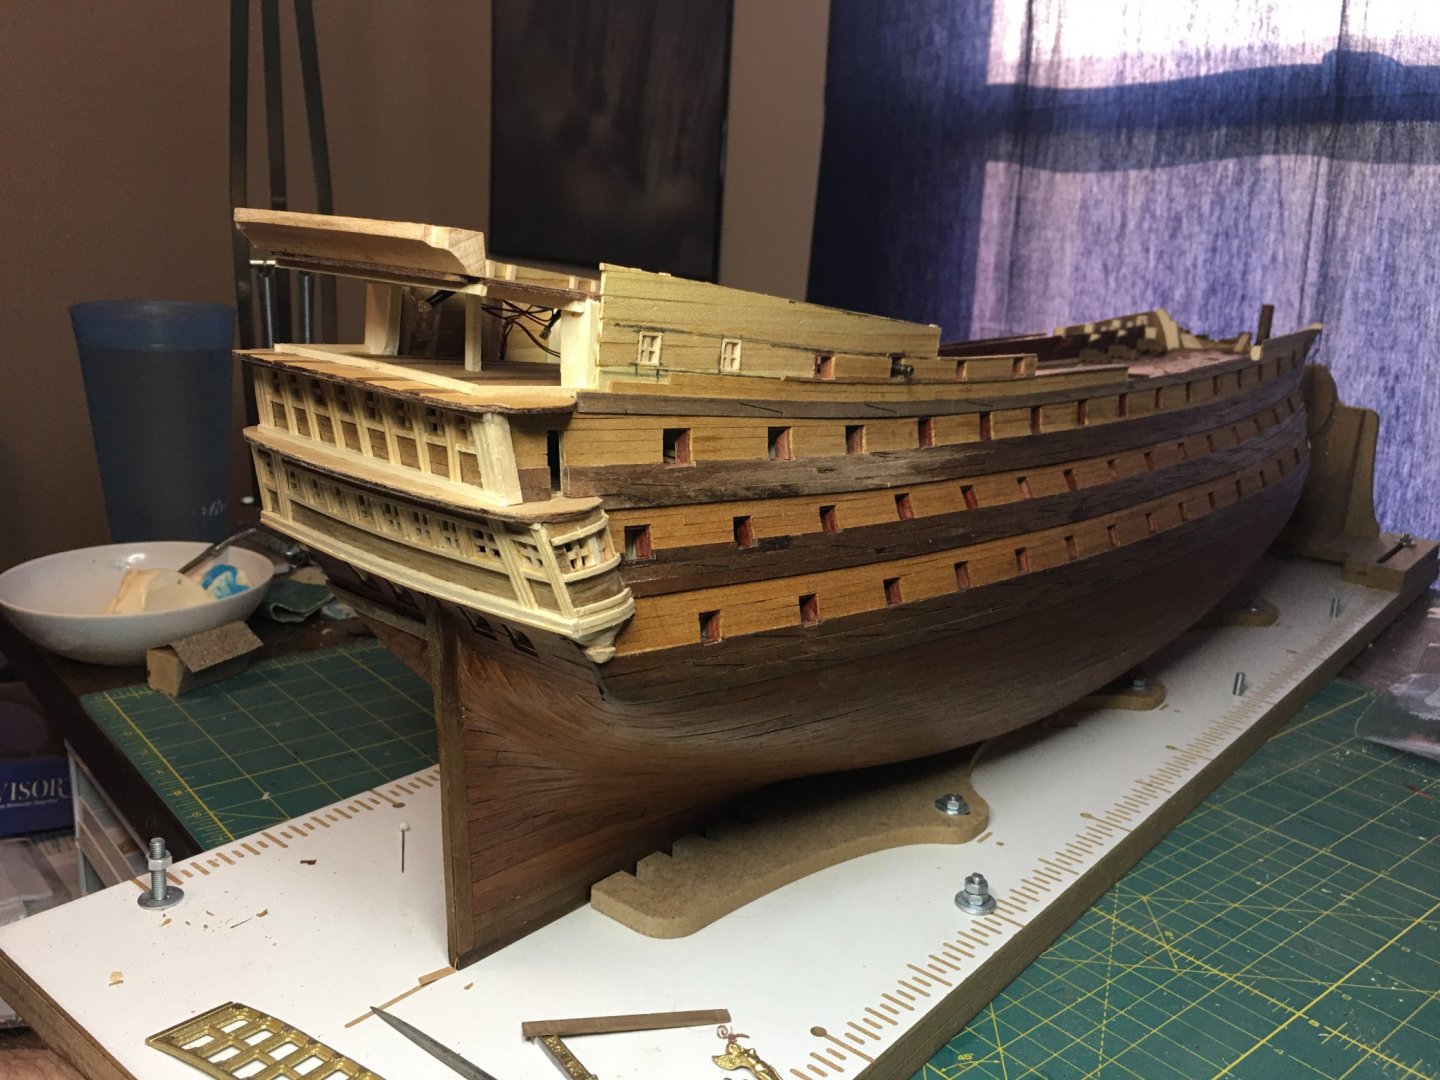
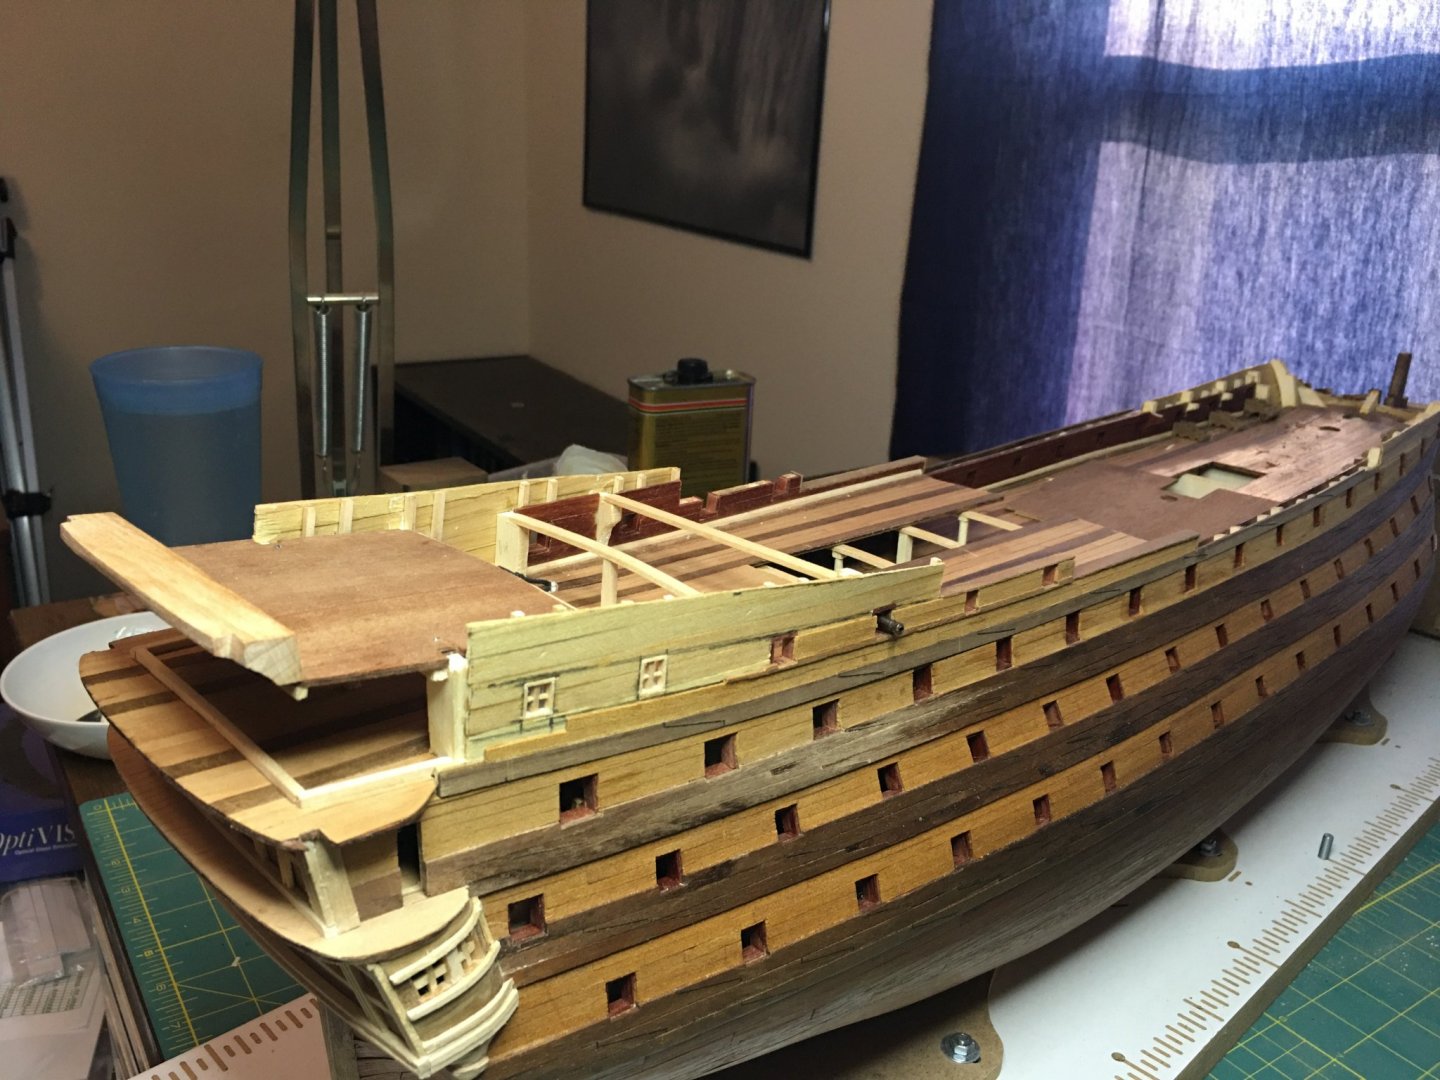
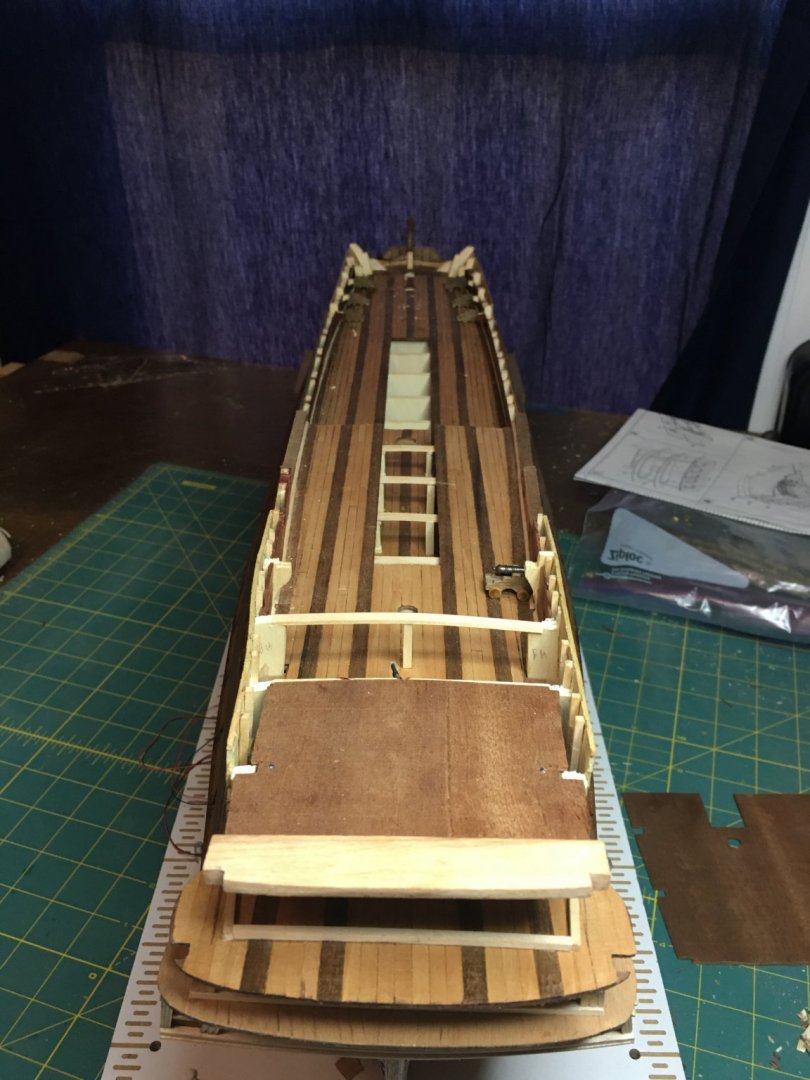
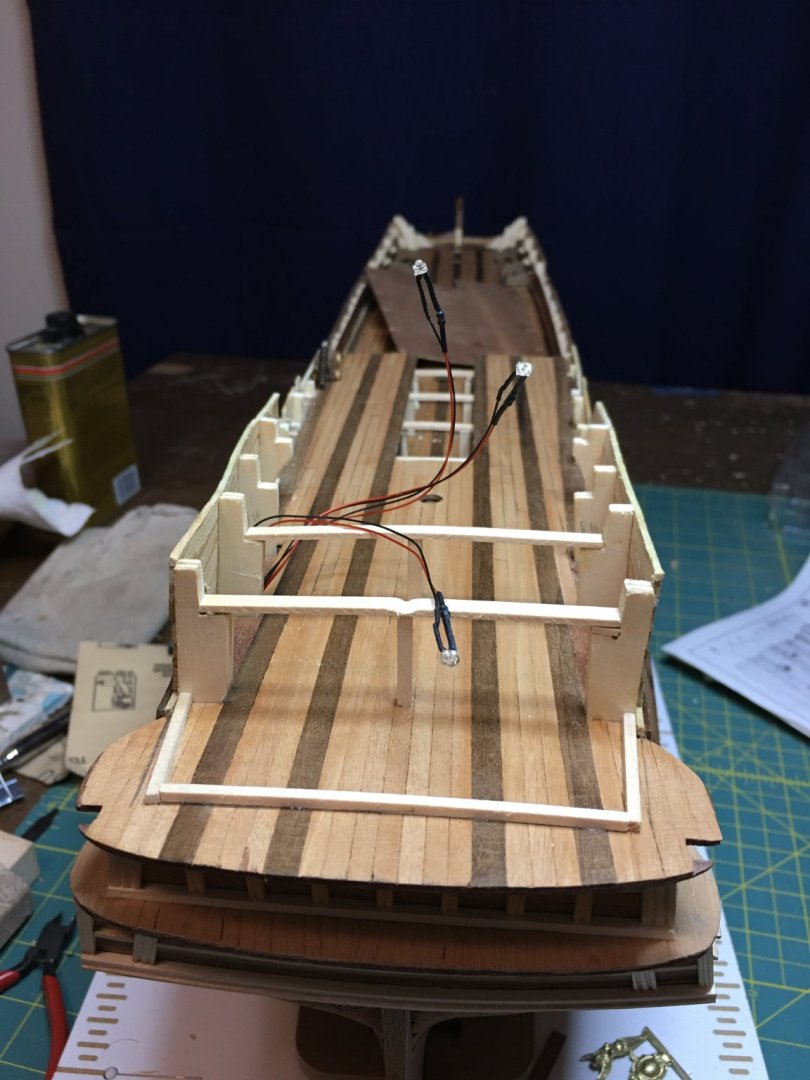
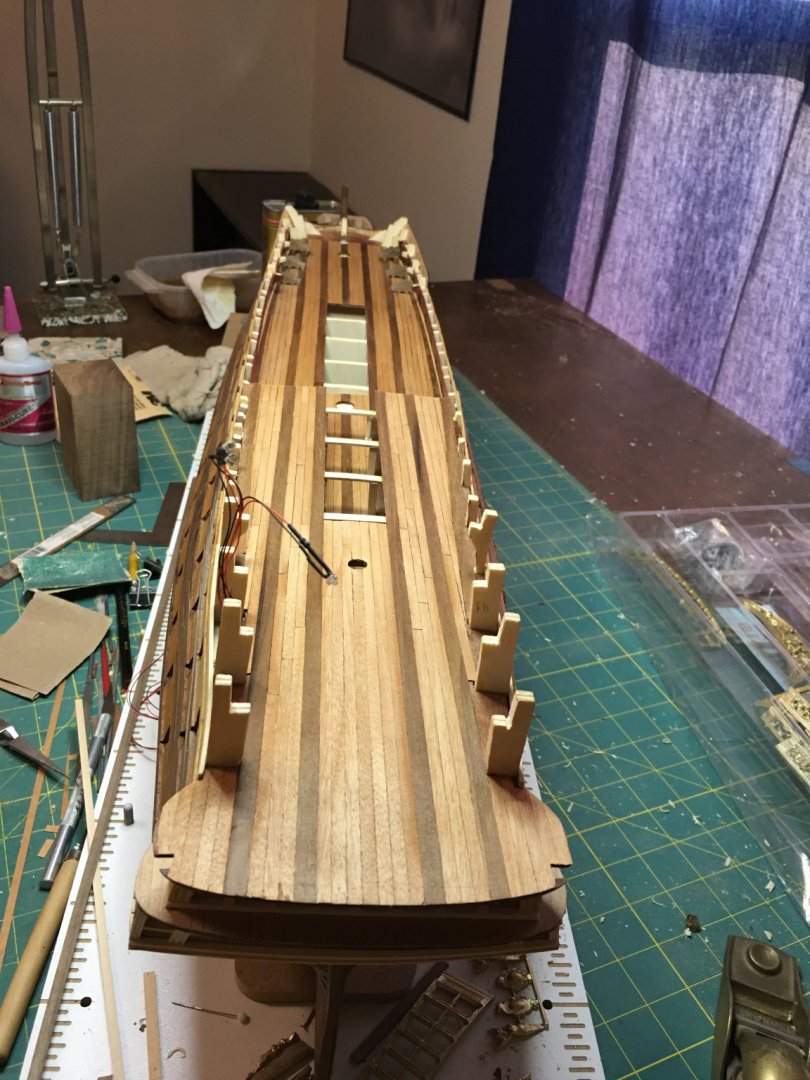
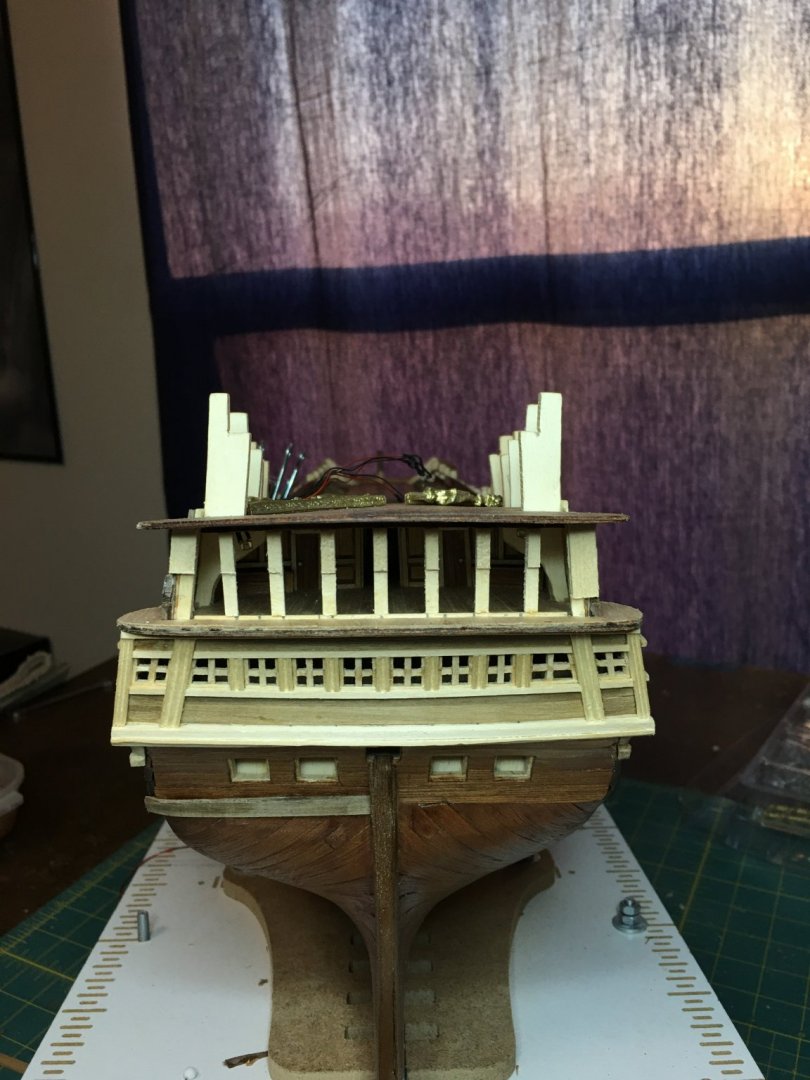
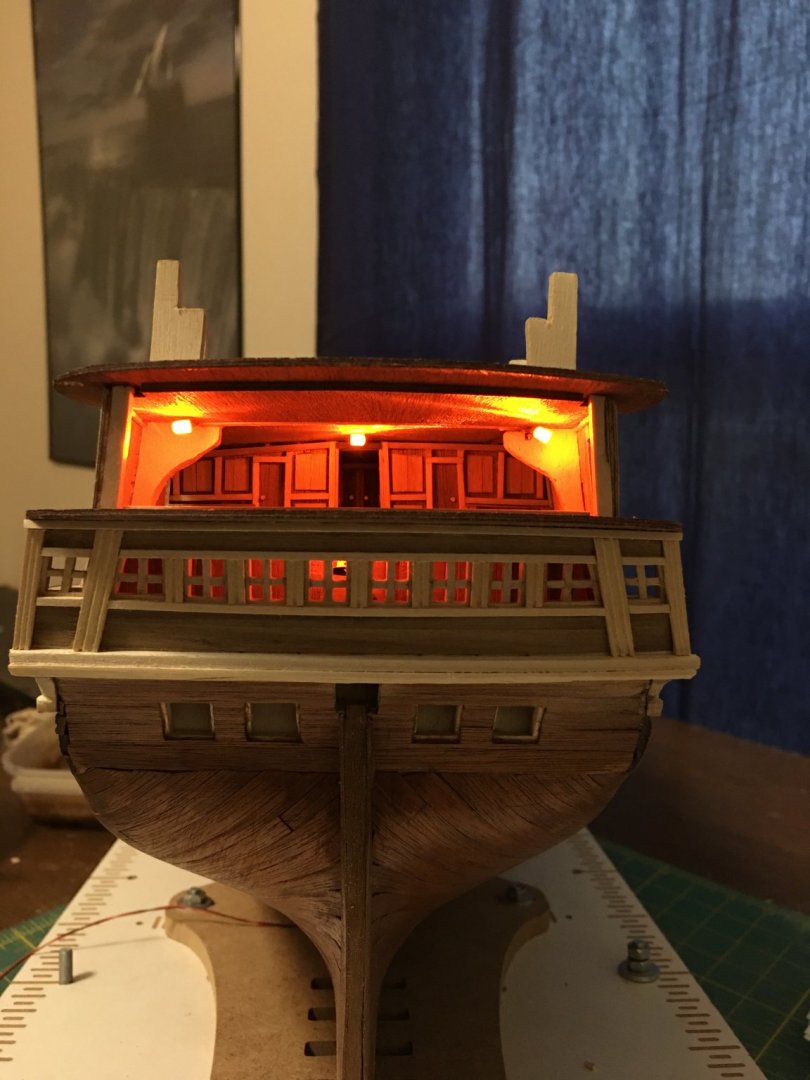
Working on the upper stern structure. Pierced the last of the gun ports and the four cabin windows in the office quarters. I had to adjust those two down as the drawings showed them in the middle of the poop deck. Also setting the poop deck beams and cutting channels to run the wires for the lights.

-
Fantastic! Was the year a historical detail or one of your own embellishments? I think it is a great idea either way just curious. I've had a similar problem with those thin carvings separating. Then the challenge of keeping track of them all and gluing them back in the correct order was also fun. Glad to see your repair went smooth.
- 2,699 replies
-
- 2
-
-
- heller
- soleil royal
- (and 9 more)
-
Hello all! I know it it has been a while since I have updated, been a little busy but mostly just needed a break. Back now with some updates to share.

-
Beautiful figurehead! That is exactly what I had envisioned as well. She will look majestic at the bow of your ship.
- 2,699 replies
-
- 3
-
-
- heller
- soleil royal
- (and 9 more)
-
Modifications are looking good. This has been a detail that has always bothered me on previous builds as most 17th century ships had this mast offset yet I don't know of any kits that are designed that way. Modifying for it always became one of those decisions that I chose to forego and always regretted it.
-
I personally like the use of various colors and shades on the decorations. I think that instead of leaving the horse and rider white, I would use a light brown and skin tone respectively. I think the white is too white and I'm thinking that if the artists did indeed use colors and not just gold leaf, they would have attempted to paint as realistic as possible. Being that the horse, is more seahorse than normal land horse, a blue/grey or orange/yellow tint might also be appropriate.
- 2,699 replies
-
- 3
-
-
- heller
- soleil royal
- (and 9 more)
-
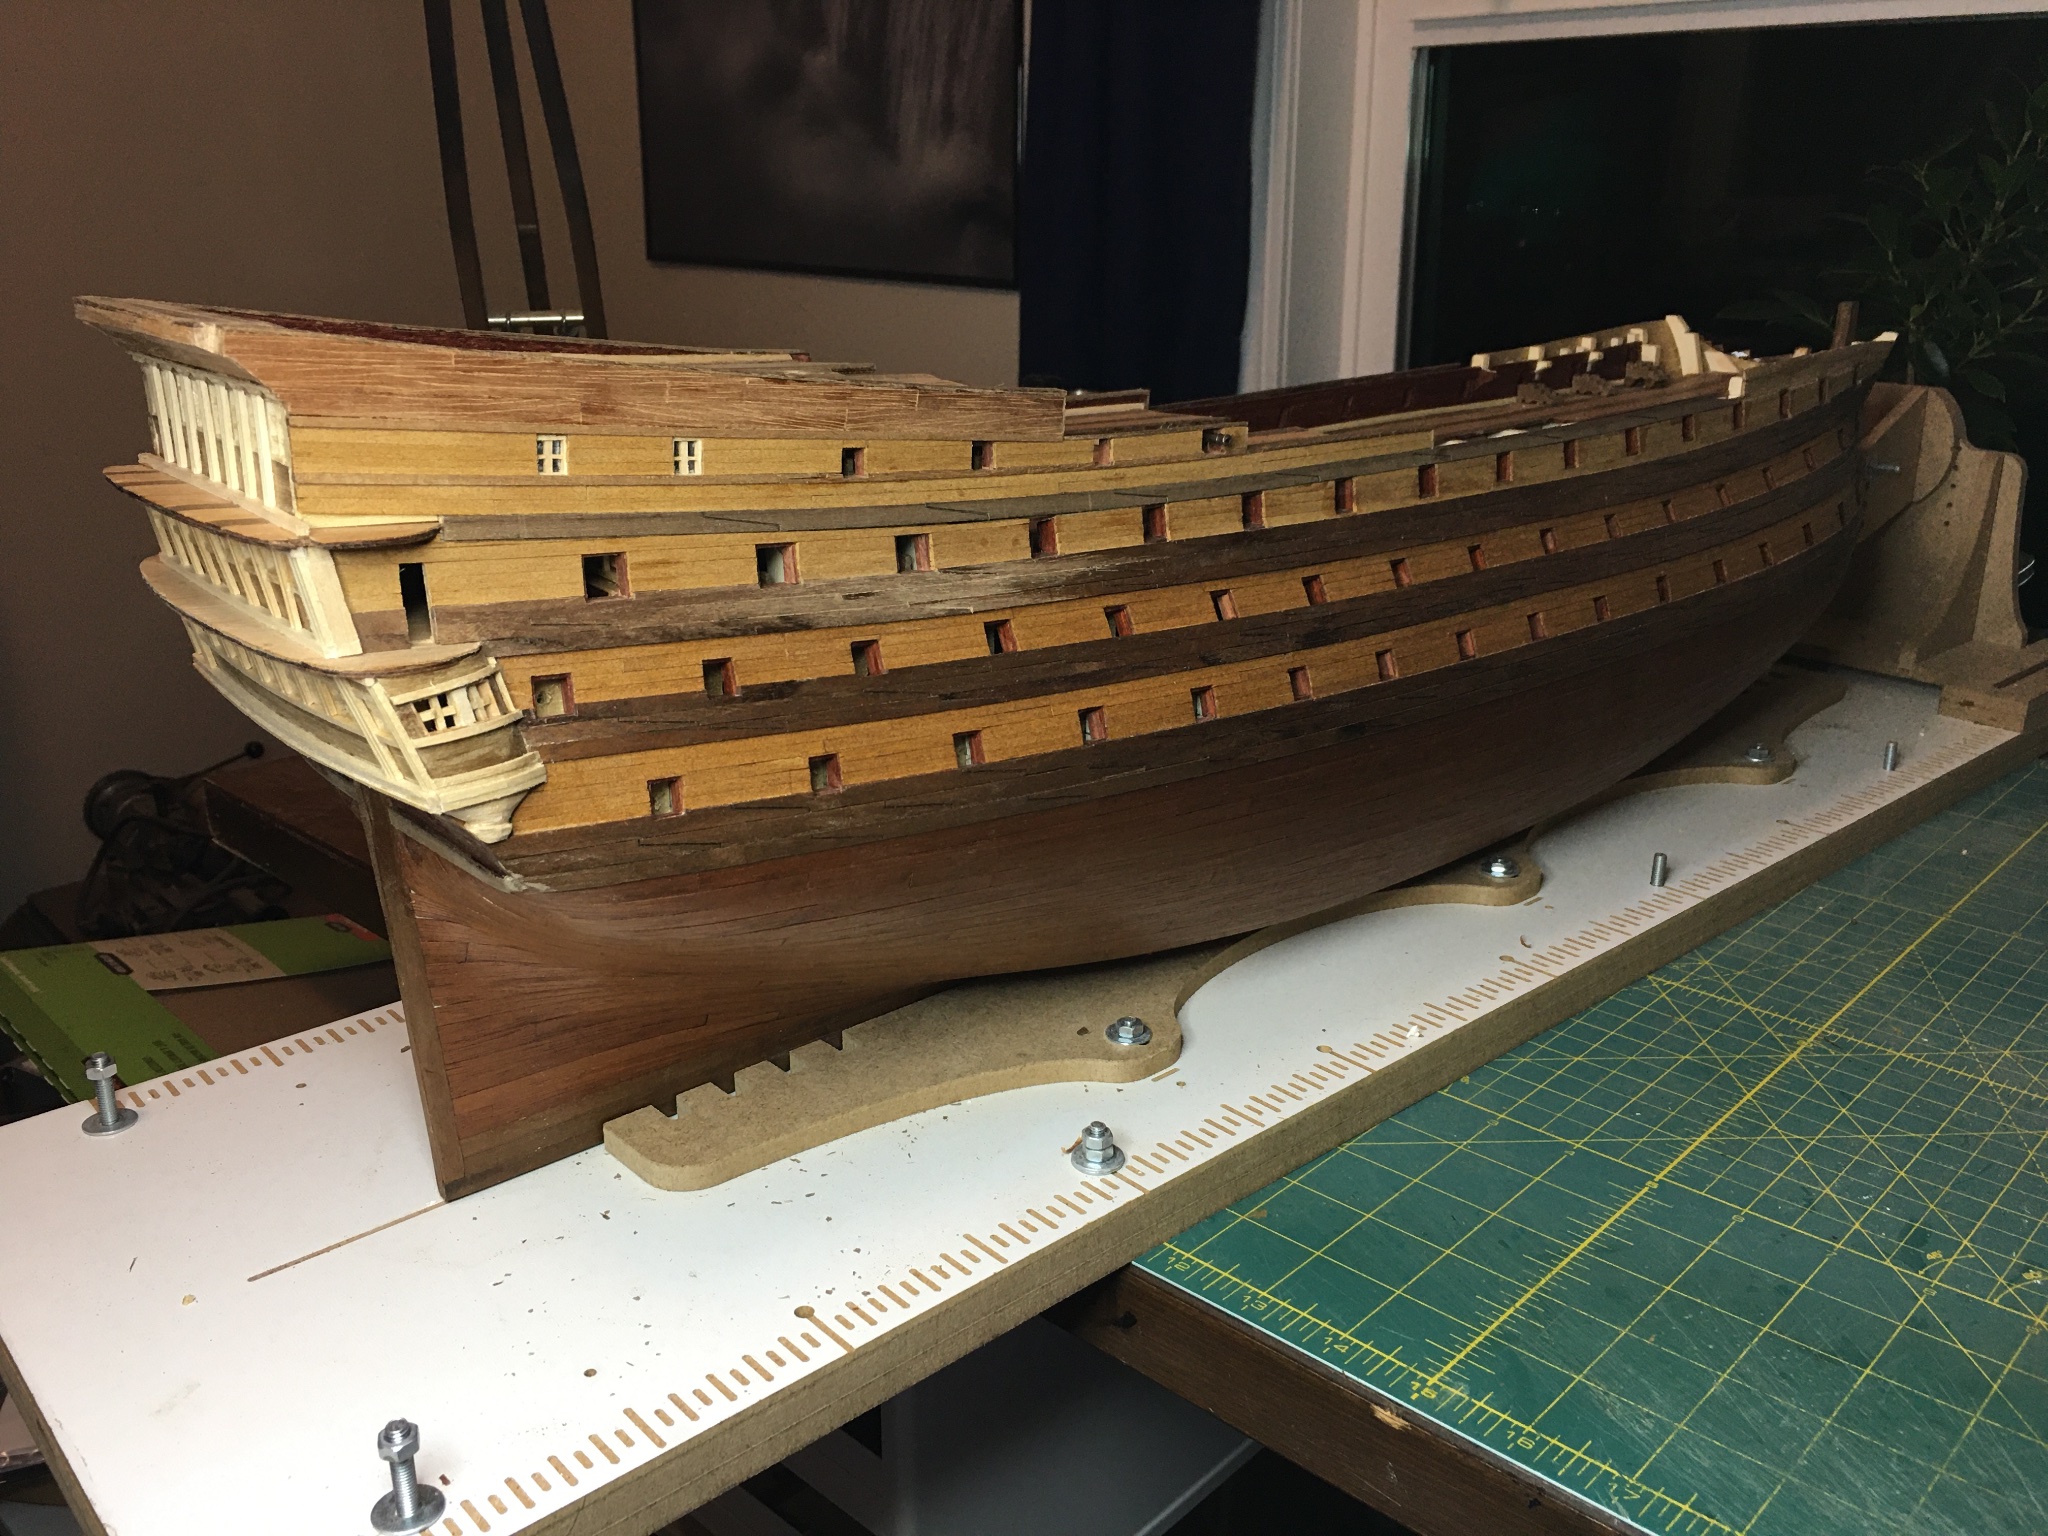
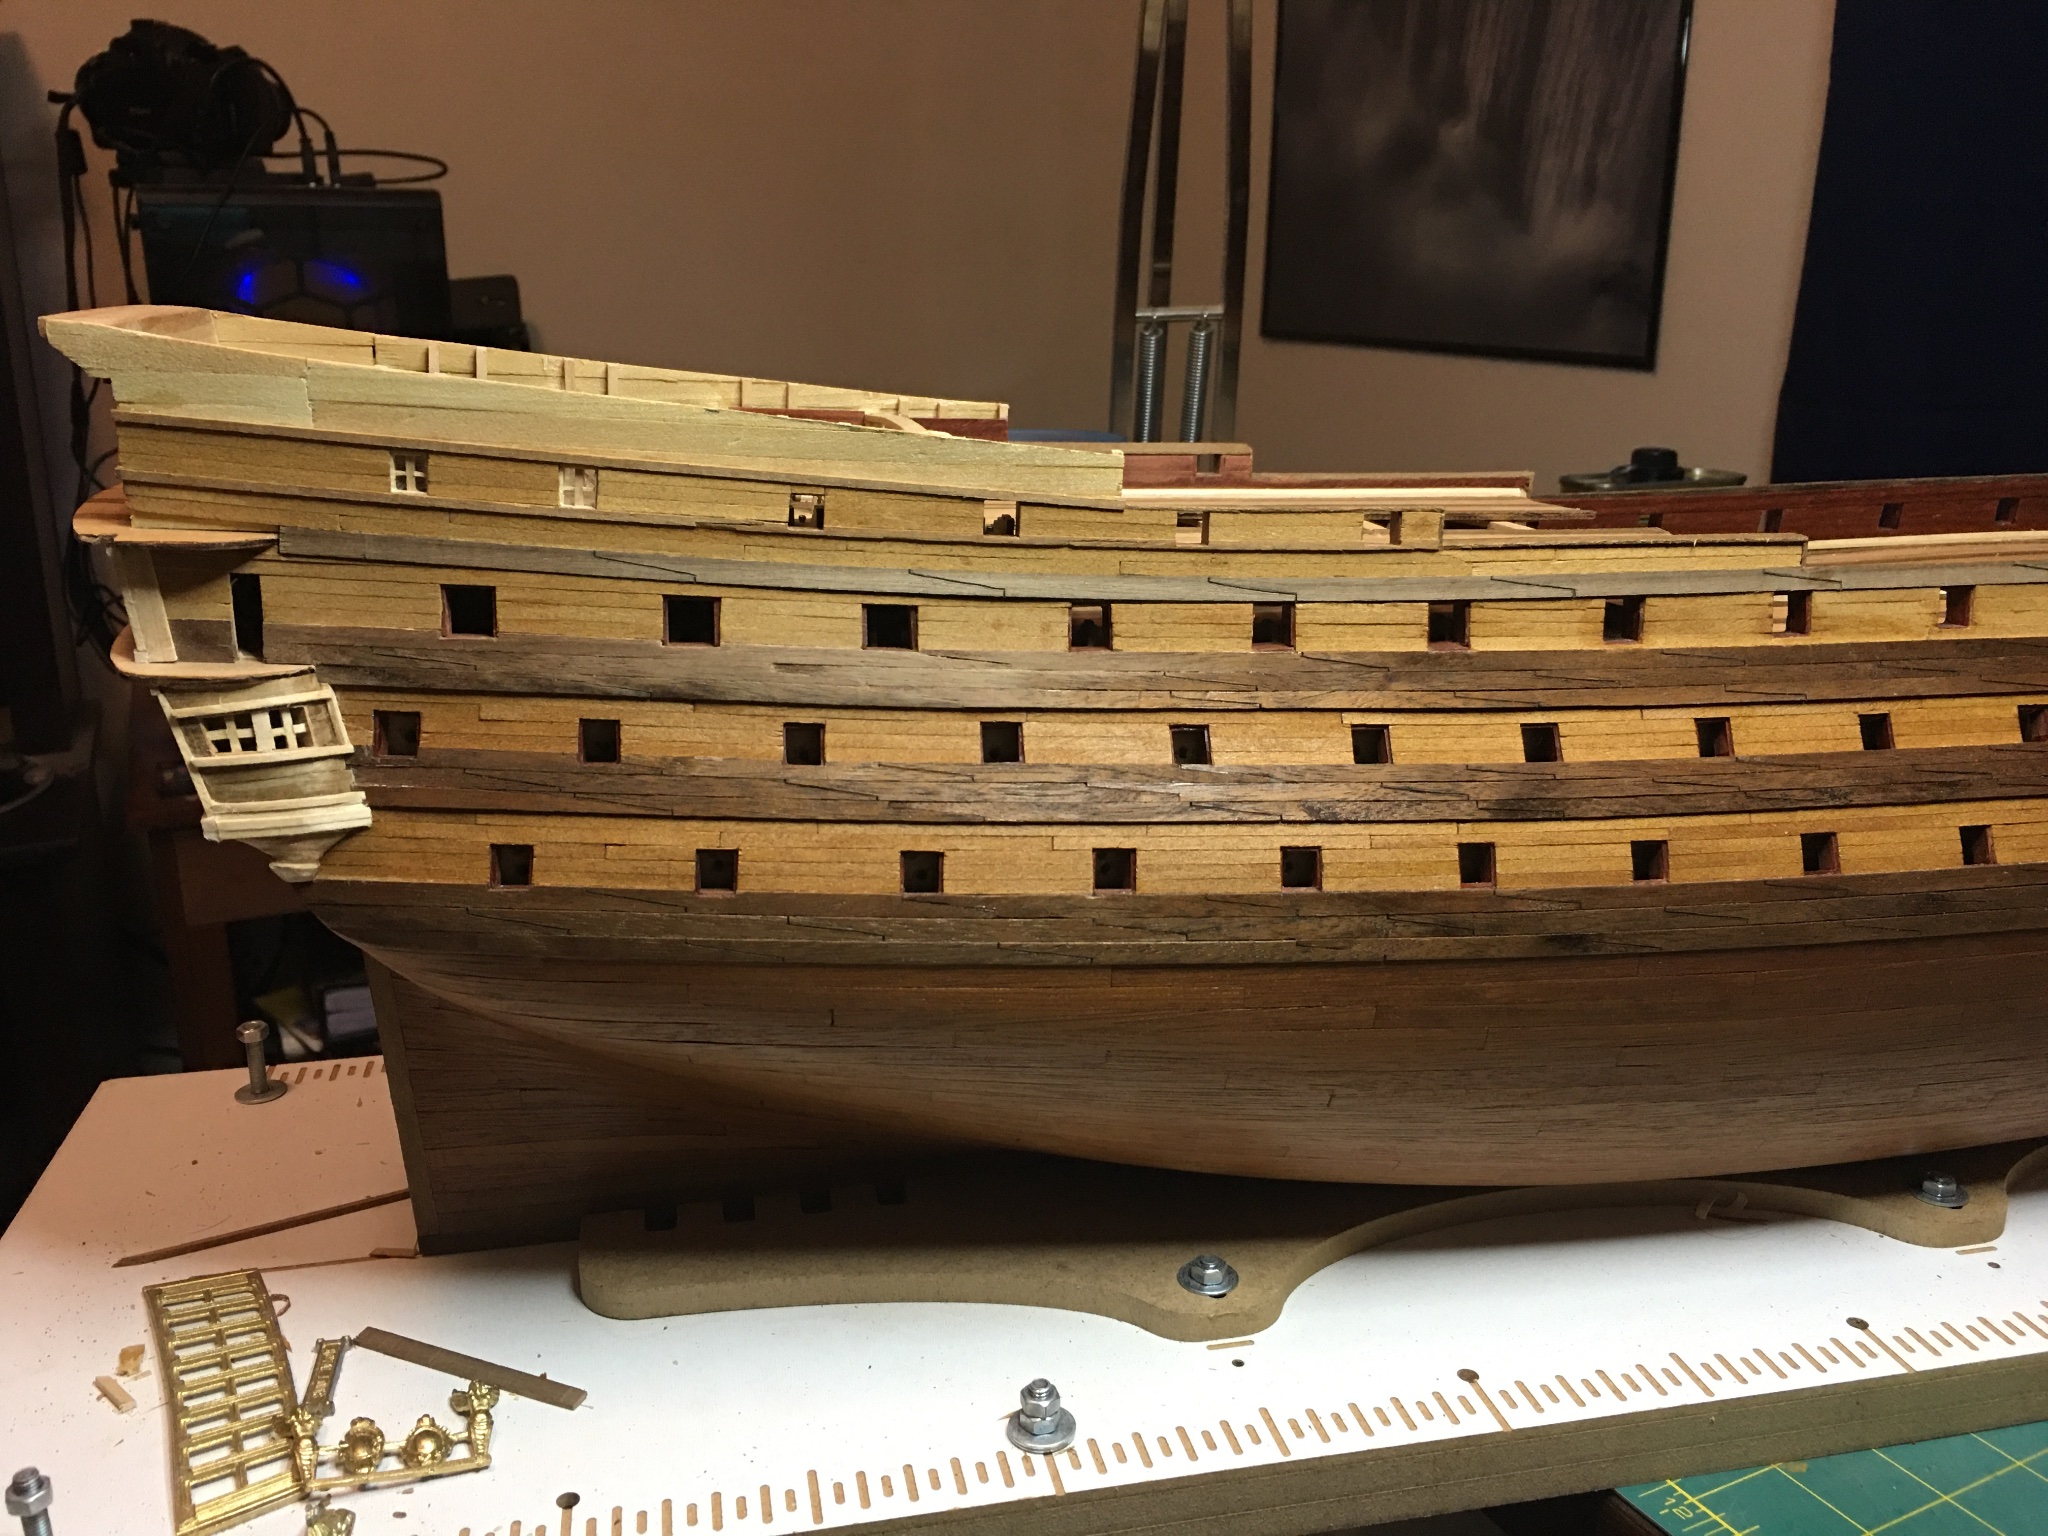
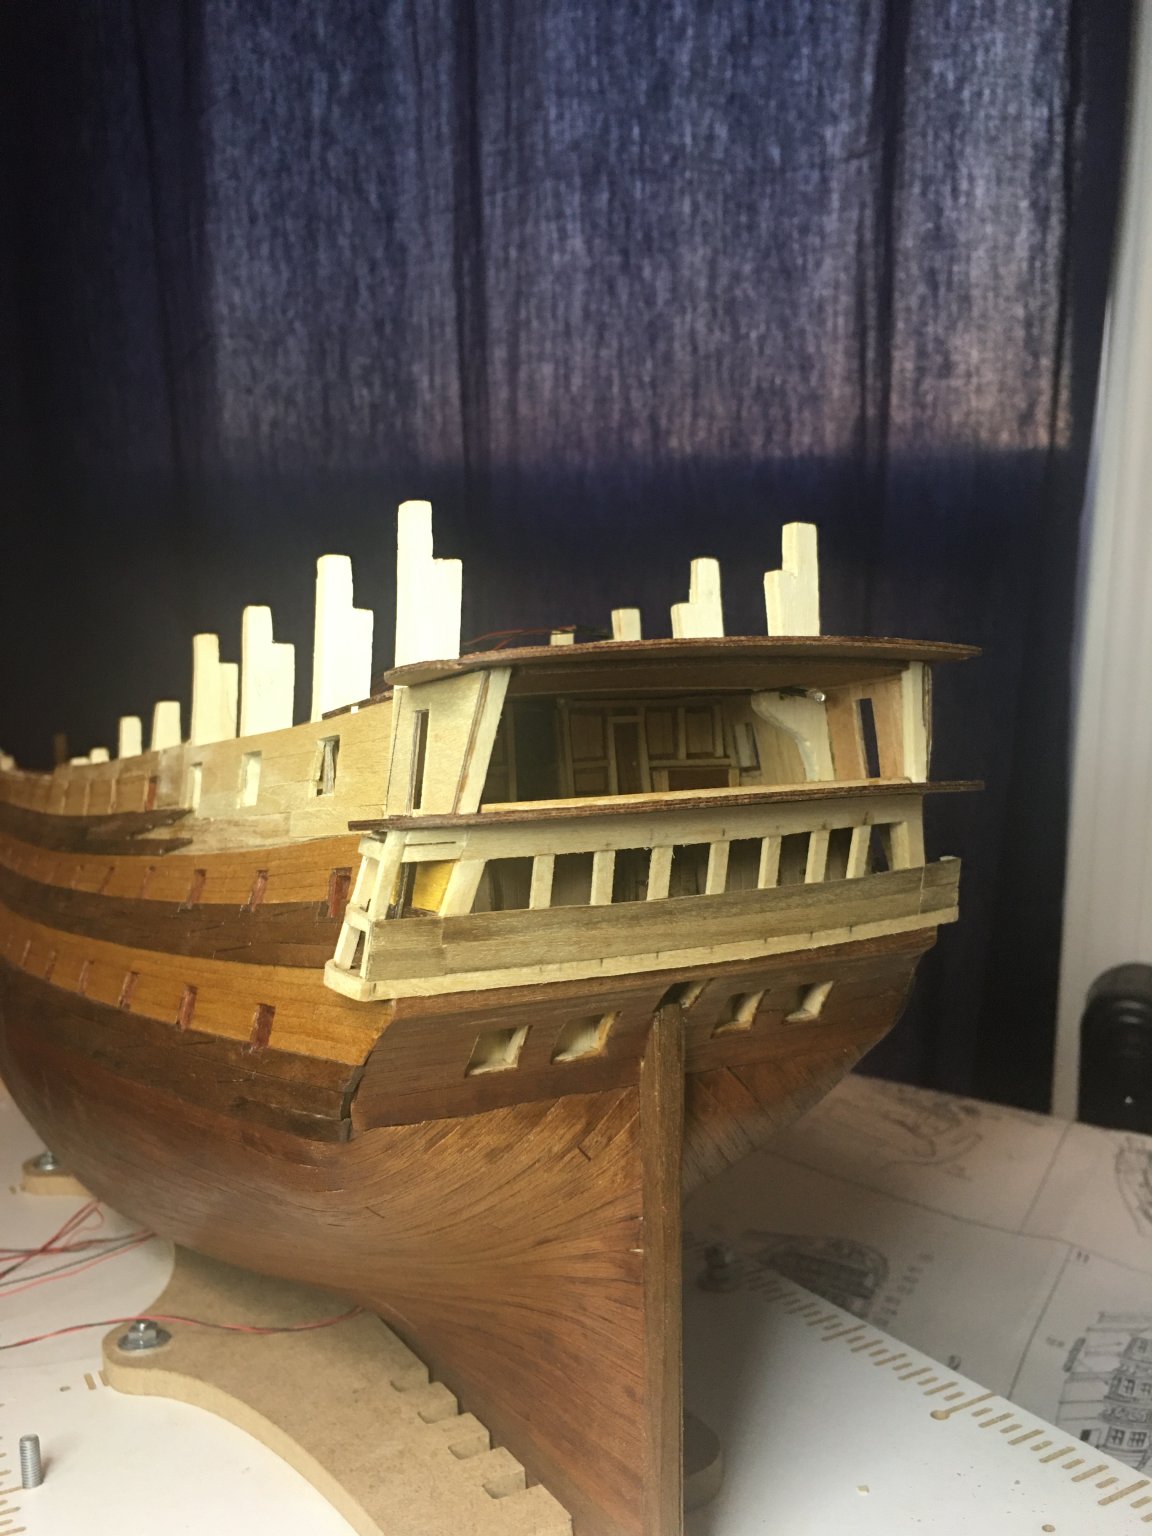
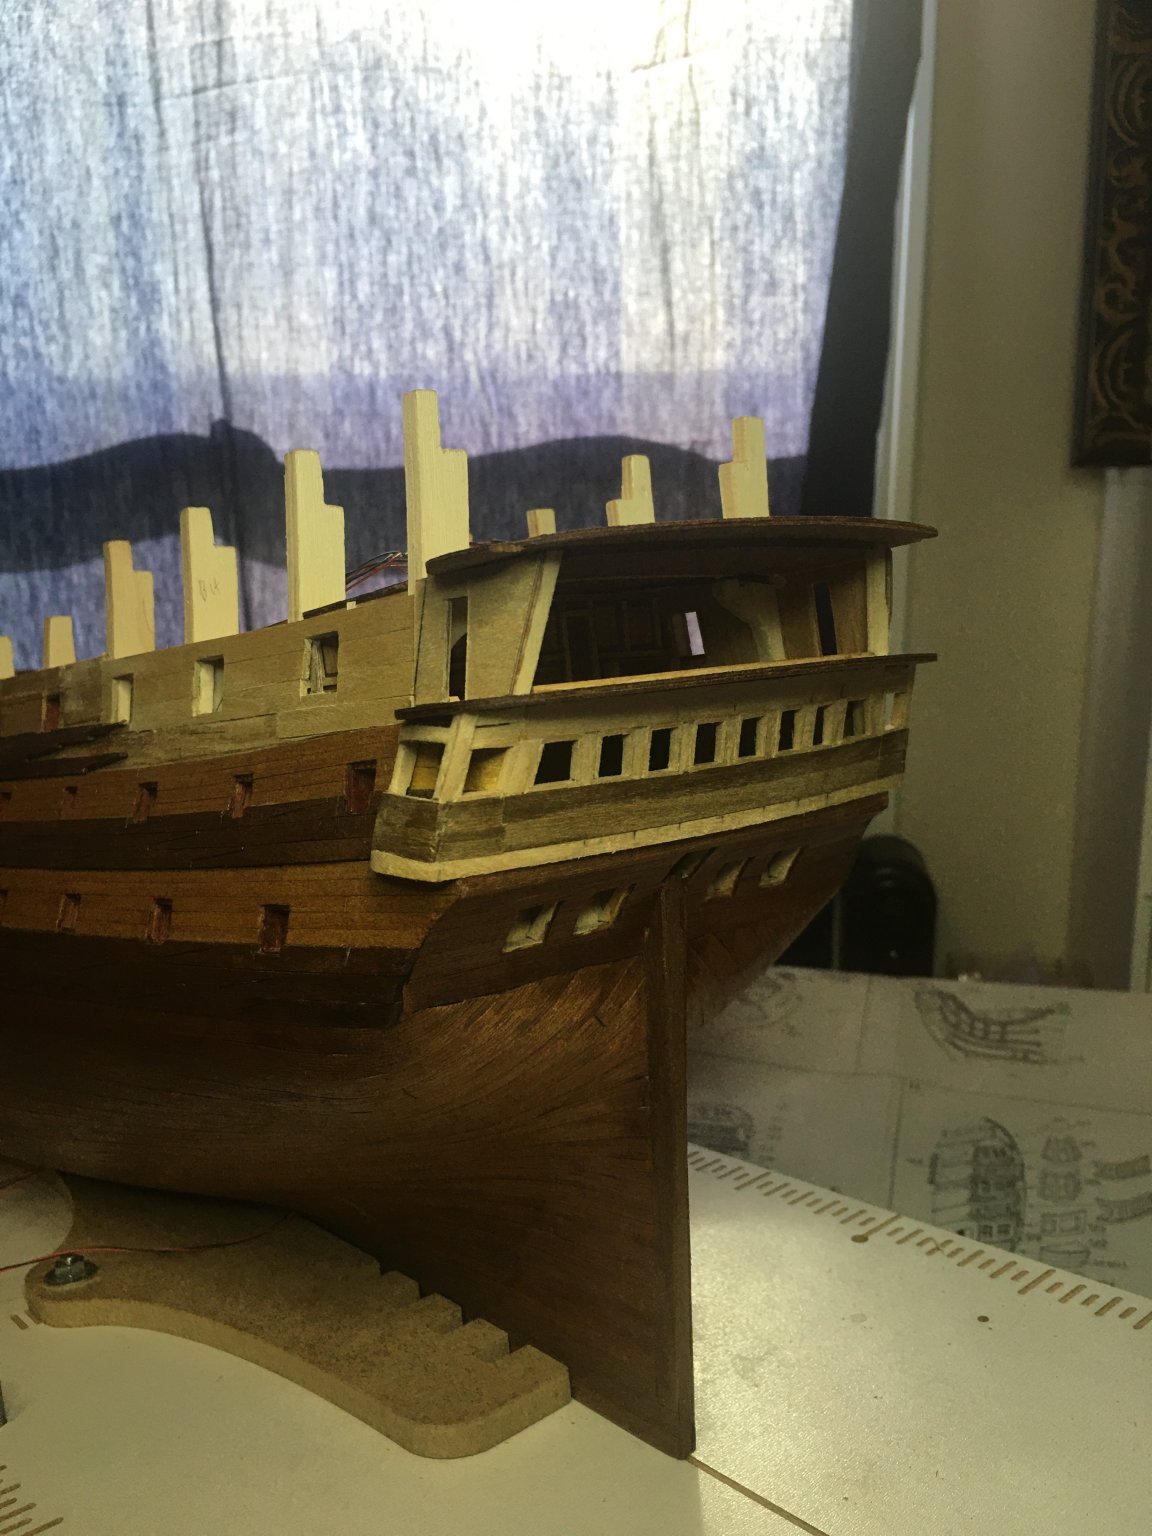
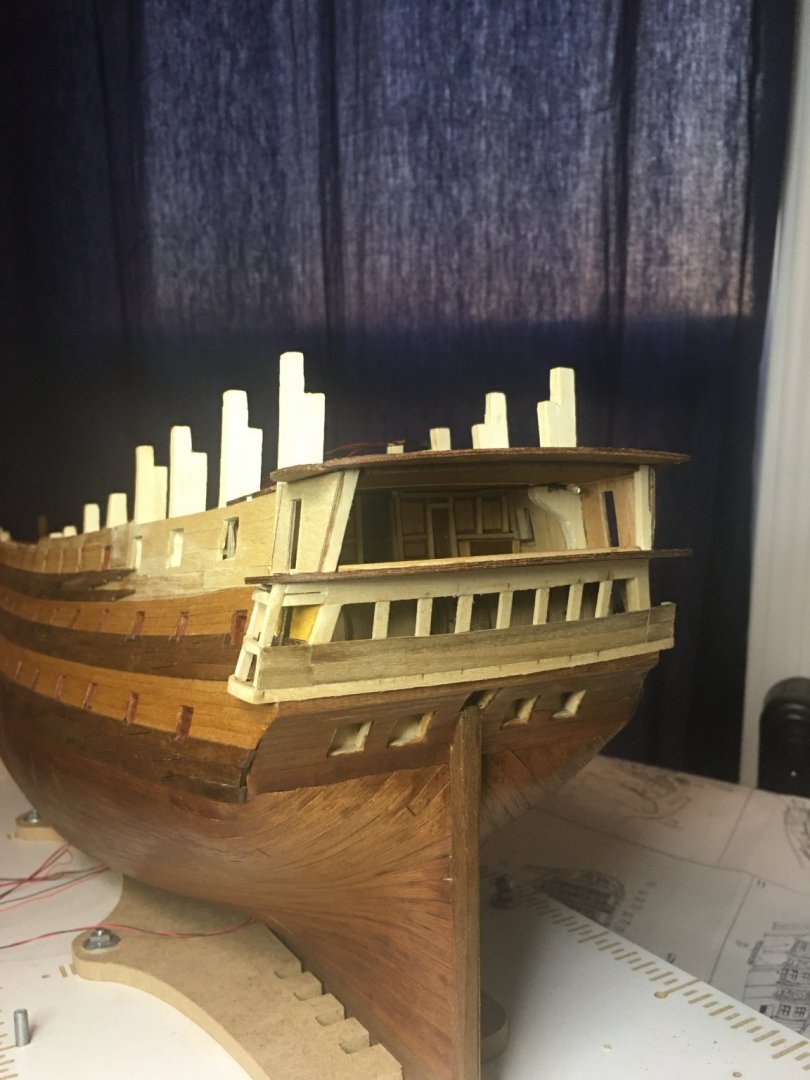
Another update. Lower QGs are enclosed and I am working on closing the stern on the next deck. I finished planking the sides of this deck as well and will soon be working upward on the quarter deck. Progress is slow but forward. I know some of the trim looks weird in these pictures, especially on the QGs. That is due to the lack of the decorative pieces that still need to be carved and fit into place. I installed some trim as kind of a place holder and some that will remain but will be trimmed or embellished as needed. It is definitely a work in progress.


-
Another large build! Looking forward to seeing what you do with this one. I'm sure that having two of these kits will provide you with lots of good options and the enviable, "2nd chance" parts in case of mistakes. Good luck!
-
Great cabin stern windows have been installed and trimmed. Wrapping the QGs next then details and paint.
-
Welcome to MSW! I would also say to just start where you are at. If you happen to have pictures of the earlier work you can always post them up front, and if not, we can enjoy it from where you are. It is fairly common for people to stumble across logs well underway so that the beginnings are missed. Also, as you are already finding out, these take time and so I think it is better to go ahead and jump right into the logs and the community rather than waiting for the start of a new build. Best of luck and I look forward to seeing your work!
-
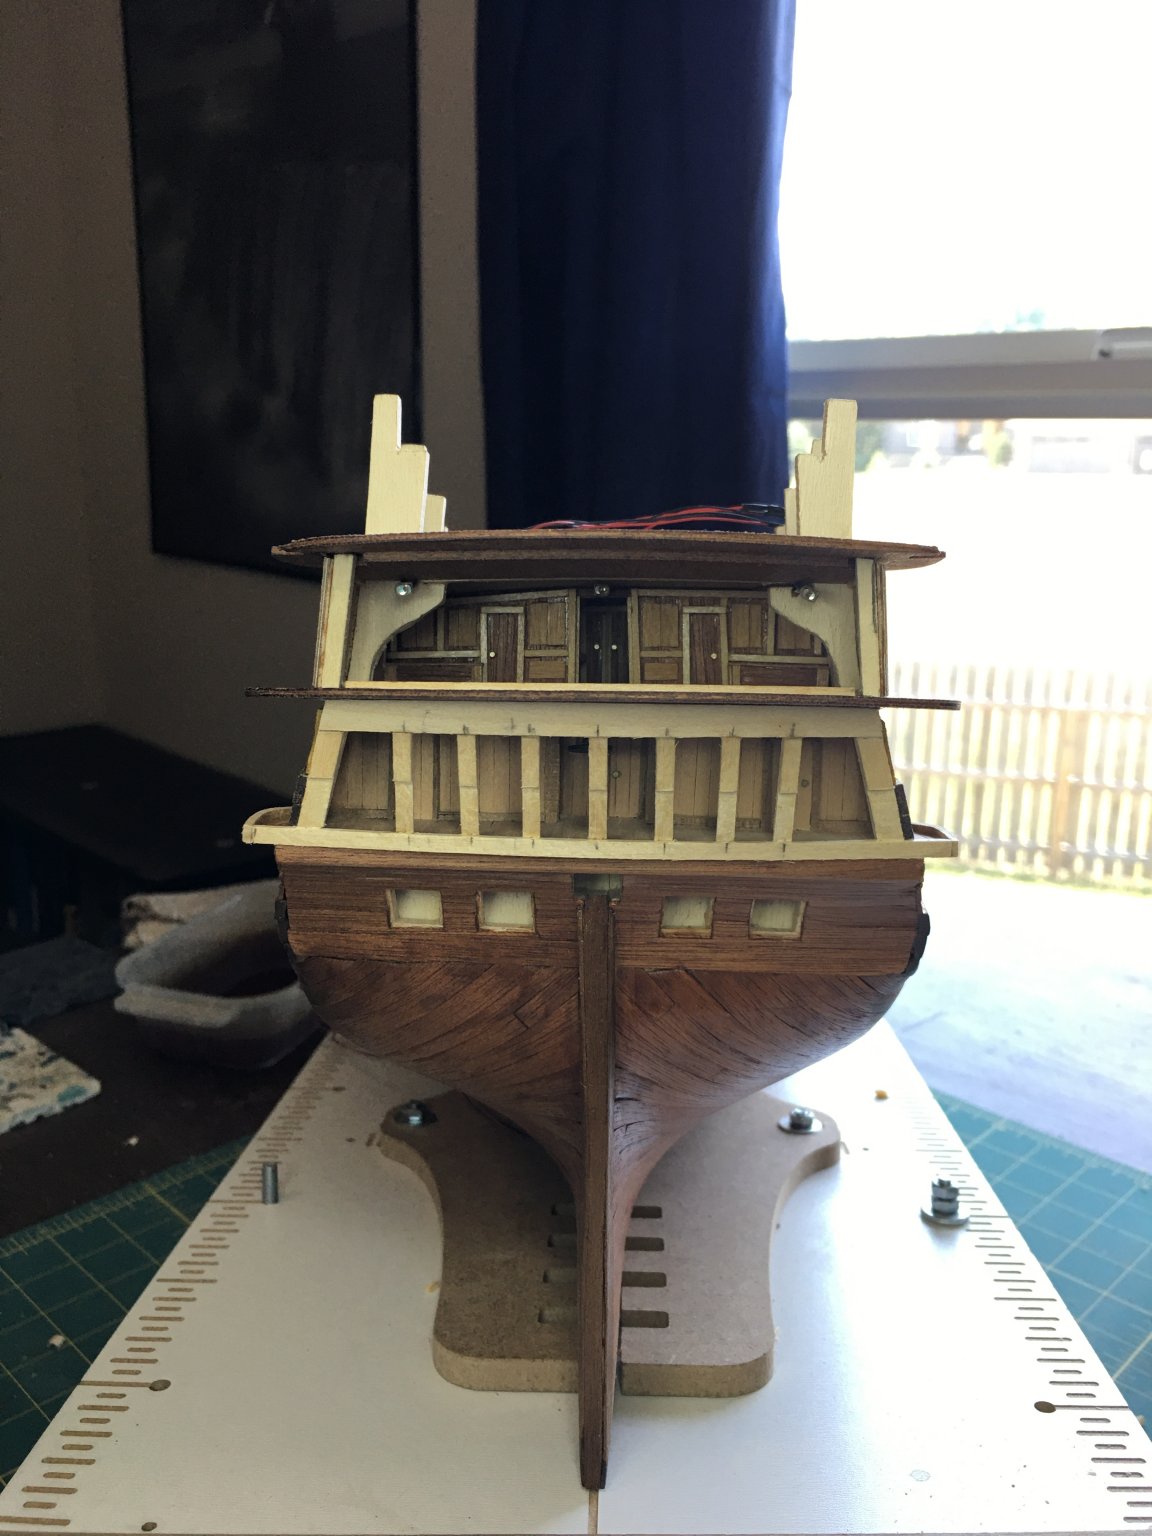
Framing of the cabins and quarter galleys continues. The lower cabin framework is in place and I am now setting window frames. The trim work will build up and out from this. Fortunately, the decorations are much simpler than S.R. was however, the scale is smaller at 1:90 compared to 1:77. It may not sound like much but it will add a lot of challenge to make those decorations look good.


-
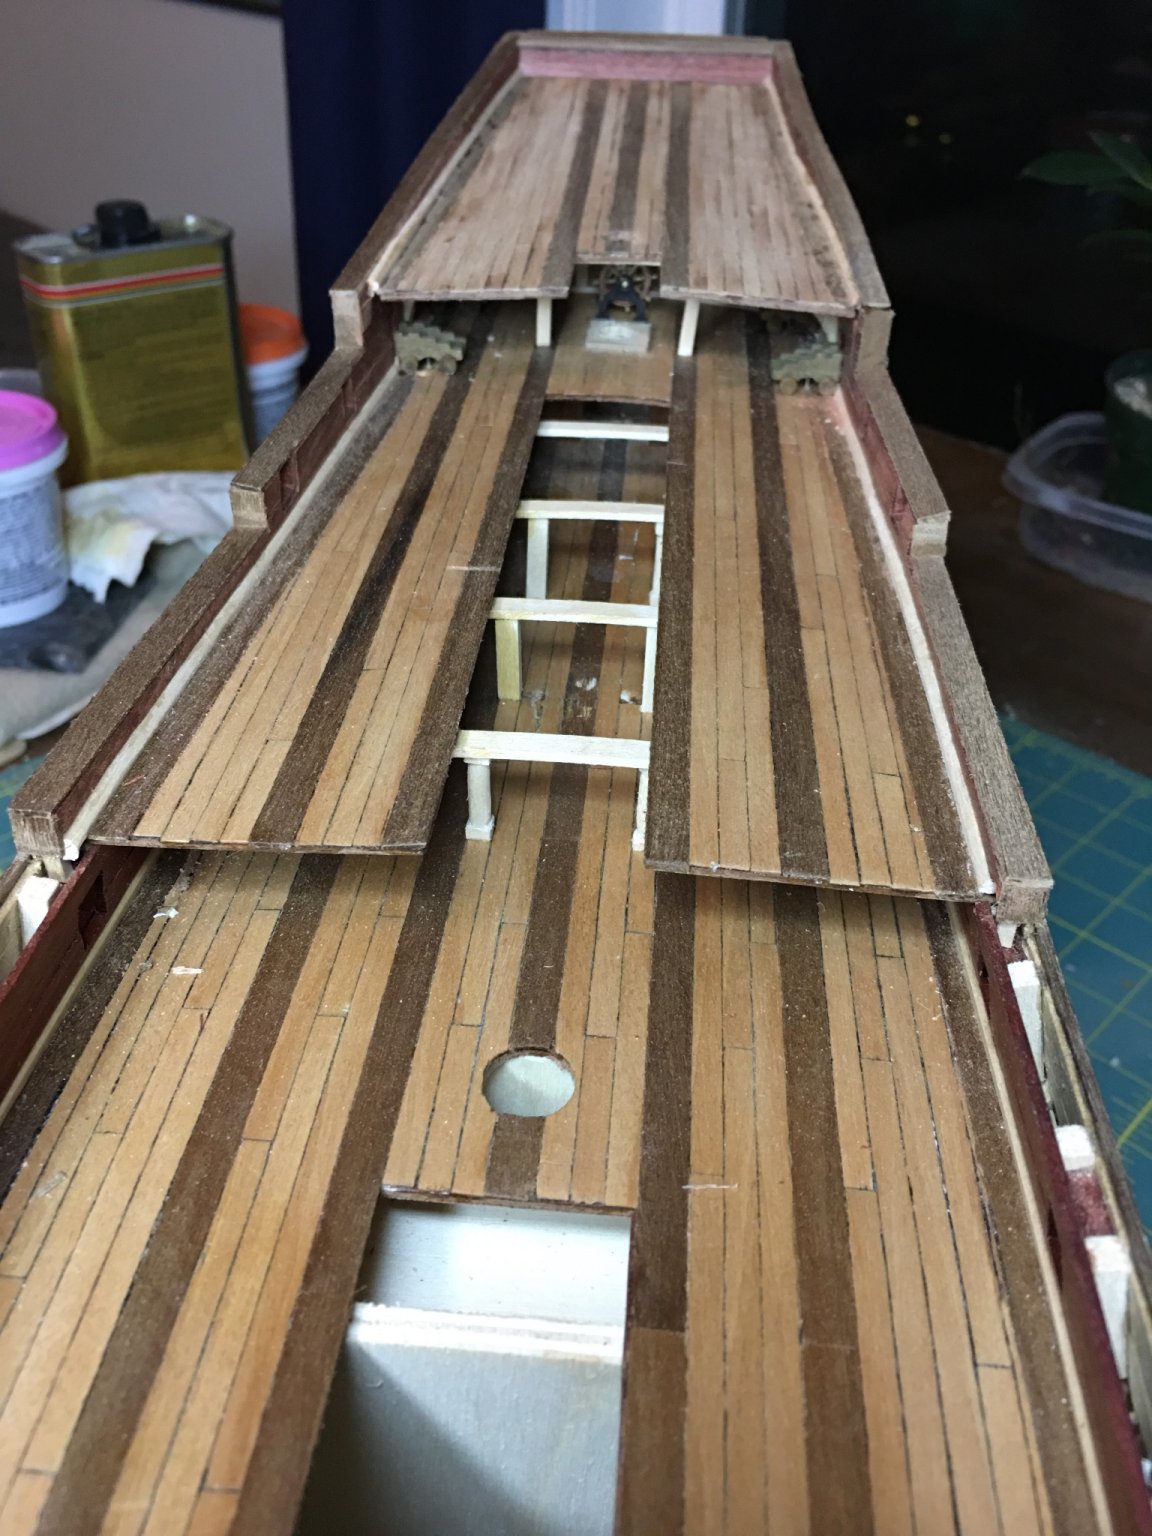
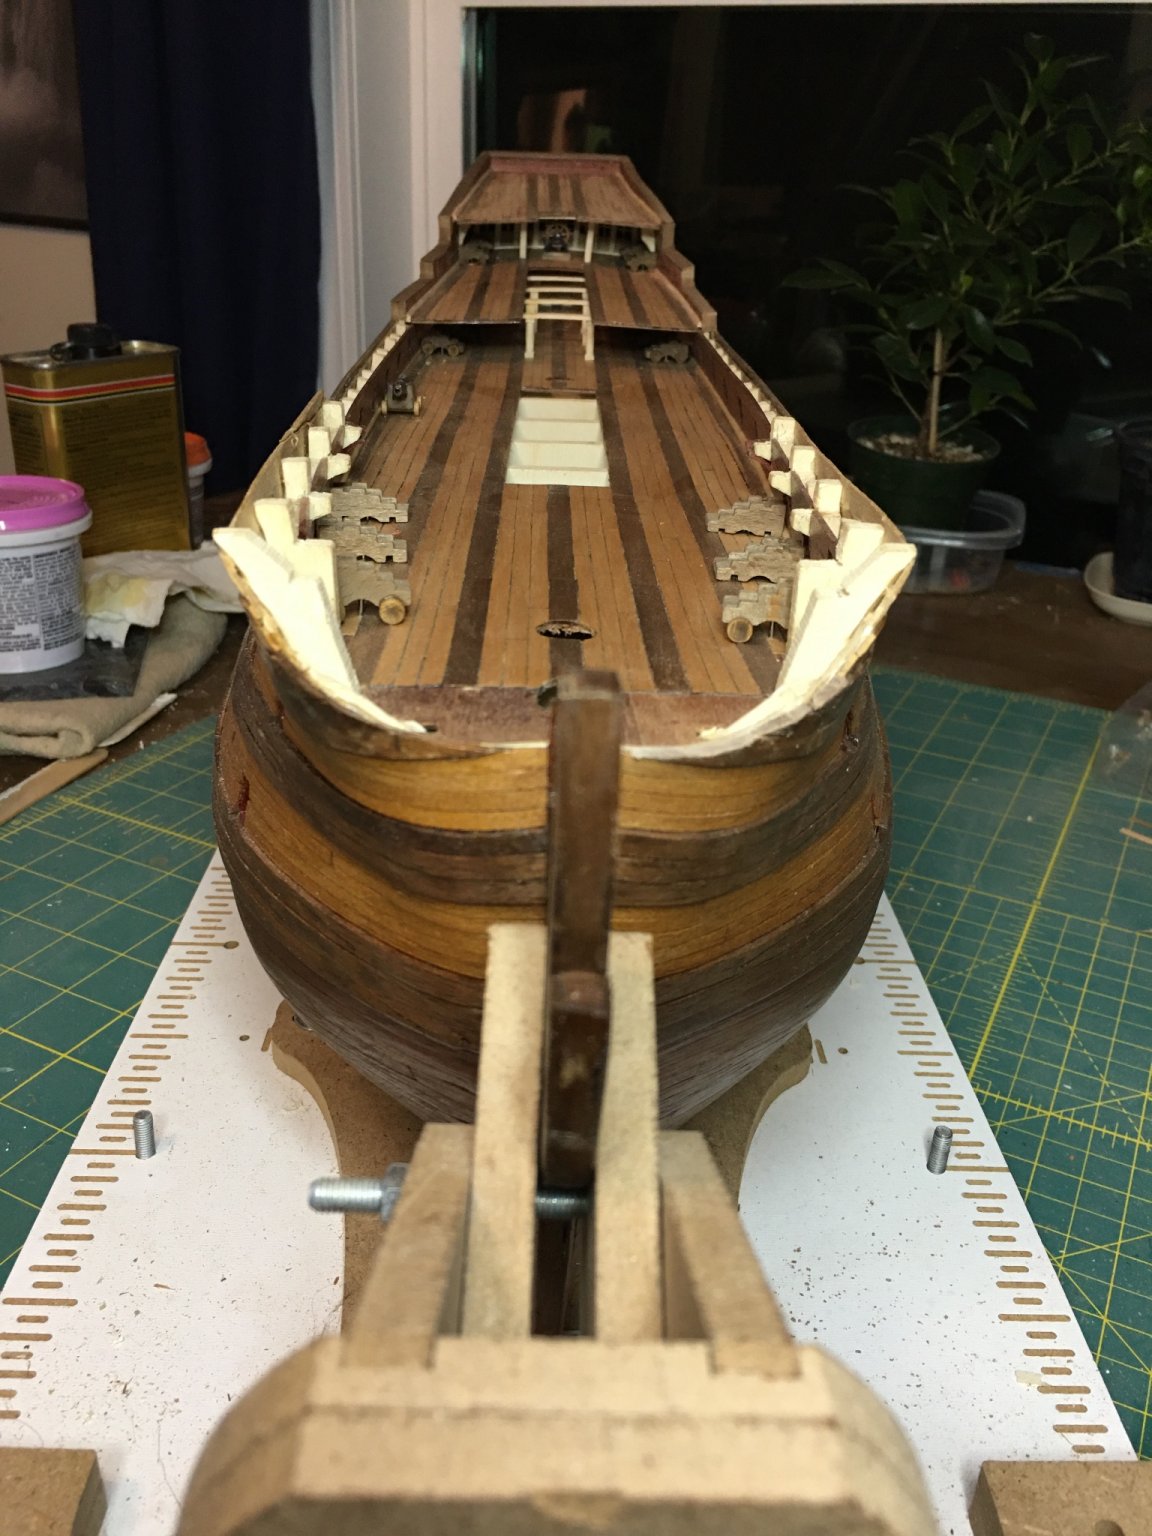
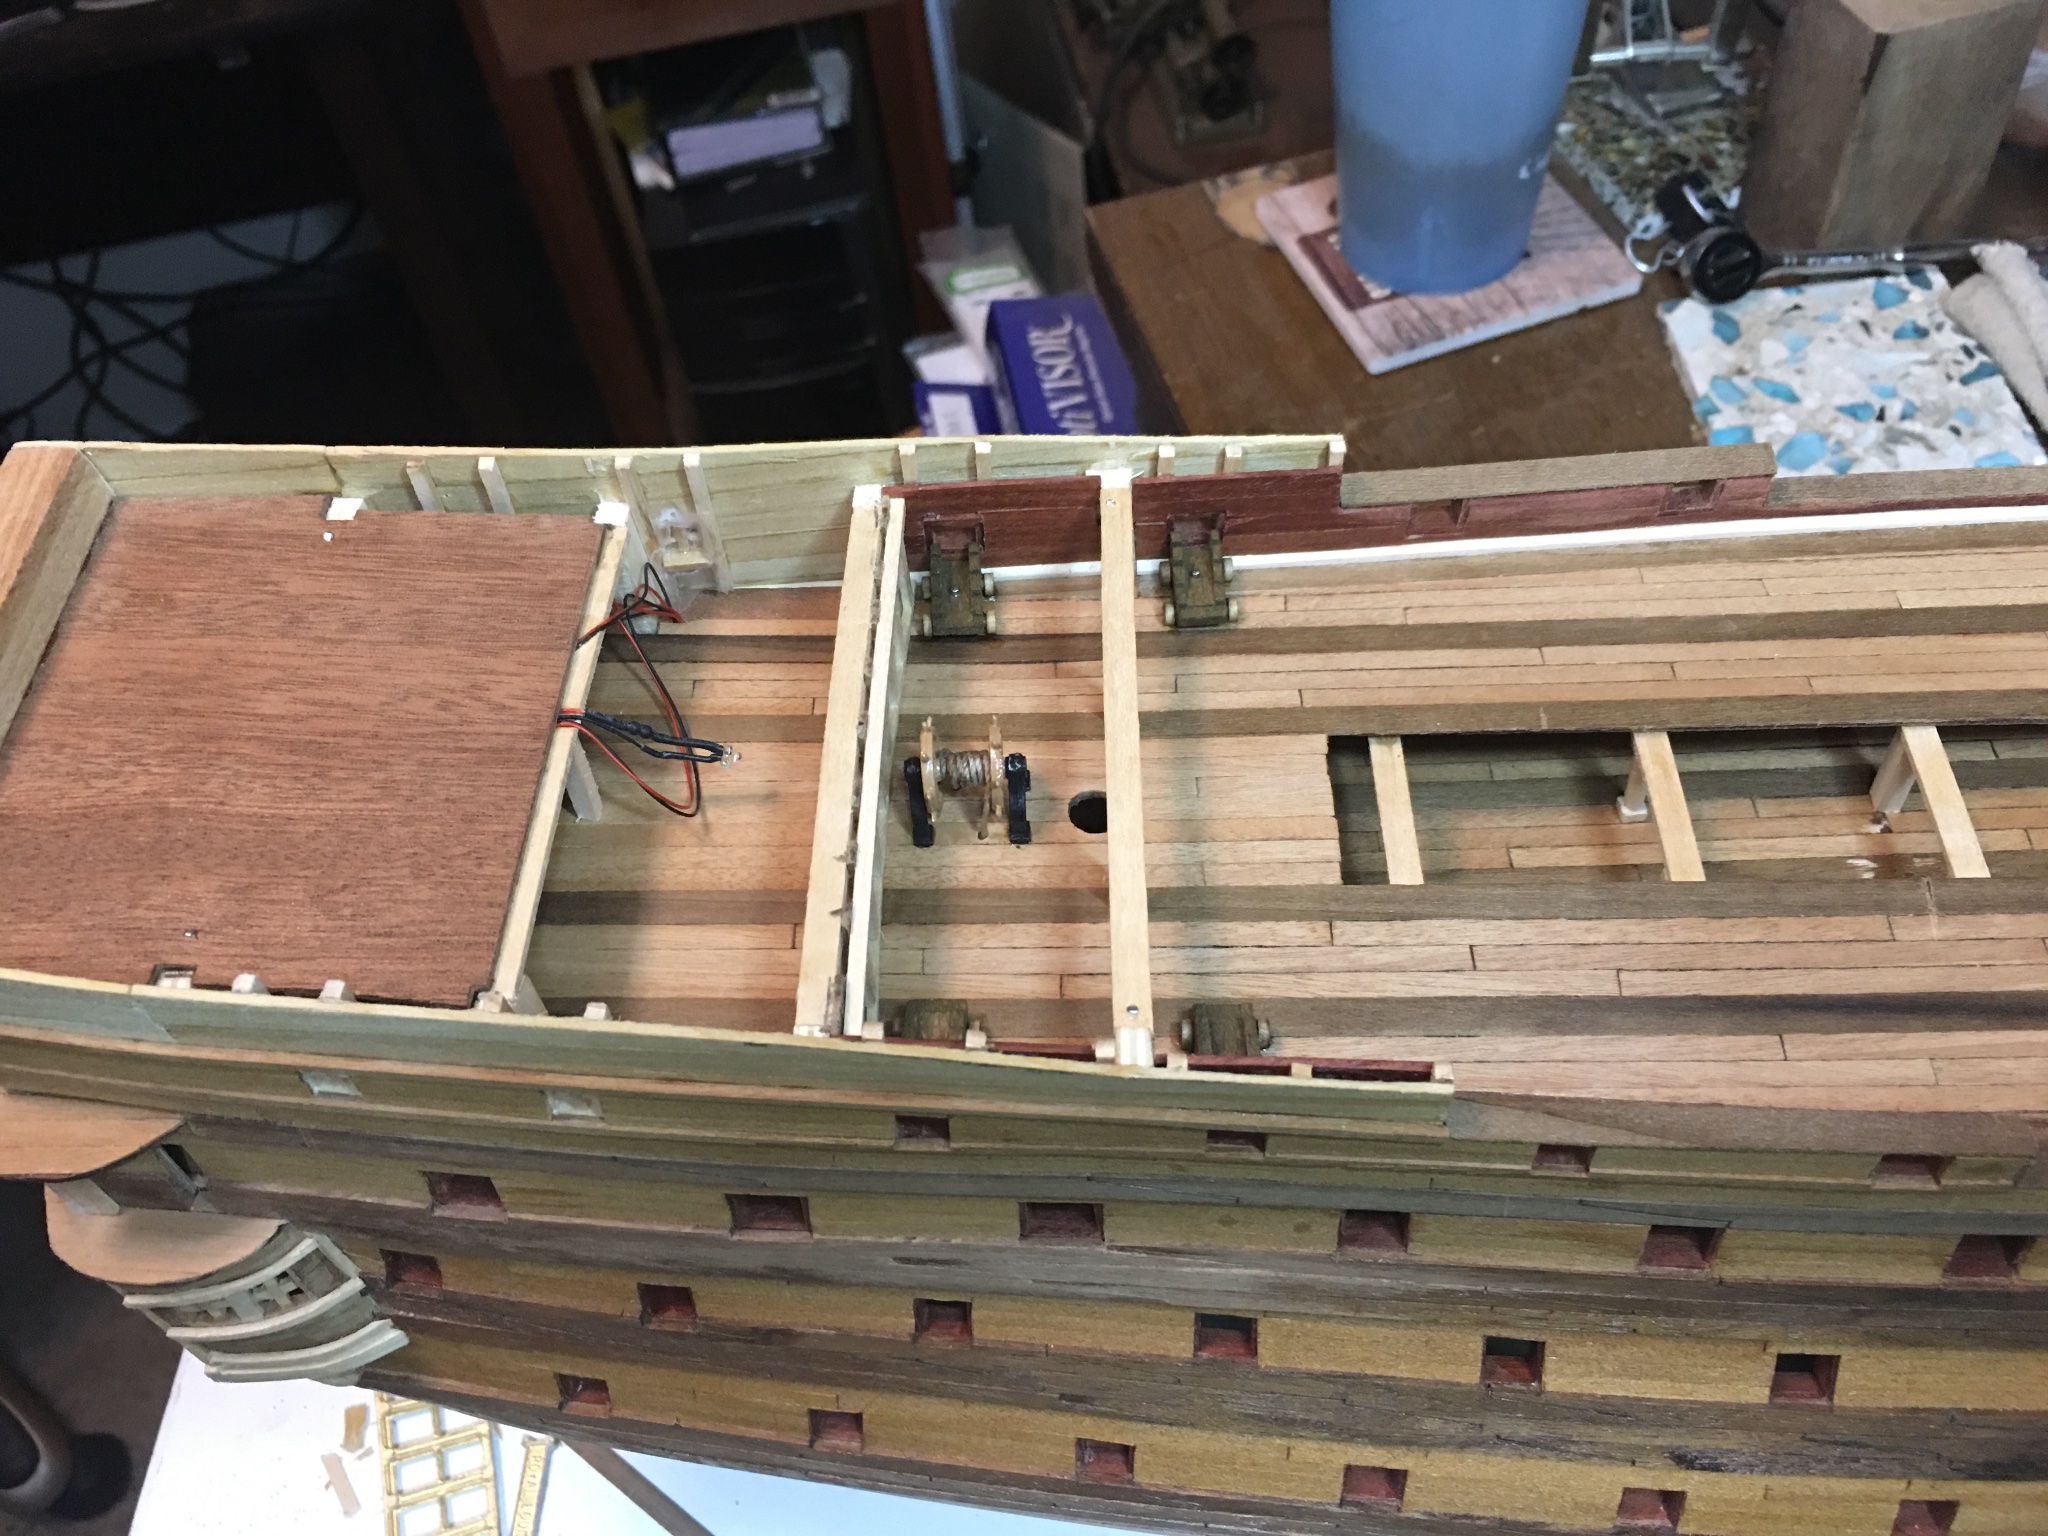
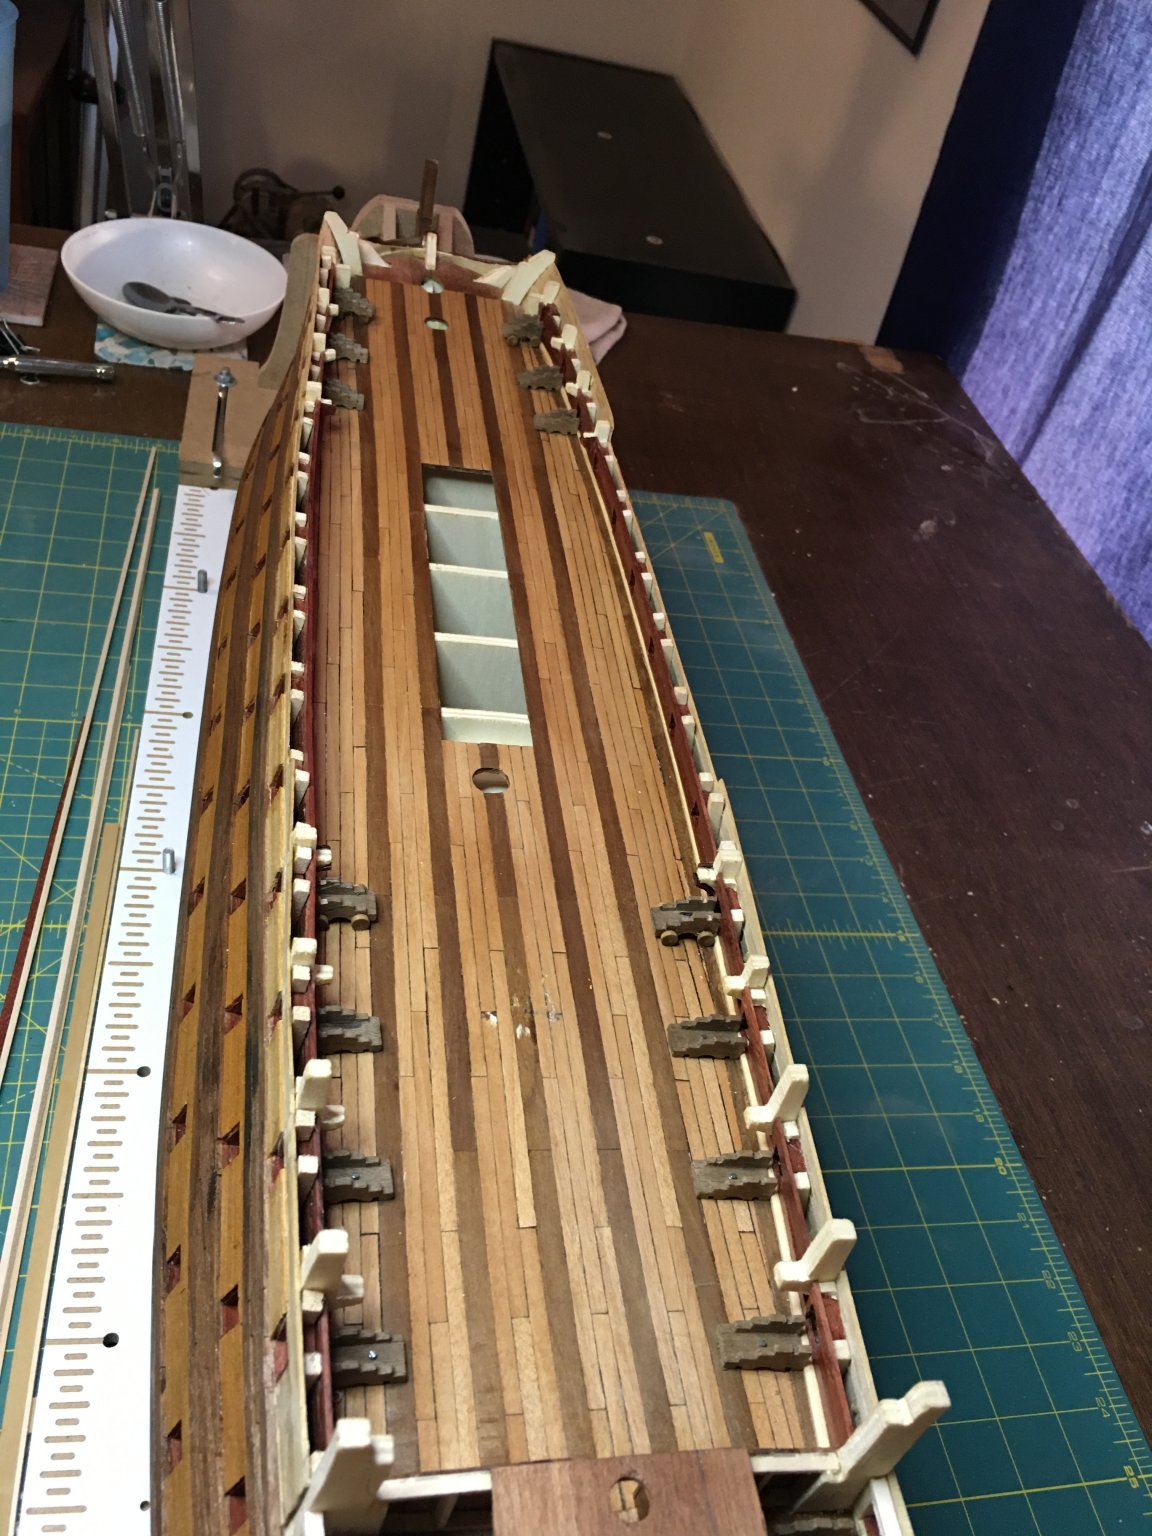
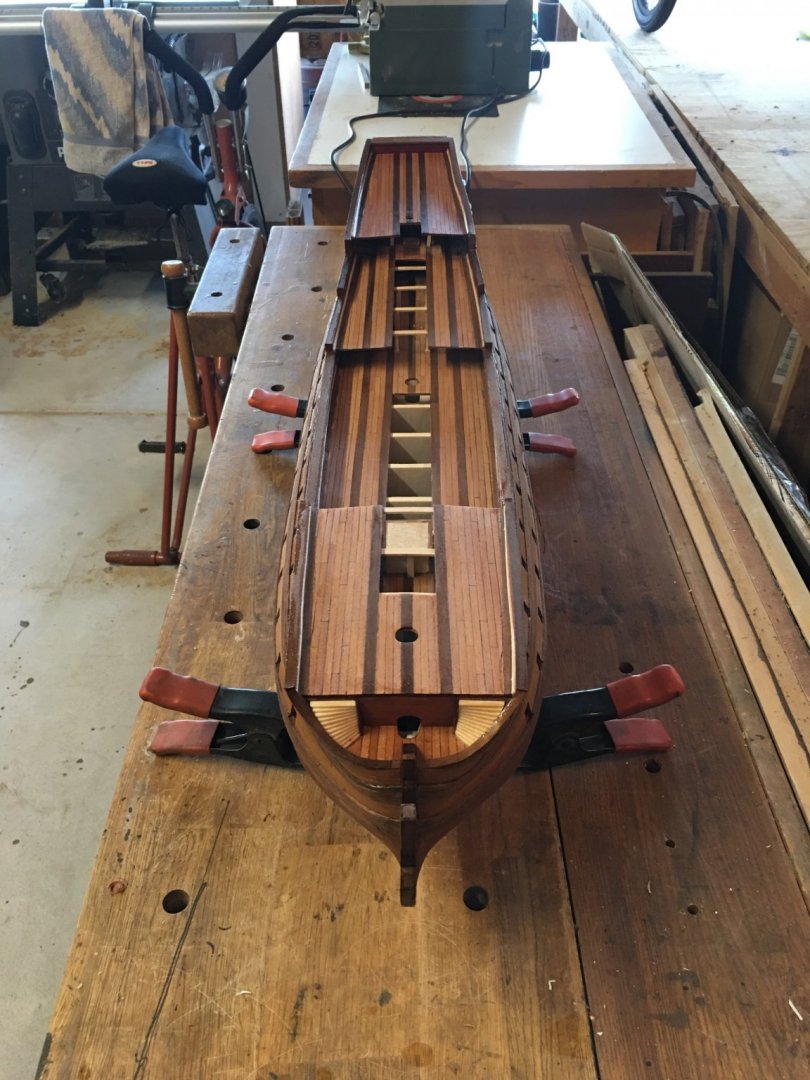
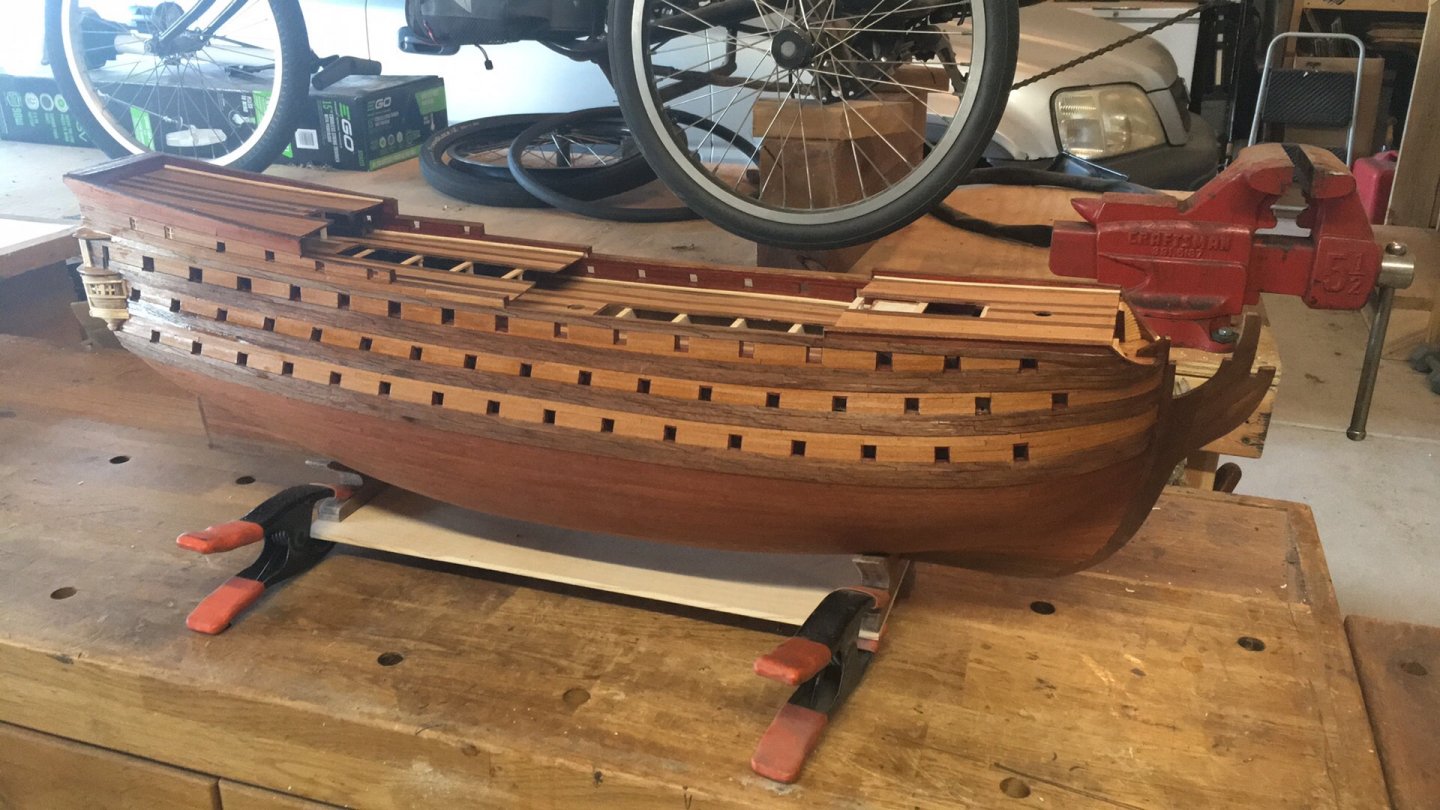
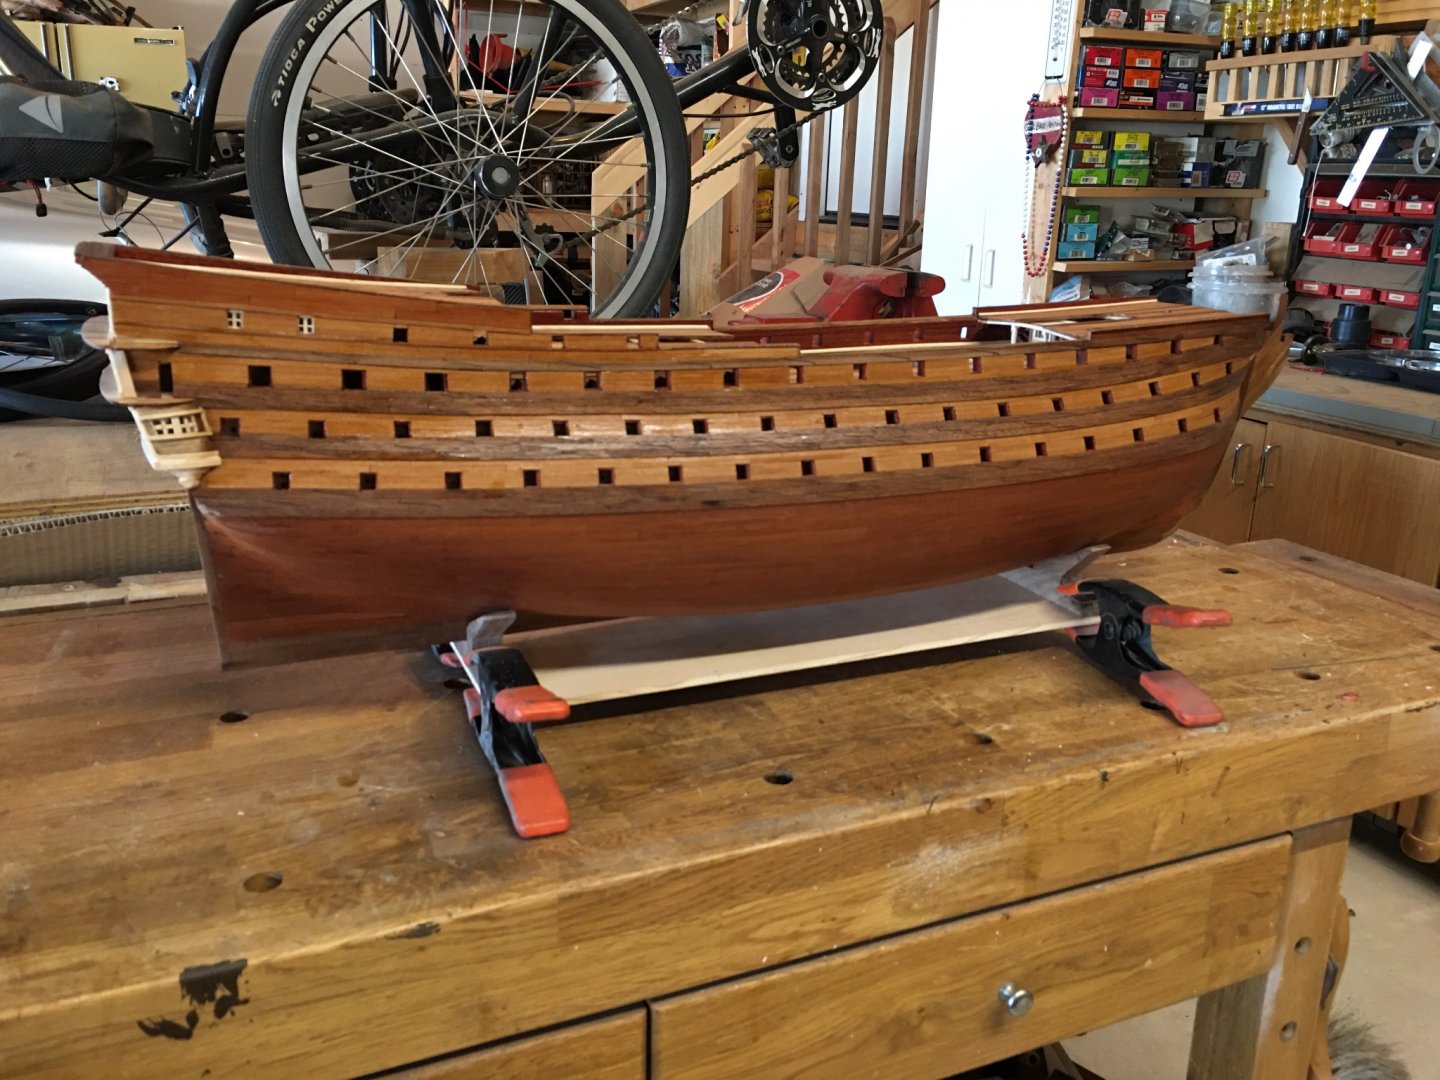
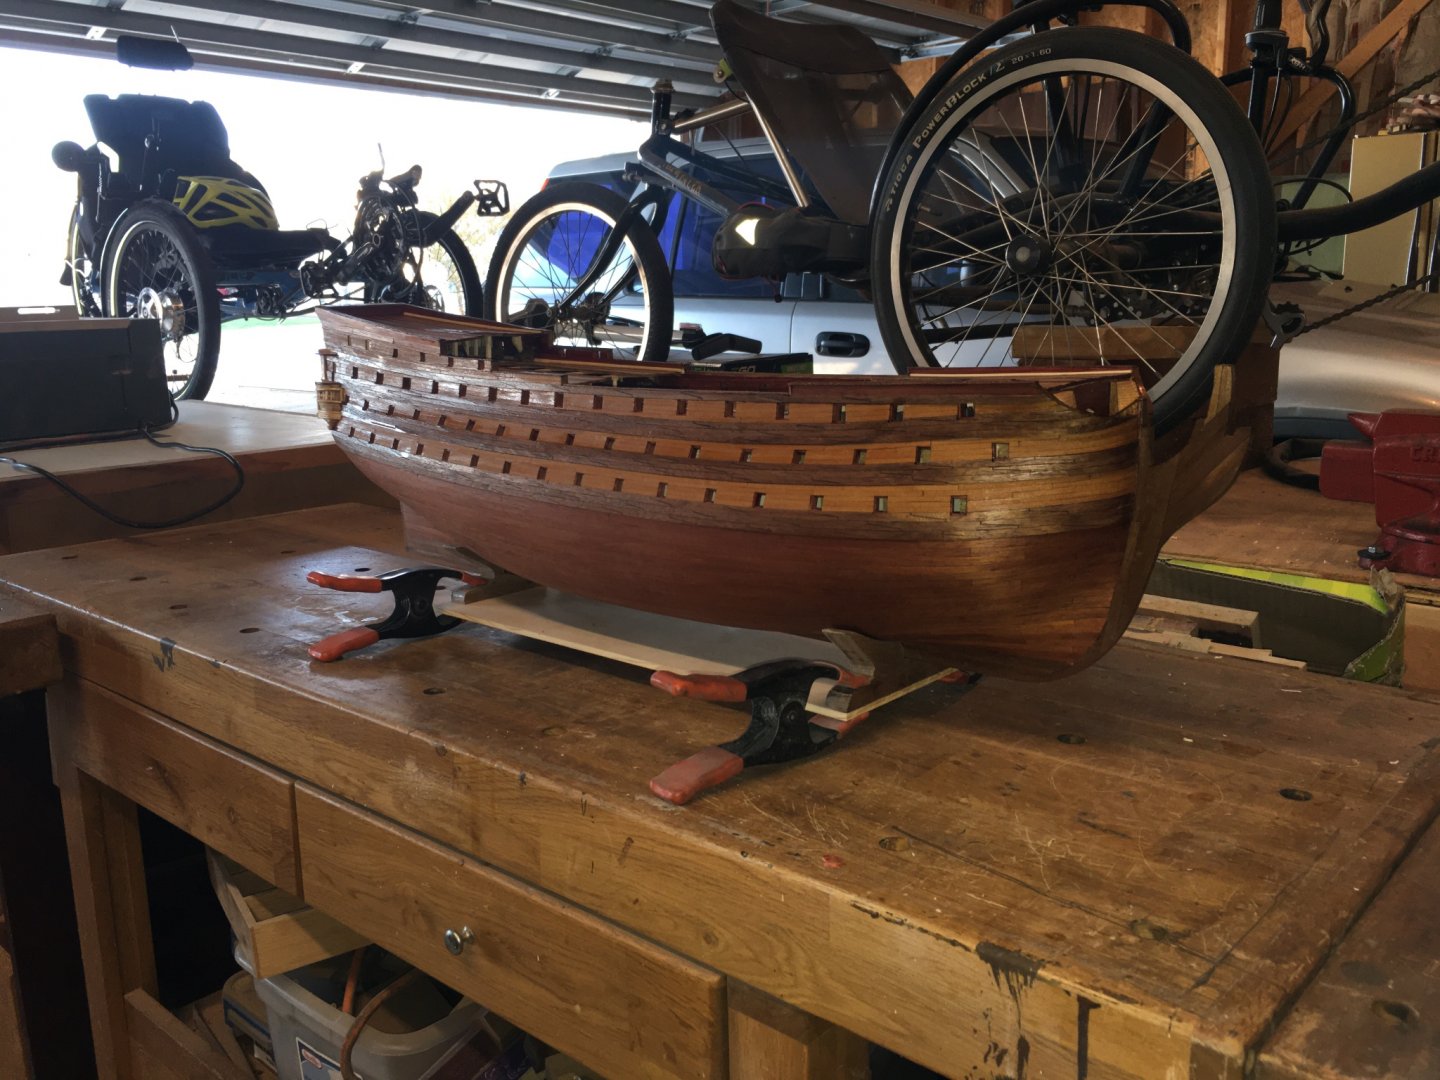
Started setting the gun carriages that will not be detailed. These will just support the gun barrels and will be completely blocked from view by the deck above. The guns will be installed through the gun ports later. I also started to frame and close up the cabins. Once the sides are done, I will move on to closing the stern as well as building the balconies and quarter galleys. This work will also allow me to continue running the hull planking upward on both the forecastle, quarter deck and the poop. As always, thank you all very much for the comments, likes and following along!