EJ_L
-
Posts
2,246 -
Joined
-
Last visited
Content Type
Profiles
Forums
Gallery
Events
Everything posted by EJ_L
-
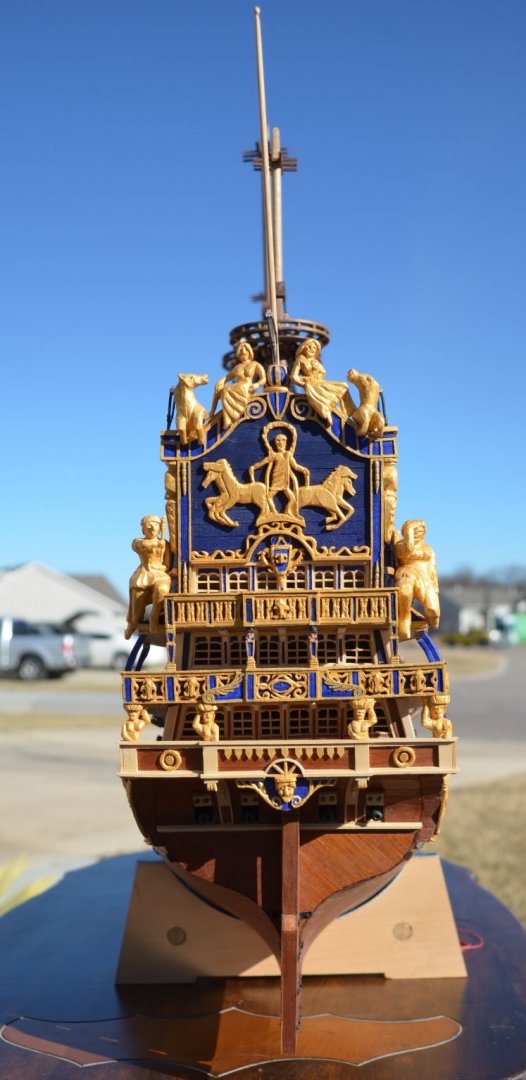
 That motto banner is incredible! I like what you are planning on doing with the rudder head as well. Some great details to start off the stern decorations.
- 2,699 replies
-
- 3
-

-
- heller
- soleil royal
- (and 9 more)
-
I think I will echo what Druxey and Mark have said in that I don't think you are posting too much. If they were not subject related postings I could understand, but the researched information and detailed experimentation's along with detail construction notes is making this one of the most informative build logs on the site for people creating any vessel of this era or just for good tips on build practices. I say keep it up!
- 2,699 replies
-
- 3
-
-
- heller
- soleil royal
- (and 9 more)
-
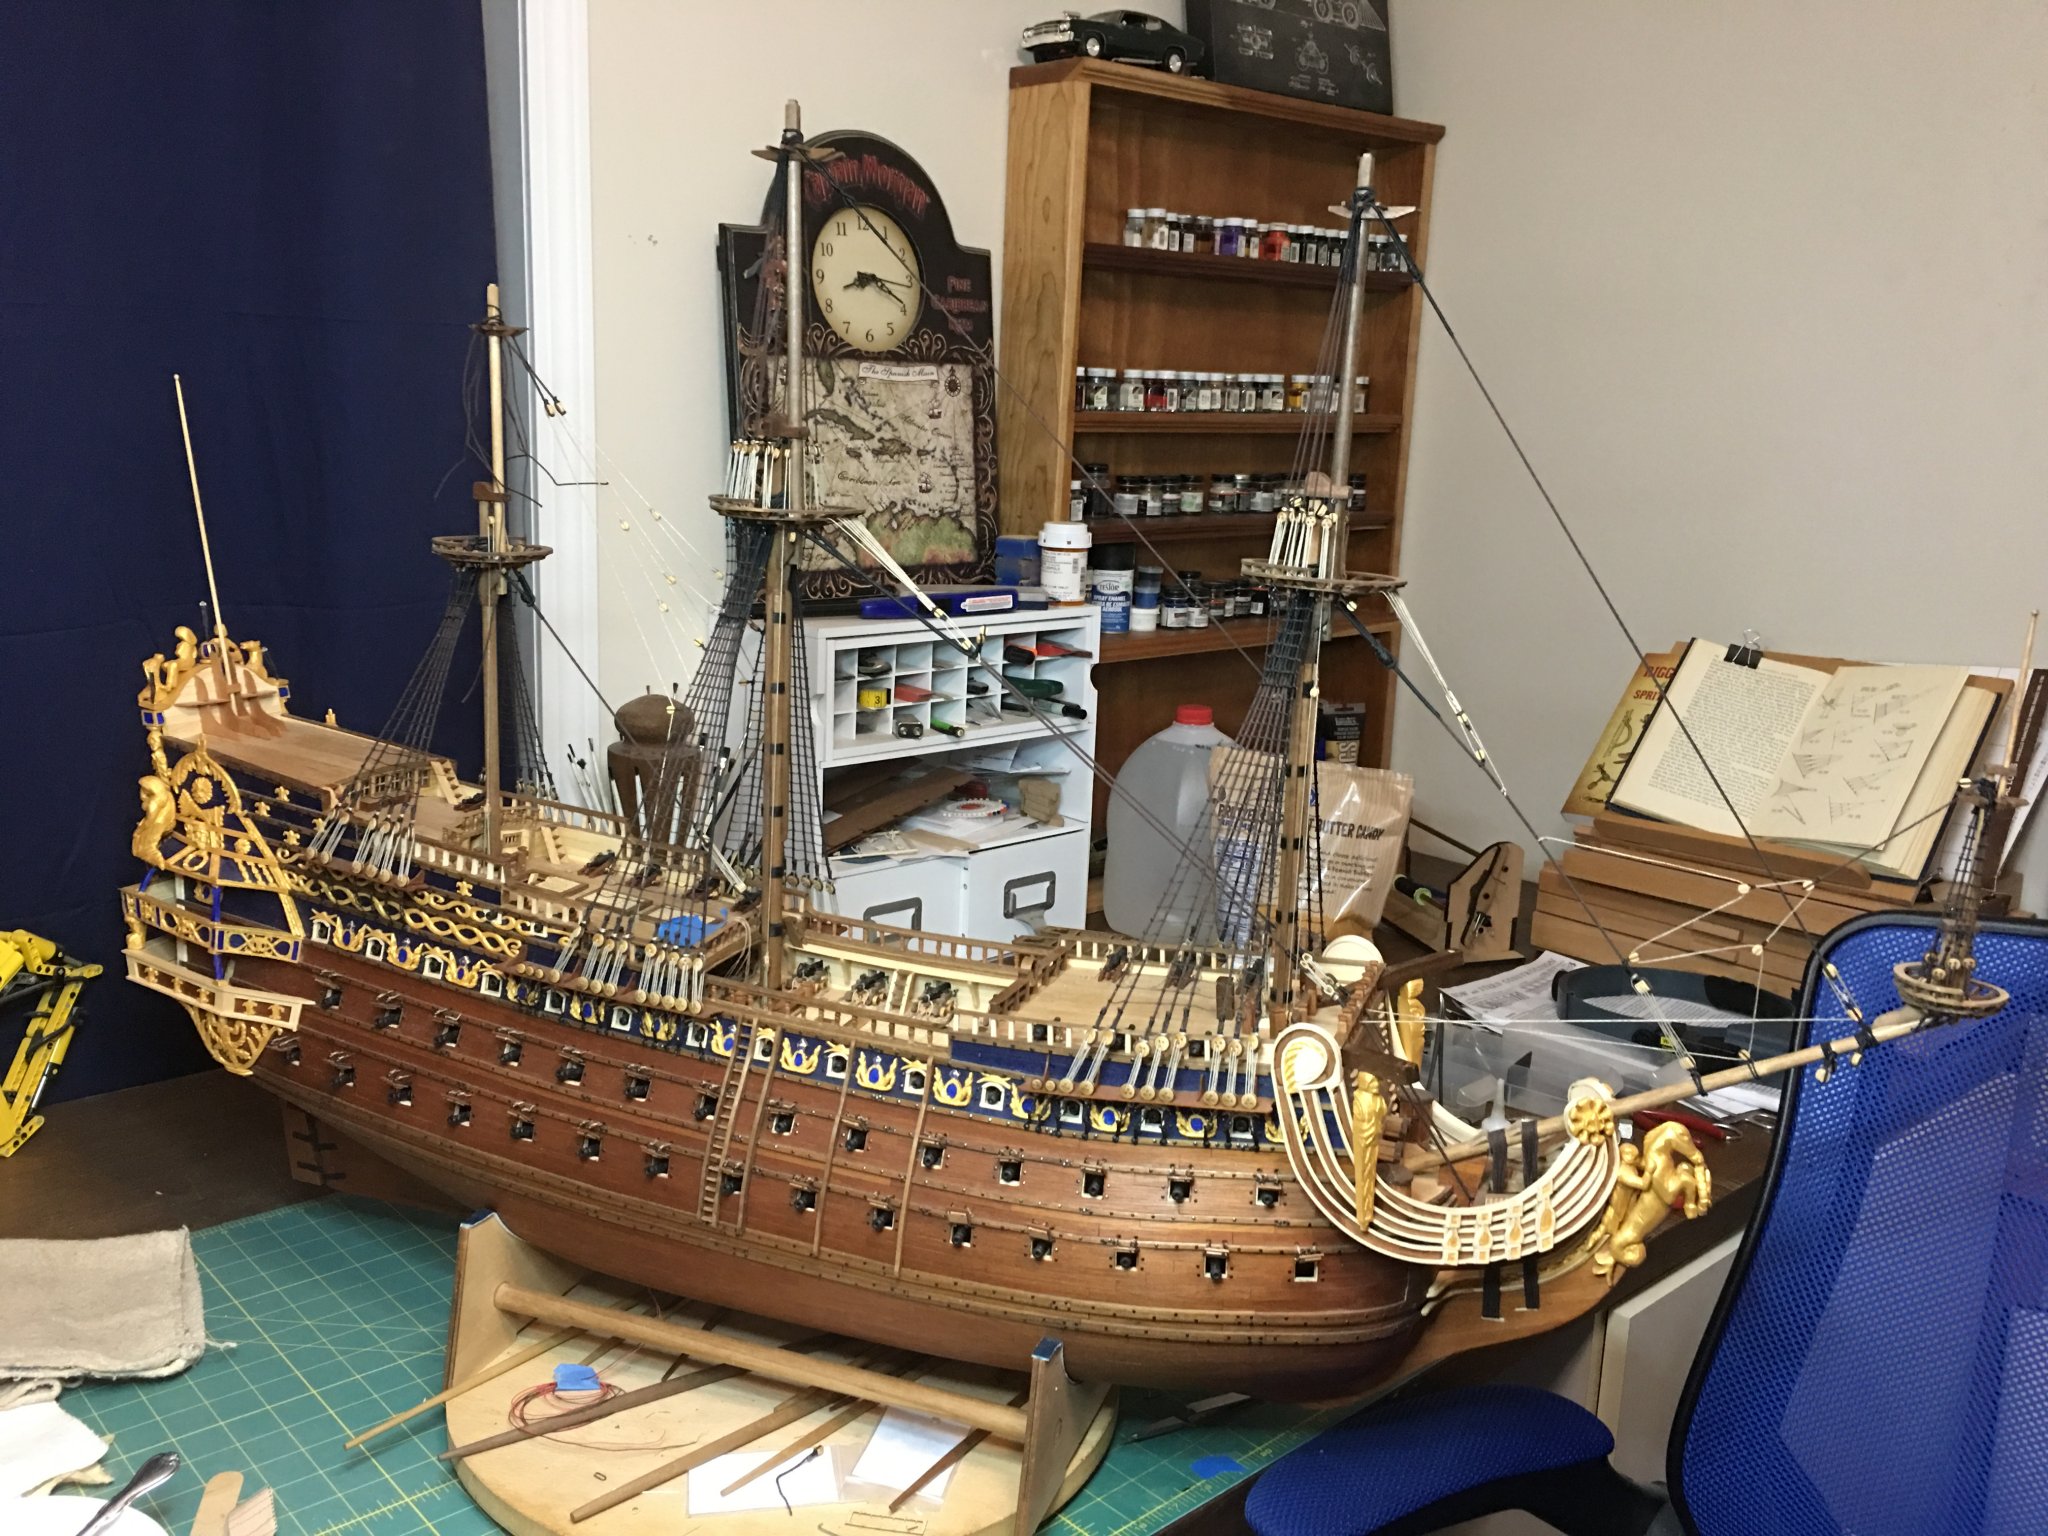
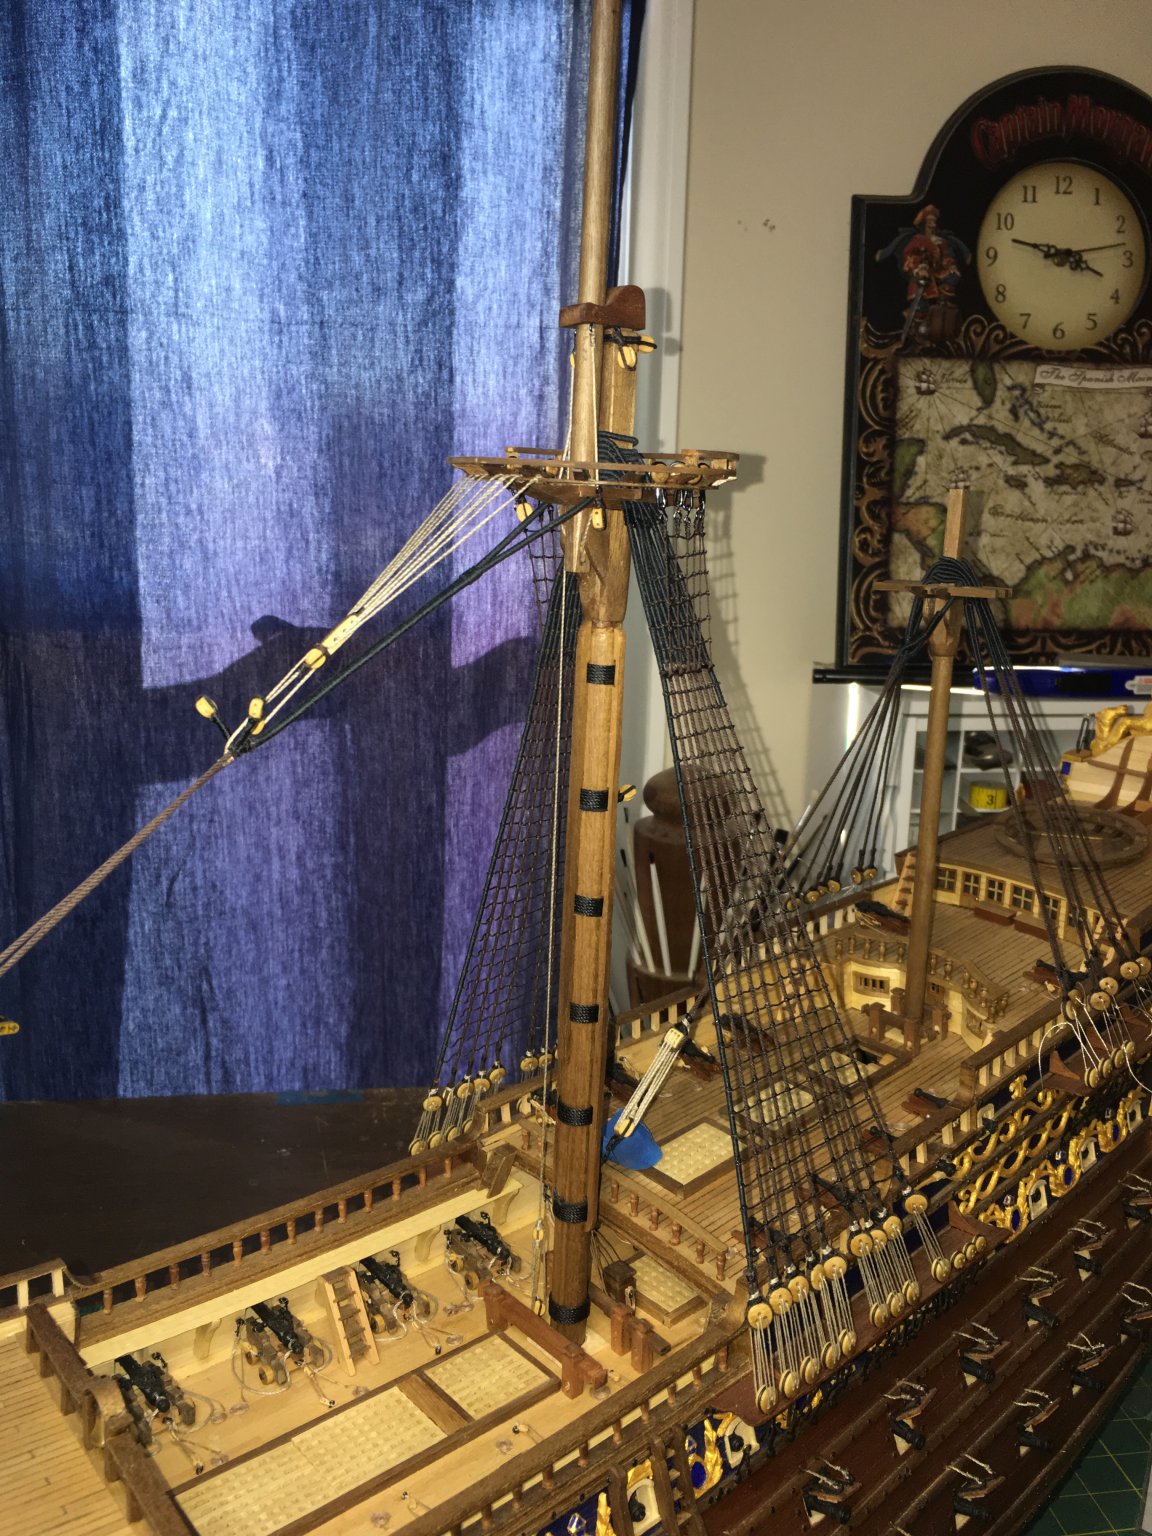
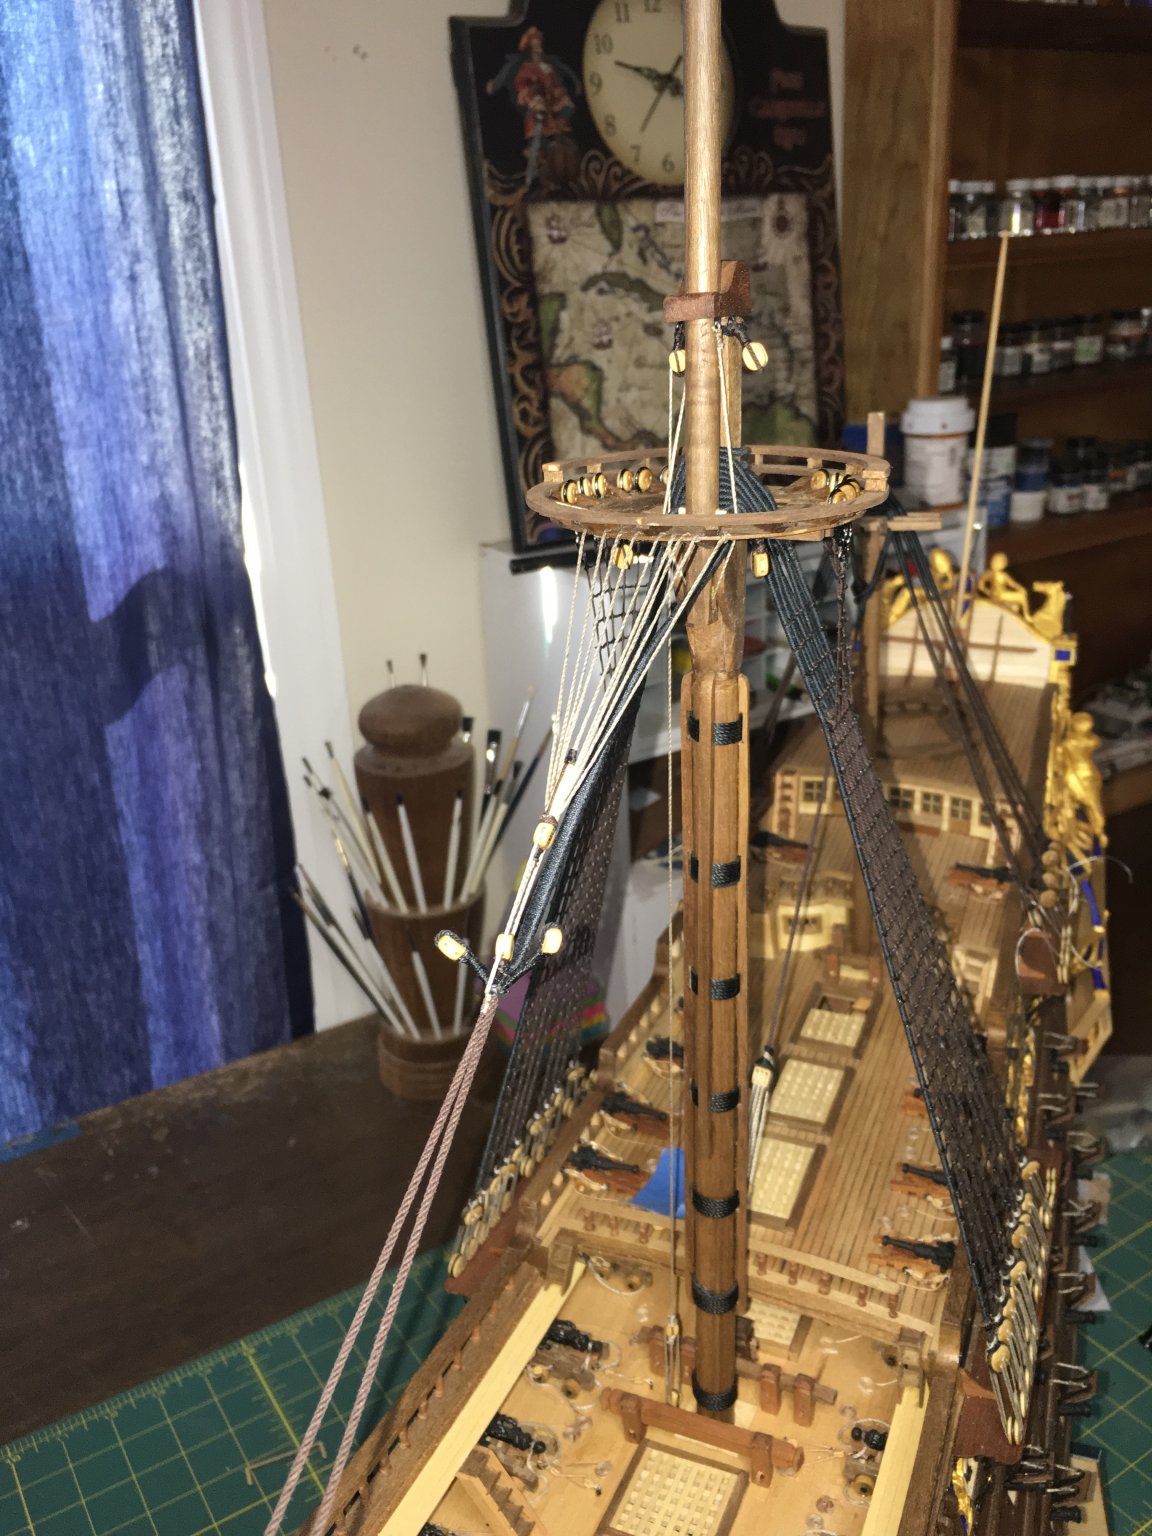
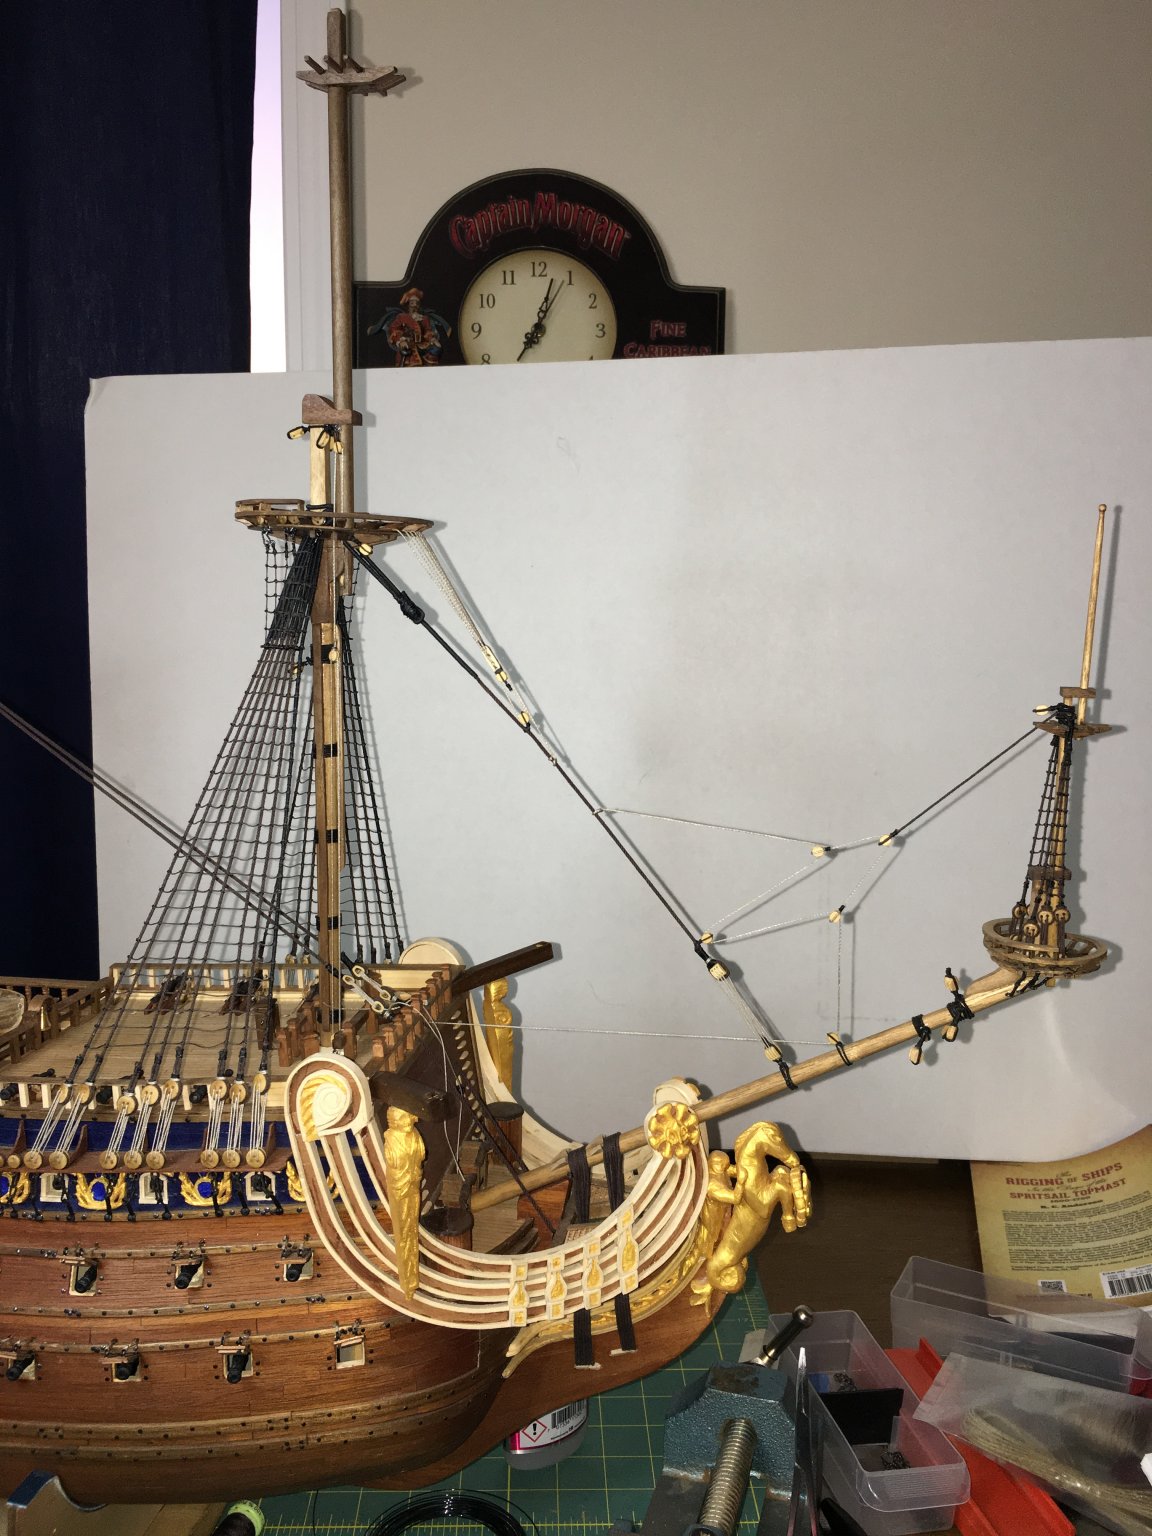
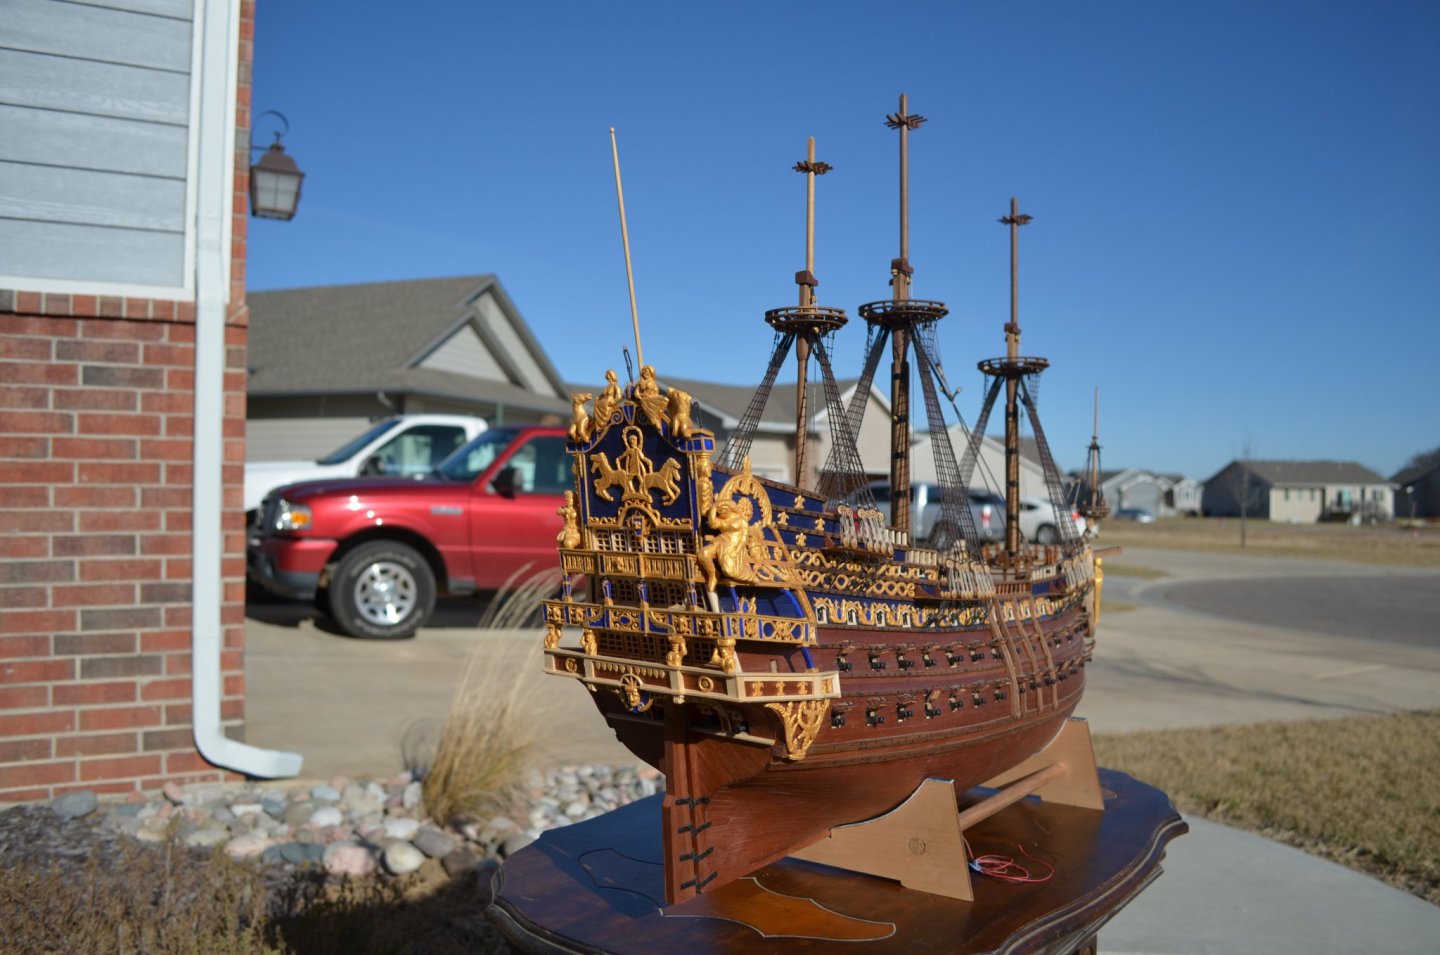
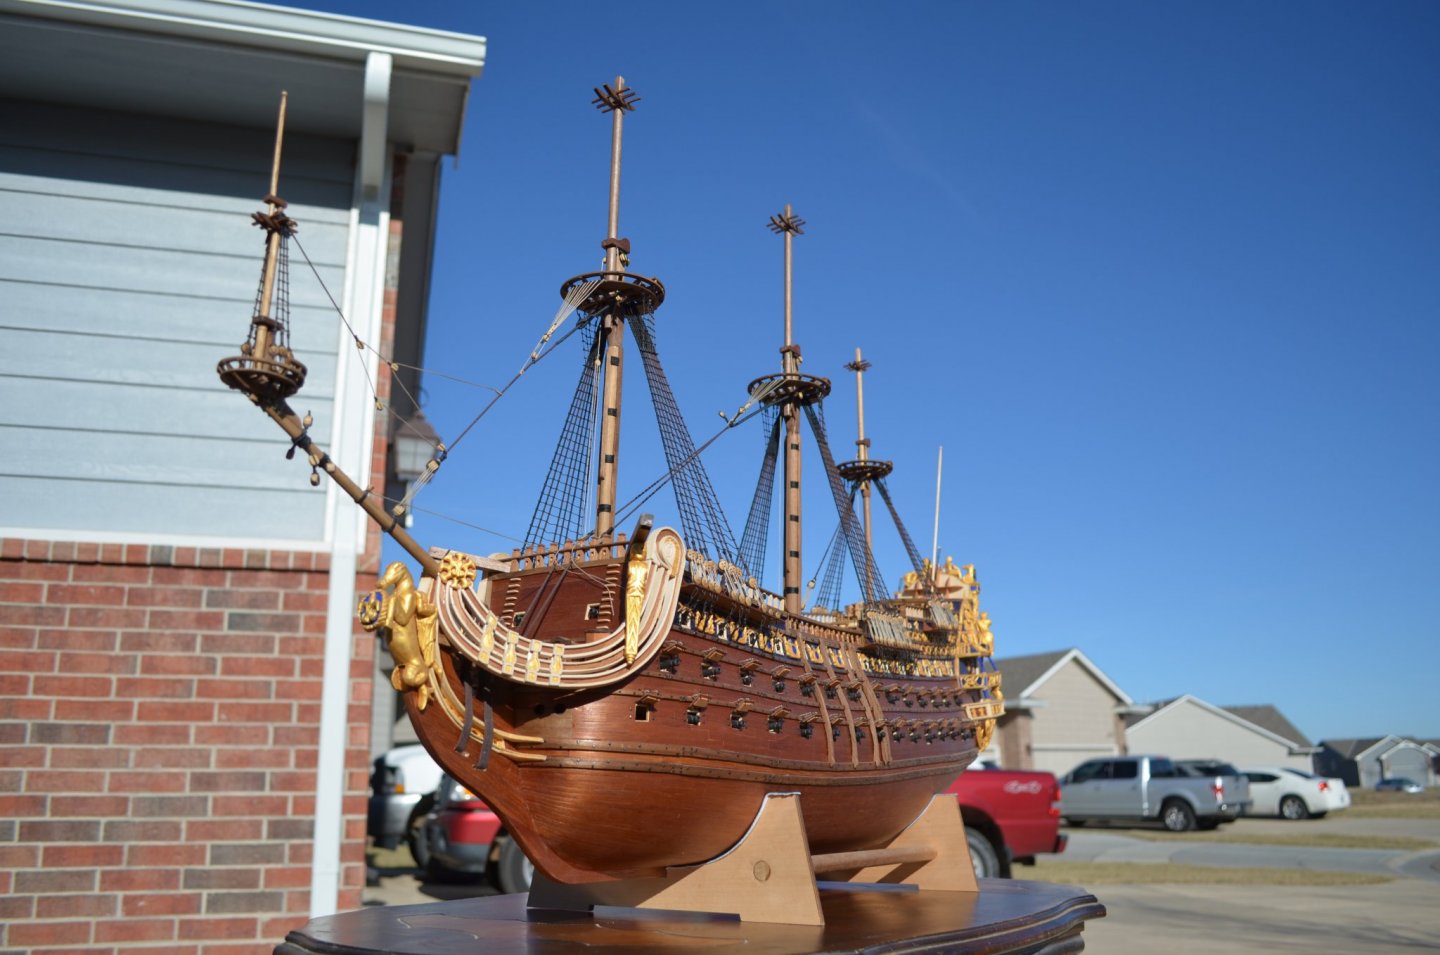
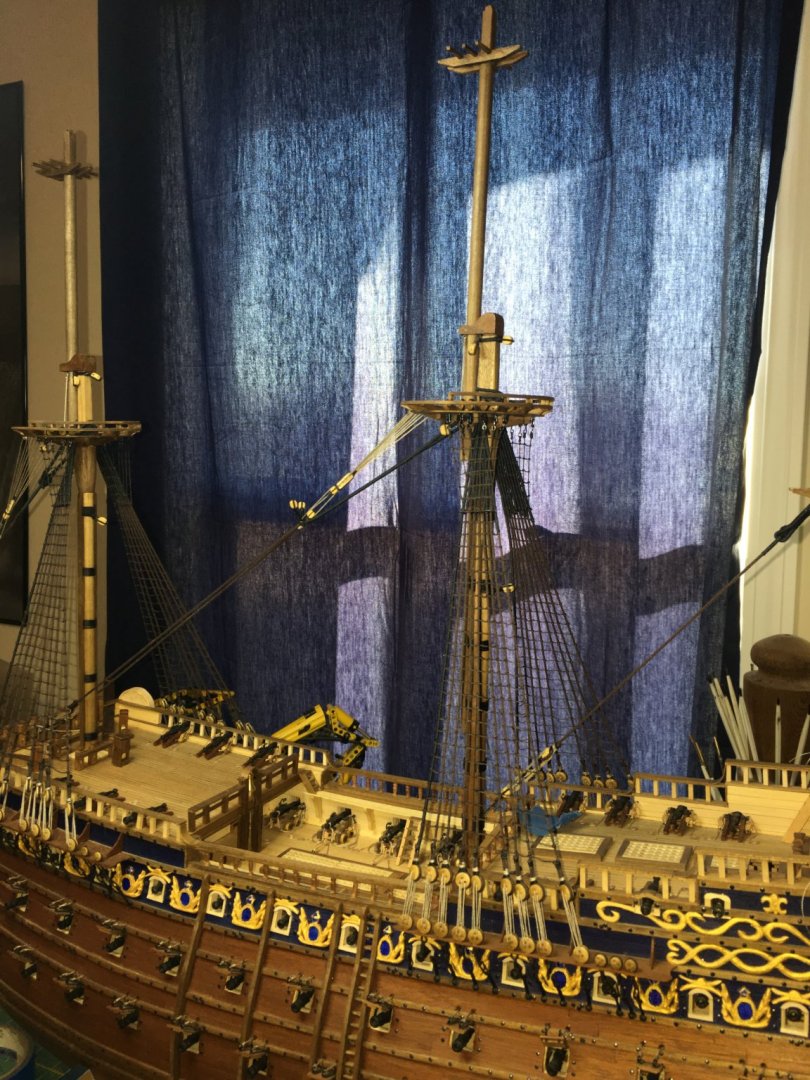
Sorry for the delay in responding and updates, I’ve kept meaning to get on here and then would get distracted. Thank you all for the likes and comments. As always, they are welcome and encouraging. As for her size, she is approximately 42 inches long, and when topped out she will be 36 and inches tall with a width at the longest yard of 18 inches. This truly is a massive model that I have yet to decide where her final berth will be... A problem I will hopefully have to tackle in 2020. This update brings topmast work. Fore stays are in place on fore main and mizzen with shrouds done on fore and main, mizzen shrouds underway and ratlines to follow.

-
I feel your pain as I have a bad case of Ulcerative Colitis that I go through severe flare ups with. I hope it gets back under control and you home soon and that that home remains safe.
-
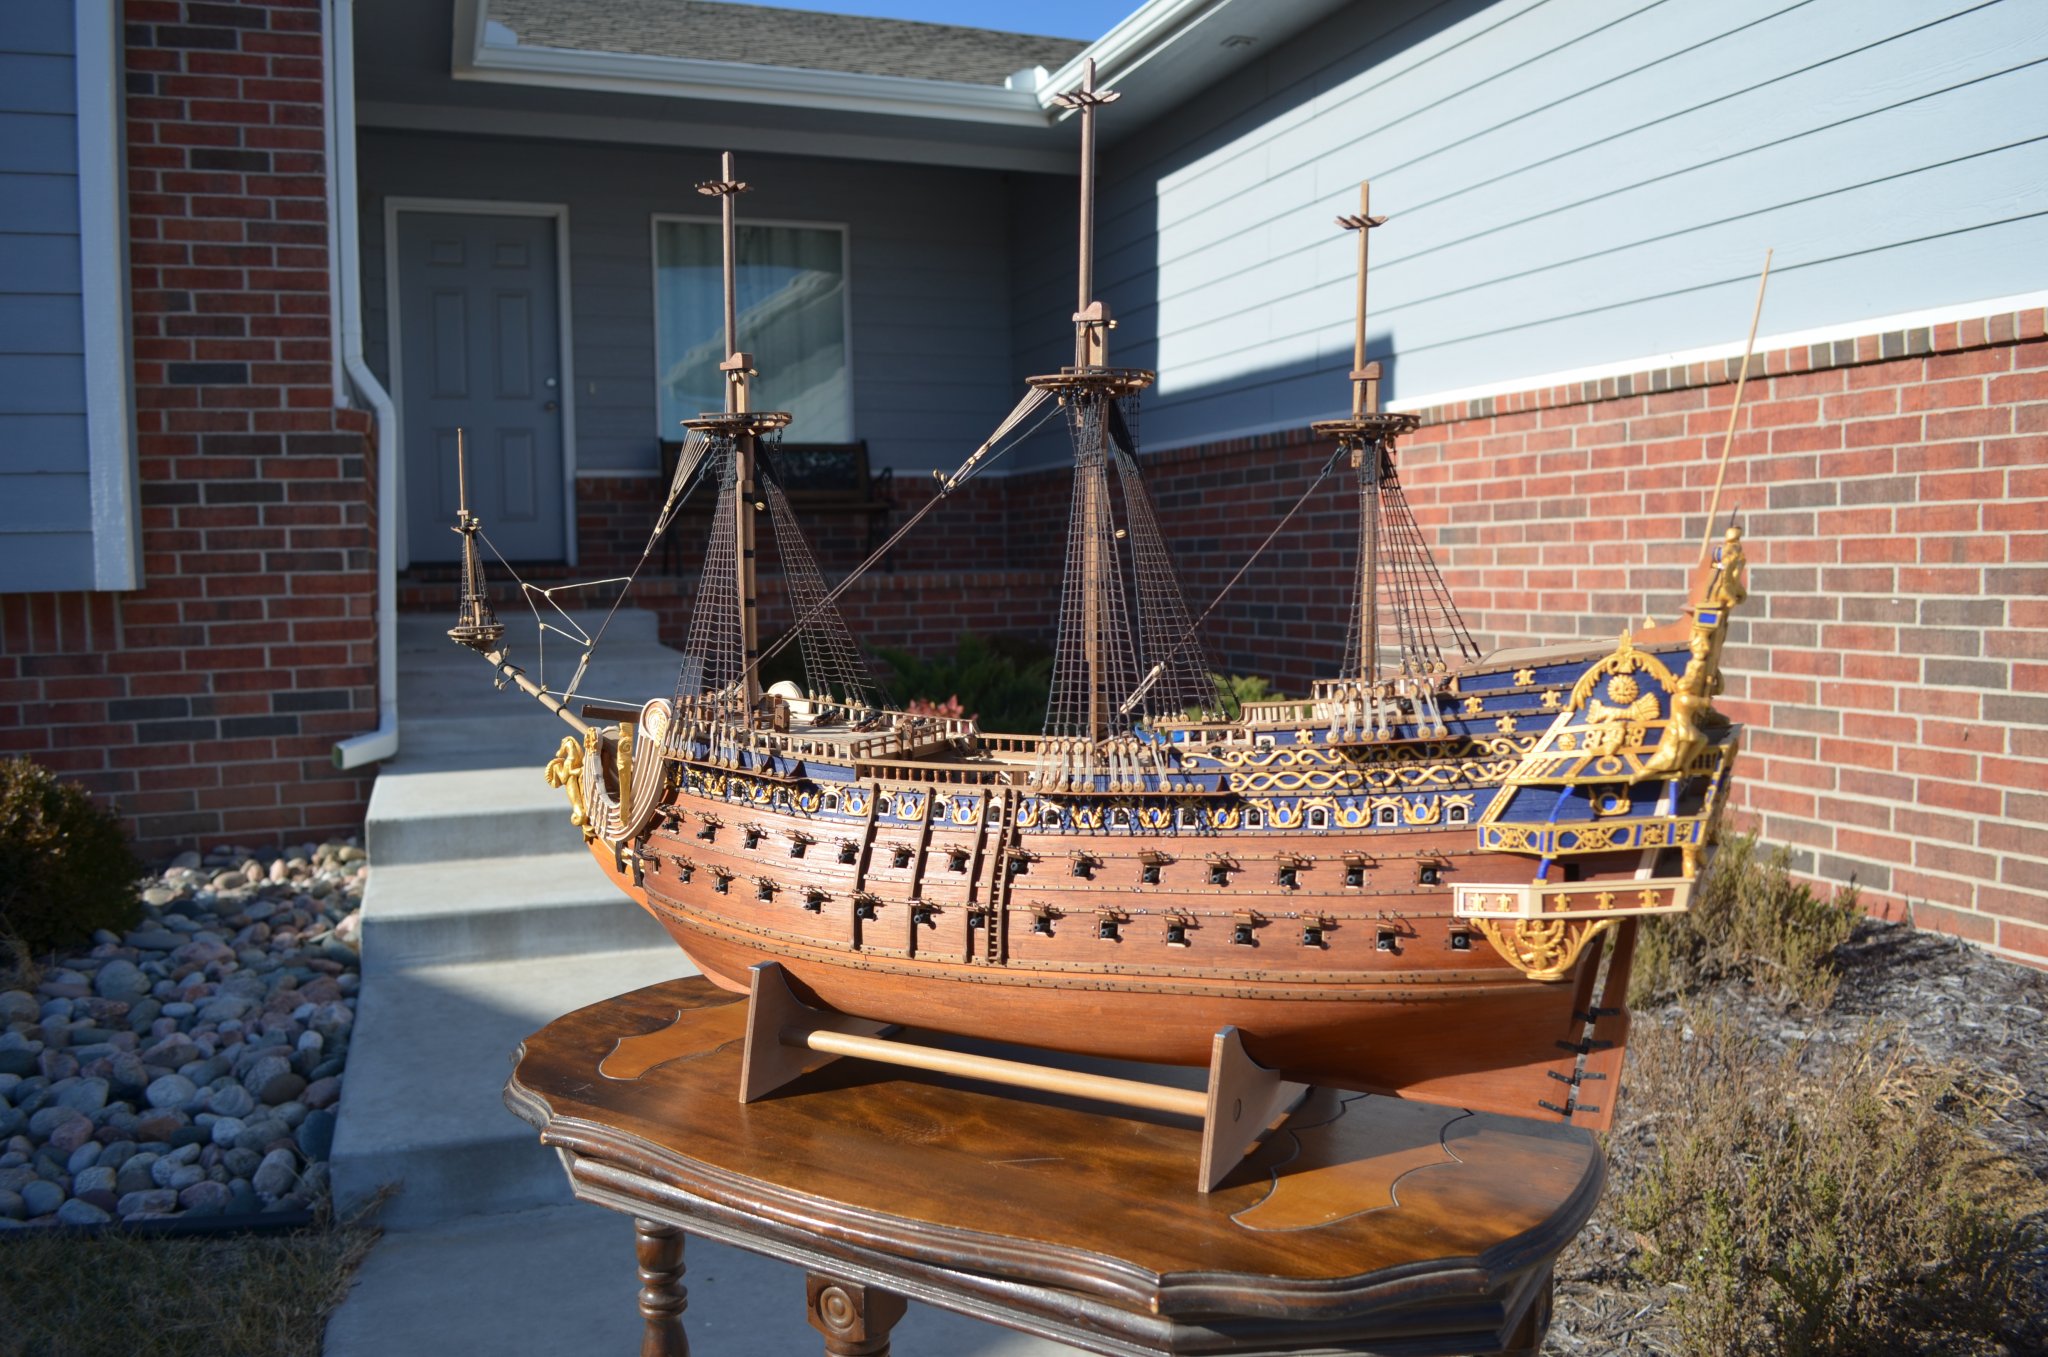
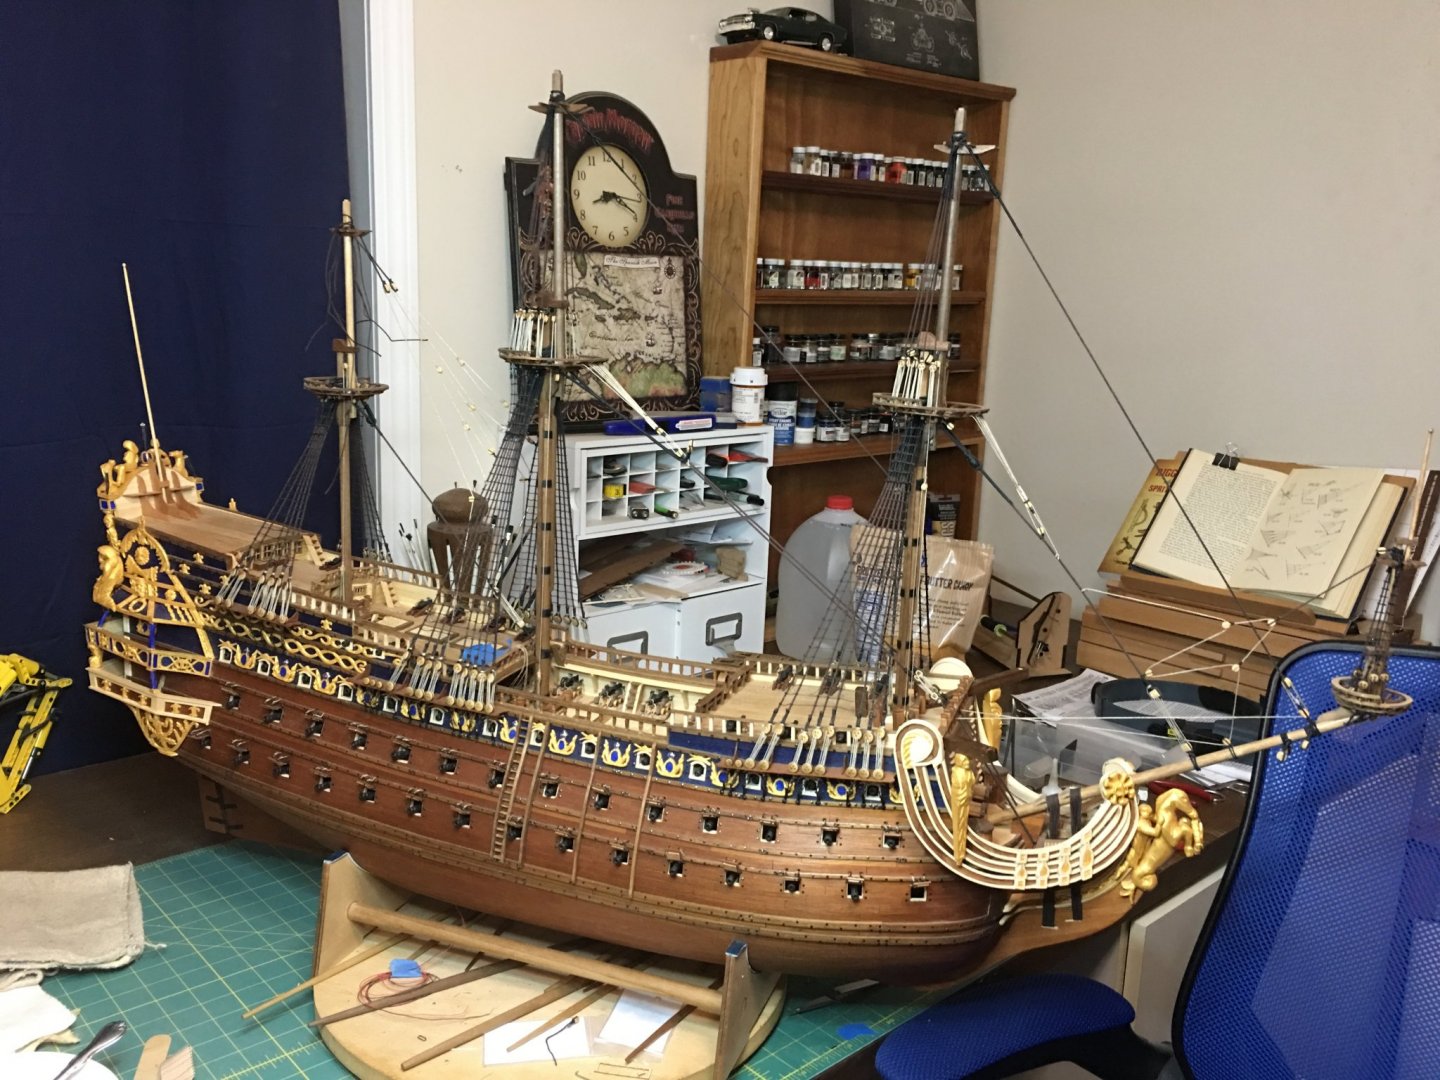
As always, thank you all for the likes, comments and following along. This past week was another big milestone in the build. Not only did I finish the lower mast rigging, the build itself rolled over 3 years and 1,900 hours! This has been a long journey and I know some of you have been with me on it since the beginning. I still have a lot to do, but the end is drawing ever closer. Baring some unforeseen interruption, I'm thinking I might just get her finished in 2020. Well, the weather mostly held, bit windier than I would have liked but sunny and beautiful otherwise, so I was able to get some outside pictures of her. Enjoy! Time for me to get back to making topmast stays.


- 961 replies
-
- 14
-
-
Good to have you back and that you are healing up. I hope your hand use continues to improve so you can get back to all the things you love to do.
- 786 replies
-
- 1
-
-
- Royal Louis
- Finished
- (and 1 more)
-
A neutral color wood filler or even drywall mud compound will work if you are going to stain the hull. On fine joints, nearly any filler material will work as long as it is something designed to be painted or stained. The nice thing with wood fillers is that if you know the stain color you are going to use, you can usually find a filler that will match.
-
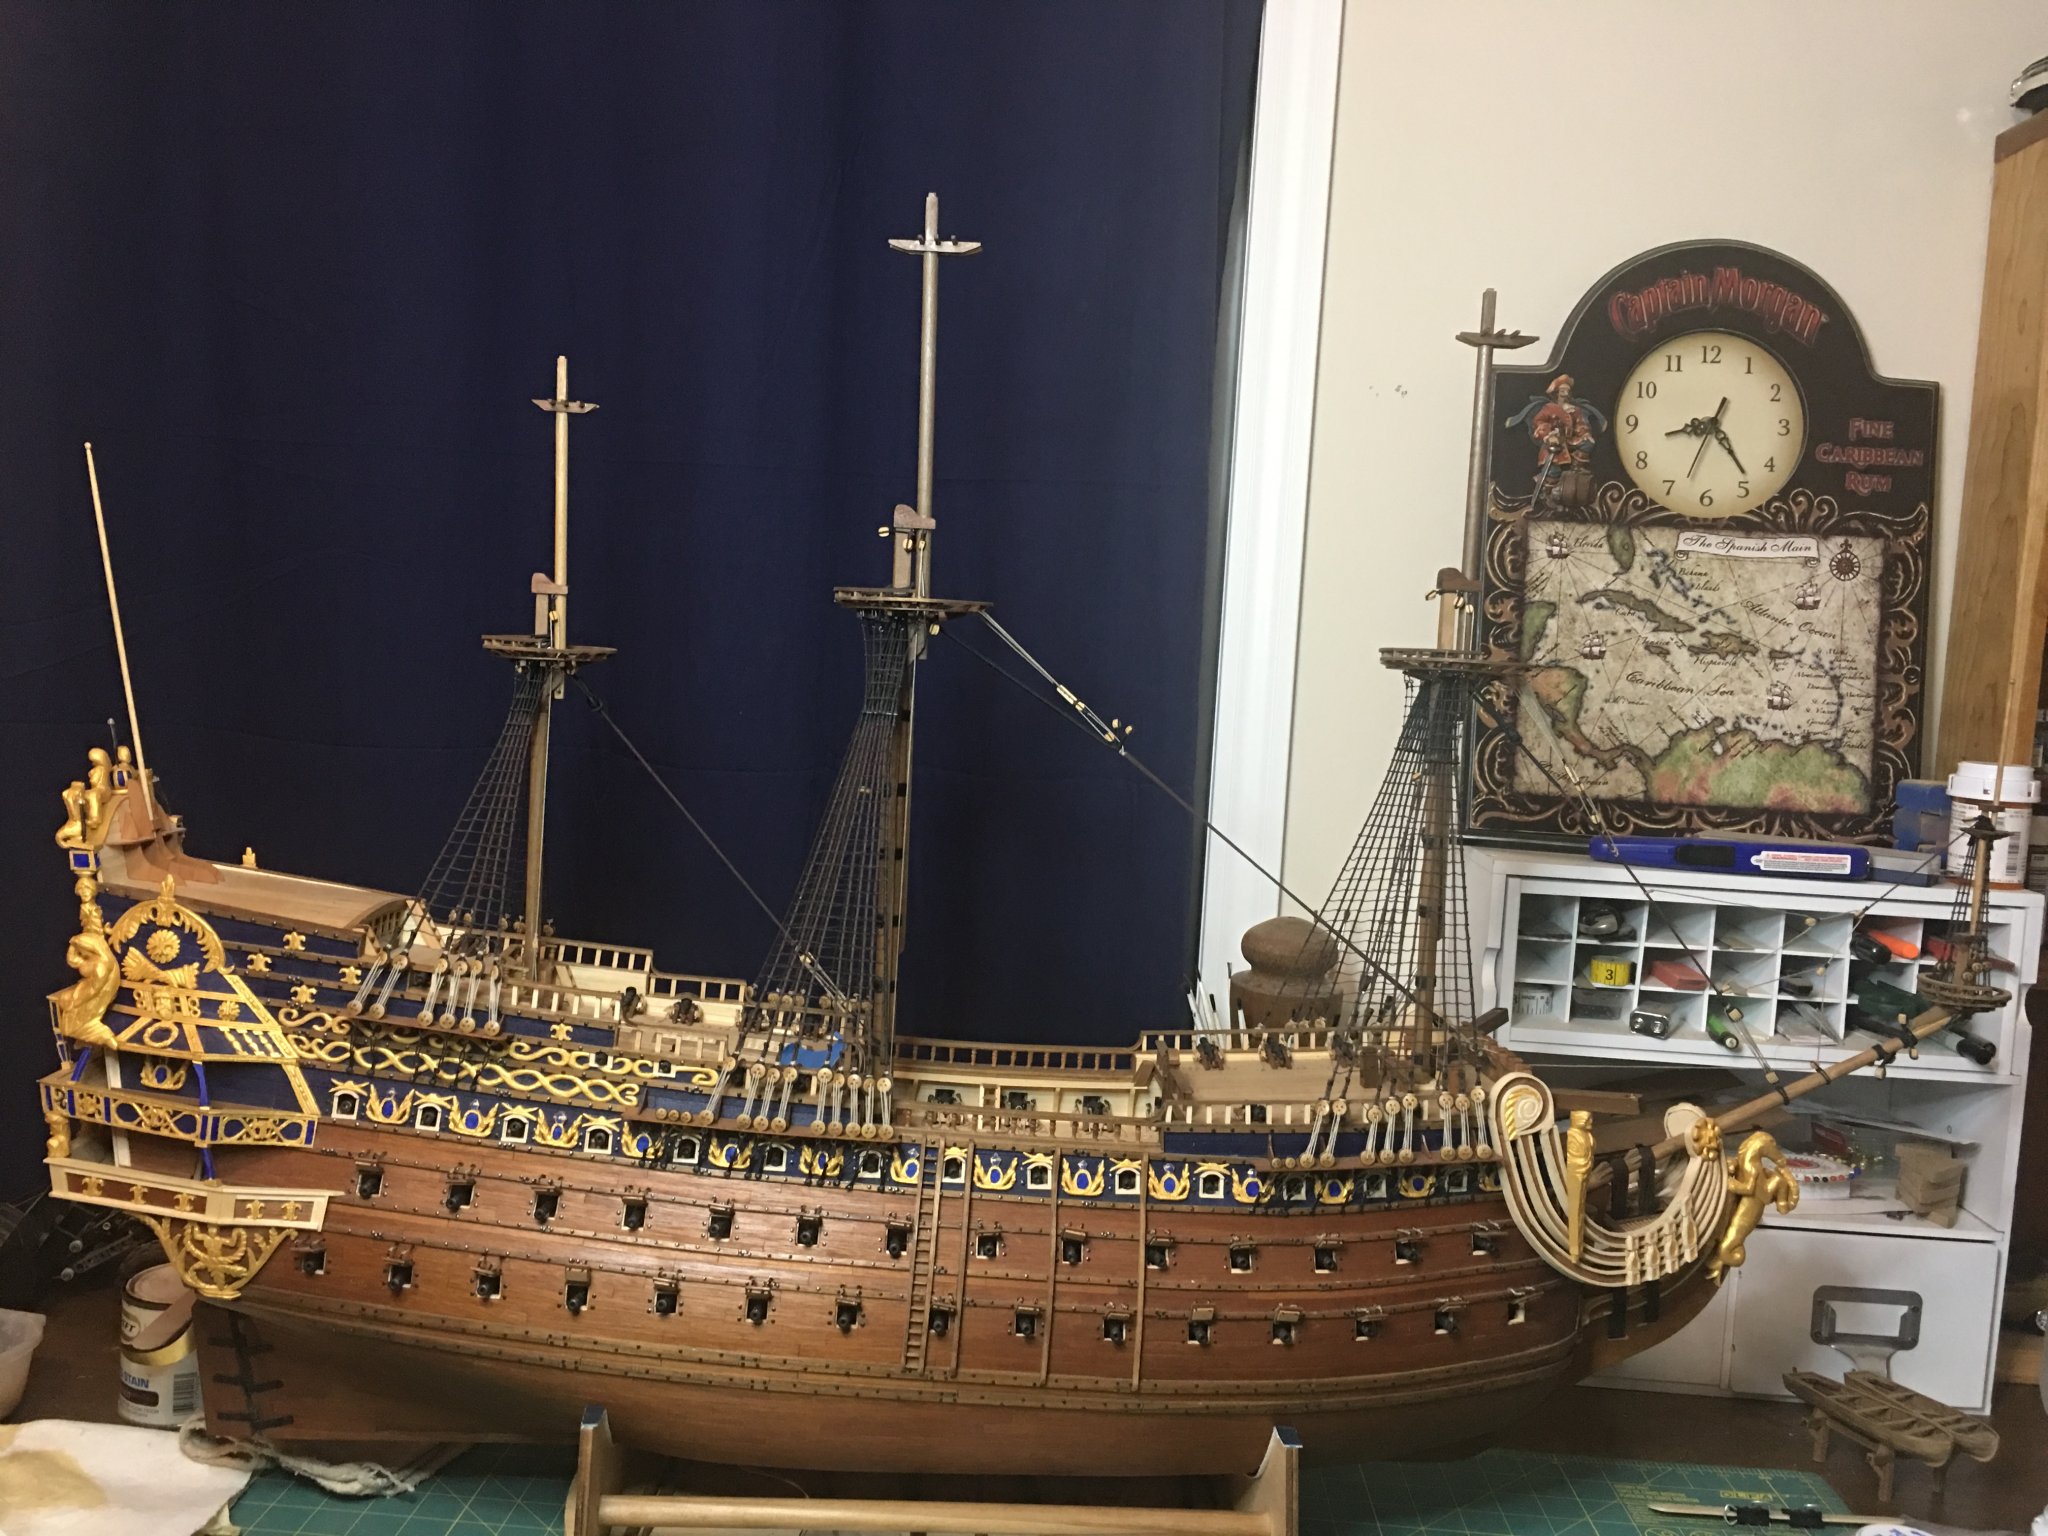
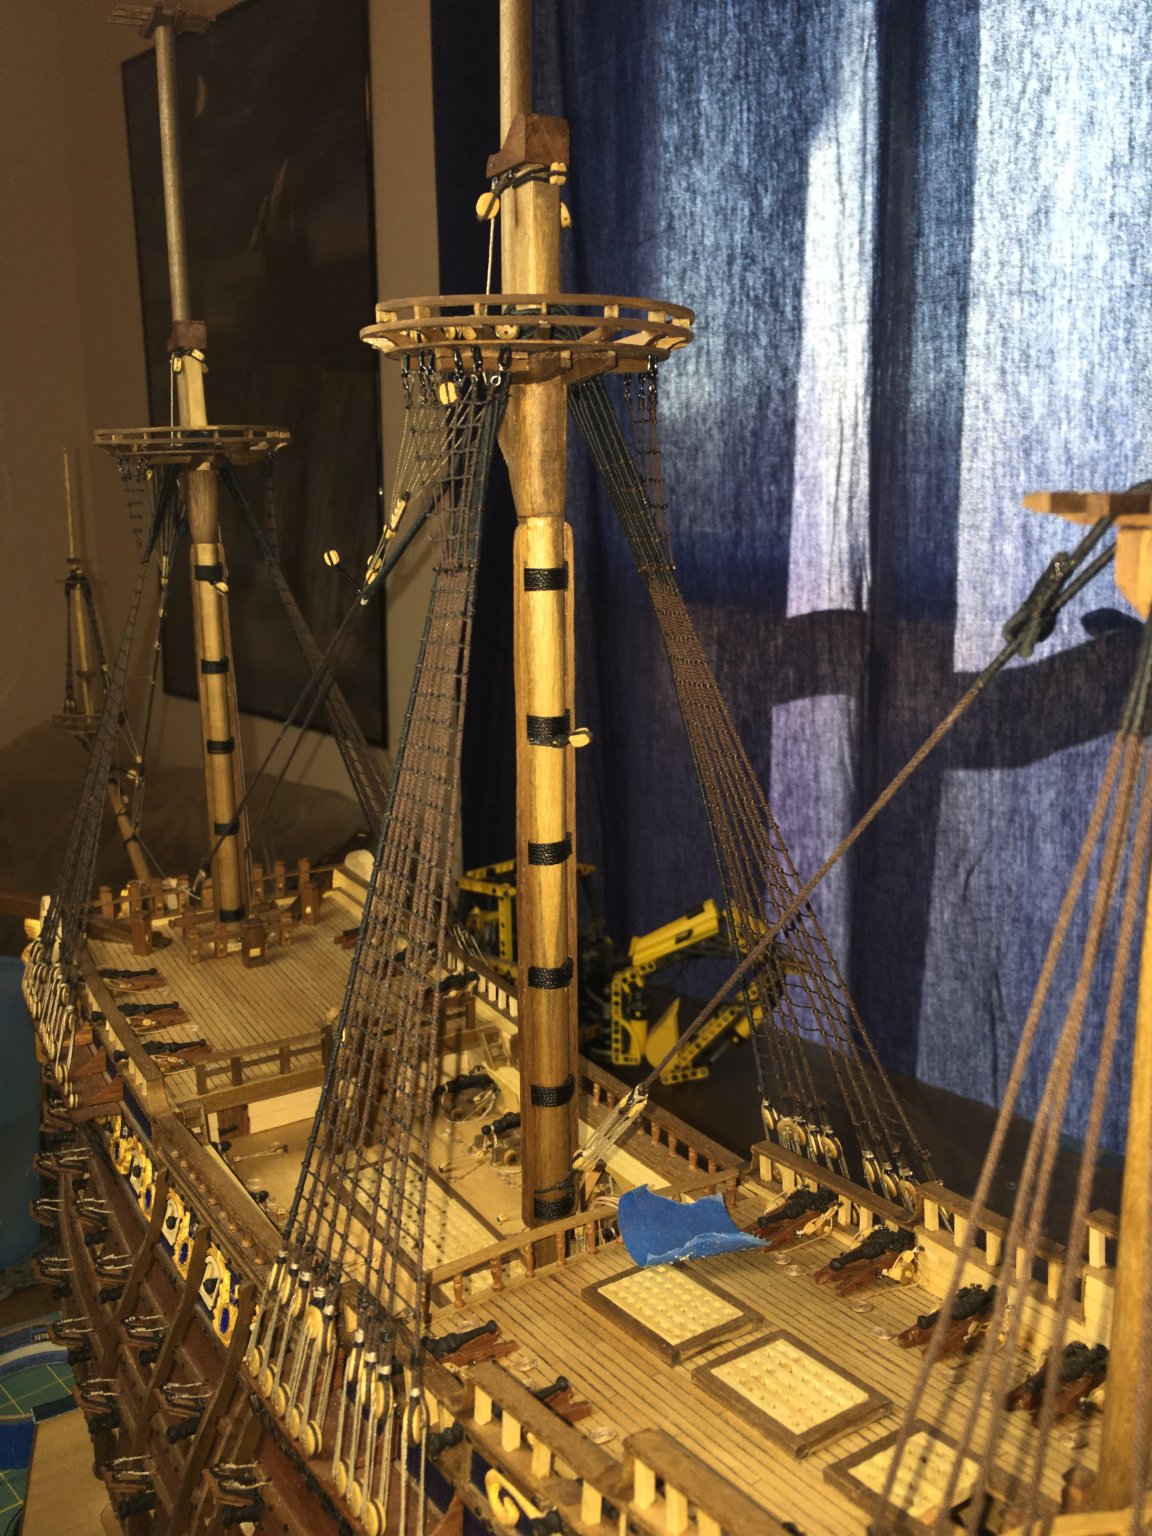
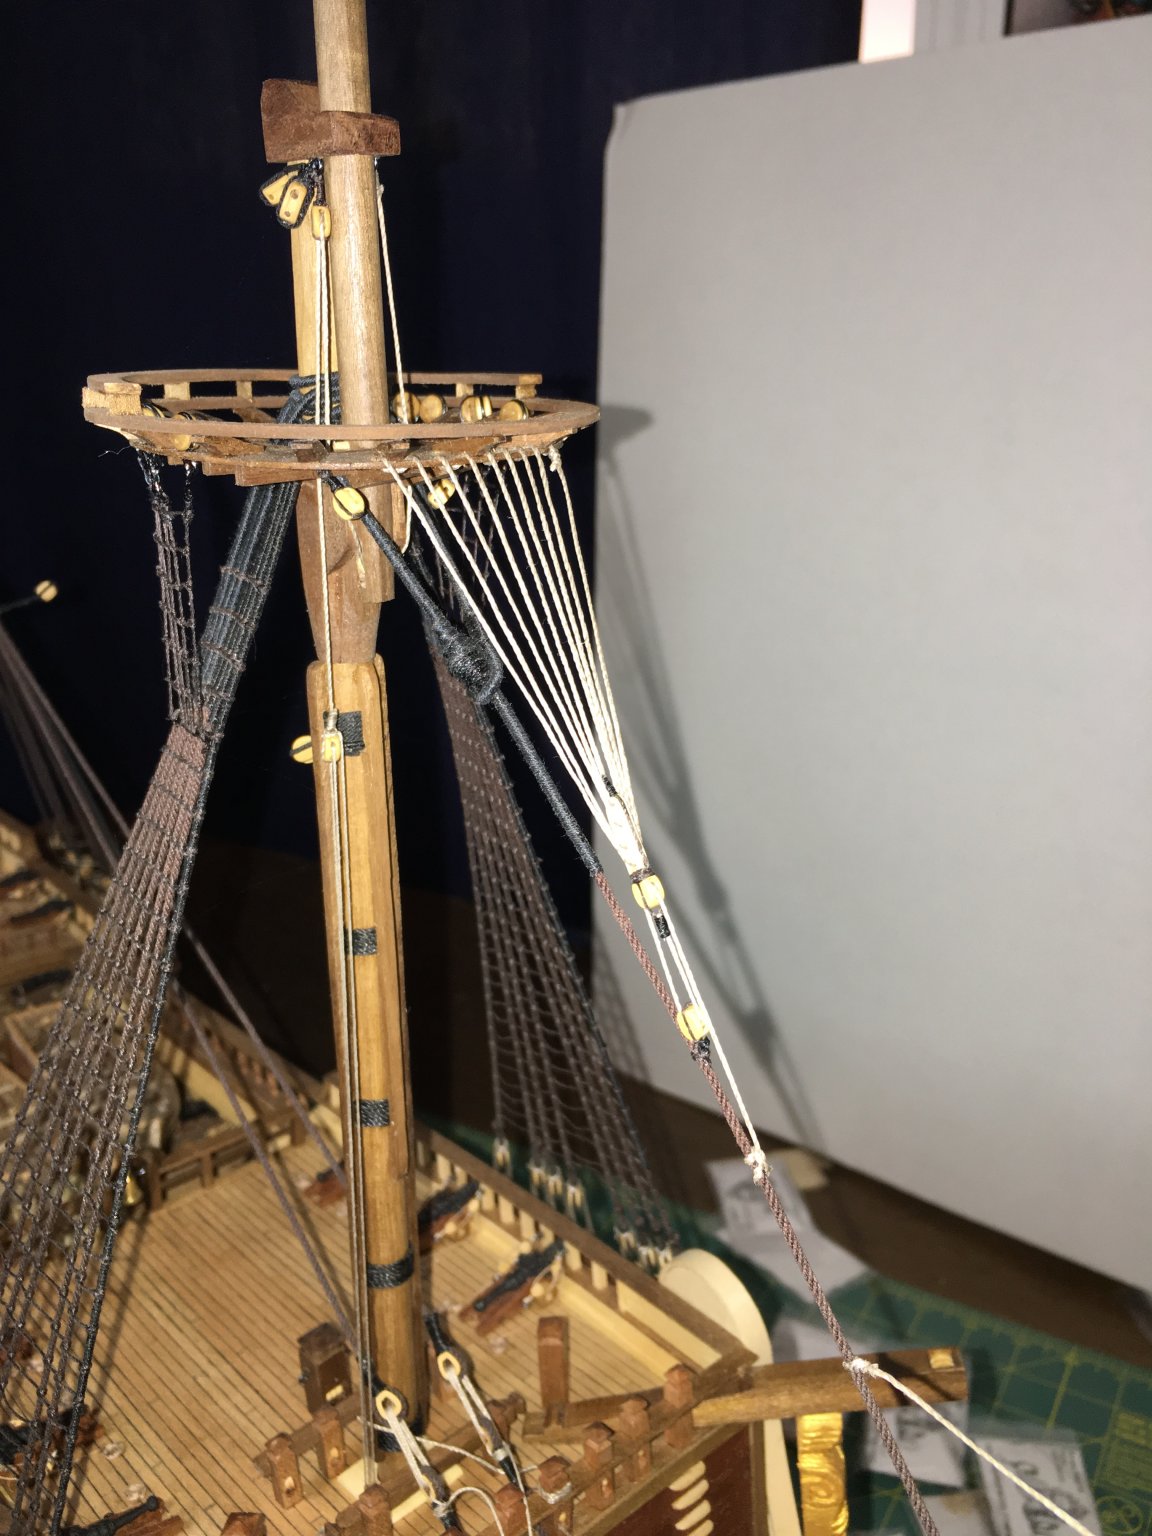
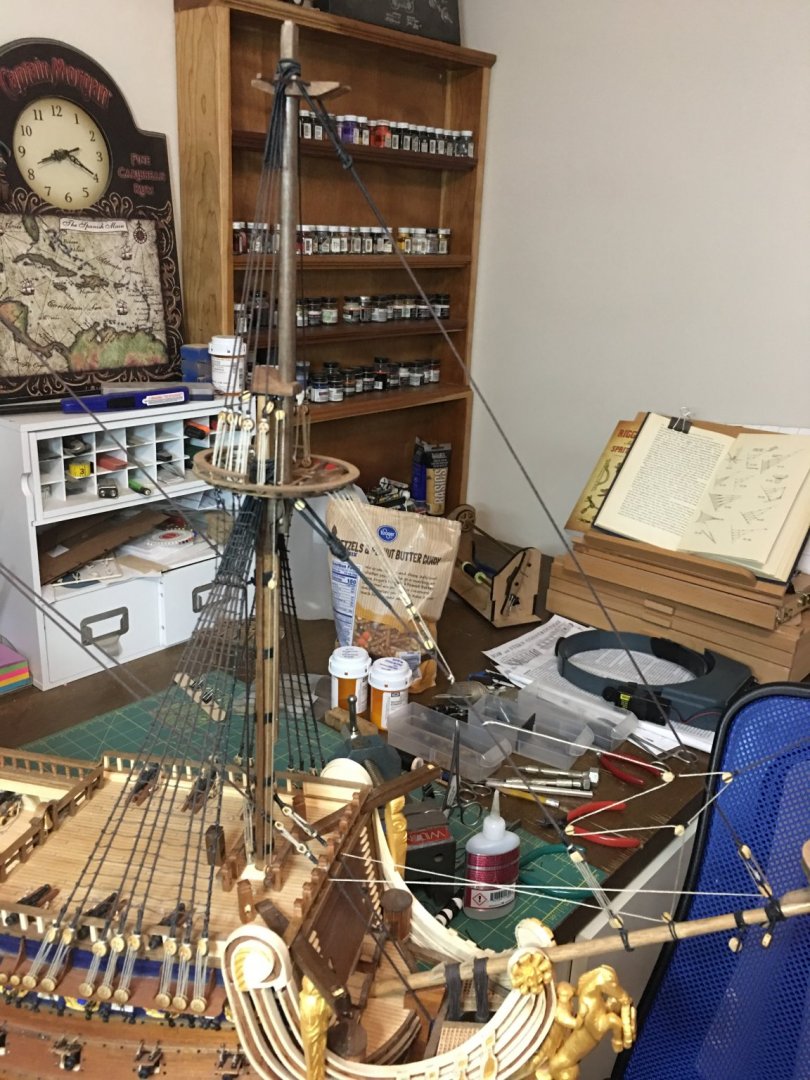
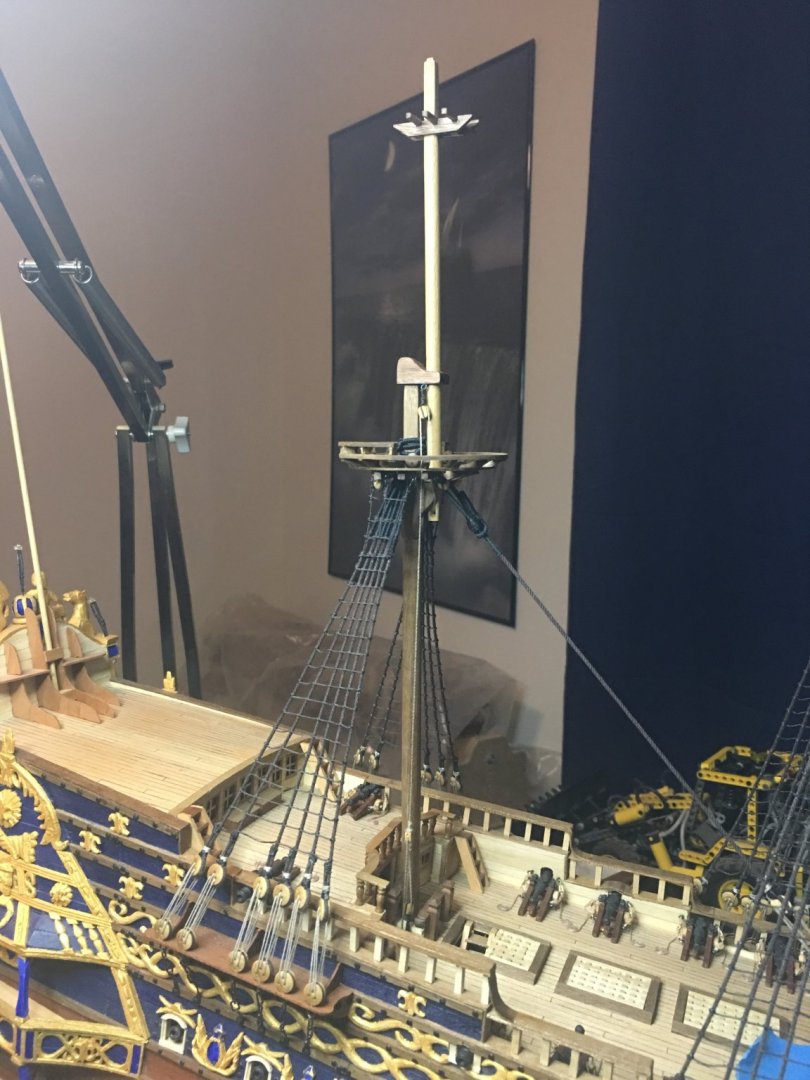
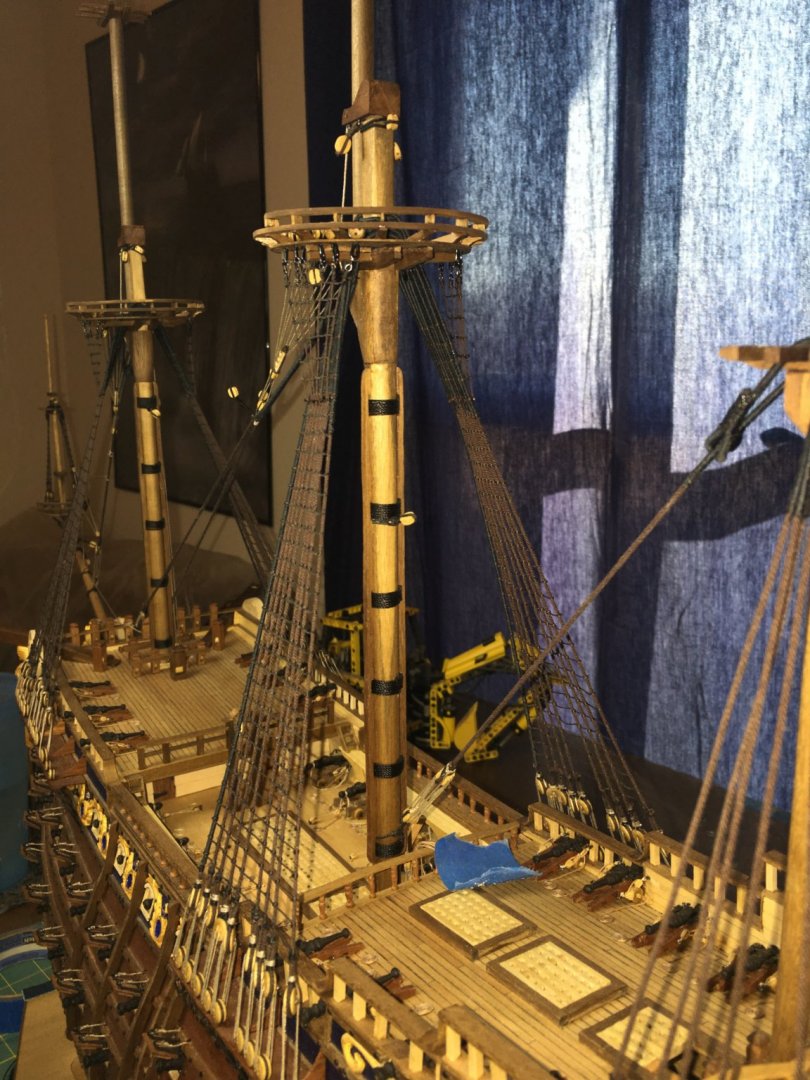
Thank you all for the kind words and all the likes. I’ve completed another stage with the installation of the mizzen mast, top, topmast, shrouds and ratlines. With that, all three mast now stand proud and I can work on the topmast rigging and prep for topgallants. Im hoping to get home from work early enough one evening this week to take some pictures of the entire model as she sits now in natural light. If I can’t get home in time then Saturday looks clear so far. Would like to see her in better lighting than my model room.

-
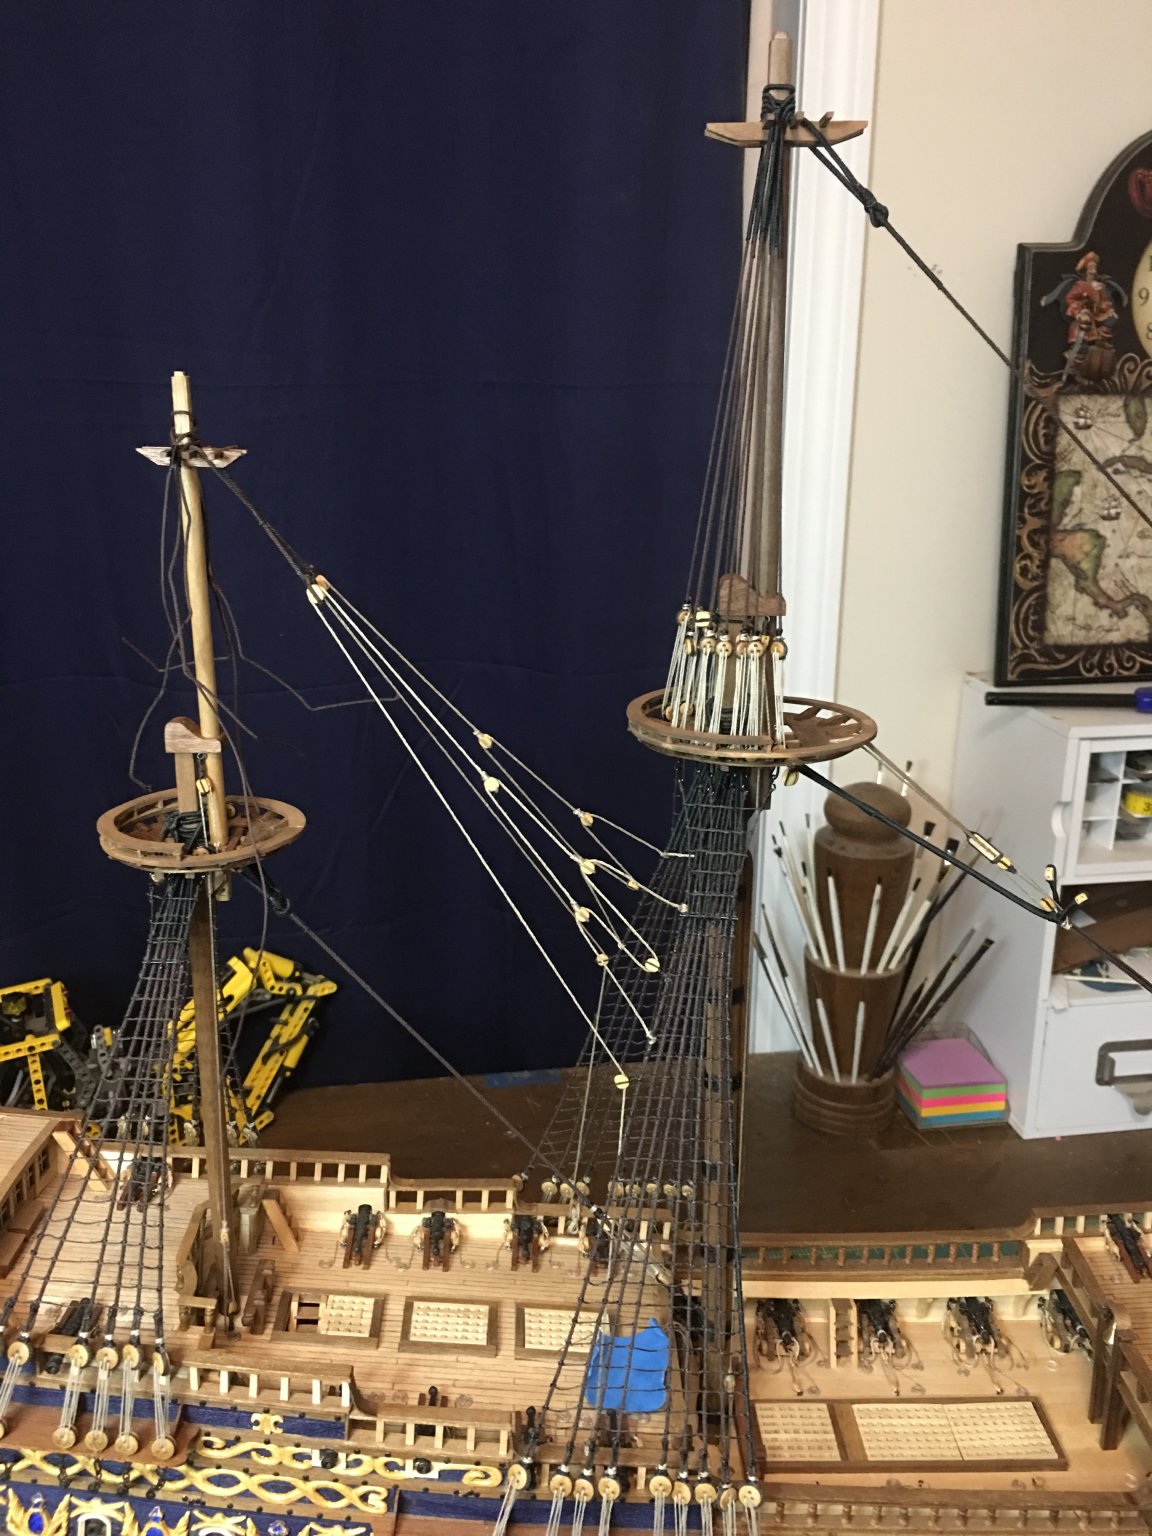
Main mast has shrouds, ratlines top and top mast in place. Time to work on the mizzen mast. Fortunately, it is smaller and hopefully will go a bit faster than the fore and main mast did.


- 961 replies
-
- 10
-
-
Glad to hear you are safe for the time being. Still terrible to see this is happening. My thoughts with you and all those over there.
-
It’s been slow going but it is still going. Lower main mast shrouds and ratlines are complete. Working on attaching the deadeyes to the main top as well as the other blocks then I can set the top mast. The cold temperatures have been setting in so staying inside and working on the ship is becoming more and more the thing to do.

-
I'm so used to seeing wood planks that when you said you were planking, it took me a second to stop looking for wood and see the white plastic plank. I rather enjoy planking myself.It can become monotonous, especially on these larger vessels, but it is also what gives them their shape and seeing that turn out is very rewarding.
- 2,699 replies
-
- 4
-
-
- heller
- soleil royal
- (and 9 more)
-
Your sail work is indeed fantastic. Detailed and clean. I constantly learn more every time you update the build.
-
I can't say definitively on the black stuff, but most oil base materials would indeed have at least some shiny sheen to them. Even the tar on the ropes and the caulking used would likely have some shininess to it. I think this would vary some depending upon factors of how fresh the application is as well as moisture. The tar used in the rigging would dull faster due to more direct sunlight exposure as well as the effects of the salt air. The black stuff used on the hull would likely maintain a shiny sheen longer due to the water keeping it moist. I think that you will be fine with what you have been doing and am wondering if the camera isn't causing more of a shine than what is really there?
- 2,699 replies
-
- 4
-
-
- heller
- soleil royal
- (and 9 more)
-
Be glad to cover those costs. The research you have been doing will help out in vast ways not only S.R. builders but any ship model of the period. PM me if when it happens. In the meanwhile, I will continue to sit here learning and enjoying the show!
- 2,699 replies
-
- 2
-
-
- heller
- soleil royal
- (and 9 more)
-
Truly incredible. It is a rare thing to see this much framing work done on a plastic build as usually (and I or one am guilty of it) the builder simply slaps the two hull halves together and closes the seams with putty as needed. The customization work takes place with the guns, deck furniture and rigging. The hull is accepted as is and other than the paint job, there is nothing unique about it. What you are doing in changing the entire structure of a molded plastic hull is such a rarity that it is a unique joy to watch as well as inspiring. If you ever get around to publishing that book or even if you simply compile your notes and images from this log and wish to sell them, let me know as that would be something worth buying.
- 2,699 replies
-
- 8
-
-
- heller
- soleil royal
- (and 9 more)
-
Great job indeed. She turned out extremely lovely and will be a great display piece.
- 131 replies
-
- 3
-
-
- santa lucia
- panart
- (and 1 more)
-
Great find indeed! I knew they were creating 3D images of the Vasa for research and preservation but I did not know they were available to view or where to do so. That information will be invaluable for any builders of this great ship. Thank you for sharing the link!
- 61 replies
-
- 2
-
-
- billing boats
- vasa
- (and 1 more)
-
Your tops are turning out very nice. Well done on the modifications to the kits version.
-
Great to hear that your wife is coming home! I've noticed, as have many others that rigging plans typically seem to be the most neglected part of many kits. Especially details such as where they belay. It is almost a must to have outside source material to even attempt to do a semi realistic rigging and even then the older the ship the harder it is and non English vessels harder still. Many rigging books focus on English ship rigging as they did the best job in preserving nautical practice knowledge over the centuries. As a result, many models of ships from other countries end up with "English" rigging components. As for the Vasa II, I am holding off my own build of her till that book comes out. At least that is the plan... In any case, your rigging is looking fantastic! Clean and detailed and the addition of the sail rigging adds even more. Well done!
- 91 replies
-
- 2
-
-
- deagostini
- vasa
- (and 1 more)
-
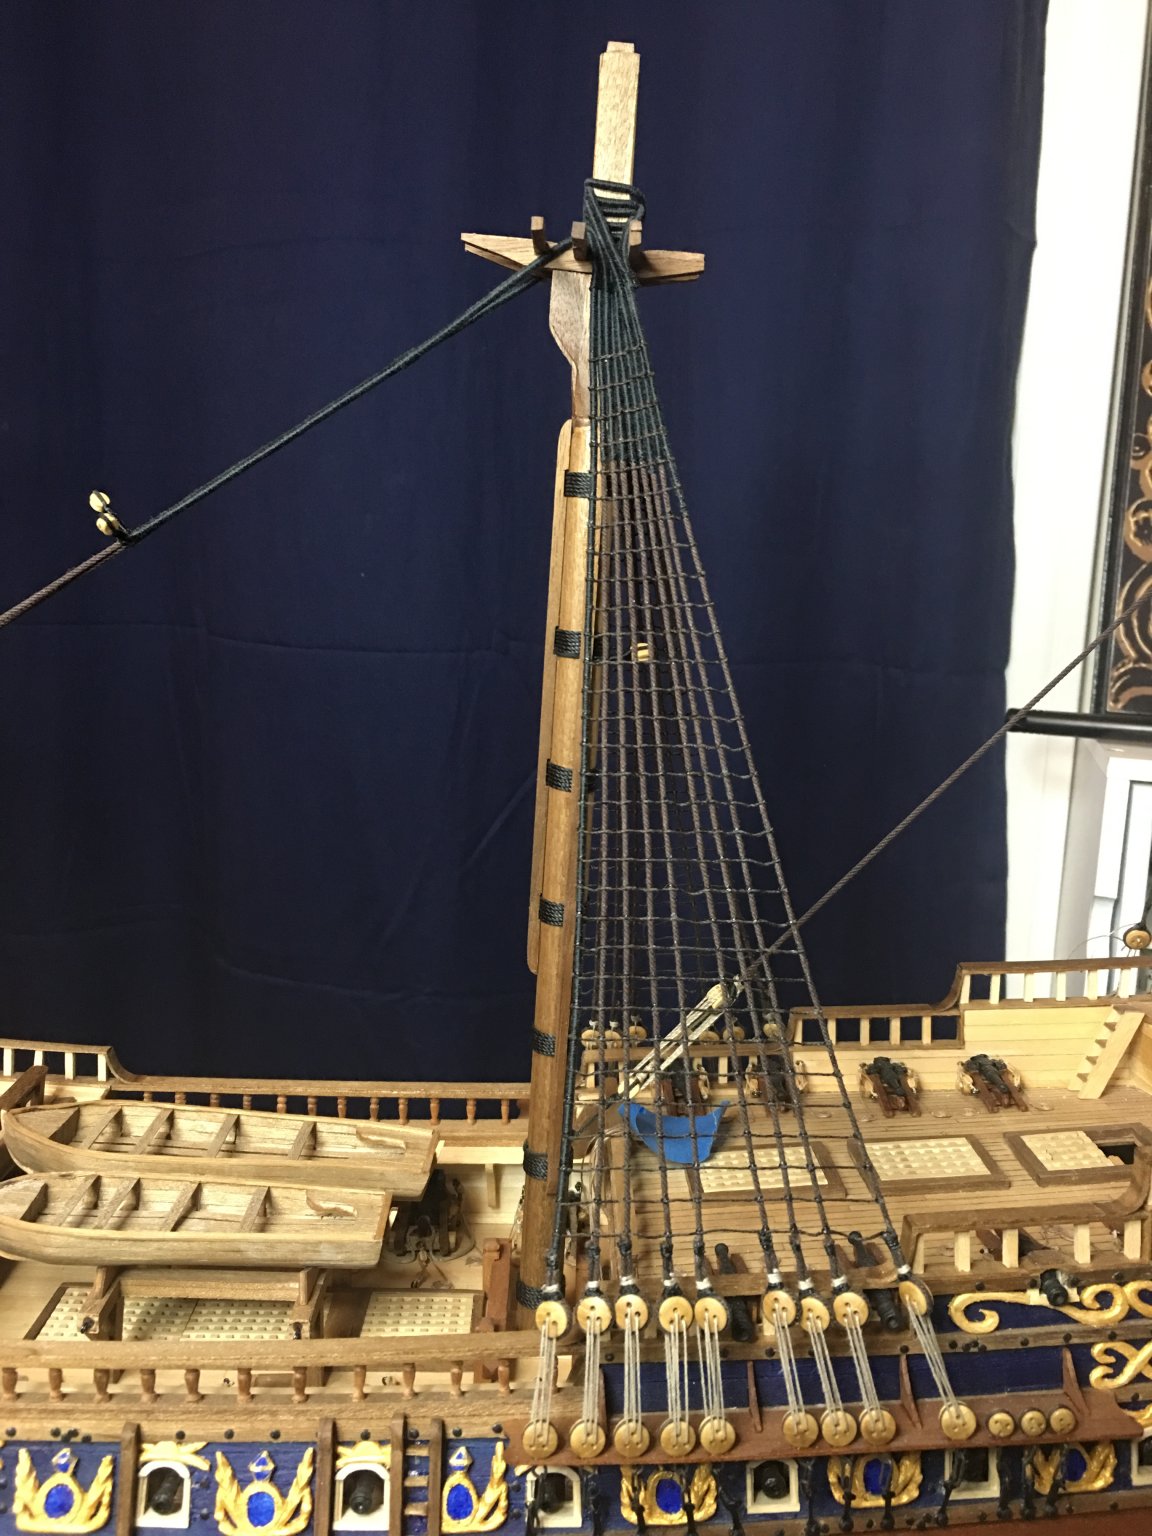
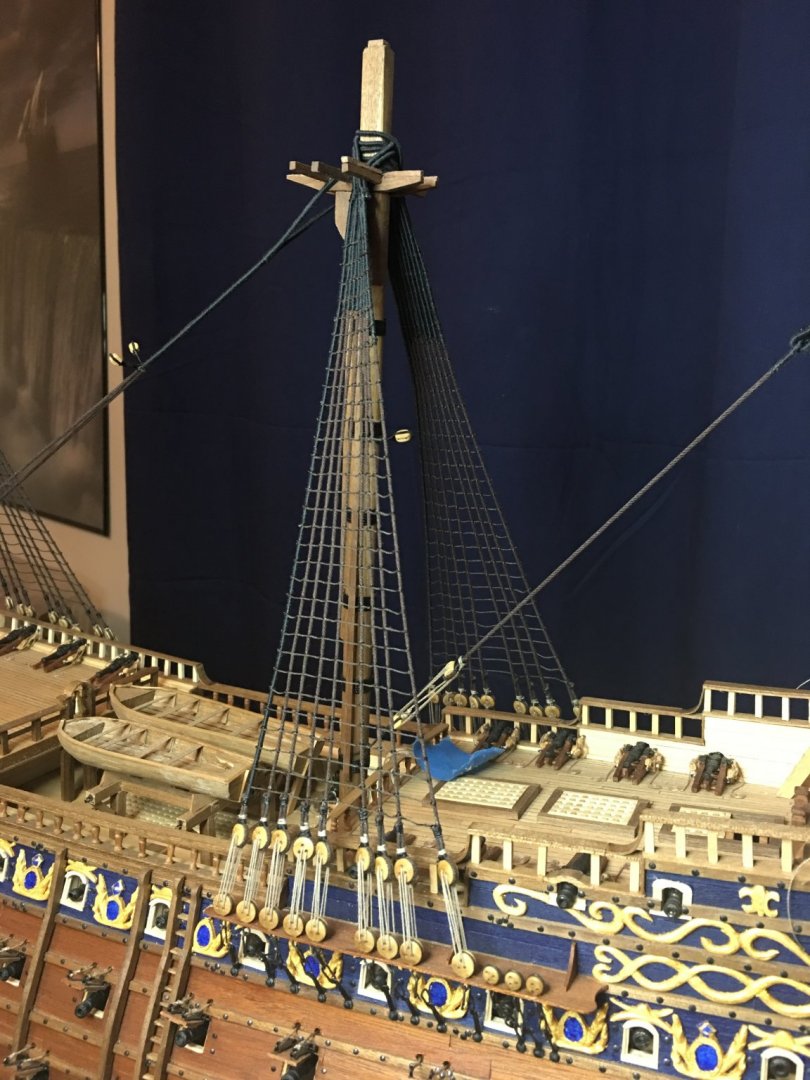
Thanks O.C. and thank you all for the likes and continuing to follow along on the build. This is that stage of work where many hours of rigging doesn't add much visually but, when it is all done, the spider web of lines is a thing of beauty. O.C., I have heard of Cresswell Cycles. I've not seen one personally, only pictures but, they do make some nice folding bikes. My trike will fold up to about half the size but, is nowhere near as easy to carry as one of those. It will come in handy when need to transport two of them when my buddy and I go riding but, mostly it stays unfolded as it fits fine in the back of my truck. This one replaced my old sidewinder model which, while a fun trike was not the best for long distance riding with a rigid frame and little adjustment in the seat position. I don't ride with music and my phone is in a carry bag for emergencies and mapping my ride. I enjoy the silence when I'm riding around. I get to spend a few hours unplugged from the world which is rare and very nice.
-
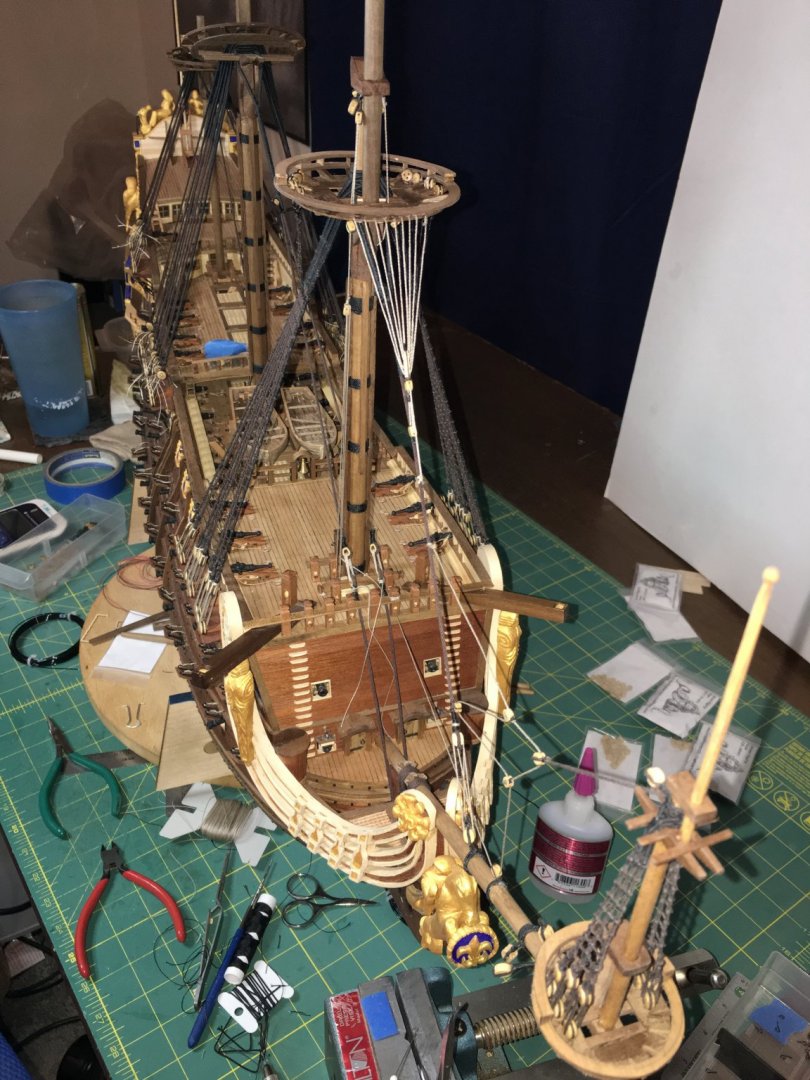
Slower building progress lately. Got a new recumbent trike a few weeks ago and I have been trying to get in as much ride time as possible before winter sets in. I have made progress though as the fore top fore top has been installed along with the deadeyes for the fore topmast and the futtock shrouds. I also added the back stay for the spritsail topmast and the crows feet for the fore top. Now to repeat on the main mast.


-
Beautiful paint work on the sculptures. The effort is paying off as all the elements come together. Well done!
-
The skill of a great model maker is not just how well he creates but, how well he hides his mistakes. You are a great modeler indeed! Well done on the repair.
- 228 replies
-
- 3
-
-
- gunboat
- model shipways
- (and 1 more)
-
Progressing nicely! I always enjoy builders who take the time to add in their own details and modifications. Makes each model truly unique and it never fails that I see something new. Keep it up! To answer you question about the 2nd layer of planking, I and I think most people as well just glue the 2nd layer directly to the 1st. The main exception to this statement is that many of us will use spackle or some similar type of filler compound to even out any imperfections in the hull after the first planking. That helps to create a smooth and true surface for the finish planking to lay on. I've never had any trouble gluing on the filler compound either. I do recommend wiping the hull down with alcohol and/or a tack cloth to remove dust before gluing to prevent and bond breaking.