EJ_L
-
Posts
2,246 -
Joined
-
Last visited
Content Type
Profiles
Forums
Gallery
Events
Everything posted by EJ_L
-
 Strain on the hands, fingers, and especially the eyes in my experience. Worth it in the end, but it is a lot of painstaking work. More and more I am becoming tempted to try out carving the decorations for Royal Louis from plastic. I'm curious to find out how the two different mediums compare, wood vs plastic. I would almost think that the plastic may prove more forgiving as it does not have the grain that wood does that can easily throw off a cut. I should really look into buying better wood for carving... The figures are coming along great Marc!
- 2,699 replies
-
- 4
-

-
- heller
- soleil royal
- (and 9 more)
-
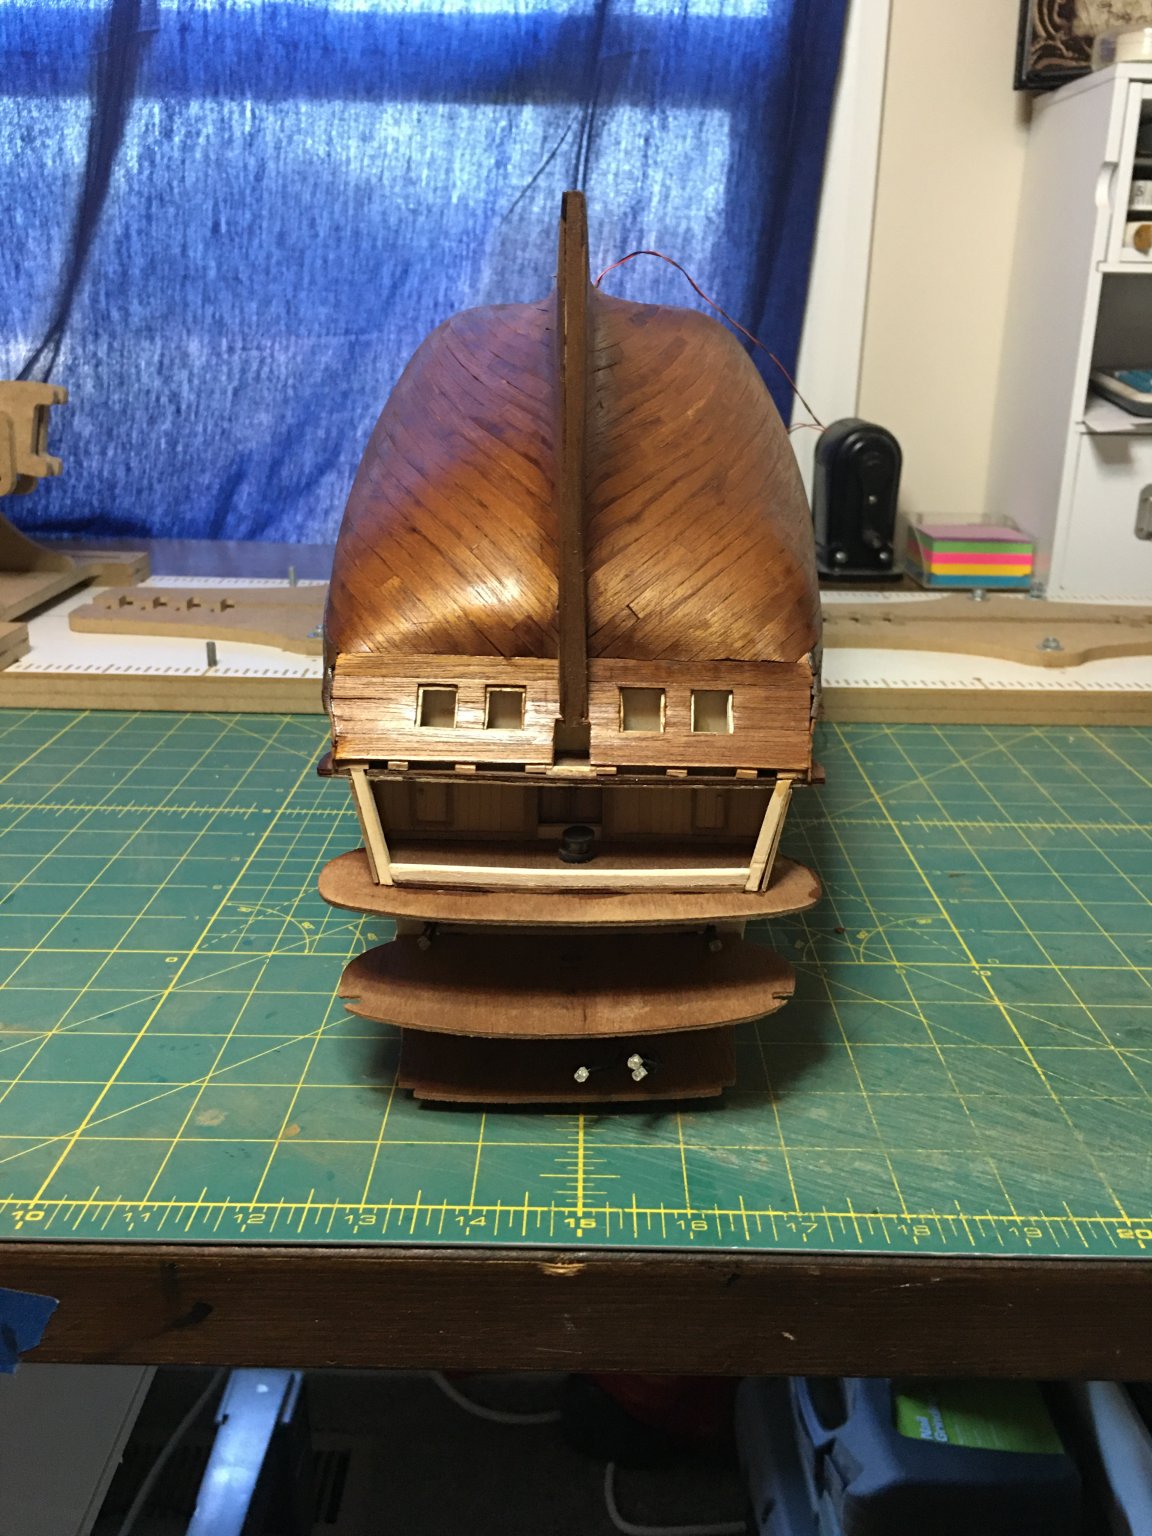
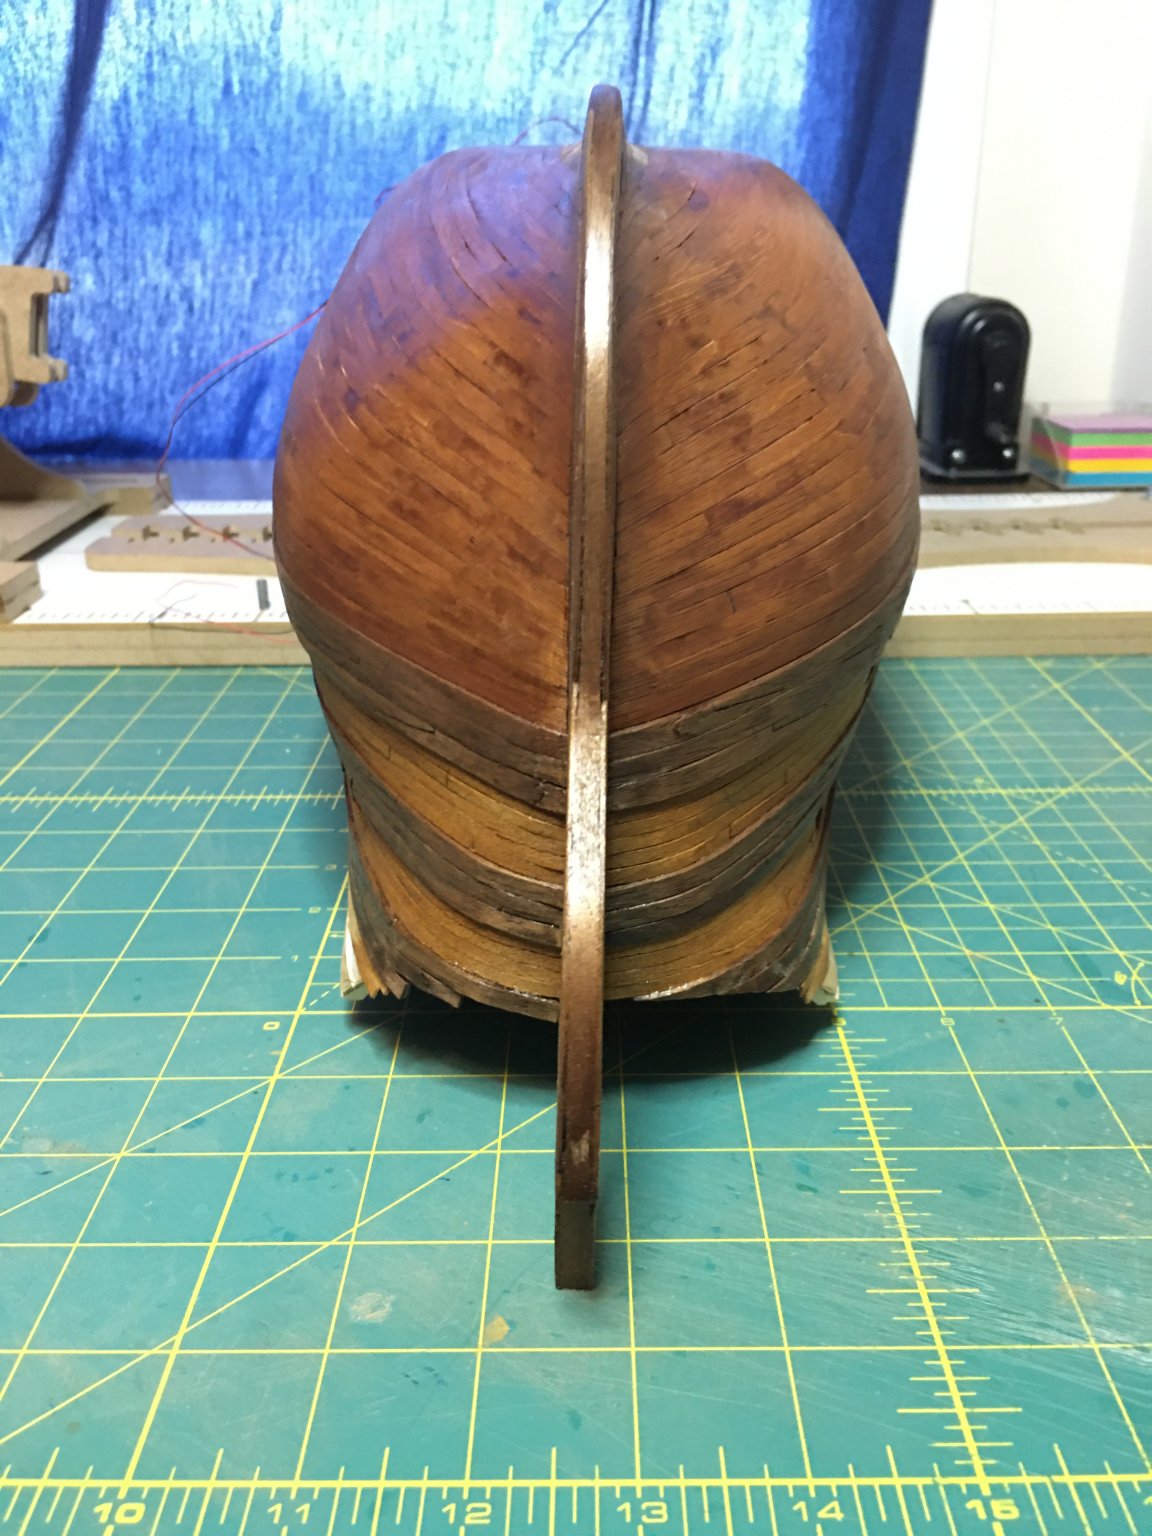
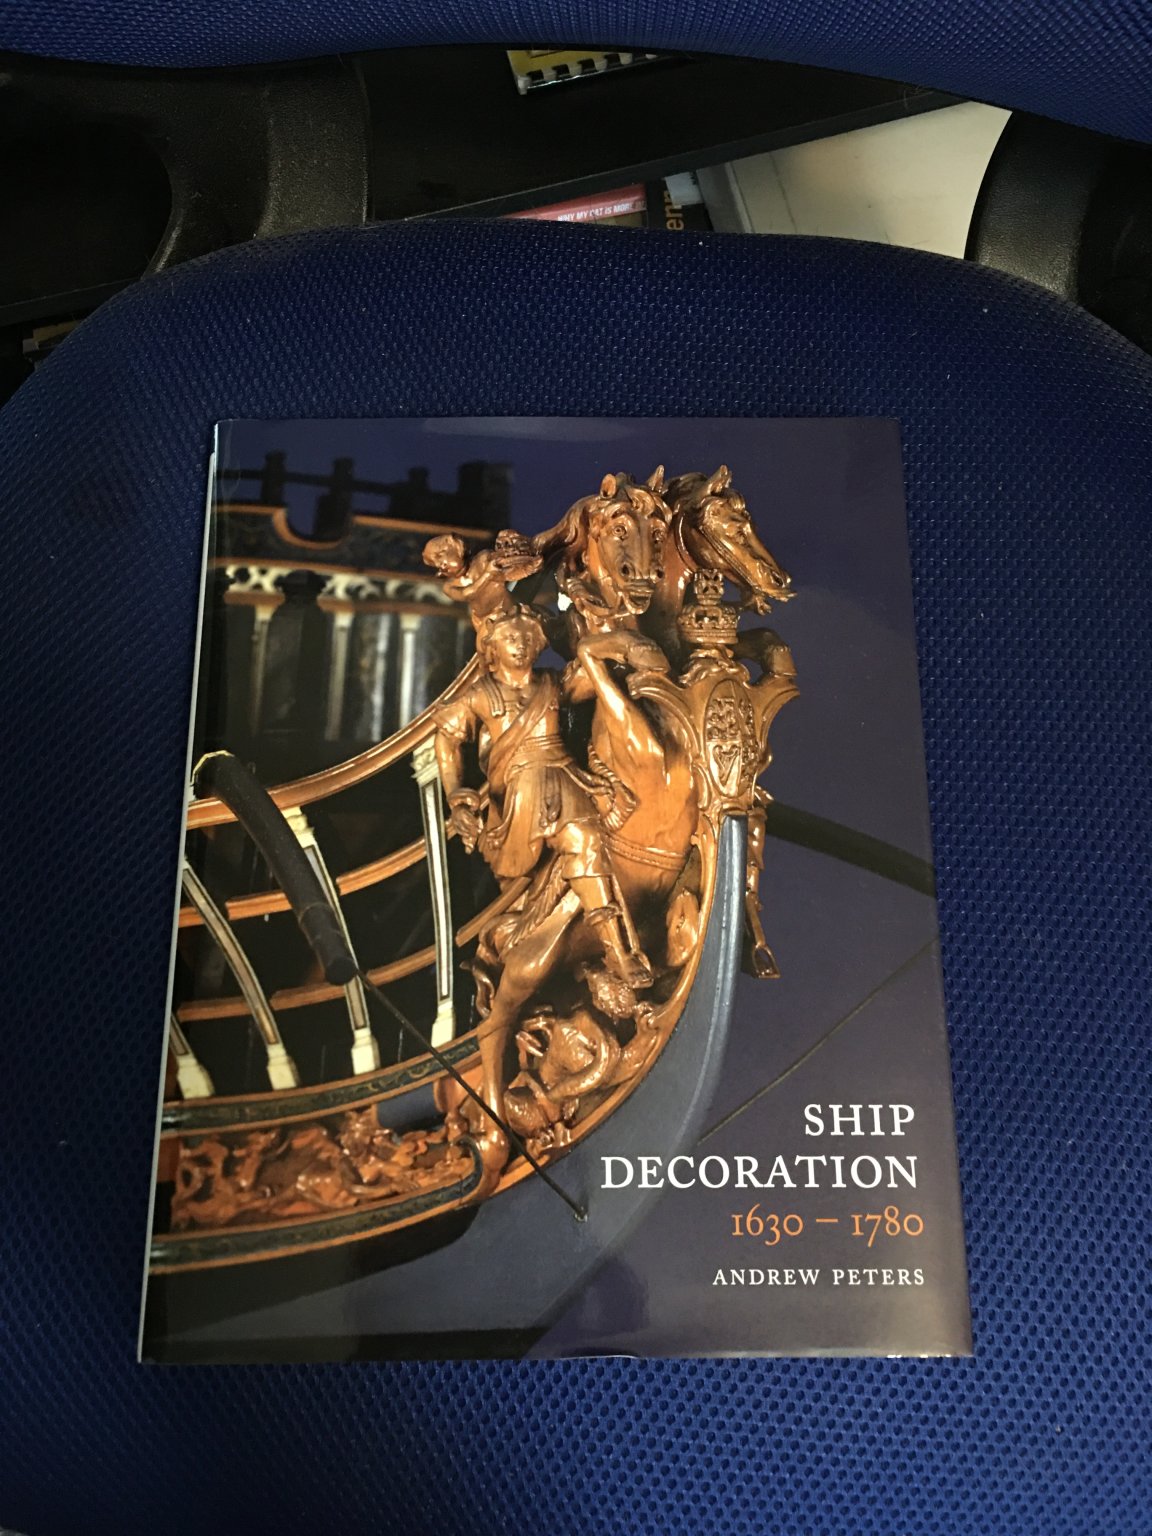
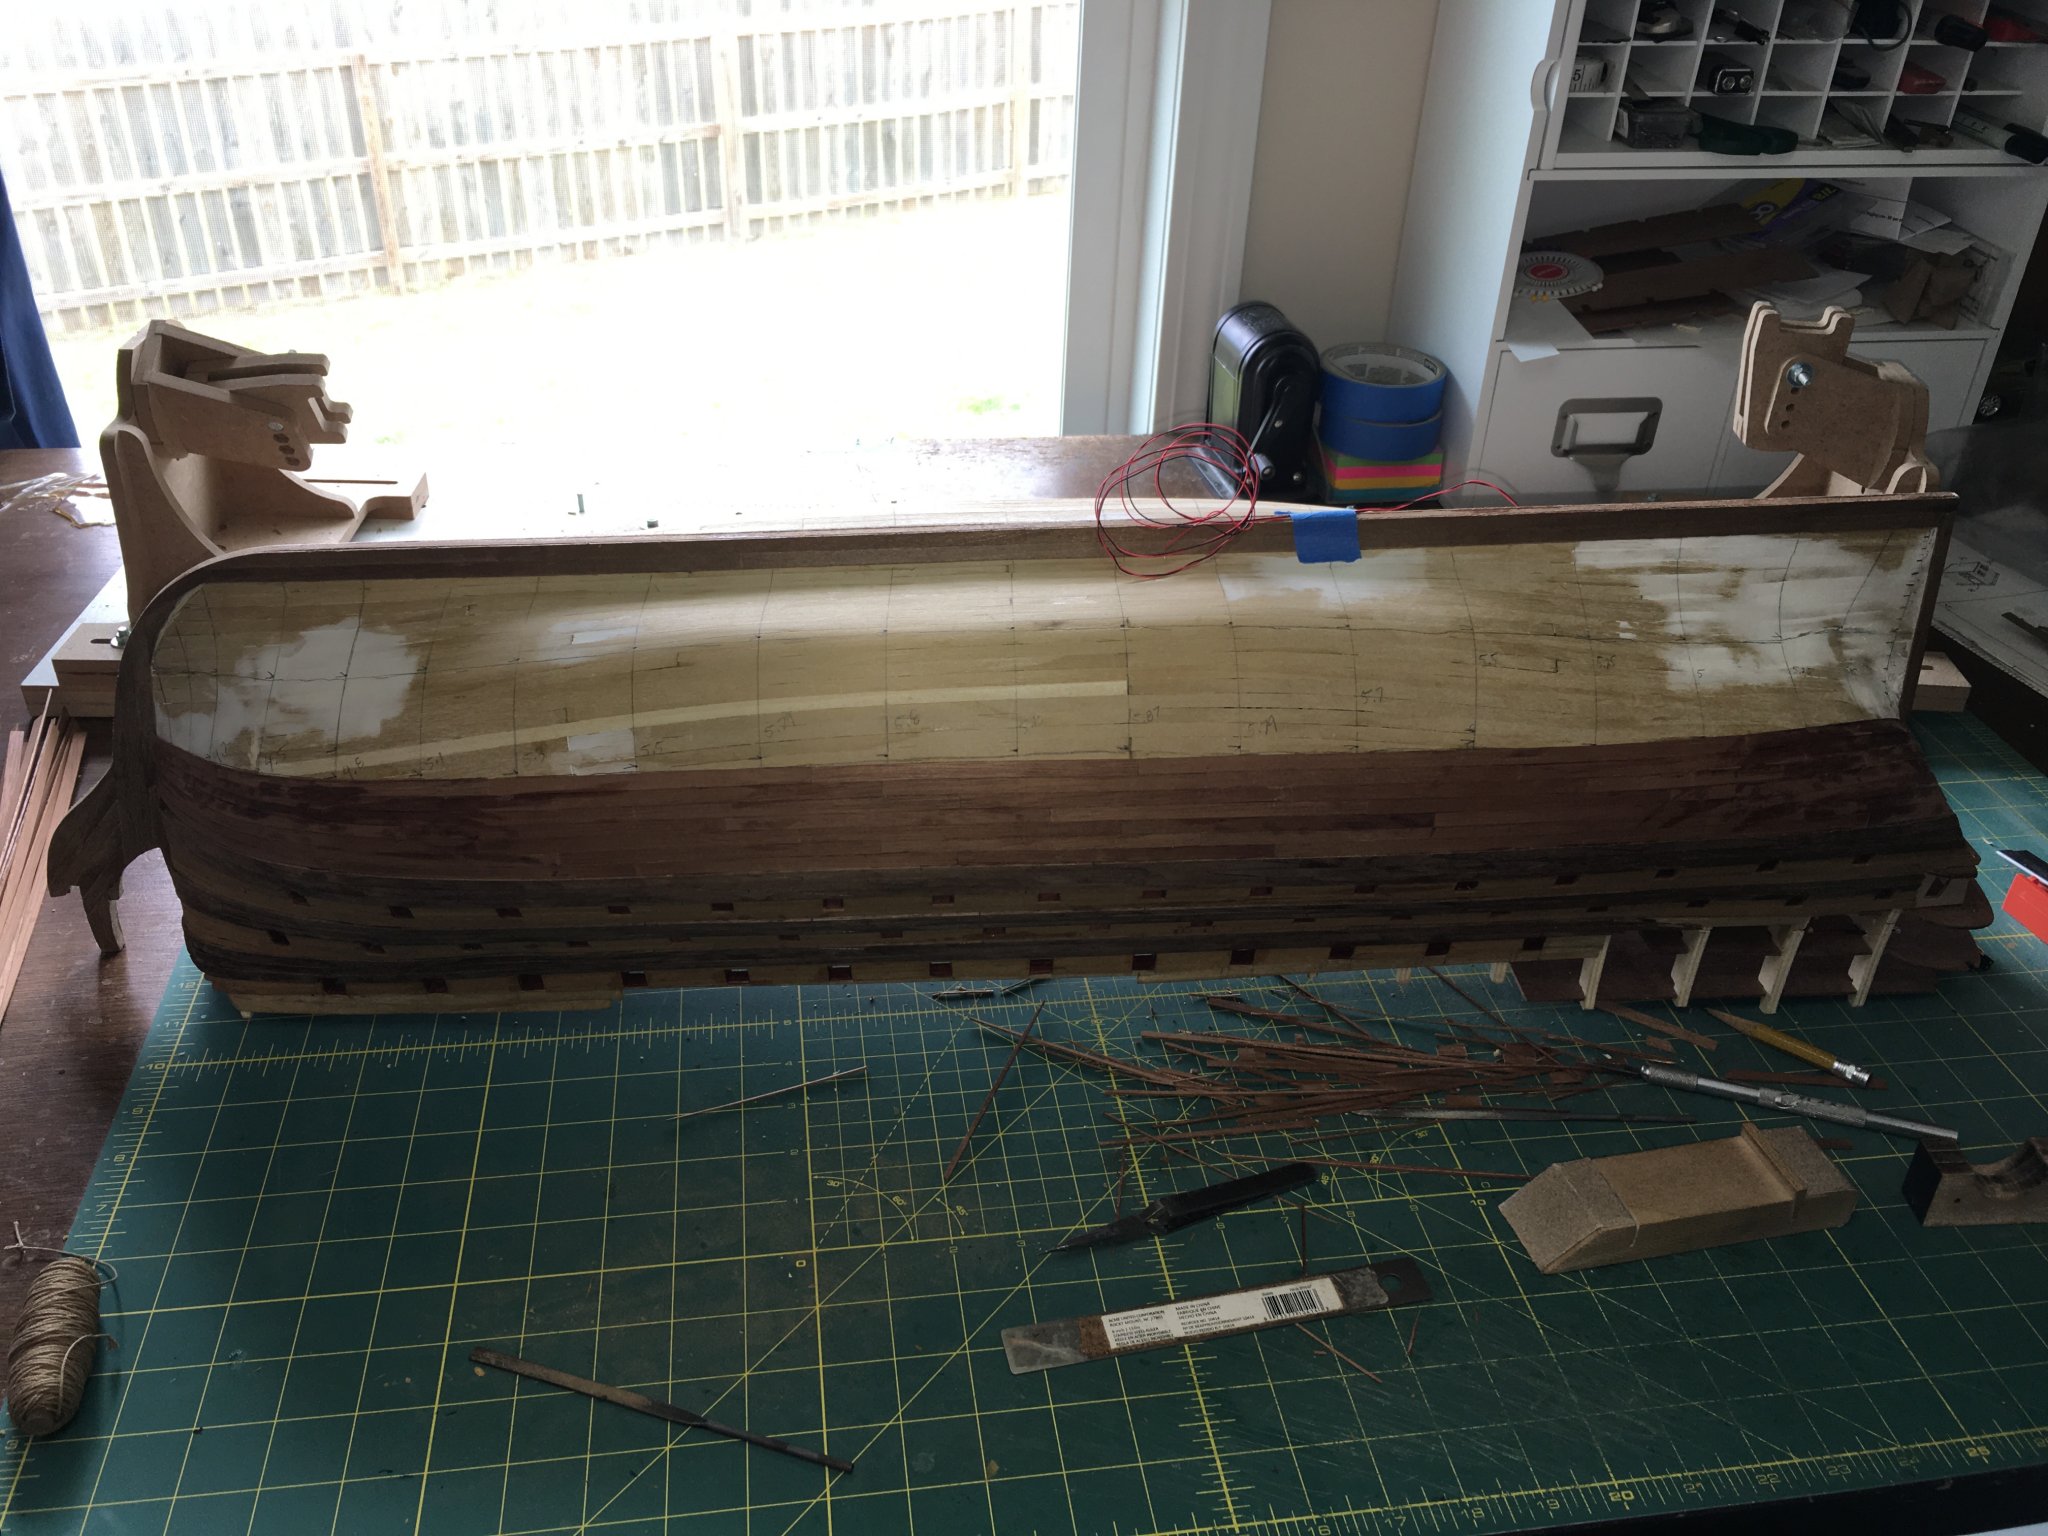
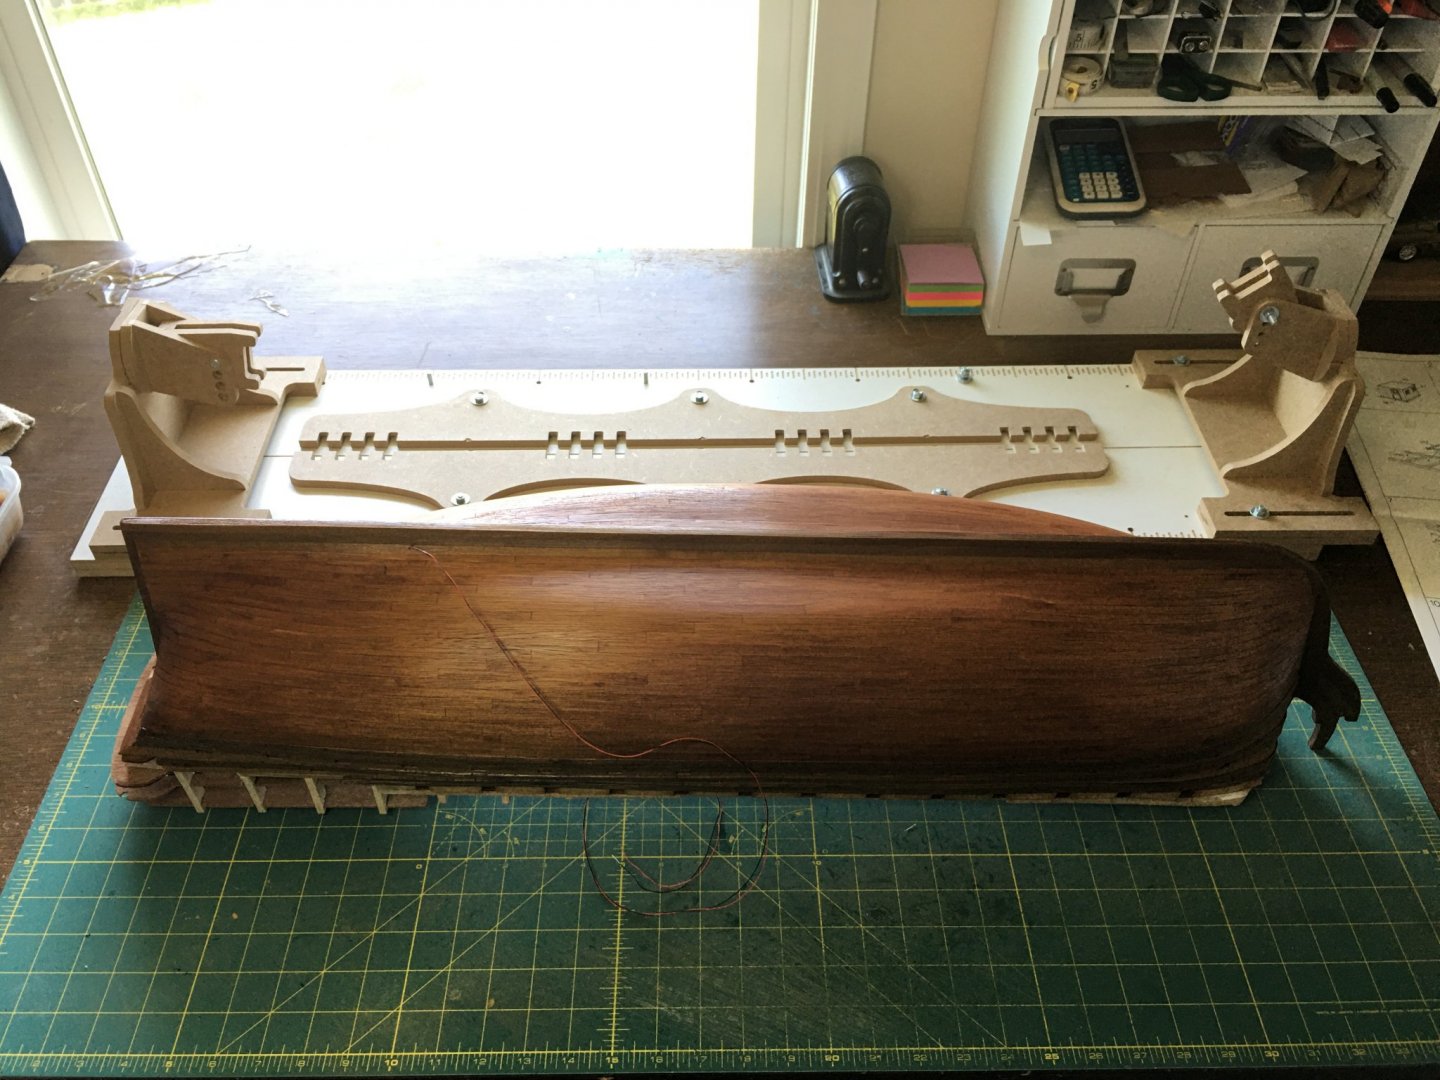
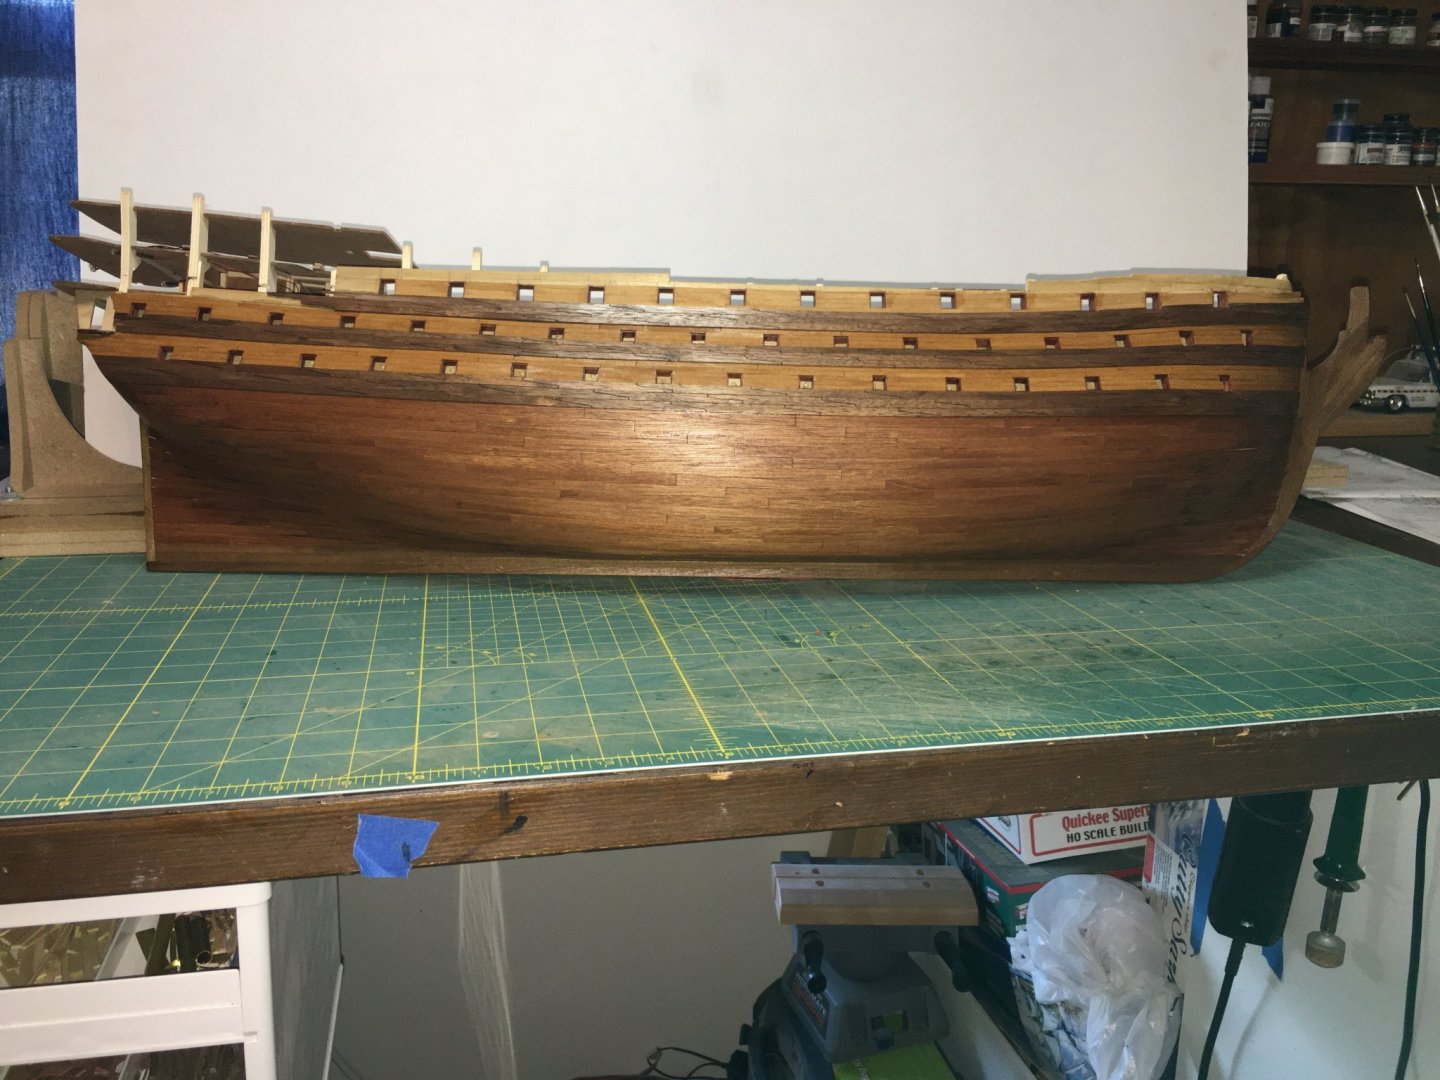
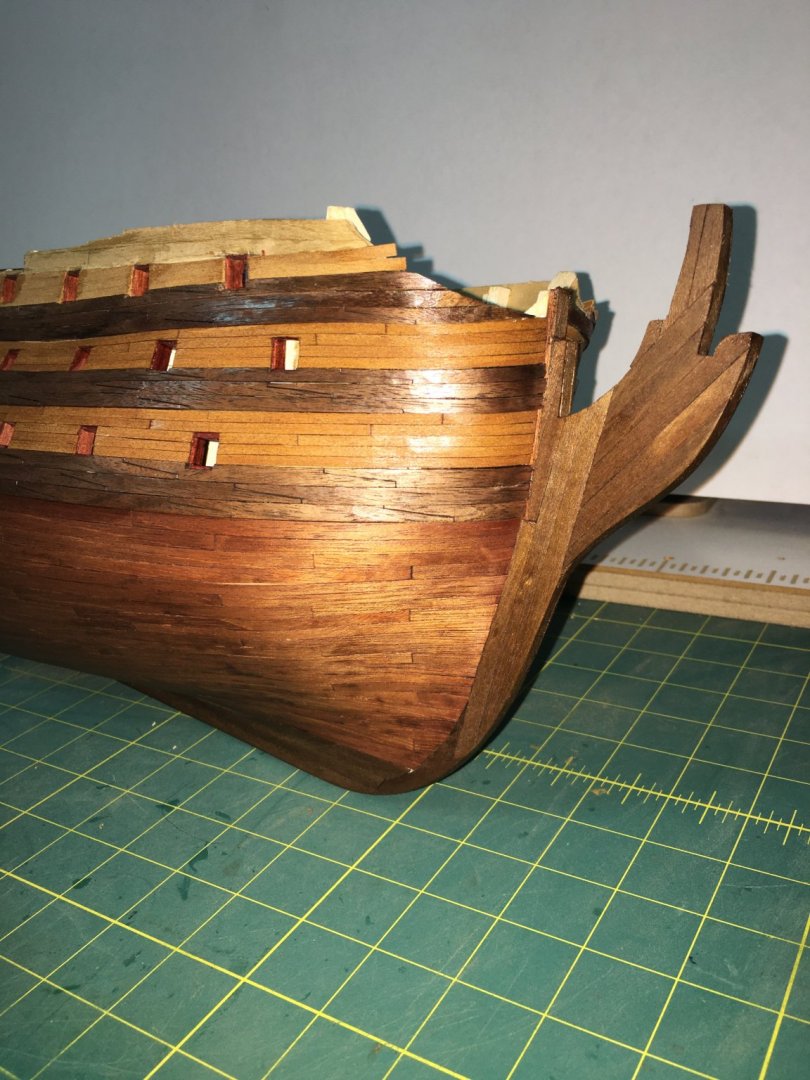
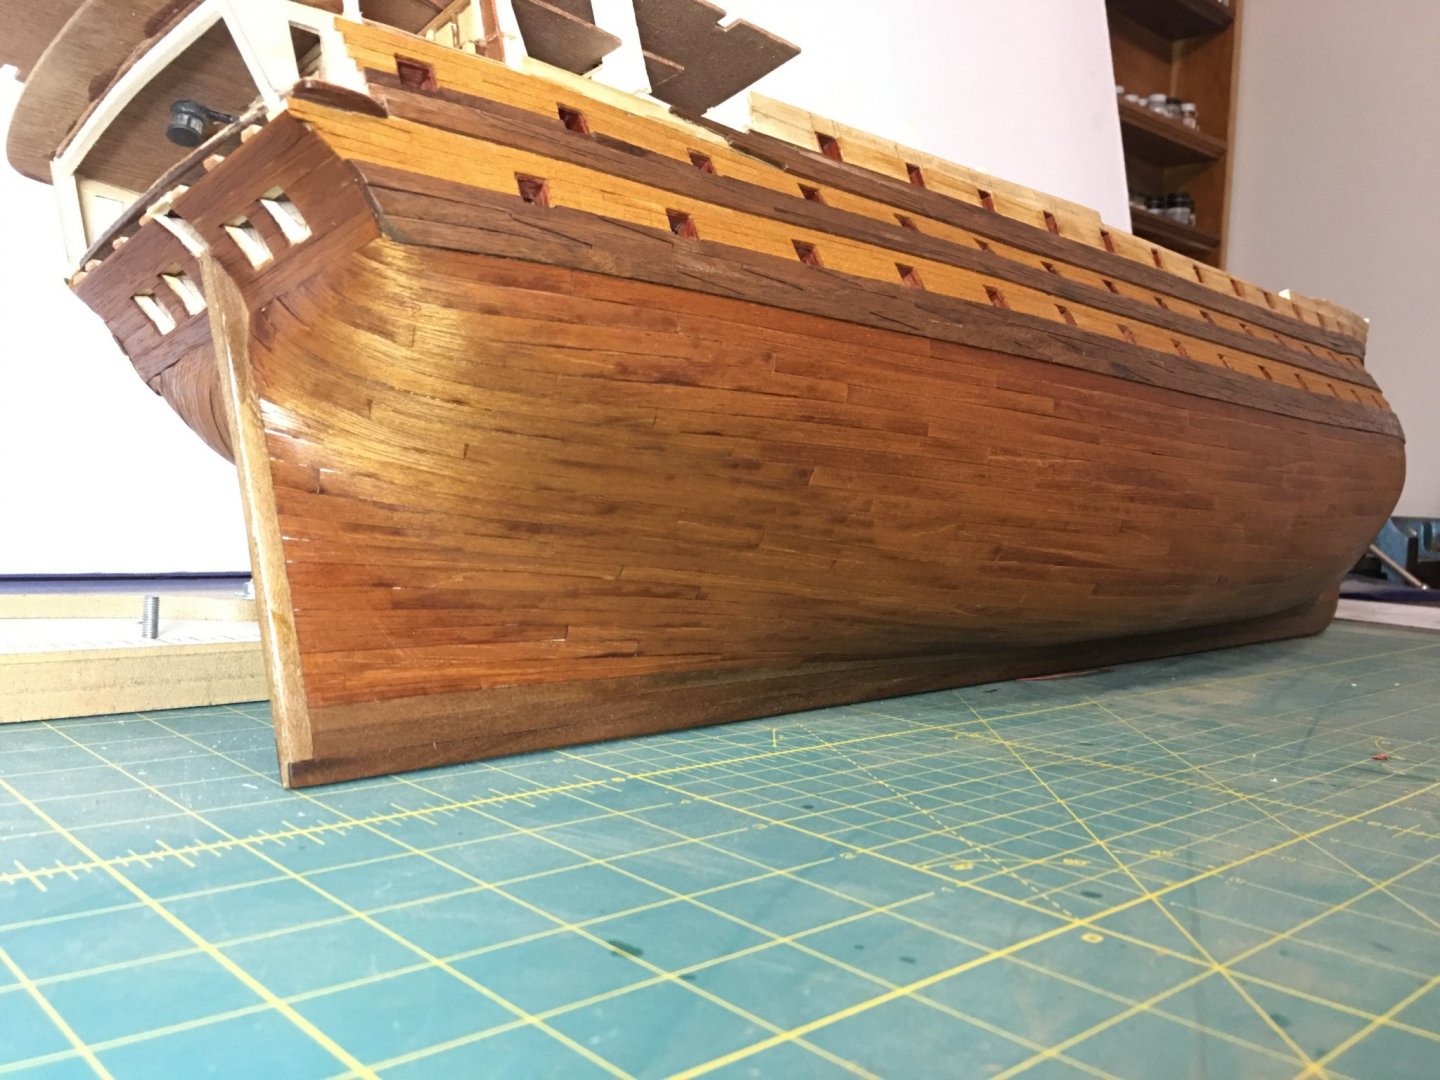
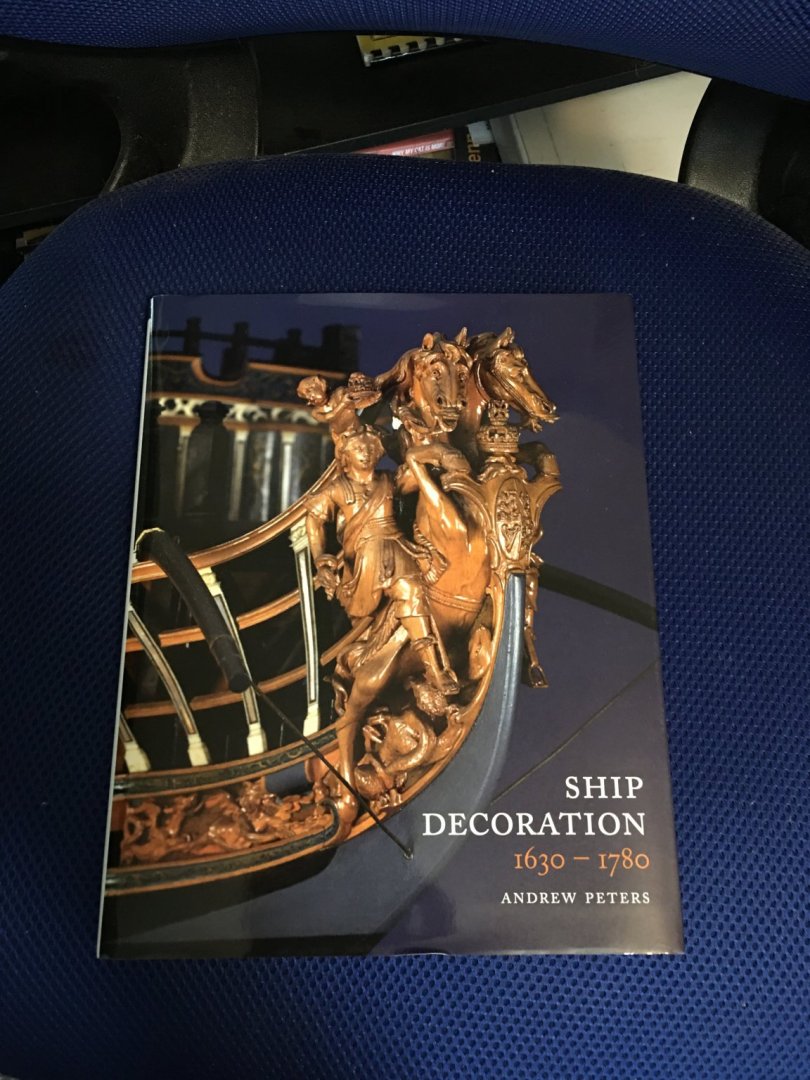
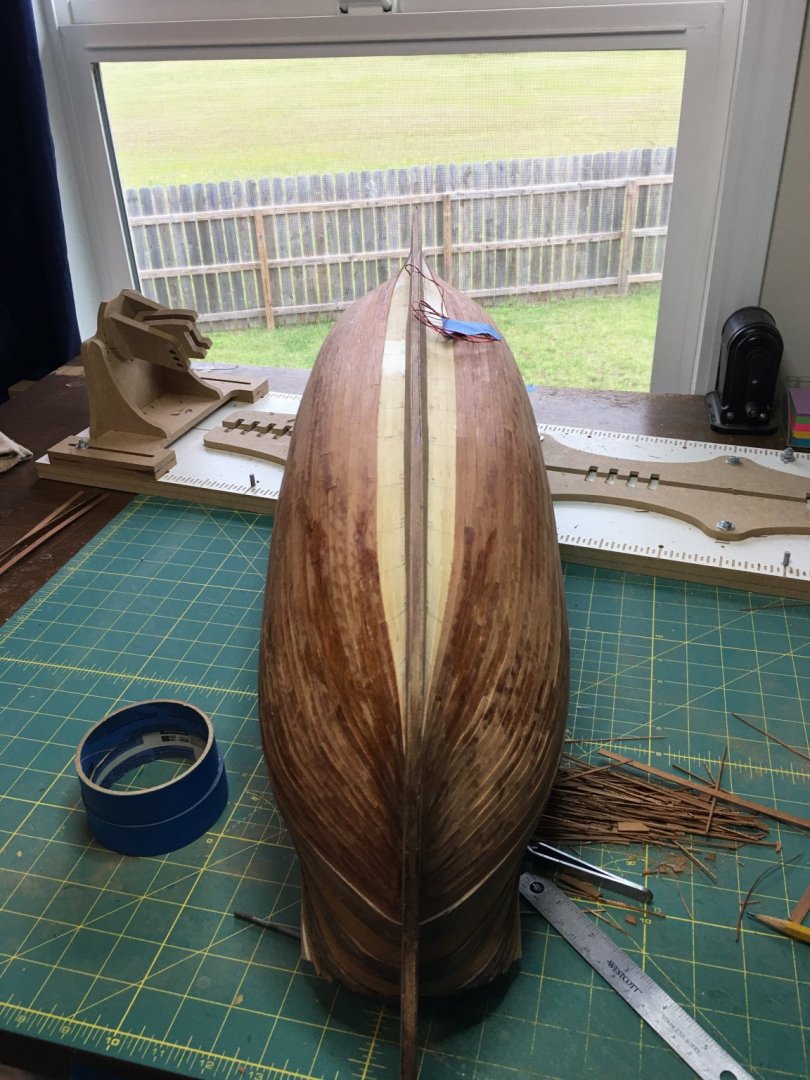
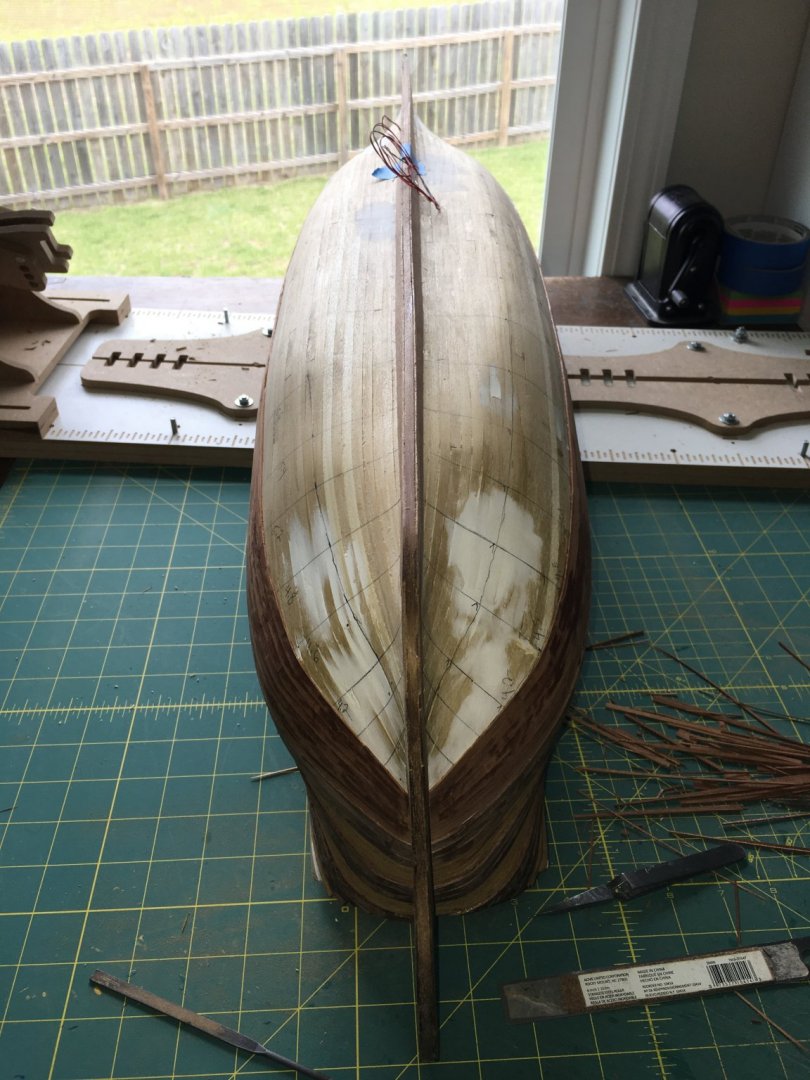
Lower hull is finished. The planking has laid down fairly smooth so sanding didn’t take very long. Applied poly finish over the mahogany wood on the lower hull and over the first two bands of wales and yellow wood. Once the rest of the planking is complete, I will extend the finish so that all the surfaces are evenly covered. Also today my latest library addition arrived. I intend to carve my own decorations for this ship as I did the last.

-
I'm loving these carving tutorials. You are creating some beautiful pieces and we are gaining some excellent instruction.
- 2,699 replies
-
- 8
-
-
- heller
- soleil royal
- (and 9 more)
-
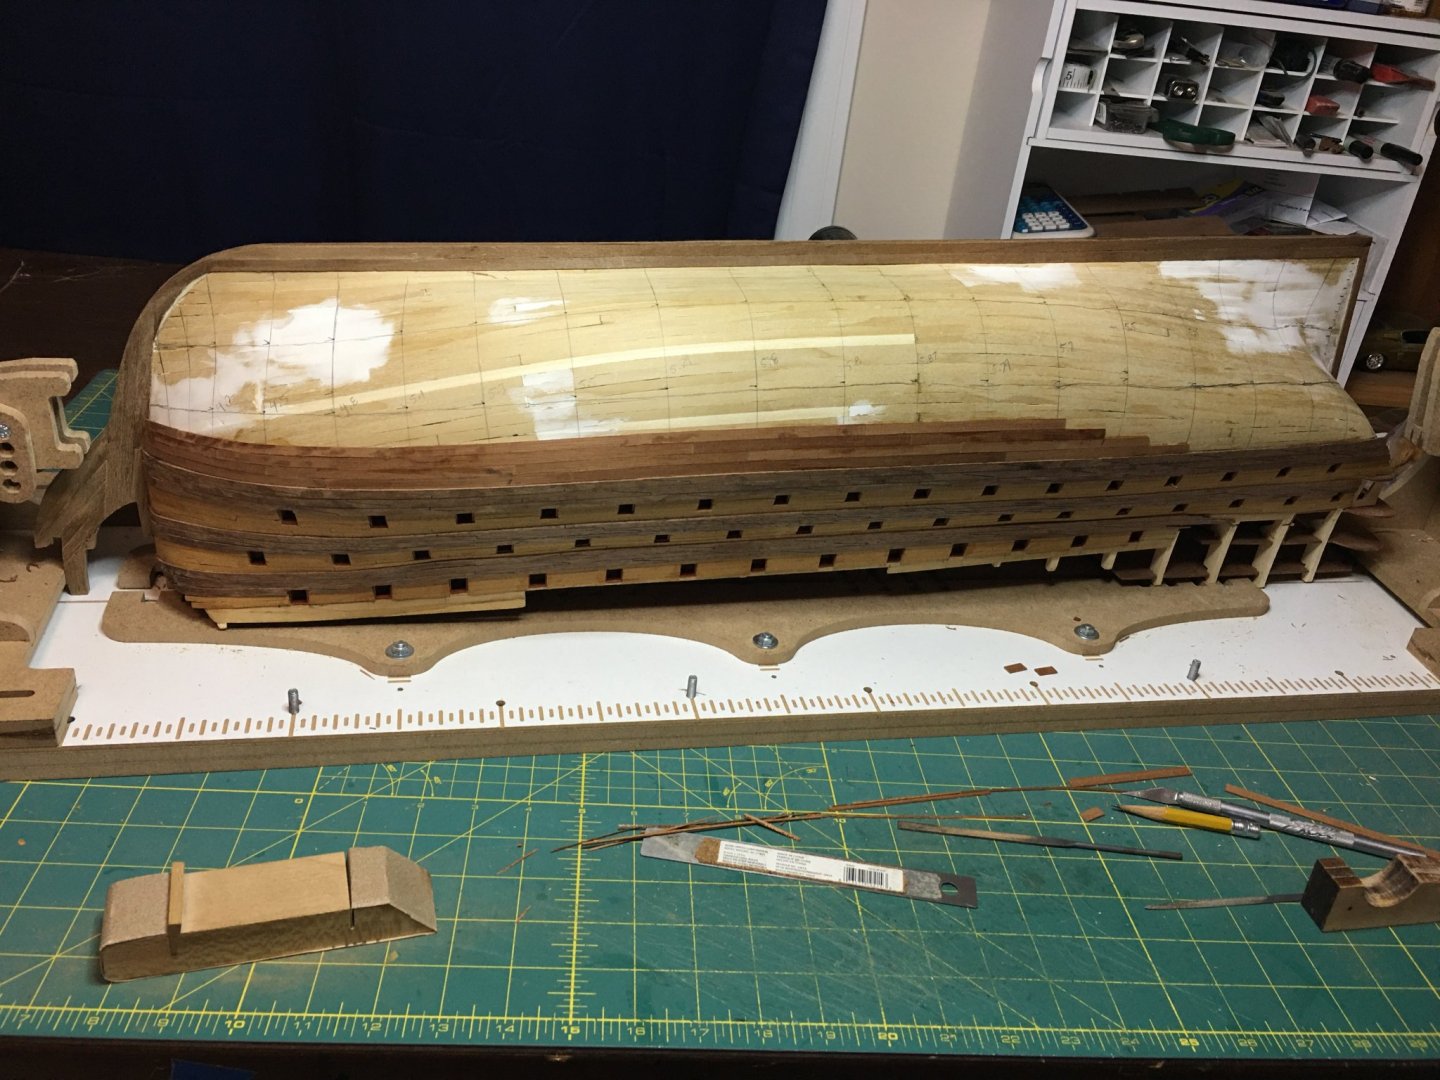
Michael, The device is the "Professional Building Slip" by Hobbyzone. (Yes I had to look it up) I purchased mine through Hobbyworld-usa, who are located in New Hampshire but are a dealer for Hobbyzone stuff. My review of it would be overall positive. Honestly, the only real drawbacks are part of what make it good, it is heavy, and large. For someone building these large ships, those two items are excellent for helping to hold her steady when working. With all the clamping pieces fully adjustable and removable, I have been able to work on the ship in a variety of positions. The drawback comes in that it is not quick or easy to move the ship around and so if you are changing positions frequently, as I am at the moment working on the planking, it is easier to remove the ship from the slip. I will resume using her once I have finished the planking and am ready to resume work with the ship right side up. I am probably going to line the inside clamping edges with something soft however to prevent marring the finish. It feel as though it is a great addition to the shipyard and will likely become invaluable when I start attempting fully framed models.
-
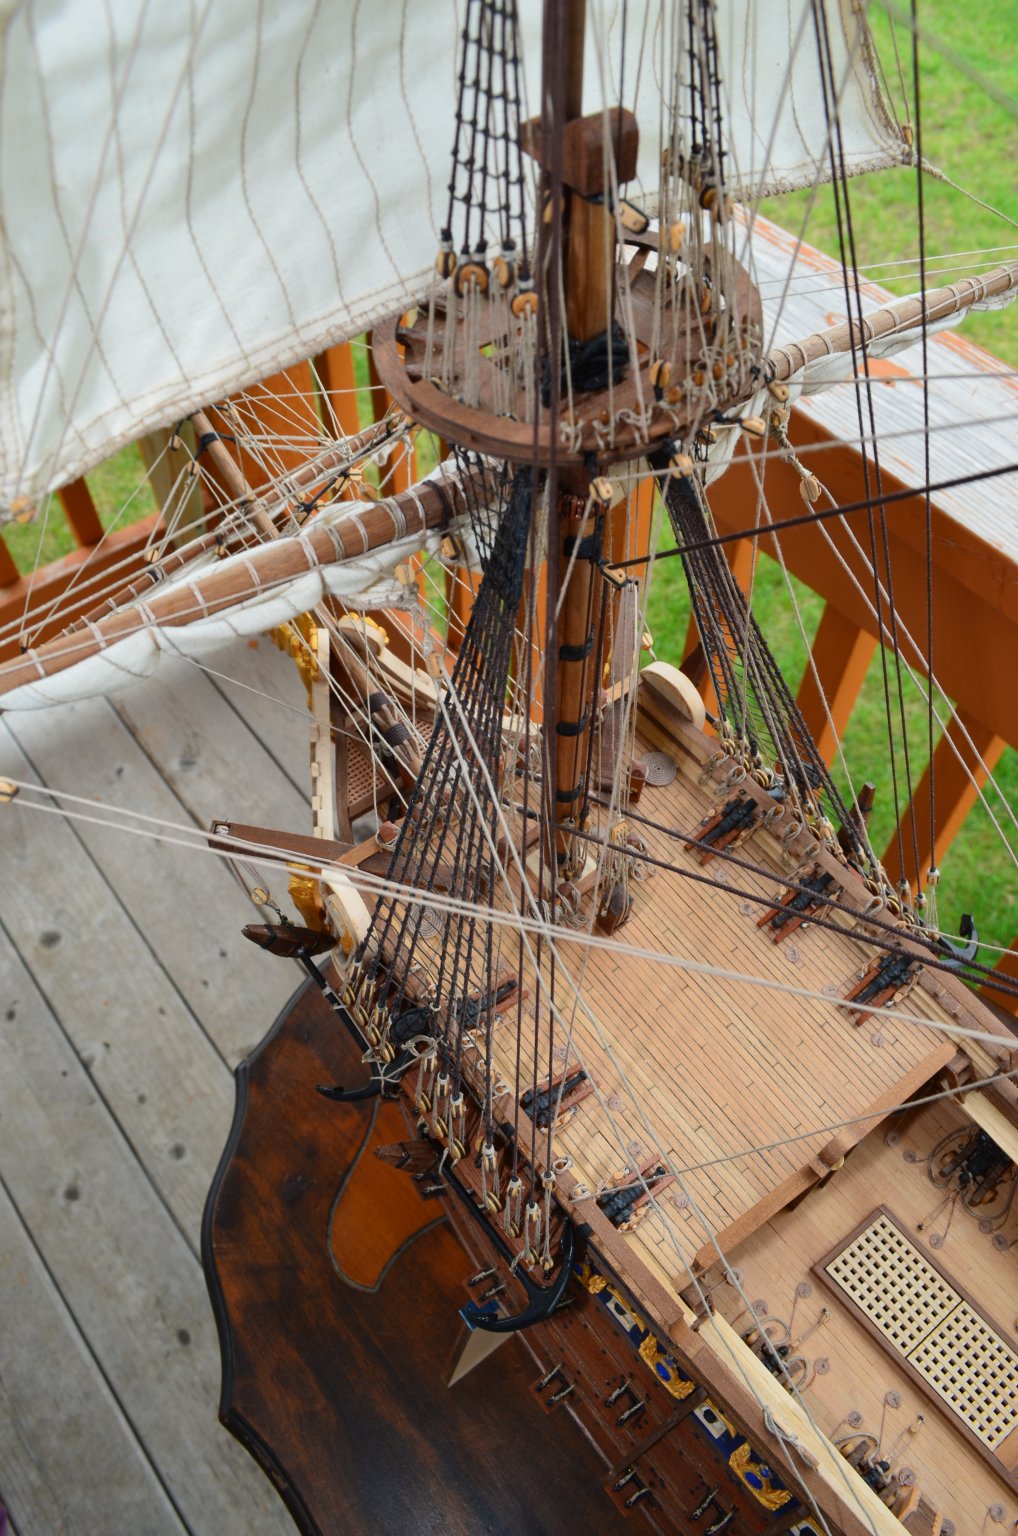
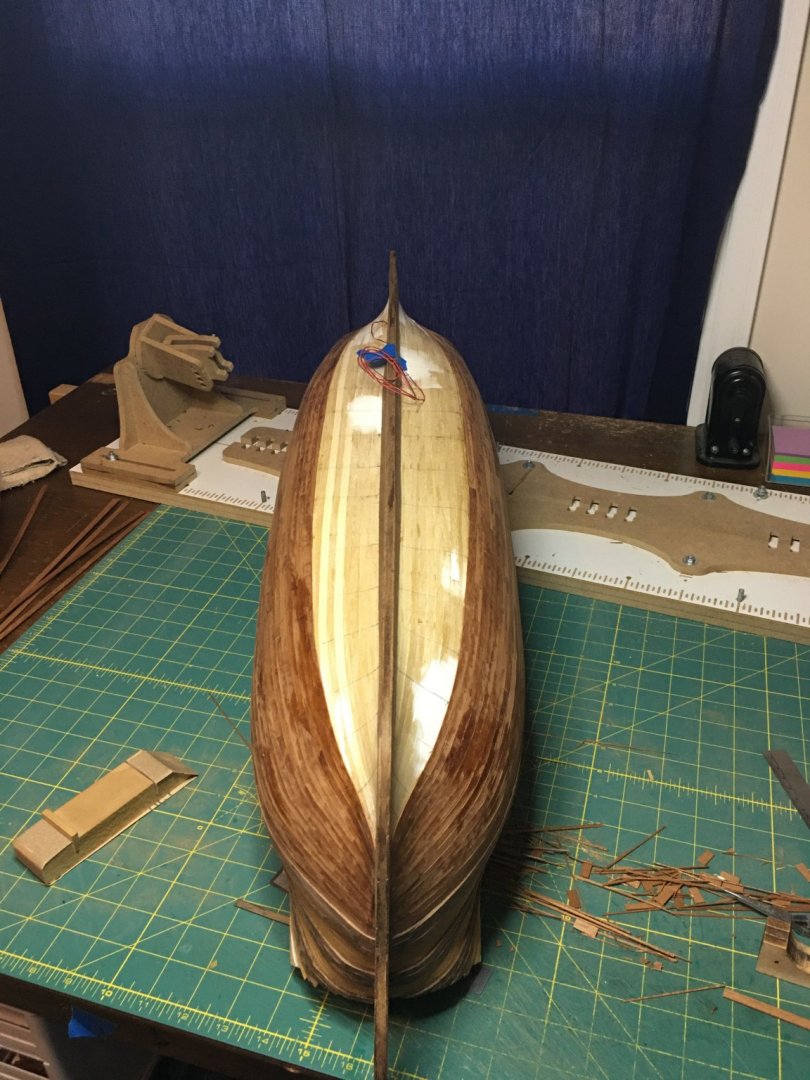
Another step closer! This picture was actually taken a few days ago over the weekend and now I am actually done on one side and should be complete on the other by the end of the week. Once the planking is done, it will be off to the wood shop for sanding and minor gap filling followed by finish coats.
-
Great job! She is a beautiful model.
-
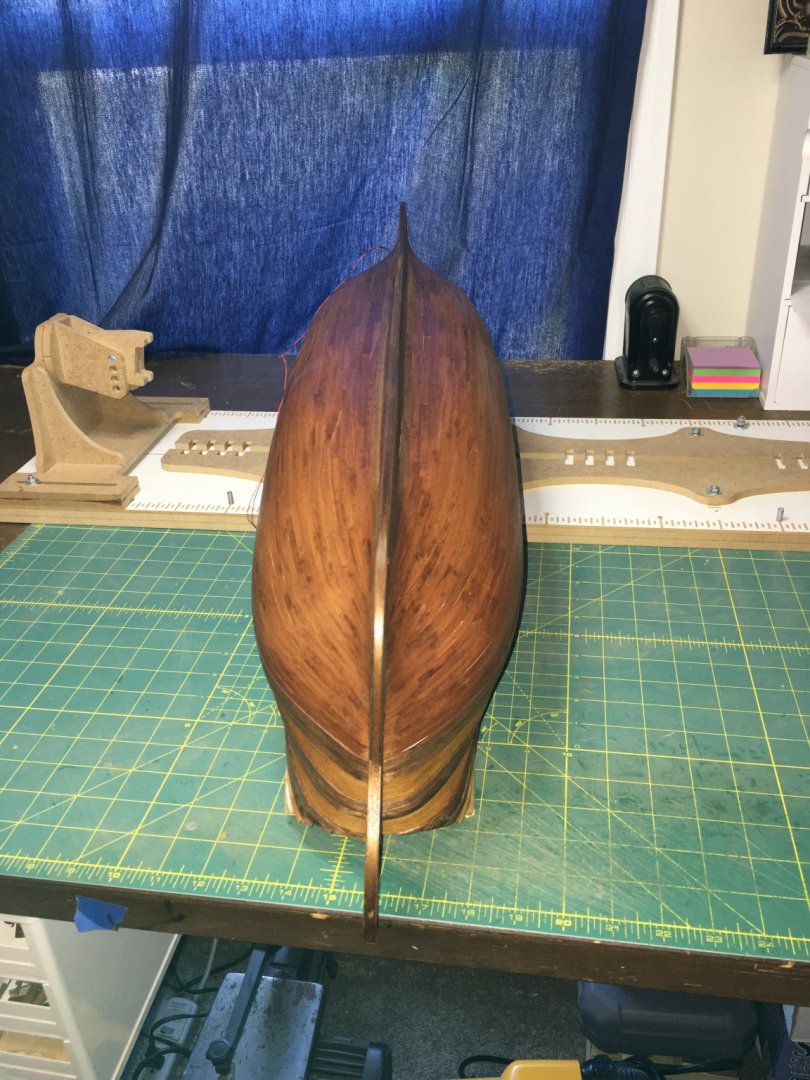
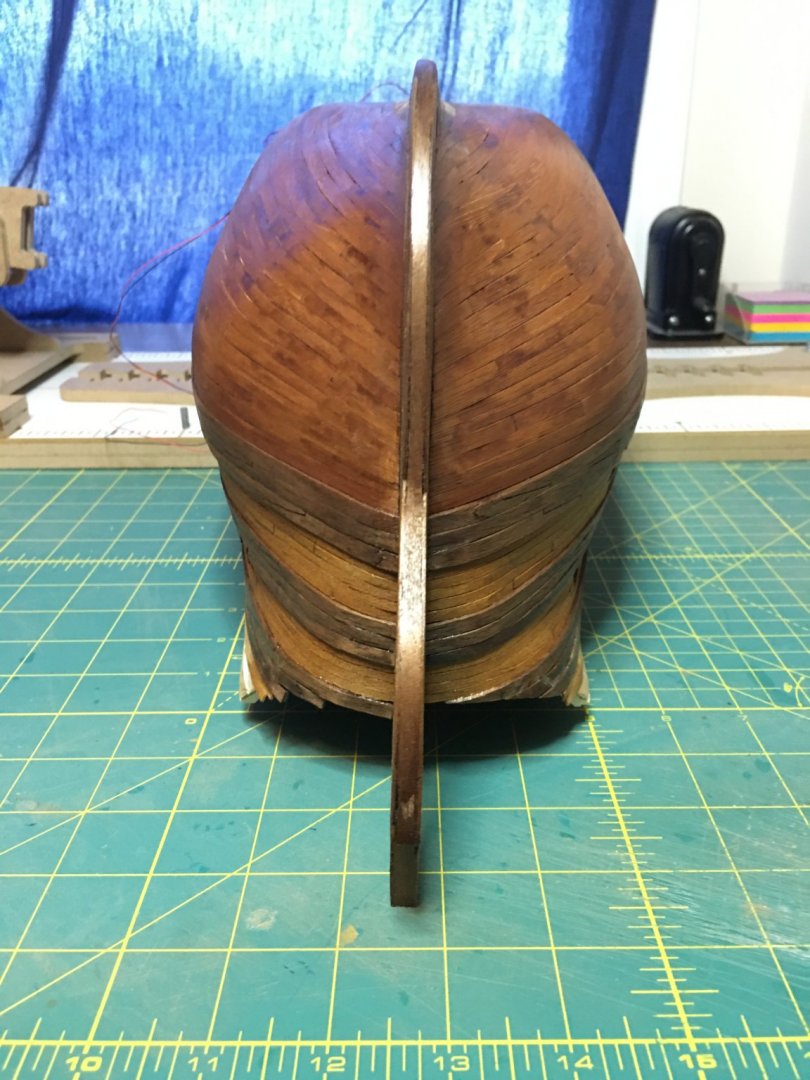
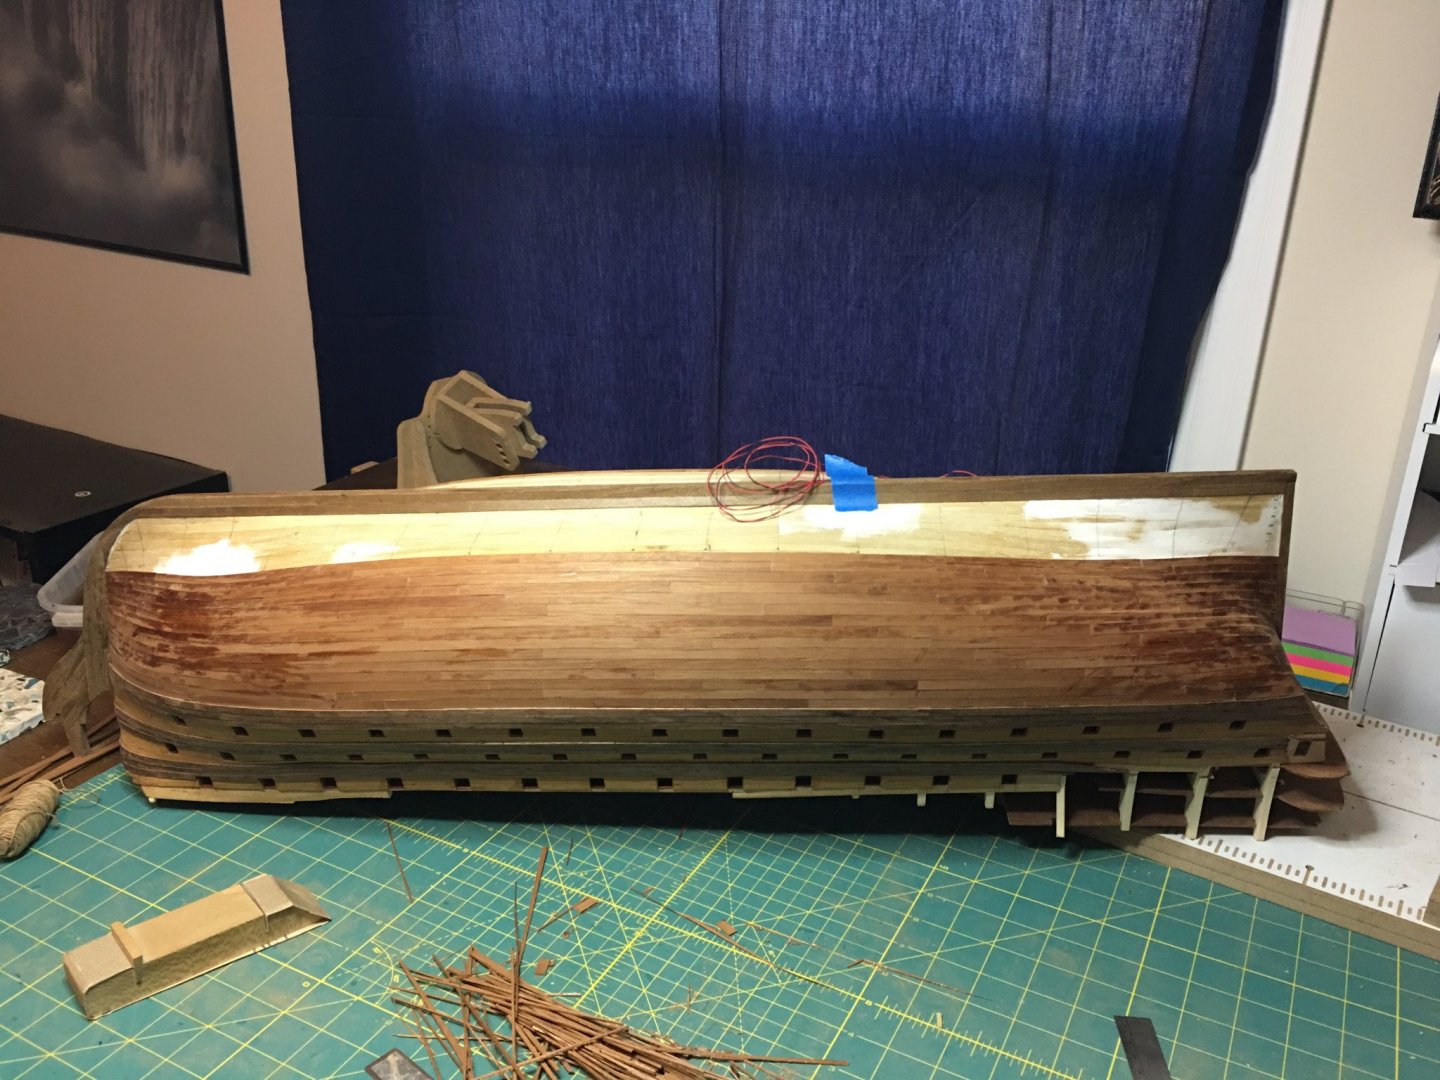
Another band of 8 strakes on each side completed. One more to go to complete the lower hull.

-
Hi Tom! Thank you, and welcome! Never too late to view a build log each one offers something new to see and learn.
-
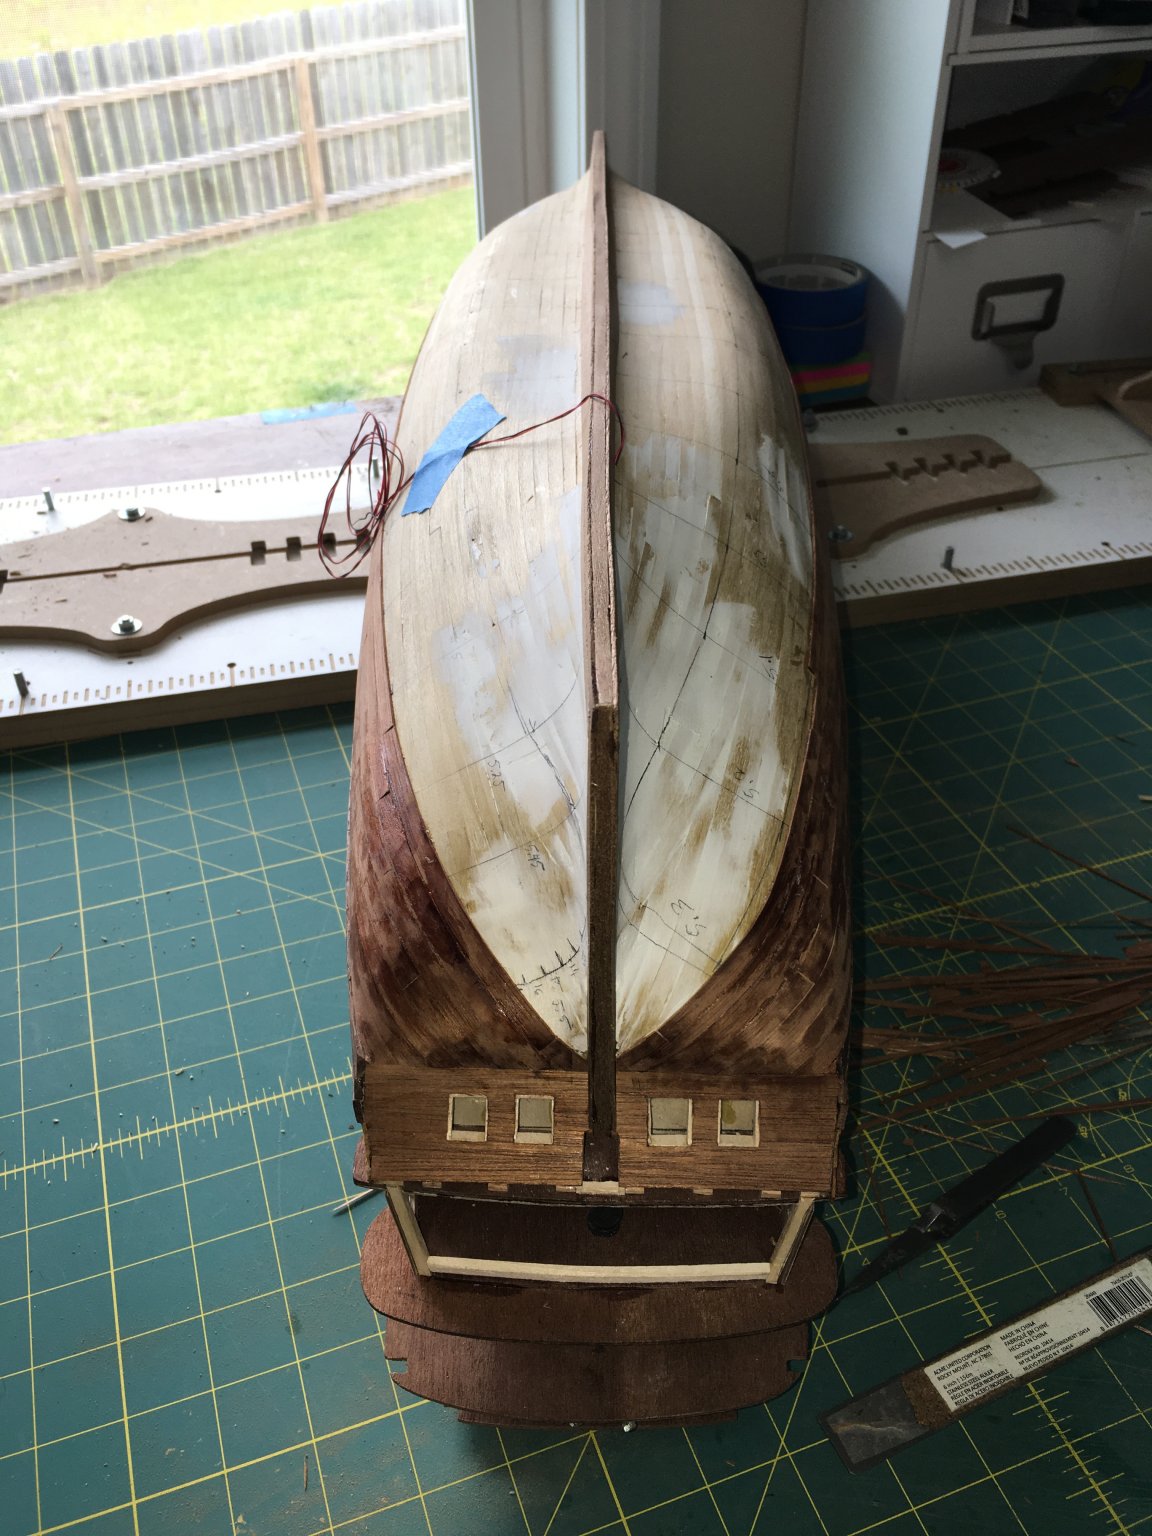
Planking continues with the first band on each side complete.

-
Elijah, thank you so much! As for the tracking of hours, nothing fancy. I simply make tally marks on the inside cover of the instruction booklet, crossing them off in sets of 25 for easy adding. I like keeping track of them in the booklet for the ship that way it stays with that models information when I file it away after completion.
-
Incredible! It is like reading a book. Each deck is a different chapter with new settings and details each building upon one another to tell a complete story. I've always wanted to build a cross section and once again, I find myself inspired by your work. I may need to look into one more seriously. Well done!!
-
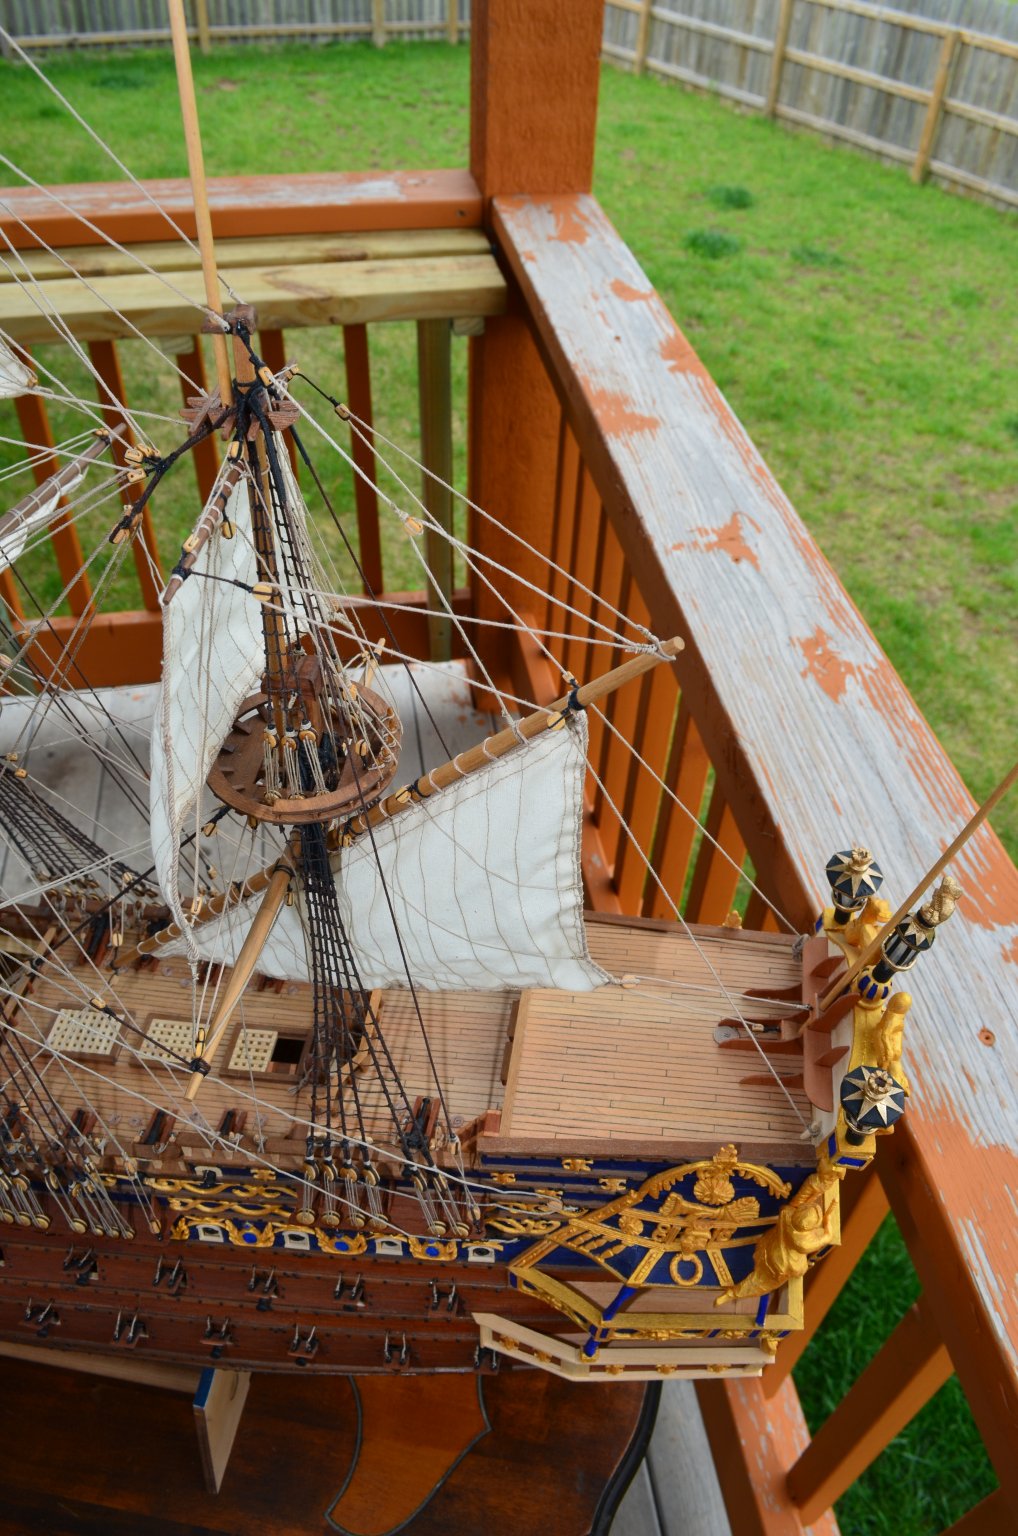
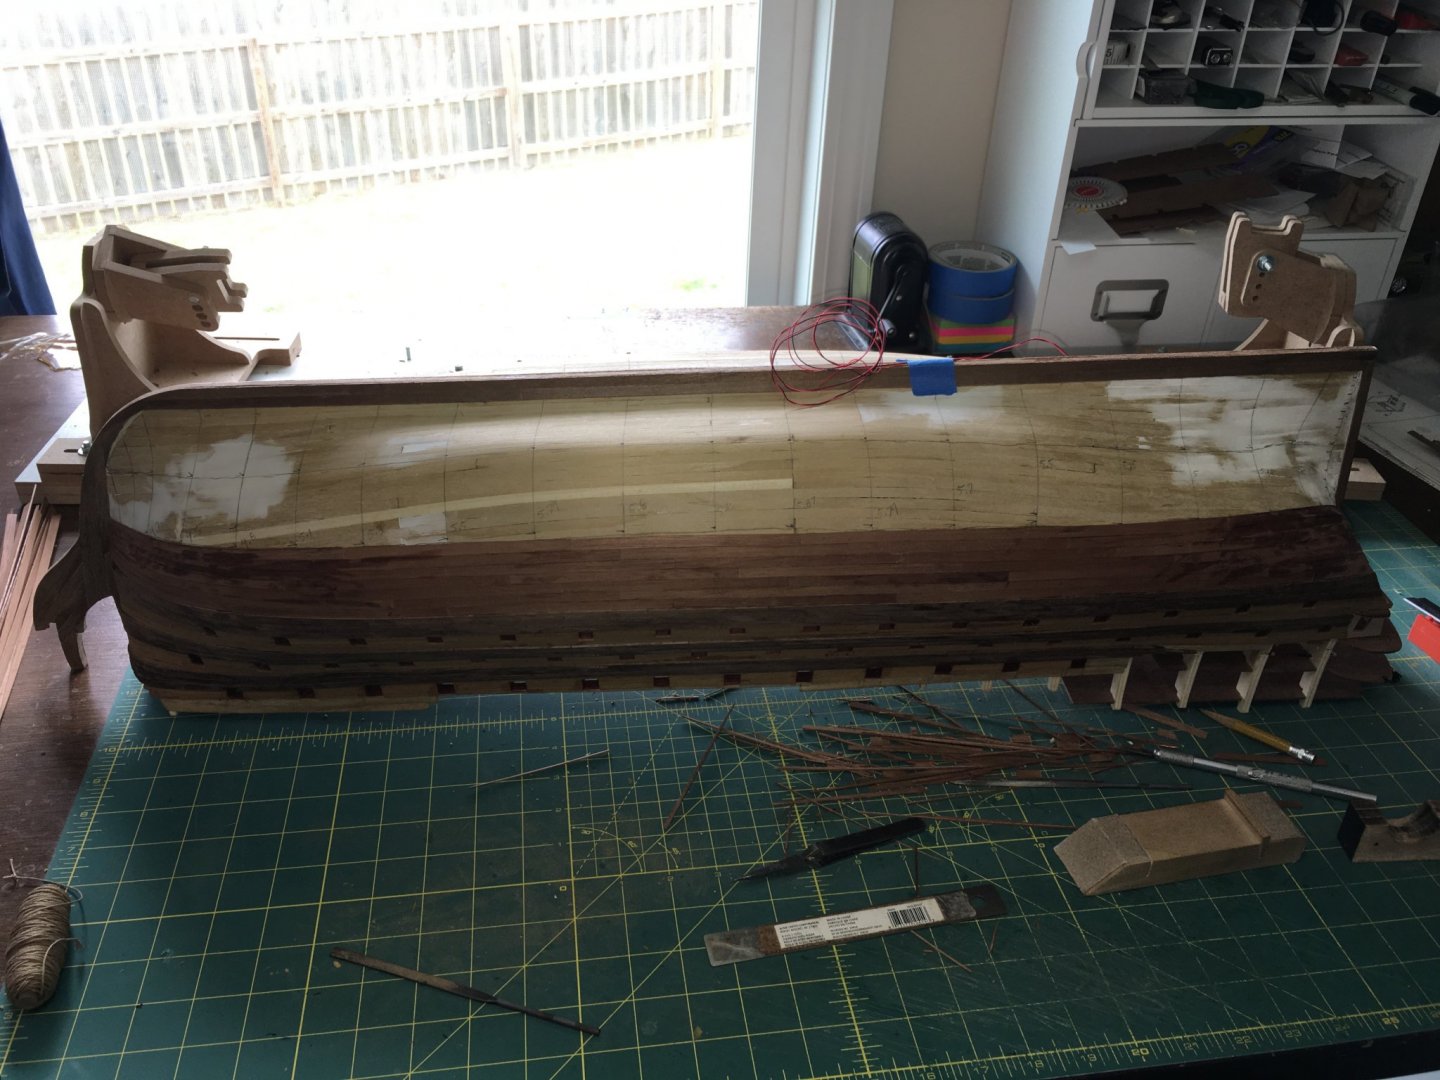
Royal Louis’ ship yard is open again! That break was far longer than I had originally planned, but I wanted to finish Soleil Royal. Now that she is complete I can turn my full attention back here. With that, I spent some time taking inventory of my current wood selection and I was pleased to find that I should have enough of the mahogany wood that I used on the previous two French builds to complete the lower planking of Royal Louis. Not a lot of room for mistakes so I will need to go slow and be mindful of cuts and waste. Hopefully, with many states slowly opening back up, some of the local lumber mills may also open again and I can find new stock. For now though I build! So, welcome back to everyone! Looking forward to getting back into this ship!
-
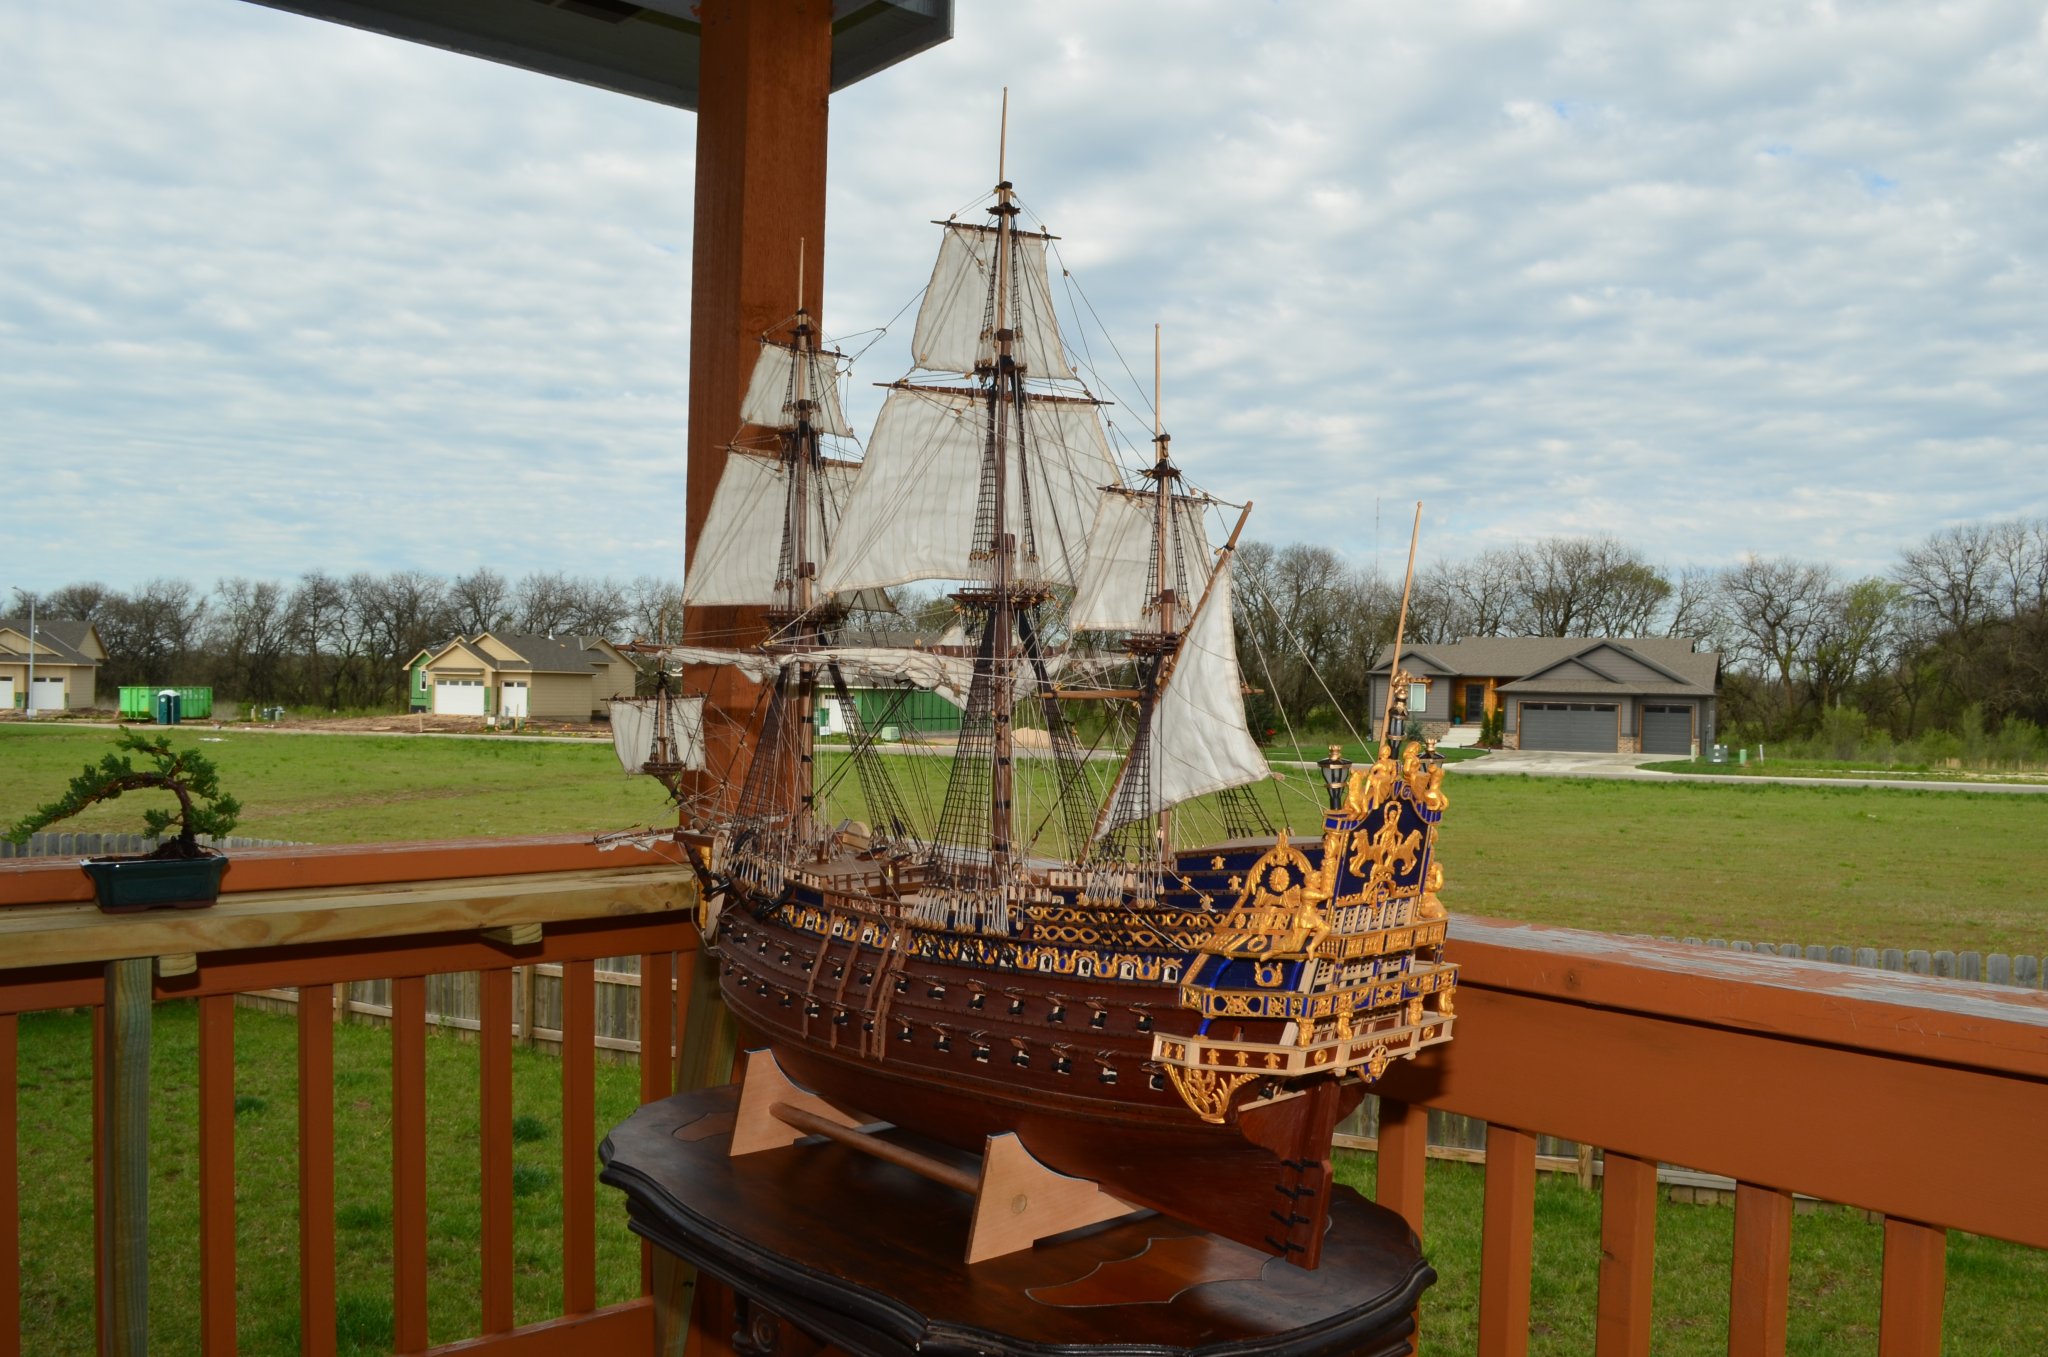
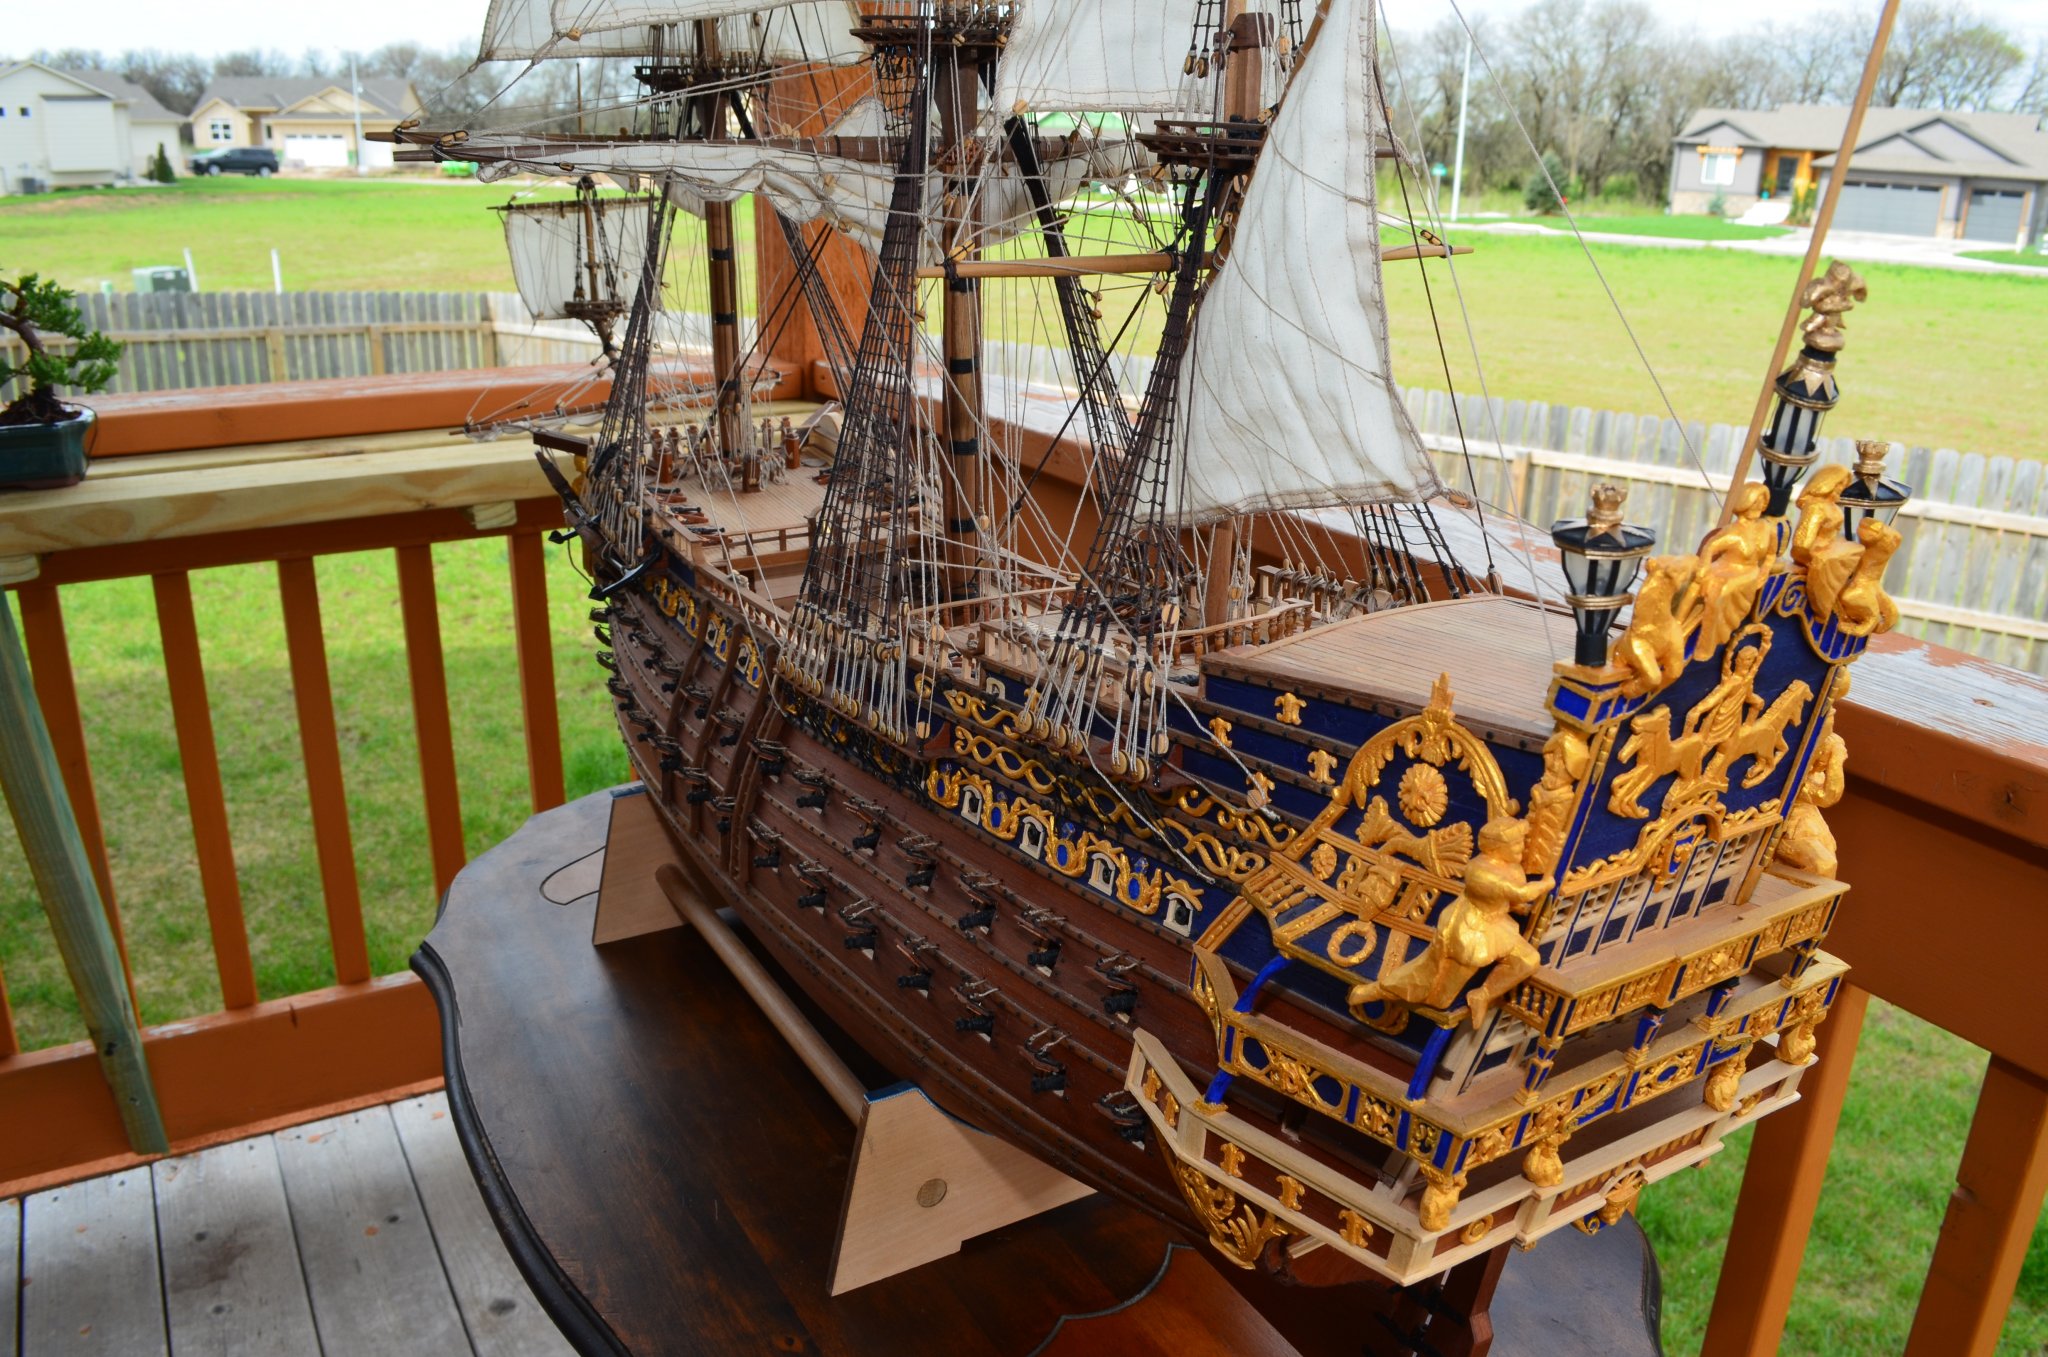
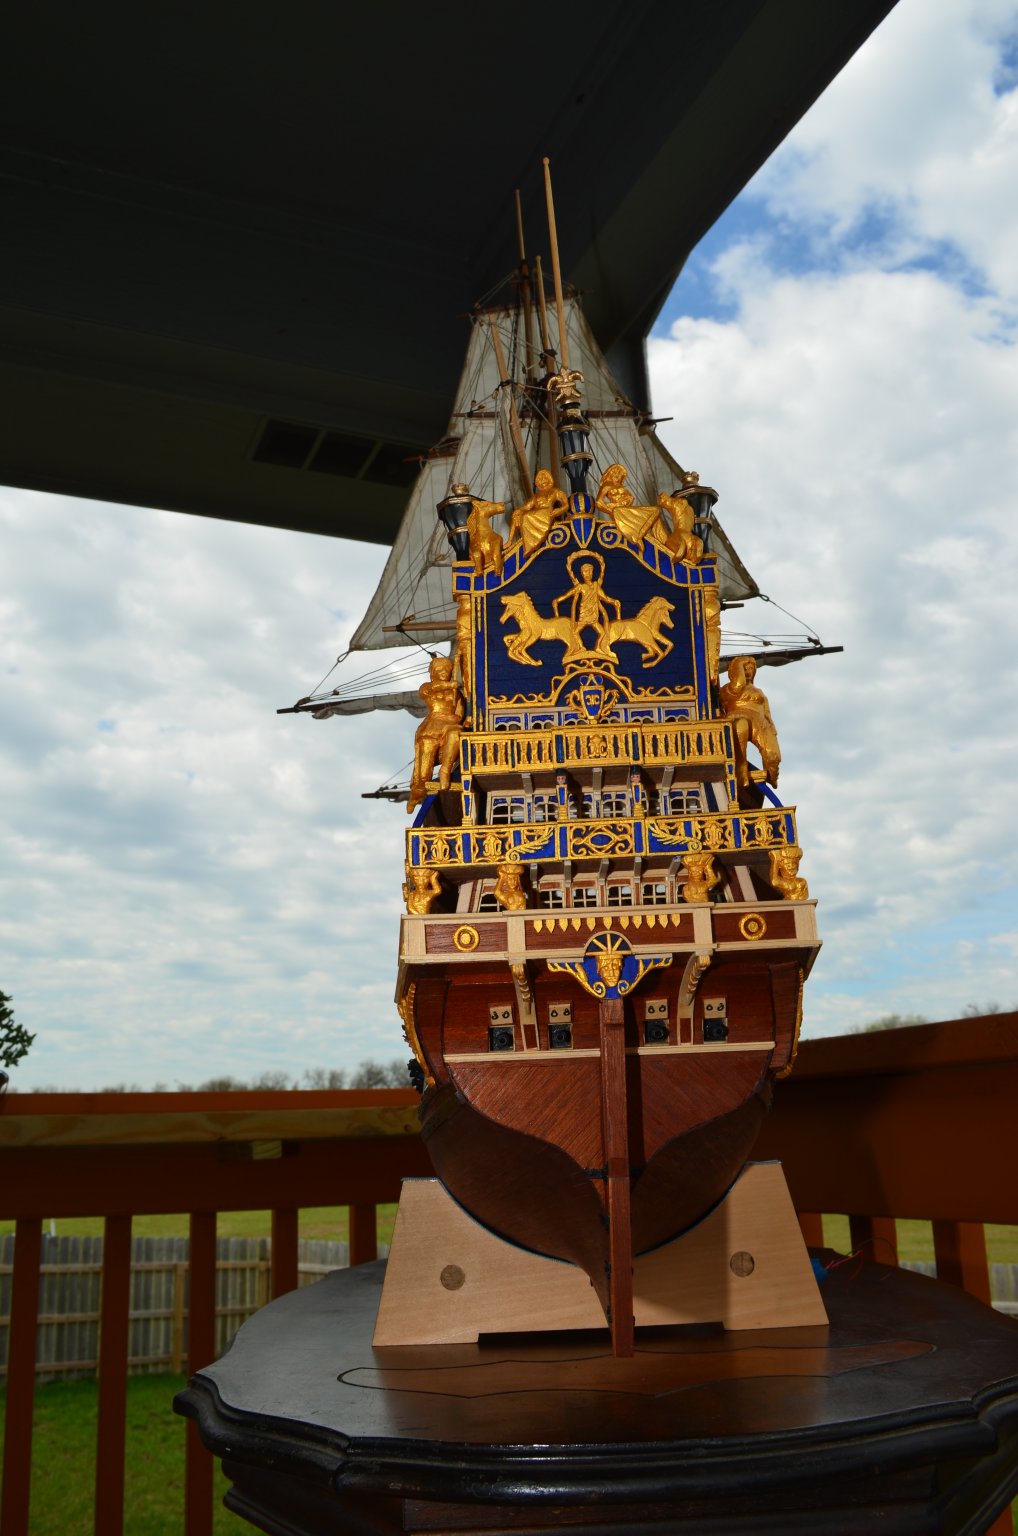
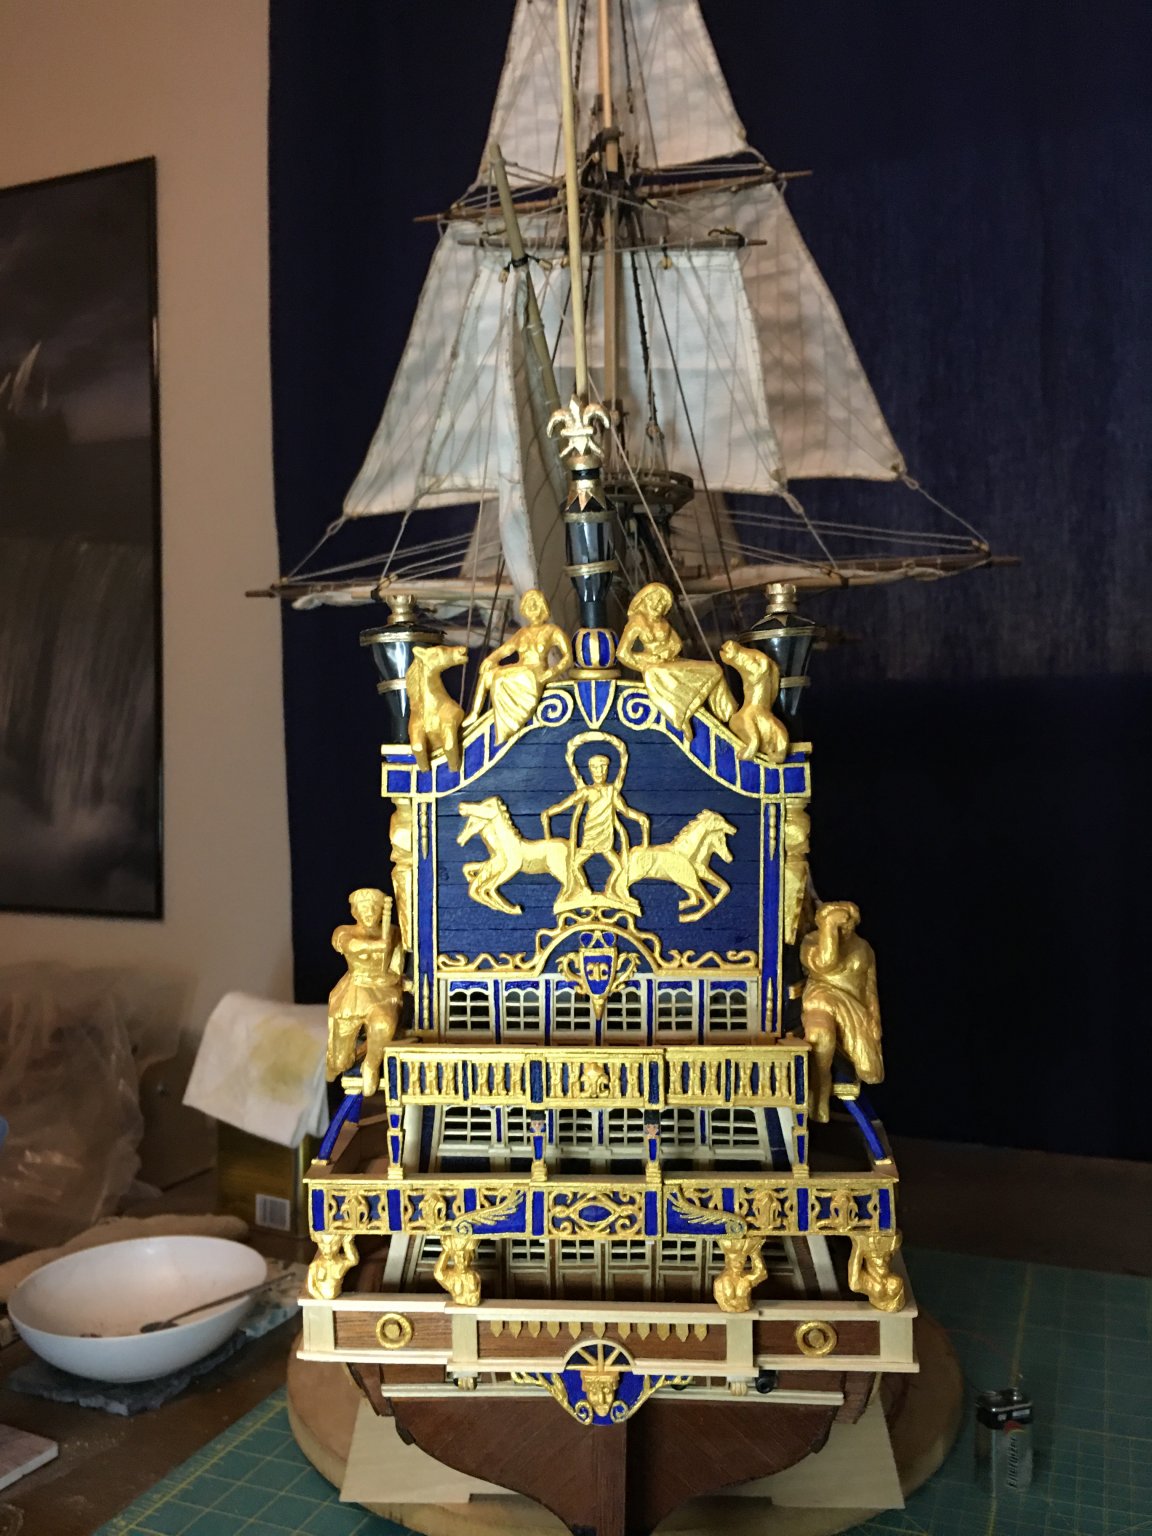
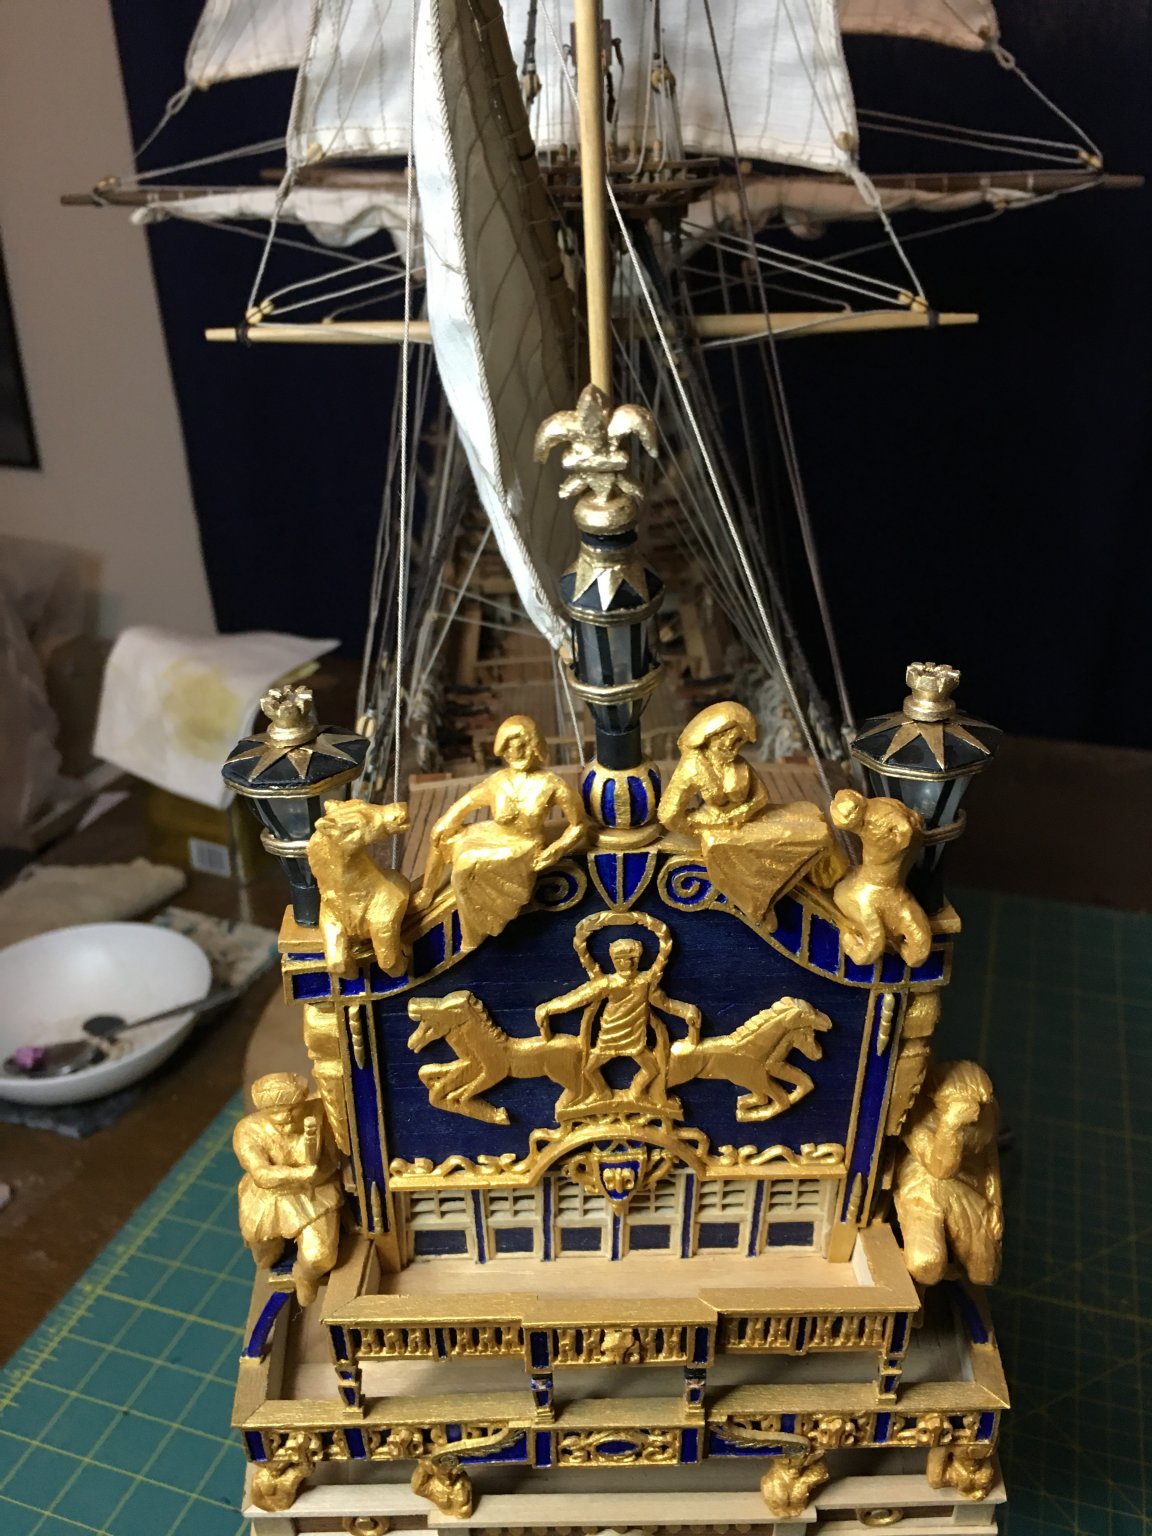
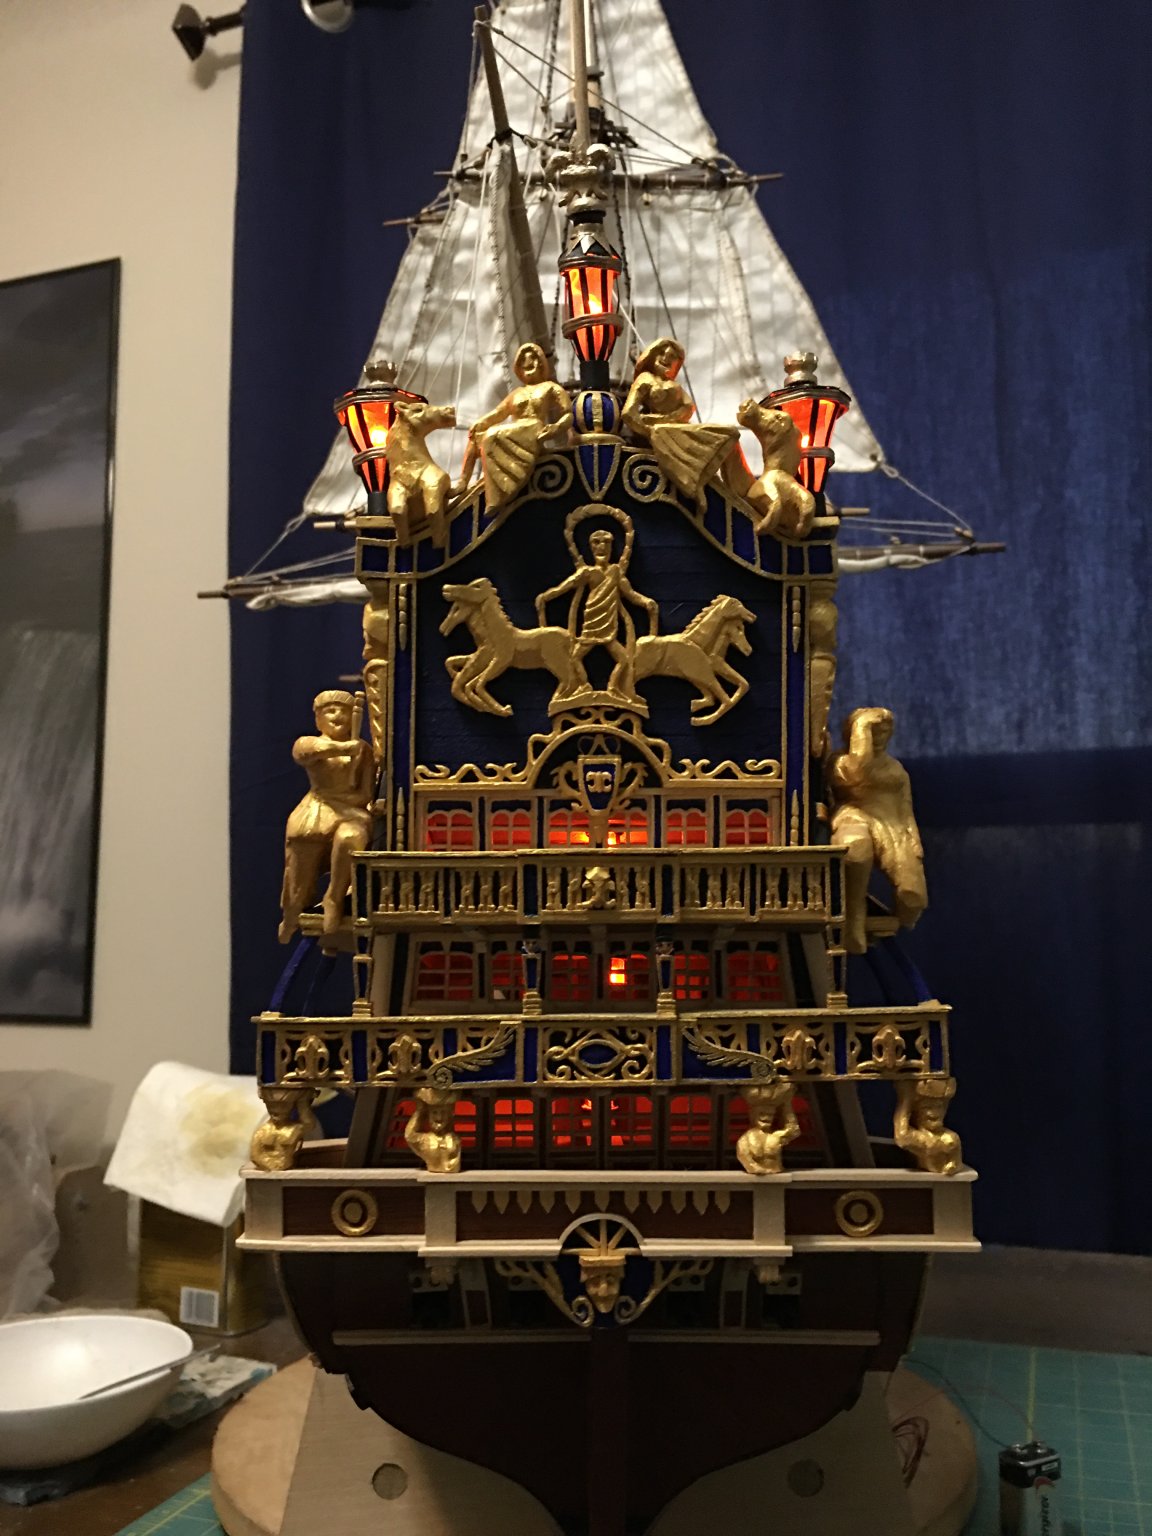
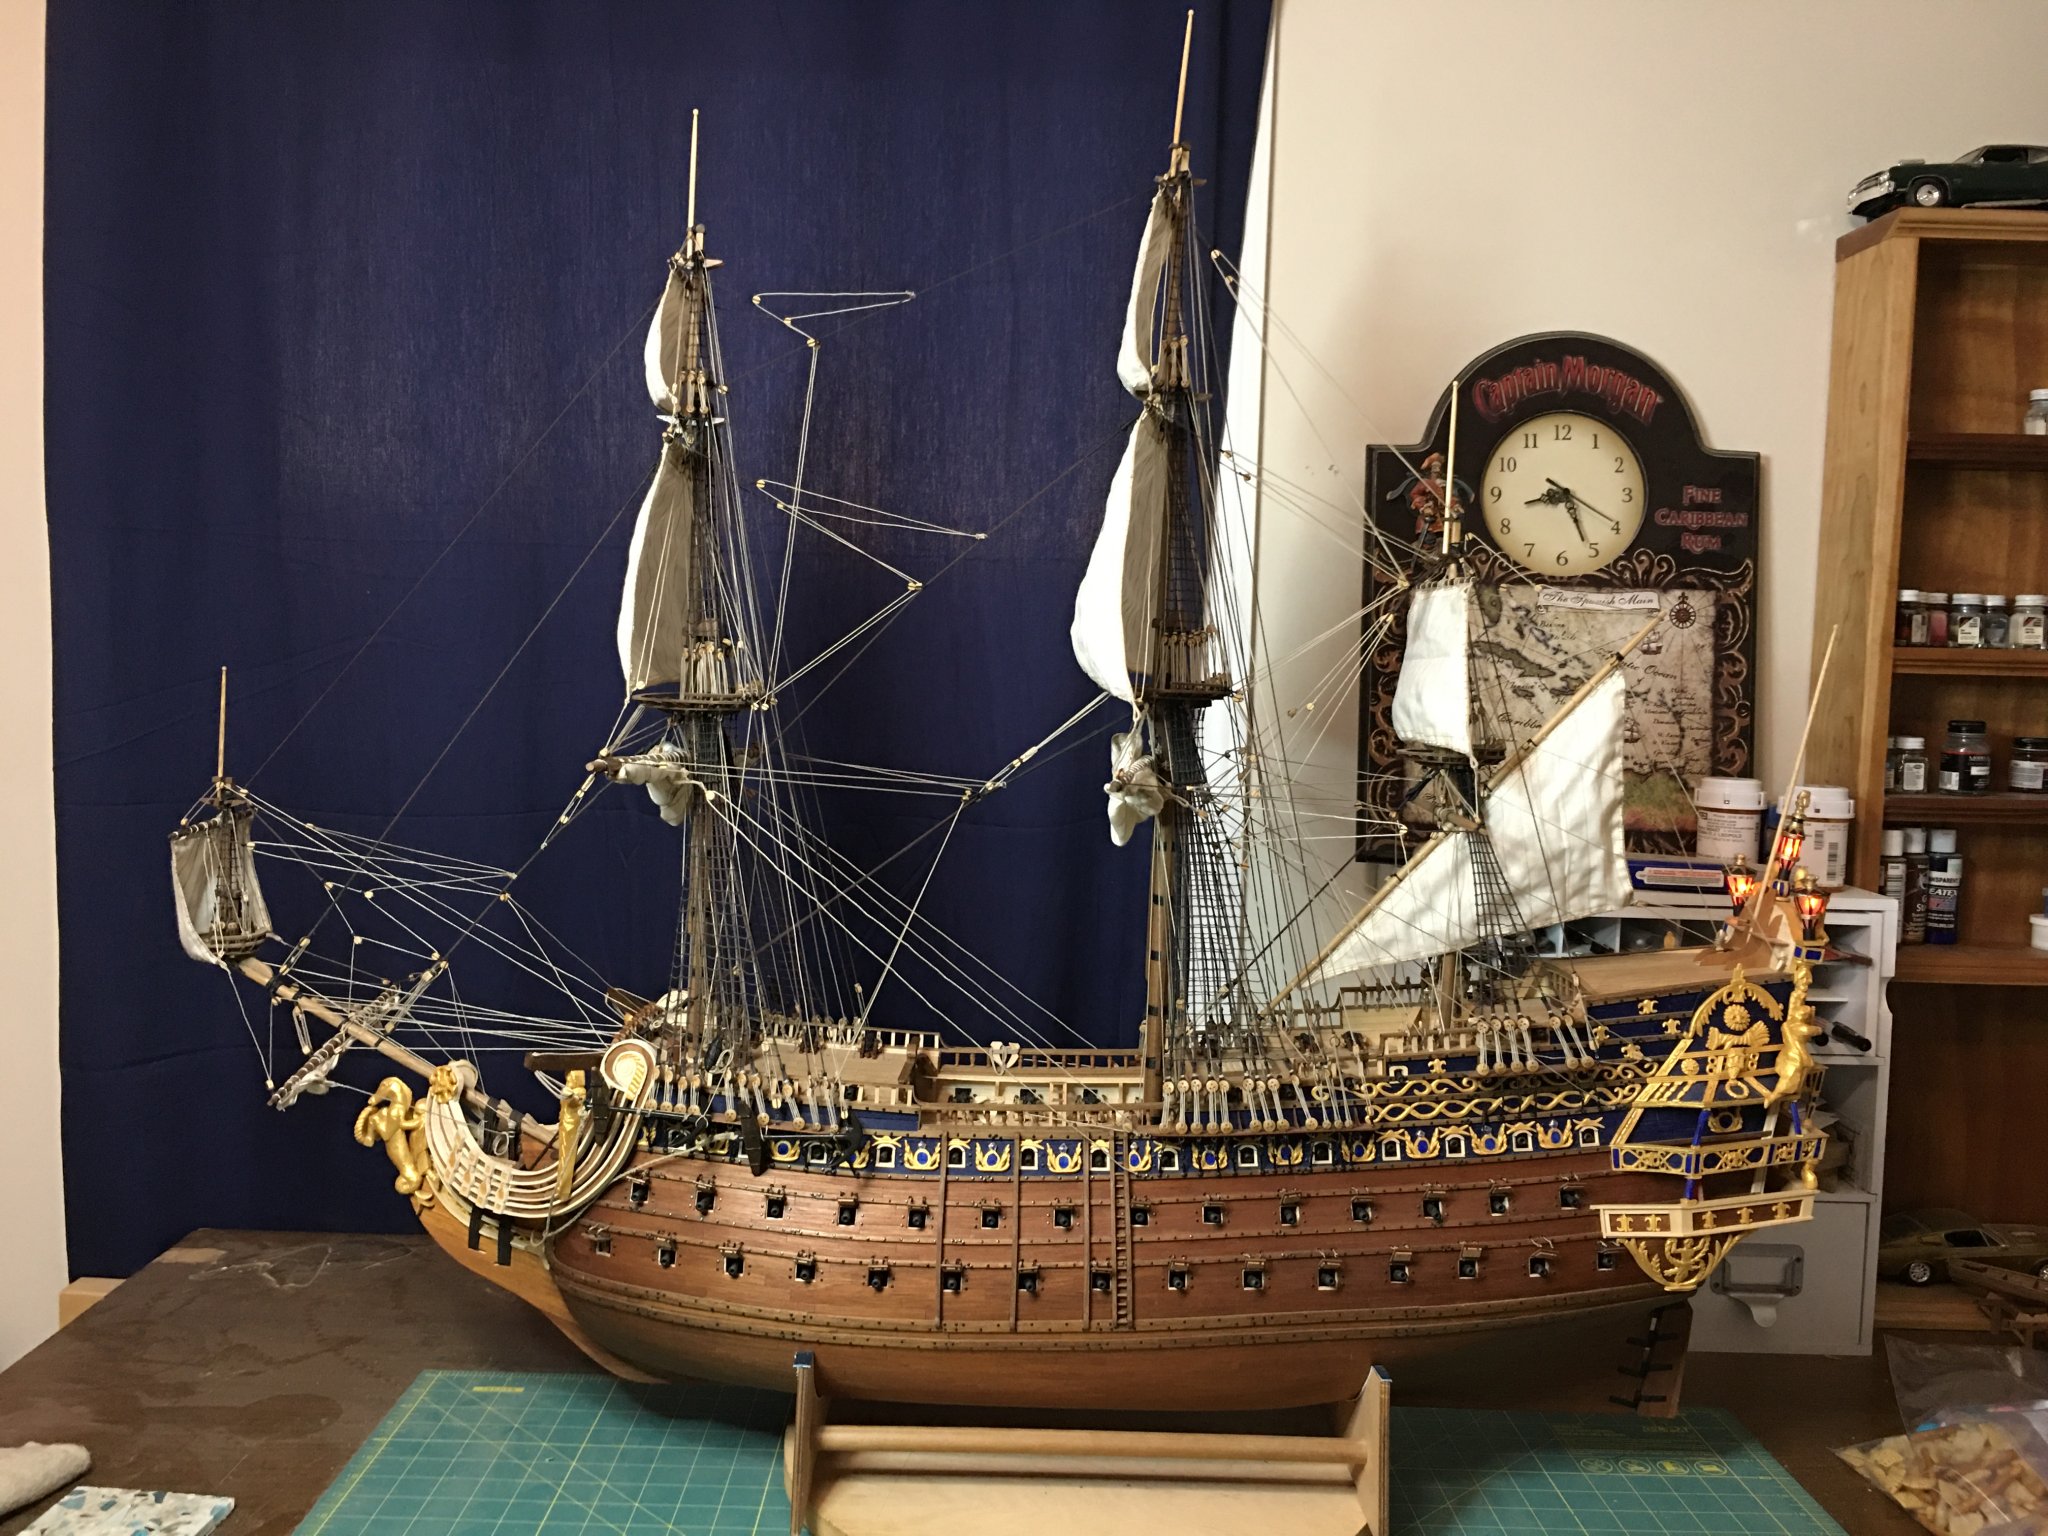
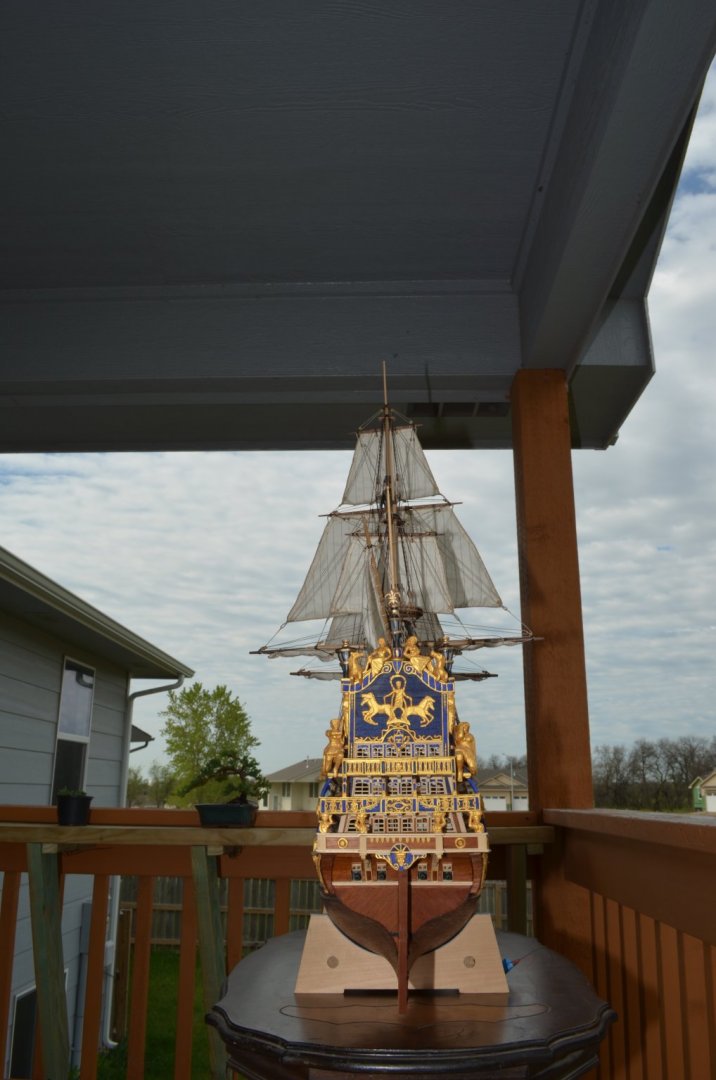
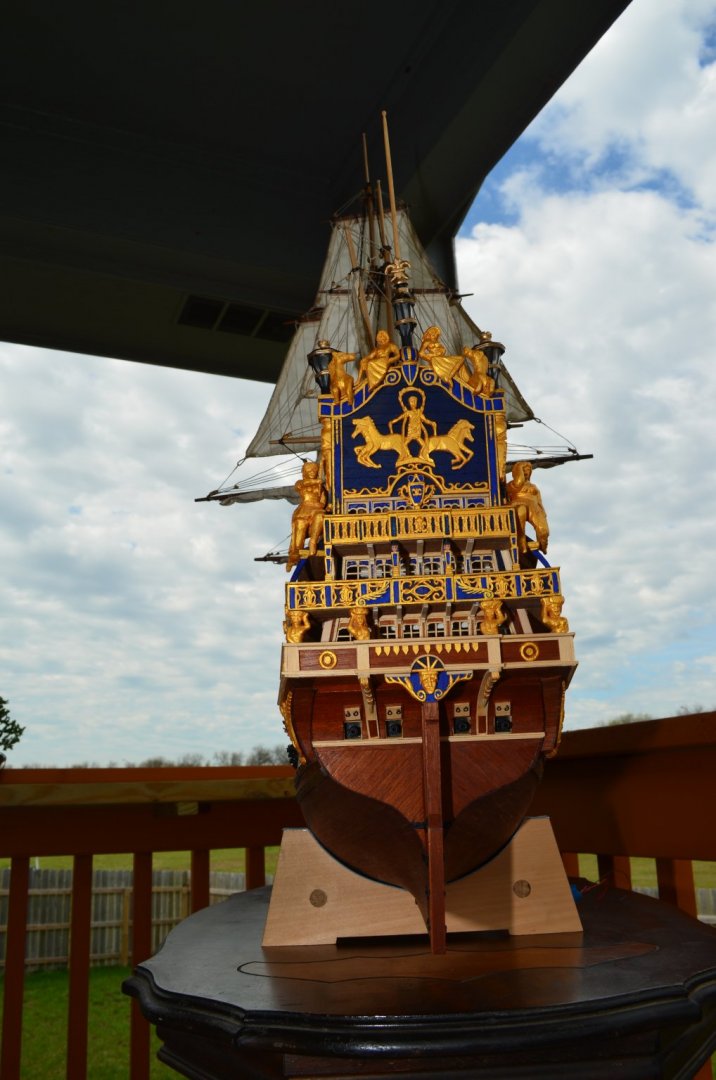
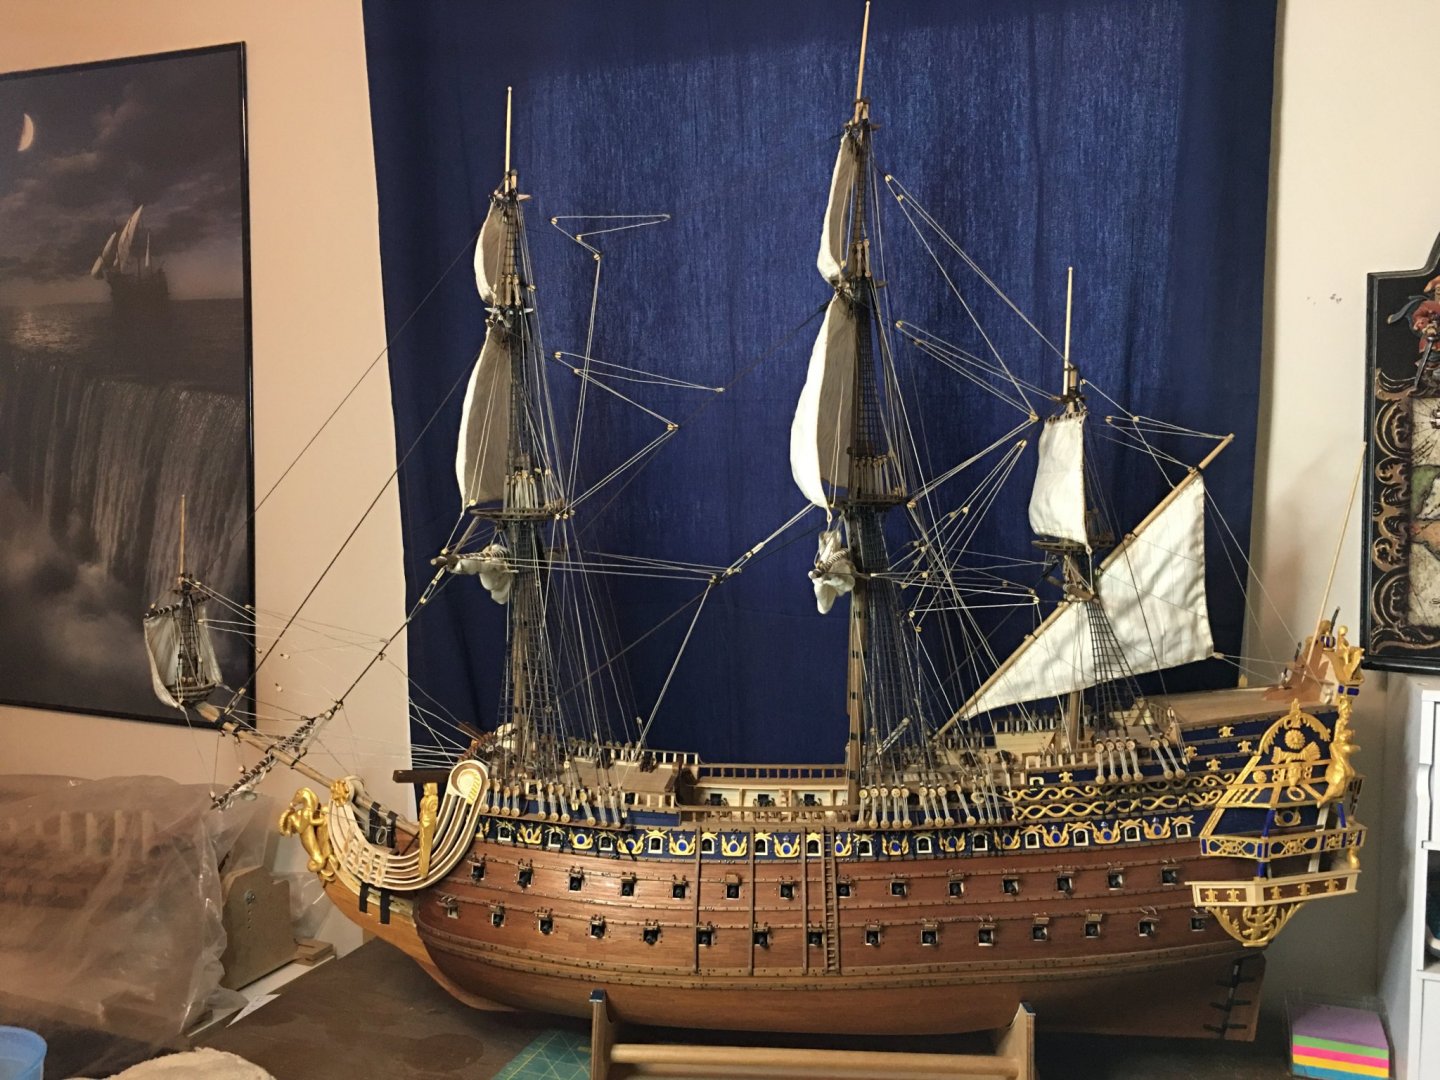
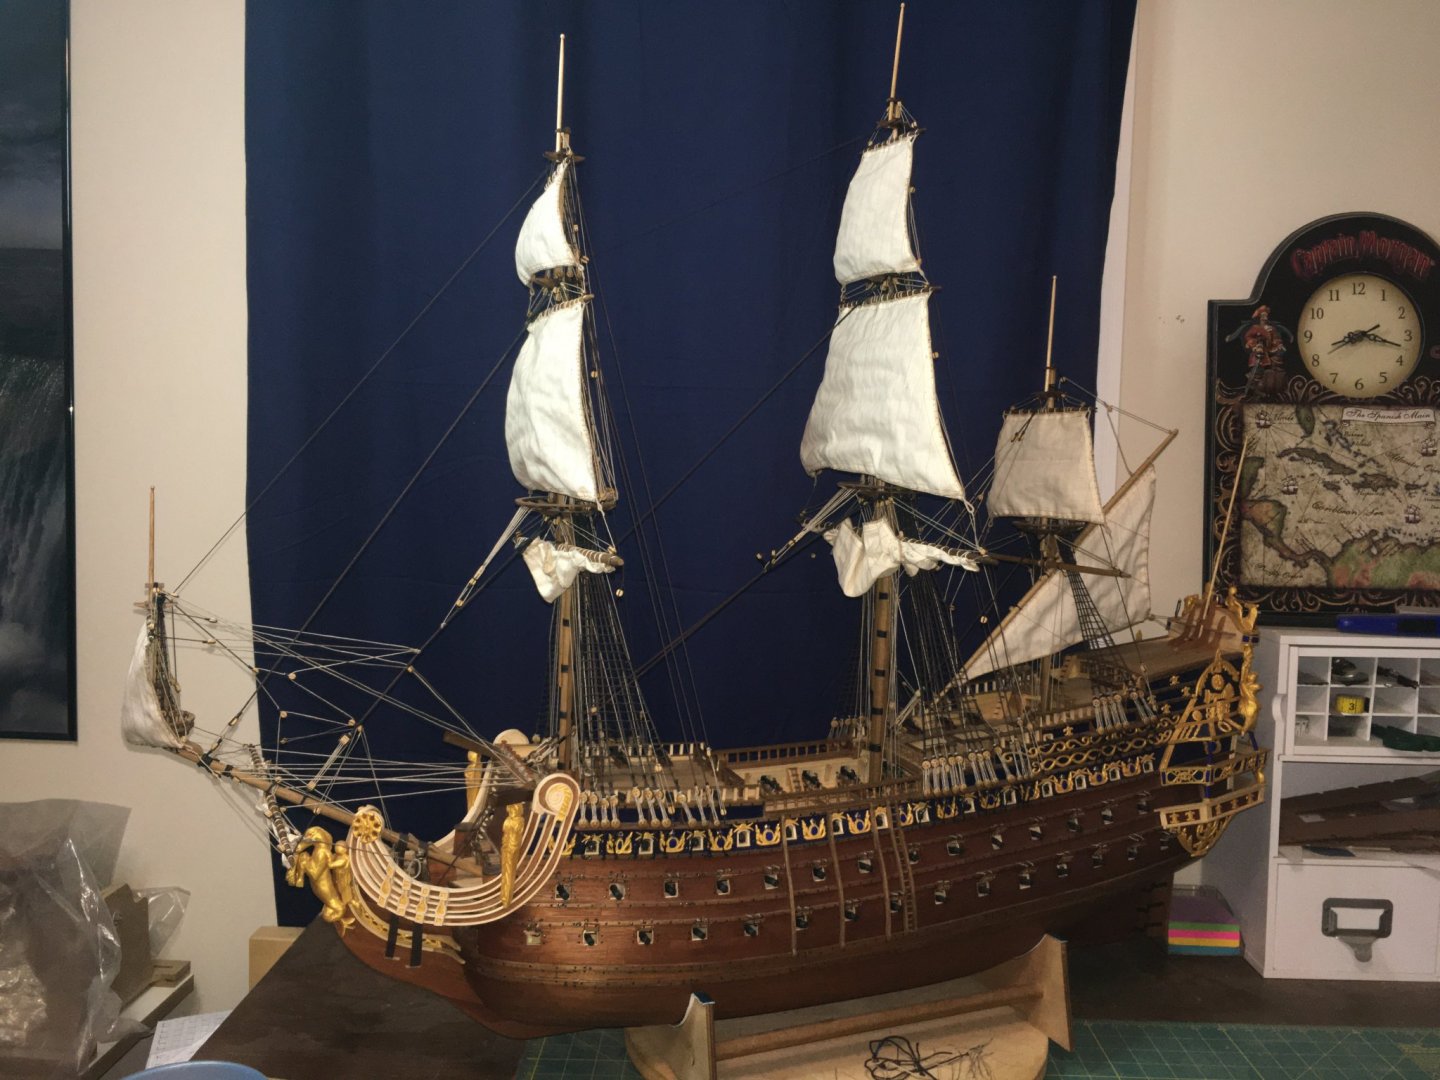
It has been 3 years and 5 months, 2,225 man hours and Le Soleil Royal is complete. What a build this has been. First off let me thank you all for joining me on this project. The encouragement, and help along the way has been more valuable than I can say. There are plenty of things that I do not fully like on how they turned out, some may be replaced in the future, others I will try to improve upon on the next build. This one saw a lot of first time experiences for me with the carvings being done myself, sails and lighting. Only way to go is up from here! The last component that I will likely add in the future are the flags. I do not like the look of the ones that came in the kit, as they are really only printed on one side of the material. I am looking into having some different ones made, but that likely will not be able to happen until the coronavirus situation has passed. I will update if/when that happens. For now, here are some of the finished pictures, more will be posted in the gallery link below. I am taking a few days to relax and enjoy the completed build as well as cleaning and reorganizing parts of the shipyard. Soon though, I will be returning to Royal Louis as she was set aside to finish S.R..


- 961 replies
-
- 15
-
-
Lanterns are built and installed. Suddenly I’m looking at a complete model of Soleil Royal. I will be posting final pictures soon as I want to take her outside to use the natural light.


- 961 replies
-
- 11
-
-
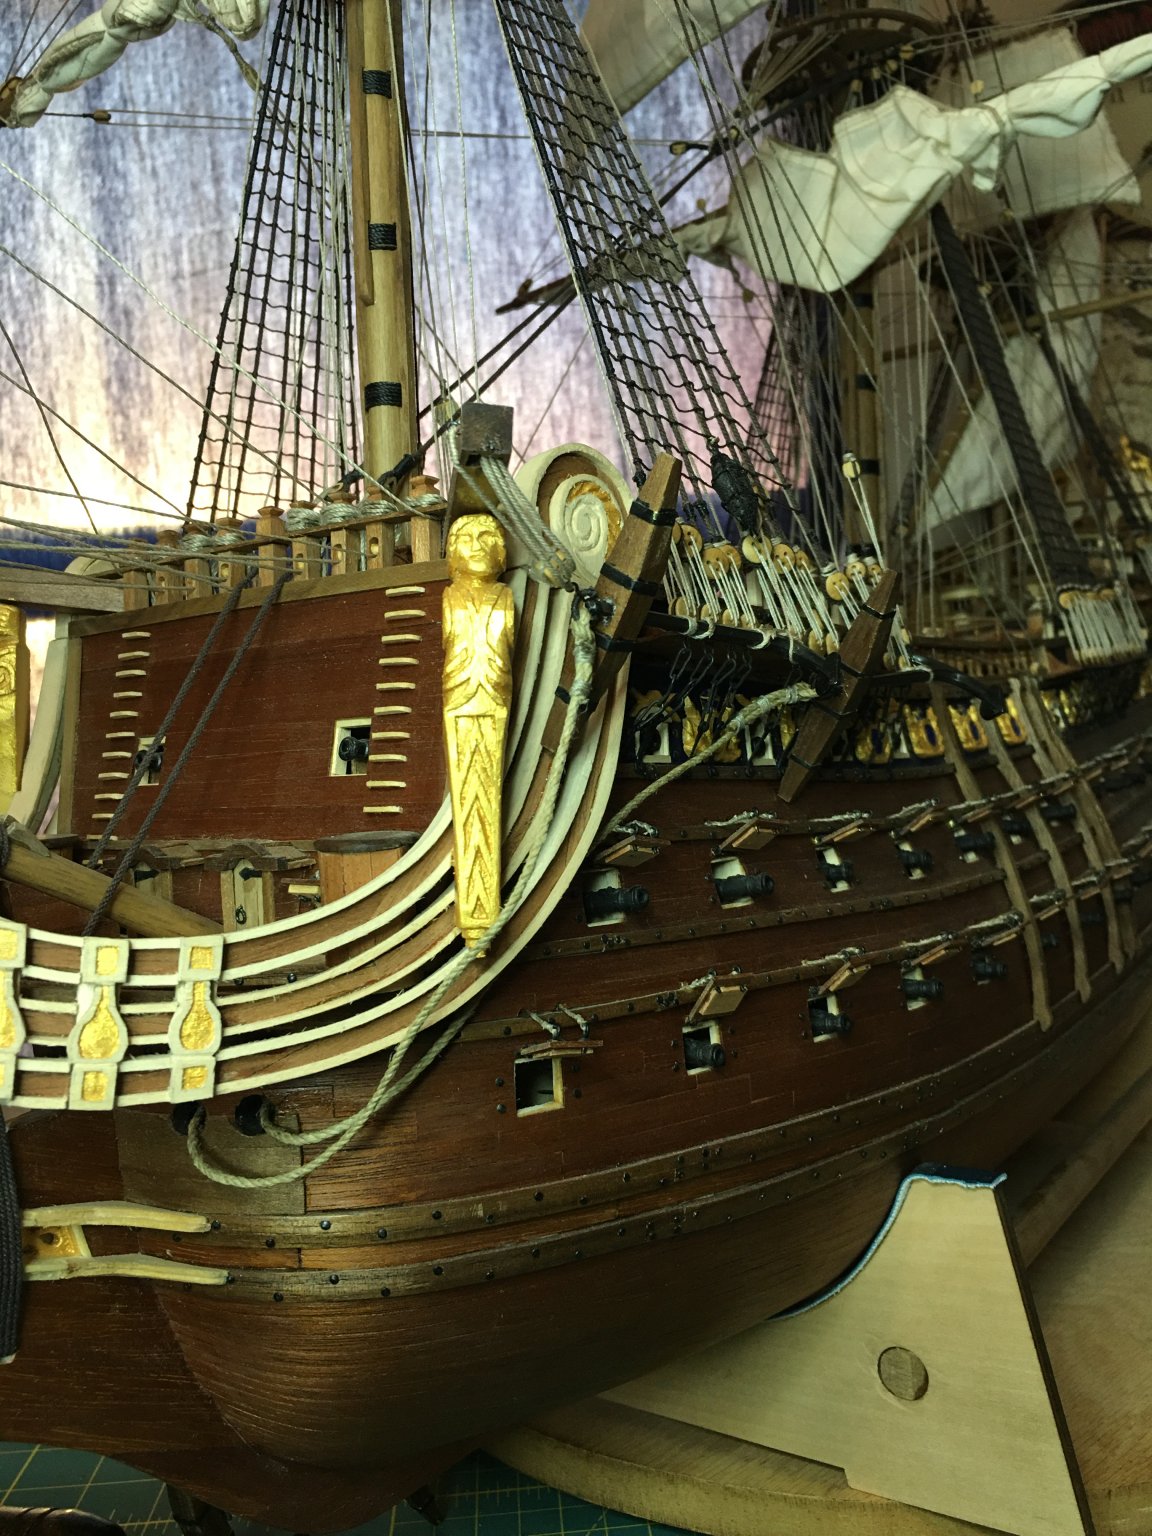
While I love the detail work, it is nice and refreshing to step back and see some bigger scope pictures of the entire ship again. These pictures really start to put into better perspective, what was at first seen like tiny, insignificant changes, now added up to their dramatic outcomes. The overall effects of the work you spent all those months doing is paying off in great ways. The narrow hulls in many kits has often been a source of problems to overcome or deal with as is when trying to heavily scratch build. I remember watching Michael (md1400cs) deal with that problem on his Vasa build. I experienced it myself on La Couronne and some on SR. On both of those builds, I discovered it too late to correct it easily. Fortunately, I was able to work within the confines to still create something nice. I am looking forward to seeing what your added real estate will allow you to do, not only on the stern decorations, but also with cannon spacing and the gratings on the main deck.
- 2,699 replies
-
- 2
-
-
- heller
- soleil royal
- (and 9 more)
-
Beautiful work and a shame indeed that it will all be covered up. You should put these pictures in a book to keep with the model so you can show the great details of these lower decks and framing.
-
The top came out great as did the details on the hounds. I'm looking forward to seeing the decks start to come in. Have you decided what level of detail you plan to do on these lower decks? Typically, not much is visible but depending upon how the gratings line up or the open area around the gun barrels, there can be some good detail placed. I've also seen a few models where they used the chase ports with no guns in them to allow a glimpse into the lower decks. They had lighting to make things more visible but it was an interesting feature. I am thinking it may be something I model on a future build when I can scratch build those decks easier. The current builds I am working on being P.O.B.s do not allow for anything on those lower decks. Sorry to hear about the virus finding you. Best wishes to get well soon!
- 2,699 replies
-
- 6
-
-
- heller
- soleil royal
- (and 9 more)
-
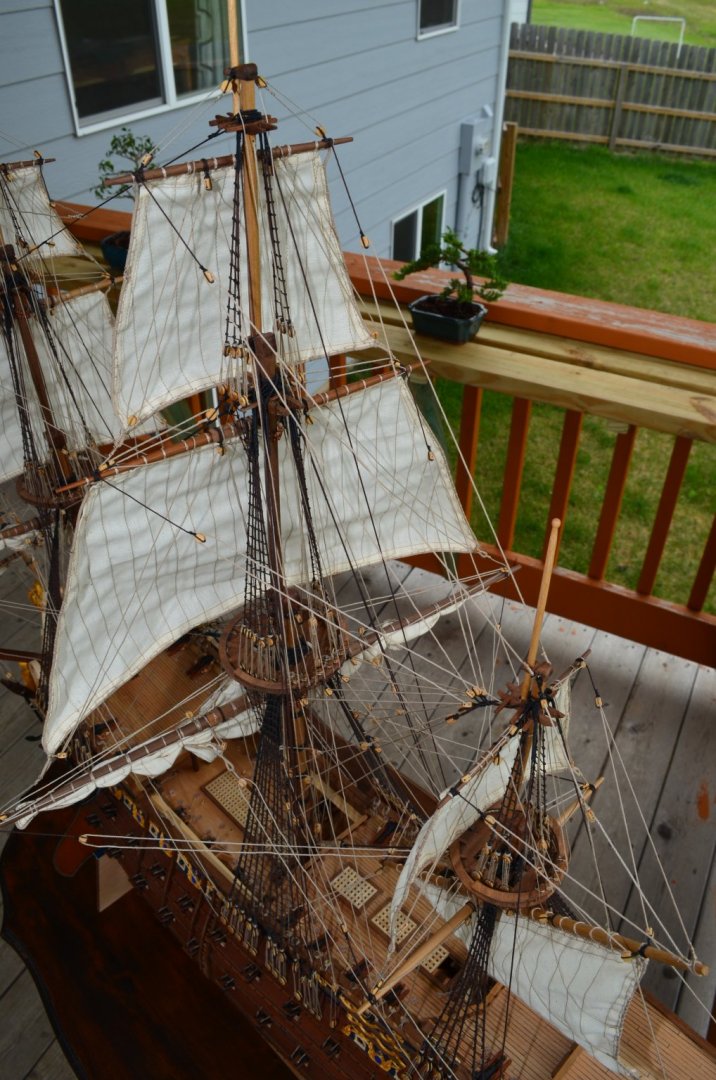
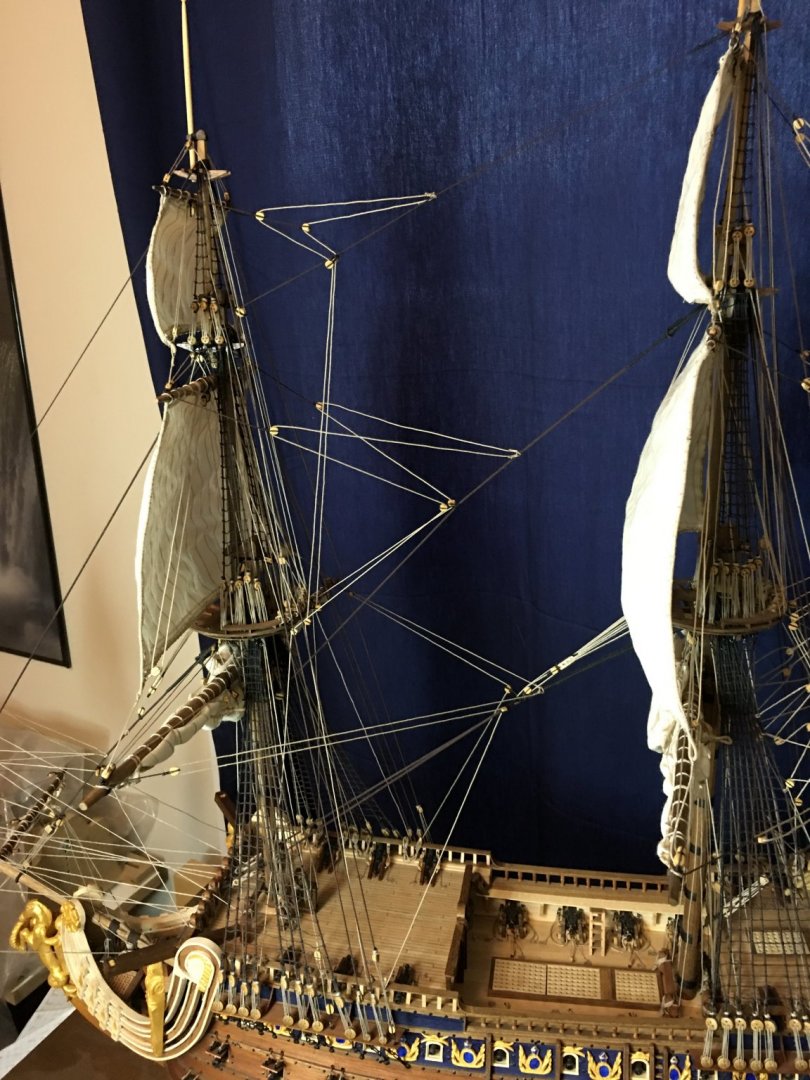
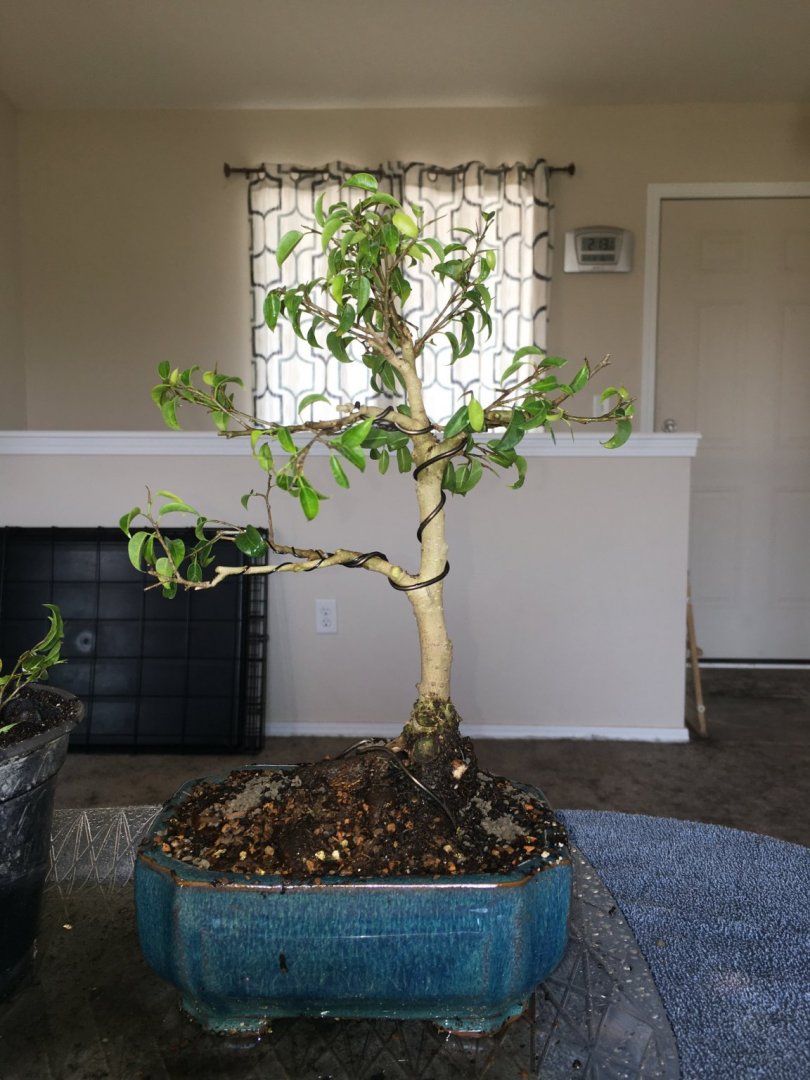
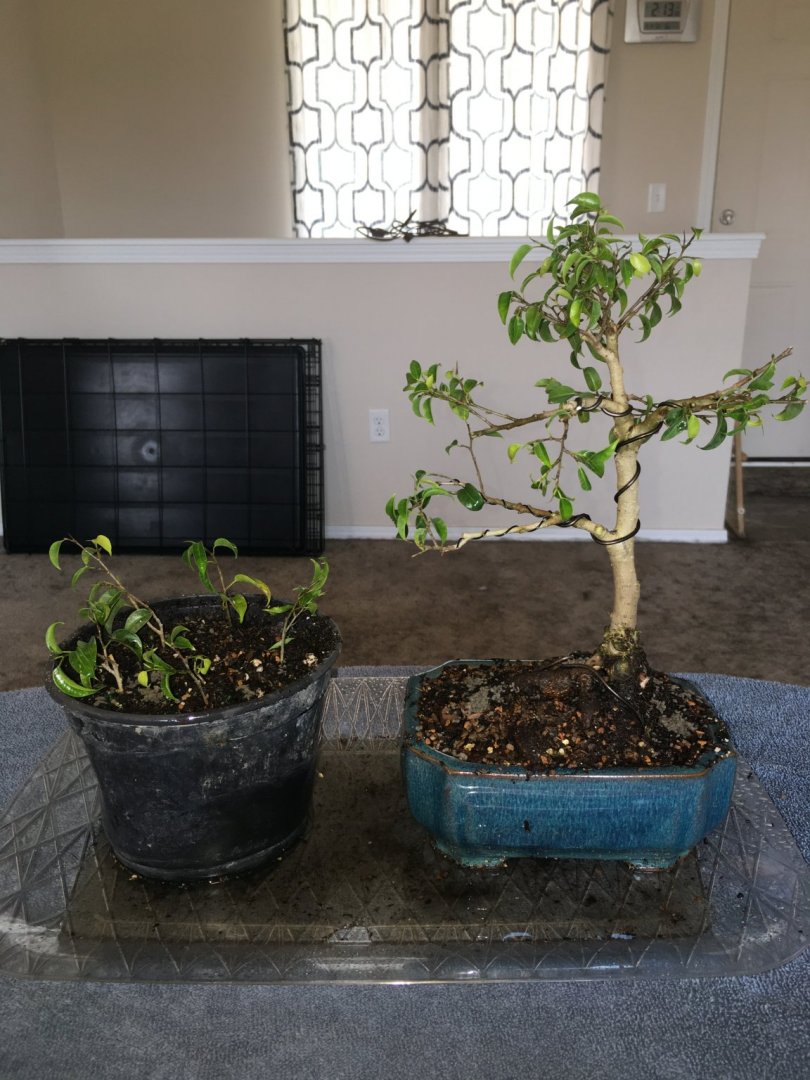
Latest update, I finished the braces for all yards. Only the fore and main course sheets left to go for sail rigging. I also dug the anchors out and will begin to assemble and install them. On a side note, I received a new bonsai tree for my birthday and spent a little time this weekend pruning and shaping it as well as replanting some of the clippings to try to propagate new plants. As always, thanks for following along and I hope everyone is staying safe and healthy.
-
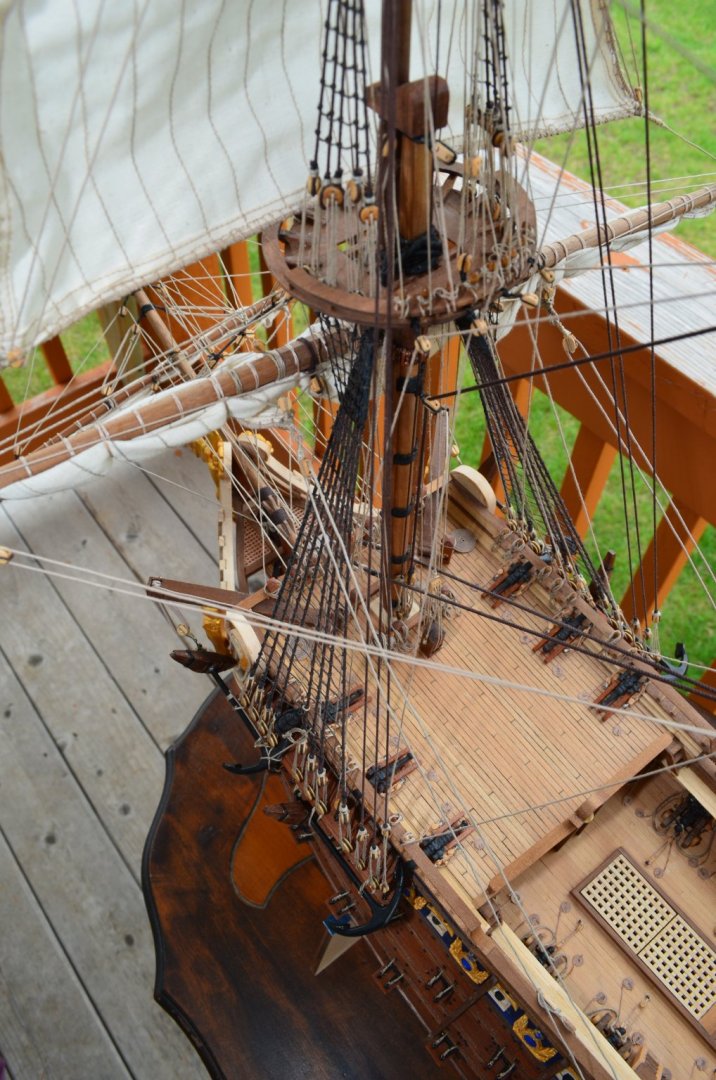
Thank you all very much for the nice words and likes. As always, it means a lot that you are enjoying the build as much as I am. I am moving along this week though I've had to slow down some as I ran out of belaying pins. The kit supplied ones were never going to be enough for all the additional rigging the sails added, but I had what I thought was a healthy supply of extras from other builds that I could use. It turned out that I was about a dozen short. To add insult to injury, I am also out of small diameter dowels which is what I typically make them from. I do however have plenty of toothpicks and so that is what the new pins are being made from. I did at least have the foresight to count up the number of blocks I still needed and managed to get those ordered a few weeks ago from Syren before Chuck was forced to close due to Corona19. For anyone who has not attempted sails before, be prepared to triple the required blocks for the rigging, and I am omitting several that would actually be used. The number of blocks and their various types that would be used in actual on these ships is incredible. I intend on trying to put together an inventory of parts that are on this model for the display case as I think that those numbers will be very impressive. I should have some more pictures this weekend as I hope to have the braces complete then. I have the fore braces in place and am working the main mizzen fittings now. Running the rope is the easiest part once all the blocks and pins are in place. Mapping out that route though takes a while.
-
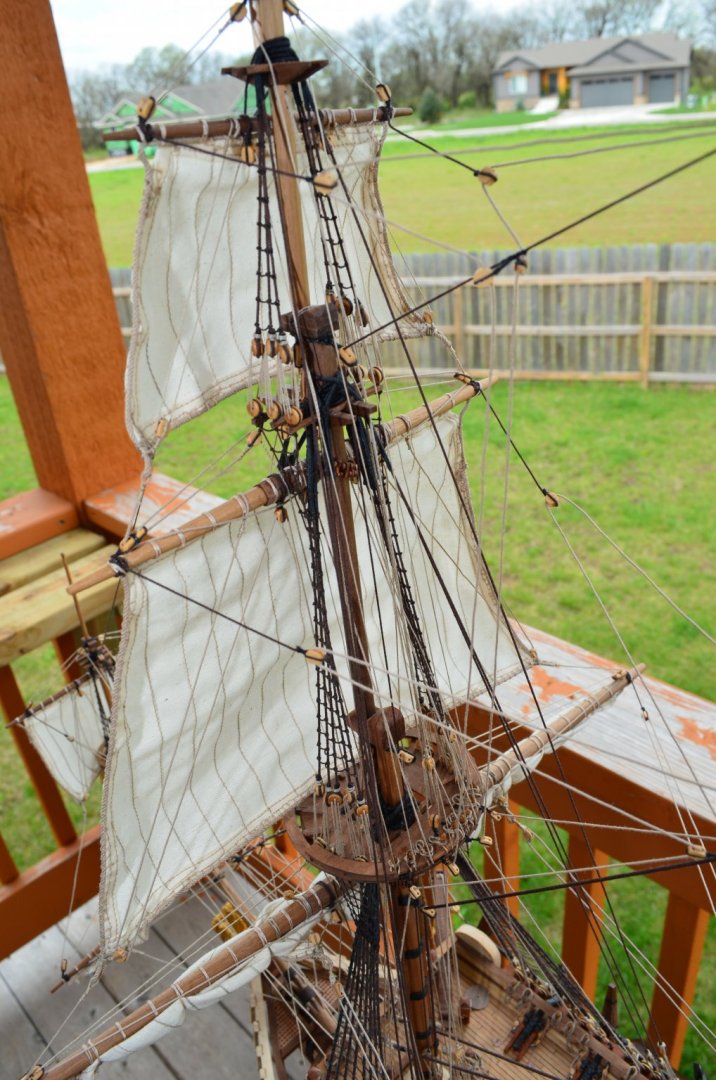
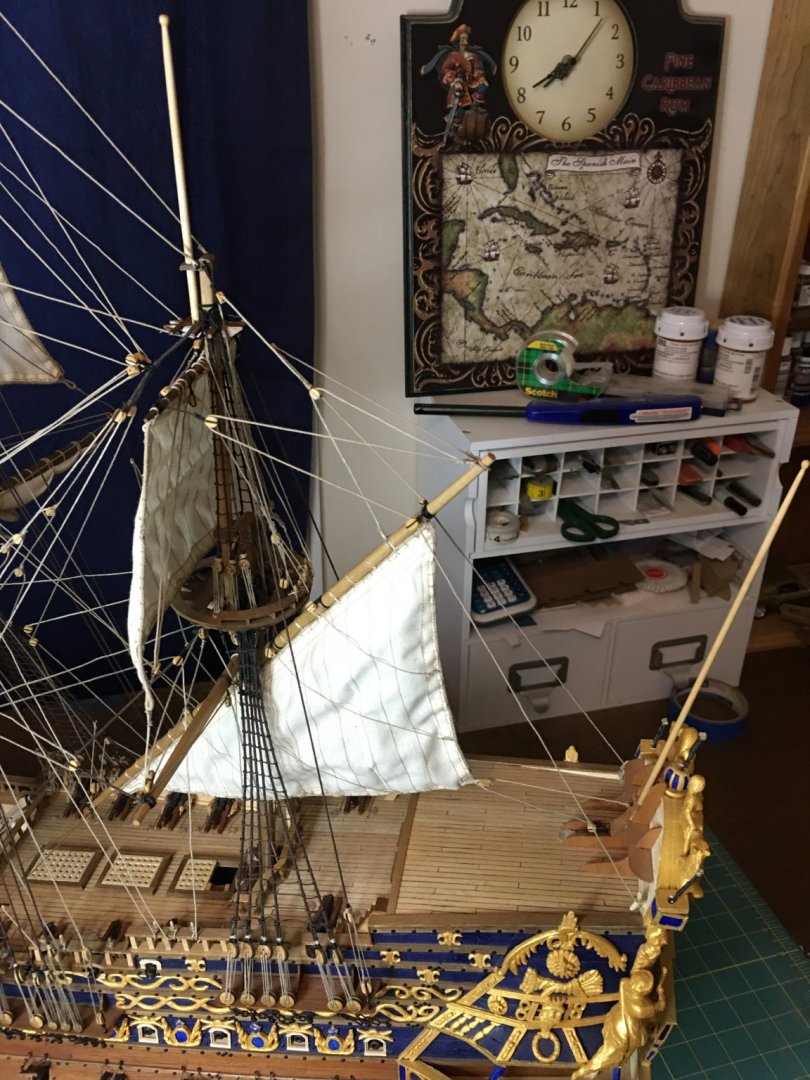
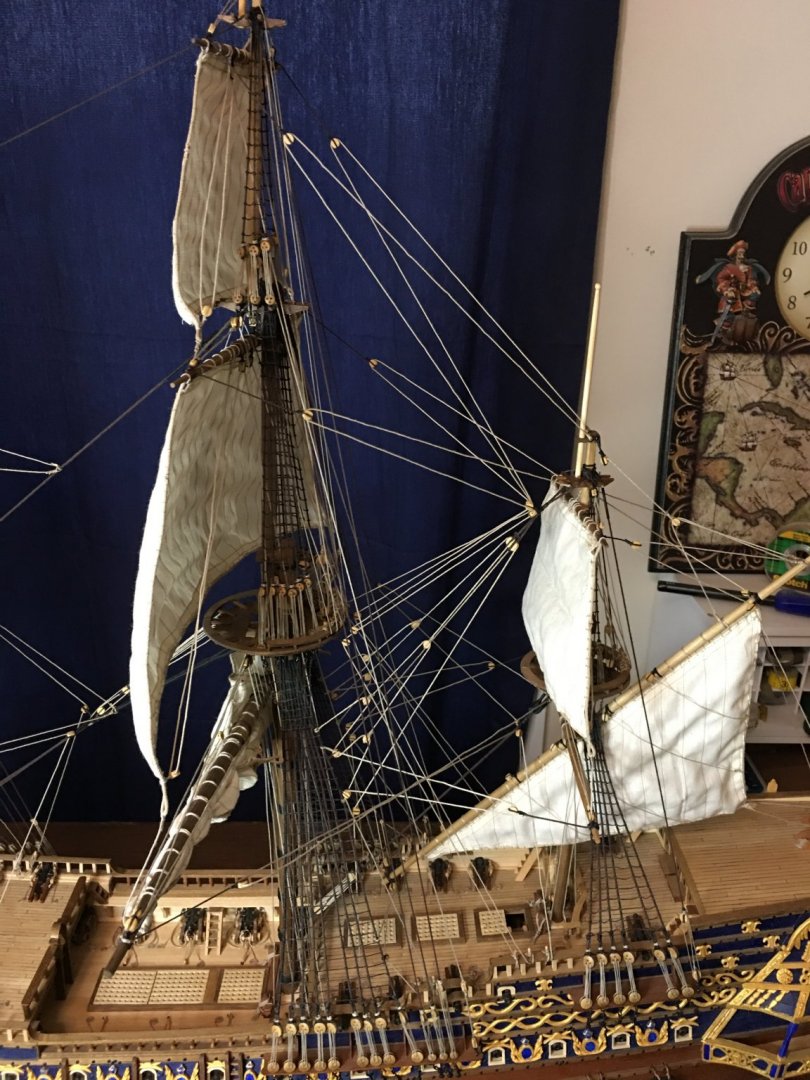
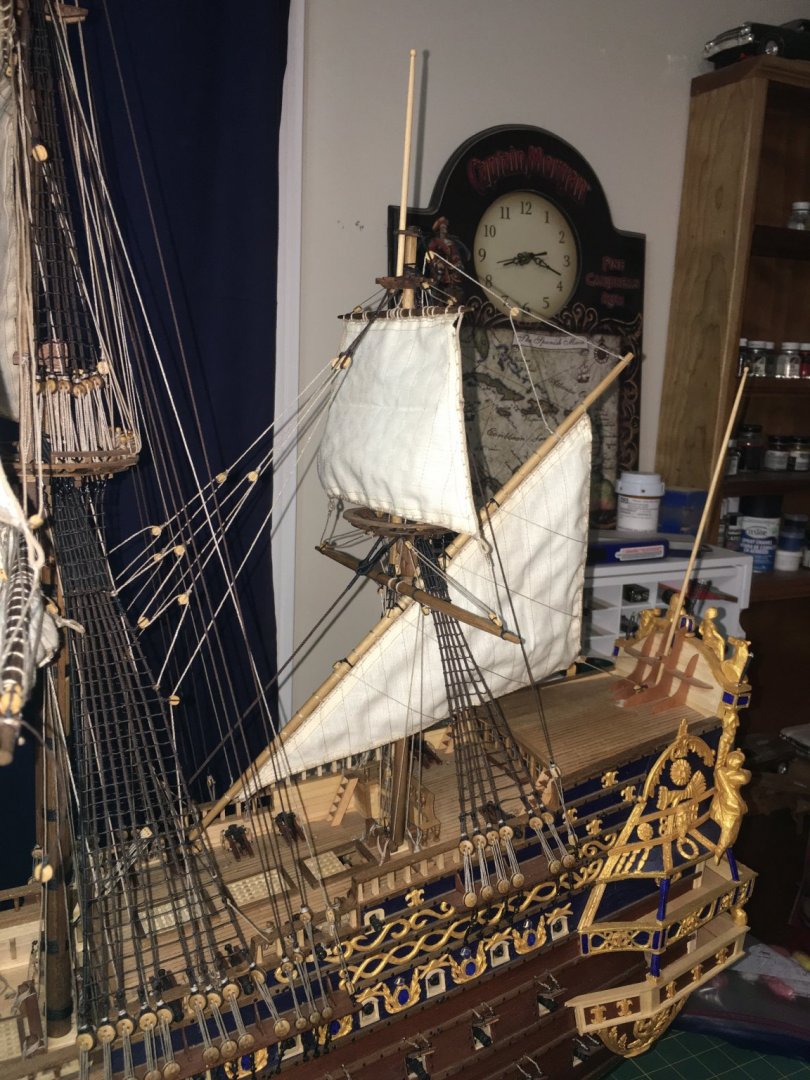
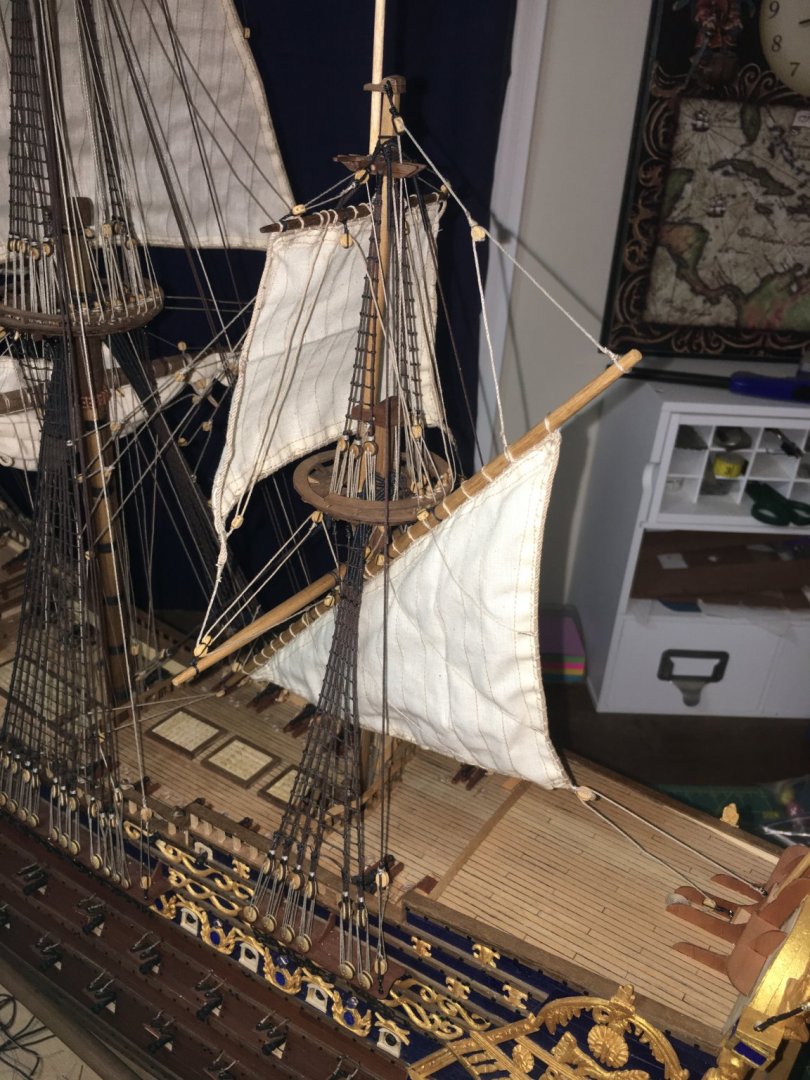
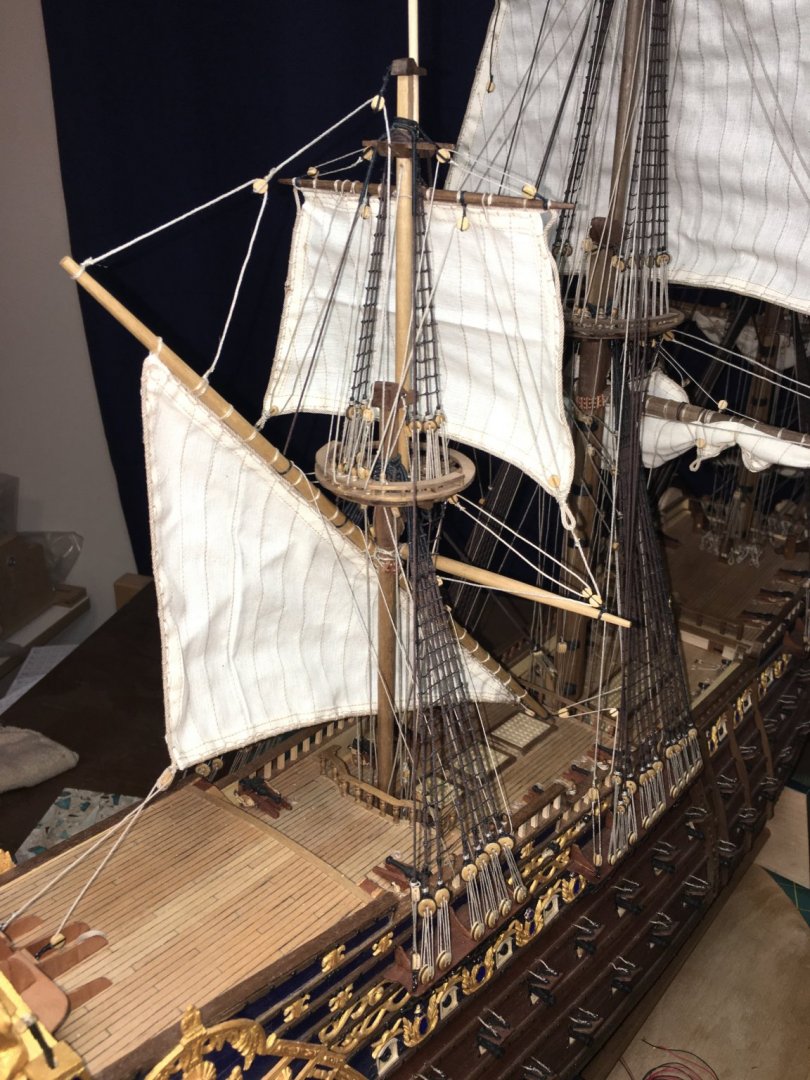
Mizzen sails in place. I decided to go ahead and leave the lanteen sail set as it did not block as much as I though it would and adds an interesting focal point as it is a unique looking sail. I still have a few rope coils to make and then I will start running the braces.
- 961 replies
-
- 13
-