HOLIDAY DONATION DRIVE - SUPPORT MSW - DO YOUR PART TO KEEP THIS GREAT FORUM GOING!
×


Trussben
-
Posts
1,999 -
Joined
-
Last visited
Content Type
Profiles
Forums
Gallery
Events
Everything posted by Trussben
-
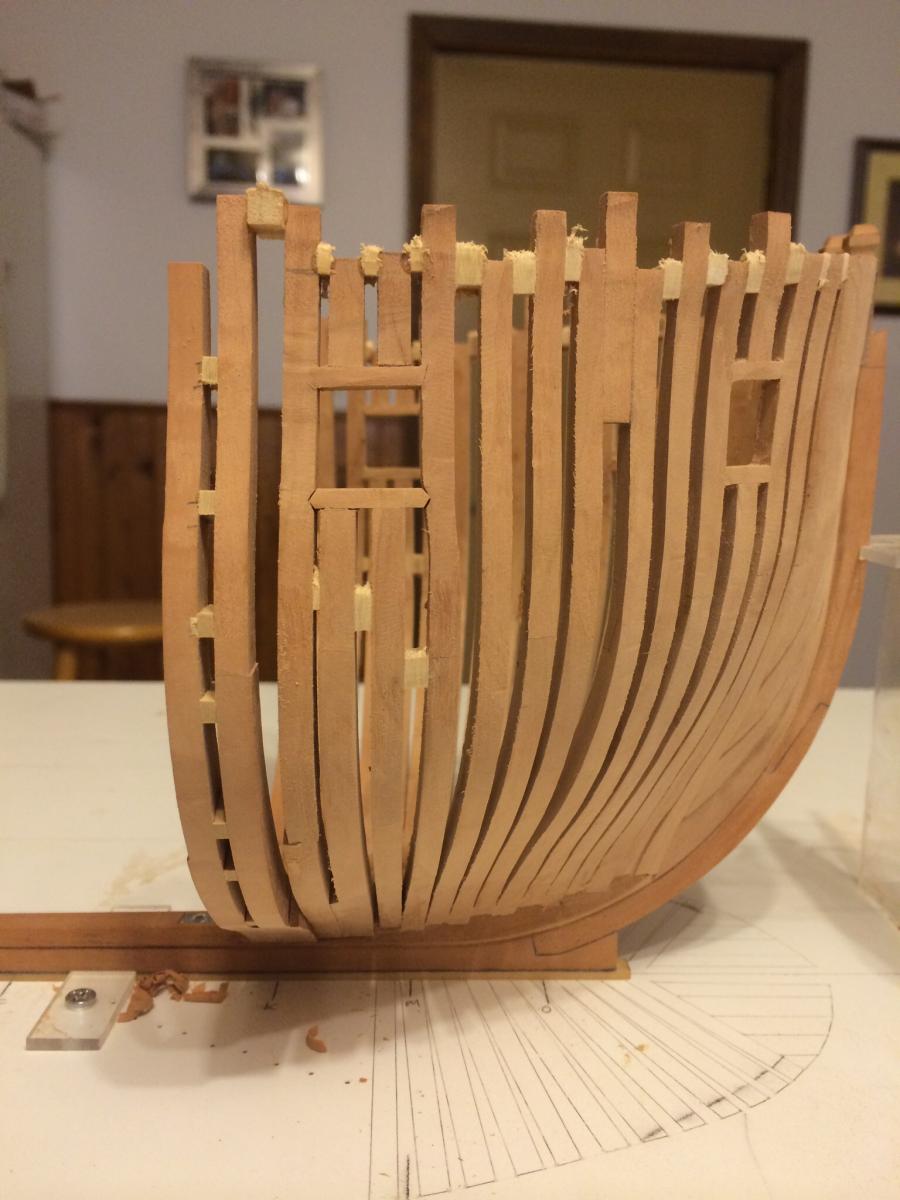
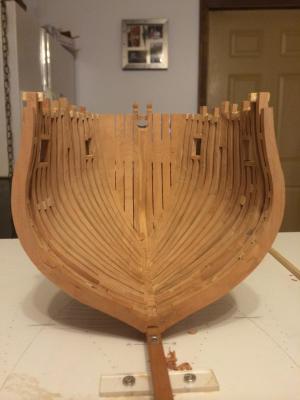
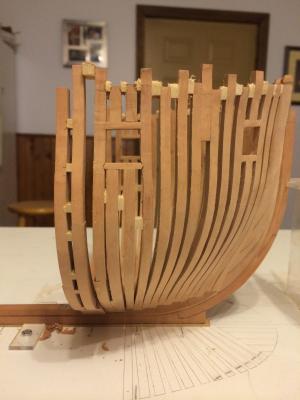
 Thanks Michael and all the likes. Currently rough fairing the inside of those last frames that were installed, I find I need to do it every 6 to 8 frames that are added to give plenty of access. Also Frame pairs 10 and 9 are being constructed. So I'am packing up my Echo cross section and heading to St Louis tomorrow for the NRG conference, hope to meet many people and learn some new things. ben
 -
Thanks for the clarification Toni. ben
-
Thanks for showing this project! I love the warspite as she was in every theater of WW2 and gained her distinction, even as a ww1 warship. I look forward to seeing your progress. Ben
-
Sorry to Hijack your log Toni! Druxey - were the fillers between every frame or missing at frame bends? Everything I read says they were between every square frame to make a solid floor for water removal? I don't want to add any more frames to Pegasus until I understand this. Sorry again Toni. Ben
-
Some beautiful progress Bob. Ben
-
Hey Toni, Nice planking start. Quick question as I notice from the last upside down pic that your floor fillers are not there in the frame bends, did you do it this way for a reason? Am I missing something? I have been installing floor fillers between every frame and didn't see anything in TFFM. Ben
-
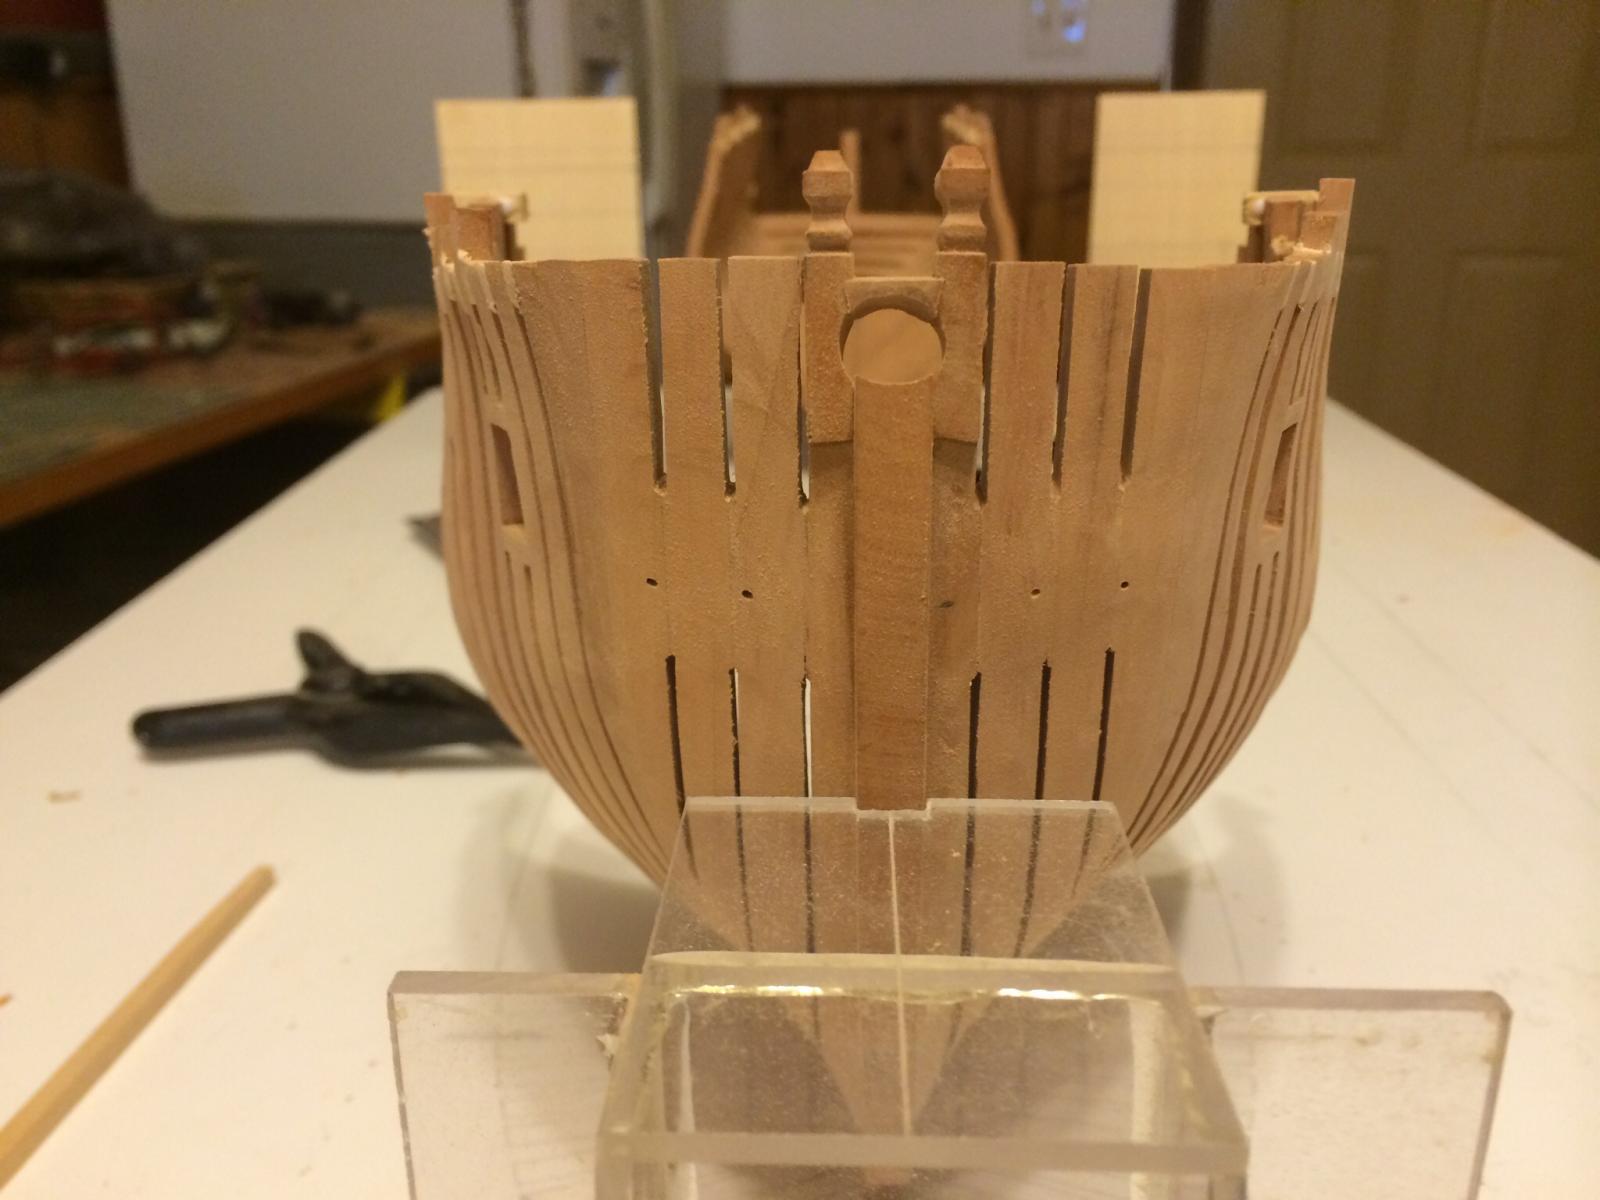
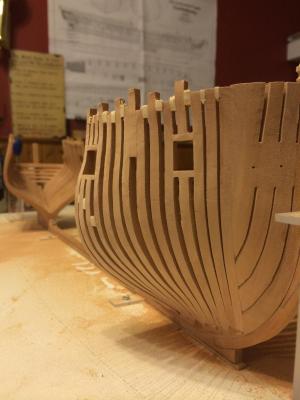
Small update, three more frame pairs have been installed and another gunport being framed. Ben
- 889 replies
-
- 22
-

-
Very Very nice Rusty. Ben
-
That is certainly a beautiful windlass Chuck, look forward to seeing you in SL. Ben
- 1,051 replies
-
- 1
-
-
- cheerful
- Syren Ship Model Company
- (and 1 more)
-
Looks lovely Toni. Ben
-
Hey Patrick, Yeh the cool down in our area is nice and portends some extra modeling time. Ben
-
Yep, agree with the consensus, very nice copper work. Ben
- 1,616 replies
-
- 2
-
-
- caldercraft
- agamemnon
- (and 1 more)
-
Thanks JP and all the likes. Grant - I'am trying ( operative word trying !! ) to get my quality standards up on this build. Ben
-
Hey Toni, Don't feel too bad, I'm sure all of the best scratch builders have these issues, and I'm sure I will come across some whoppers when I get to the point you are at. Nice work on the treenails, bamboo?? Ben
-
Just wanted to chime in on the wood coloring, I got the Swiss pear from Jeff for my Pegasus and the entire order the color is very consistent, this is because Jeff tries to make your entire order from the same slab of big stock for this reason. I have no idea how Dave at Lumberyard does his milling but you would hope he does it the same way. Ben
- 968 replies
-
- 2
-
-
- hahn
- oliver cromwell
- (and 1 more)
-
Nice work, Jeff's redheart looks awesome. Ben
-
Nice to see you have the project underway Chuck, I'm sure it will be another of your masterpieces. Ben
- 1,051 replies
-
- 2
-
-
- cheerful
- Syren Ship Model Company
- (and 1 more)
-
Hey Mike, I usually cut my frames and leave about 1/32" outside of the line. But if I'm cutting and I stray and hit or even go over the line, i throw the frame away and make another one. Ben
- 968 replies
-
- 6
-
-
- hahn
- oliver cromwell
- (and 1 more)
-
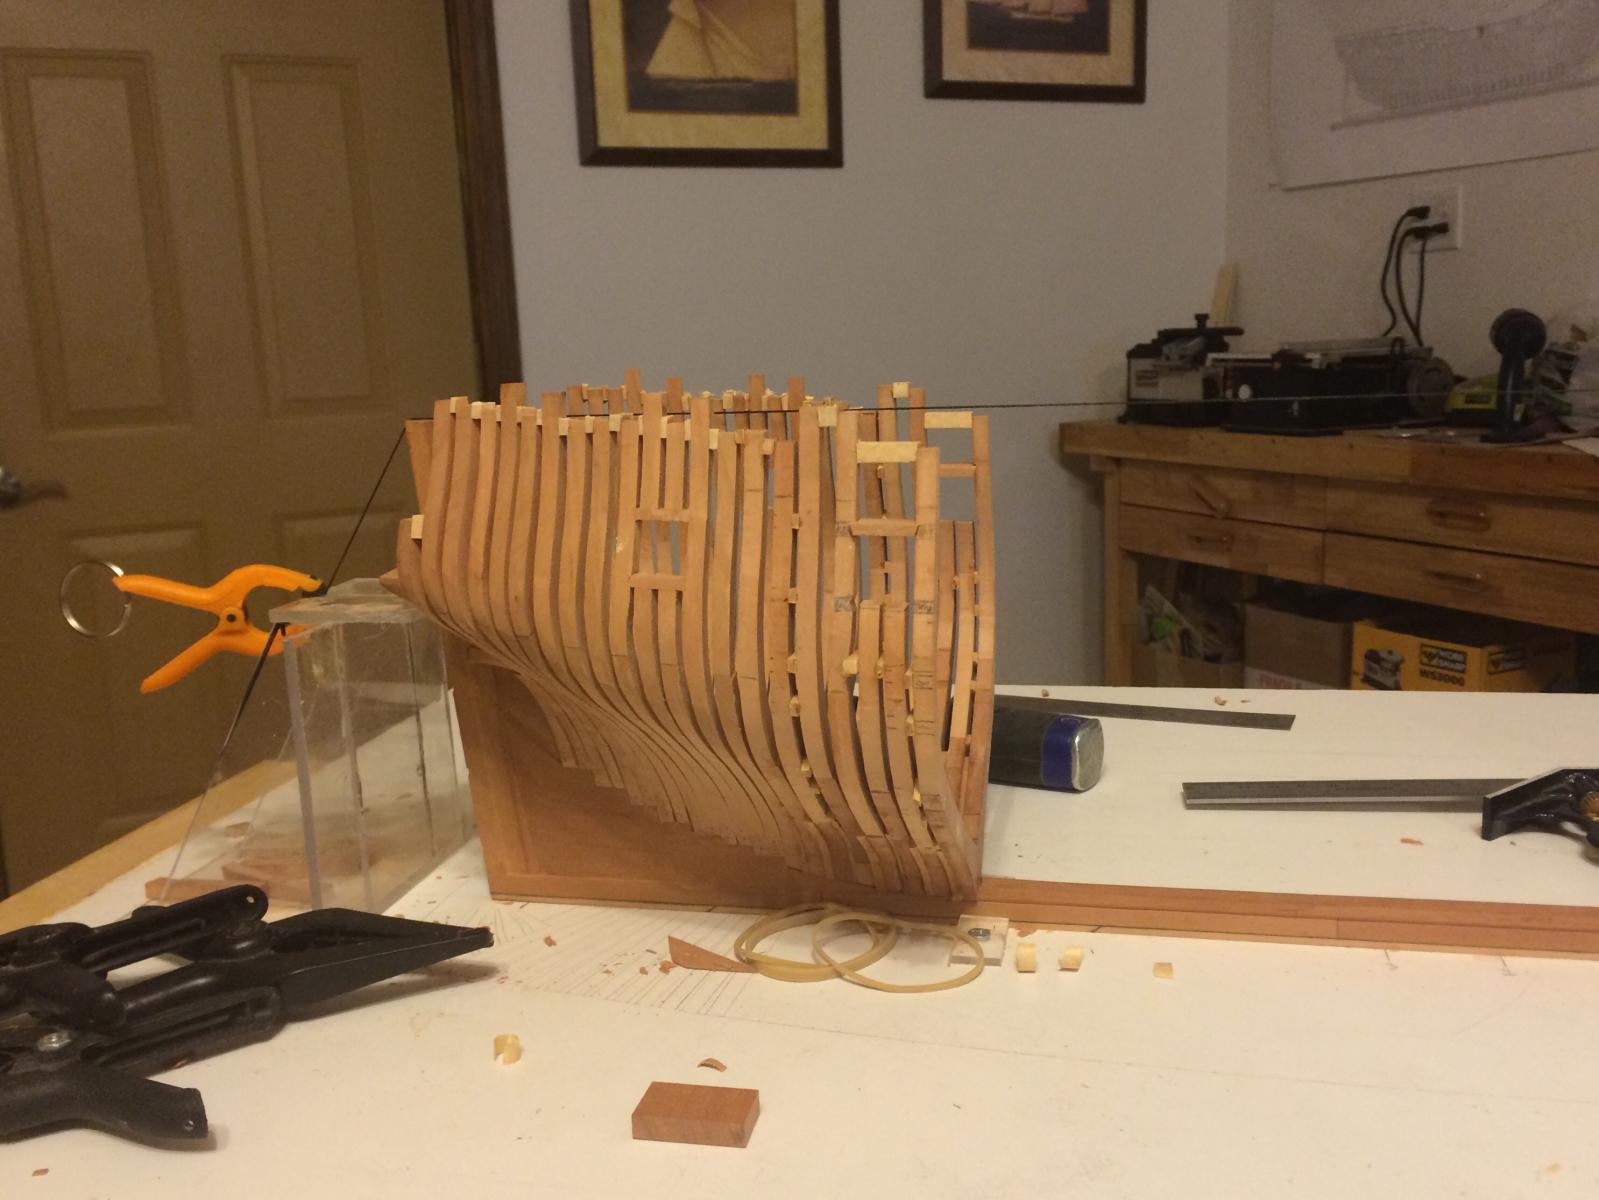
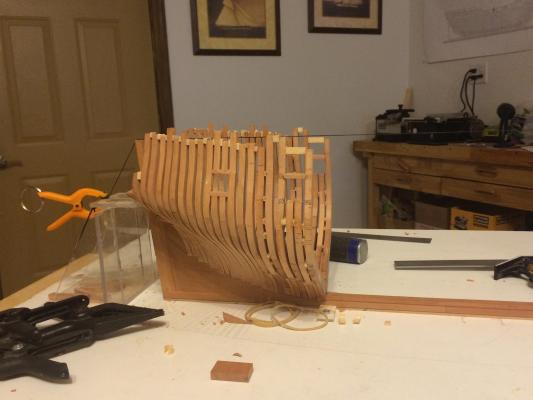
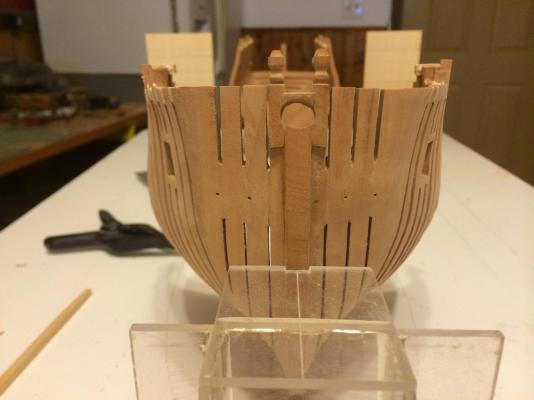
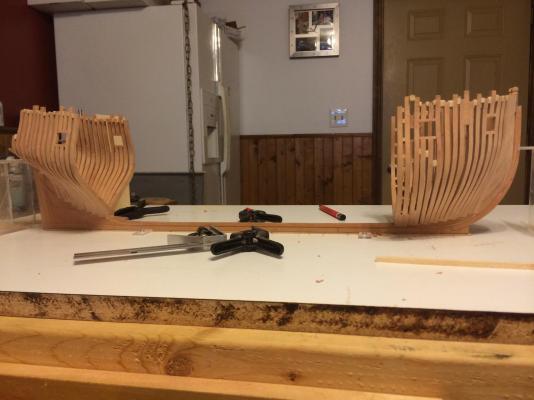
Thanks AP, Rusty, Nils and for all the likes. Rusty - it's good to see you back around. So the rough fairing has been completed and frame pair K which is the first frame bend has now been installed with its spacers. I am making and installing the floor spacers from 4" Swiss pear as the square frames go in, and the frame bend spacers are 4" boxwood that I hope will give a little bit of contrast. As of today, frame 14fore and frame pair J have been cut out and need assembly, hopefully over next few days. Ben
- 889 replies
-
- 27
-
-
nicely corrected for Toni. ben
-
Why thank you Druxey, from you that makes me feel a little easier! Ben
-
Glad to see you back at it Rusty, I know how the work schedule reduces modeling time just lately! Spilling looks good but I have to ask, is that Swiss pear that you are using or something else? Ben
-
All the problem can't frames have been replaced and rough fairing inside and out has begun. Ben
- 889 replies
-
- 22
-
-
Nice to see you back on the move mate. Ben