Trussben
-
Posts
2,007 -
Joined
-
Last visited
Content Type
Profiles
Forums
Gallery
Events
Everything posted by Trussben
-
 Nice to see you have the project underway Chuck, I'm sure it will be another of your masterpieces. Ben
- 1,051 replies
-
- 2
-

-
- cheerful
- Syren Ship Model Company
- (and 1 more)
-
Hey Mike, I usually cut my frames and leave about 1/32" outside of the line. But if I'm cutting and I stray and hit or even go over the line, i throw the frame away and make another one. Ben
- 969 replies
-
- 6
-
-
- hahn
- oliver cromwell
- (and 1 more)
-
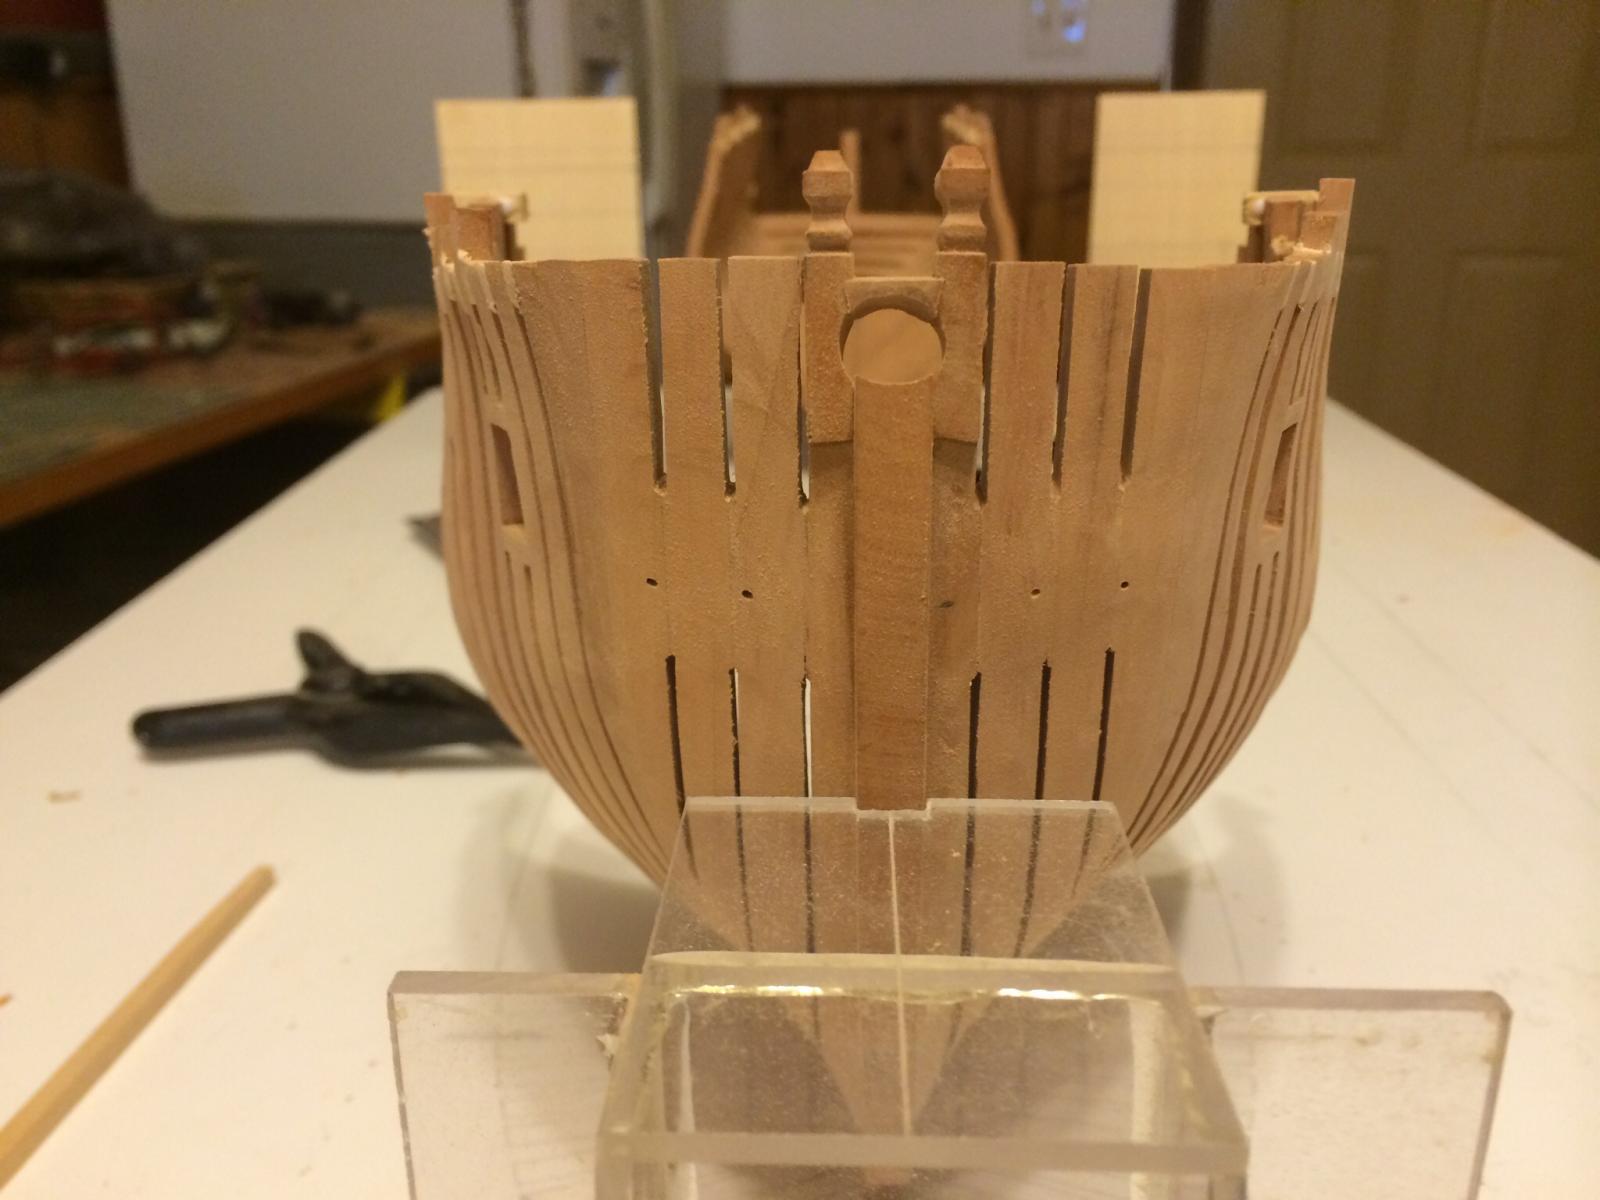
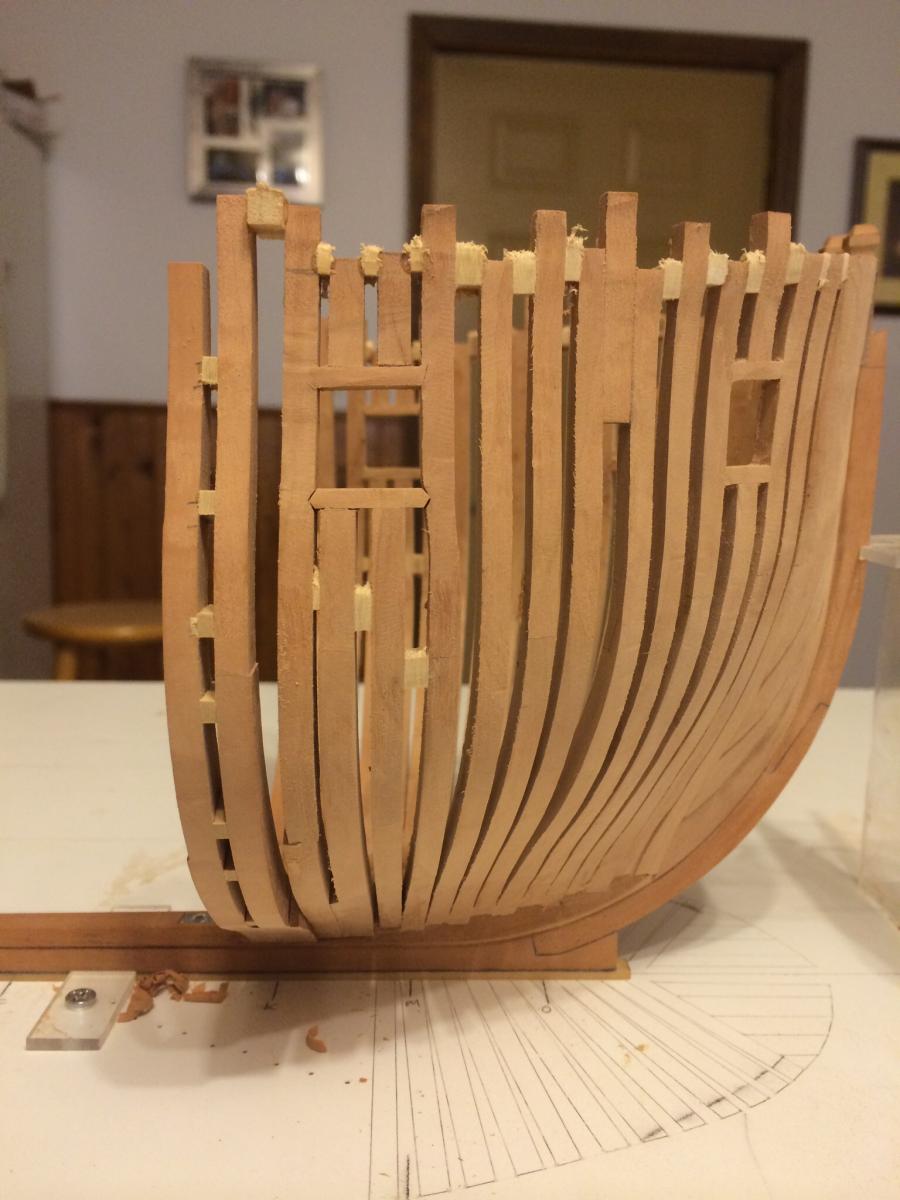
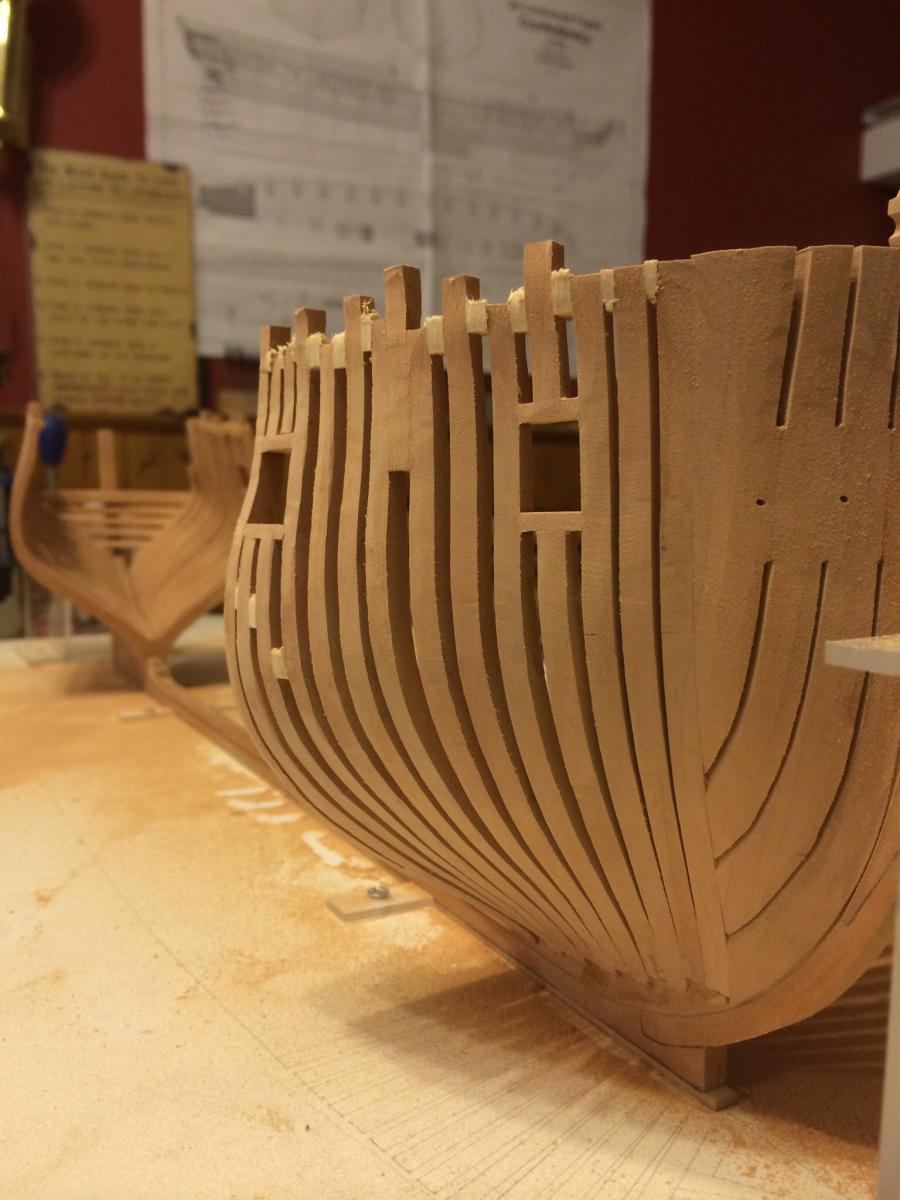
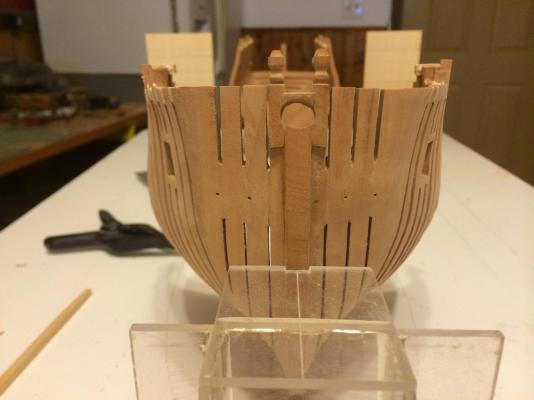
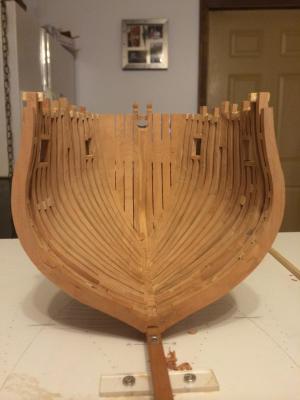
Thanks AP, Rusty, Nils and for all the likes. Rusty - it's good to see you back around. So the rough fairing has been completed and frame pair K which is the first frame bend has now been installed with its spacers. I am making and installing the floor spacers from 4" Swiss pear as the square frames go in, and the frame bend spacers are 4" boxwood that I hope will give a little bit of contrast. As of today, frame 14fore and frame pair J have been cut out and need assembly, hopefully over next few days. Ben
- 889 replies
-
- 27
-
-
nicely corrected for Toni. ben
-
Why thank you Druxey, from you that makes me feel a little easier! Ben
-
Glad to see you back at it Rusty, I know how the work schedule reduces modeling time just lately! Spilling looks good but I have to ask, is that Swiss pear that you are using or something else? Ben
-
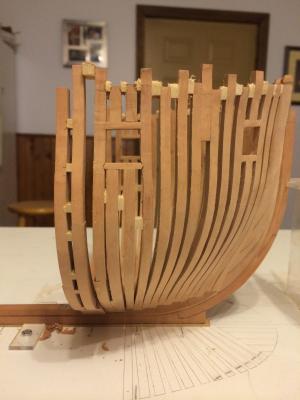
All the problem can't frames have been replaced and rough fairing inside and out has begun. Ben
- 889 replies
-
- 22
-
-
Nice to see you back on the move mate. Ben
-
Well done Mark, I know how damnable those hawse timbers are to get correct, I had to take 3 runs at it on Pegasus. Ben
-
Nope, but maybe one day. Ben
-
Ah yes, the joy of redos, I know the feeling well. I'm sure you will be happier after it's done. Ben
-
Really Really Really nice Man! Gotta love Jeff's Swiss pear and you got that deck perfect! Beautiful work. Enjoy the Vaca! Ben
- 2,191 replies
-
- 1
-
-
- confederacy
- Model Shipways
- (and 1 more)
-
Sweet work Danny, did you buy the mast plans from Admiralty models? As you say TFFM4 doesn't have scale drawings. Ben
-
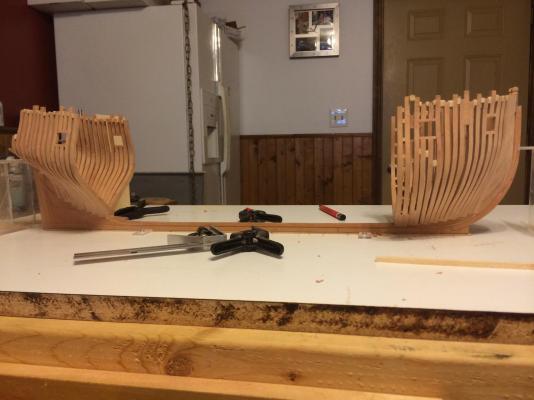
Thanks Grant. And after making both L fore and L aft square frames I found that the cant frames 11 and 12 were not correct and did not give a nice line for fairing up, so they were removed and new ones are being made now. Ben
-
Just realized I hadn't seen the completed deck! All I can say is WOW! That Swiss pear looks awesome, really nice choice on that! I thought it may of been a little dark but it looks great. Really well done and you are now passing my Confeds build mark which was also just around the one year mark at that point! Keep going man and you will be finished in another year unless you decide to rig her. Ben
- 2,191 replies
-
- 3
-
-
- confederacy
- Model Shipways
- (and 1 more)
-
Very Nice Danny, I will remember the Pumice stone idea for using as a solder base! ben
-
Thanks Michael and Augie. Greg - I took your advice on the aft cants and installed 14aft, I am going to do the same up front with the forward gunport framing. Ben
-
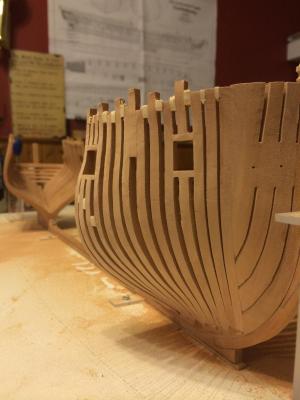
Fore Cants up to #10 have been installed, now to make #11 with the 2" cast top timber for the forward gunport. Ben

- 889 replies
-
- 26
-
-
Dewalt 788 Scroll Saw Steal
Trussben replied to FlounderFillet5's topic in Modeling tools and Workshop Equipment
That's a very lucky find, well done! I have the same saw and I use the Flying Dutchman Ultra reverse blades in a variety of sizes, mostly #3 and #5 and I have had very good experience with them, although they don't last forever cutting hardwoods like boxwood and Swiss pear. Ben -
Glad to see progress Chris, an hour a night should see some progress move along nicely, I bet I only get that much modeling time a week at the moment. Ben
-
I'm not sure you are reading my log Toni, maybe Remco's! :P My log is full of "Had to remake this again" or "Thanks Druxey, I shall pull that part out and re-position again". But I do take your warning to not become complacent. ben
-
Greg may correct me, but I believe the hawse holes always tilted outboard ( i.e. higher on inside, lower outside ), so cables would come aboard easier and water would drain from them to the sea. I think in TFFM vol1 David states they should be at same angle as the hawse timber air gap joints which have a slight tilt outboard. ben
-
Yep, the hawse holes look great now, what deflection is there between the inner and outer now they follow the sheer of the wales? I guessed from the plans that the outer is 1/16 lower than the inner but it would be nice to know what you actually got. Also are you going to line them? Ben
-
Thanks Guys! But like I say, I just followed TFFM and was proberbly very lucky! There are not many things on my Pegasus so far that came out correct first time around! Maybe that means I'm getting better at this! Ben