Trussben
-
Posts
2,007 -
Joined
-
Last visited
Content Type
Profiles
Forums
Gallery
Events
Everything posted by Trussben
-
 So frame 40 is the deadflat? It looks like the floor timbers reverse position on 41 and aftwards?
-
Looks like an interesting build, I will follow with interest.
-
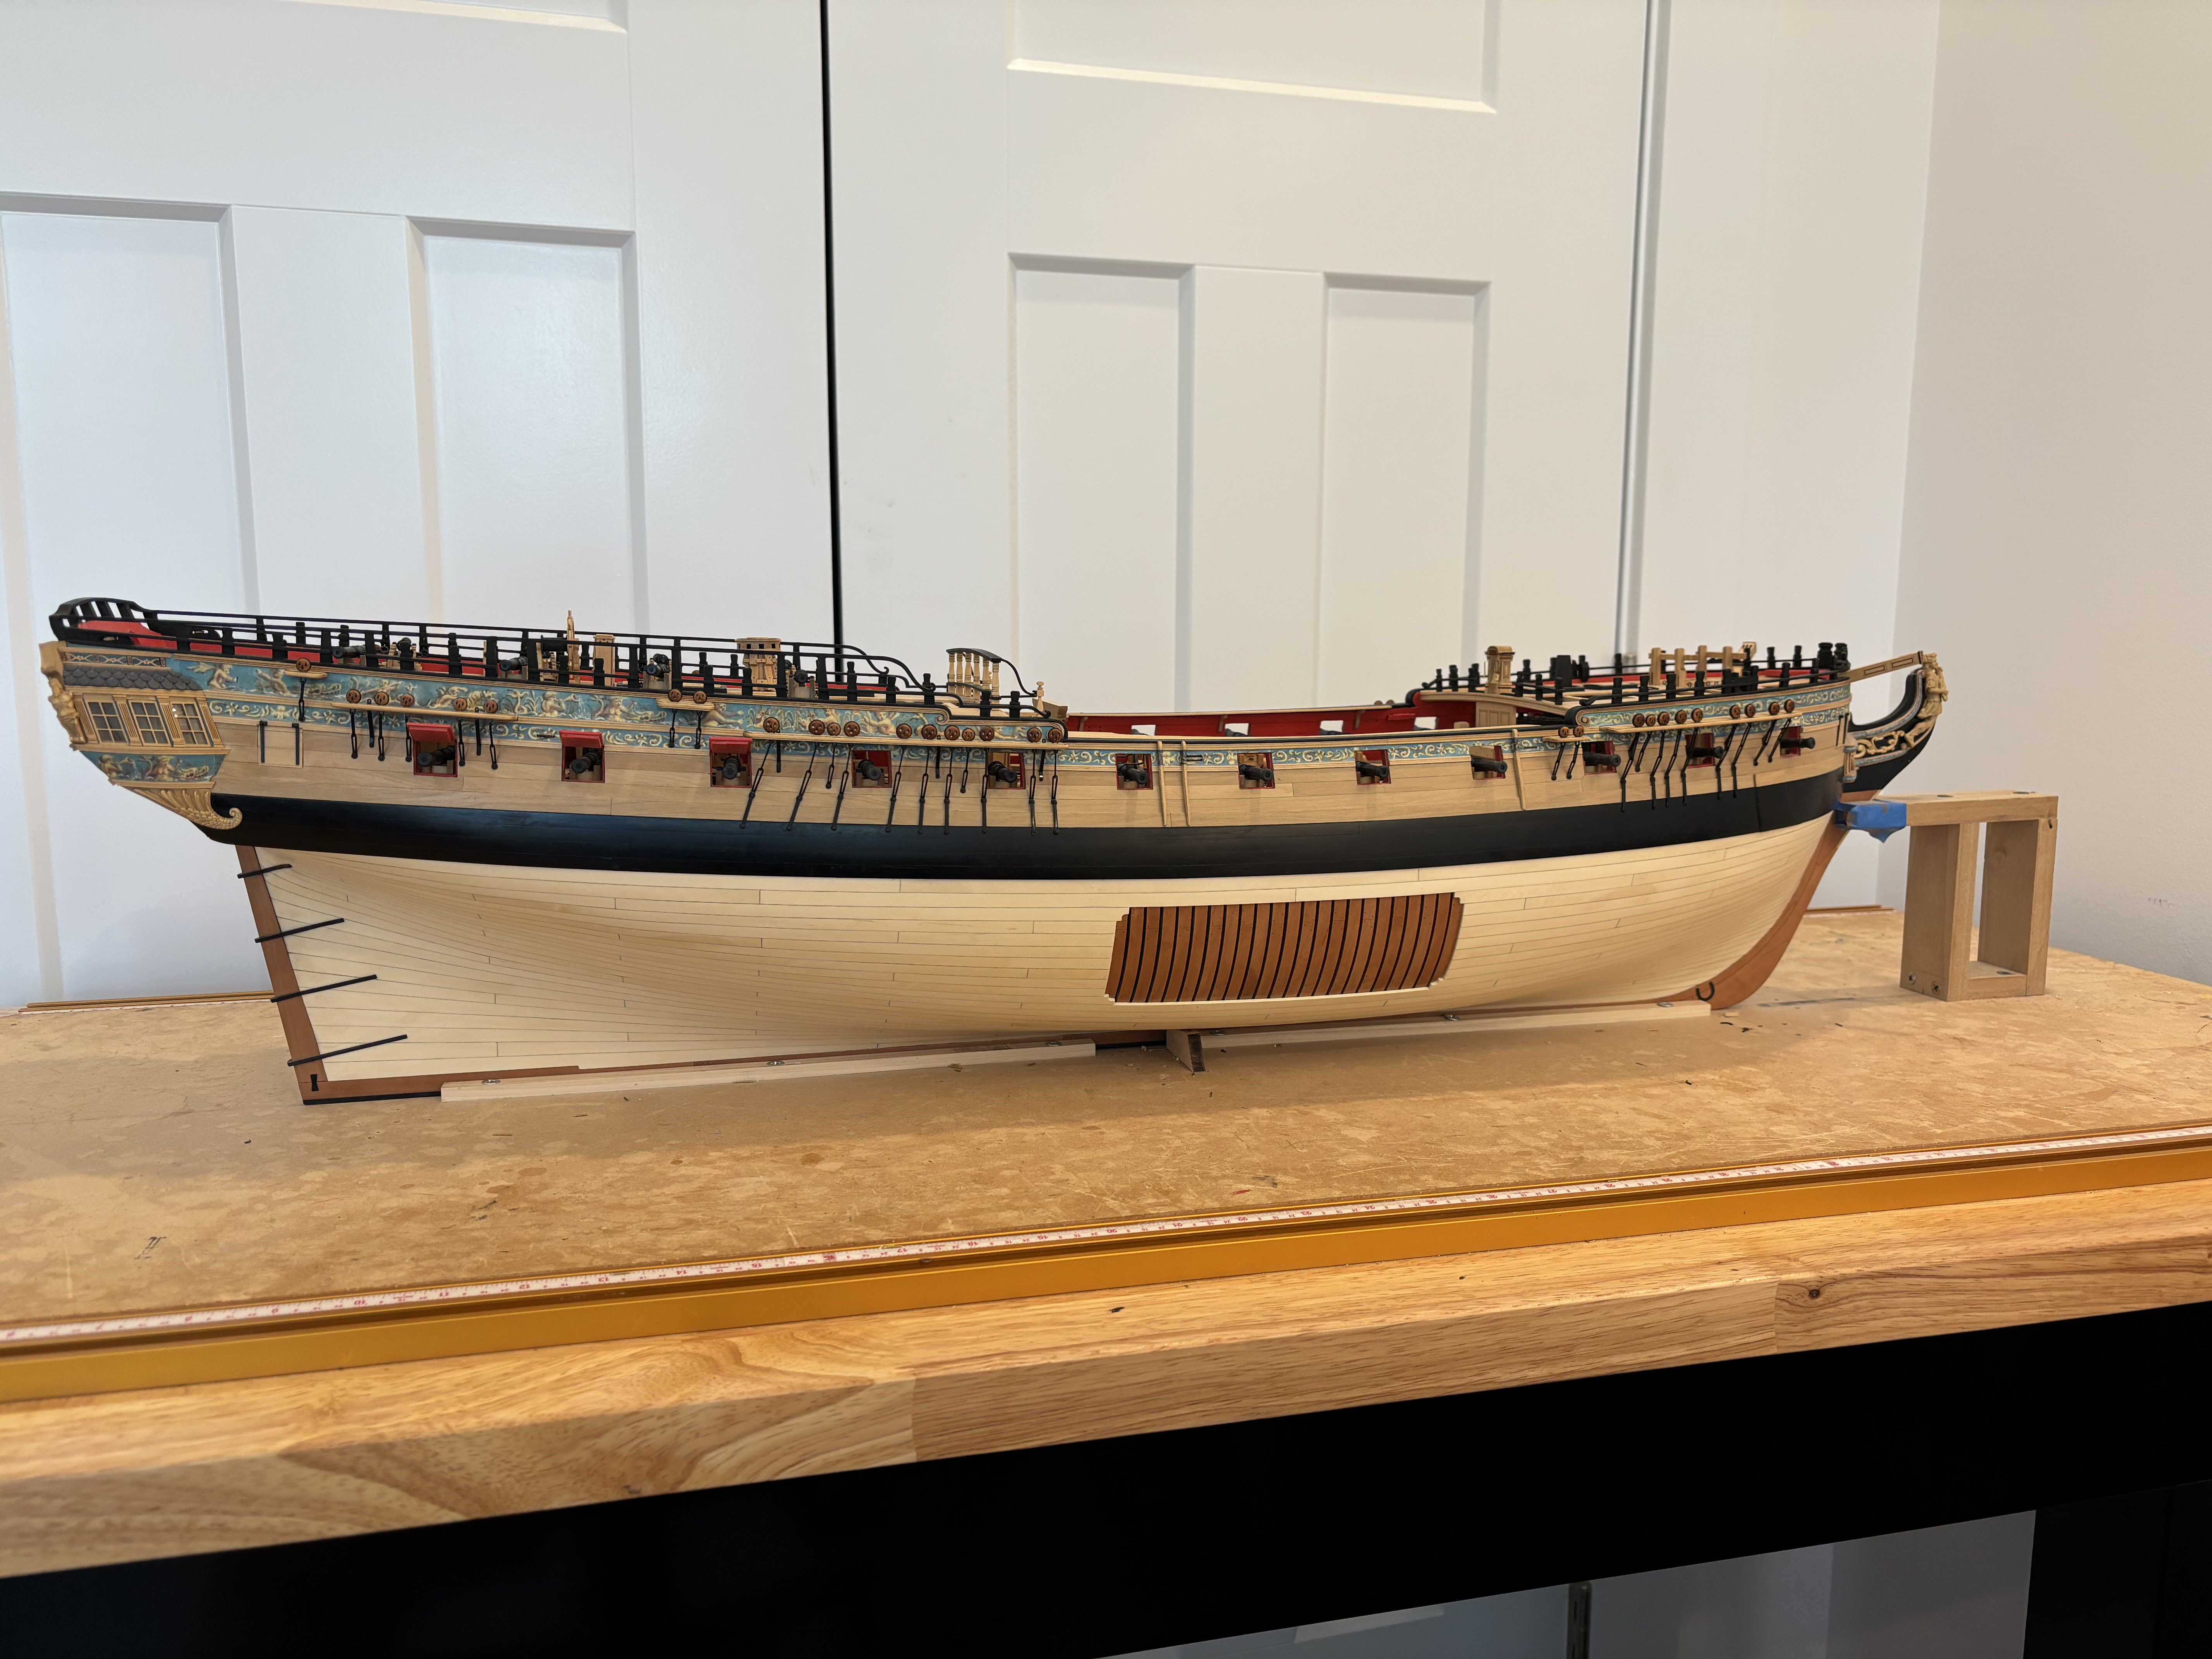
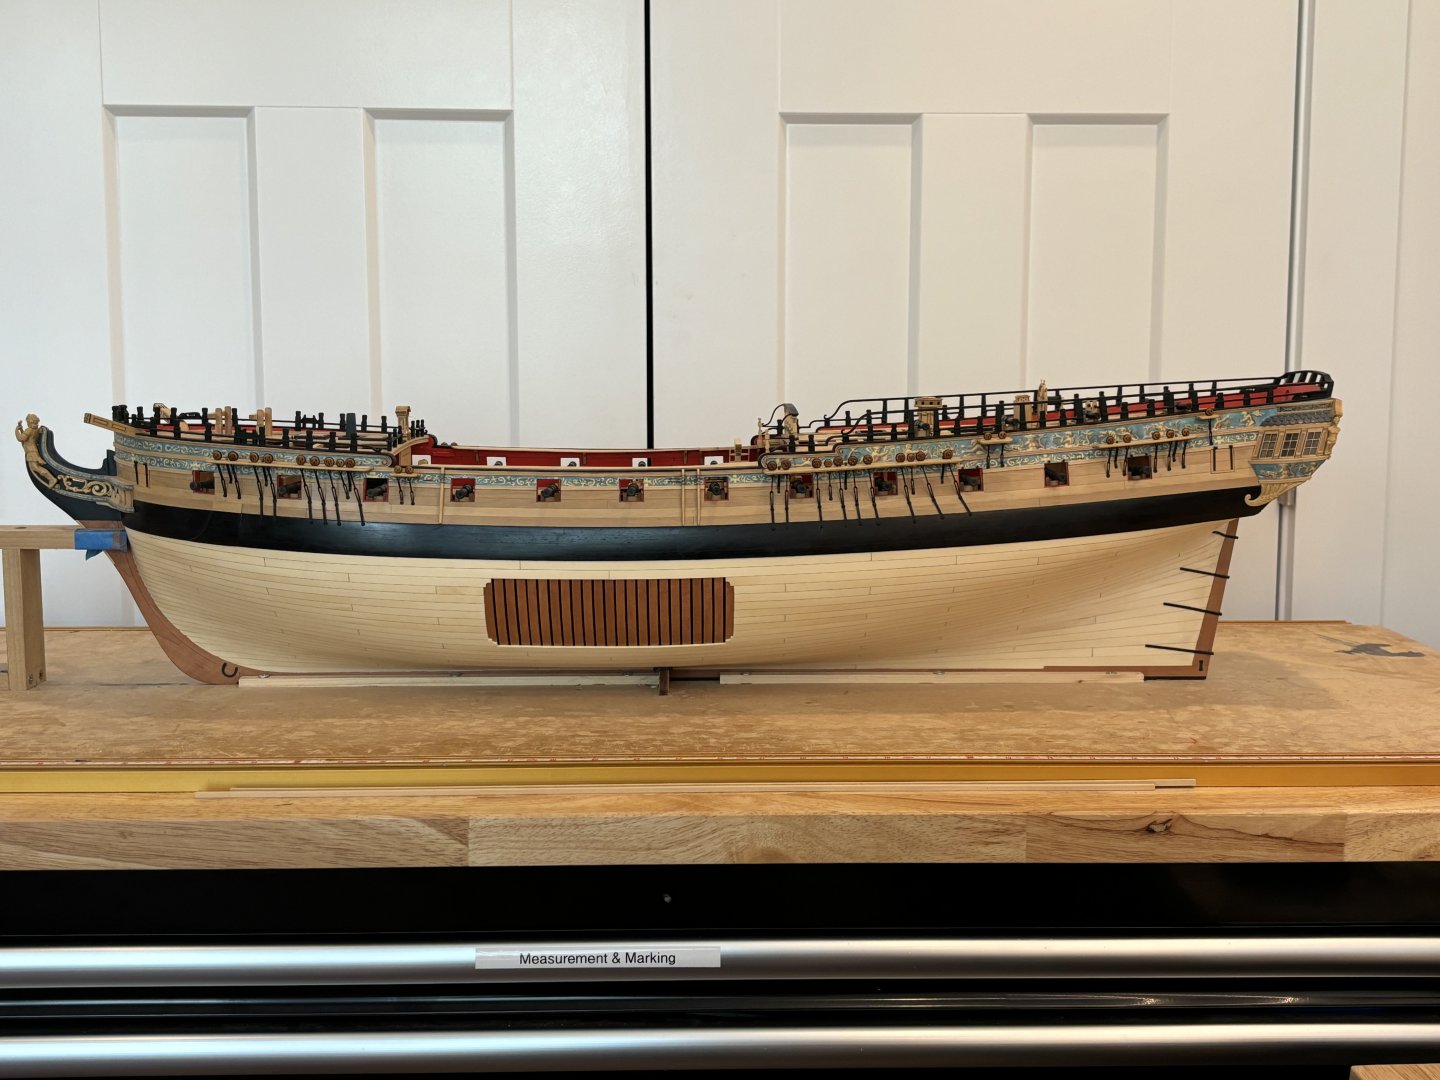
Chains completed on the Starboard side. I also installed the gunport lids on both sides and the remaining QD cannons. Only things left to finish Chapter 11 are the entry steps, anchor billboards and the elm tree pumps.

- 399 replies
-
- 17
-

-

-
- winchelsea
- Syren Ship Model Company
- (and 1 more)
-
I’m looking forward to working on the head details and finishing up this build - think I will miss working on her a lot Chuck!
- 399 replies
-
- 2
-
-
- winchelsea
- Syren Ship Model Company
- (and 1 more)
-
HI IMHO - the Winchelsea is pretty much the best 1:48 Frigate “kit” out there, it is perfectly designed and the laser cut parts supplied by Syren are excellent - this gives the builder the best chance to complete a really good looking model and I guess that’s why it’s so popular.
- 399 replies
-
- 4
-
-
- winchelsea
- Syren Ship Model Company
- (and 1 more)
-
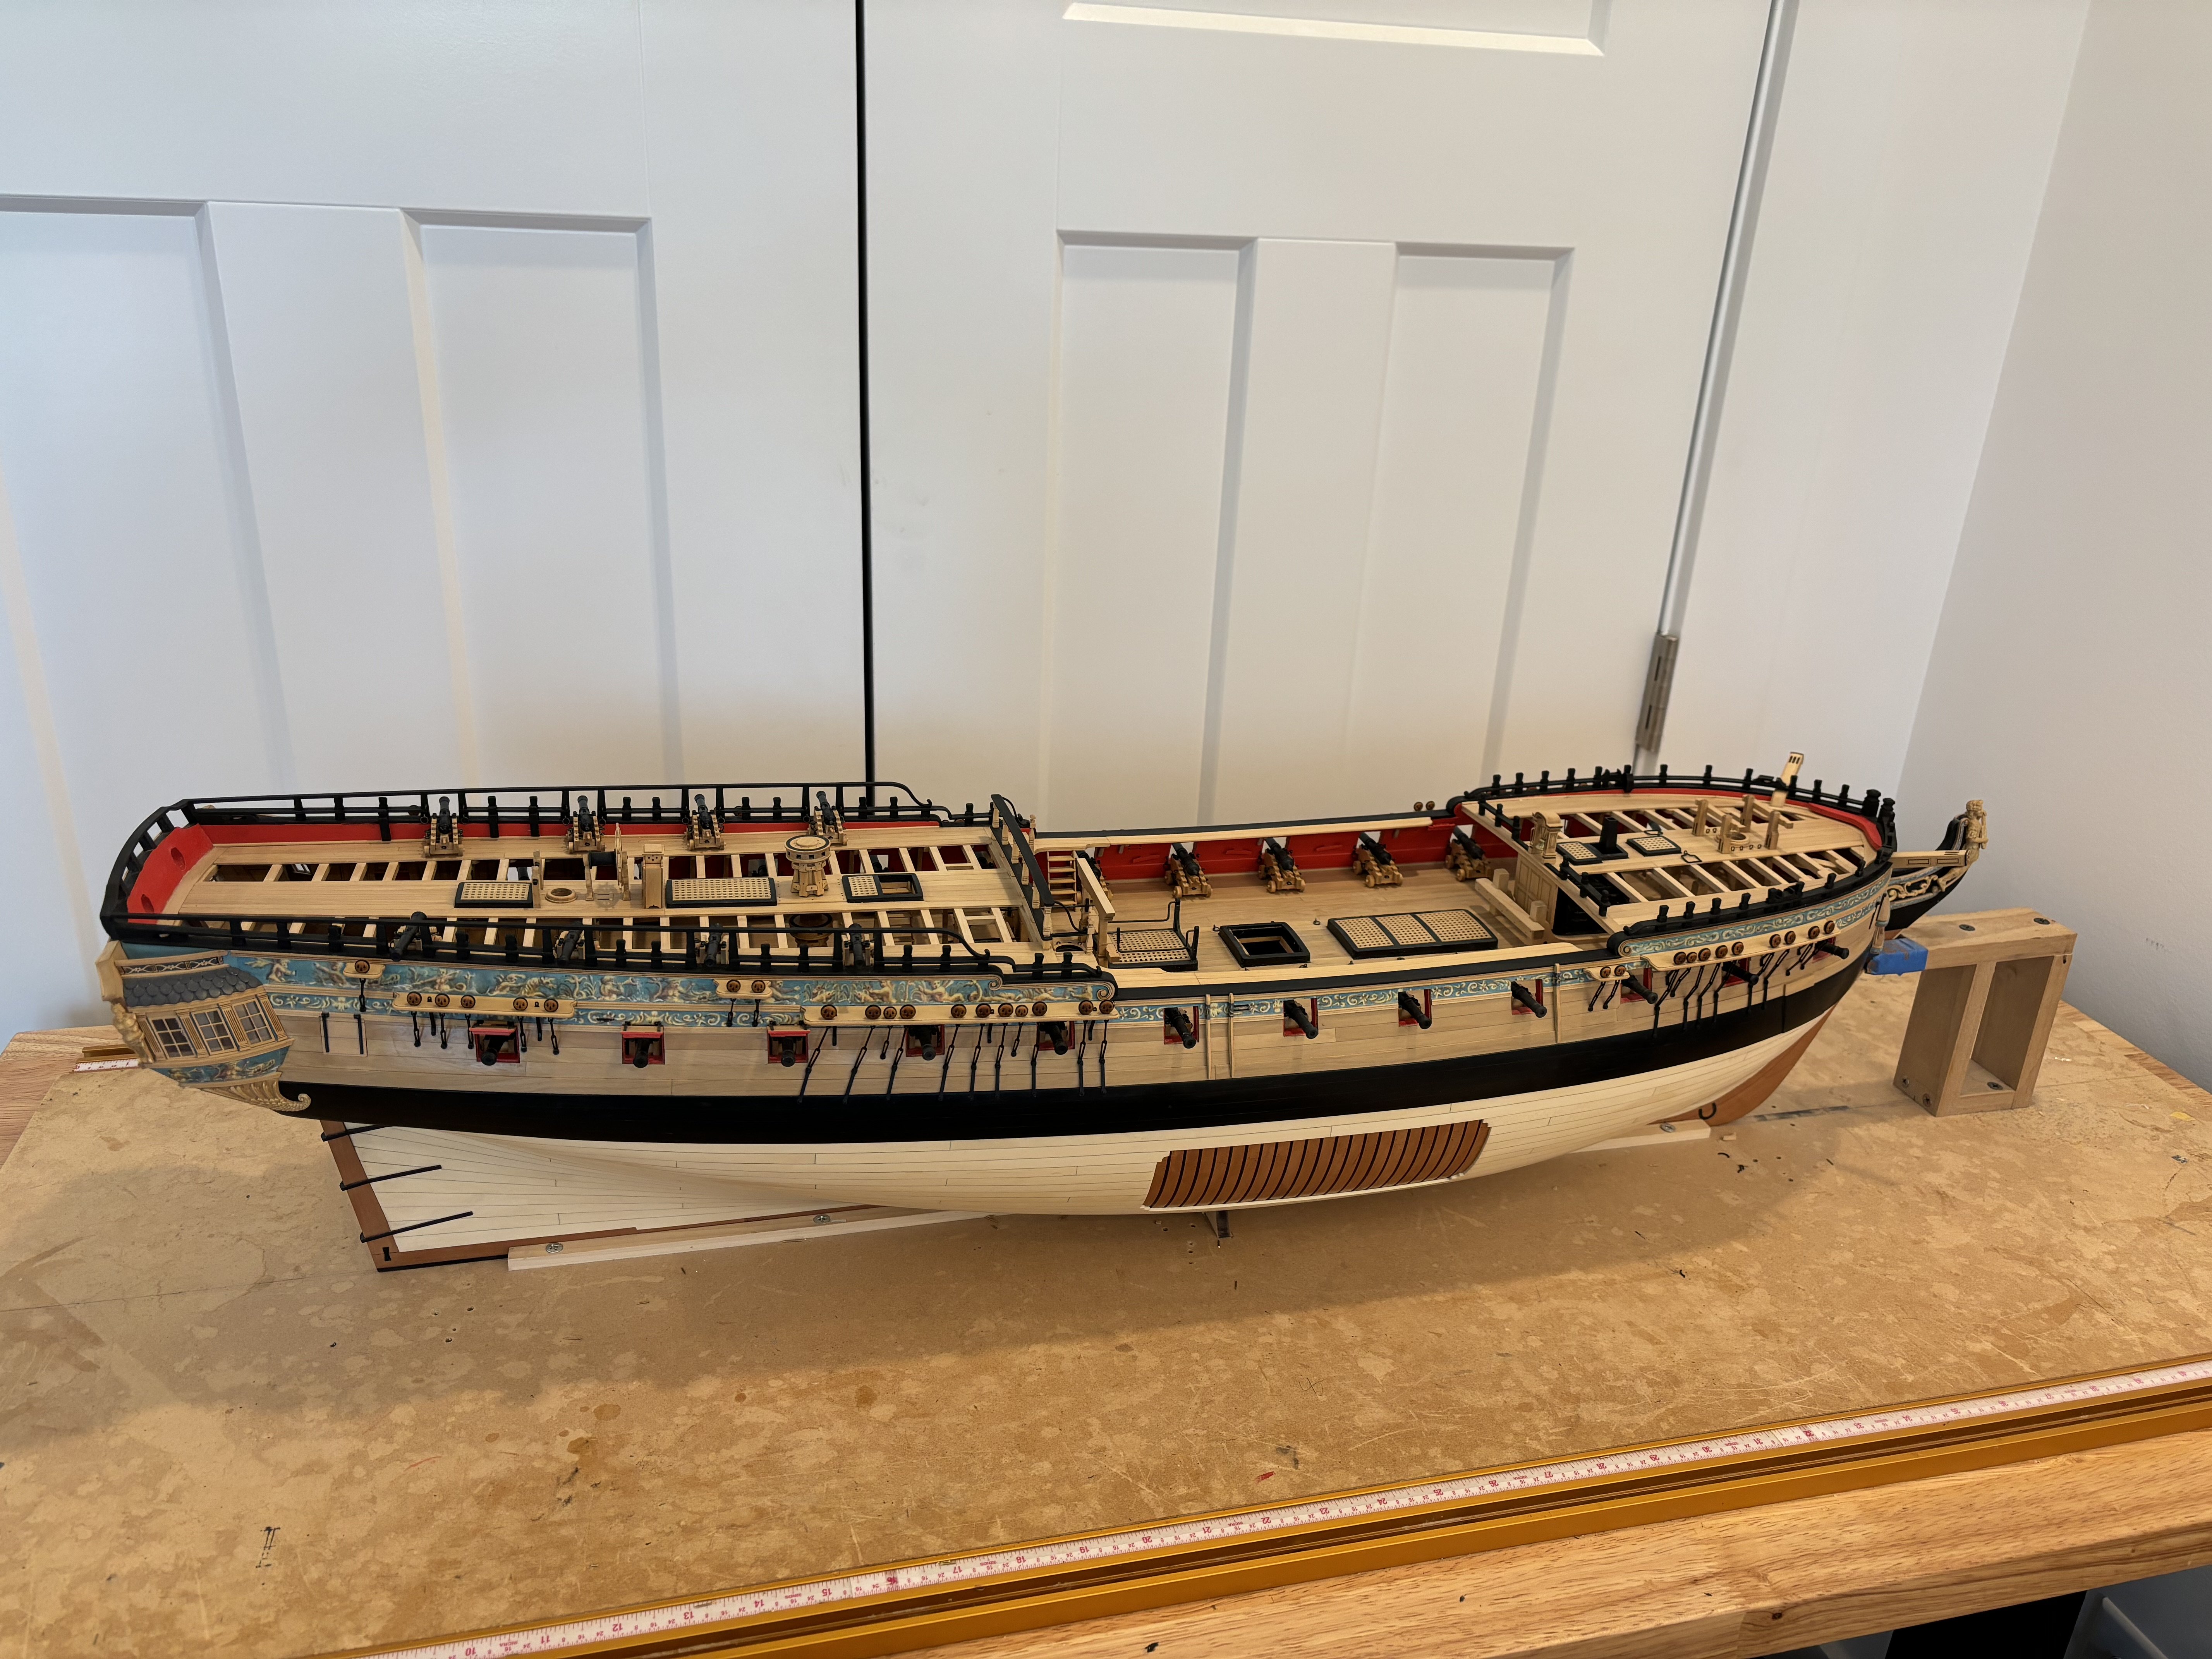
Chains completed on Port side, I’m happy now with the Swiss pear deadeyes gave the contrast I wanted, onto the SB side.
- 399 replies
-
- 12
-
-
-
- winchelsea
- Syren Ship Model Company
- (and 1 more)
-
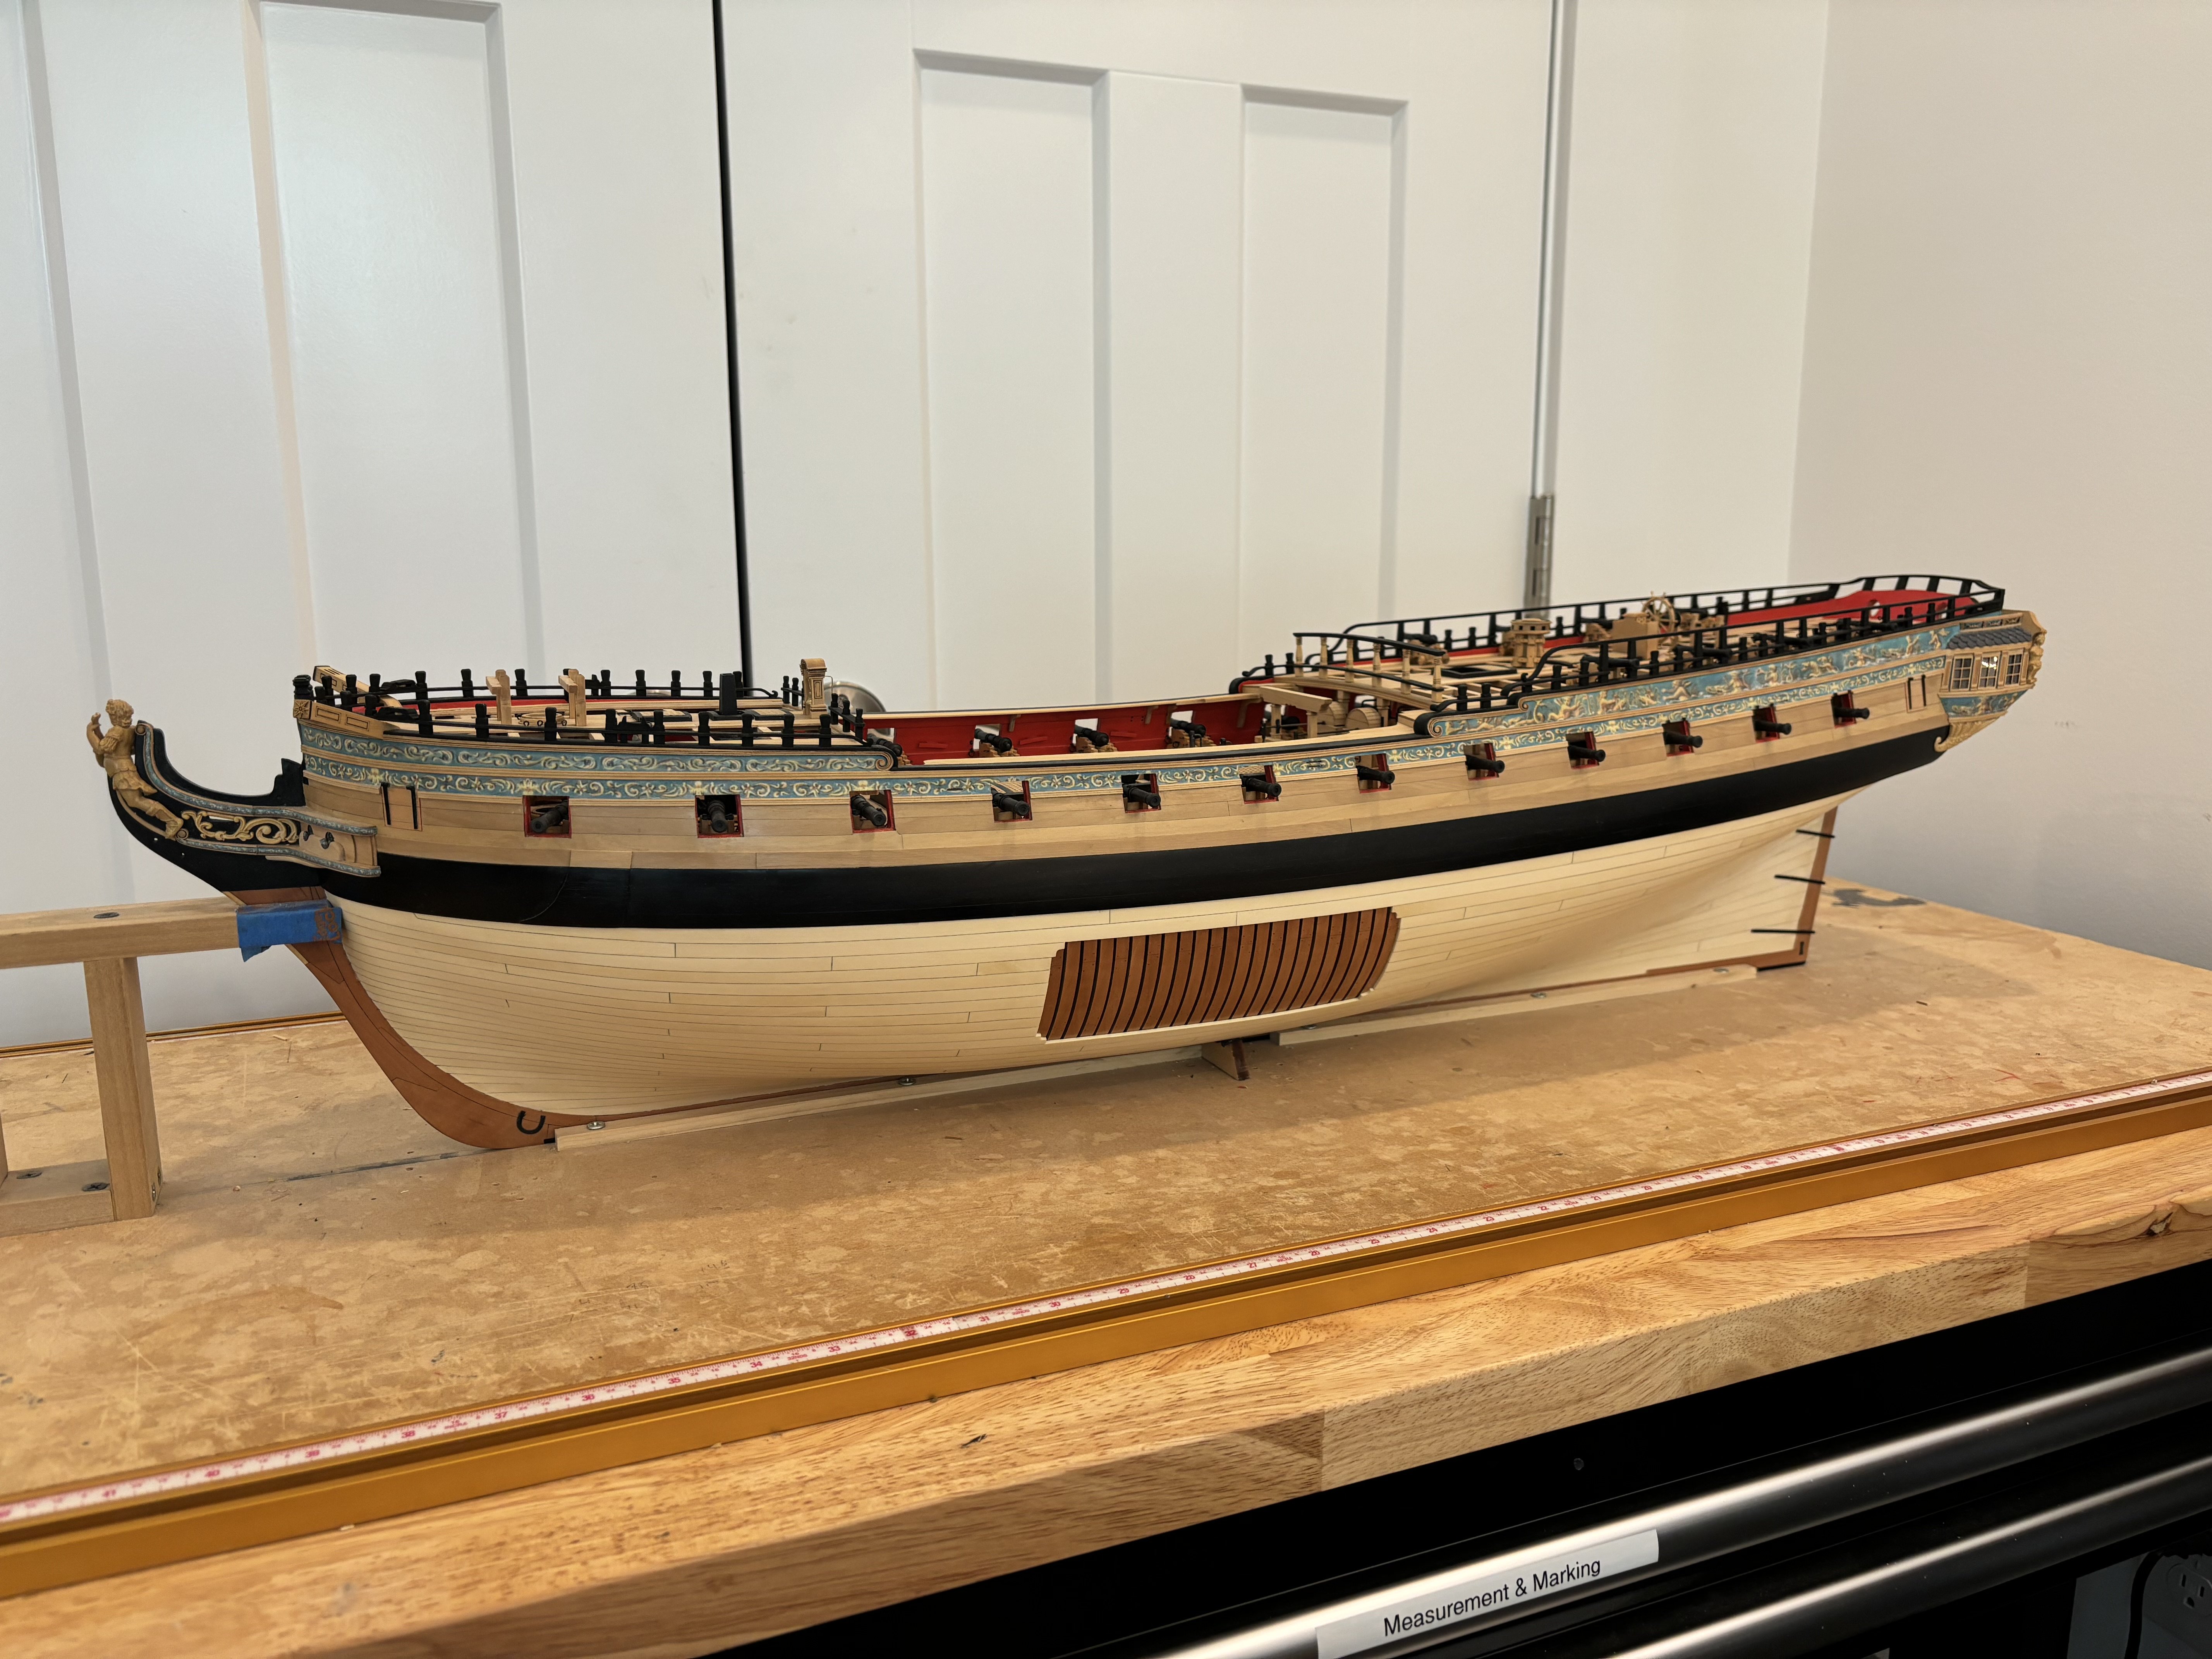
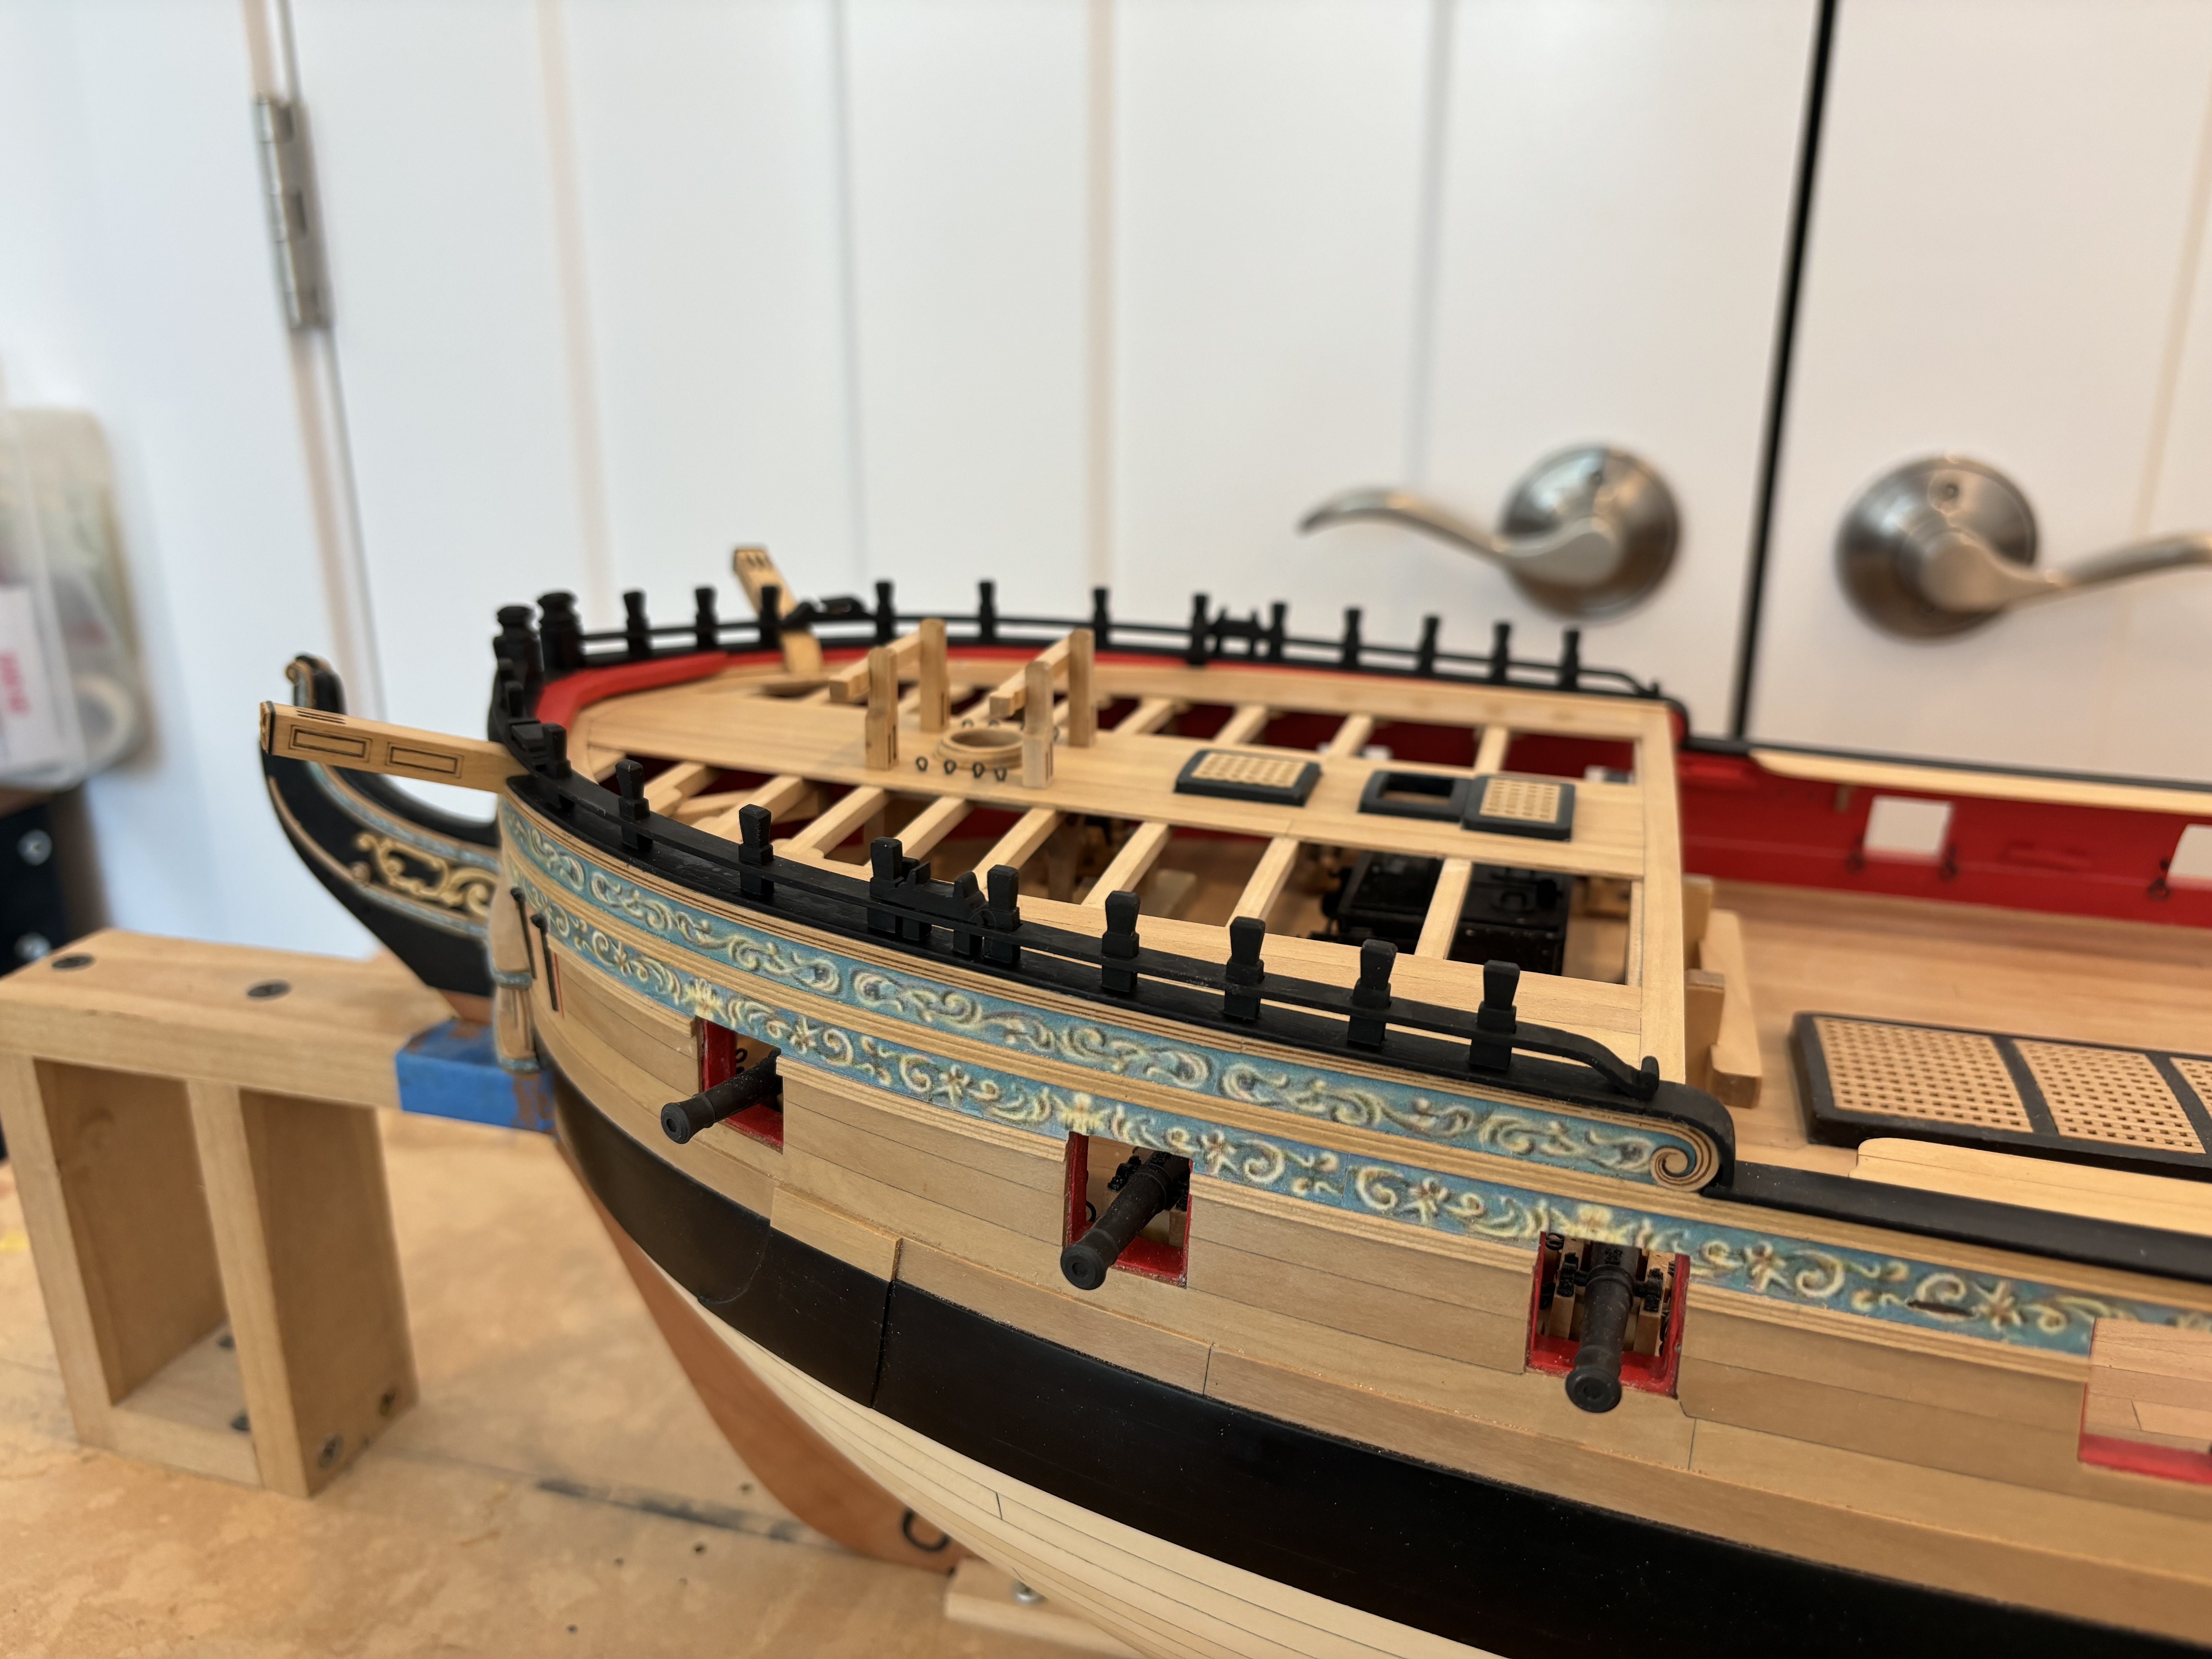
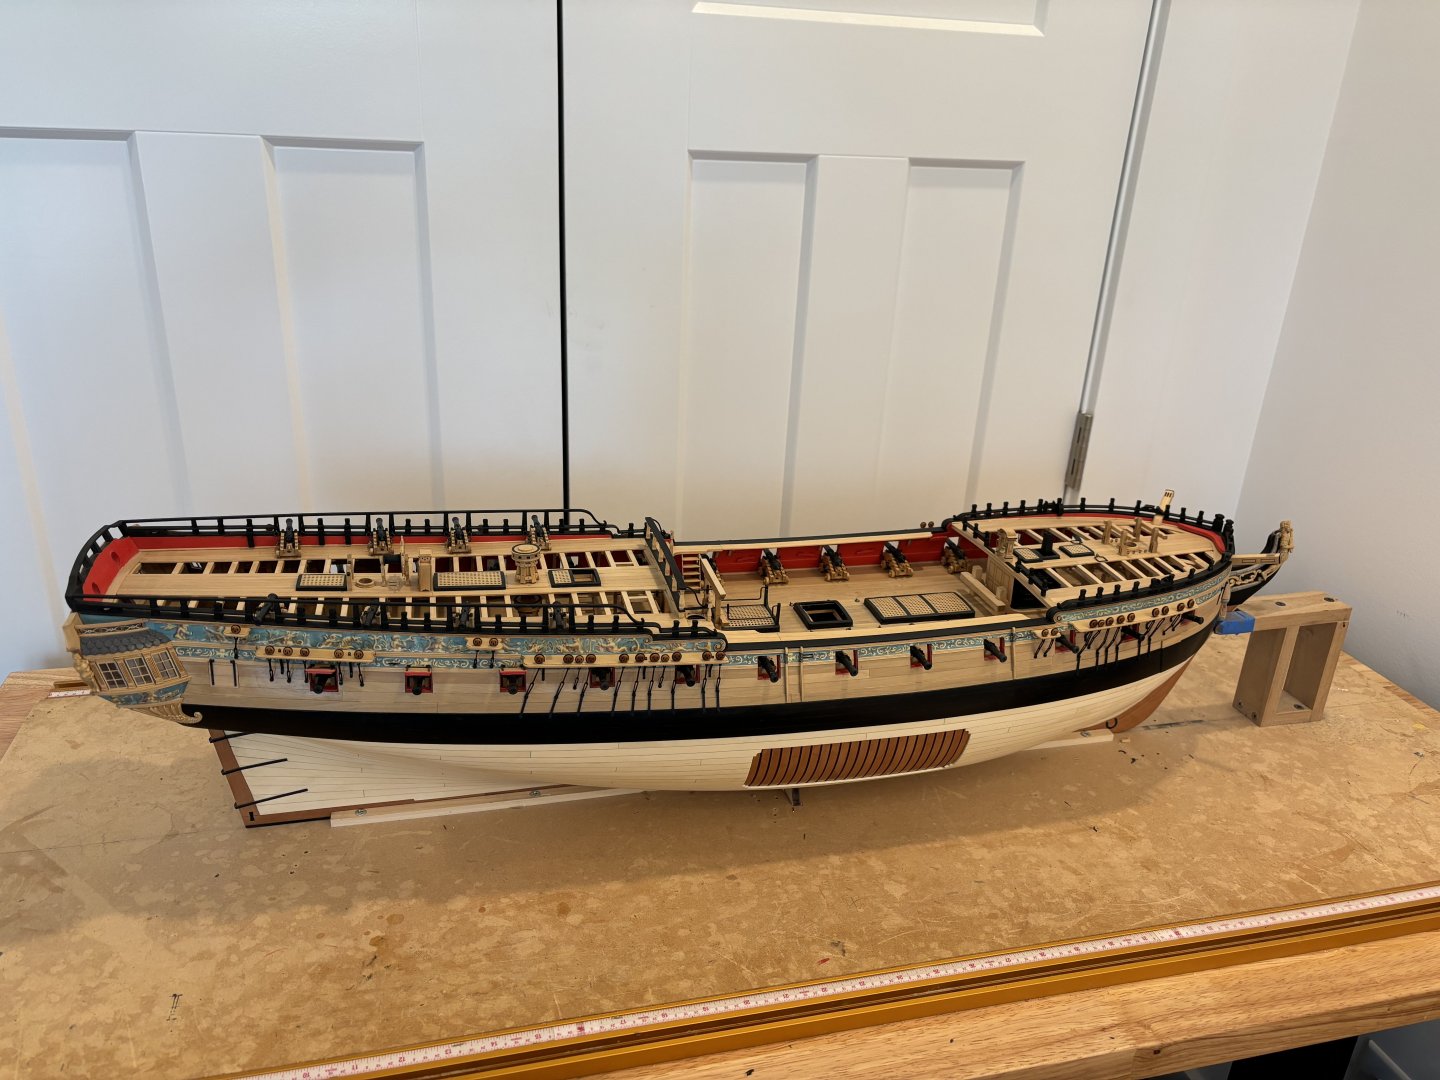
Halfway through Chapter 11, the gangways and their ladders along with newel posts and their fancy work is done. The Chesstrees and fenders, with their friezes completed. All of the Channels installed and I have started adding the channel straps, I looked at both boxwood or ebony deadeyes and I didn’t like the look of either so I have ordered some Swiss Pear deadeyes hoping they give the look that I want. I have also made a decision about the swivel guns - I’m not going to install them or their mounts - not keen on how they look on finished models that I have seen sticking up and altering the flow of the model.

- 399 replies
-
- 13
-
-
-
- winchelsea
- Syren Ship Model Company
- (and 1 more)
-
That’s a monster build cradle!!
-
Let me be among the first to Congratulate you Glenn, you have achieved a stunning model of the Winchelsea and I look forward to following your next project.
- 840 replies
-
- 3
-
-
- winchelsea
- Syren Ship Model Company
- (and 1 more)
-
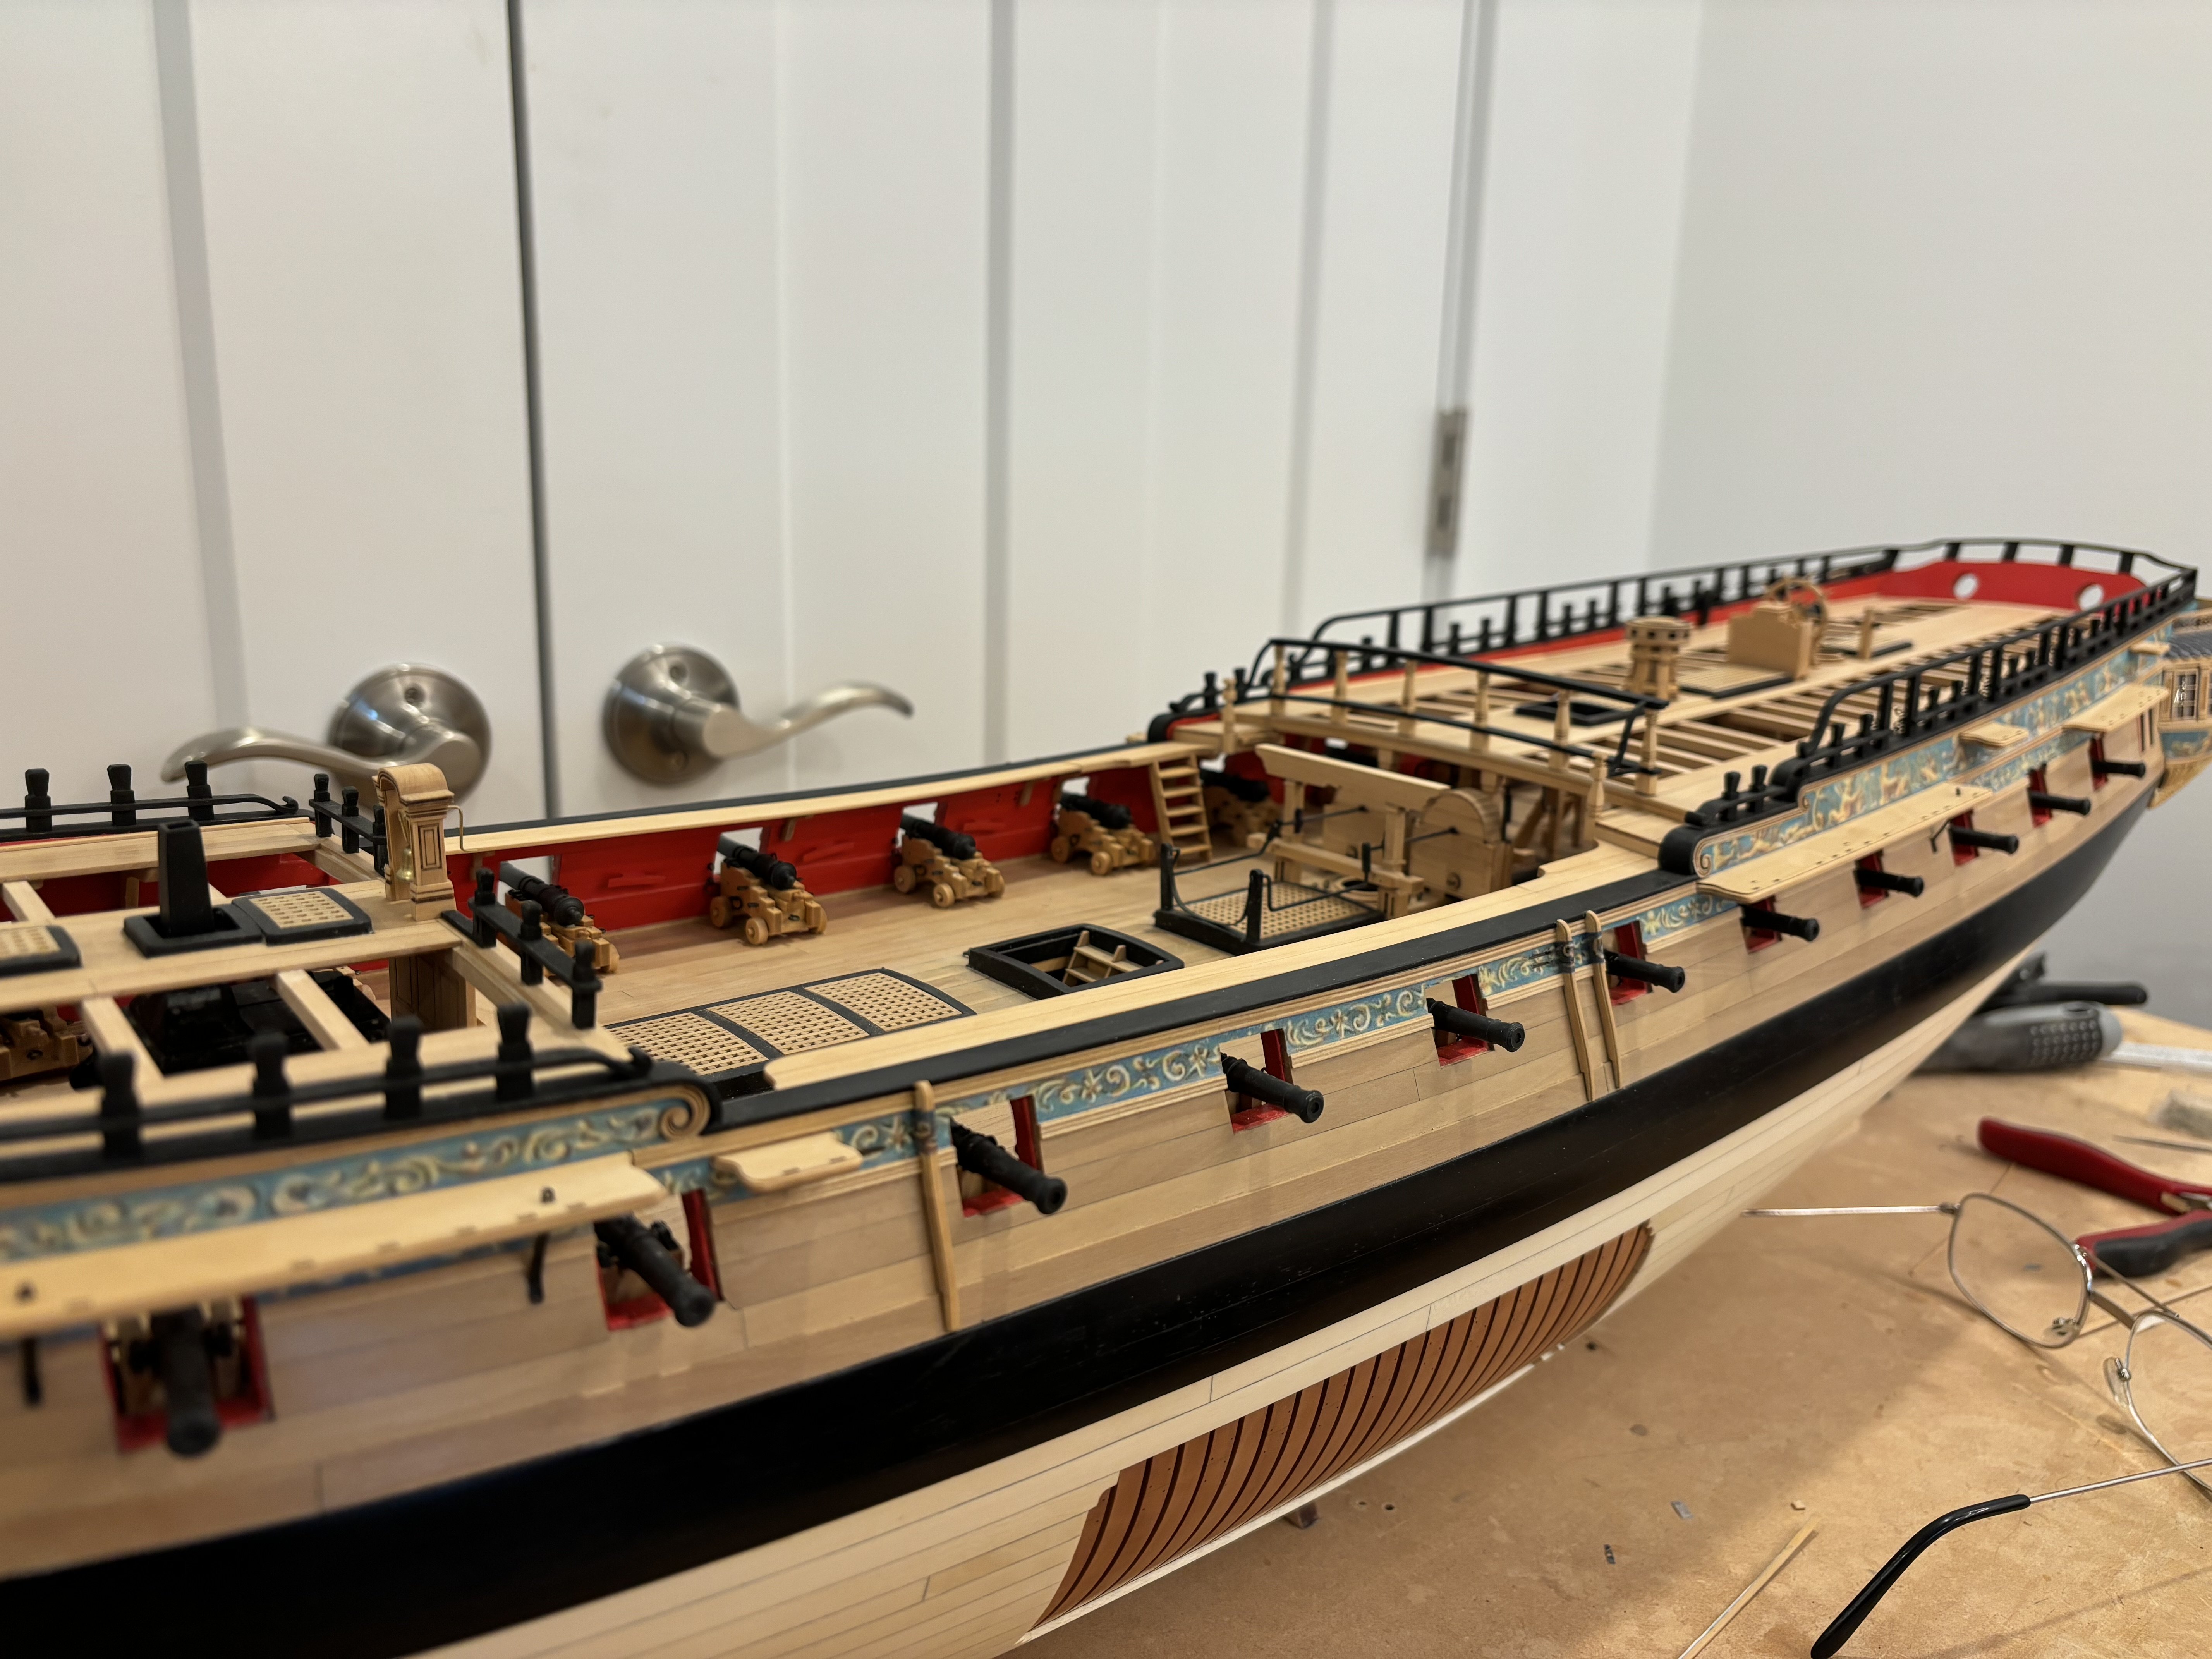
Pushing forward into Chapter 11, I cleaned all of the channel pieces and glued the layers together and faired the backside to fit each location, I then added 1mm brass pins to each of them, 2 pins for the smaller ones and 3 pins for the longer ones. The trim work was cut away and then holes in the hull drilled to suit the pin positions, then the channel was glued in place. I just completed the port side and will get the other side done this week.
- 399 replies
-
- 14
-
-
- winchelsea
- Syren Ship Model Company
- (and 1 more)
-
When do we get to see more JJ?
-
I’m not sure about the “all natural” quote there Glenn, there is actually a lot more paint on this model than I like personally, but we all have to expand our horizons. My Pegasus only has one color of paint on it, and I now wish I had done that in ebony wood. ben
-
Looks awesome Did you forget to trim those frame joints back just below the gunport?
-
Very nicely done there!
-
Thanks for all the likes and nice comments!
-
Chapter 9 completed with the spanshackles in place.

- 399 replies
-
- 15
-
-
-
- winchelsea
- Syren Ship Model Company
- (and 1 more)
-
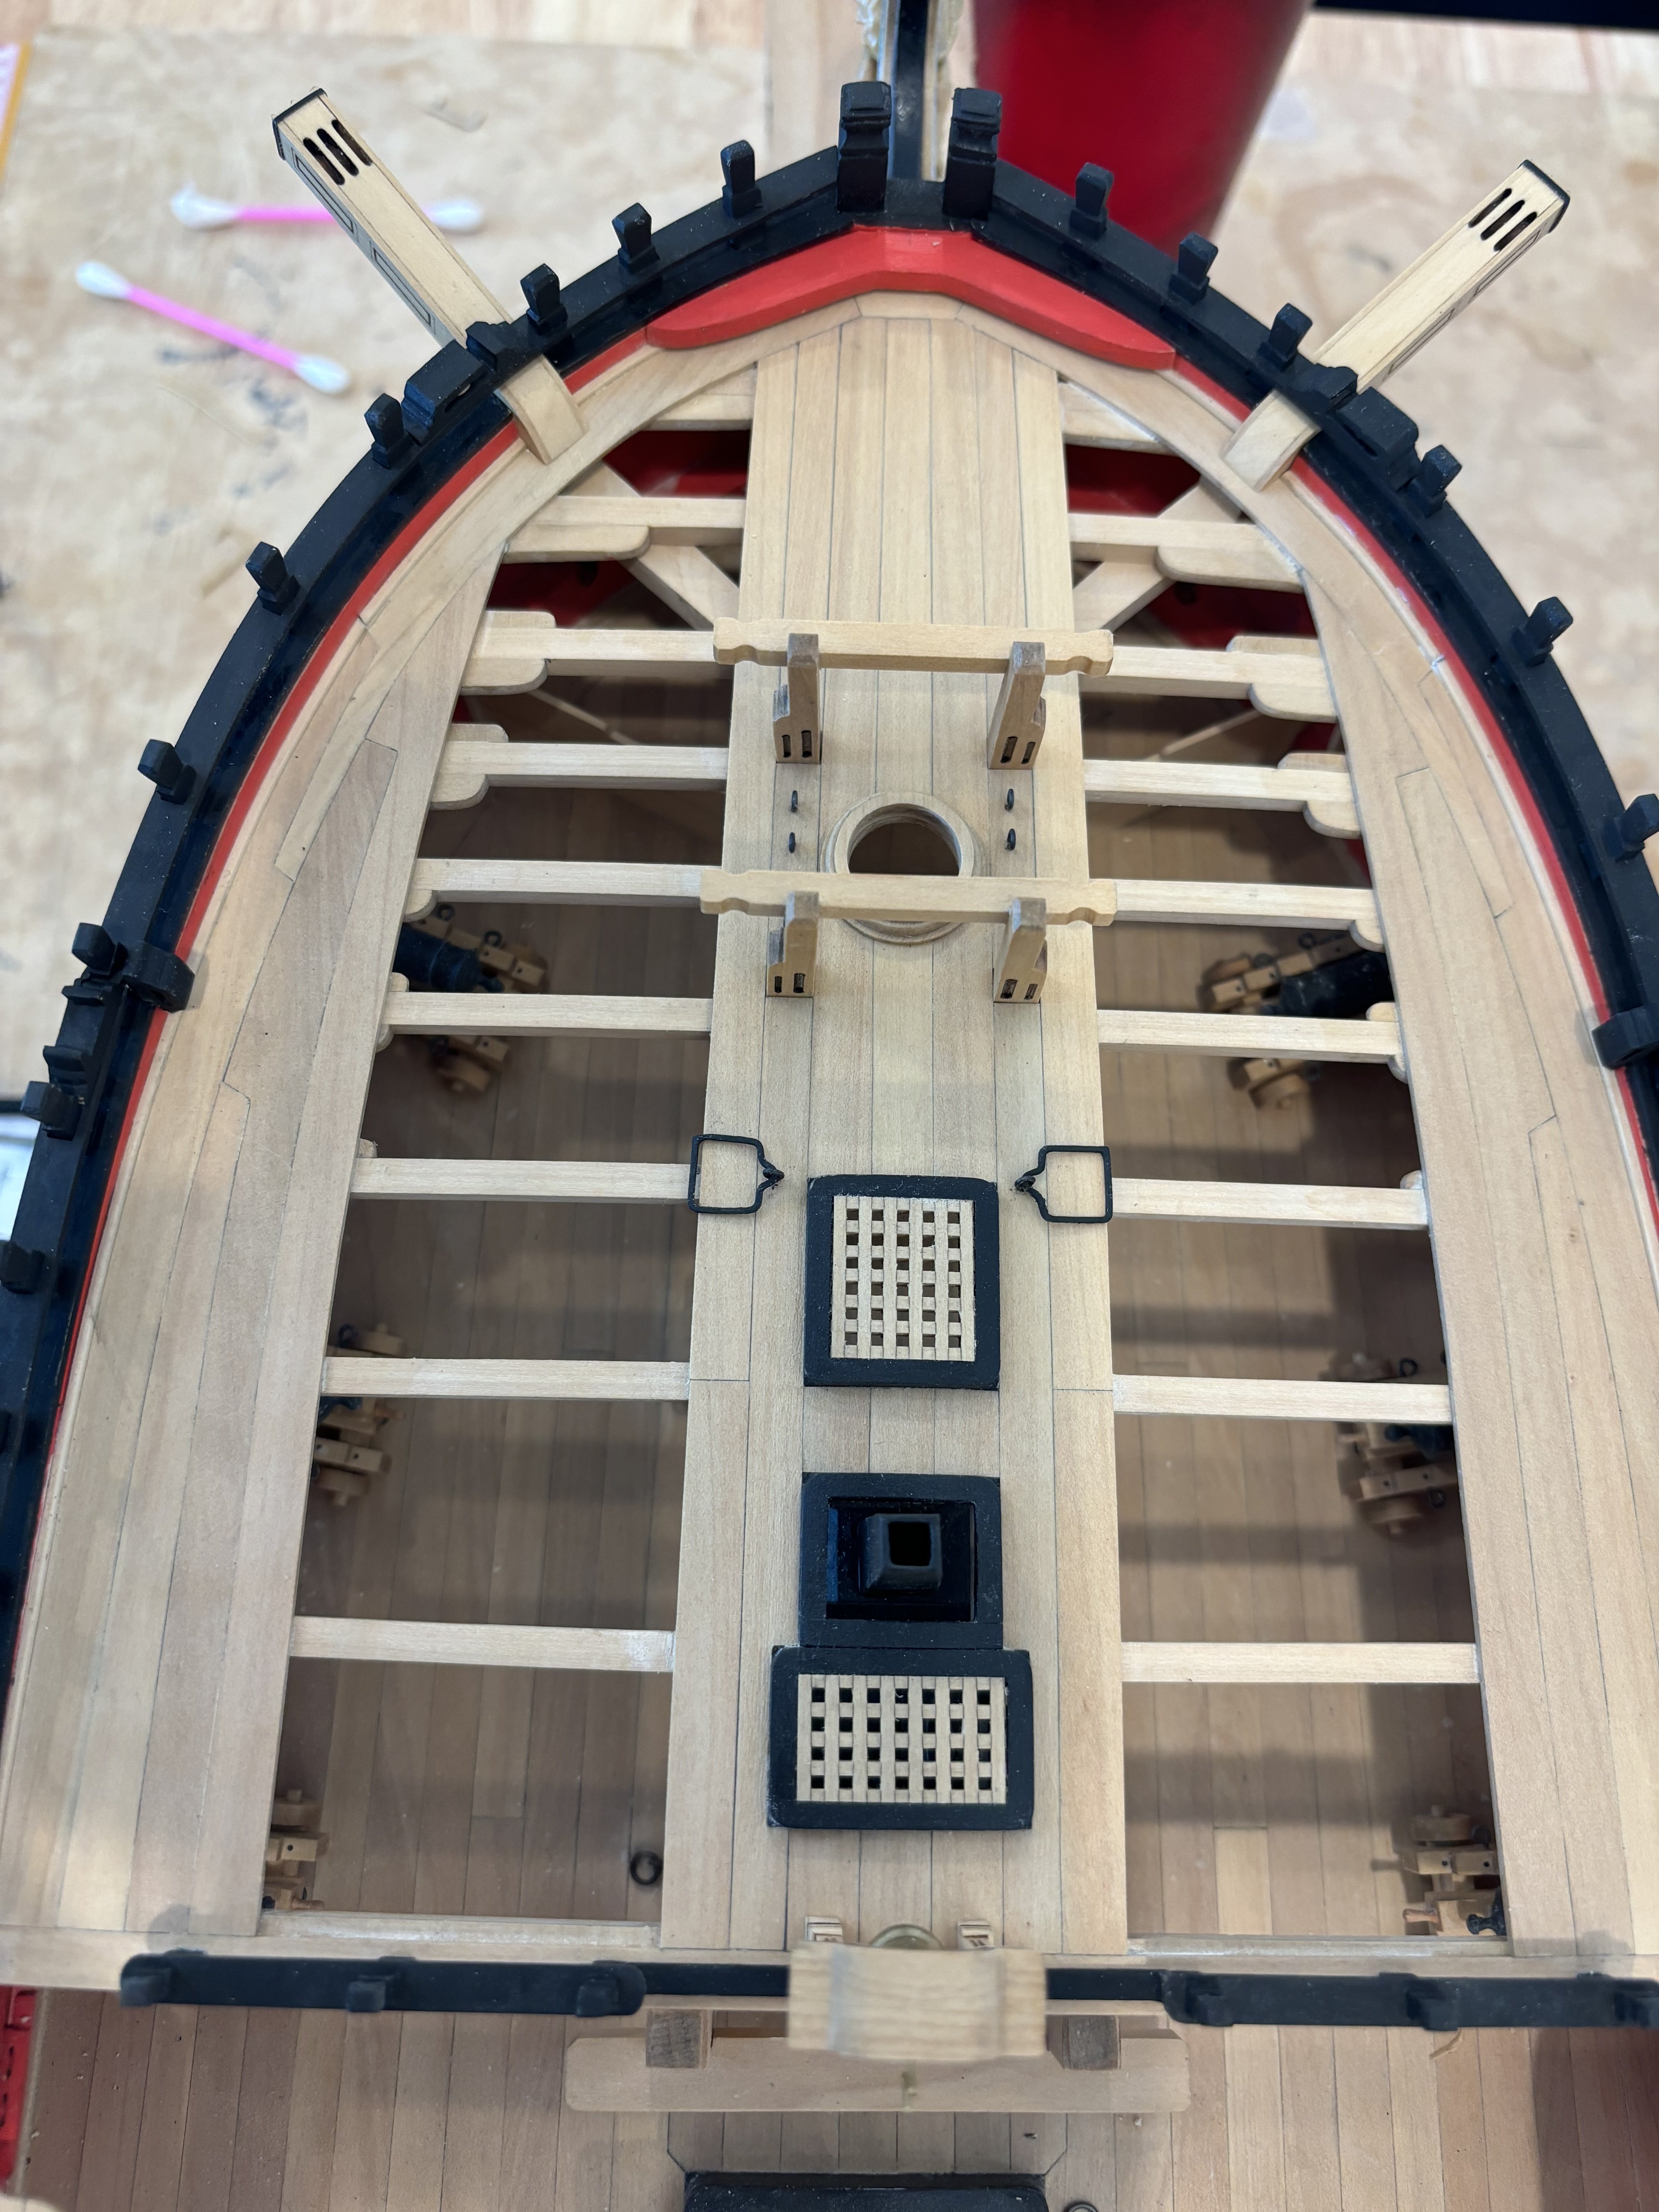
FC deck details completed except for spanshackles as still waiting on square brass wire to be delivered.
- 399 replies
-
- 11
-
-
-
- winchelsea
- Syren Ship Model Company
- (and 1 more)
-
Portland is coming along really nicely JJ, but also cant wait to see you back on the Winnie too! Will the lower deck be getting a full set of cannons/carriages or just dummy cannon barrels sticking out?
-
I feel your pain brother, but the result when you take the time to do it right really shows through!
- 399 replies
-
- 1
-
-
- winchelsea
- Syren Ship Model Company
- (and 1 more)
-
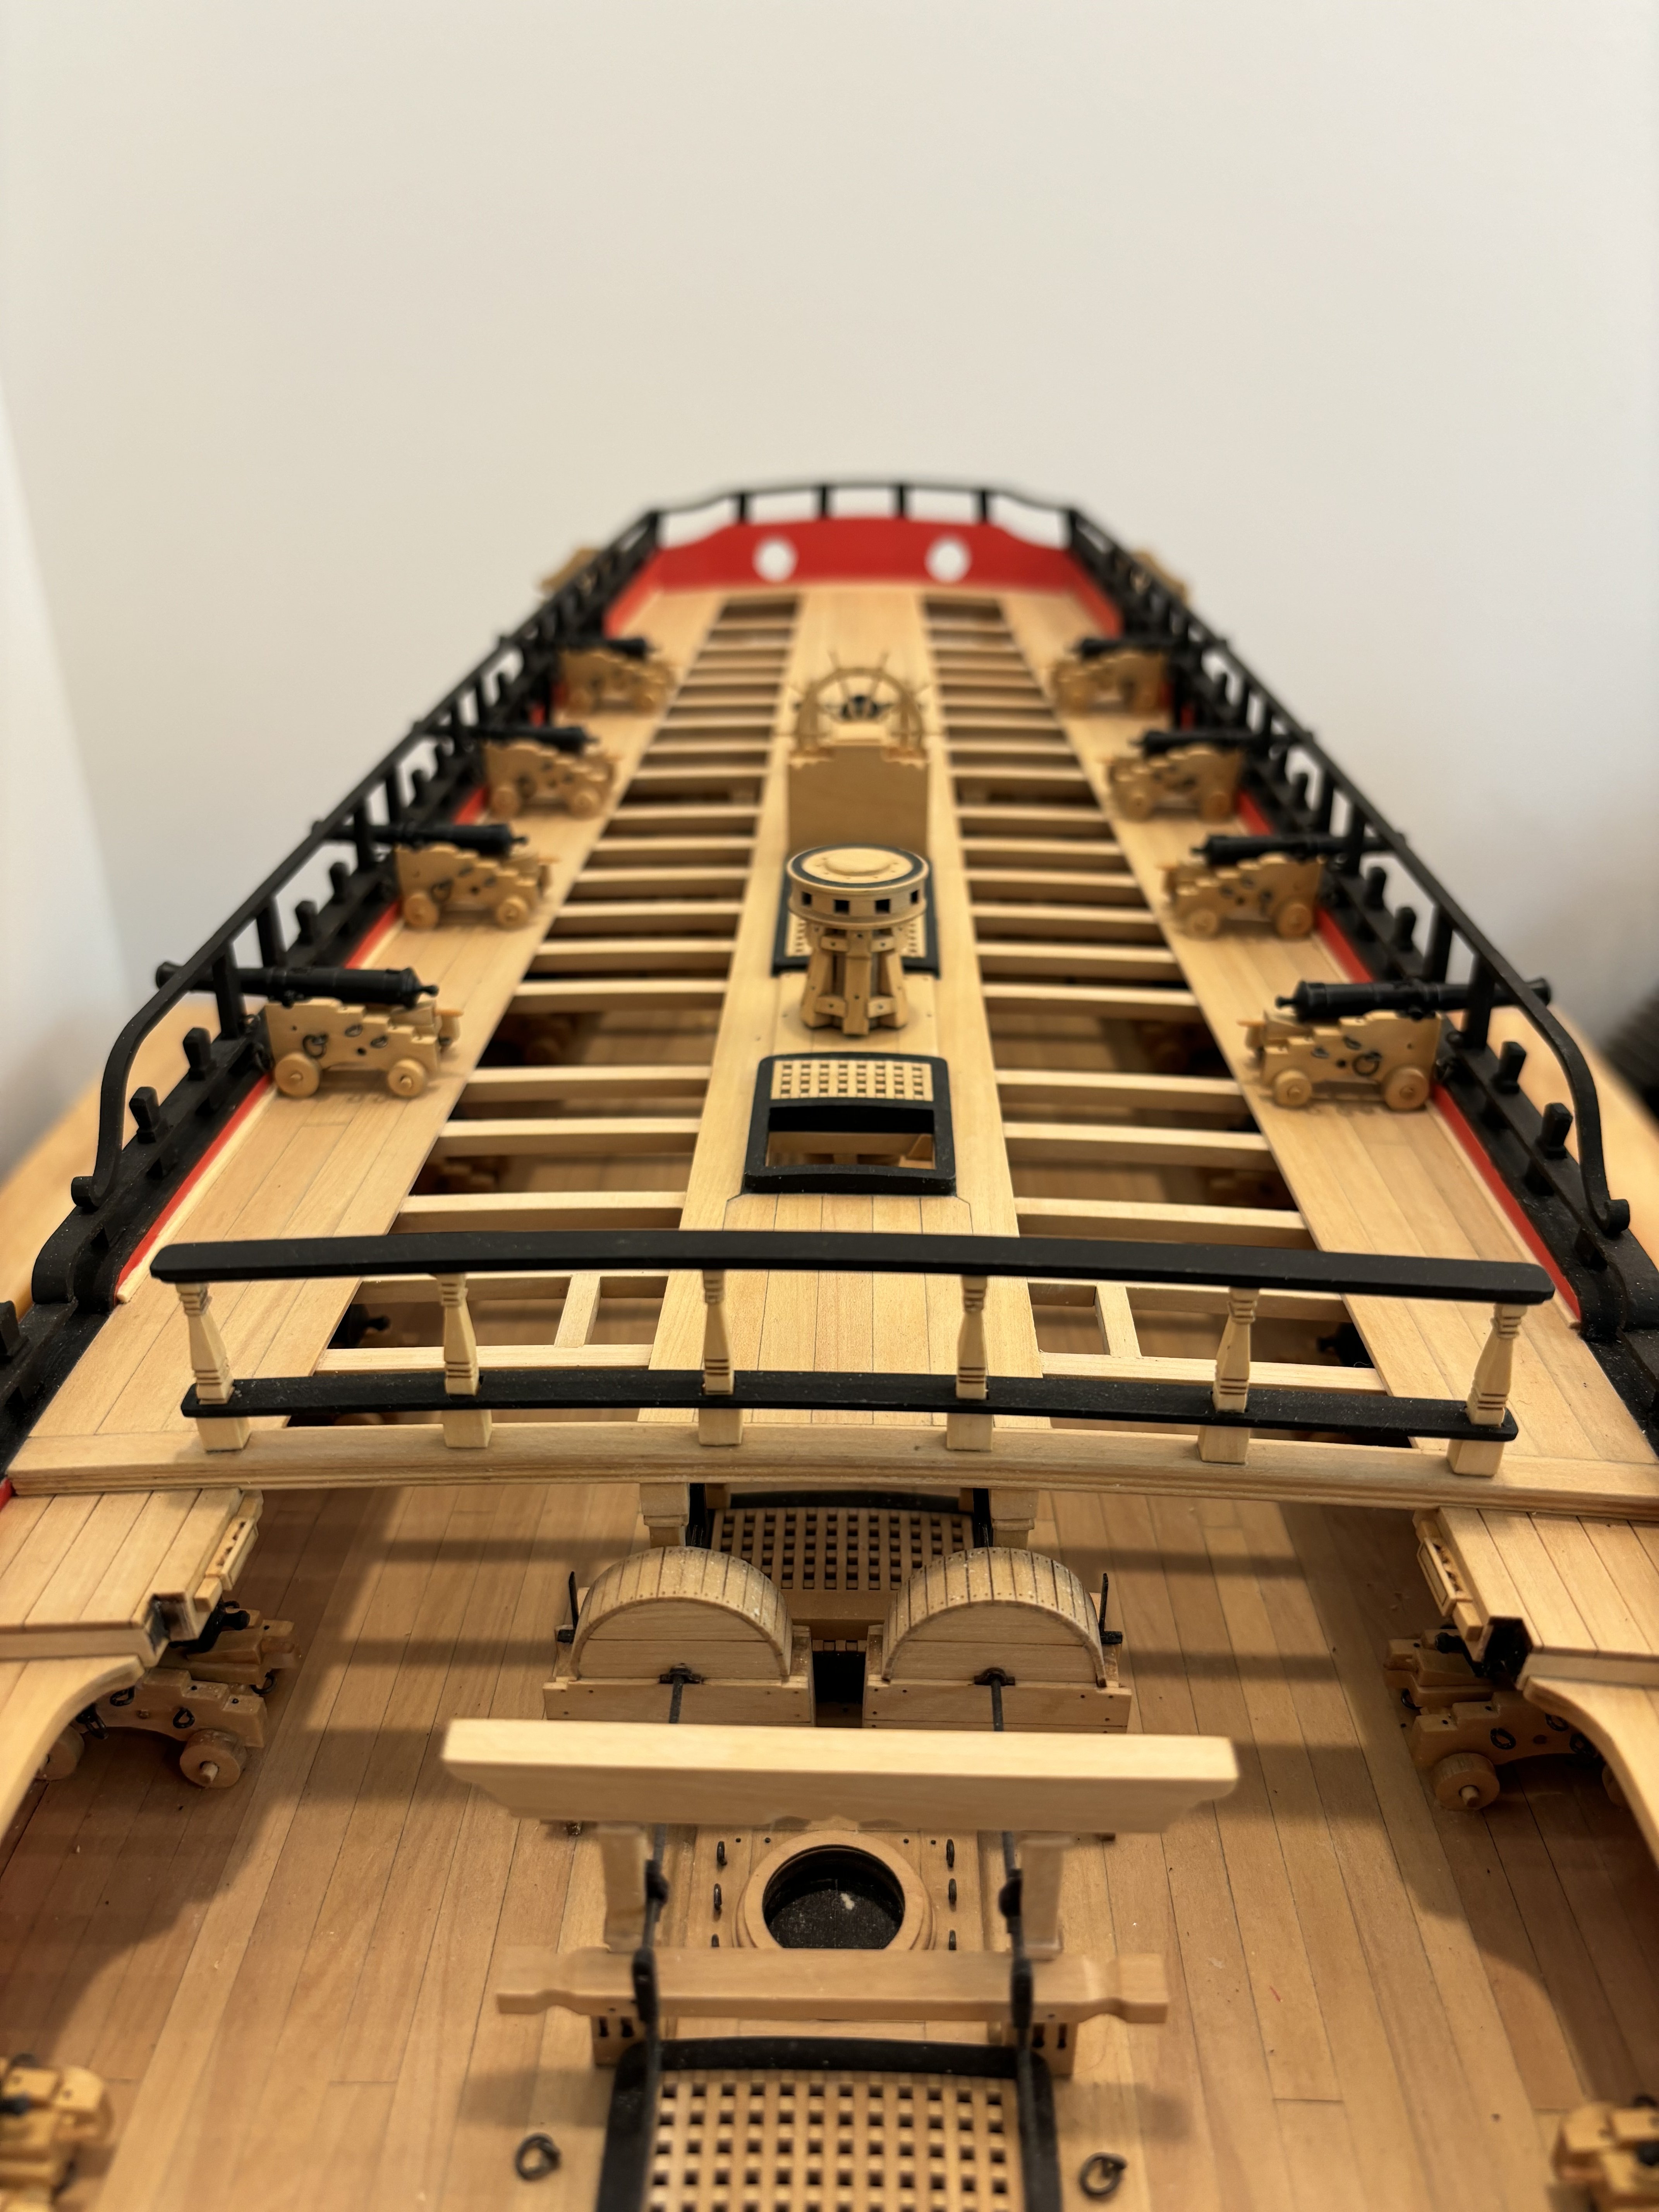
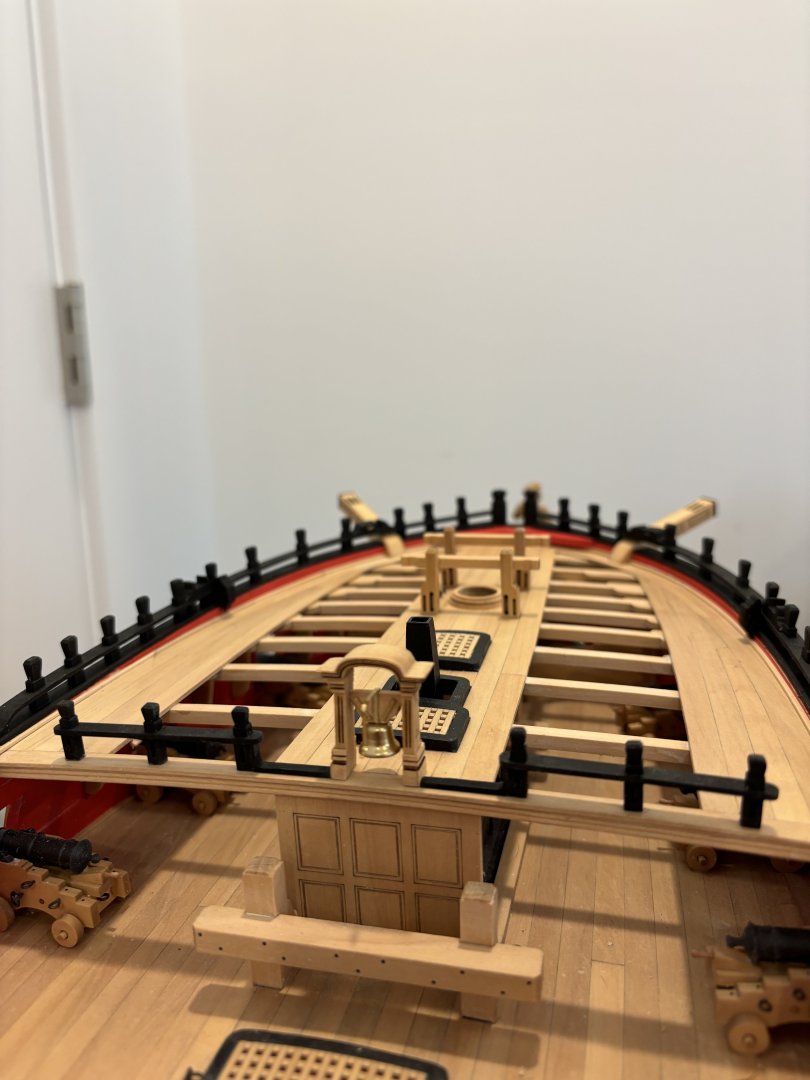
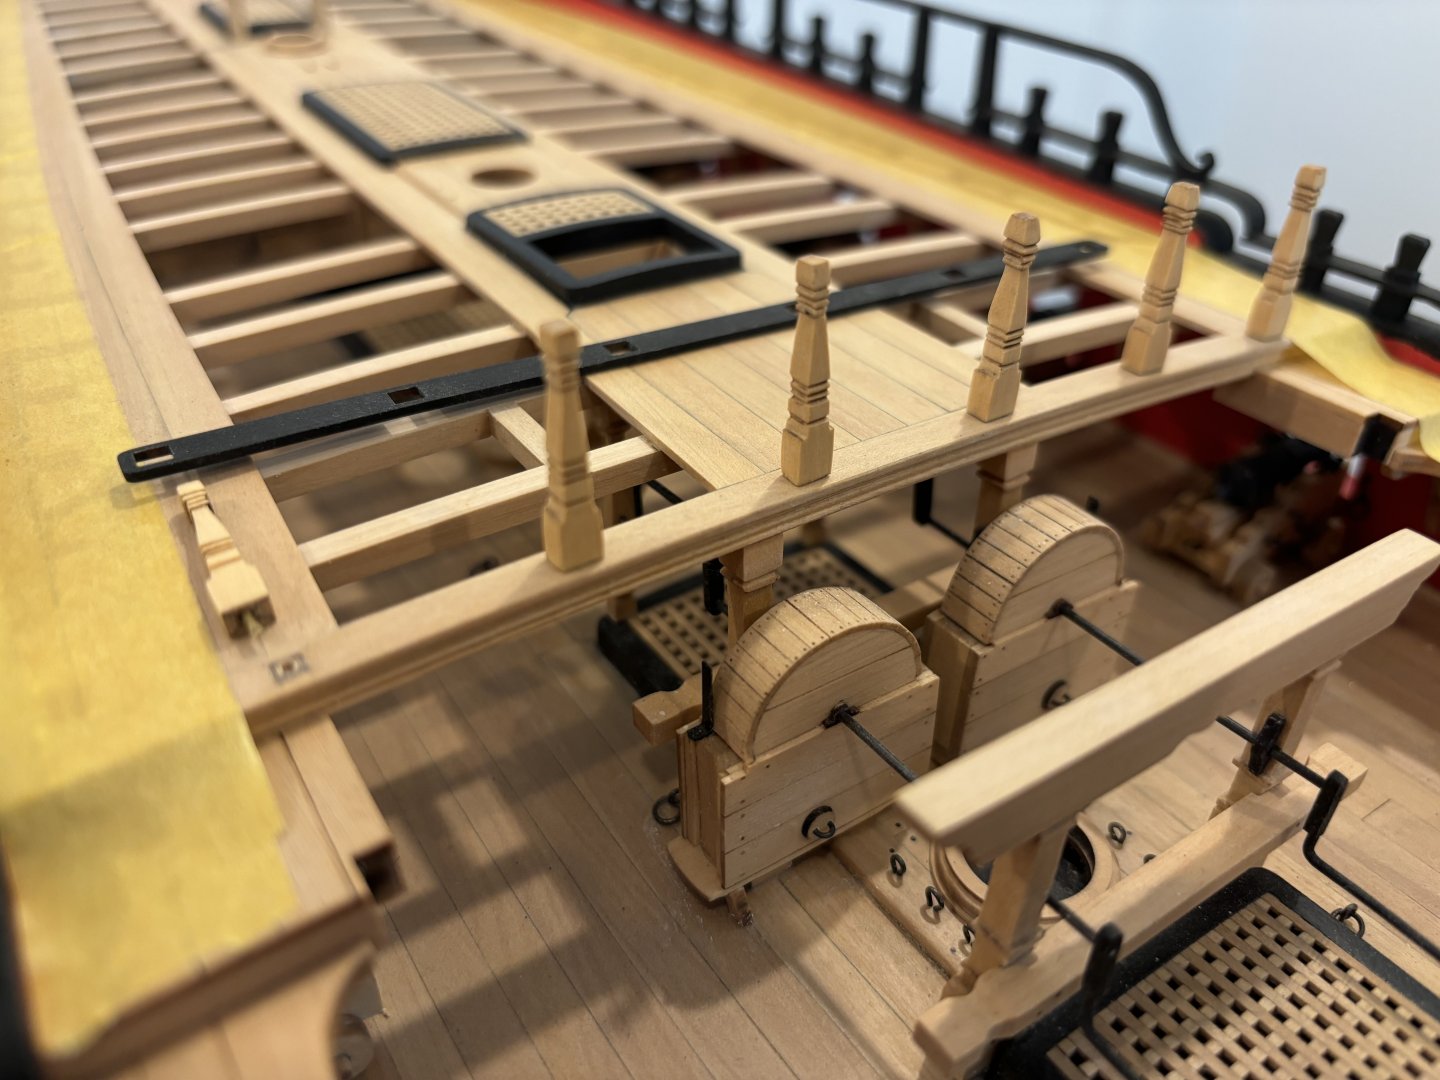
FC rails and details just being finished up and the belfry and its rail waiting to be installed. Need some square wire to make the spanshackles and chapter 9 is completed. Chapter 10 will be completed very soon, just the QD cannons, binnacle and ships wheel to be completed.

- 399 replies
-
- 13
-
-
-
- winchelsea
- Syren Ship Model Company
- (and 1 more)
-
Nope - does it actually work?
-
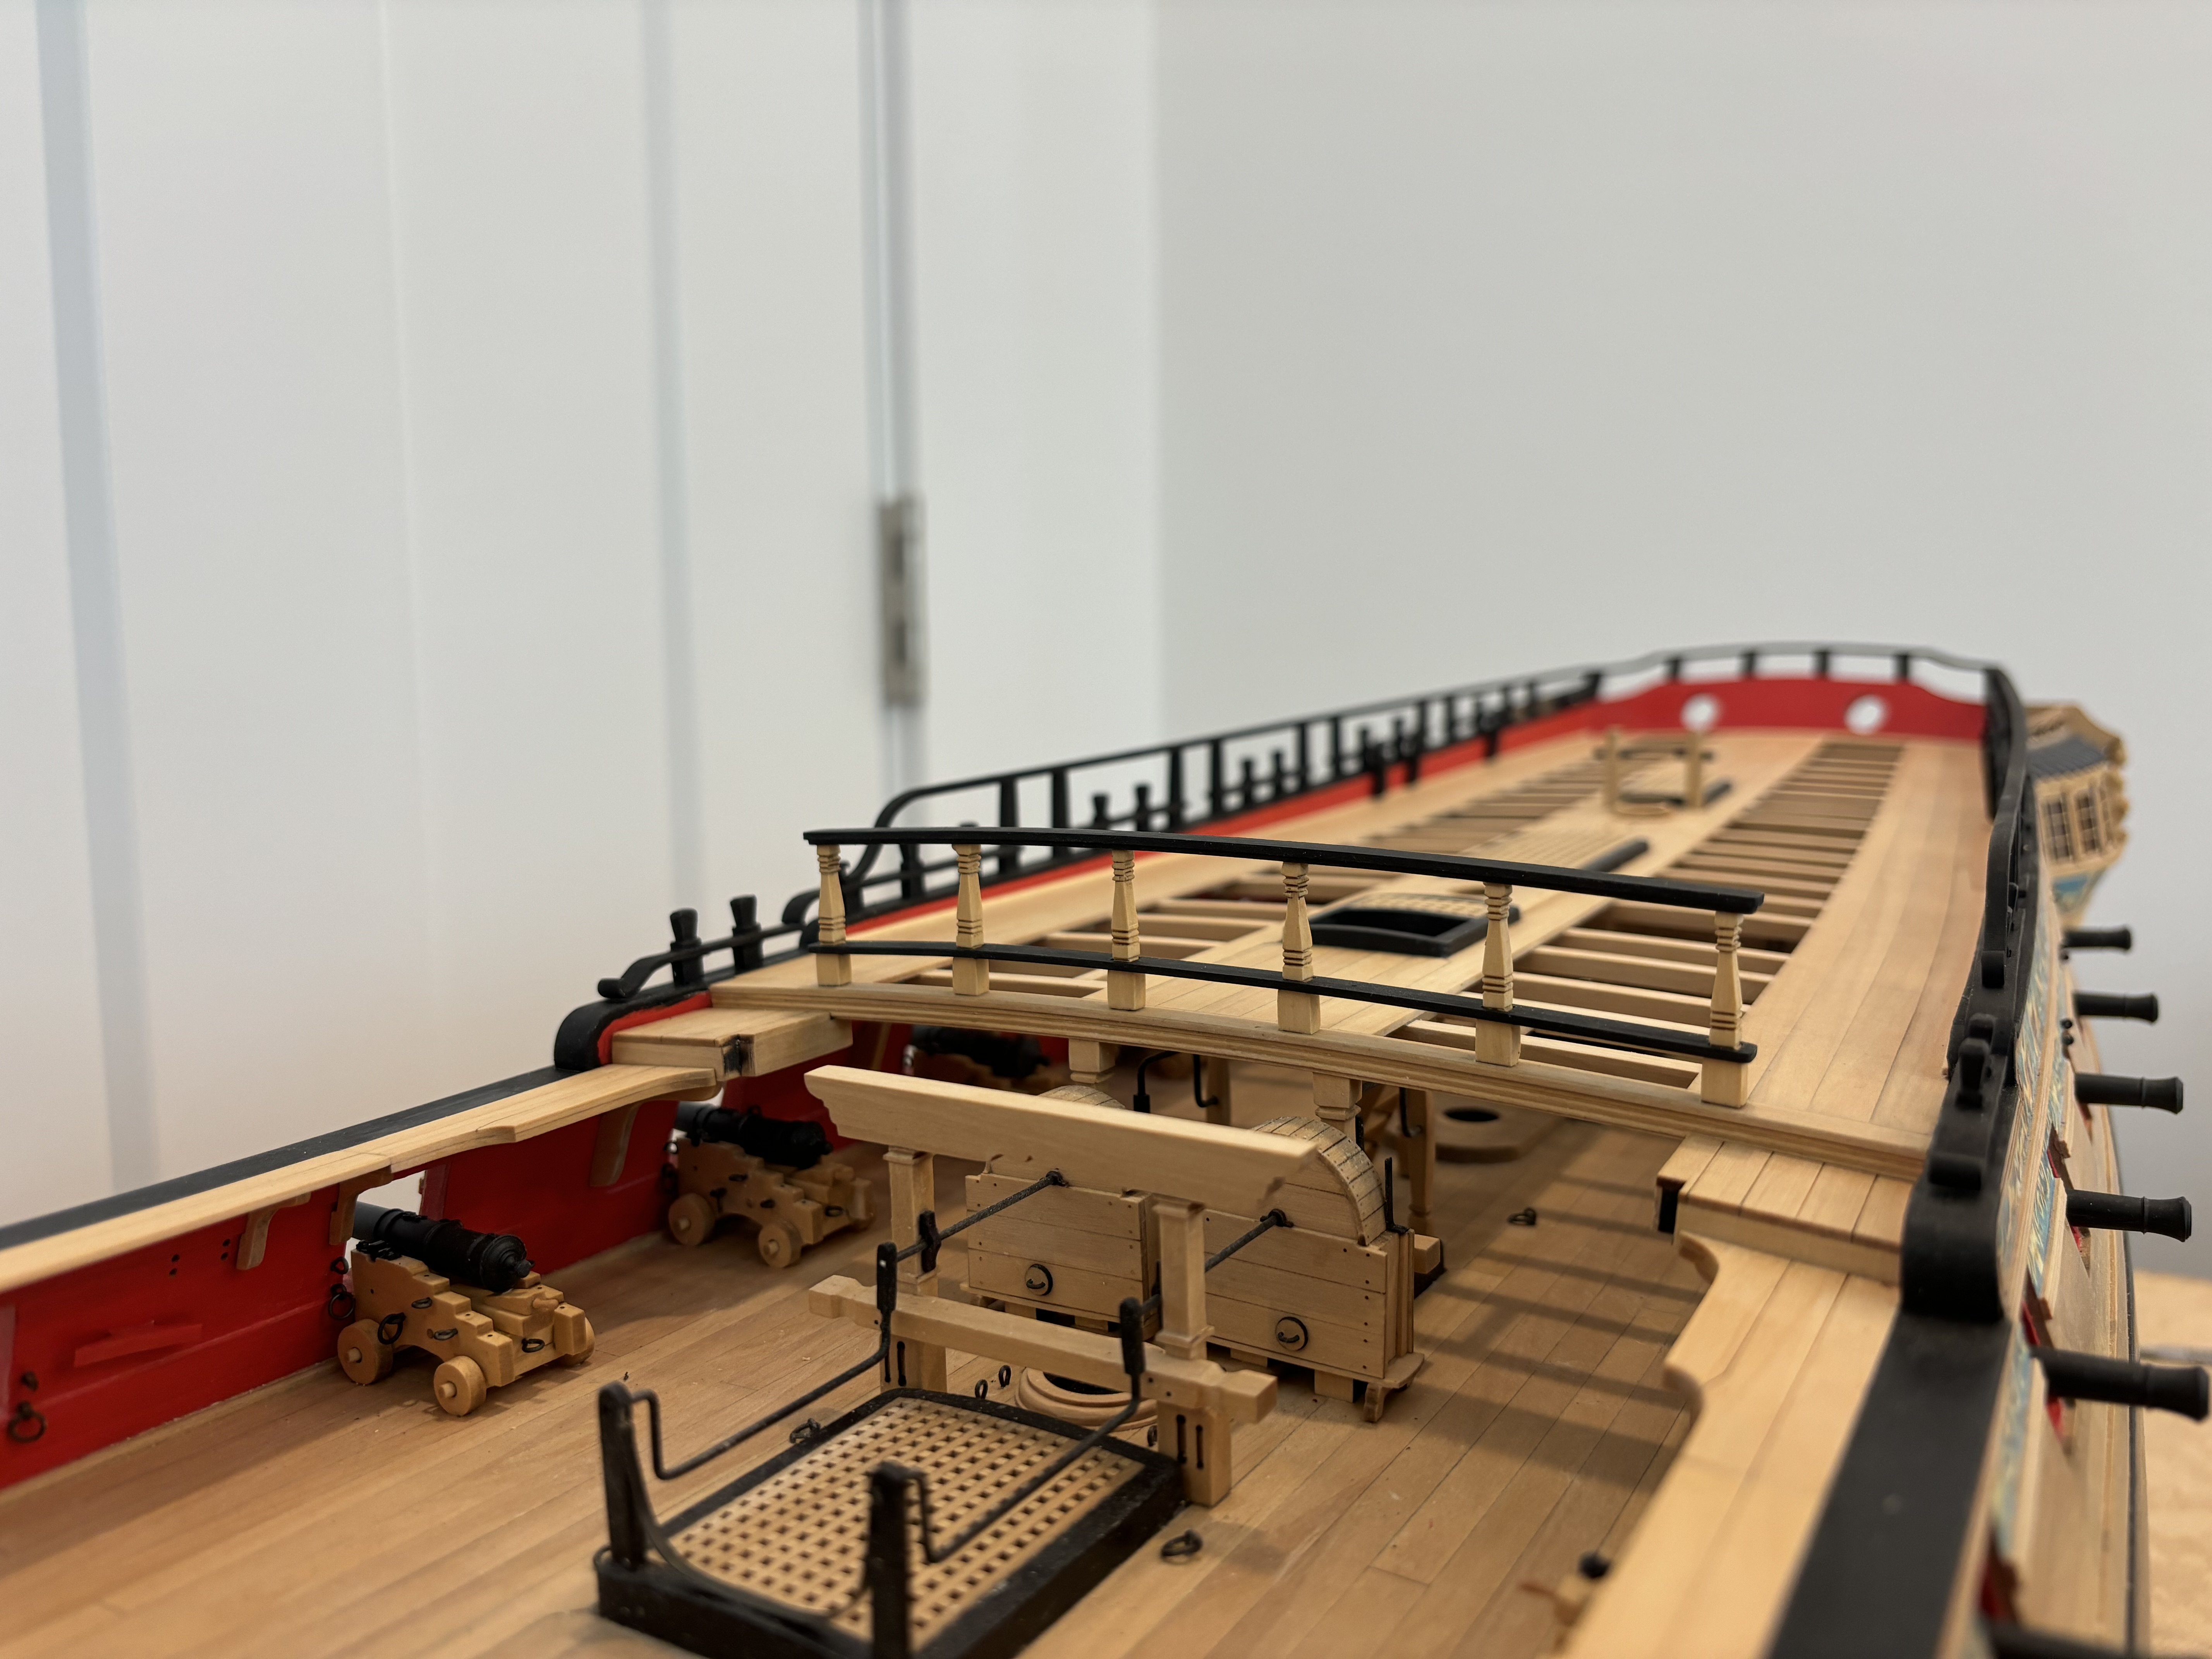
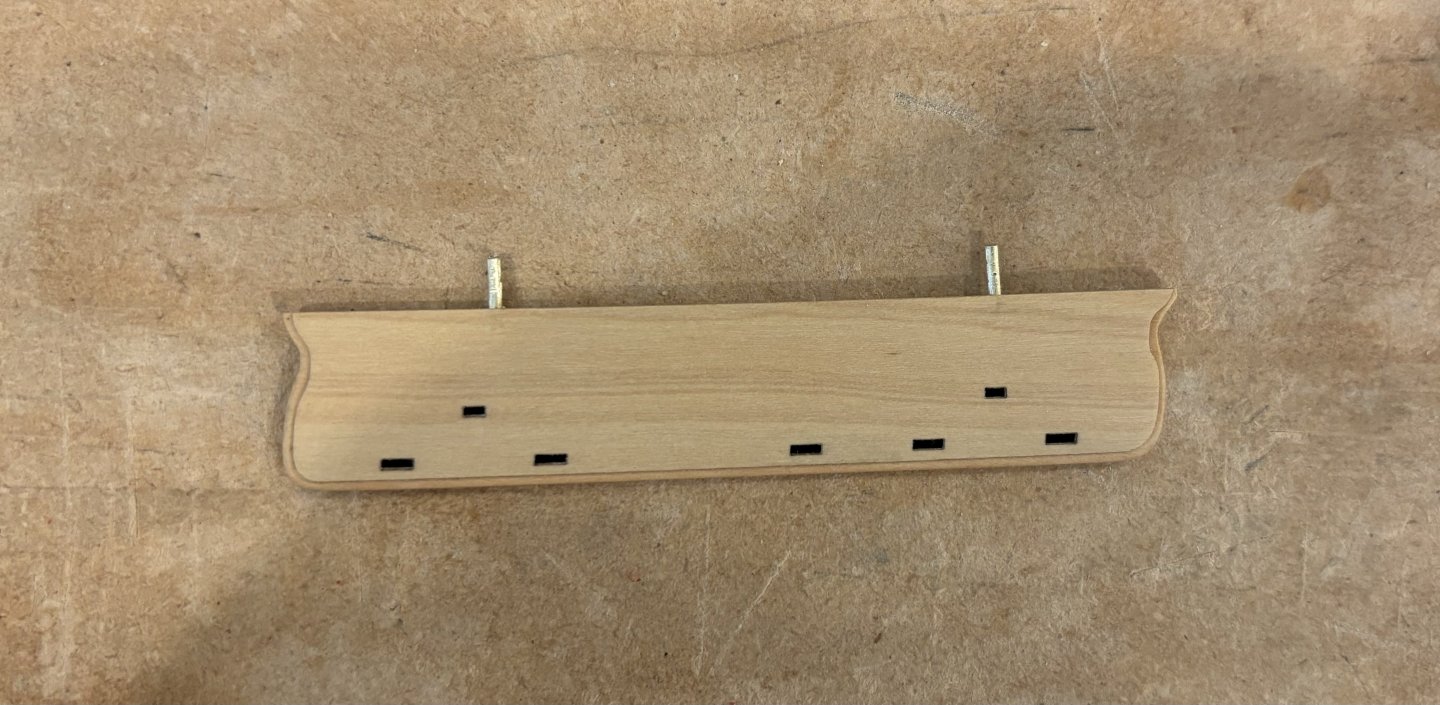
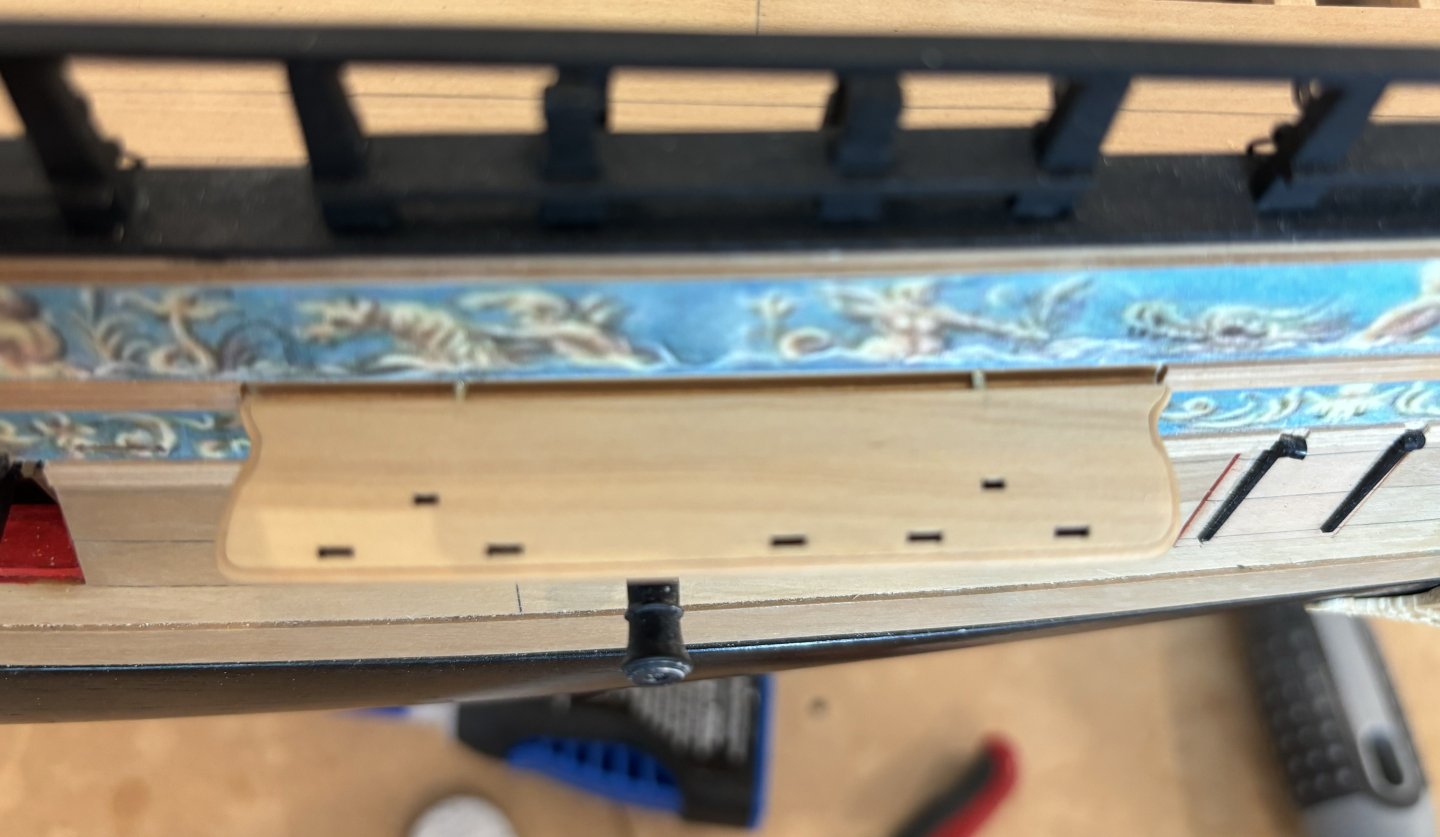
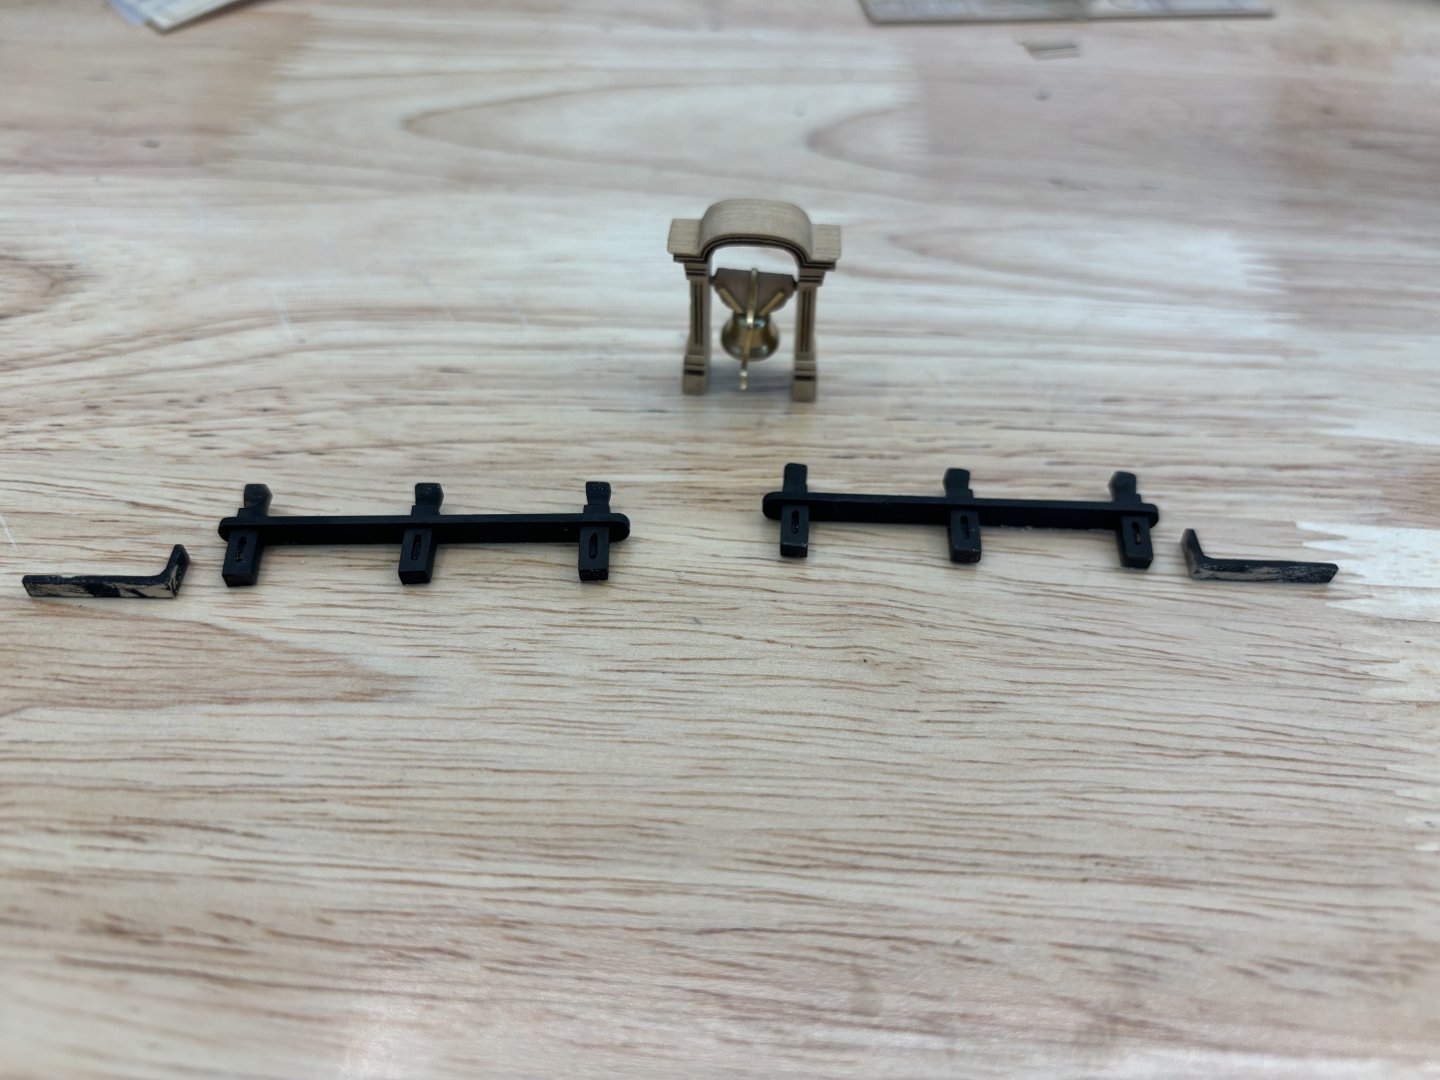
QD Breastrail pinned and installed to the breastbeam, lots of fun cleaning the laser char from the uprights.

- 399 replies
-
- 11
-
-
-
- winchelsea
- Syren Ship Model Company
- (and 1 more)