
HOLIDAY DONATION DRIVE - SUPPORT MSW - DO YOUR PART TO KEEP THIS GREAT FORUM GOING! (Only 72 donations so far out of 49,000 members - Can we at least get 100? C'mon guys!)
×


Overworked724
-
Posts
1,259 -
Joined
-
Last visited
Content Type
Profiles
Forums
Gallery
Events
Everything posted by Overworked724
-
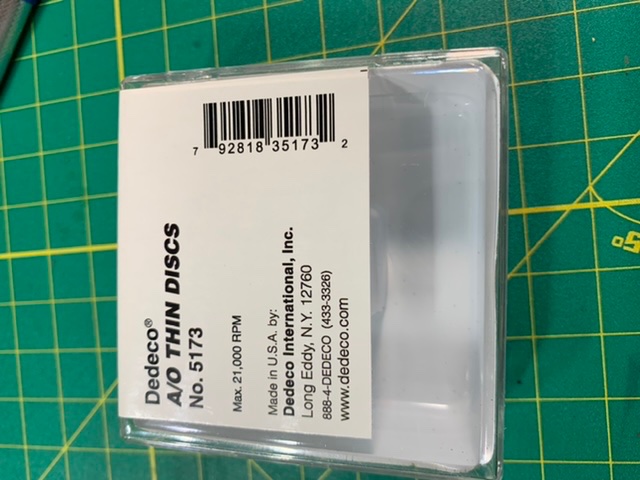
 These were the ones I used. They aren’t silver so much as pressed carbon I think. ***correction...the A/O stands for aluminum oxide. I’m an idiot. 😂
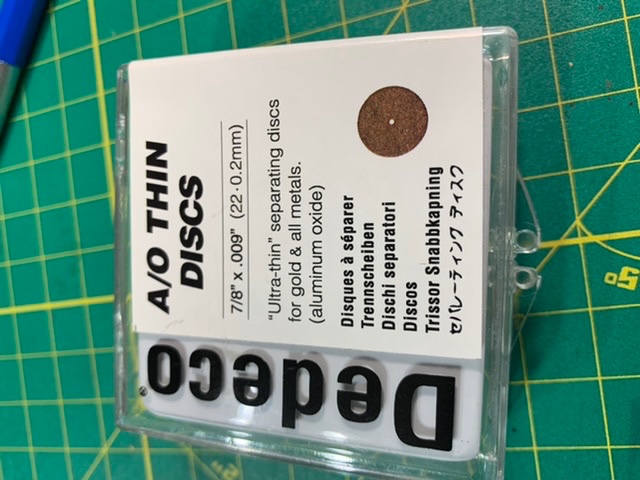
- 436 replies
-
- 1
-

-
- Syren
- Model Shipways
- (and 1 more)
-
I got them direct from Dodeco. https://www.dedeco.com/browse/113/AO-Thin-Discs-Dura-009s/
-
I'm interested to see your iron bands! What will be your plan of attack for these?
-
Yep....looks familiar. 😊
-
Well, for good or ill I’m in it for the experience. Good Lord knows I’ve been practicing and have thought up a couple useful ideas to hopefully eek out a good result. 🙏🏻
-
If you microwave the piece while it’s bent across a former (I used a wood block) it holds its shape really well.
-
The whole process of nibbing and joggling the planks really makes me nervous. 😣 Hipexec was one build which avoided this part and his build was stellar. Just rethinking it...the whole idea of those itty bitty corners fragmenting as I try to cut in the sections makes me cringe.
-
Yep. Snapped a bunch. I ended up scaling down width as well. Made it easier.
- 436 replies
-
- 1
-
-
- Syren
- Model Shipways
- (and 1 more)
-
Took a break from work to put in the remaining sections of the margin plank. Was all excited...until I measured the remaining planking widths at the various frames...and of course, the starboard side measures slightly narrower (about 1mm) across the main section of the ship. I’ve been measuring constantly, and it’s fine at the extremes (stern and bow frames), so not entirely certain where the discrepancy lies. Probably when gluing the margin in there was some ‘minor give’ (straightness) in the plank which I removed by pressing into the bulkhead curvature. Live and learn!!!
-
I do have some cherry...but thought that color contrast would be no different than using the Swiss Pear. Maybe it’s worth cutting strips for the pear and cherry to compare to the two types of boxwood. 👍🏽
-
Not a bad idea but my options are limited. Pear wood be too stark a contrast and I refuse to use basswood. So at the moment I am planning to use the same wood as the margins but will go ahead and cut some strips from English boxwood to compare.
-
The one thing that bothers me is the margin plank and the planks themselves are considerably different in tone. The castello boxwood the margins are made of is slightly beige where the planks are cut from English boxwood which is more yellow. I hope the color difference doesn't stand out too much...regardless...will continue to press on...
-
Agreed - those plates look awesome. Same question - how are you adhering these to the ship?
-
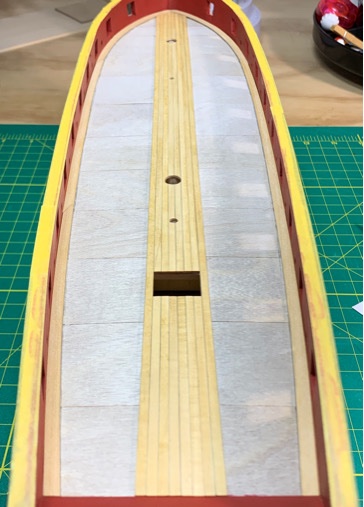
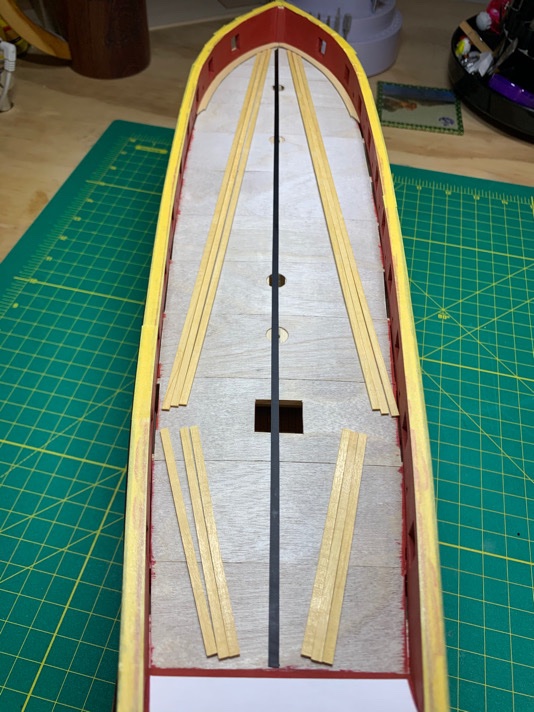
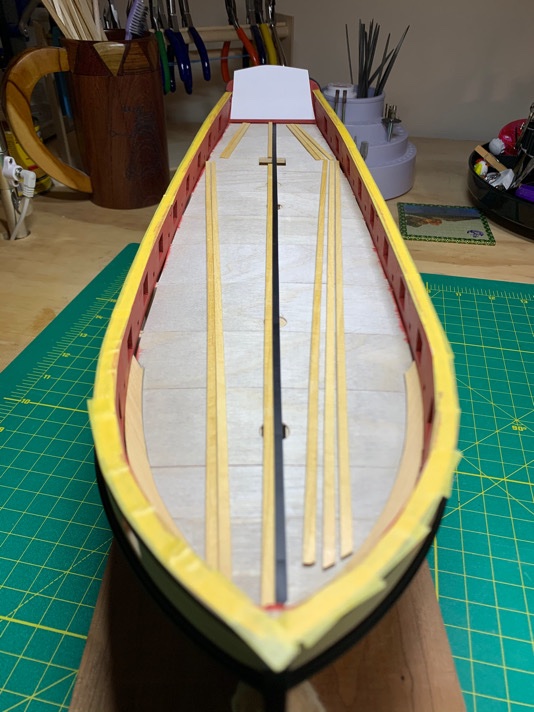
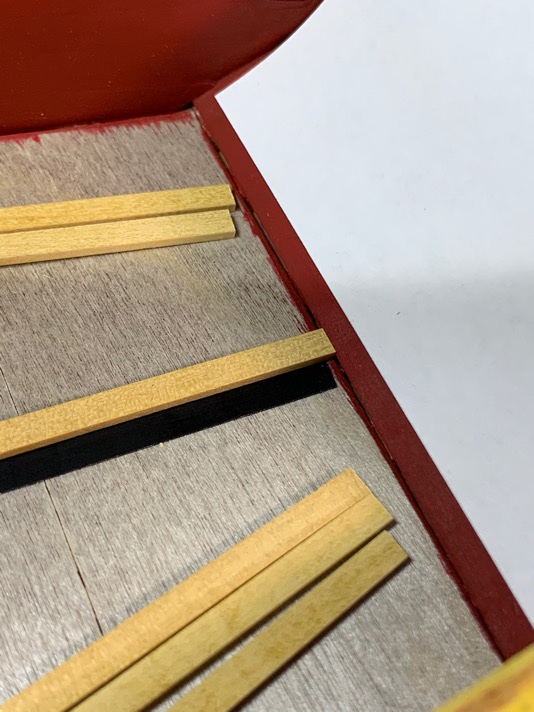
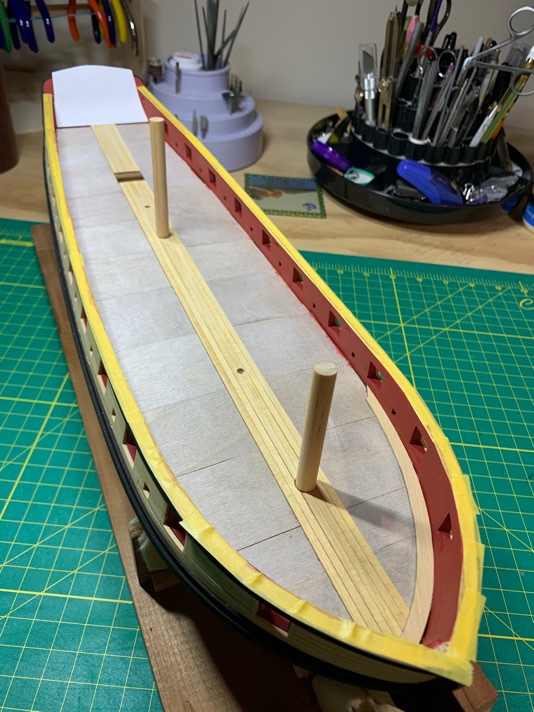
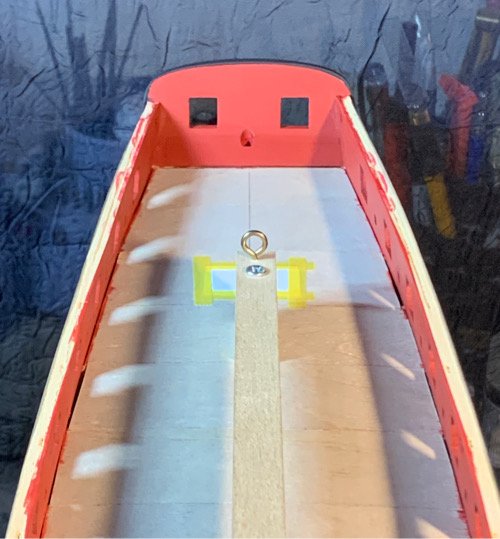
Plodding along. Decided to stop overthinking and used some vinyl striping tape to nail down the center line. The thickness of the tape makes a good backboard which you can use to set in the initial center plank. You can see below that I gave myself a bit of a gap (~ 1/64”) above the faux deck at the transom. Makes for a clean seam when setting down the planks at the stern. Made sure I carved out my two mounting holes (which will at some point be hid by gratings) and the two mast holes. Better to do it now rather than later. 👍🏽 Moving on....slowly!!

-
Hope this helps, Bill. Happy New Year!!!
-
Well...to be honest, veneer, painting (after a bit of filler), or replacing are all going to give a nice result. You could also just leave it...call it BATTLE DAMAGE! 😃. Either way, it's a blemish but in the end is a small one, and will be visually outweighed by the number of additional details you have yet to add. It sticks out now because there is less detail to distract you from it...but it is really not that bad. (I understand though...if it were me, it would be driving me crazy!) Remember - it's not a hobby if you hurry! LOL
-
Steve, I loved how you set up the pins for your fife. The template idea was brilliant! I'll use that! for future........awesome detail work.
-
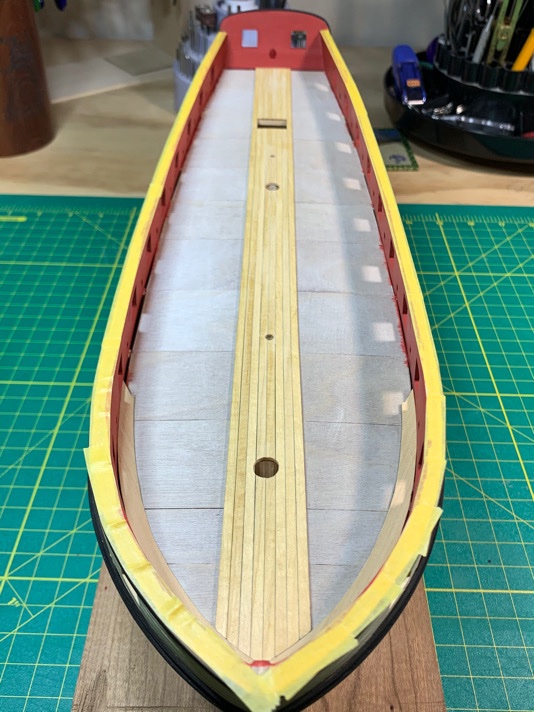
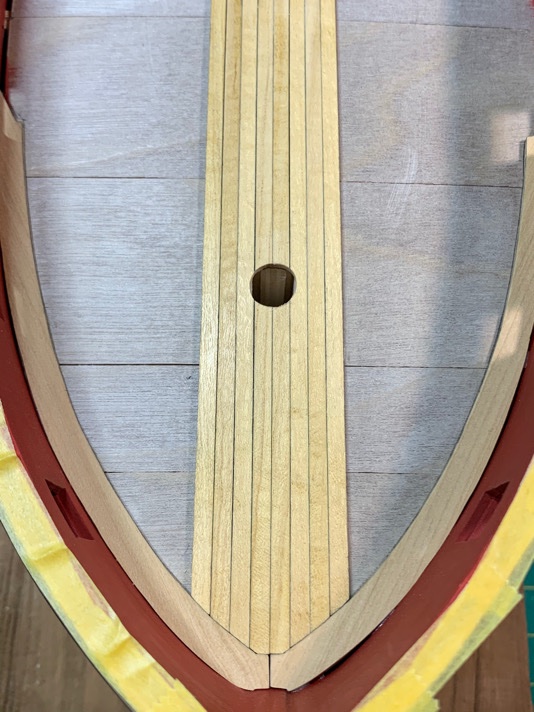
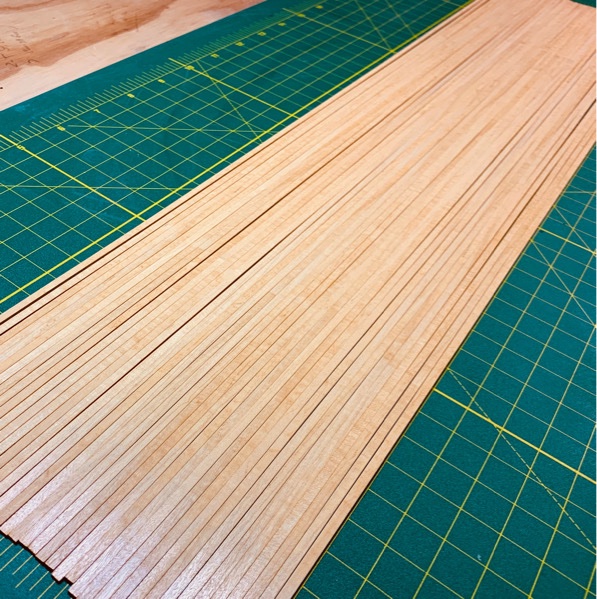
Took the plunge...glued in the bow margins. They look ok, but I’m concerned about how hard they are to cut. I made them in 3 sections from castello boxwood, but the joggling will be a challenge. The wood is hard and does tend to fragment, so I will do my best to go slow and use extremely sharp blades. On a side note...I decided to use my super secret stash of recently acquired aged English boxwood for the deck. So I spent some time today cutting my deck planks. Although these haven’t been laid down...I can’t help but post a pic. They have this beautiful butterscotch hue which is really awesome. There is some figuring, but I honestly don’t care...this stuff has been hanging around in a basement for years...I simply had to give the wood a home! 😎 Moving on...
-
Great Holiday progress! Your treenails look great! Moving right along at a good clip...!
- 436 replies
-
- 1
-
-
- Syren
- Model Shipways
- (and 1 more)
-
...I feel the same way about my recent paint job! But your badges are looking pretty darned good. How do you make the small white frames?
-
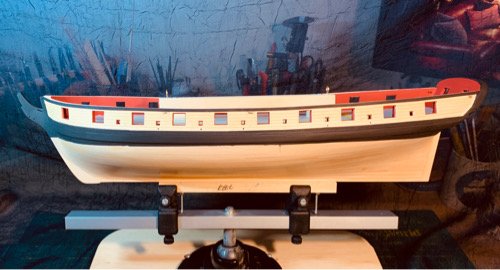
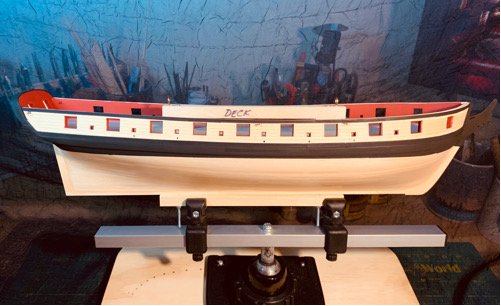
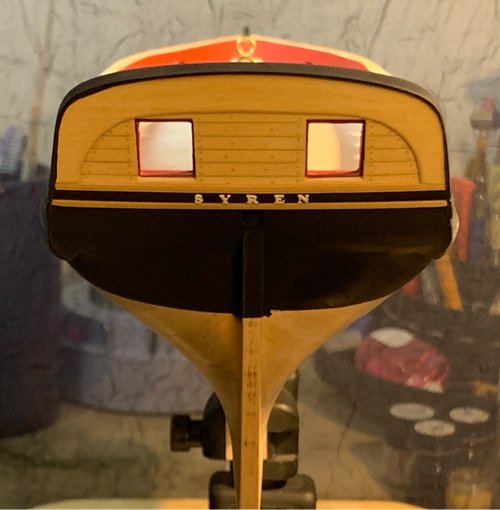
Here are the pics of the paint job such as it stands. My cap rails are already made and painted but I decided to mount them after the deck is completed and trunneled. I'm kind of split on whether painting the transom cap and shear strakes on the ship was worth it...I think painting them off the ship has some advantages but also disadvantages. In the end, it's how good you tape up your ship and how good you are at painting. I am not good...and although airbrushing makes things a bit easier in one way - it is also quite difficult in others. Again - just a skill you need to develop on your own - and this was a good learning experience which allow me to ask some good questions to develop a much better understanding of airbursh mechanics...but I still suck at it. Ok...baby pics. My painting is over for now...like I said, passable, but not perfect. Took the opportunity to add the name plate and transom trim piece. Moving on to the deck...

-
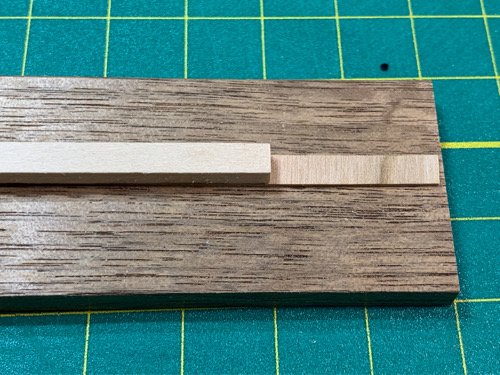
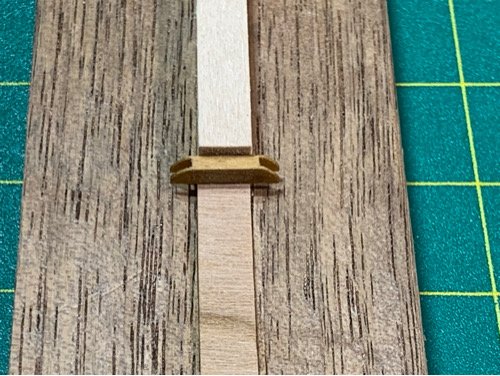
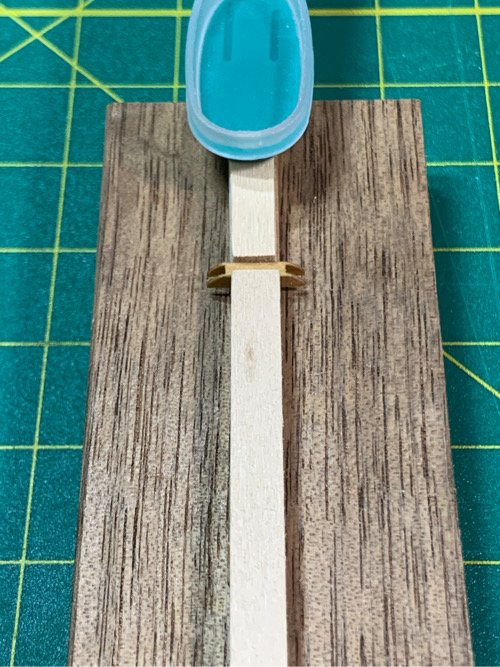
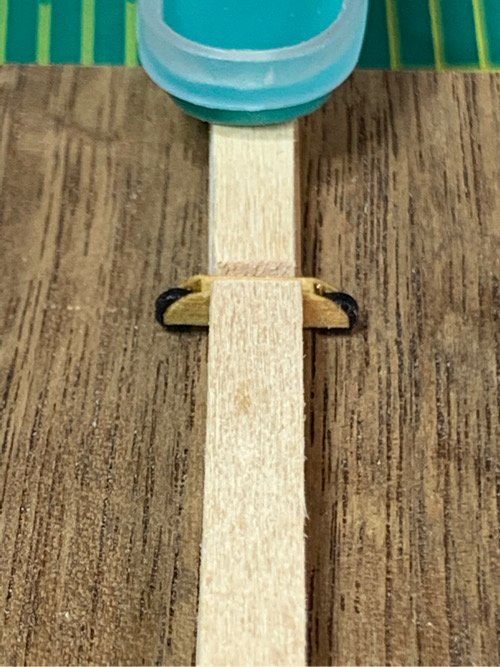
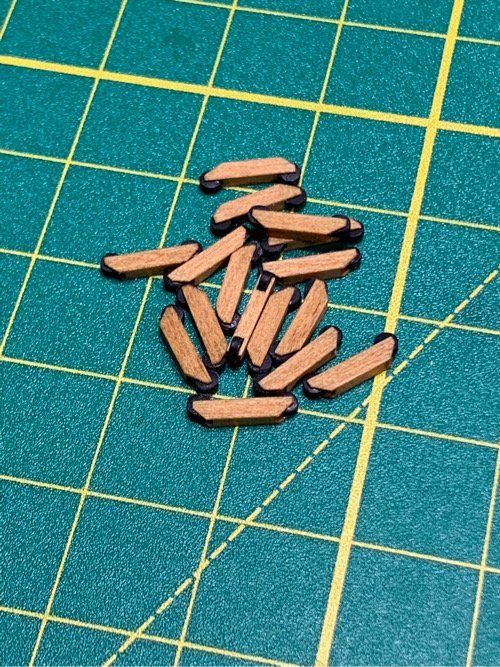
Made some progress today. Took a side trip to finish up the wheel assemblies for the sleds. Made a little jig to ensure the height of the wheels assemblies were all uniform. The jig helped me hold the tiny wheel bracket in place while I set the wheels into the brackets without moving. Pic below...pretty self explanatory, but it made working with the little bits MUCH easier and only took me about an hour to complete all 16. I chose golden oak stain rather than black paint...I might change my mind later once I see how it all looks, but I figured that I spent so much time noodling over these things...why paint them?! So...here are the wheel assembly pics. I used another block of wood and a clothes pins to hold the bracket stationary. Taa daa....Moving on...
-
Finally got the black trim painting done. A couple areas to touch up but generally a passable job. A few minor blemishes which I can live with...pics a bit later. I’m not totally unhappy about the result, as I know this is one area which requires patience and skill...both of which I have in short supply at the moment. 😣 Off to find a brew and a movie. 👍🏽 Hopefully getting to starting the the deck tomorrow...
-
I’m just amazed at how beautiful your paint job is...I’m simply awful at painting and it’s something I approach with sincere dread. But your finish (clean and polished without being glossy) is truly crisp. May I ask what paints you were using as well as your technique?