
HOLIDAY DONATION DRIVE - SUPPORT MSW - DO YOUR PART TO KEEP THIS GREAT FORUM GOING! (Only 13 donations so far - C'mon guys!)
×


Overworked724
-
Posts
1,258 -
Joined
-
Last visited
Content Type
Profiles
Forums
Gallery
Events
Everything posted by Overworked724
-
 Thanks, @Gahm!!! Hoping my sleds turn out 1/2 as good as yours!
 -
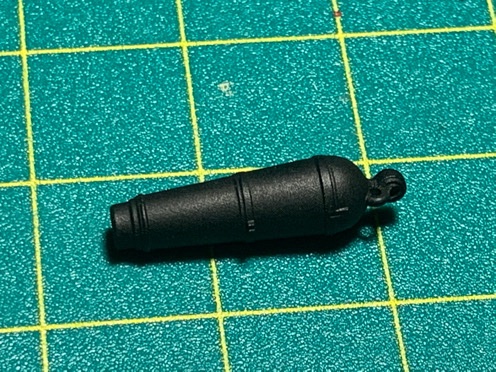
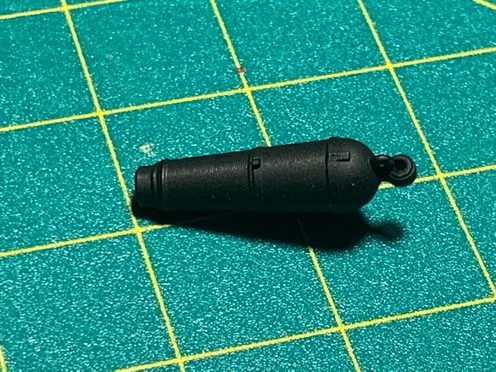
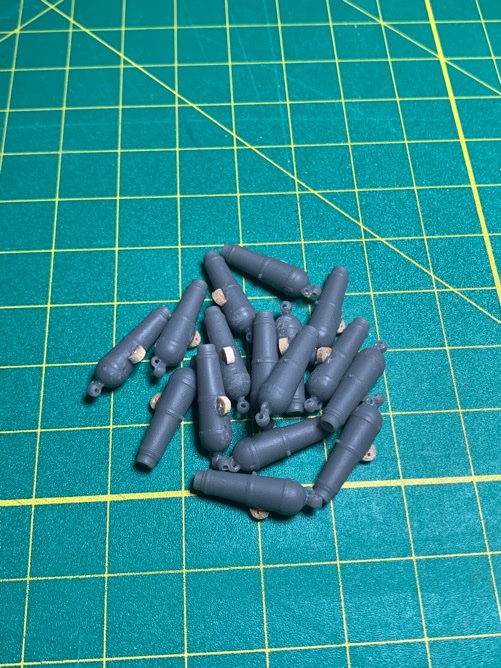
Got the carronades painted. I did a trial using 2:1 Tamiya thinner to flat black paint as I was getting some spitting at a lower ratio. Worked just fine. I tried with and without a primer using a scrap piece of the 3D material (scraps from when I removed the carronades from their original 3D sleds) but did not see any difference. So went ahead and painted them without primer and am pretty happy with the results. Still have to paint the inside of the barrels but will wait till tomorrow and use a simple detail brush. Moving on...to taping up the hull...
-
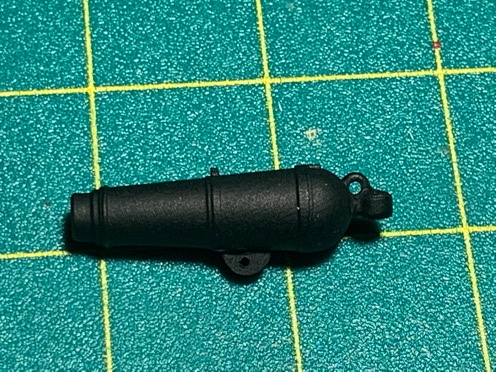
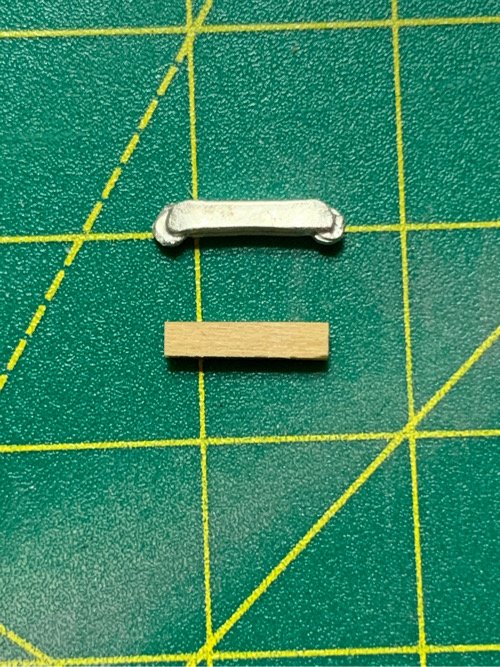
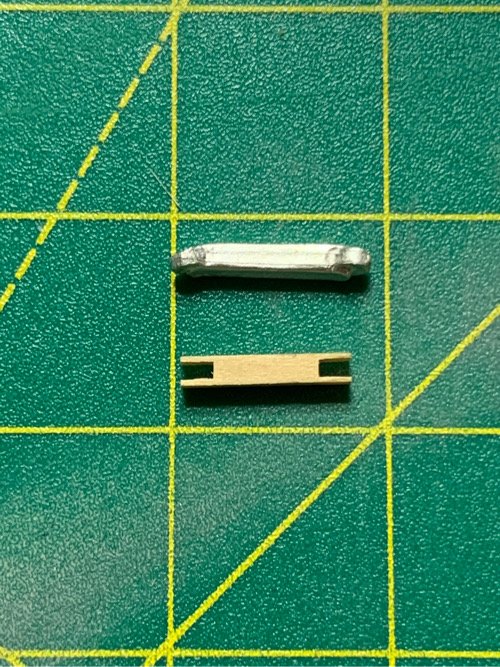
Took another detour before jumping on painting the ship wales and trim. Realized the guns need painted, too. So why not do that at same time when I realized I had not addressed how to mount the 3D printed carronades to the sleds. Decided to go simple and mimic the Brittania pieces by putting in a mounting bracket on the underside. So cut 1.5mm cross sections off a 1/8” dowel, then simply chopped those in half with an exacto blade. (Wasn’t going for precision, just accuracy as these won’t be seen) Used medium gel CA to lock these on the carronades. Then drilled a guide hole in each bracket which I can enlarge later after painting. Moving on....

-
Christmas progress!! I got my cap rails painted. I am getting a general feel for airbrushing. Useful skill...spent one entire day disassembling and reassembling the damned thing trying to figure out why air wasn’t going through it when I realized the valve at the air inlet of the brush was turned ‘off’... Anyhow...my hood works great. The admiral made some draught snakes to jam in the window seams and it functions perfectly. Using that and an N95 mask just to be safe. On the taping up the ship for the next part...pics to follow a bit later. Happy Holidays everyone!!!
-
Seriously...that is some sexy sh*t. 😎 Very well done!!!
- 950 replies
-
- 1
-

-
- syren
- model shipways
- (and 1 more)
-
Hi Will! Here are some answers based on my experience. - Sculpy in the oven will not make a mess. It’s basically clay...so it just sits there and hardens. - Sculpy is a pretty hard and claylike material which holds its shape pretty well before baking...but it’s a clay, so it’s soft and open to distortion before baking. - After baking, it reminds me of hard rubber. It’s malleable/bendable but snaps back to its original shape - After baking, the stuff cuts exactly like hard rubber. Easy to trim up and clean with an exacto. Holds the paint well. I’m not certain it’s the best stuff for relief carvings, but Chuck used it to good effect in this same regard on the Sultana Practicum. He made the figurehead from it. If I were you, I’d get some and experiment with it. It’s really neat stuff and really opens up options for novice modelers.
-
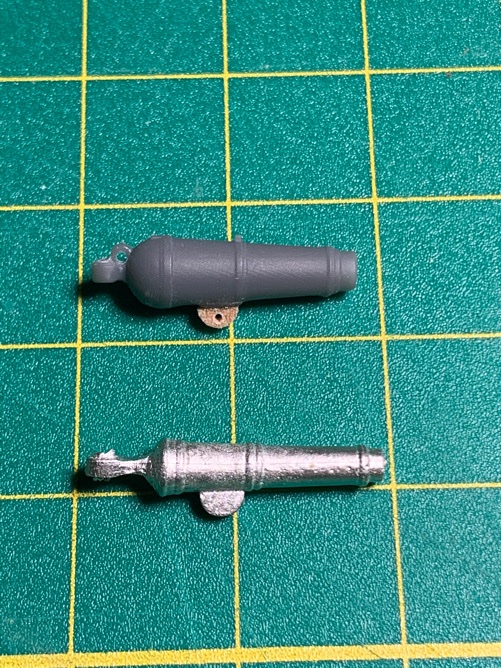
Nice work, Will. I wish I had the guts to work with Metal the way you do. Those will look stellar on the sleds! I chose a different tack but regardless, it definitely pays to replace those kit fittings!!
-
Thank you!!! 😃. LOL. This was a fun work around...and I appreciate the kind words! (Besides, I watch your and other builds like a hawk, and you guys really inspire me to think outside the box!!)
-
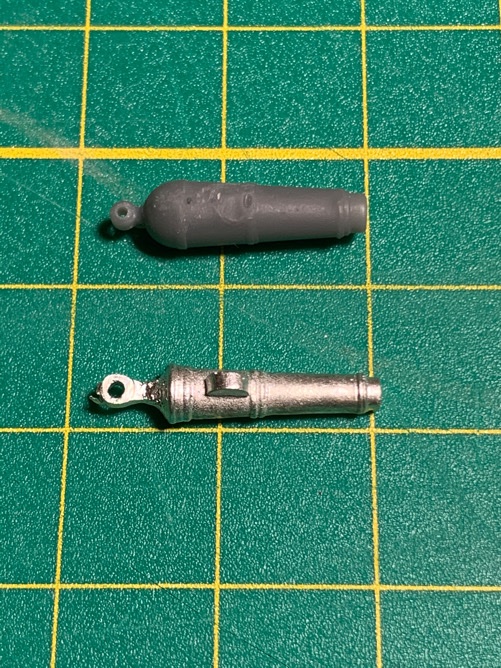
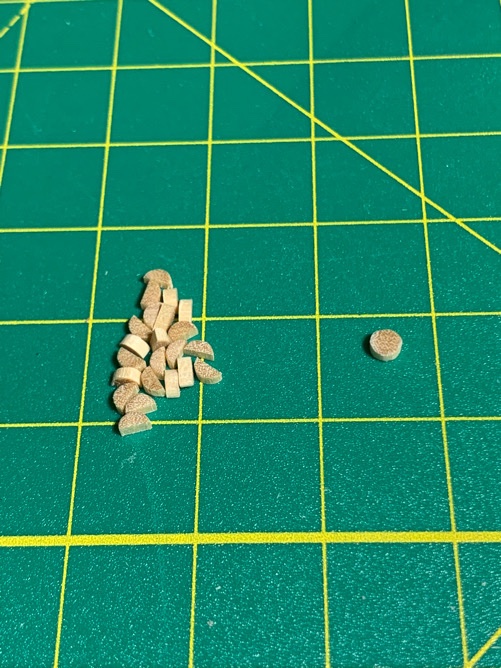
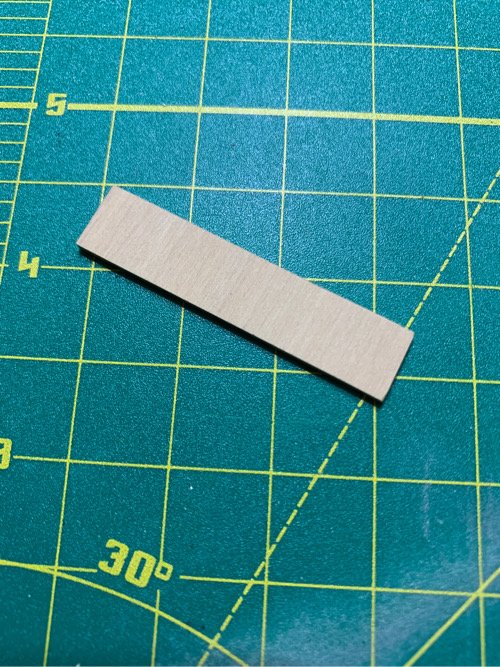
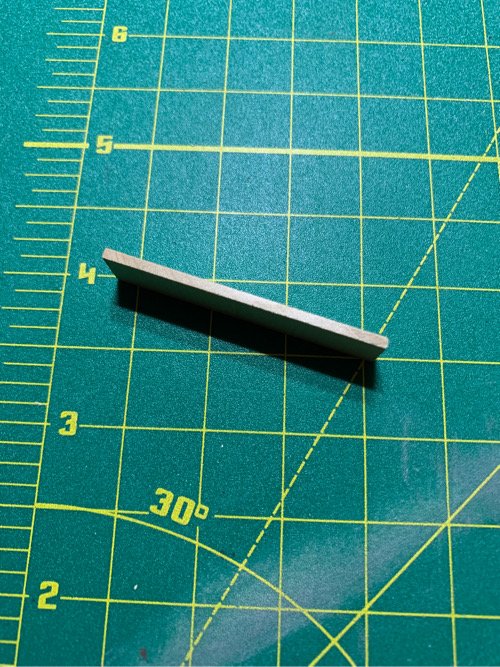
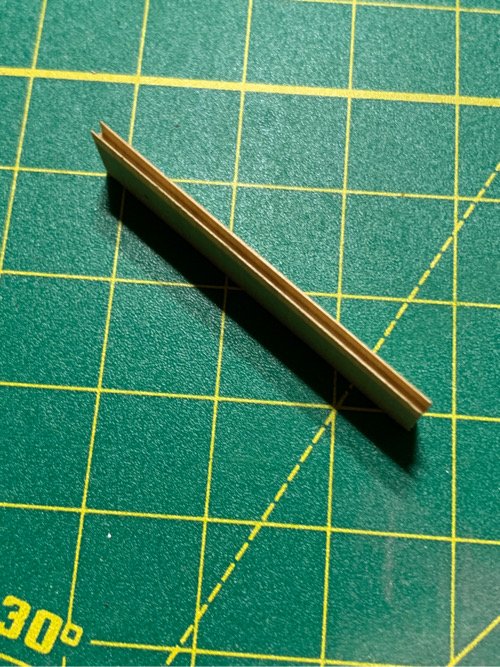
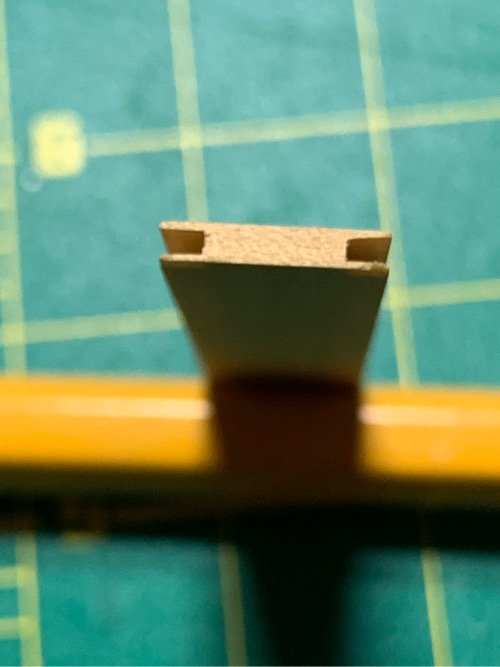
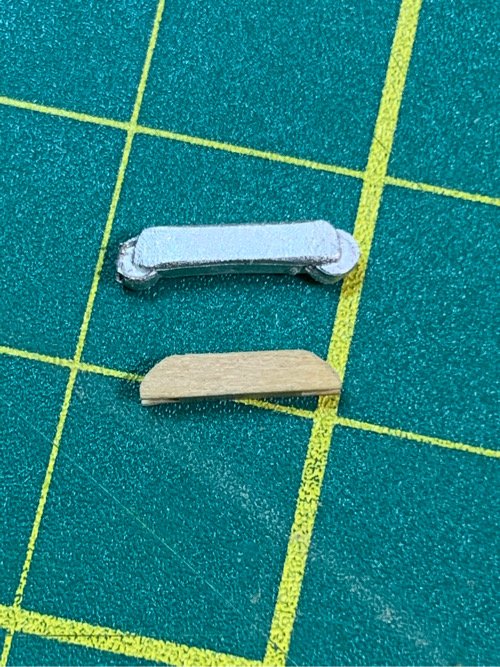
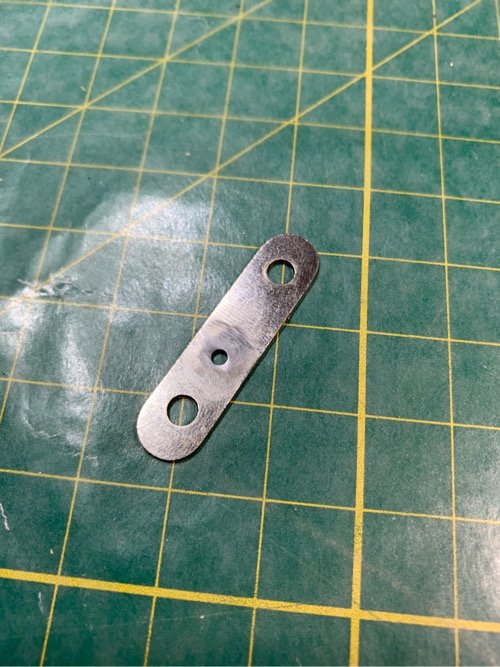
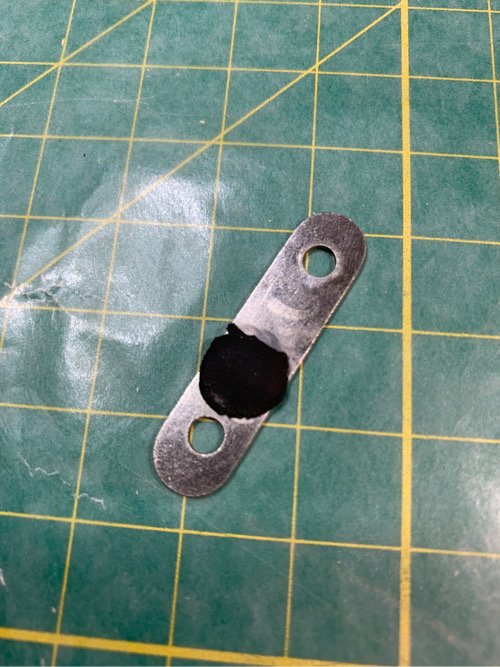
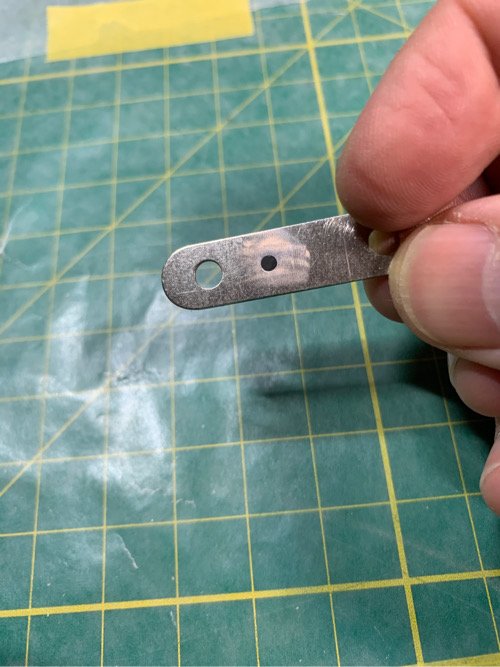
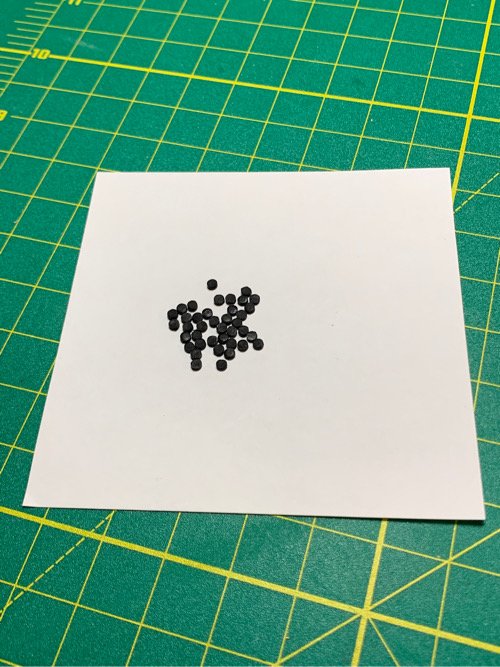
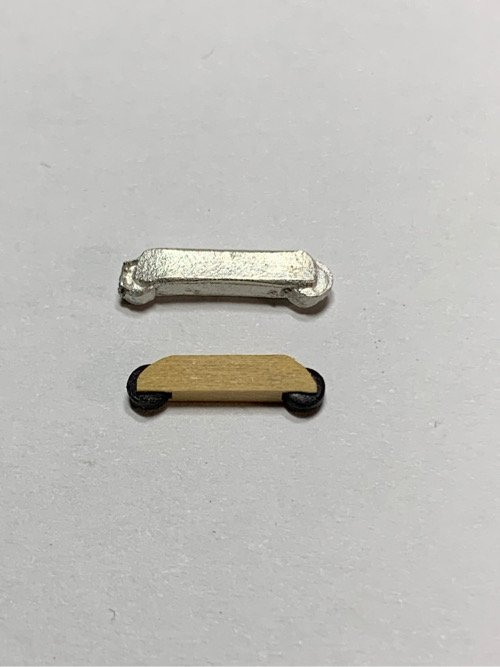
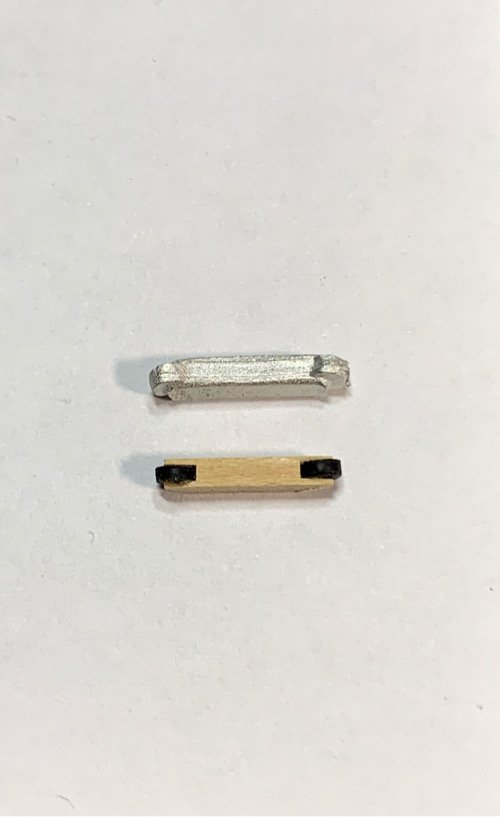
Decided to take a side trip into the carronades...again. Like others, the metal fittings in the kit leave much to be desired (being kind here...they suck). The carronade wheels and brackets are metal - and like all other metal bits in the kit look like they've been sandblasted. I decided I'd try an idea I had when making my bulkhead blocks containing the sheaves made out of sculpy. I thought I could use a similar technique for the wheels for the carronades. The problem was how to make the wheel brackets. I decided to try using 1/16" (1.588mm) scrap piece of boxwood. I planned to cut grooves using my table saw into the edge of both sides of the boxwood and keep the grain horizontal to keep the grain in the right direction for cutting the multiple brackets. I would then have a stock piece to cut multiple wheel brackets reproducibly. I knew my wheels would be exactly 0.95mm thick and 2.4mm in diameter (I'll explain later). I set up my table saw blade height to 2mm, and cut 1mm thick grooves in each side of the strip. The strip itself was 9.9mm wide. I then cut a bunch of 2.25mm wide sections from this stock strip (I think I cut about 20 or so). These would make the wheel brackets. I took off the corners with a 600 grit emery board. Now...the wheels! This was fun. The wheels I measured to be about 2.4mm in diameter...which is exactly the width of a 3/32" drill bit. I had a piece of metal which was about 0.91mm thick, and cut the 3/32" hole in it...and polished up both sides. I put wax paper underneath the metal 'mold'. I took some black sculpy...warmed it up in my hand, and smashed it into the 3/32" hole with my thumb! I was not gentle. I shaved off the remainder with a straight razor (just running it along the surface to cleanly lift up the excess sculpy)...this left a 'plug' of black sculpy stuck in the hole. I used a tooth pick (cut flush so it had a nice flat base and fit perfectly into the 3/32" hole) to push out the 'wheels'. Like all sculpy - cook at 275 Degrees (F) for 30 minutes. And....Voila....the proof is always in the pudding. A bit of superglue (medium gel - slow set) and the wheel assembly is ready to paint (or stain....haven't made up my mind) and slap on the carronade sled. I've made enough brackets and wheels to make the wheels assemblies at a later date when it's time. Procrastination can be a wonderful thing when it's masked as something productive! Moving on...again...
-
That’s a good point @Jamie Coleman . I believe I should be ok on that score. The poly stops just a smidge below the waterline so I should be coppering over a bit of the black paint. At least that’s the plan. 😊
-
If you want a funny story of the pain I went through with the metal bands...here you go!! 😆 https://modelshipworld.com/topic/15107-sultana-by-overworked724-patrick-–-finished-model-shipways-–-scale-164-–-solid-hull-–-first-wooden-model-ship/?do=findComment&comment=567505
-
I laid down a piece on a piece of plastic file folder. Colored it with the Sharpie (Black magic marker). Then used a straight edge razor and metal ruler to cut the slices I needed. Tweezers to pull up the section and I typically trimmed the ends using scissors just to ensure none of the tape was crimped. Worked pretty good. Nice thing is it shapes well and you can overlap it. Just try to keep the end piece in a blind spot when applying. Loving your build, Robin!
-
Just offering my thoughts. I used Tamiya masking tape colored with a sharpie. The texture of the tape combined with the ink gave a pretty convincing look. Was easy to work with, too. That was how I did the Sultana.
-
Bloody nice work for your first try, Robin. From what I've seen, carving the reliefs is delicate work...I think it adds a ton of warmth and realism to the model. SOOOO much better than the brittania pieces.
-
Thank you, Thomas! (But I have yet to attack the black stuff. 😣). Step by step!!!
-
Hi Will - what method are you referring to? Is there a post # and build log you are referring?
-
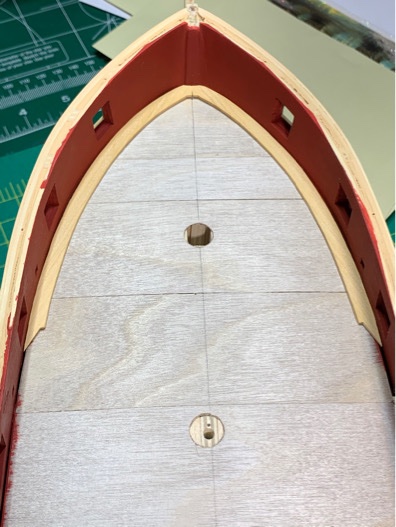
Spent some time finishing up painting the upper edges of the gun port sills. No more red paint for a while thank the Lord. Got the rough prep of the bow margin planks done. Not a bad first try. Moving on...
-
Totally true. If not for the poor planking job and tons of obvious wood filler, I would forego the coppering. But, as I’ve never done it before, I figure it’s a great learning opportunity. 👍🏽😊
-
Right!? Too bad I’m going to stick copper all over it. 😂 I just wanted to ensure I had the smoothest foundation before putting on the plates.
-
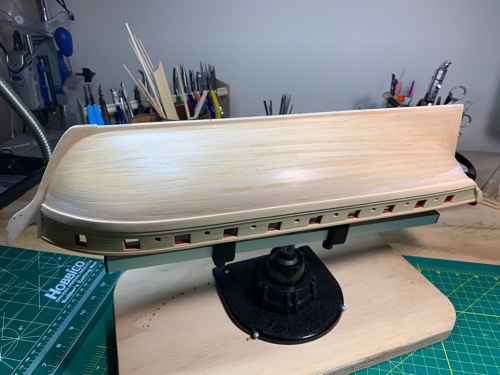
Well, some slow progress between meetings. I did manage to put a couple coats of wipe on poly on the ship. I mean I know the surface isn’t perfectly smooth, but a couple light coats of poly with sanding in between really smoothed out the surface. 👍🏽 Moving on....slowly...
-
Beautiful work! I’m amazed you were able to sand the shell so thin. I was terrified of going through!
- 950 replies
-
- 1
-
-
- syren
- model shipways
- (and 1 more)
-
Hmmm. That sounds simpler. Will give it a go!!!