Baker
-
Posts
4,286 -
Joined
-
Last visited
Content Type
Profiles
Forums
Gallery
Events
Everything posted by Baker
-
 Beautiful model Cristian. She deserves a special place in your house where everyone can see her.
 -
Beautiful painted and very realistic.
-
It is a pleasure to follow this build, A fairly unknown ship A kit from unknown manufacturer (for me anyway) And in between a complete story about this ship Dank u Piet (Thank you Piet).
- 378 replies
-
- 5
-

-
- java
- pacific crossroads
- (and 2 more)
-
Welcome to MSW. And greetings from Belgium
-
Roter Löwe 1597 by Ondras71
Baker replied to Ondras71's topic in - Build logs for subjects built 1501 - 1750
Great work Ondras Pins, Treenails ... Once you have applied them to the model, you will not regret it. But it is indeed a lot of work. -
Great work Michael, It was a pleasure to follow this. I am already looking forward to your next project
-
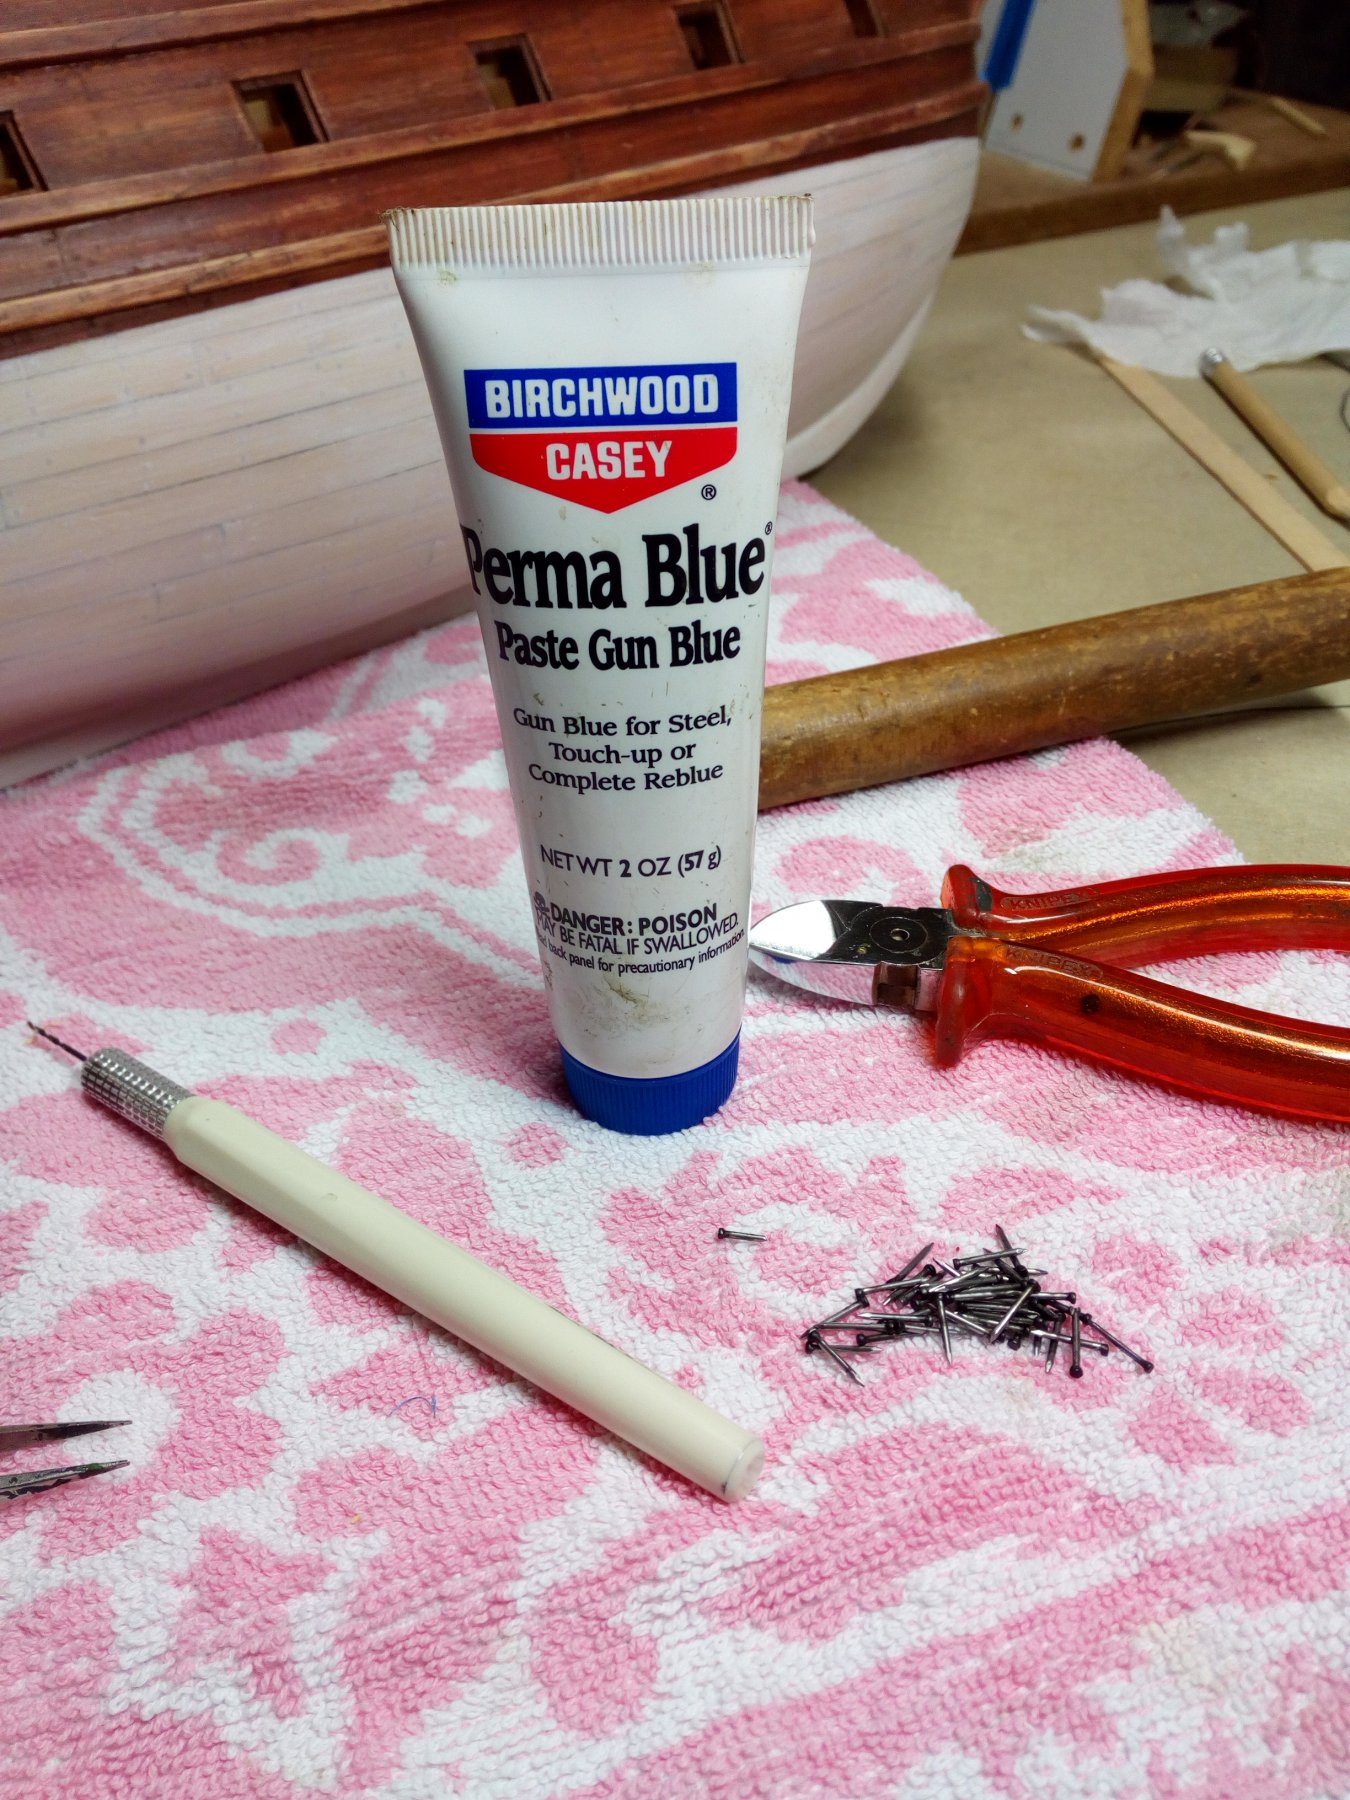
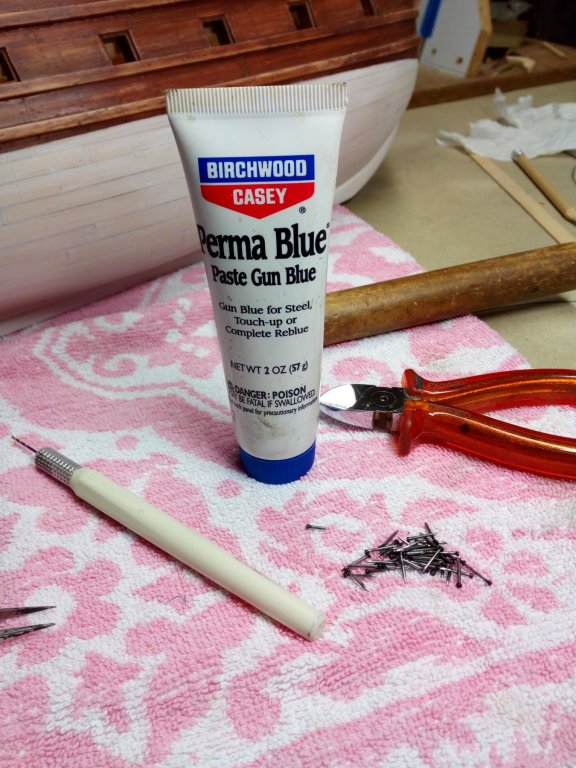
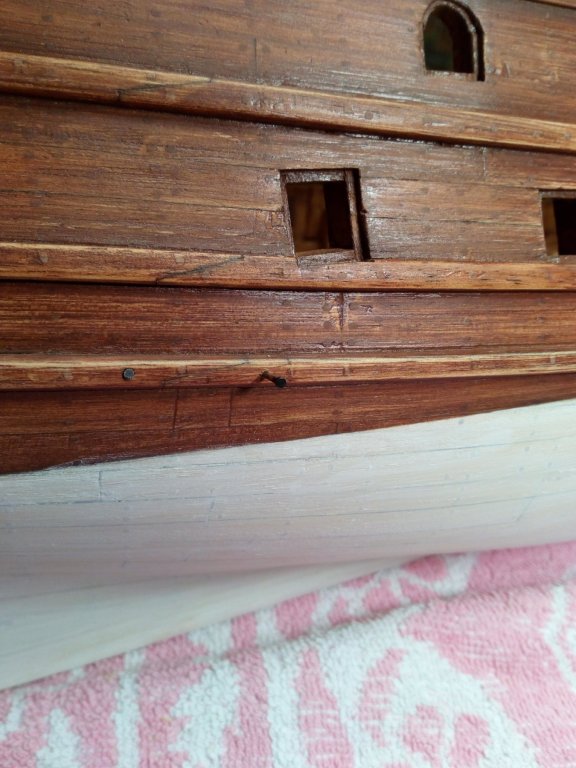
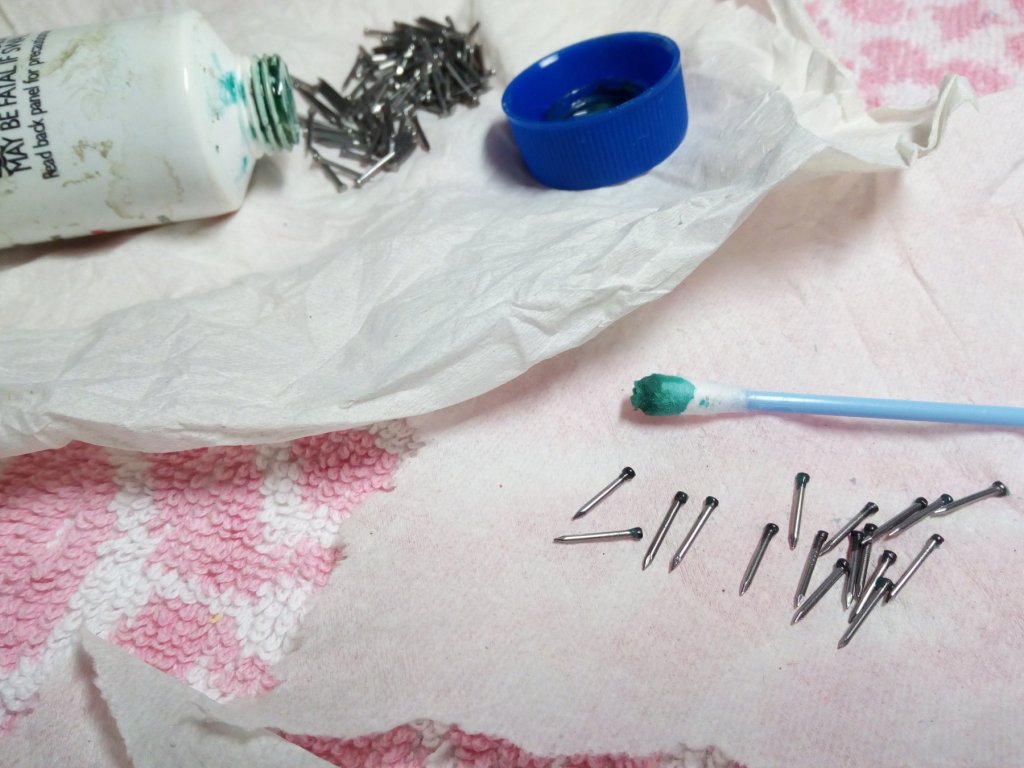
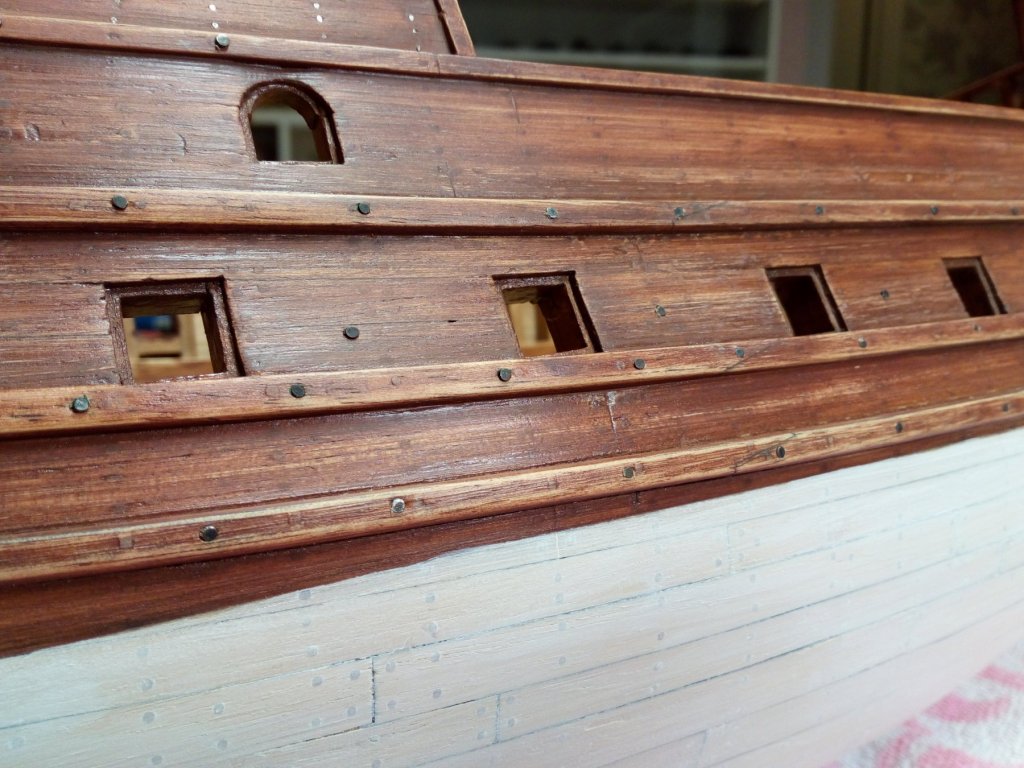
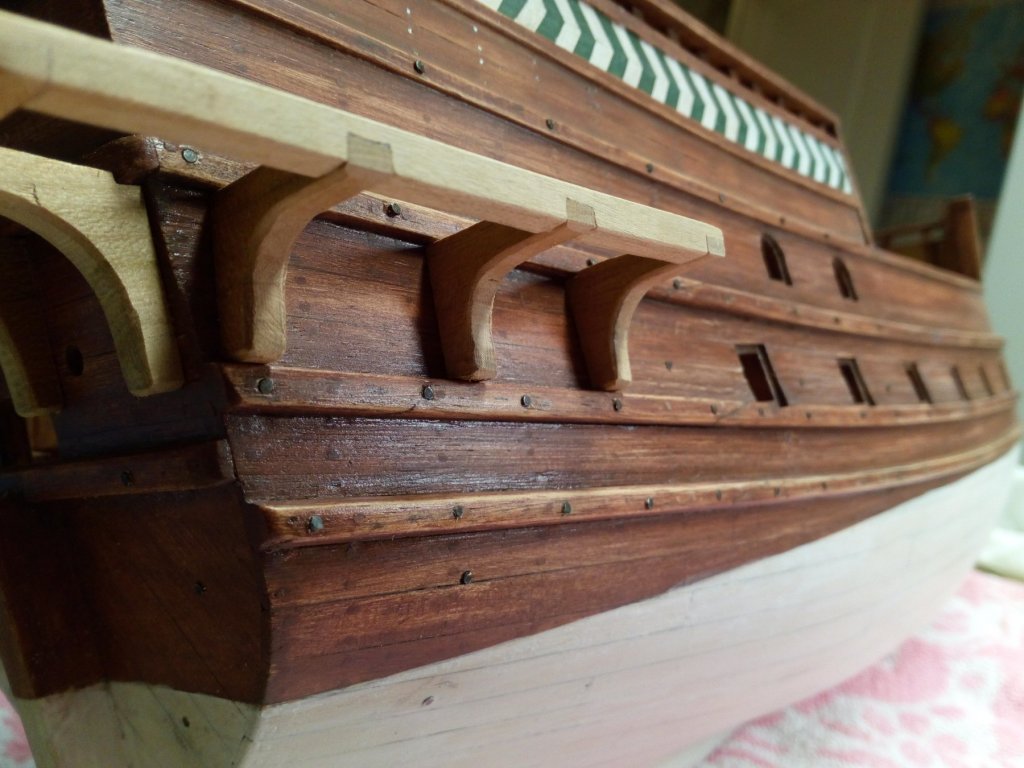
After I started on the balcony. I new i had forgotten something Bolts. So first apply bolts to the wales and to the places where the knees are Info about the bolts. Source: the Gresham ship. To scale I must therefore have bolts whose head is 1.1 to 1.2 mm. The spacing between the bolts on the wales is 2 to 3 cm. Small nails of 1 cm "without head" are suitable for this. The heads vary between 1.1 and 1.2 mm in diameter. Right size it can not be better. Method used : The nails are first degreased in acetone and dryed. Then the heads are made black with Perma Bleu and cut to length with a pair of pliers Predrilling a hole where a nail should come. Nail and ready. Work in progres Thanks for following
- 756 replies
-
- 12
-
-
- galleon
- golden hind
- (and 2 more)
-
Backer's idea, Can you not make the oval piece with the name separate? This may work easier
-
New member with a question about shipping models
Baker replied to CJ2S's topic in New member Introductions
Not so long ago we had this interesting topic. -
great progress E.J. I am sure that you will find the right solution for this challenge.
-
Nicely done Michael, Almost finished, do not forget to put the champagne in the refrigerator to celebrate
-
Welcome, And success with your first model ship.
-
Thanks Christian. This was the most complex "camouflage scheme" I have ever tried to paint. Long live panzer gray, olive green and other sand colors in my military modeling
- 756 replies
-
- 3
-
-
- galleon
- golden hind
- (and 2 more)
-
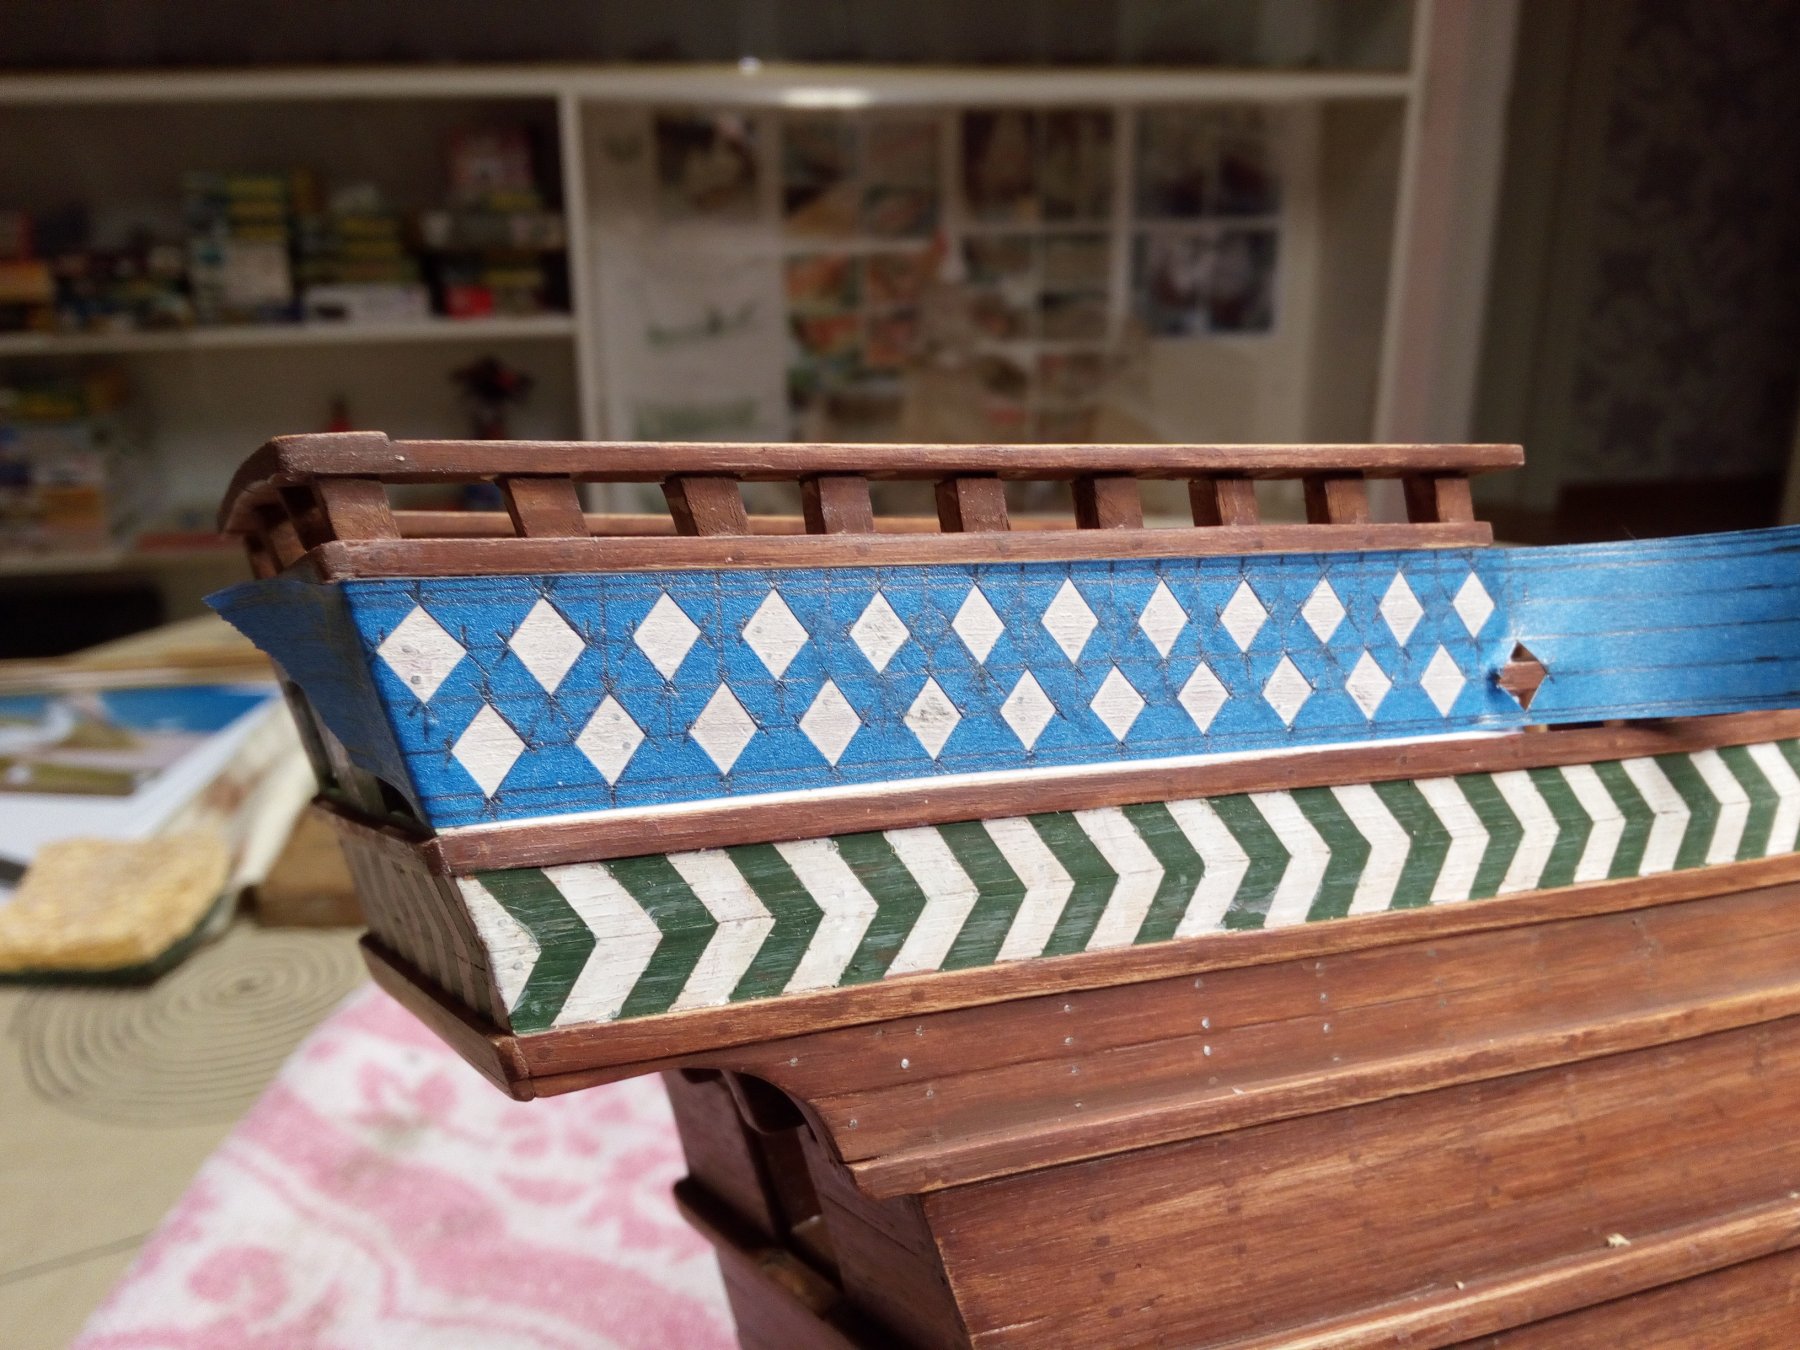
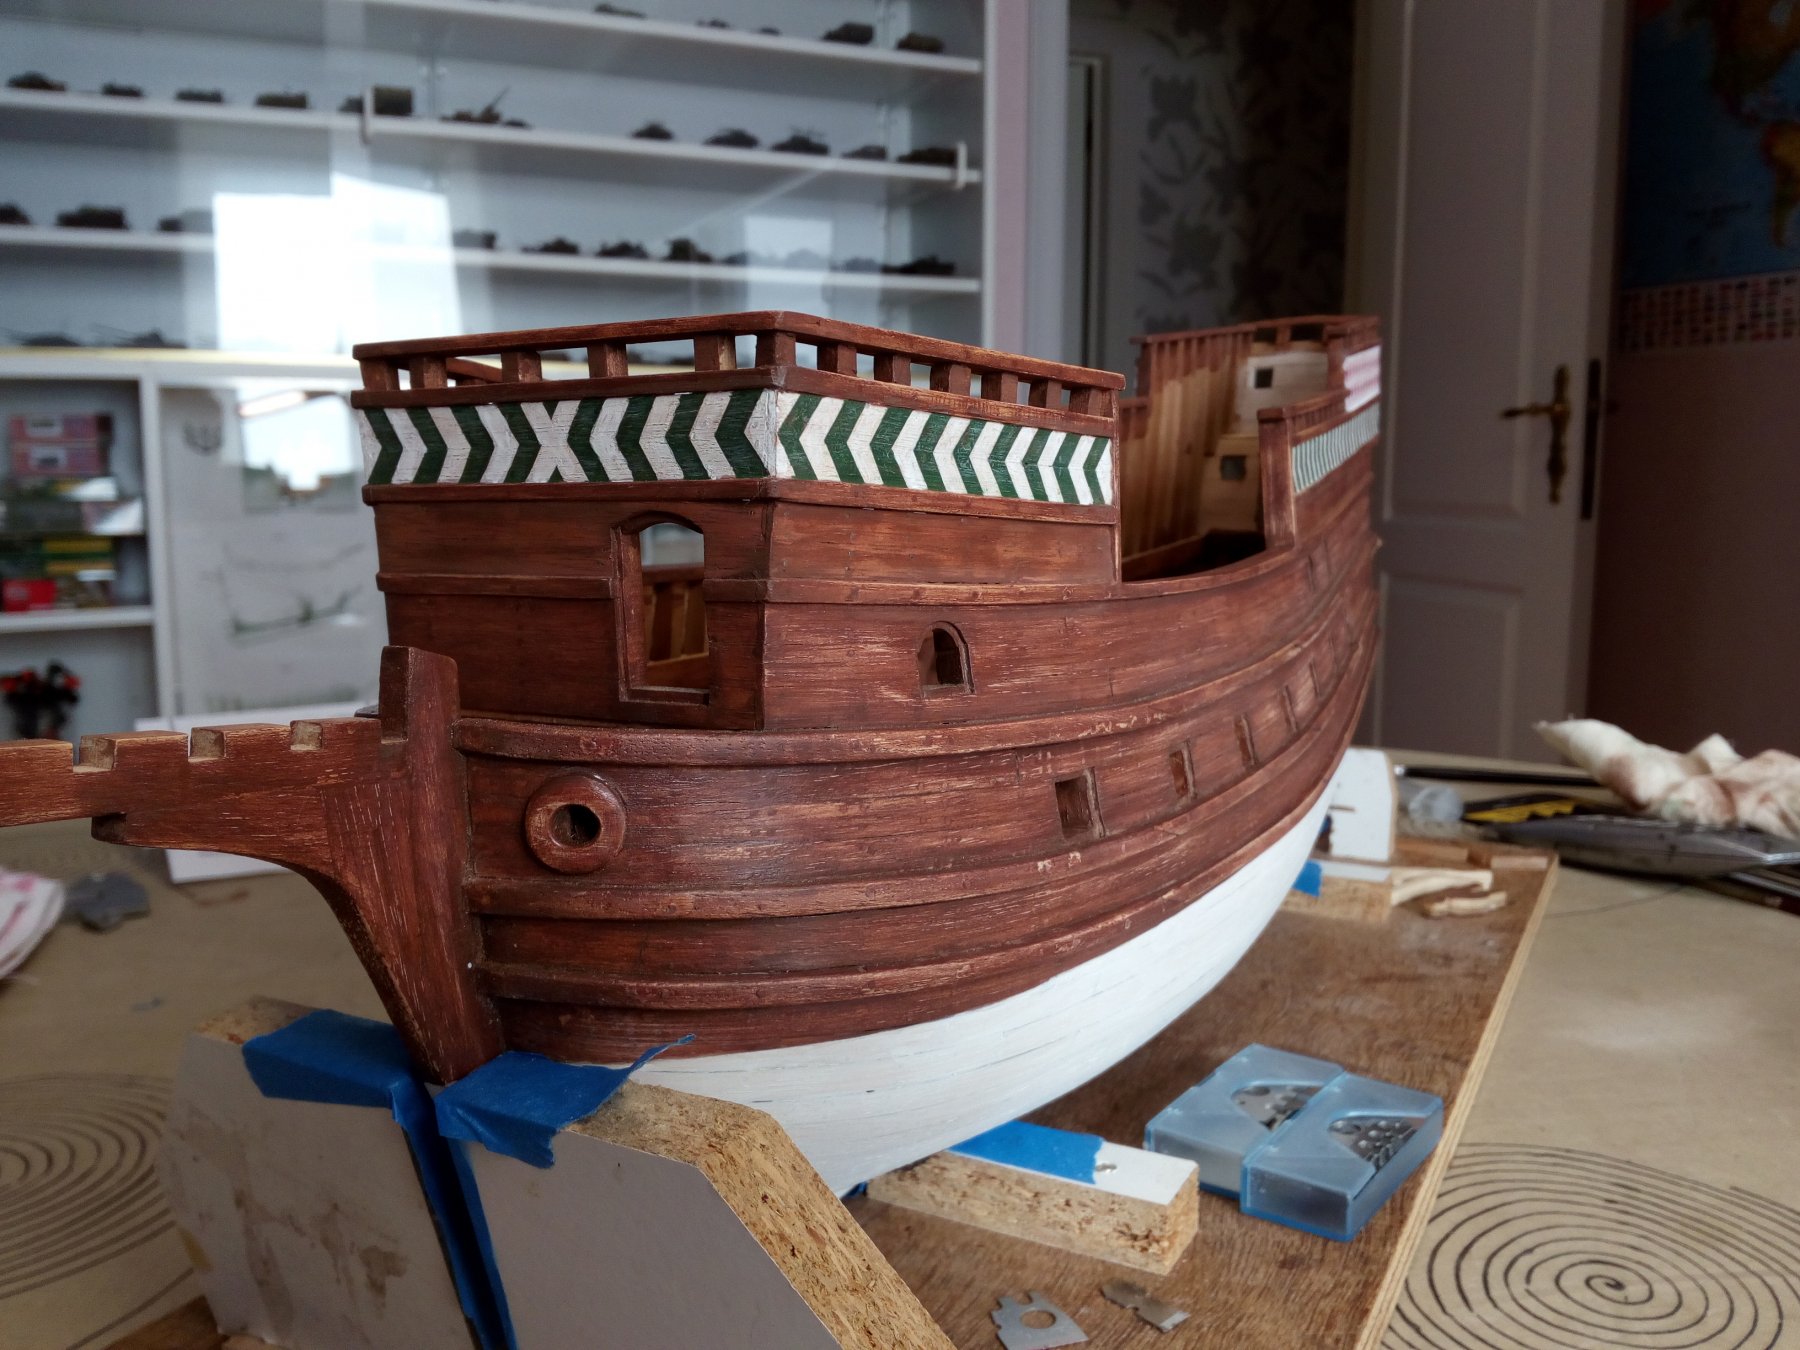
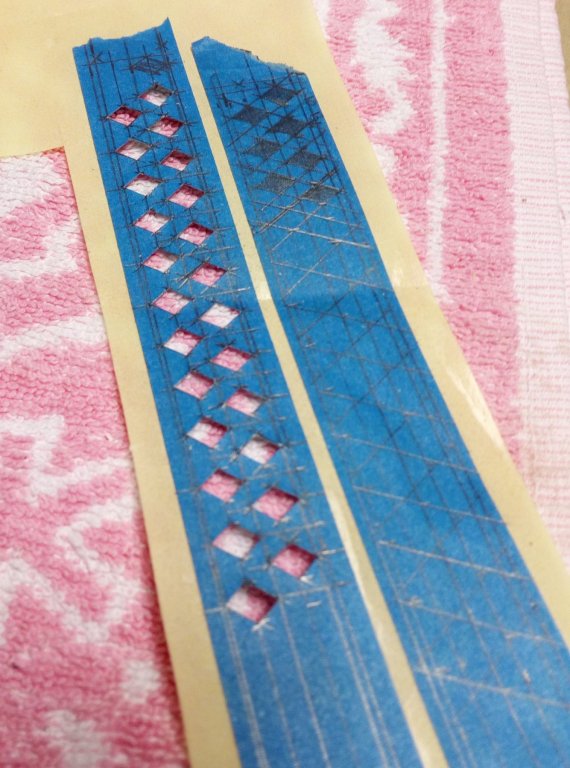
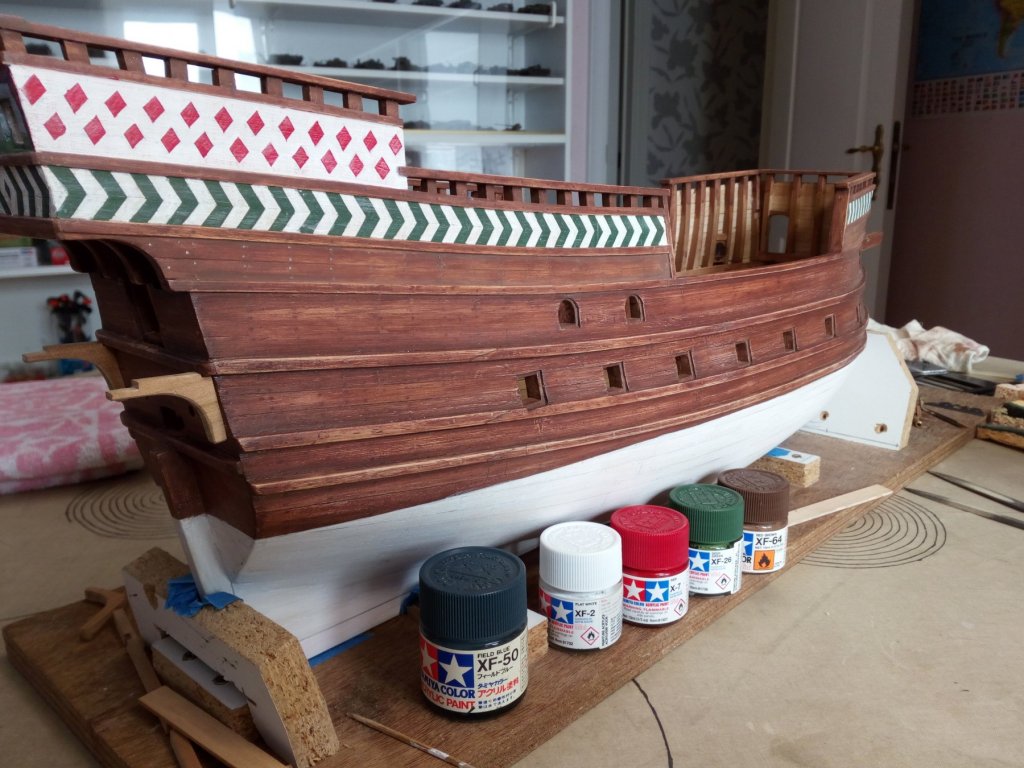
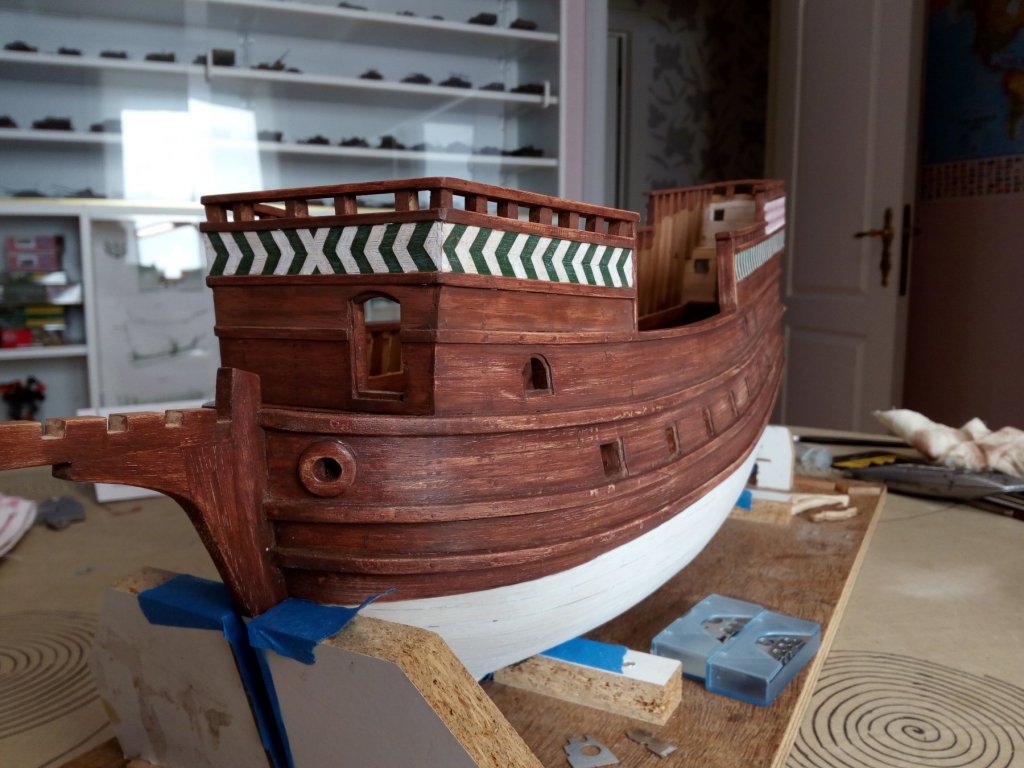
Painting is done. On this part of the hull the colors have become white and red. After painting a light dry brushing with white and reddish brown was applied. Sometimes it did not go according to plan... The pelican is also further painted. Now we can start with the floor of the balcony. And make windows and a door. Thanks for following, index see post 1.

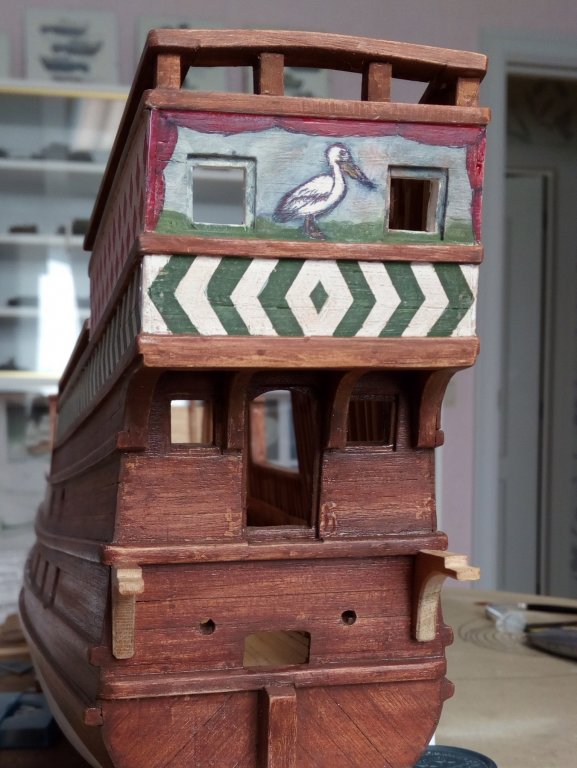
- 756 replies
-
- 15
-
-
- galleon
- golden hind
- (and 2 more)
-
ancre La Salamandre by tadheus - 1:24
Baker replied to tadheus's topic in - Build logs for subjects built 1751 - 1800
Pawel, As always. Nice and beautiful work. -
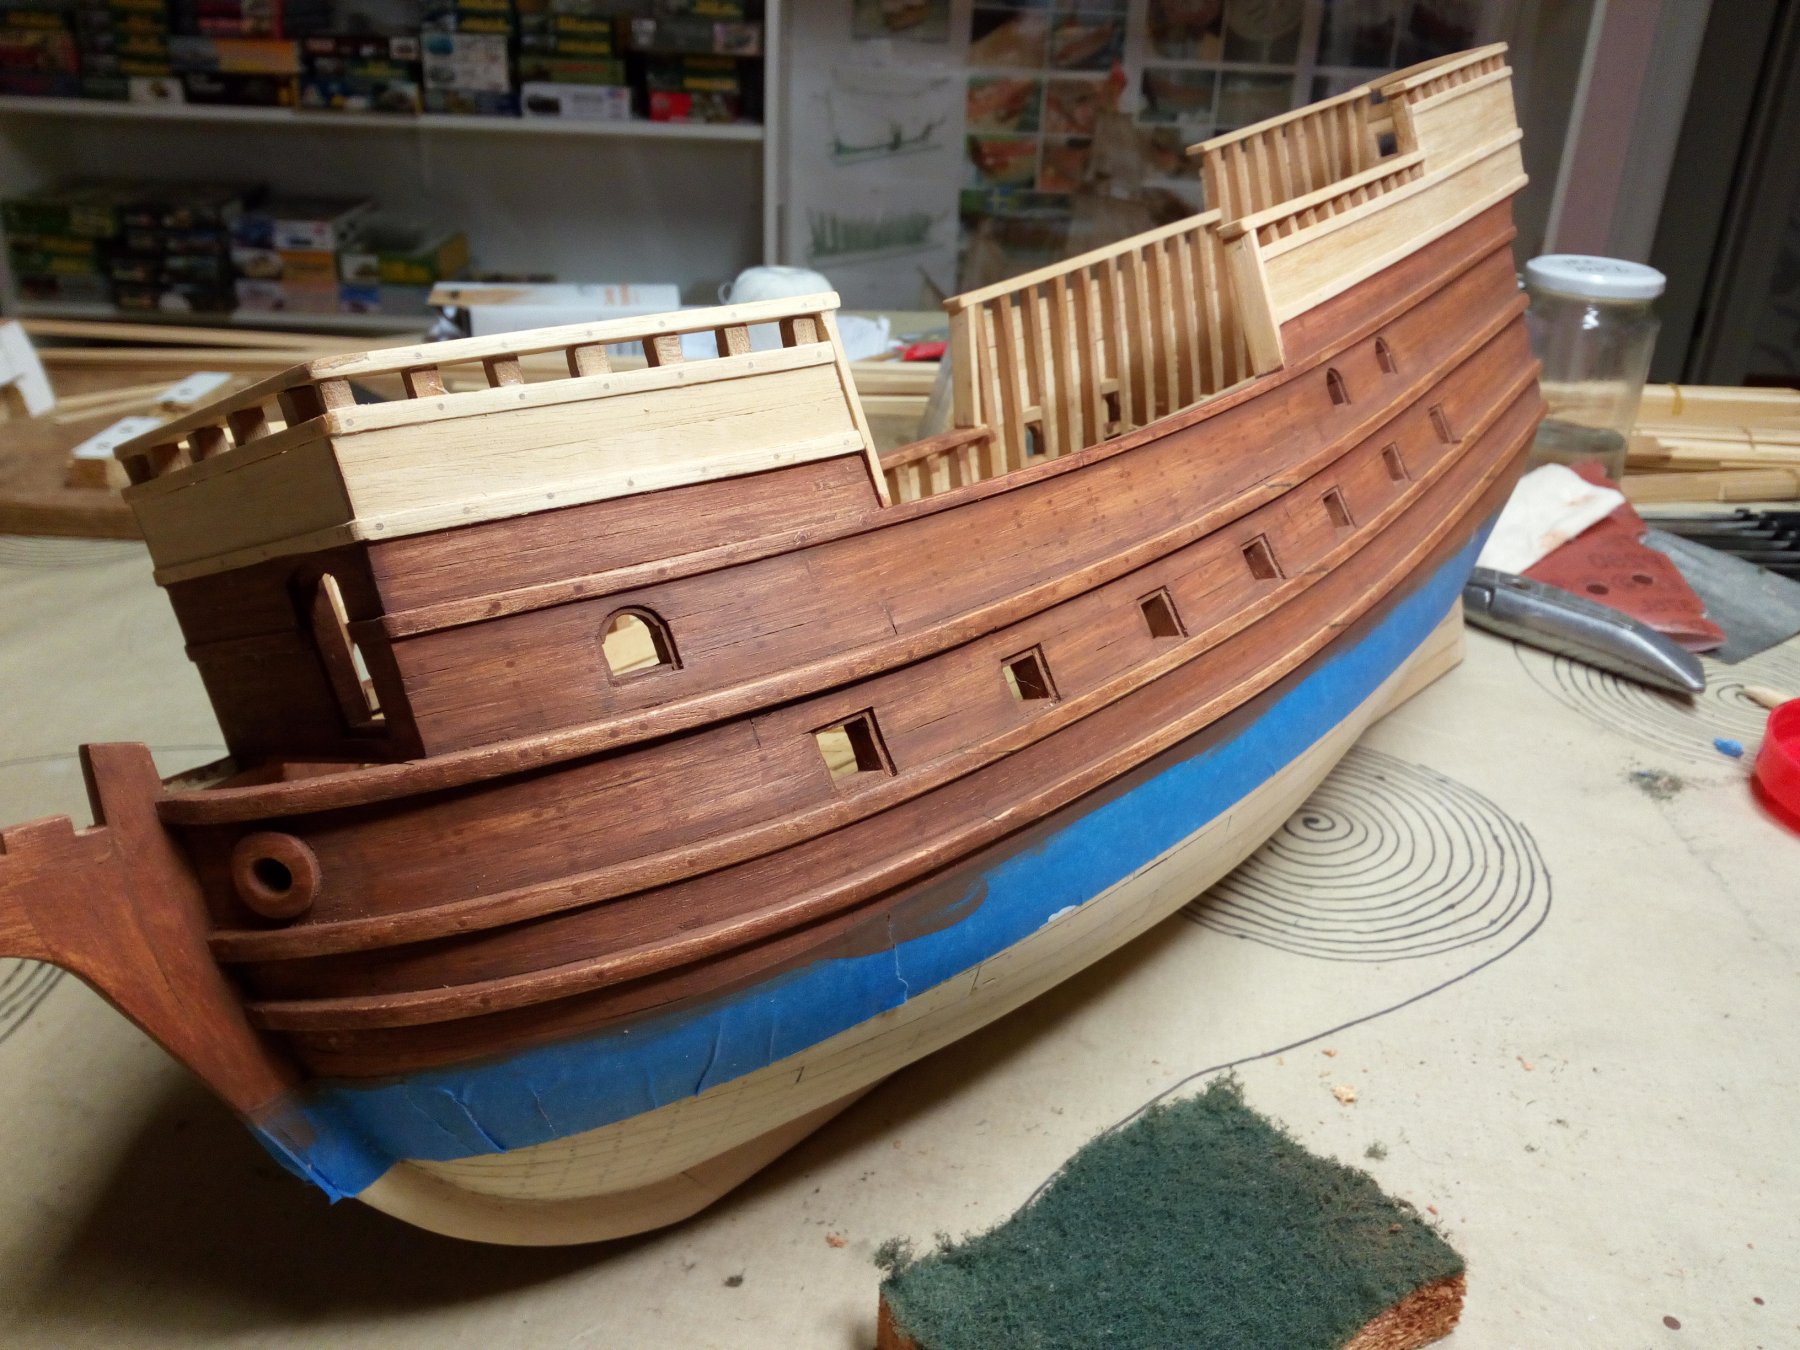
Looks great. The shape of the ship is already starting to become visible.
-
On this site http://www.modelships.de/ I found this link http://www.finemodelships.com/sale_transport.htm Maybe they can help you. Although, Packing it yourself and transporting it to your father by car is perhaps faster and cheaper.
-
I looked at your building log again (twice ). Wonderful what you do with these PE parts. Great model.
-
Thanks Lawrence, My way of building and finishing one does not see much indeed. No one knows what this ship has ever looked like. So there is a fair amount of freedom in the painting of this ship
- 756 replies
-
- 2
-
-
- galleon
- golden hind
- (and 2 more)
-
Free info Michael. Whatever you decide to make it is your model and your choice. That's how I once made my lantern
-
Jorgen, This is how i stained my Golden Hind My Vasa was painted with semi gloss, old oak varnish See the link below

-
Steven, Thanks for the positive comment and the info A pelican in this way is indeed more imposing and shows more aggressive. But, My drawing skills are insufficient to draw this. I think it will stay with an ordinary pelican.
- 756 replies
-
- 2
-
-
- galleon
- golden hind
- (and 2 more)