Baker
-
Posts
4,298 -
Joined
-
Last visited
Content Type
Profiles
Forums
Gallery
Events
Everything posted by Baker
-
-
Nice looking models
-
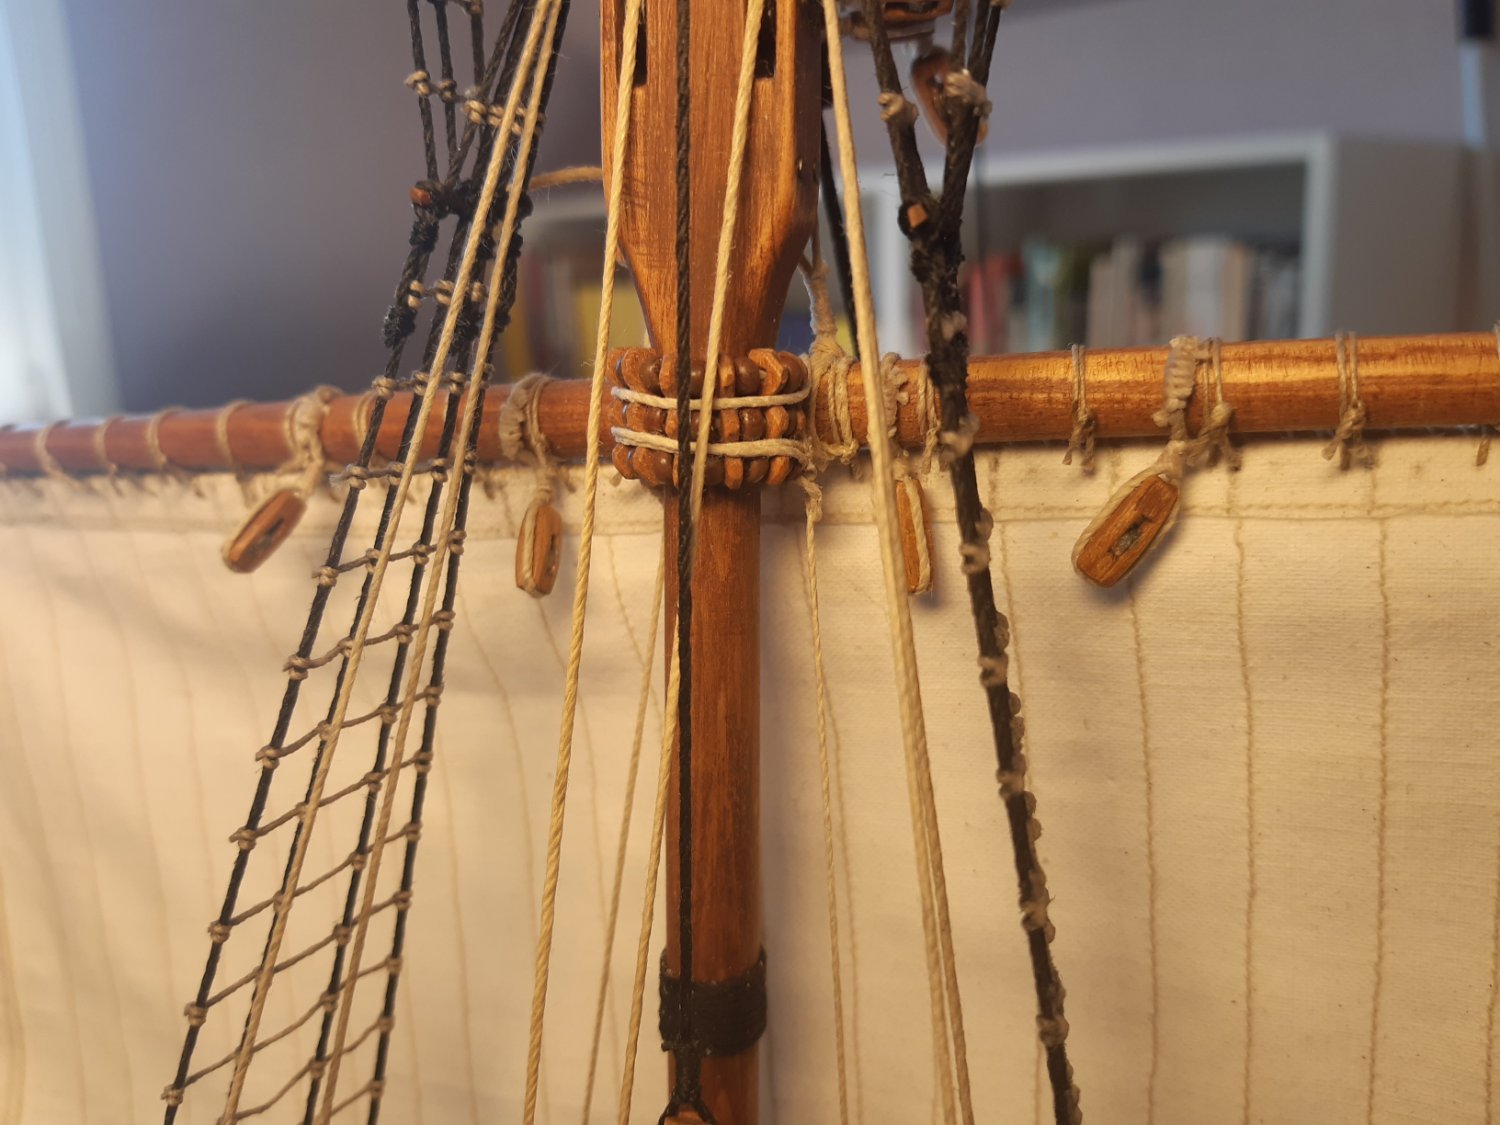
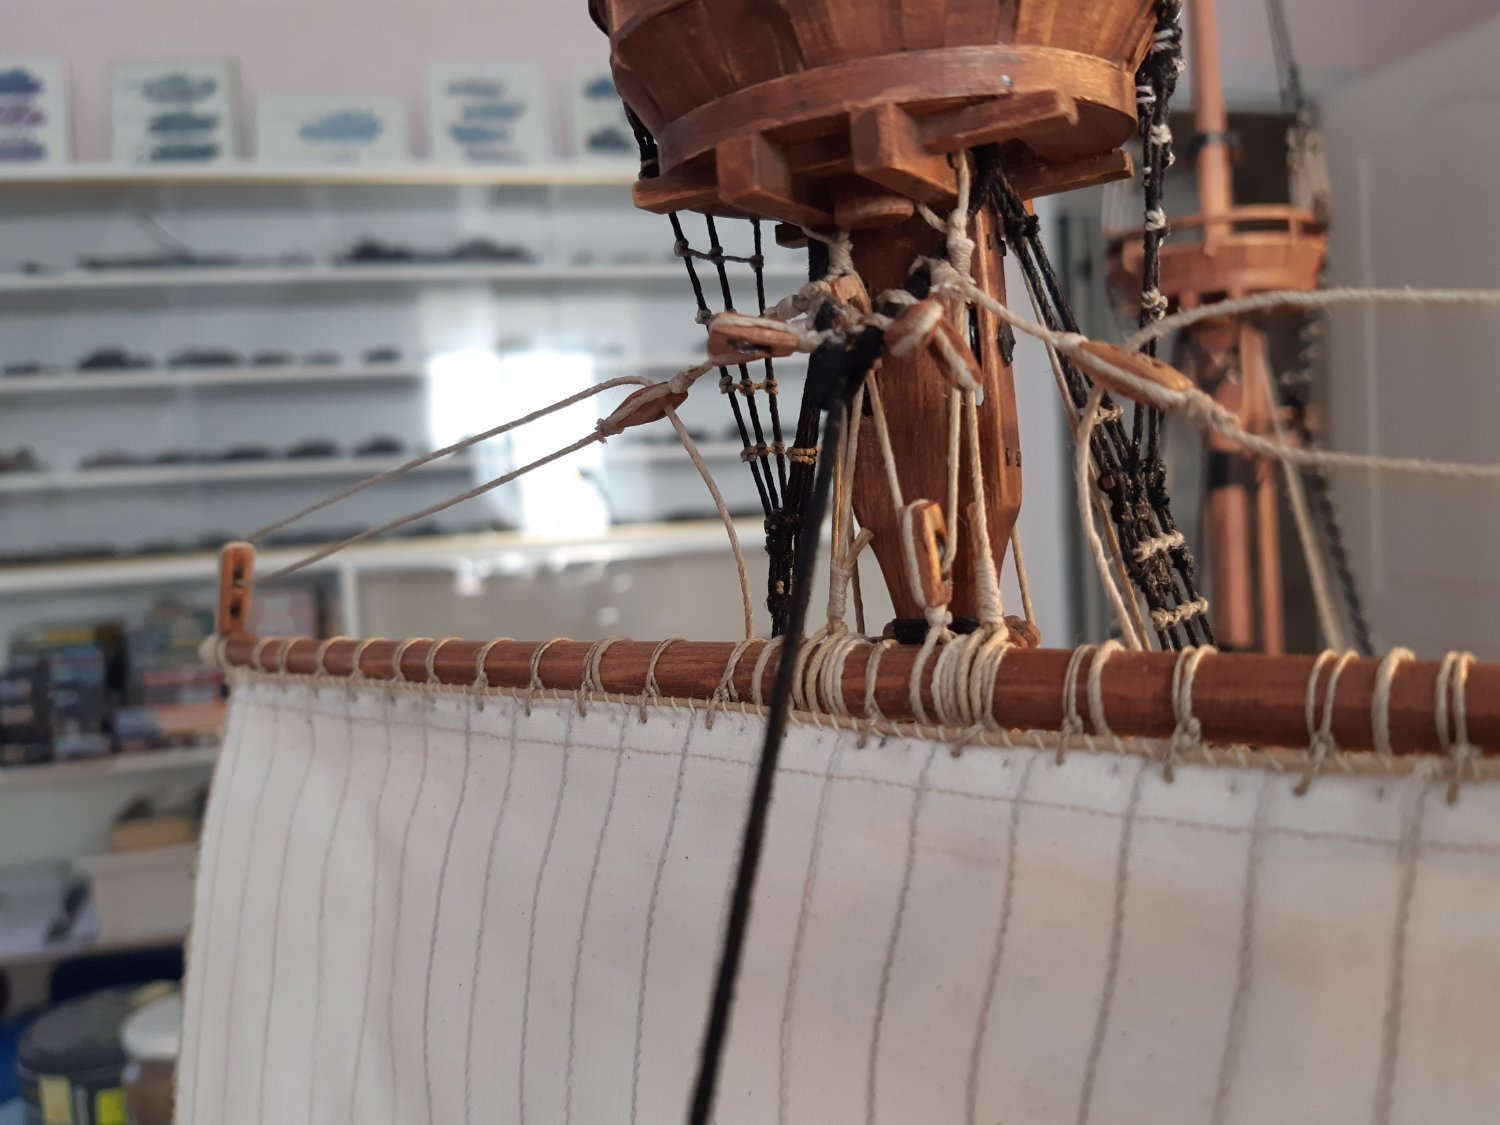
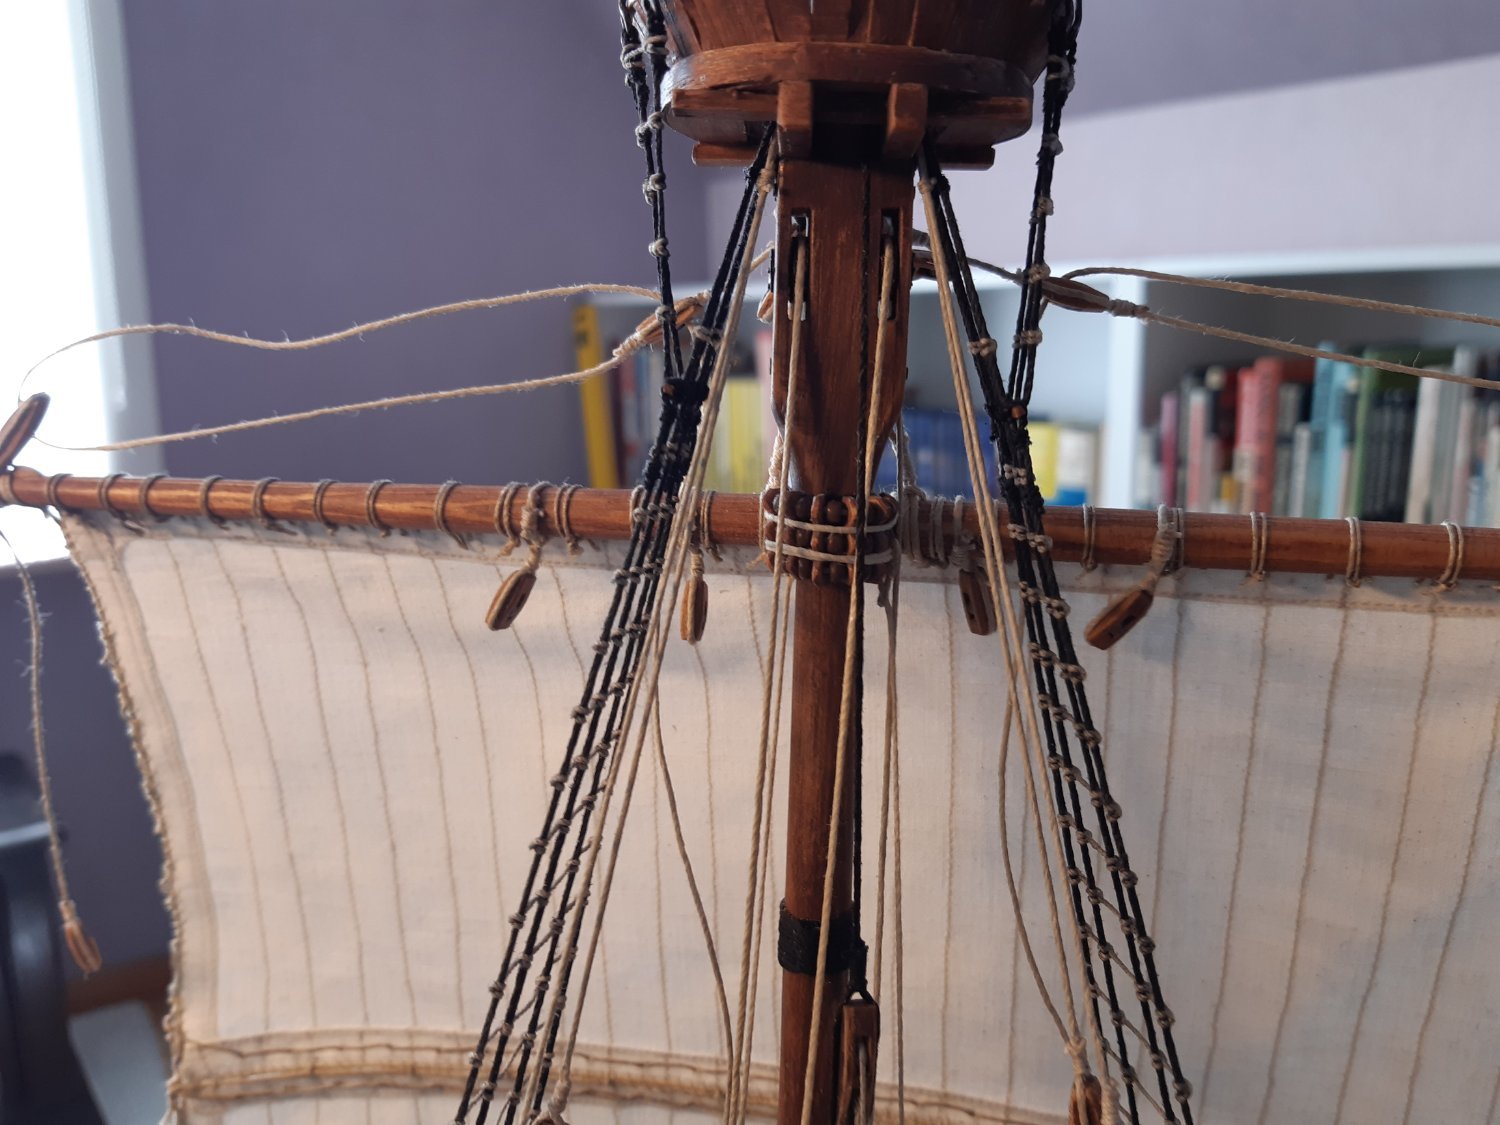
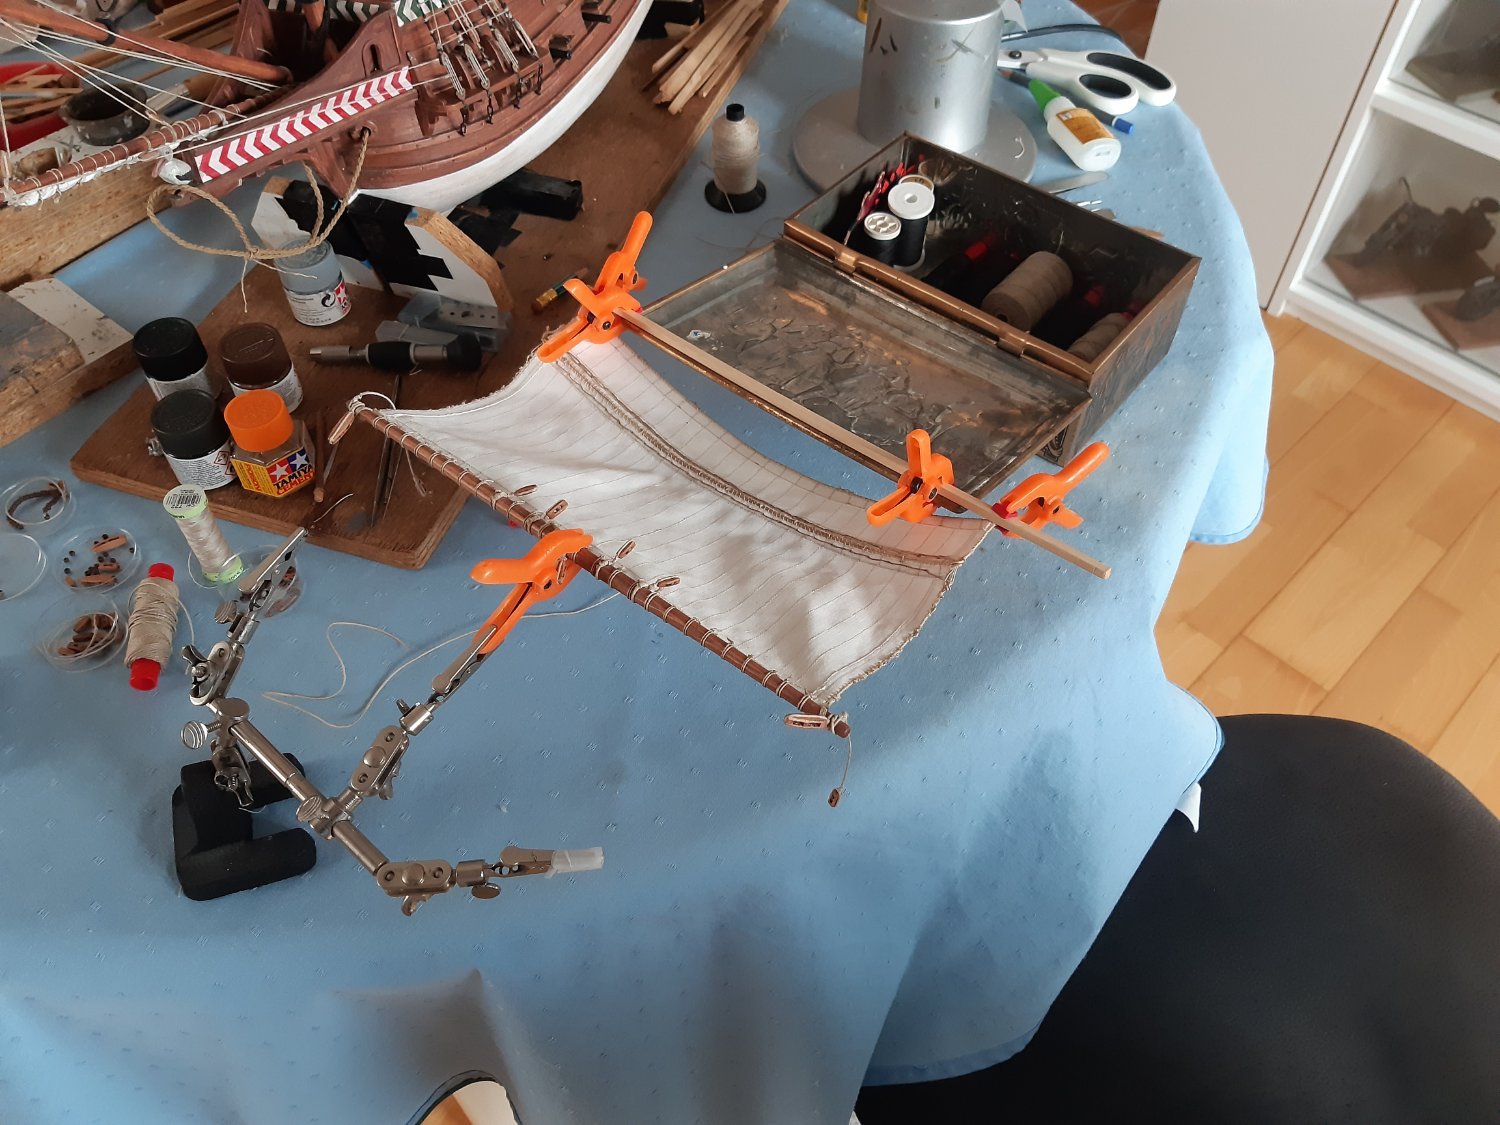
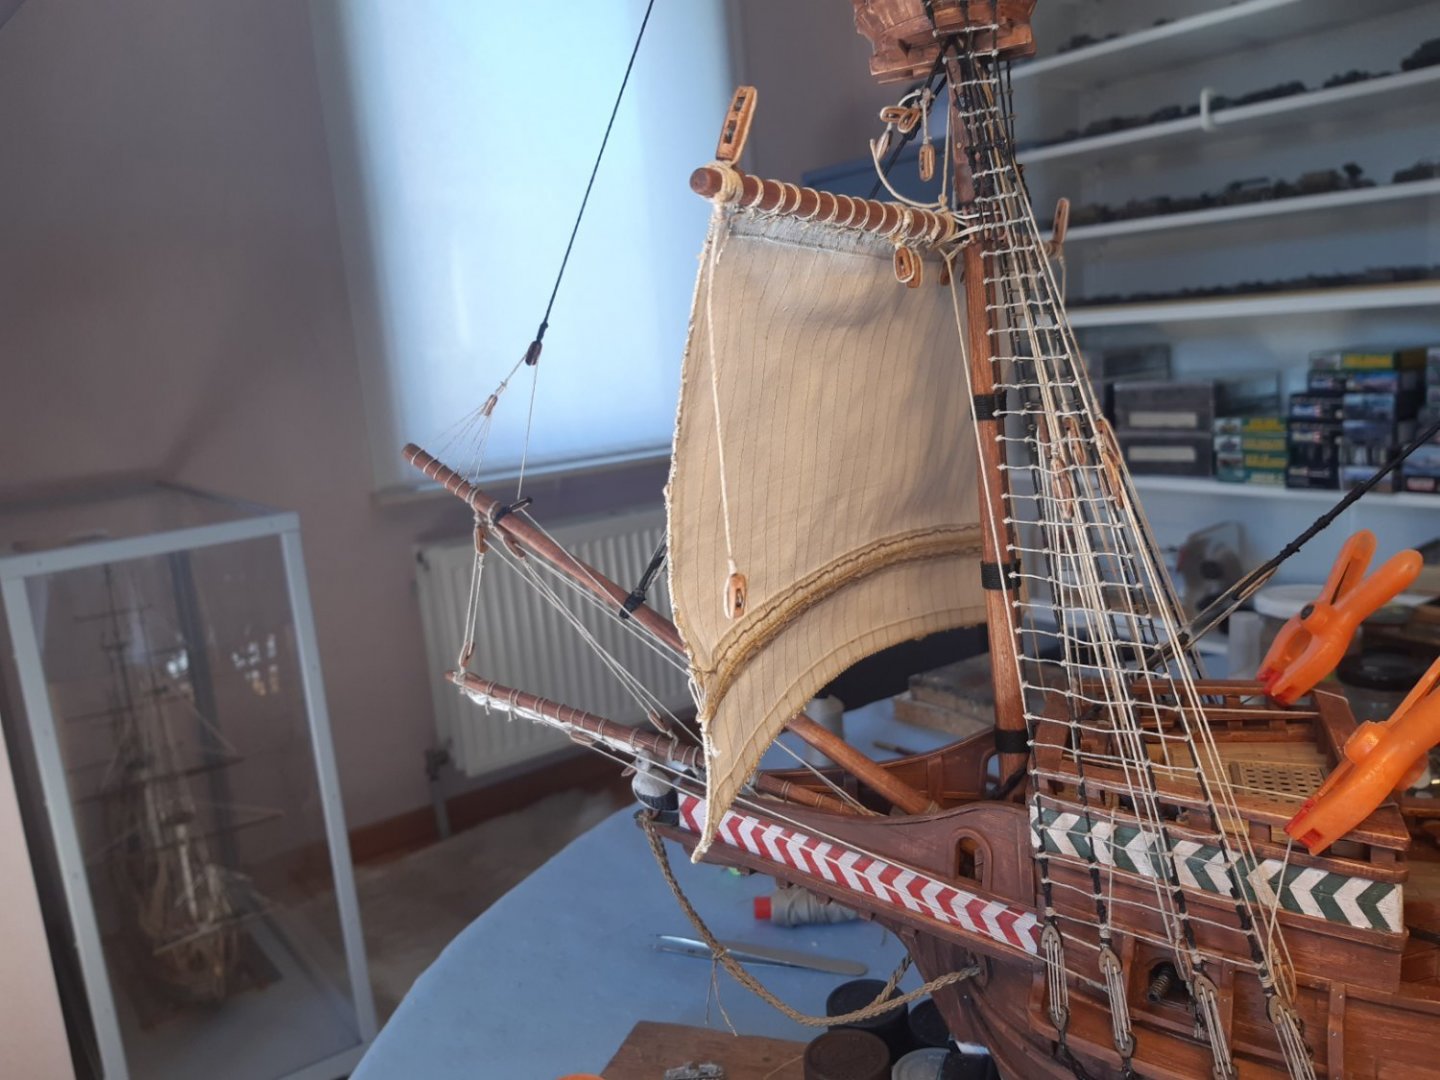
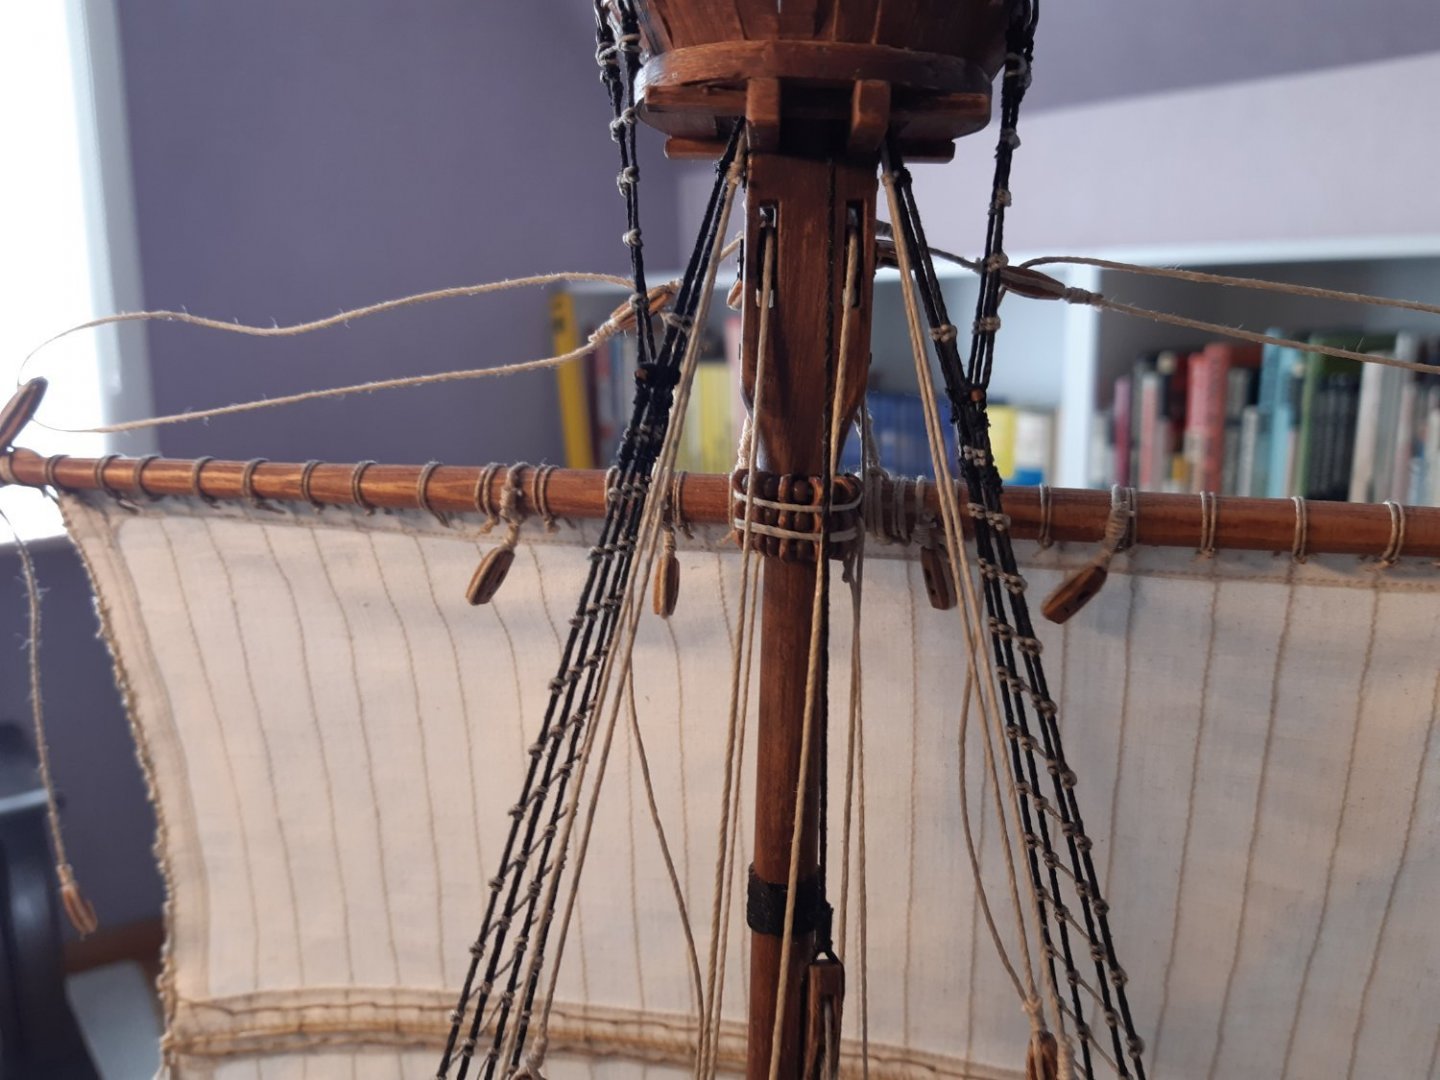
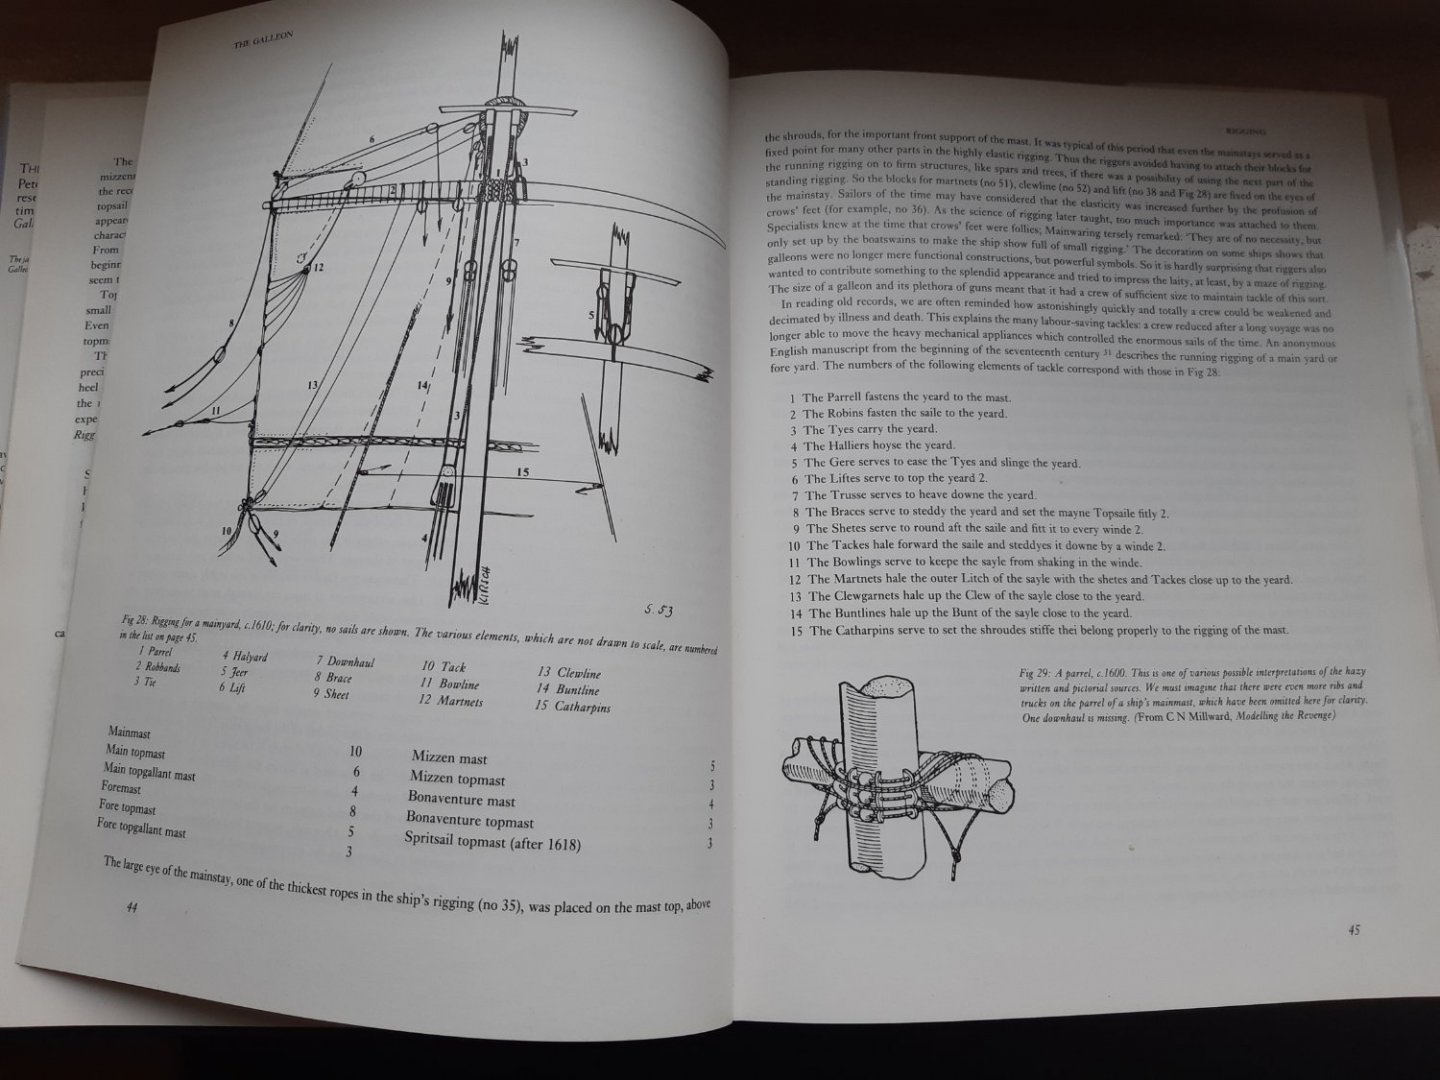
 Once sewn and ready, the sails are coated with beeswax. This ensures that there is no longer any frayed structure of the cotton. And the sail is getting a bit stiffer. Then the front and back are smeared with diluted PA glue, and i let the sail dry in the desired shape (and, it keeps the desired shape) Cotton sails are indeed too thick on this scale (I've been warned, and they're right) But the general structure and shape is not that bad, i think ( and i like to do stitching and sewing) Thanks, much appreciated Further with the fore sail "Rigging" a parrel ( needed two attempts) I made a whole work plan. Which turned out to be only half correct. For the main sail I make a new one So DO NOT follow this. Parrel Tyes and Gere in place. And I now see that the rope of the left "lift" needs more beeswax... Progress over the next few months will be slow, The wife (and me also) wants a new bathroom.
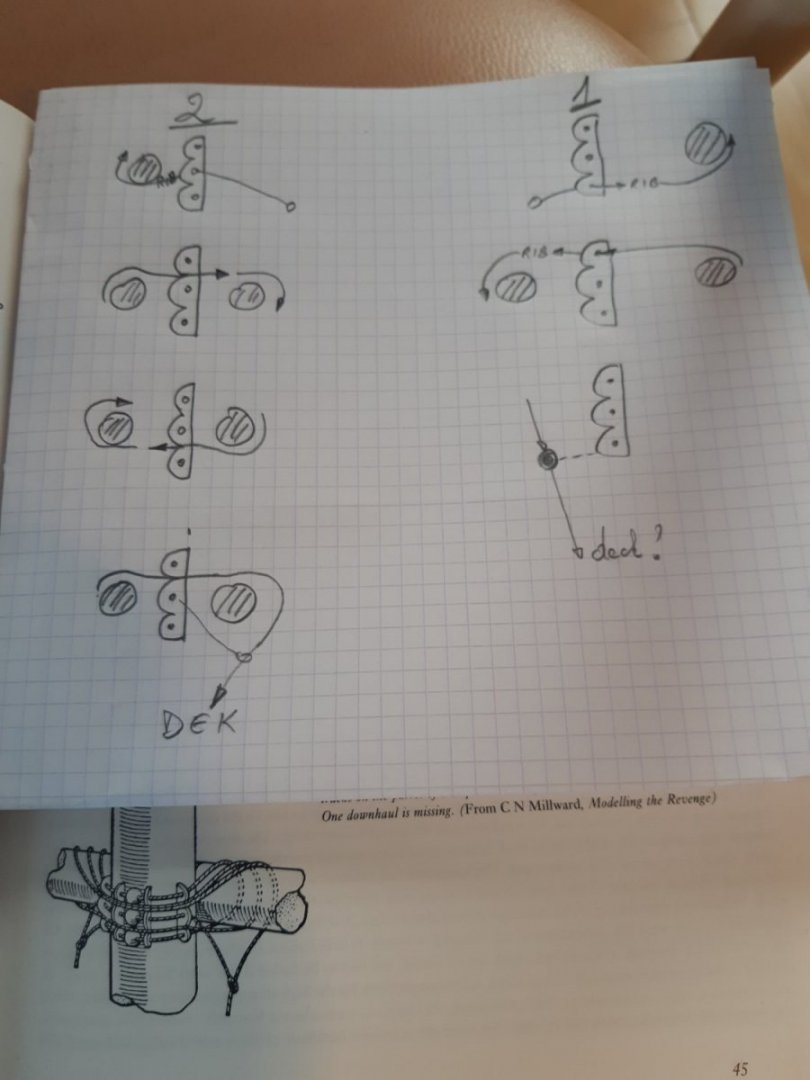


- 756 replies
-
- 14
-

-
- galleon
- golden hind
- (and 2 more)
-
Nice model and
-
Welcome back 😉 Great work, and nice to follow.
-
-
Golden Hind by Rock_From_Korea - 1:48
Baker replied to Rock_From_Korea's topic in - Build logs for subjects built 1501 - 1750
Very nice work 👍 -
-
Starting a buildlog is a good idea. There is always help when Needed
-
First see if this method works. And then I'll tell how. And if it didn't work Then I'll tell too, so everyone will know that this method was wrong 😉
- 756 replies
-
- 4
-
-
- galleon
- golden hind
- (and 2 more)
-
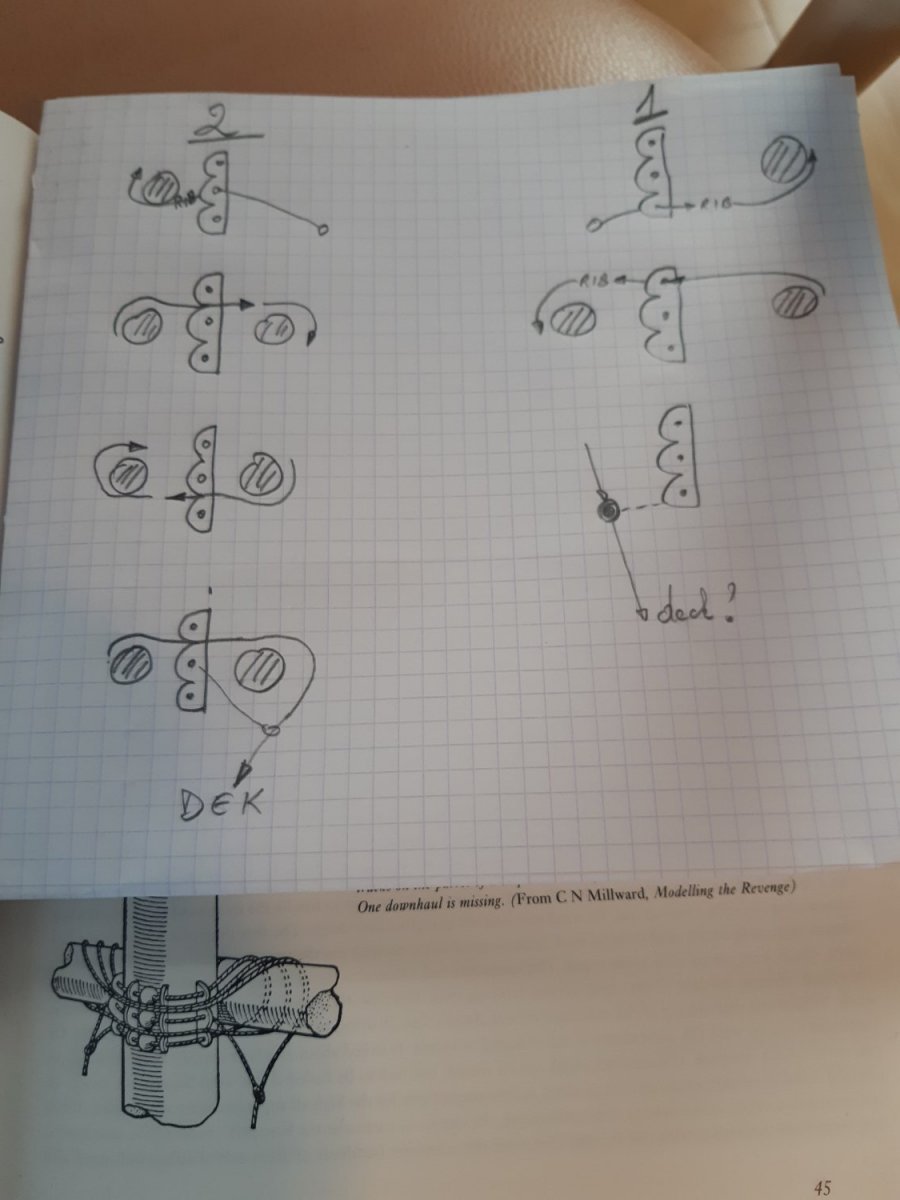
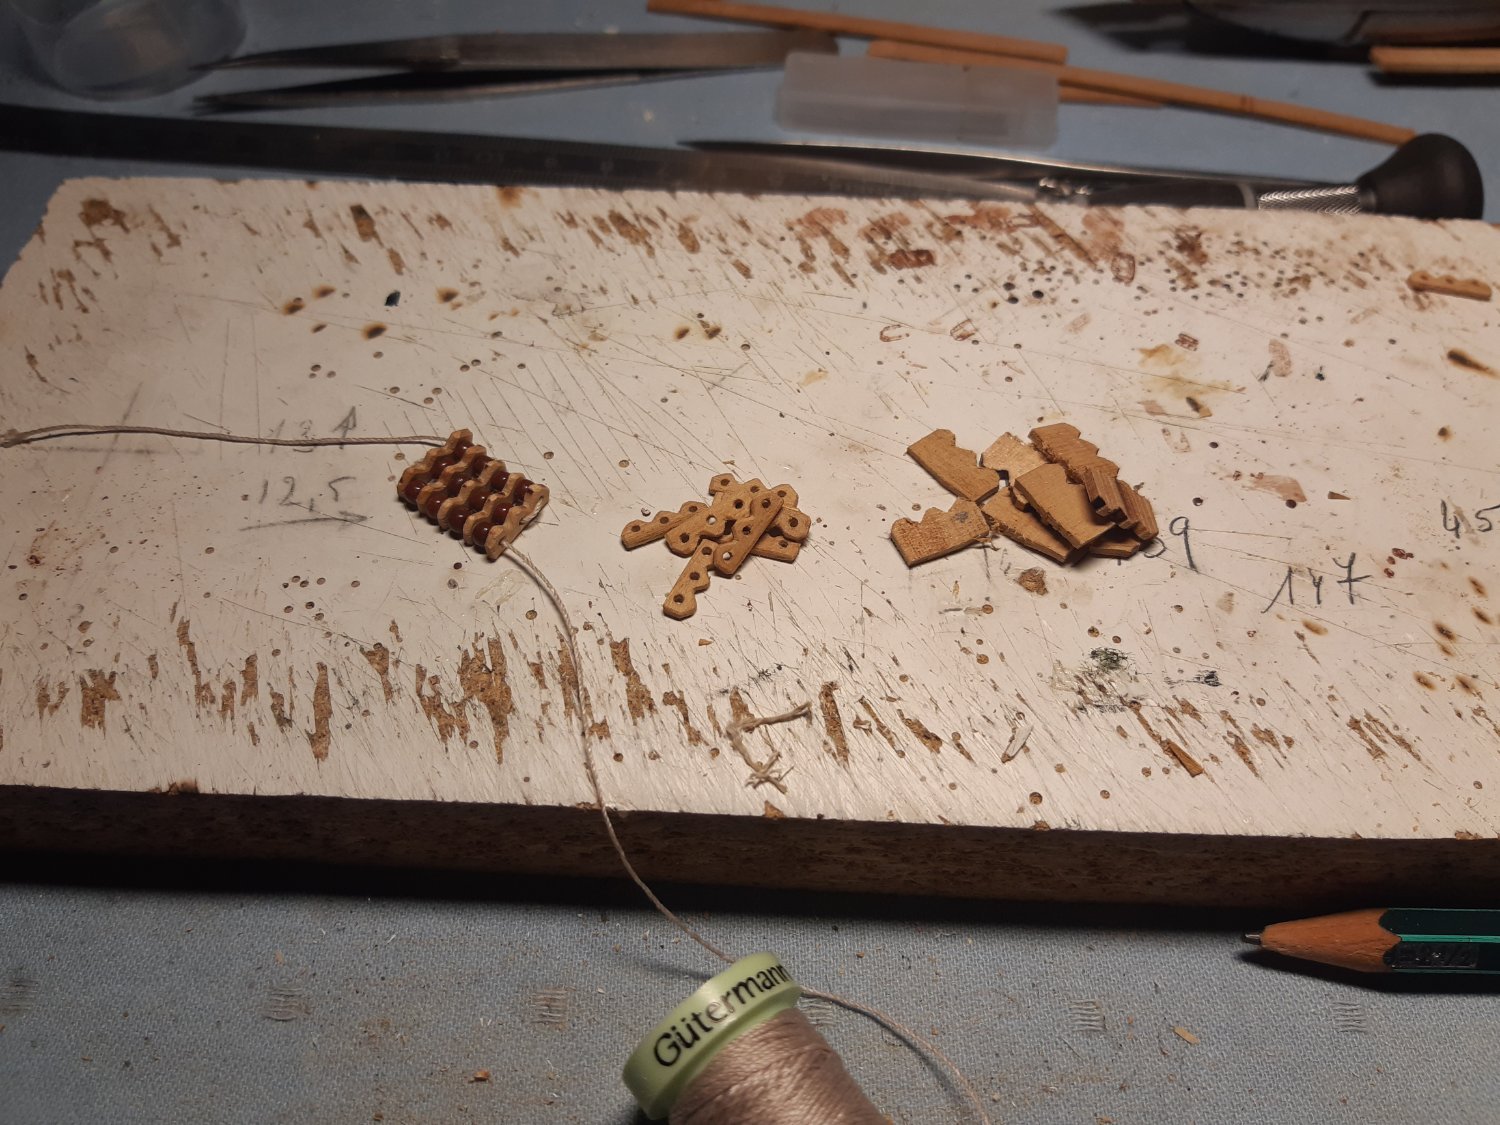
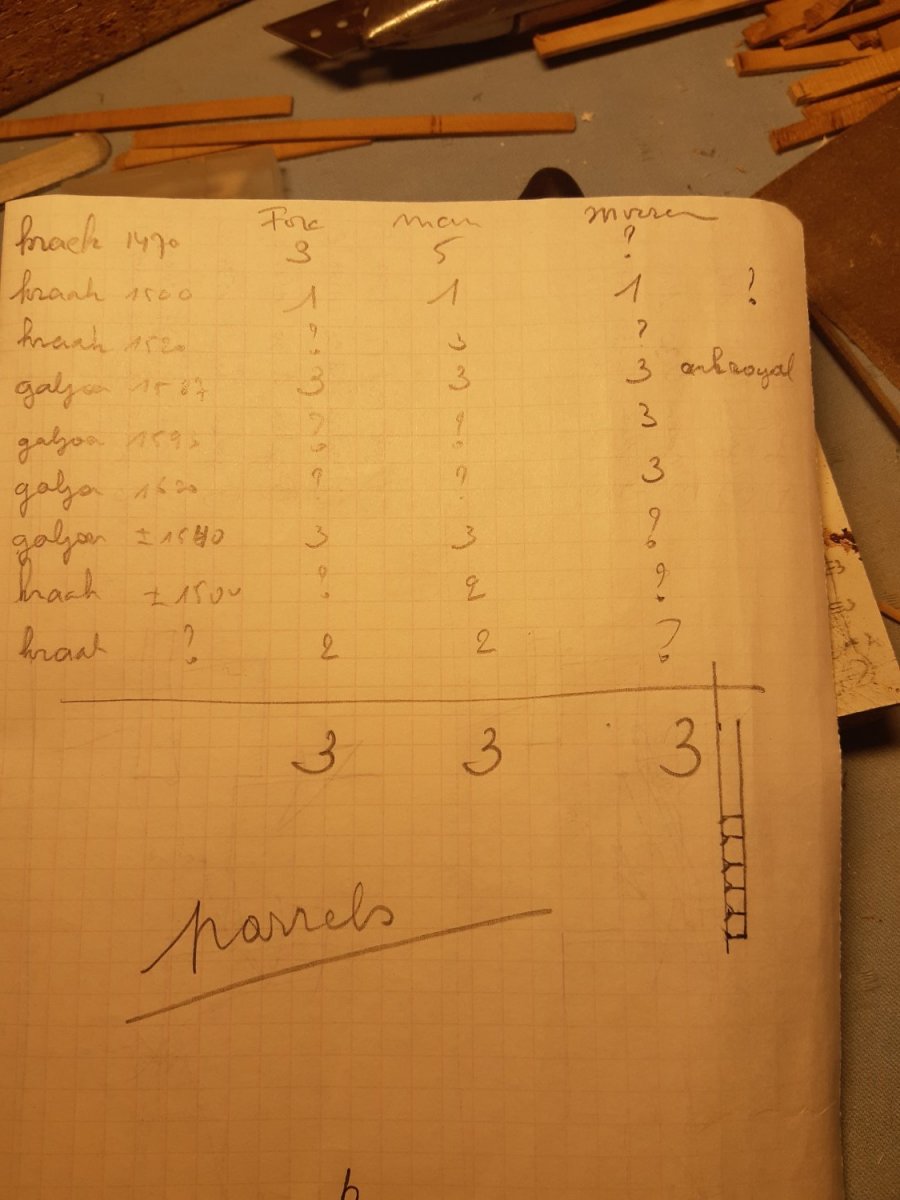
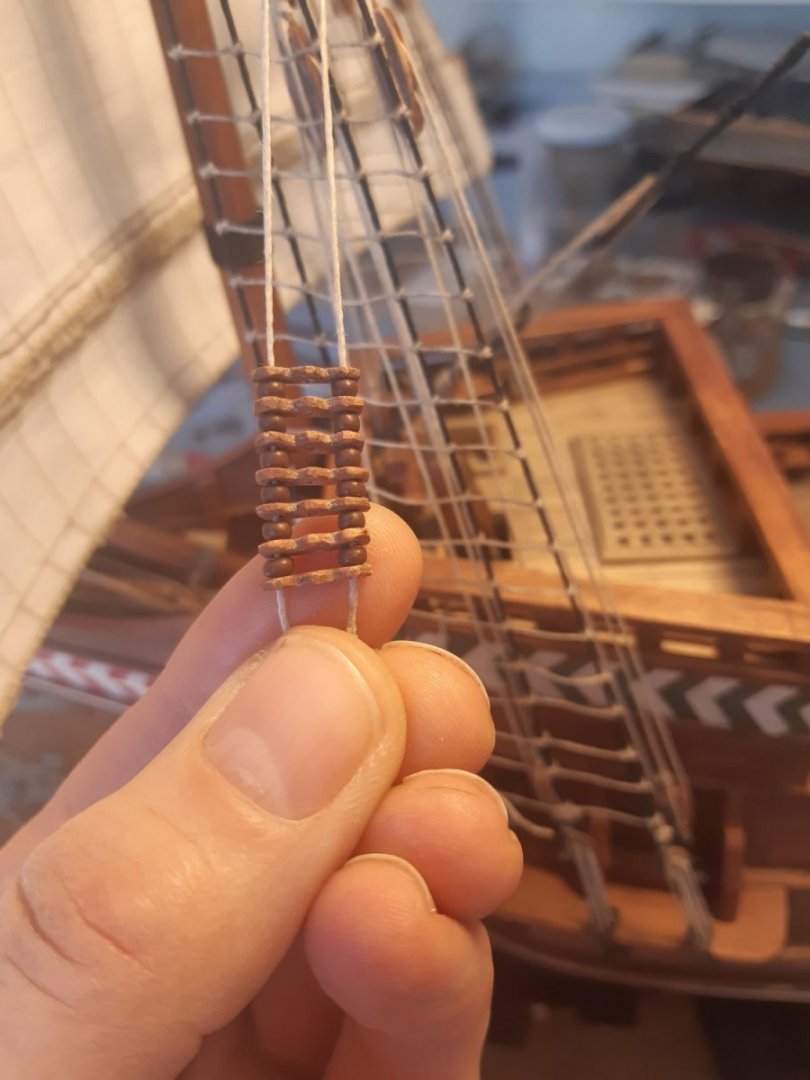
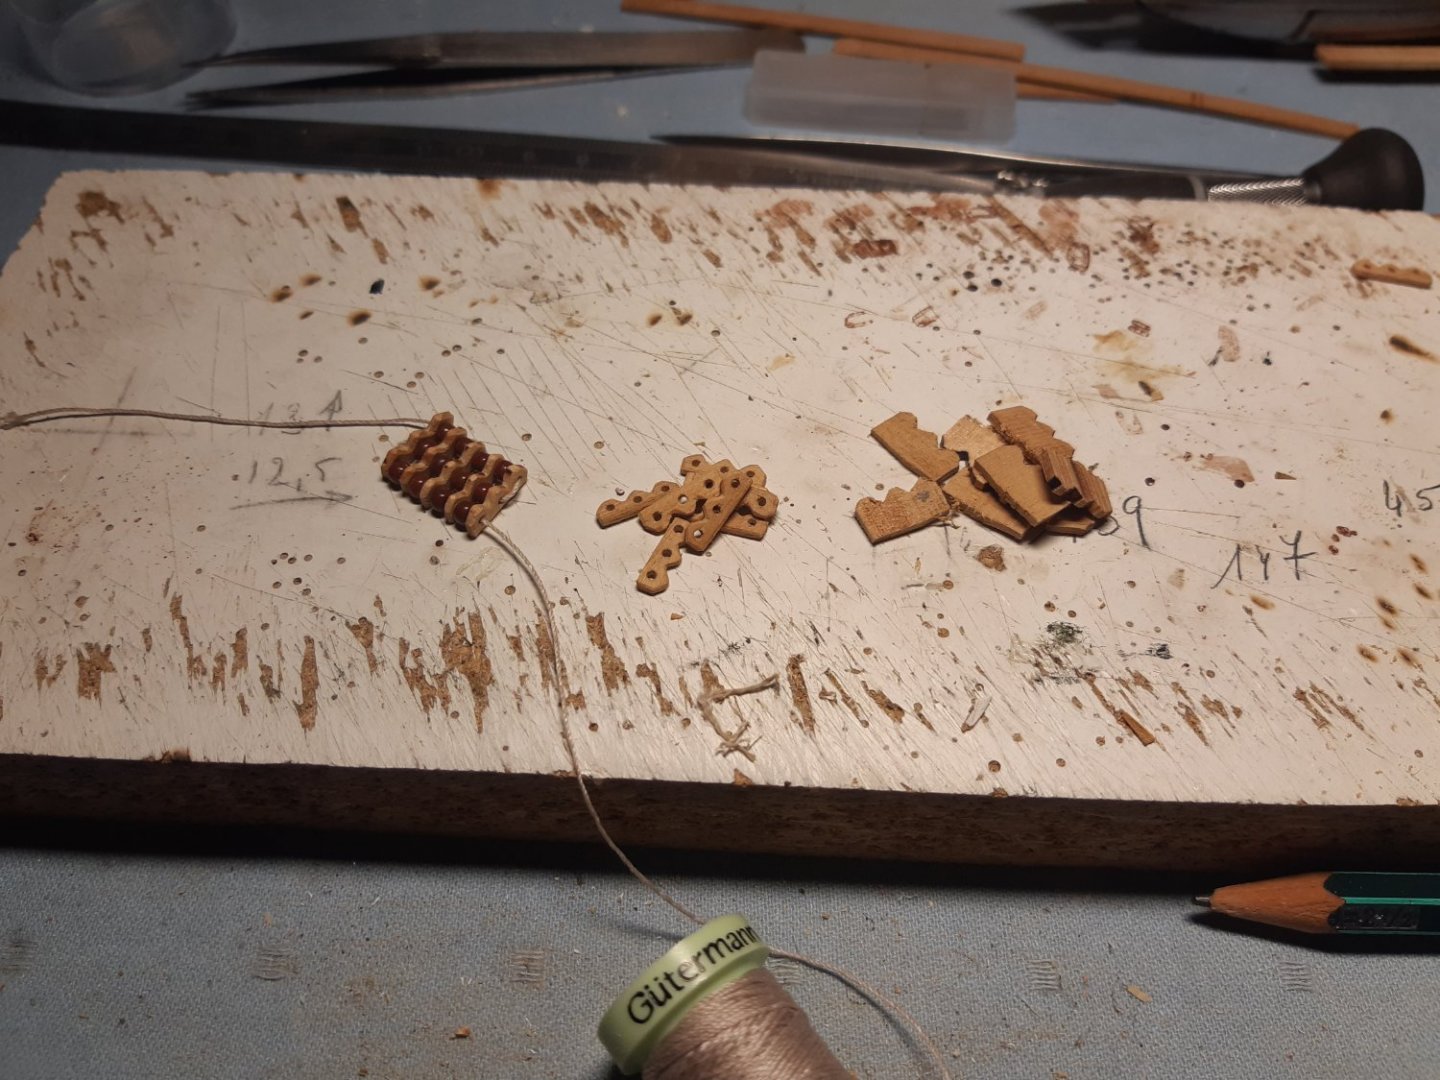
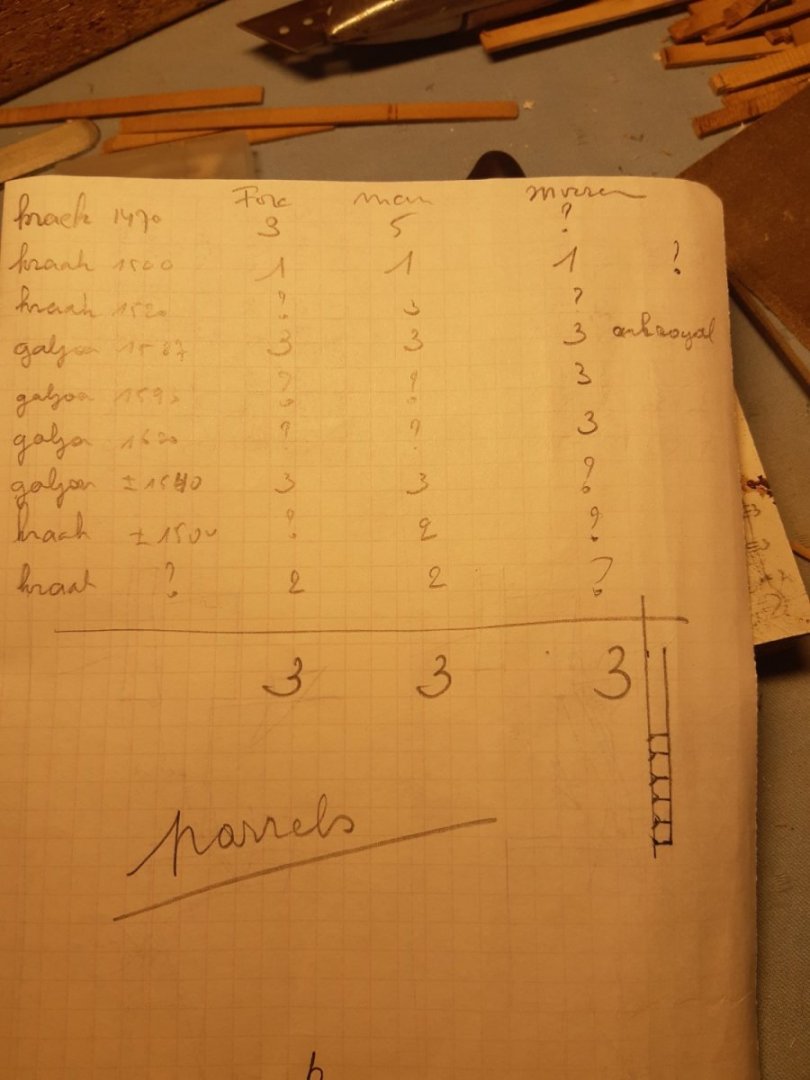
Thanks for the comment, likes and following. The parrels. How many rows of trucks are used at the yards? I come to an average of 3 and rarely 5 at the main yard ( on galleons and carracks). The parrel ribs are finally succeeded and "tested" The trucks are leftovers of Billing Boats material (plastic) painted and polished with a paper handkerchief. And the ribs are painted. I will largely follow this example (the ropework on the parrel will by challenging) First attempt at shaping the fore sail (general test) and most blocks have been applied in the meantime.


- 756 replies
-
- 11
-
-

-
- galleon
- golden hind
- (and 2 more)
-
Solution?? Upside down... (Clumsy me on a smartphone)😅


-
Published by Osprey Publishing in 2020 Author Douglas Mc Elvogue First published in 2015 by Conway Publishing Contains very good drawings of the frames and keel. A "must have" for a future scratch project of the Mary Rose (my opinion) Recommended !! Front Back Index An explanation why there are 2 models of the Mary Rose Content Best part : drawings 👍 Museum Information


-
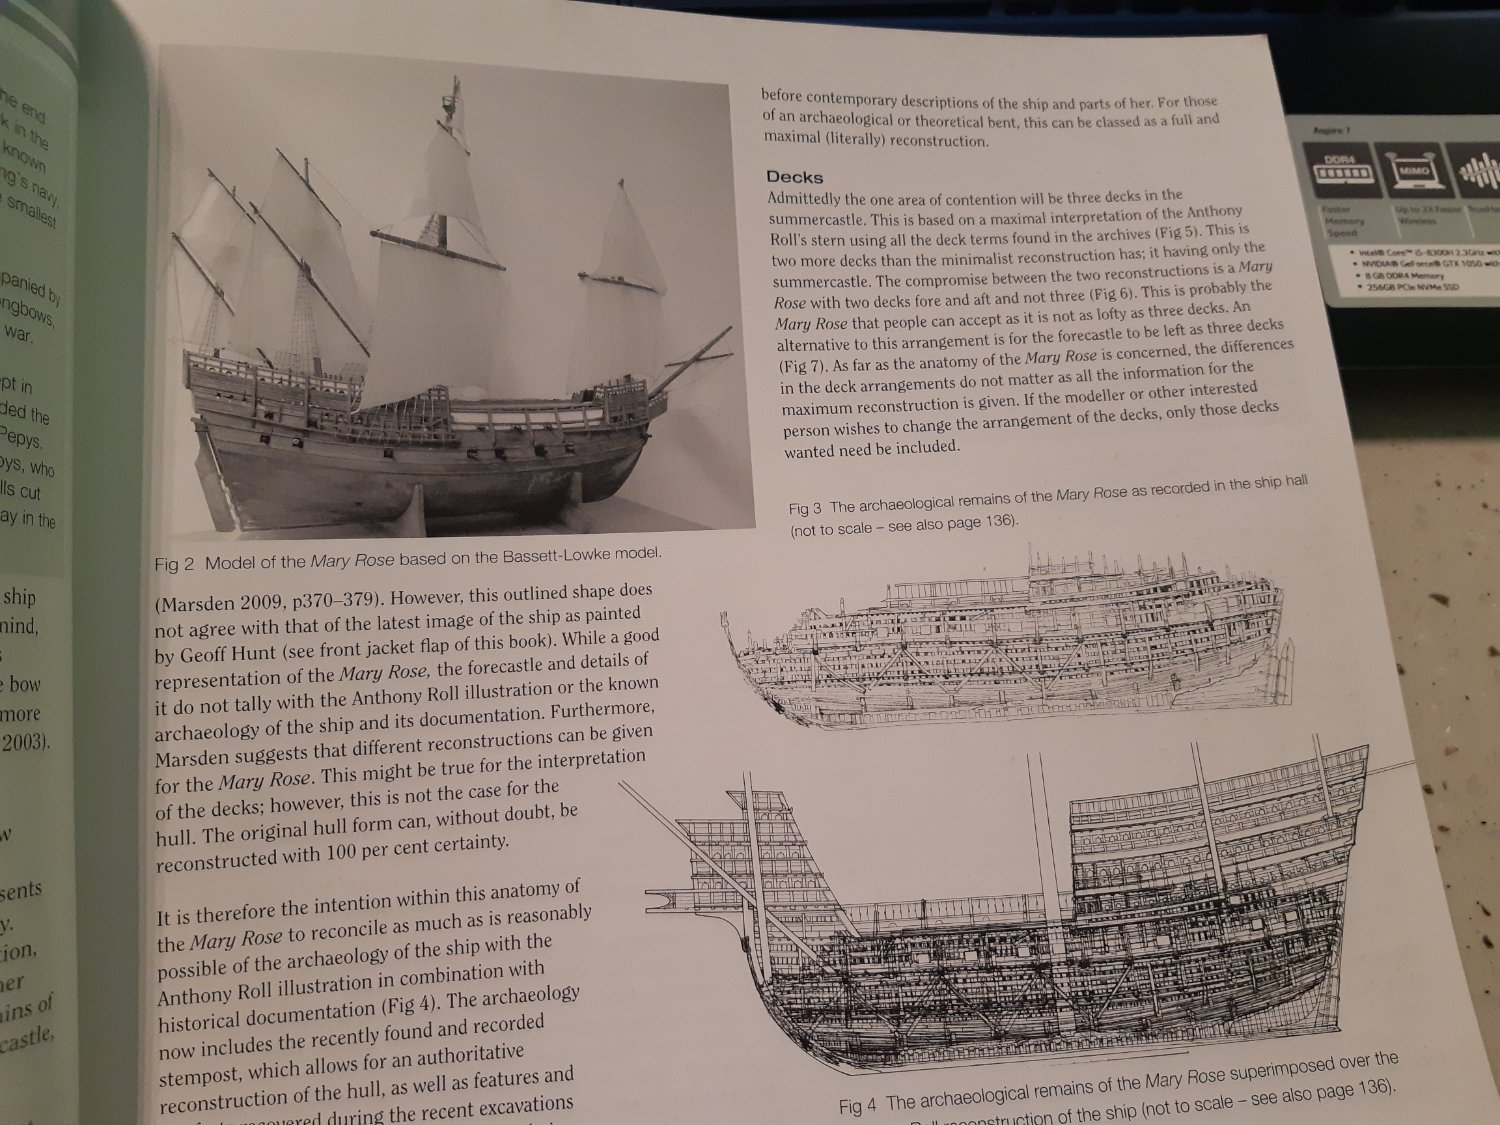
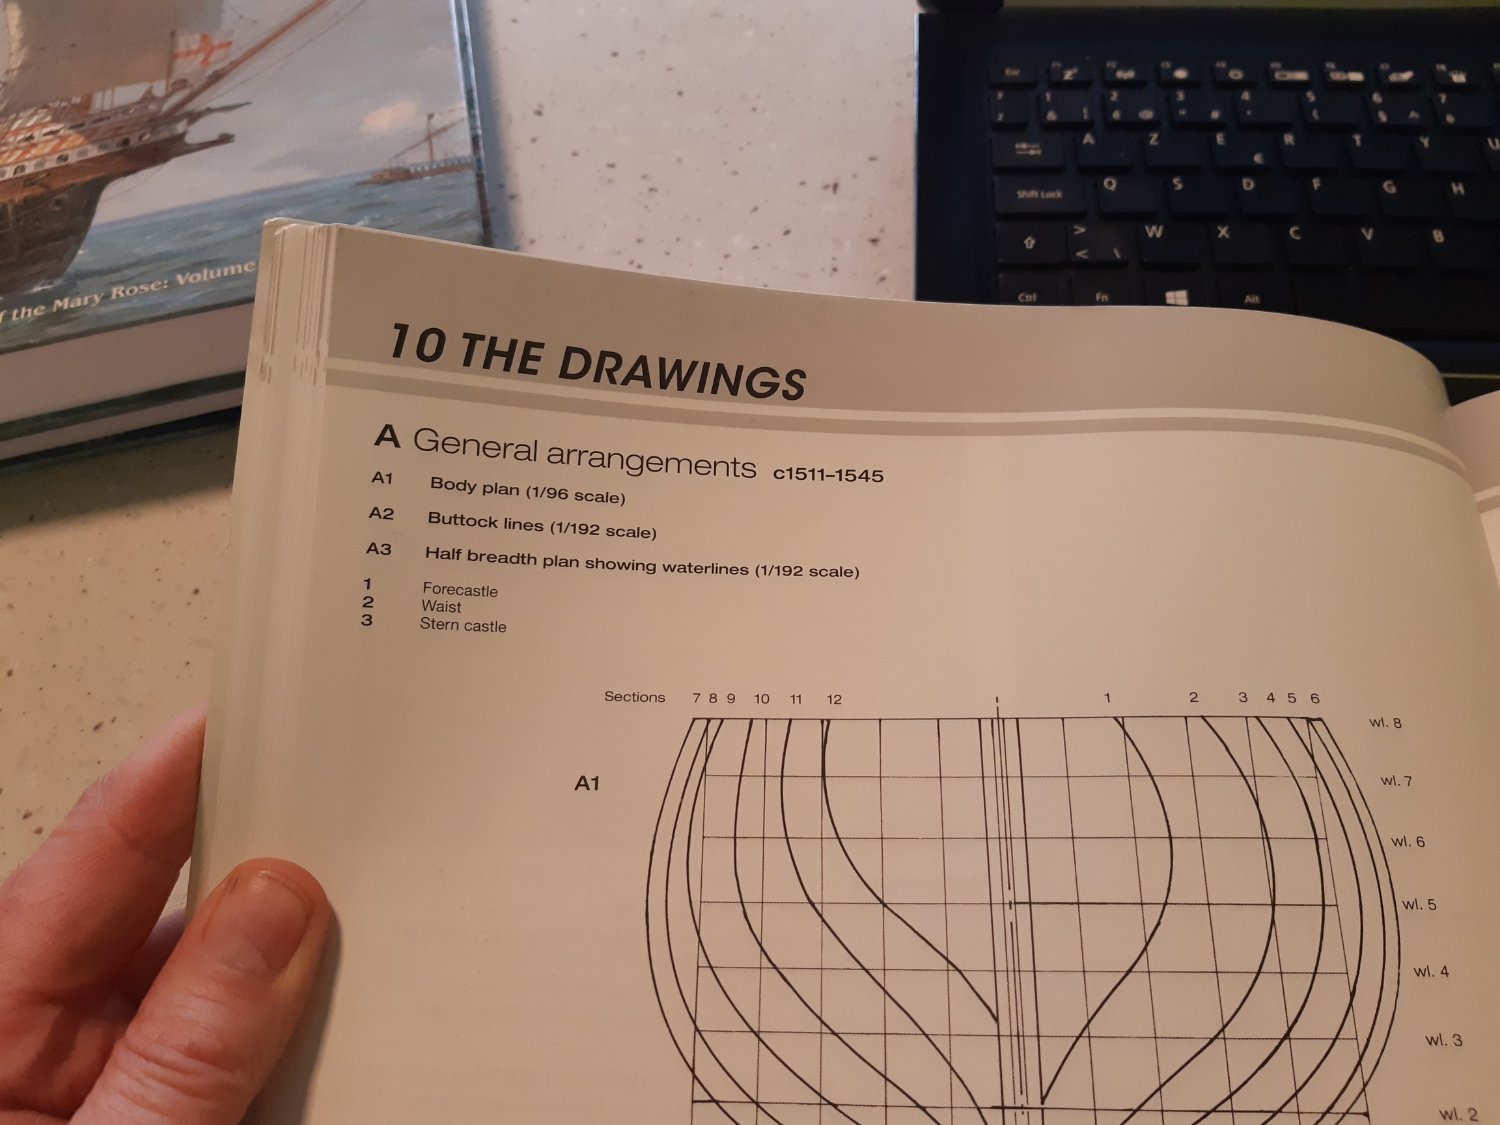
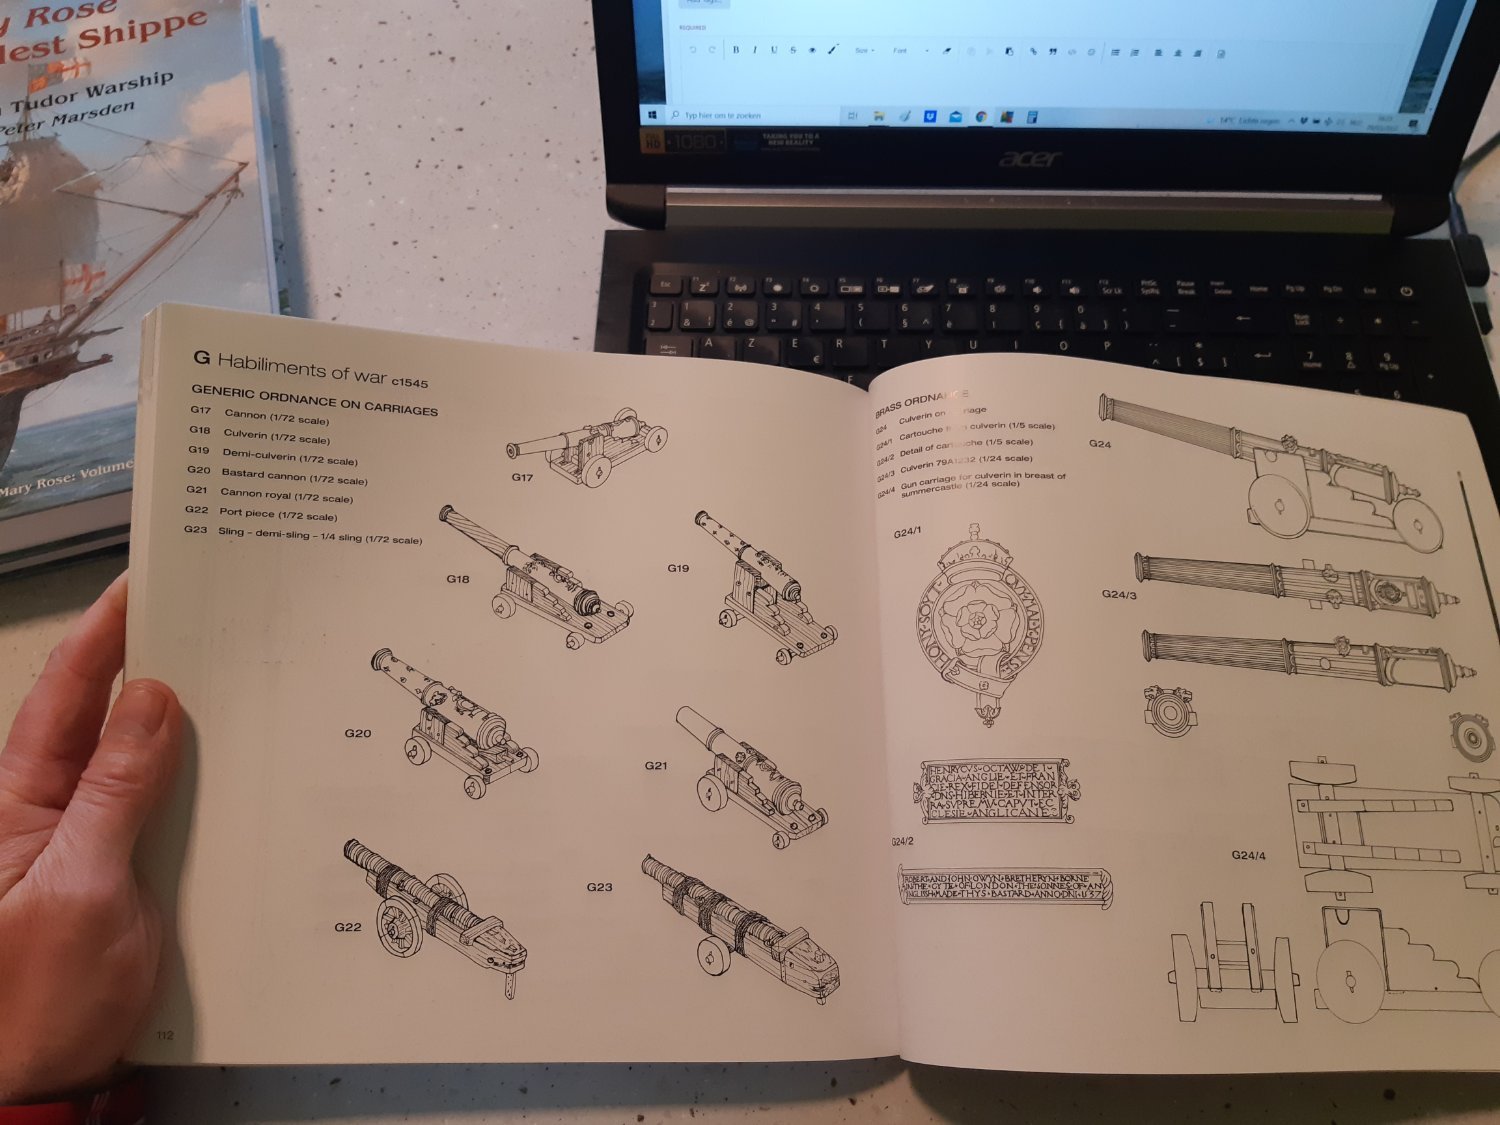
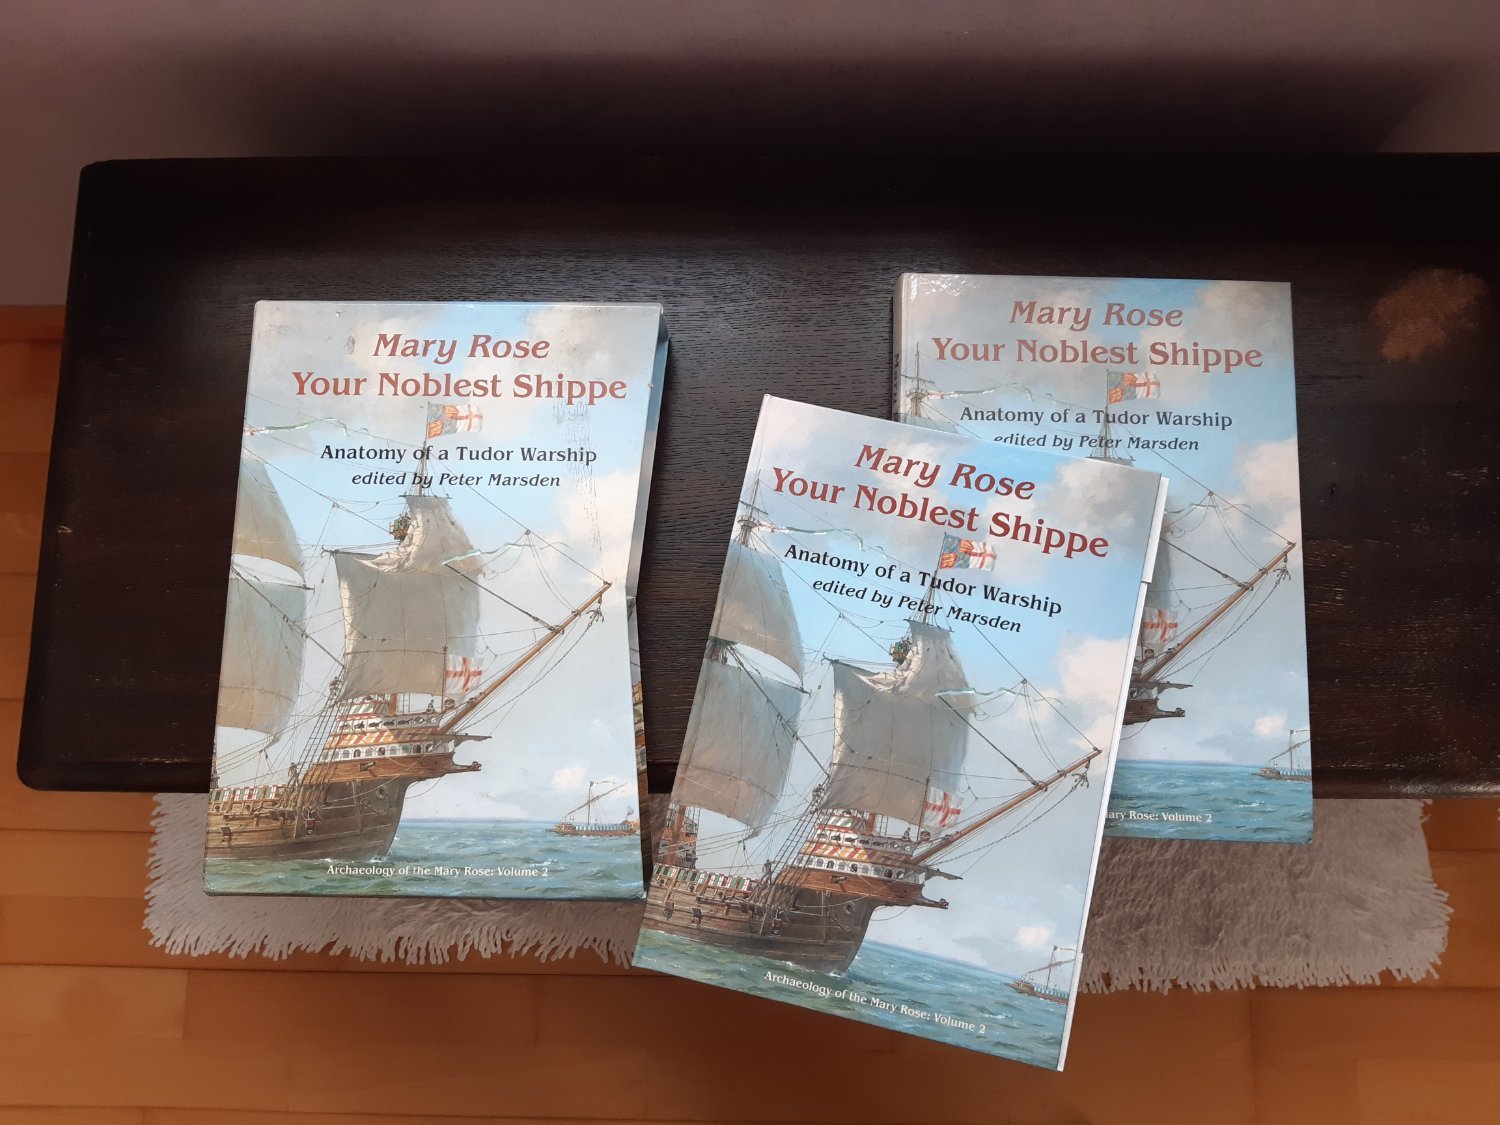
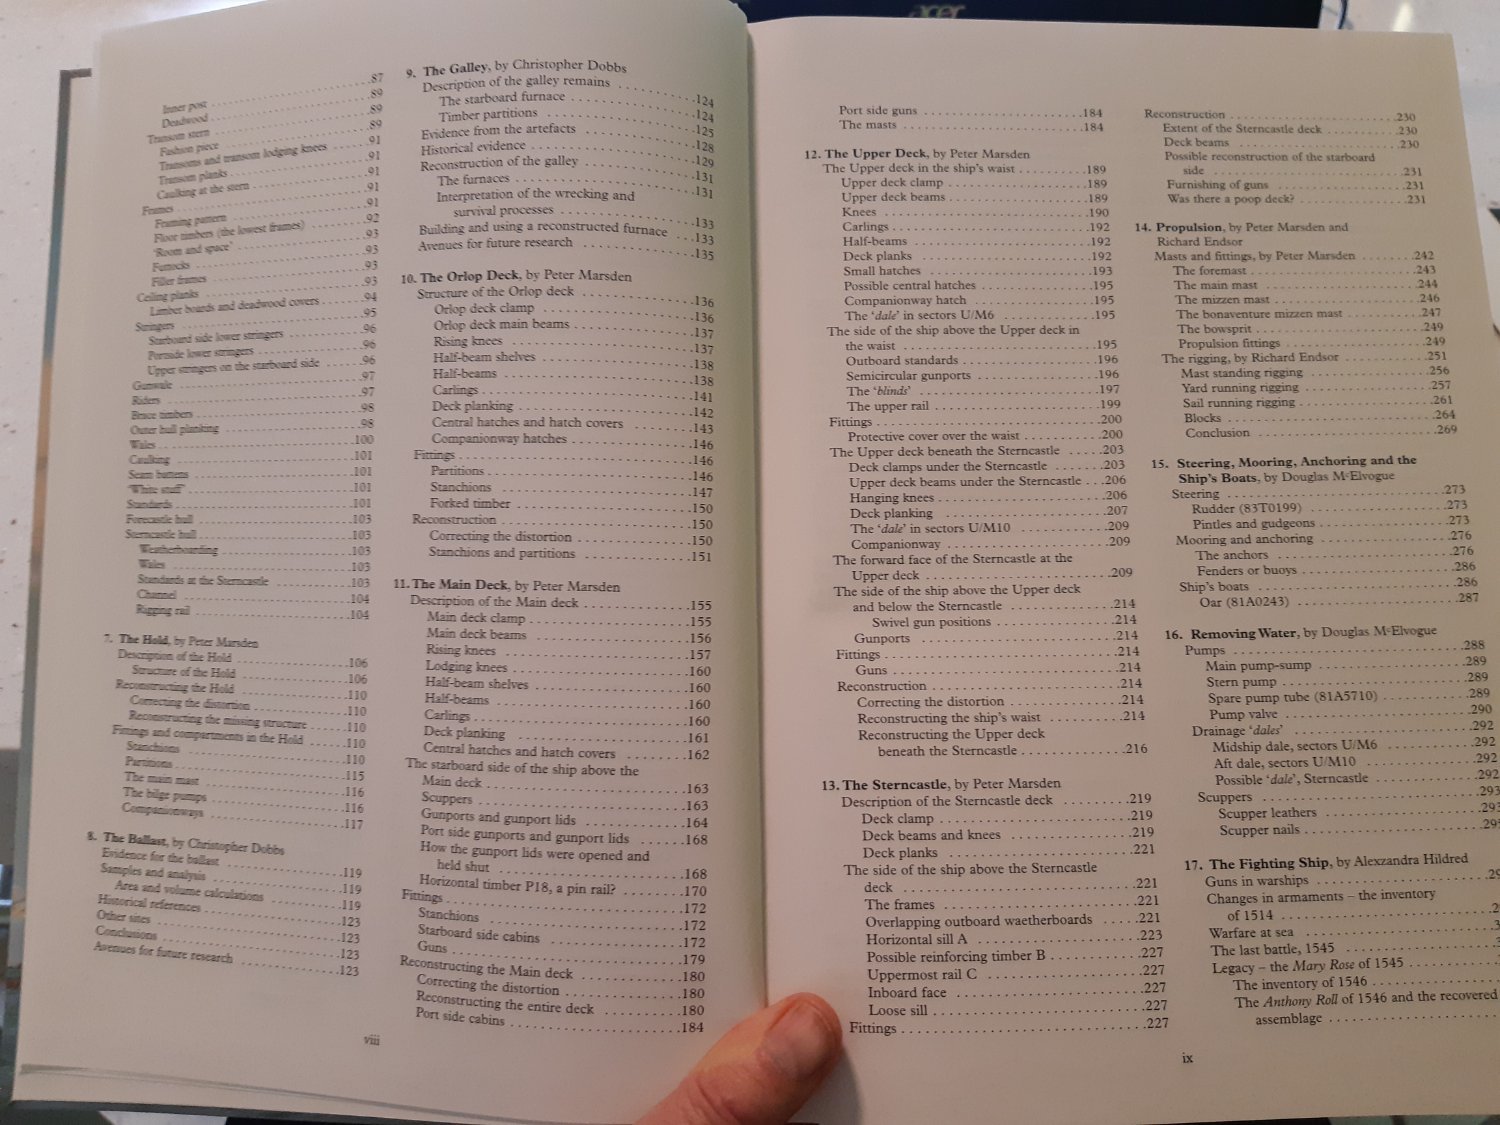
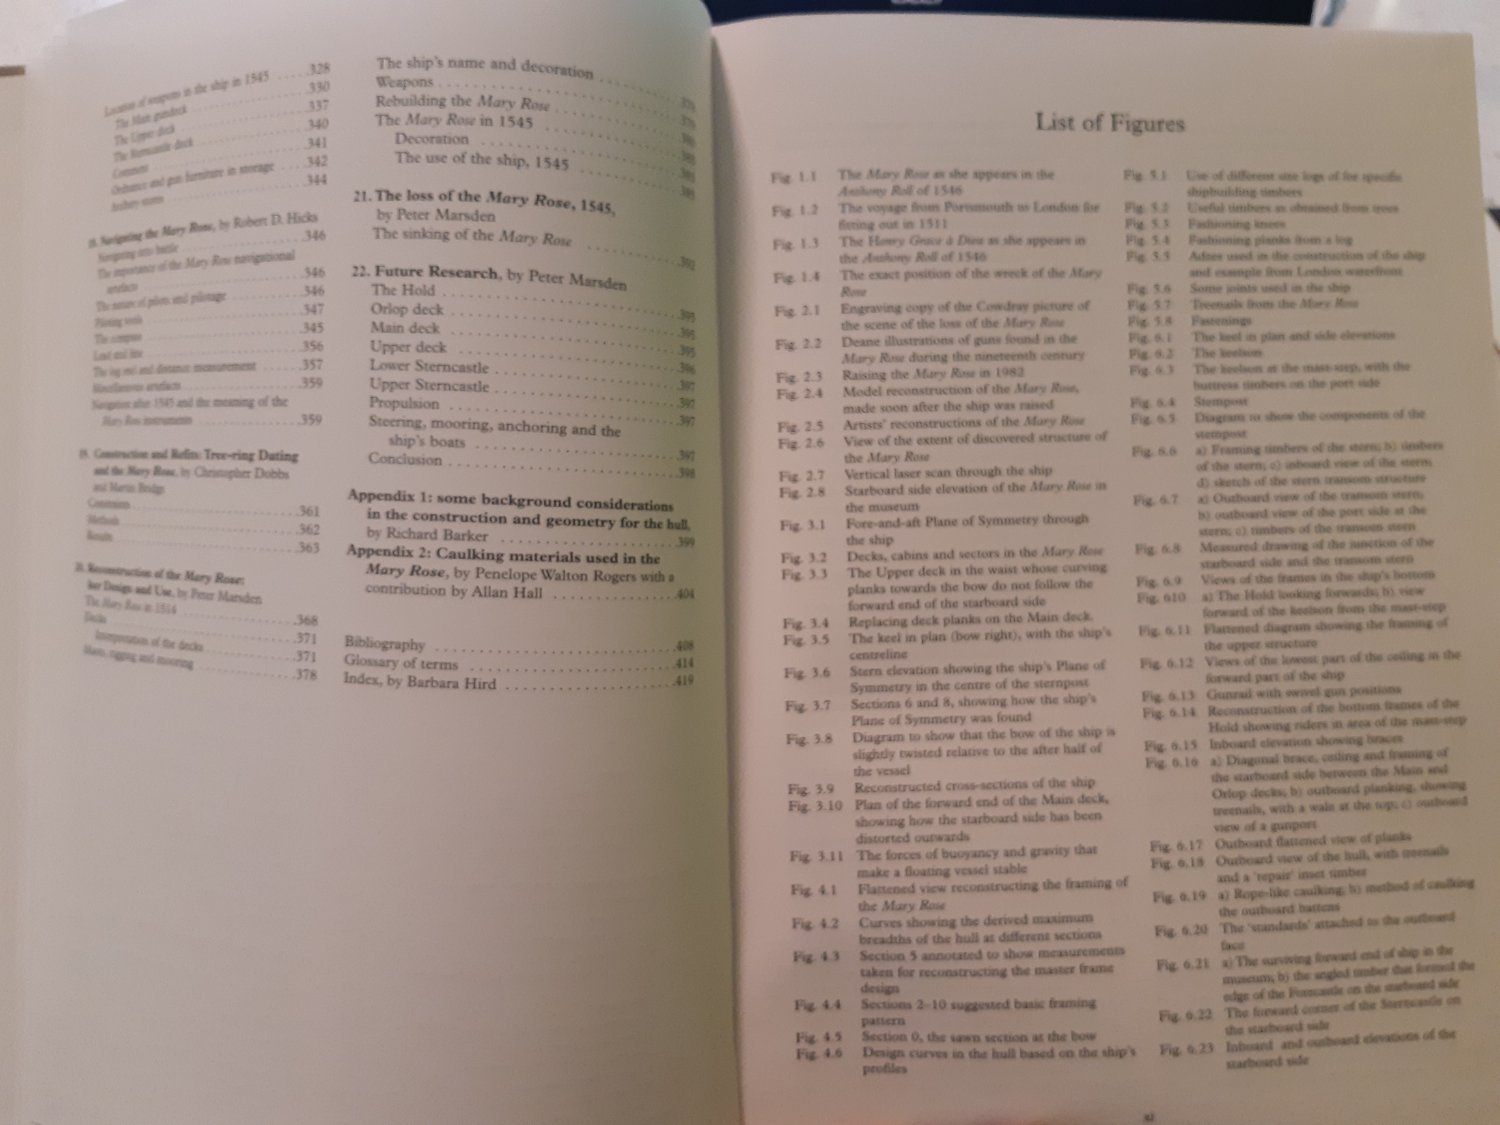
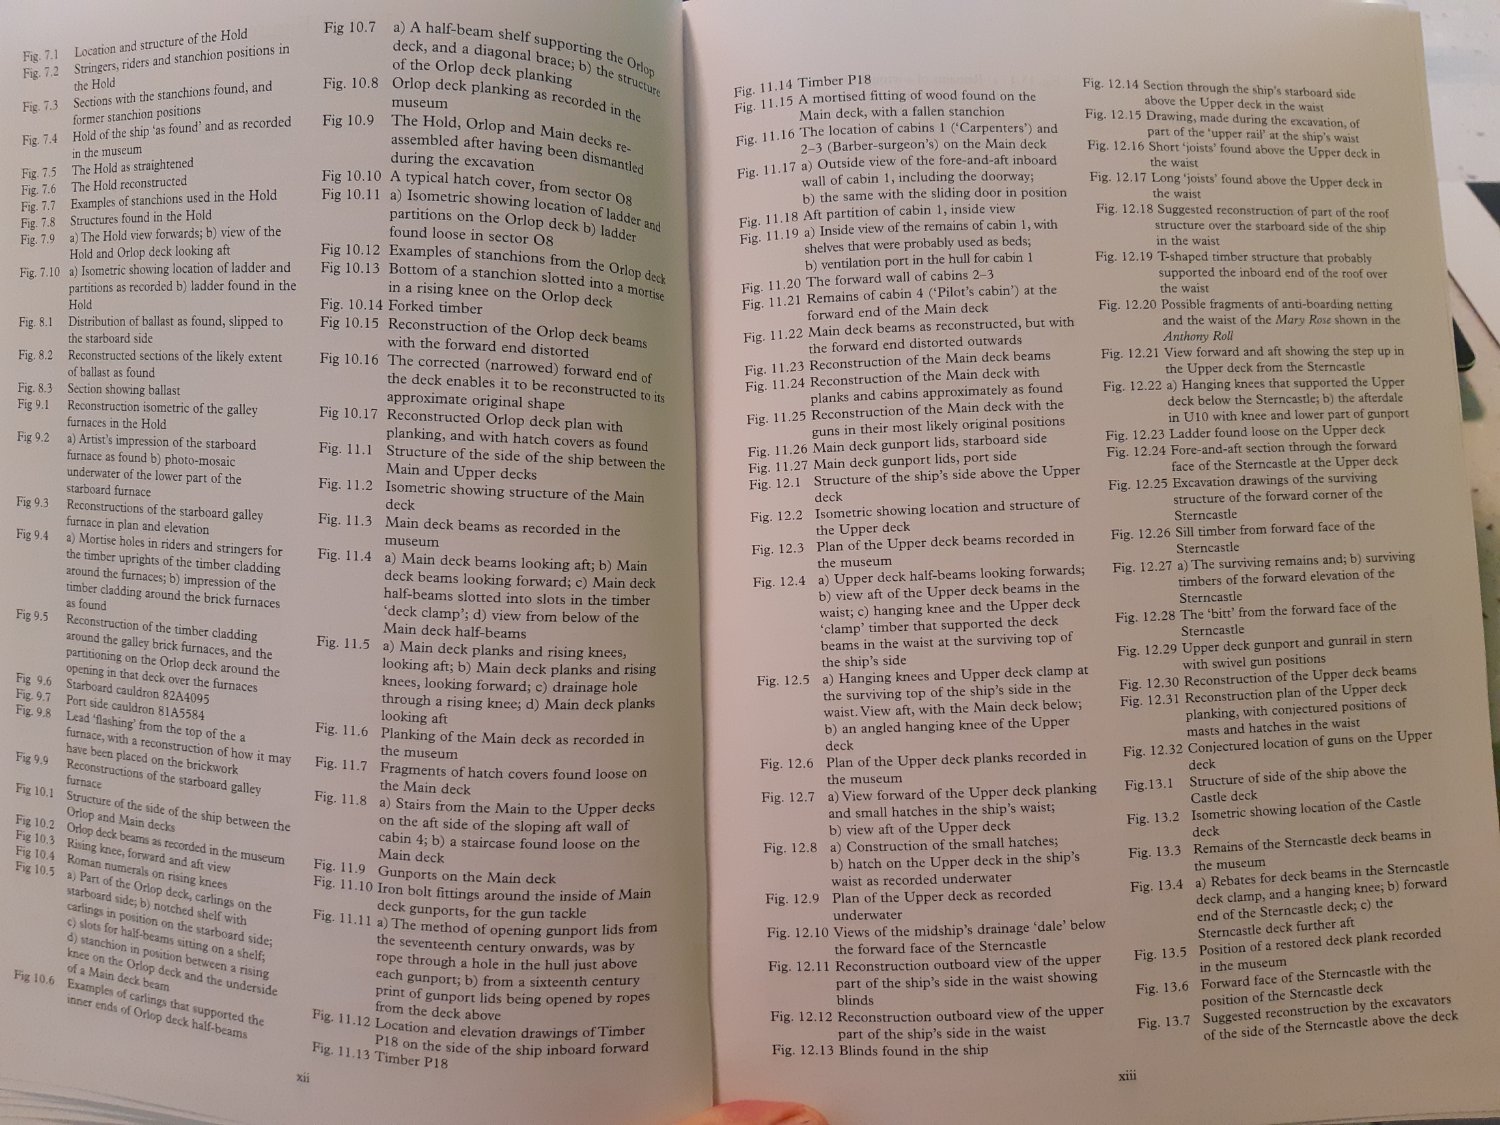
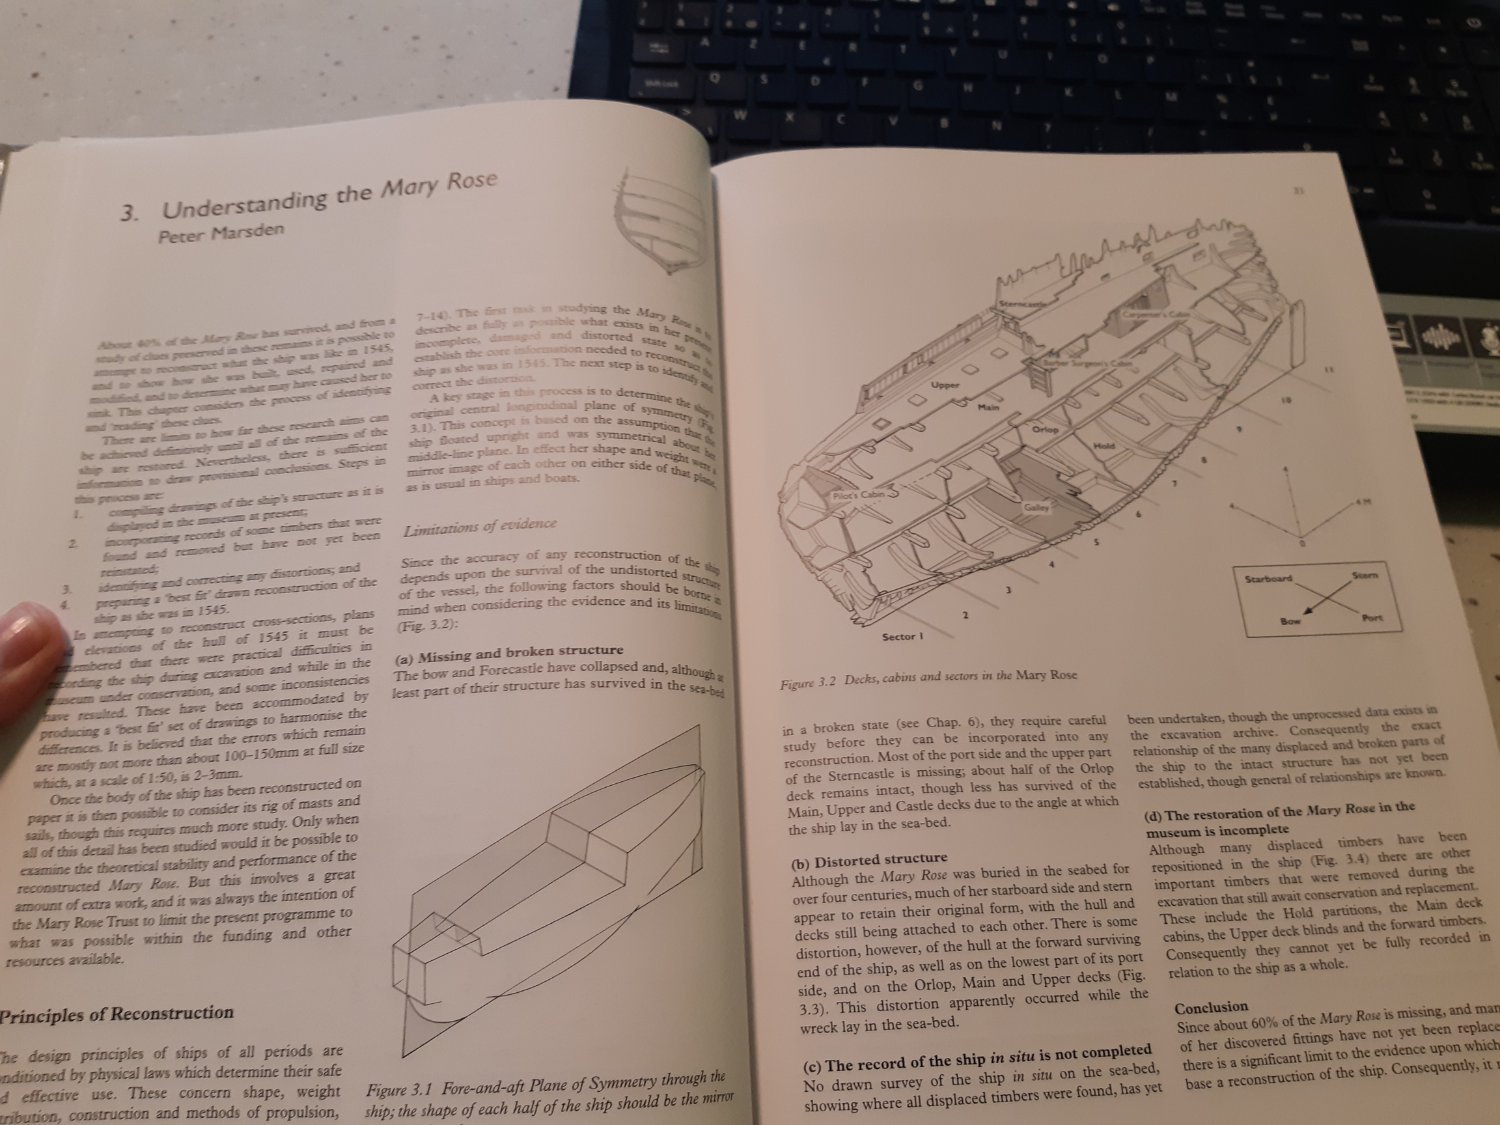
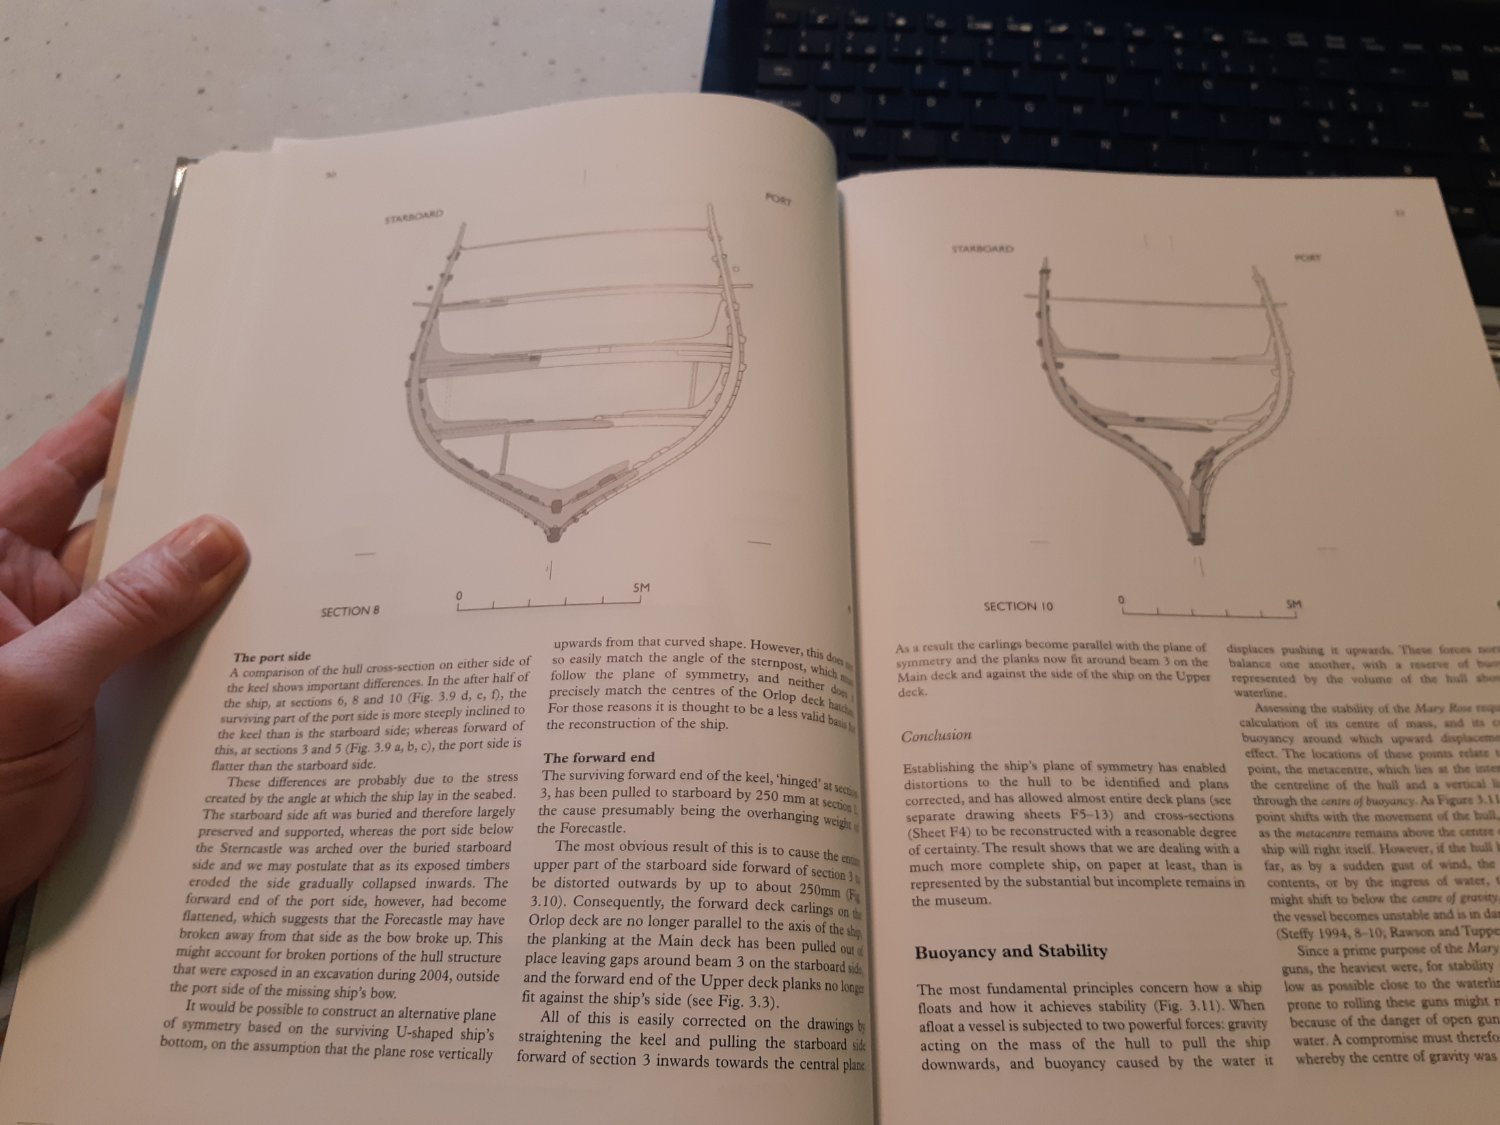
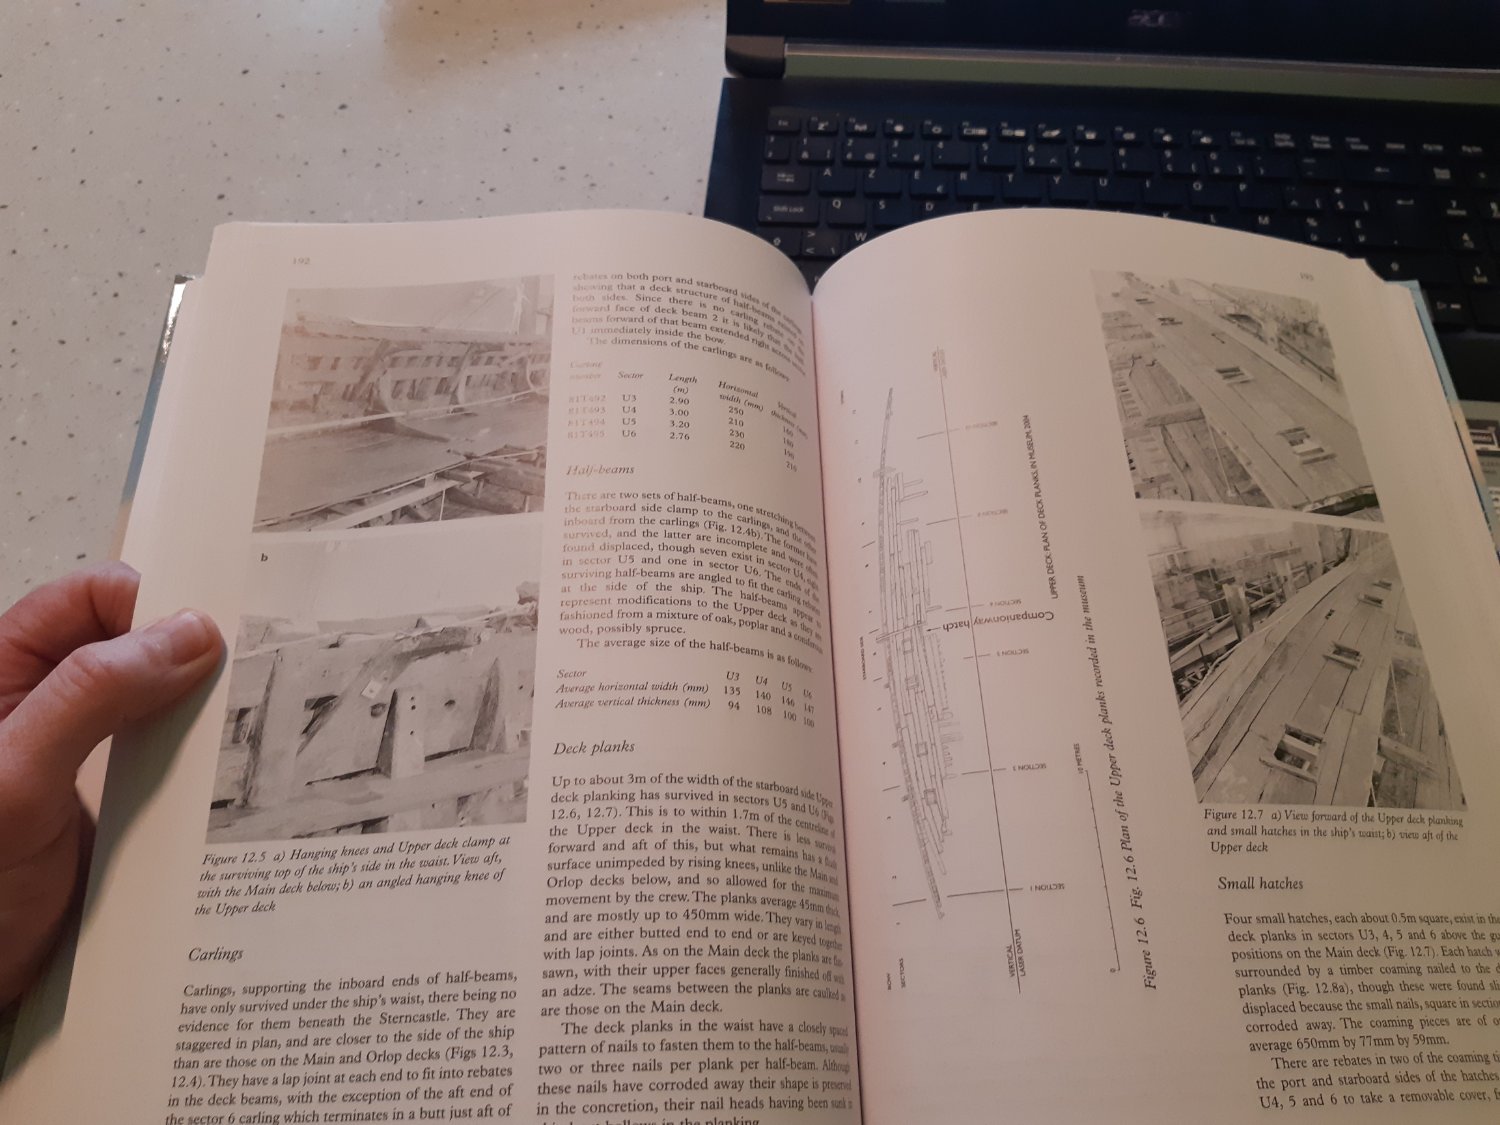
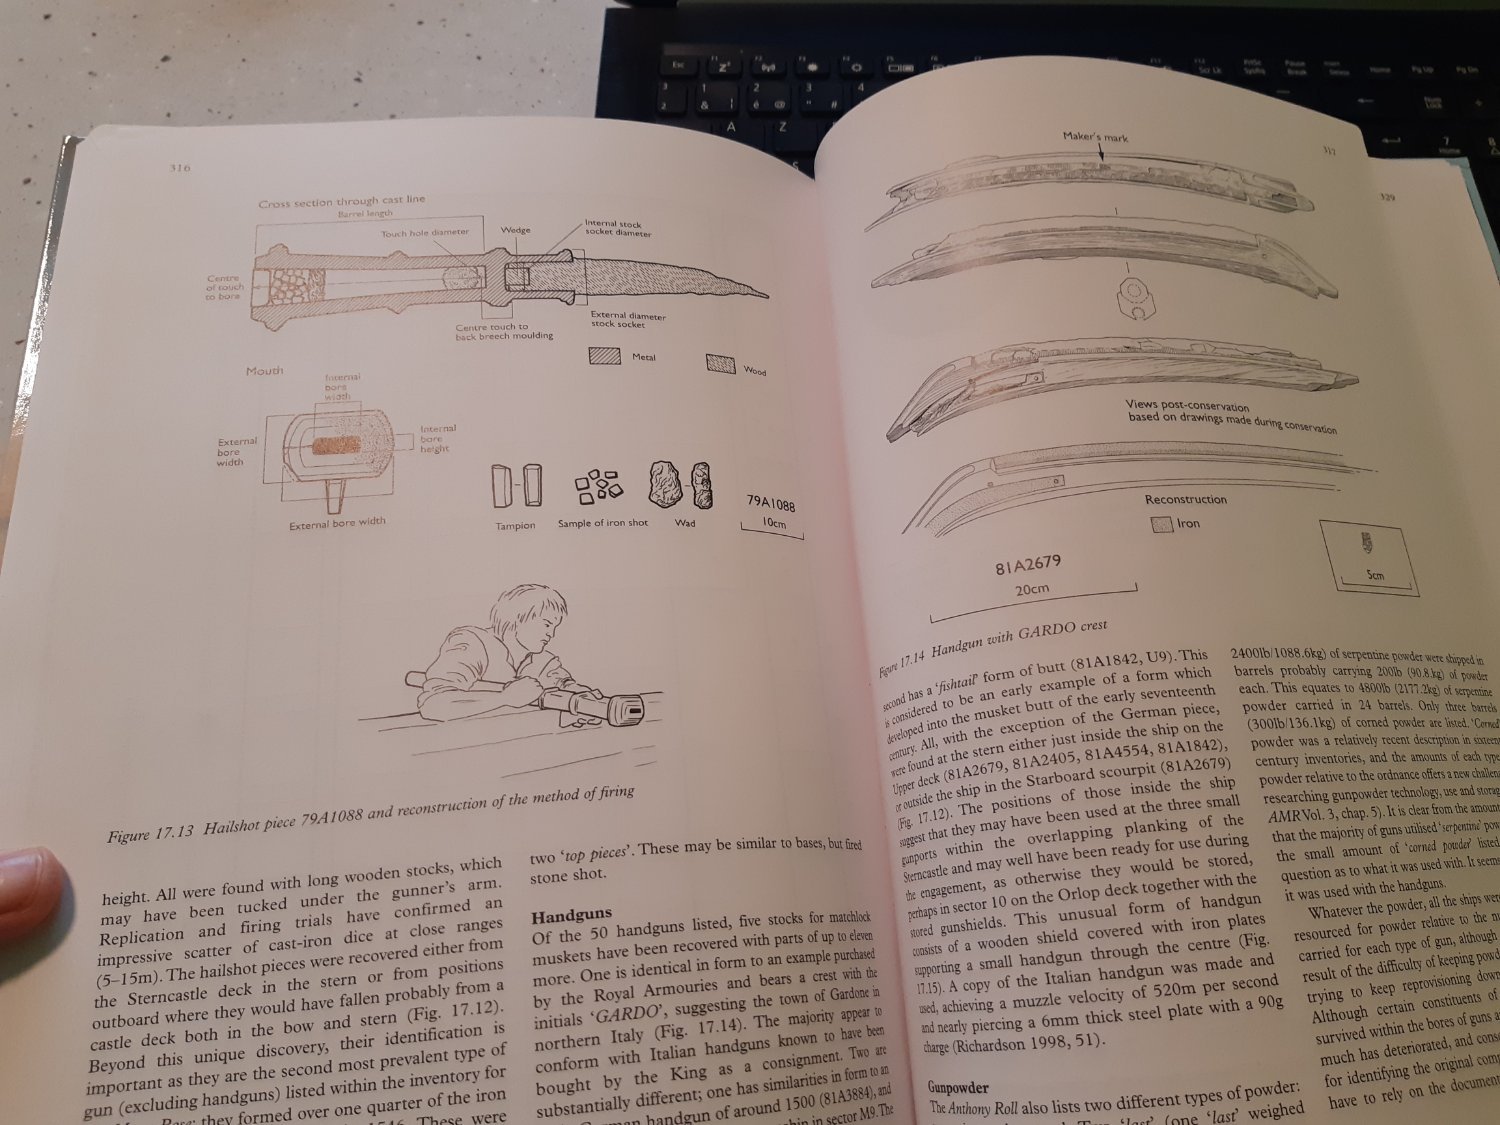
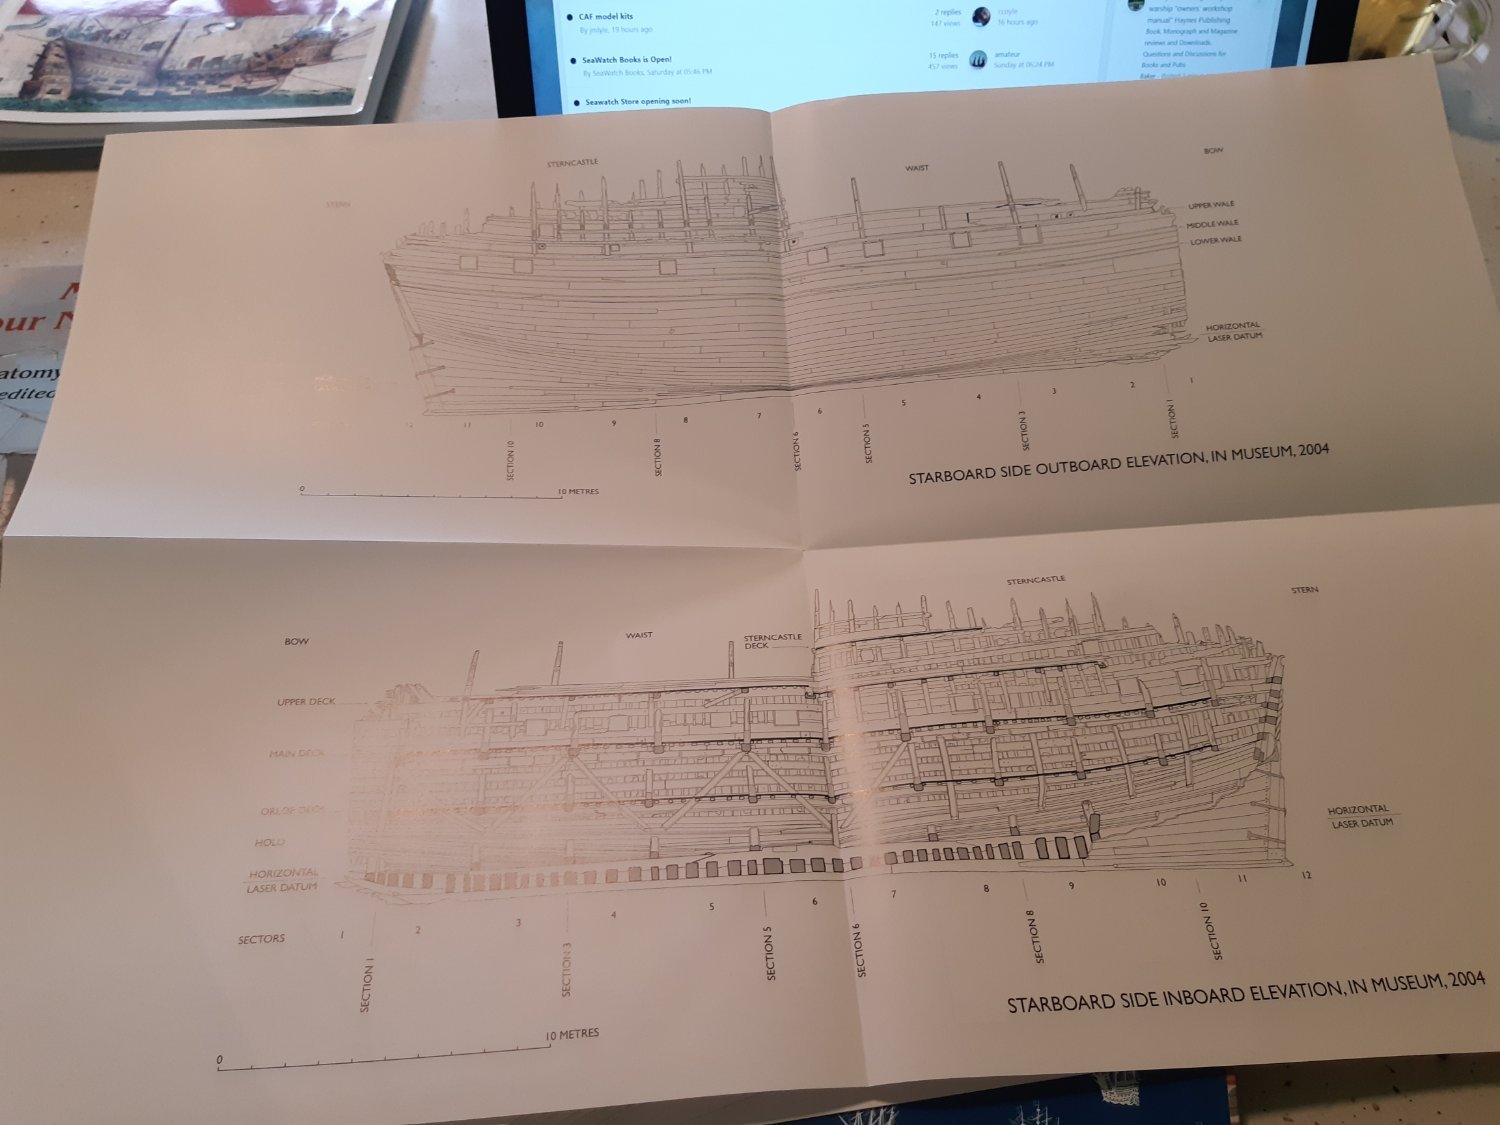
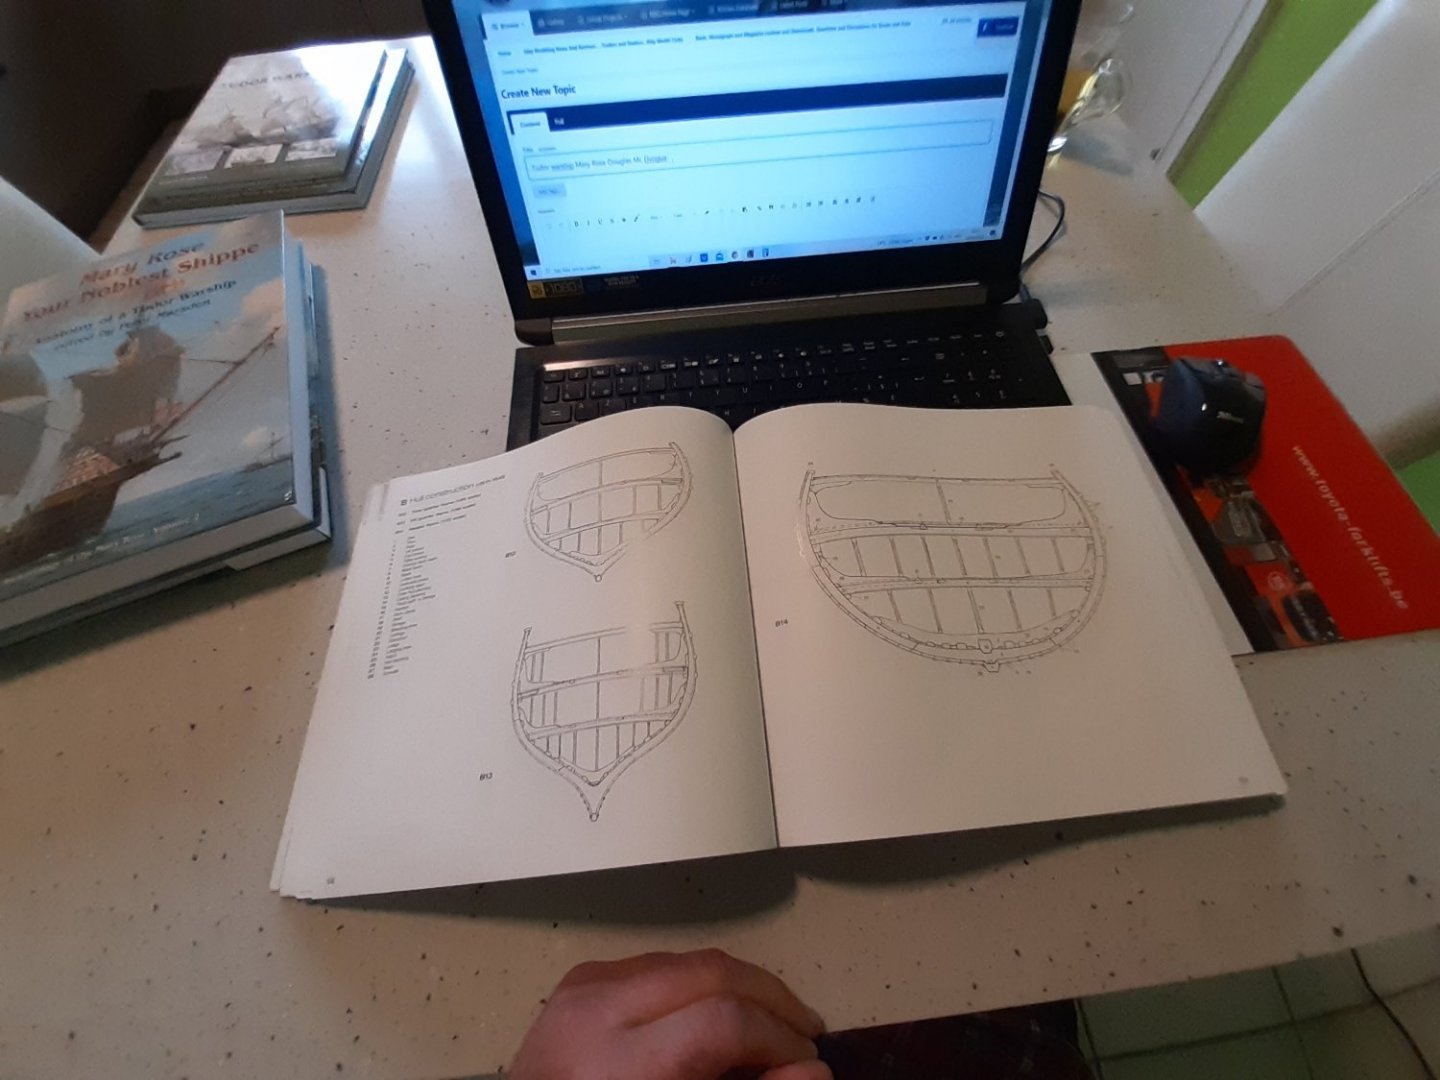
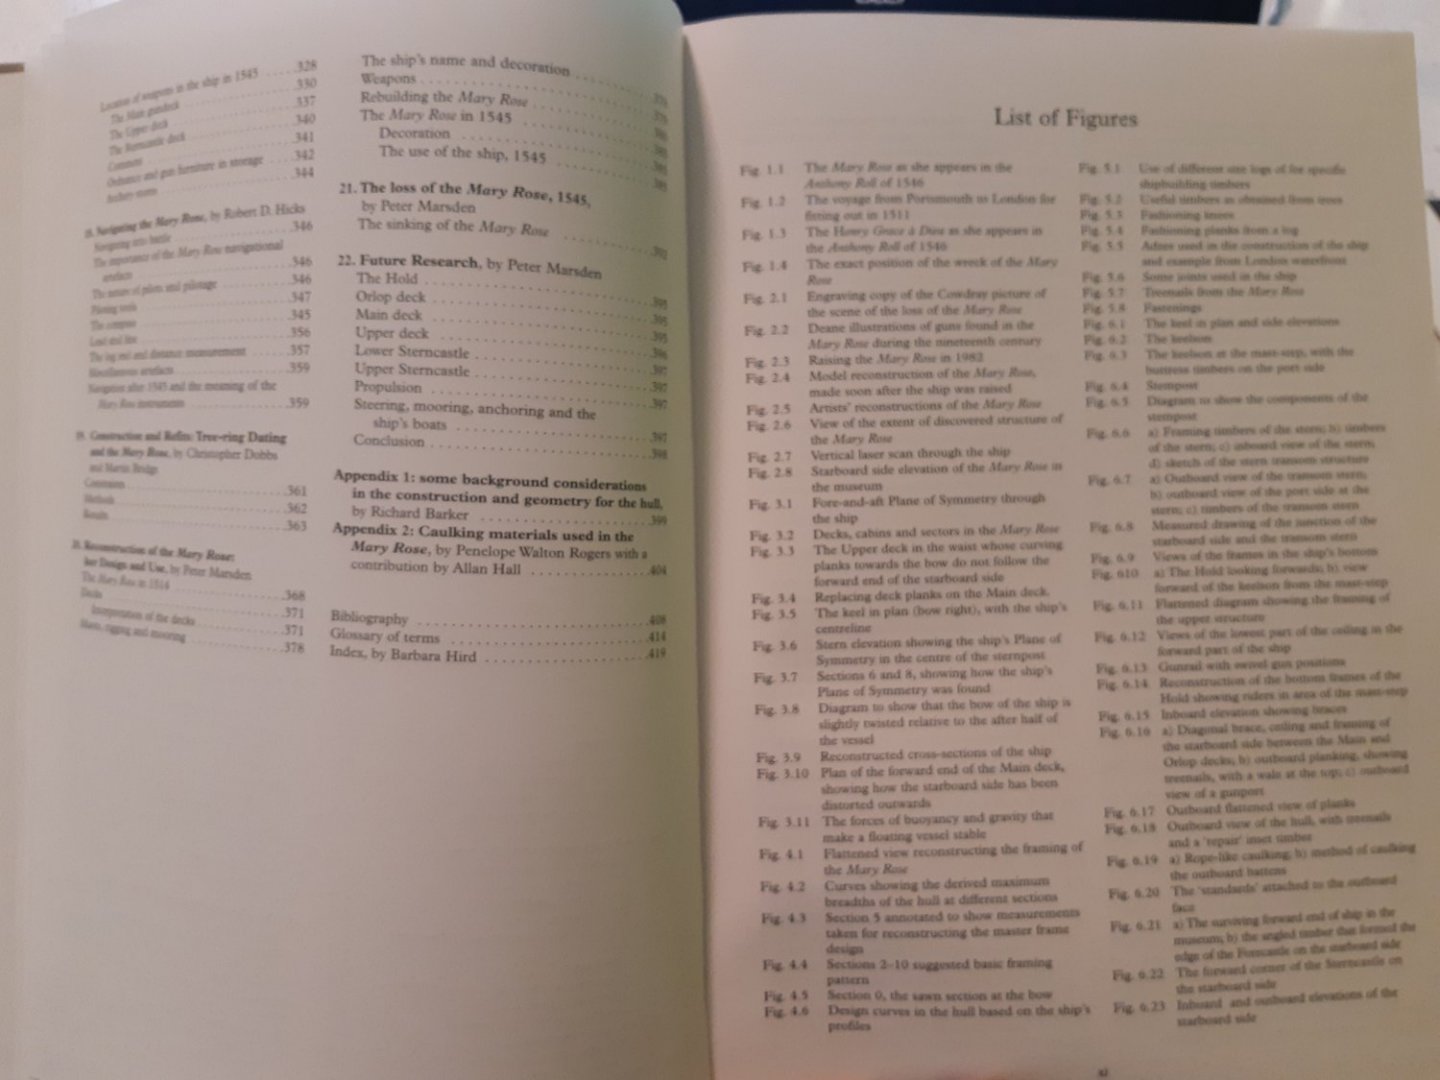
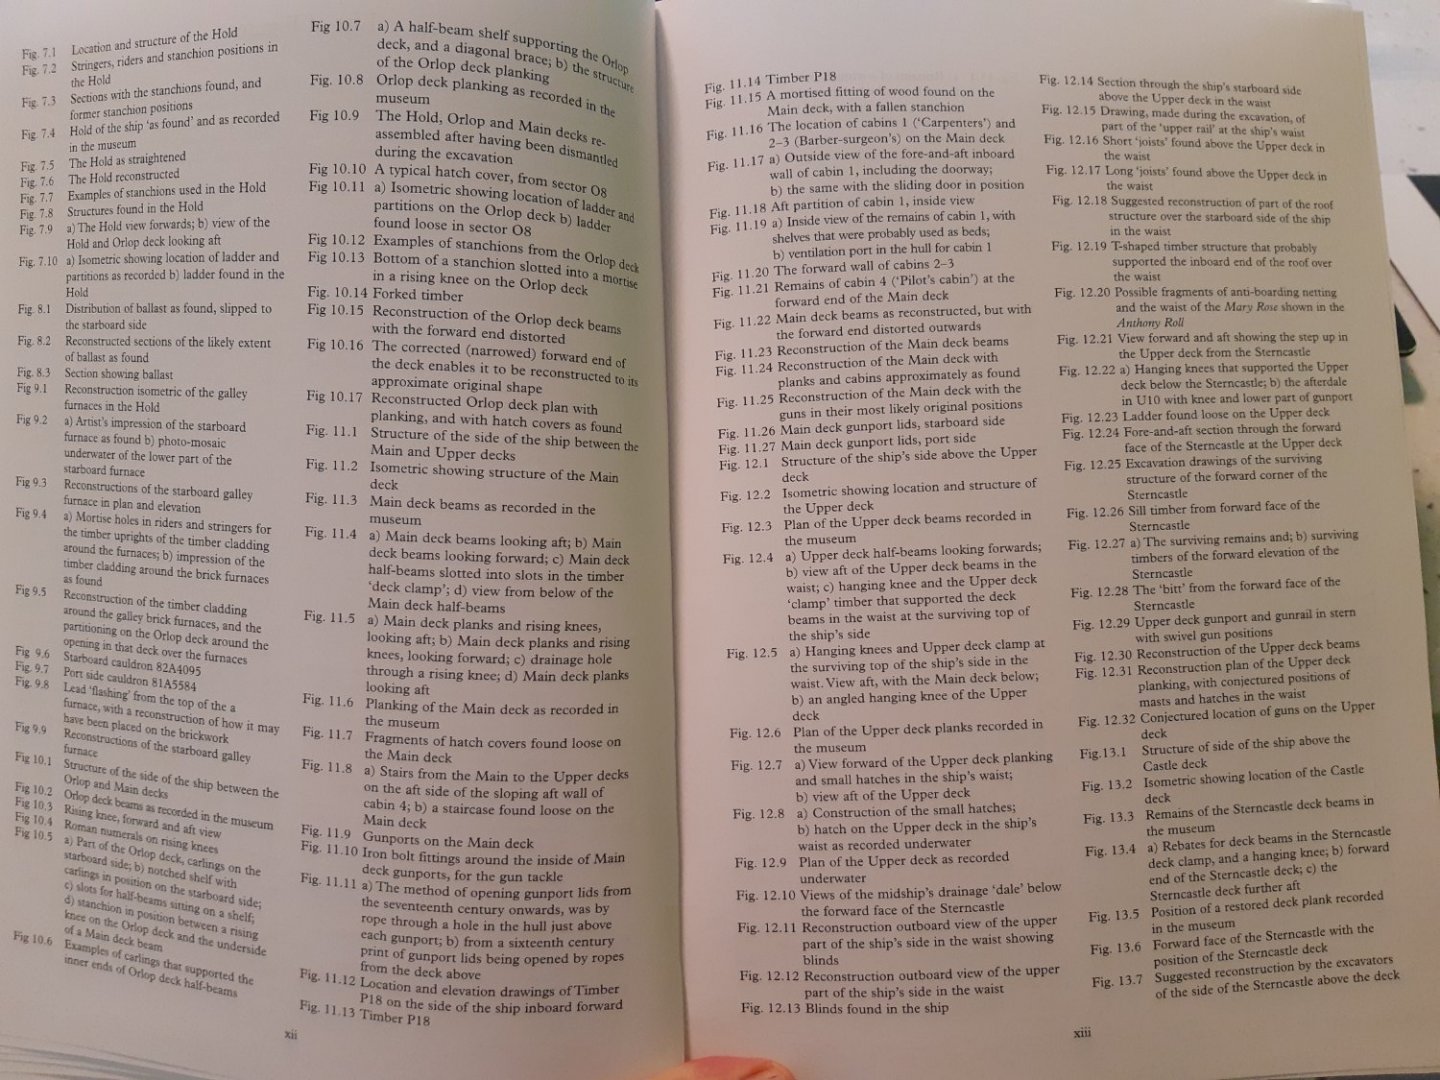
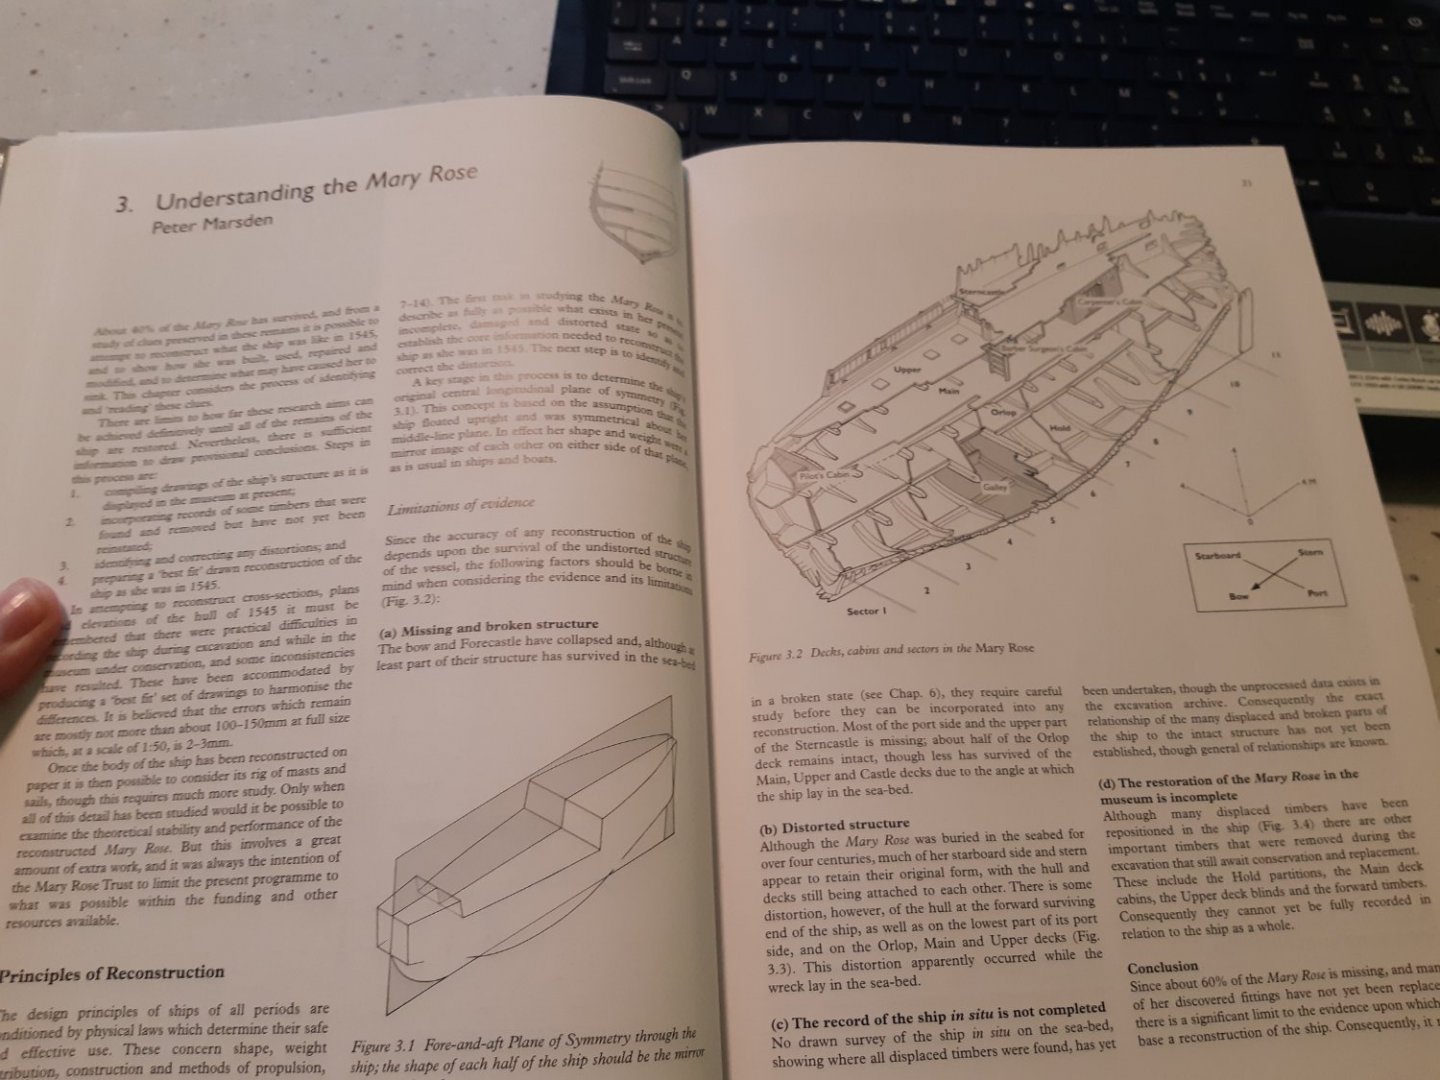
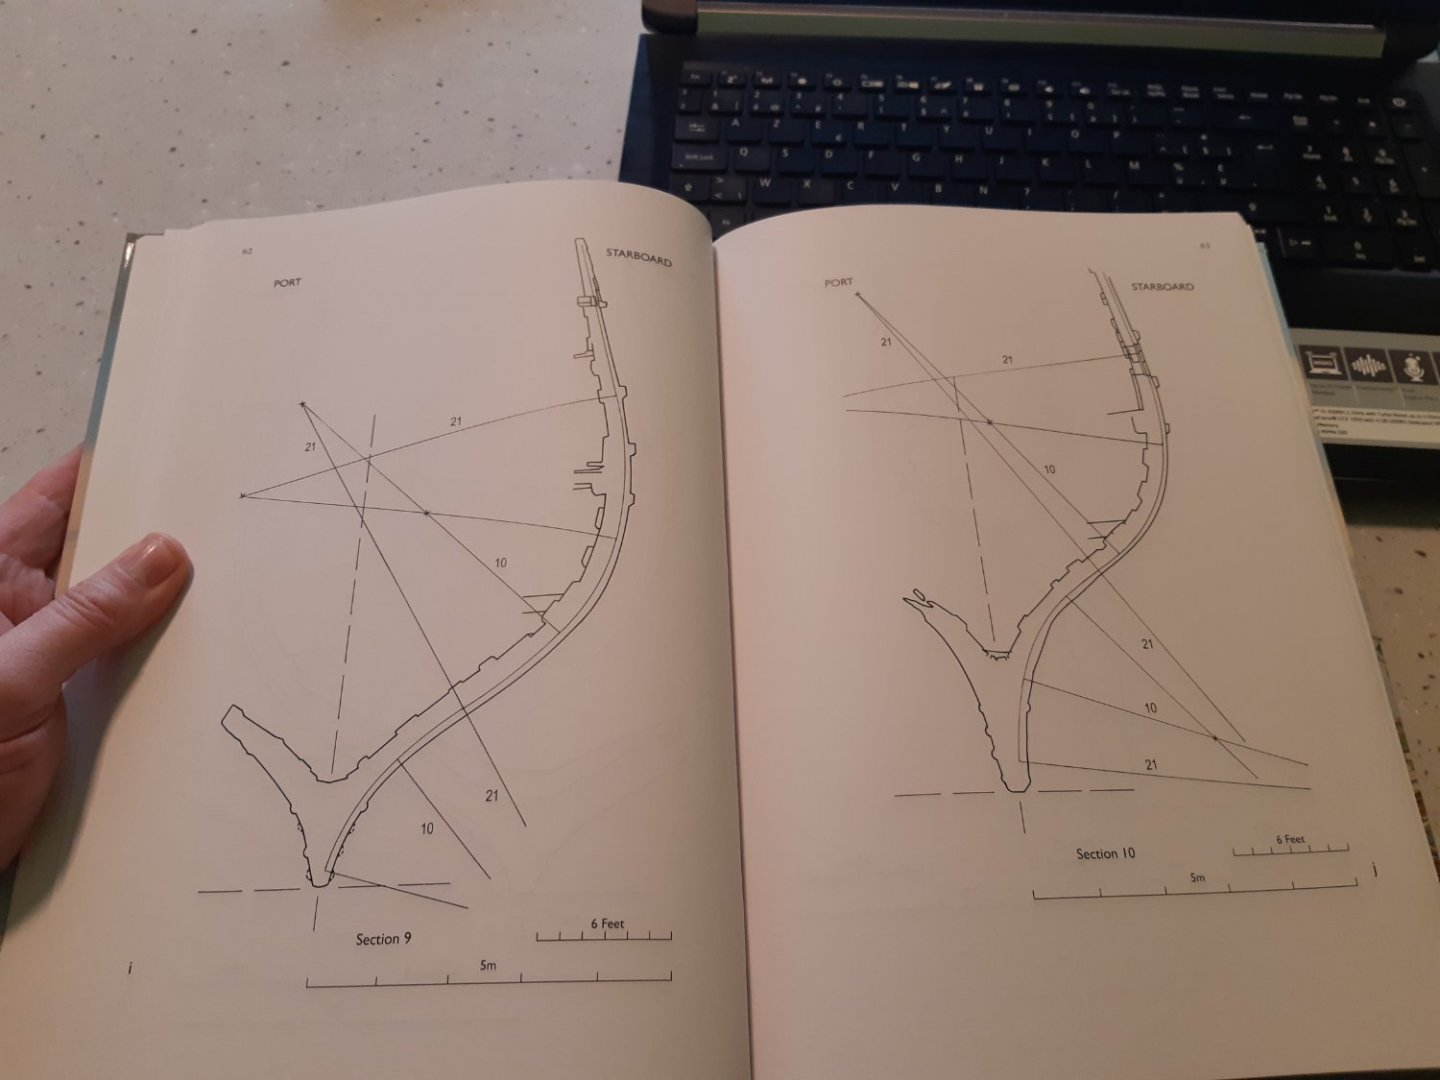
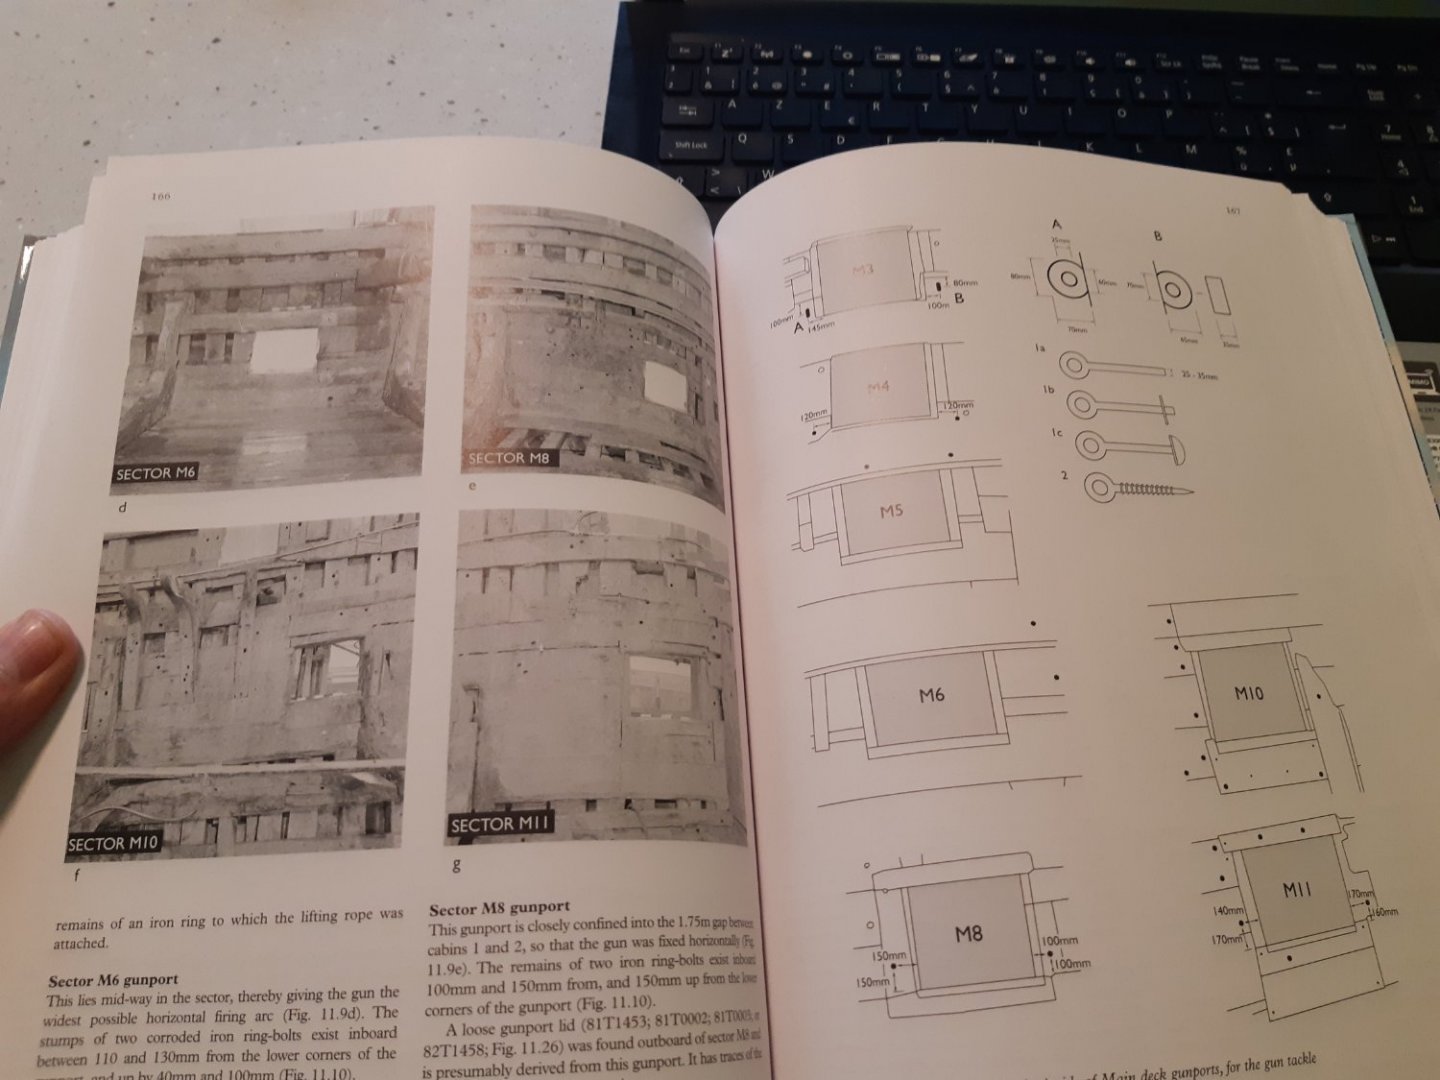
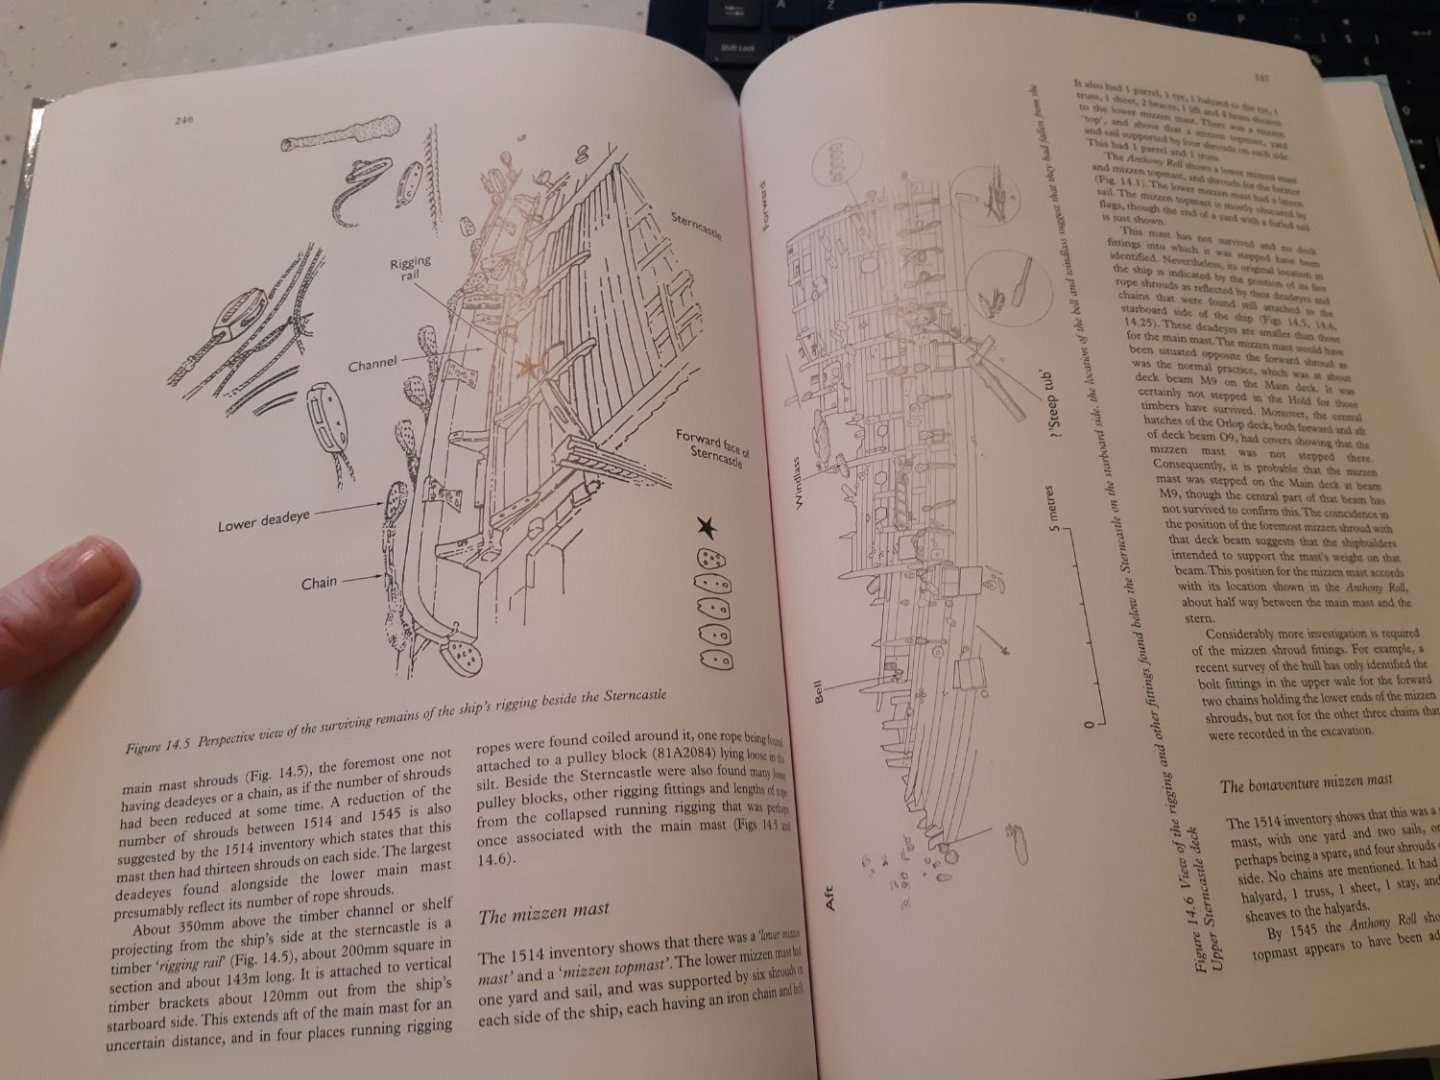
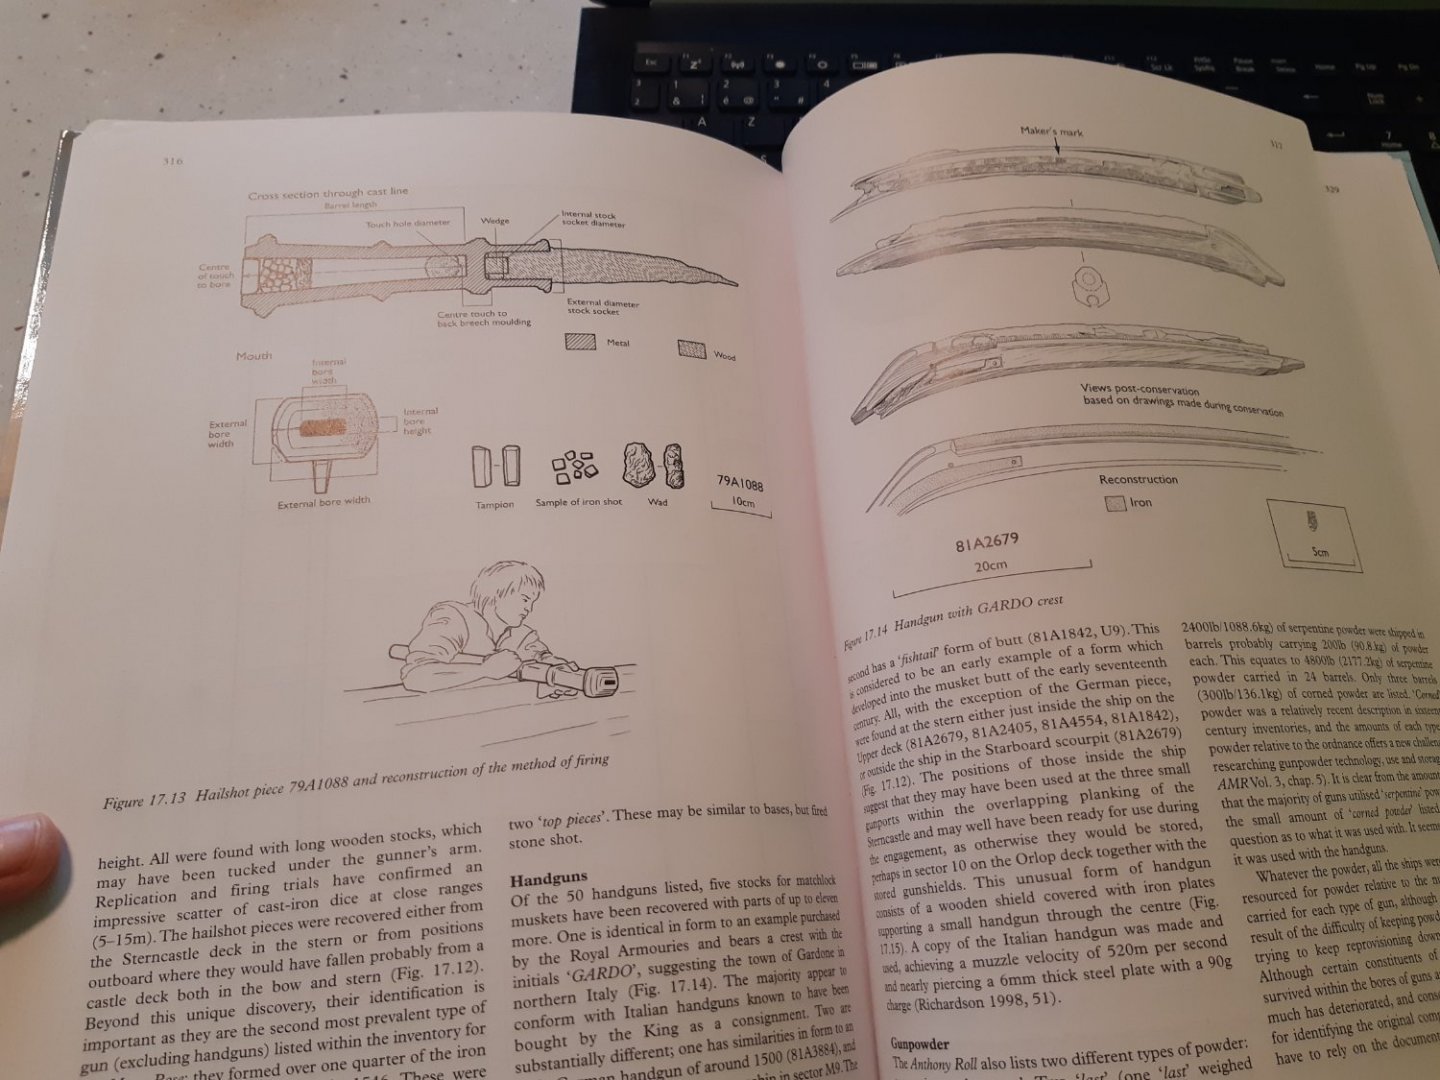
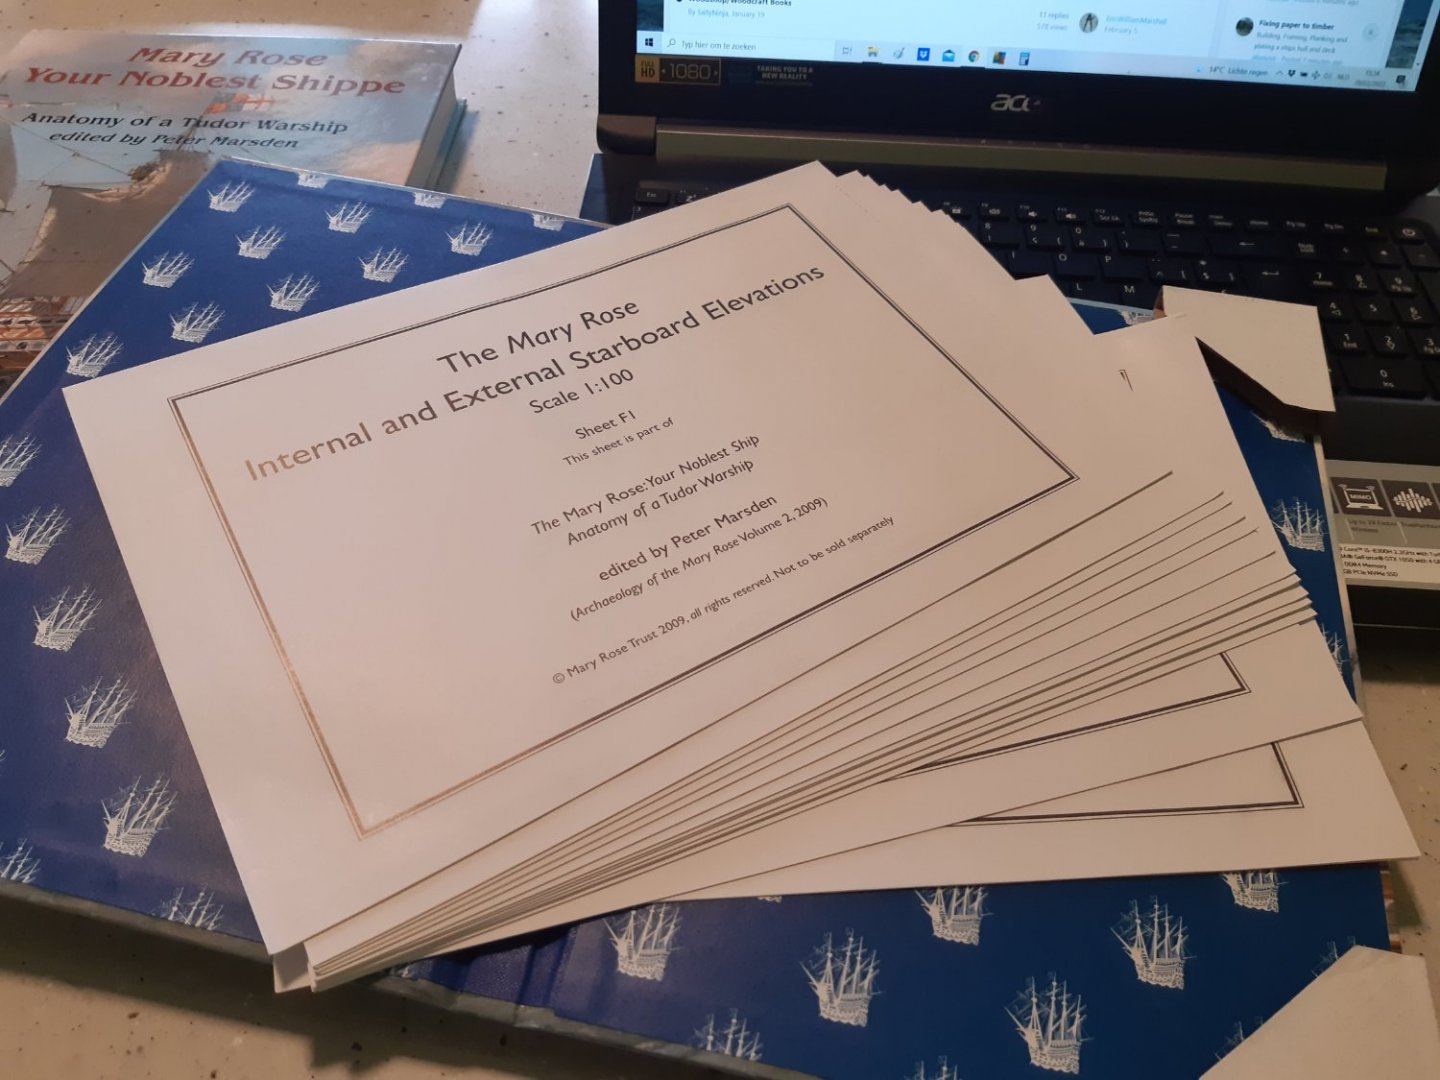
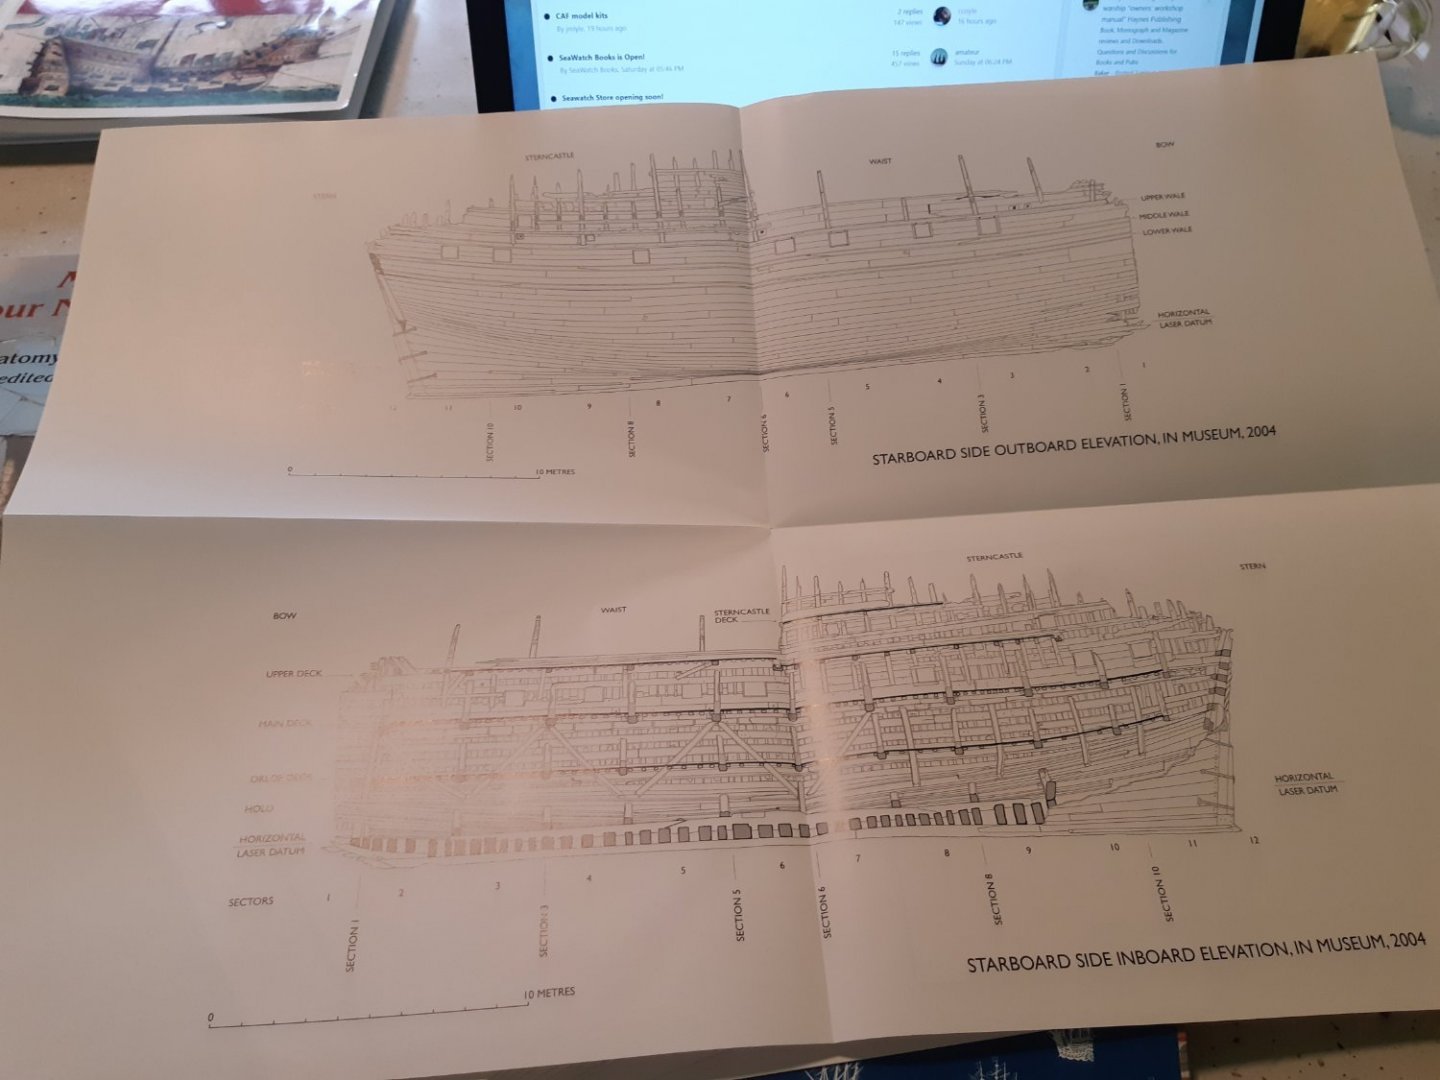
Published by the Mary Rose Trust Author ?? Edited By Peter Marsden First Published in 2009 A very detailed book about the construction (detailed description of the shipwreck) of the Mary Rose . Contains little info about the cannons, The book (433 pages) is accompanied by an extra cover that contains 15 drawings in 1/100 scale. The book contains drawings of the frames. The extra drawings have also a rigging, sailplan. recommended 👍 Main cover, book and the cover with te drawings Index and the list of figures Some of the content The 15 drawings scale 1/100 drawing n°1


-
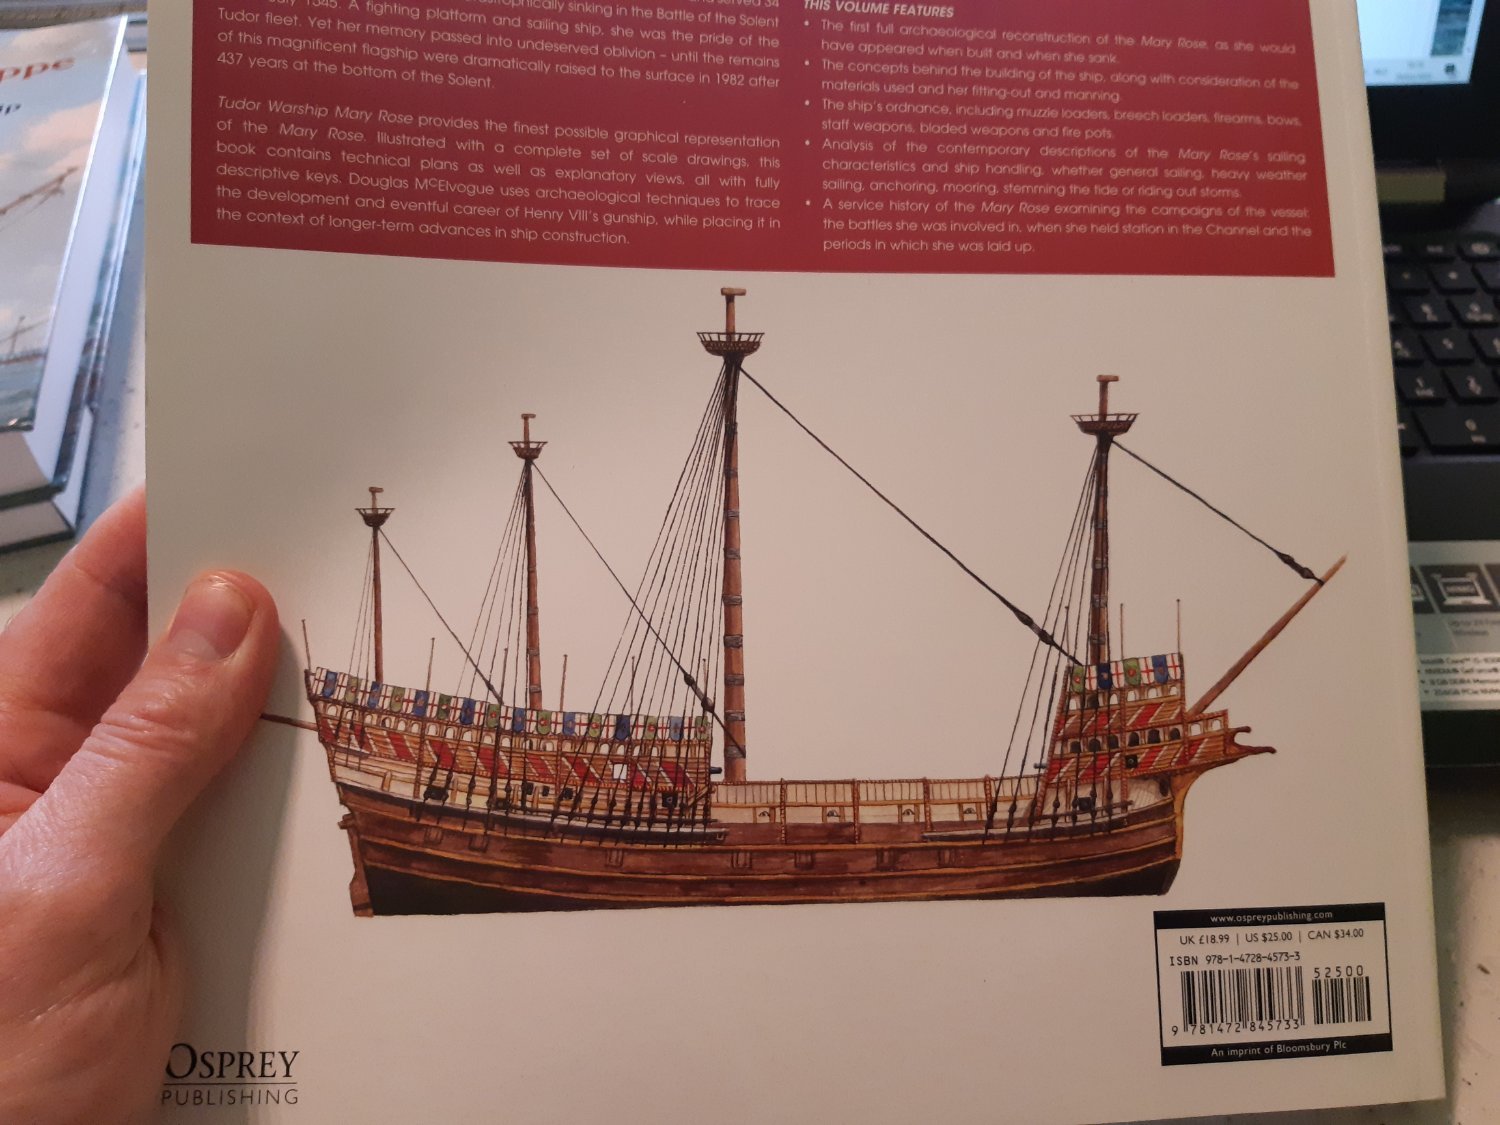
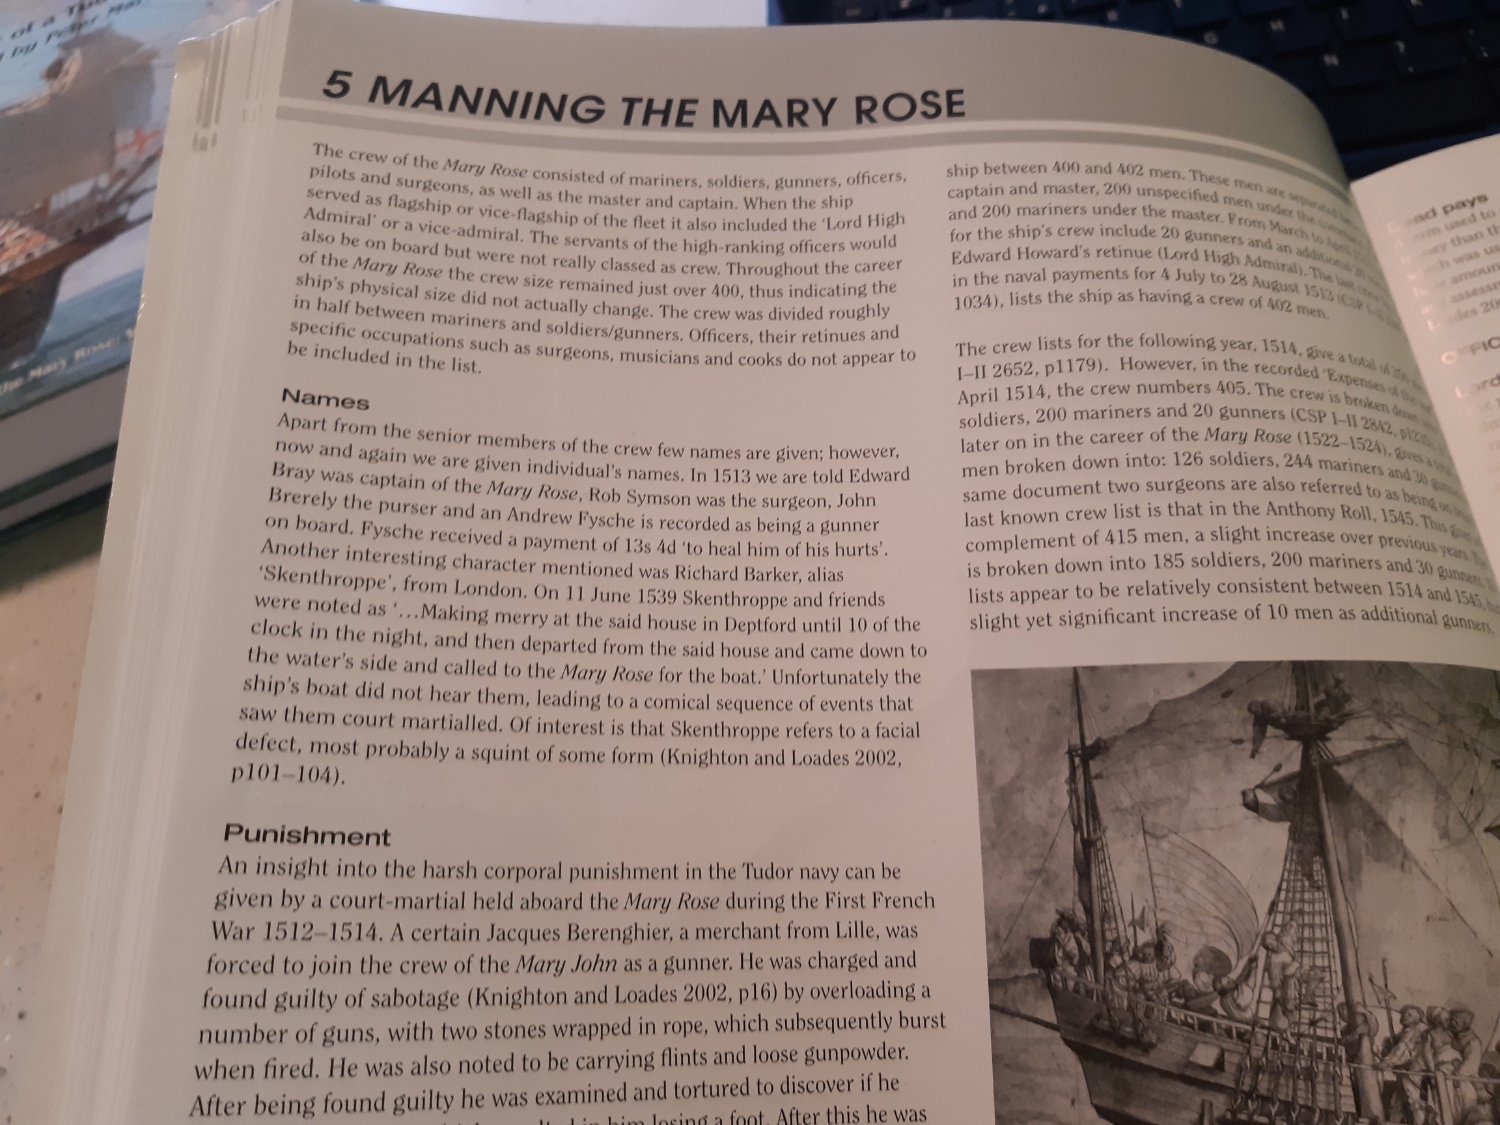
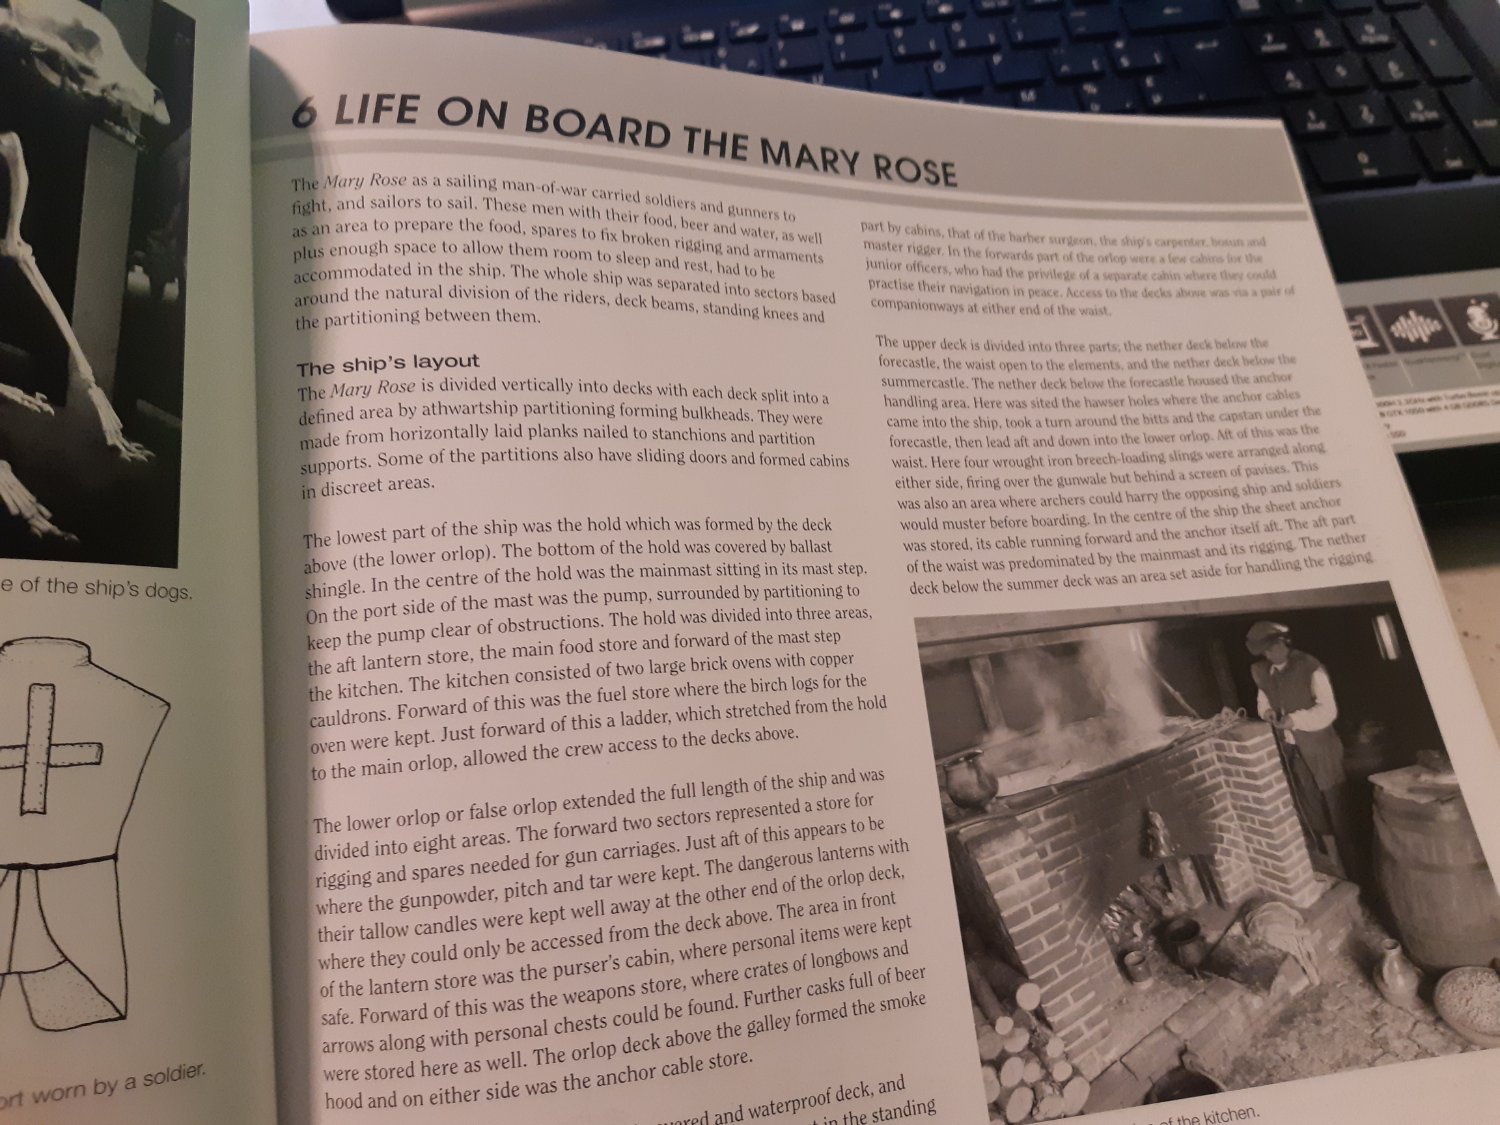
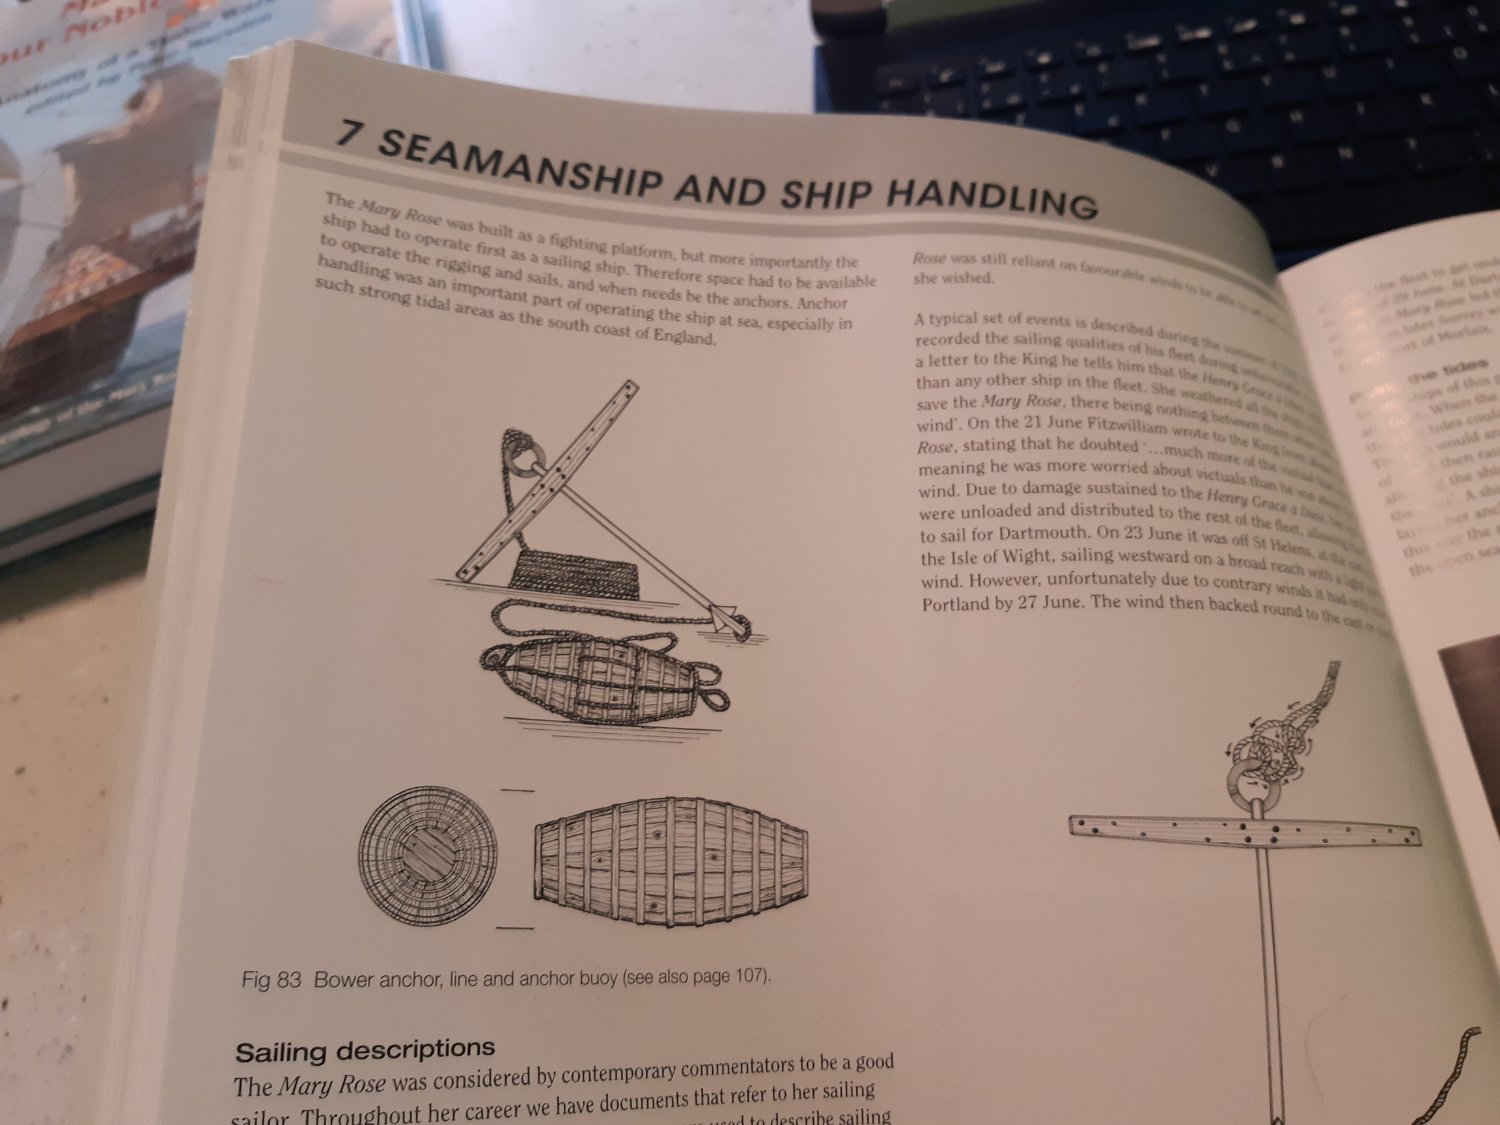
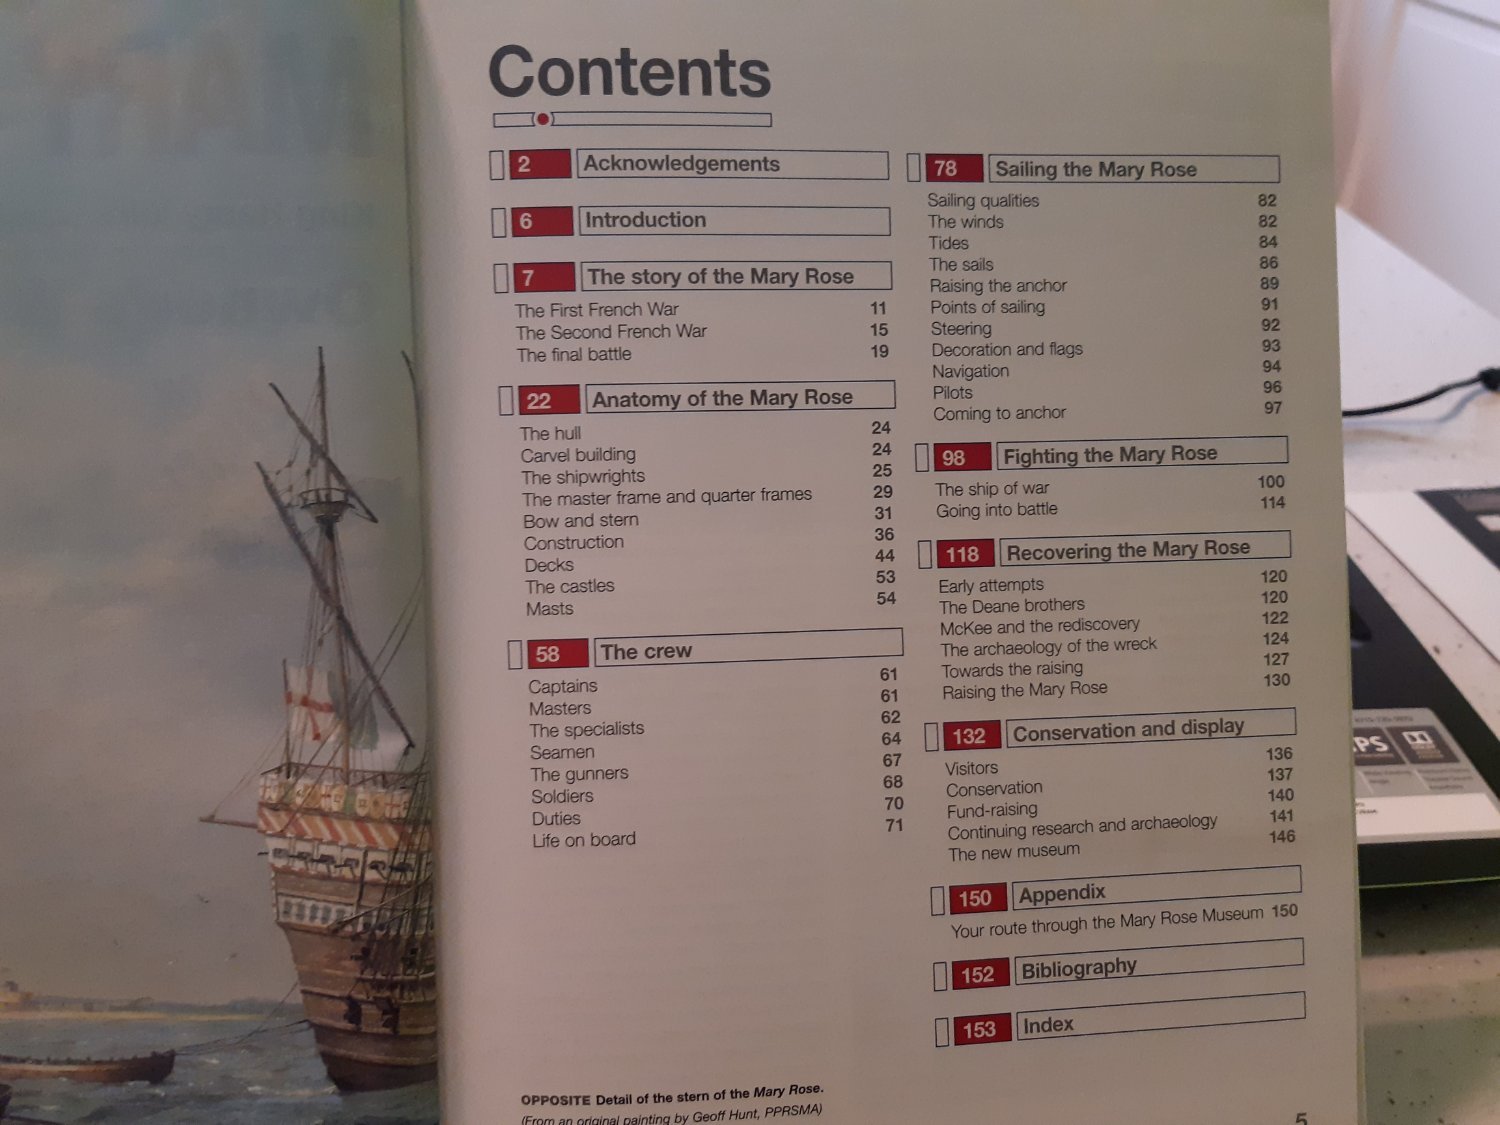
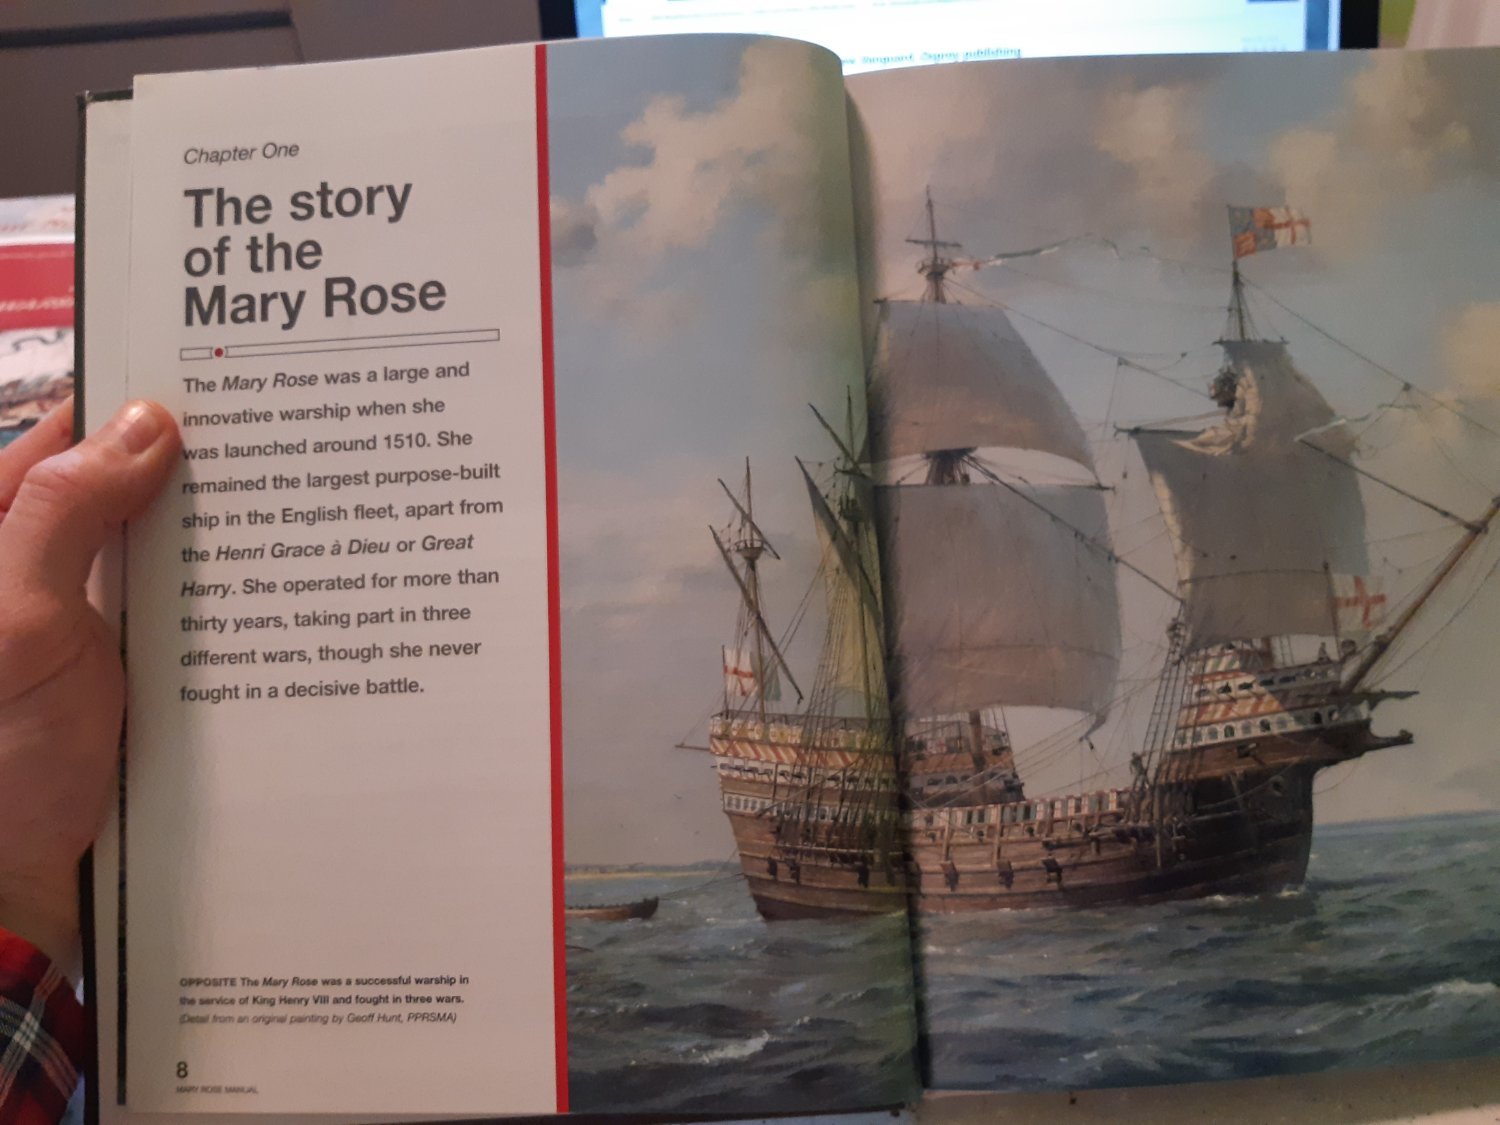
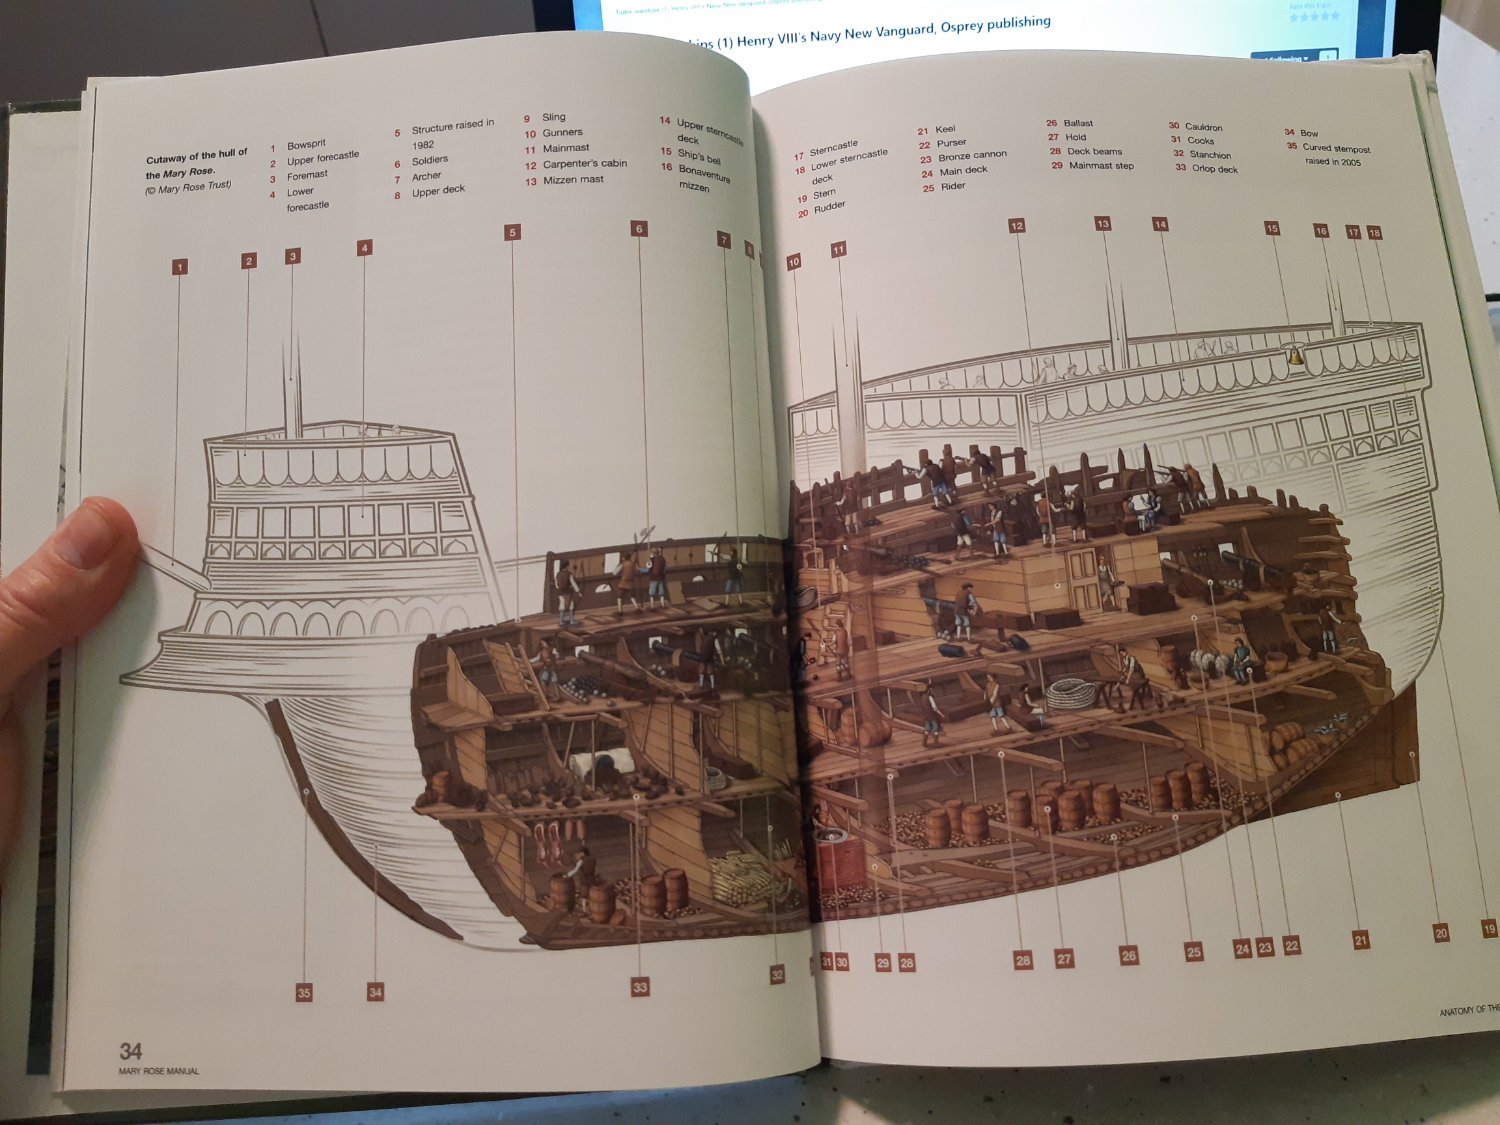
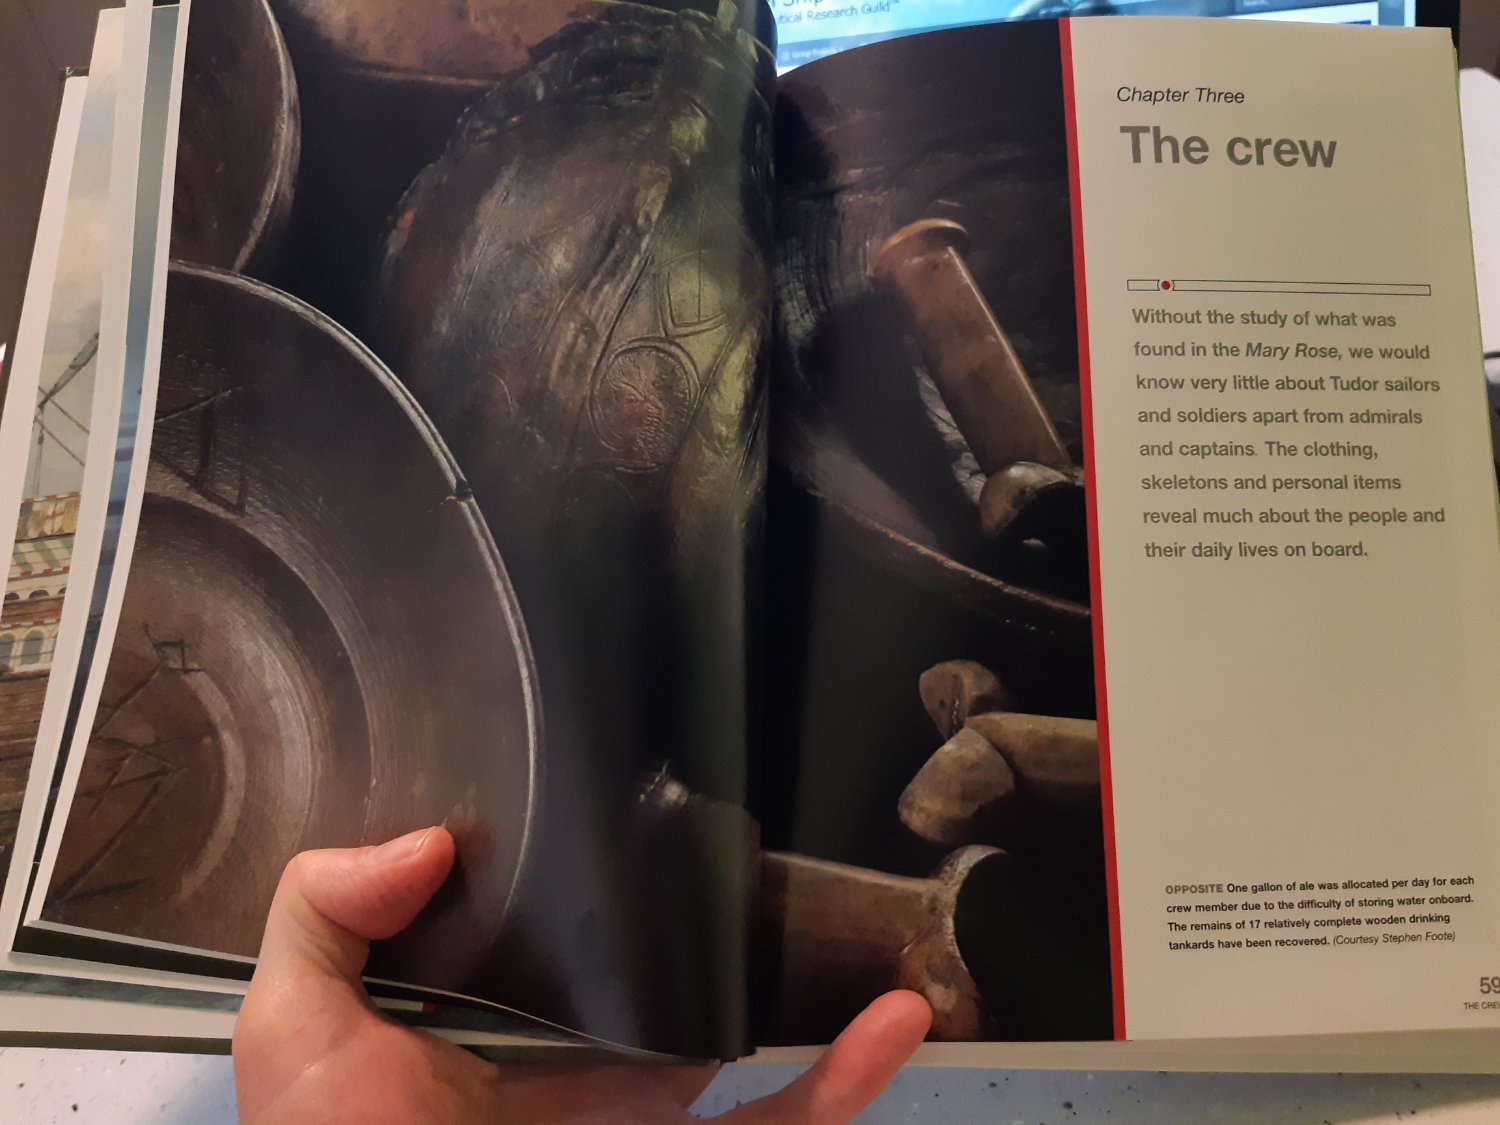
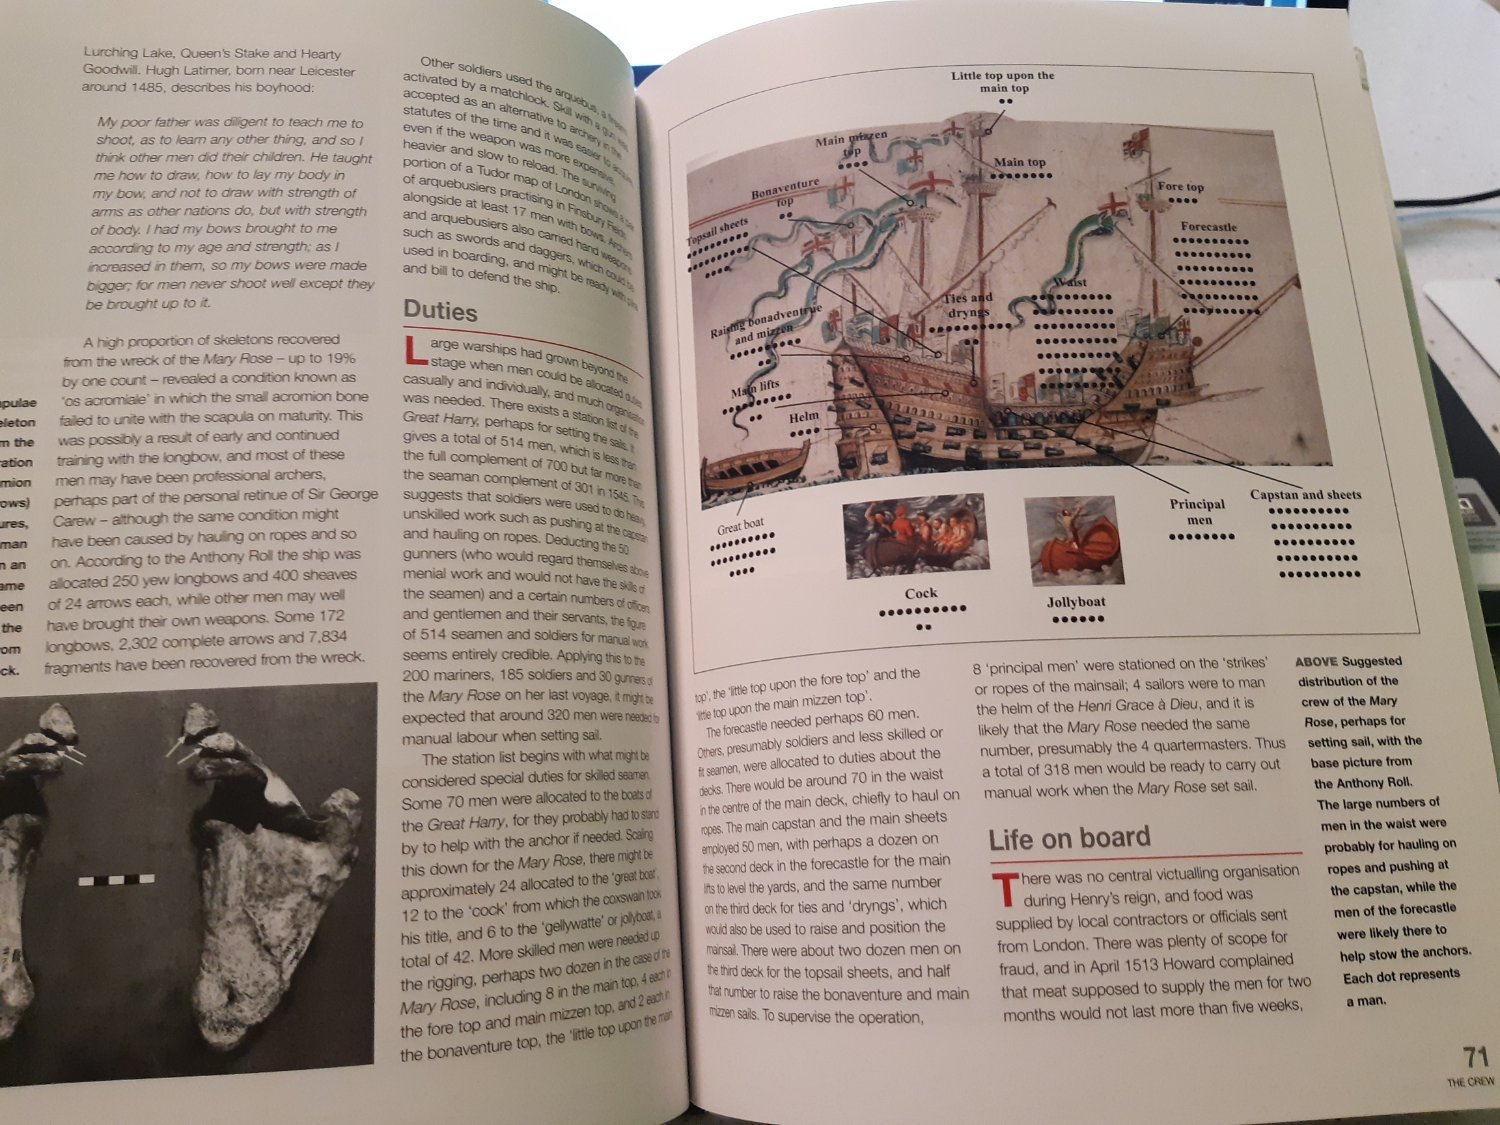
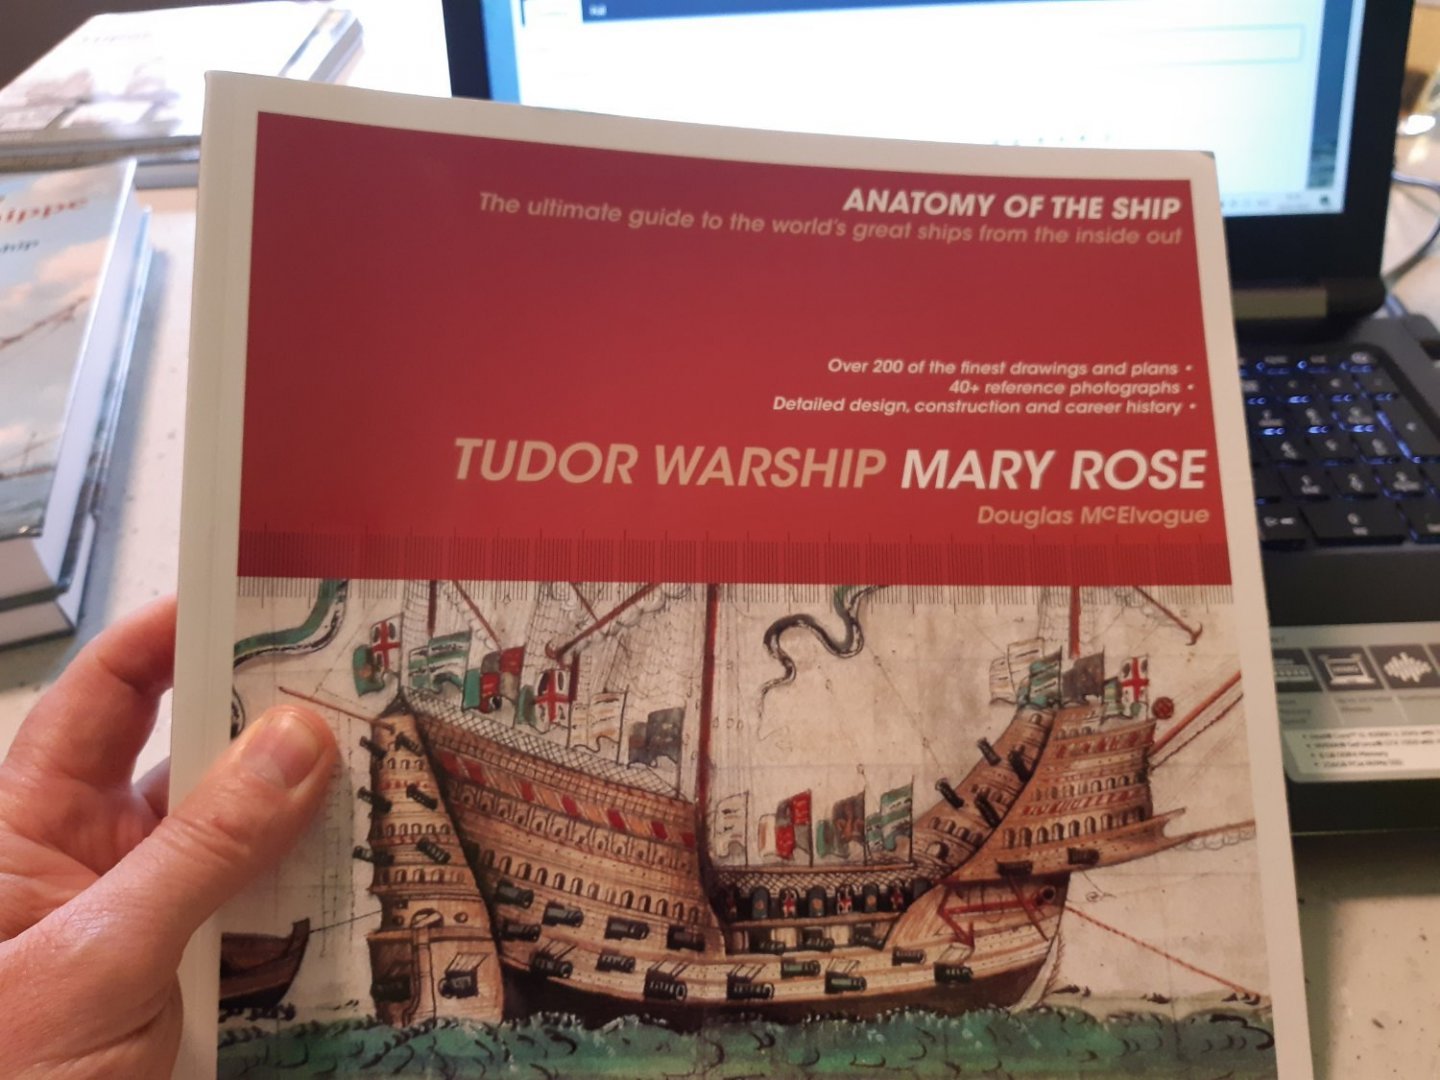
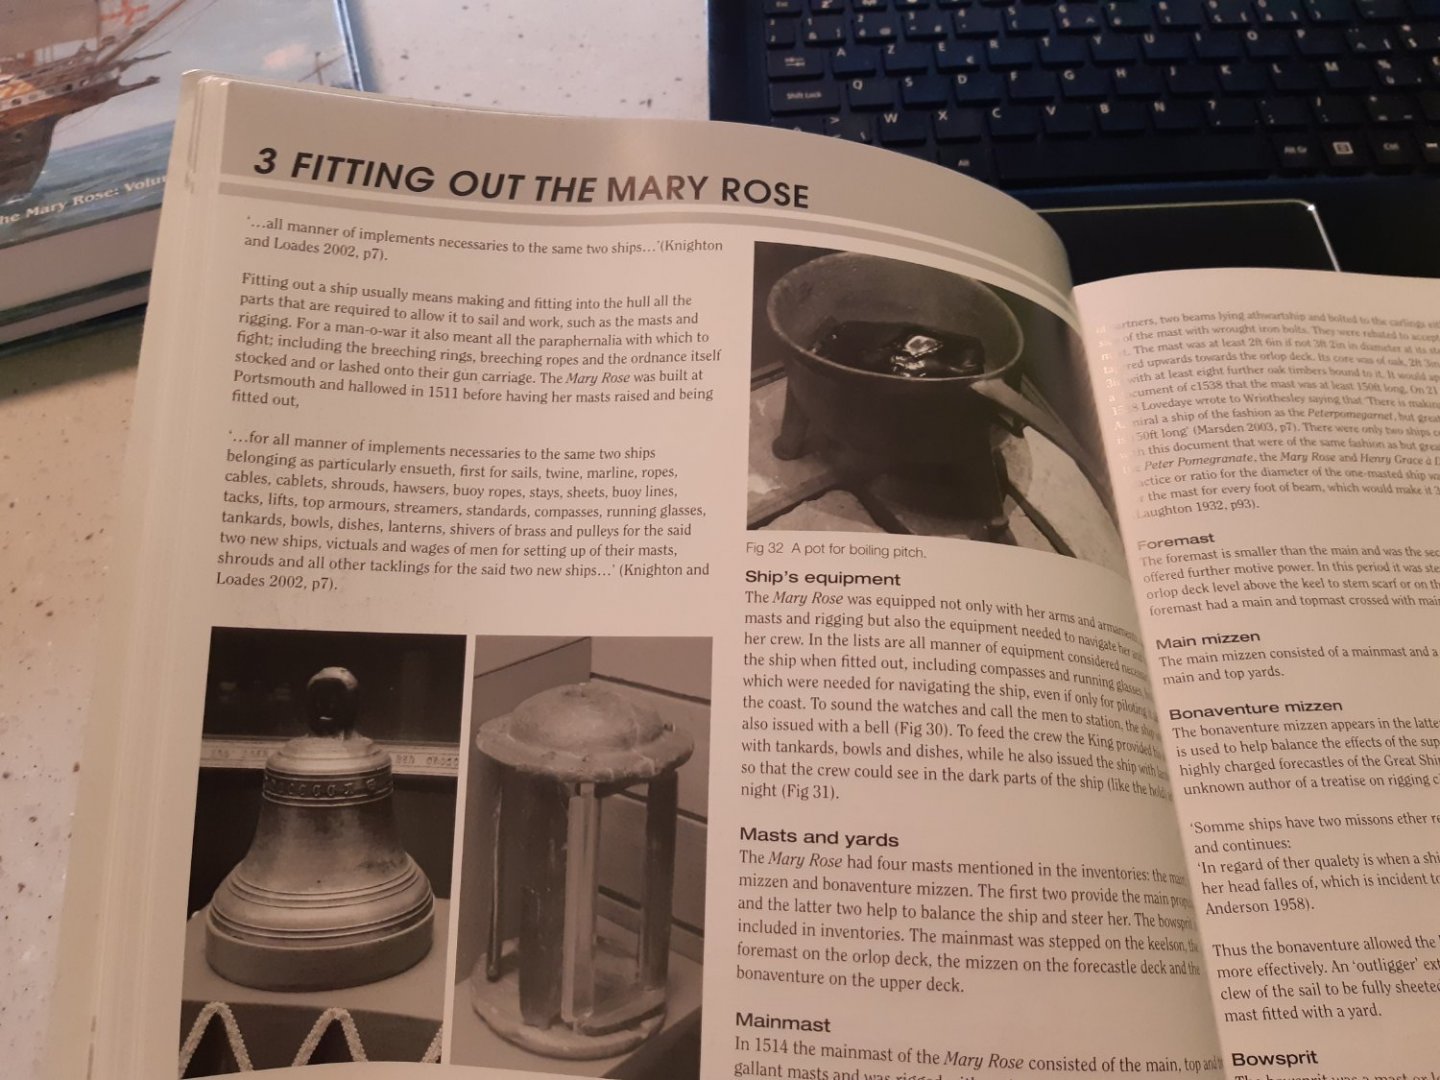
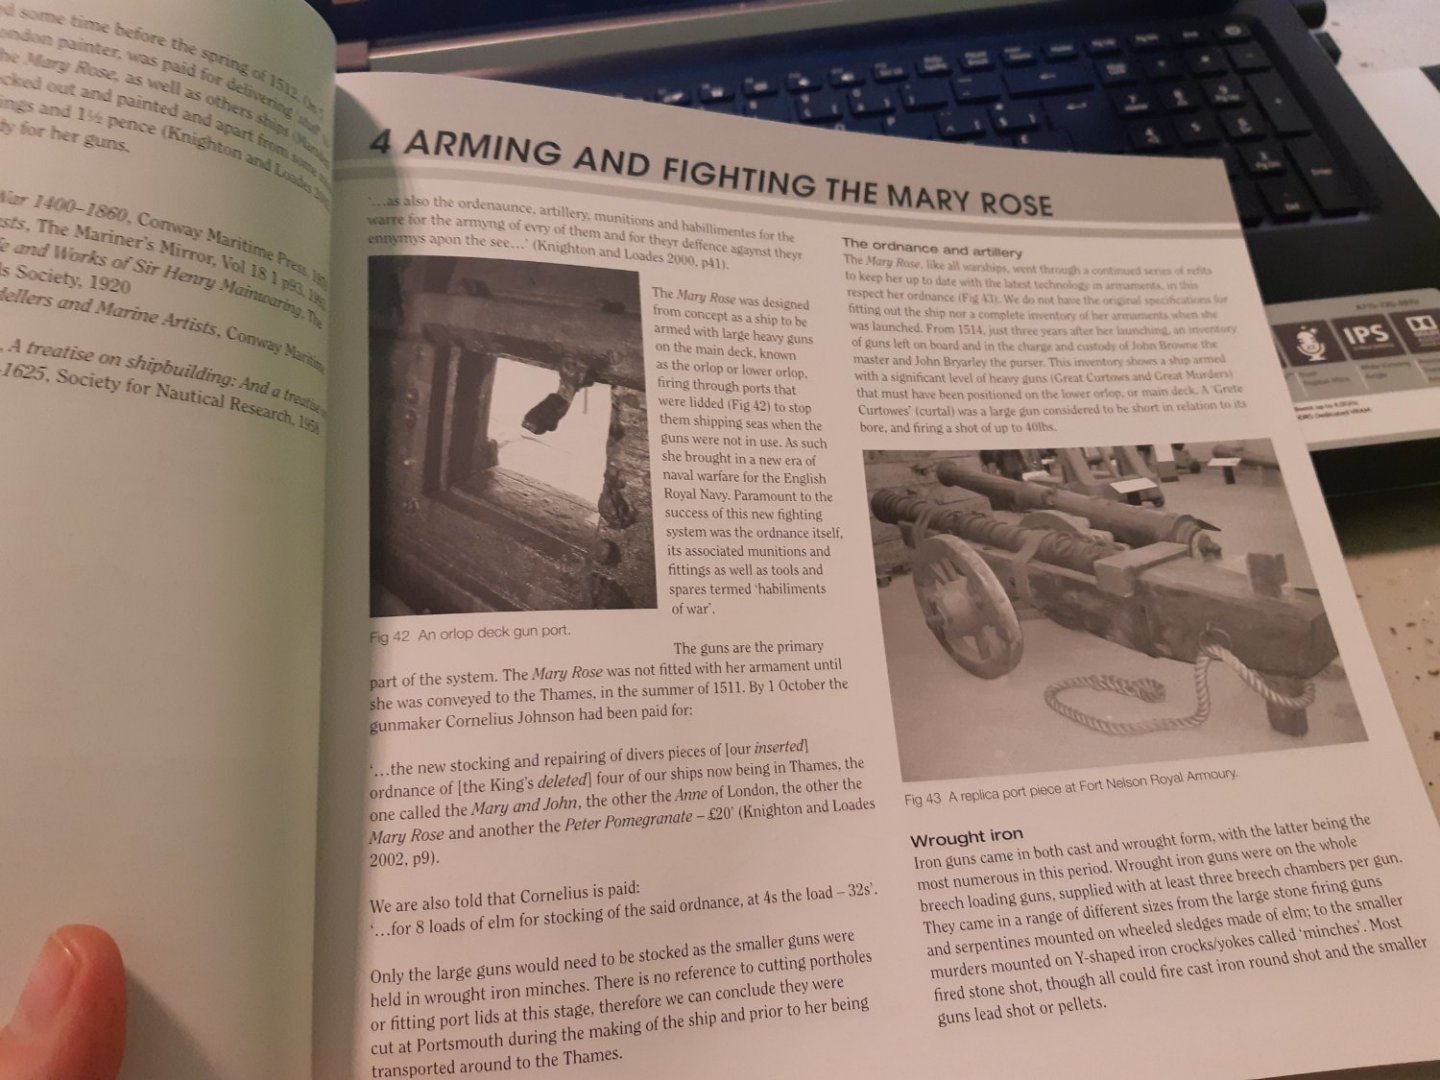
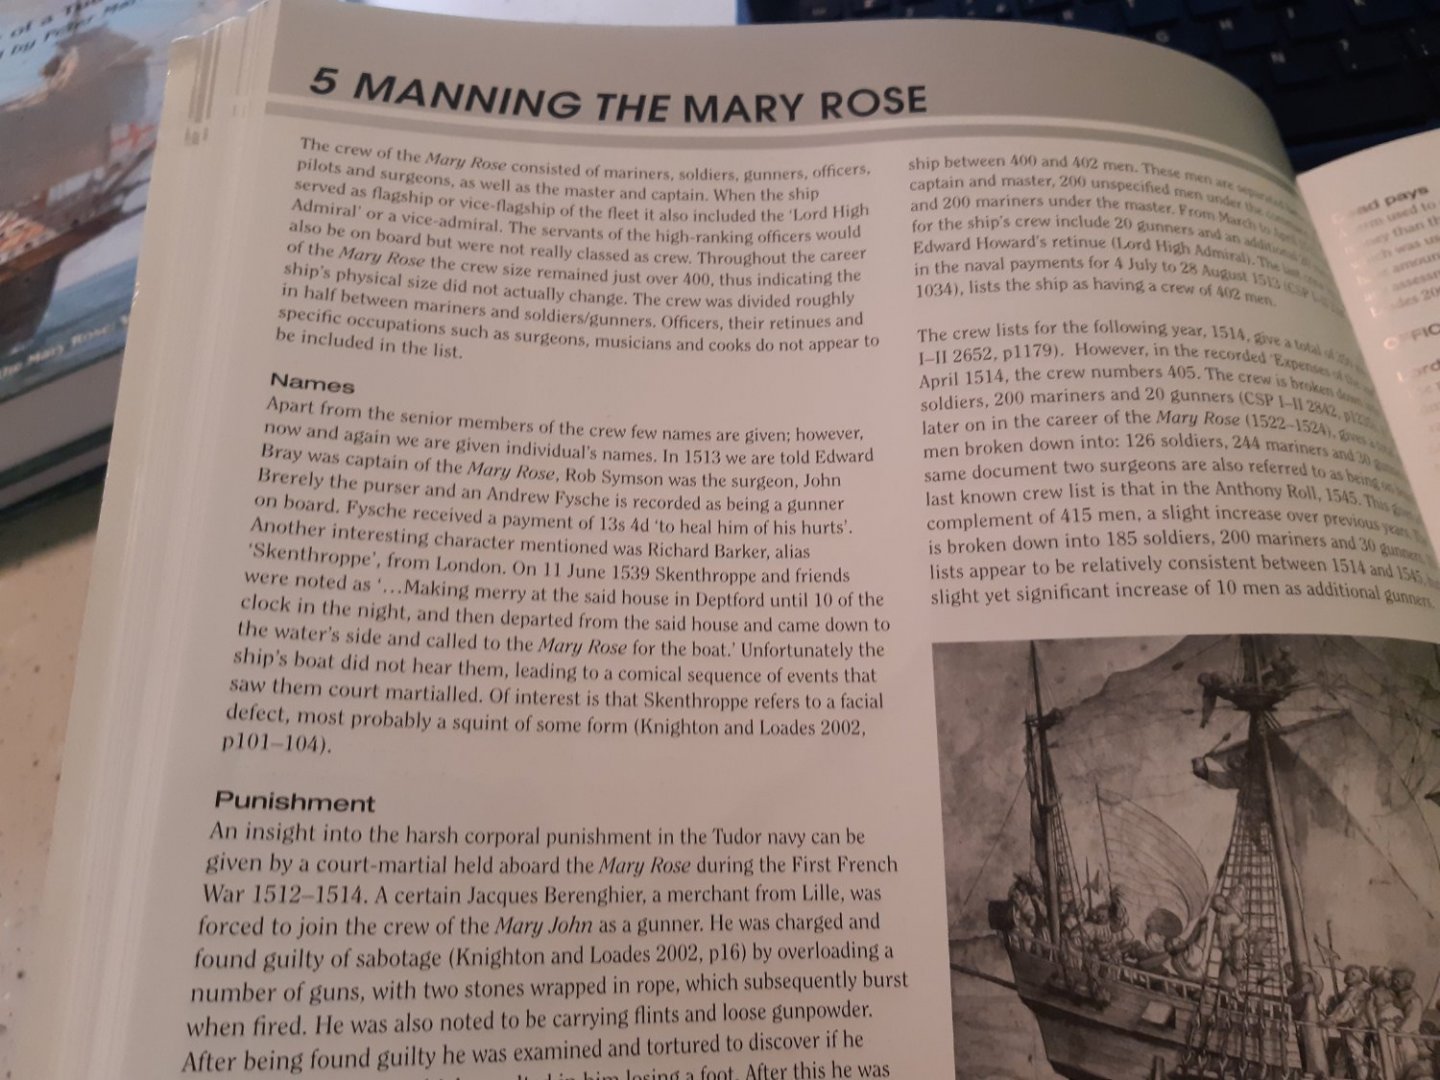
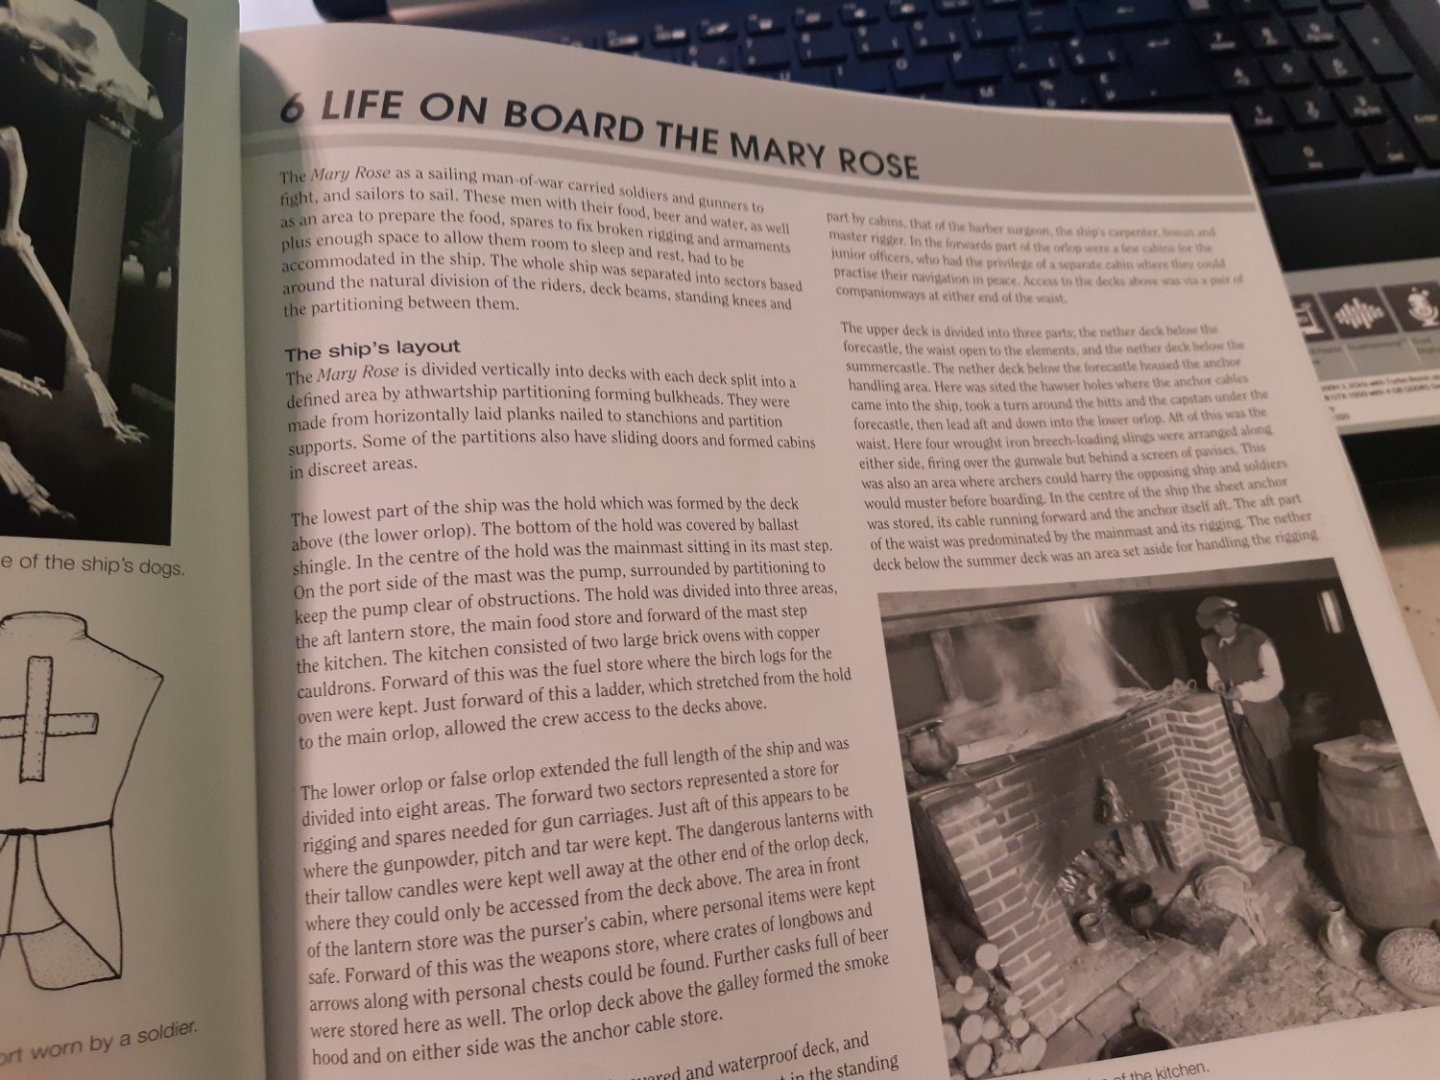
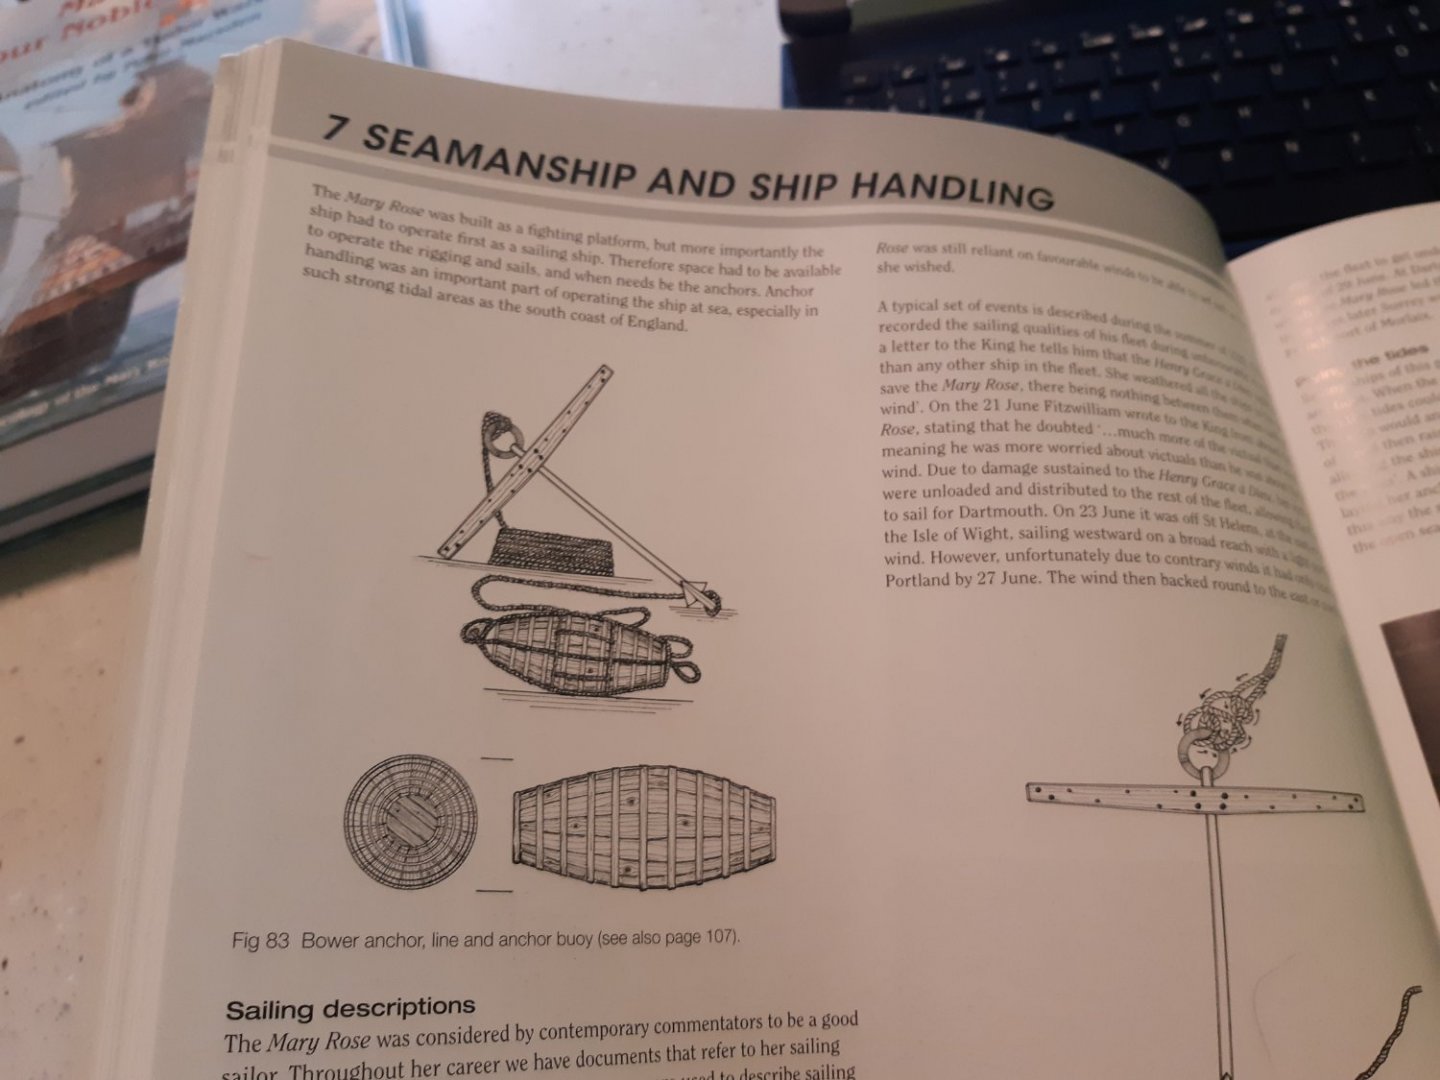
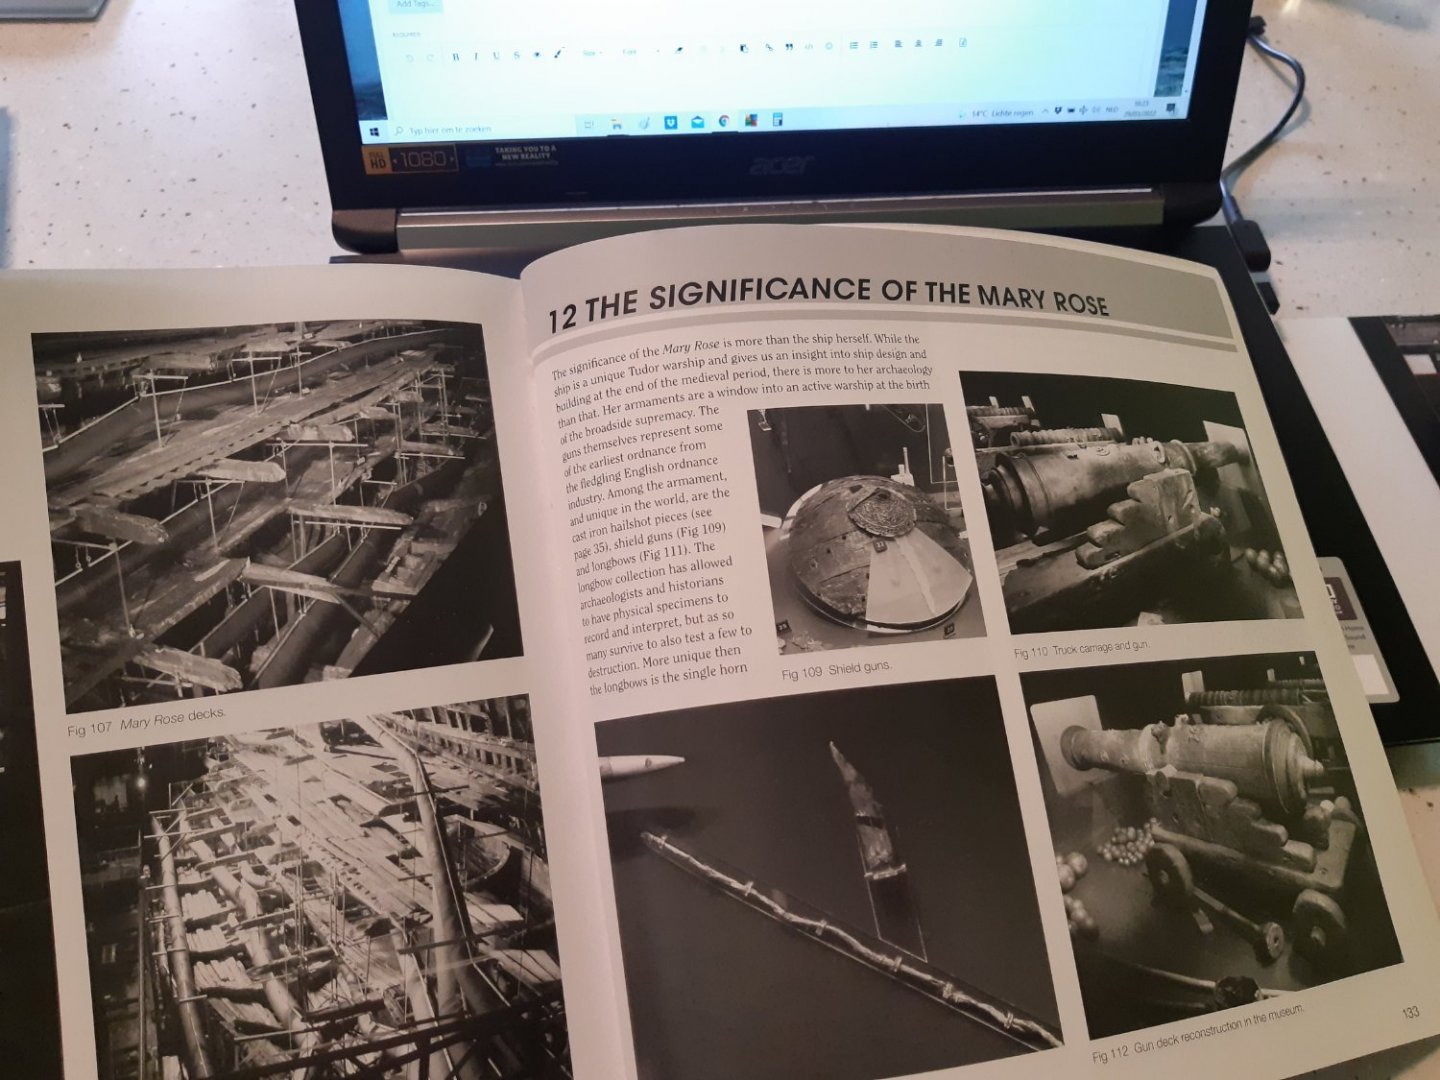
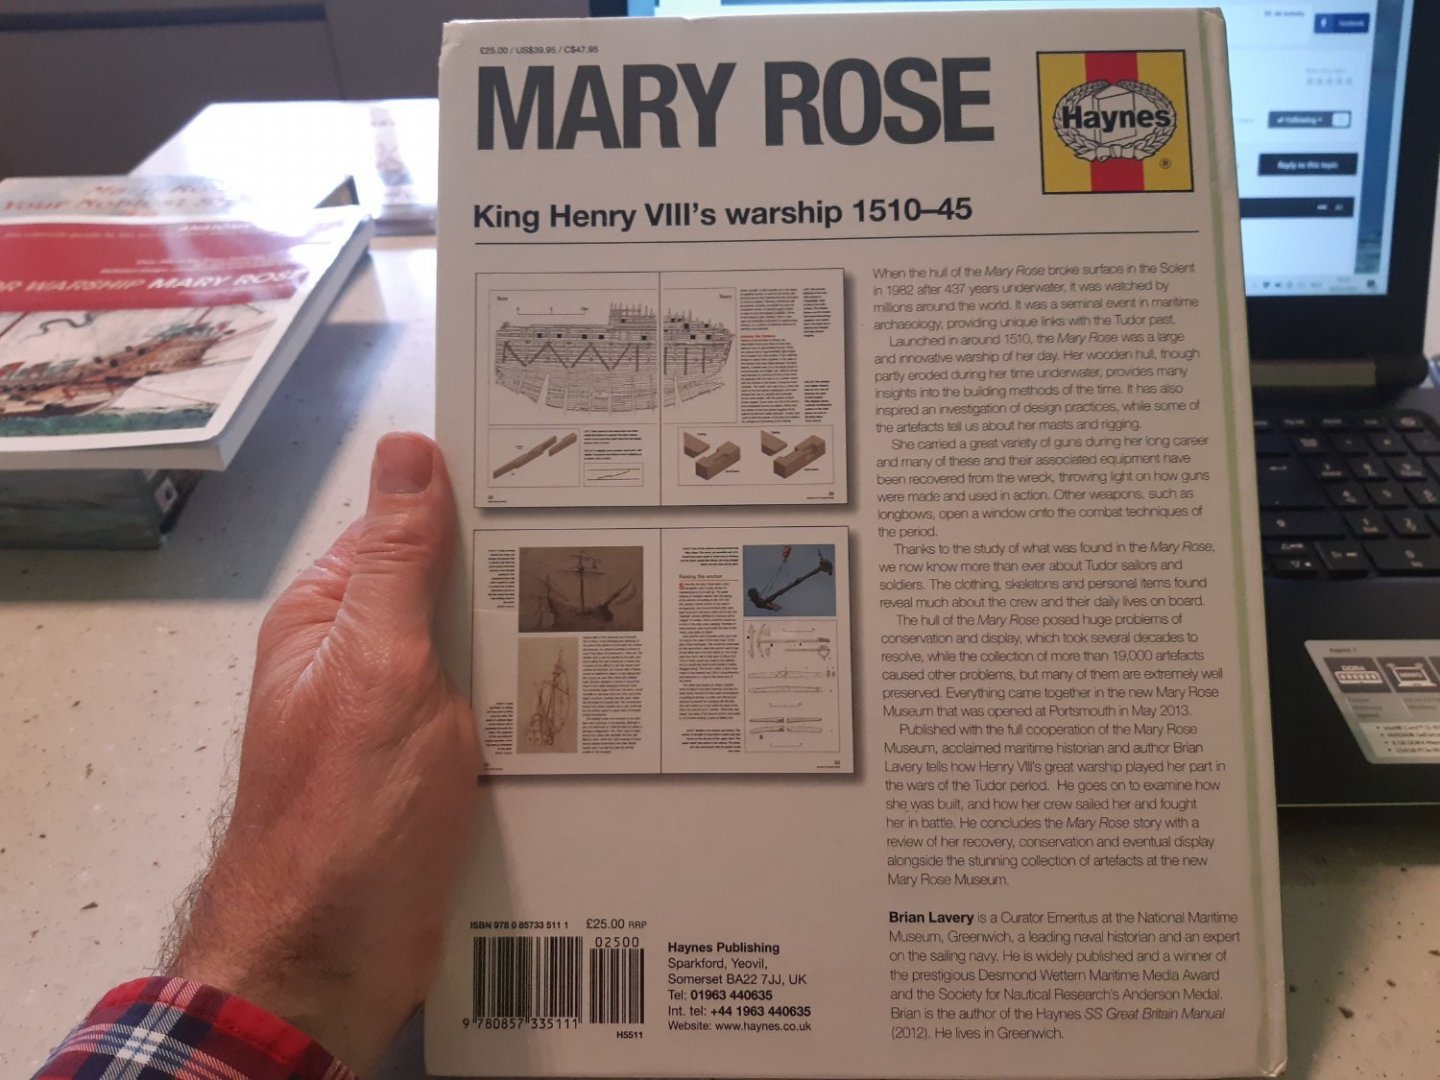
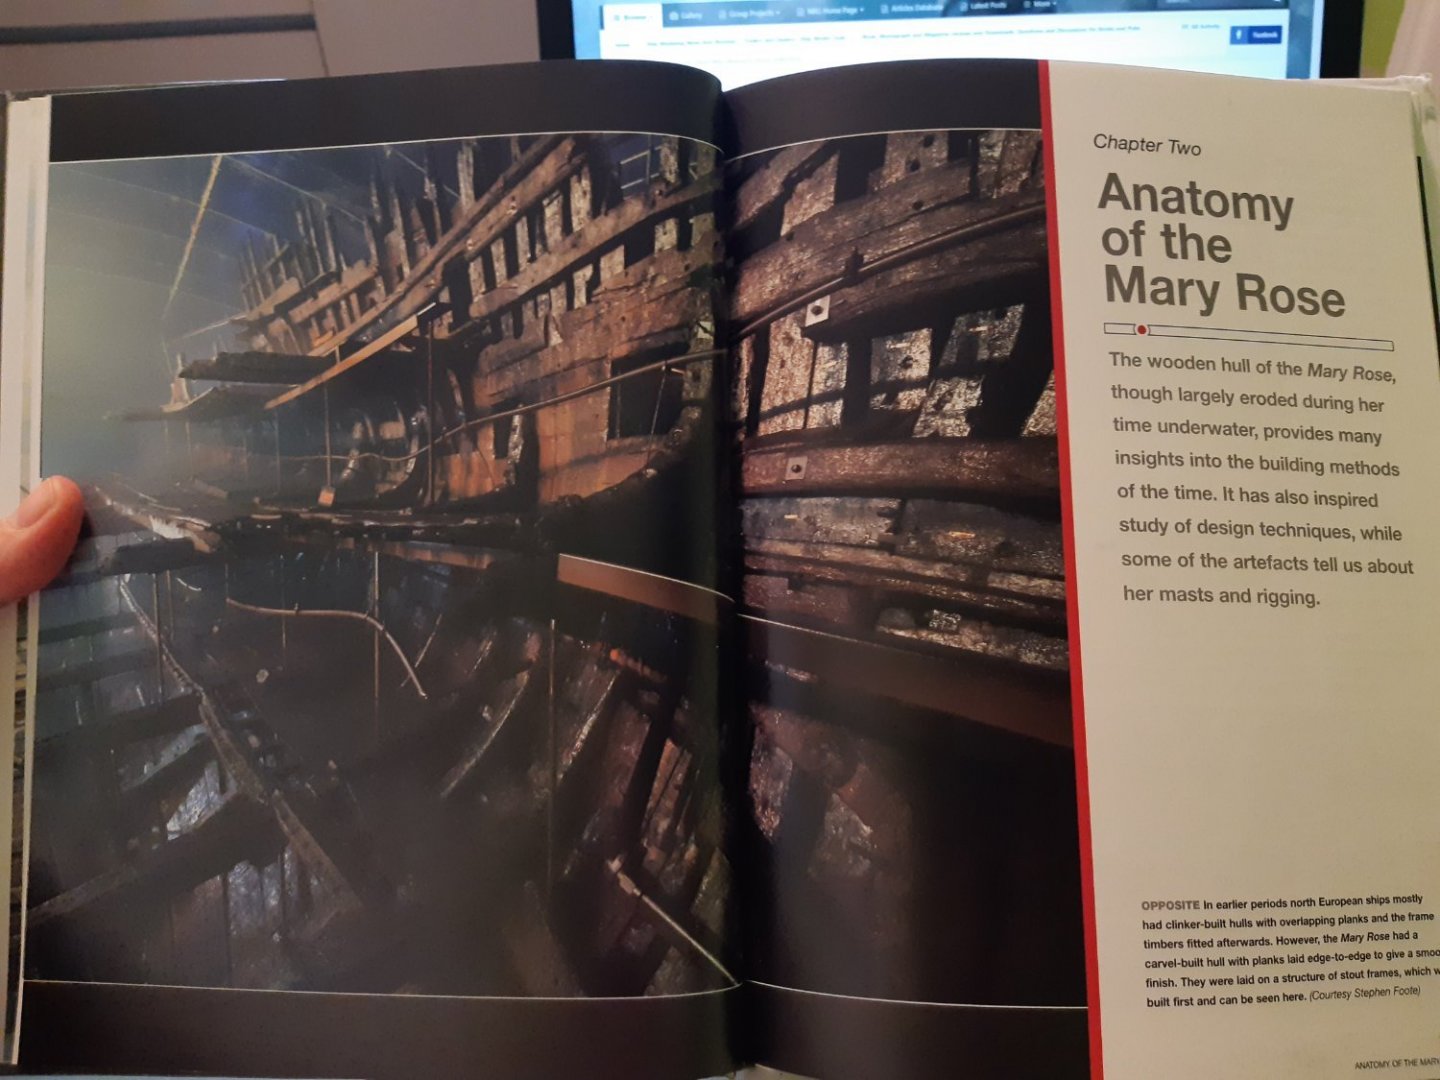
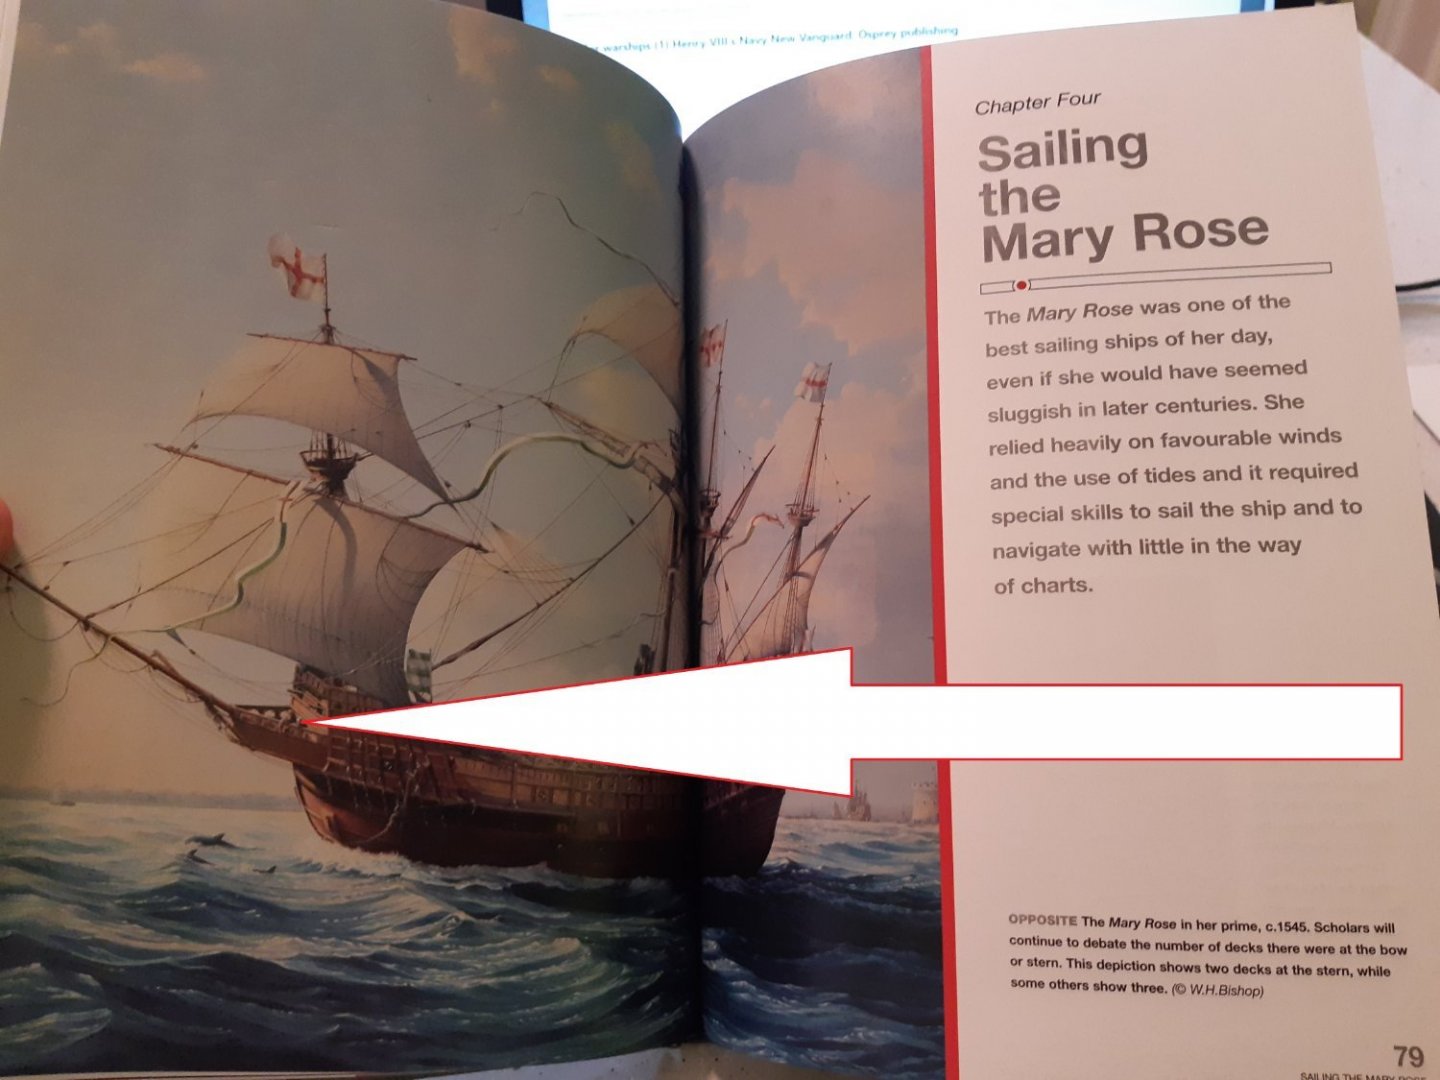
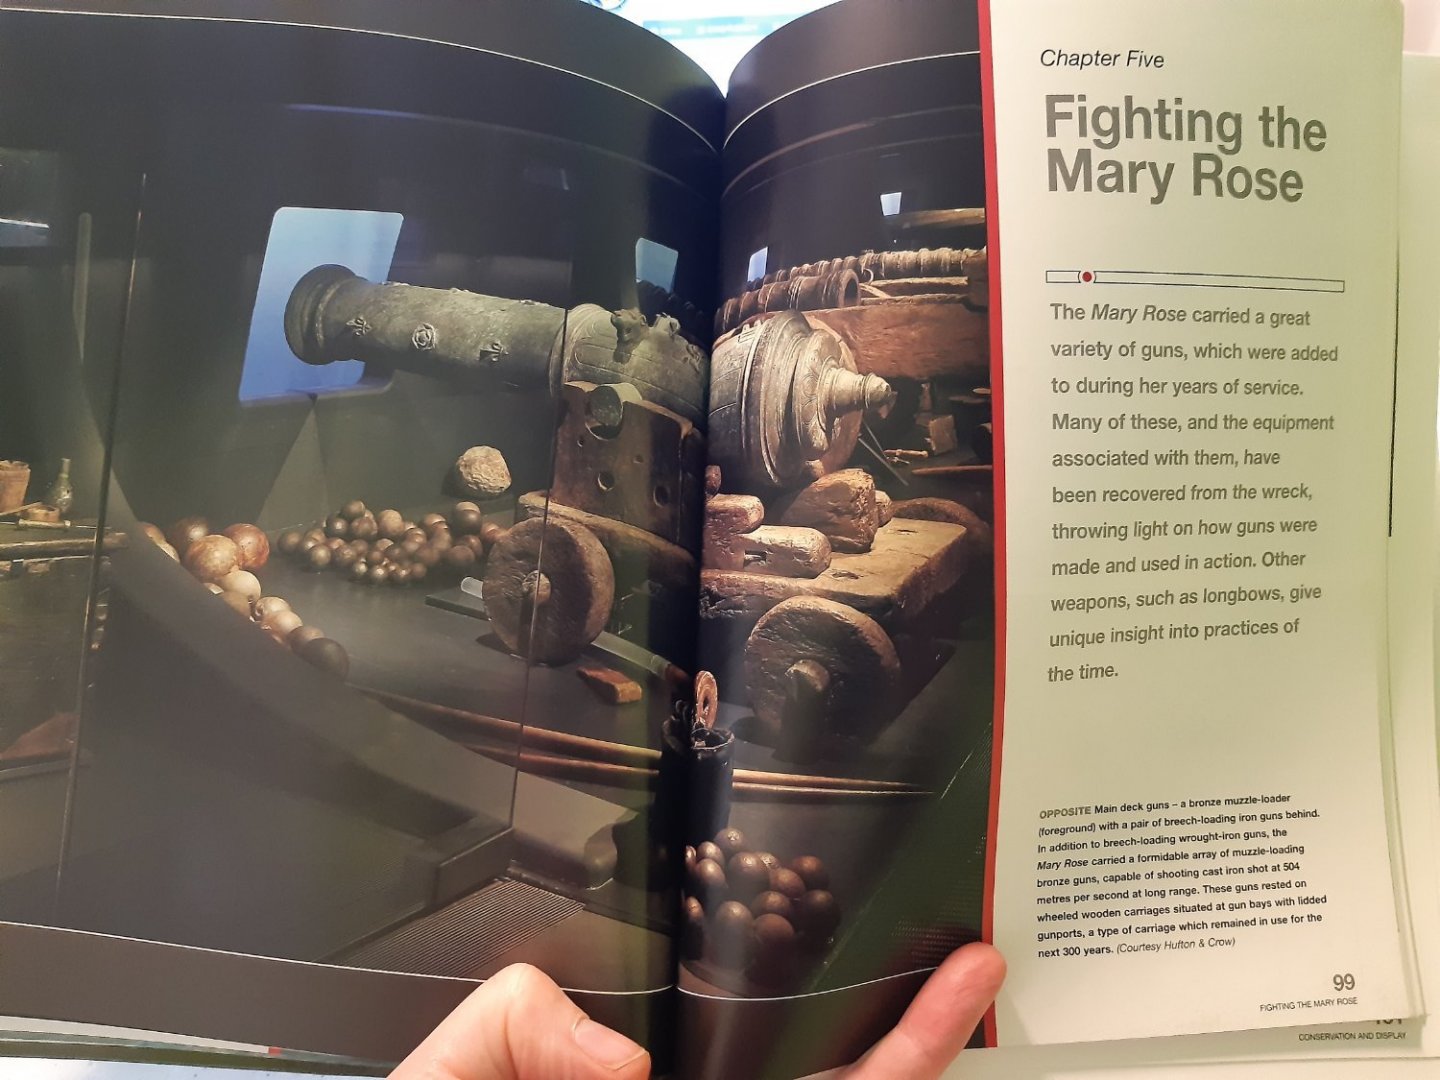
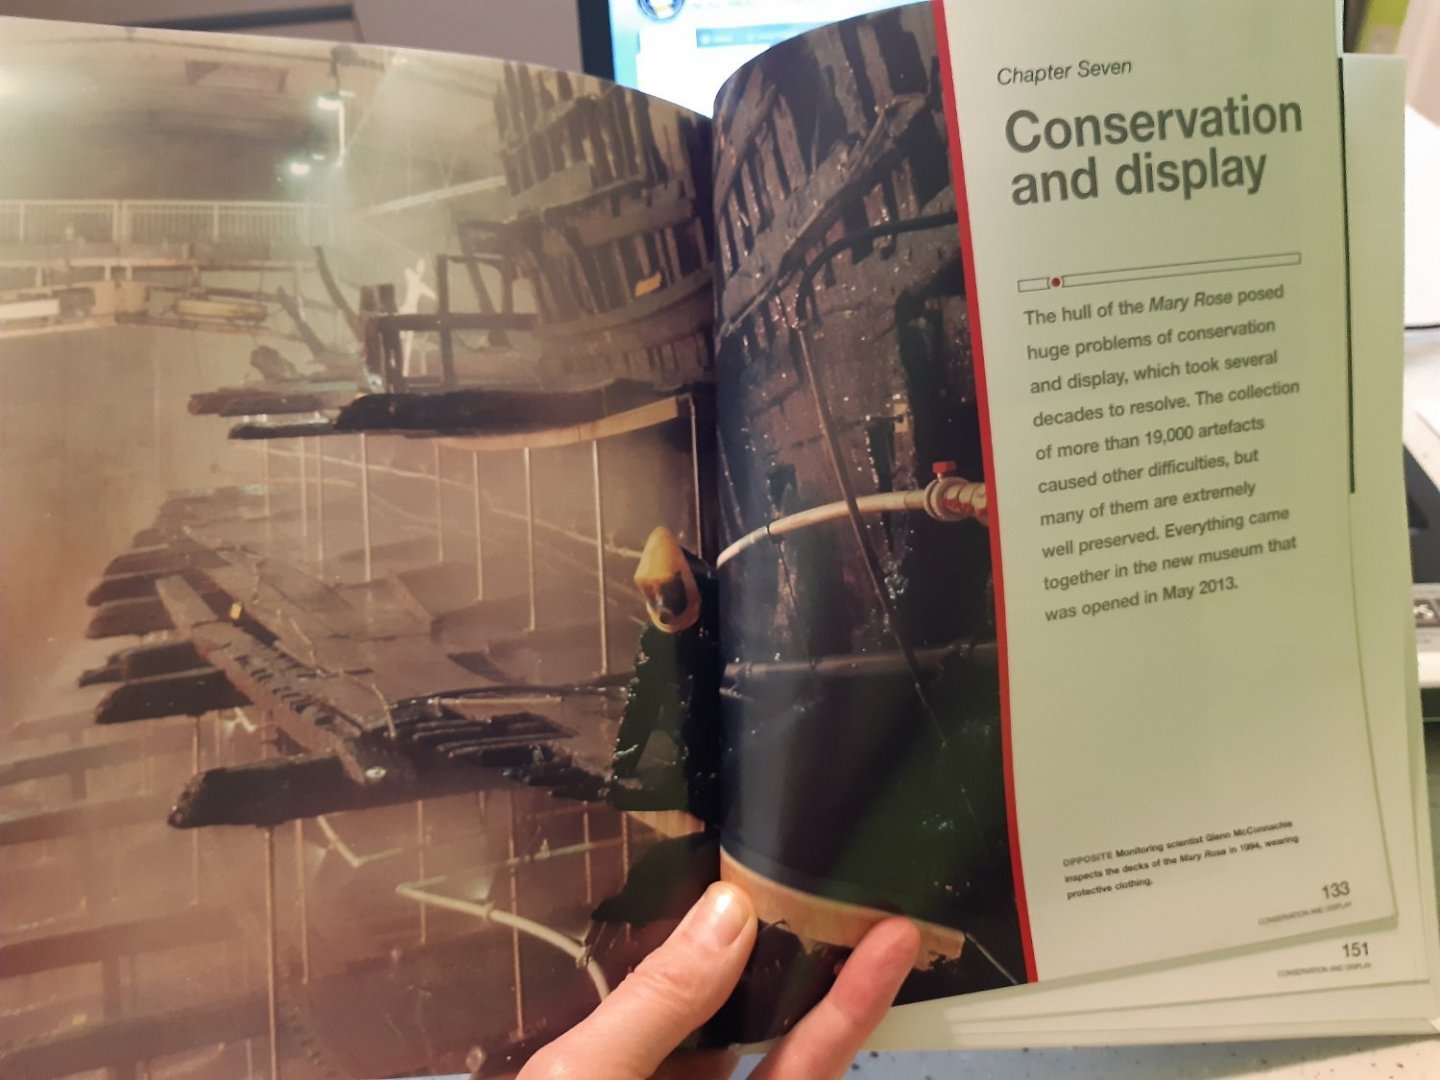
Published by Haynes Publishing Author Brian Lavery With cooperation of the Mary Rose trust First published in 2015 A very detailed book about the anatomy, use( fighting, sailing, etc), recovery and conservation of the Mary Rose. Does not include drawings of frames and keel. But i am very satisfied with this book. front back index content A remark: The beakhead of a galleon on a carrack... why, why 👎


-
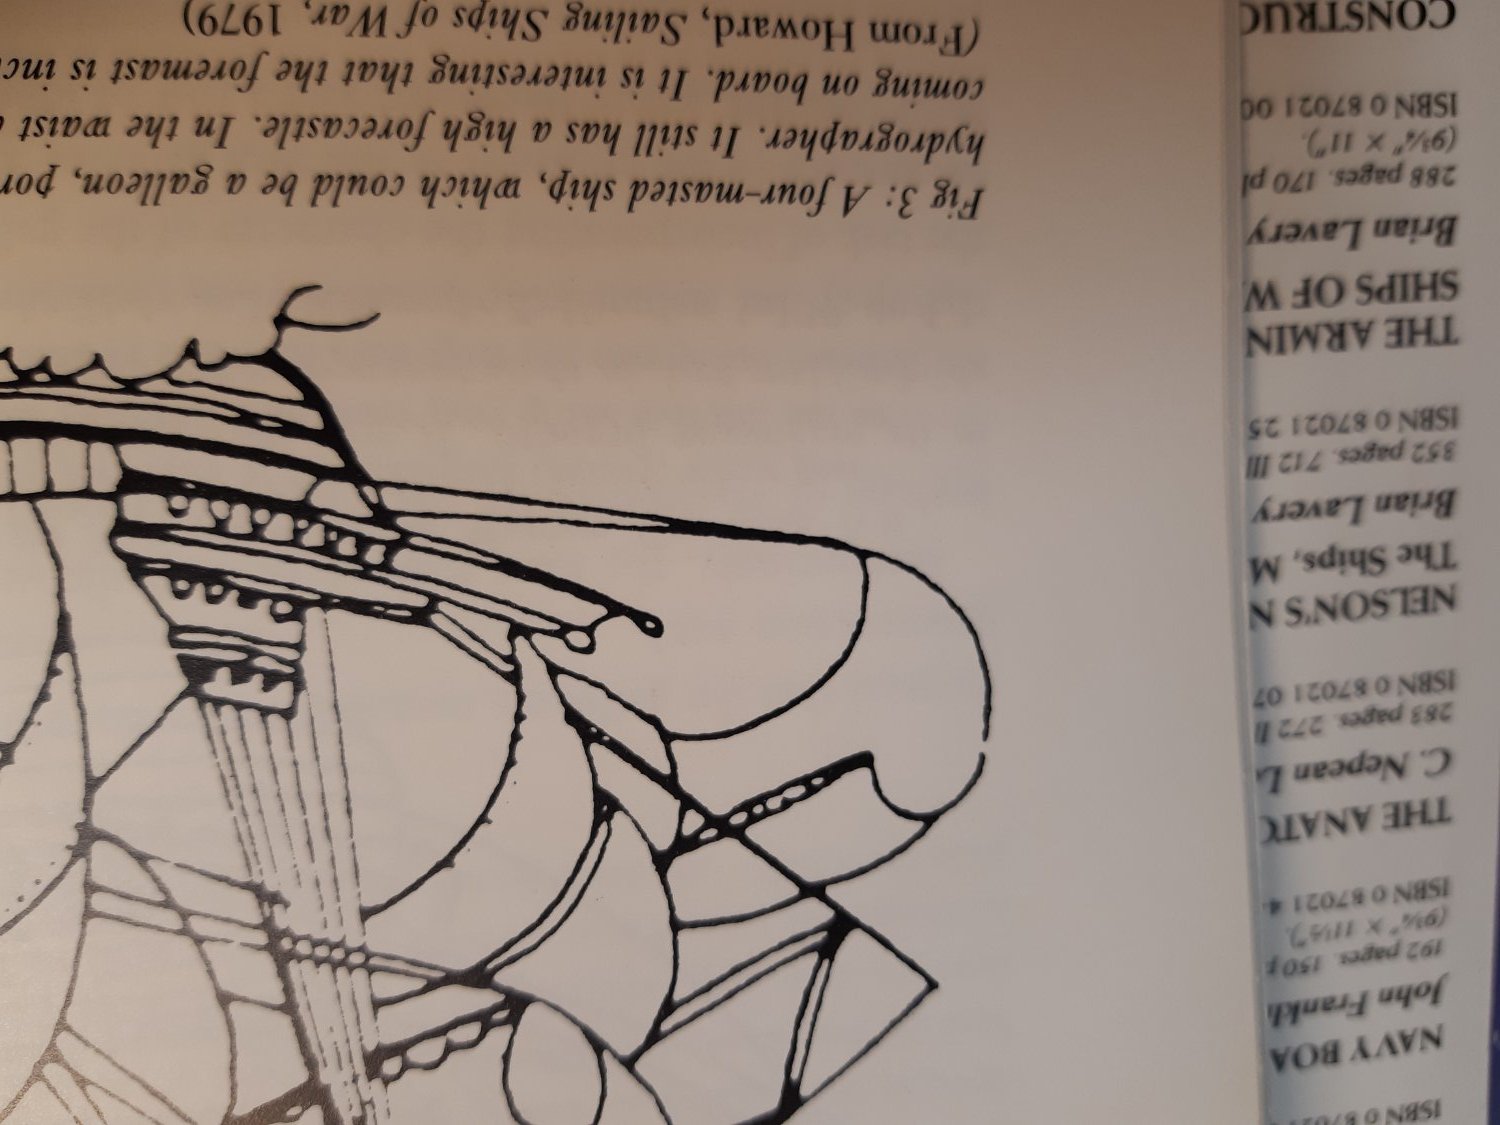
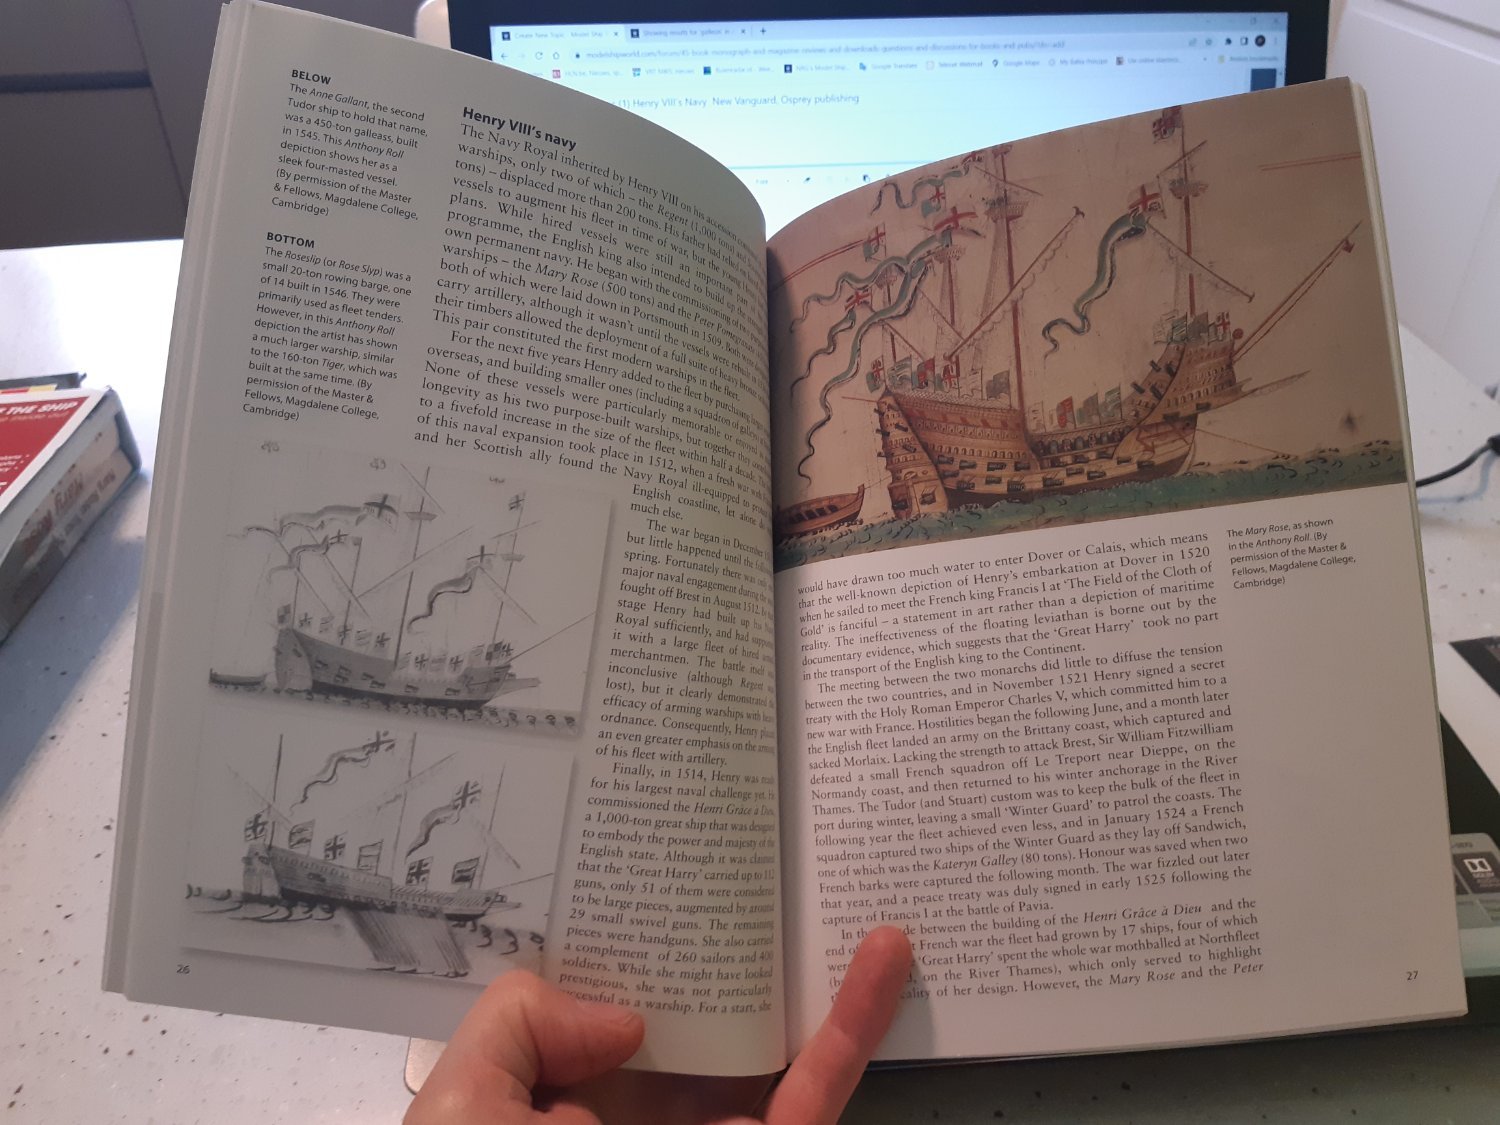
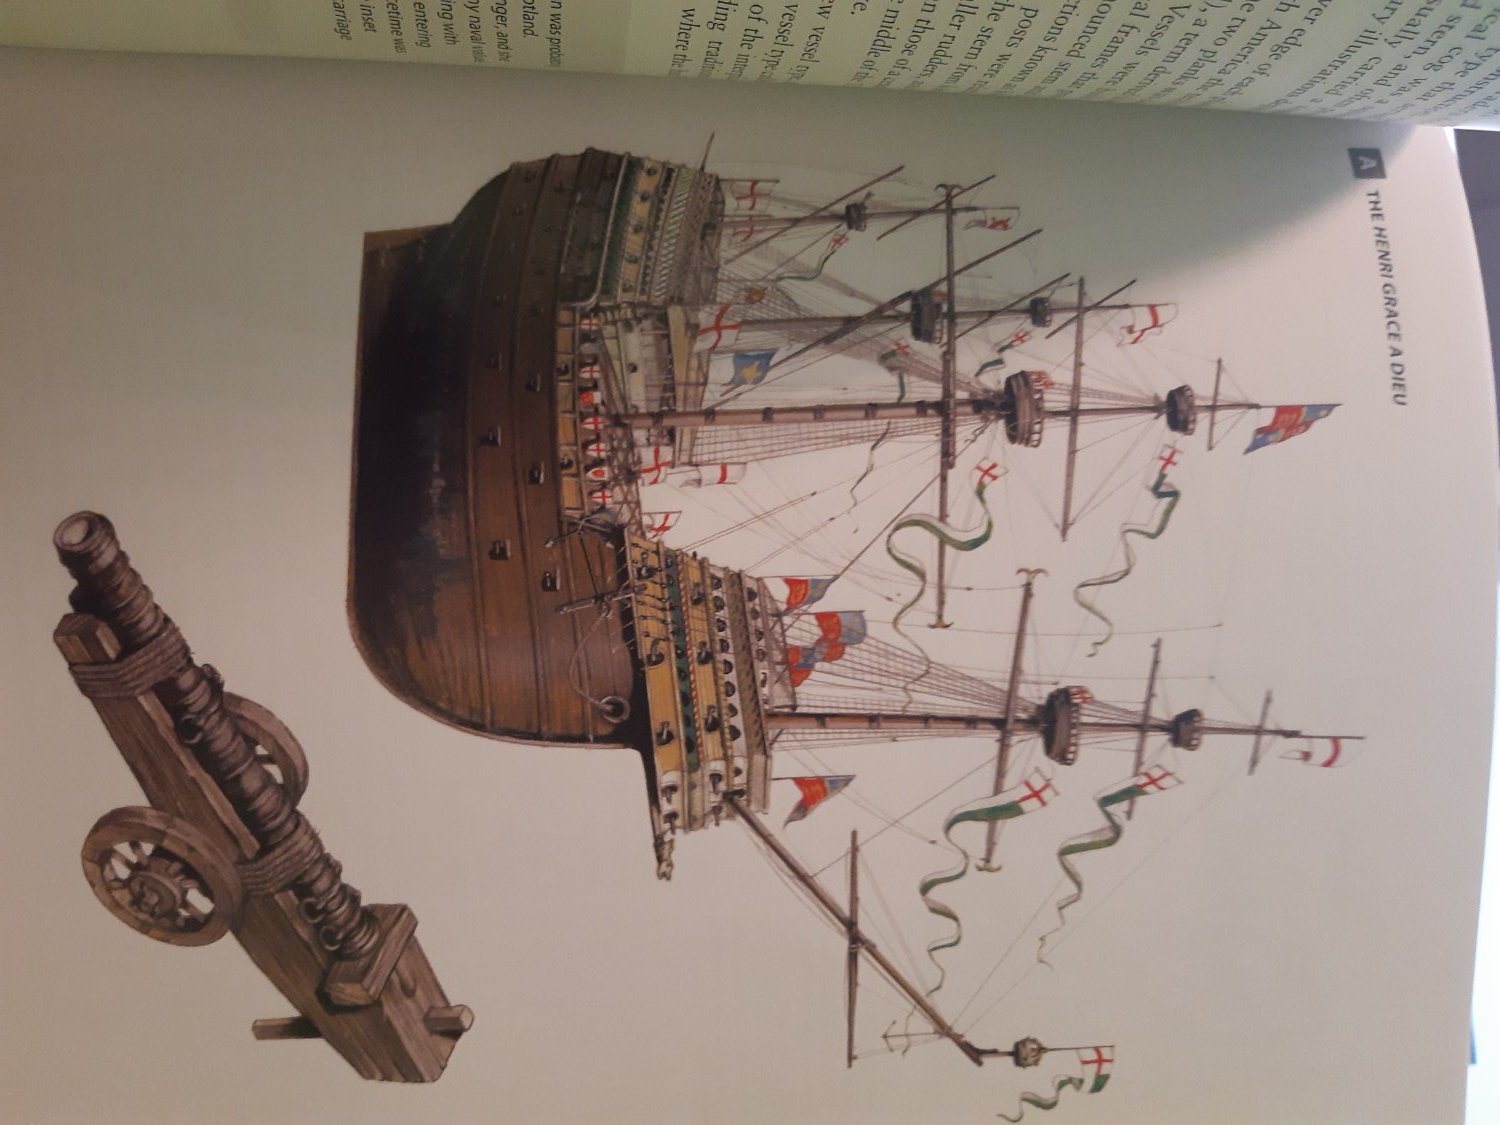
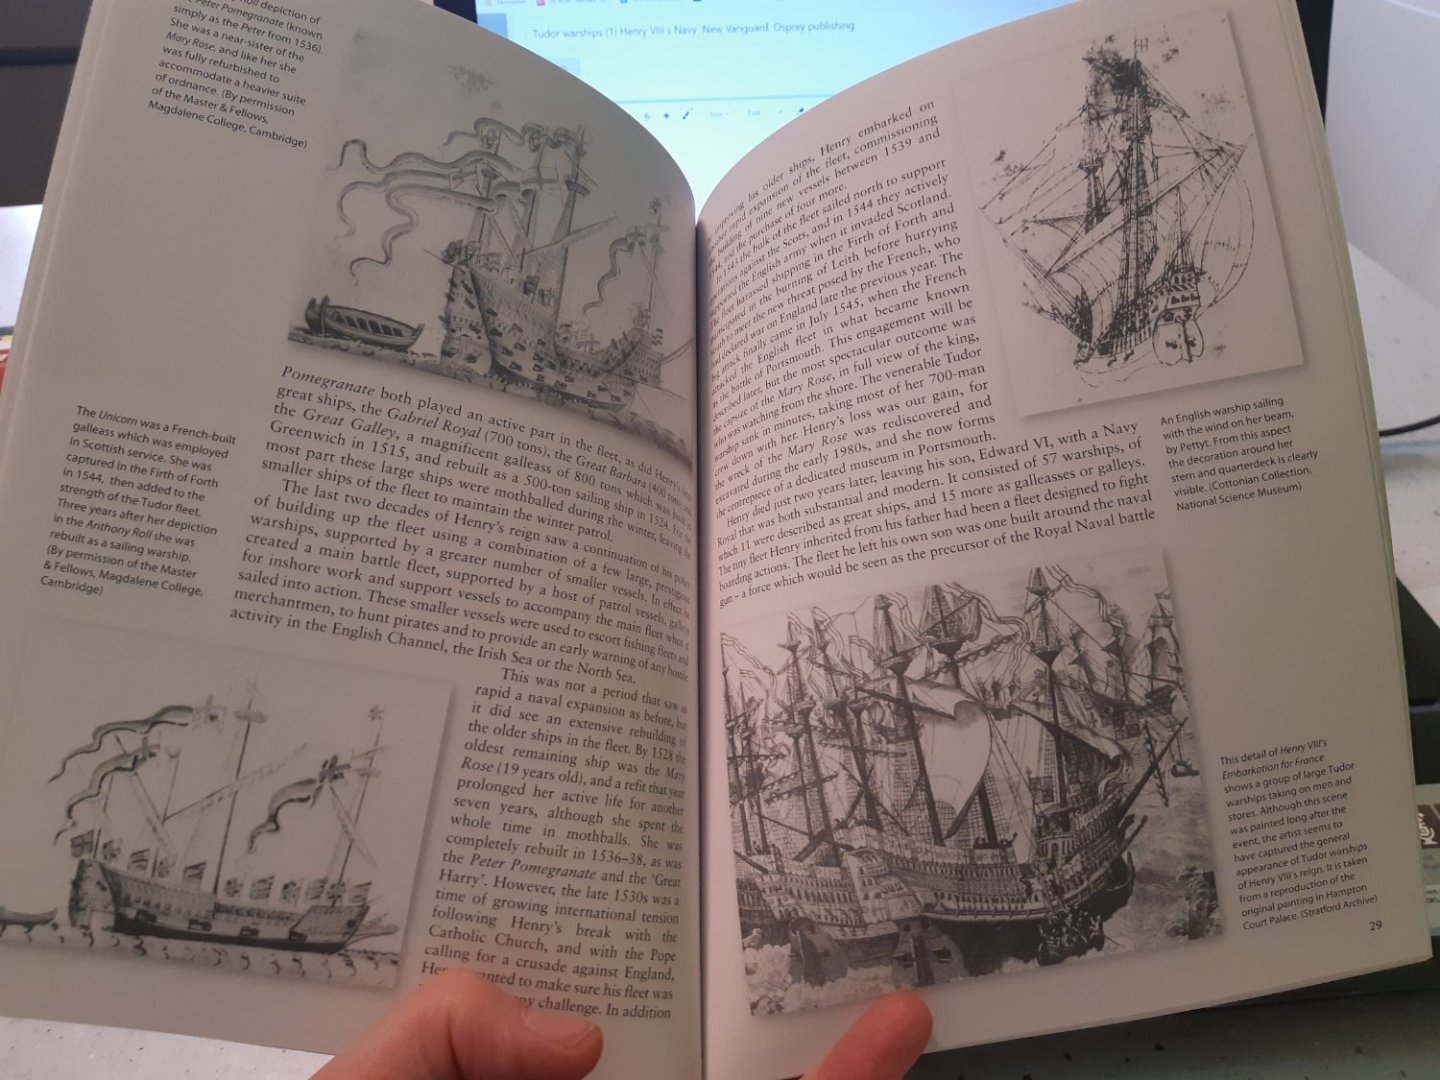
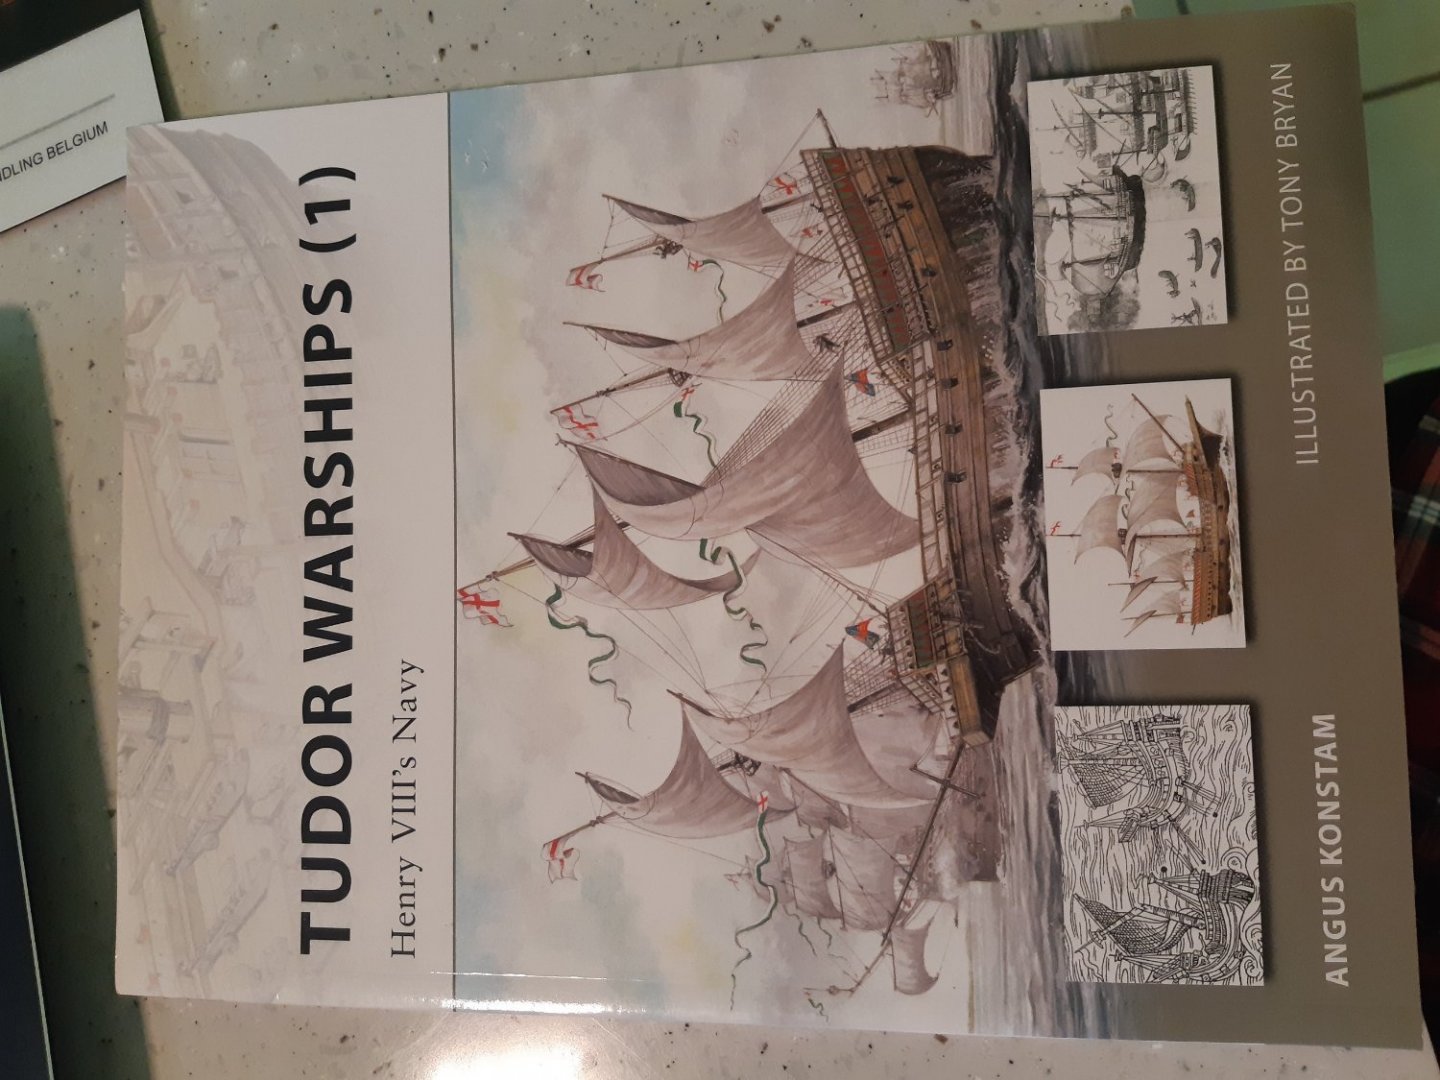
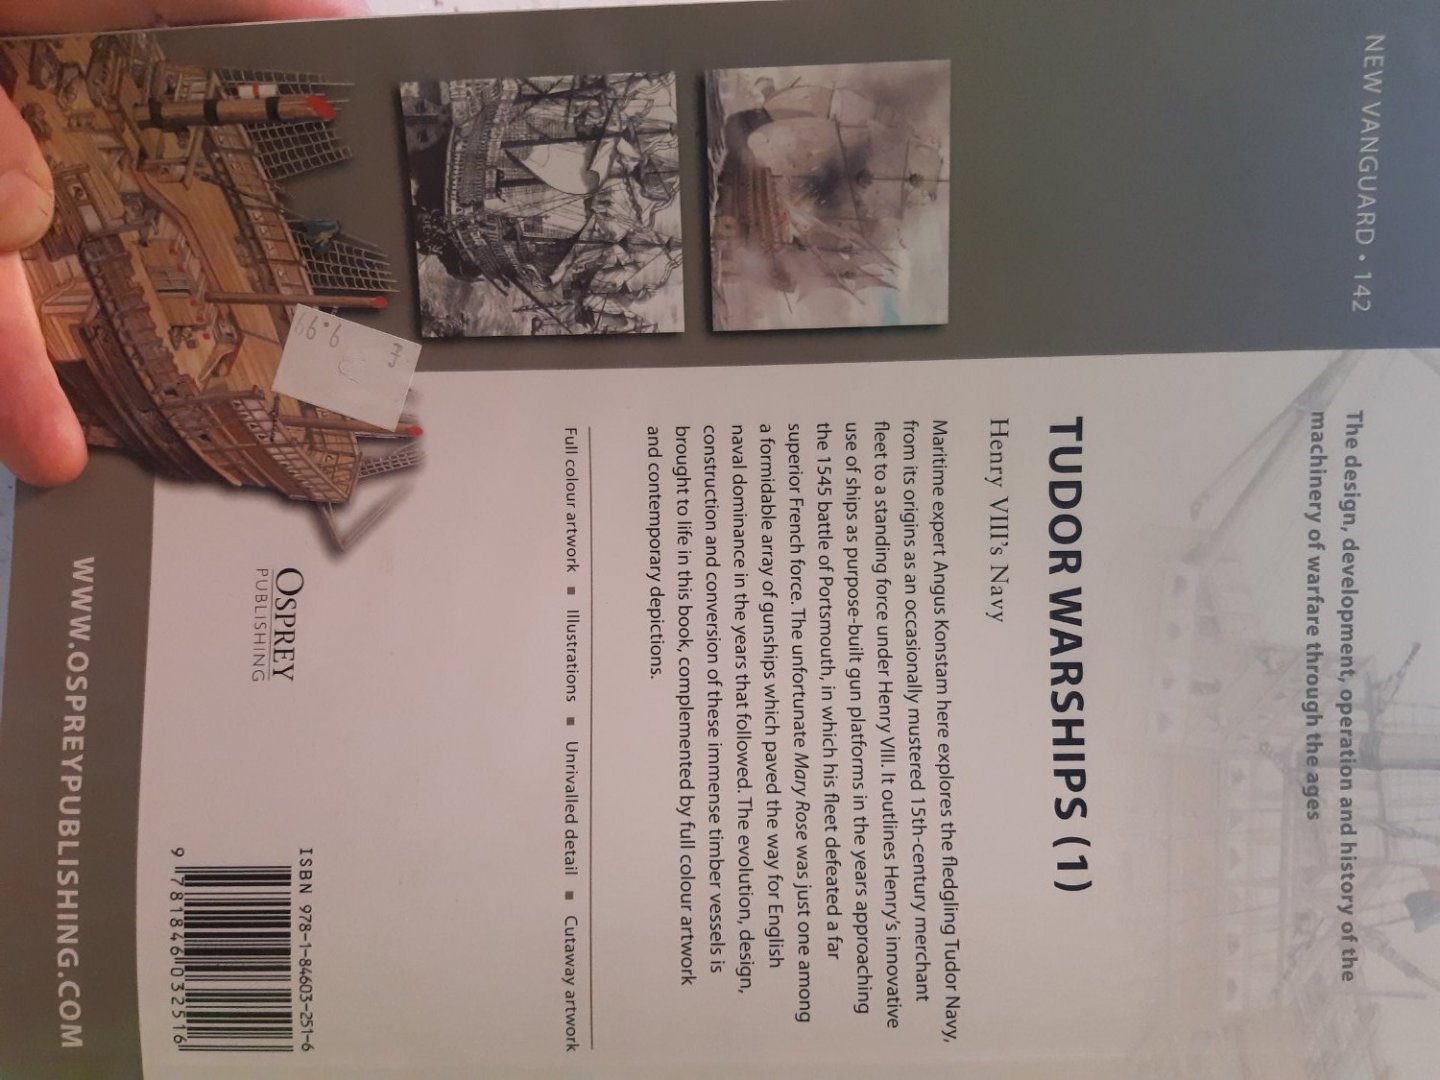
The layout is in the well-known New Vanguard style. First edition was in 2008 By Angus Konstam & Illustrated by Tony Brian The subject is : The design of late medieval ships and carracks (and the Mary Rose) The operational history of the navy's of Henry VII and VIII Armament and tactics Easy to read and with beautiful photos and color prints. Contains general information about the subject. If you want detailed information about the Mary Rose.Then this book is not suitable (my opinion). For some reason some of the photos are on their side front back index Content


-
- 4
-
-
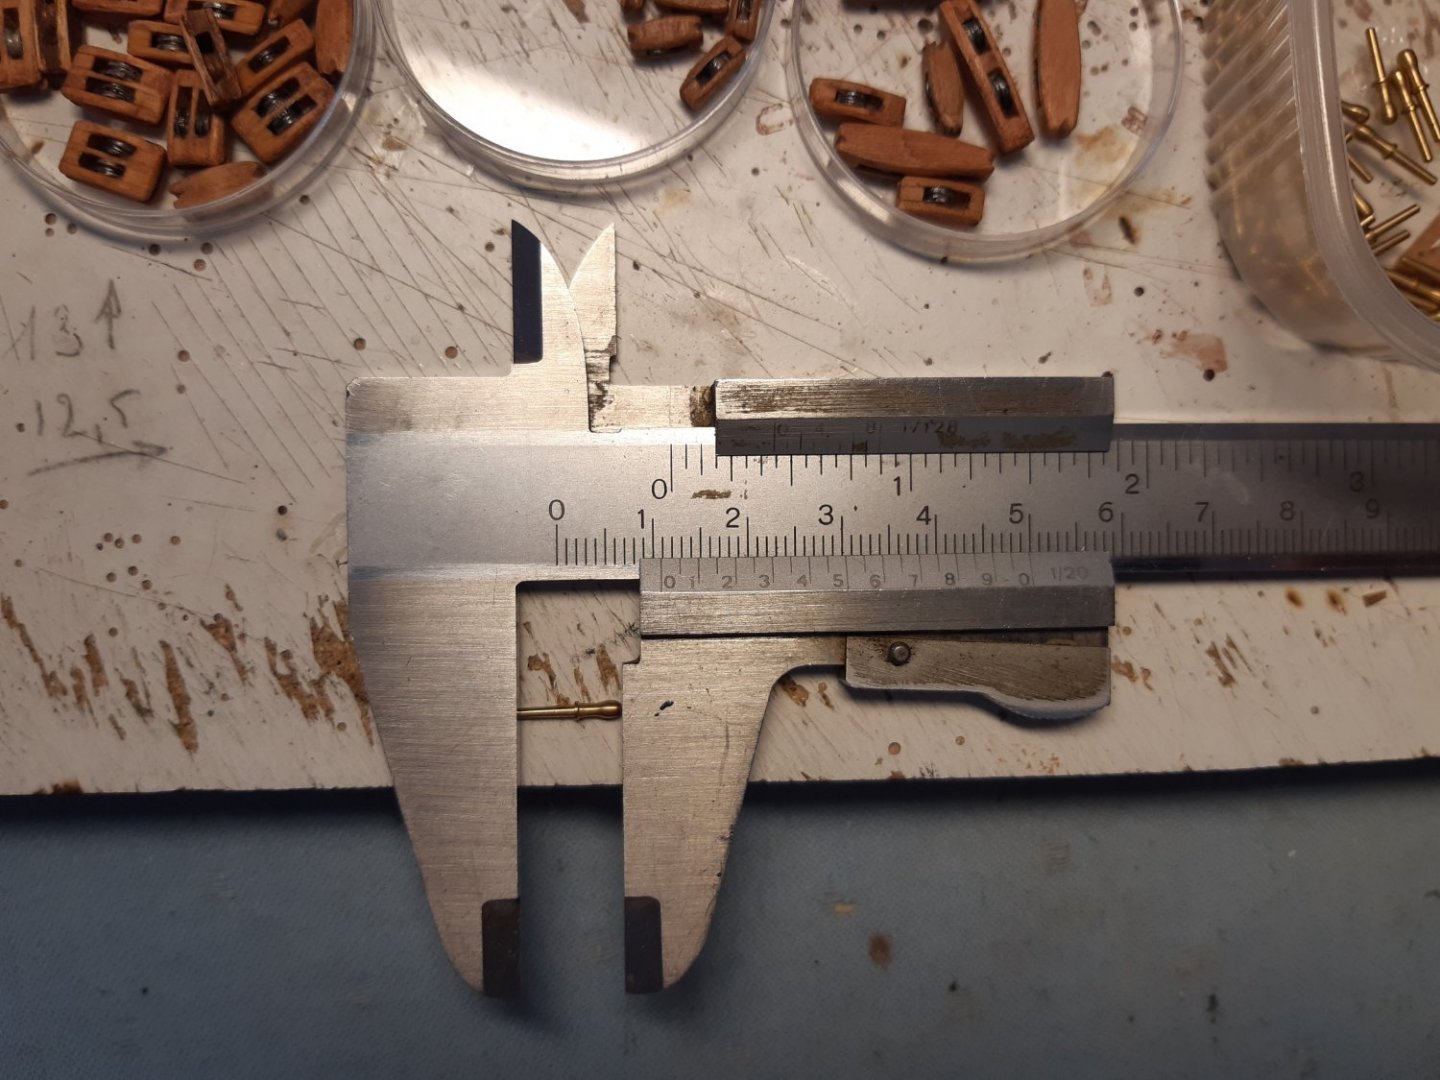
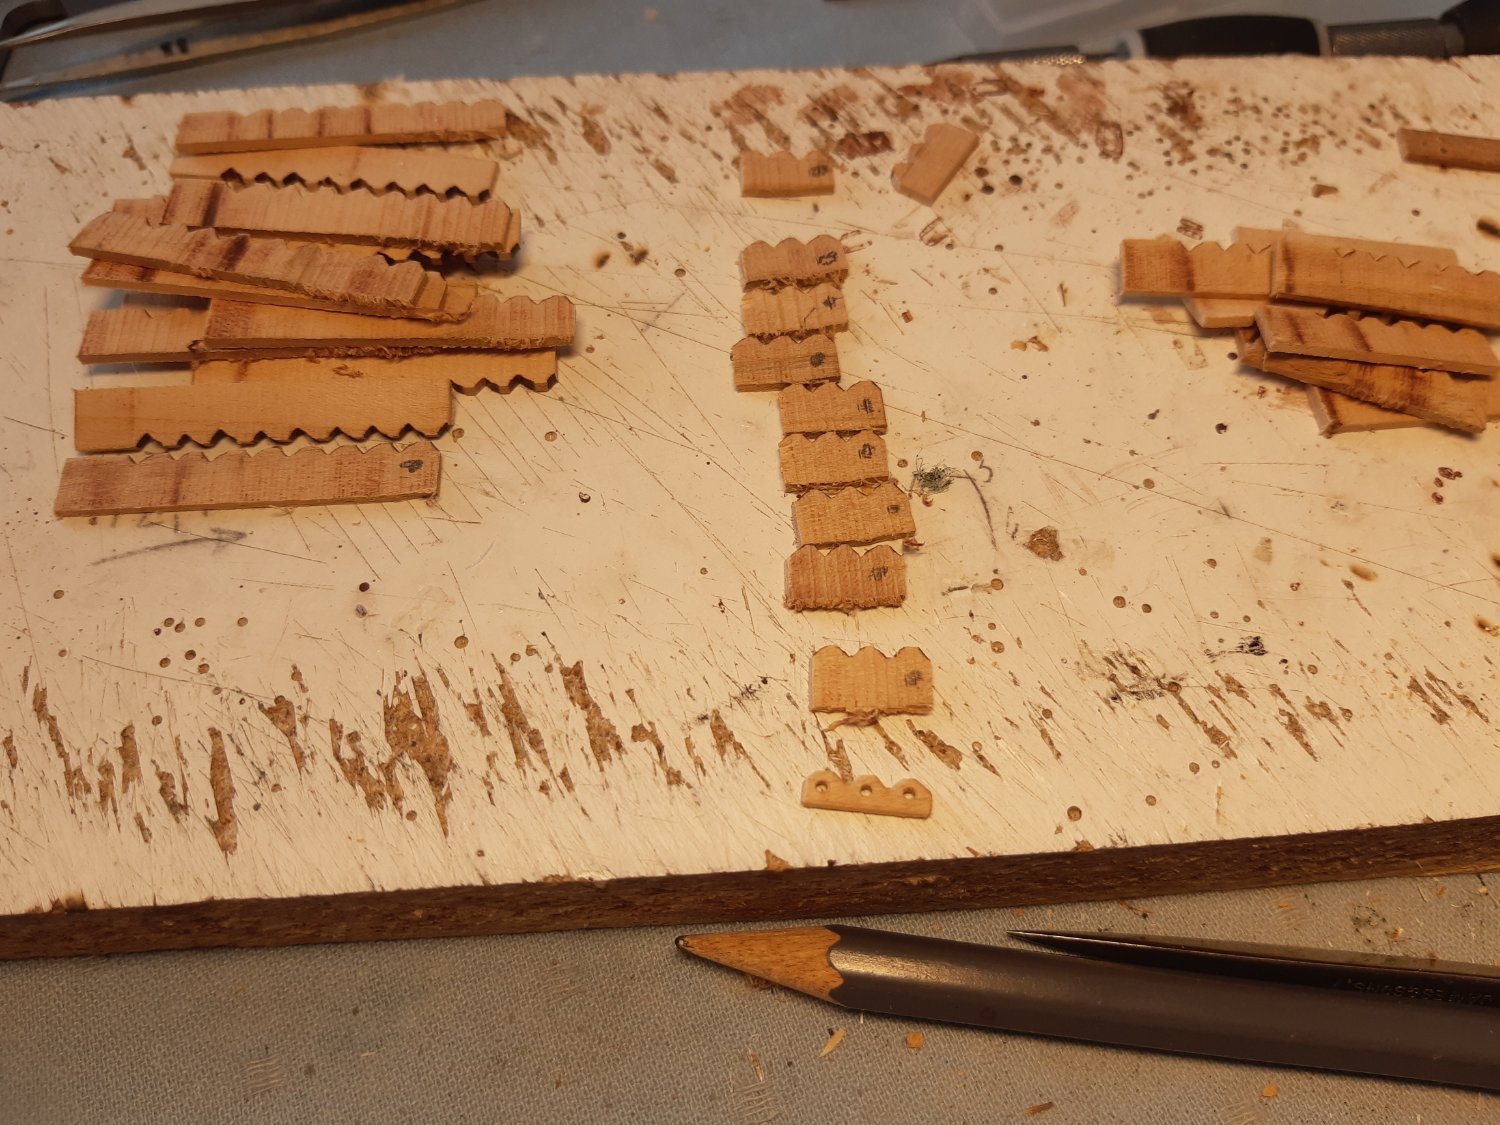
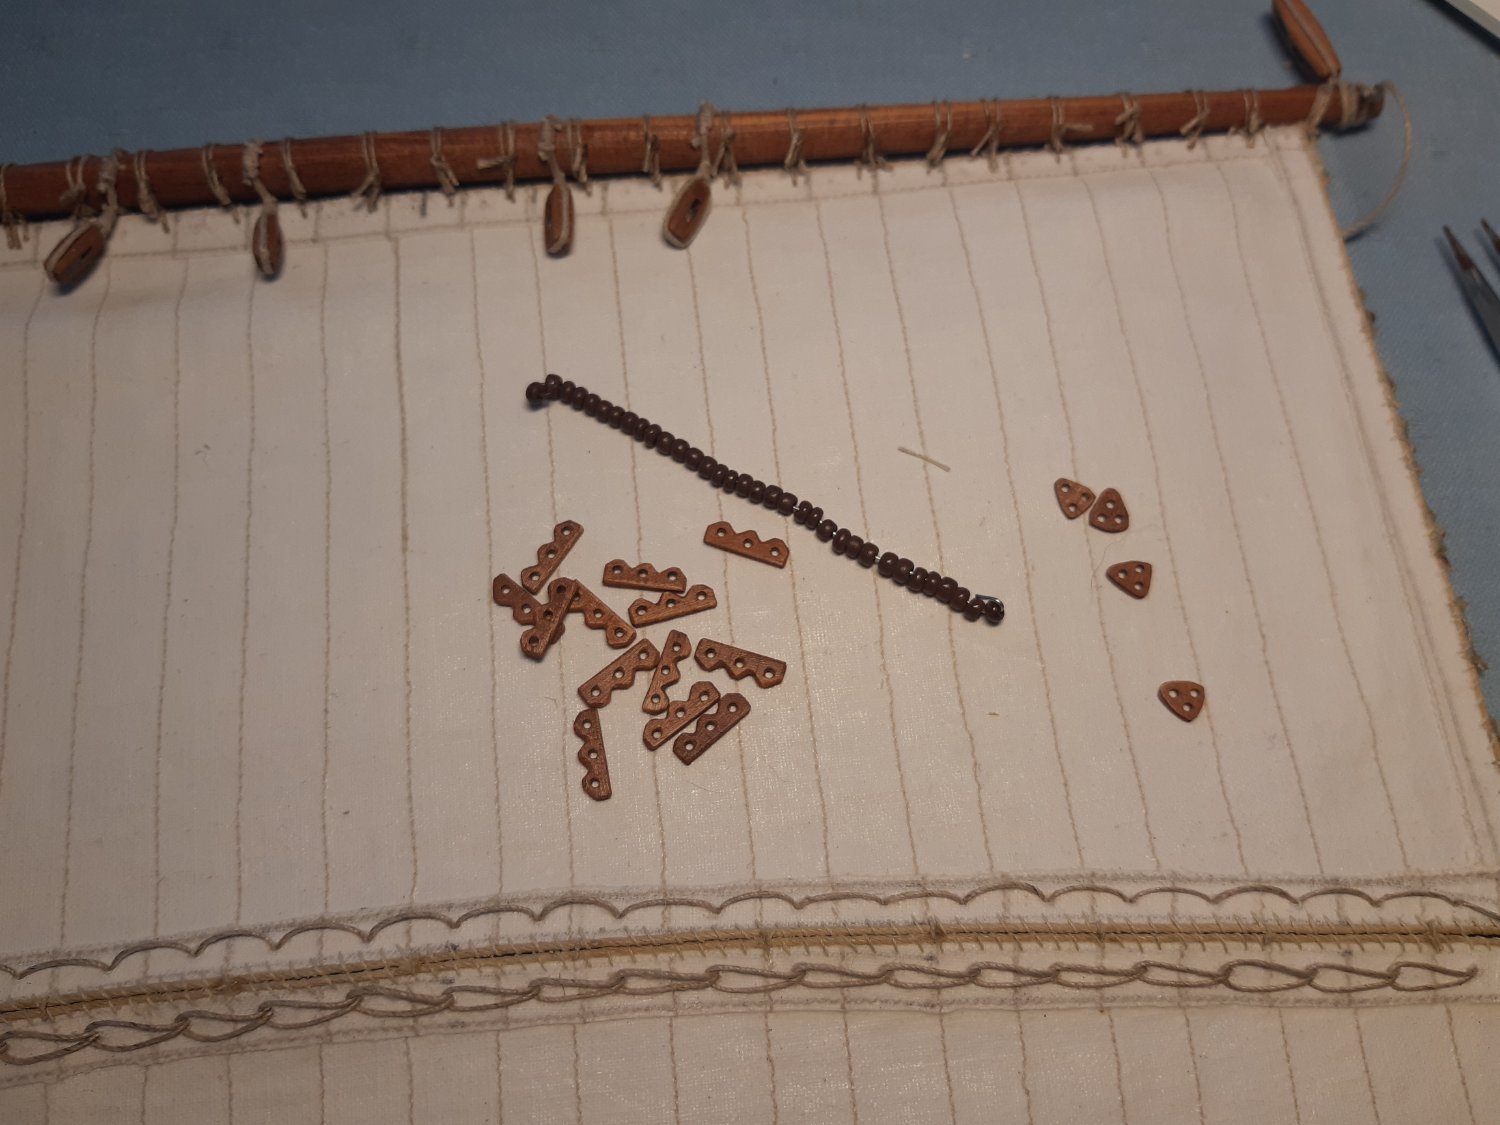
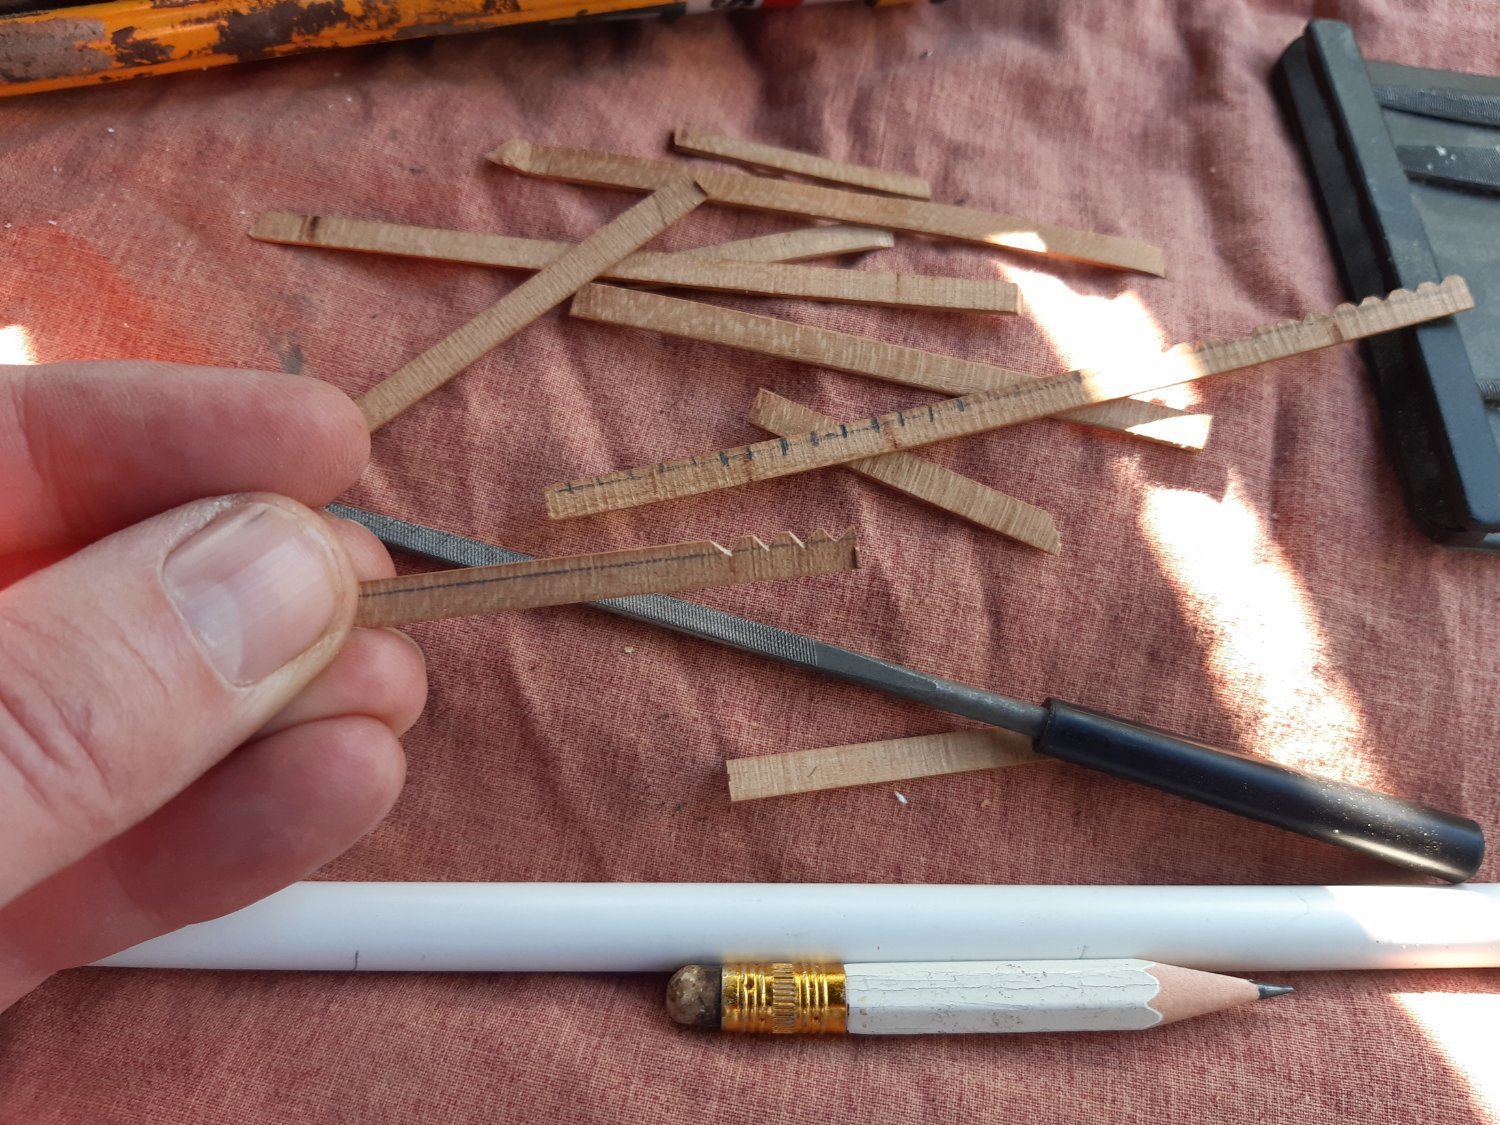
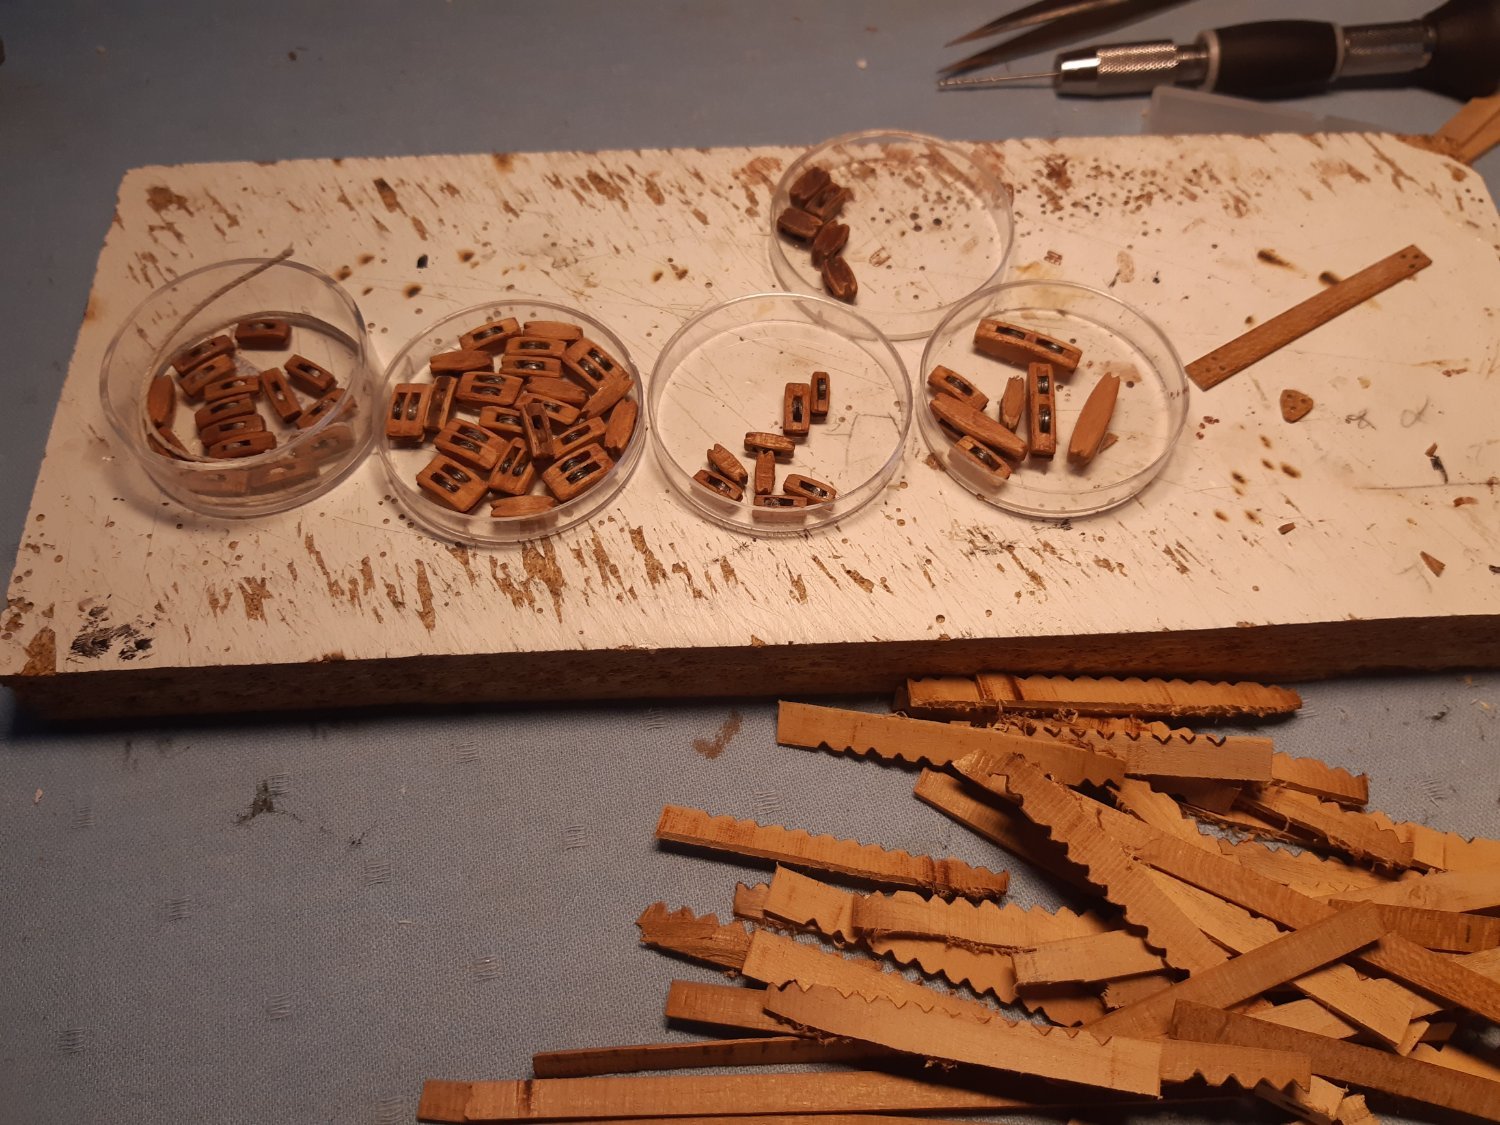
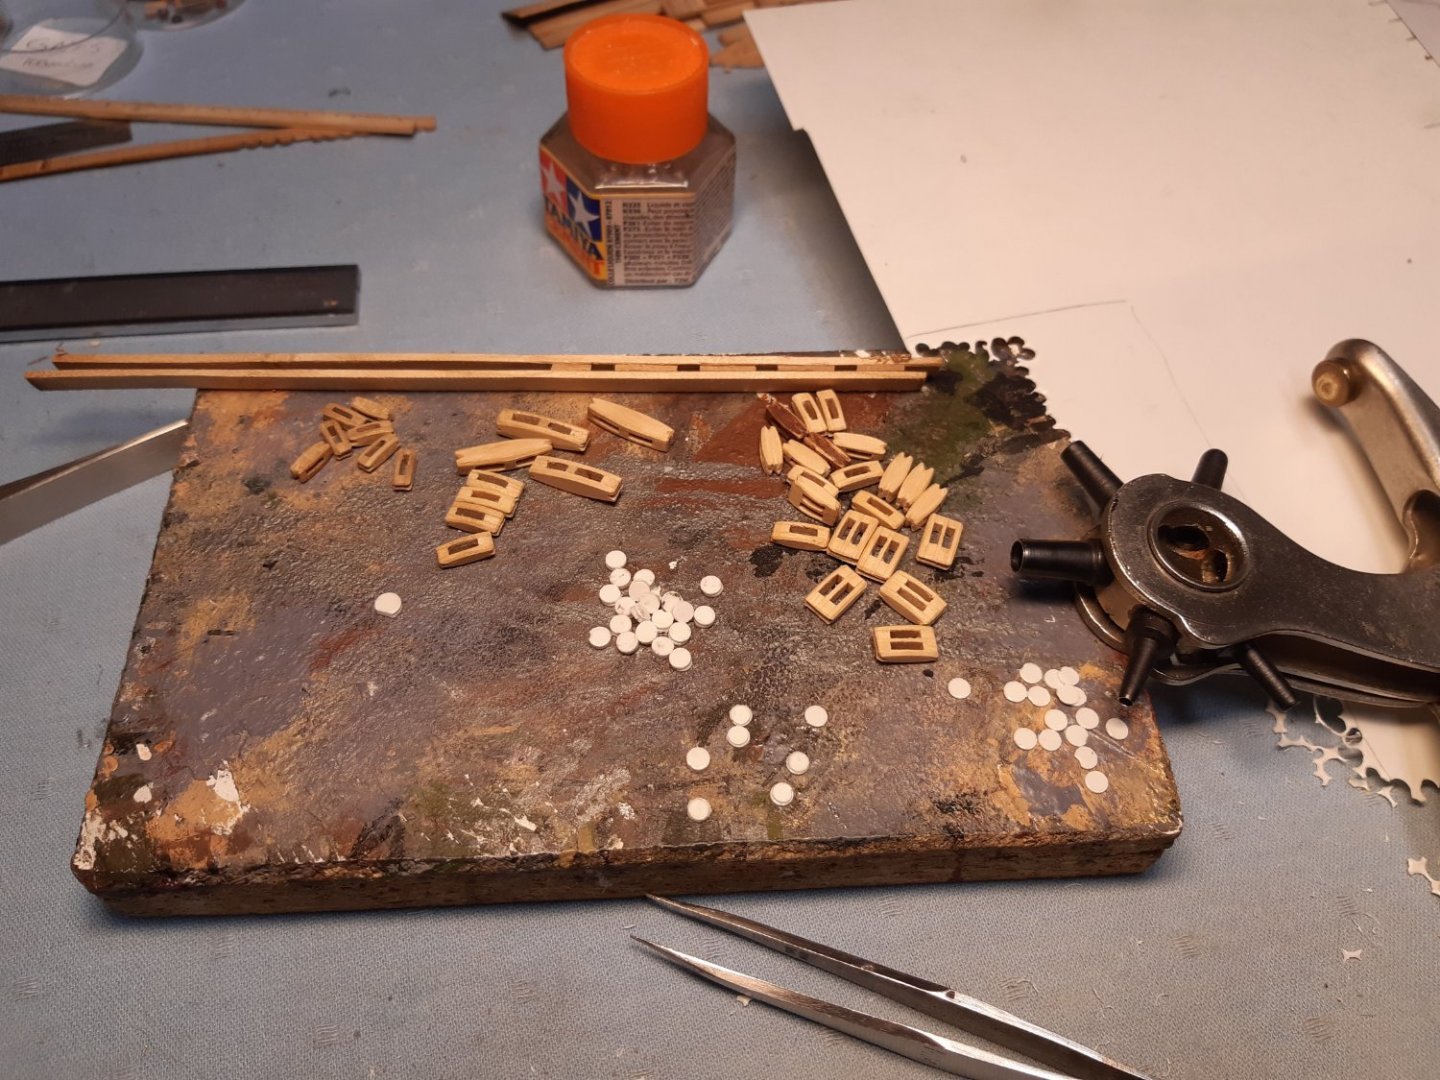
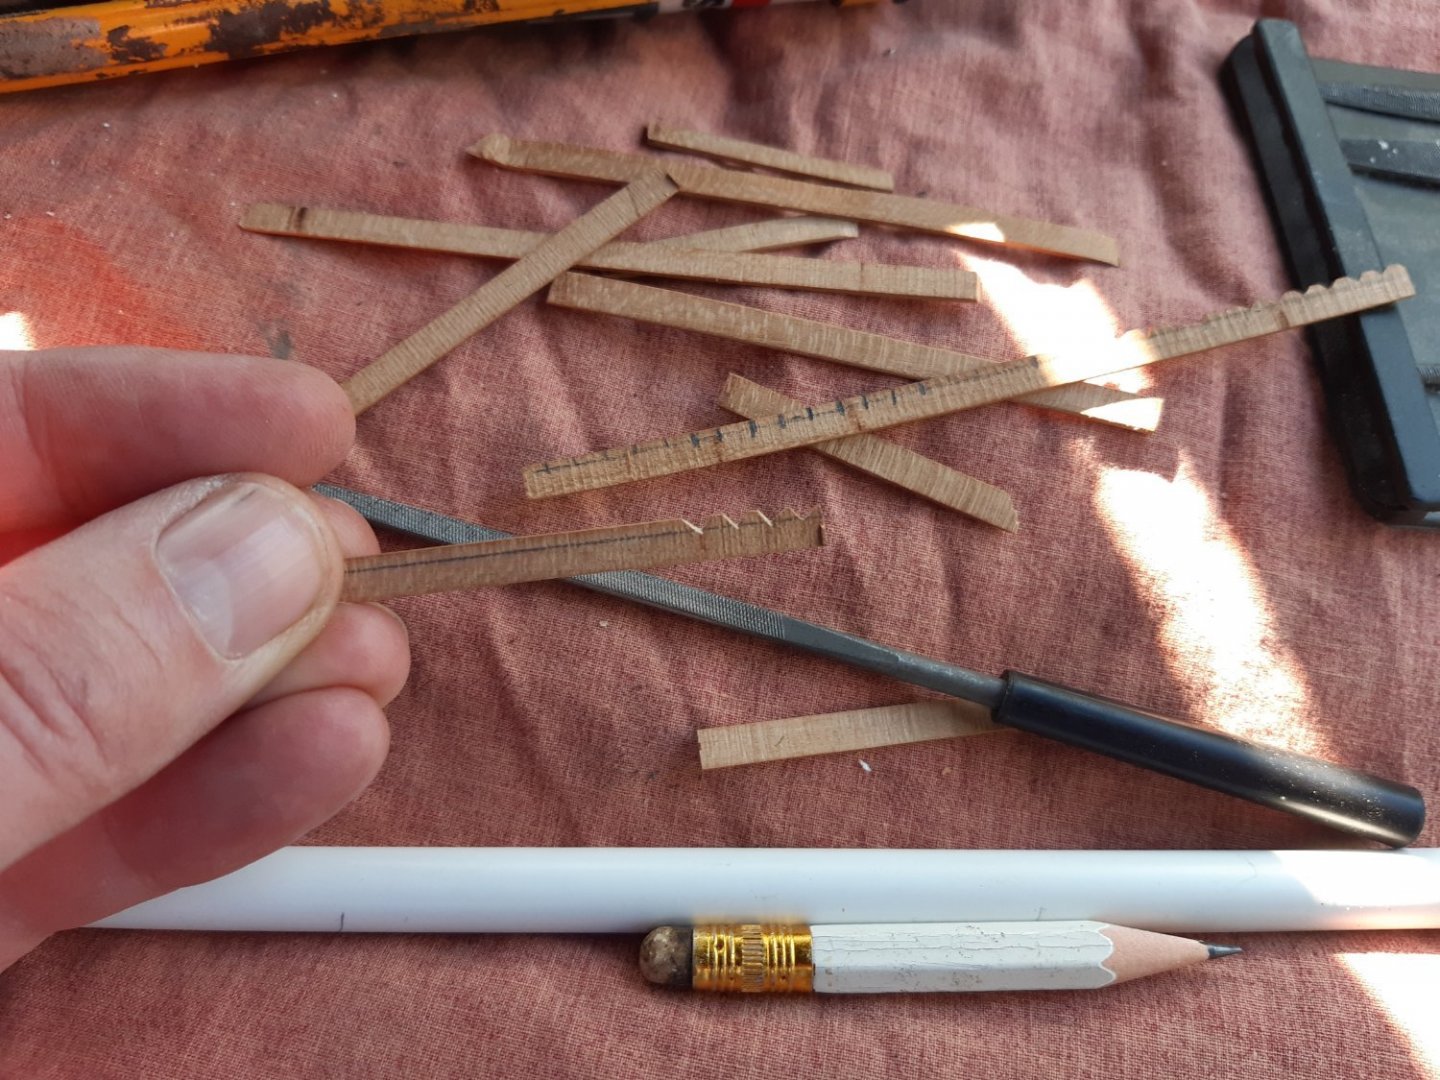
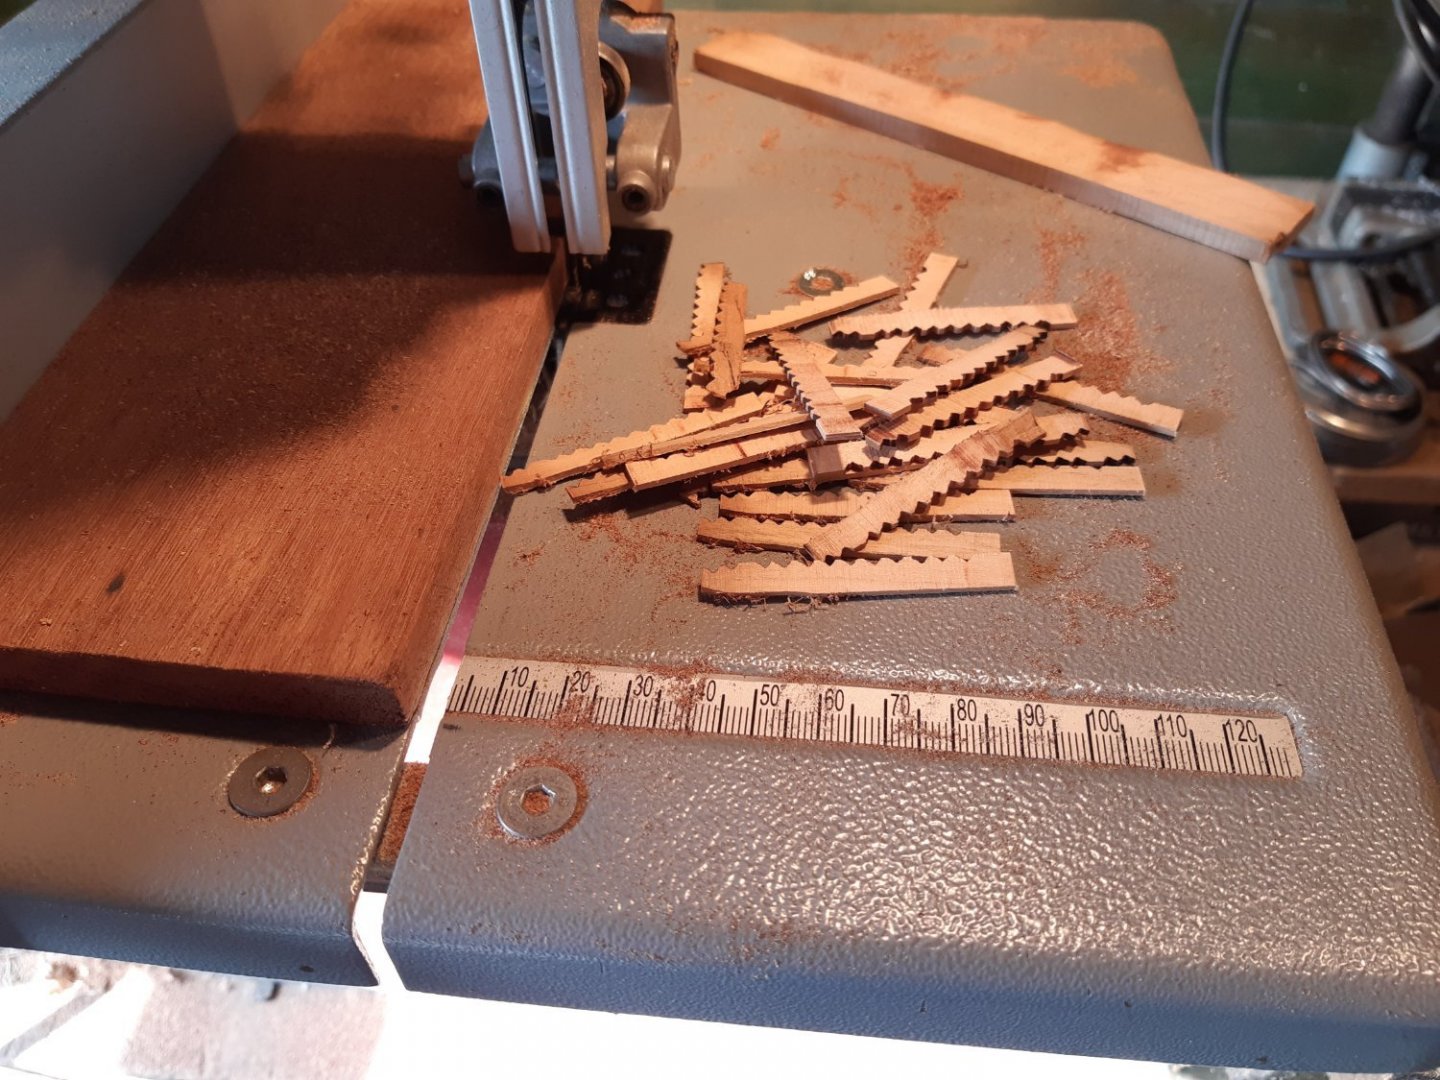
Small update (With spring in the air, there was a lot to do in the garden). The parrel ribs give me a headache. Making them manually is a time consuming disaster... So plan B, started with the big machinery first. And then later the "better" work with the file Blocks, work in ptogress Current status A batch of blocks and a lot of raw material that would one day become parrel ribs Thanks for following


- 756 replies
-
- 15
-
-
- galleon
- golden hind
- (and 2 more)
-
The belay pins are purchased (billing boats) The Blocks are home made
-
I used these from billing