RGL
-
Posts
5,554 -
Joined
-
Last visited
Content Type
Profiles
Forums
Gallery
Events
Everything posted by RGL
-
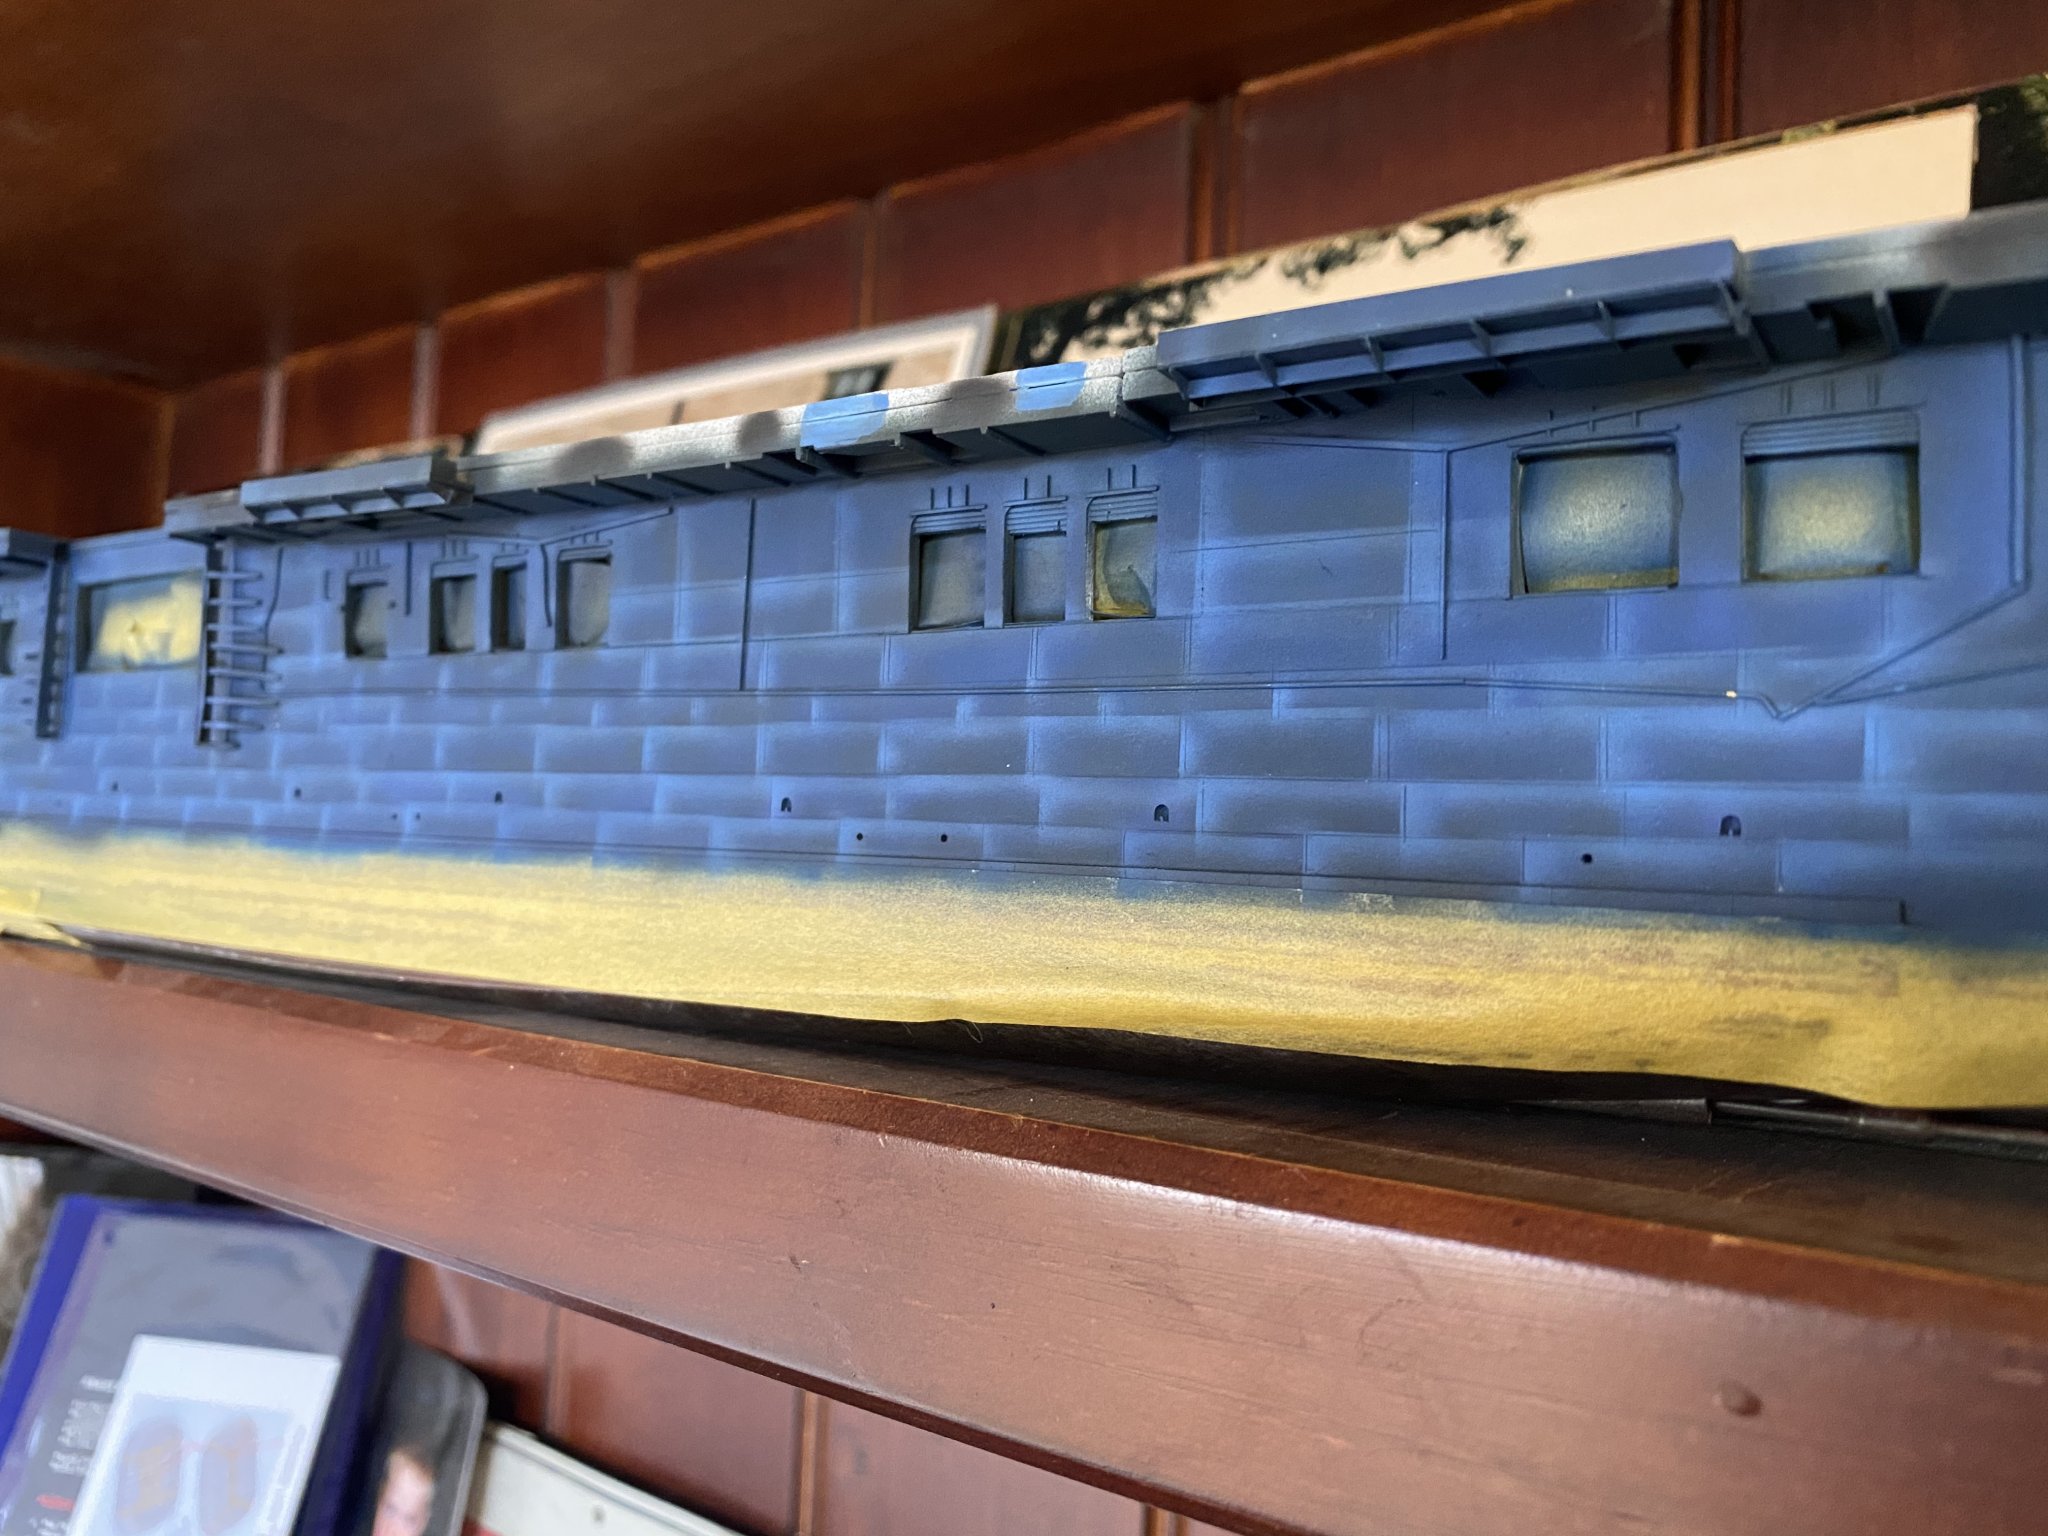
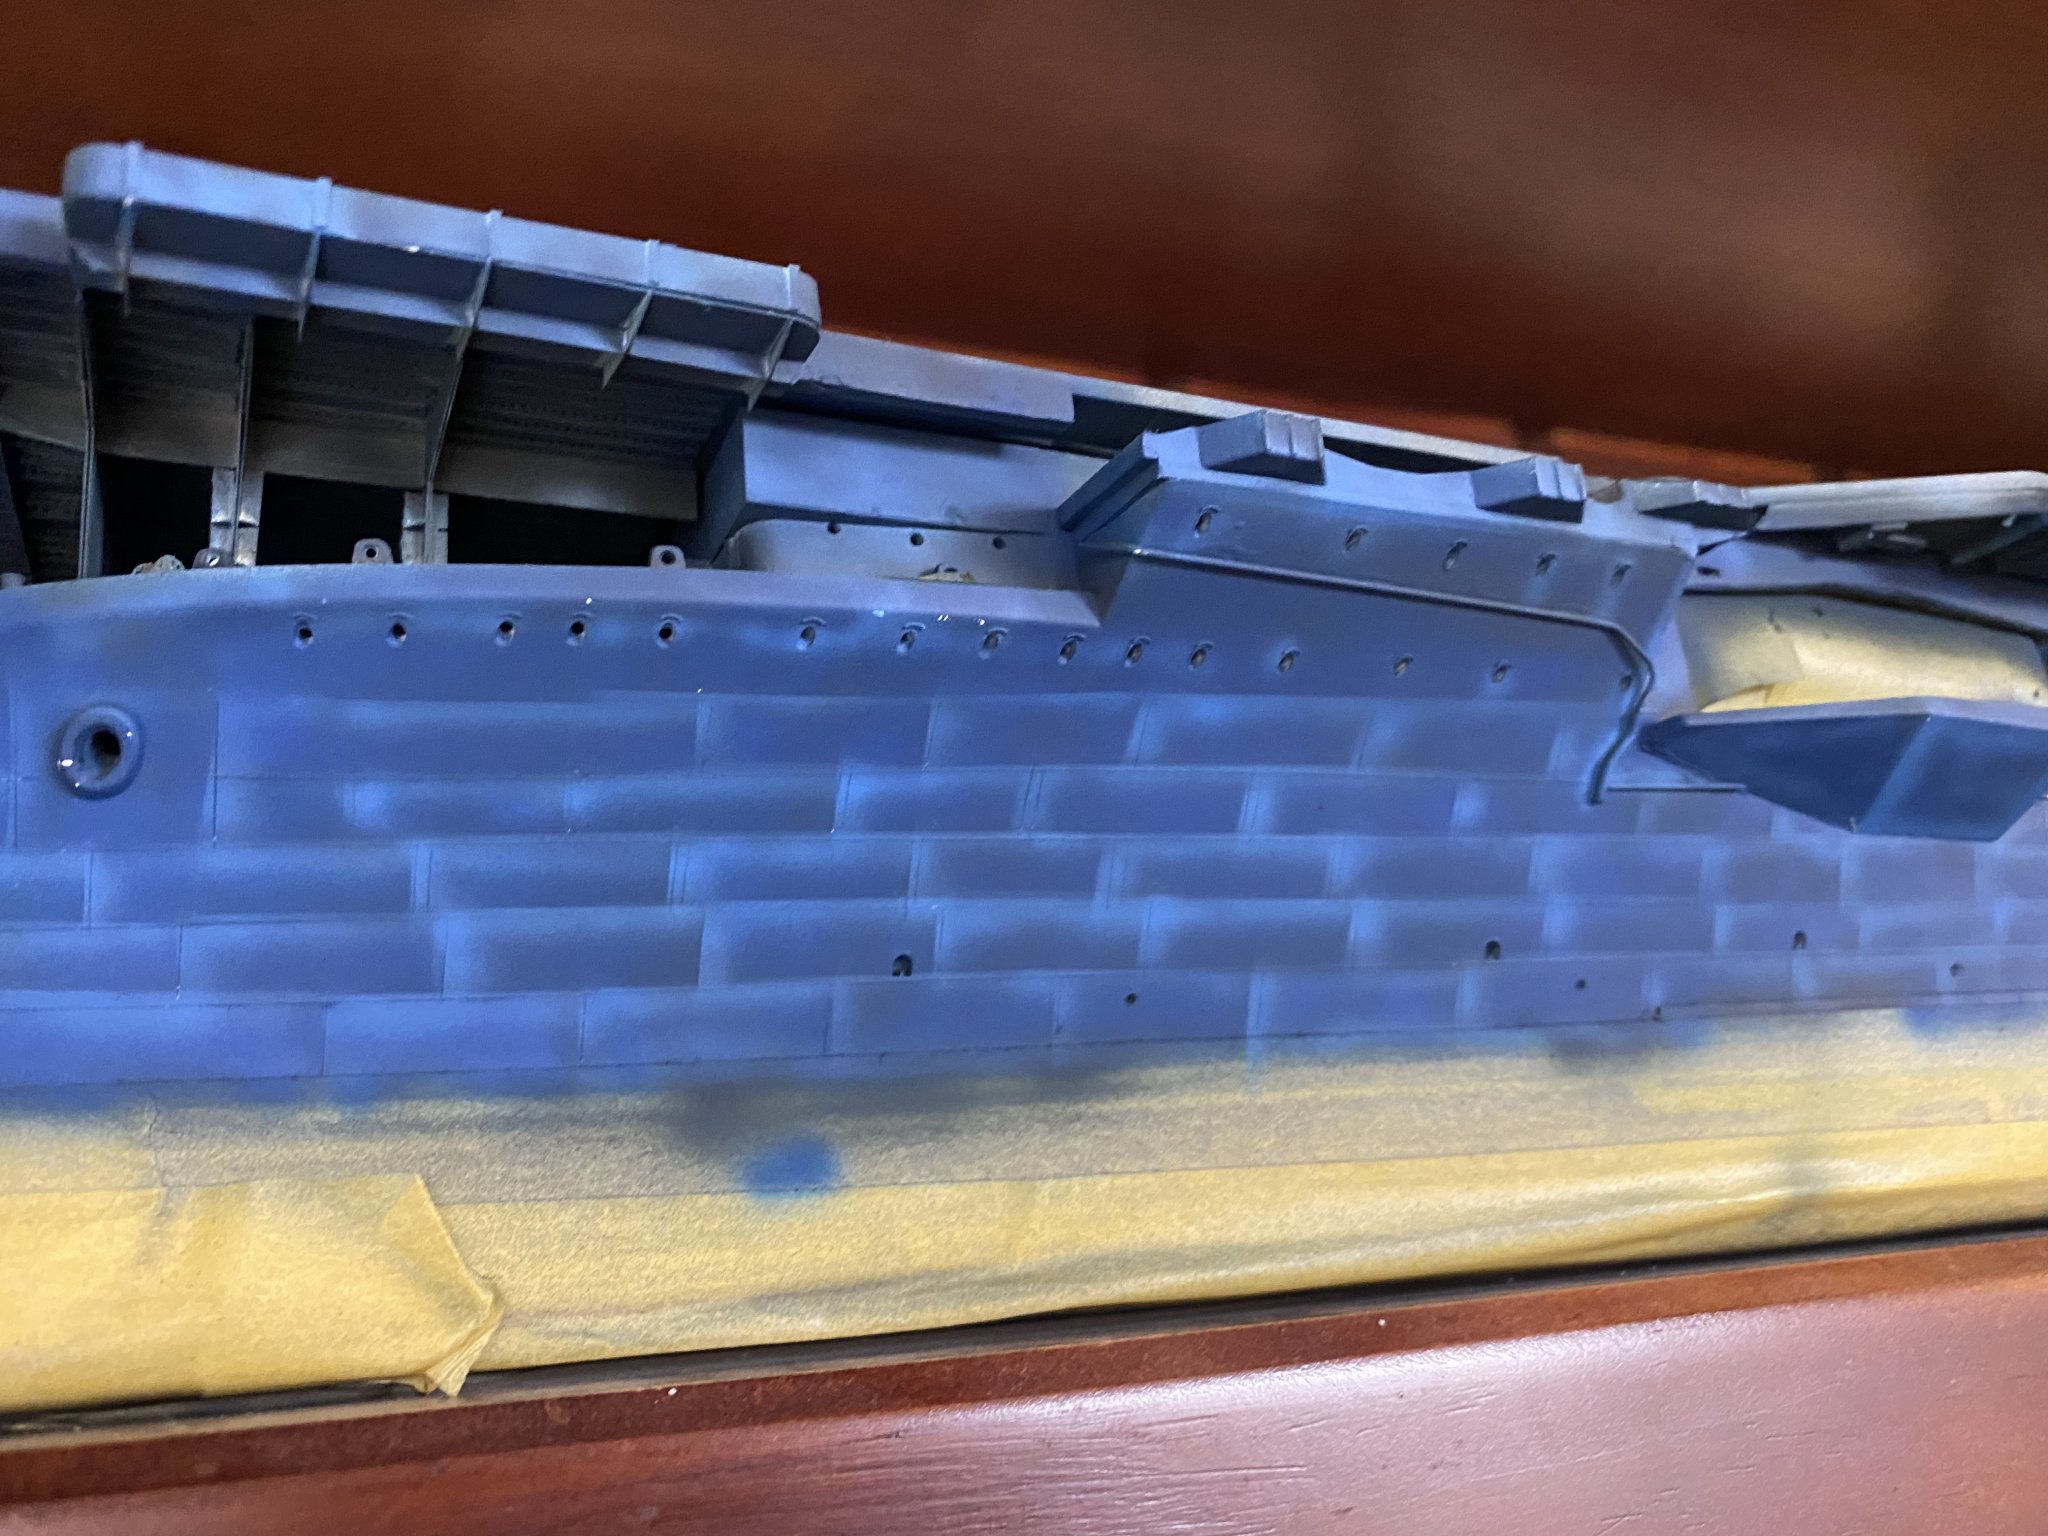
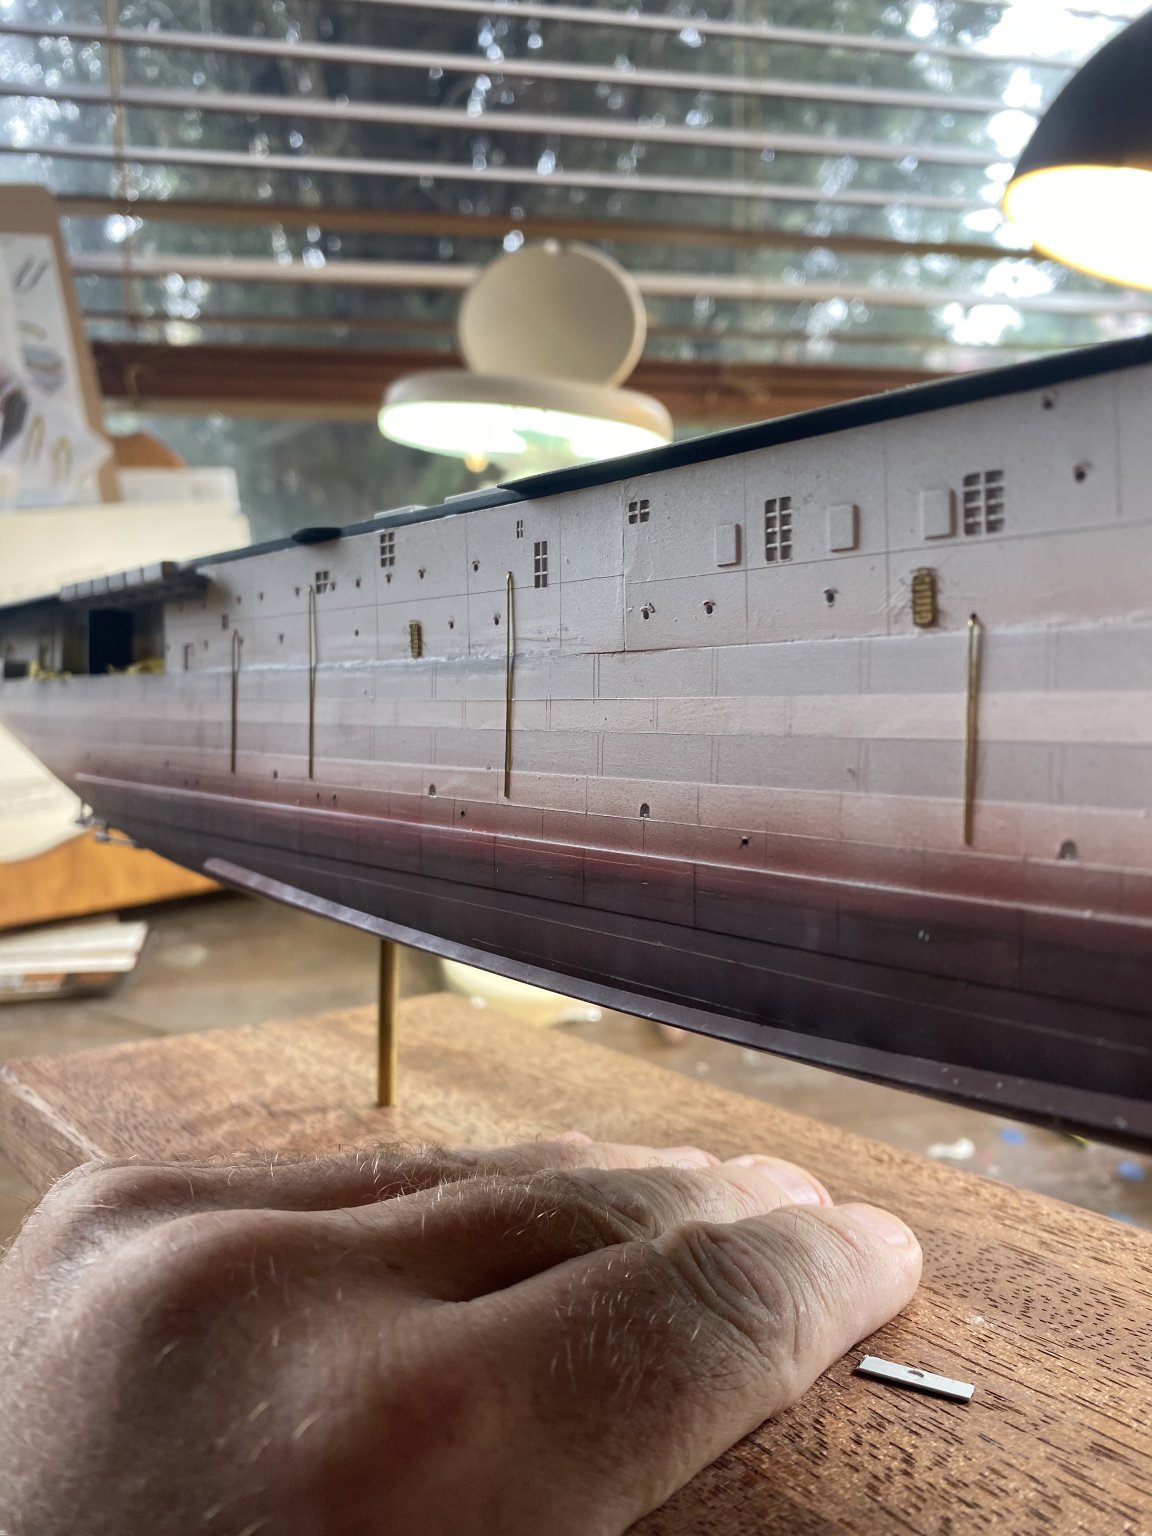
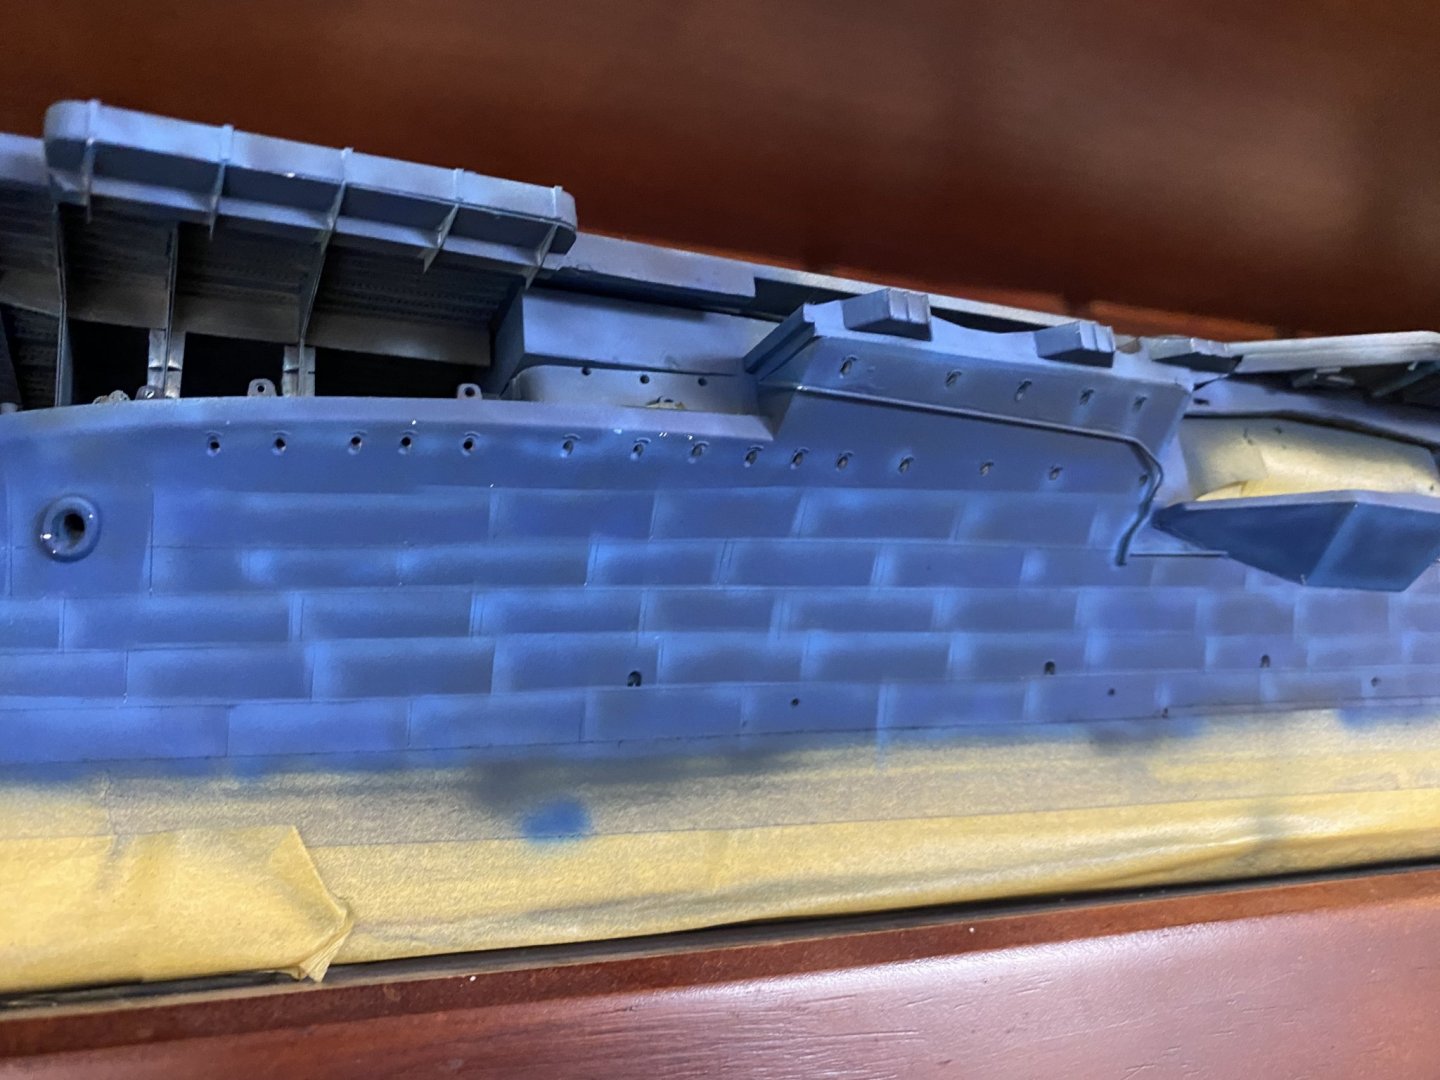
 Highlighting the hull plates. I now need to do a brue grey Blending overspray them maybe some filters.
- 308 replies
-
- 16
-

-
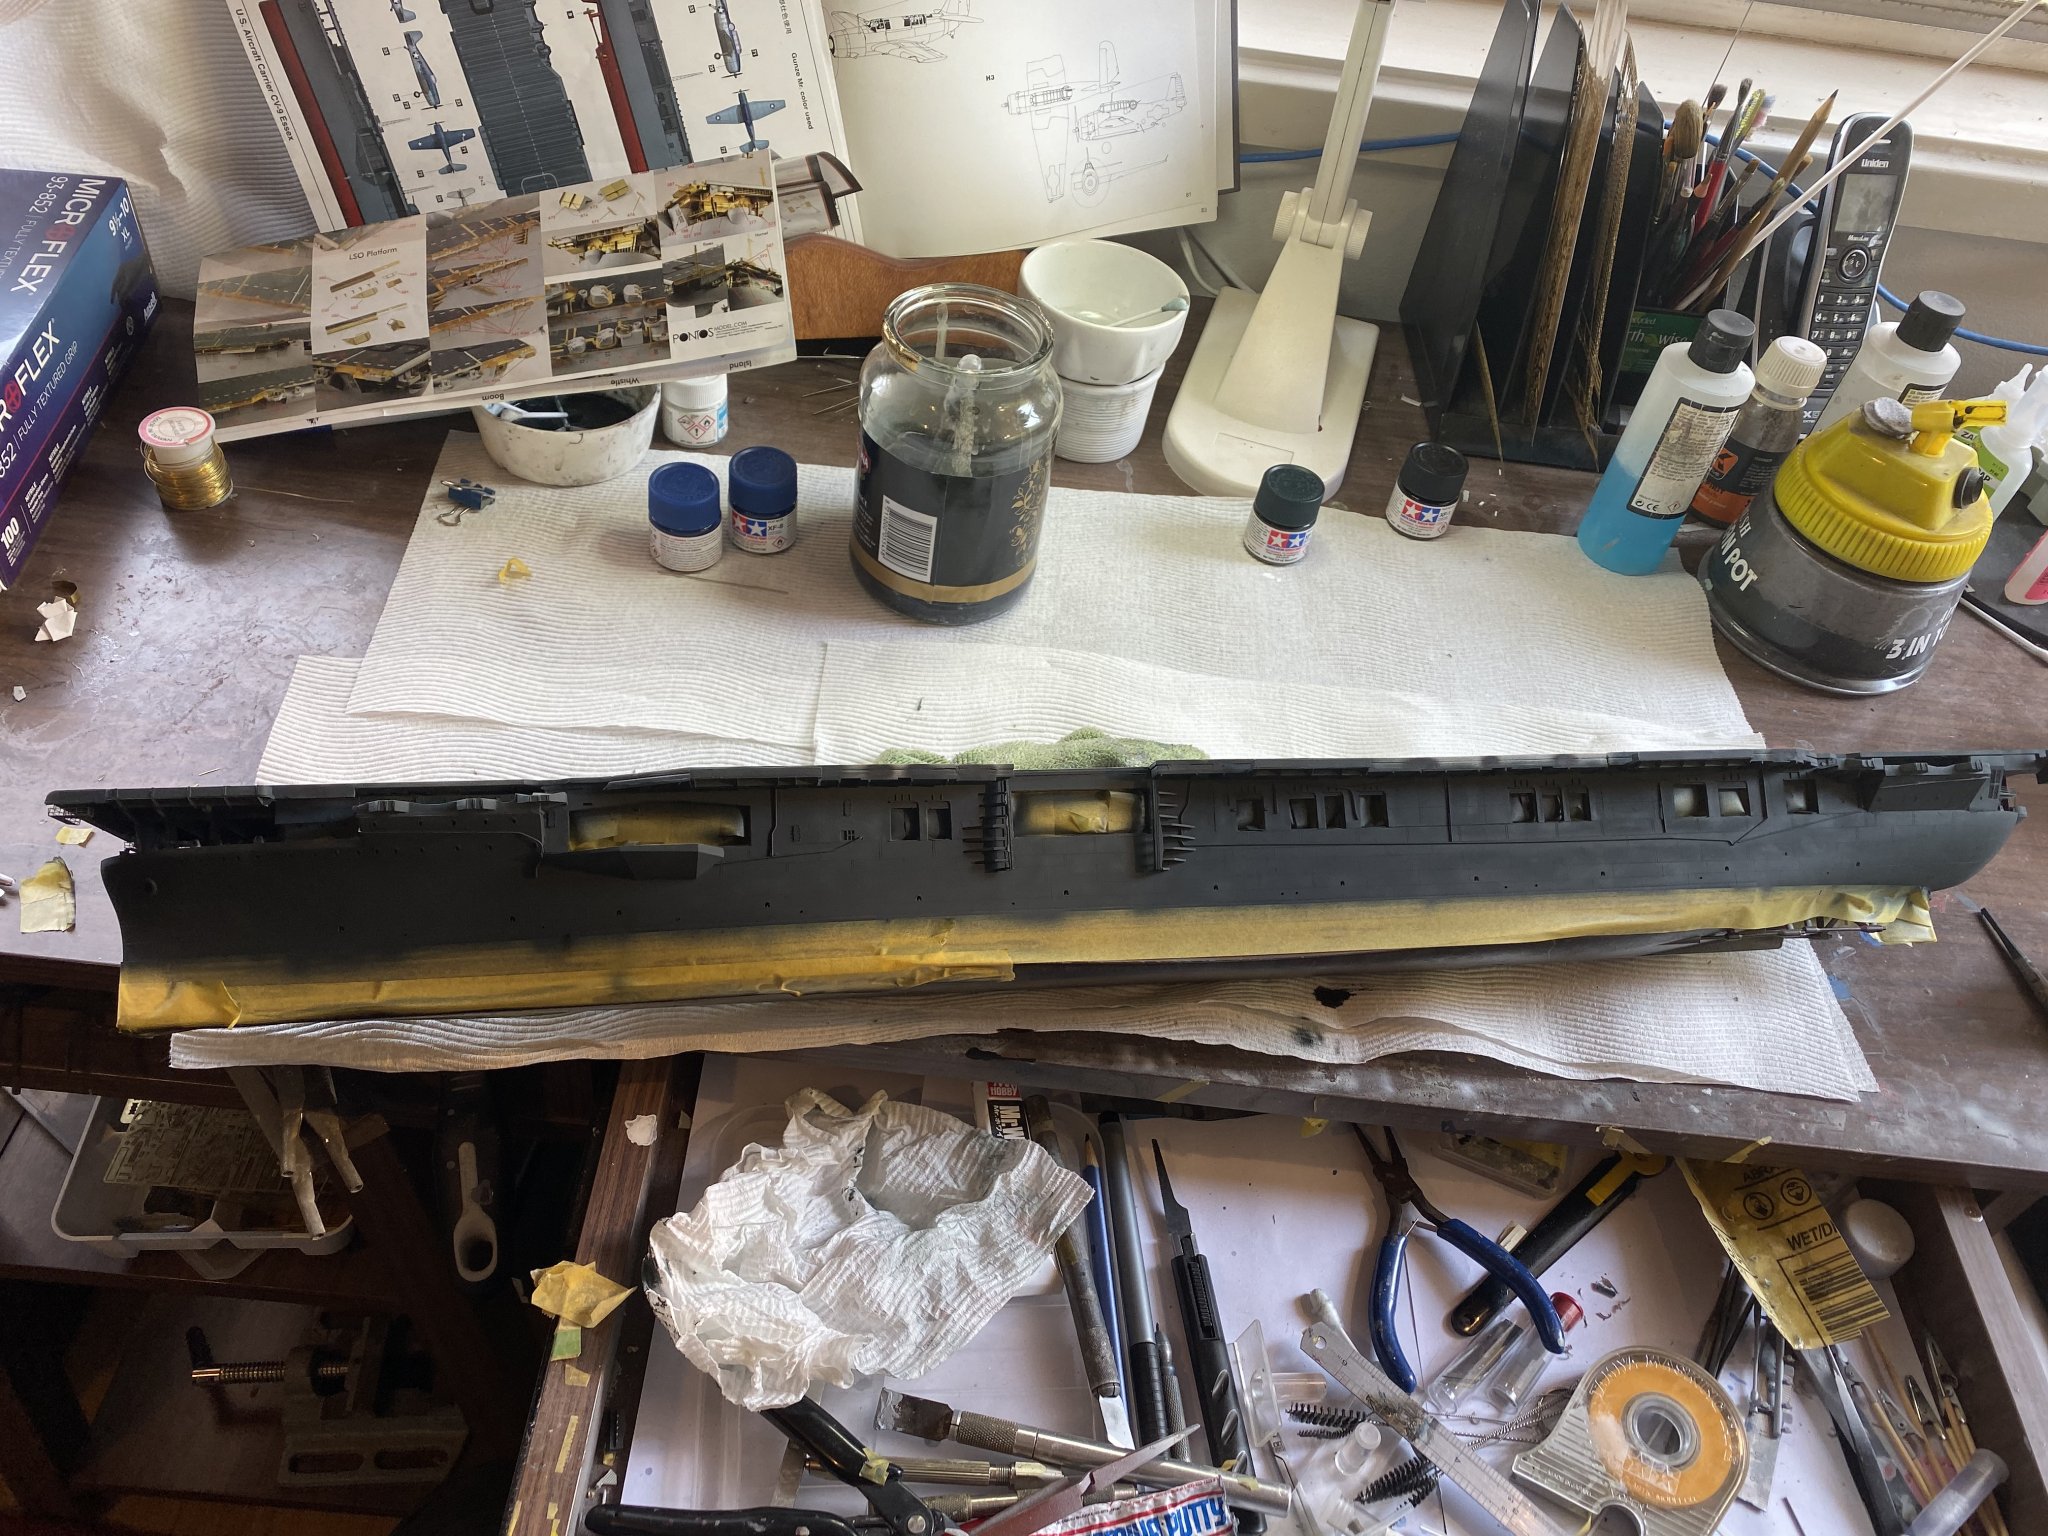
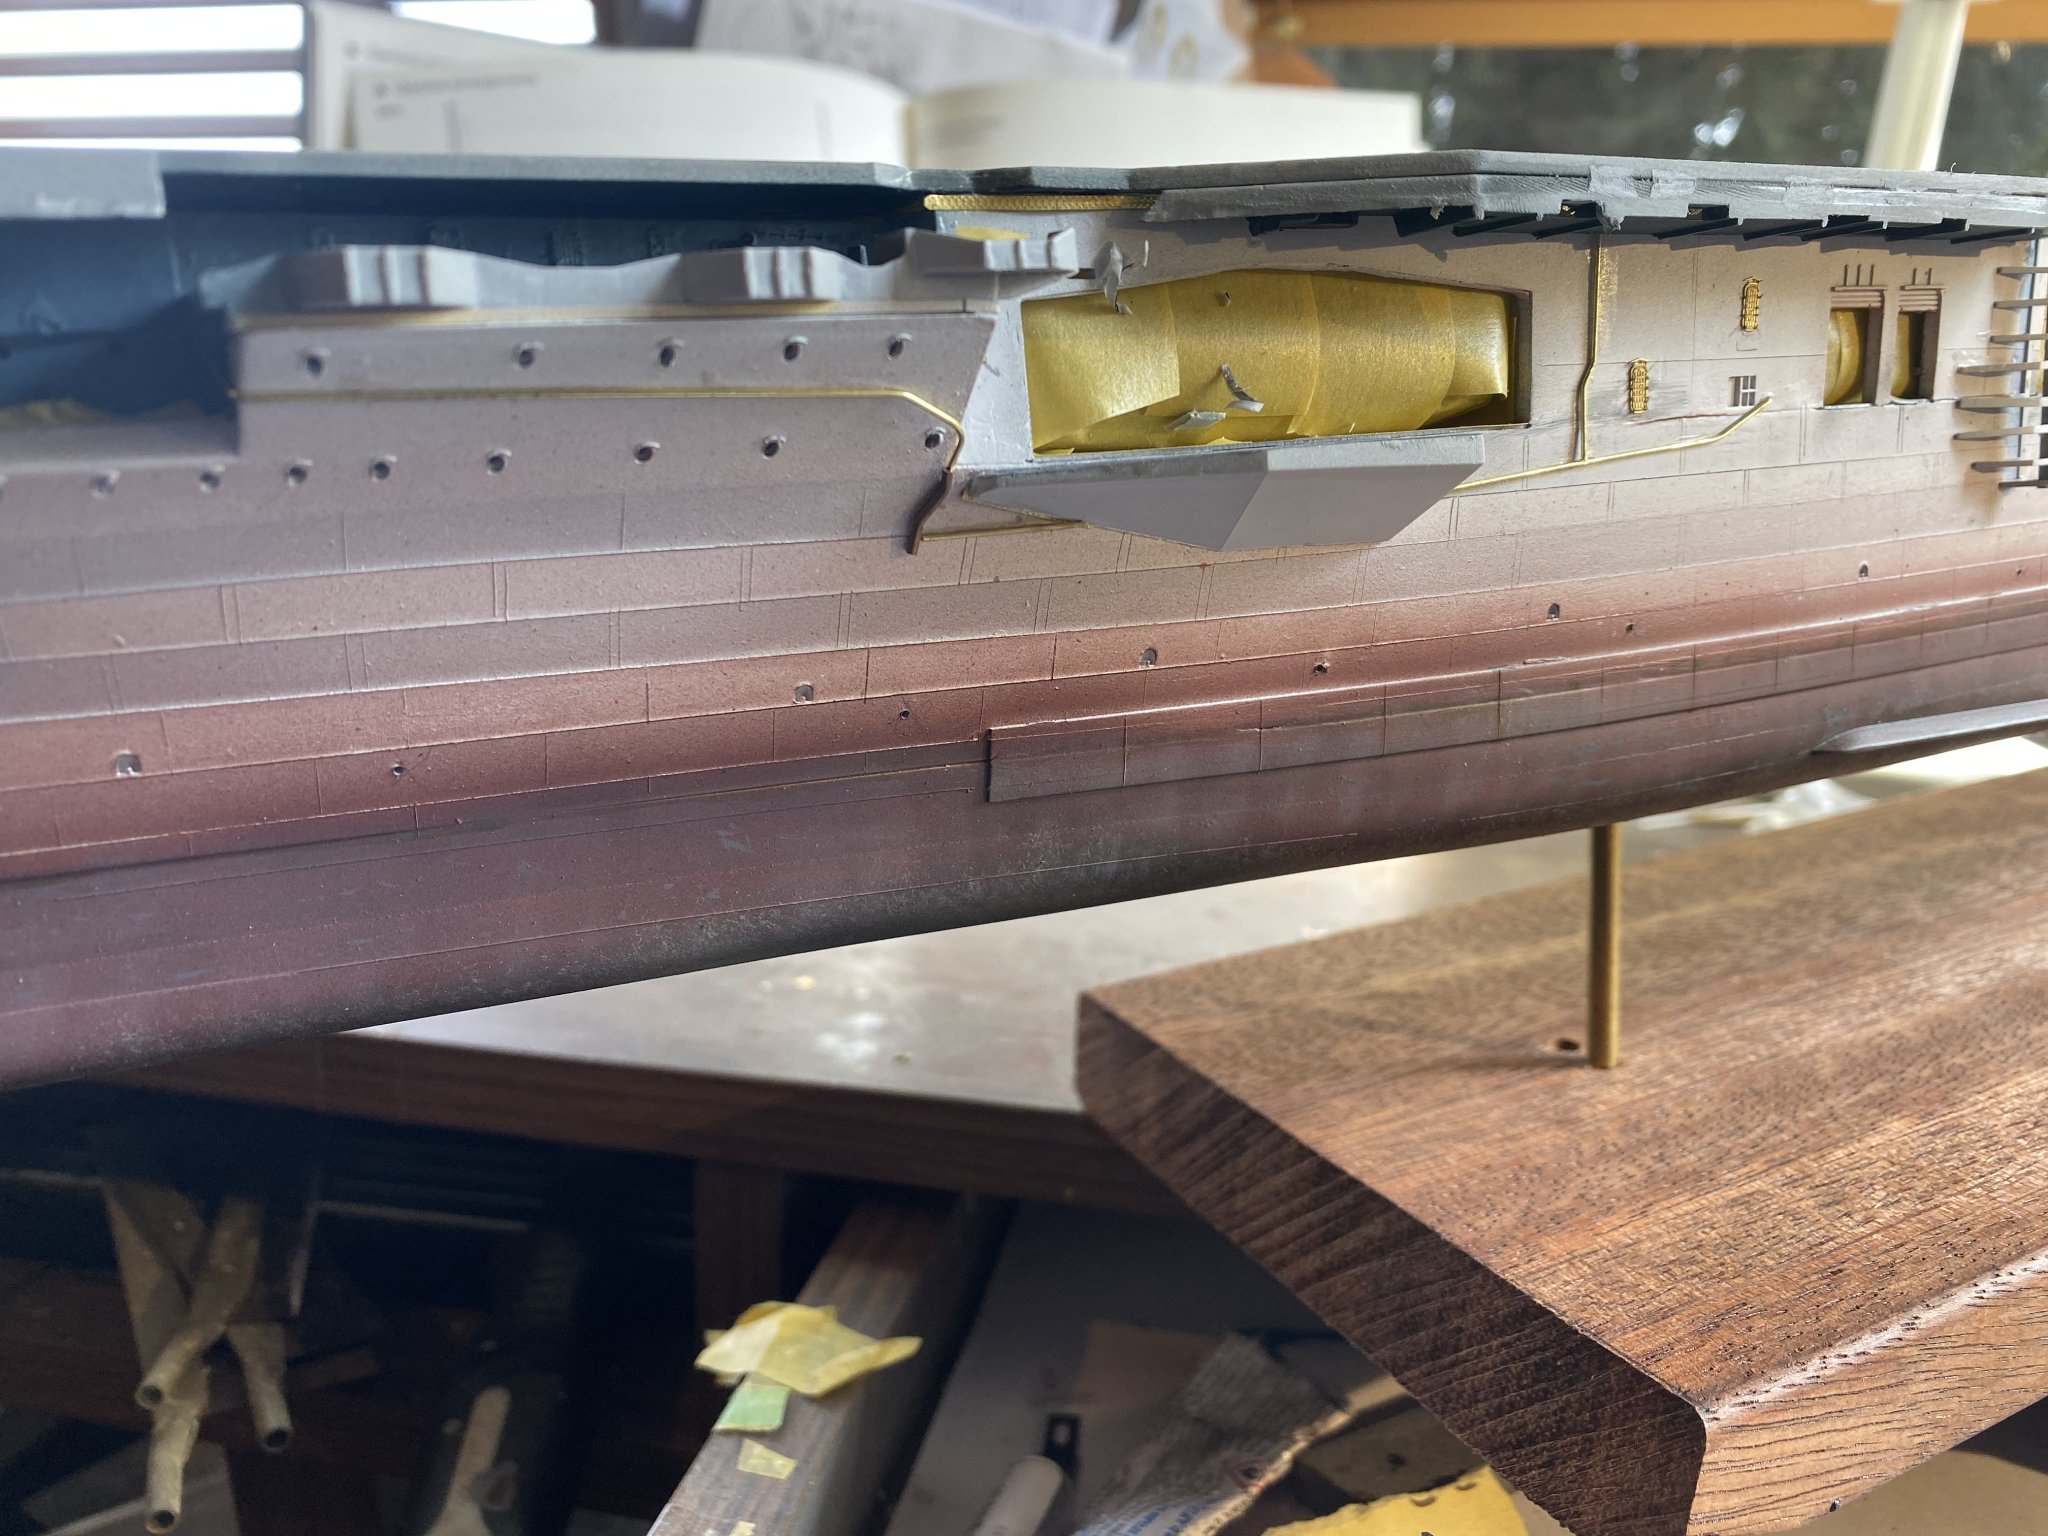
The ship blue is so dark as to be invisible so I intend to brighten it up a lot before weathering
-
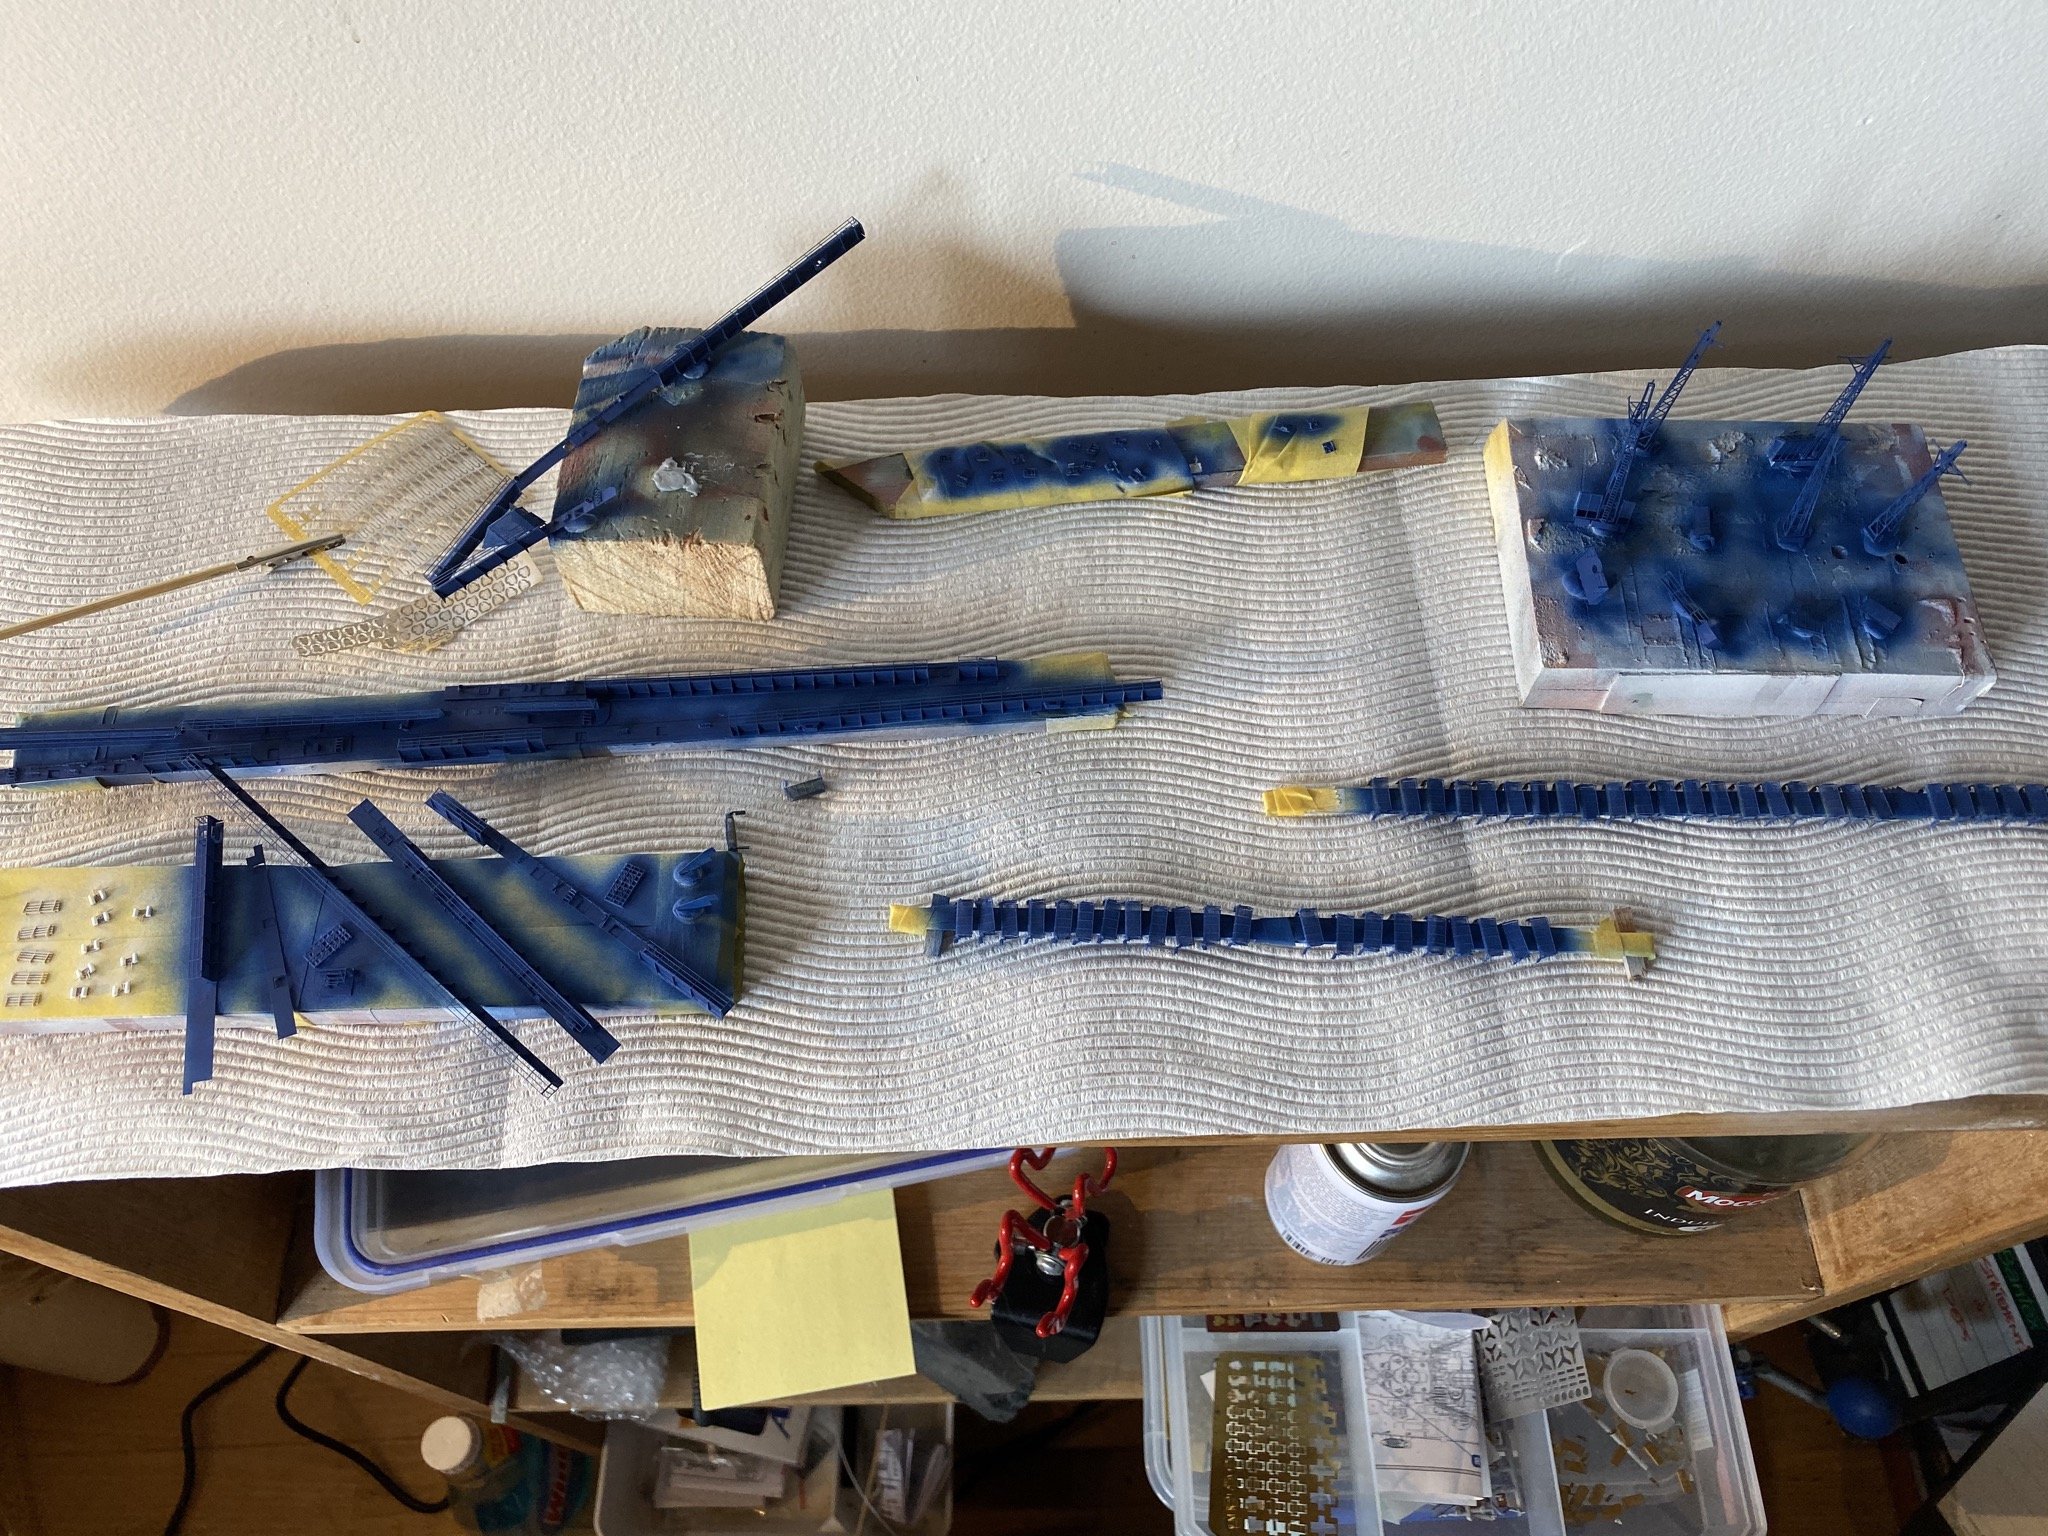
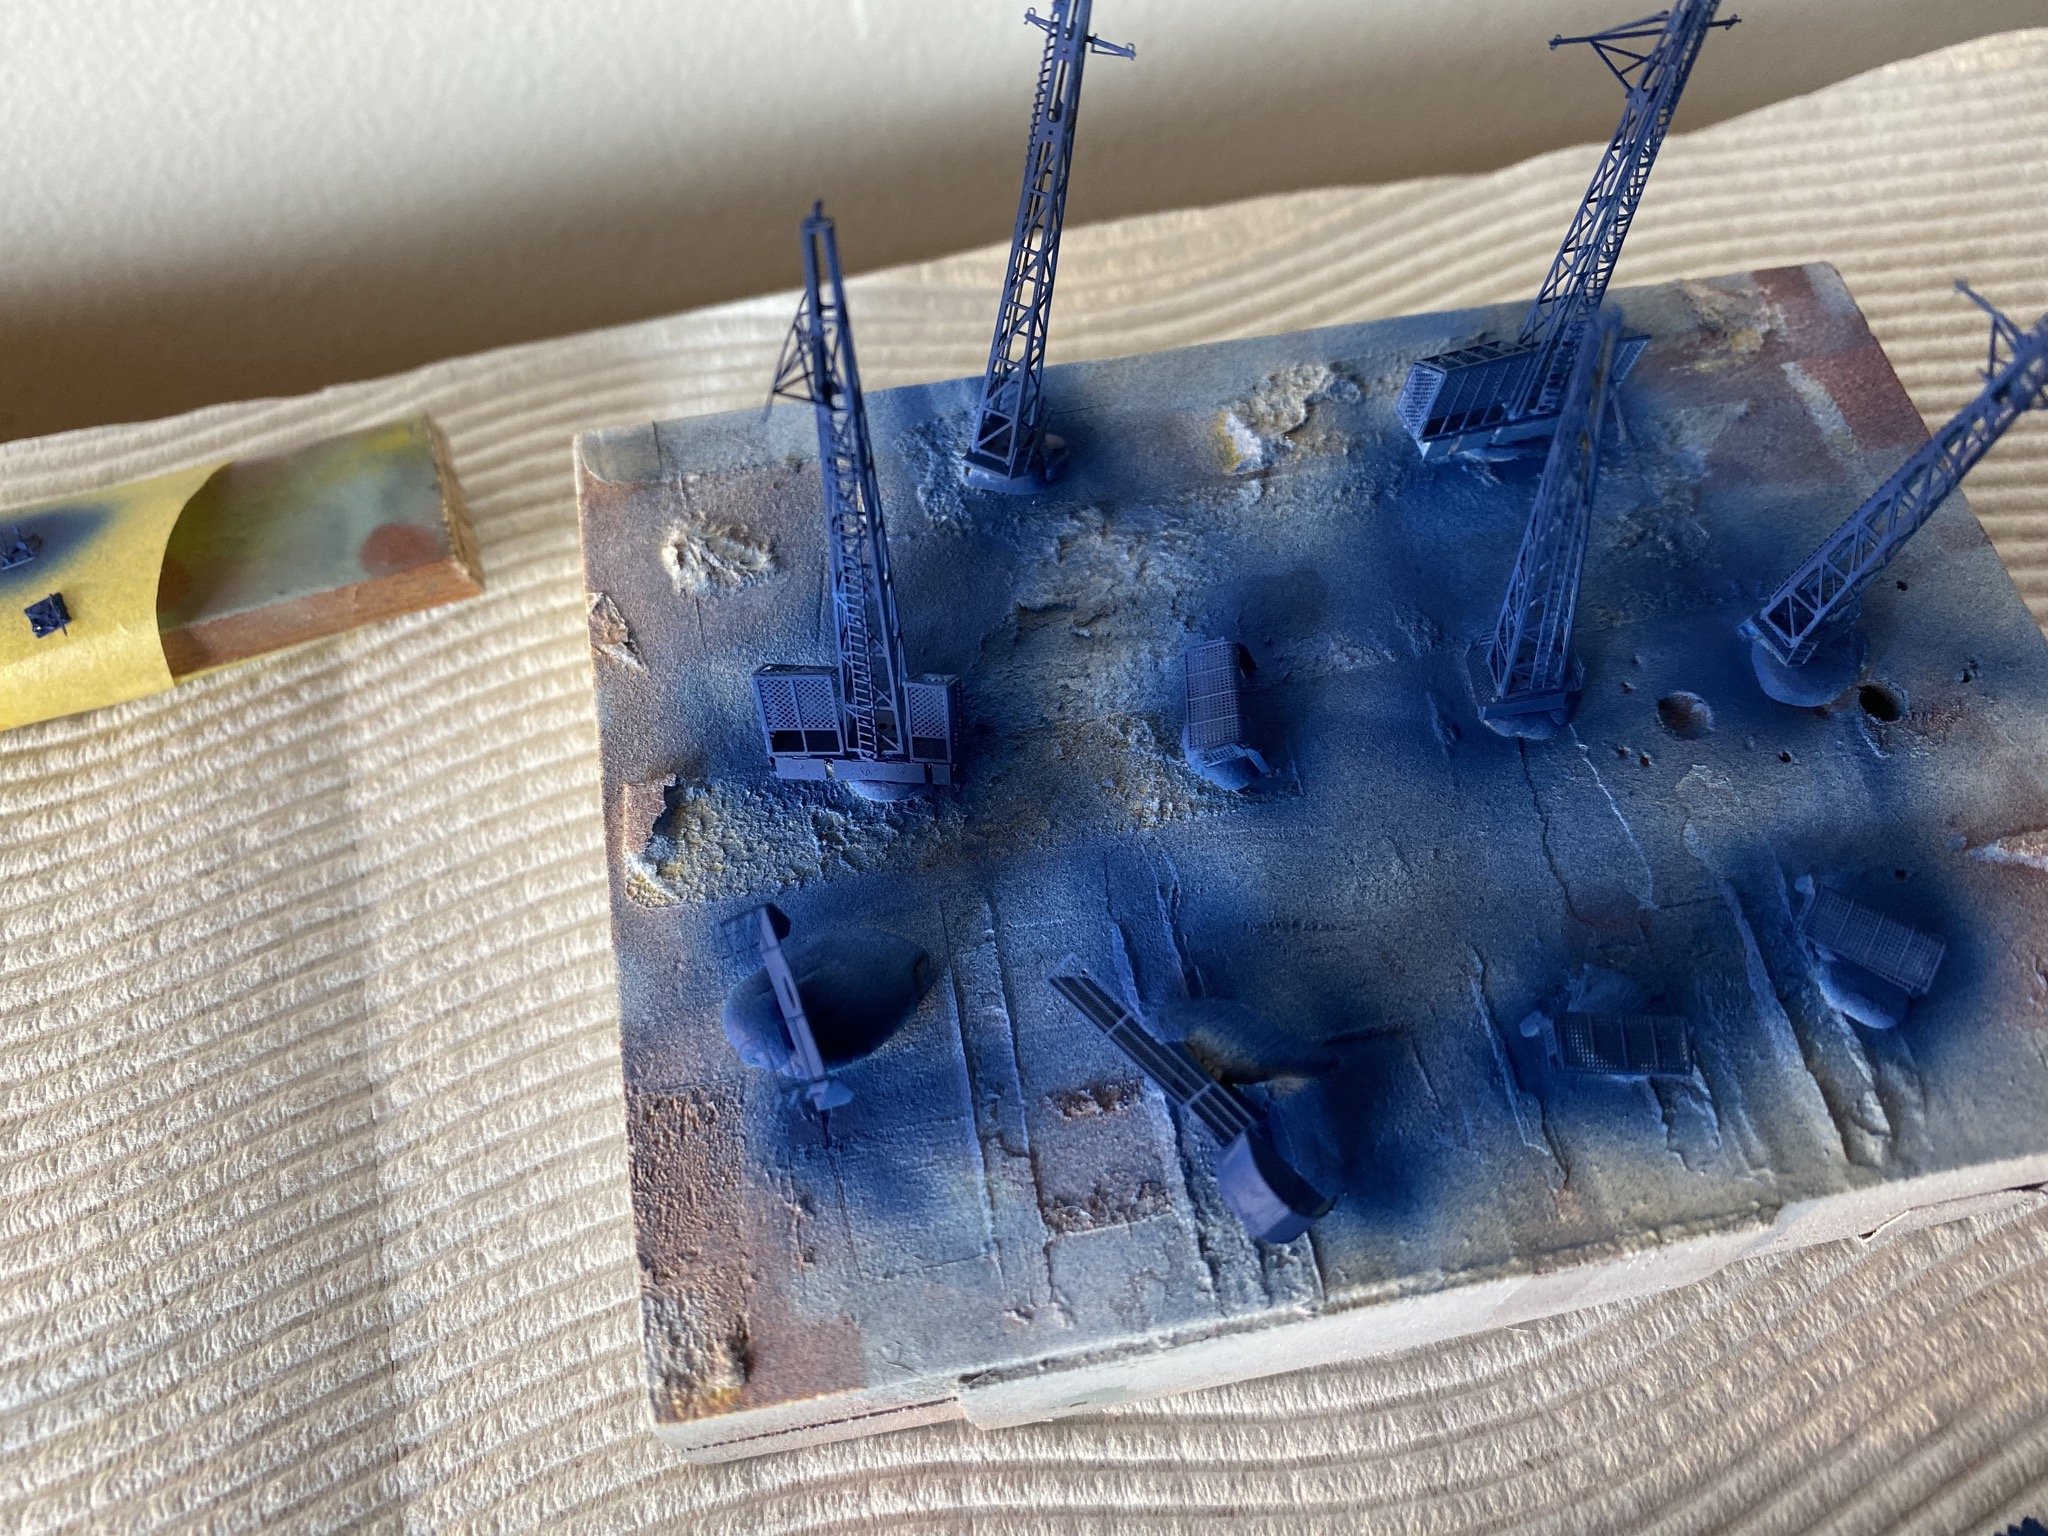
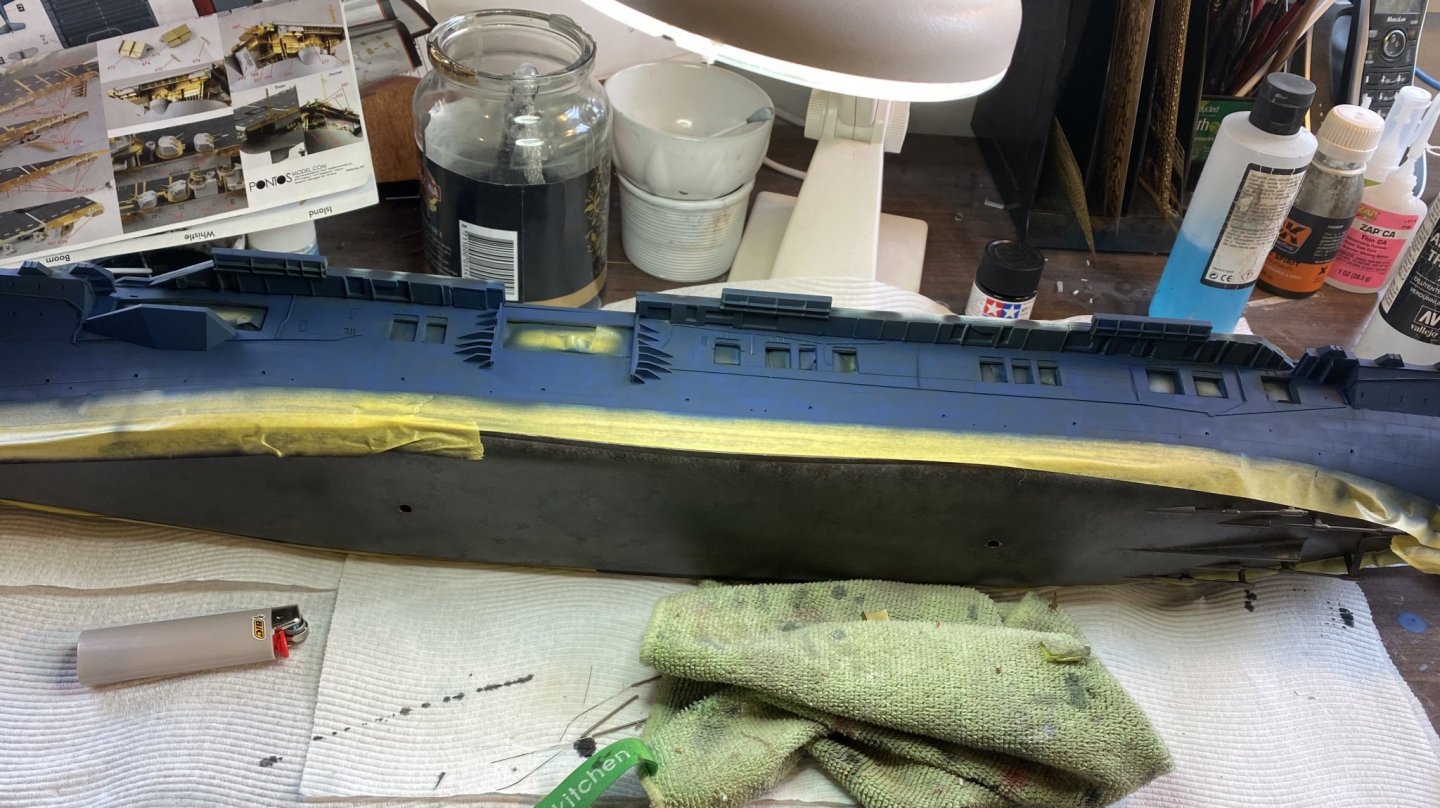
Paint time, base coat of sea blue then normal blue, this lighter blue will be the base for the gantries, floater baskets and radio towers


- 308 replies
-
- 12
-
-
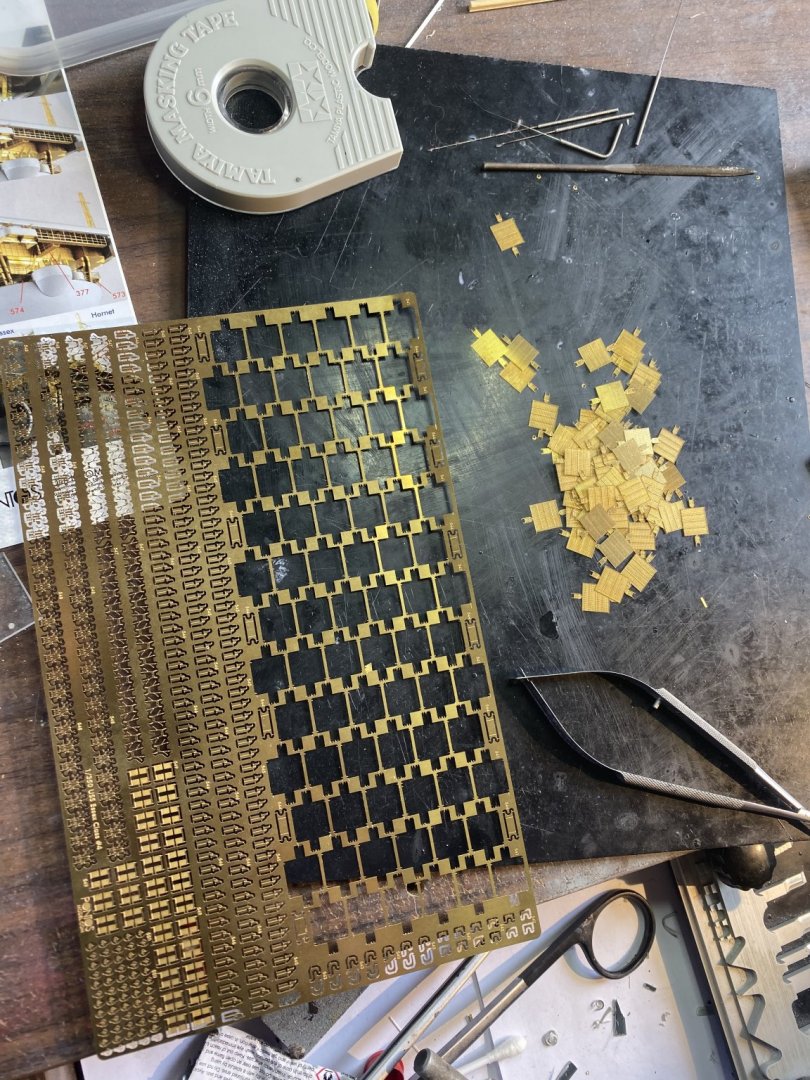
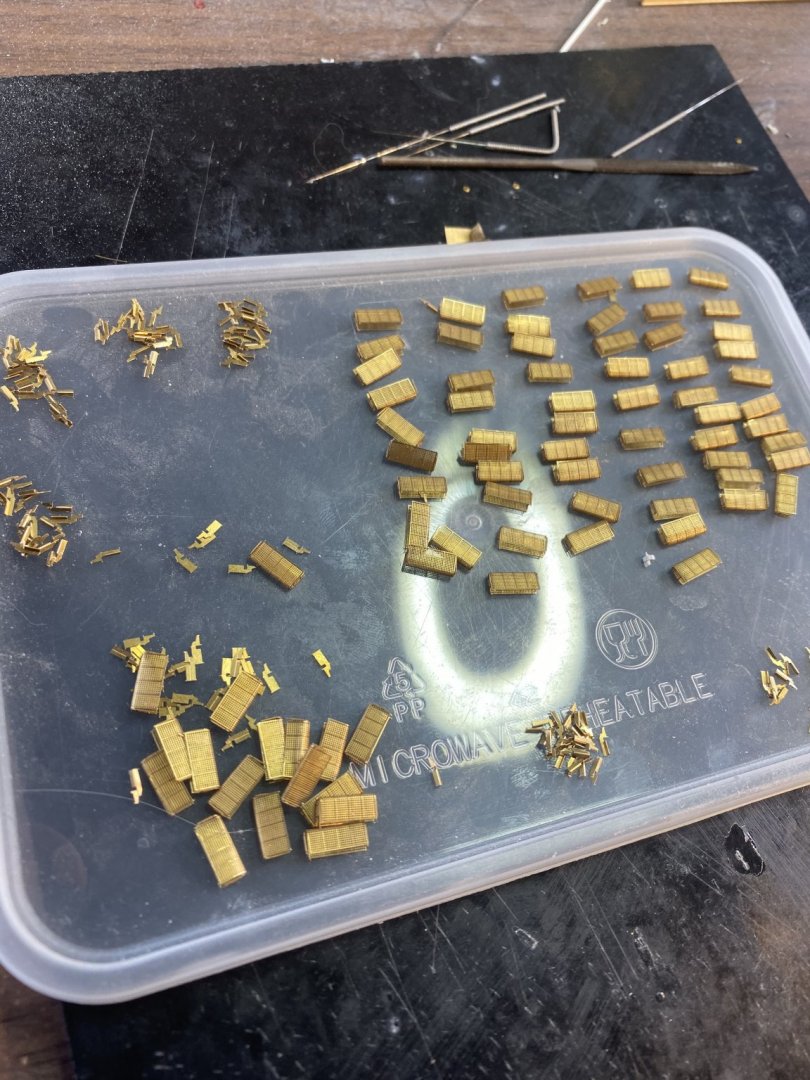
I was thinking of crimping some thin brass Wire, or maybe some me thin thread thickened with white glue. There are 54 to fill up.
-
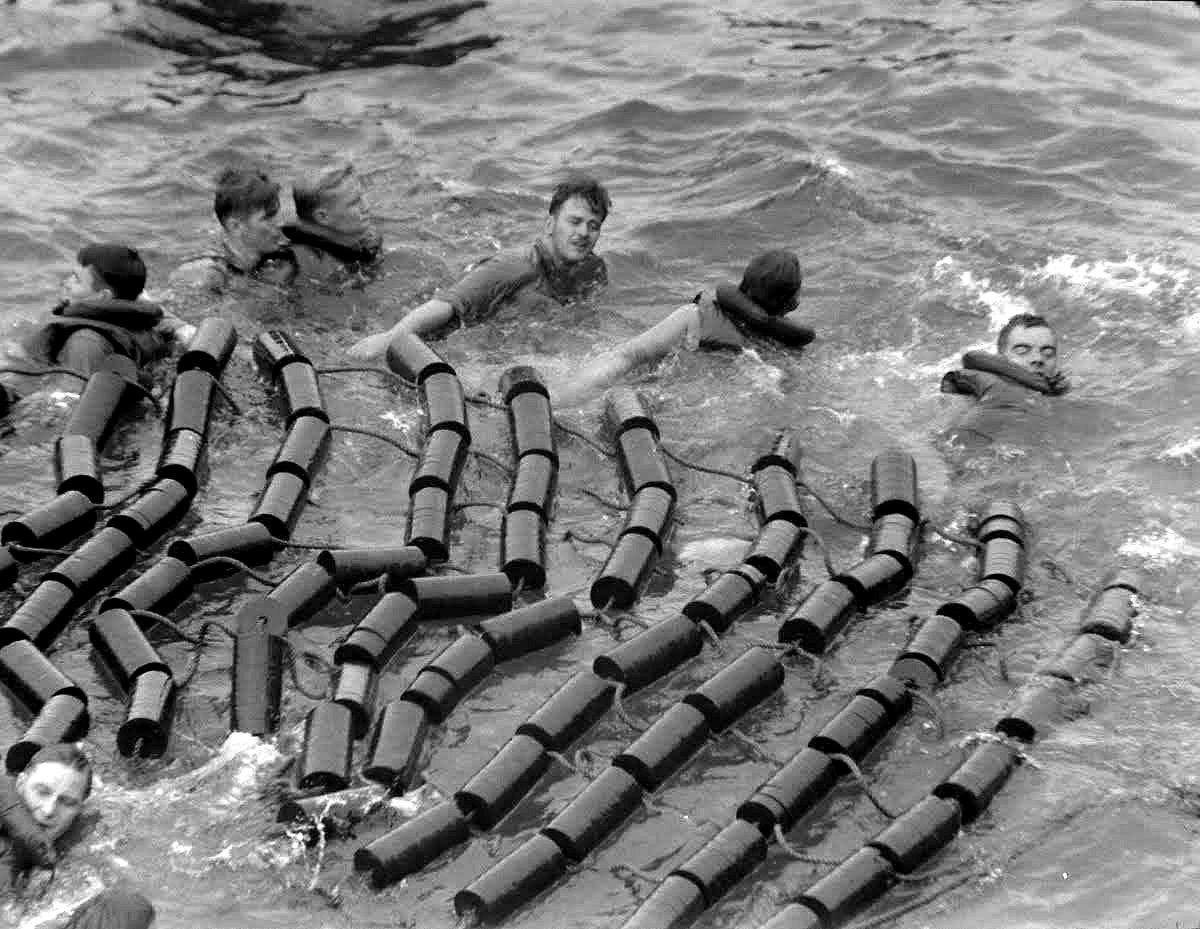
Floater net baskets, there are 54 on the ship that I can count, I’ve cut and bent 60 plus the two separate support arms. My back hurts, my eyes hurt. ready for glue but I’m off for a drink.
- 308 replies
-
- 17
-
-
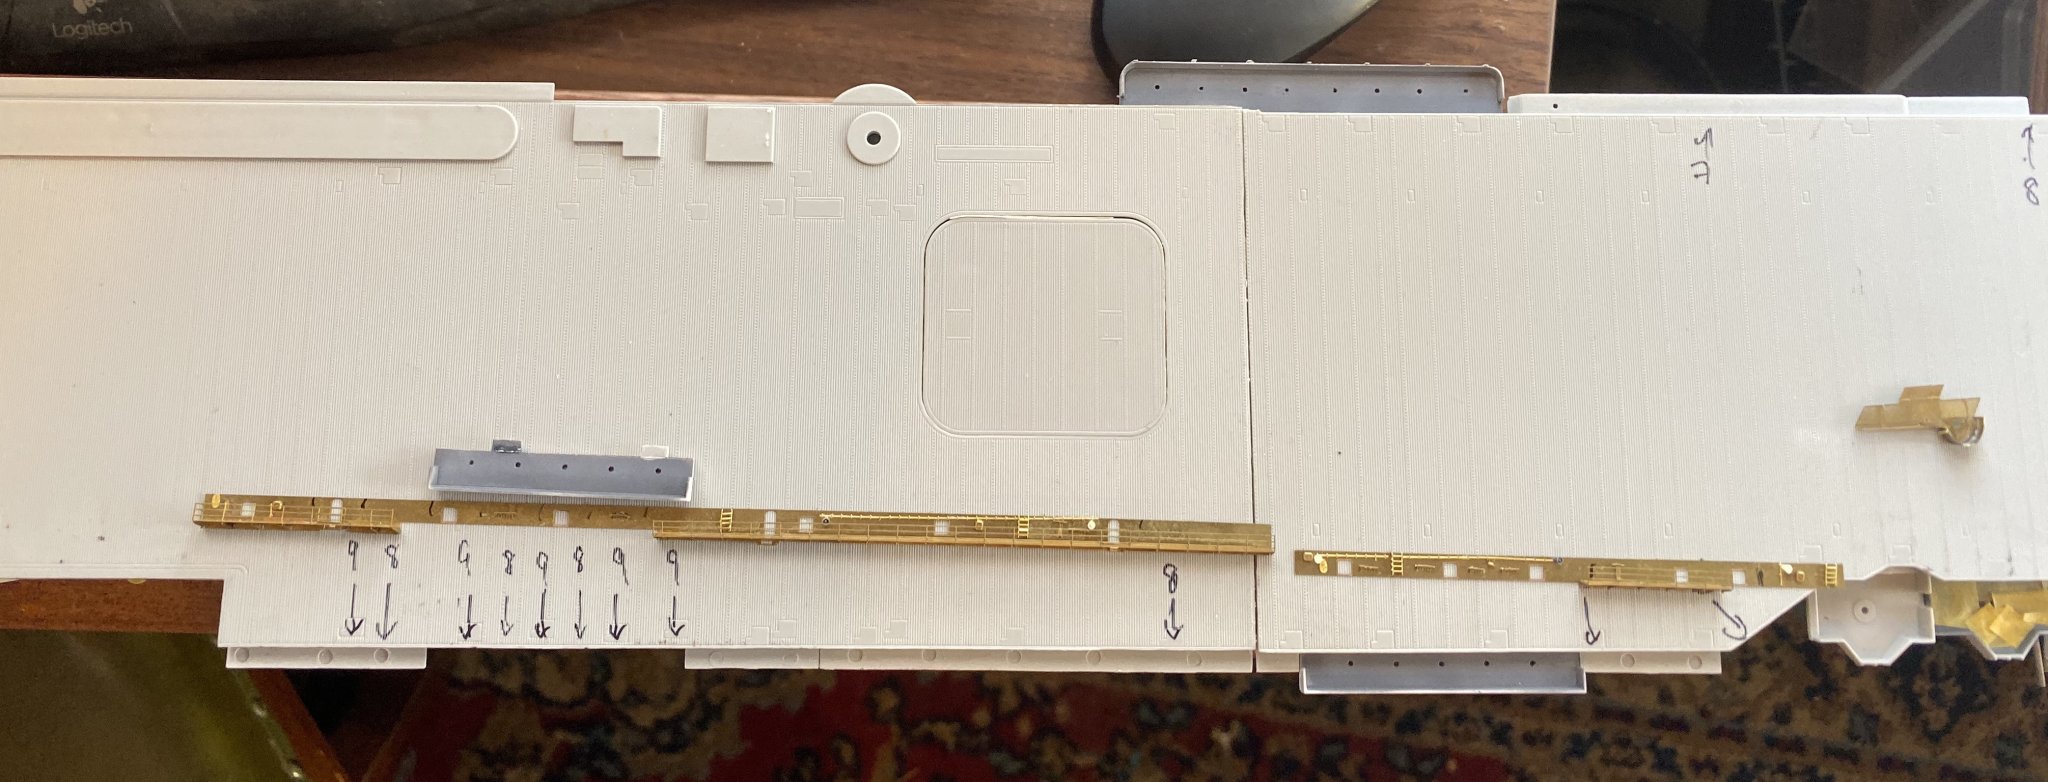
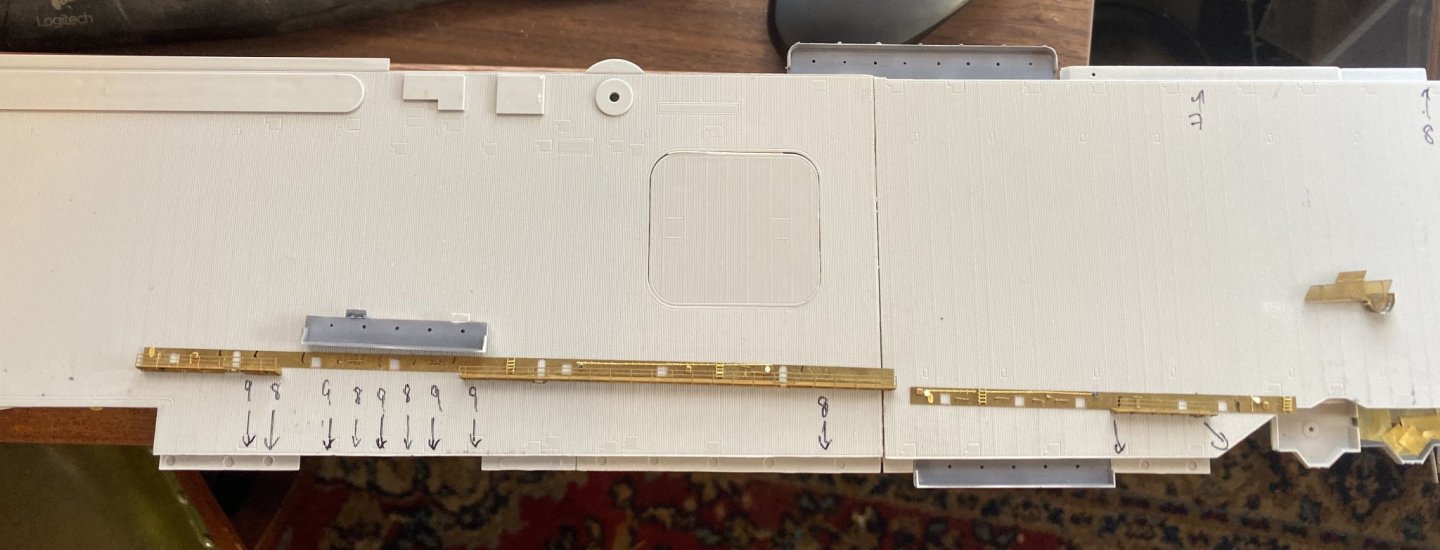
Its pretty easy to lose track, the temptation is to do it all then paint but you just forget bits which you can't get to, especially ladders, plus forward planning for weathering.
-
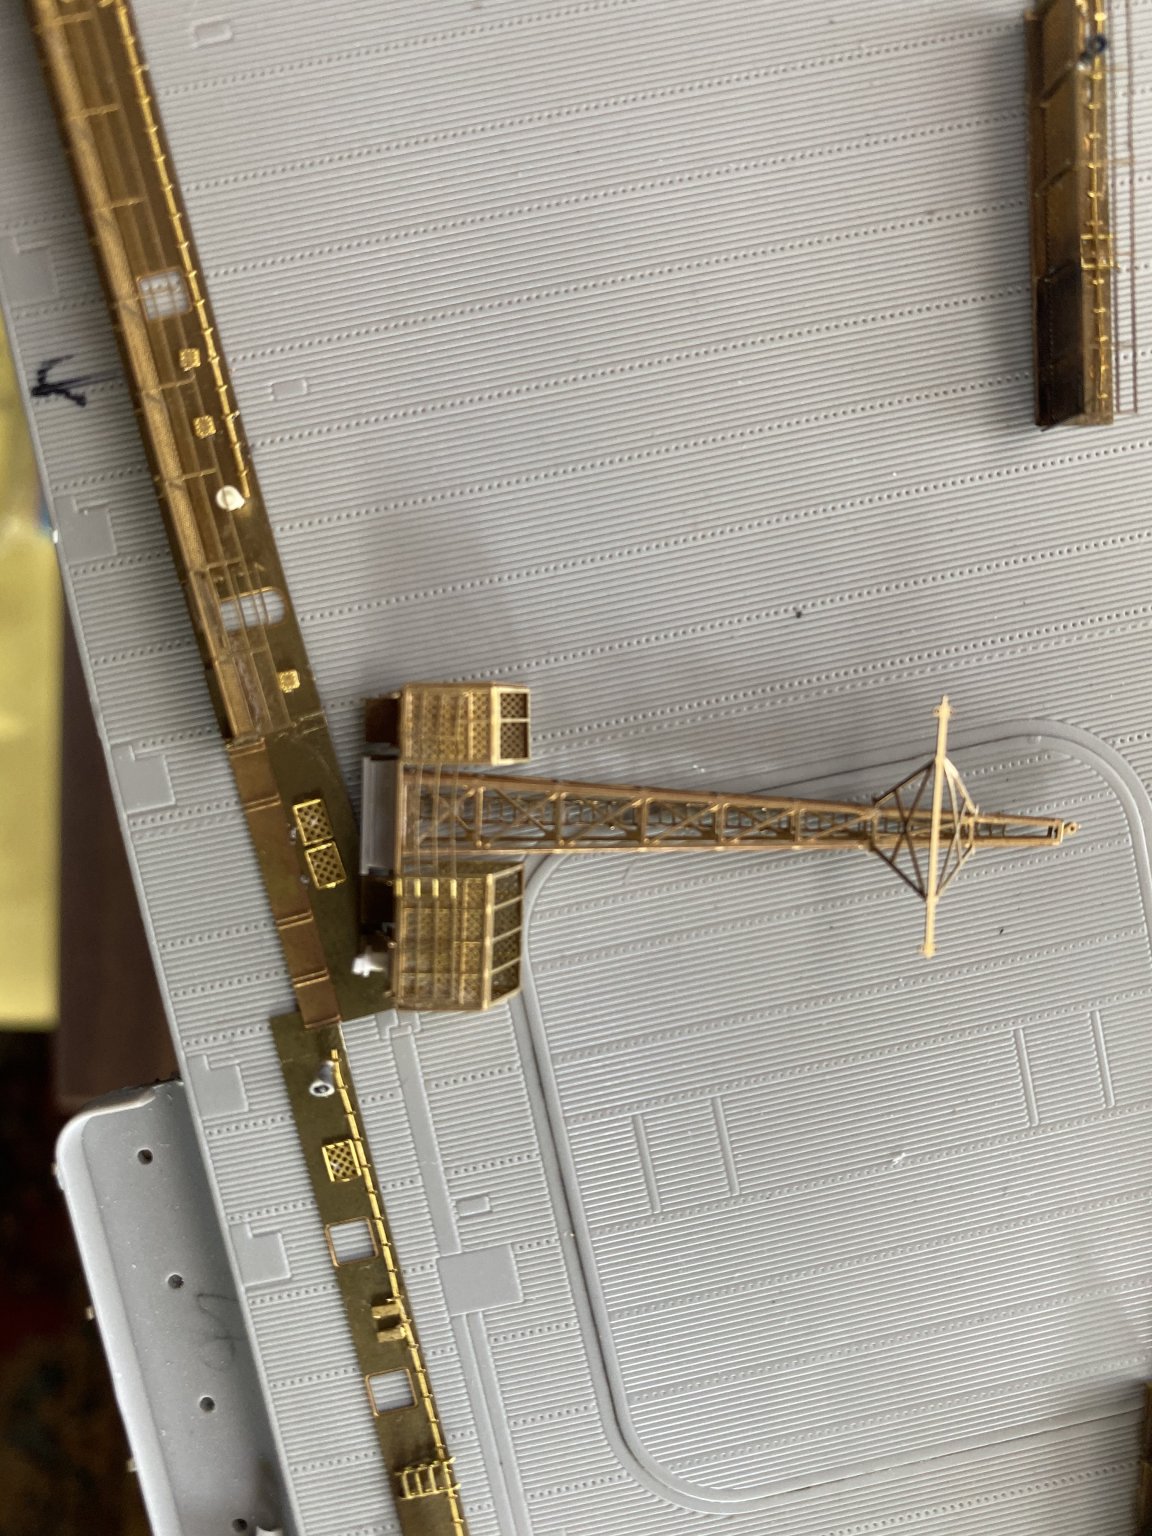
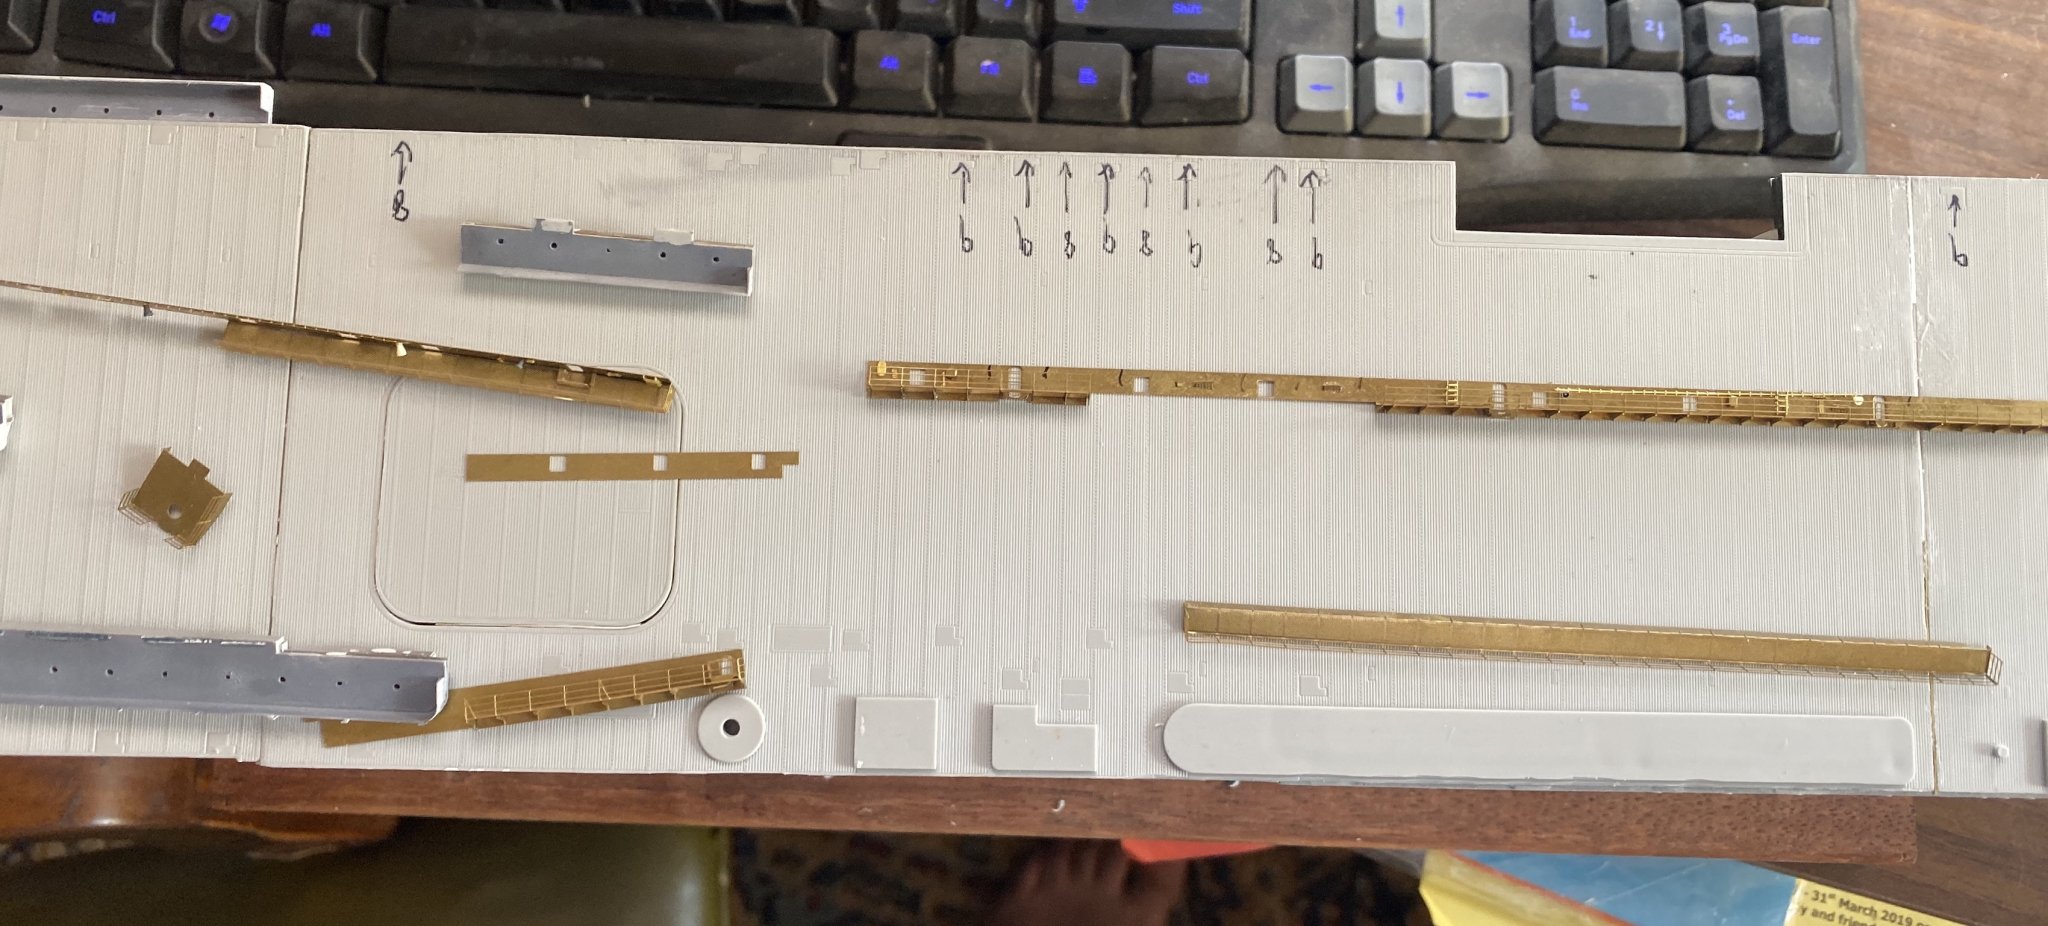
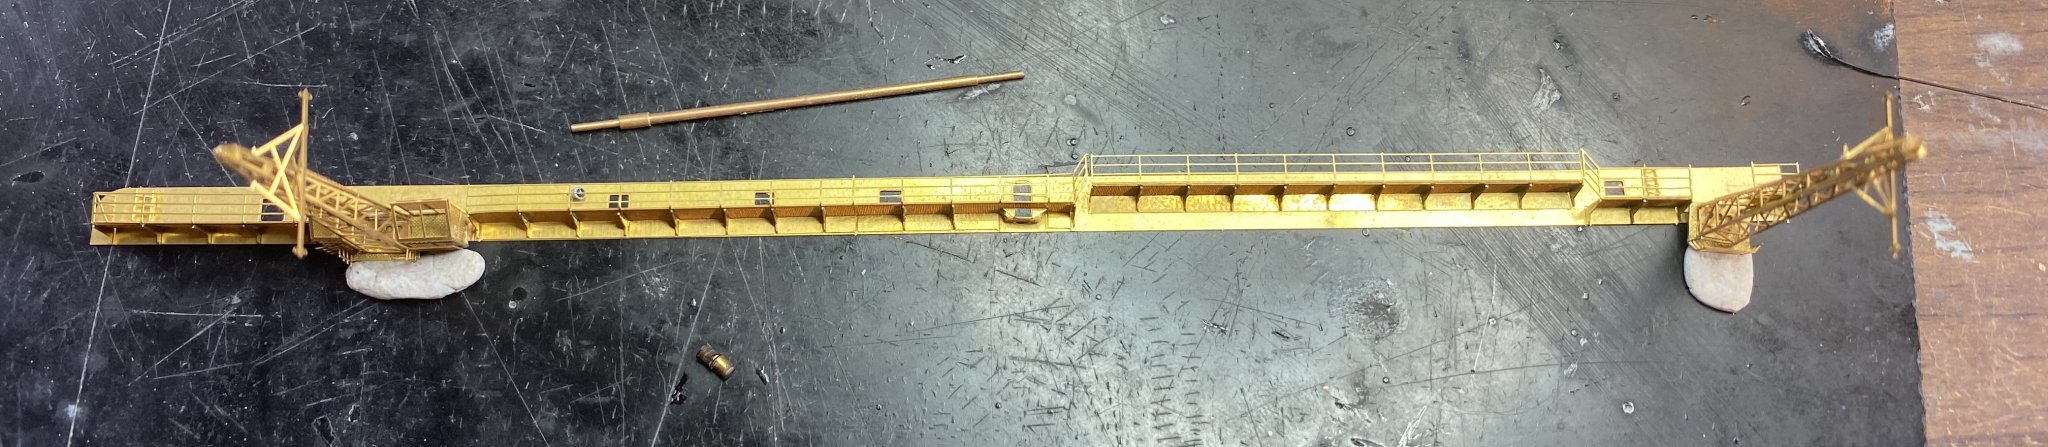
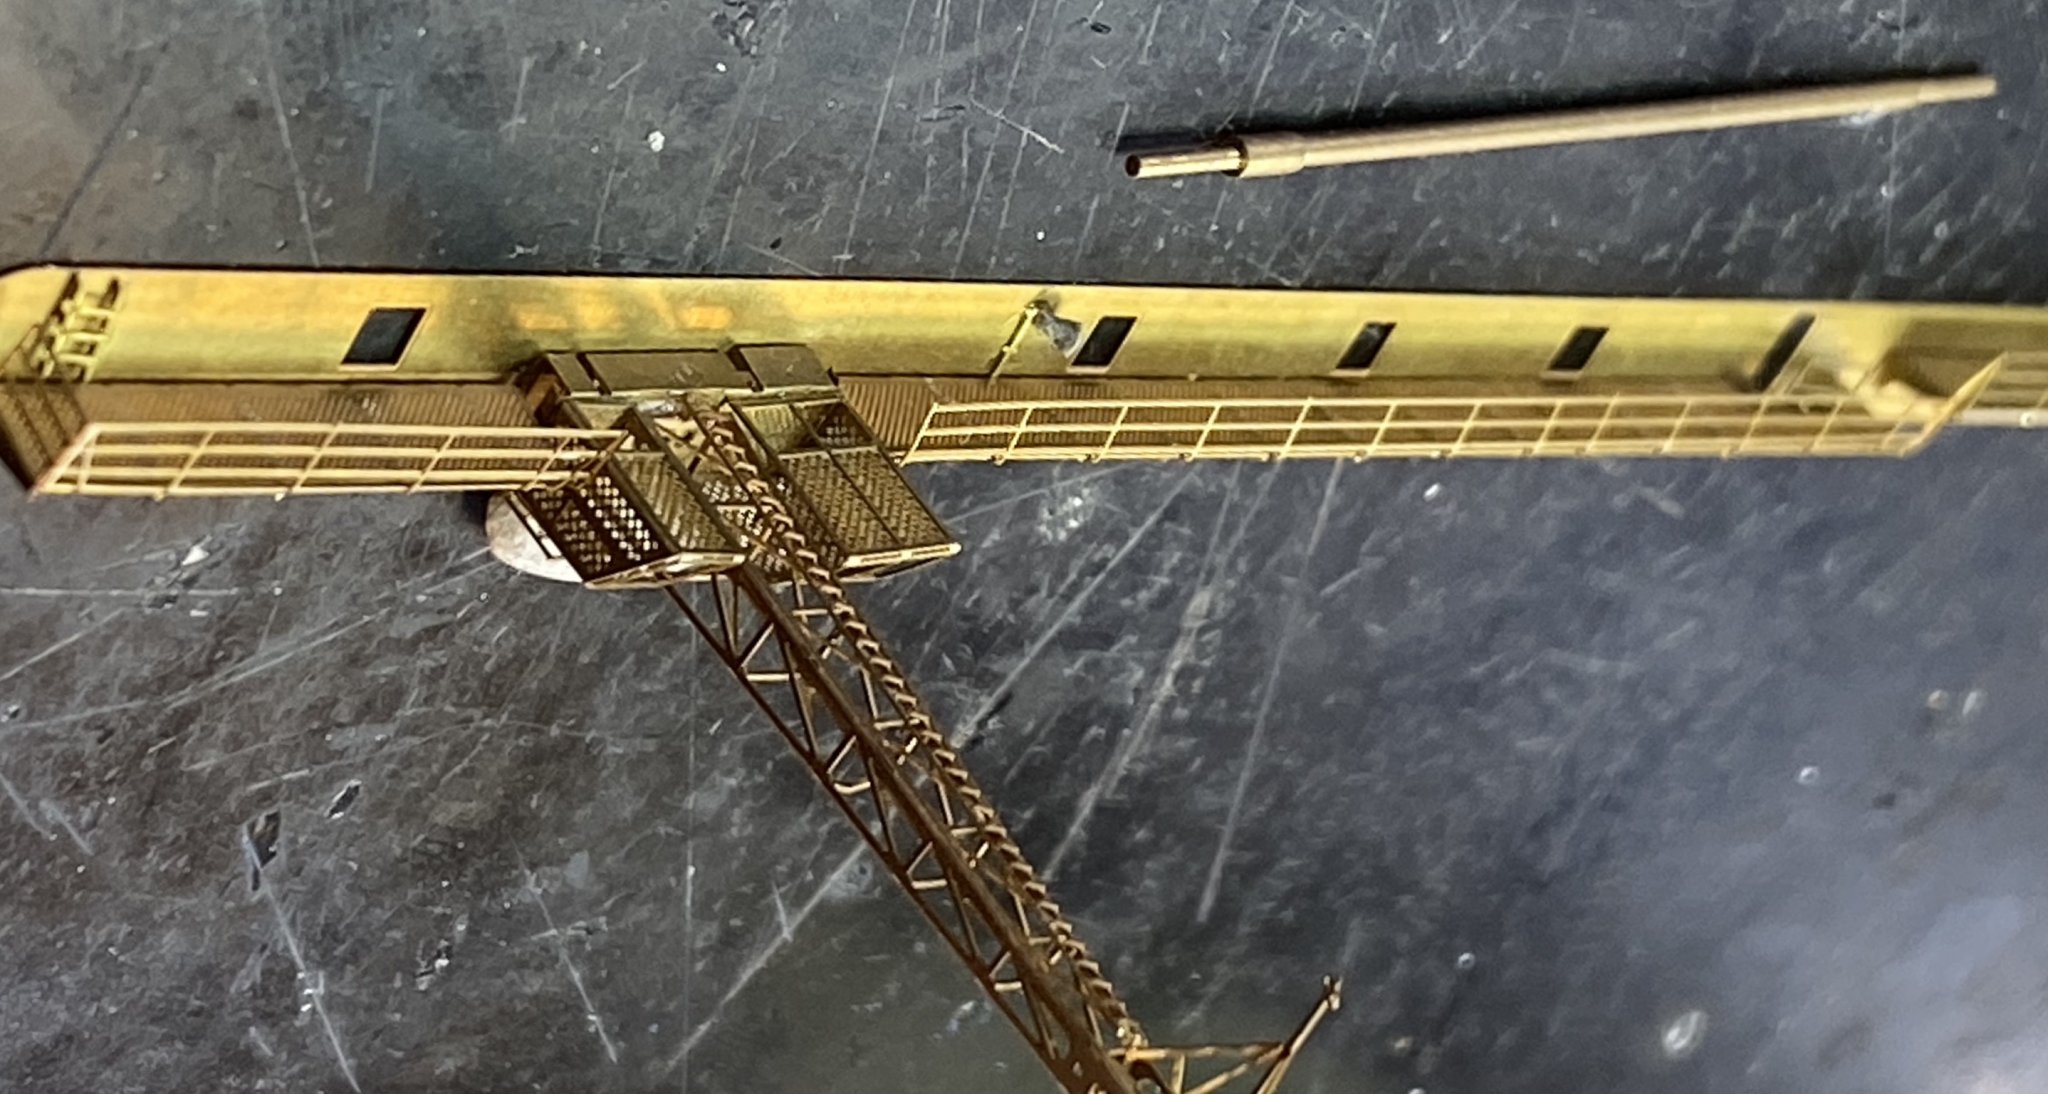
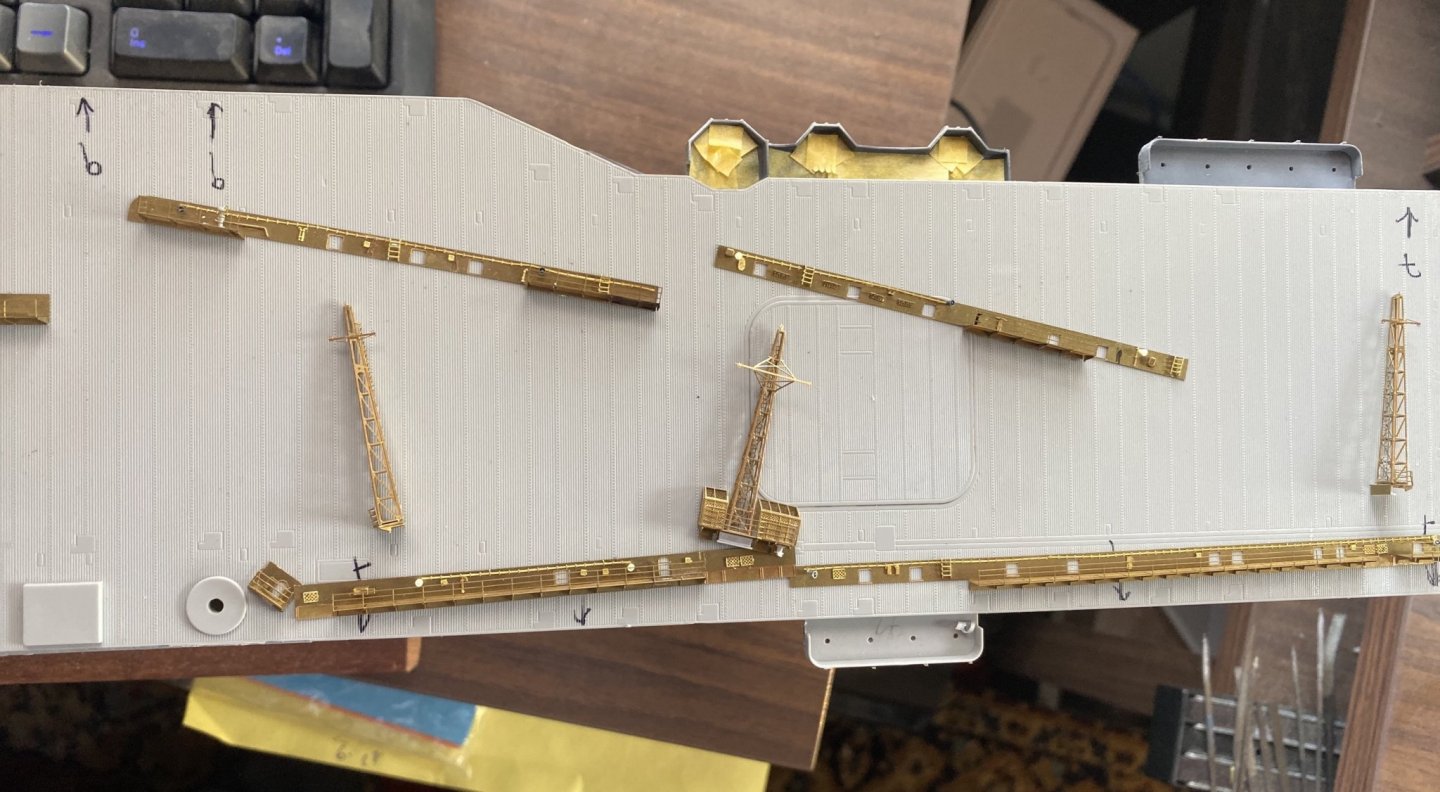
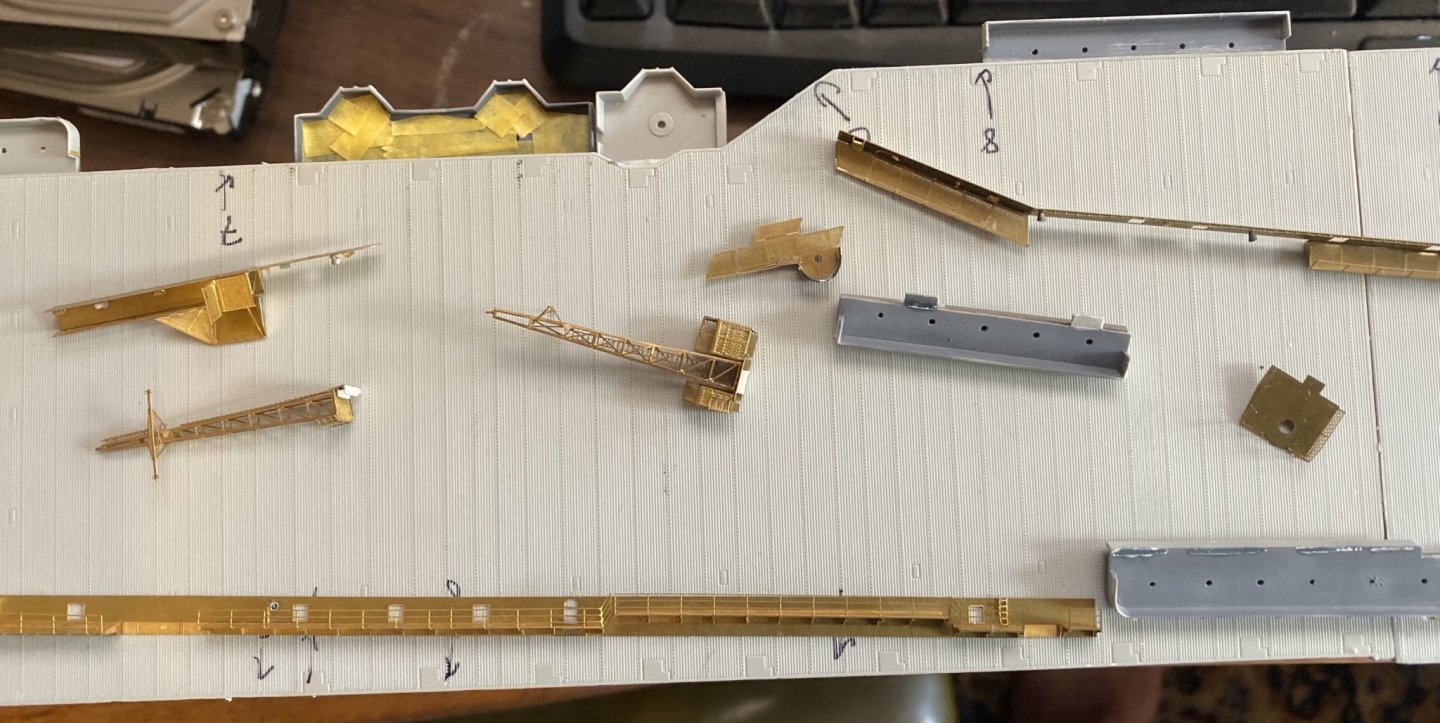
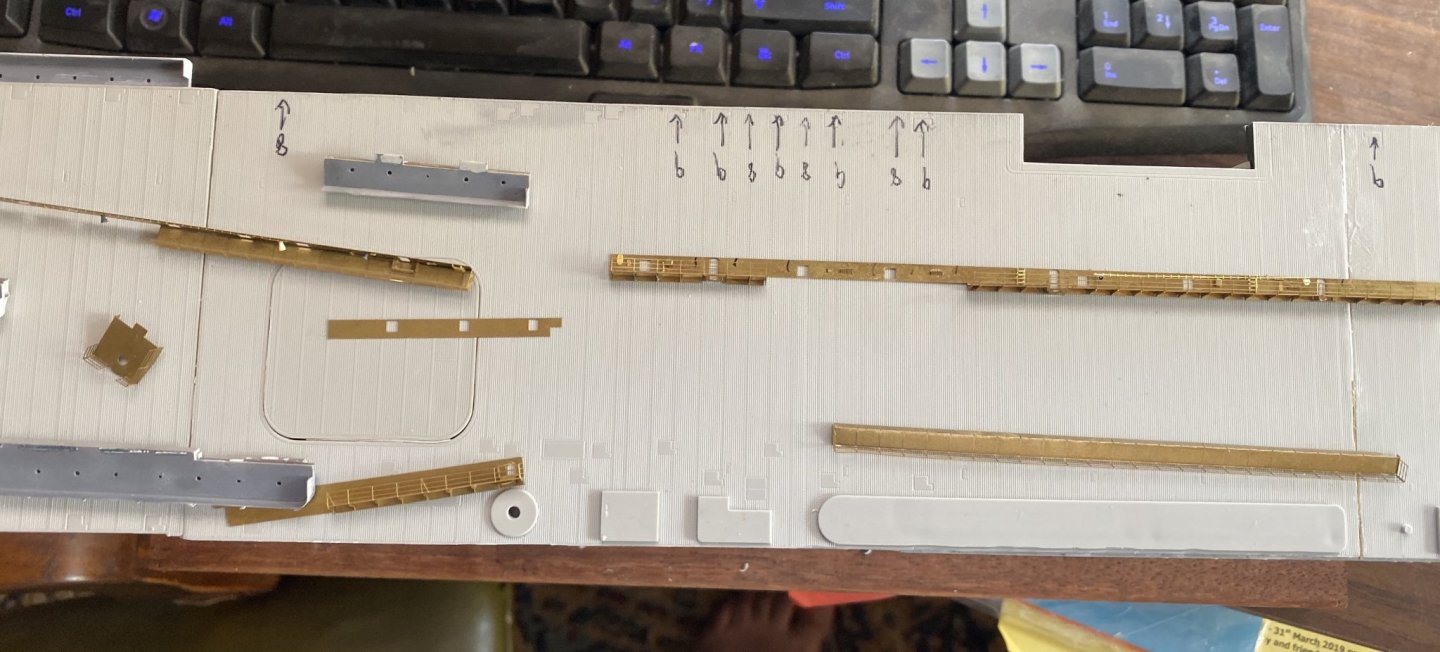
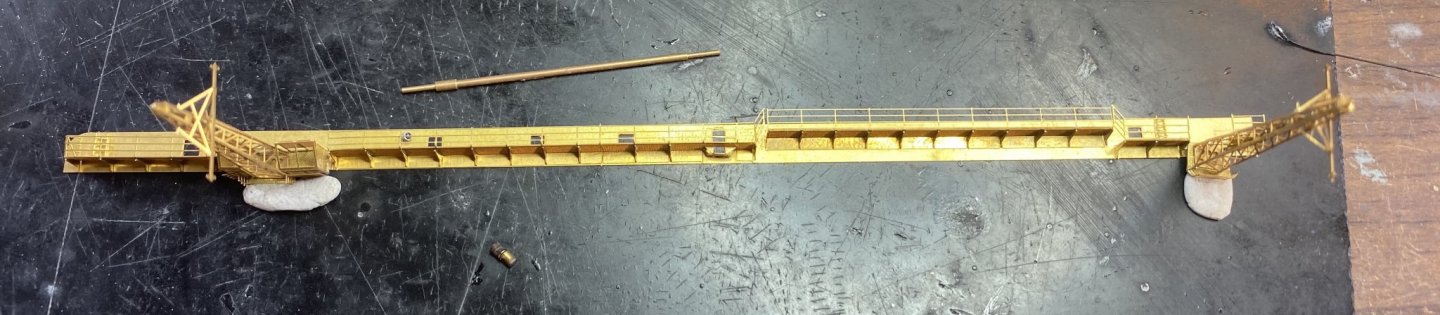
Finally finishing the catwalk structures. Every platform has individual gussets beneath. Whilst there are lots of ladders and other details such as floater baskets to be added to them, these are now good enough to stick on the sides of the flight deck. My intention is to prime them first to look for glaring errors then paint them off model so as I can add as much detail as possible then, as the deck will of course be a nightmare to stick on so I don’t want to have to do it with all this tiny fragile stuff.

- 308 replies
-
- 14
-
-
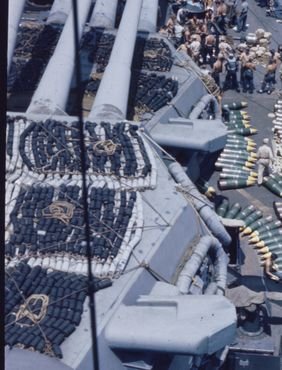
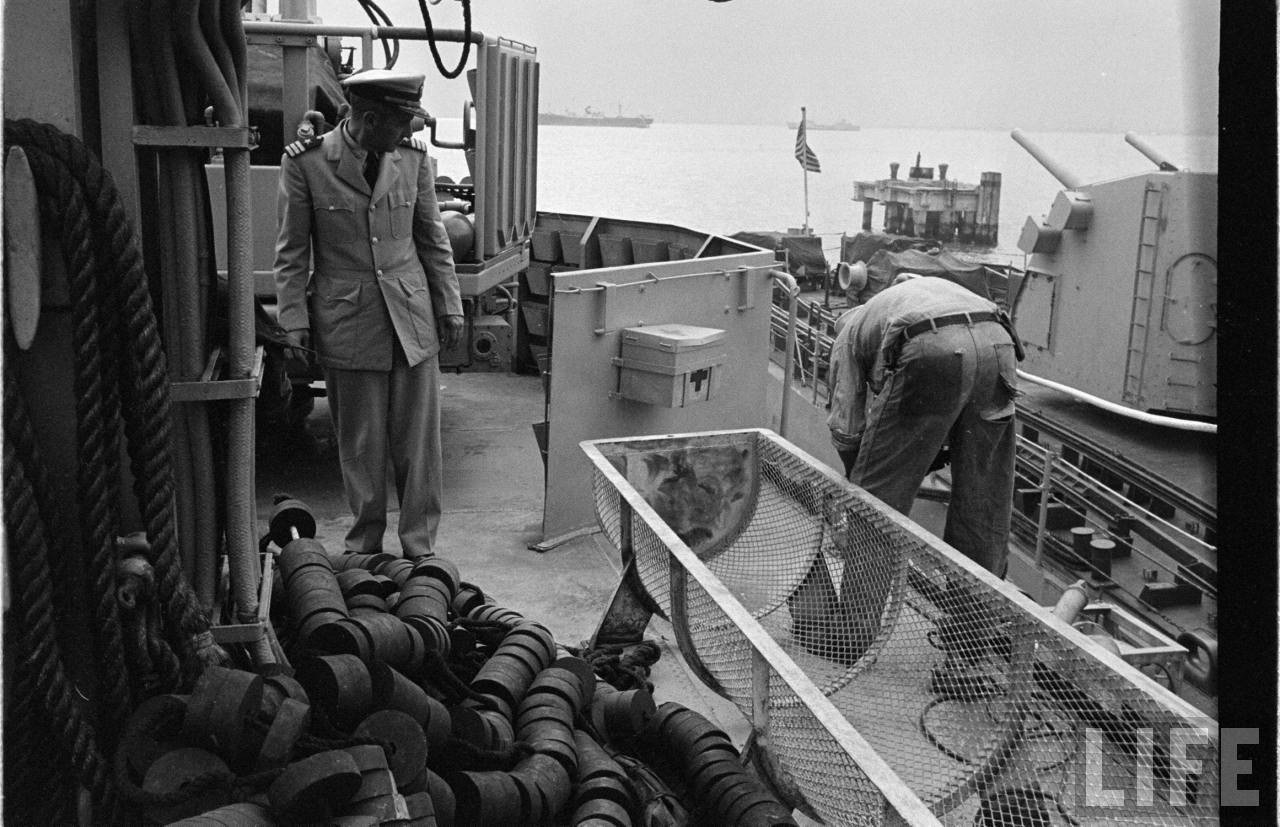
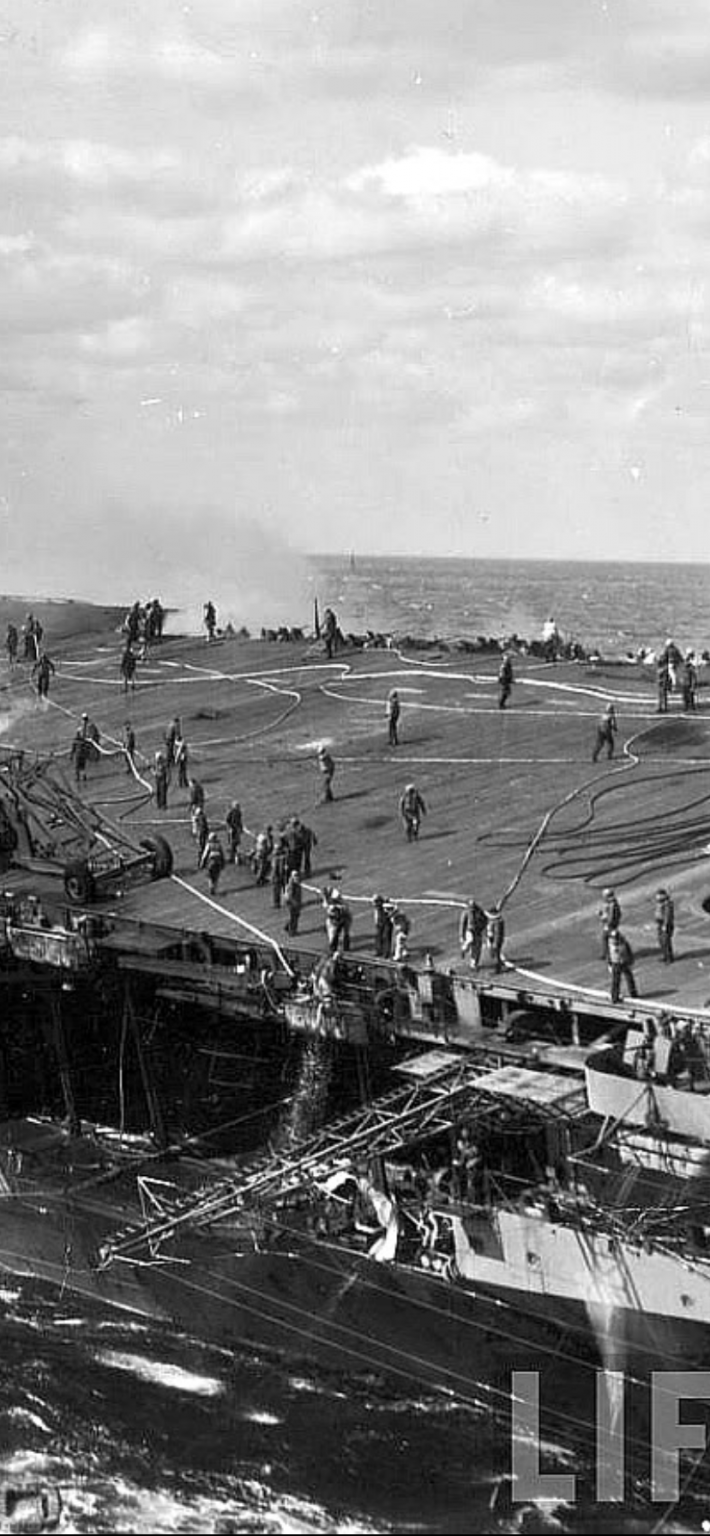
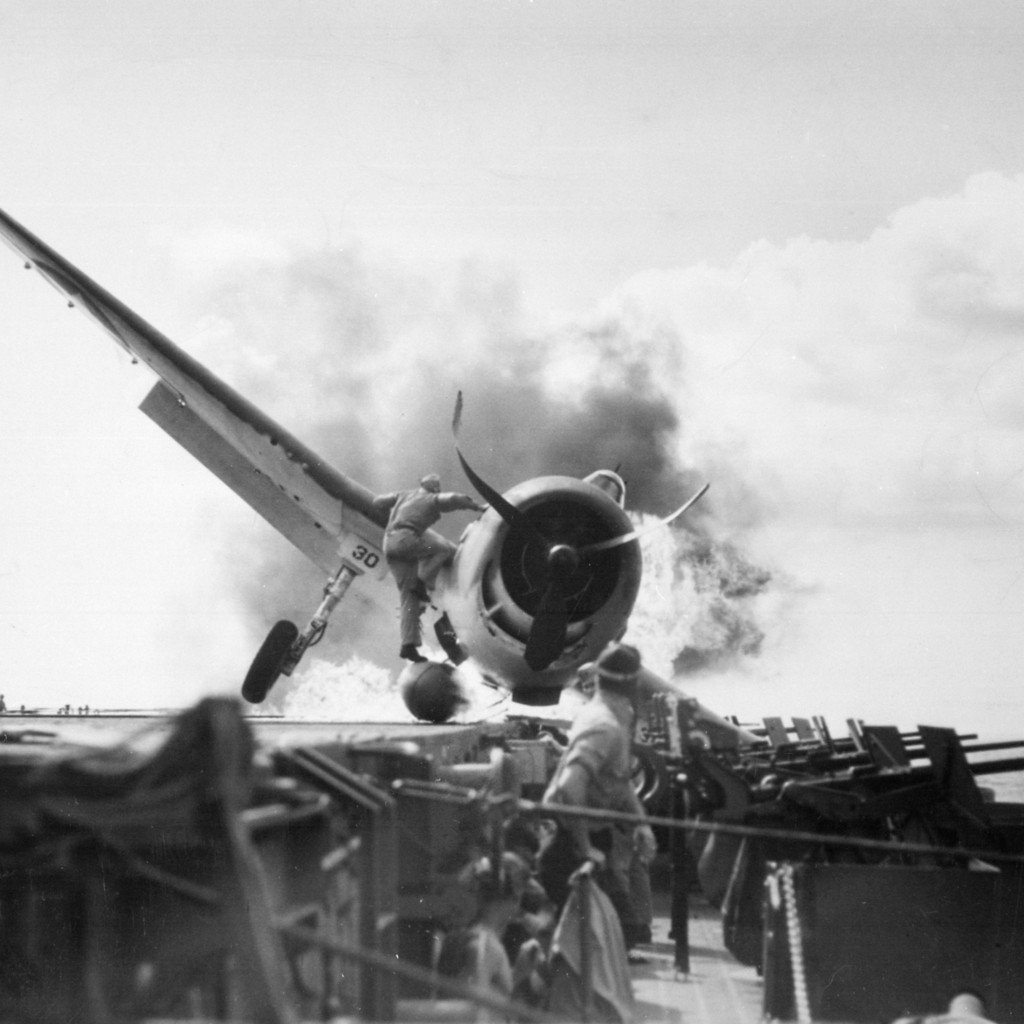
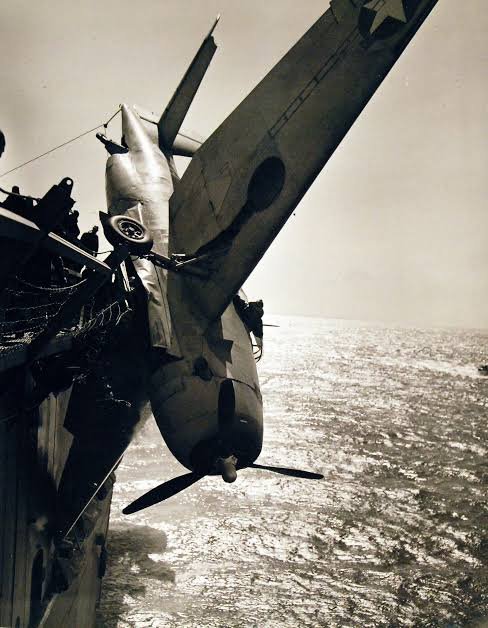
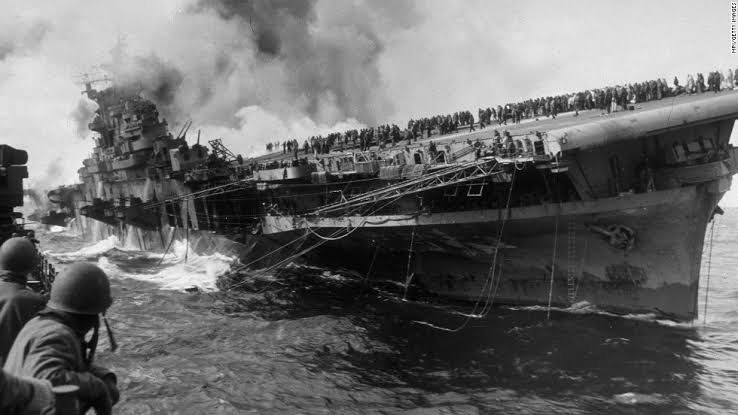
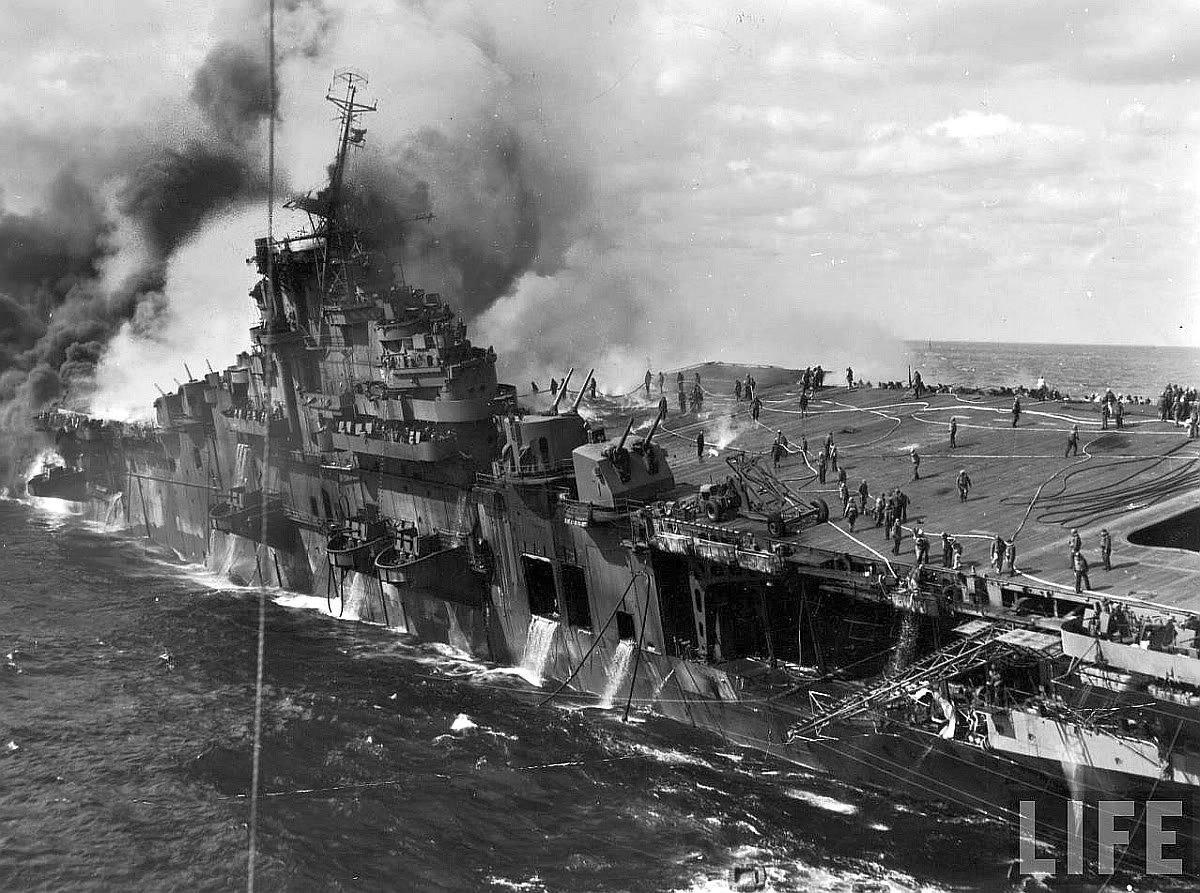
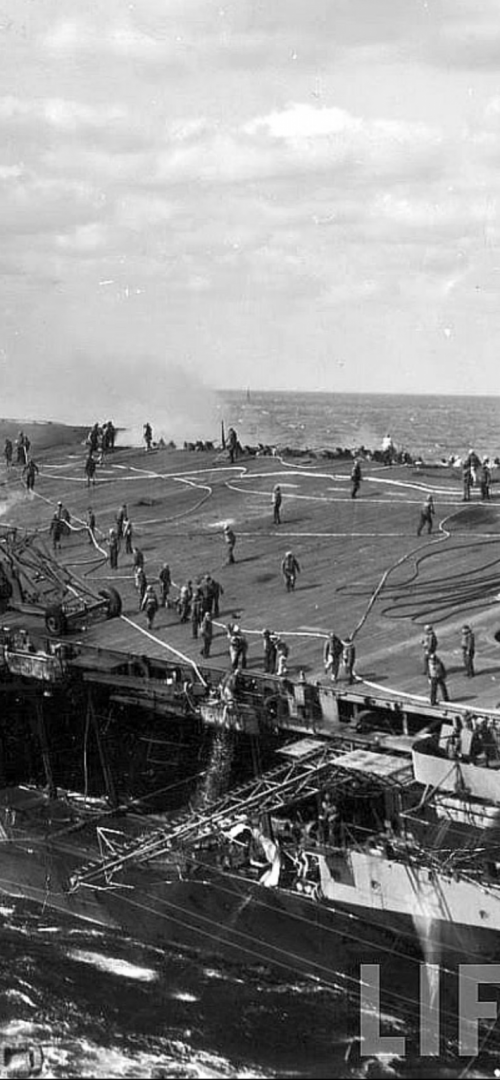
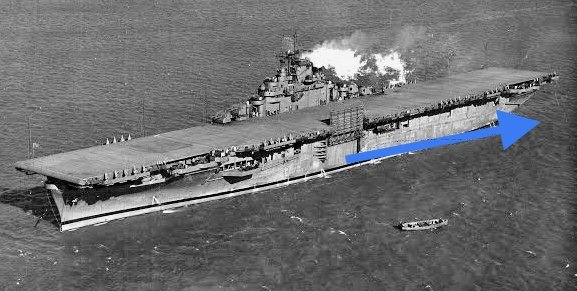
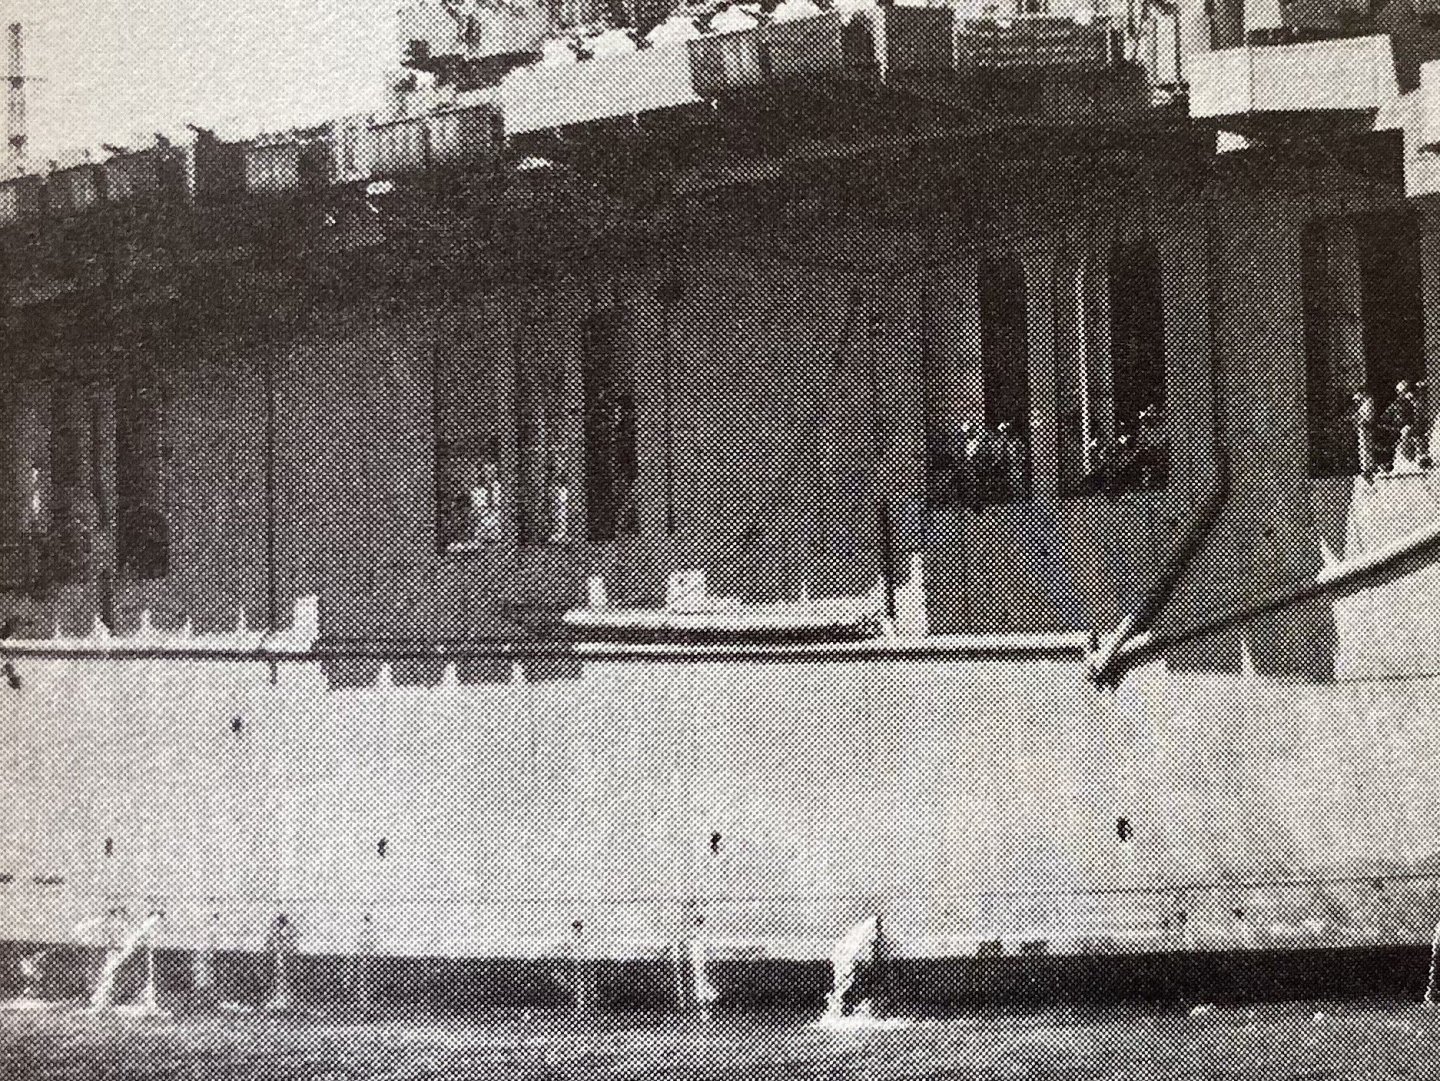
Starboard side aft radio array, the Pontos stuff is lovely but does not factor in that they need to be lowered for flight ops. Not overly accurate but a small piece of plastic under lets it sit properly. Also these photos from life magazine show them down as well as a shot of the Essex fully loaded
- 308 replies
-
- 13
-
-
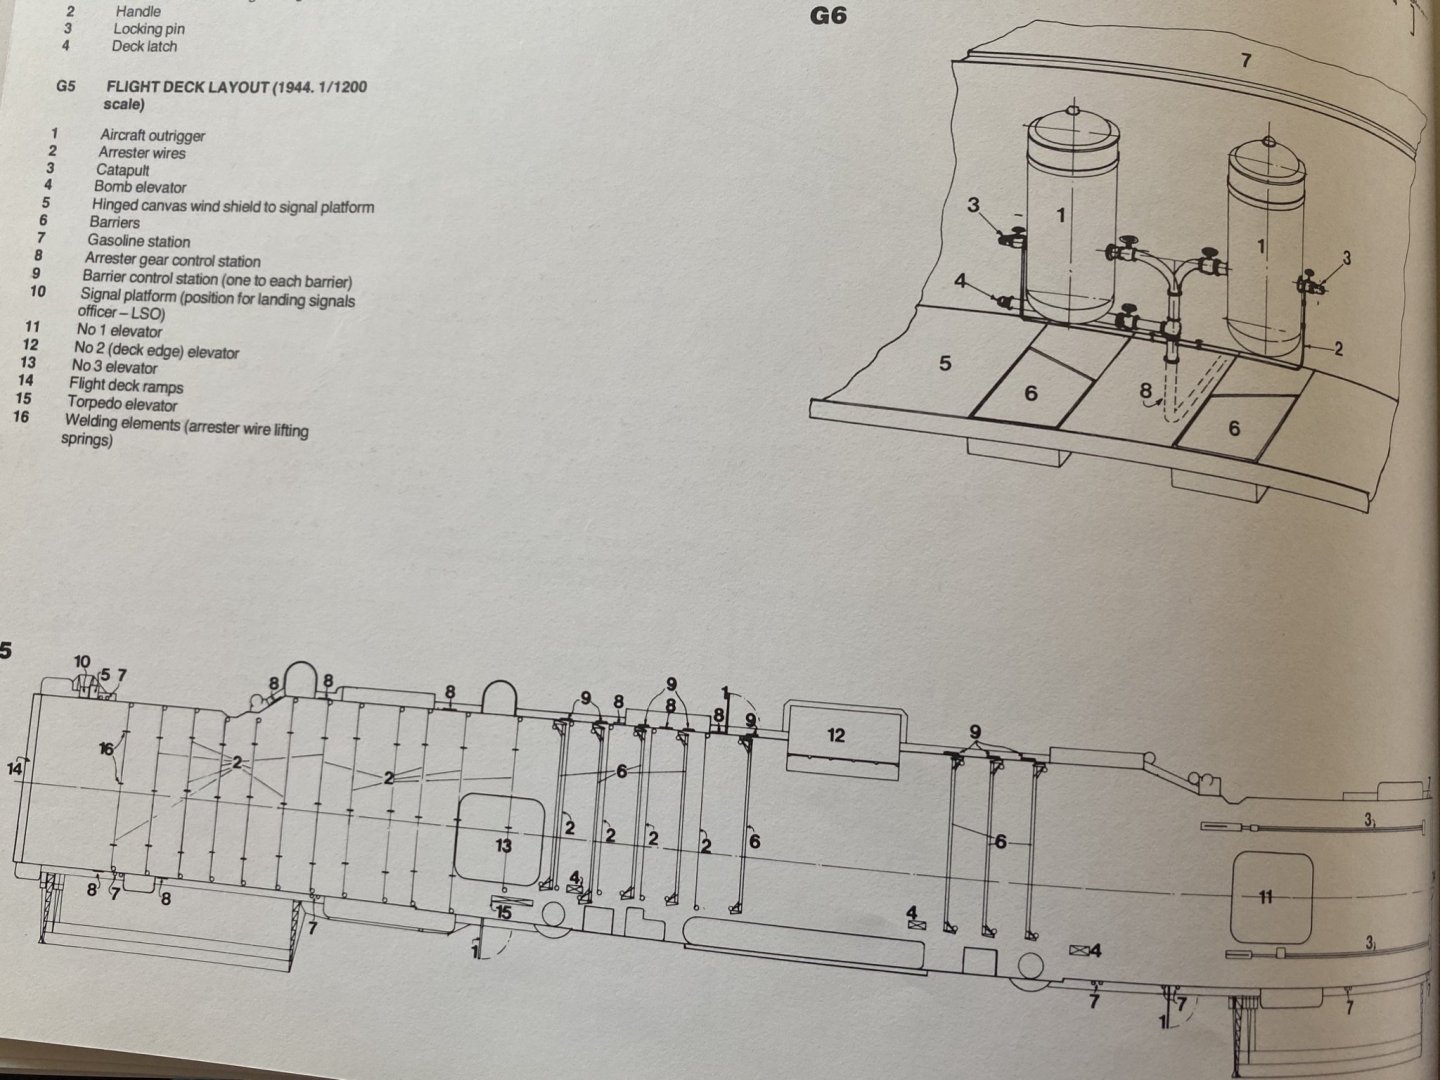
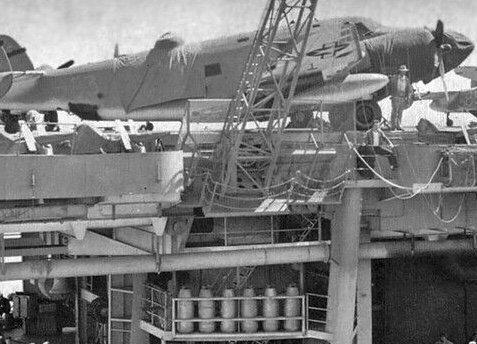
Now, after much consultation I believe the next bit is gasoline lines. The kit gives a half baked attempt at them, so a little bit of plumbing work ....


- 308 replies
-
- 19
-
-
Thanks, now the hull is together it’s fun again, The level of detail is somewhat limited by how much reference I can find.
-
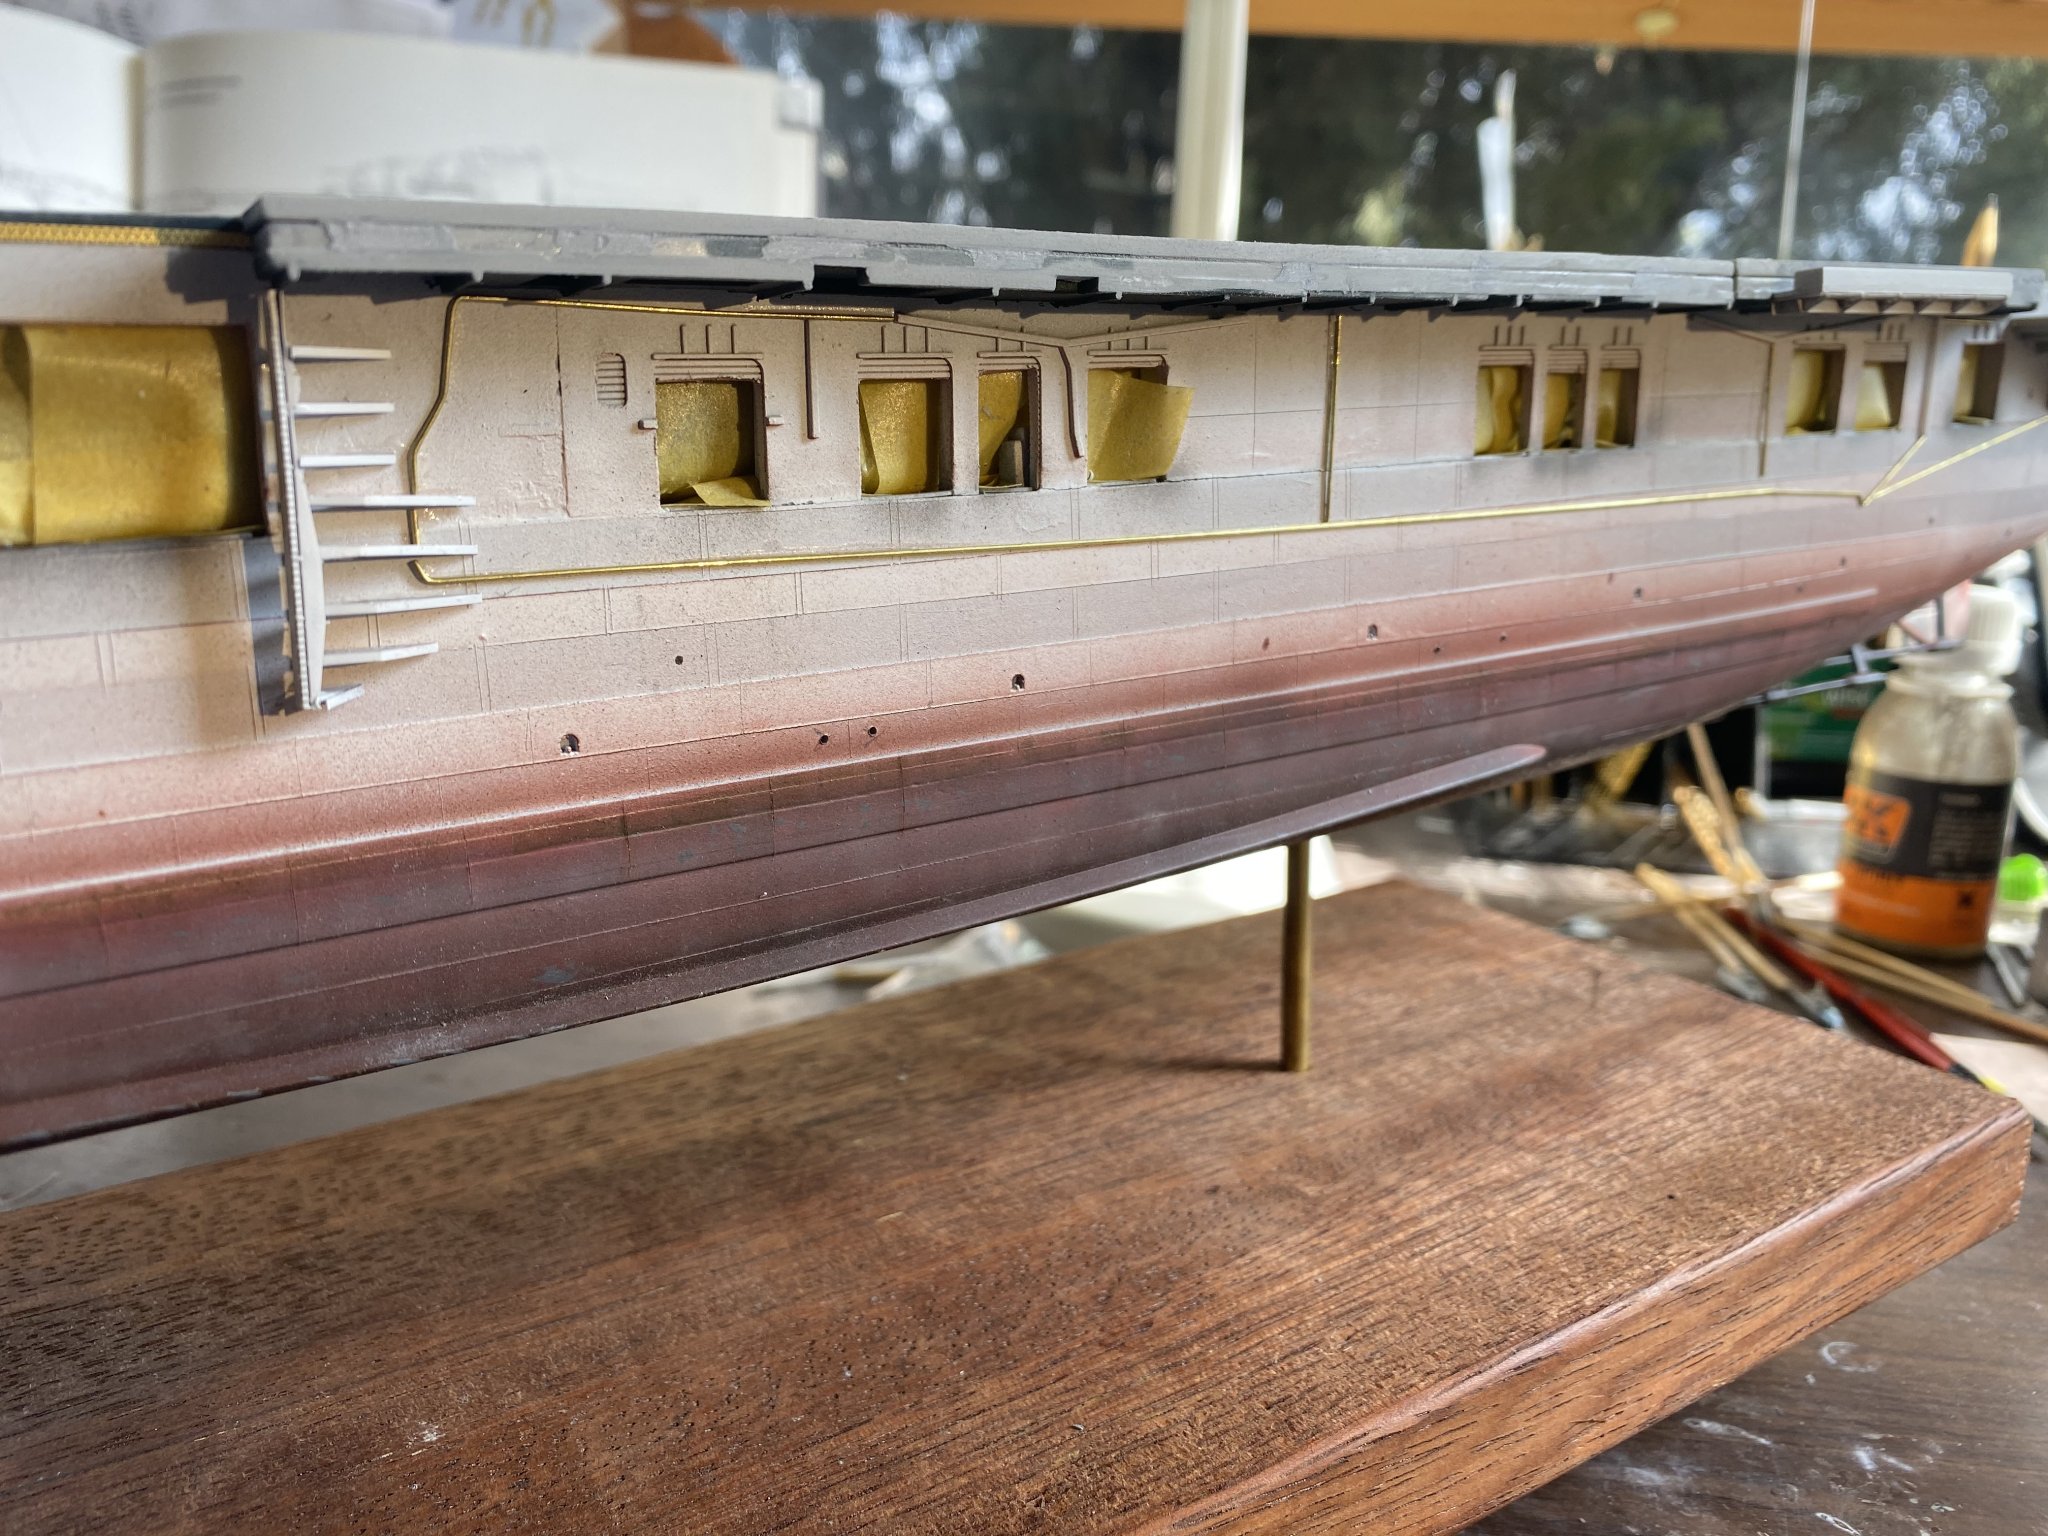
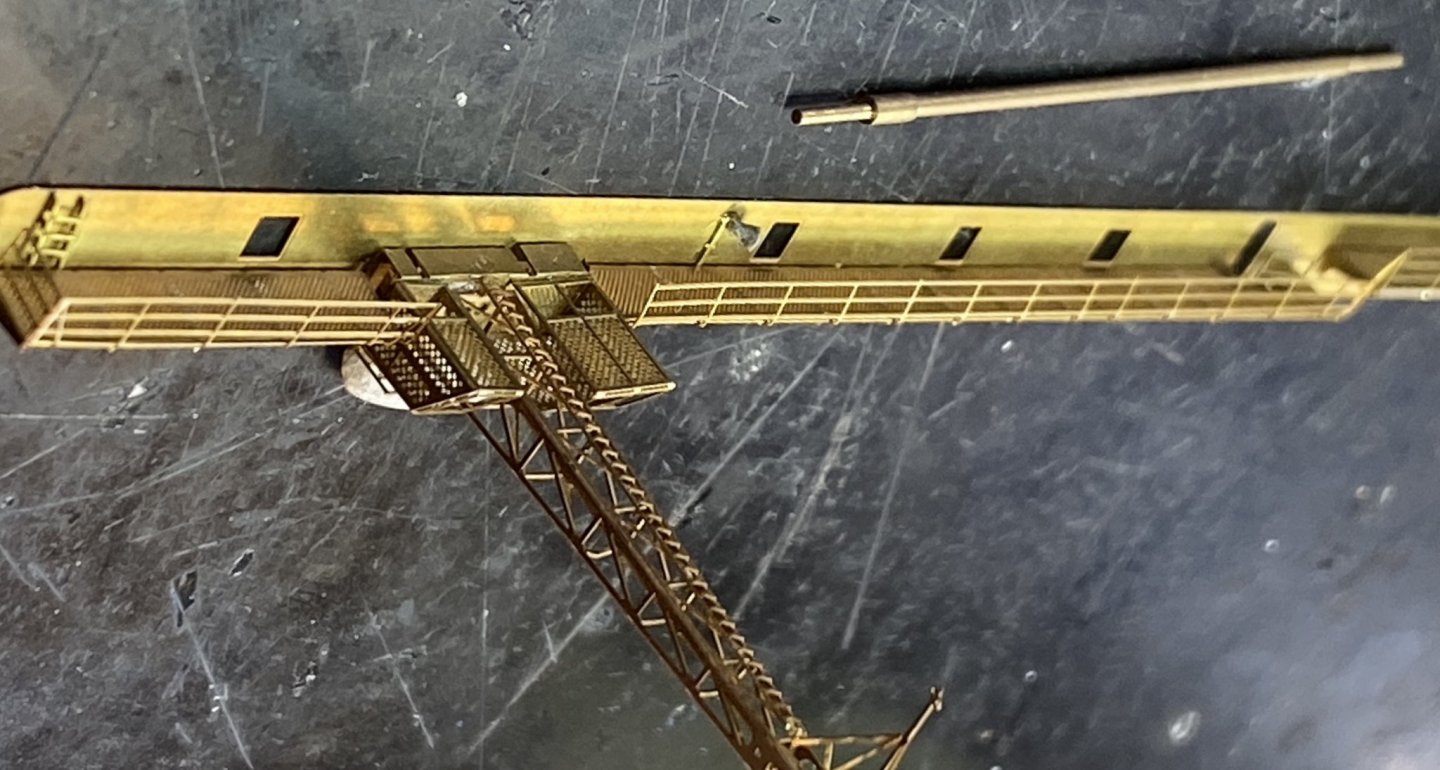
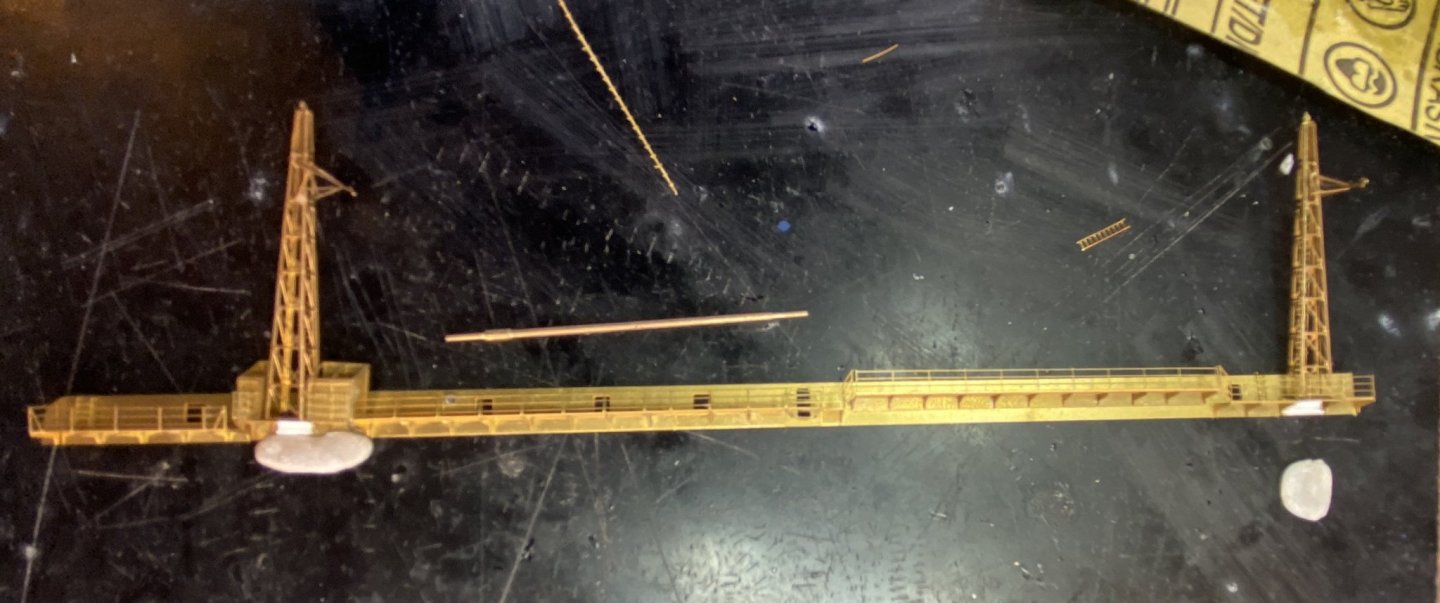
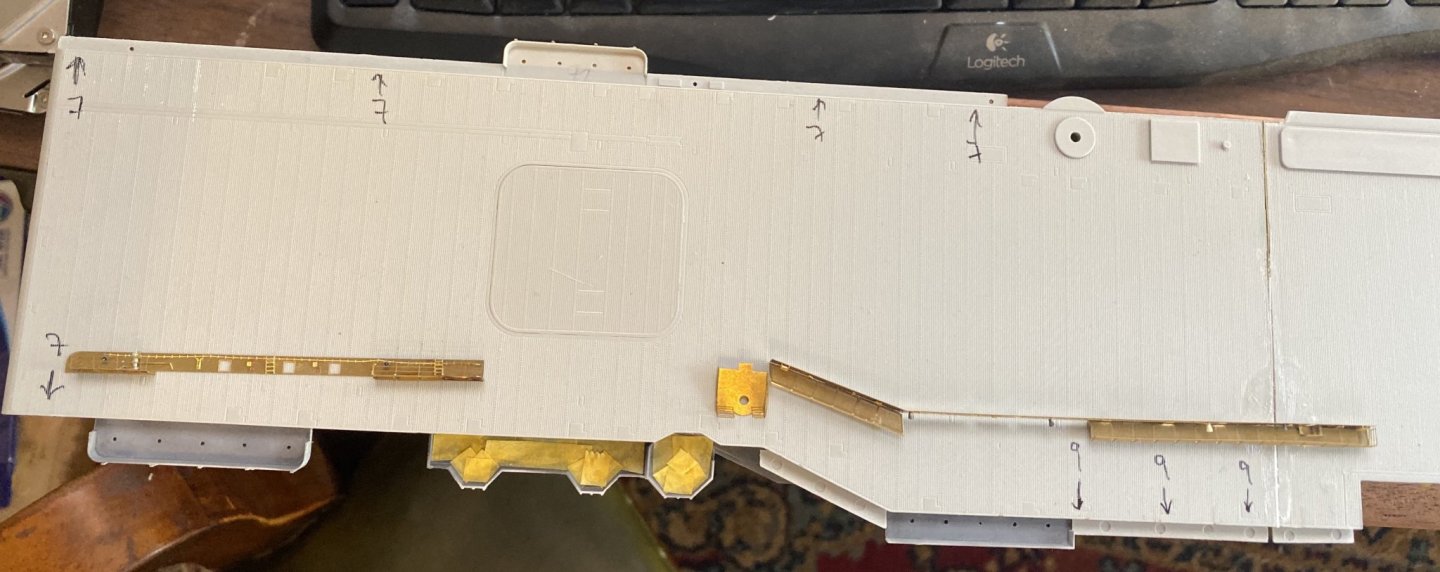
Port side catwalks. I’ve added details like microphone boxes and speakers, with controls for the arrestor cables, fire hydrants and gasoline stations to be added later after painted off ship. I’ll probably do the gasoline pipes on this side next before moving to starboard as they have some somewhat “complex” radio towers which I need to figure out how to sling outboard. These is a LOT of detail to go yet. IMG_1323.MOV

- 308 replies
-
- 14
-
-
Well done, always good to have another plastic person here
- 20 replies
-
- 4
-
-
- prince of wales
- tamiya
- (and 2 more)
-
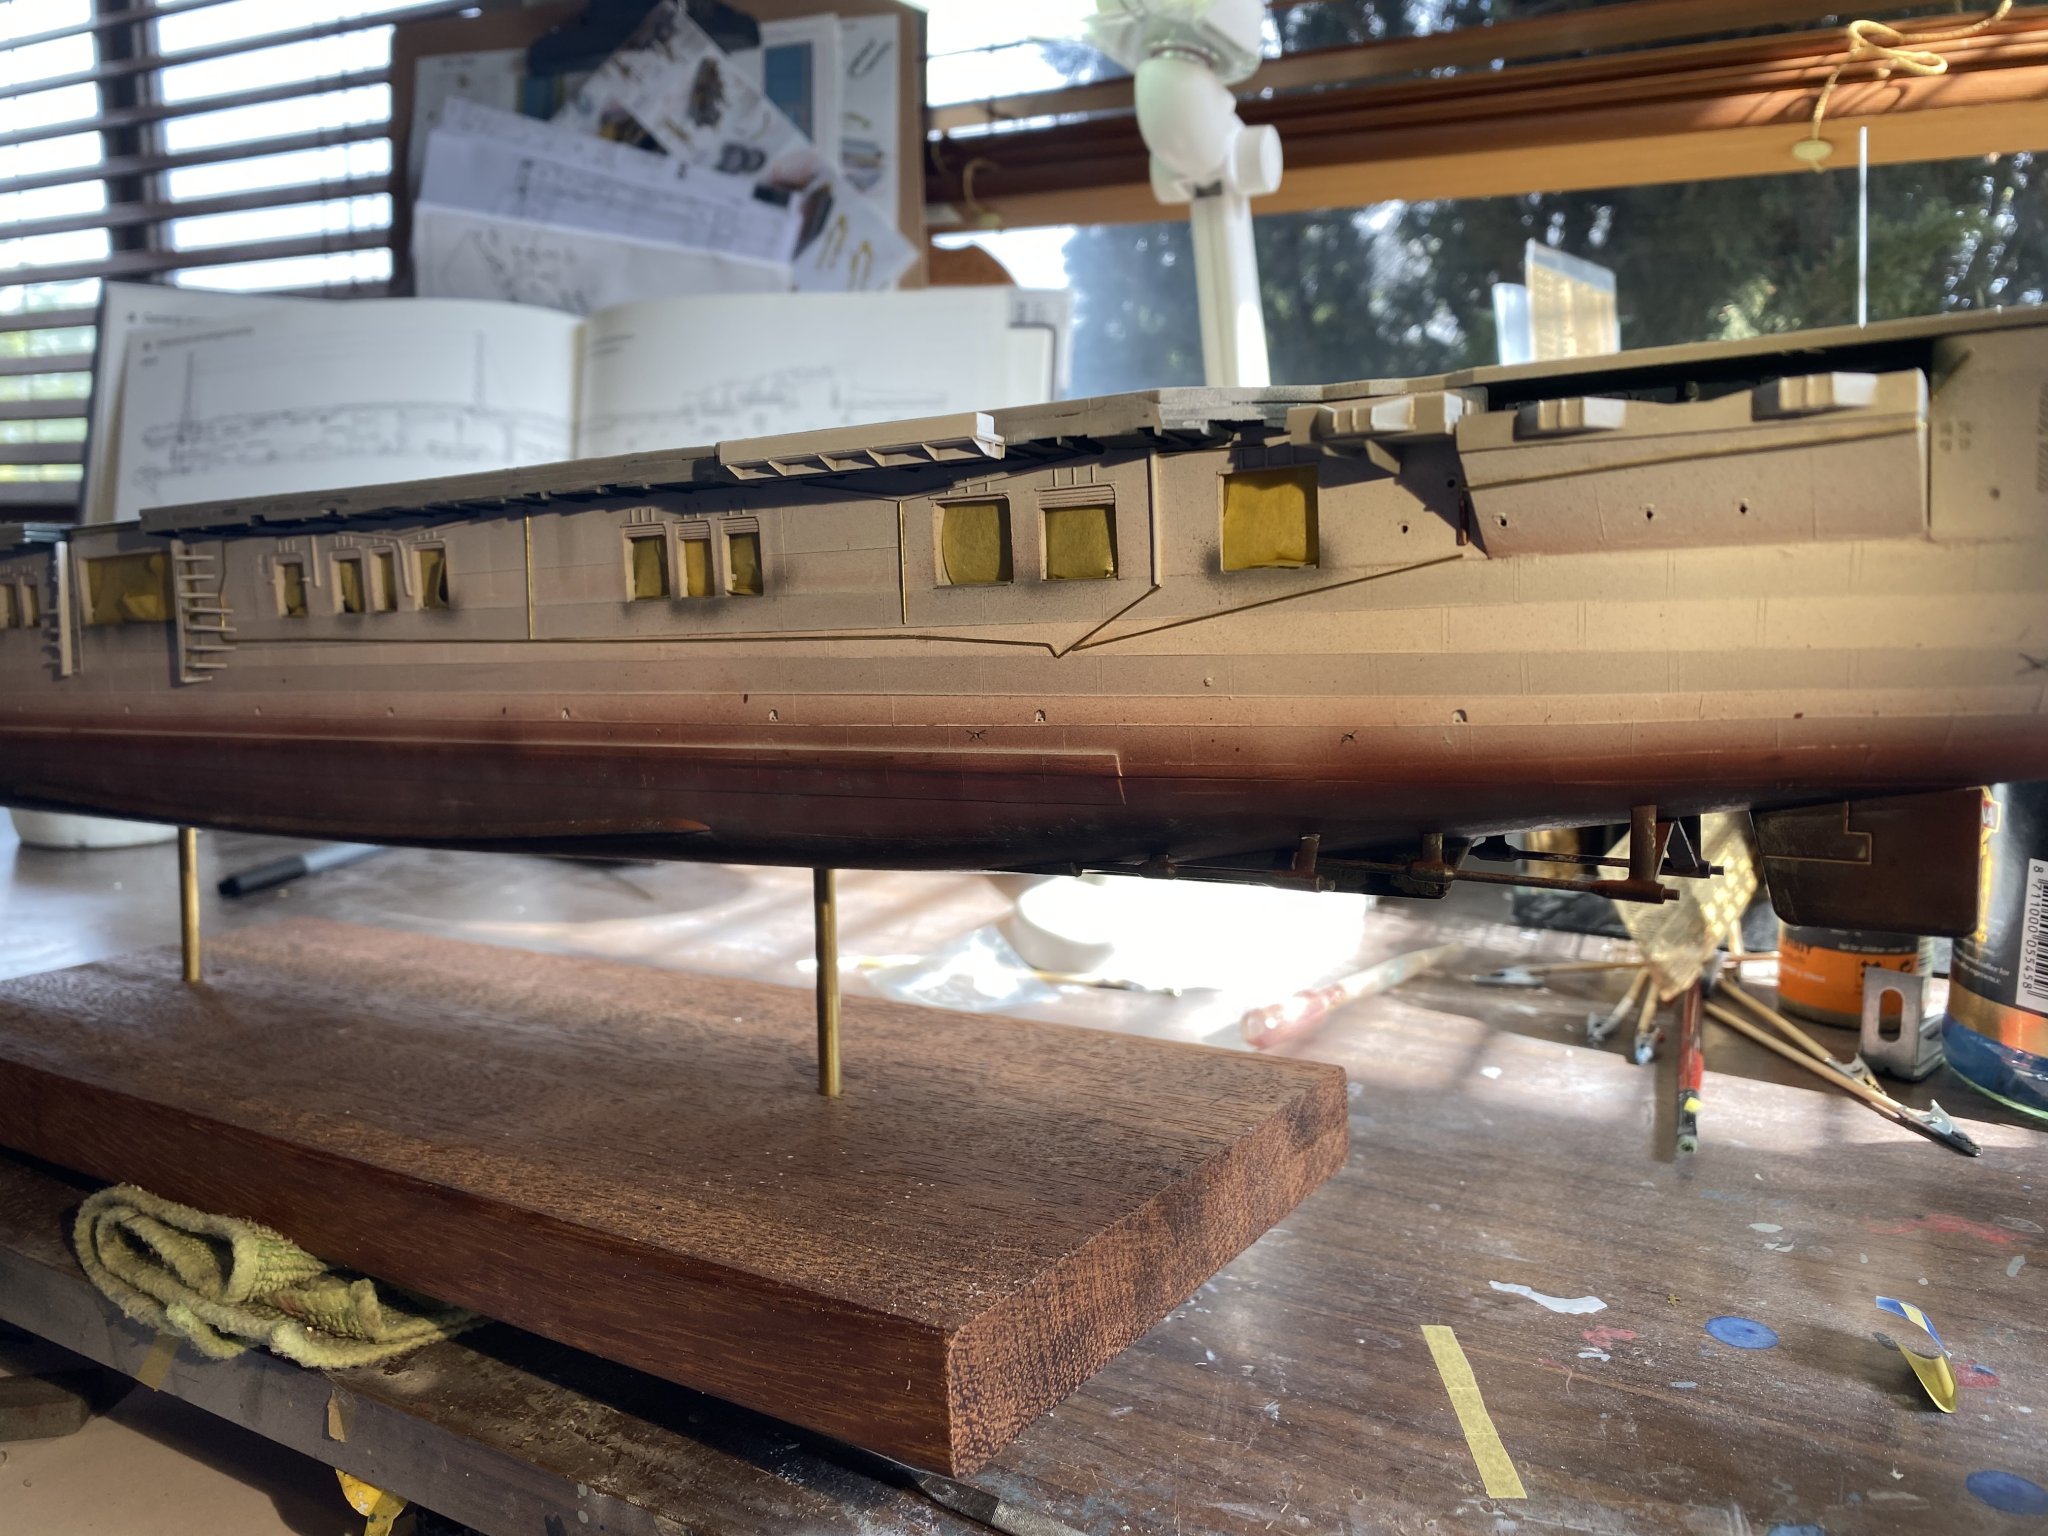
I’d say they’d use condensers for that given the large crew. I was wondering if they were seawater pump lines for fire fighting equipment at the deck level.
-
Now, a question to the gallery, there are a series of pipes running alongside and down the hull. I don’t know if they are water or fuel?
-
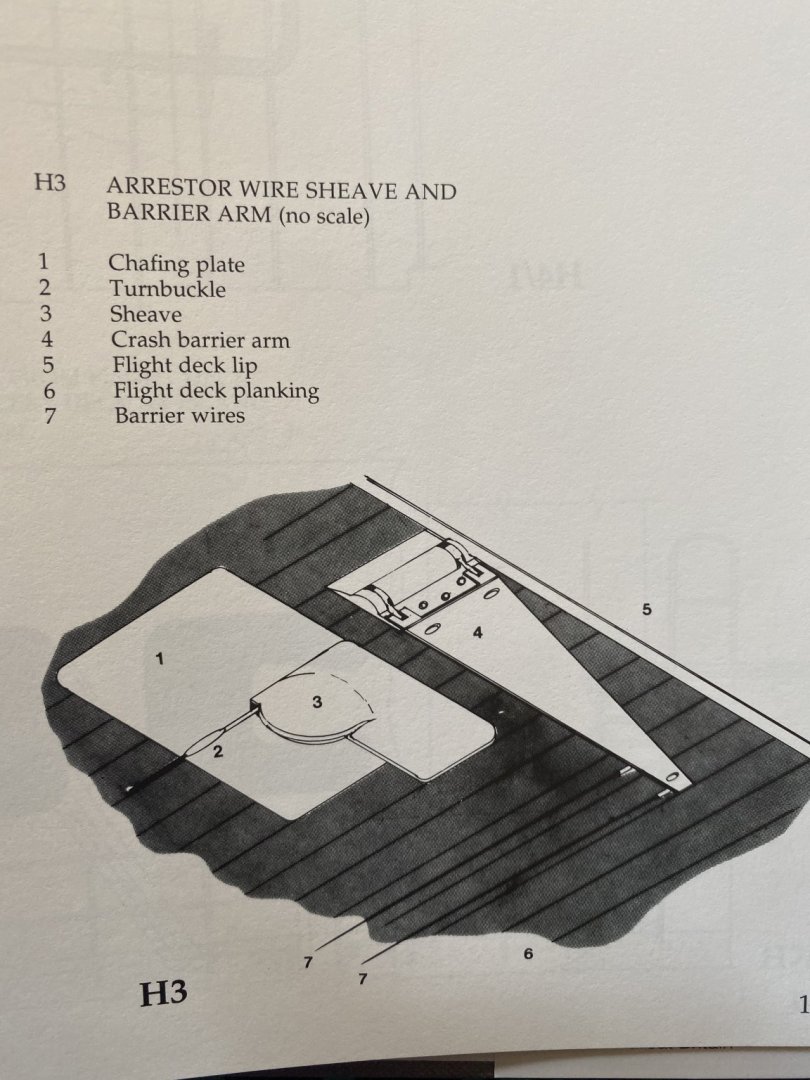
Wasn’t good enough so re did it. 16 pieces all up as there is one for the barriers and one for the arrestor cables. Fuel next.

- 308 replies
-
- 12
-
-
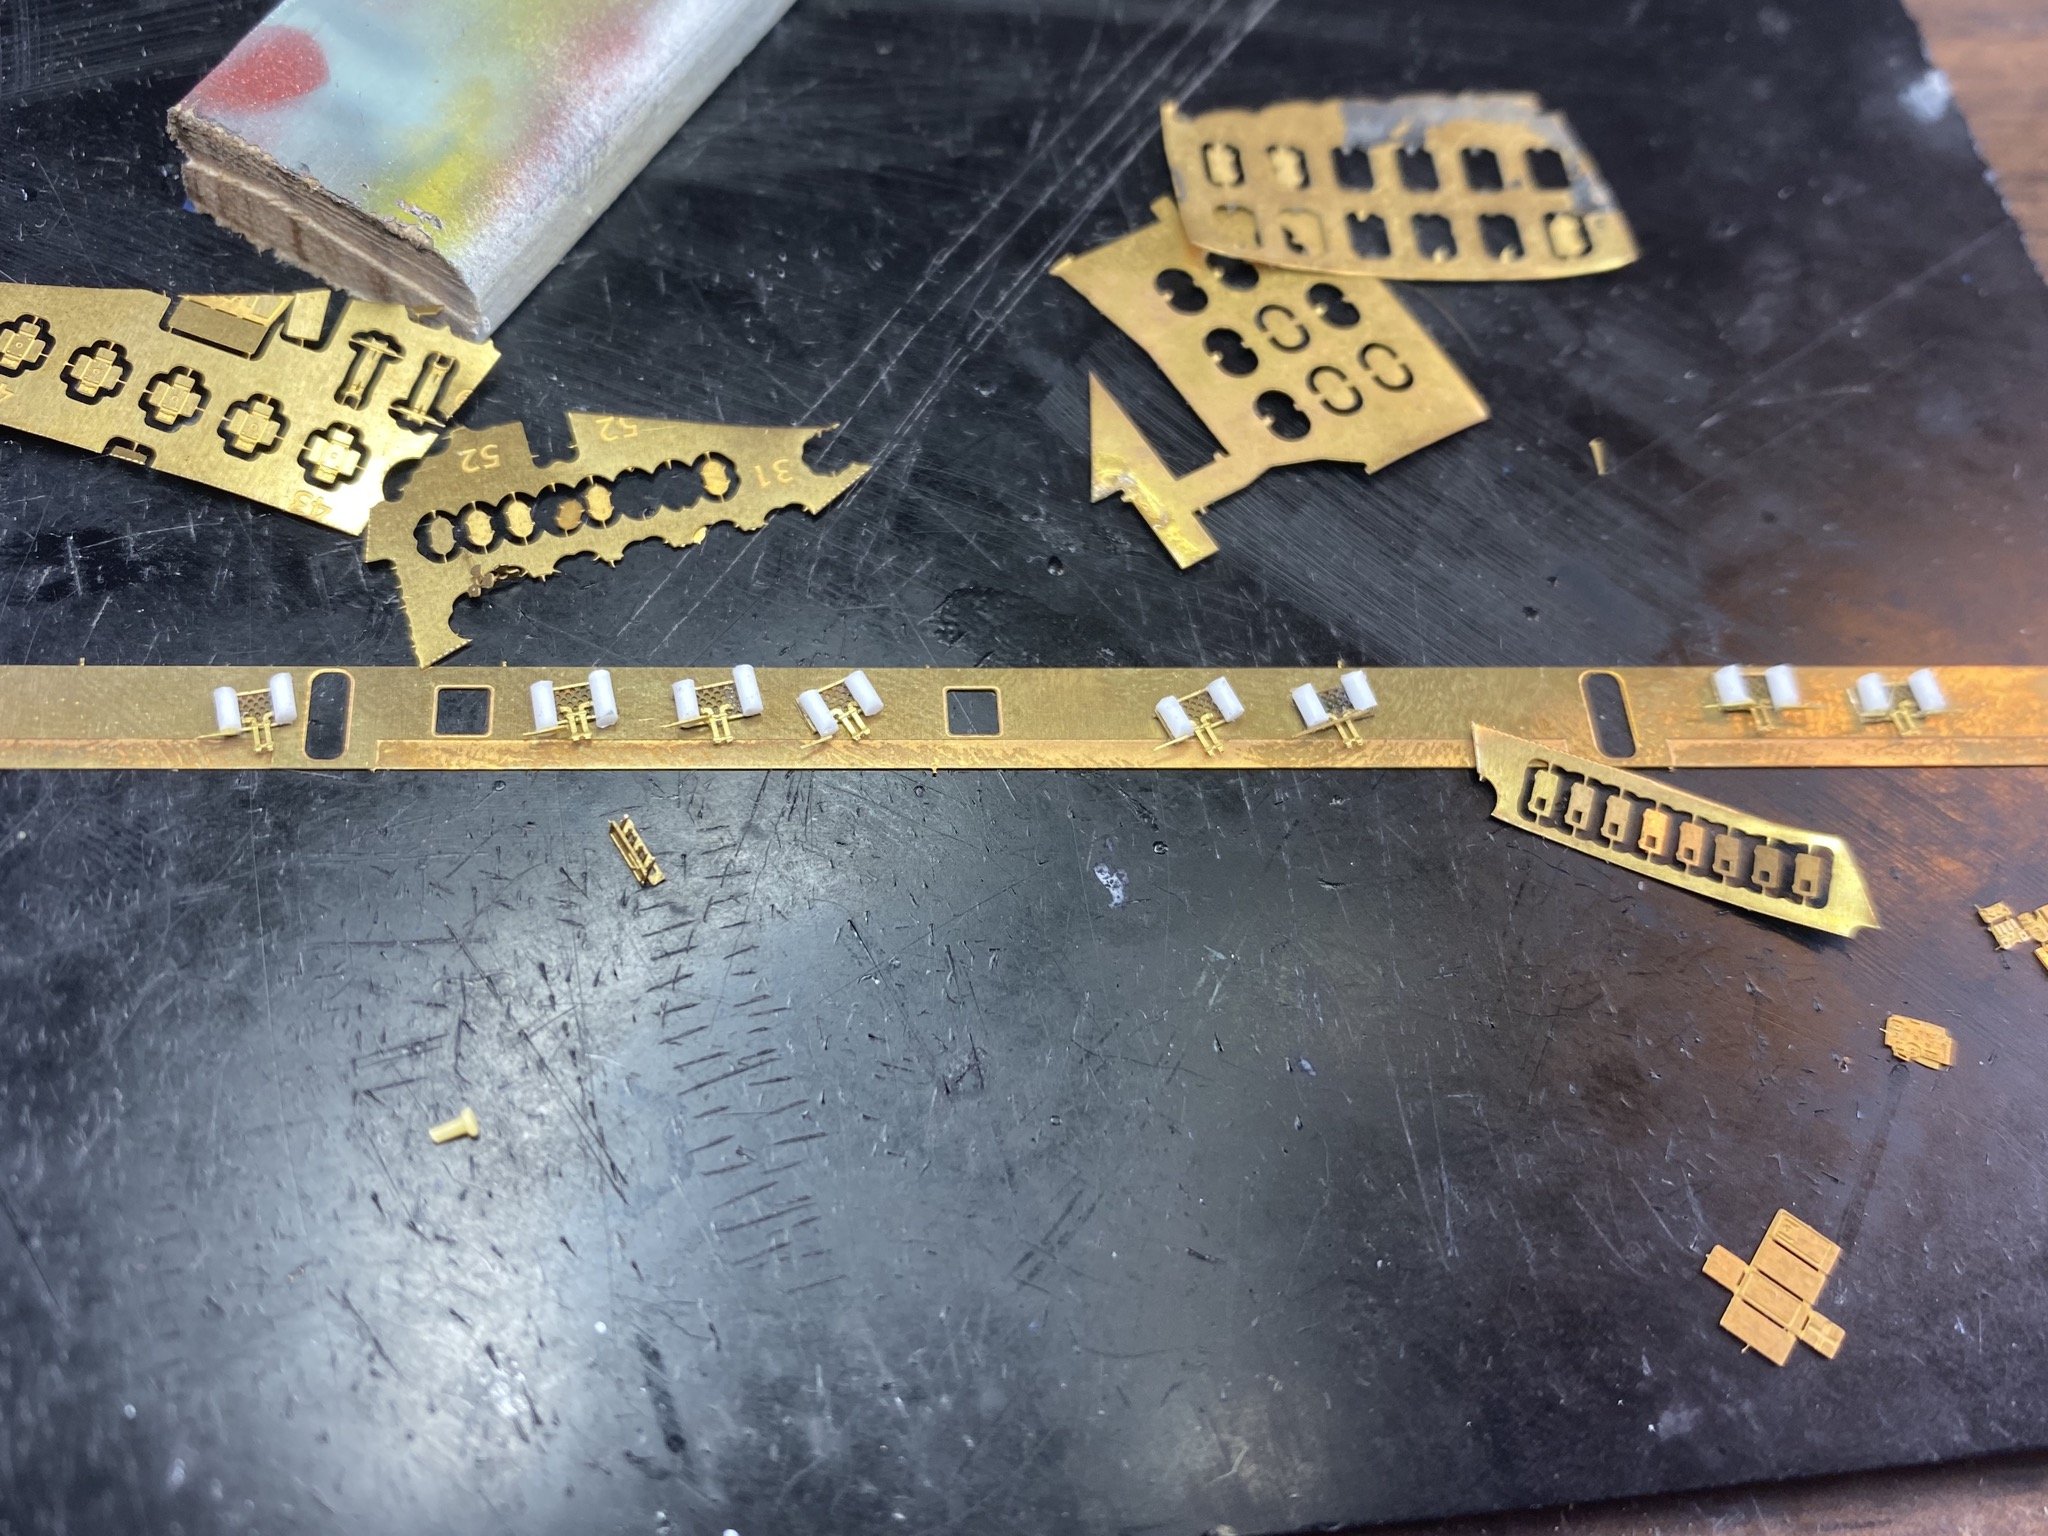
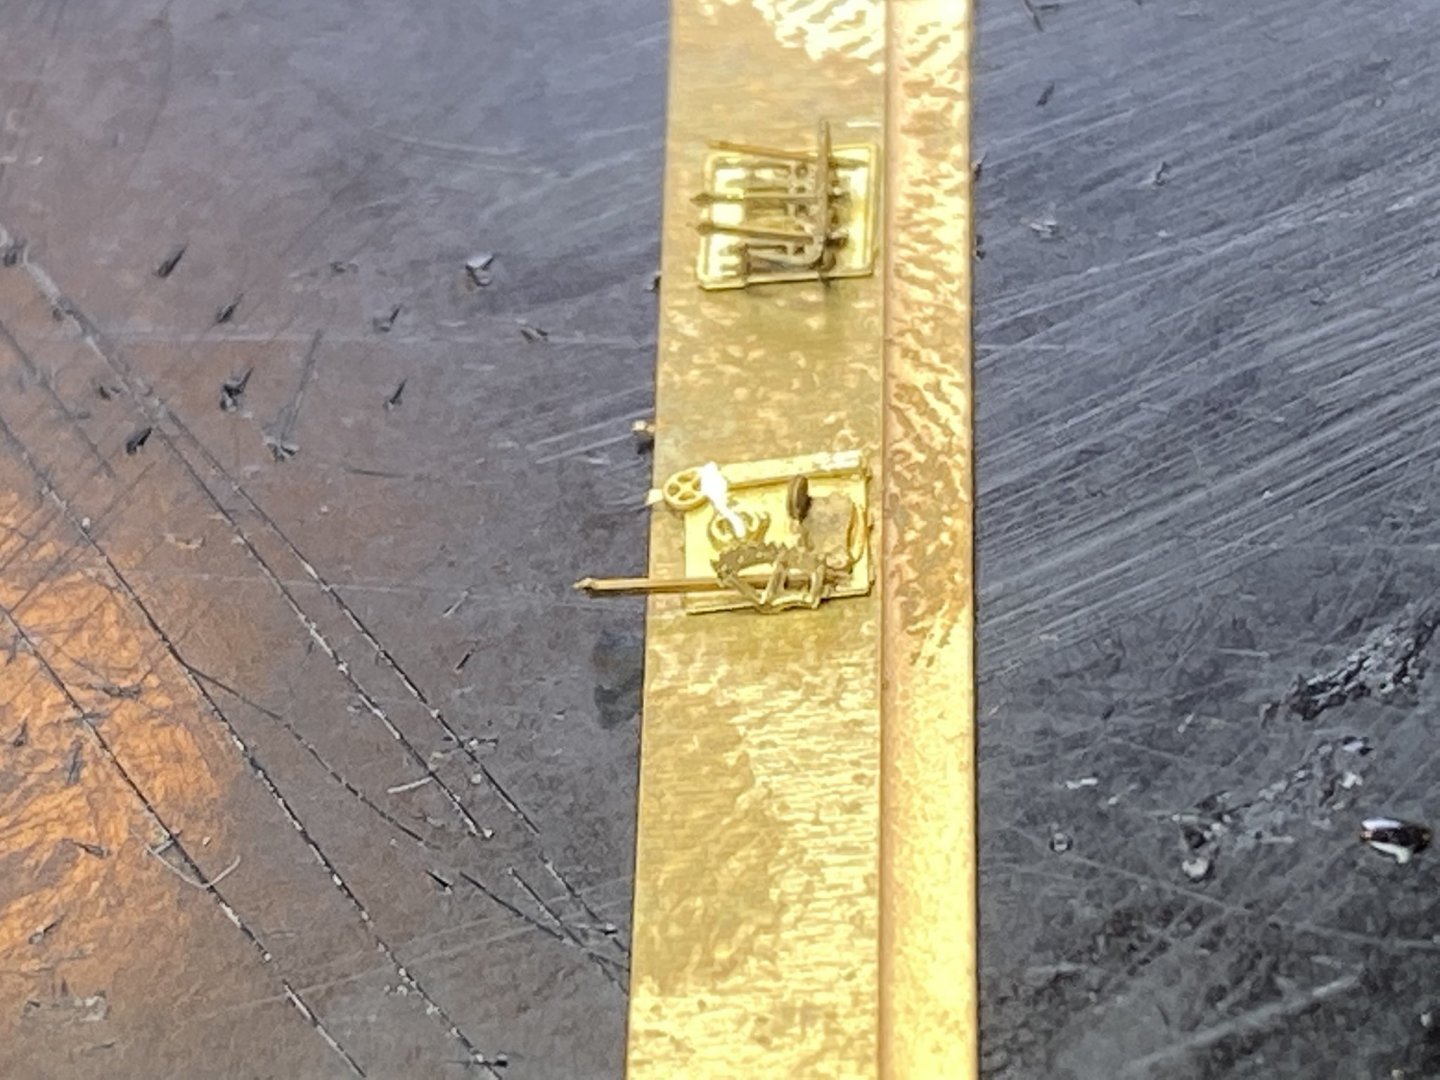
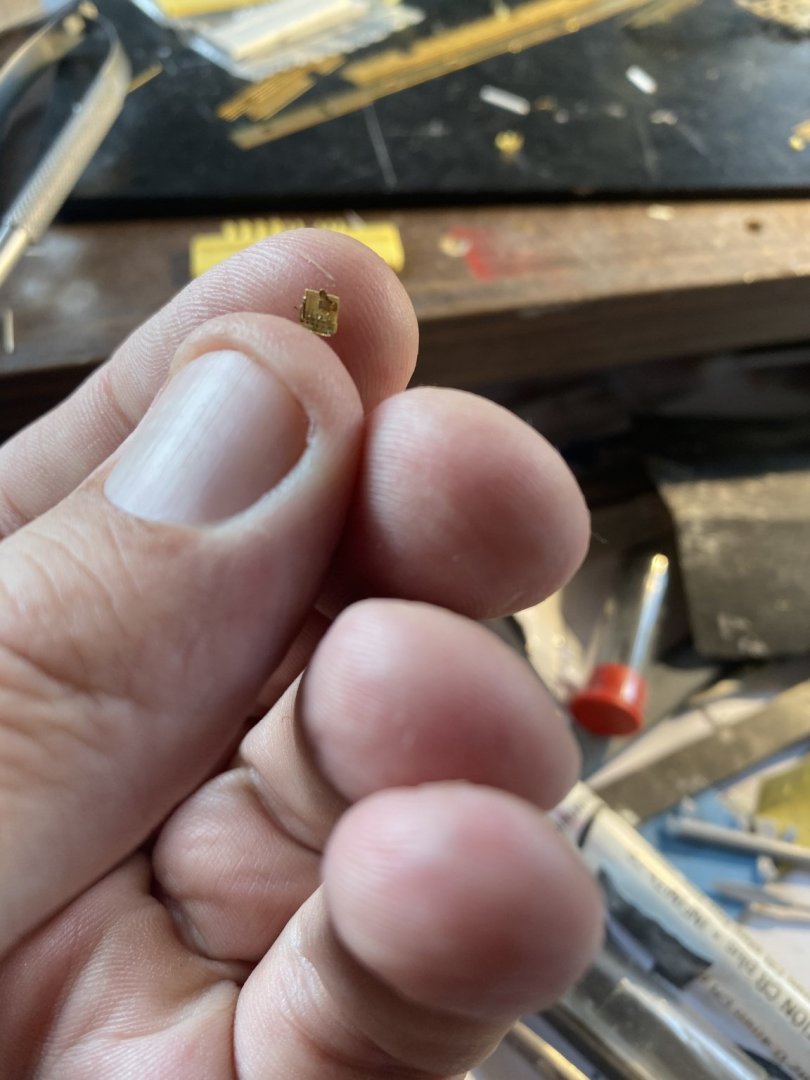
So I’ve scratch built from spares an arrestor gear station. I think it’s probably as much as is warranted given it’s not really visible with the naked eye.


- 308 replies
-
- 18
-
-
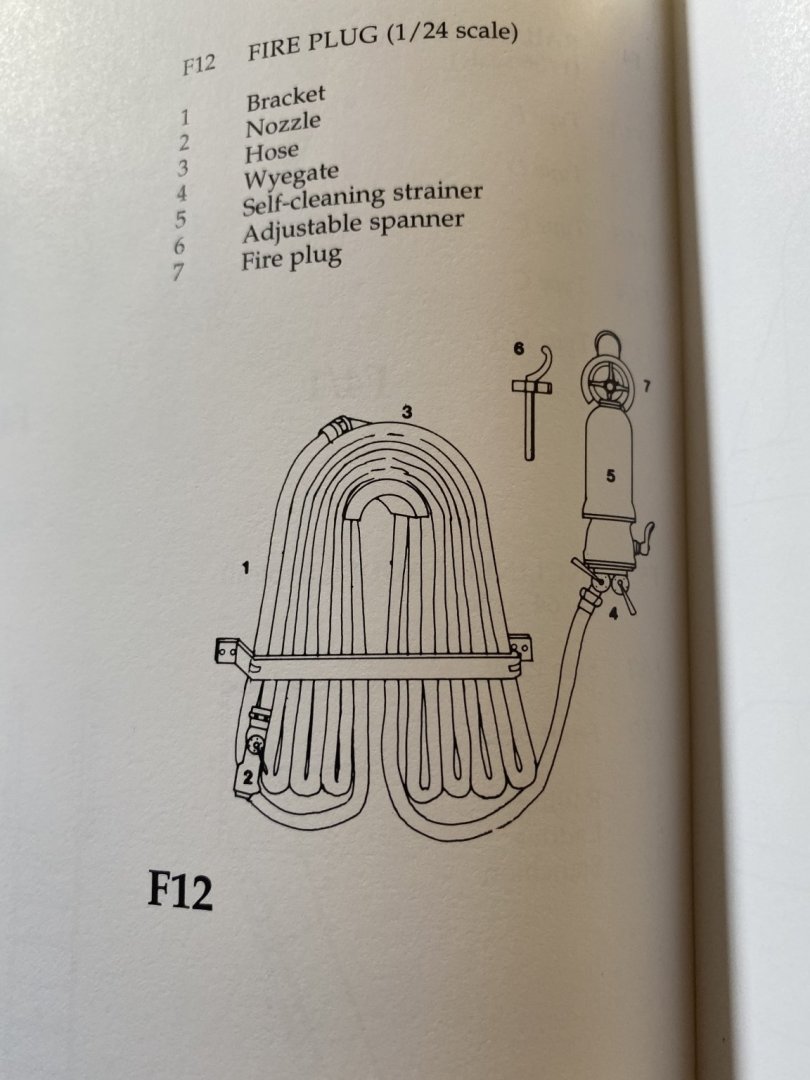
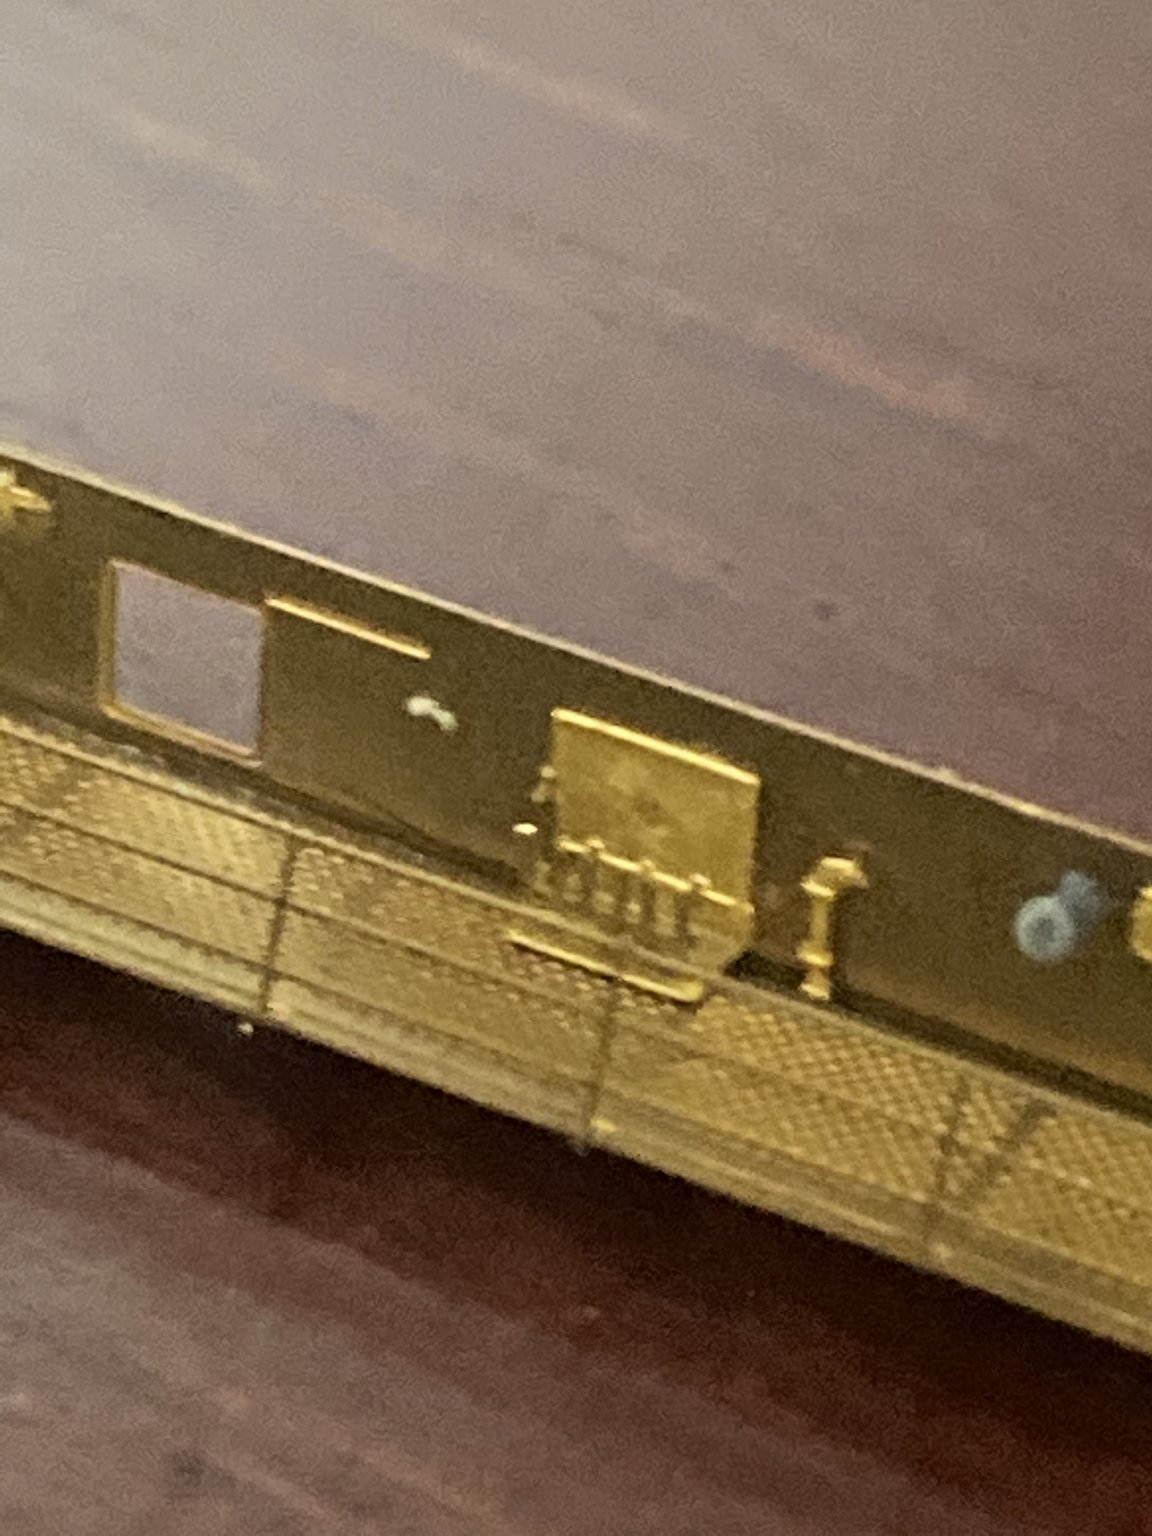
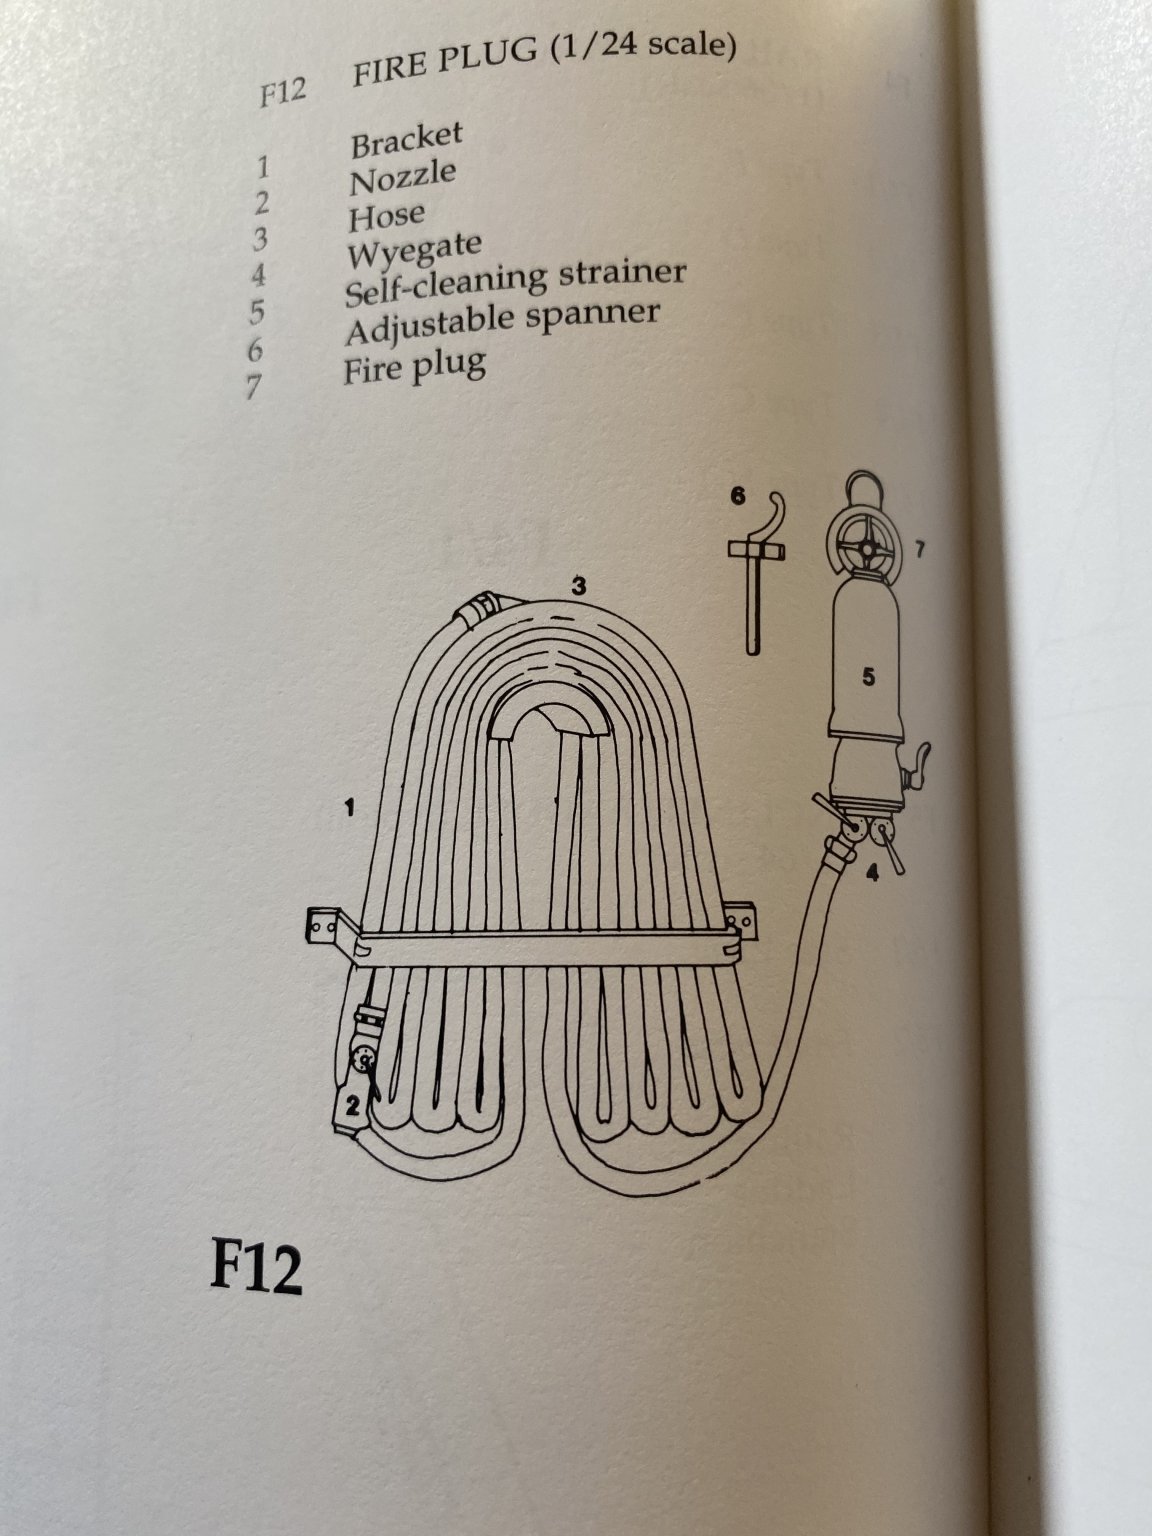
This image from the AOTS shows placements on the catwalks for the Arrestor gear control stations, barrier control stations and fueling stations. I found the image in my previous post on Facebook (can’t find any other images anywhere) but I’m yet to find one of the barrier control station. This will all have to be scratch built but Pontos actually provides the Buts in image 2.What is not included is the fire hoses which I’ve found after after market Ive also found fire hydrants which I’ll add.