RGL
-
Posts
5,056 -
Joined
-
Last visited
Content Type
Profiles
Forums
Gallery
Events
Everything posted by RGL
-
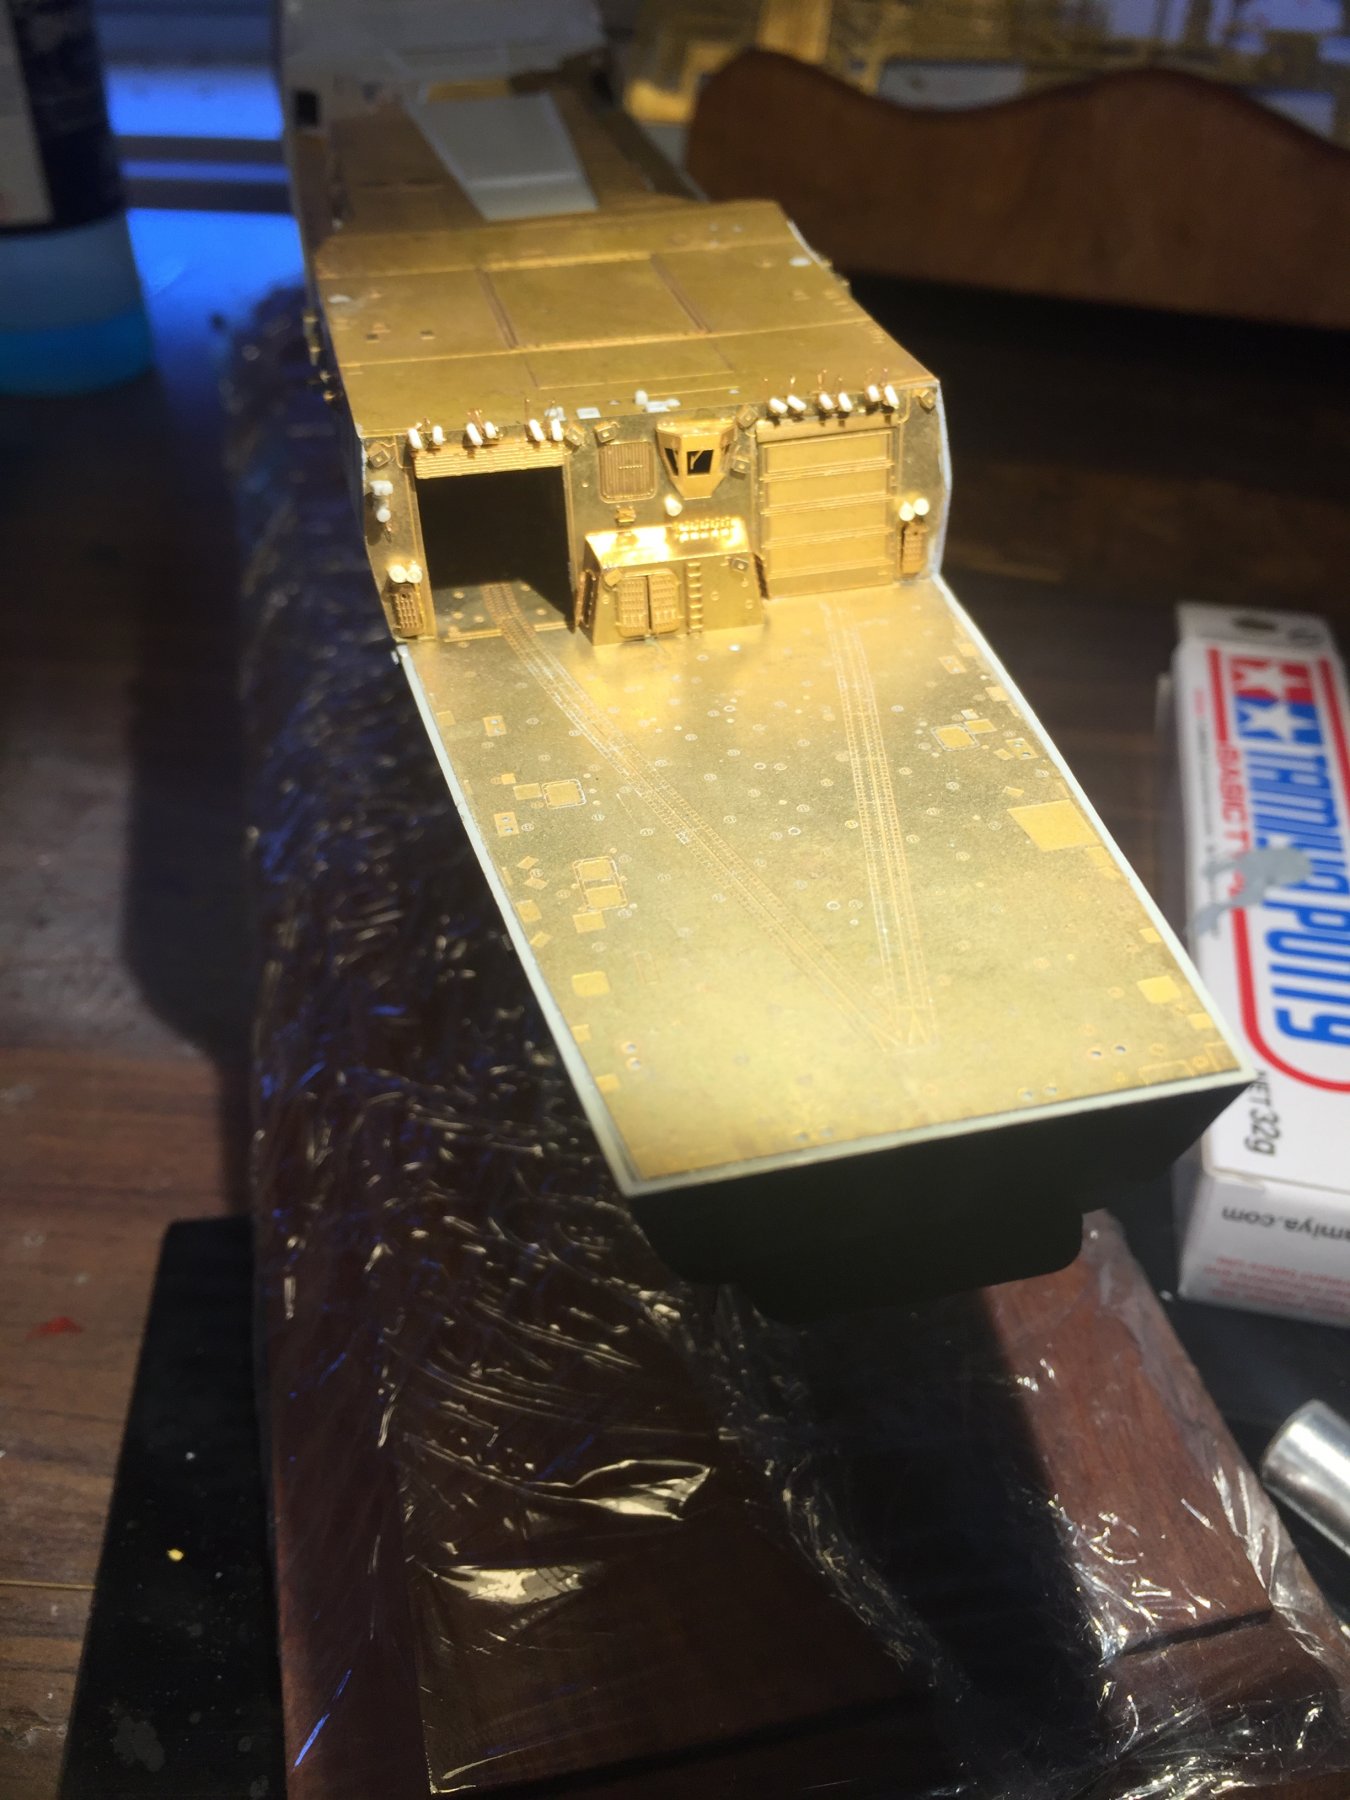
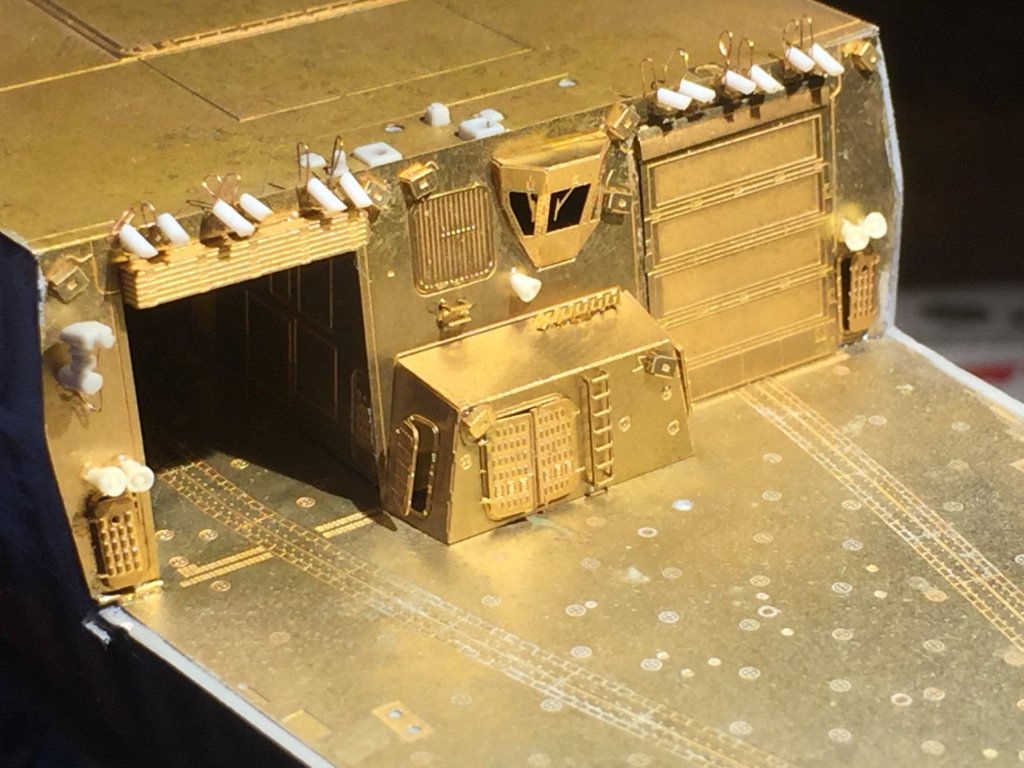
 Helicopter deck and hangars. For some reason, as fantastically detailed as Pontos is they don’t consider lights (the 12 above the hangar doors) or the 5 tannoys.
- 155 replies
-
- 11
-

-
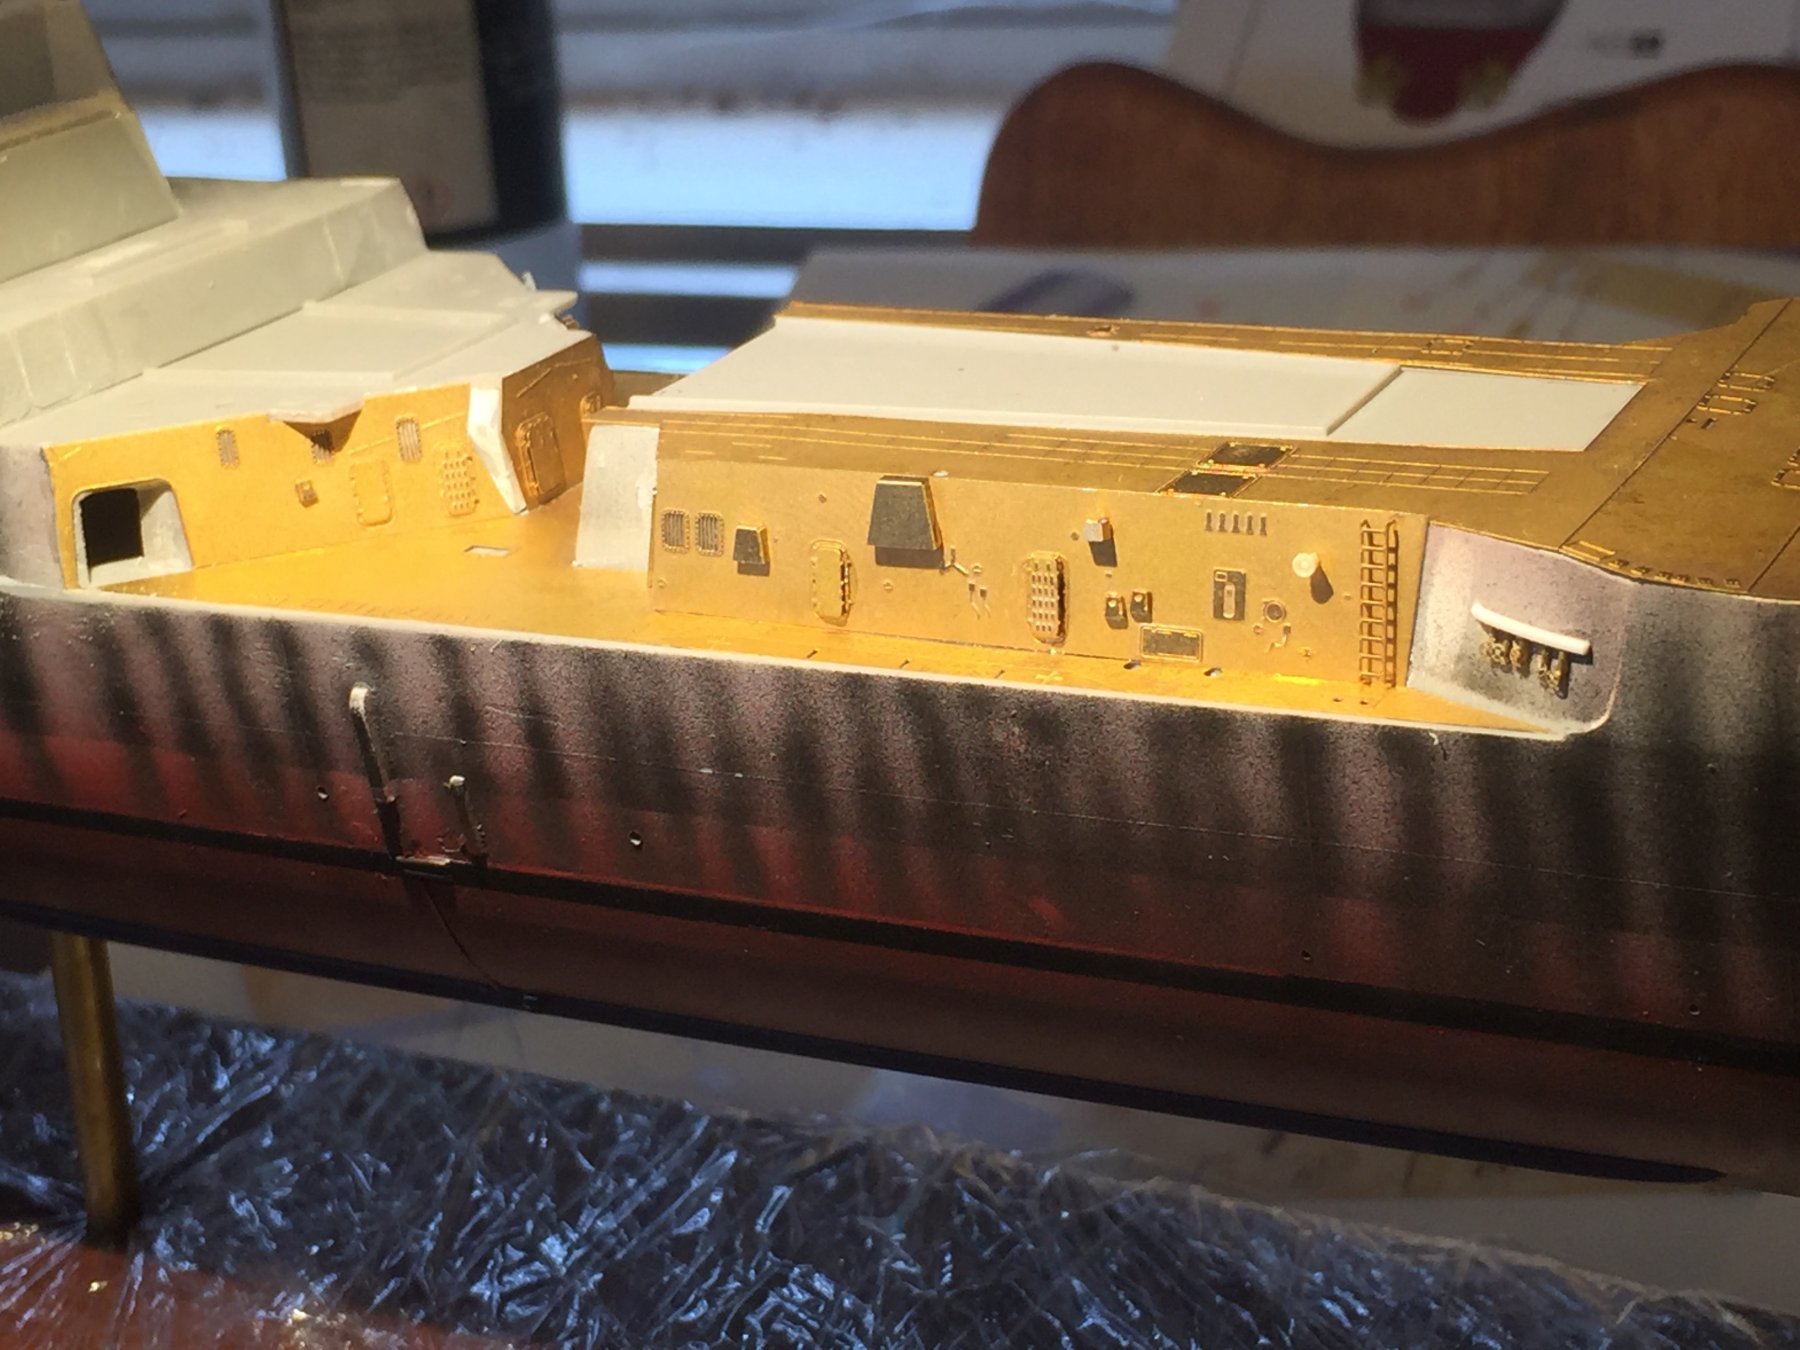
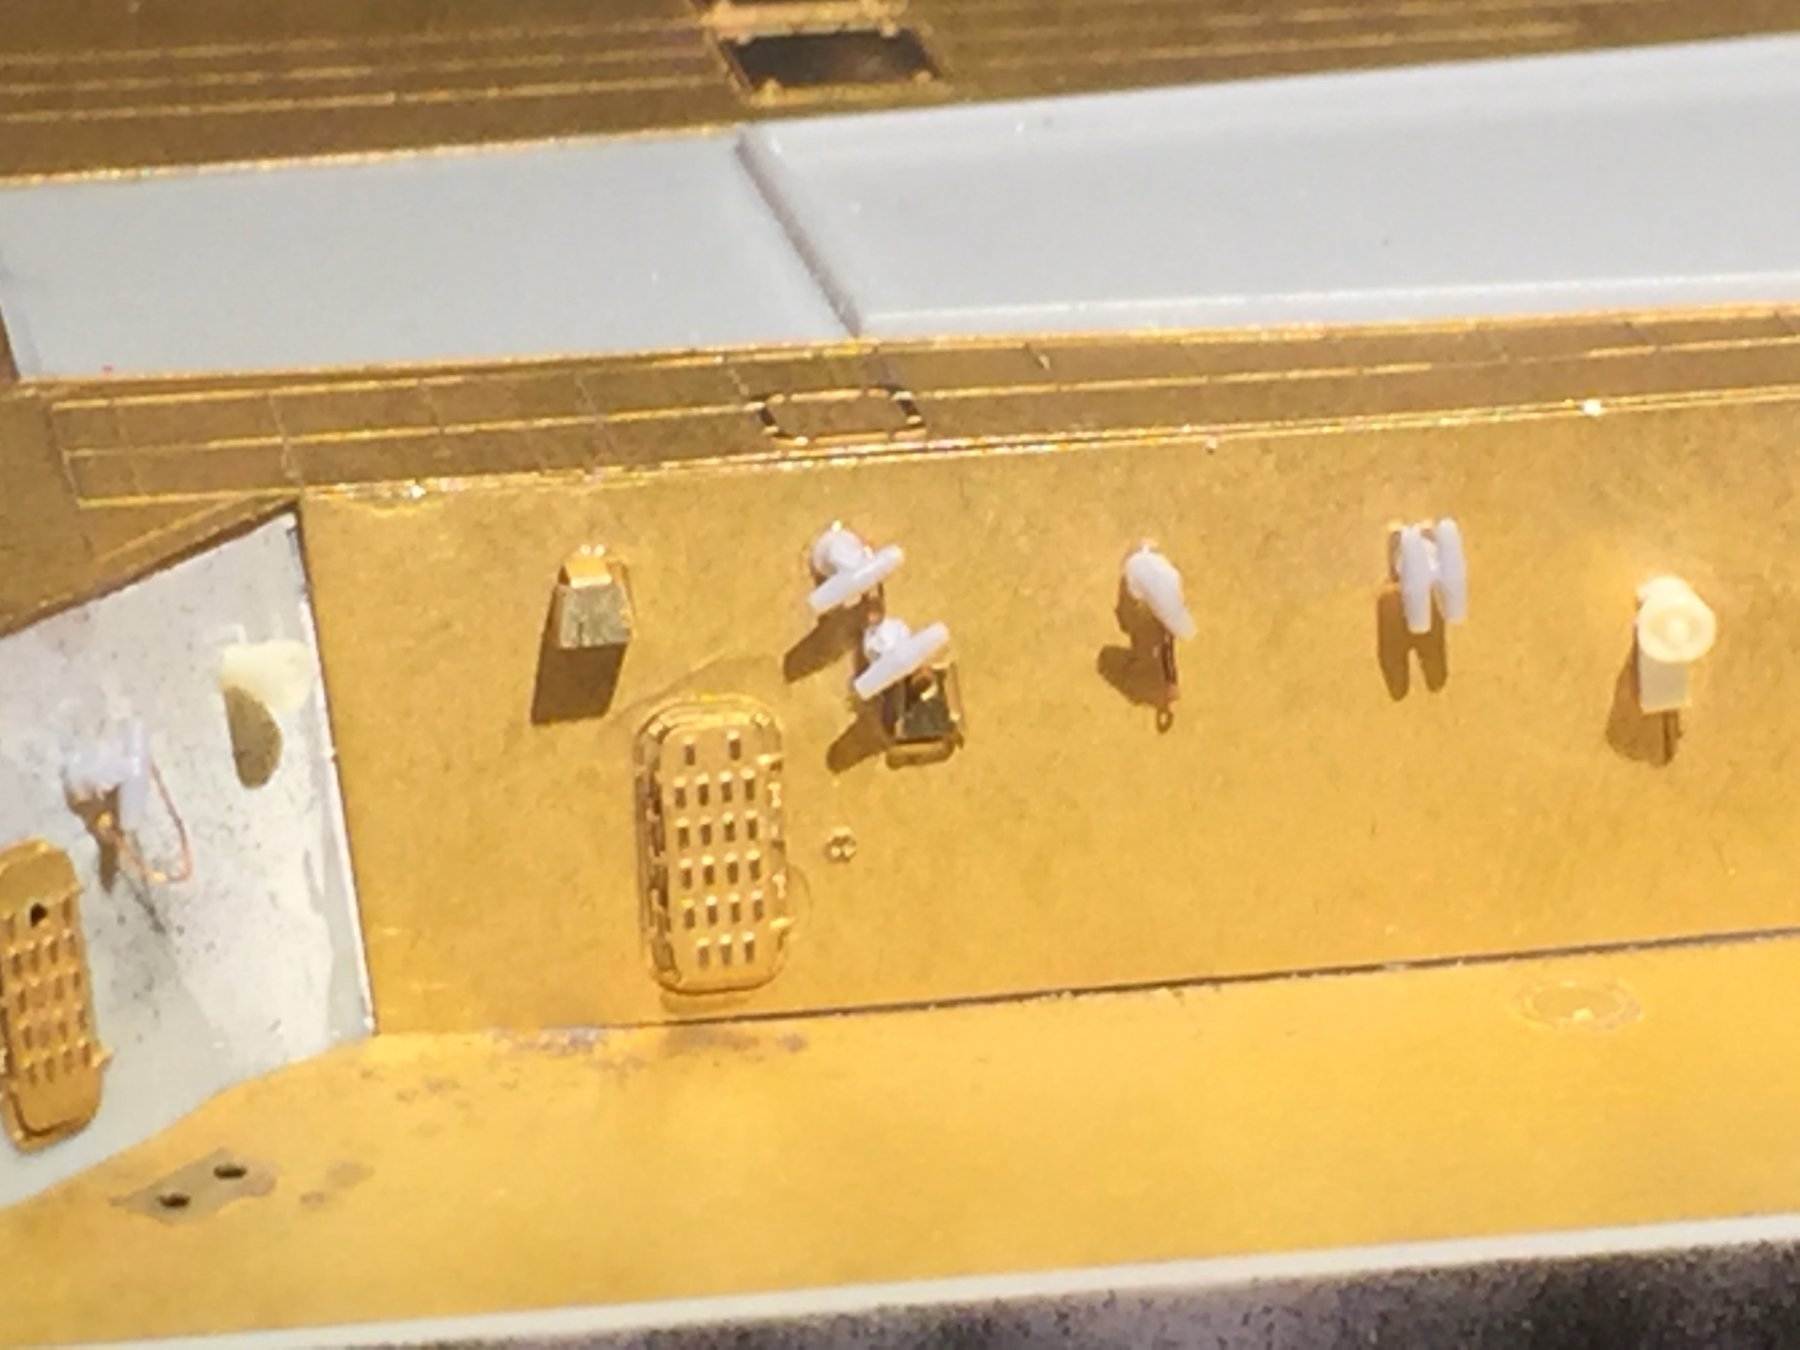
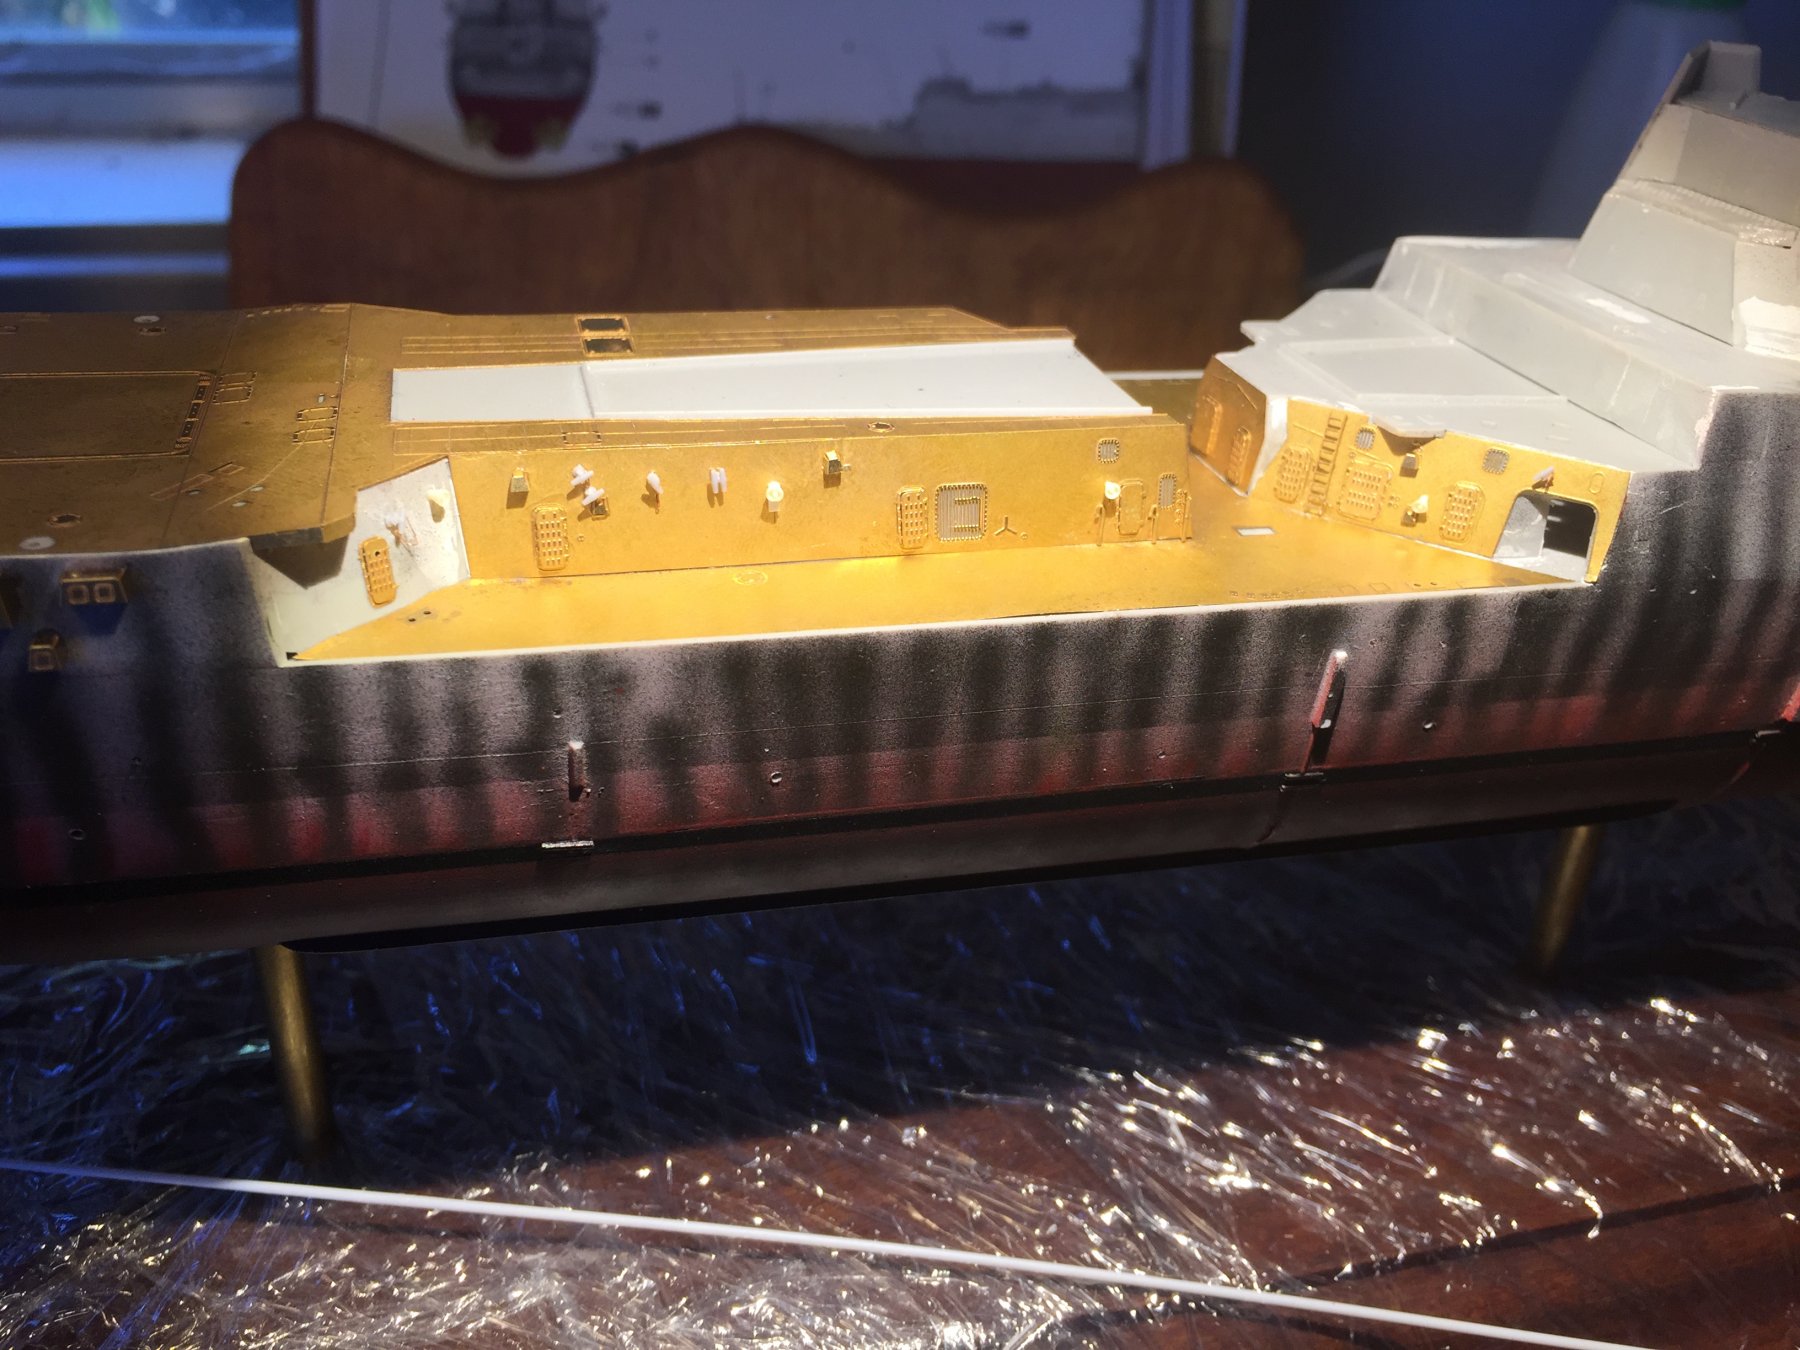
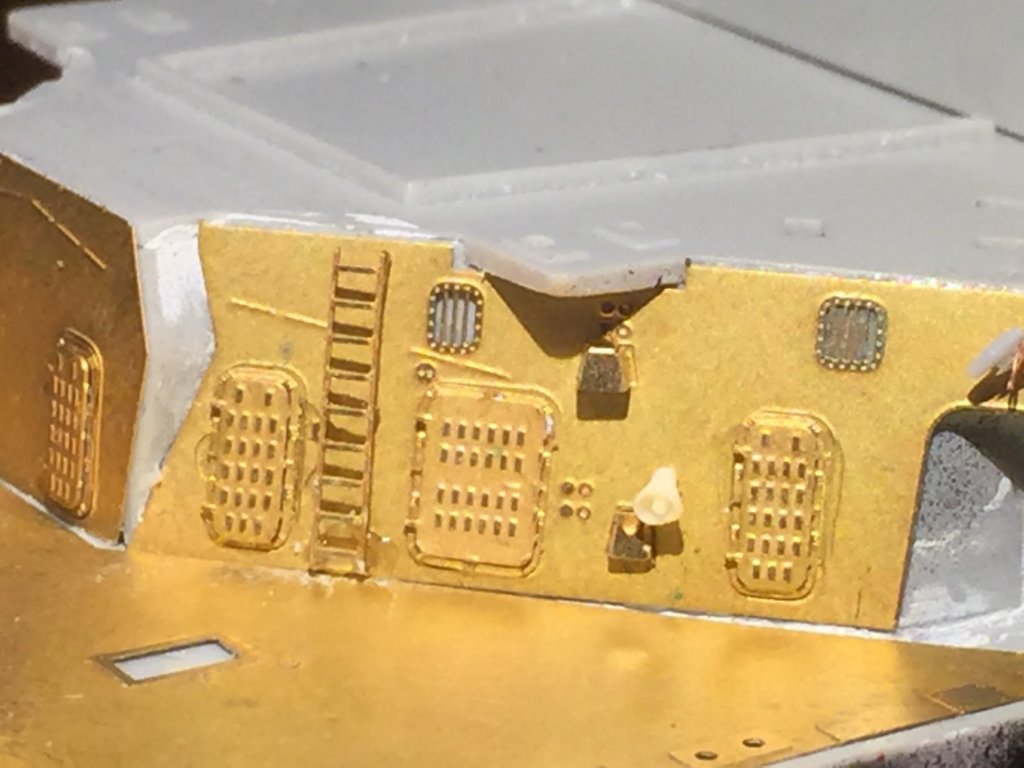
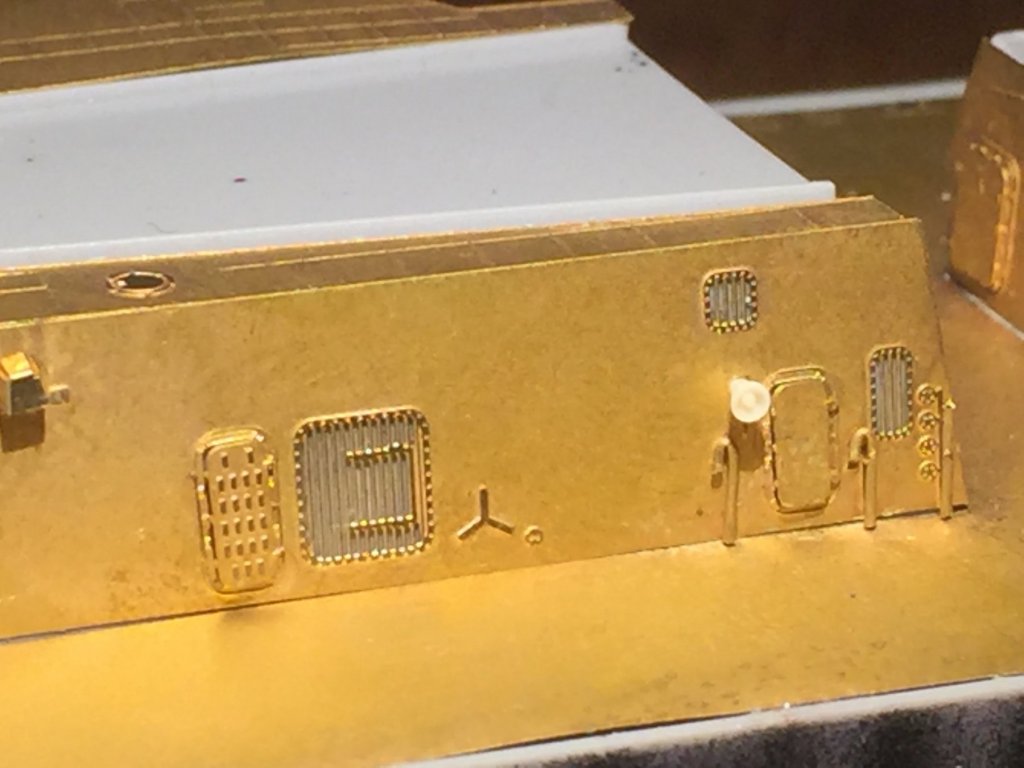
Moving along and commencing in the starboard side, I’m going to do the sides but not the decks prior to painting. I have added some extras such as speakers and lights which appear on the real ship. I also added some brass pipes which are etched in but not 3D. There are a LOT of fire hoses and life rings to add which I intend to paint on the frets and add after. There are are a few little gaps but there will be a lot of equipment in front of them and railings to go.


- 155 replies
-
- 10
-
-
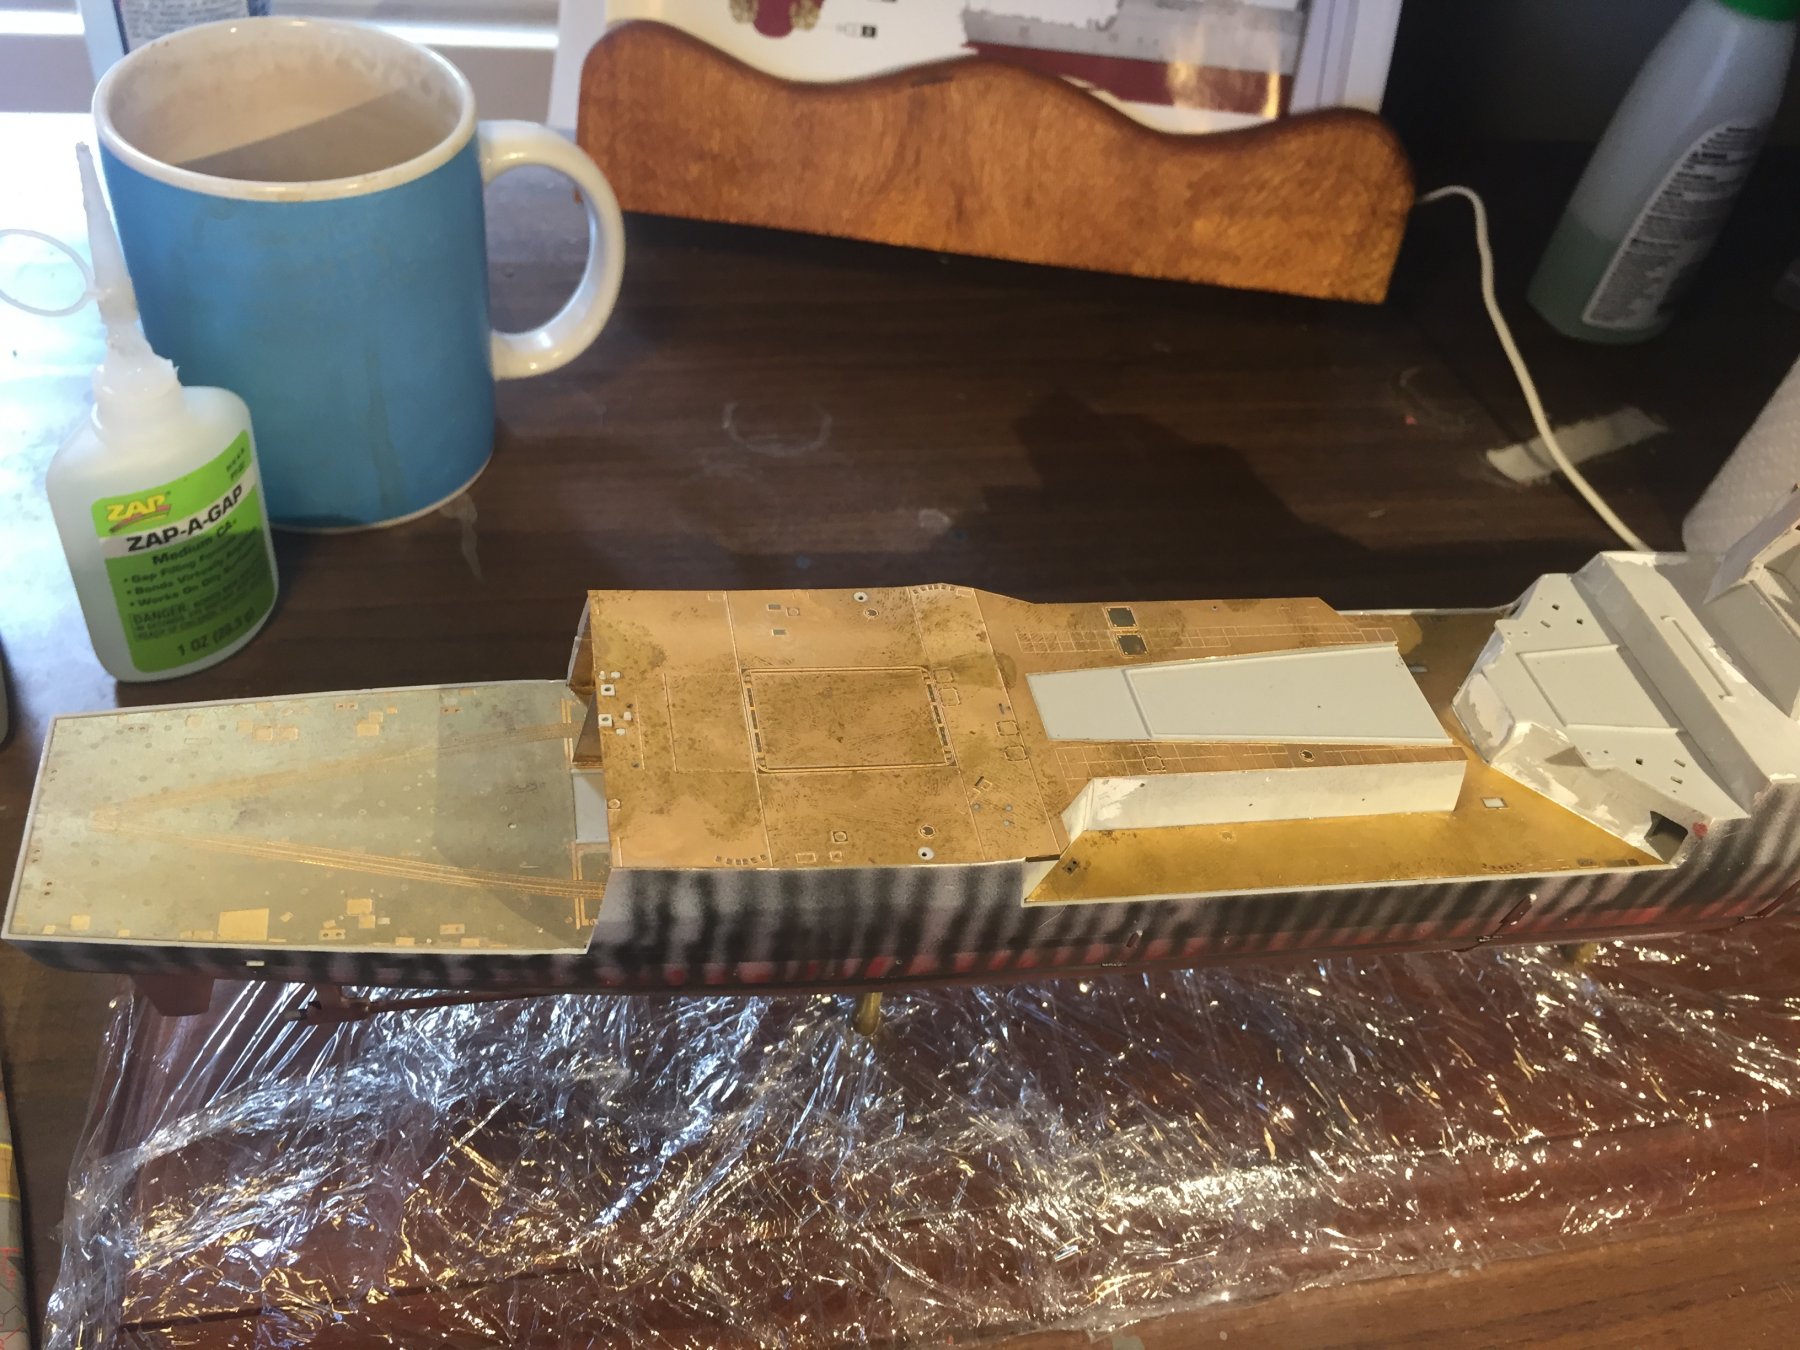
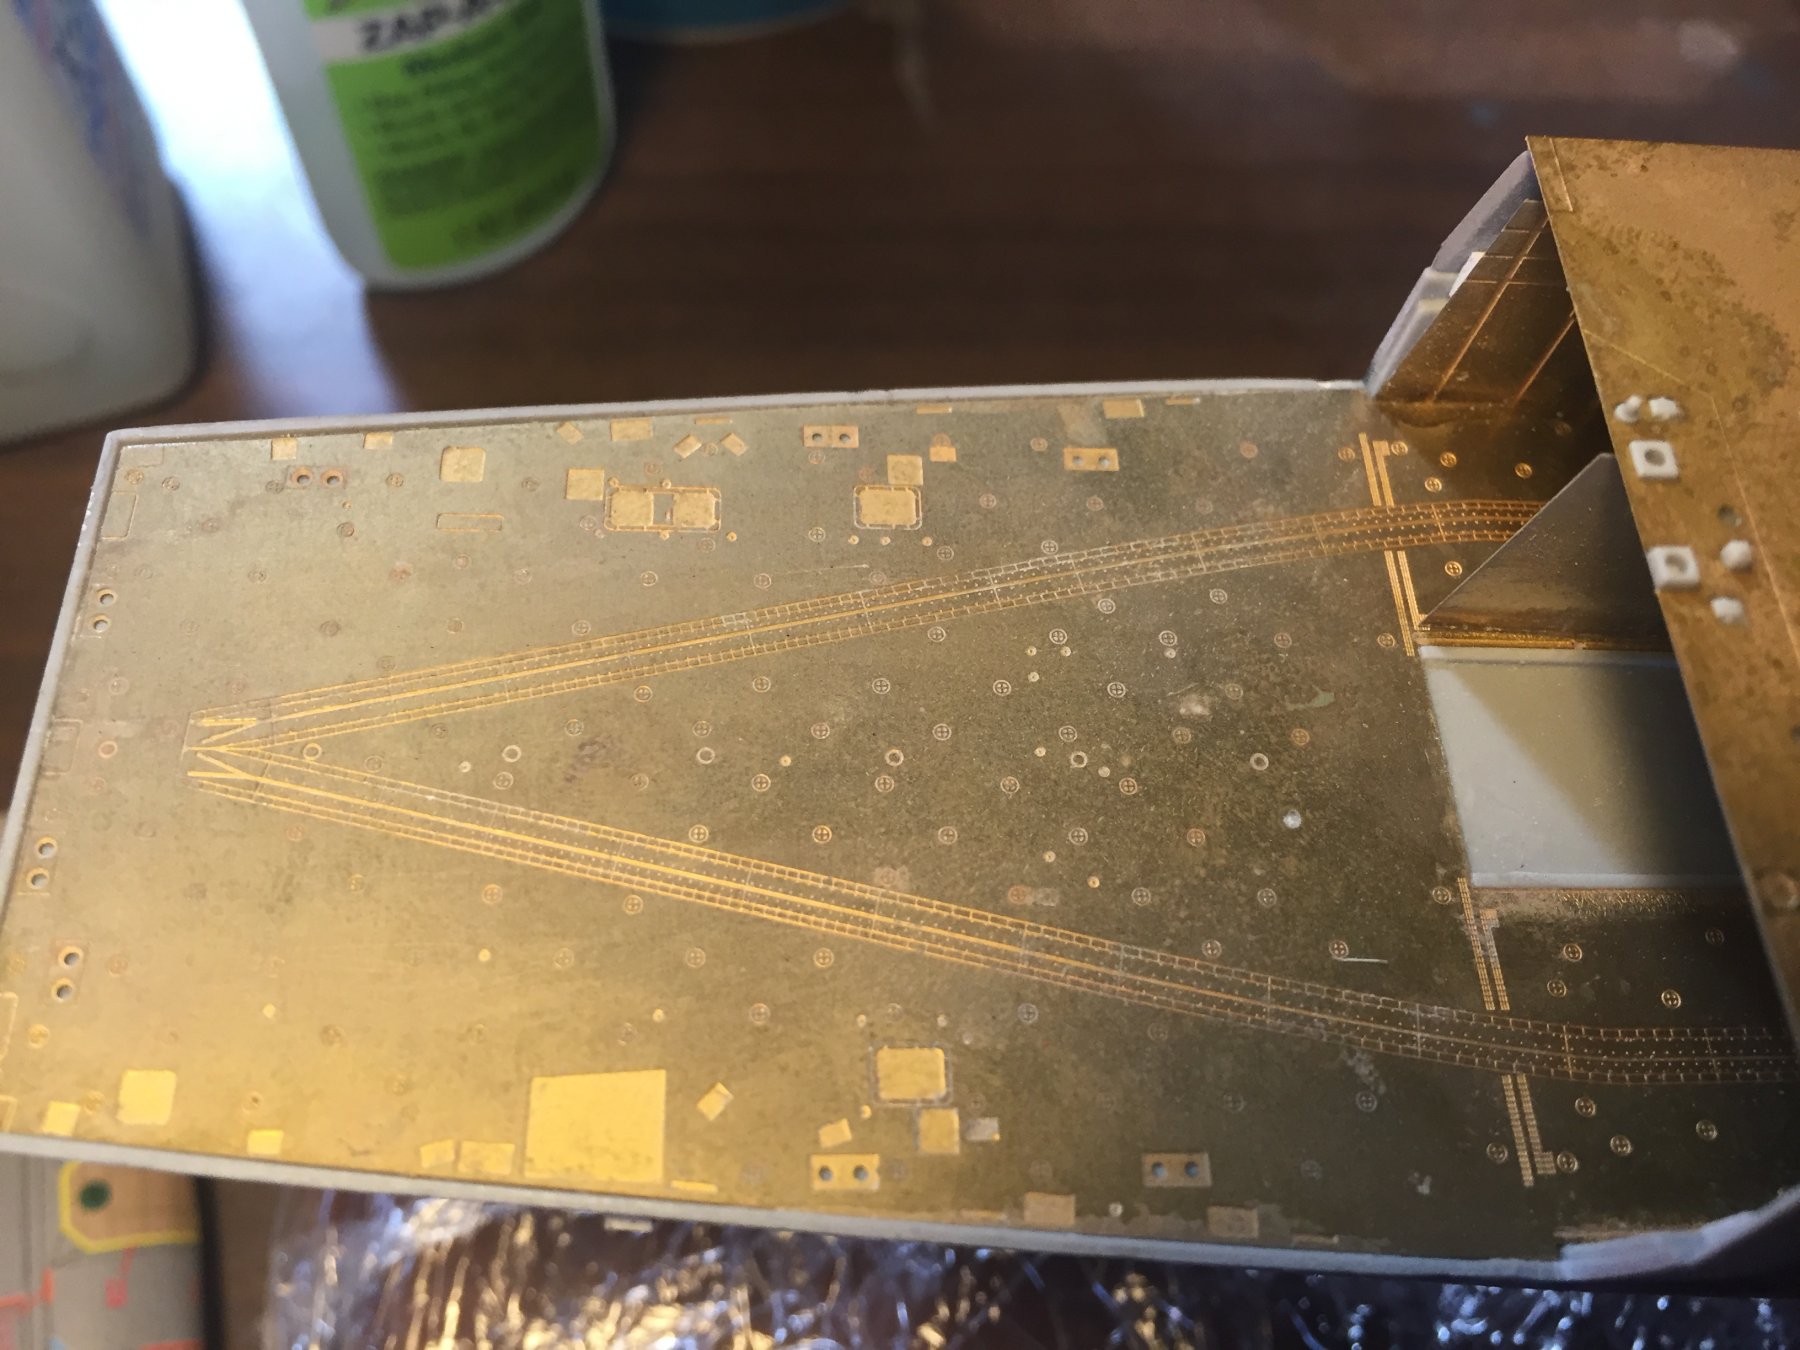
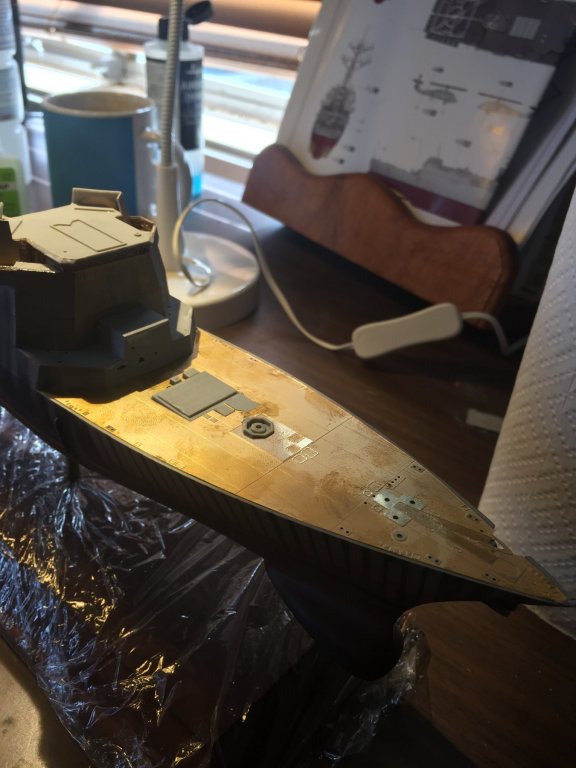
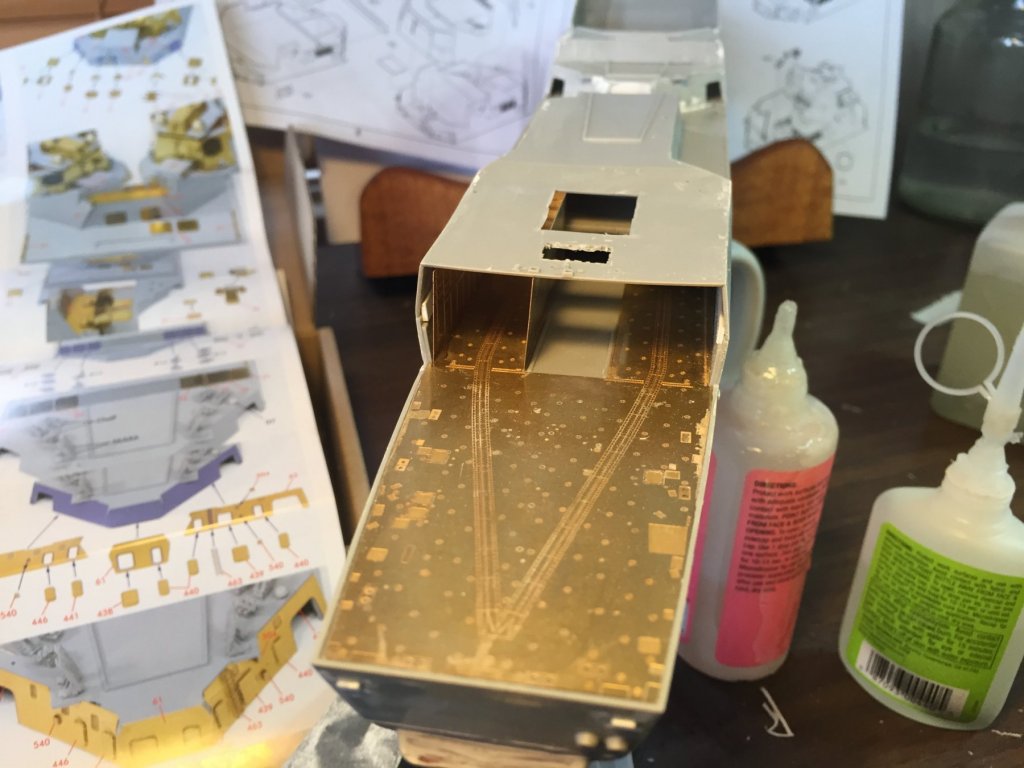
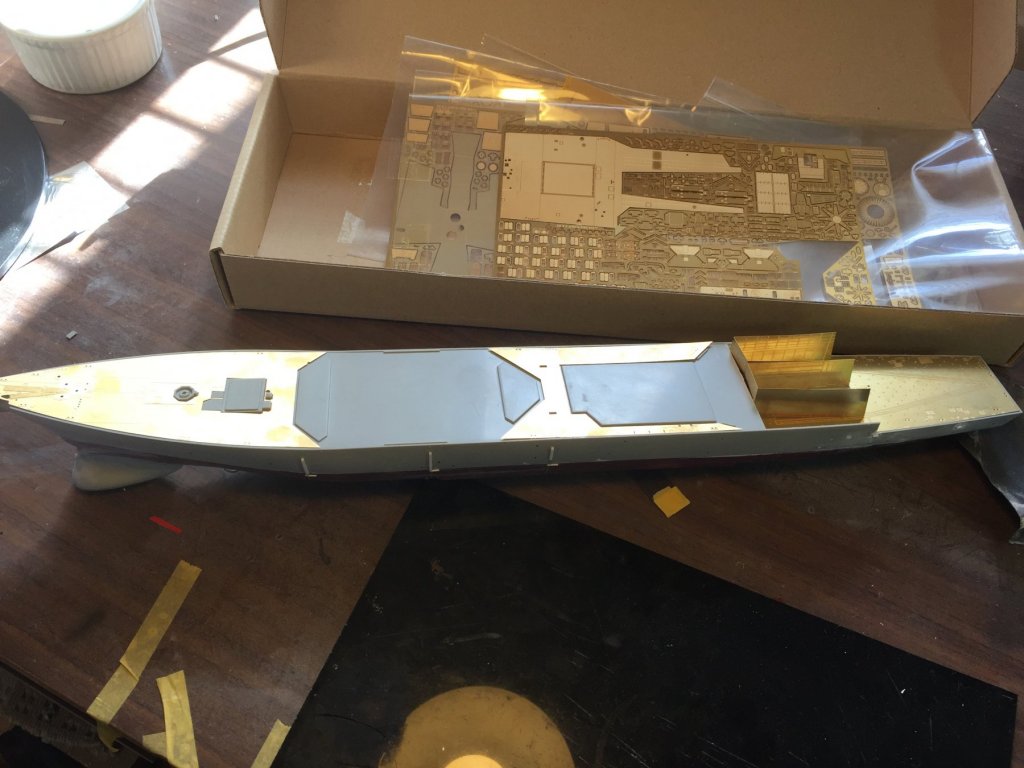
Now the bottom of the hull is done, it’s back to brass. The decks are all beautiful scribed brass. They fit perfectly (if you have put the plastic together perfectly- otherwise one needs to do some trimming) but the difficulty of large bits of brass is getting them to sit flush. This is s a major part of the build as everything else will sit on this. I will have to clean up the brass with acetone prior to painting


- 155 replies
-
- 10
-
-
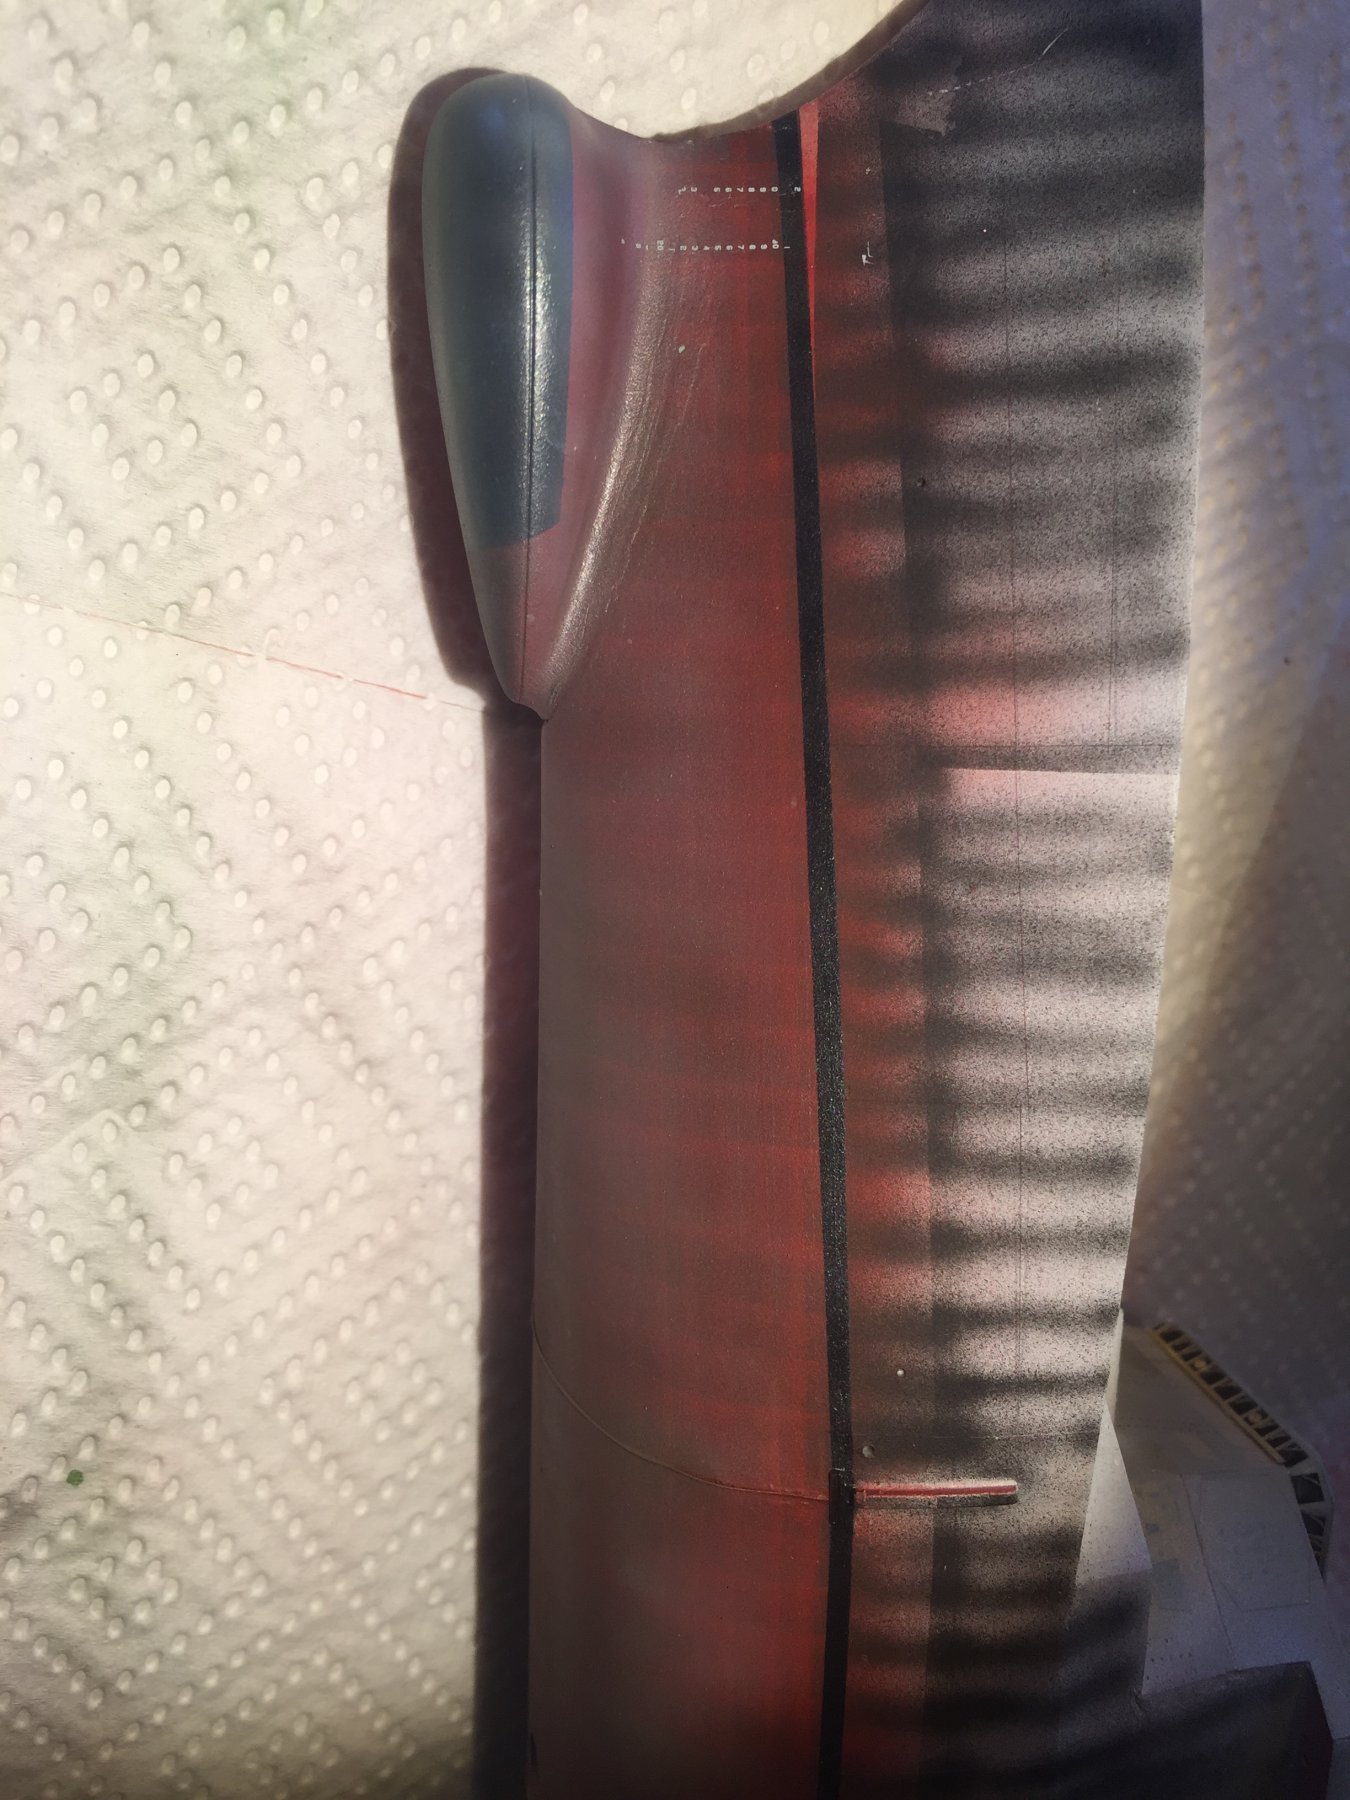
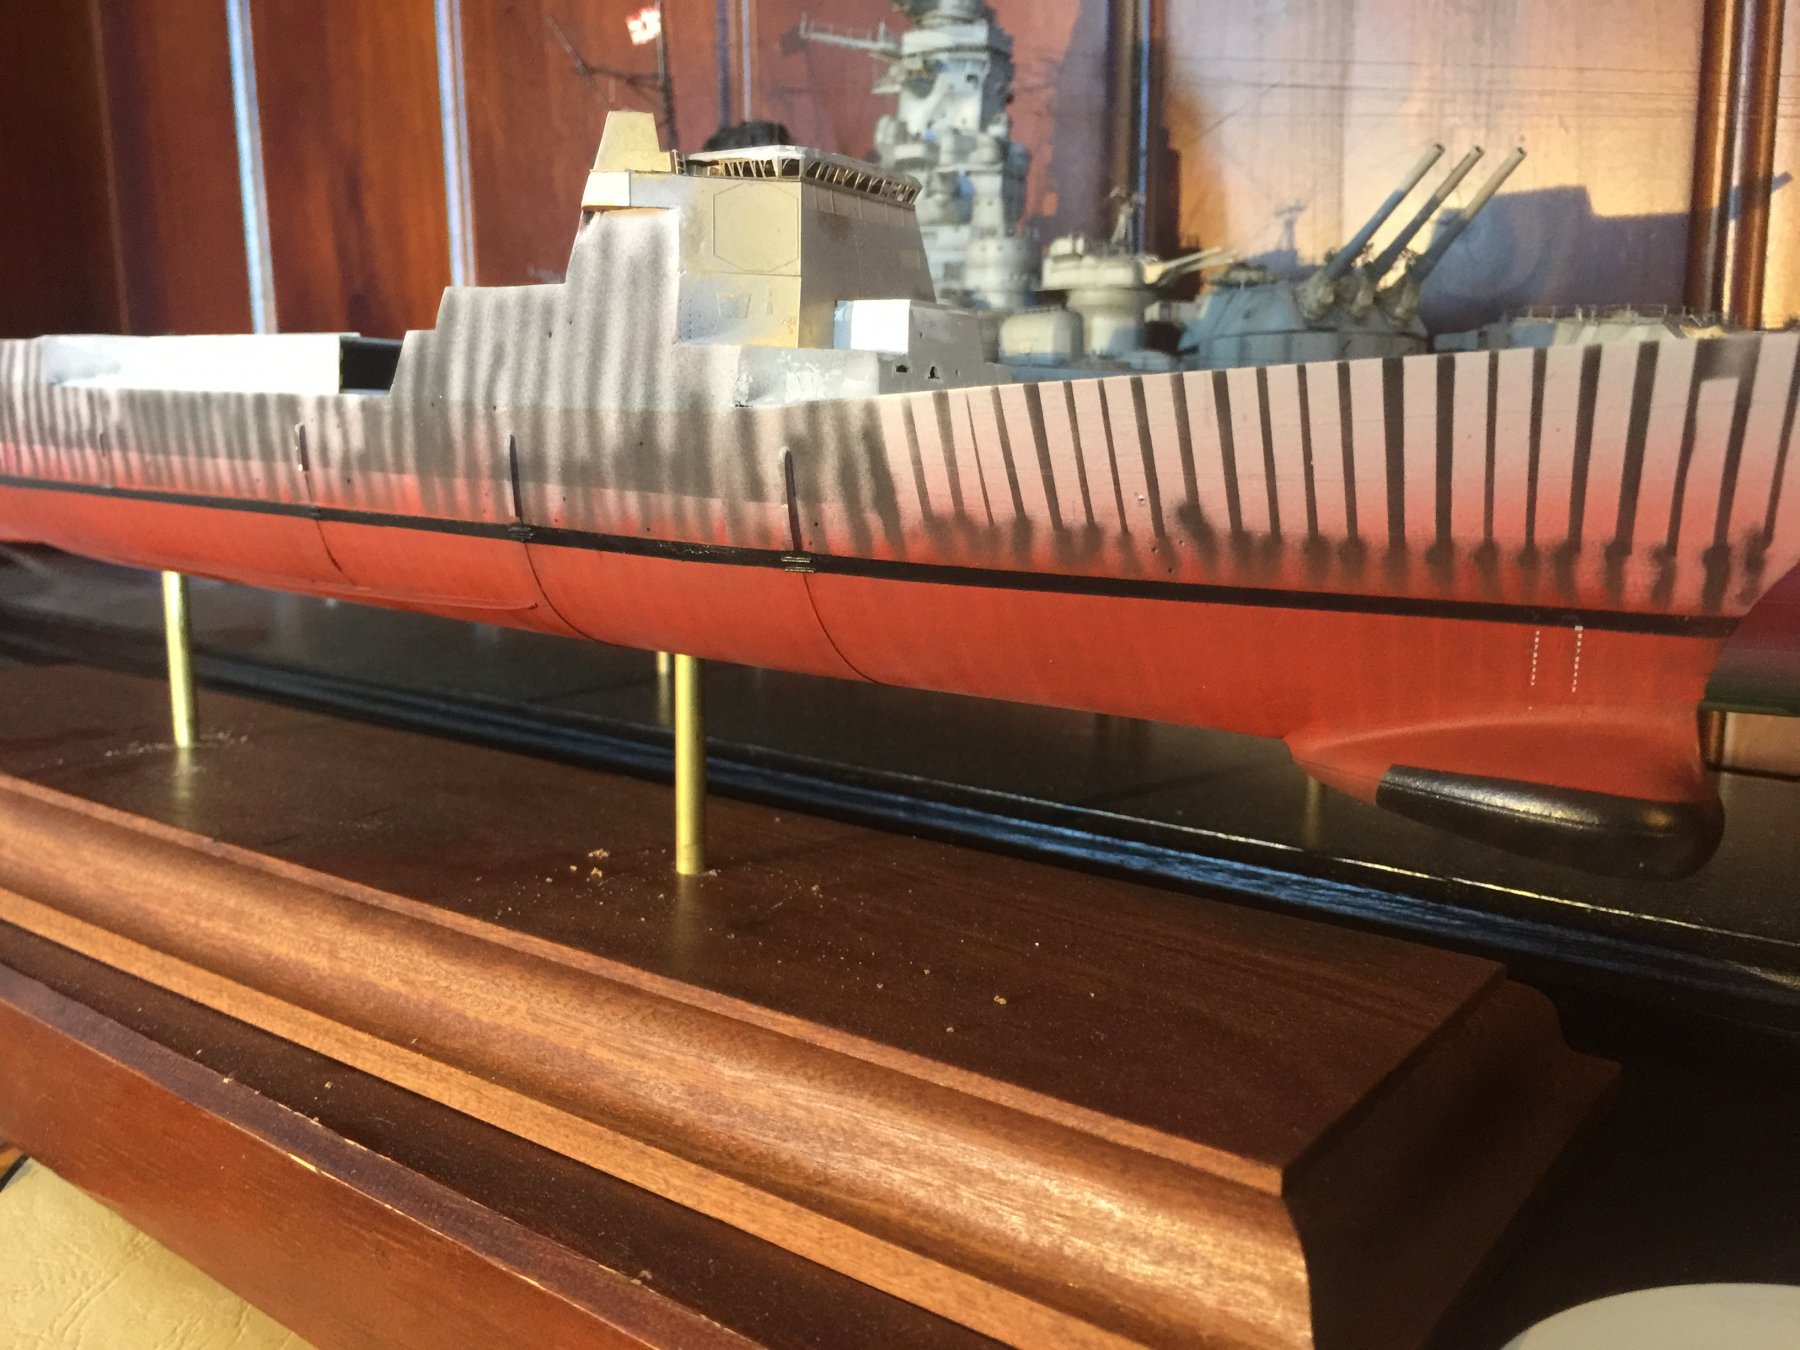
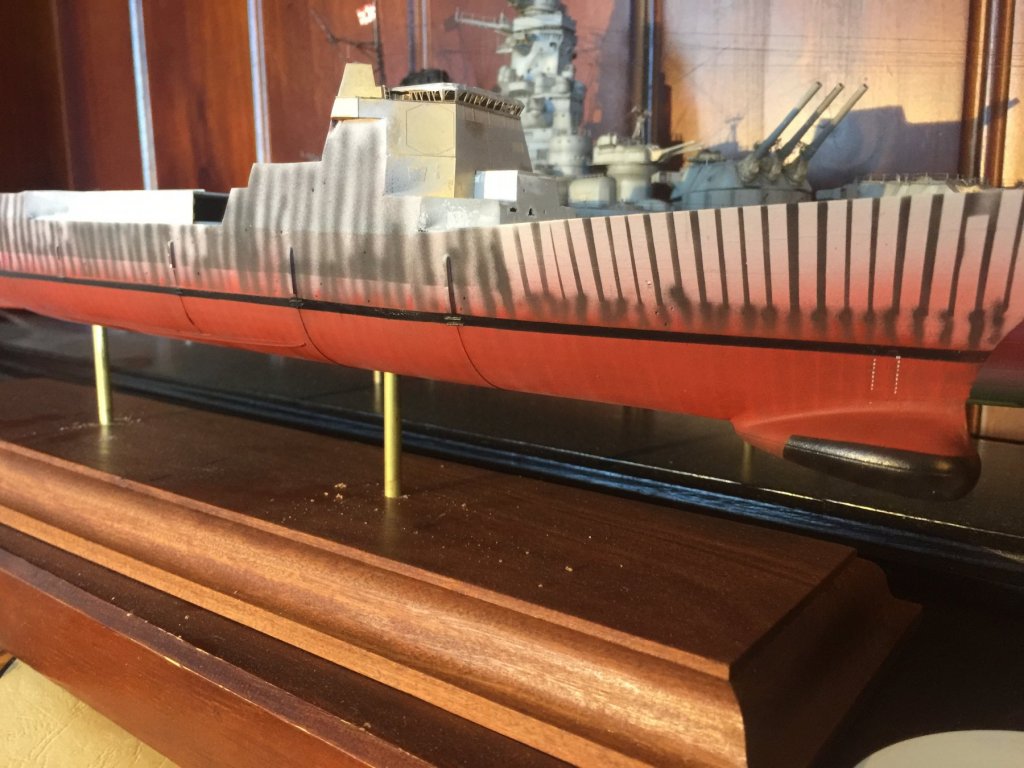
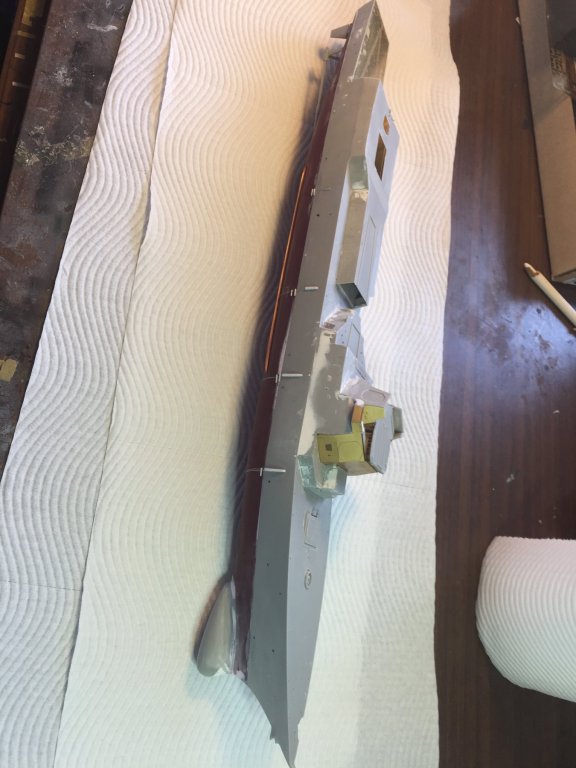
Now, three layers of grunge, diluted grey, black and green, run in the gaps of the ribs. When the hull is fully painted I’ll add some salt. Internet photos of the DDG’s in this class either have them completely grey with biomass or sparkling clean on the slipways. I just wanted a little bit to dull down the oilcanning. I think it’s probably proportional to the amount of rust I’ll put topside. Airbrush away now and back back to building.

-
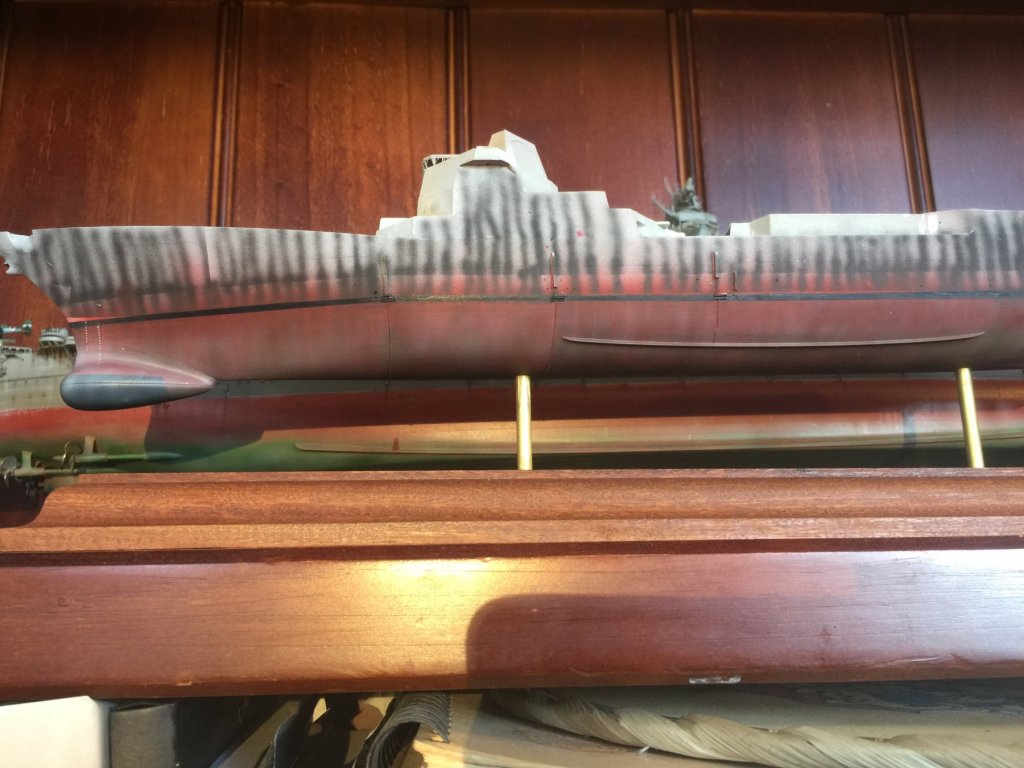
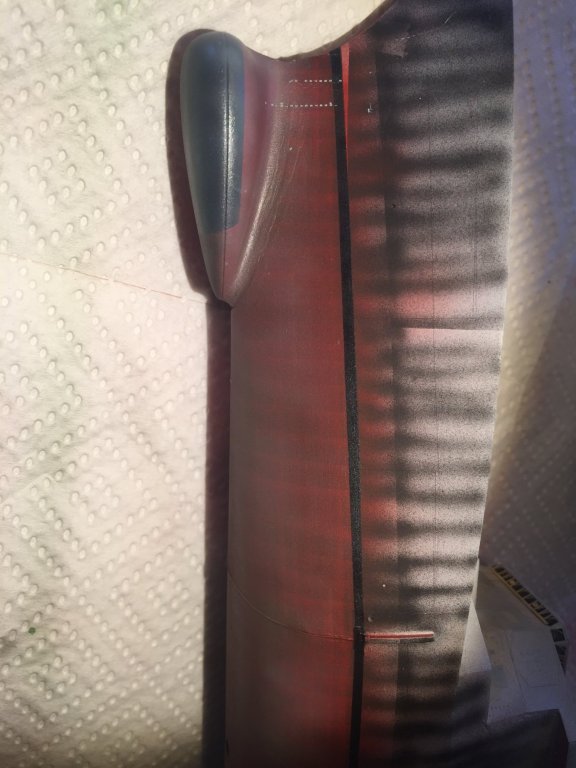
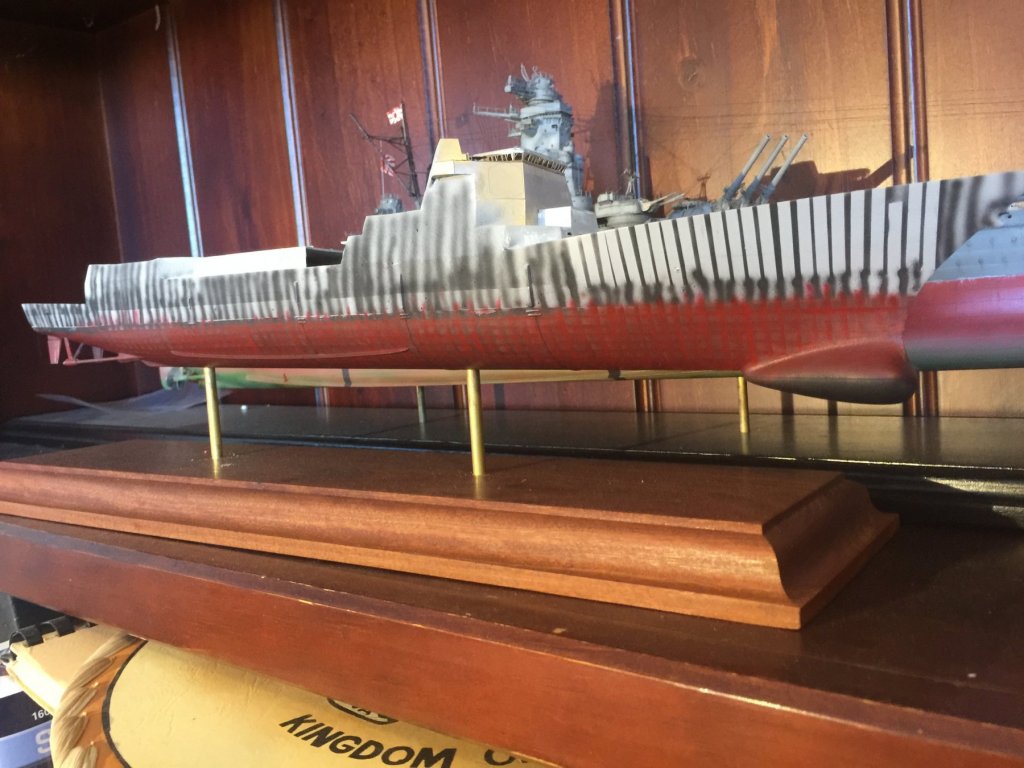
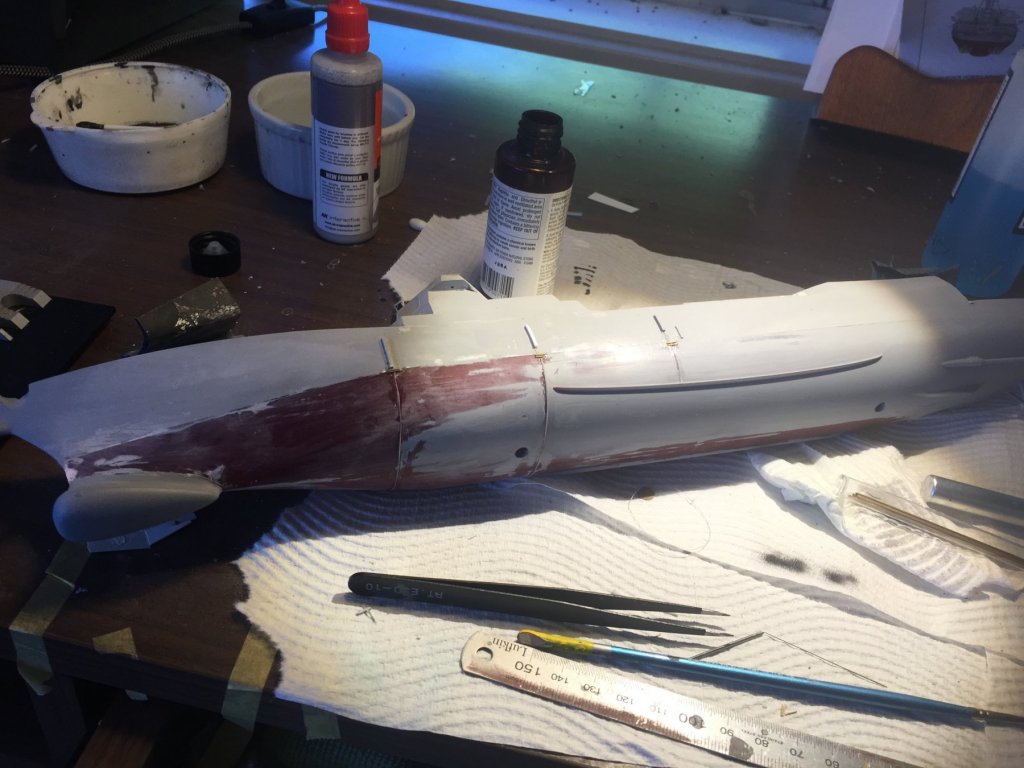
Welcome Tim! One more diluted red coat, the boot strap added, the protective black layer of paint on the sonar done. Then a Satin coat. When that sets I can start some Grunge.
-
About 4 thin coats later, it has dulled down the ribs a bit. I’ll probably give it one last overspray with a lighter red then give it a varnish coat before I go back to bending PE. It looks stark but it will be less noticeable when the other colours are added.
- 155 replies
-
- 10
-
-
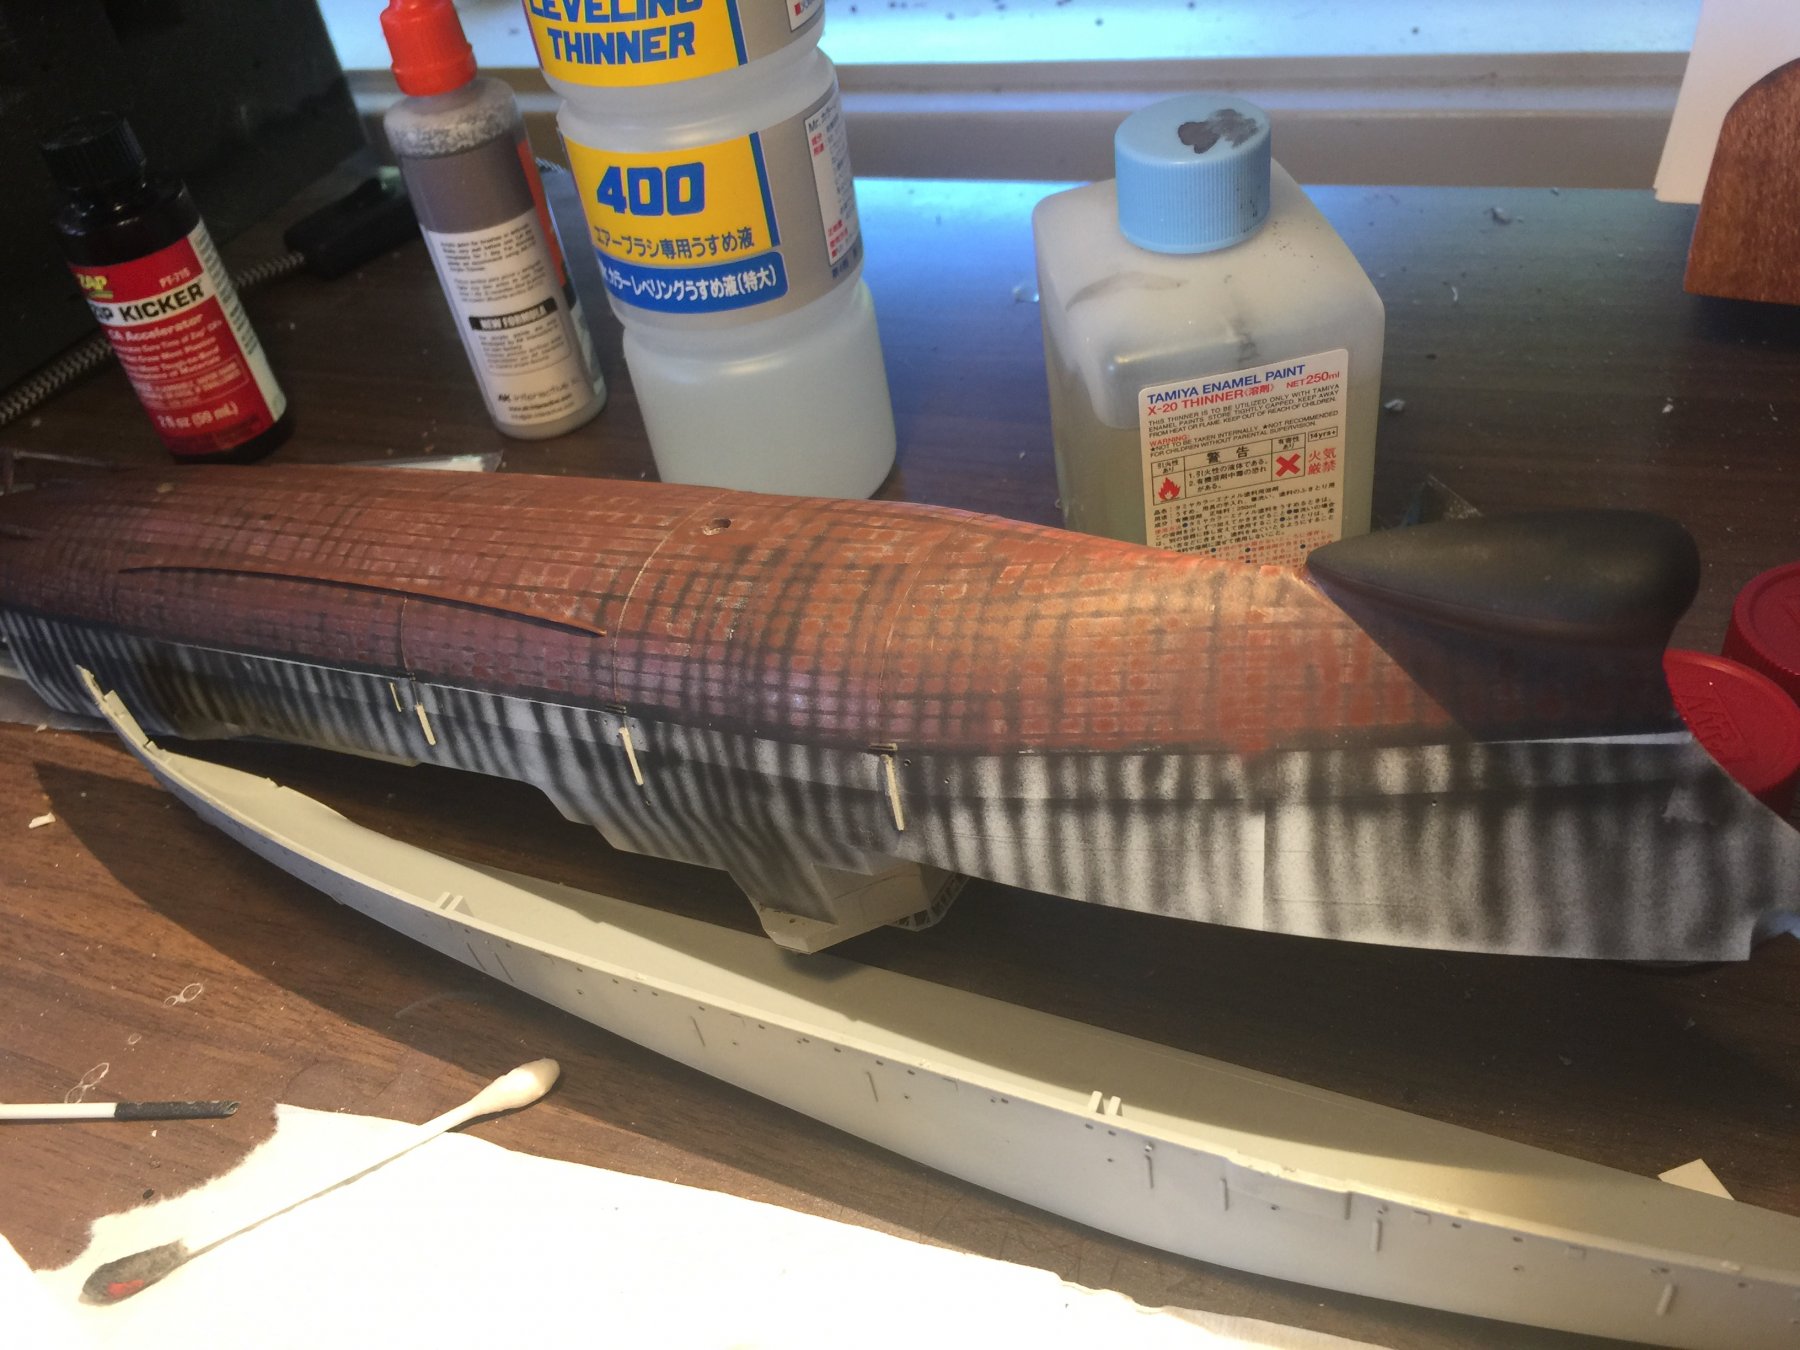
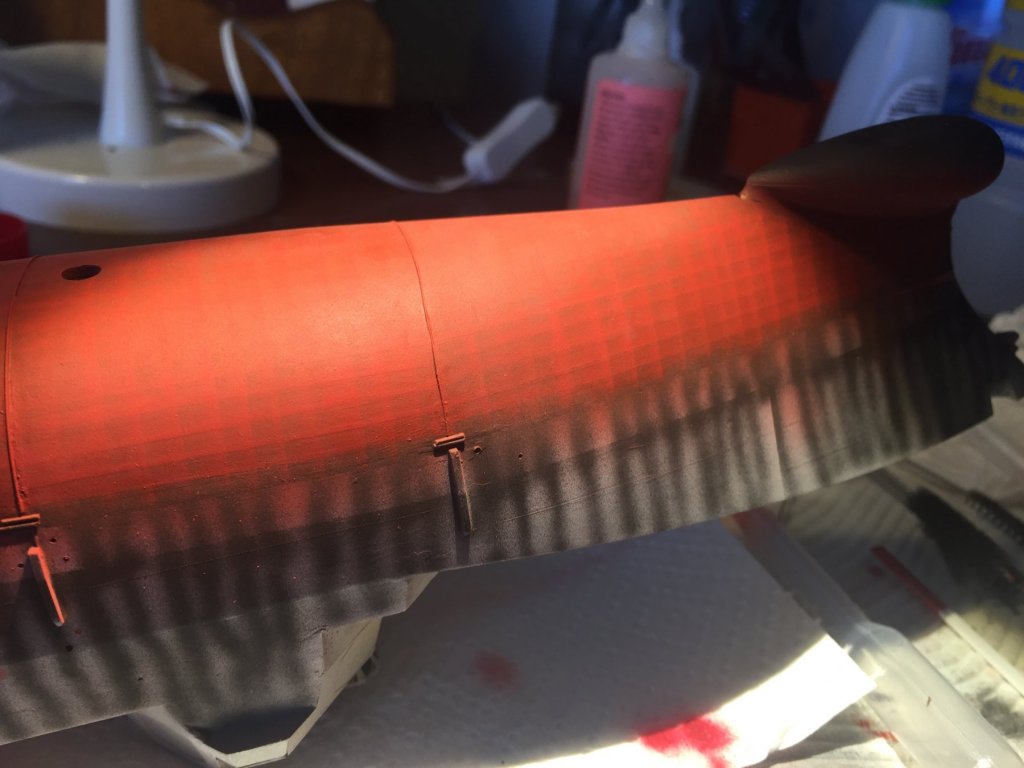
Next step, a brighter red for the ribs to make up the hatch pattern, about 2.5 hours work. Next will be some diluted overspray with a brighter red.
-
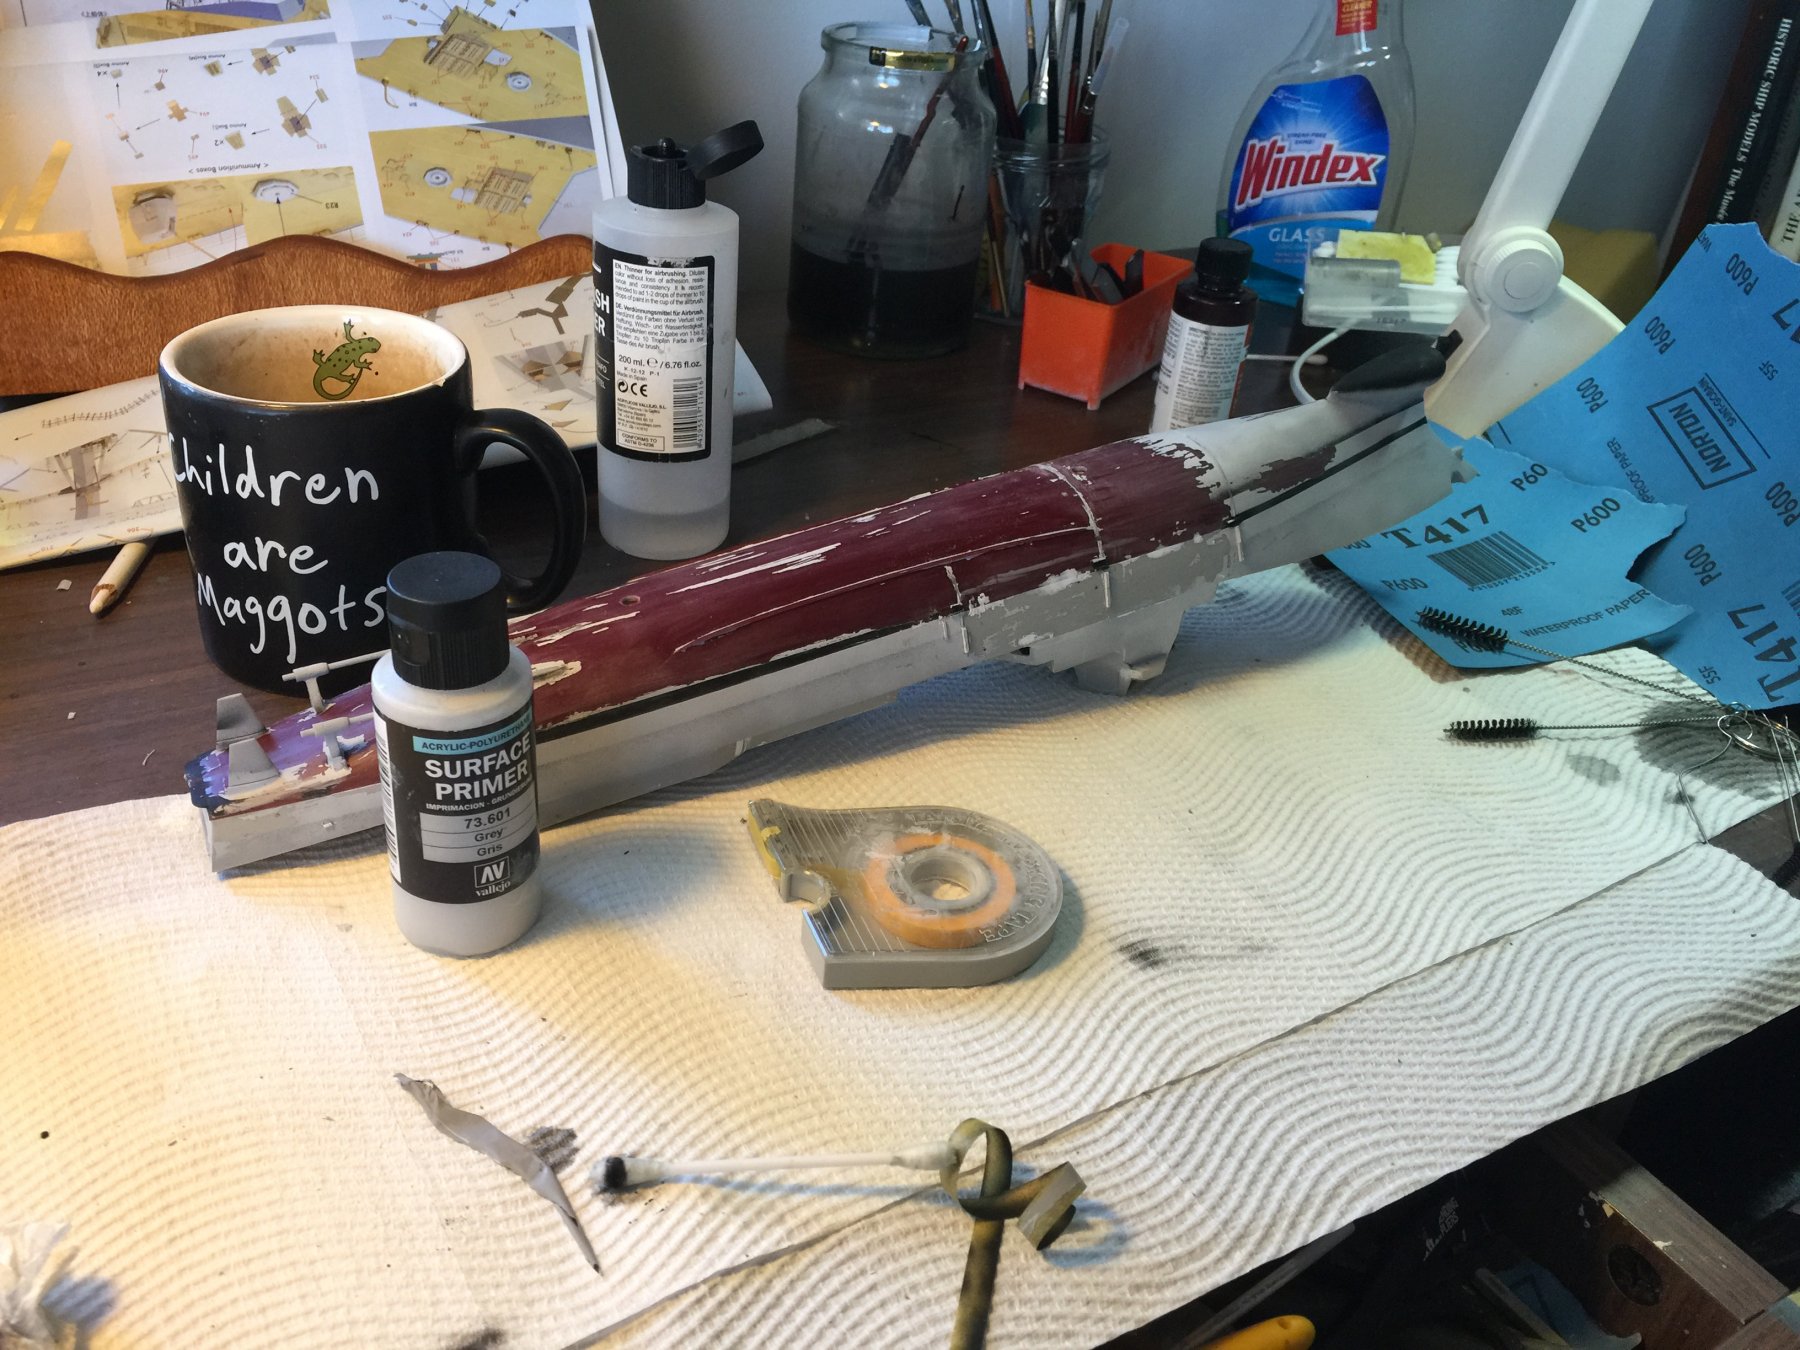
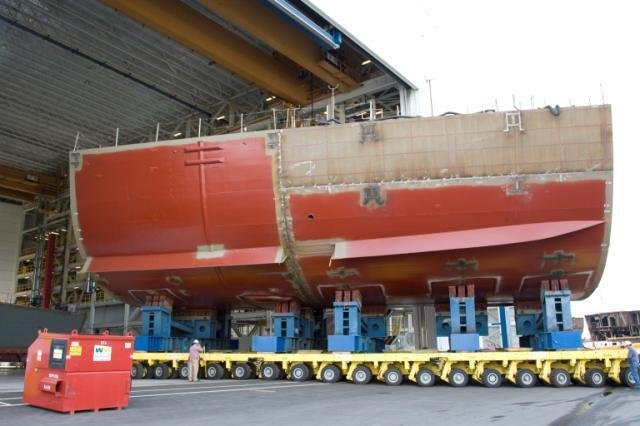
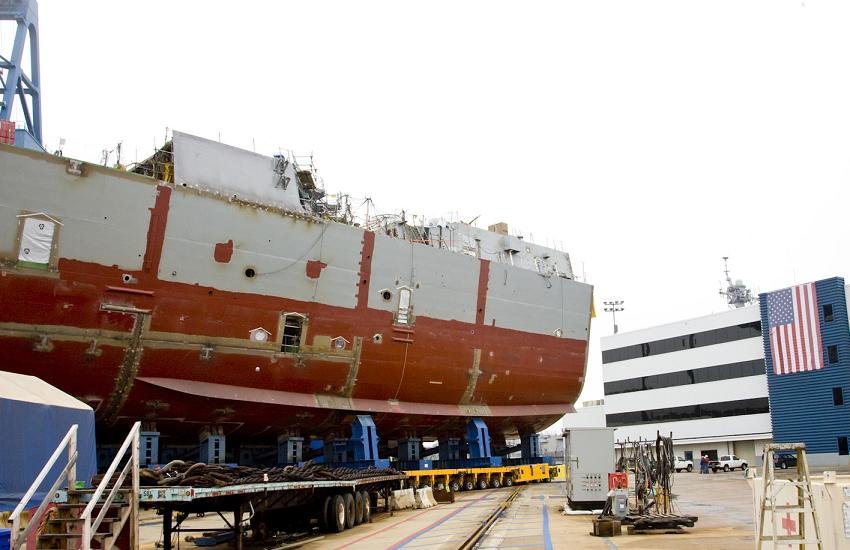
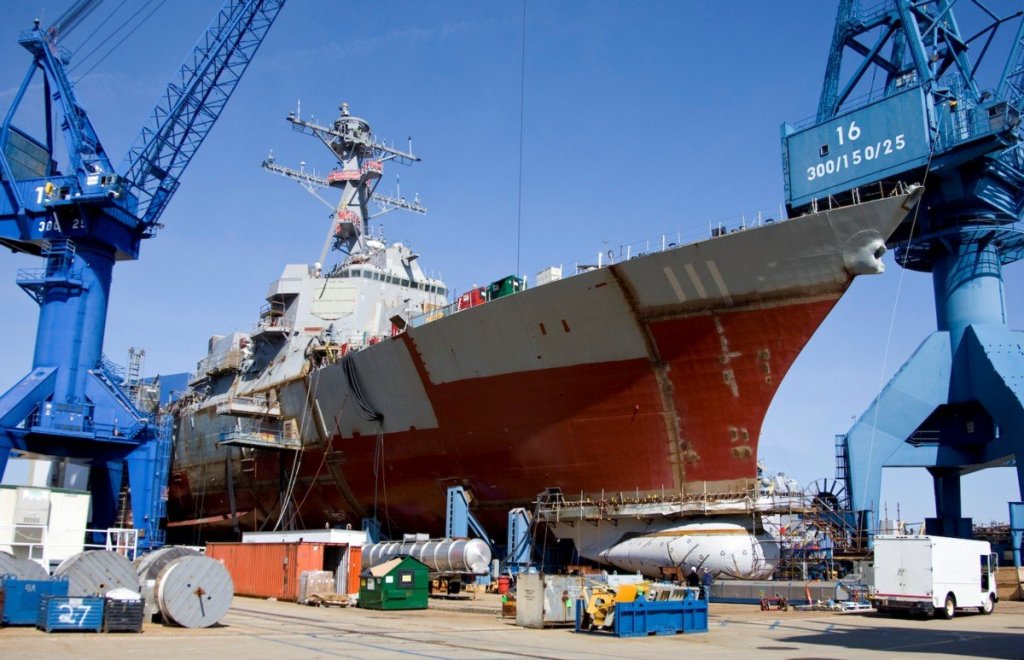
Oil canning started on the lower hull. The instructions say that the lower hull should be Coca Brown but I think I’ll just use that as the base undercoat. As you can see from the real think it is a lot brighter. About a day’s work to do up the black lines then filling in the spaces.
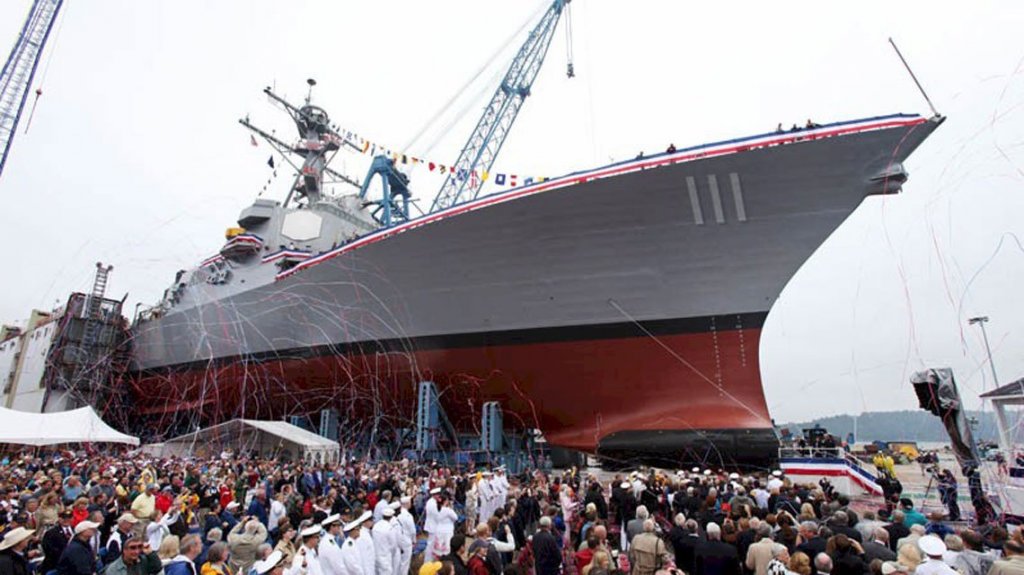
-
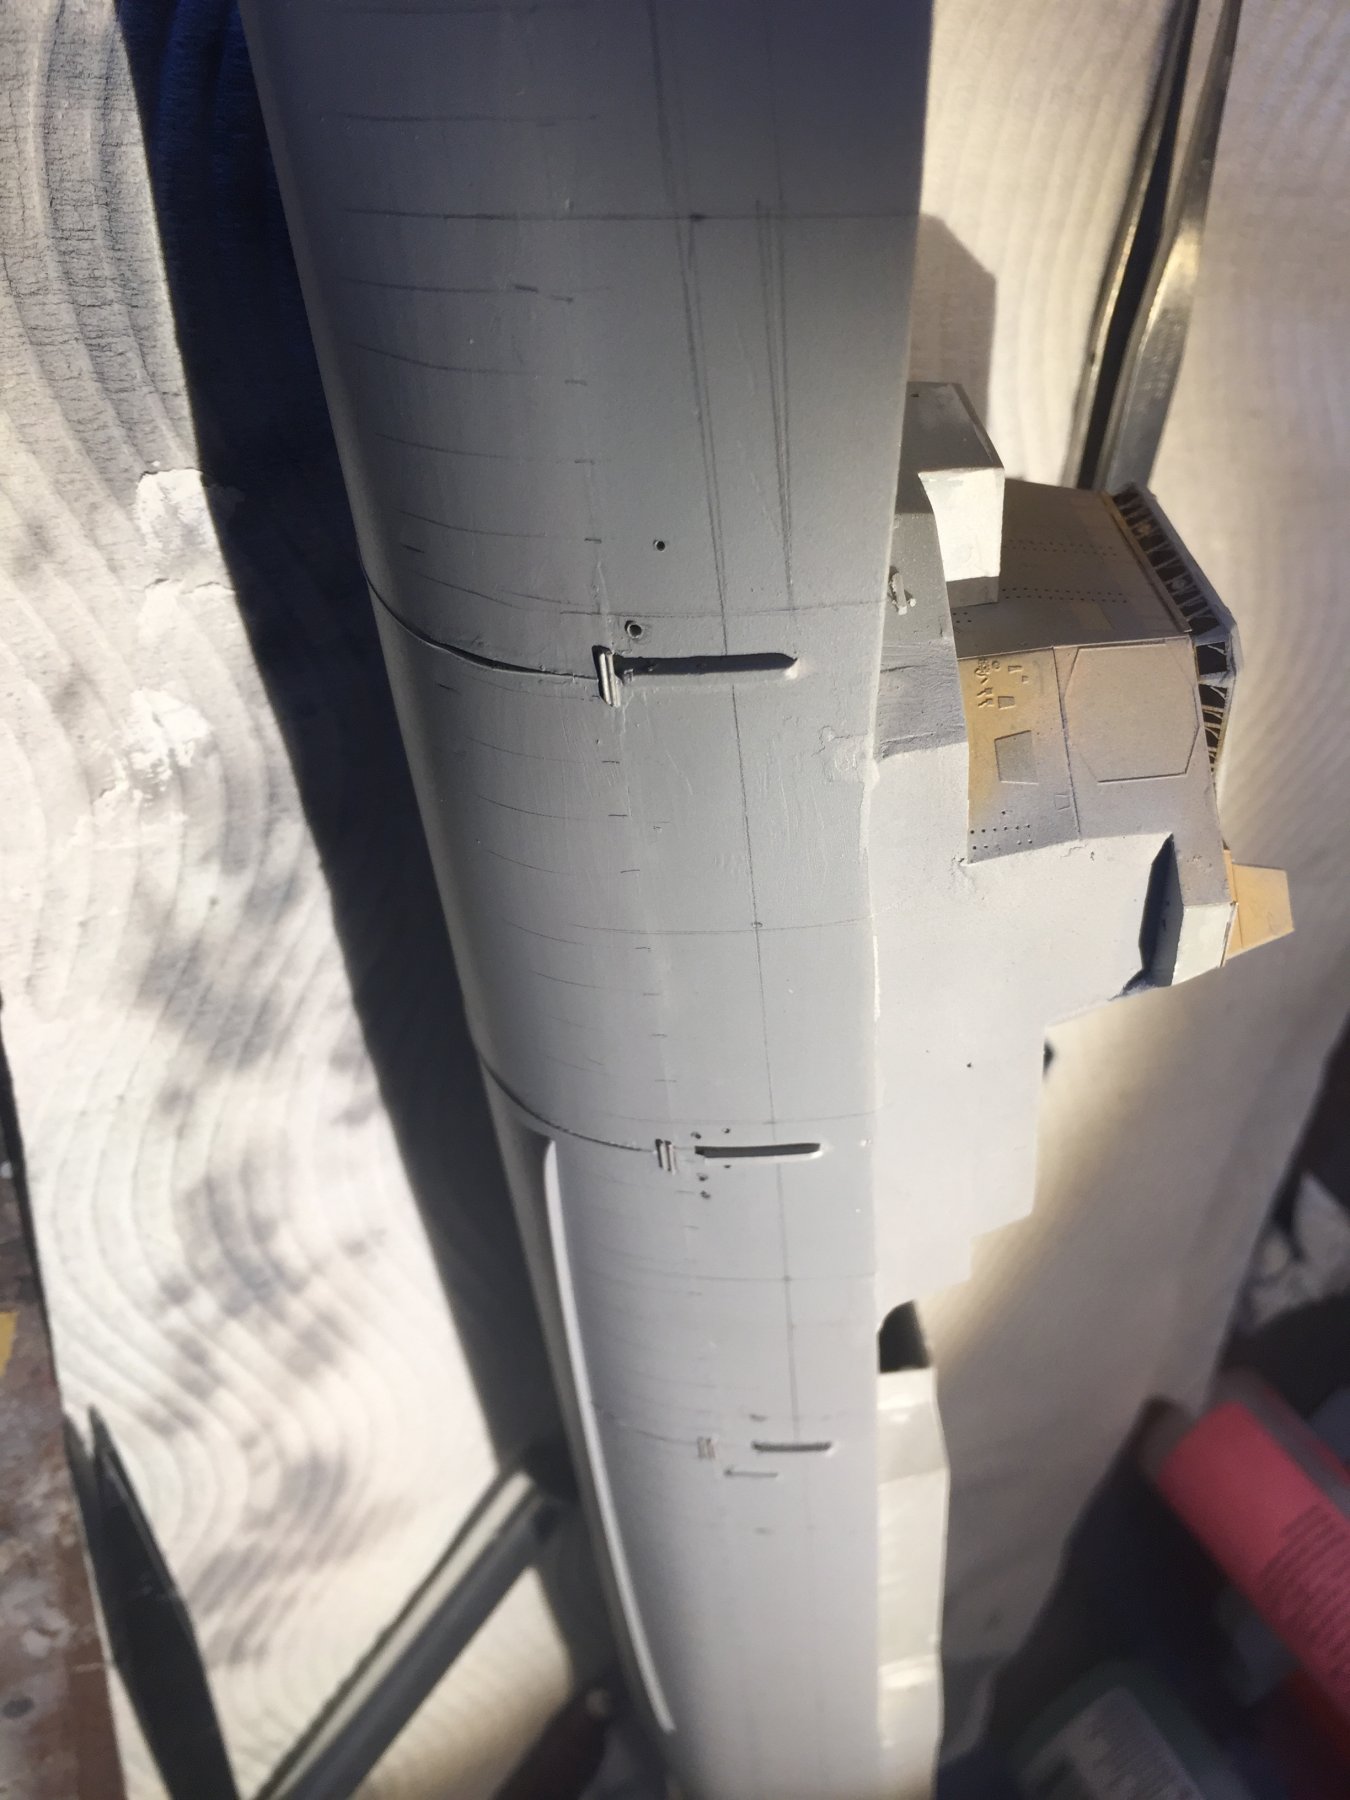
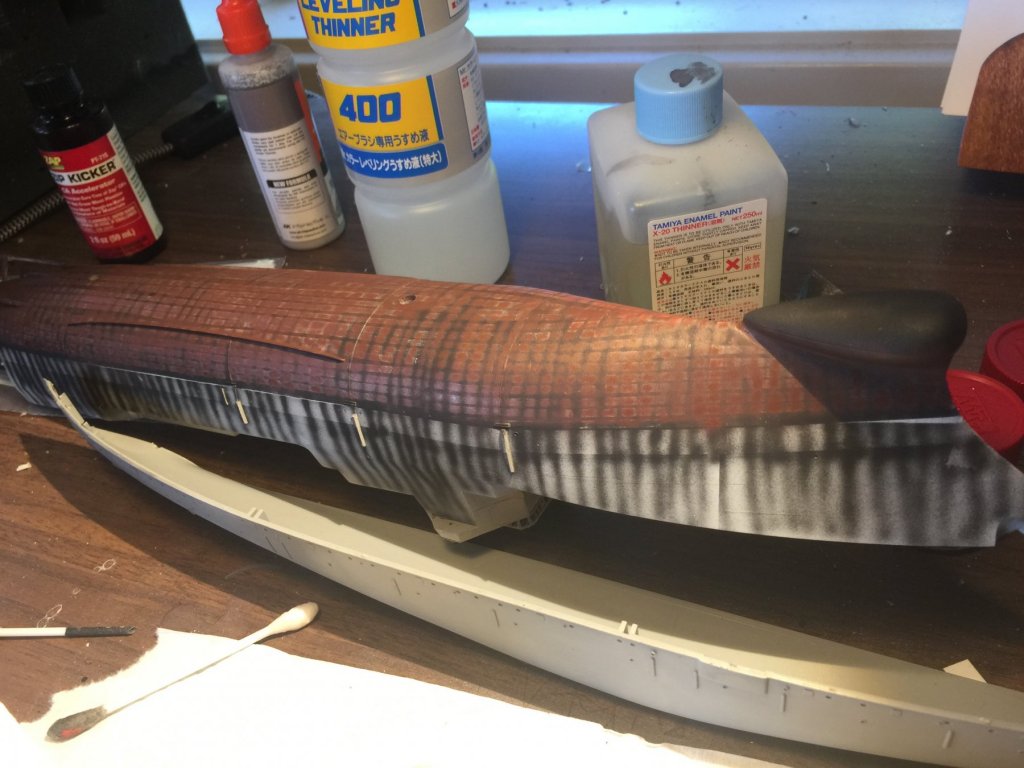
The real deal has weld lines all down the hull and visible panels. I’ve scribed in the weld lines and will pre shade for oil canning . There are a plethora of bilge holes which I have drilled in based on photos of the ship. I can now paint below the waterline and see if the primer stays on this time.


-
Pain stripped back again, attempt 3. Tamiya rattle can hopefully provides a more stable base for the oilcanning.

-
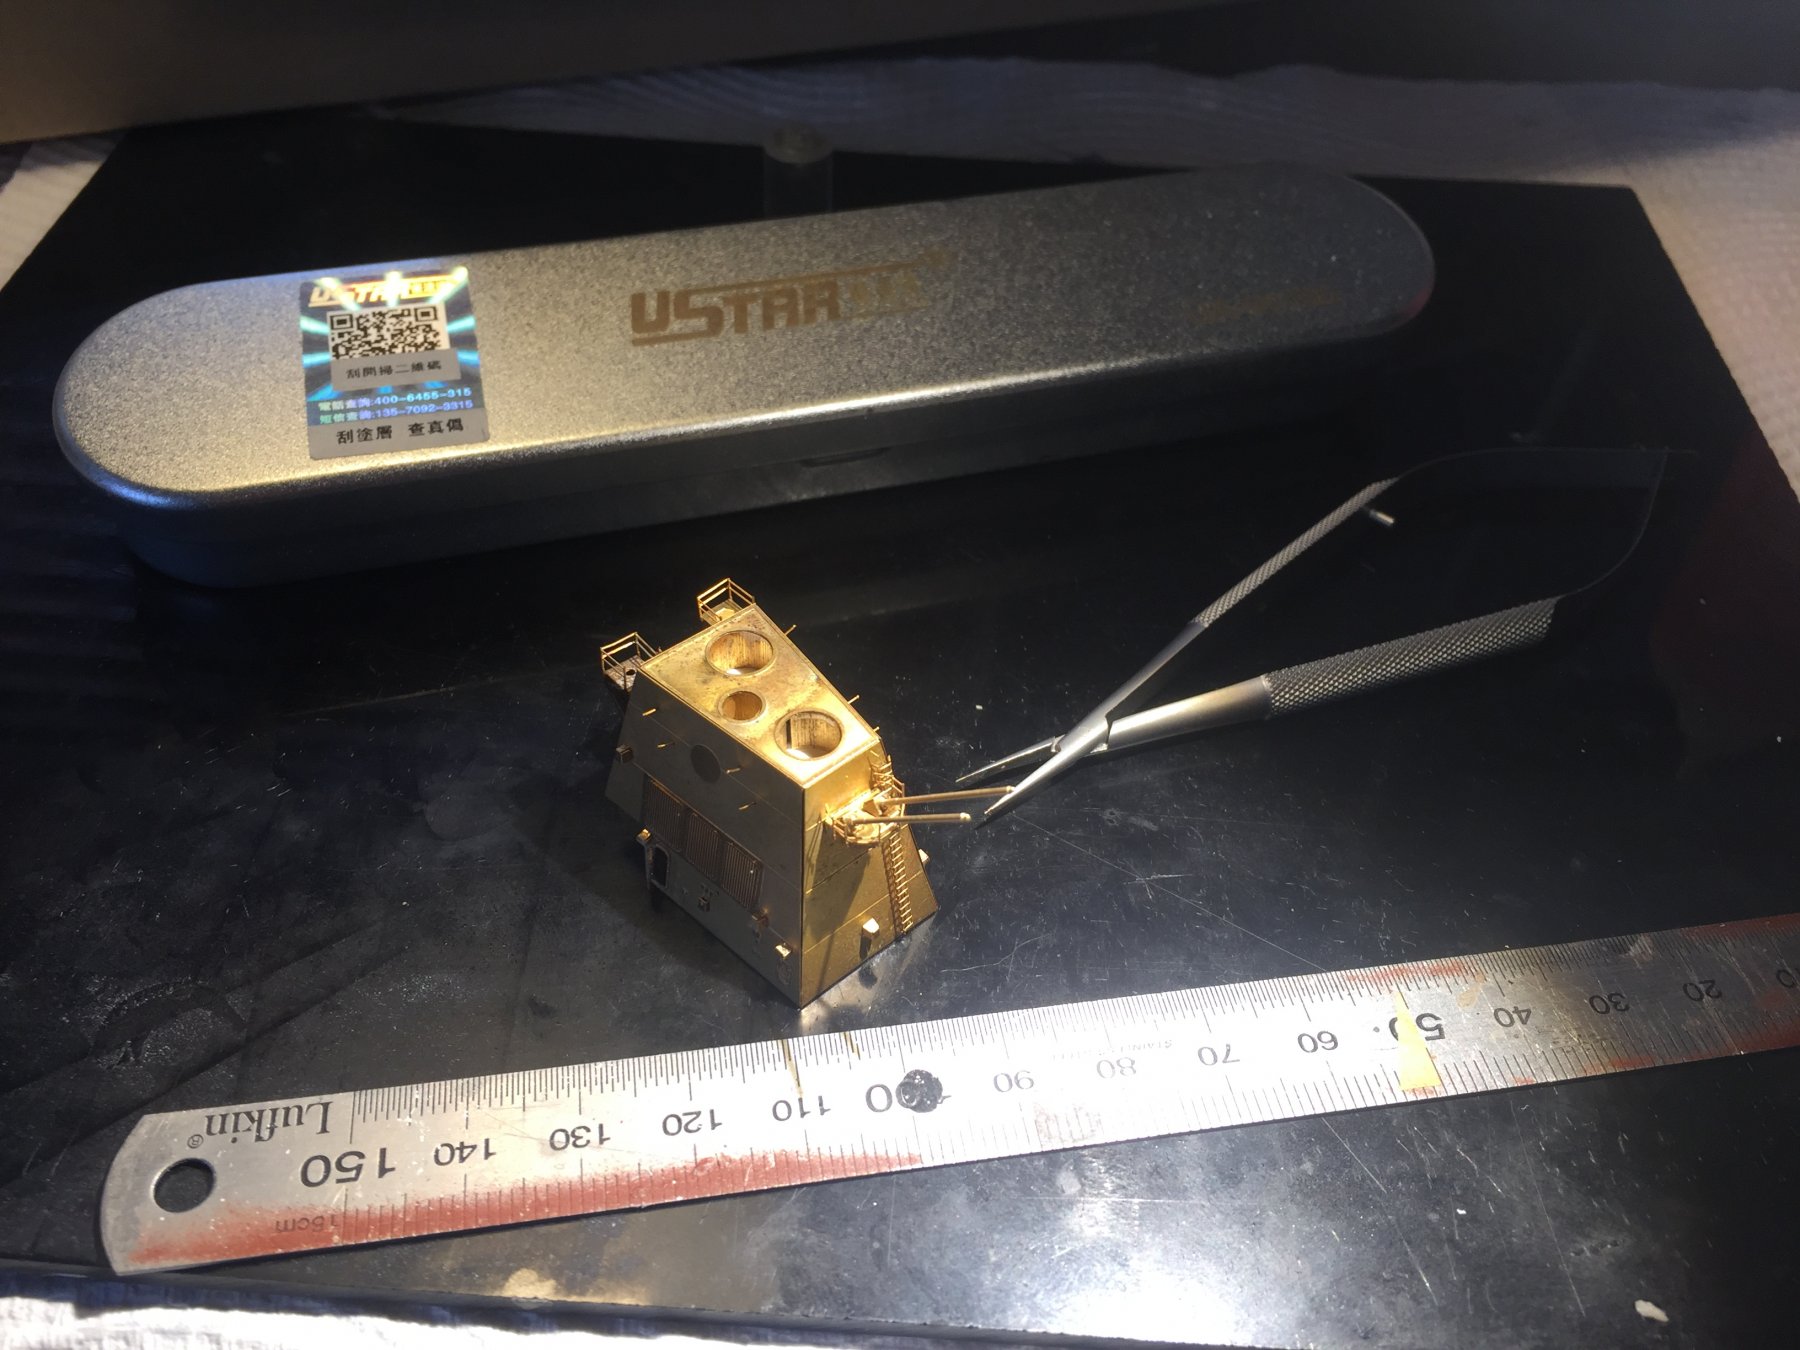
It’s the U Star UA-90190. It takes a while to get used to the handling as they are not tweezers
-
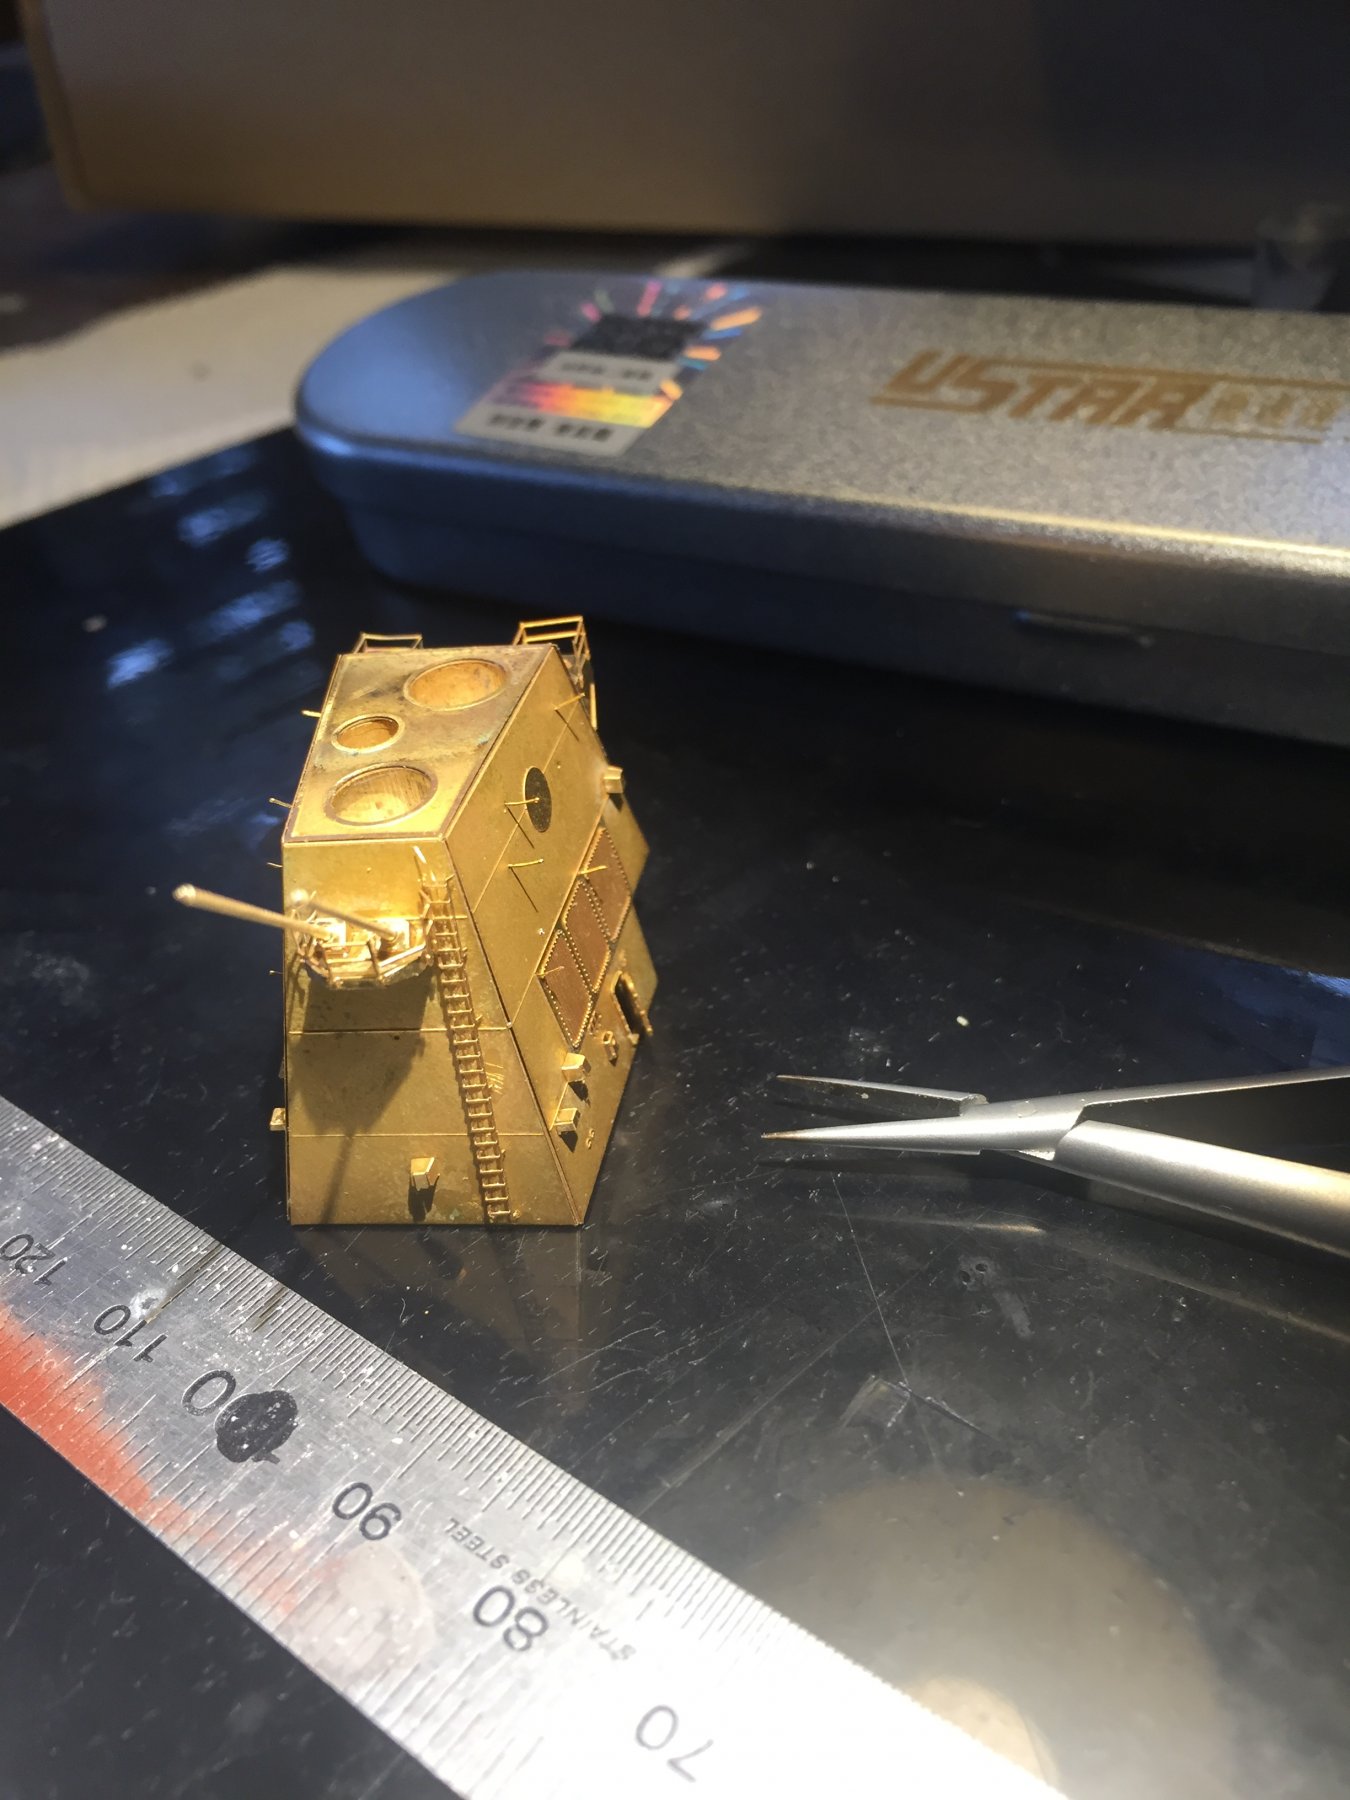
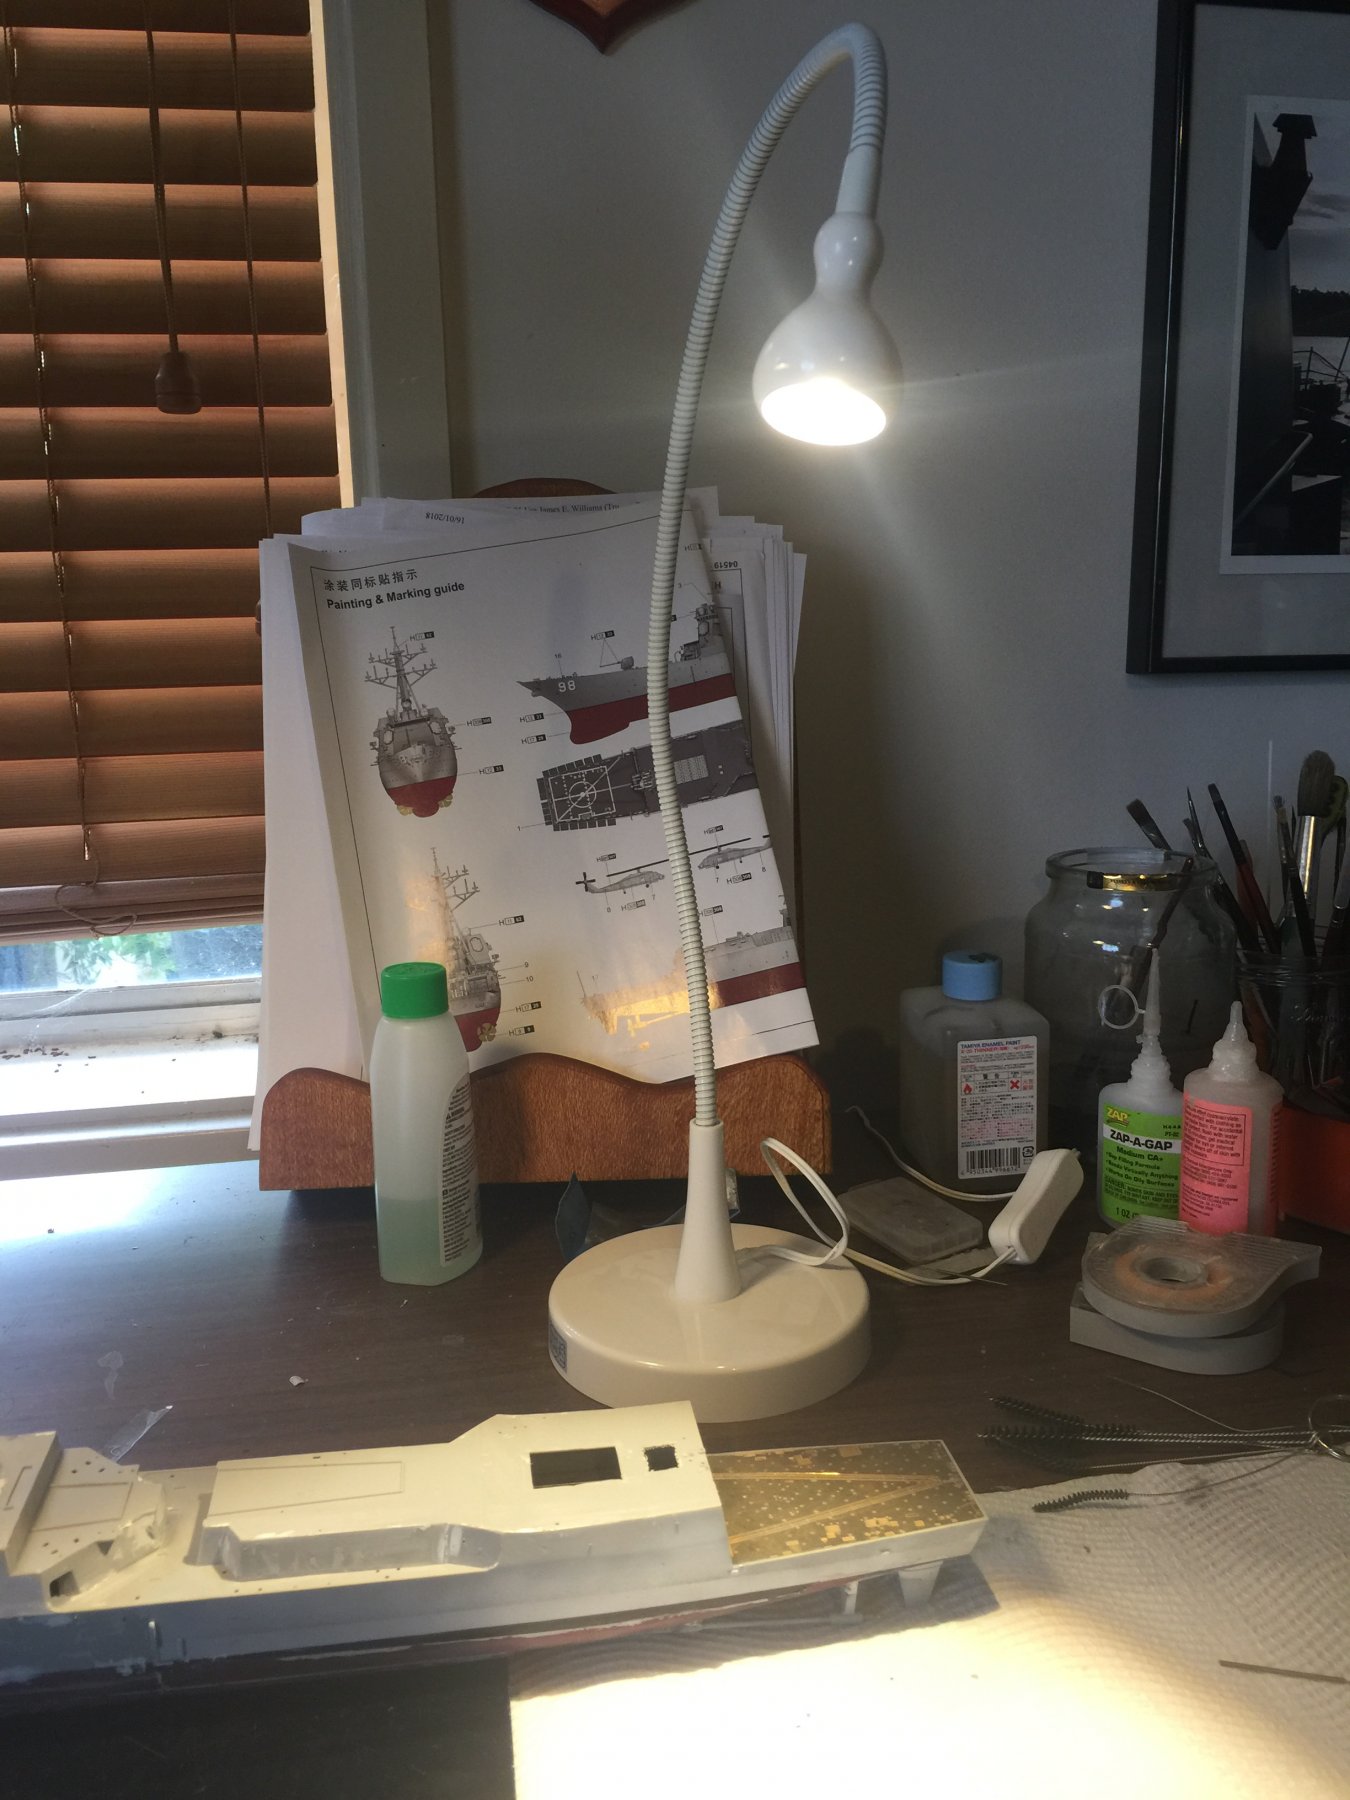
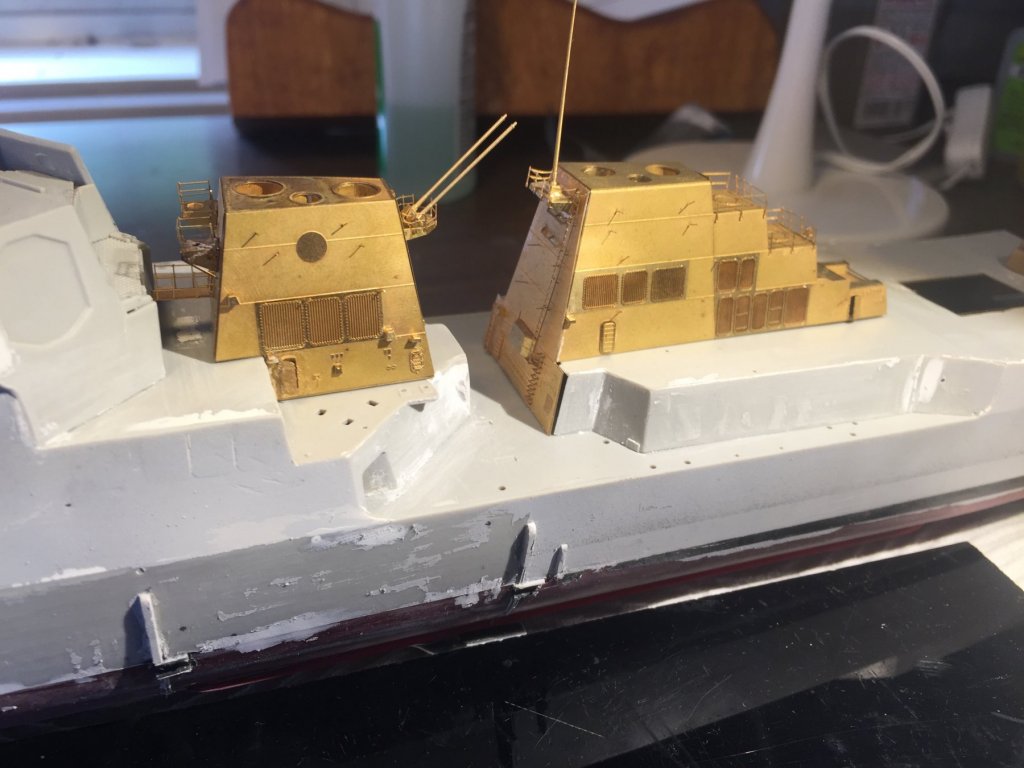
So work and sports commitments have had me away for awhile. It took Australia Post 2 weeks to deliver a parcel containing a new bottle of AK primer from Victoria to Canberra which closed down the painting booth anyways. Yesterday and and today I completed the second smokestack. A few few things about tools, the little set of pliers is probably the Best Buy I’ve done in years, it stops PE getting flung around the room. It holds pieces steady whilst glueing. I wish I bought one years ago. Secondly the $20 light from Ikea is the best light source I’ve found.


- 155 replies
-
- 12
-
-
So, I’m telling Banyan yesterday how I hate Vajello paints. My AK grey primer has gone off (clogs the airbrush immediately) so I use Vajello primer. Let it sit for over 12 hours. Do some very light masking to get ready for pre shading and the stuff comes off like sim after a bad sunburn. Re strip, Re sand and Re order some more AK primer. I’ll probably just use Tamiya rattle can for the lower hull but I’ll never ever use any Vajello again. I have never used their grey primer before and never will again.

-
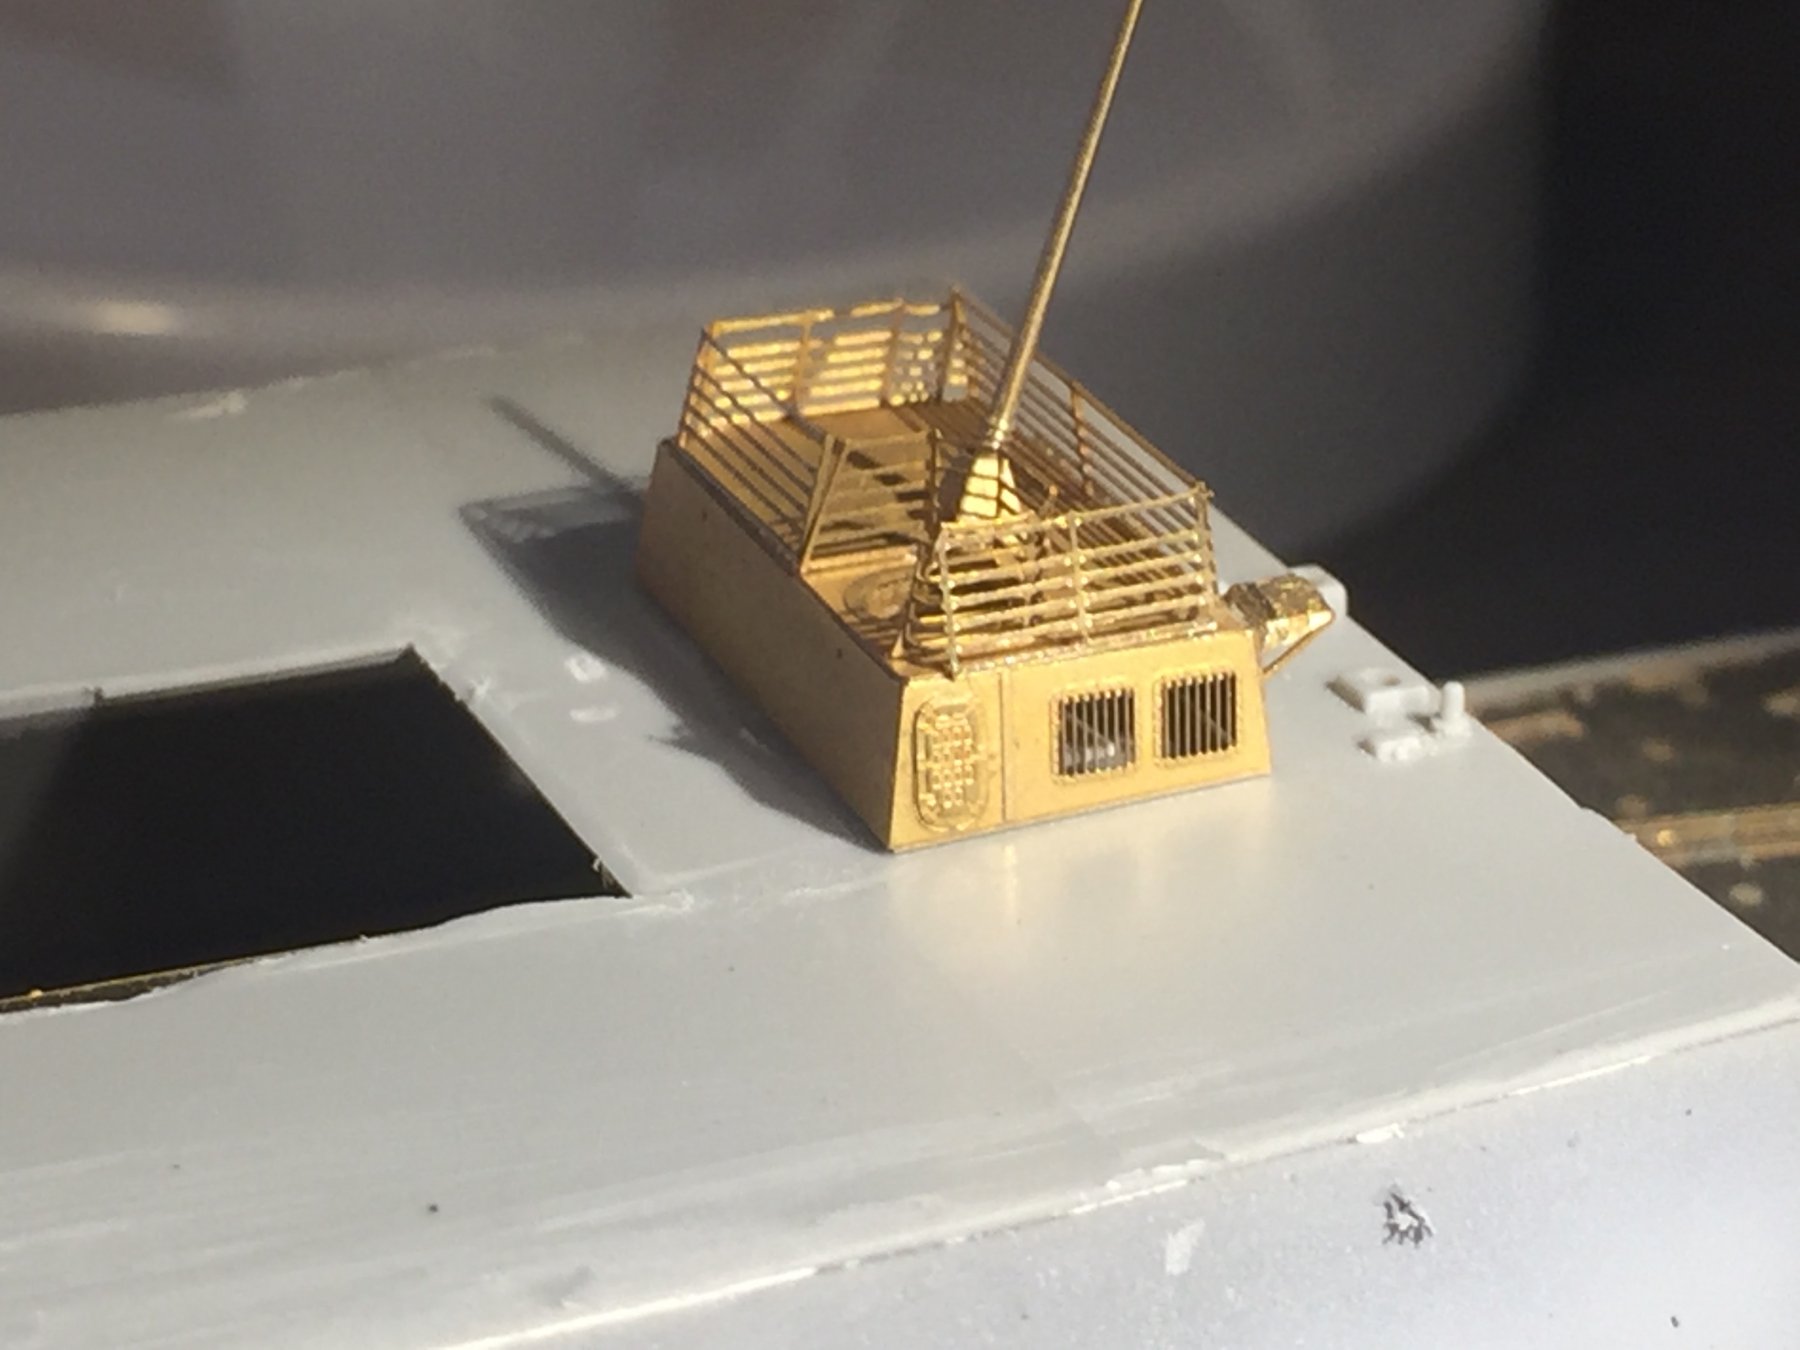
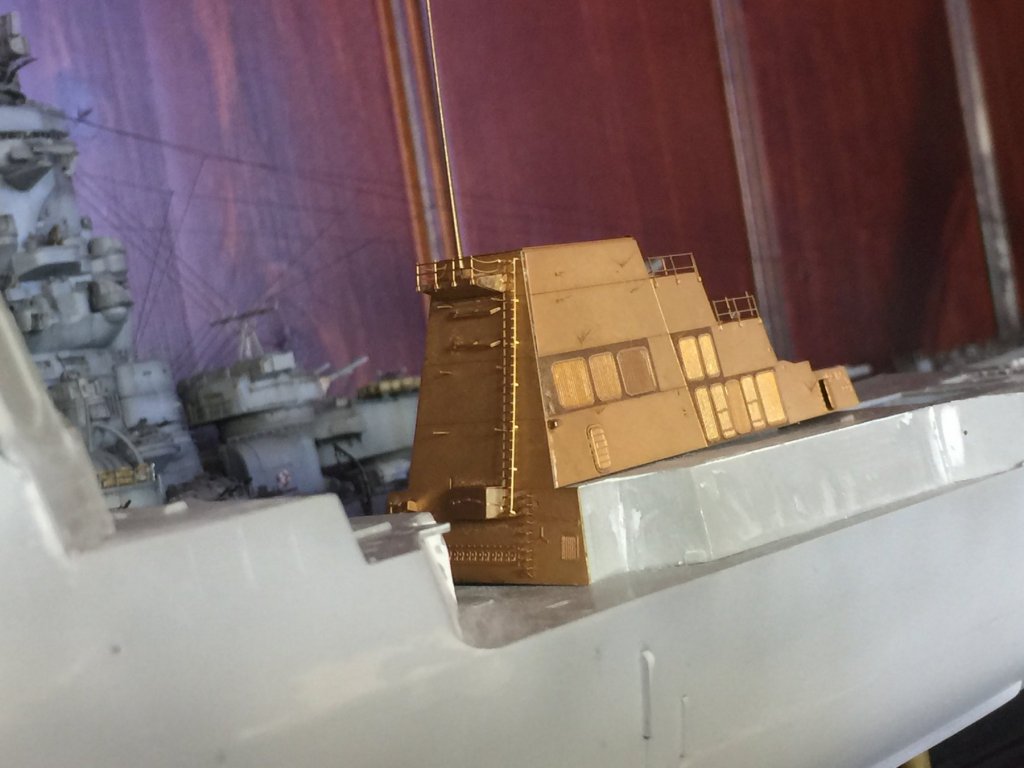
Whilst waiting for the second primer coat to set, I thought I’d start some PE. The rear stack, around 50 pieces!

- 155 replies
-
- 12
-
-
Ha, no mate, depends what available to make, as without decent aftermarket additions they look like bath toys to me. Lets try and finish this first. So much PE to bend yet.
-
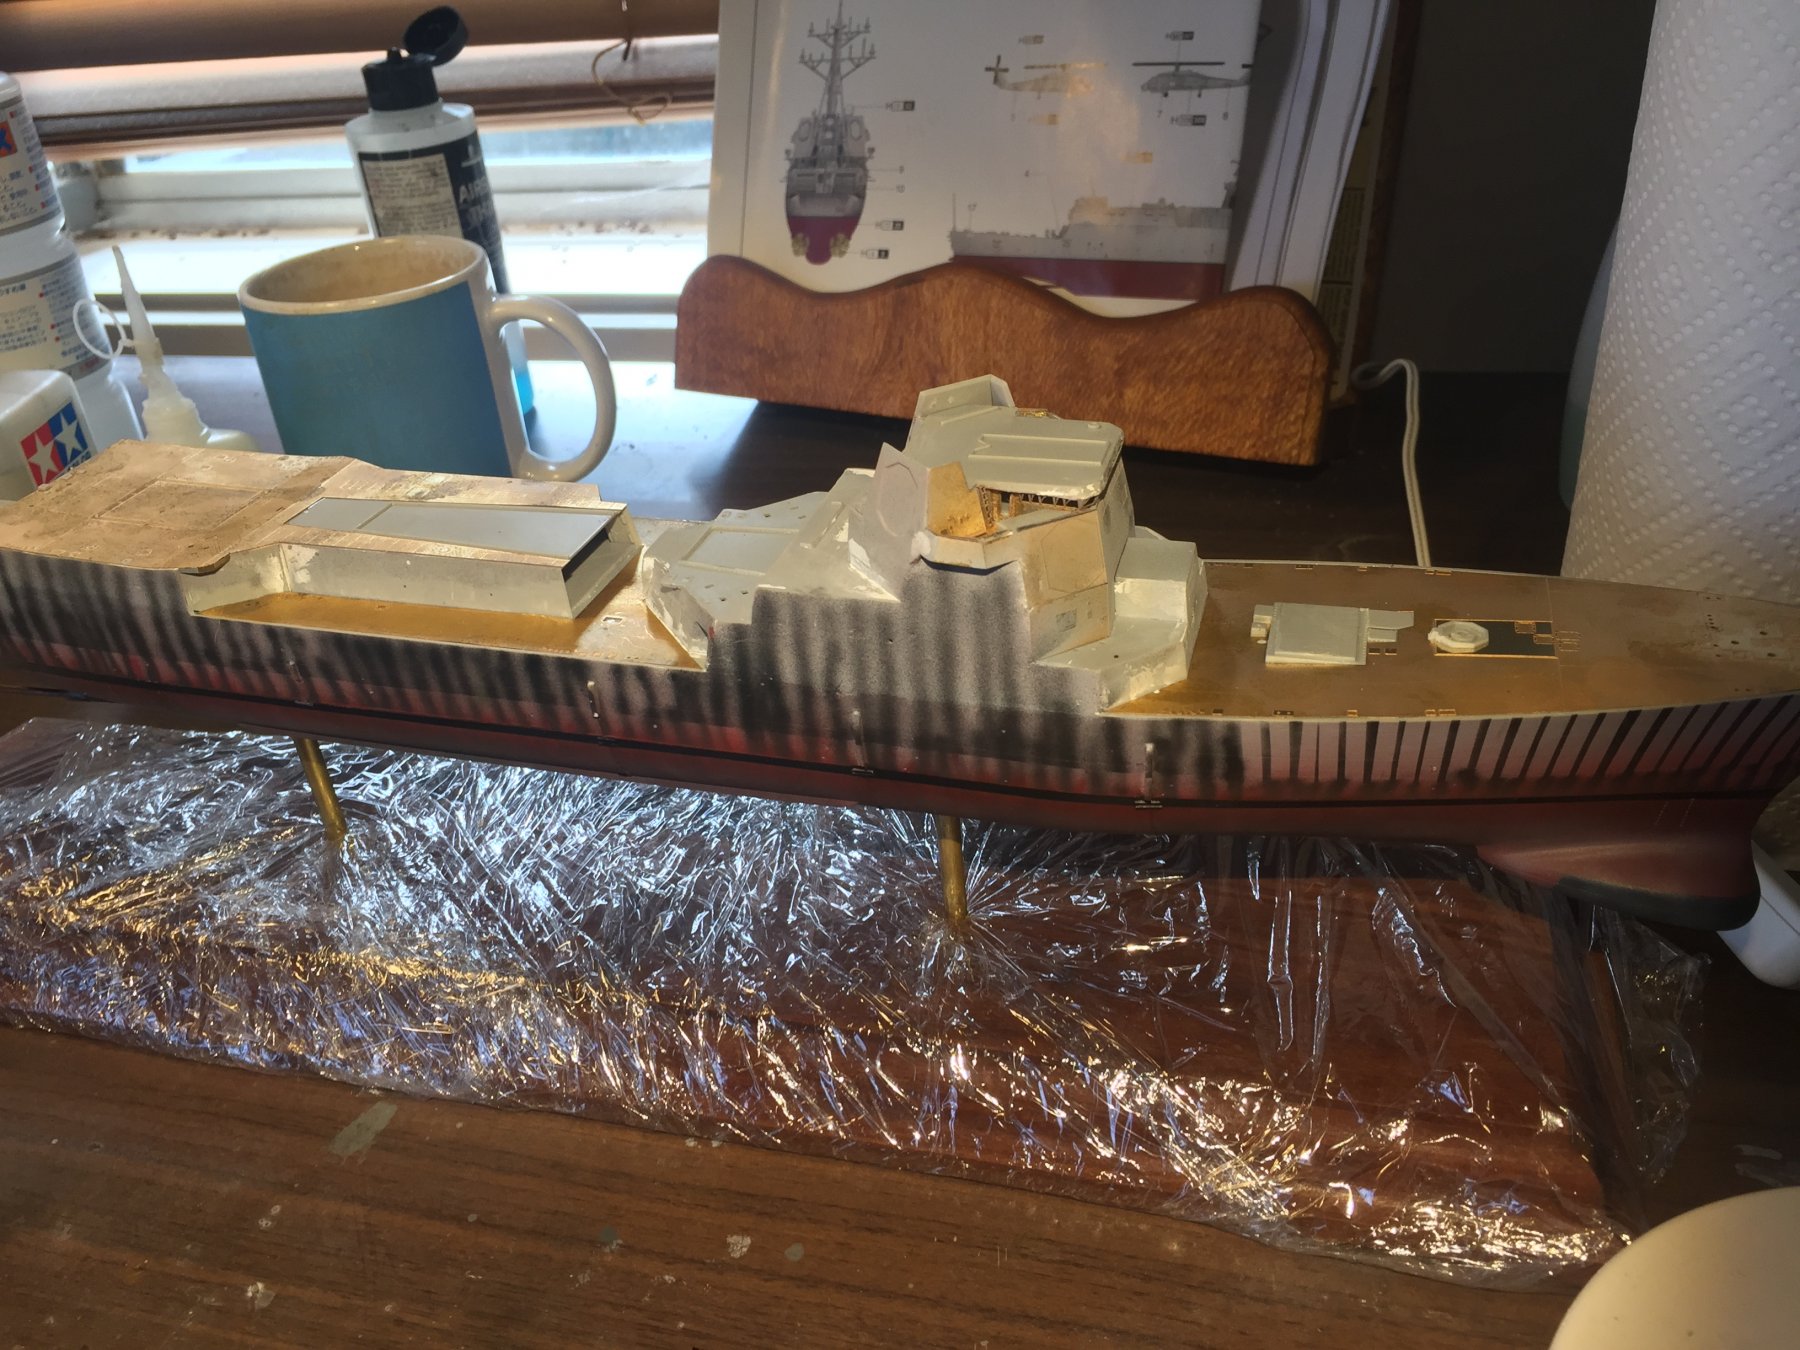
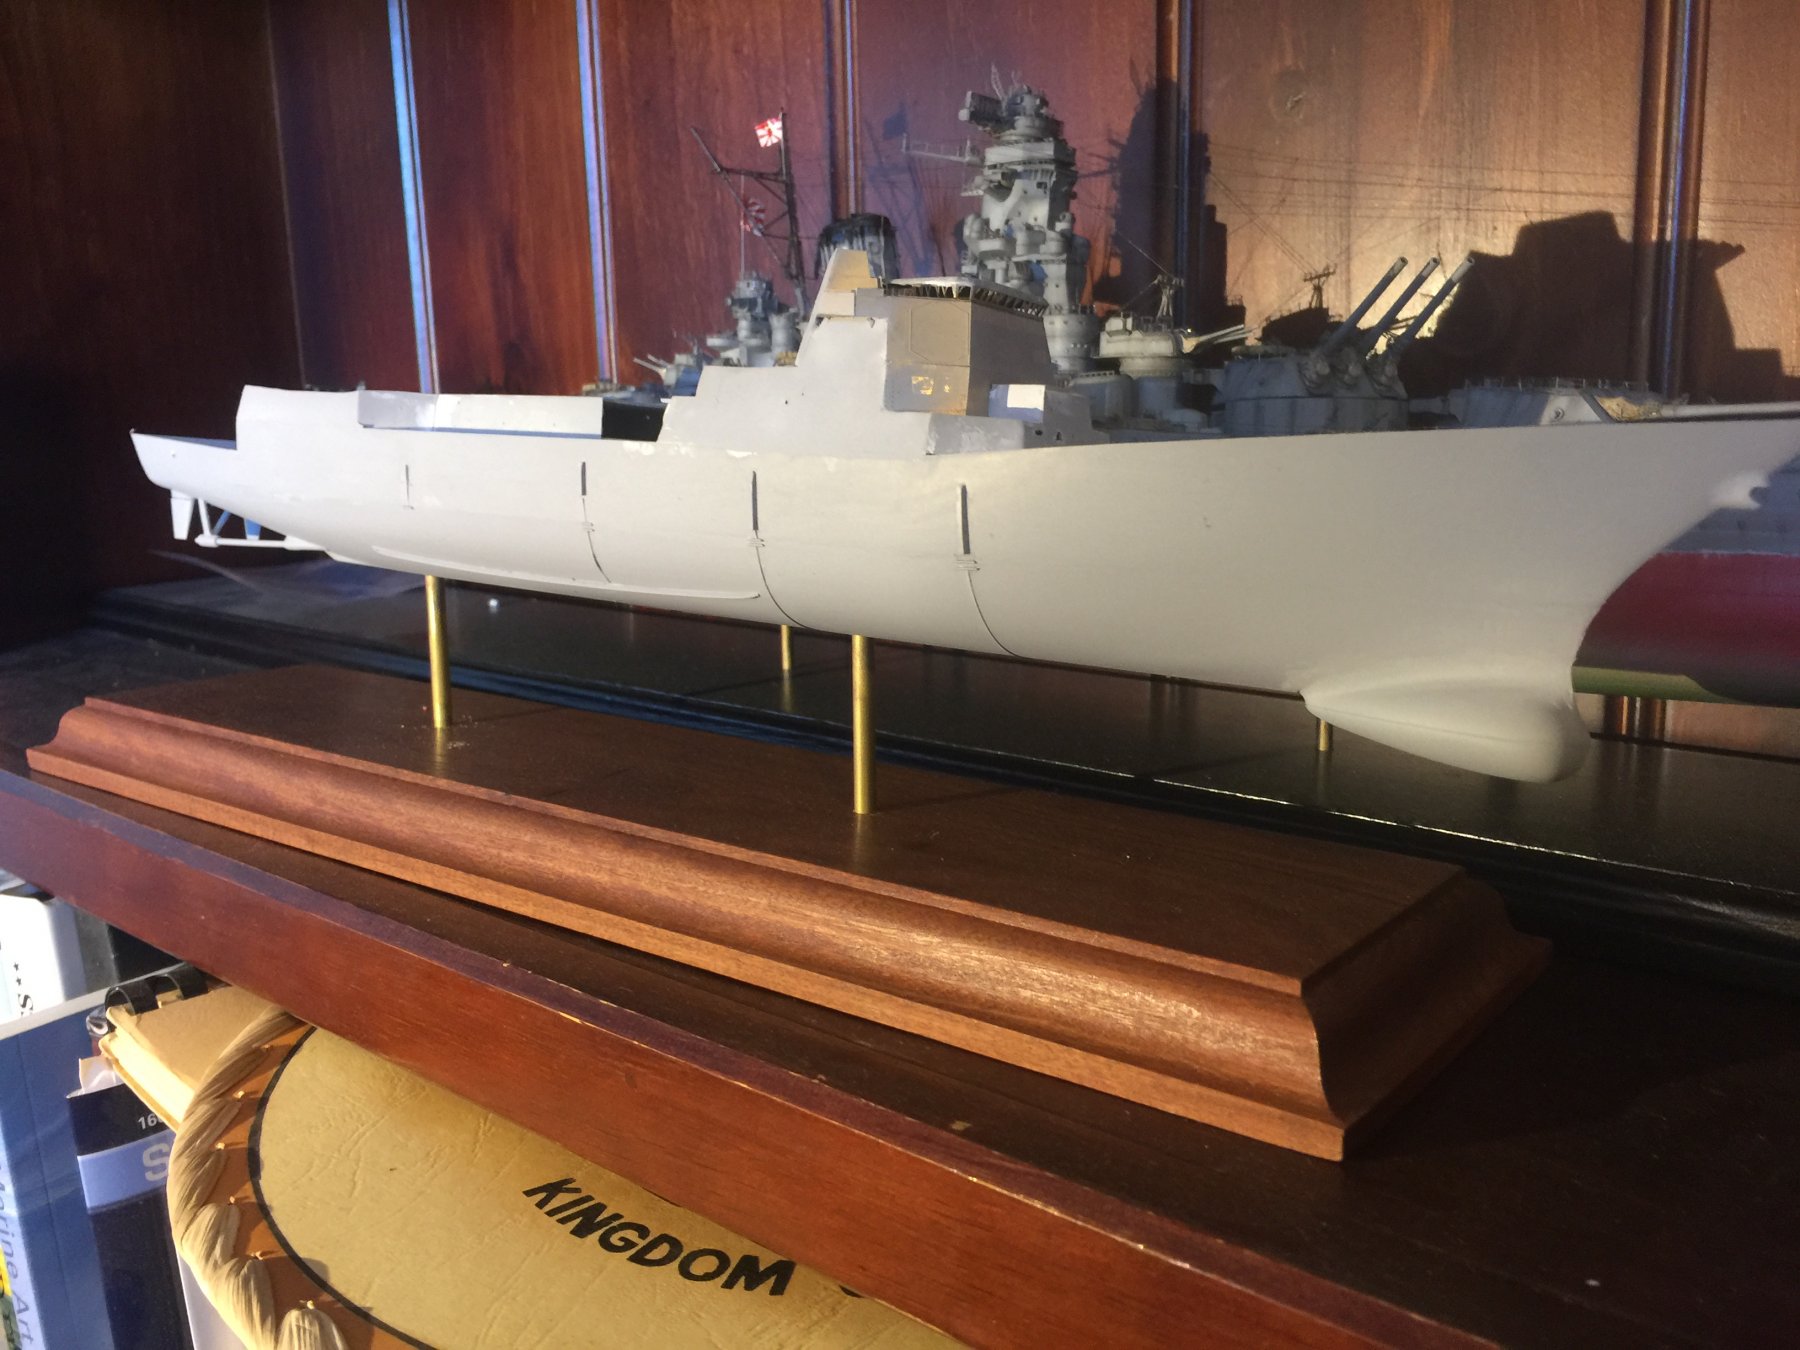
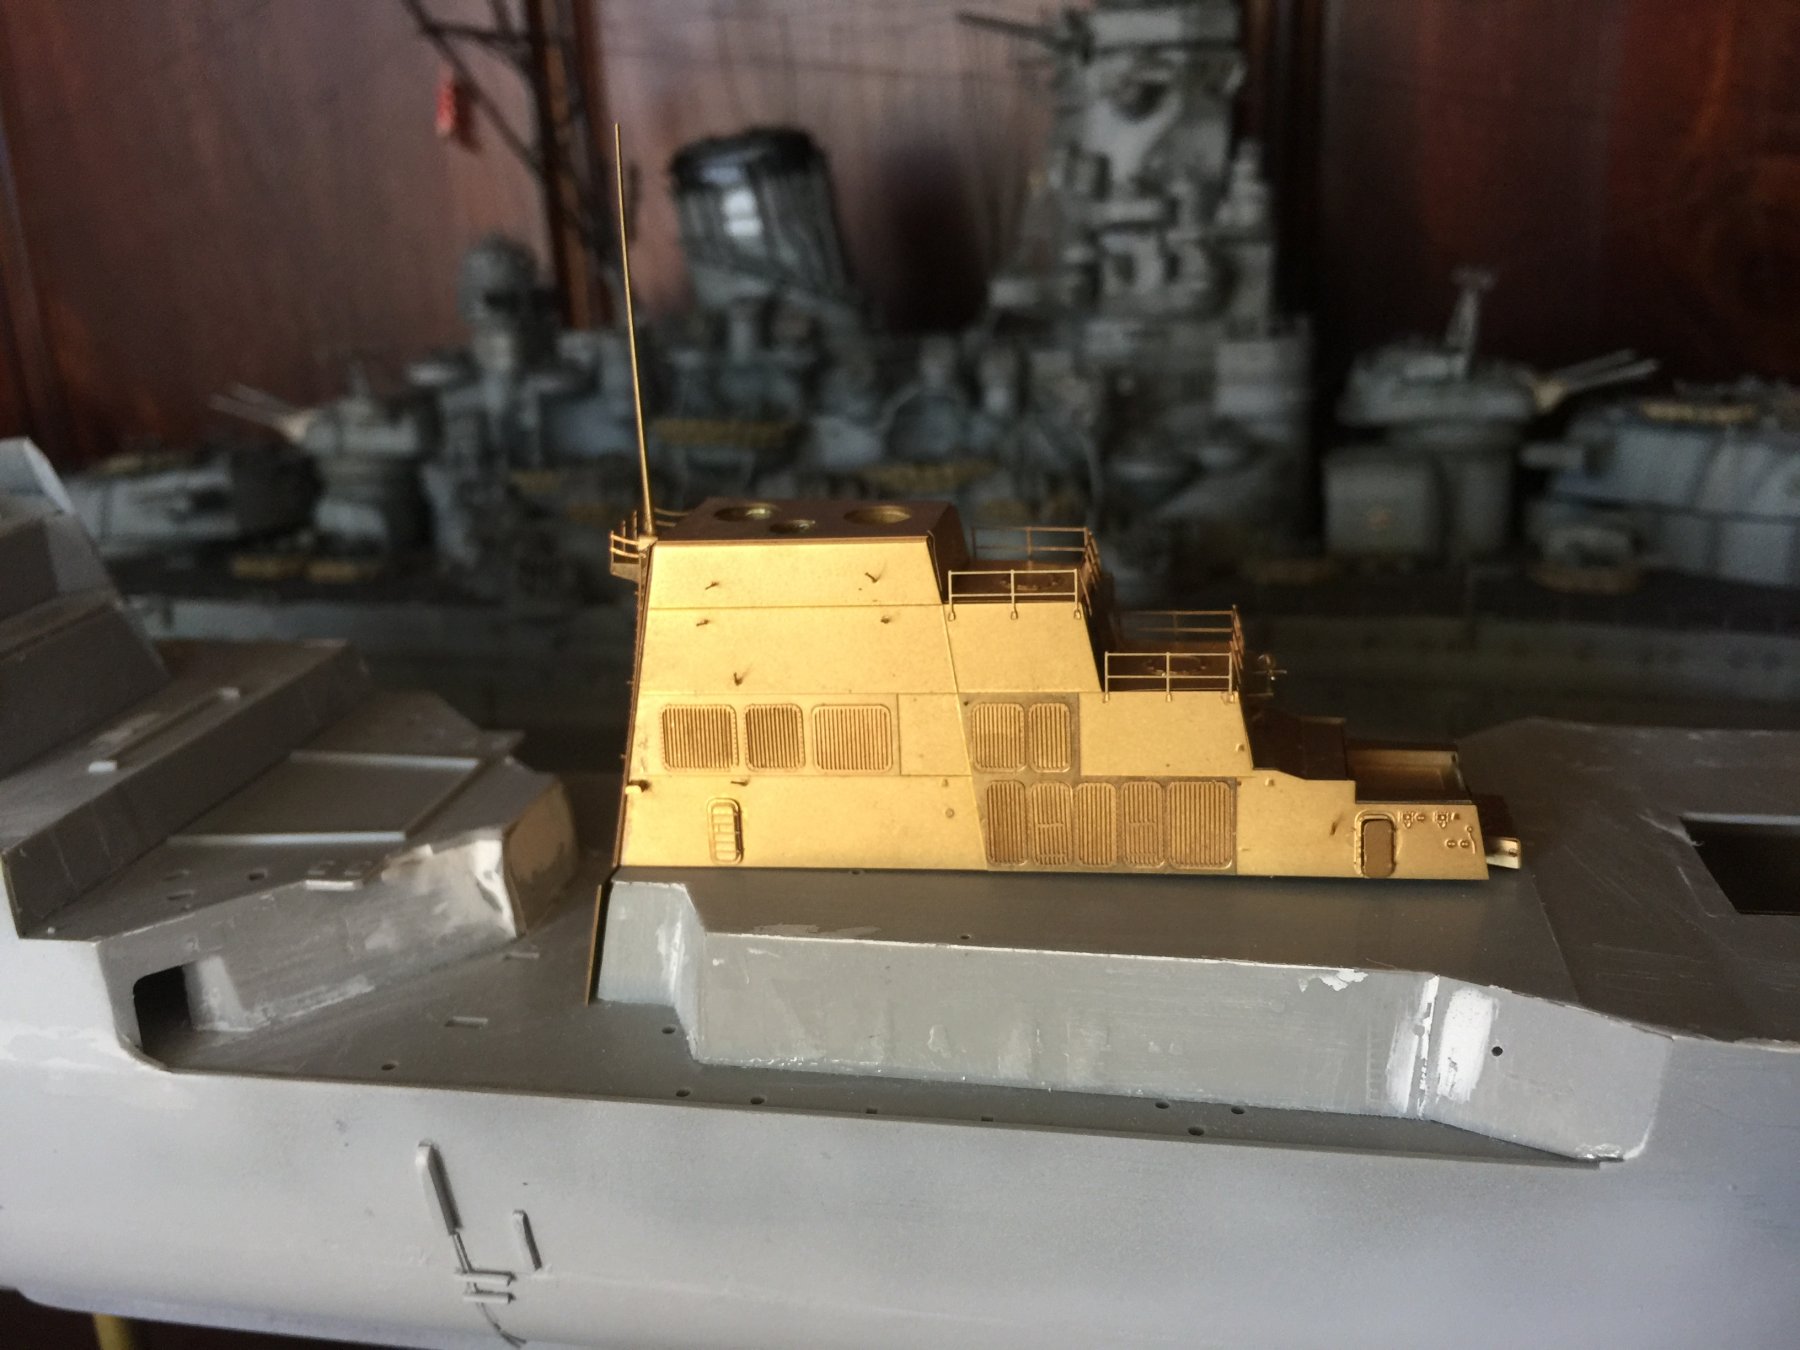
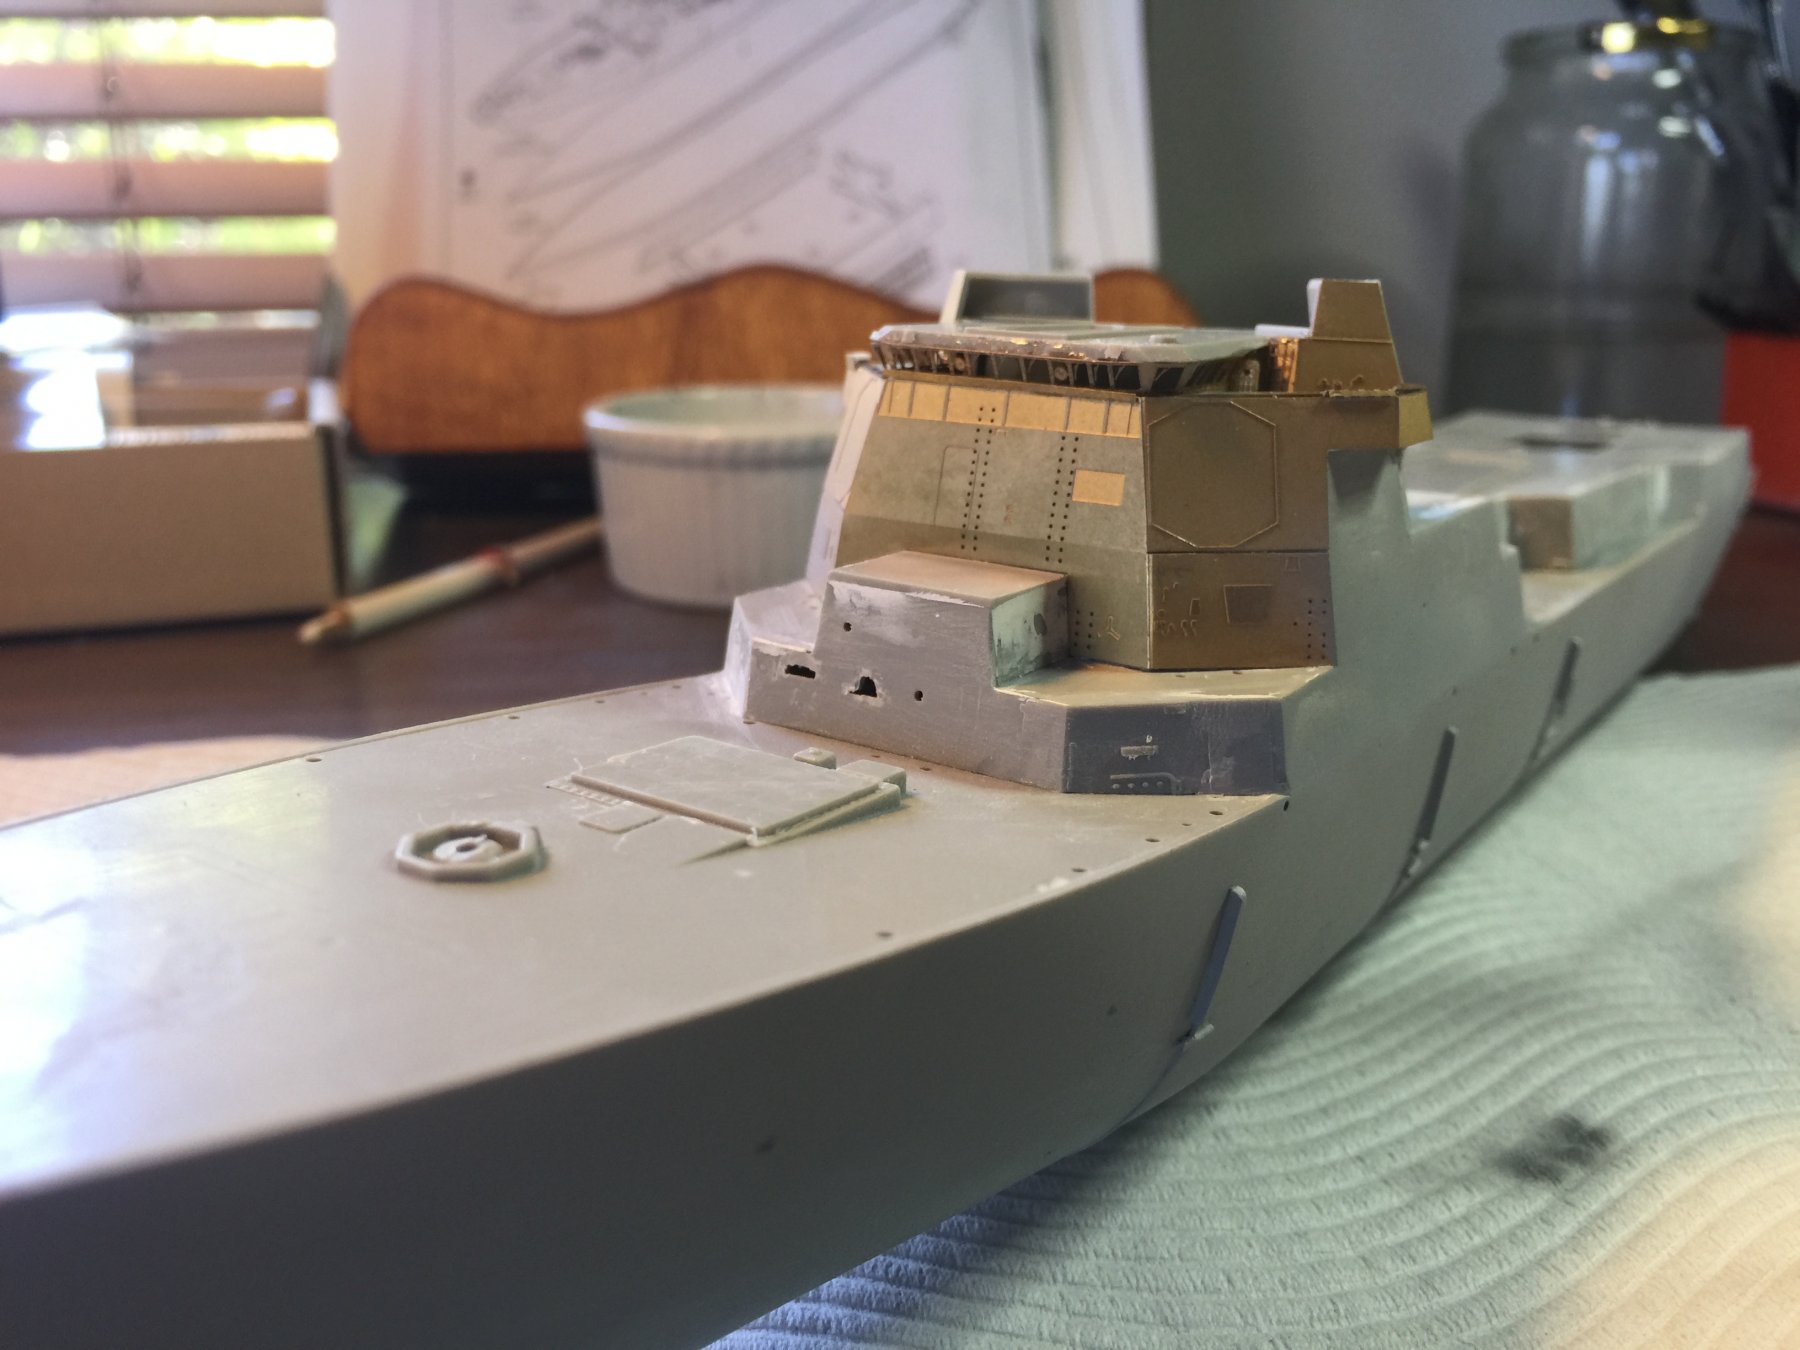
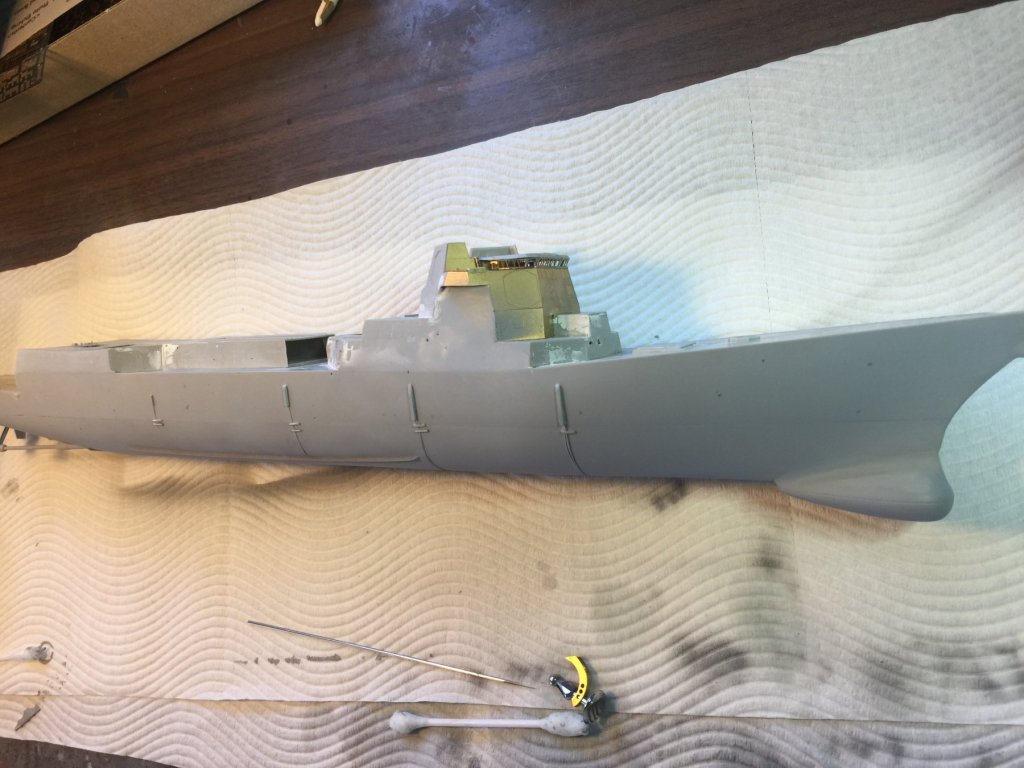
Ok, the bridge is on, and a lot of tiny details to go, but, I’m going to stop there. The structures are now aligned. The lower hull now needs to be done. I can get that tidied up and painted then everything can be done right side up. The first primer coat coat shoes a LOT of sins, but that’s what by we do it. Lots of tiny gaps to fix up, then I can gentry scribe in my weld lines and measure up the armour panels and add the numerous scuppers before moving on to pre shading.

- 155 replies
-
- 11
-
-
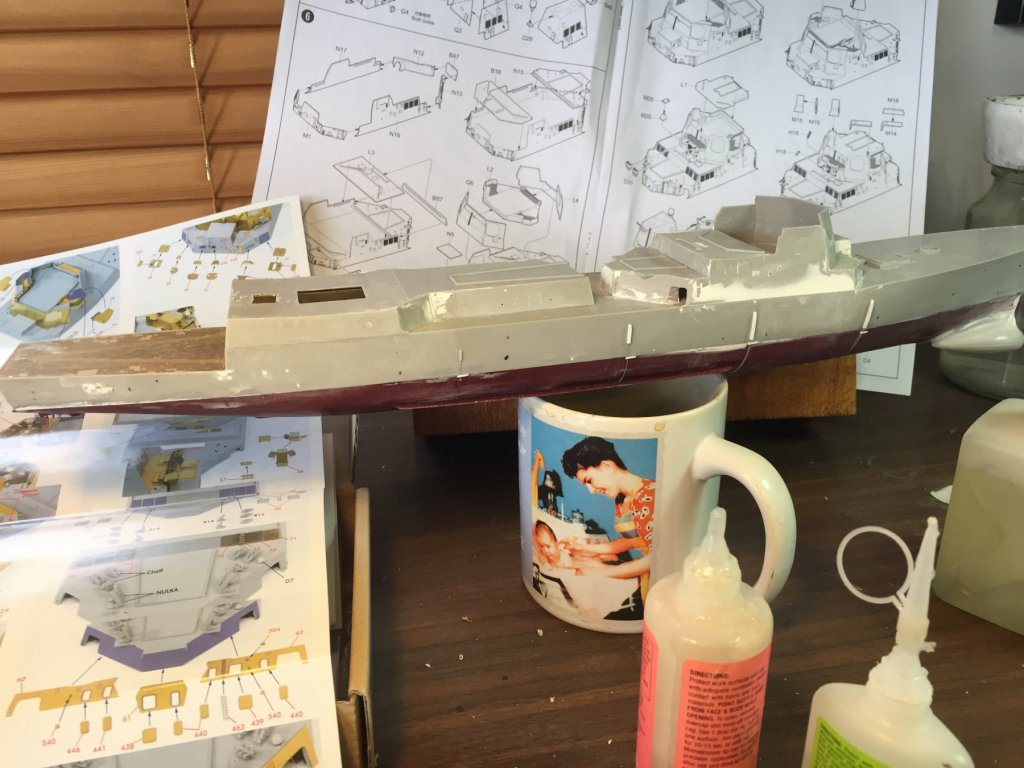
Trumpeter is not as exact as Tamiya. I managed to generate a lot of gaps, but the two superstructures that are the bridge and the hangar should be flush with the hull. They were’nt thus the prodigious use of bog. I’m hoping it’s somewhat strait forward from here, first two bits of PE on. I intend to have one door closed so why put the hangar in? Basically a whole day shaving off every feature on every piece (that will be replaced with PE) and trying to align each piece.
- 155 replies
-
- 16
-
-
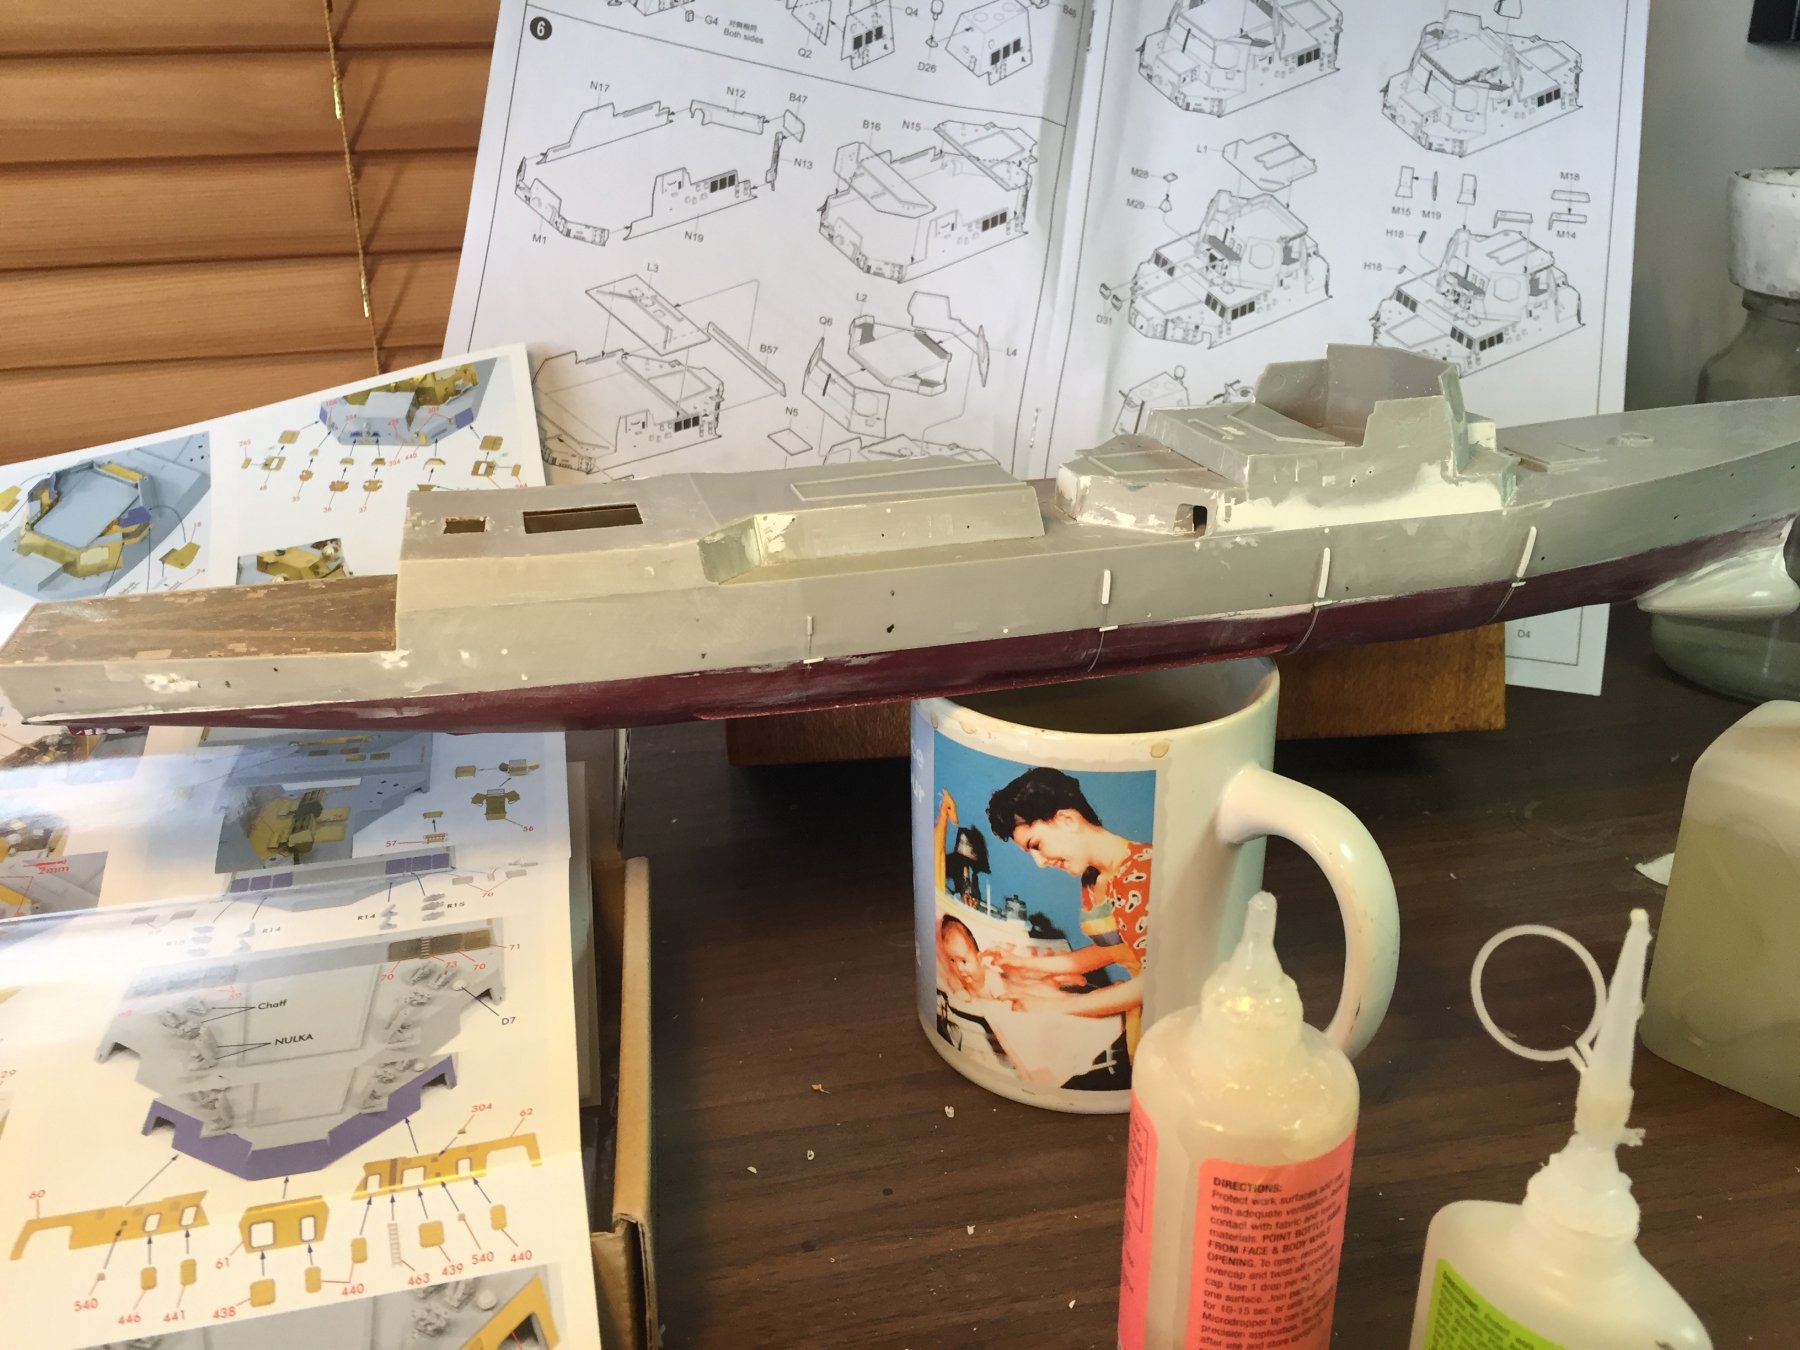
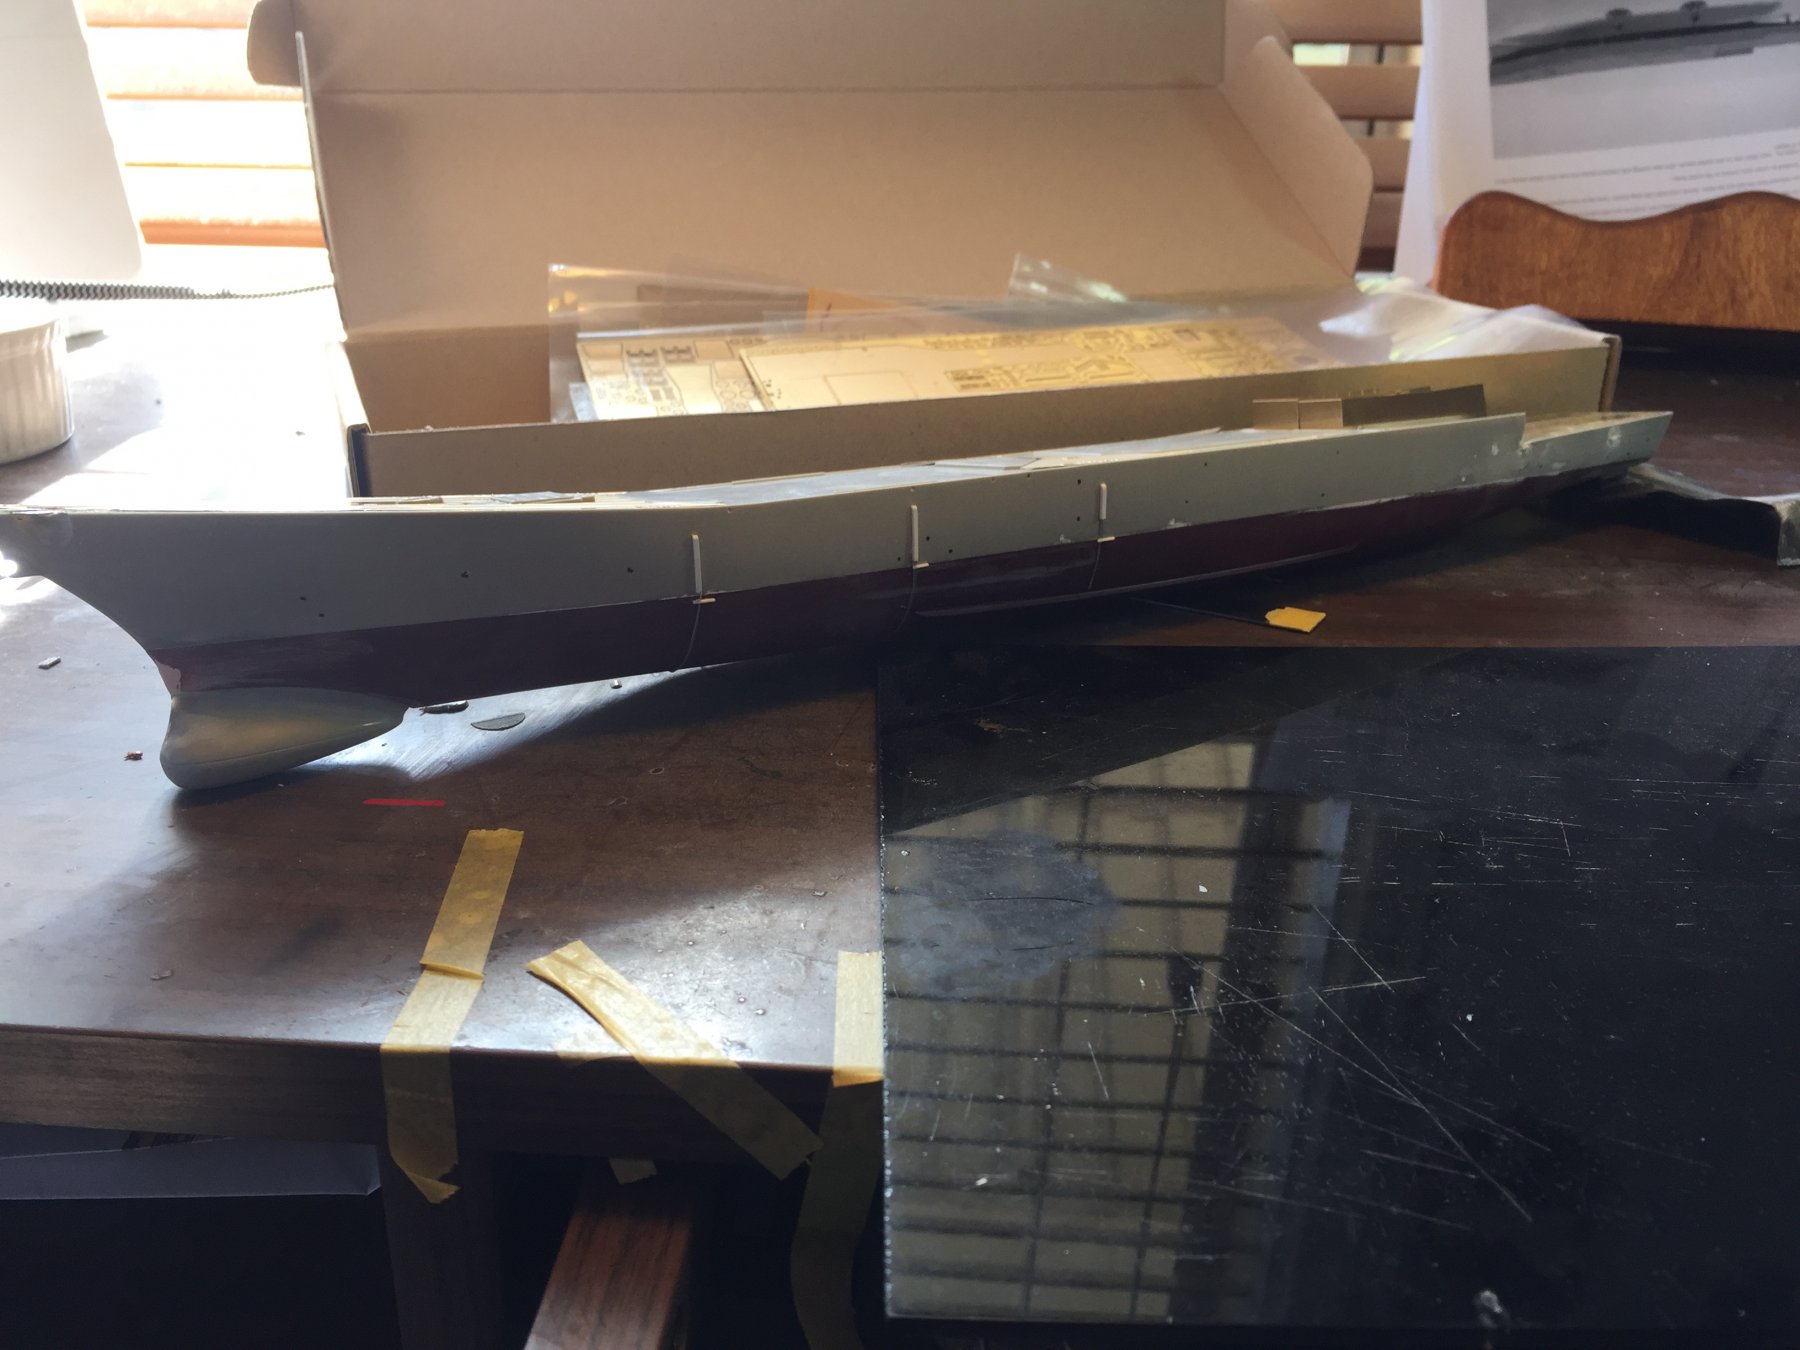
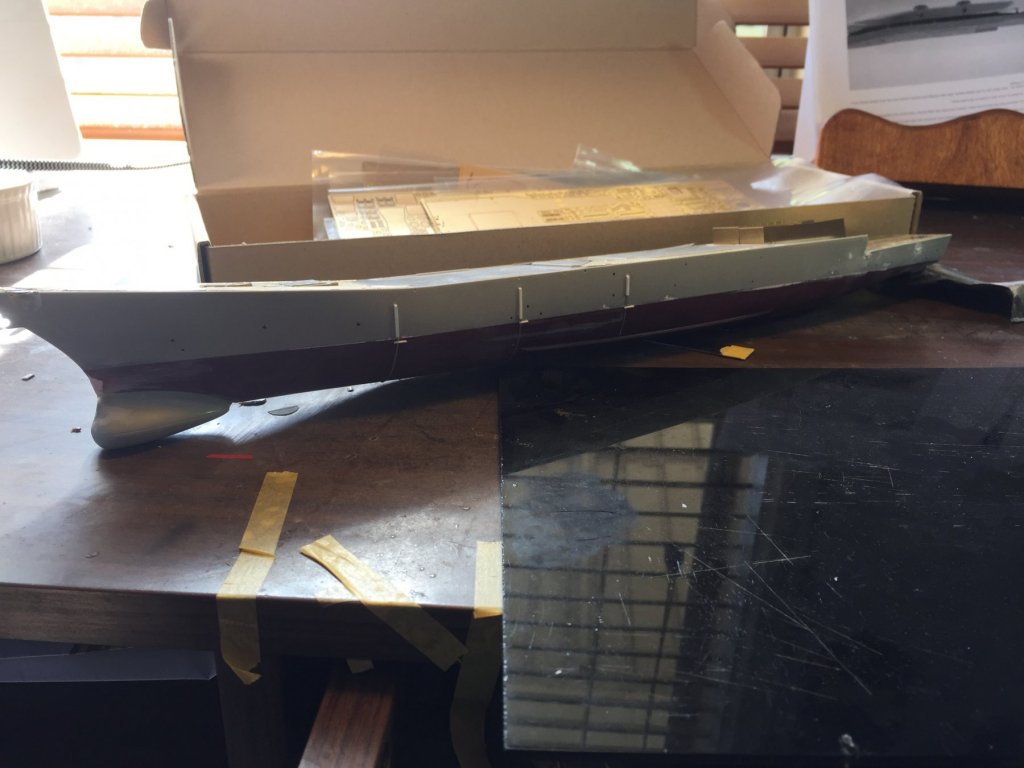
The hull is joined up. I found with my last build being Trumpeter, they give you the two options of waterline and full hull. Not a fan of this as it means the join at the waterline has to be perfect which i find very hard to achieve. So, lots of pity and sanding later, all the bits and pieces shaved off the hull and deck and were’re Ready for a dry fit of the first bits of PE. Im not going to weather her anywhere near as much as Mr K, but I will need to re drill all the hull features and panel lines plus there are a few armour belts which have to be added prior to the oil canning process. I will paint the lower hull first thought. There is a LOT of PE for this kit. Not daunting, the instructions are well presented, I just have to figure what I can paint off kit and what needs to go on first.
- 155 replies
-
- 14
-
-
Ok, thanks. Yours is a very hard act to follow K, I think there’s a bit of work to go aligning the bow yet before I touch the metal bits. Always happy to go with your advice! greg
-
No one drinks Fosters in Australia as it’s made differently and it’s horrid! This is a local beer that made the top 10 in Oz last year.