RGL
-
Posts
5,548 -
Joined
-
Last visited
Content Type
Profiles
Forums
Gallery
Events
Everything posted by RGL
-
 Oh, you could try something smaller like Langley....OC is in.....maybe the eagle too?
- 211 replies
-
- 6
-

-

-
- prince of wales
- tamiya
- (and 2 more)
-
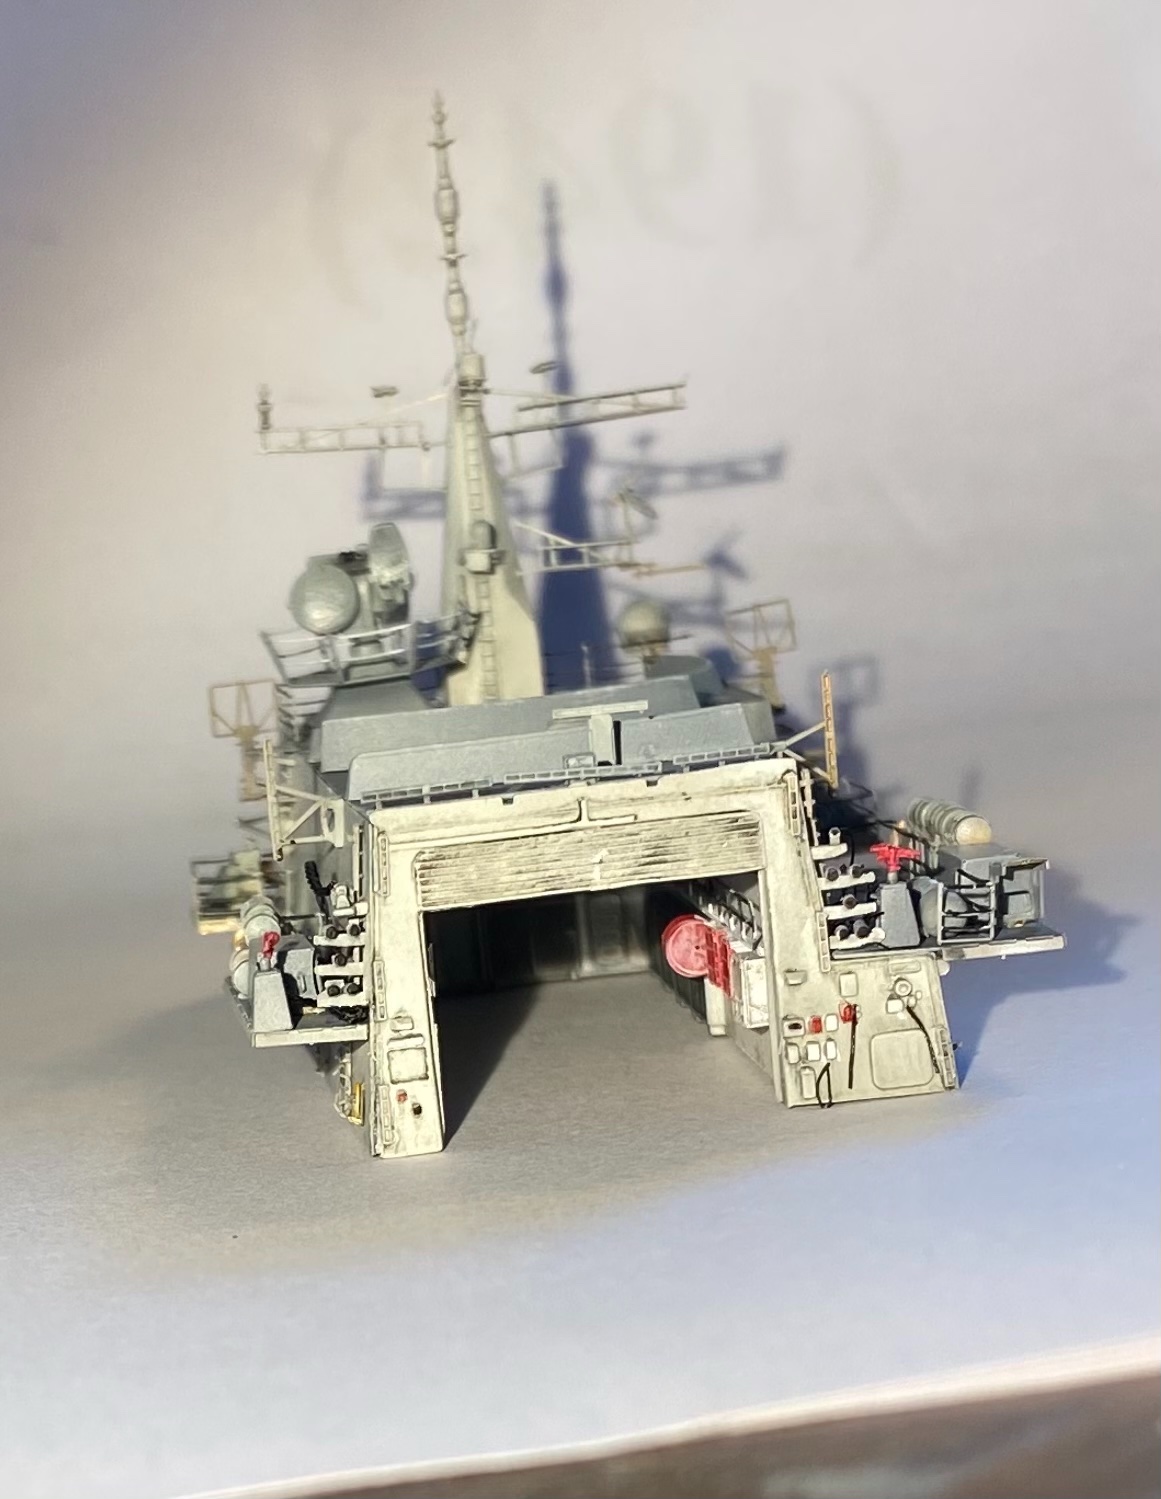
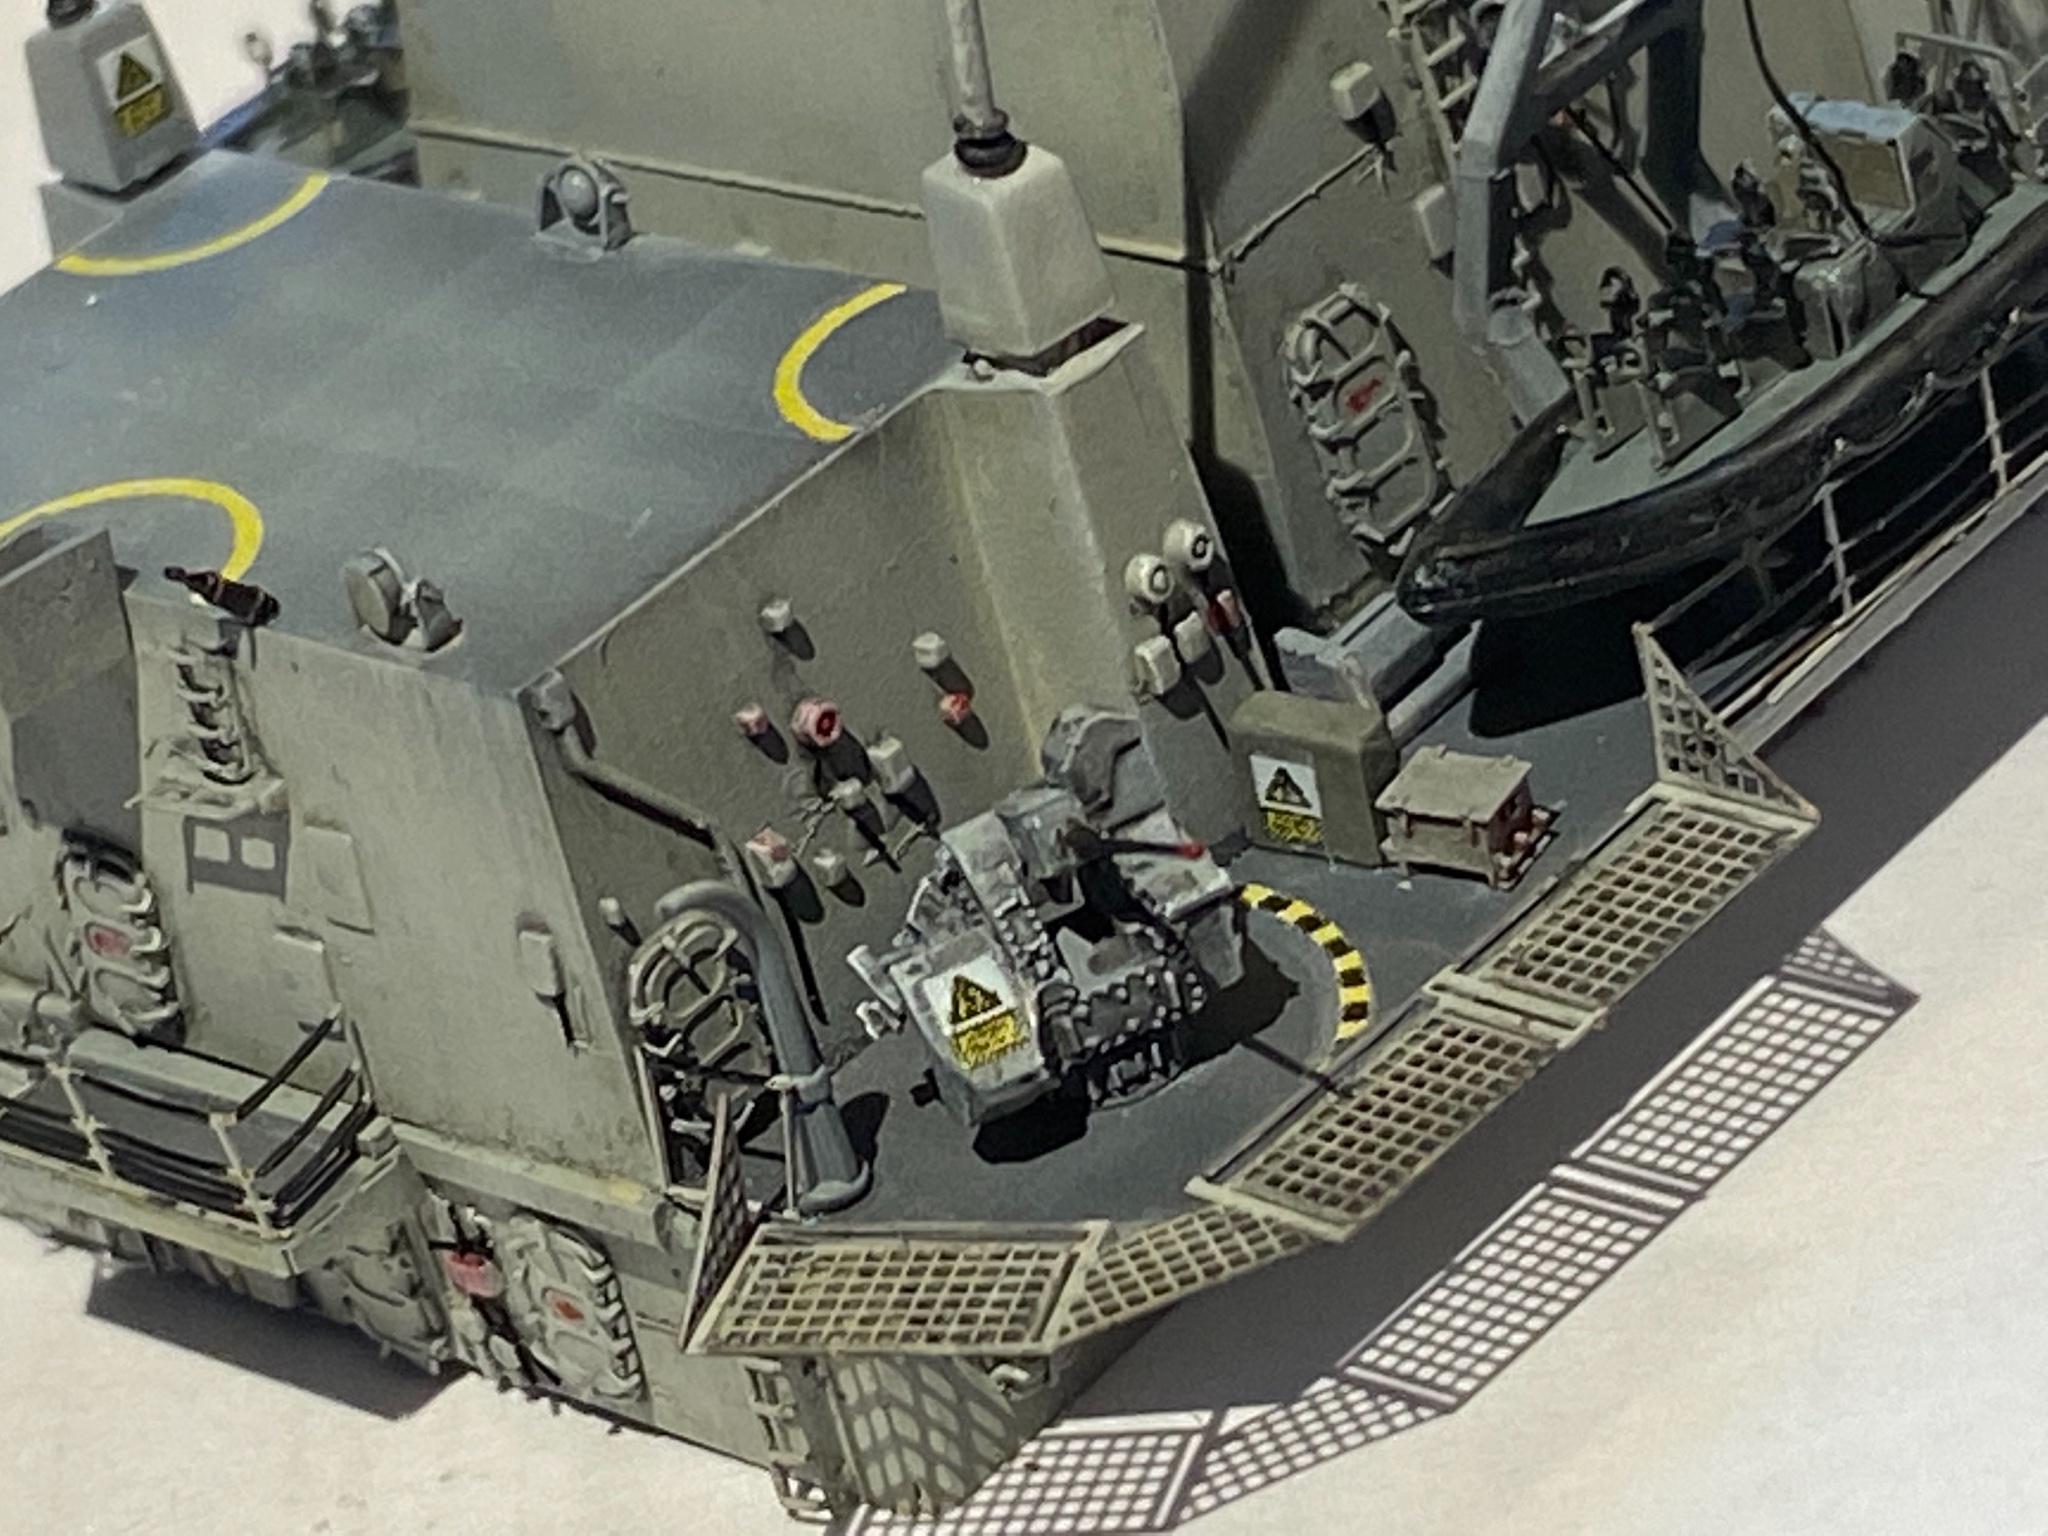
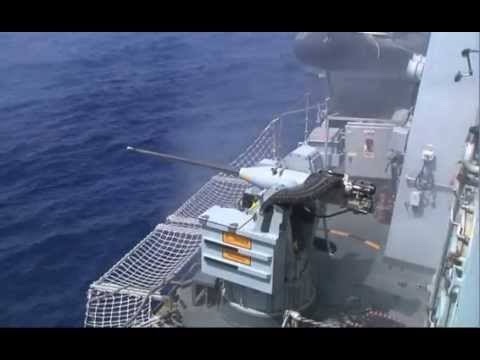
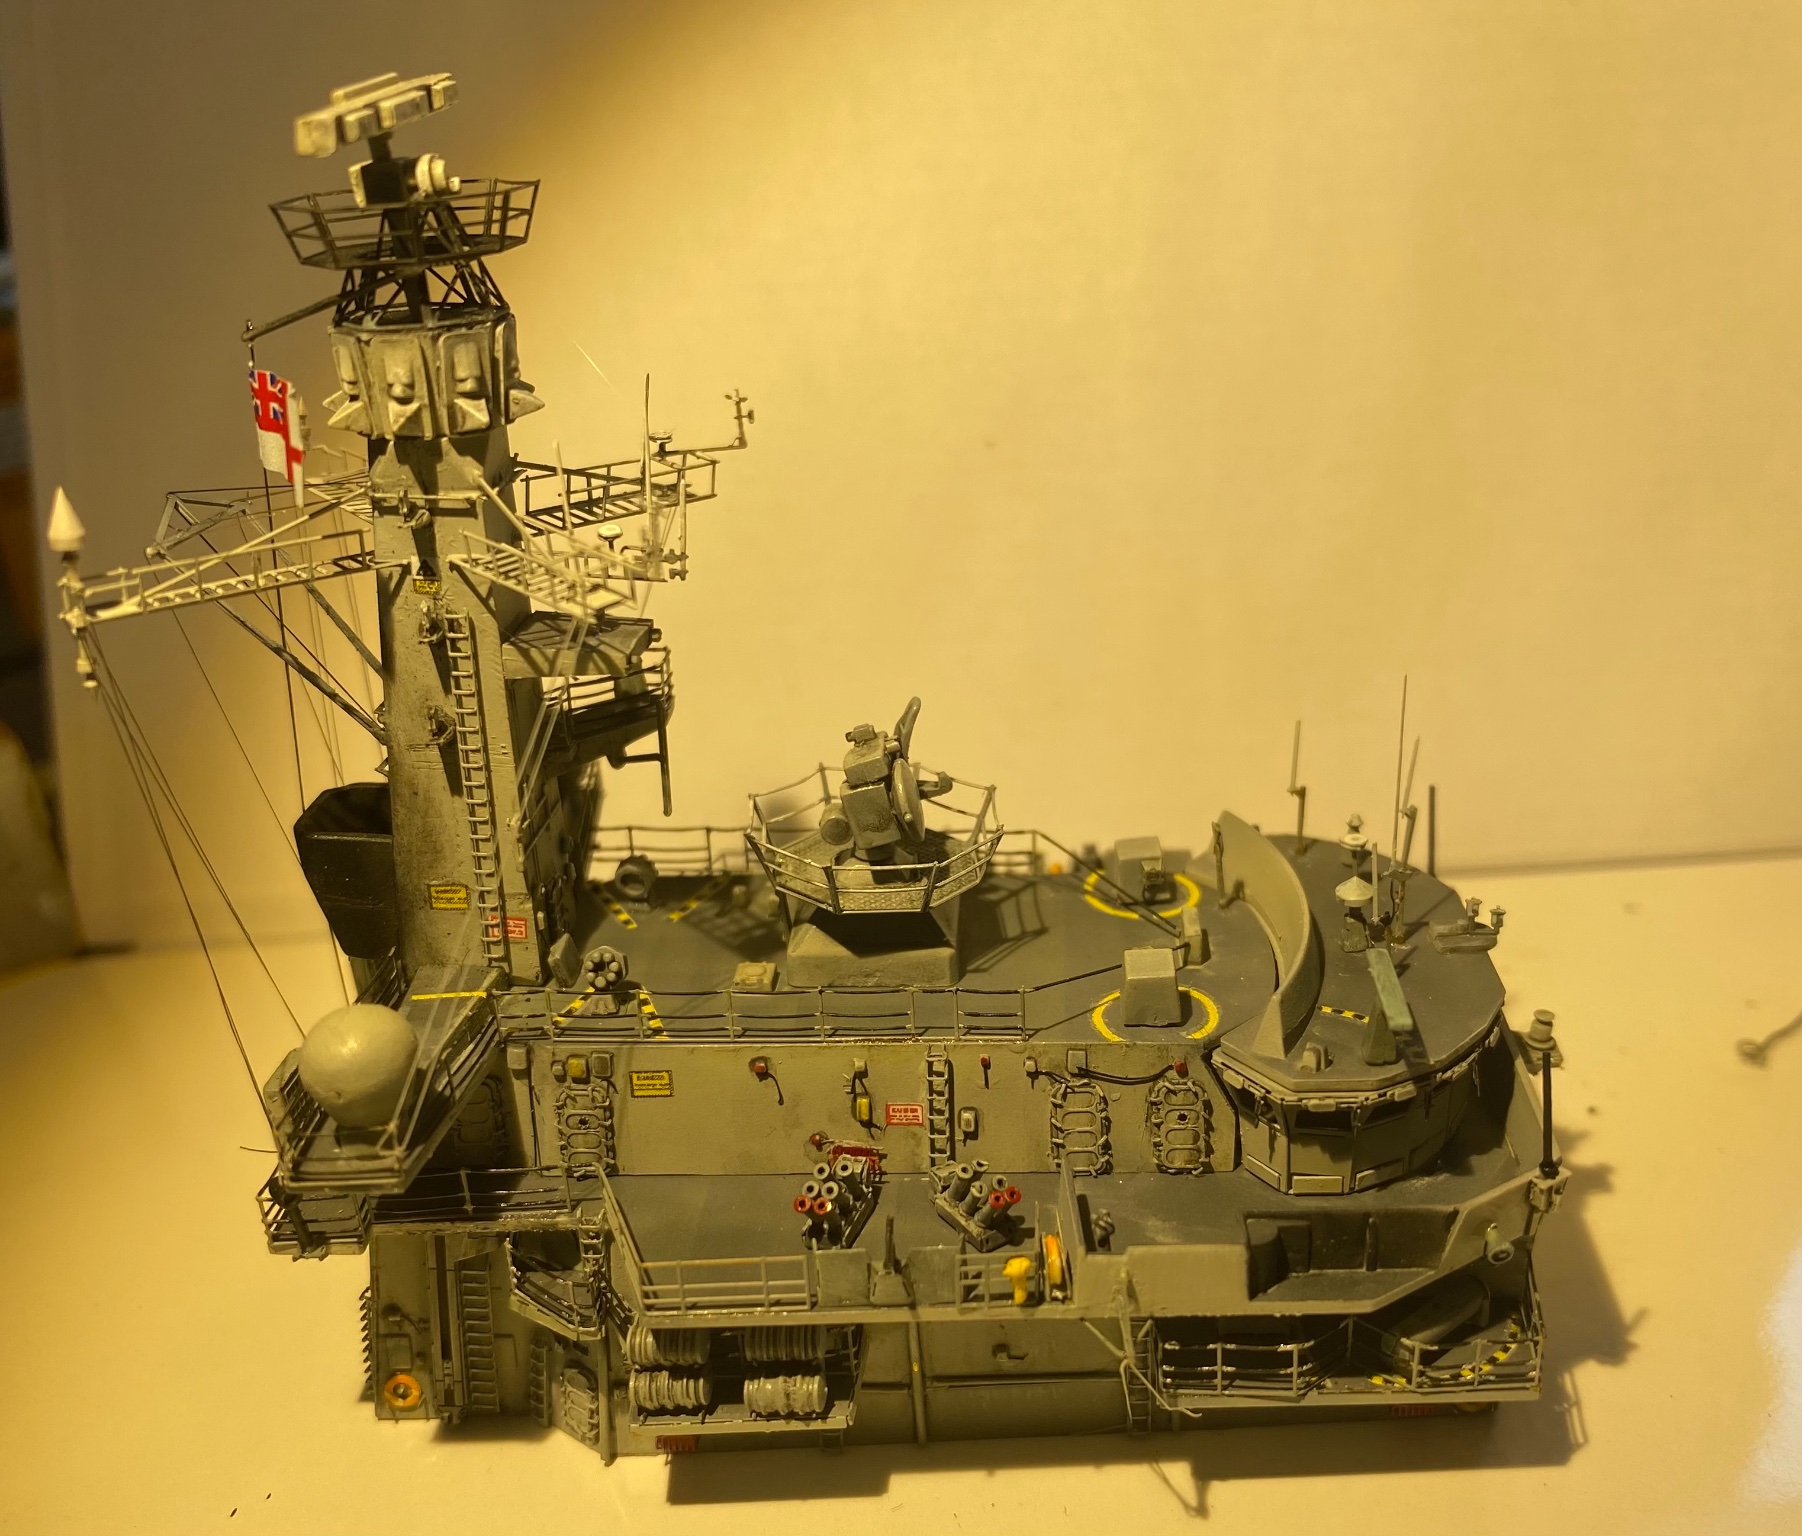
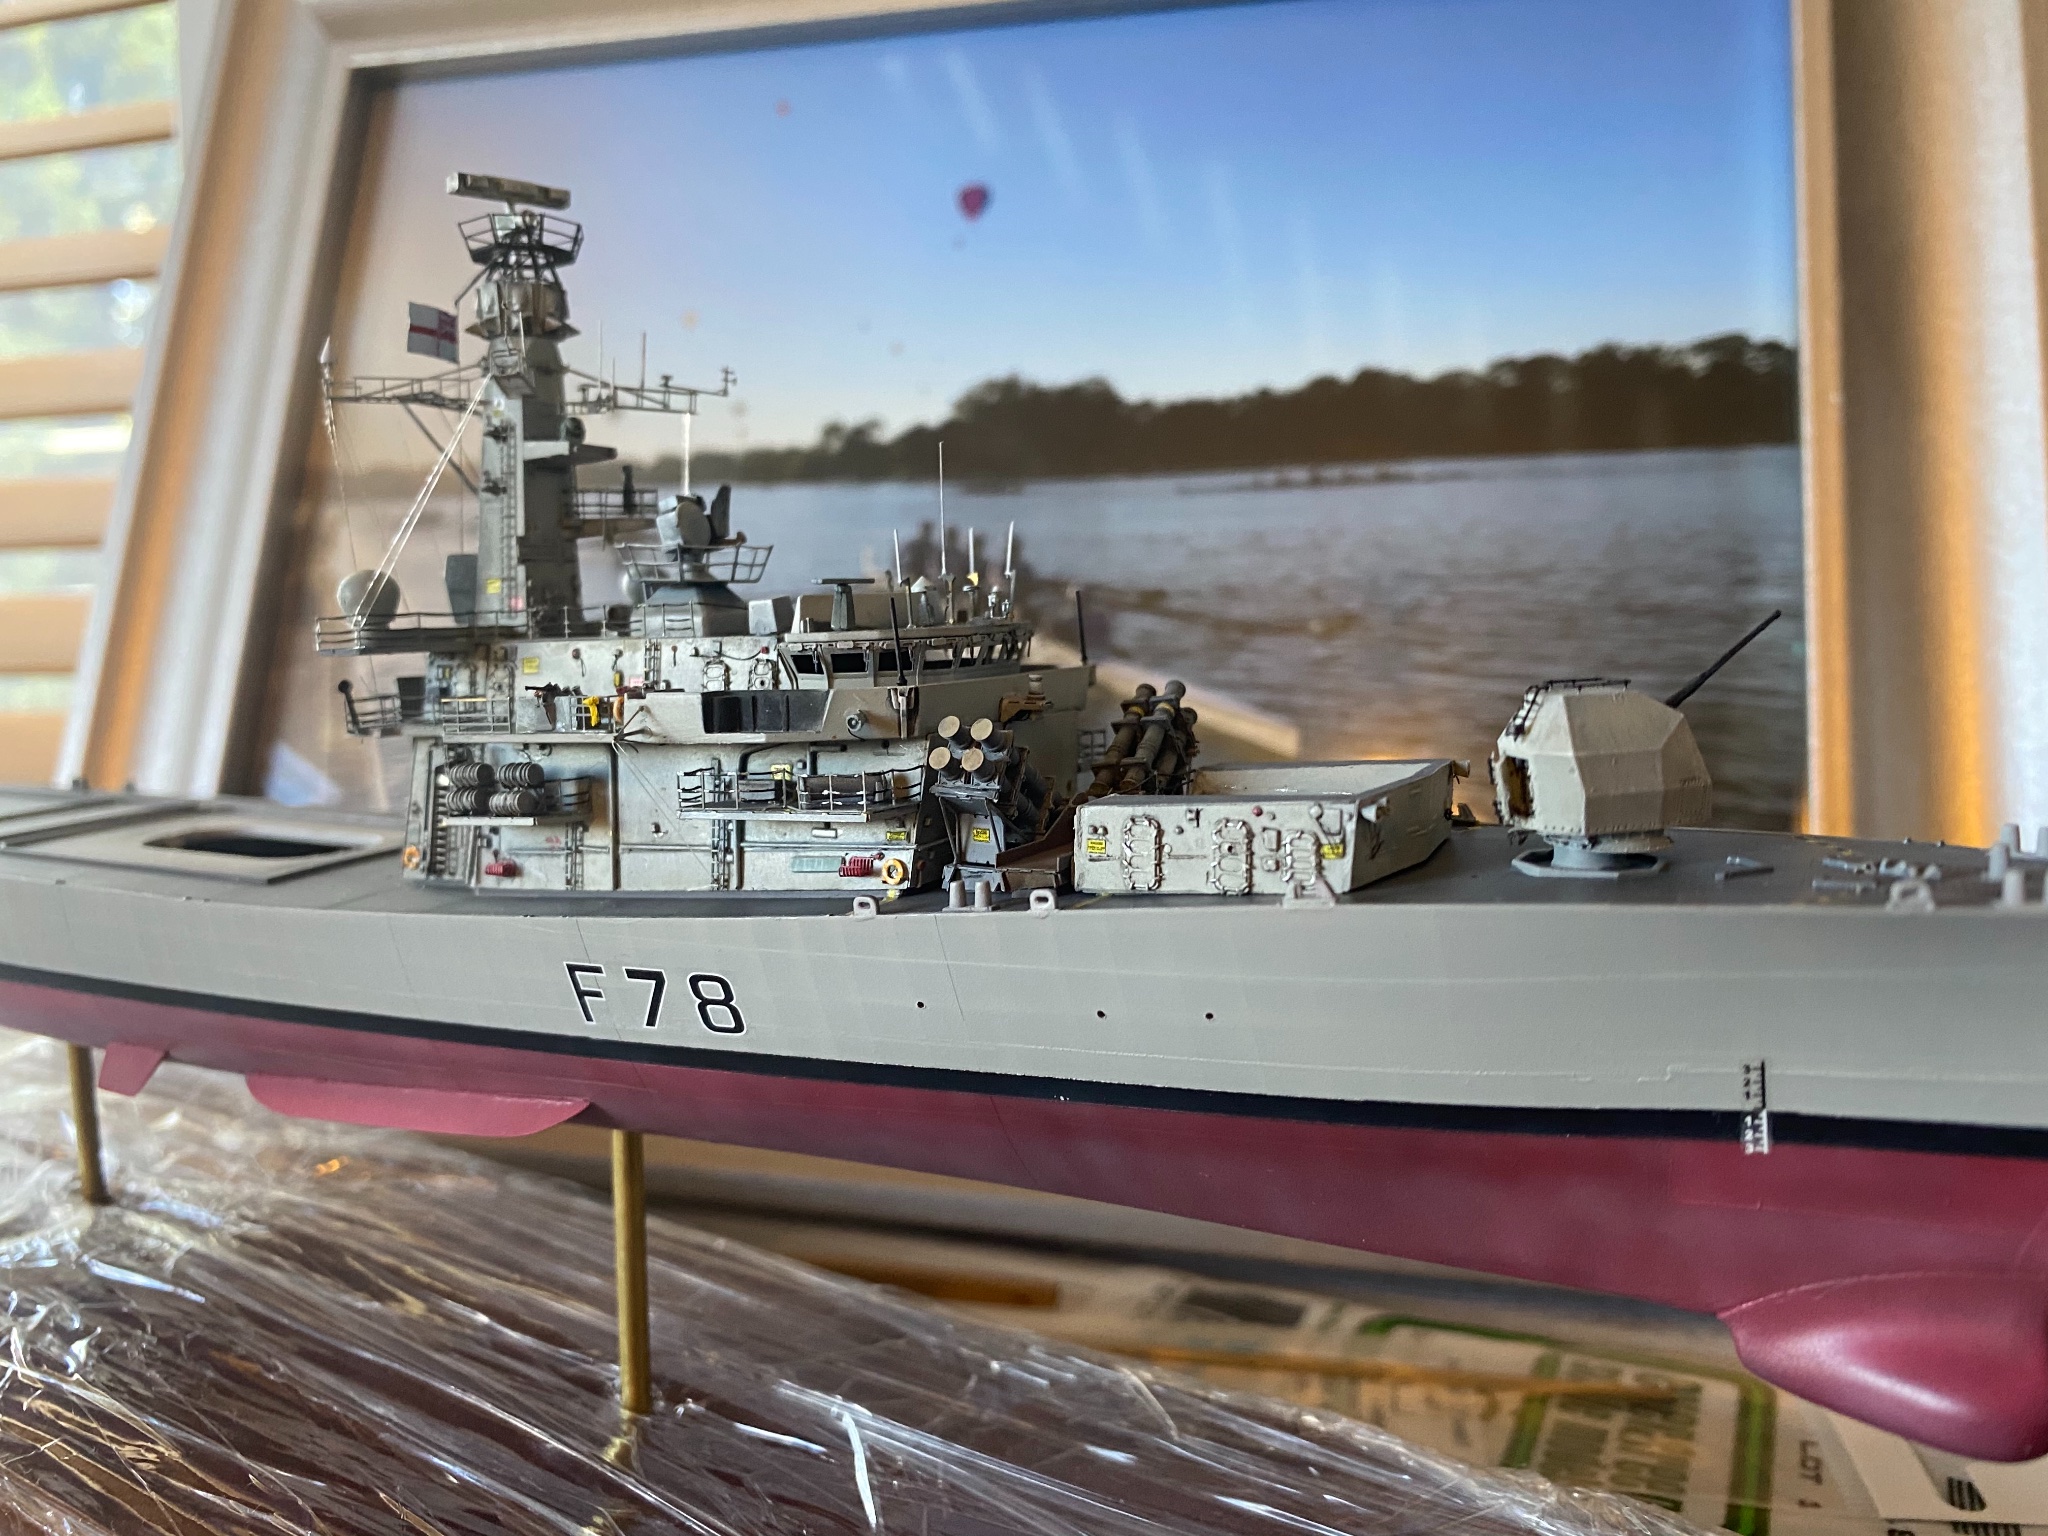
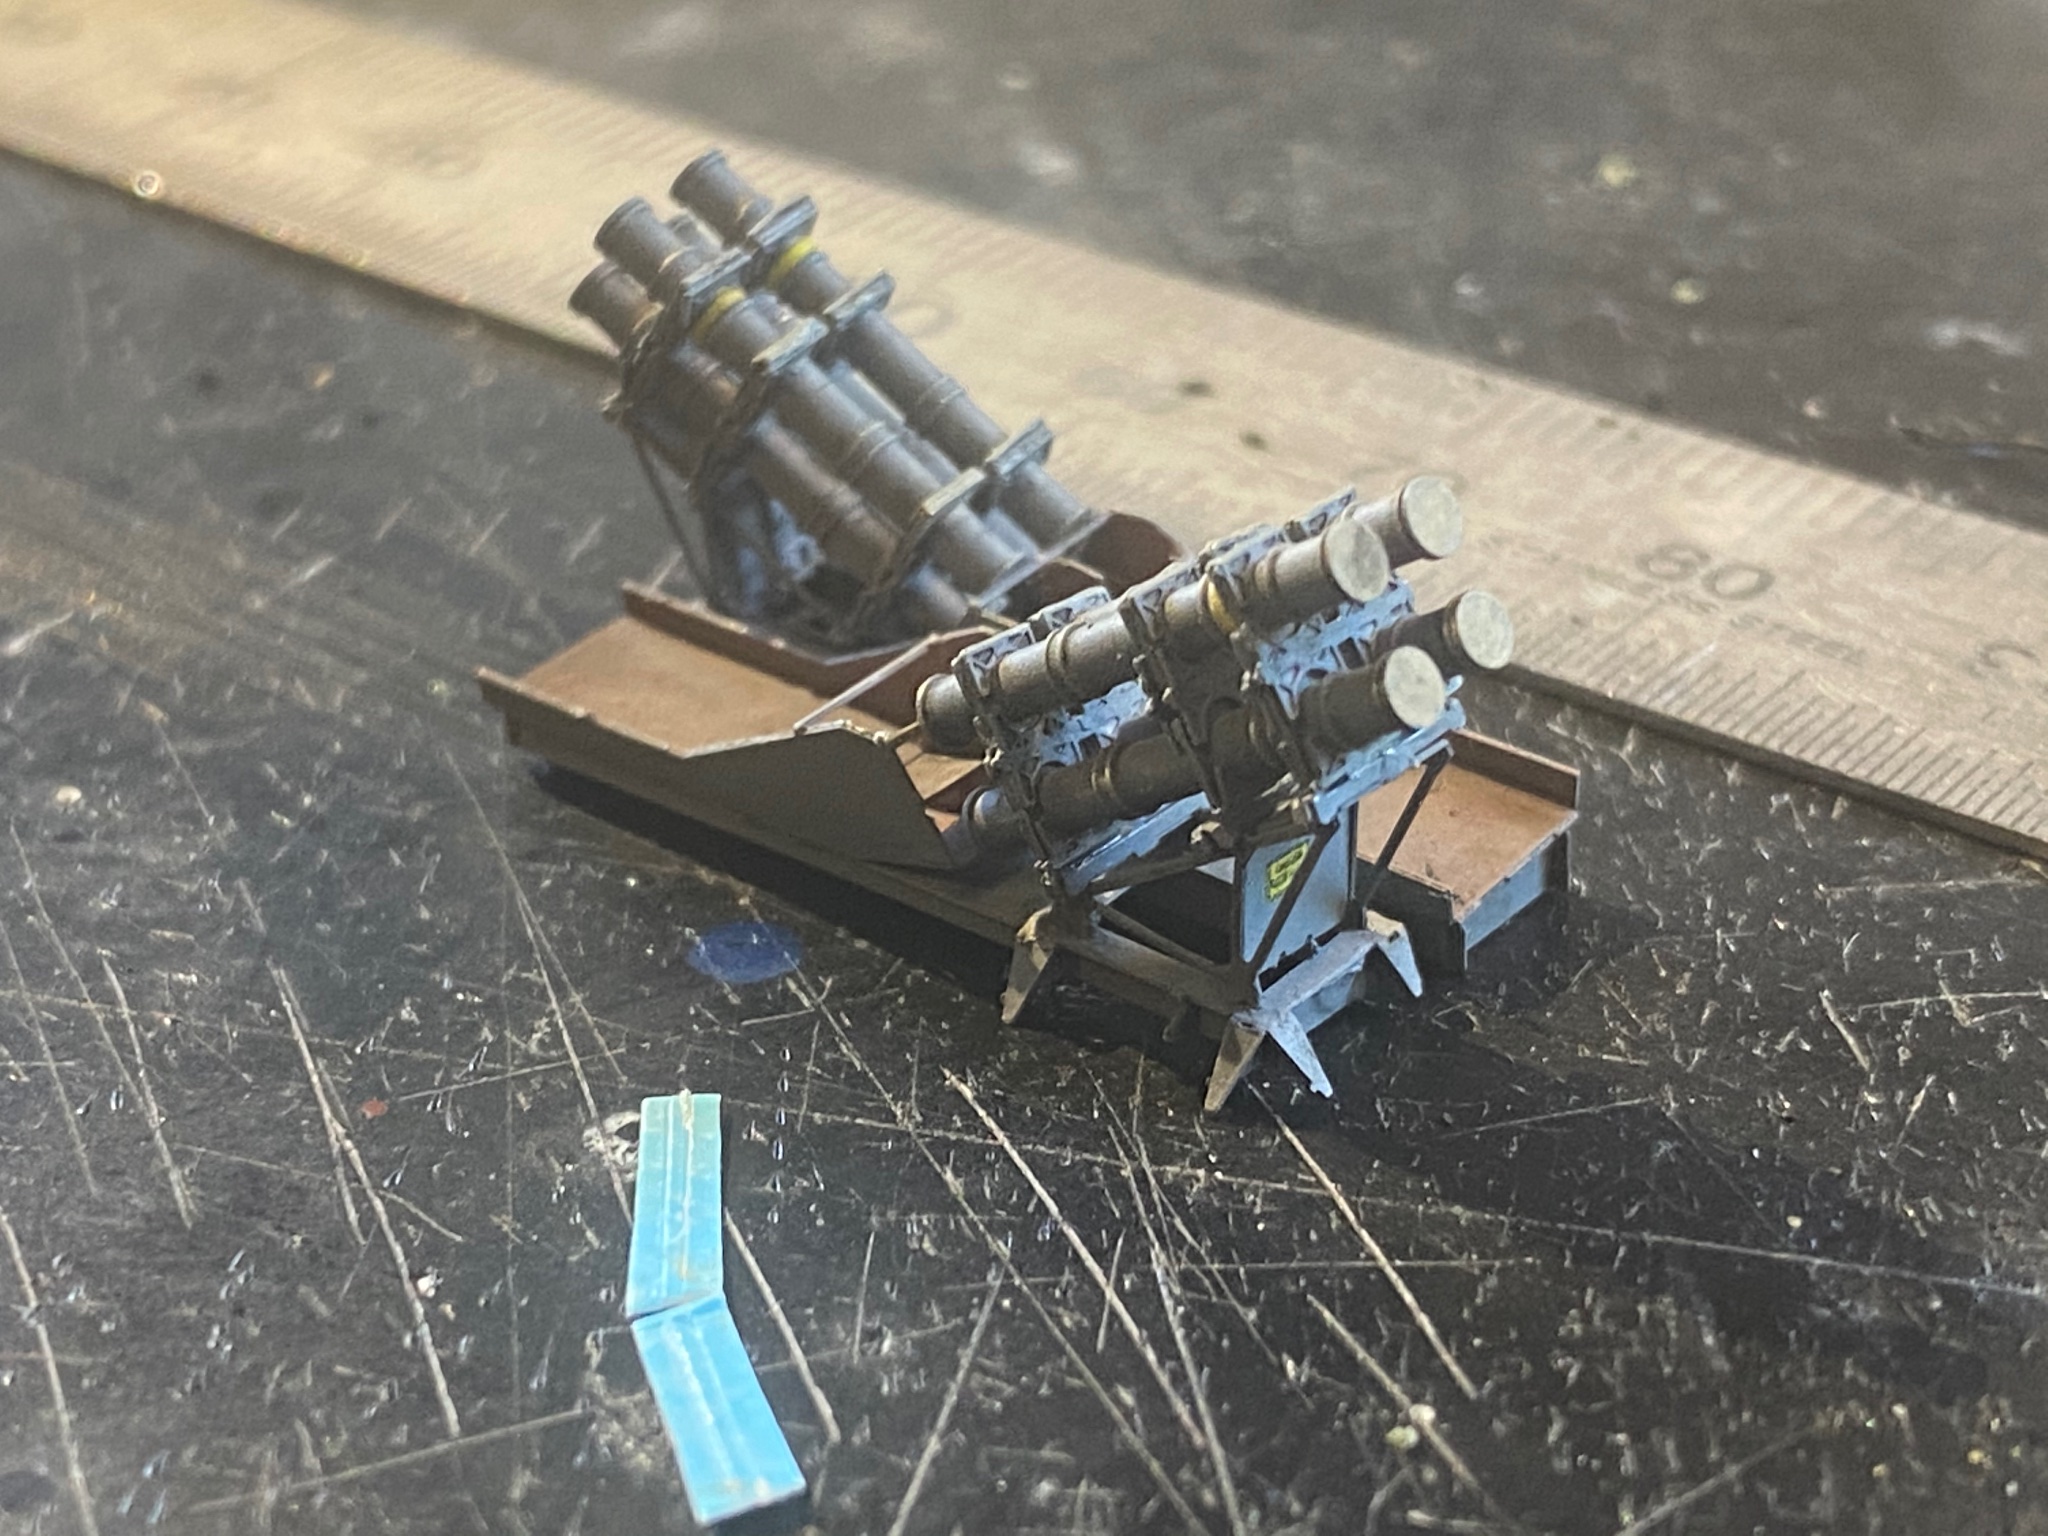
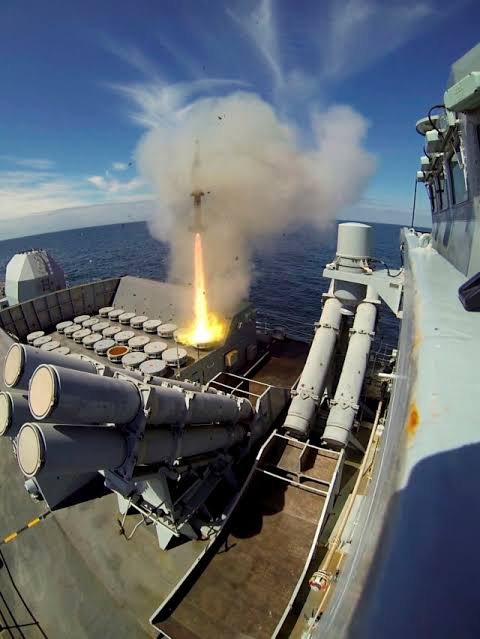
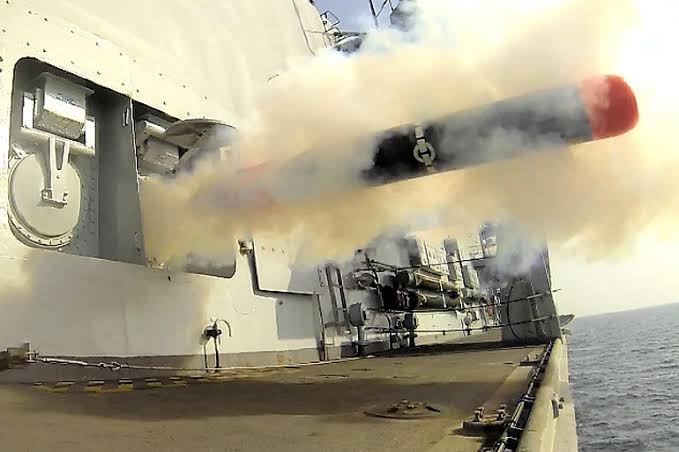
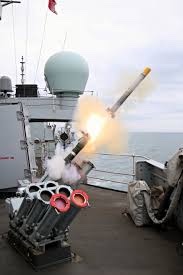
So a few cool action shots from the rear section, the torpedo launchers 766B07F0-8338-4212-ACE8-67CC6EE49A8F.webp

-
Such busy ships too, so much kit on them. I can’t imagine how beaten up they would have been by 1945 in the tropics.
-
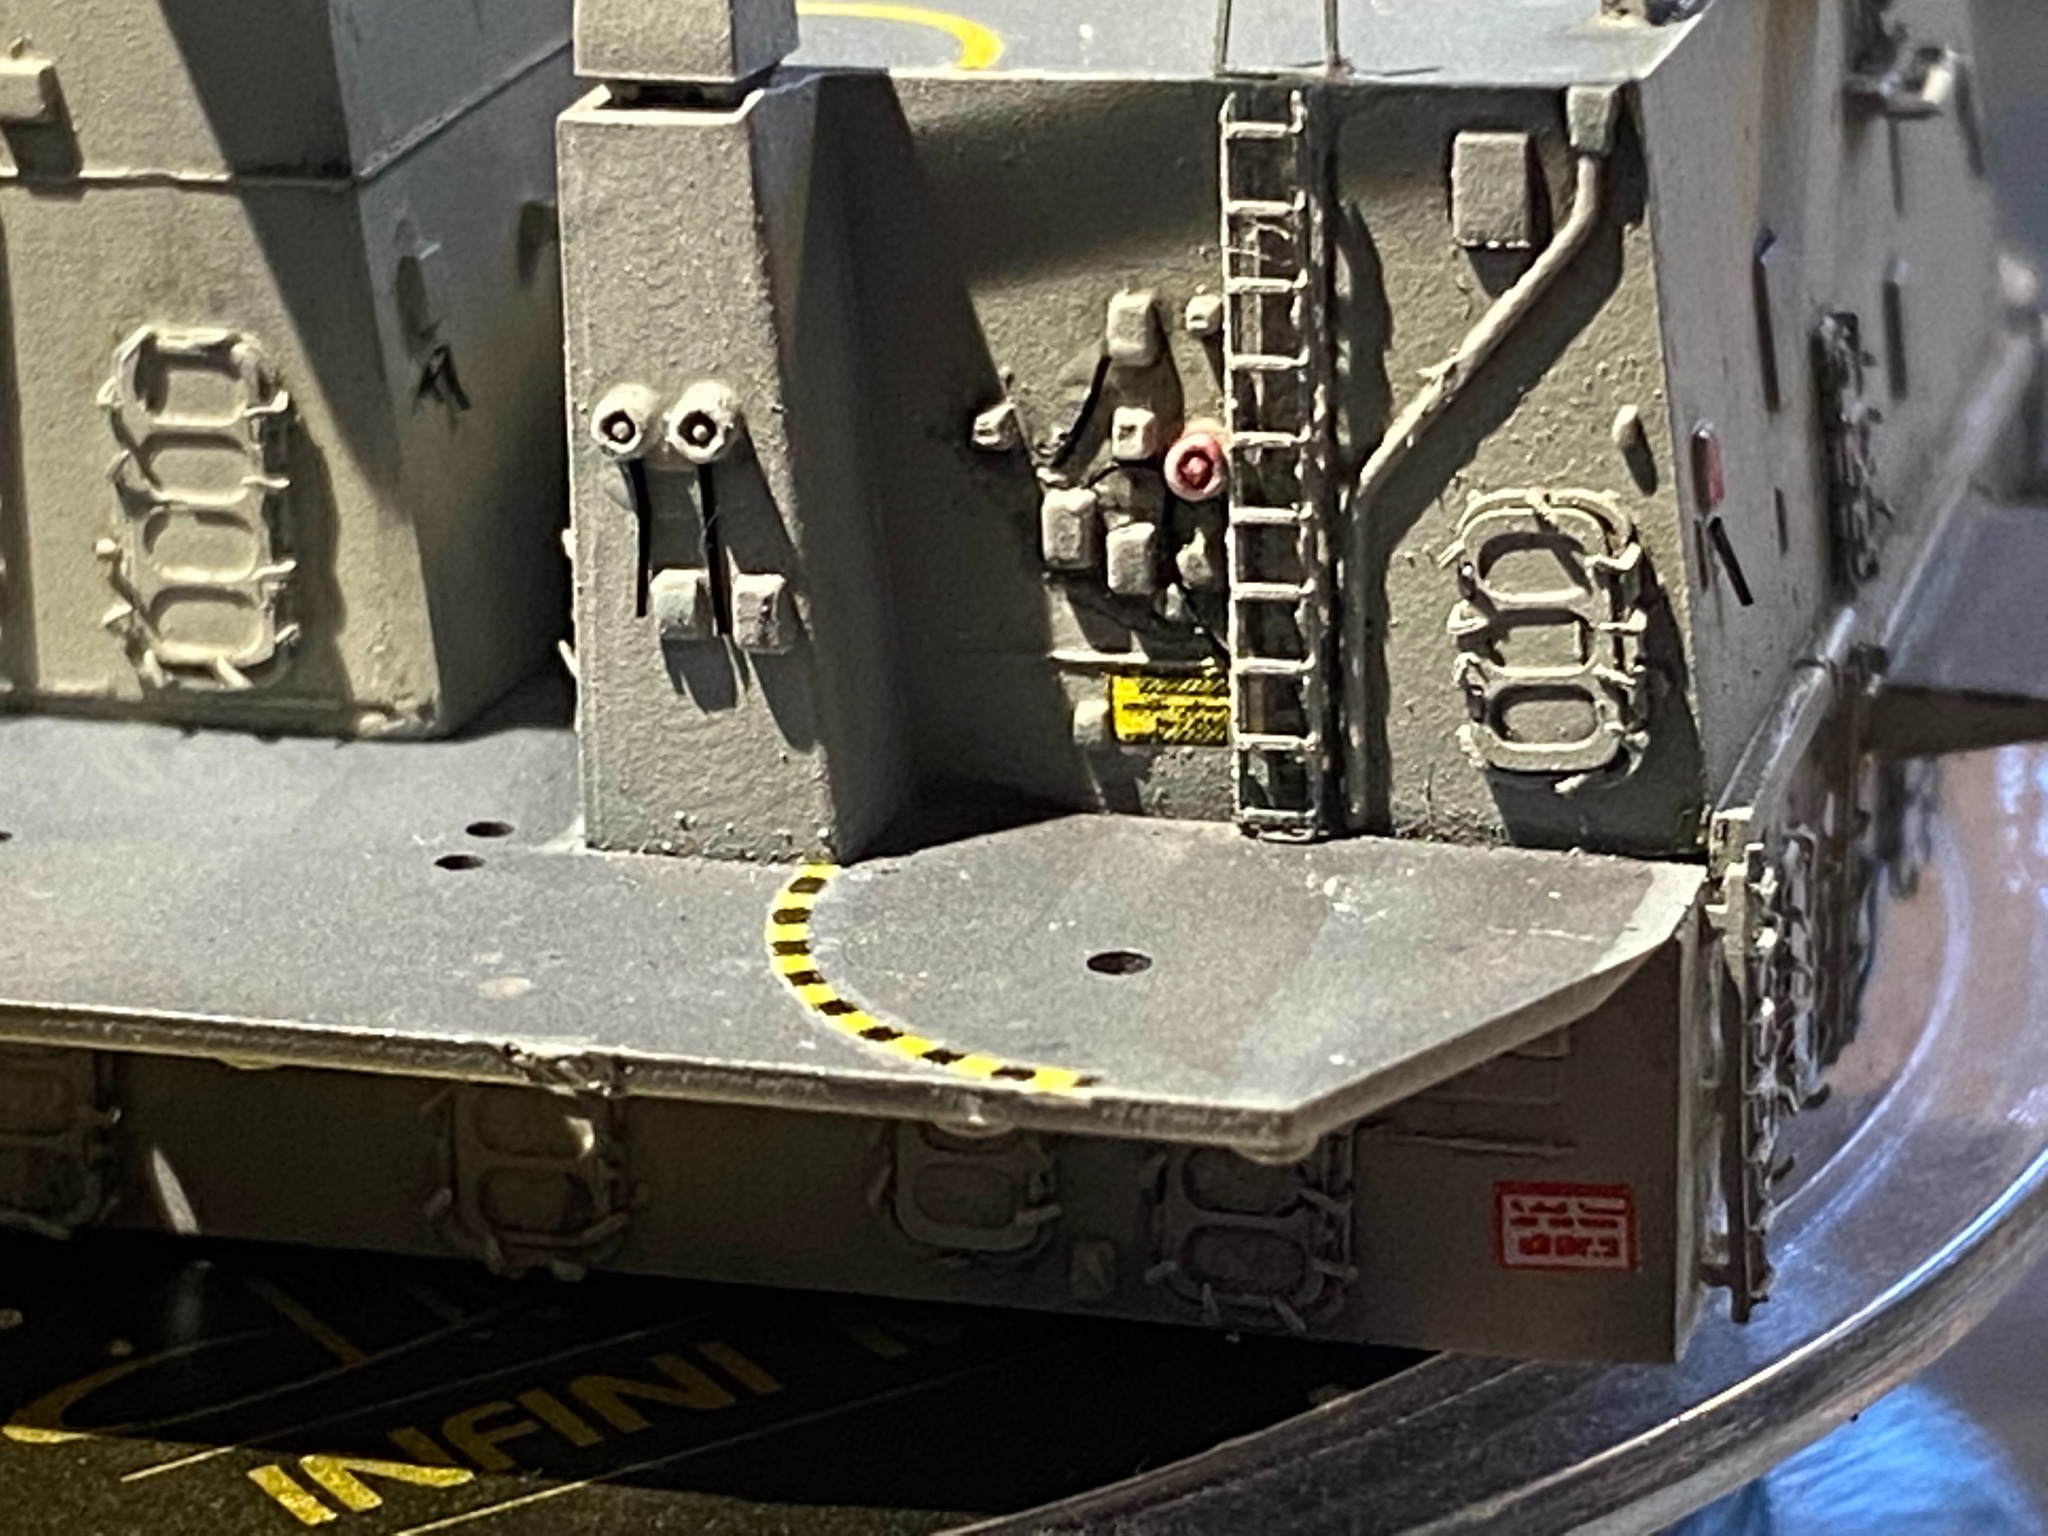
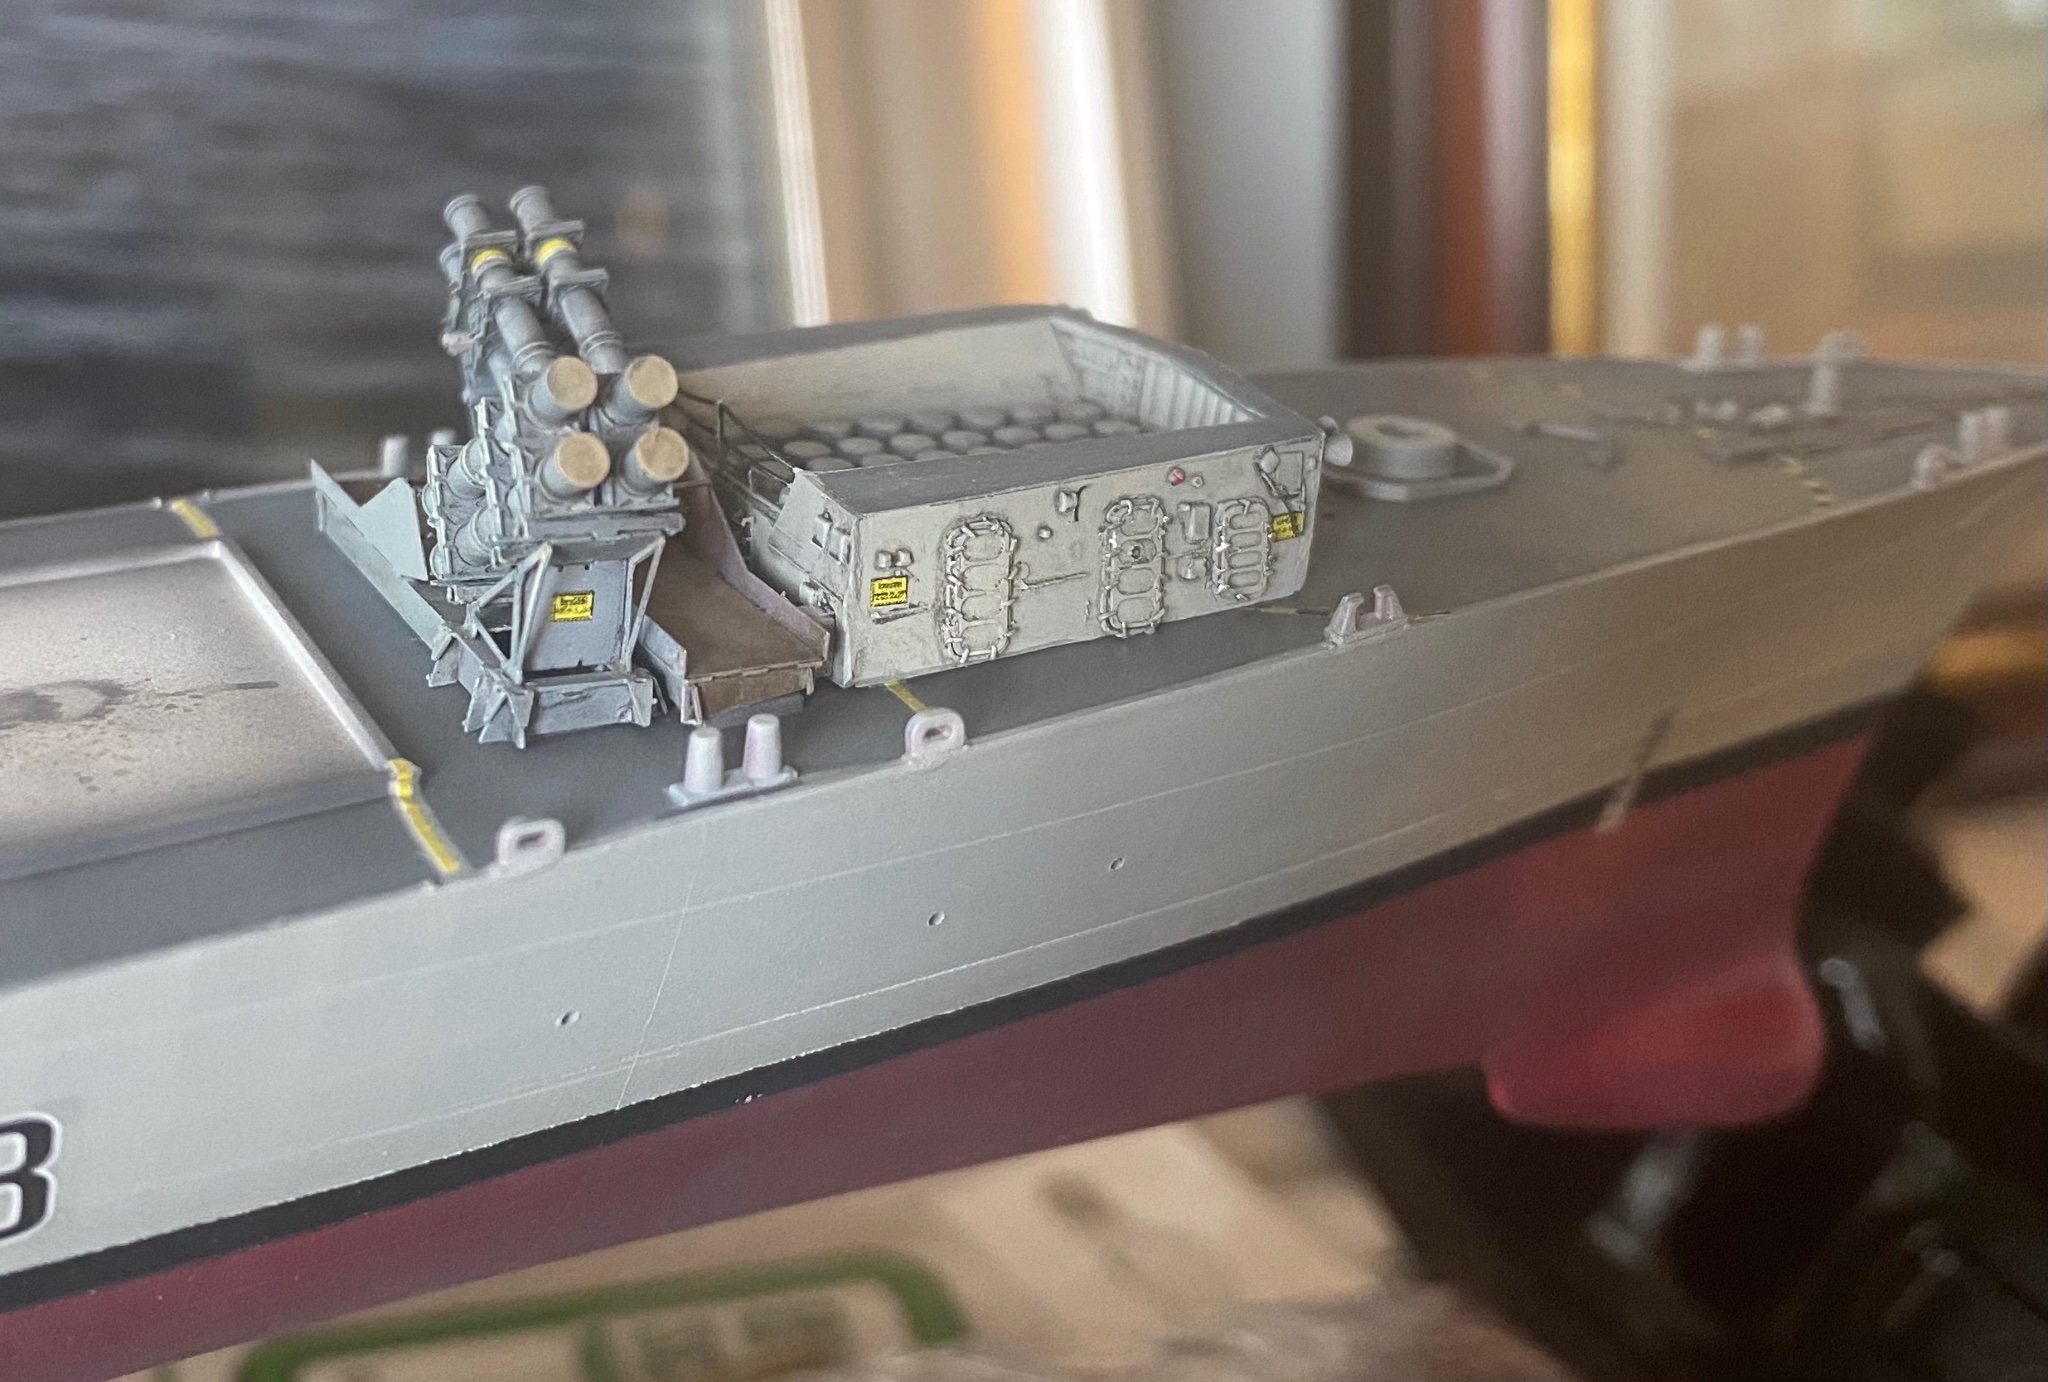
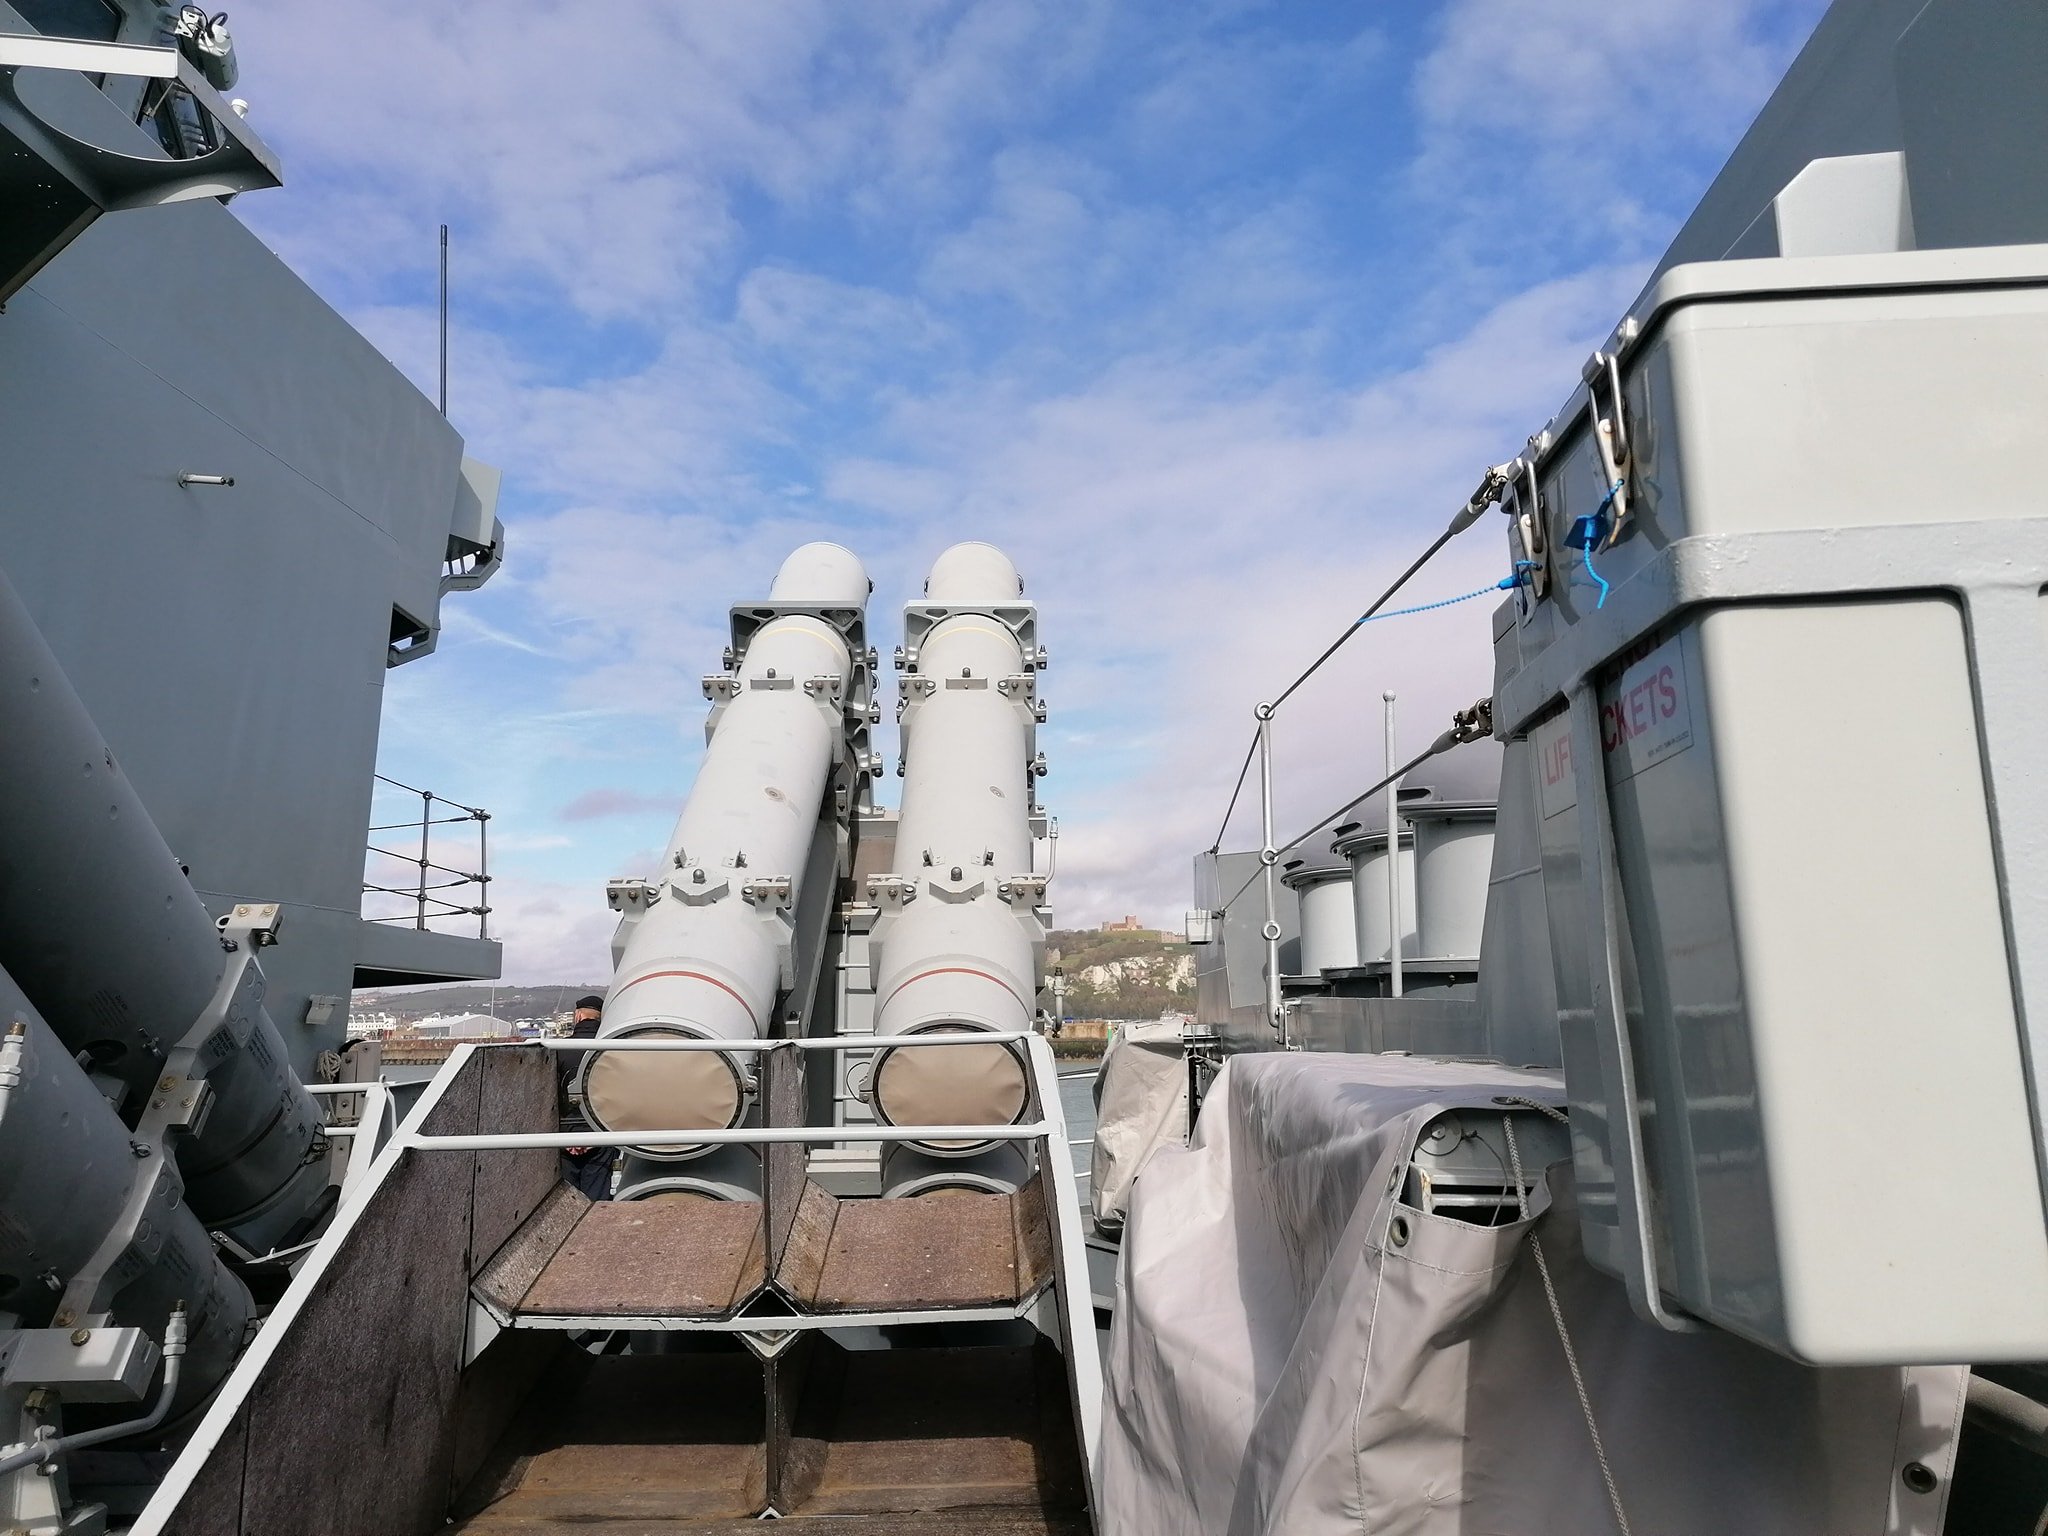
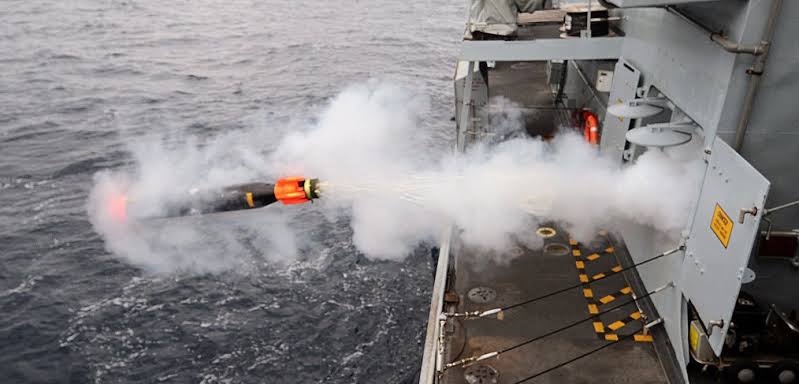
This kit has some great upgrades available, the warning signs etc really have made it a lot better plus so many open source photos make it quite easy
-
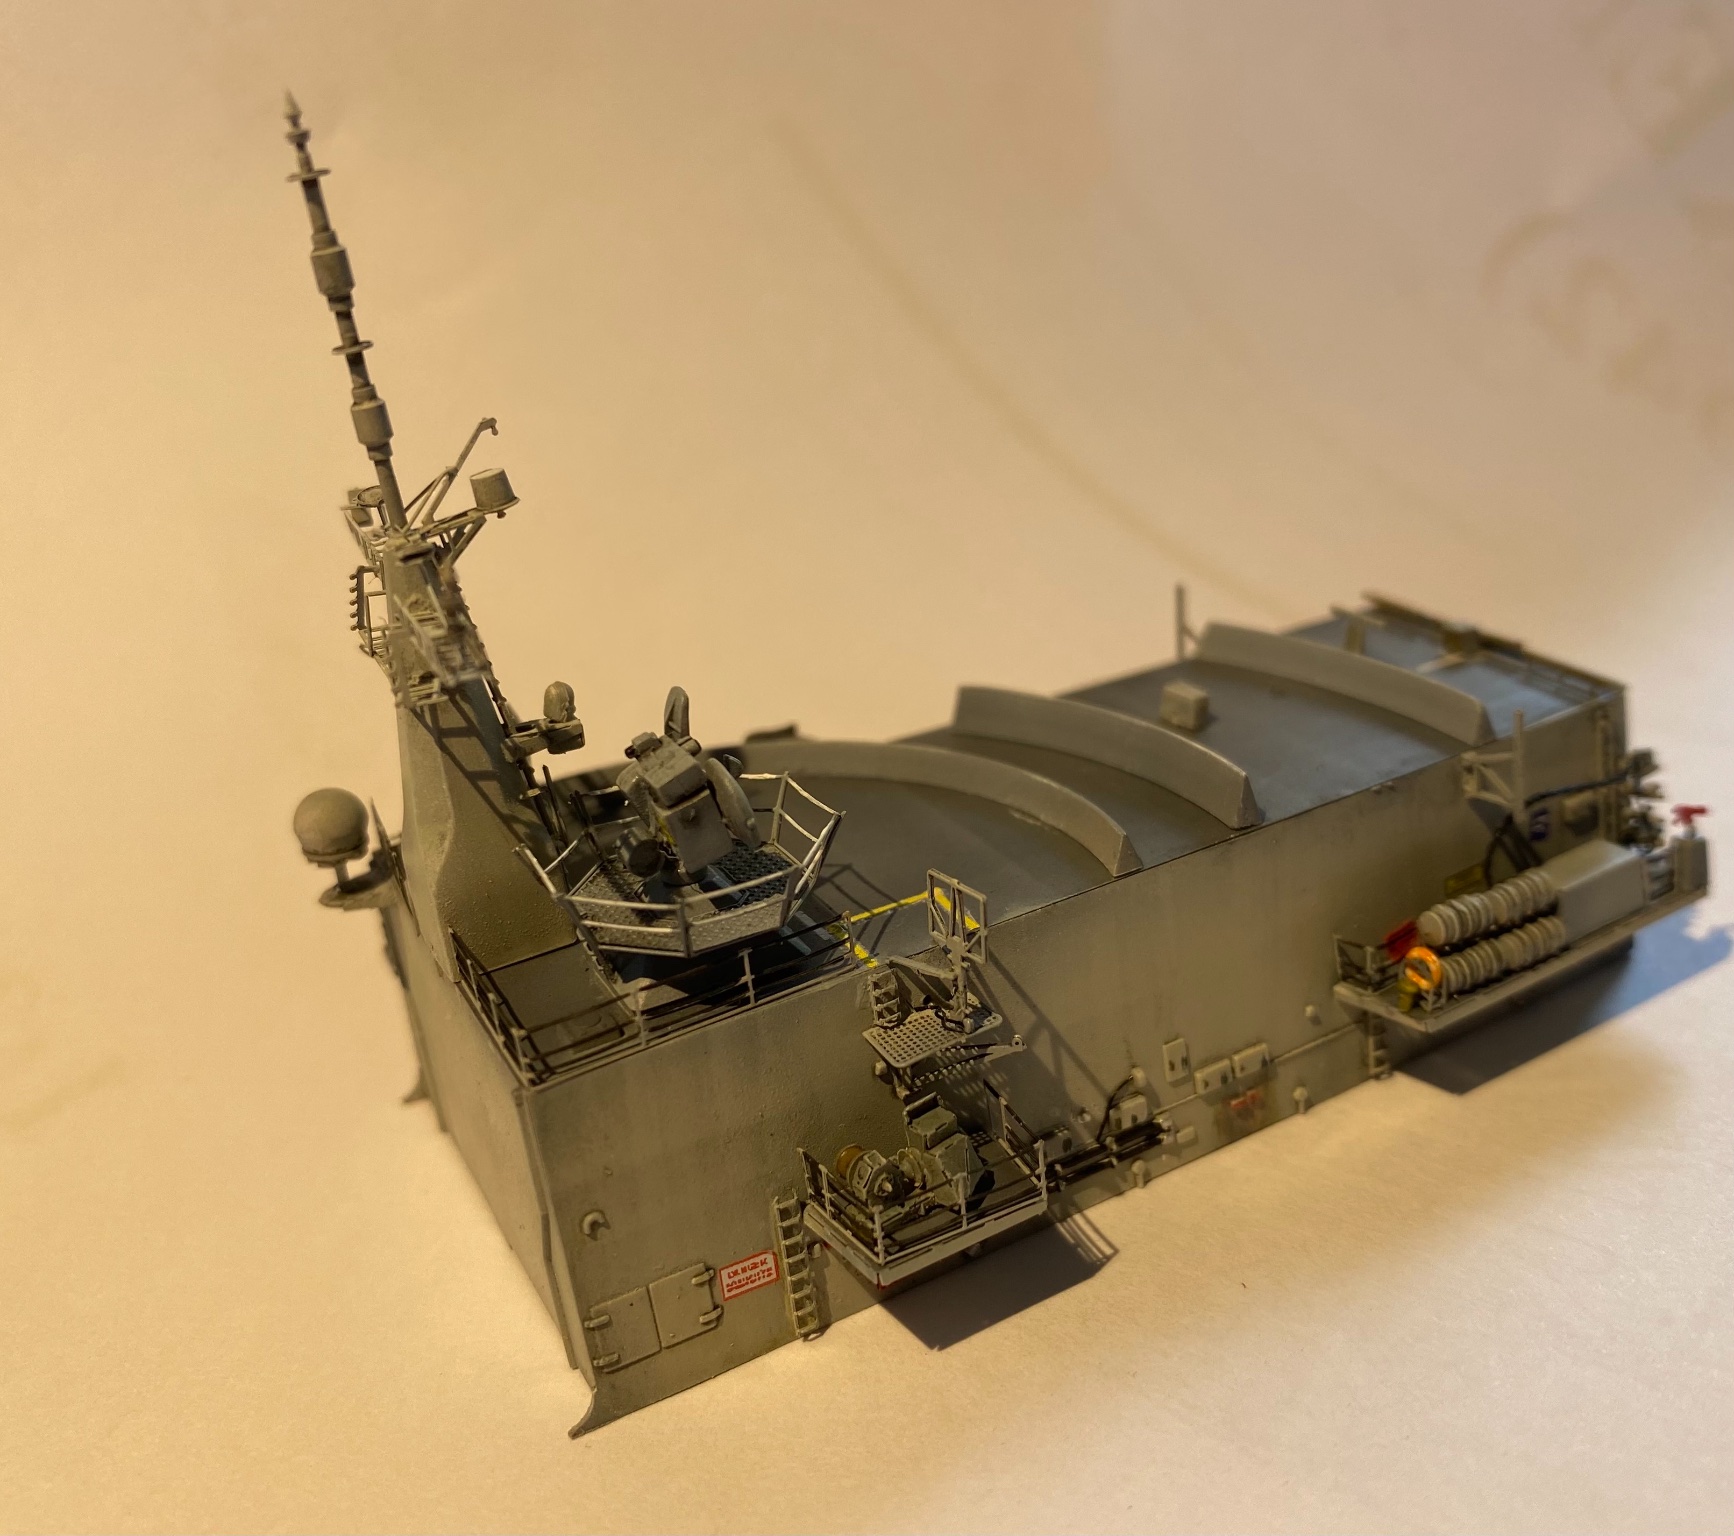
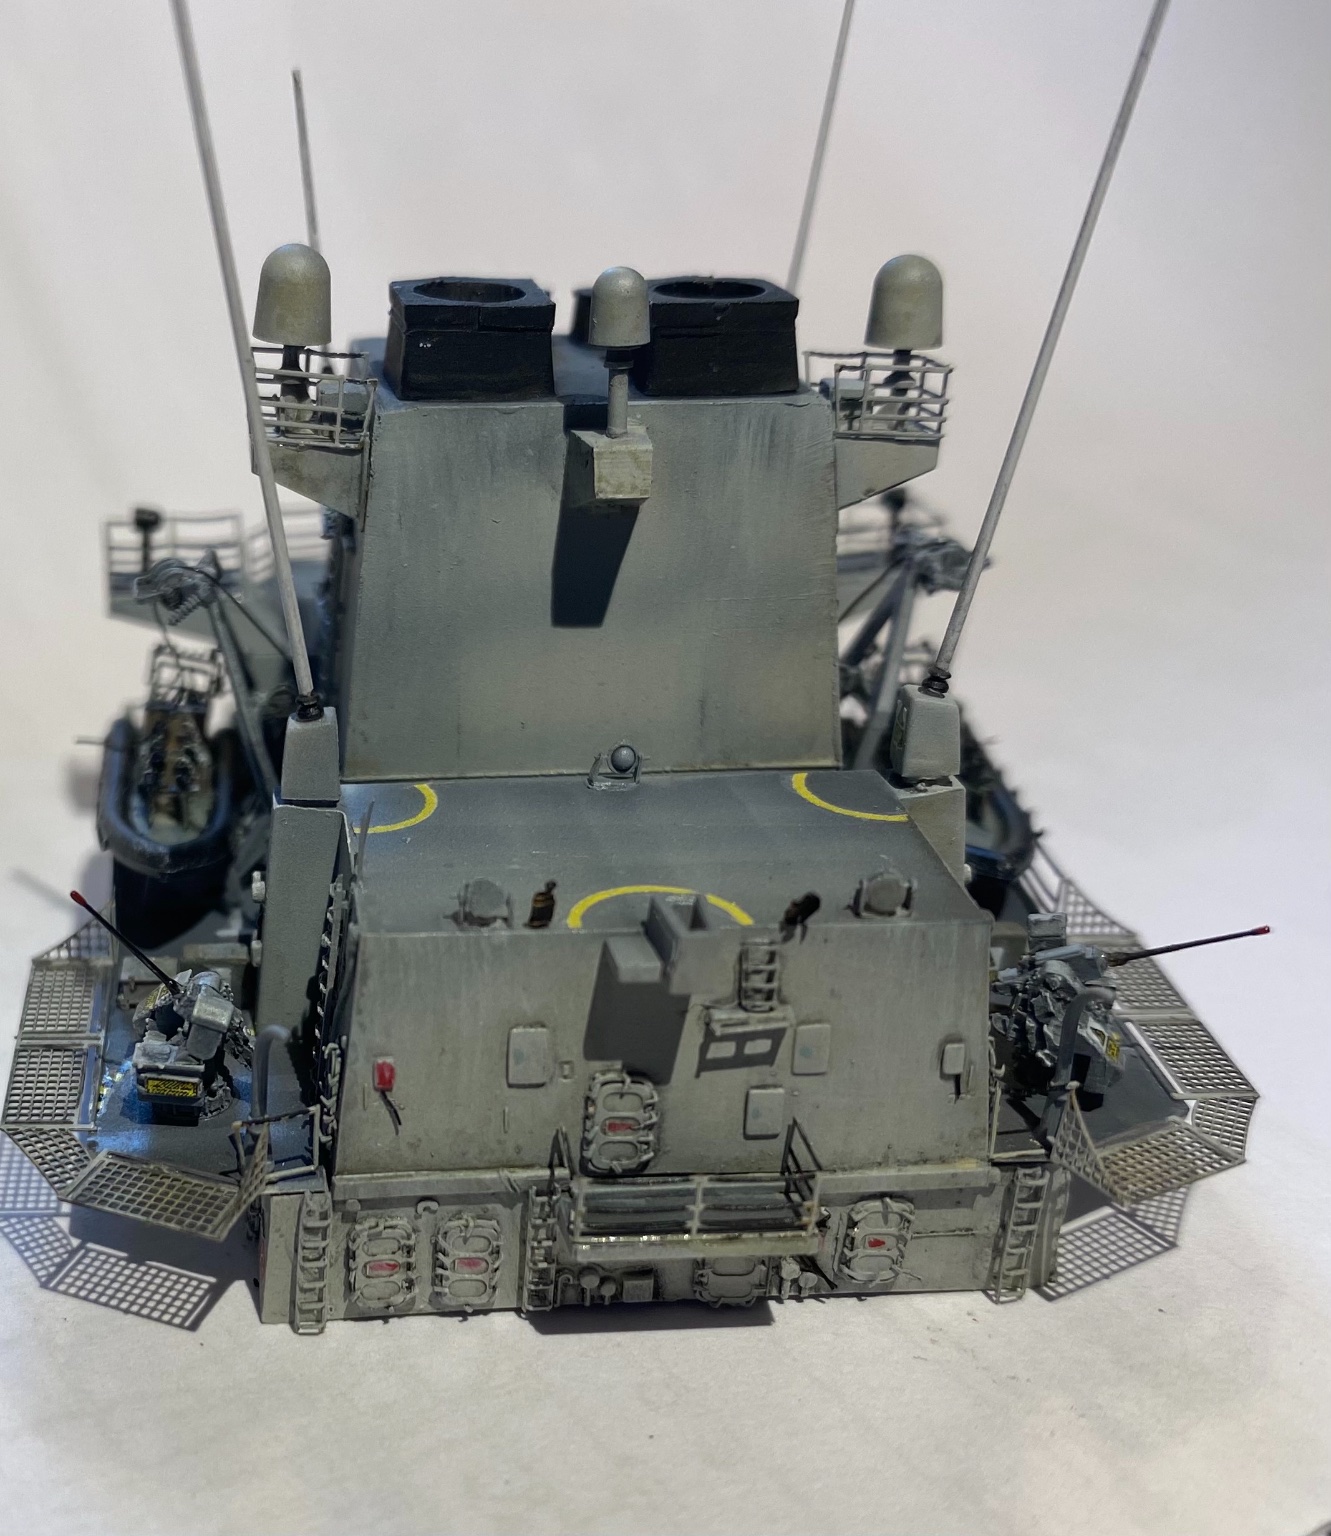
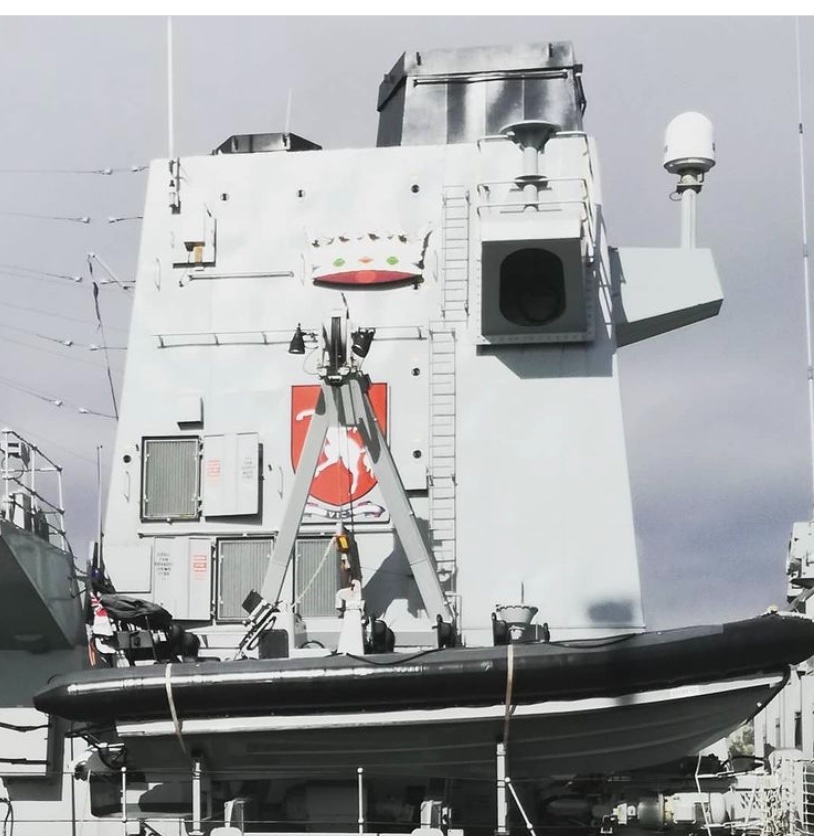
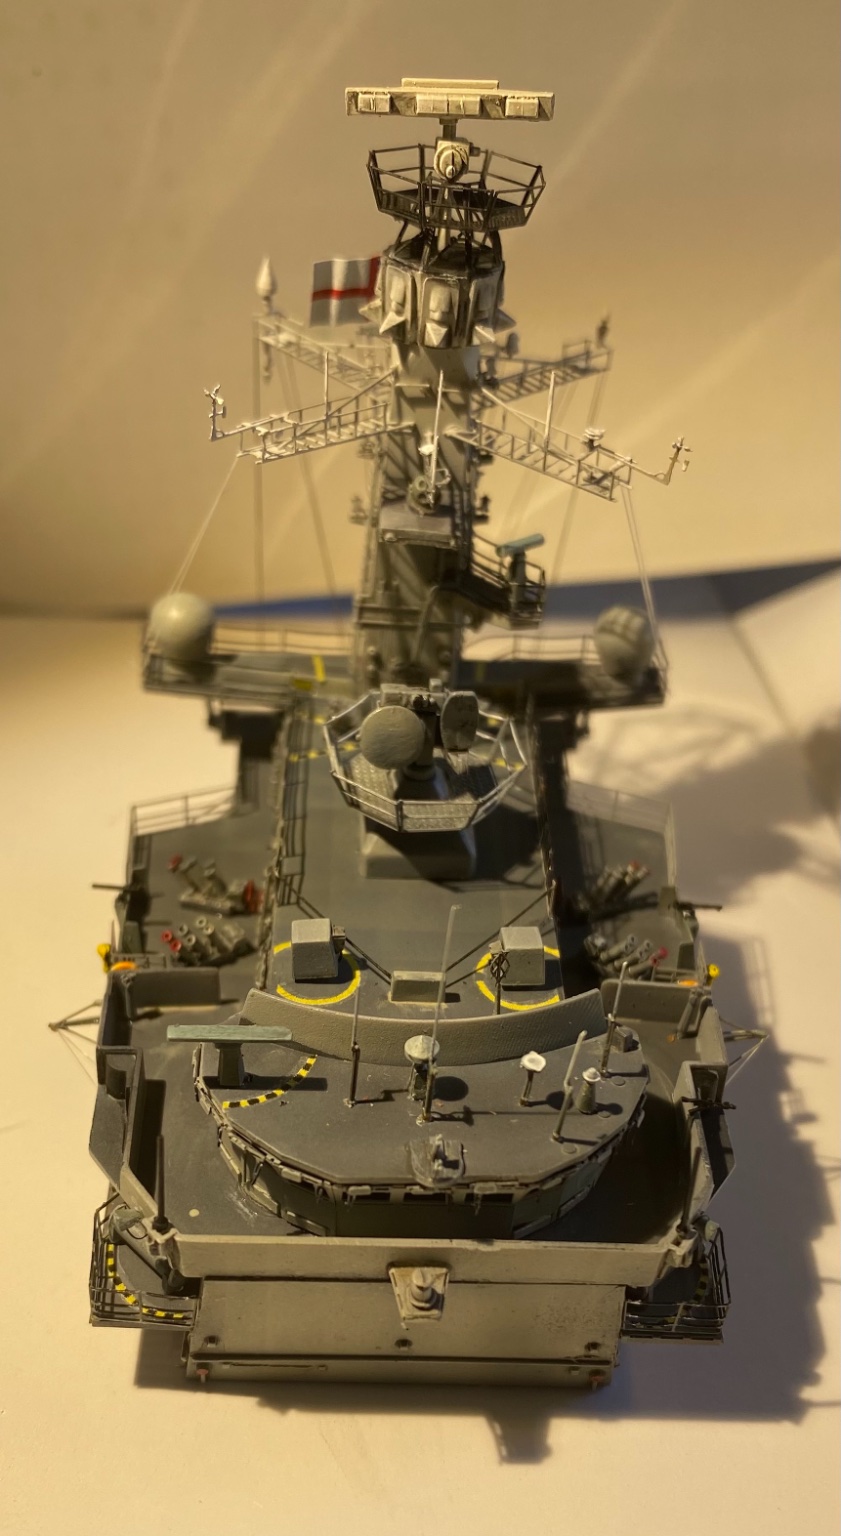
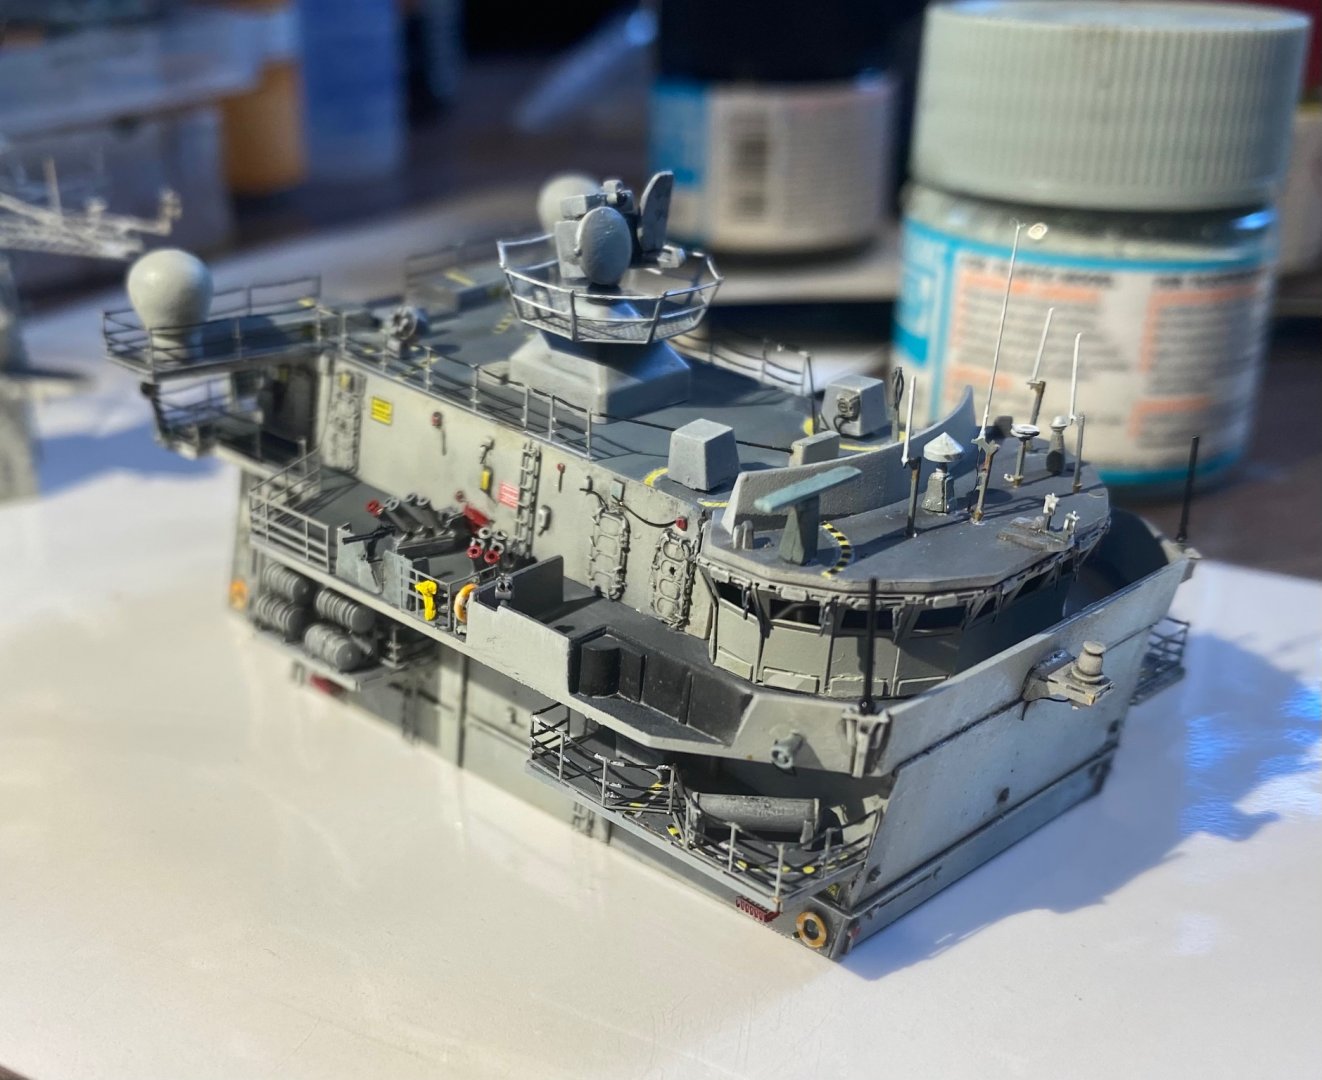
Also really cool, torpedoes, these are behind doors at the front section of the hangar superstructure 9F5E4F47-AE20-41F4-8796-D2CBE37E4269.webp
-
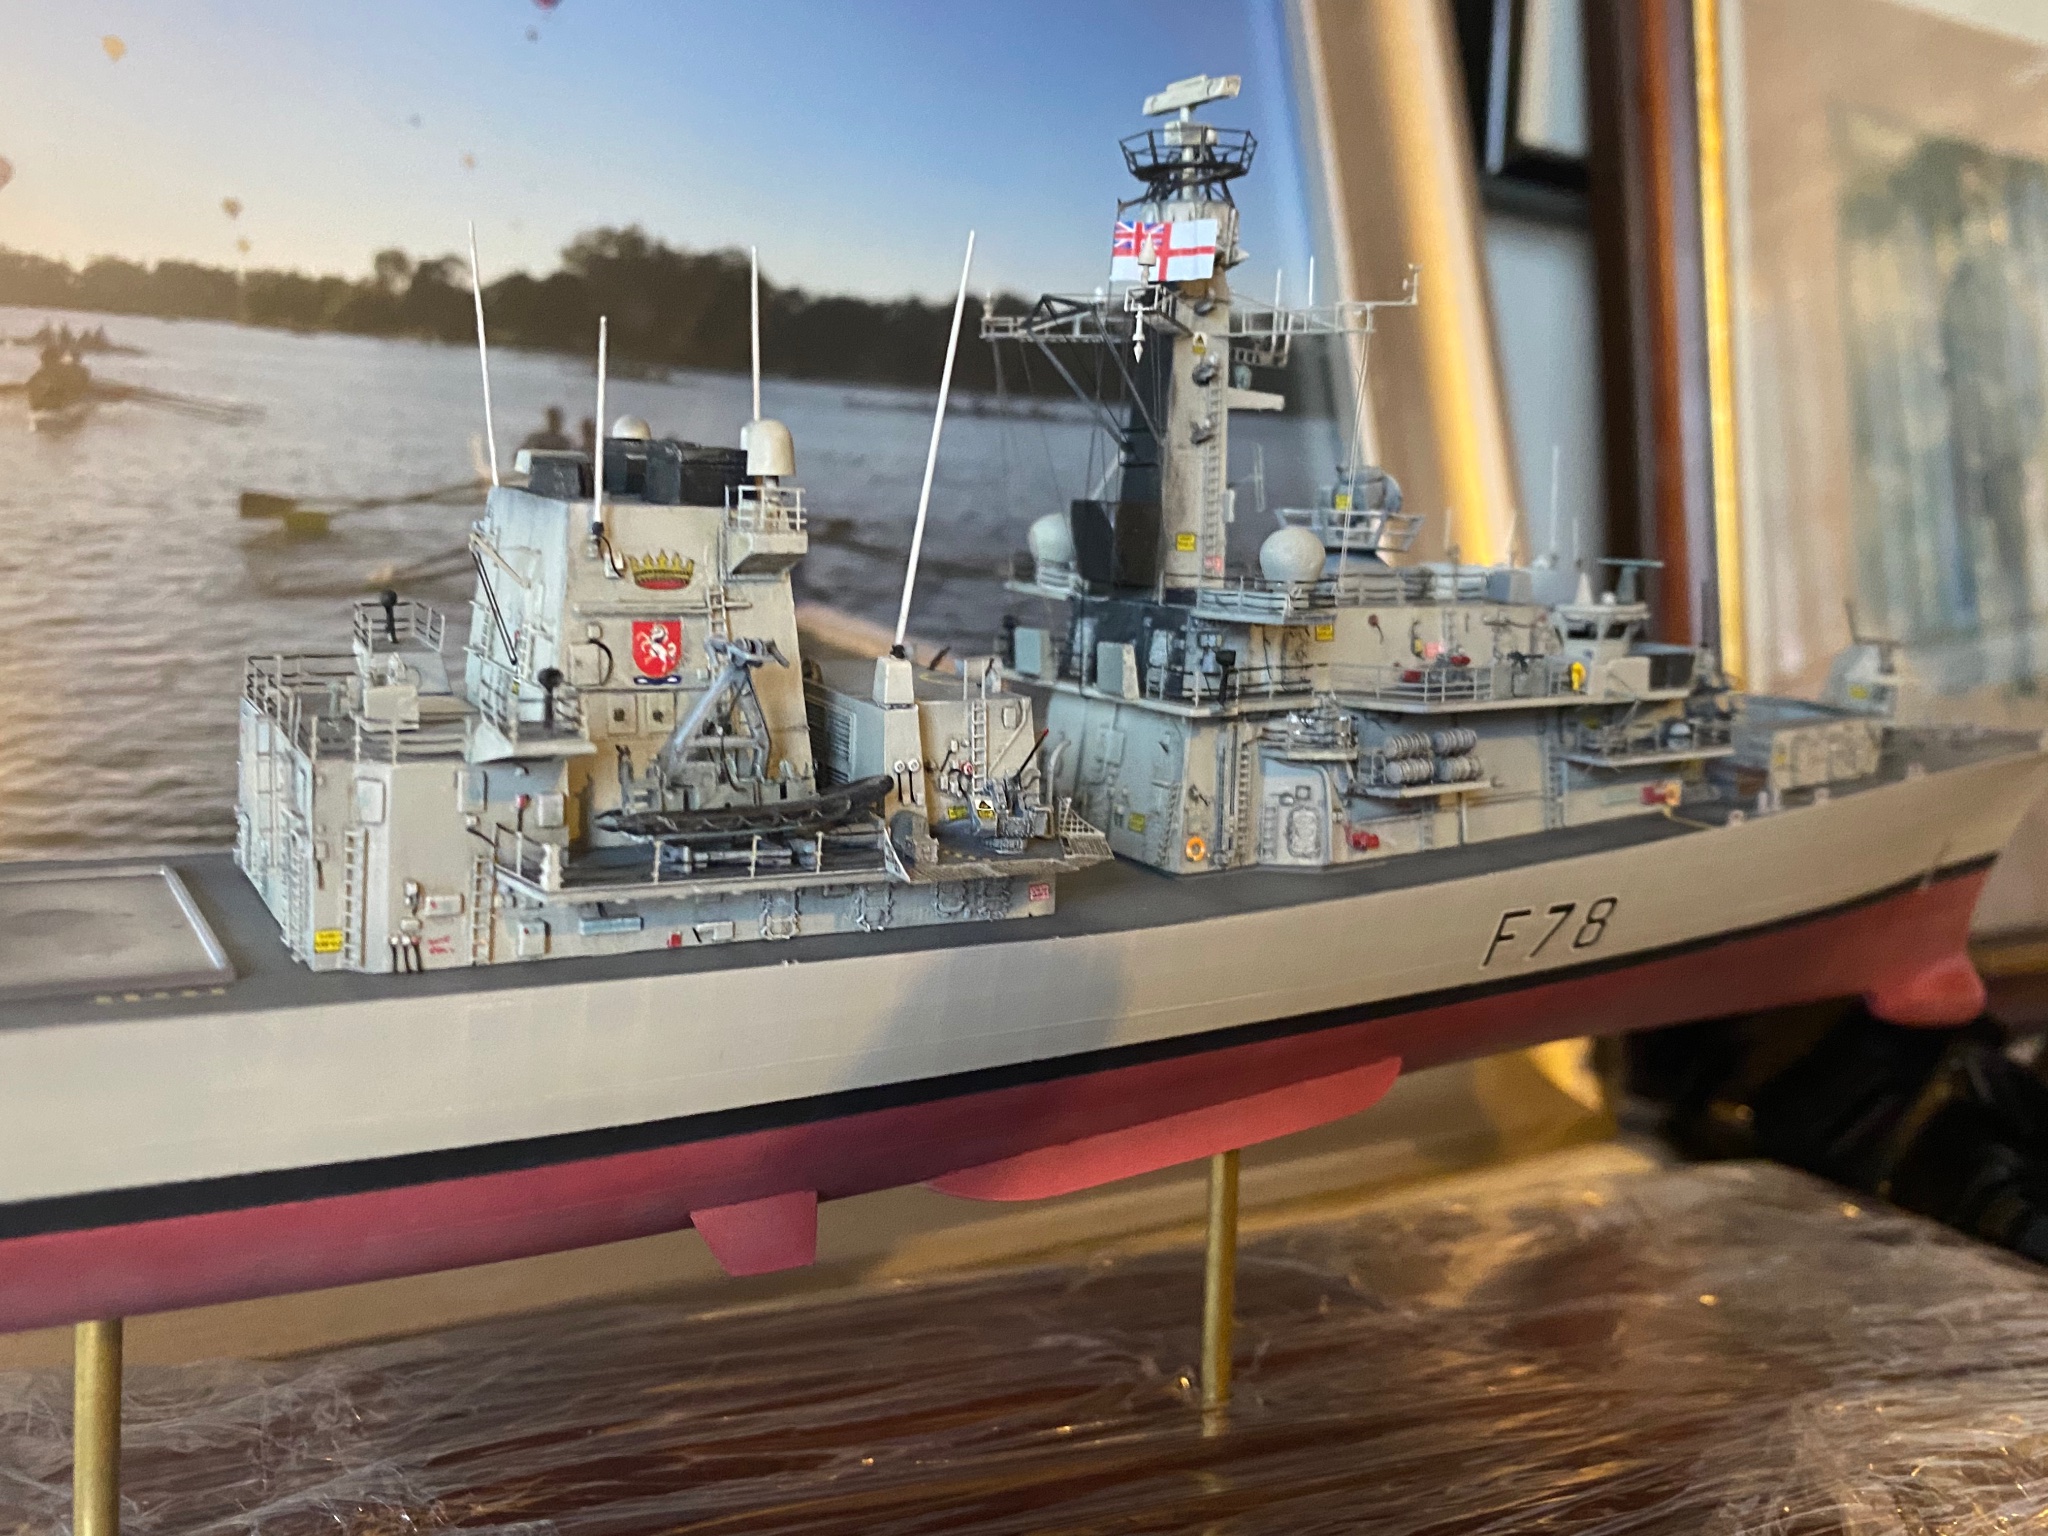
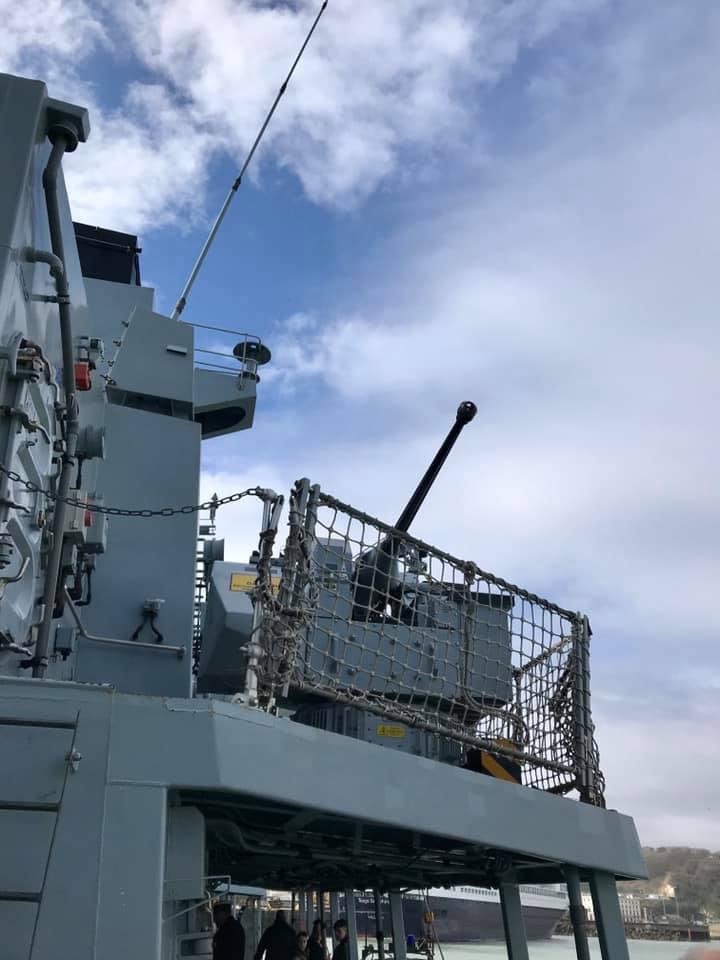
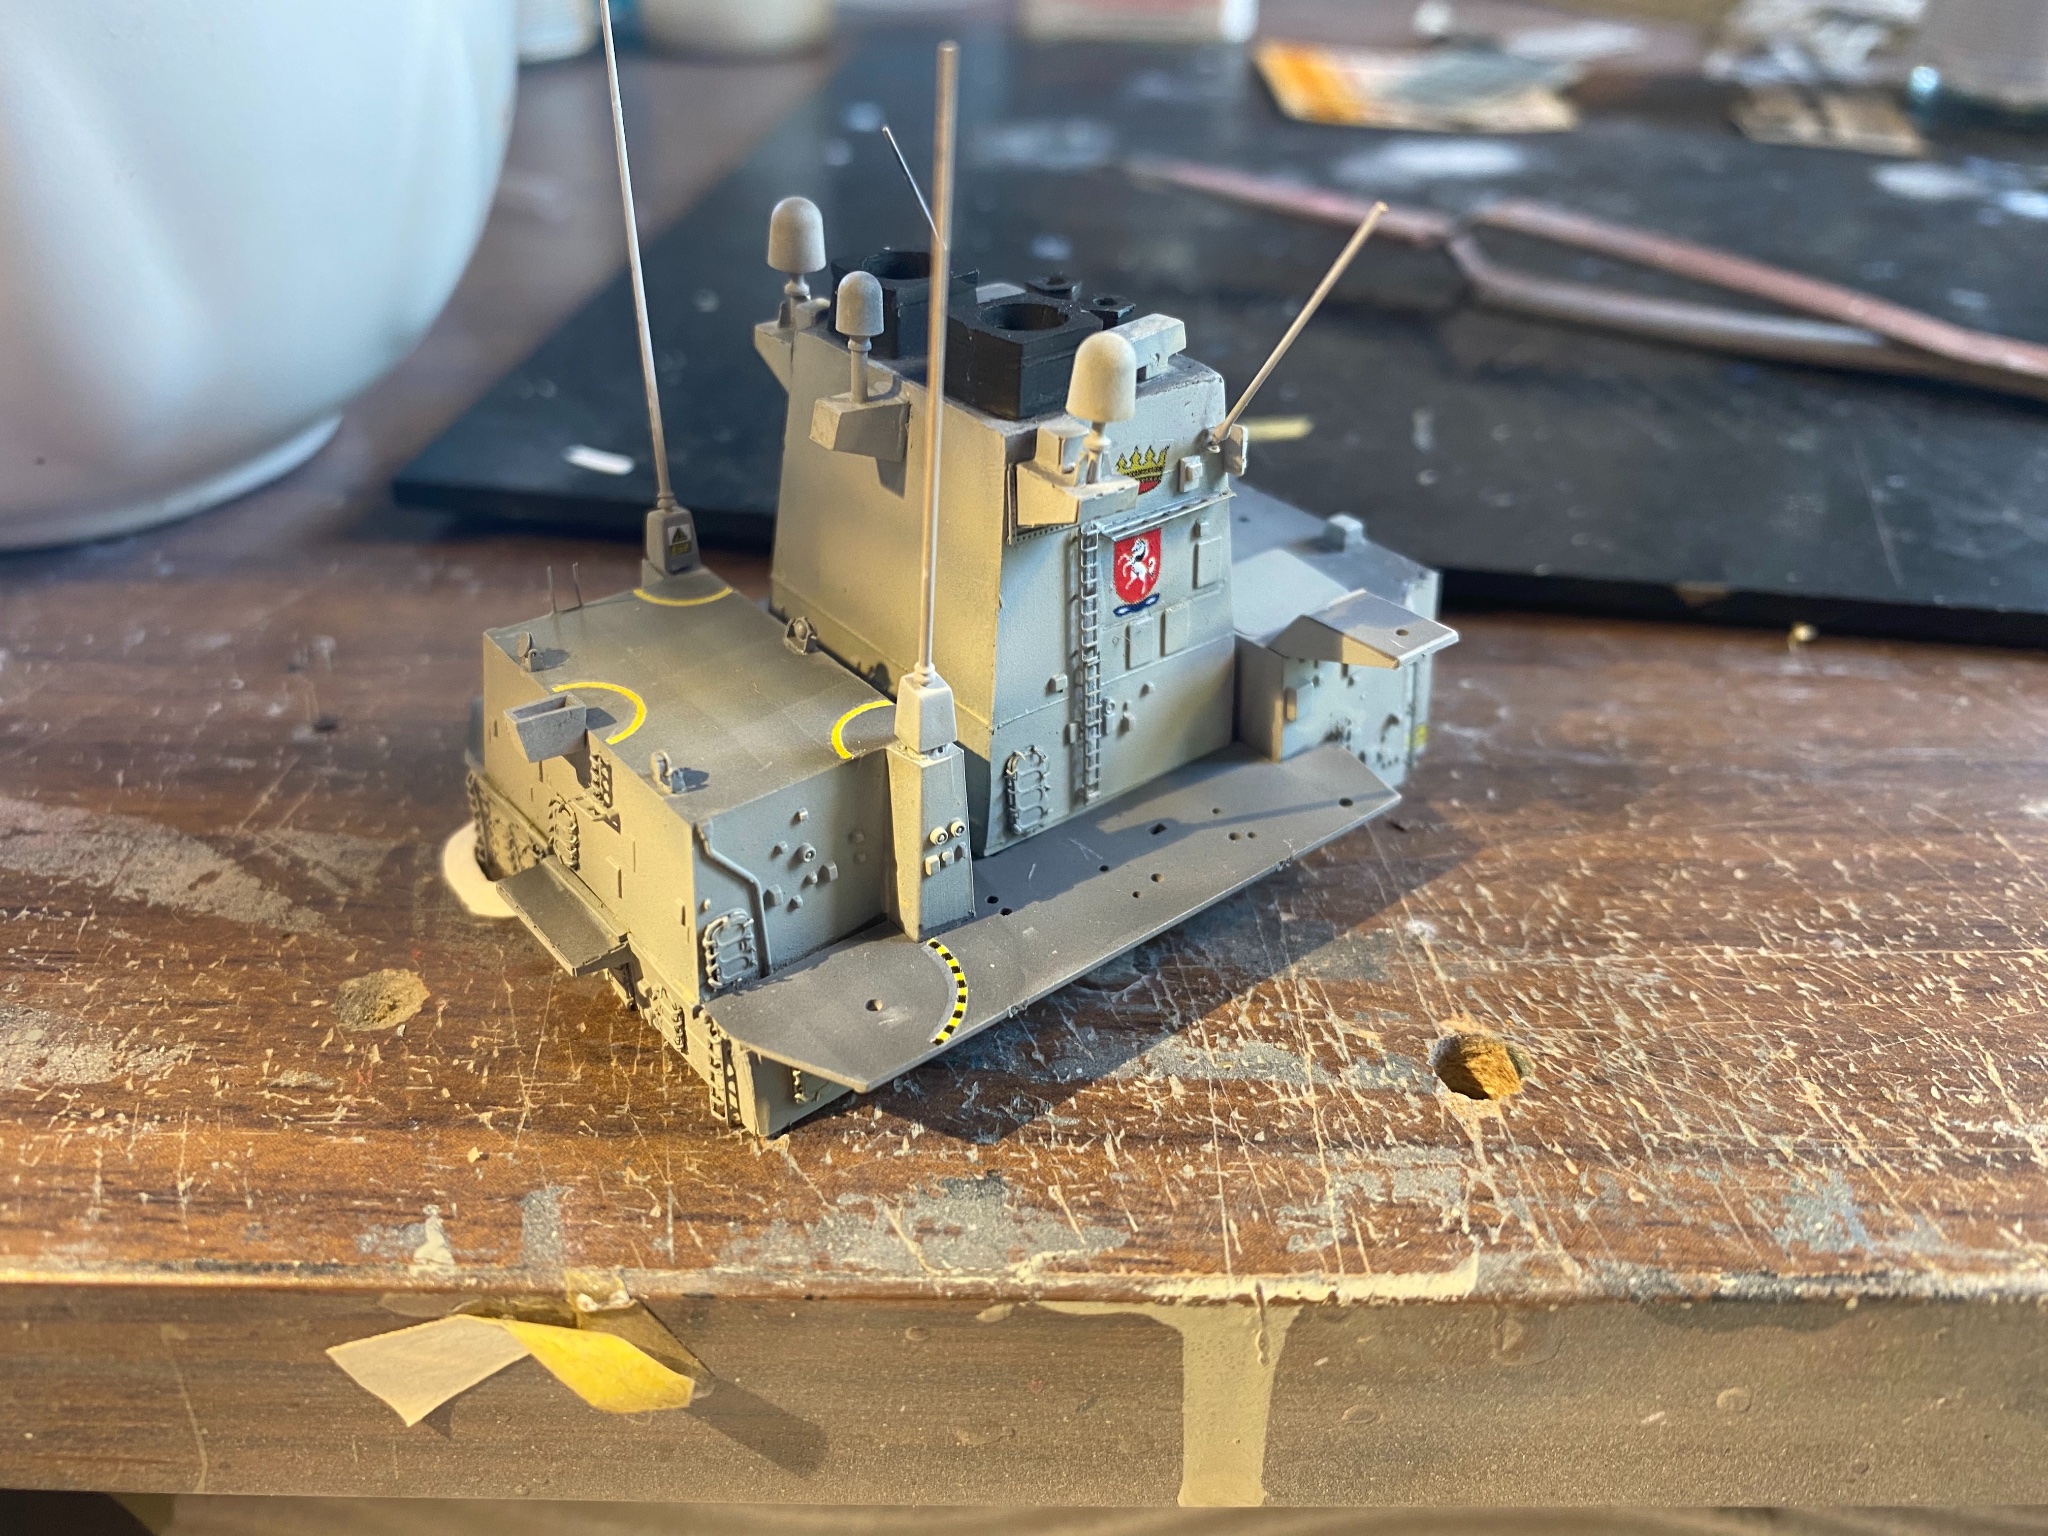
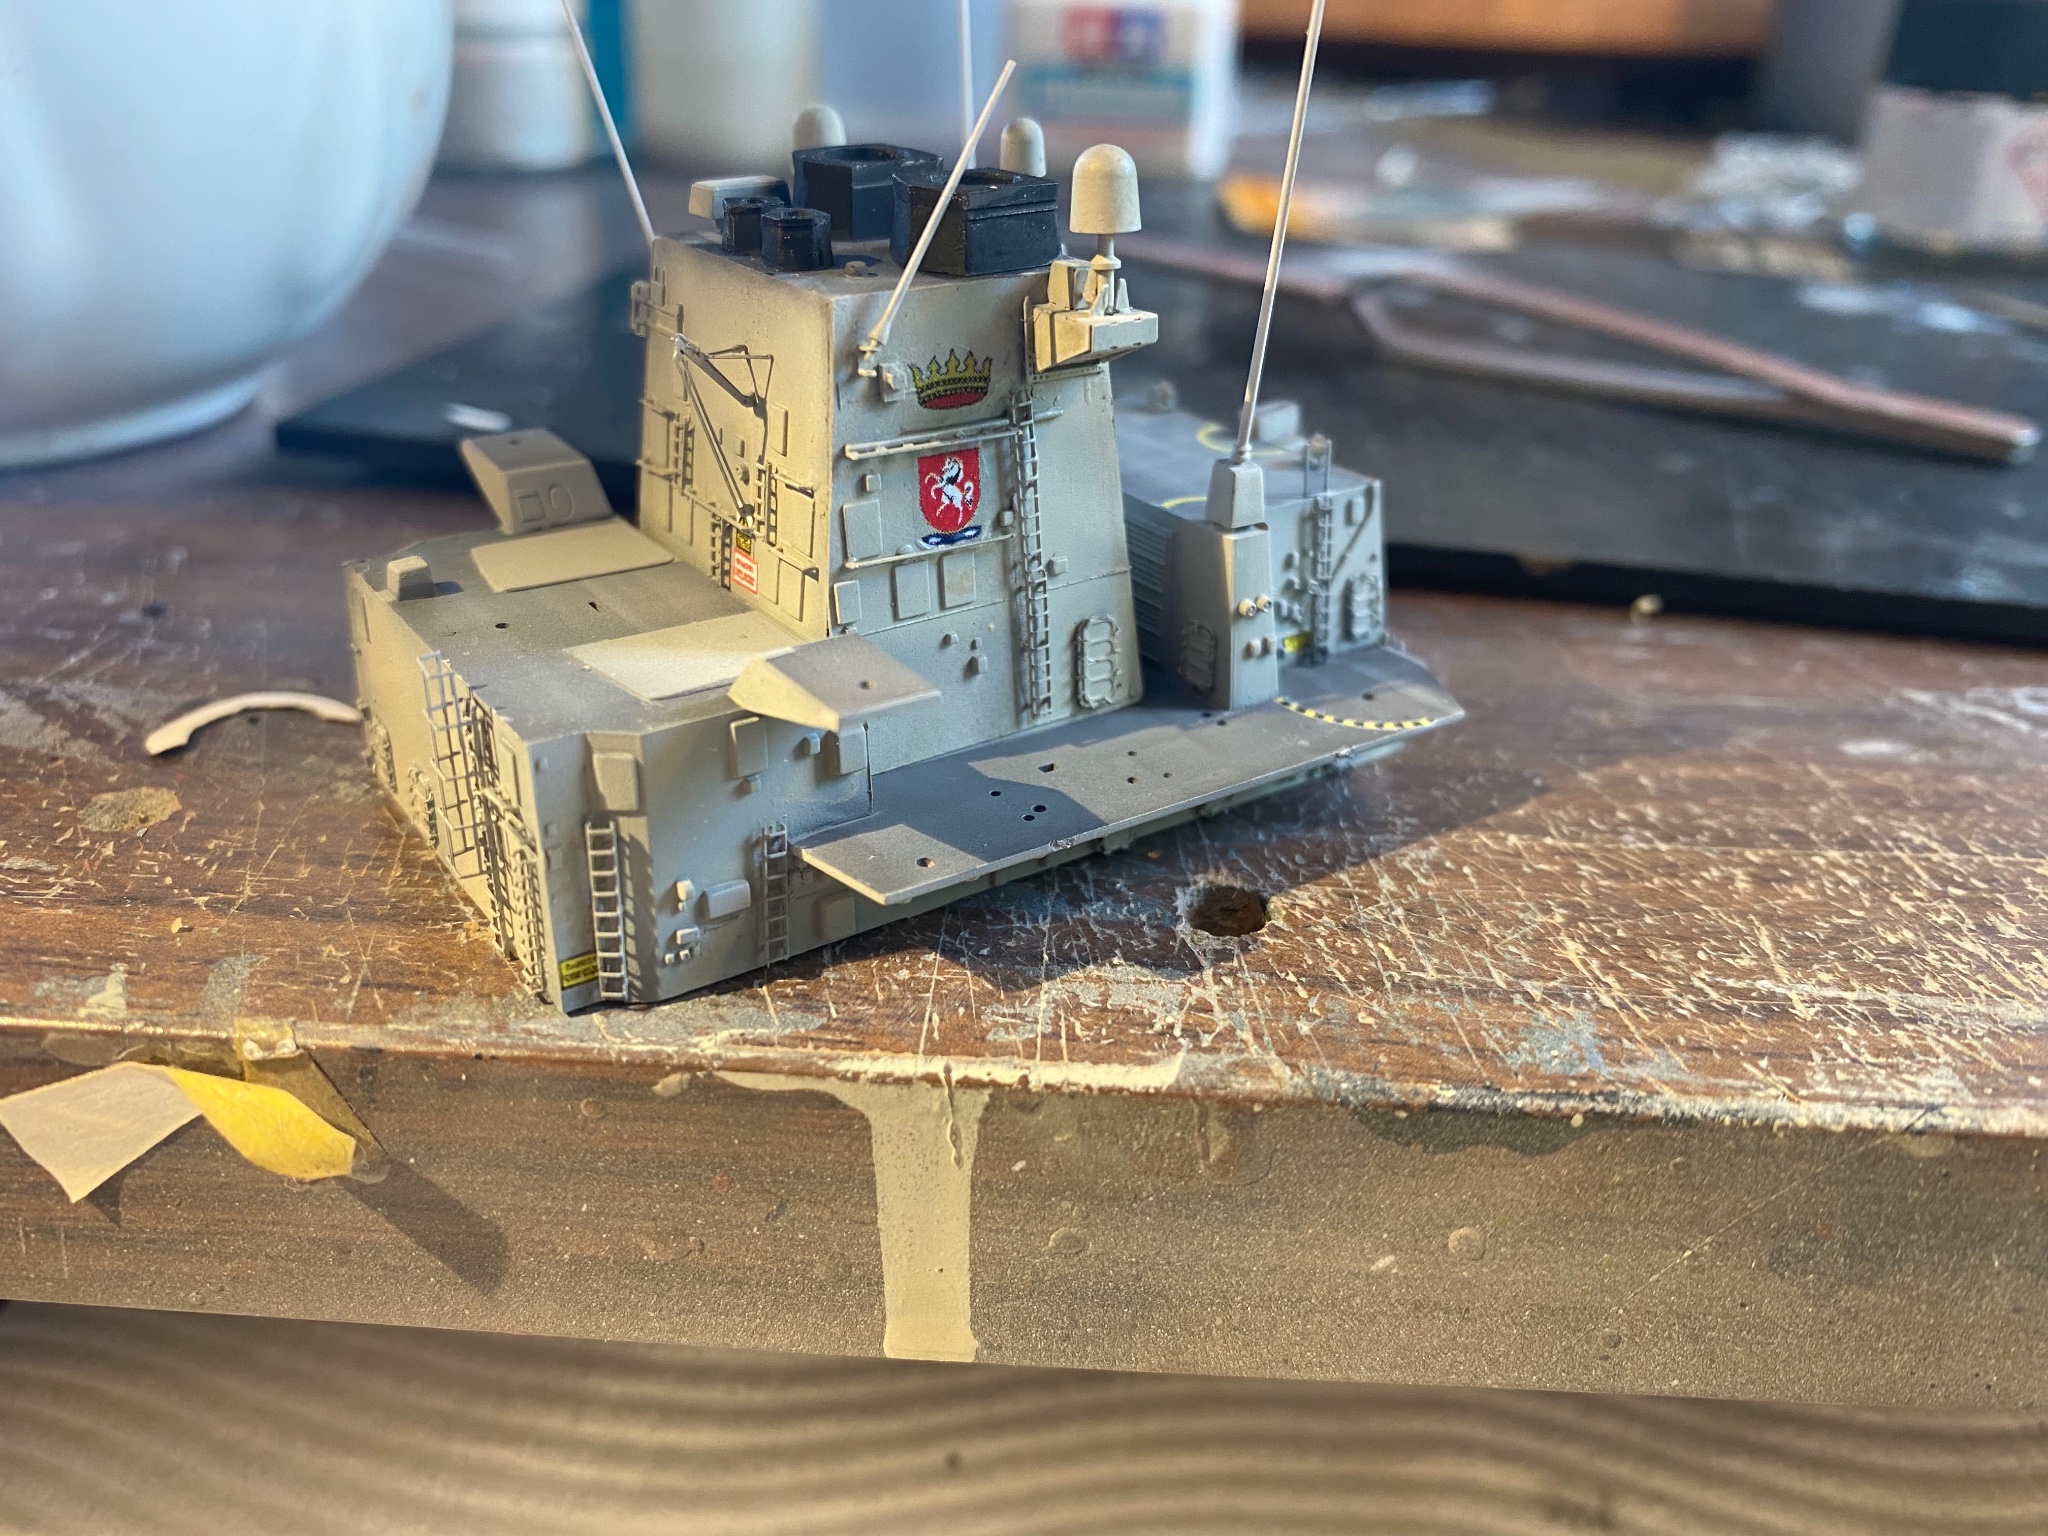
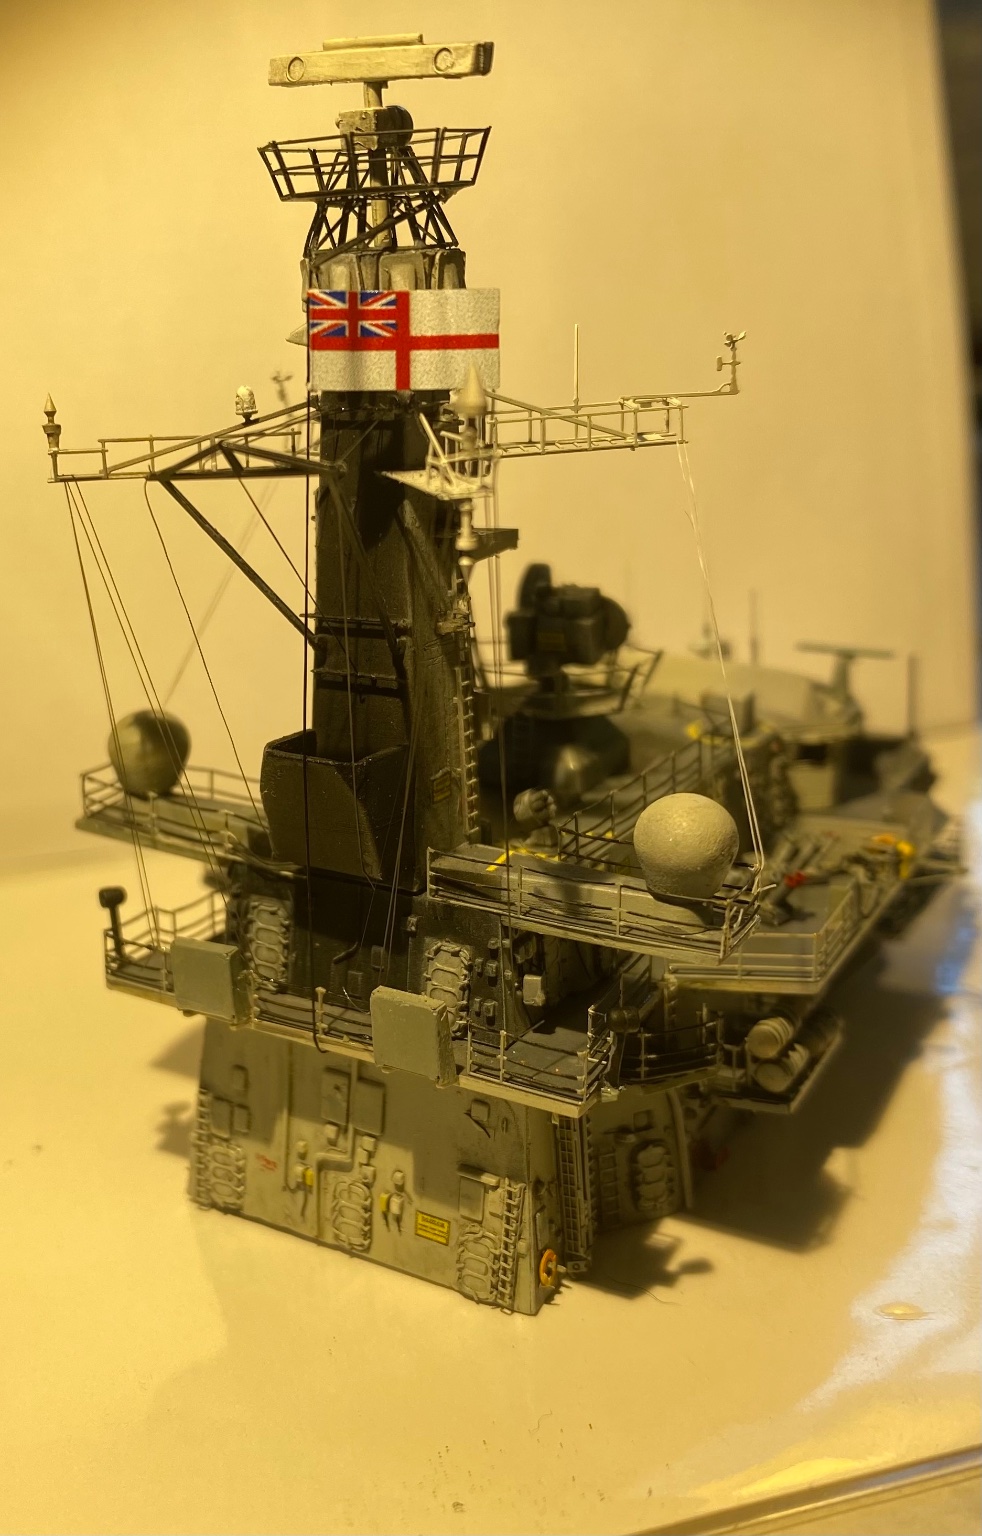
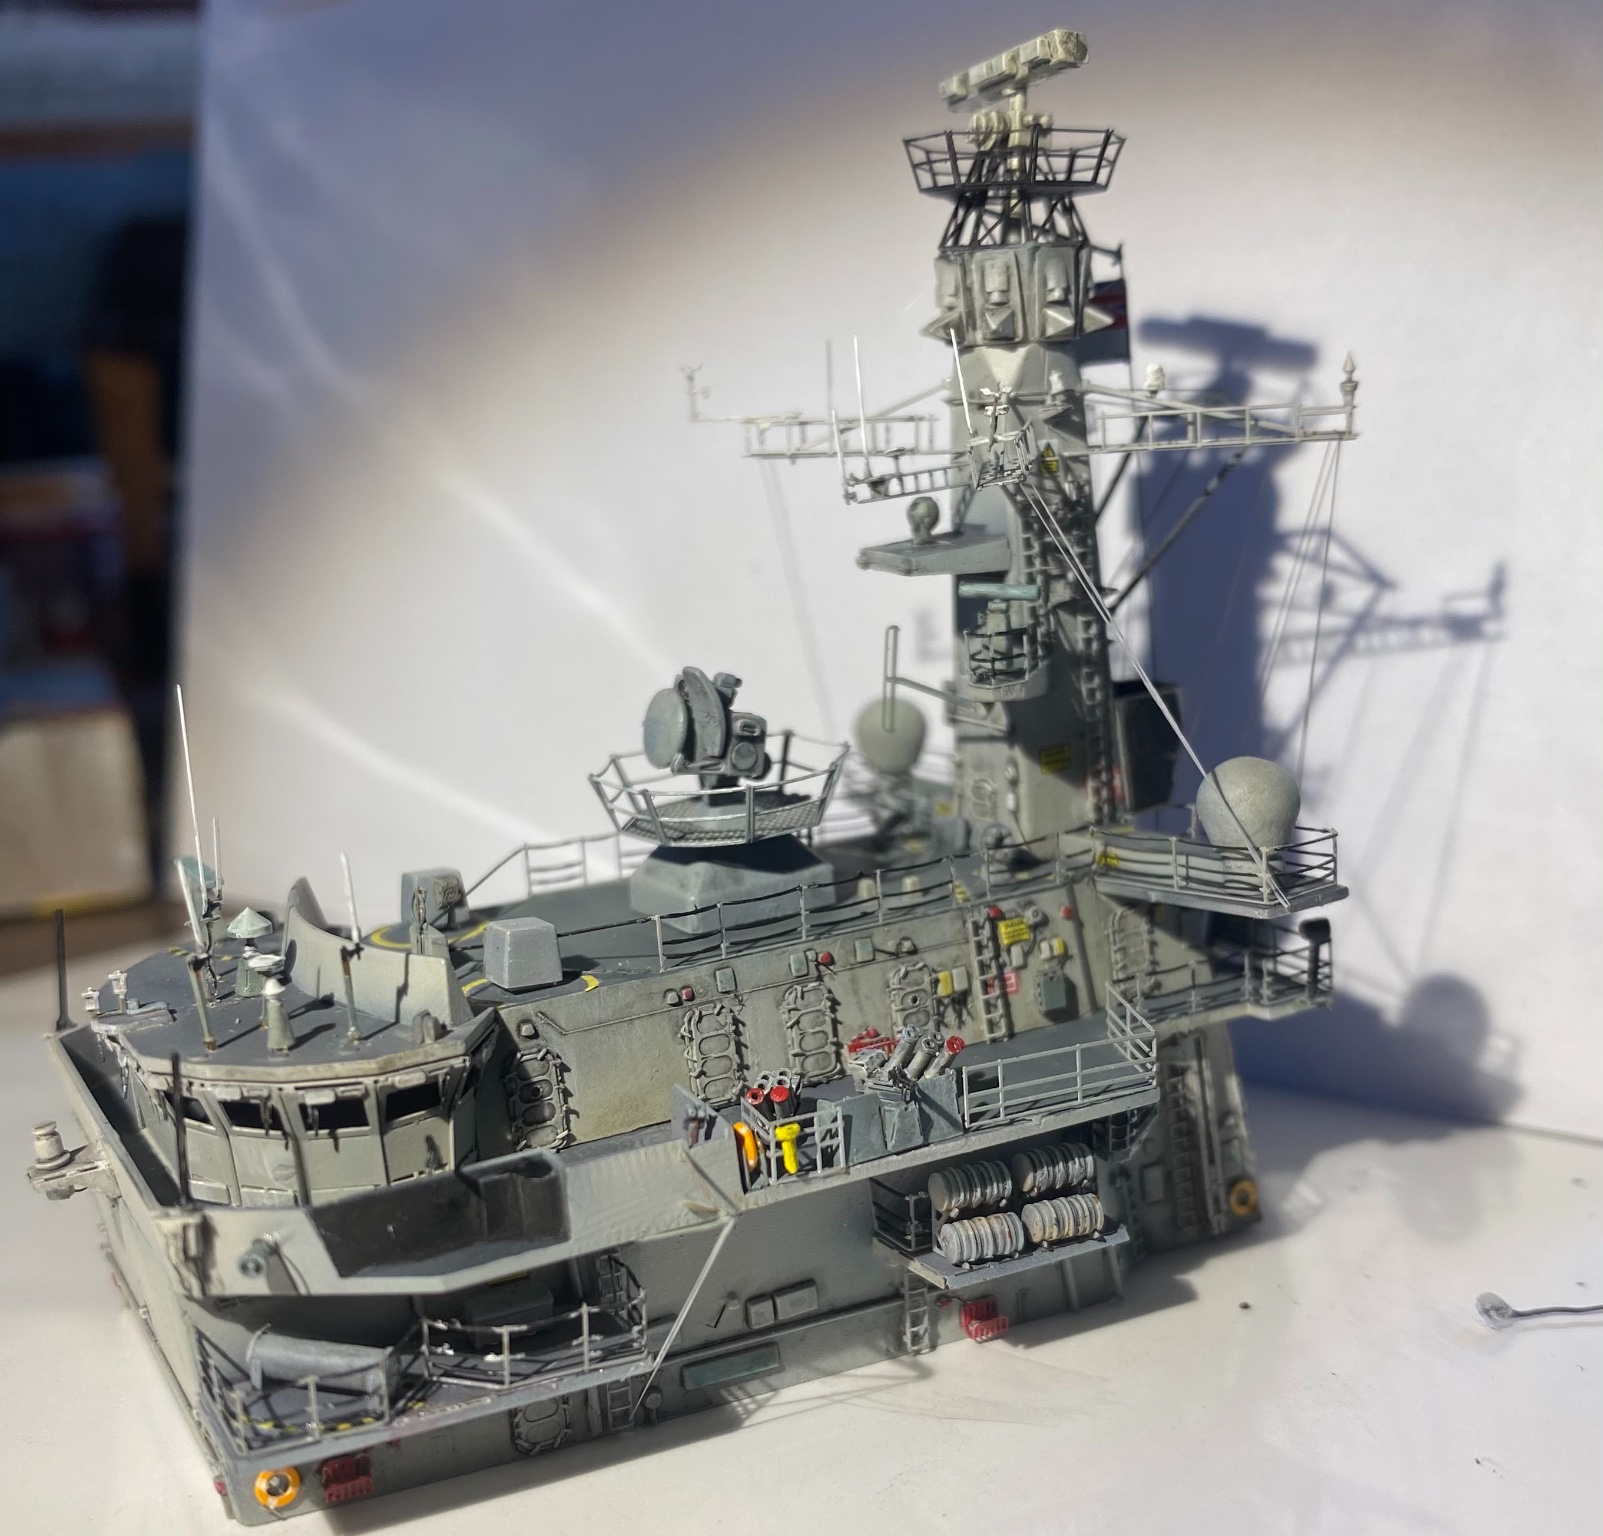
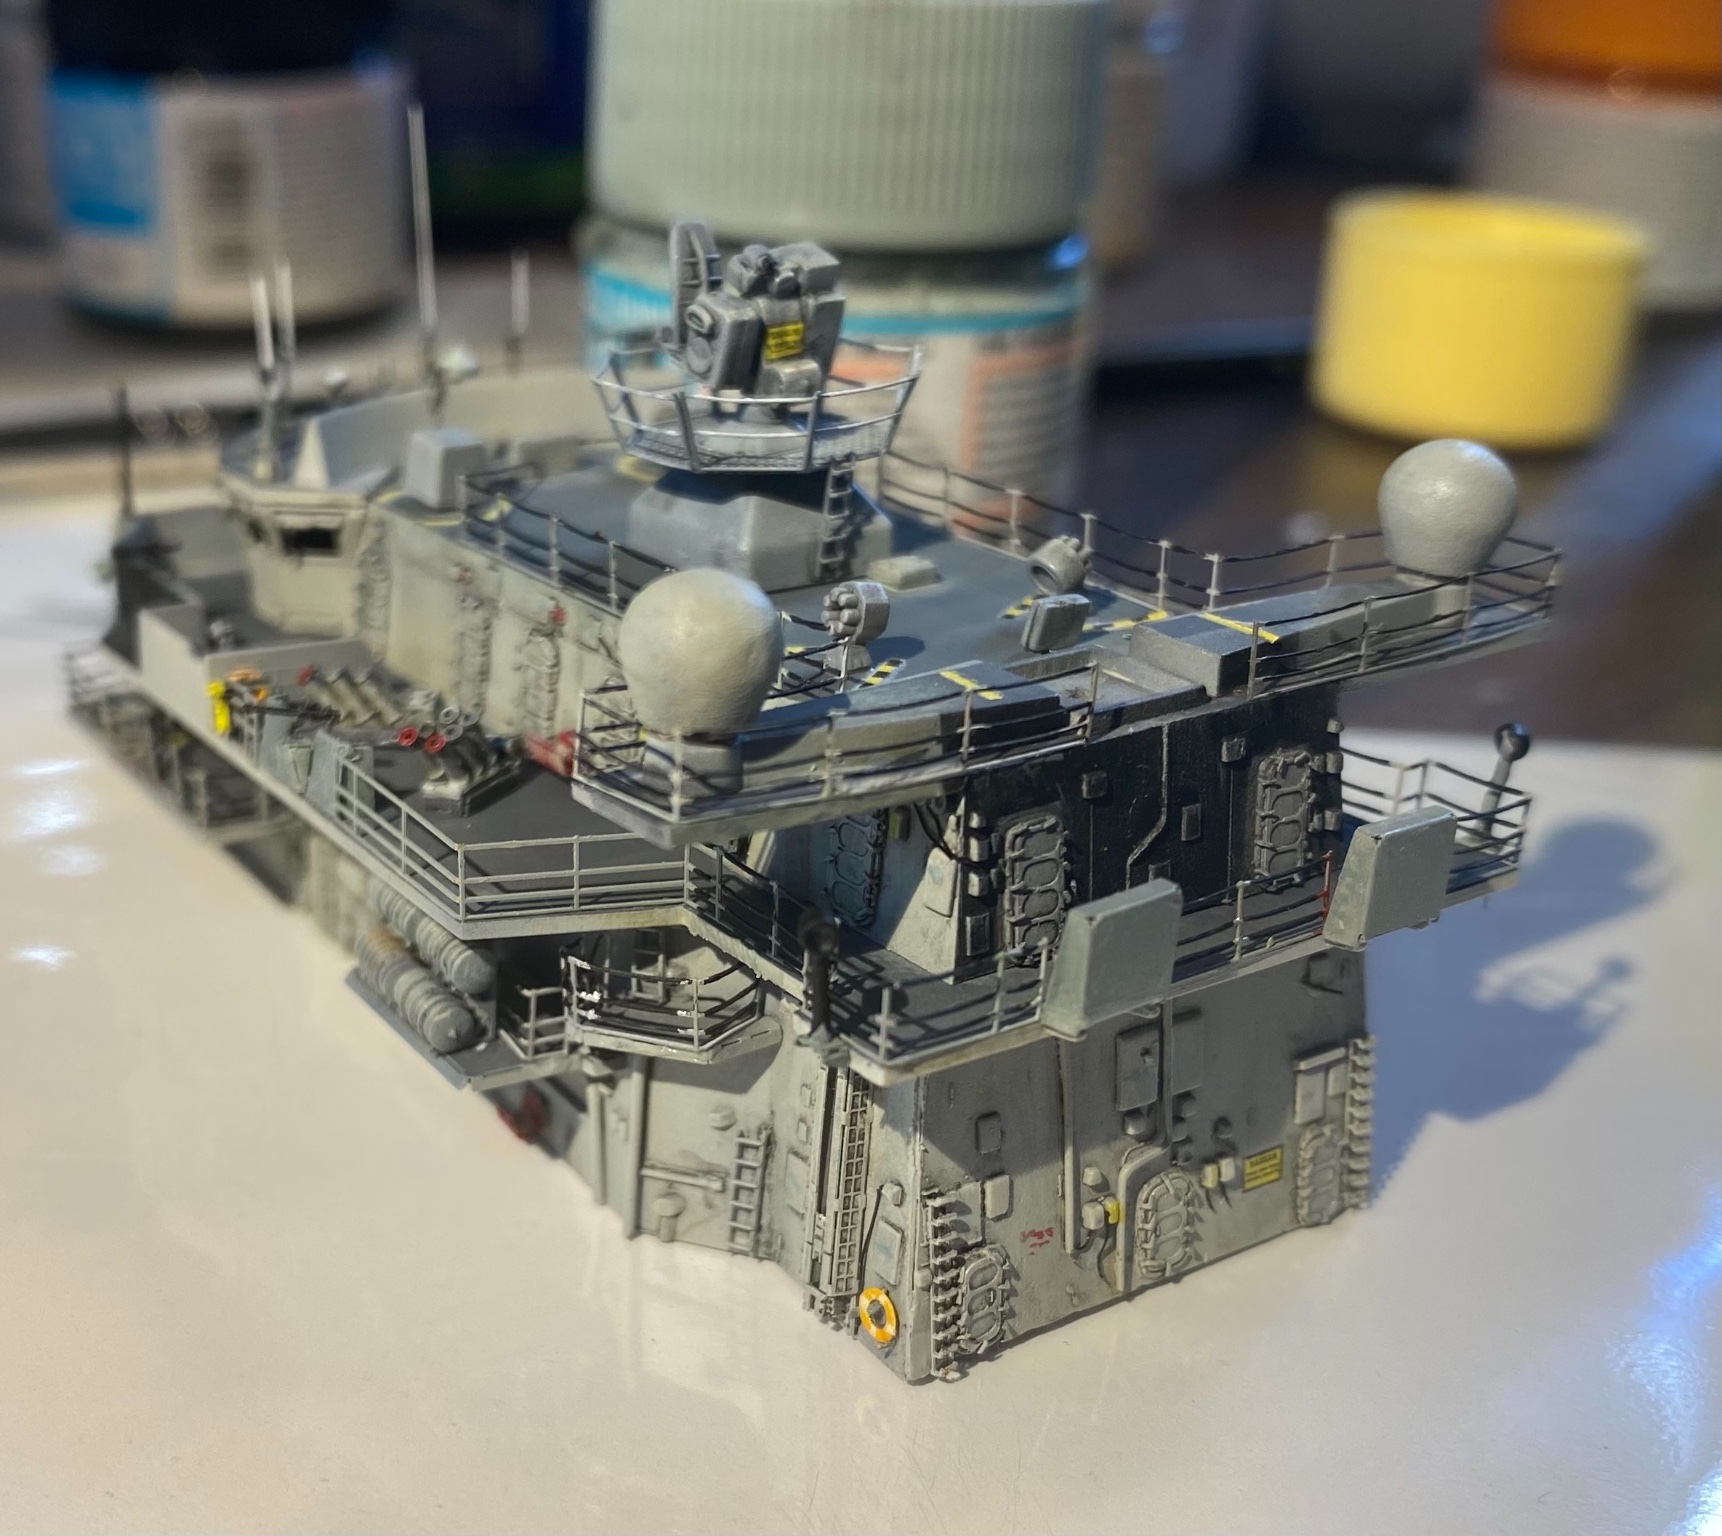
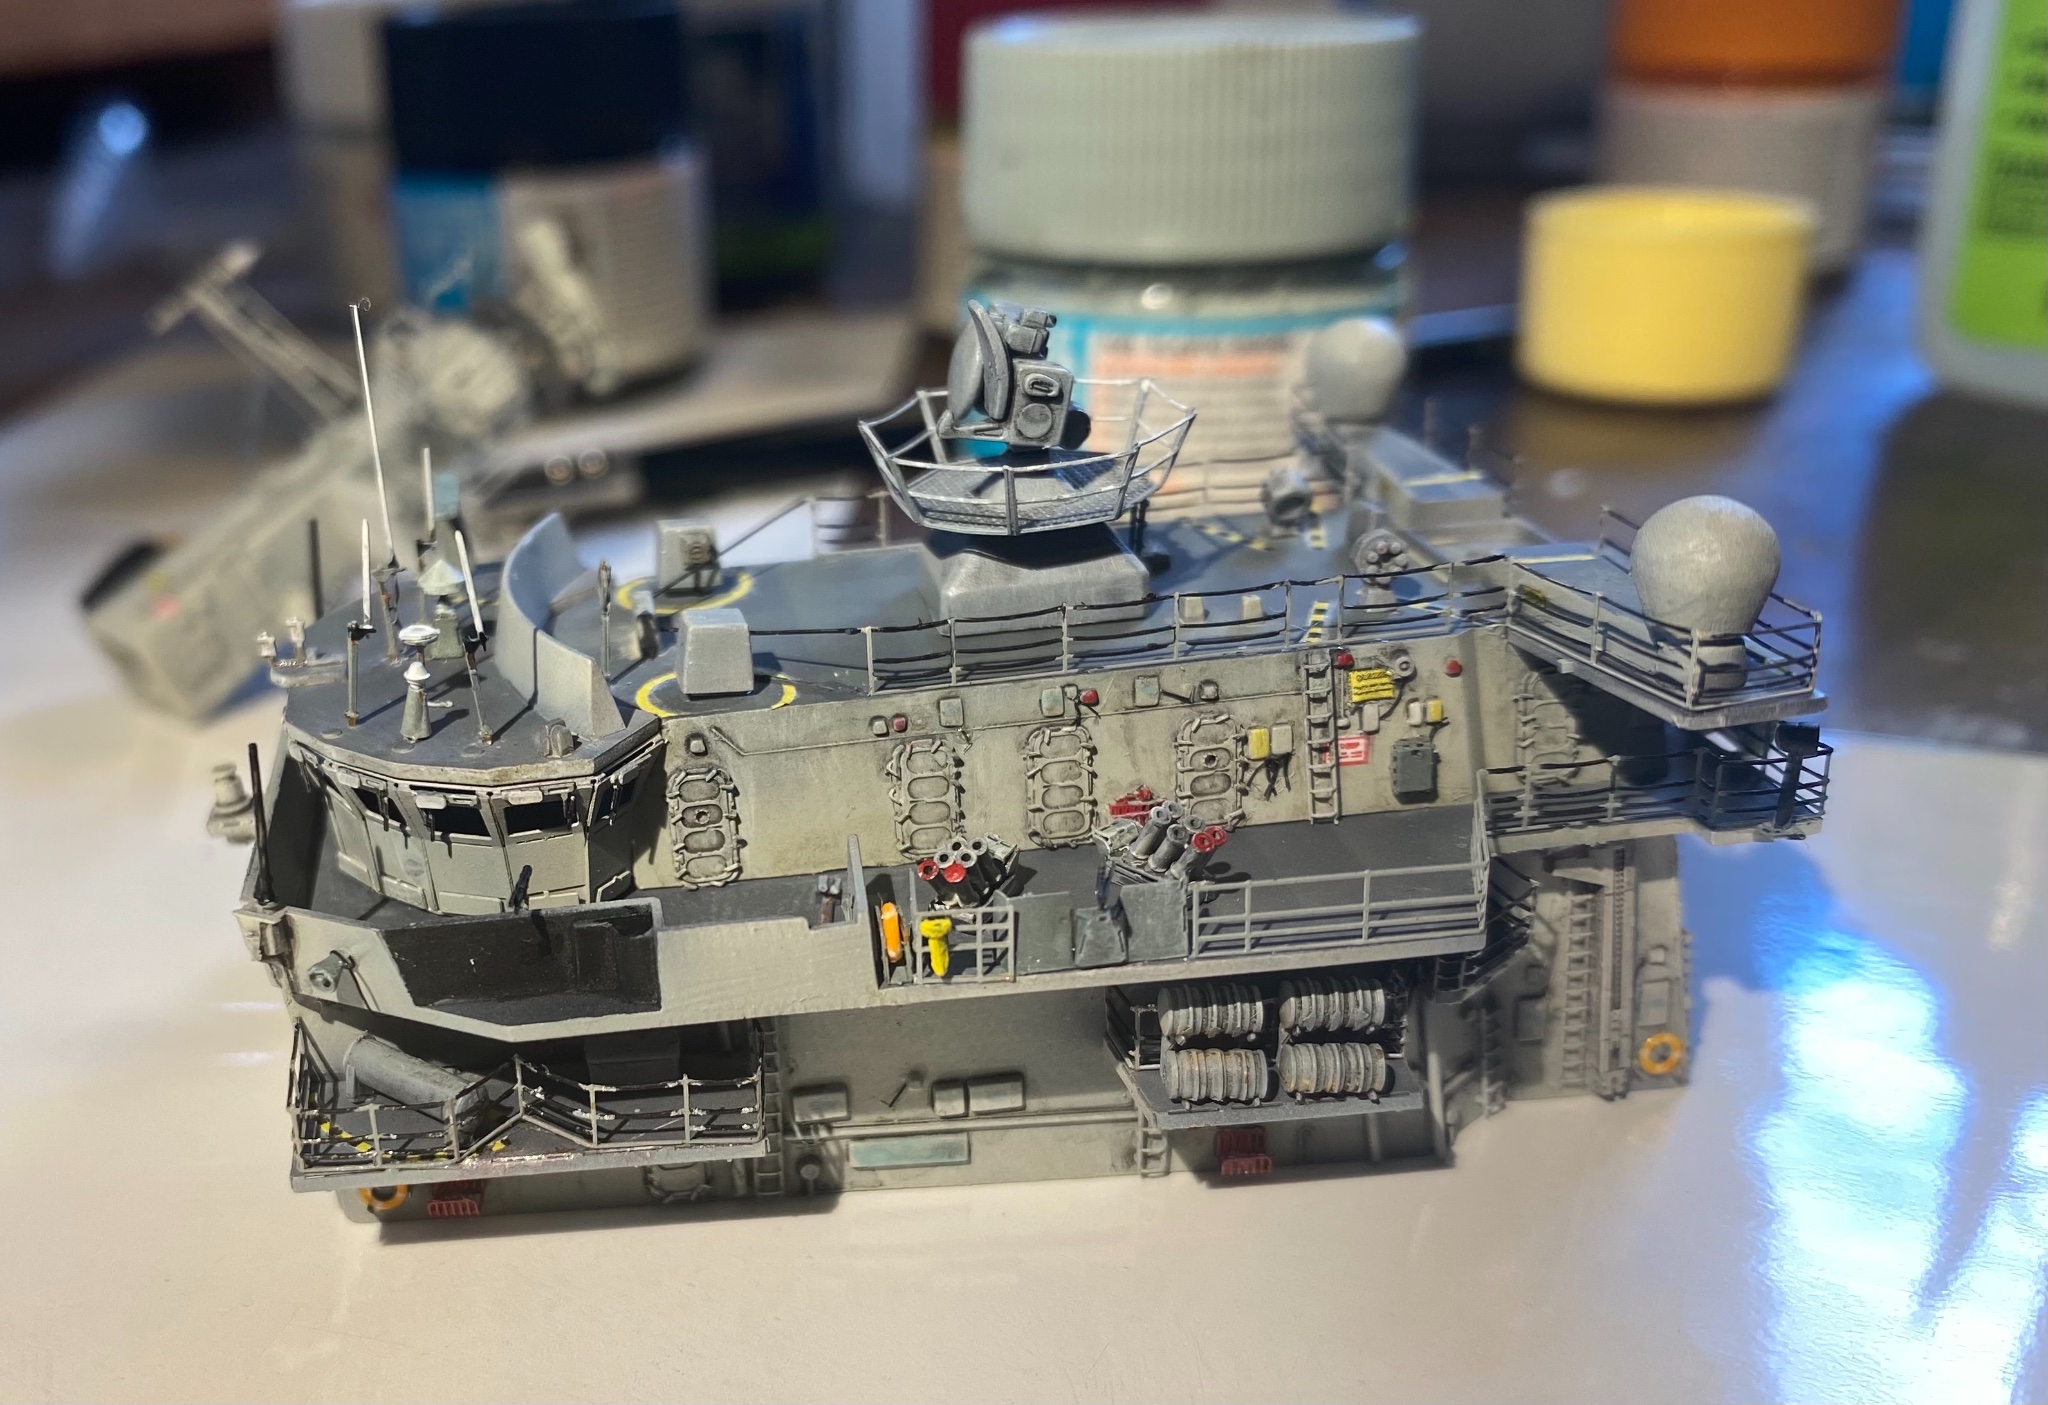
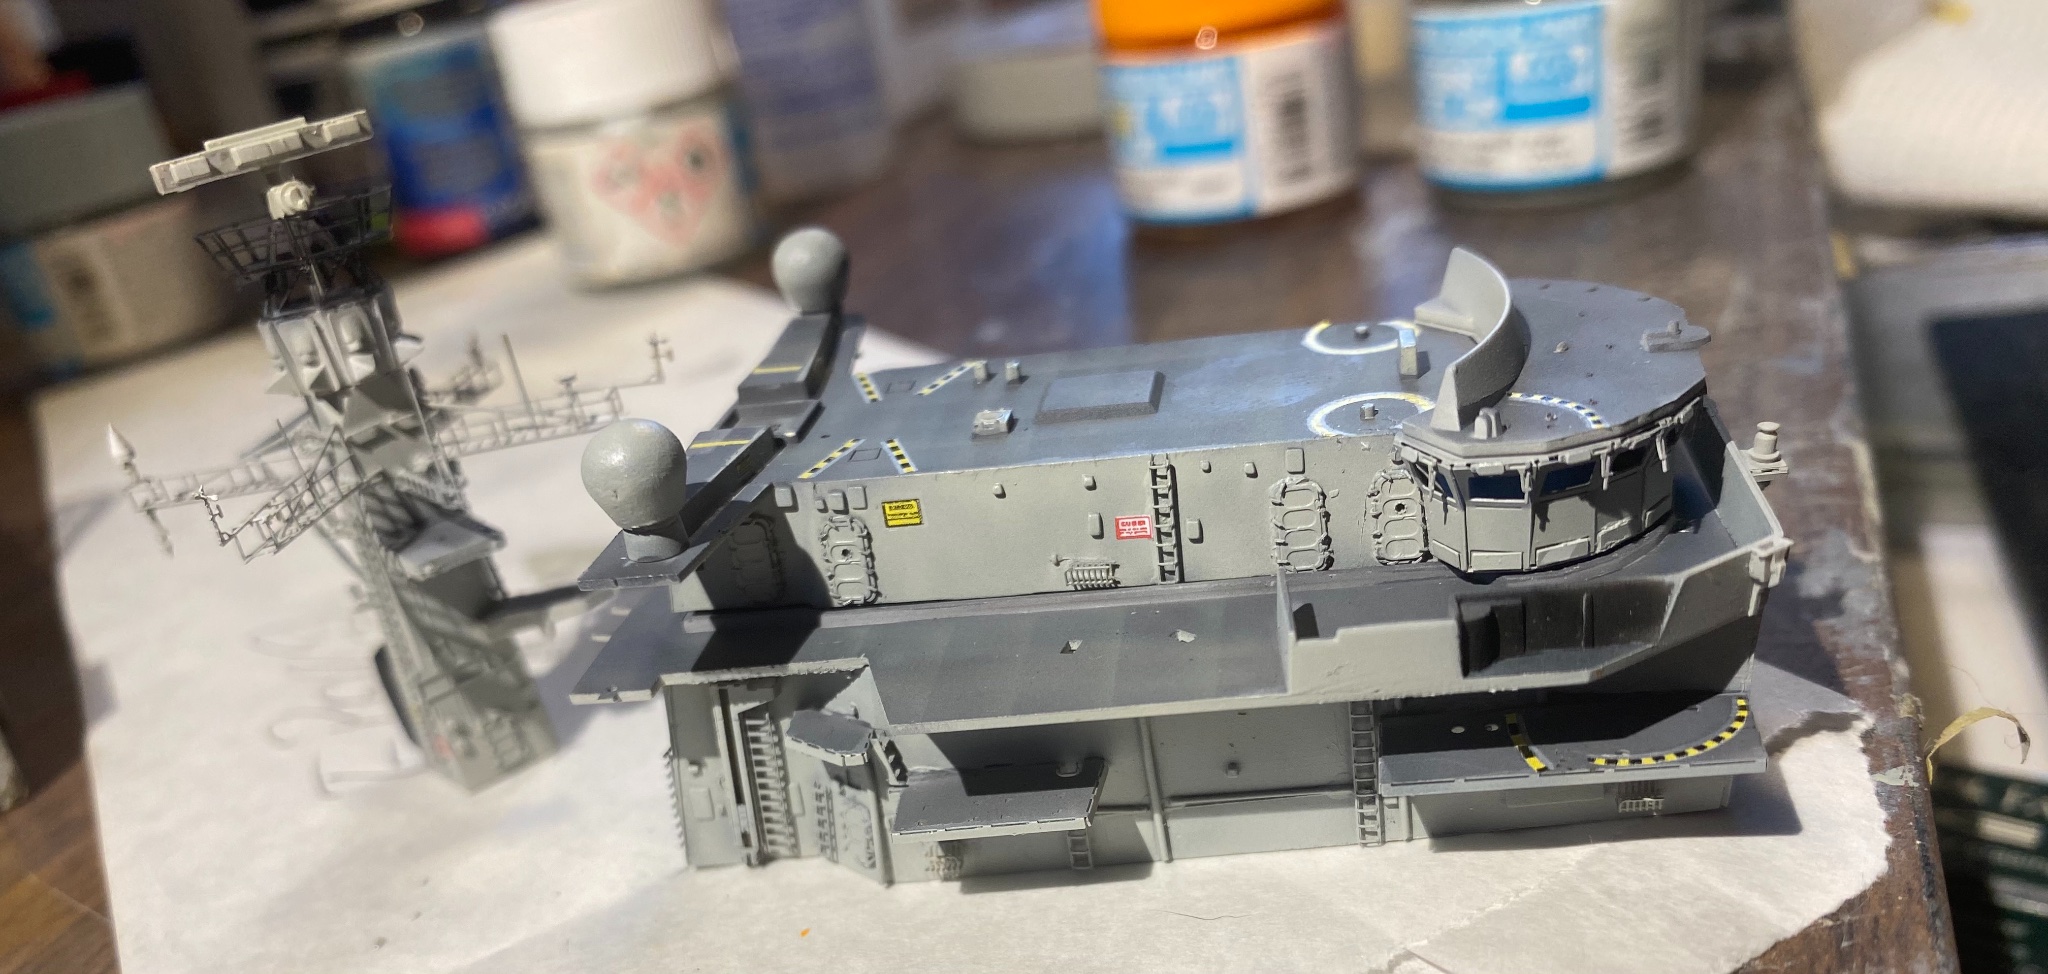
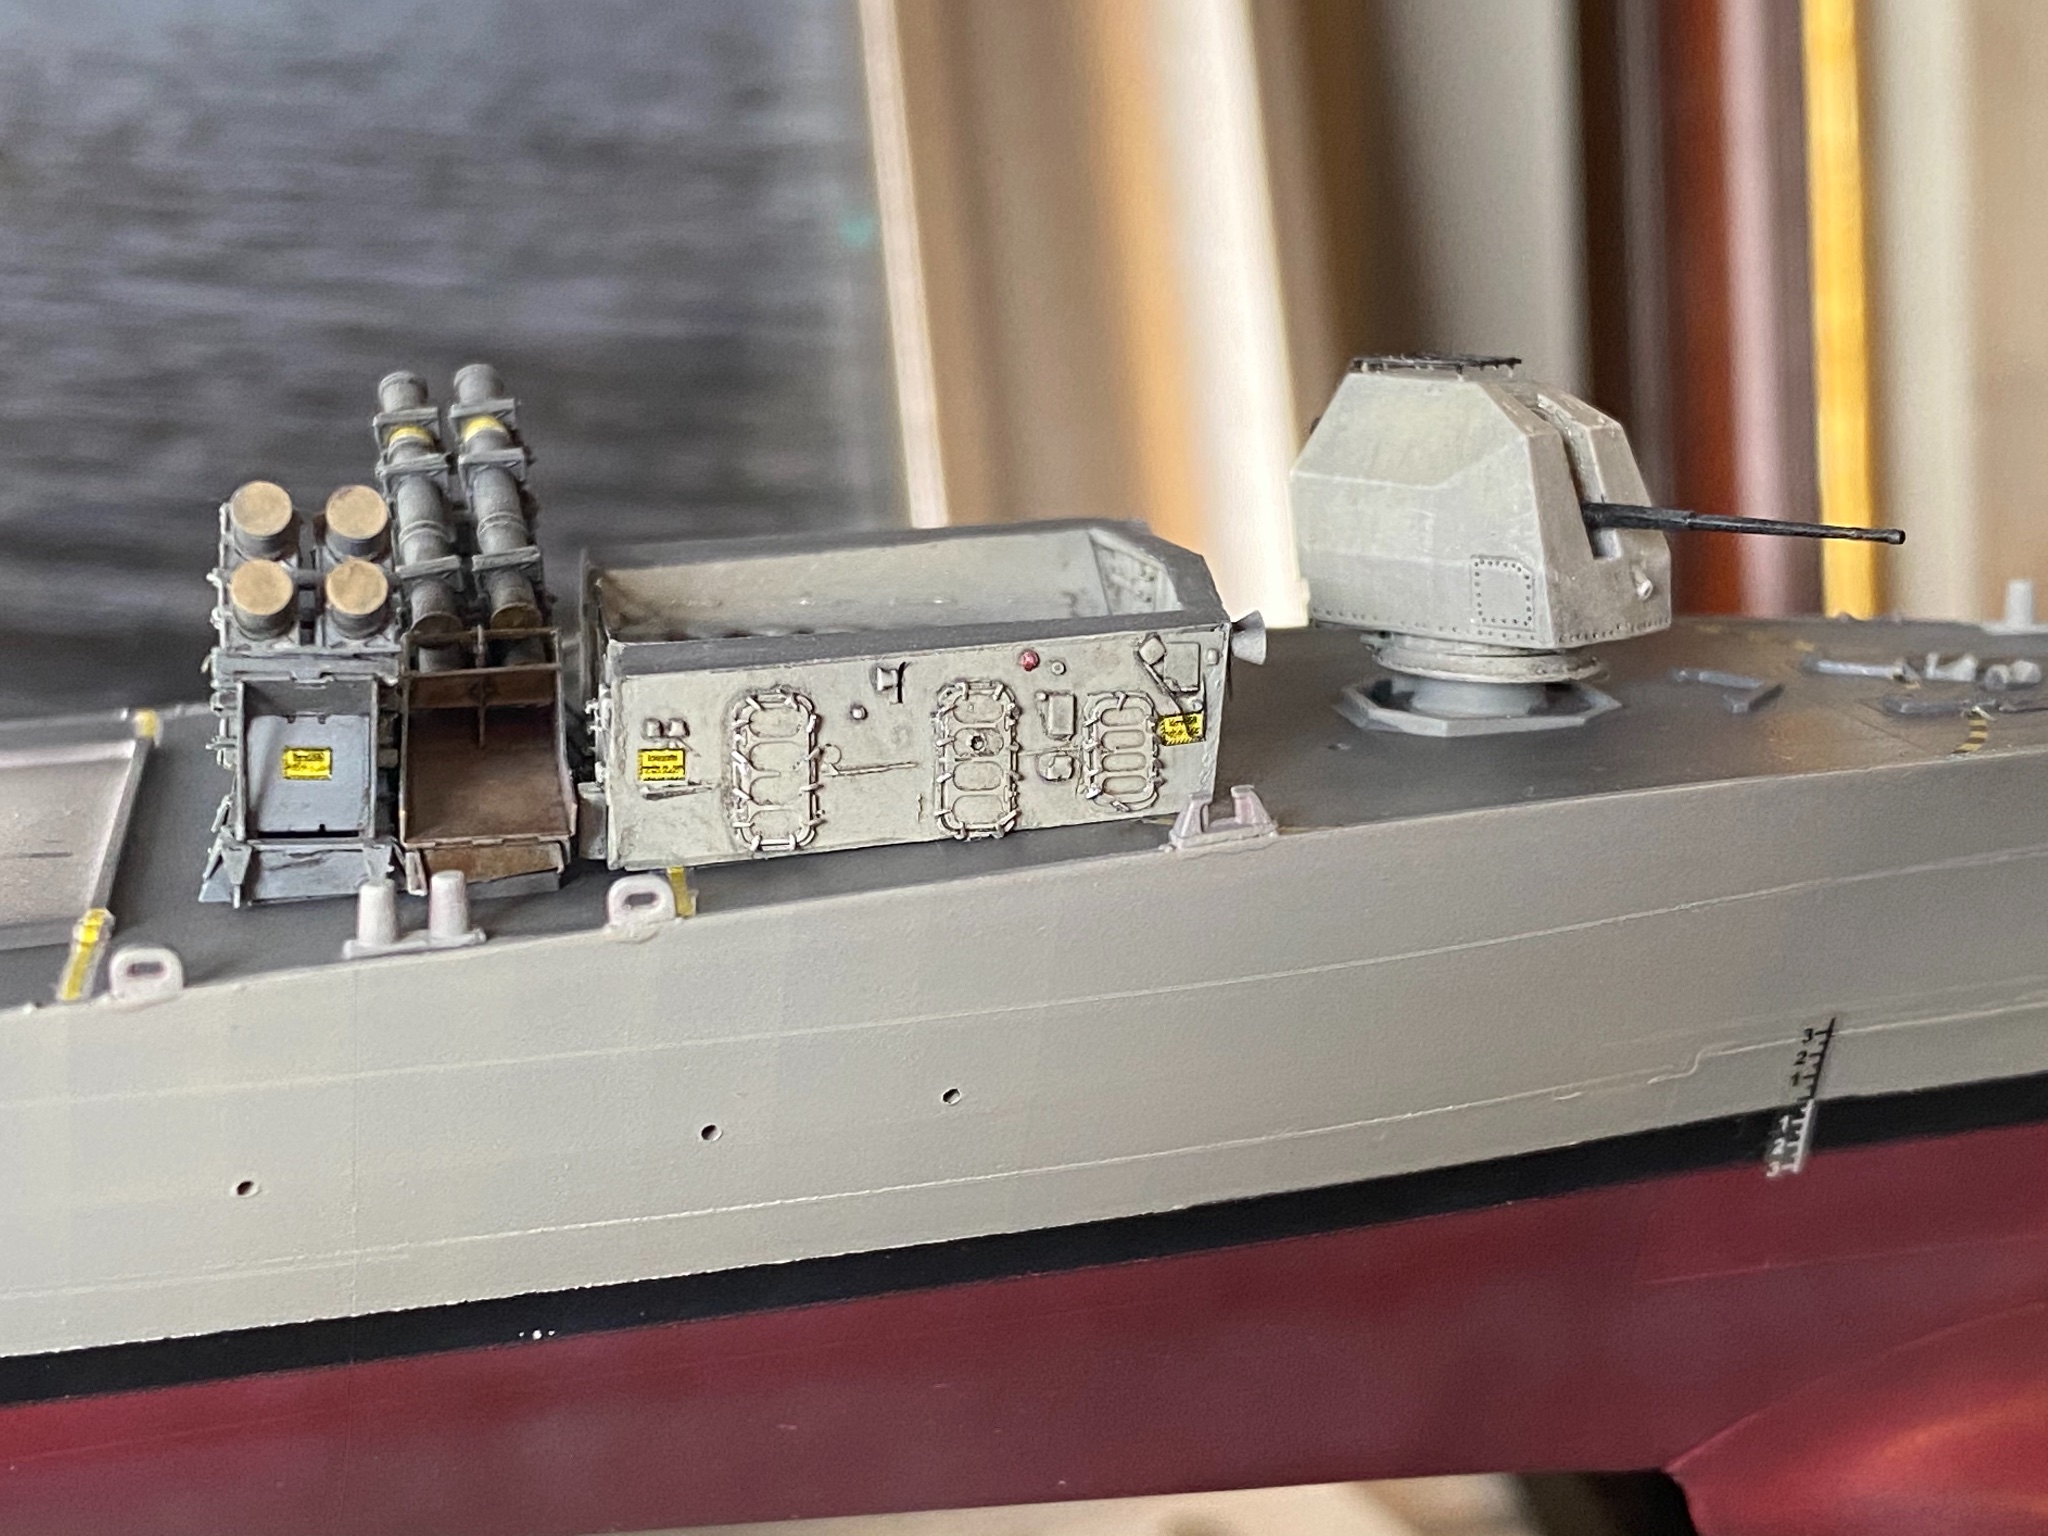
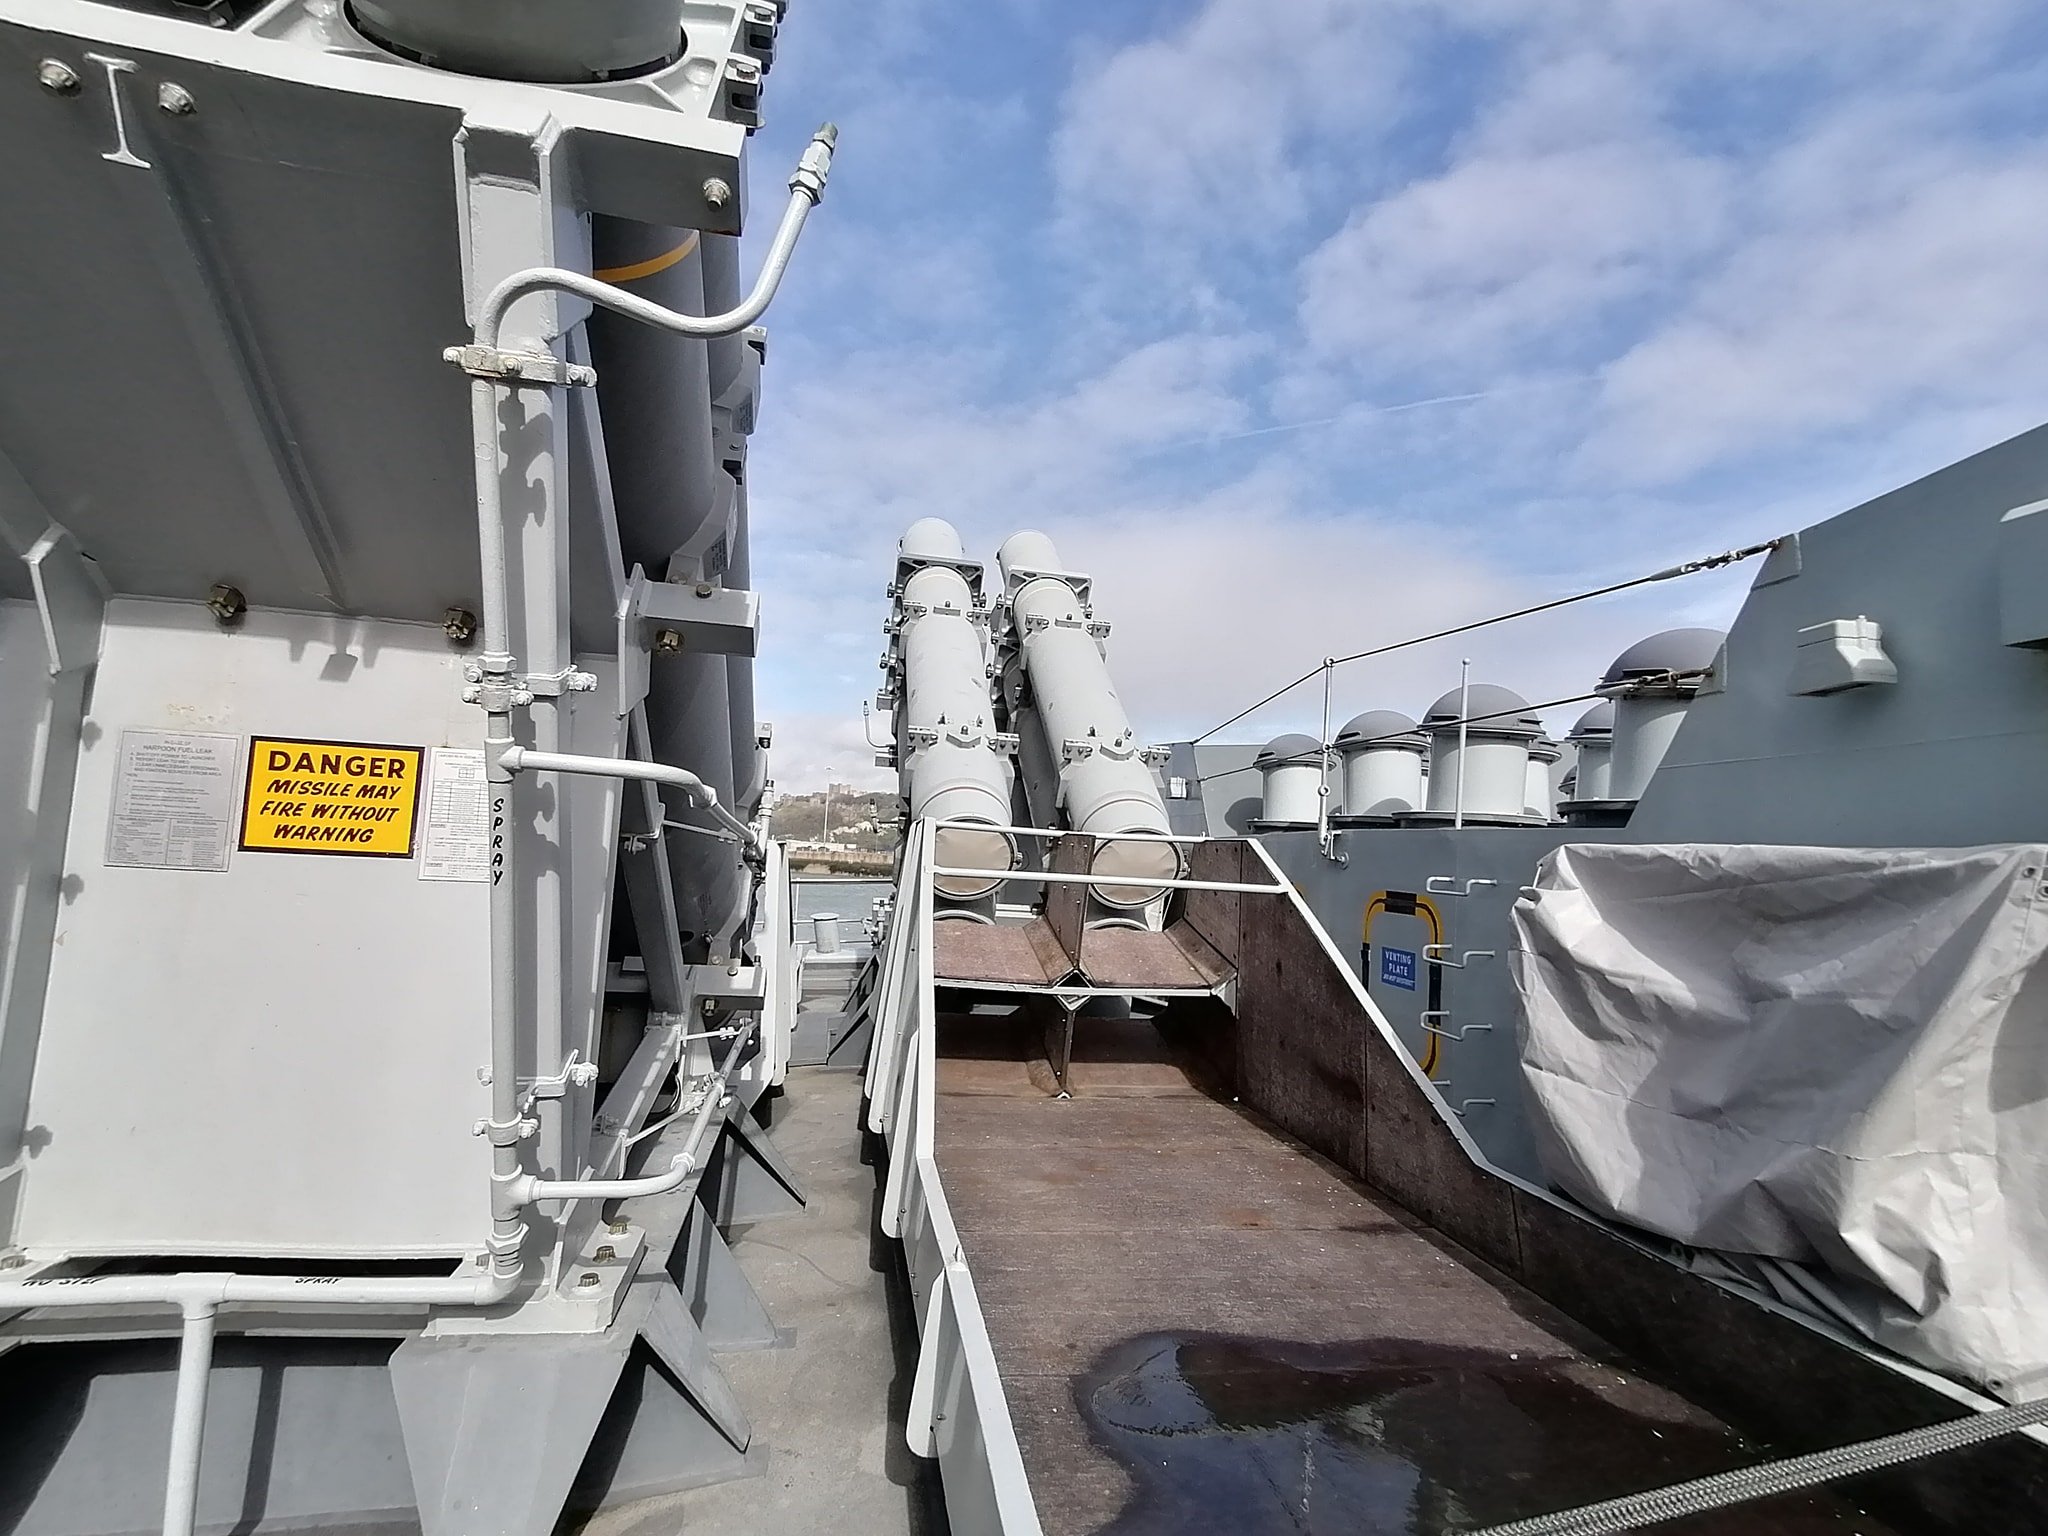
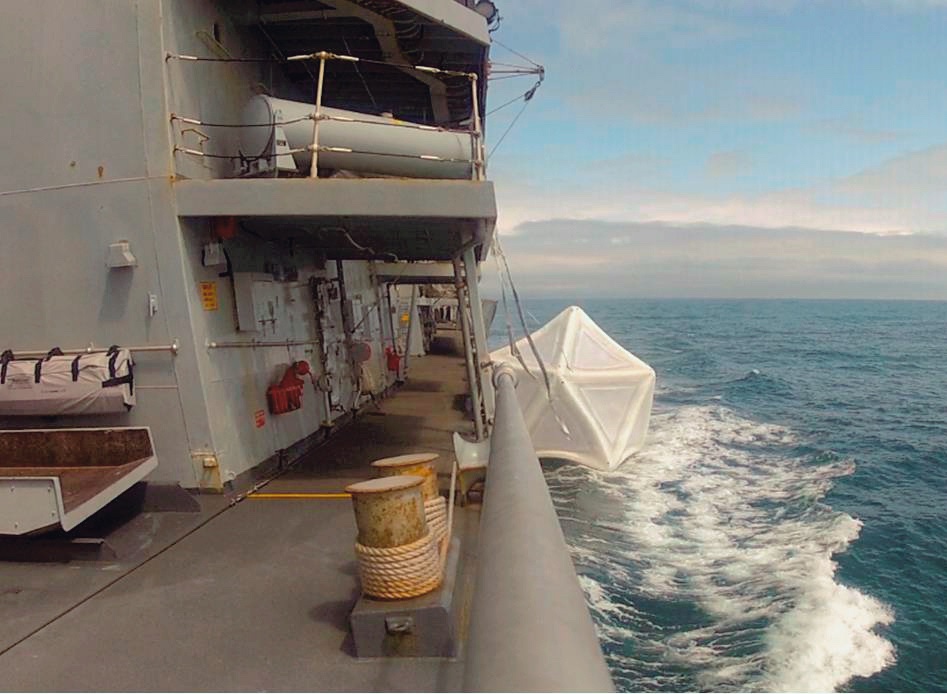
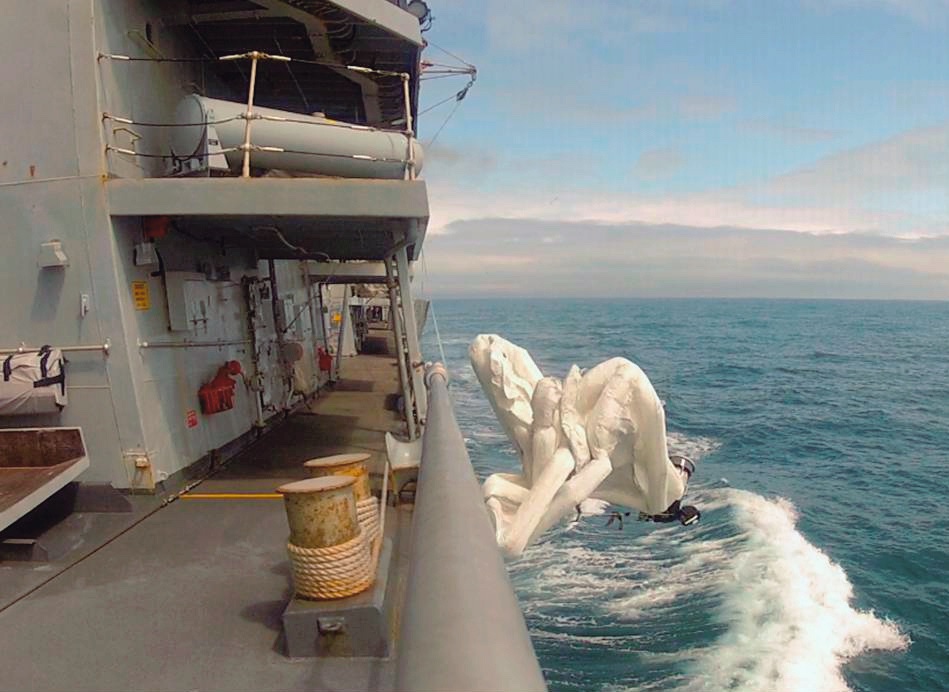
A few photos I wanted to add, directly below the bridge wing are deflectors which I’ll assume make a large cross section when deployed. Nearly all modern photos show 2 on each side but the kit has one. Also some chaff dispensers.

-
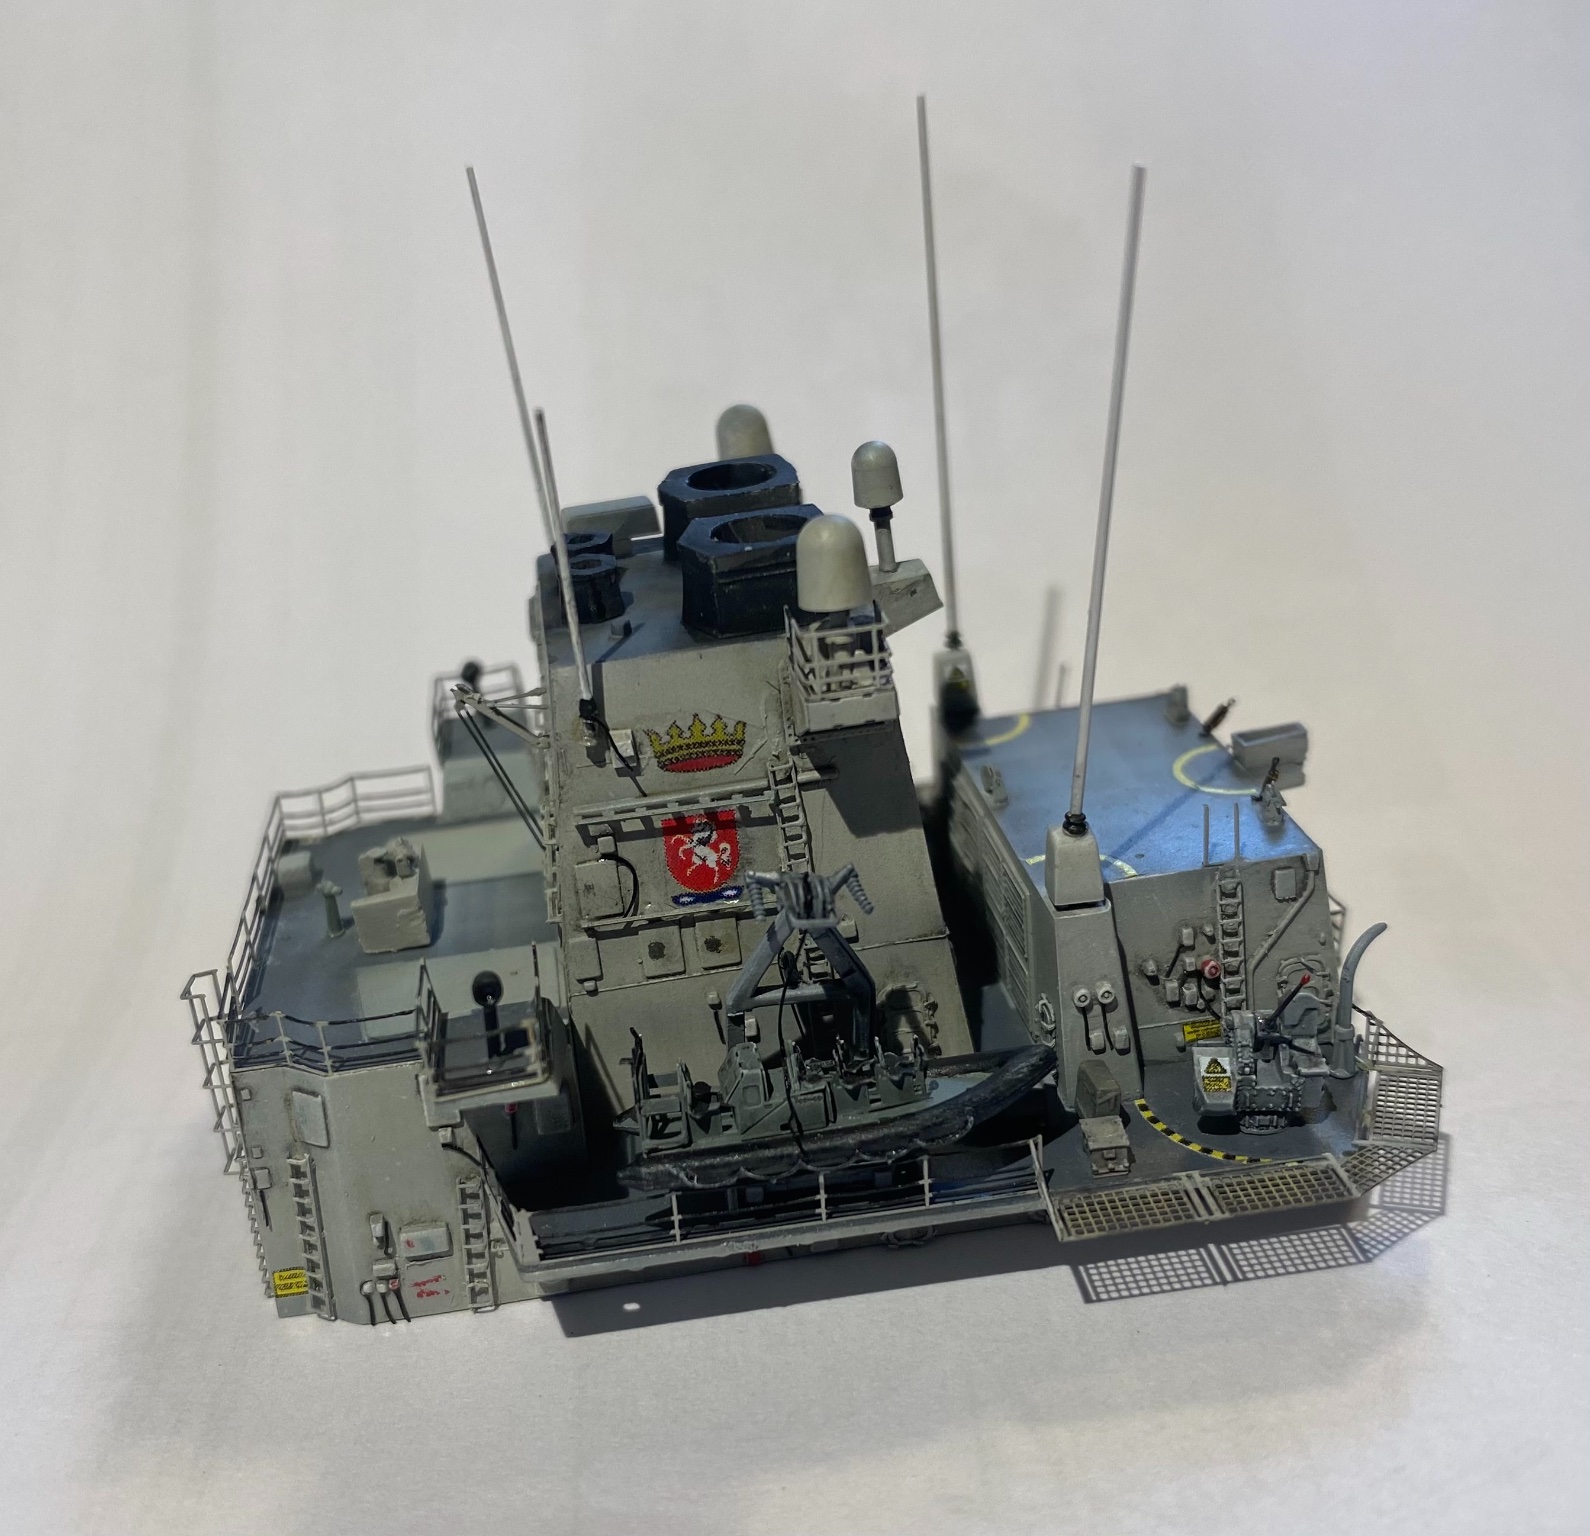
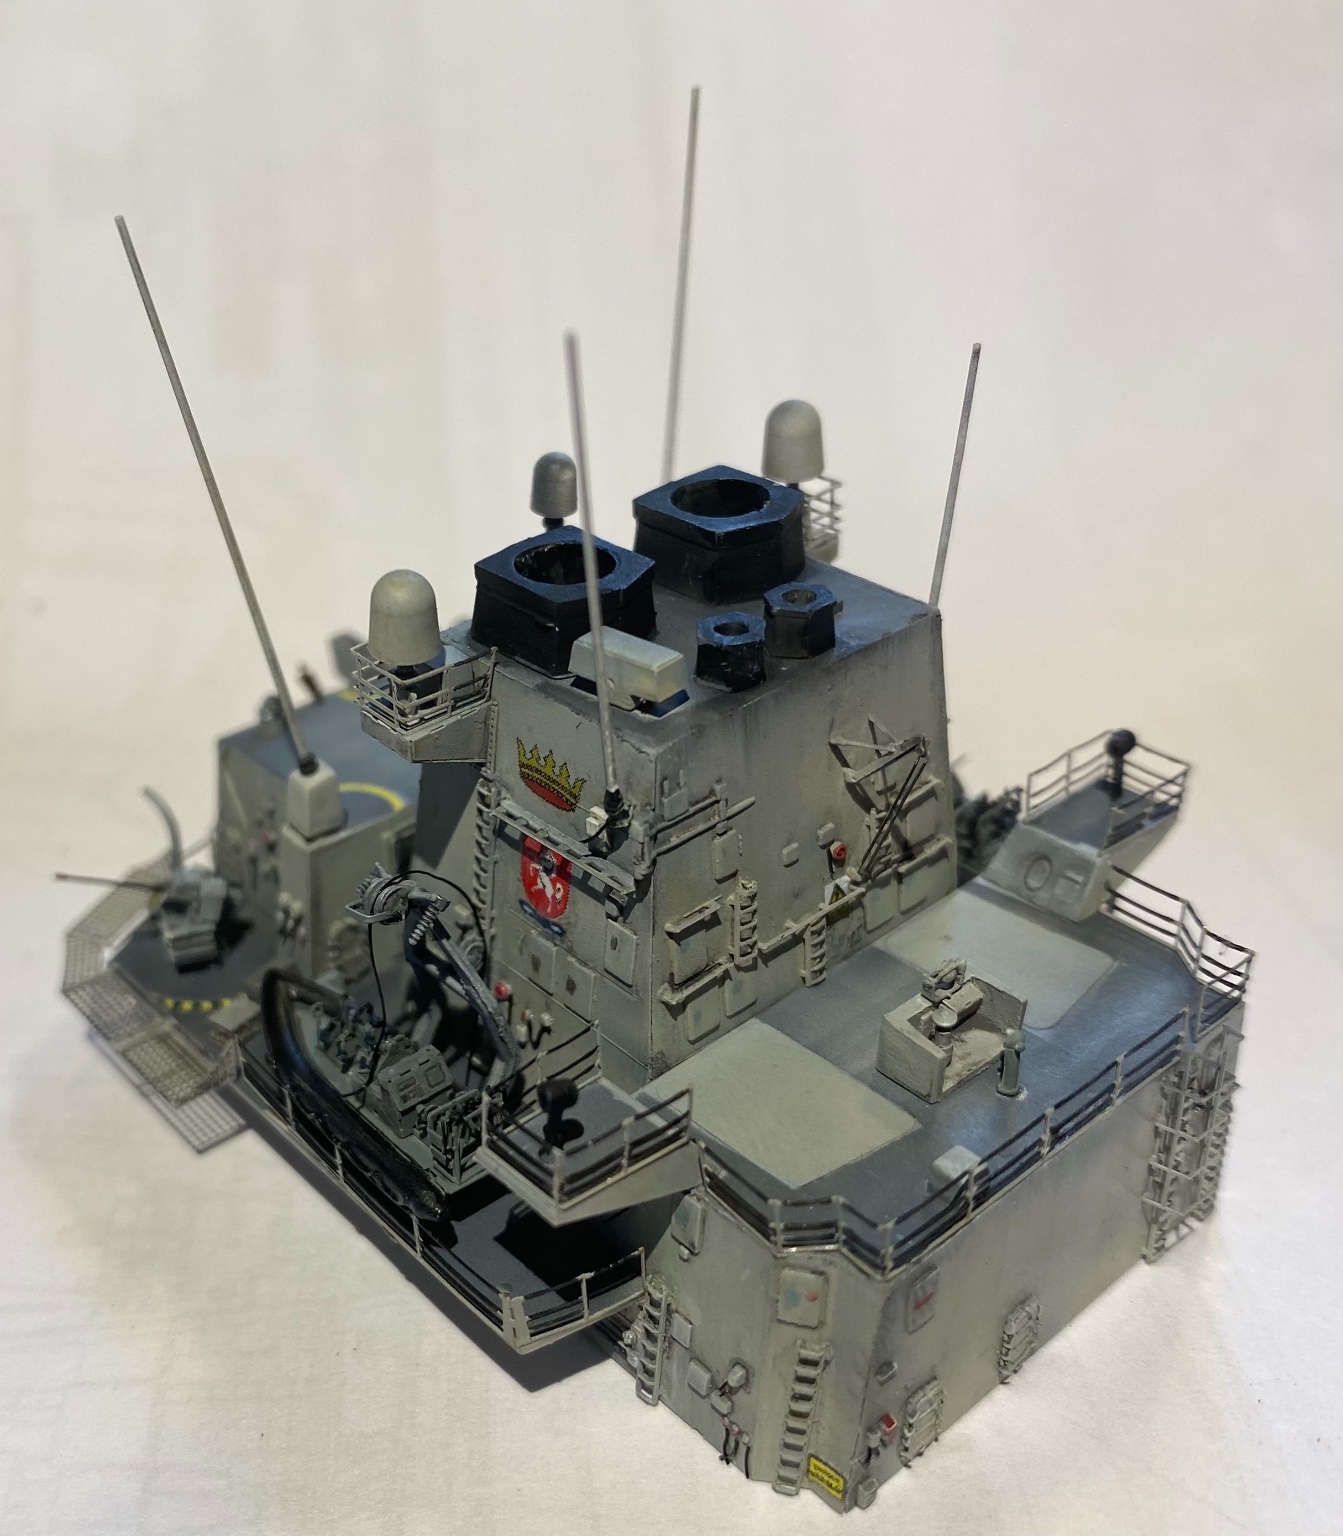
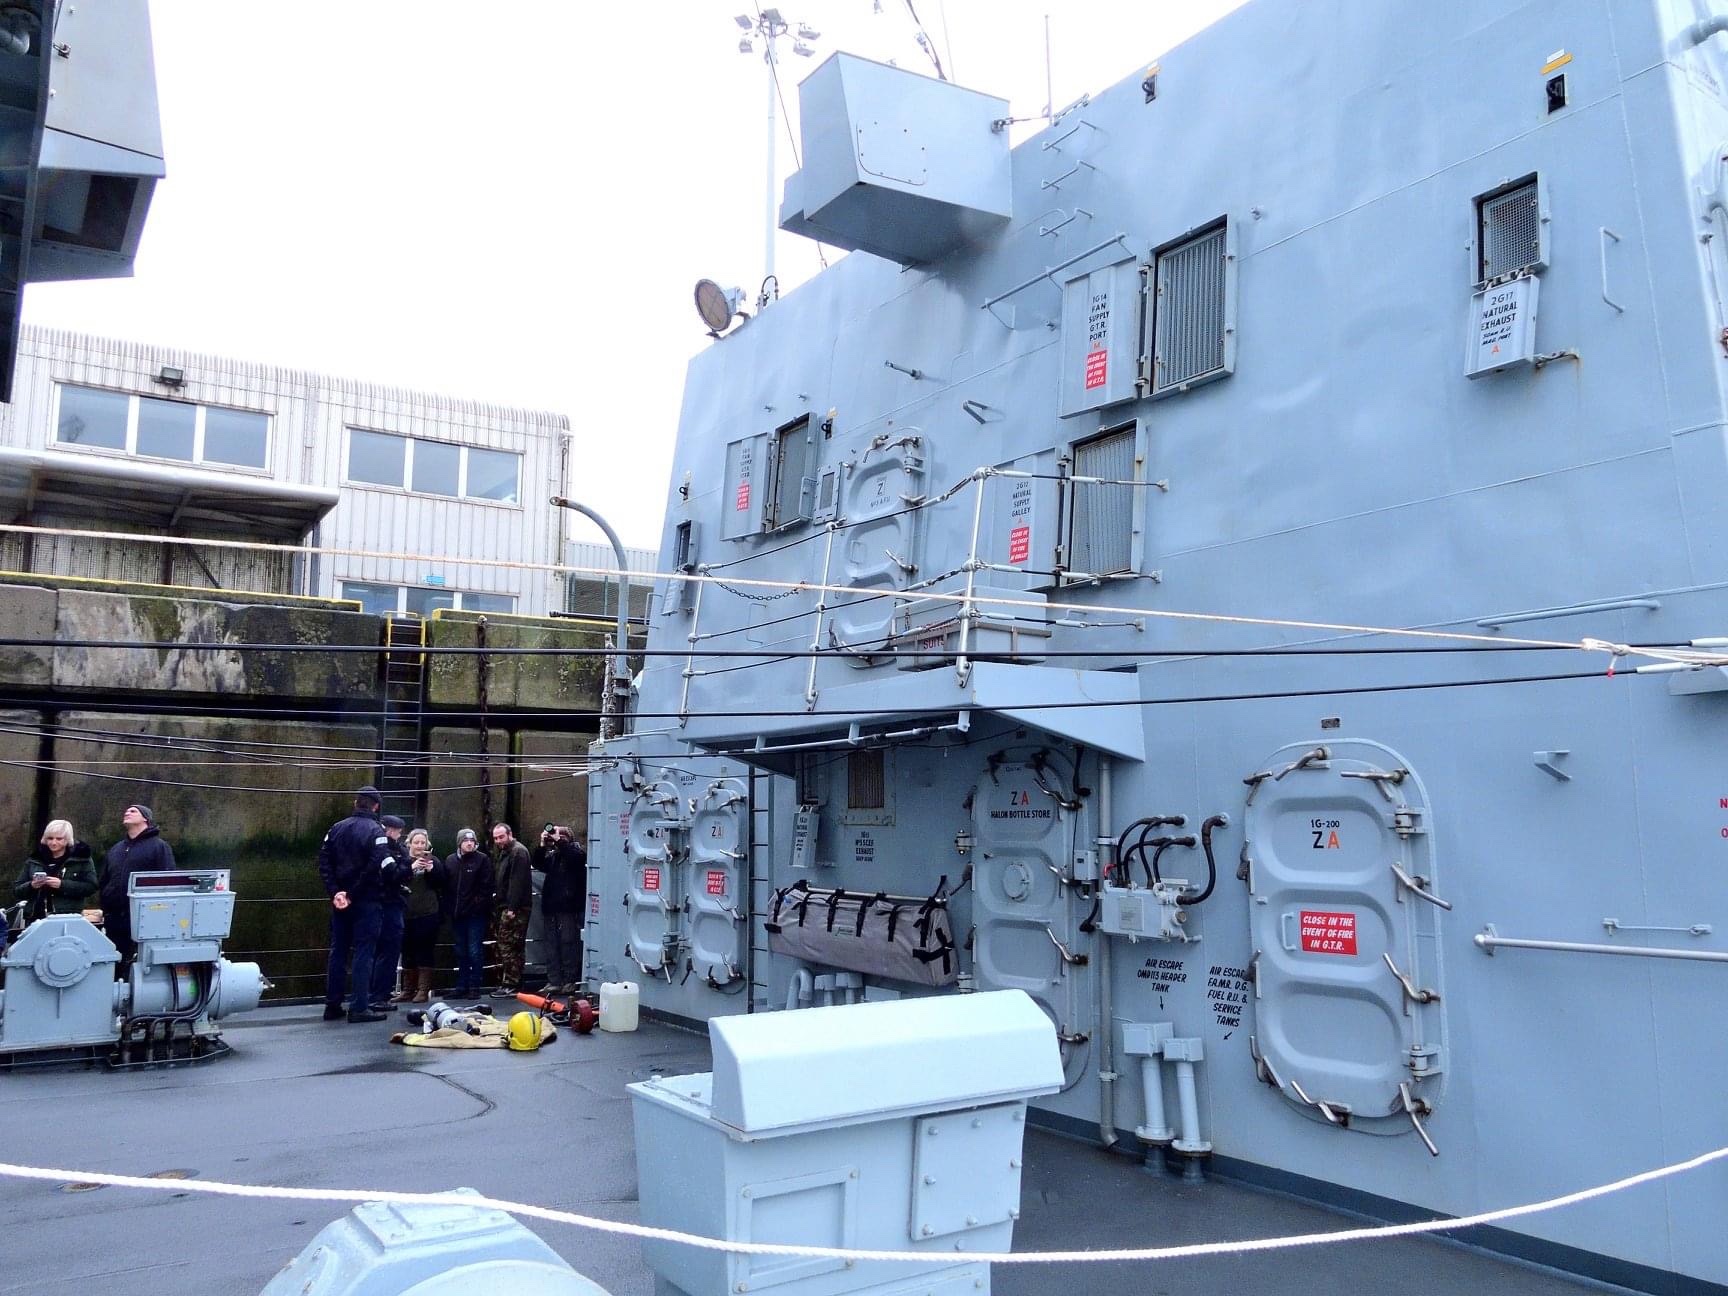
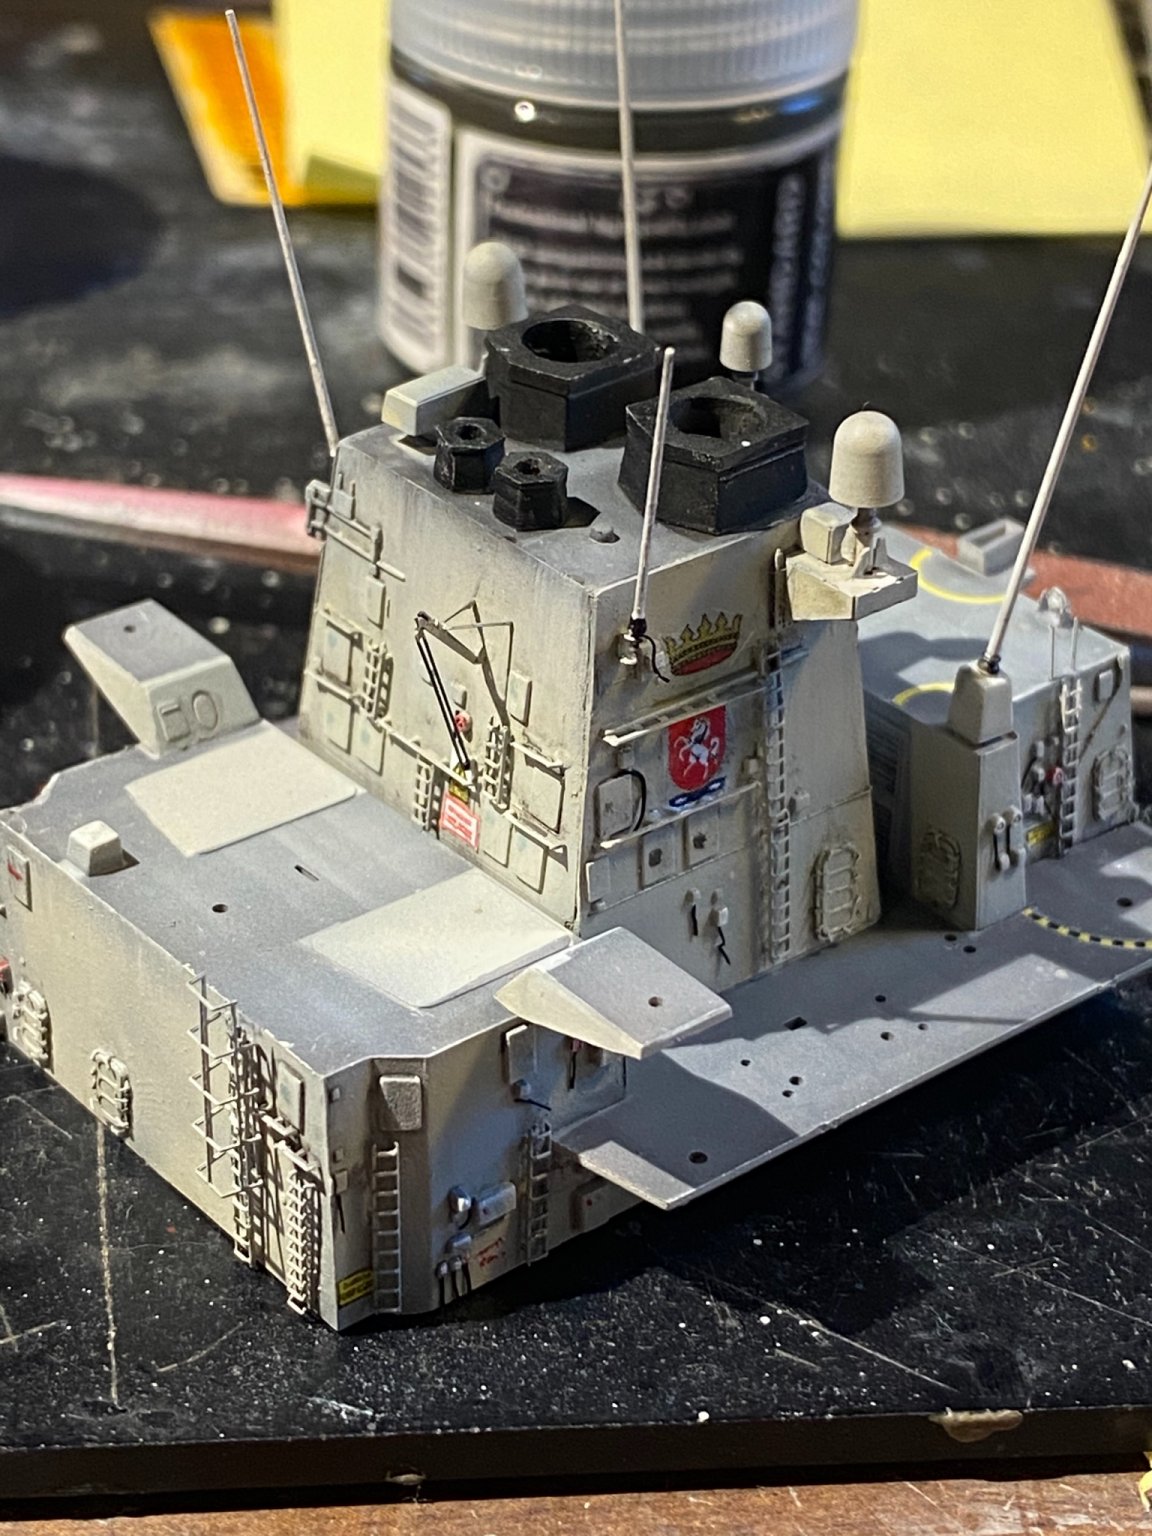
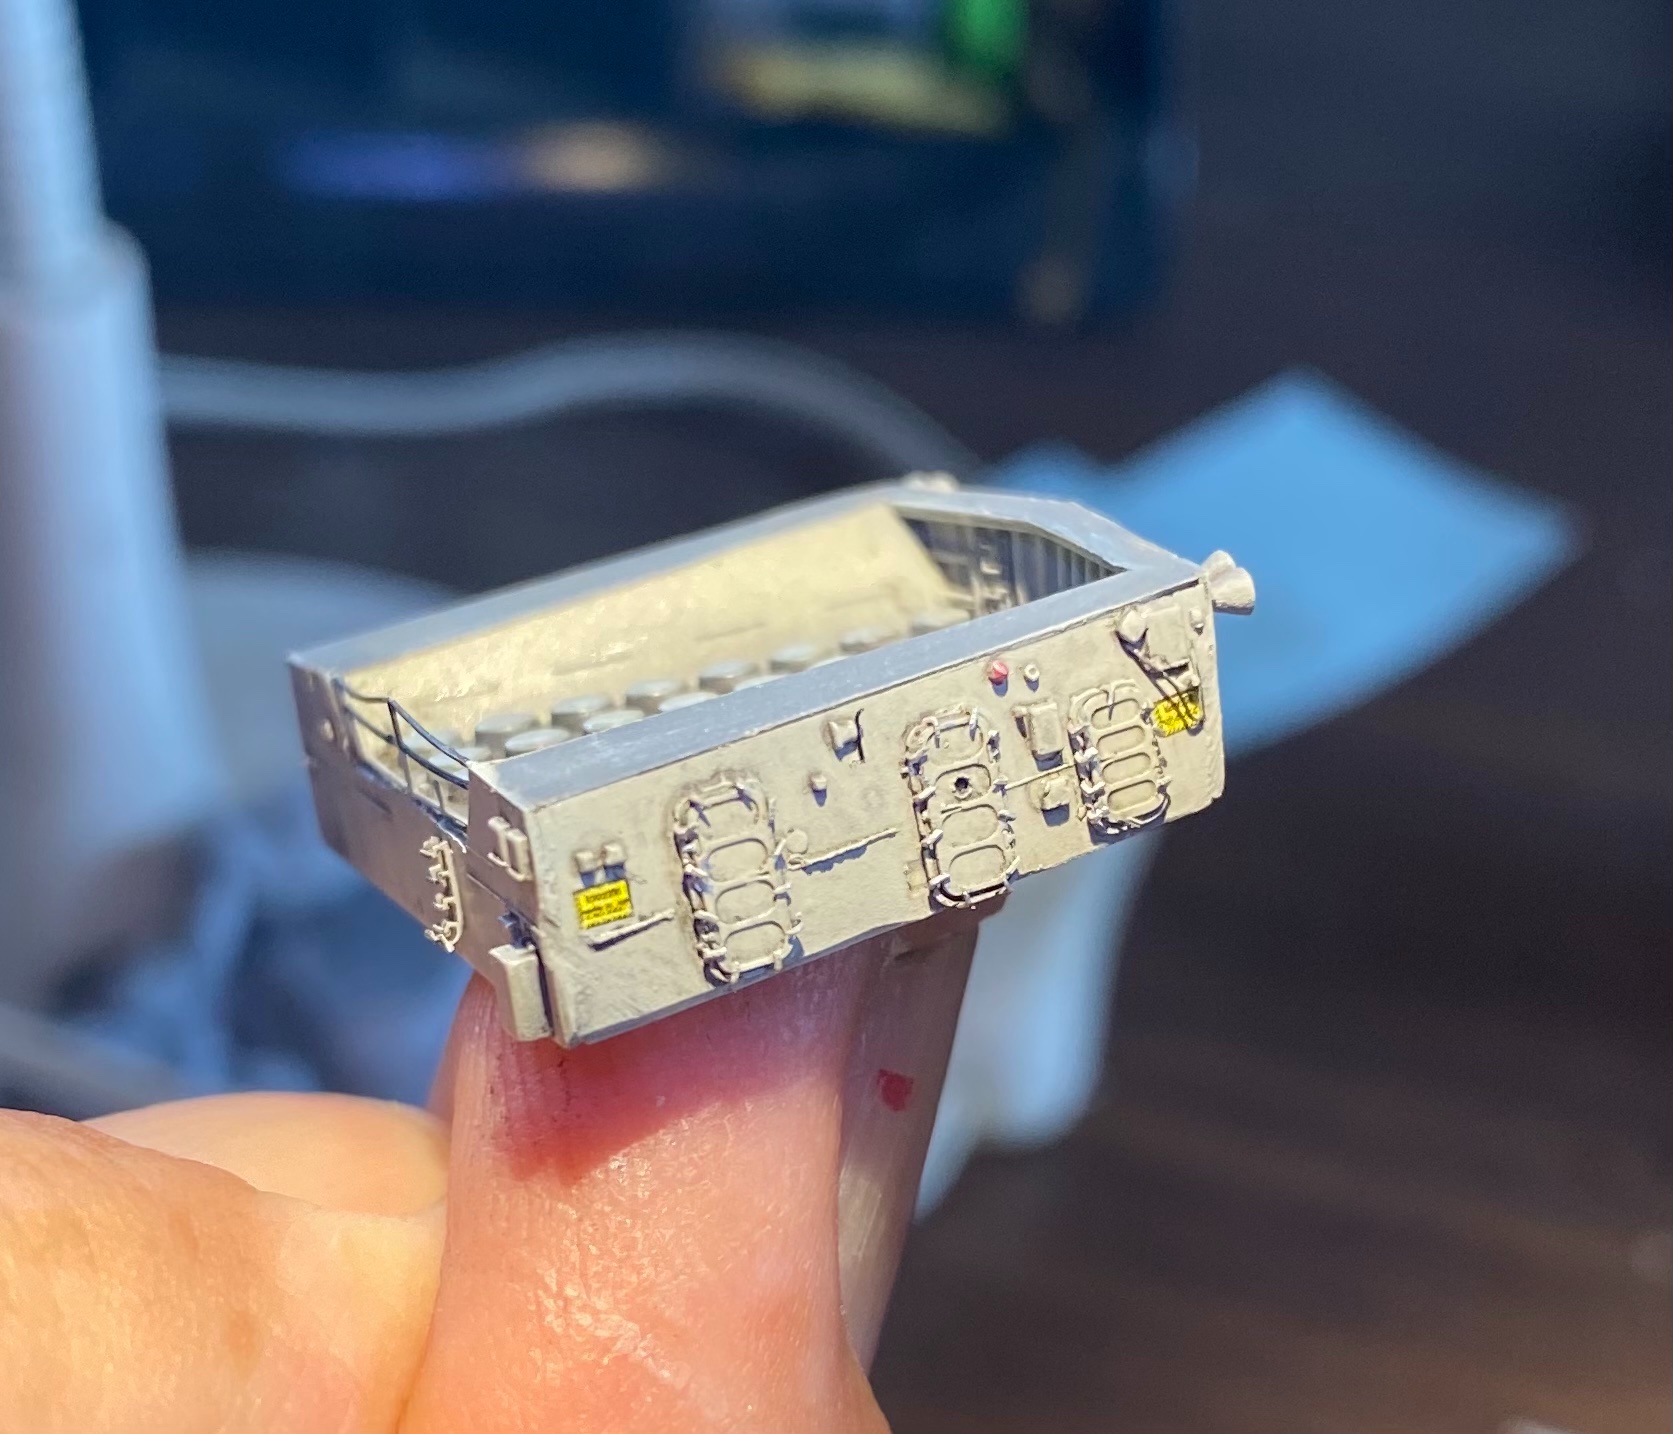
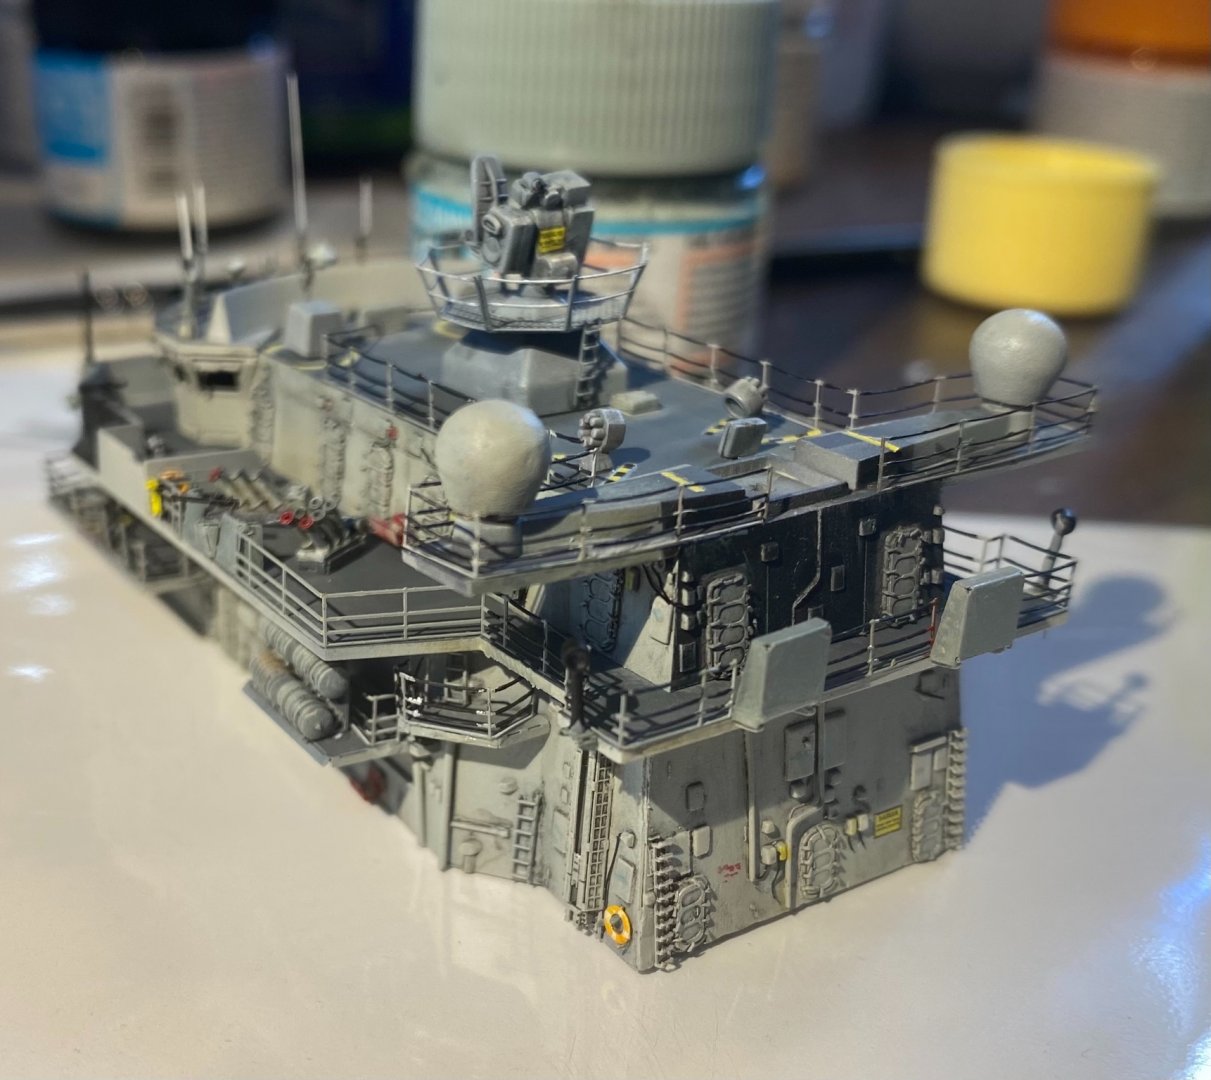
With open source Facebook, Instagram and the internet’s, lots of source material for. A modern ship . This upgrade gets a bit overwhelming as there is so much detail required in a small area.
-
Fair but if work required on the bridge section, I still need to work the arials a bit.


- 210 replies
-
- 13
-
-
kit review USS Missouri (or any Iowa class) 1/350 by Joy Yard
RGL replied to Tigerdvr's topic in REVIEWS: Model kits
Stick on deck full stop. These decks were holy stoned to death anyways so there was no grain. I suggest you scrape the internal ledge down so the deck sits below the gunnels and not above. The pre chewed decals are ok if left alone but if you want to weather them you could paint them and weather afterwards using stains or washes to bring out the individual planks. Doing your own deck in this scale would be a nightmare unless you are very good then happy to learn!