


Steve 12345
-
Posts
438 -
Joined
-
Last visited
Content Type
Profiles
Forums
Gallery
Events
Posts posted by Steve 12345
-
-
-
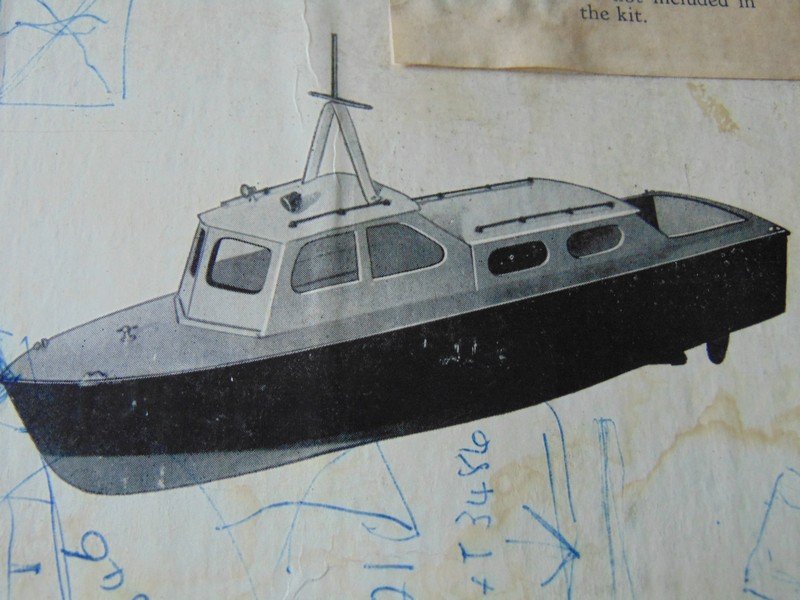
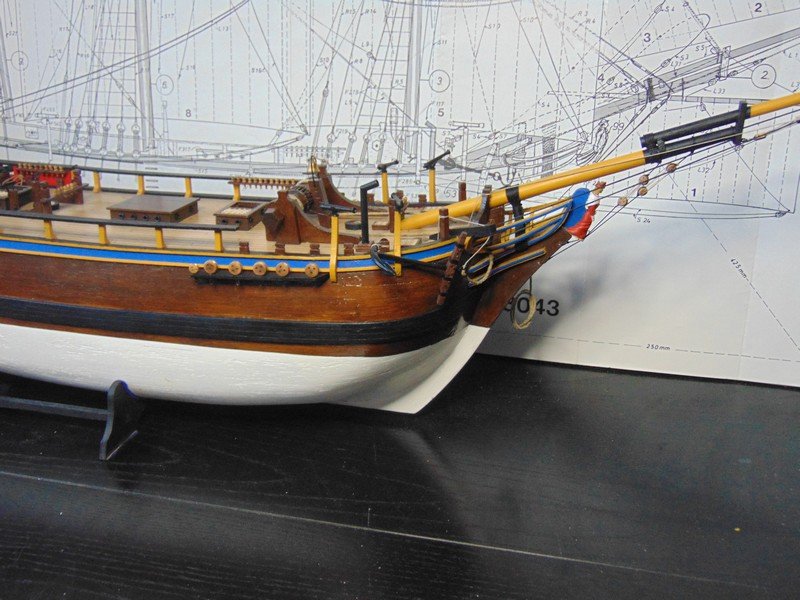
Hello all and welcome to my log of the Fast Patrol Launch I picked this kit up second hand it is a very old kit I believe to be from the seventies possible even the sixties
it was produced by aerokits and distributed by keilkraft
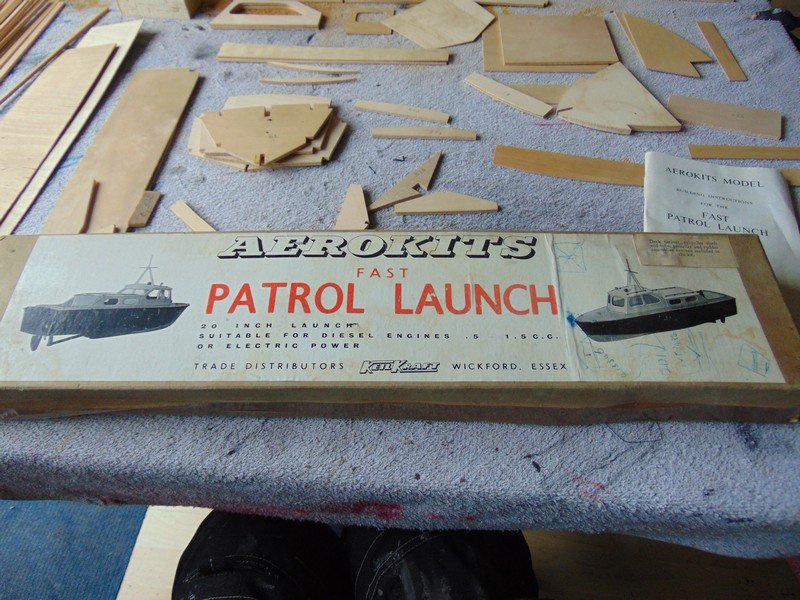
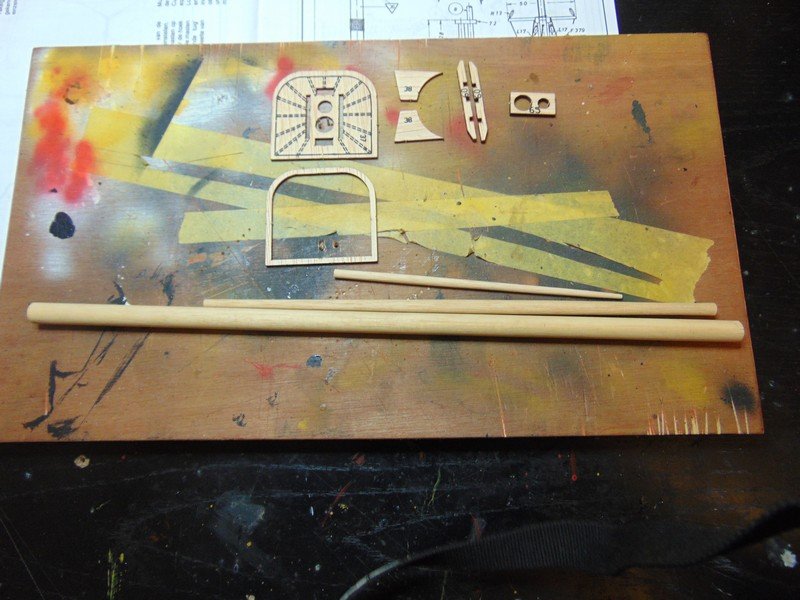
and some pictures of the contents really not much to this little kit and all seems to be present
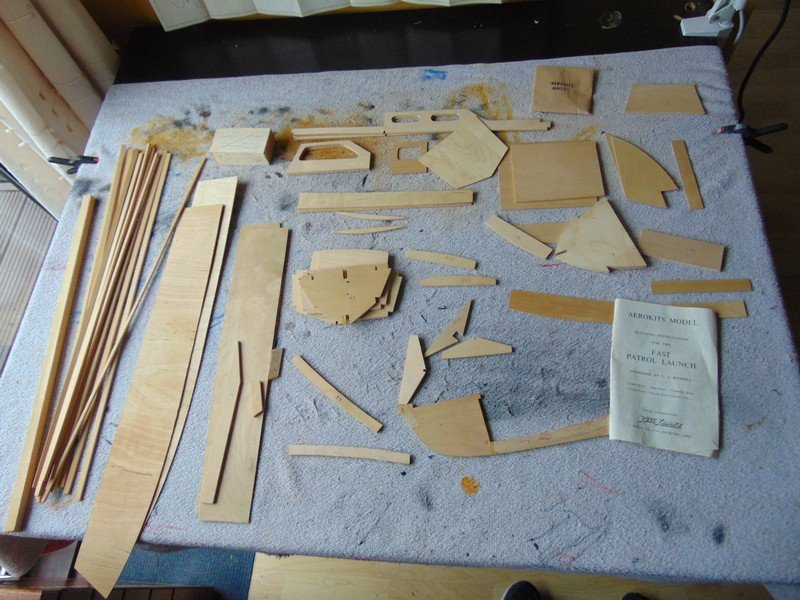
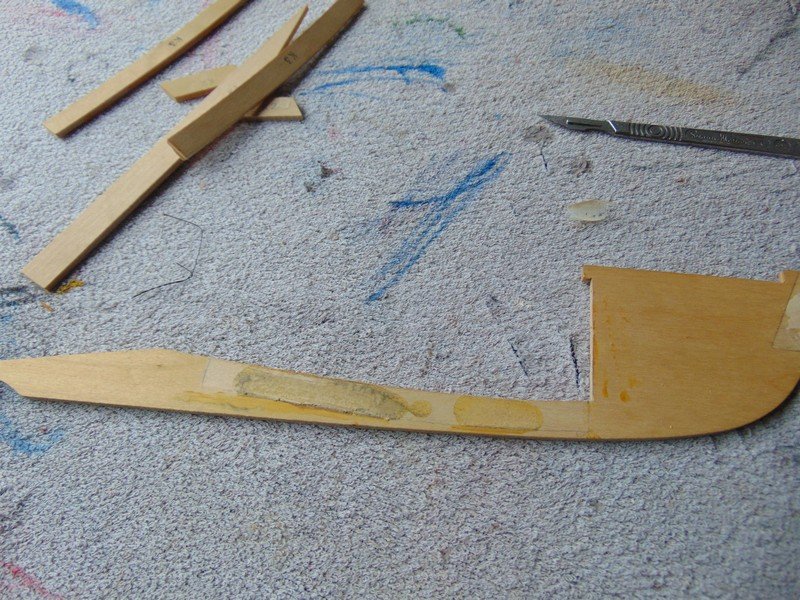
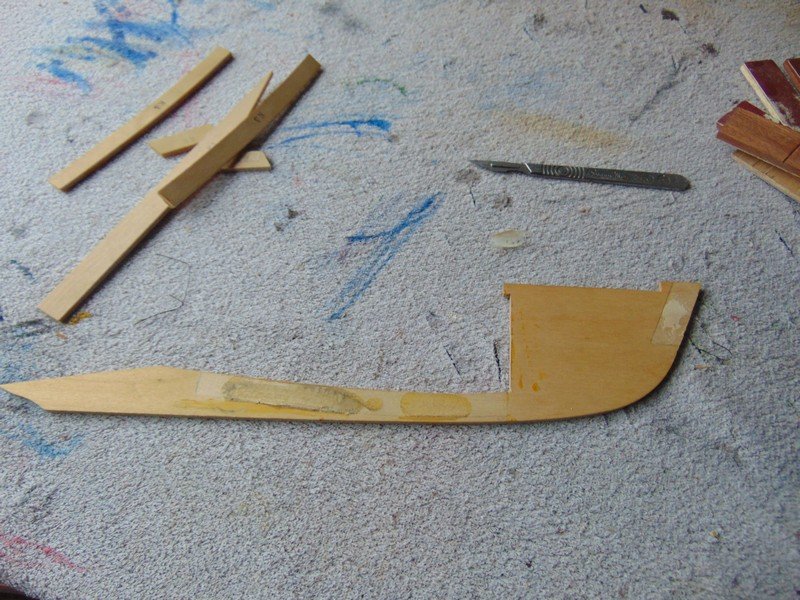
the previous owner had glued on four pieces before giving up two of these where cut to the wrong size and the other two glued on in the wrong place
so I removed those to have a fresh start
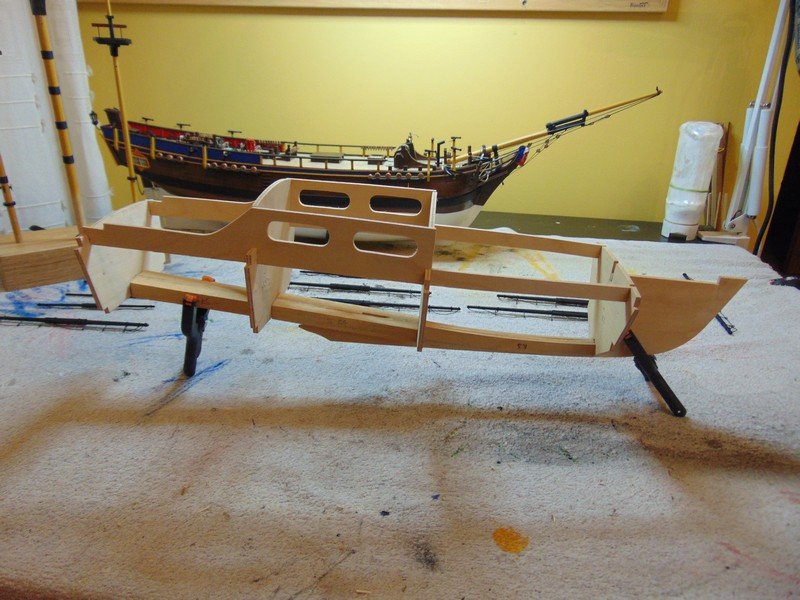
here is a few pics to kick things off with the keel built and some of the framing dry fitted
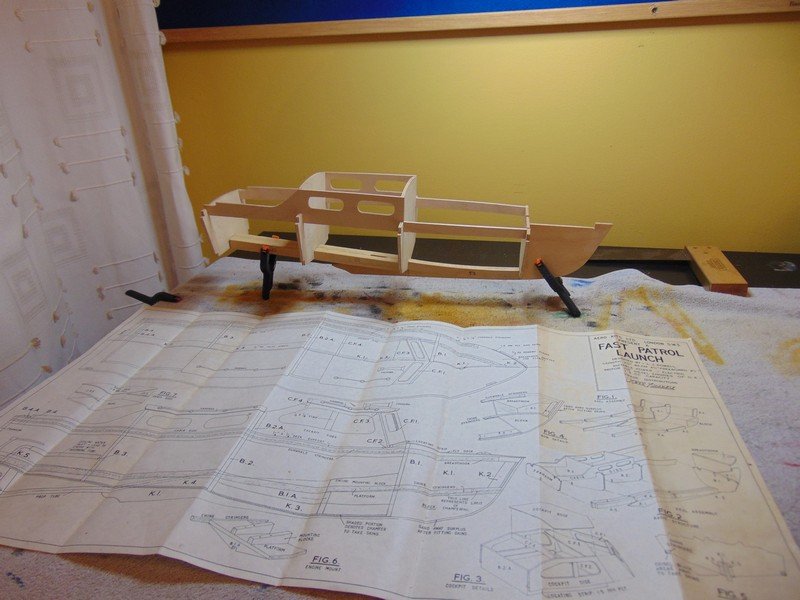
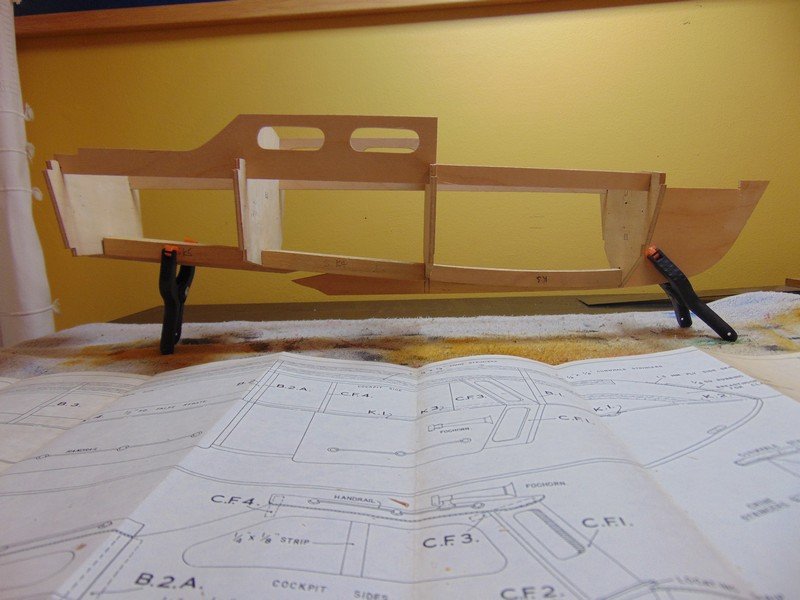
the kit certainly smells like it has lied in an attic/roofspace for a long time after working at it for a few hrs I can almost taste the horrible damp roofspace smell but once I get the frame on a bit a few coats of sand and seal will freshen it up,the plywood is in surpisenly good condition and seems bendable without cracking and hasent dried out at all
My intensions with this boat is to produce a display piece adding lots of hardwood and some pretty inlay work finished off with a super shiny polished surfice so call in and check on her once in a while to see that carried out
thanks for viewing
steve
-
Hello all
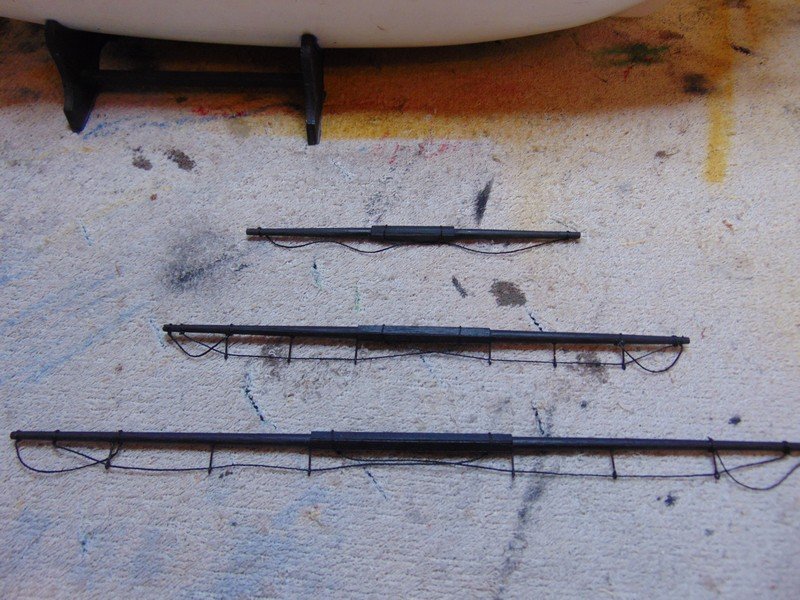
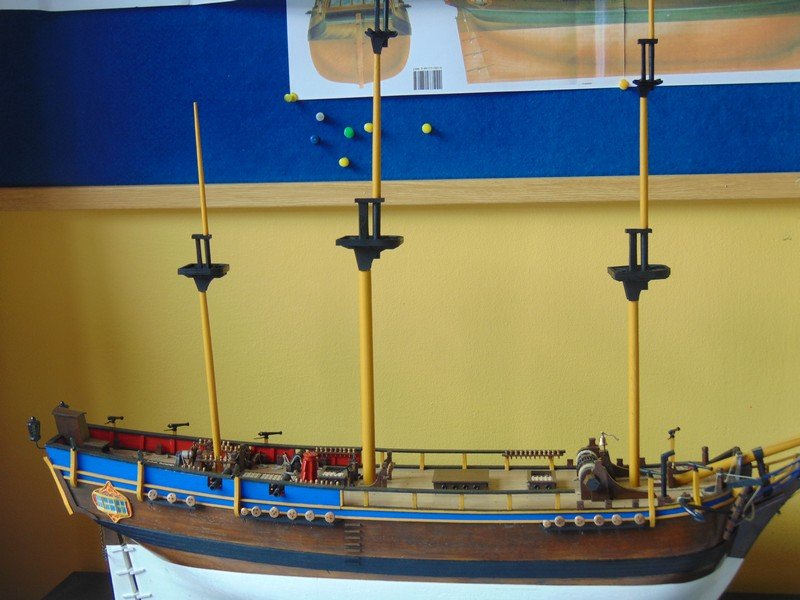
not much to report on the bounty finished the yard arms and footropes and added a handraill to each mast
I ordered all new walnut blocks for the rigging a ships boat and various other items last Tuesday but they have only been dispatched today due to some of the blocks not being in stock
so it may be mon tues before I get them I could if I was really impatient set the foremast in and begin shrouds however I would rather wait for the blocks and rig as many on to the masts and yards as possible before starting the standing rigging.
in the mean time im playing about with a kit I got second hand just in the process of starting a log on that after this post

-
Power tools can be dangerous to the model ray id stick to hand sanding
- Heronguy and Ulises Victoria
-
 2
2
-
Best of luck with your victory it is an ambitious build but is certainly achievable,my own first build was also a victory I am now on my third build and my only regret now is I've learnt so much I wish I would have held off on the big kit and be building it now using the techniques I've now learned,I'm still happy with my victory and very proud of it as a first build these kits can be pretty expensive and I think that helped being a first build I was very dertermined to finish and not waste all that money ,your in for a long haul with this one and it will be interesting to follow along
cheers
steve
-
Looking good Nigel you have a full hull to work with now the next options are limetless you could begin deck furniture ,masts ,painting what ever tickles your fancy regards paint if you want to paint her ,as you already know I think white for below the waterline it prob should be more of a cream colour but hey unless your going for a full whethered effect which is beyond my advice I would opt for white .
just to help the paints I use are Vallejo airbrush paints not always nesaceraly sprayed on a lot of the time just painted on once again looking good I enjoy following your build
thanks
steve
- Tallshiptragic, leginseel and Eddie
-
3
-
looks like a fantastic kit maturin52 be careful with that sternpost looks from the pictures its gonna need a bit of a repair
-
Hi frankie can you post some closeup pictures of your sails when you get them back from the seemstres I gotta send my bounty sails out to get stitched but I am not sure what way to ask for them to be done
-
Thanks Keith I've been thinking about where to start my shourds I'm not sure about your billings victory but with the billings bounty the drawing gives you a measurement out from the keel then another to the foremast giving you the correct angle of the foremast then measurements to the main and from main to mizzen ,I have the bowsprit pretty well tensioned down so was considering putting up a temp forward stay from the foremast and beginning my shrouds from there but I'm open to all and any input I can see your theory in starting at the mizzen interested to hear from others
thanks
steve
-
HI Ca not sure if it's just me but can't see pictures on either desktop windows computer or smartphone was looking forward to seeing your progress
-
Thanks Blighty and Thanks E J It was actually your log that I stole the idea to compare the ships I did notice a scale jcb digger in the backround in your log it would have been nice if you compared it also
")
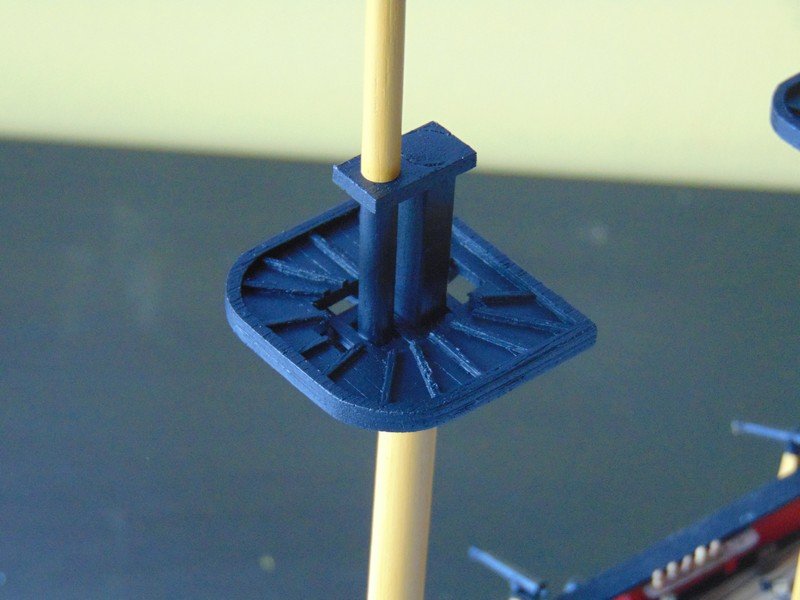
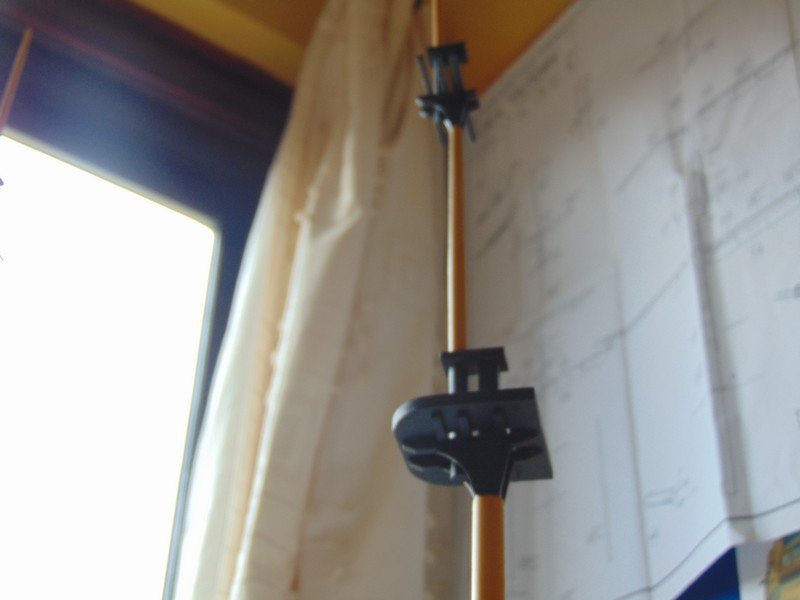
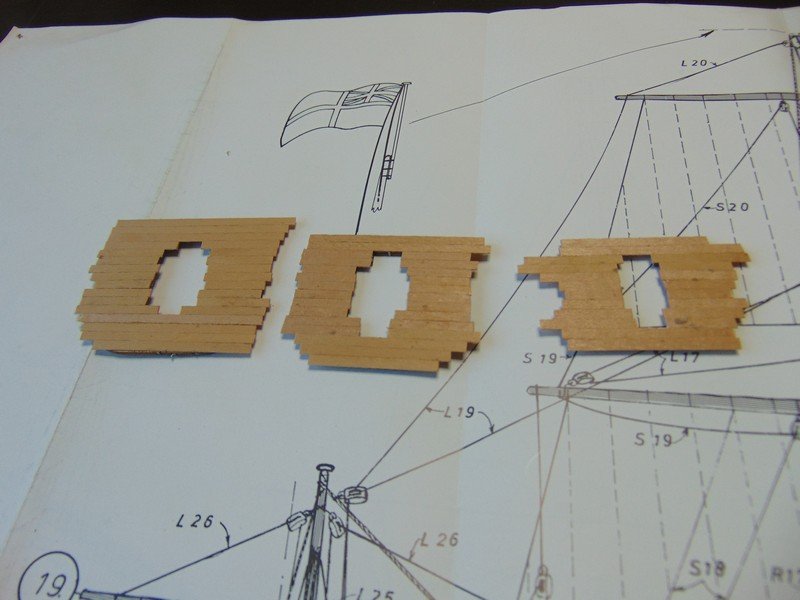
Ive started to detail the masts by adding rope lashings
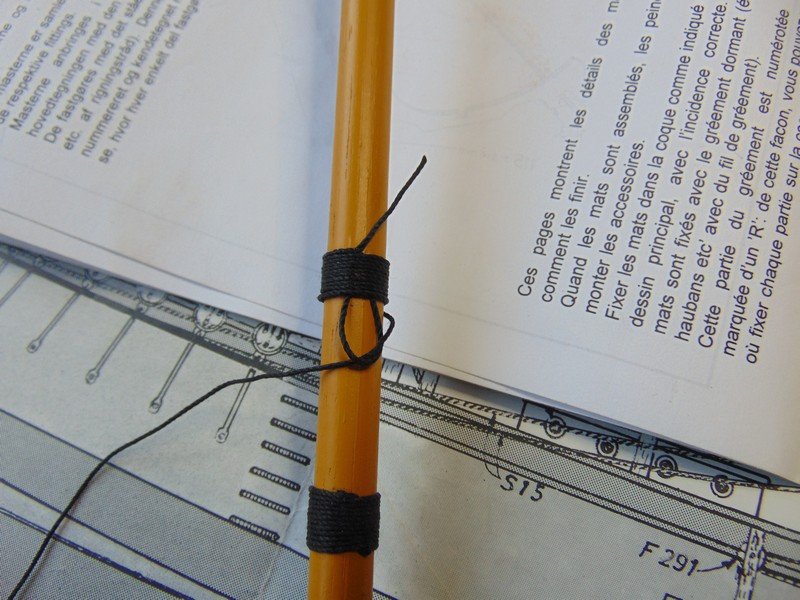
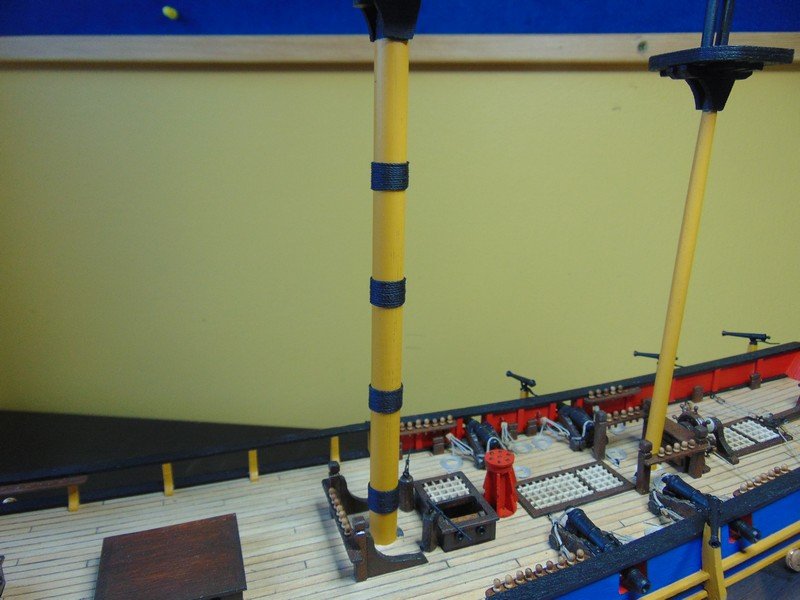
and the yard arms im adding small strips in the center of the masts aprox 1/4 of the full lengh not shown by billings
Im also adding footropes not shown by billings

I see in a lot of logs people asking how the yard arms are attached to the mast I like to use a small 0.8mm brass pin and after running rigging begins and the mast are pulled onto the pin in all directions they will go nowhere
I will continue onward with the rest of the yardarms in the same fashion and hopefully by thurs my order will arrive containing blocks and I can begin to rig the masts and yardarms
thanks for viewing
steve
- petervisser, Jack12477, Heronguy and 9 others
-
12
-
Hello gentlemen and Derek
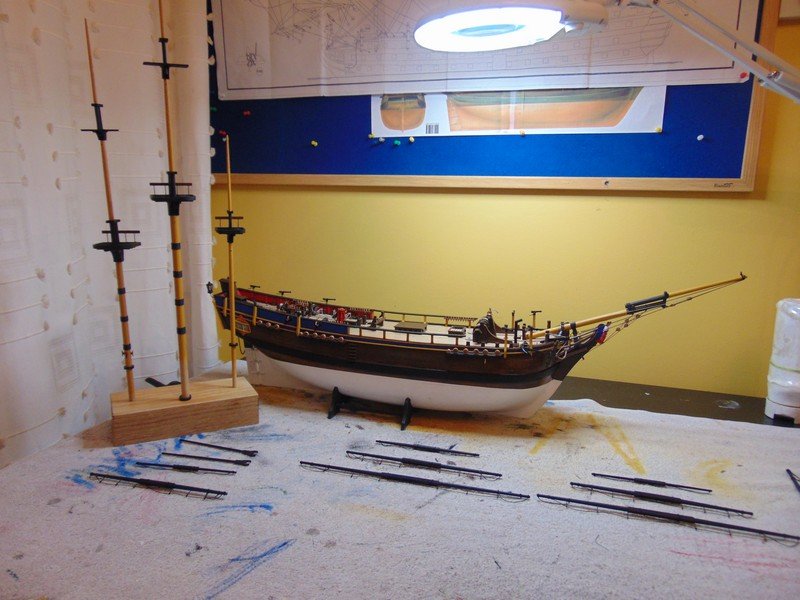
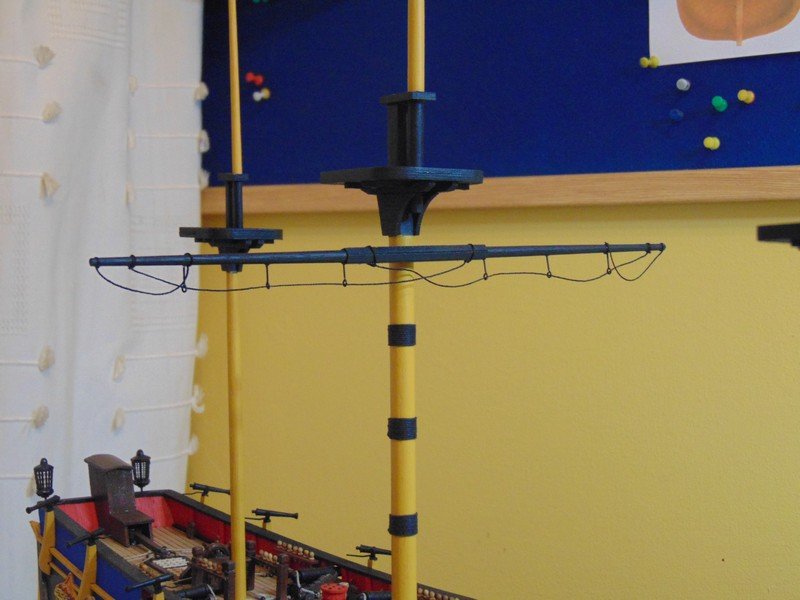
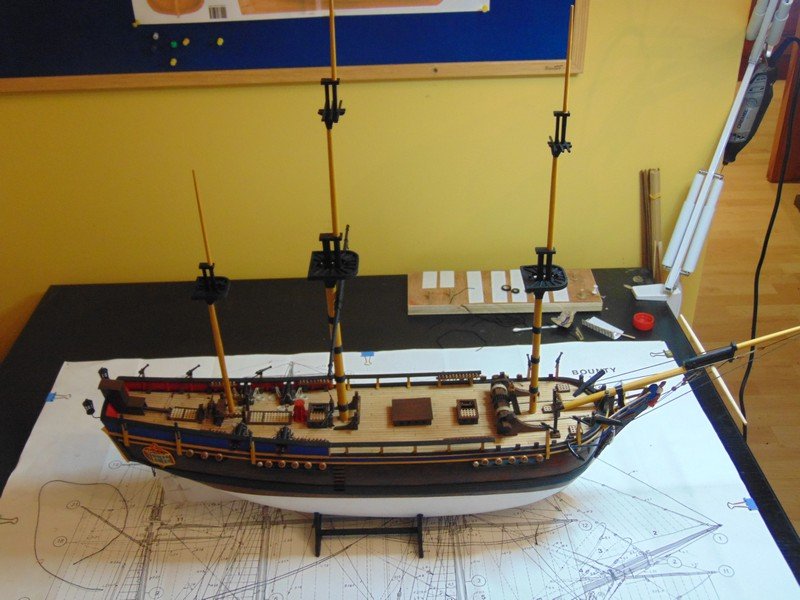
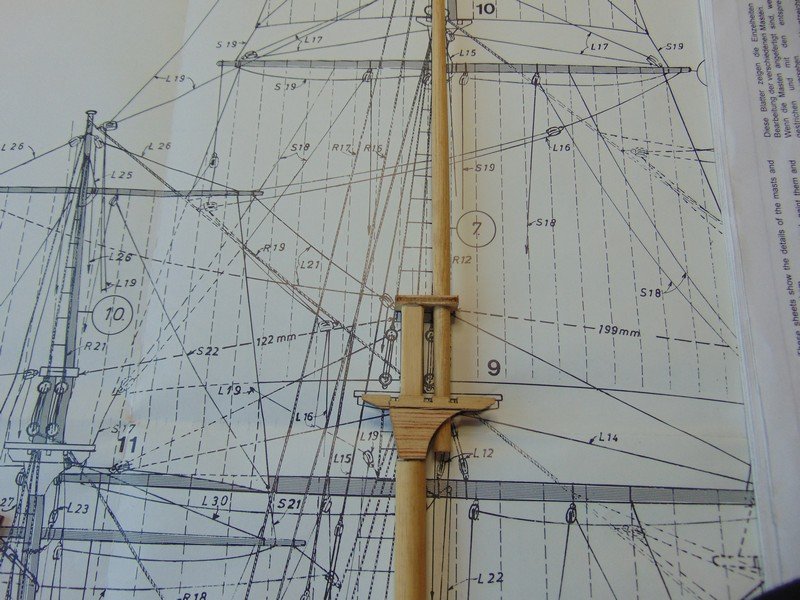
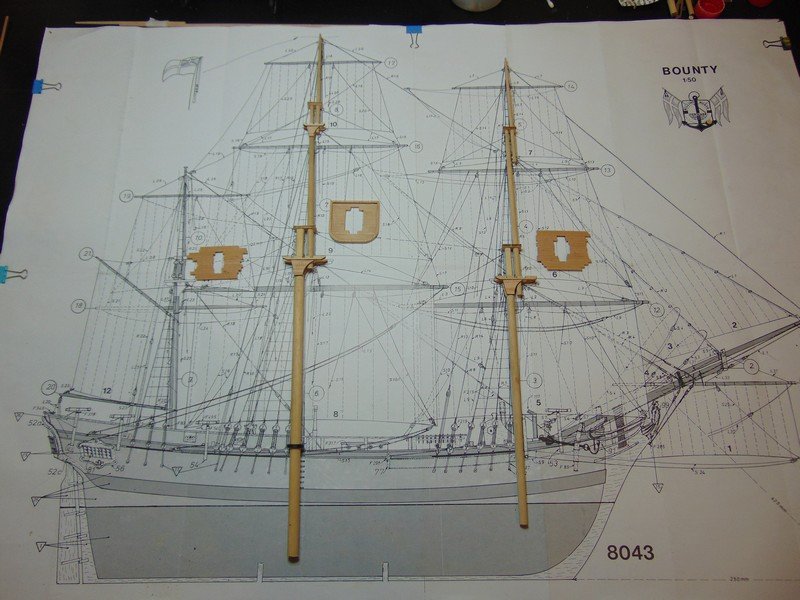
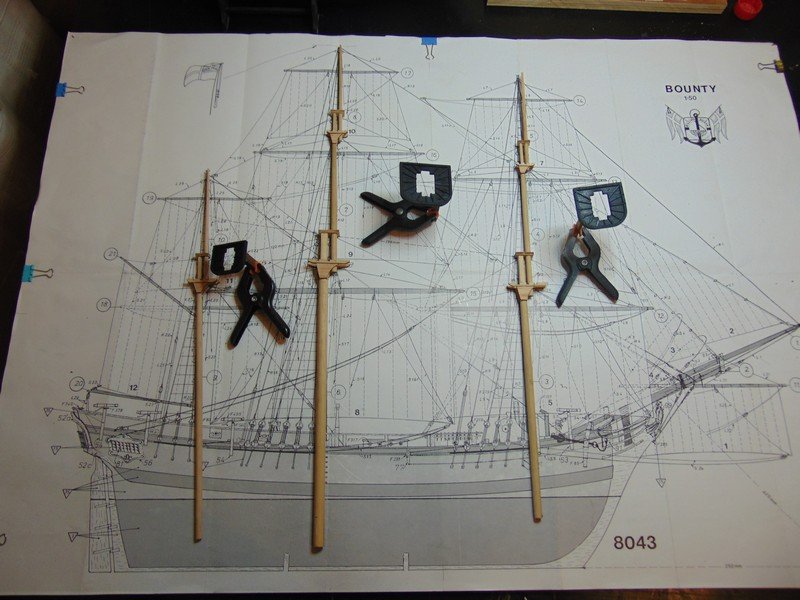
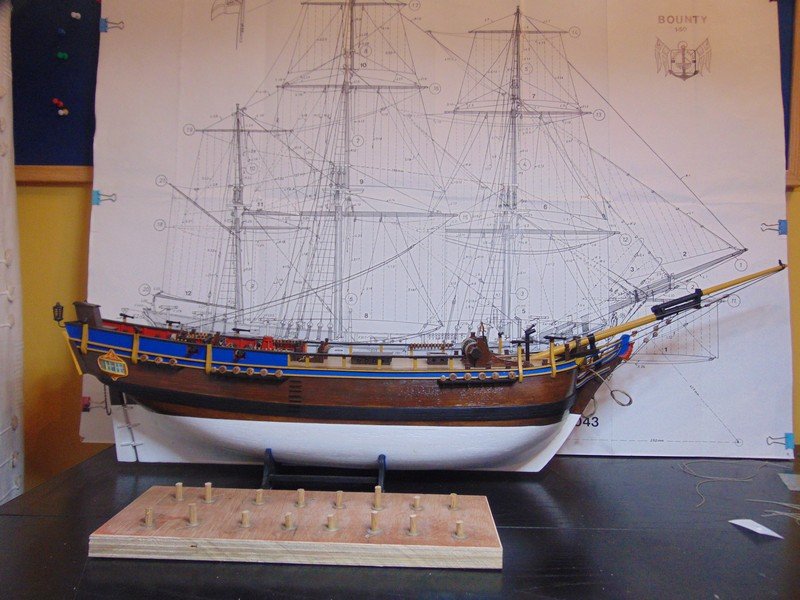
with the mast fighting tops and crosstrees fitted I have applied paint and now started work on the yard arms ,both the masts and yards will be rigged with as many blocks and fittings as possible before I can place them and commence standing rigging.
with the masts set in I can take sizes for a display cabinet and work on it at the same time when I fancy a break and some workshop time.

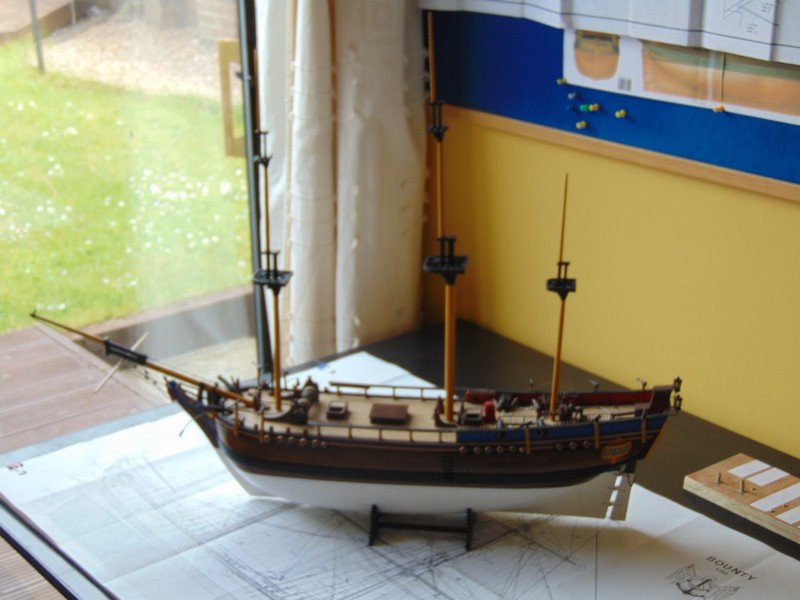
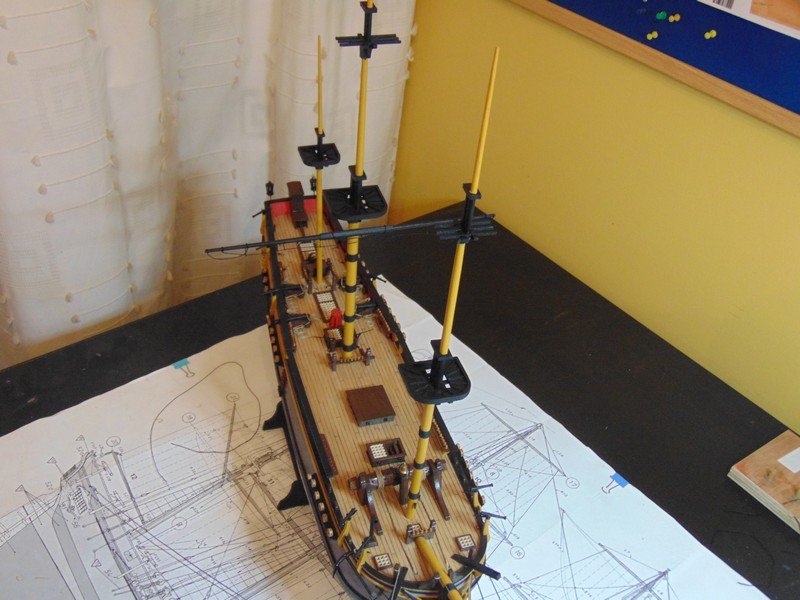
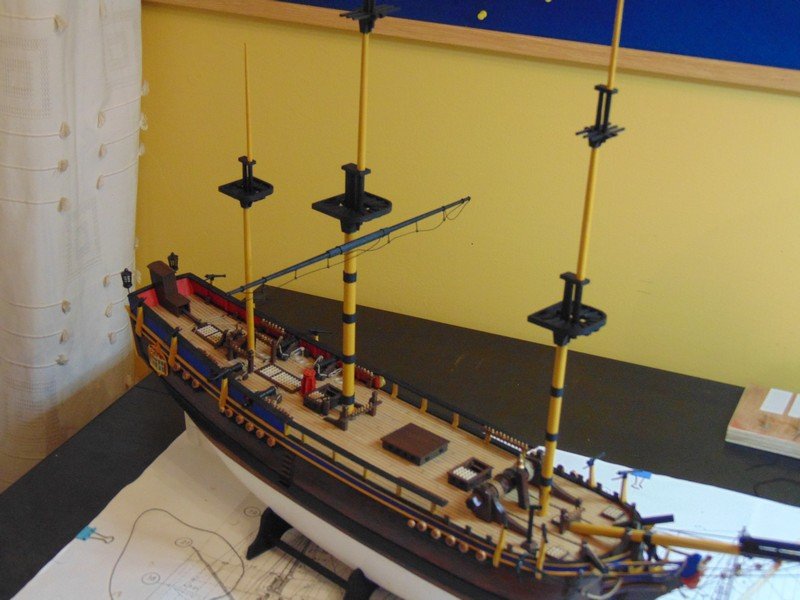
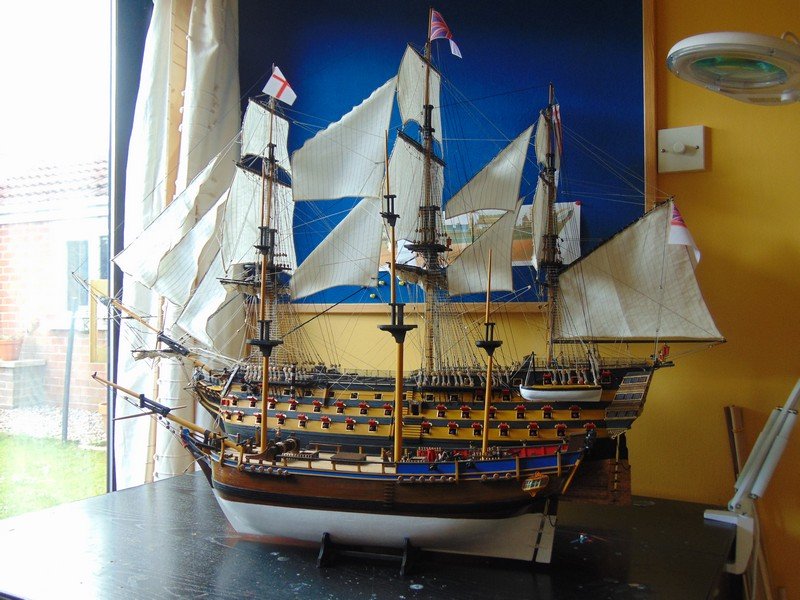
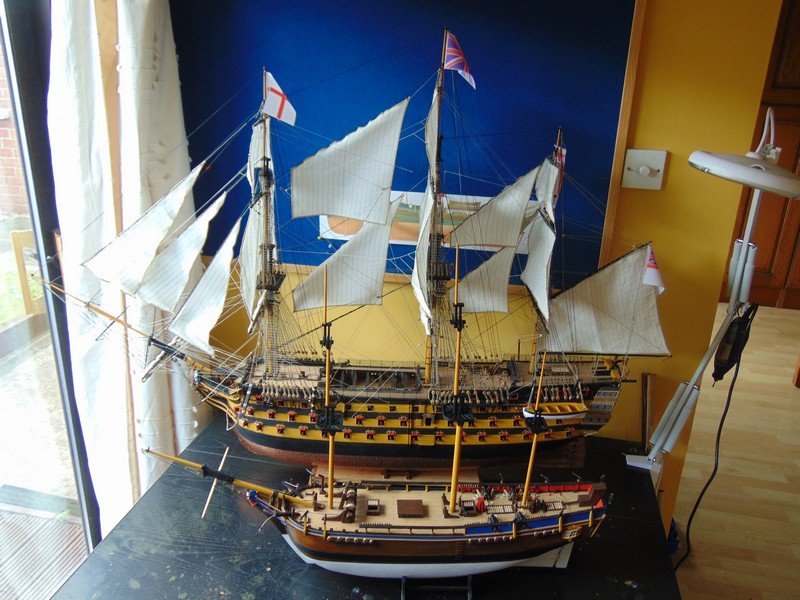
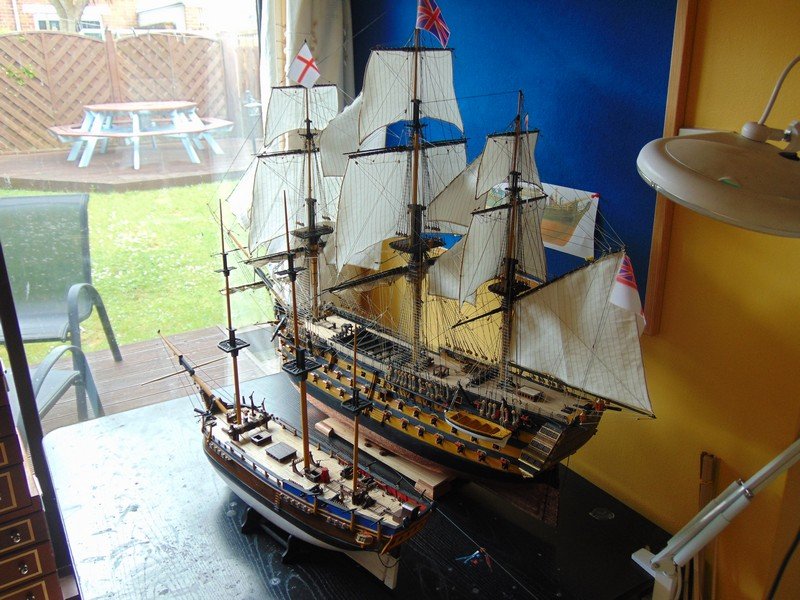
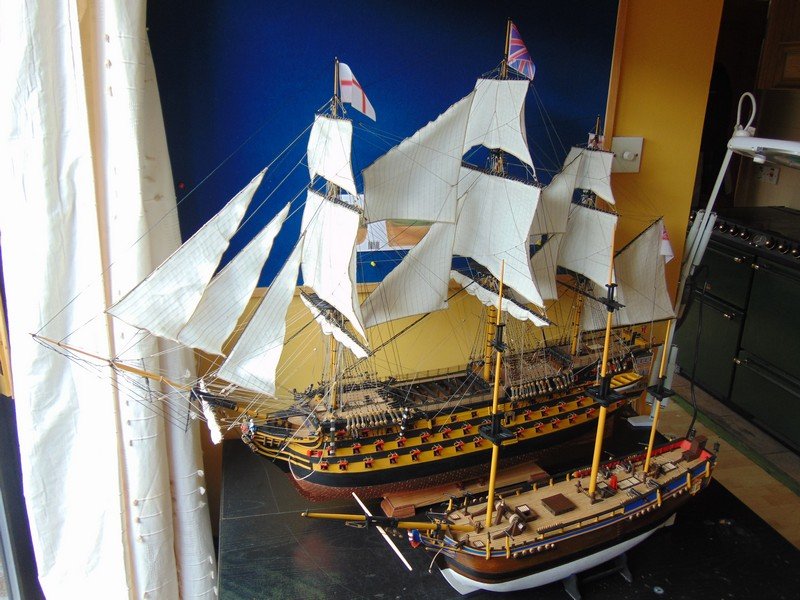
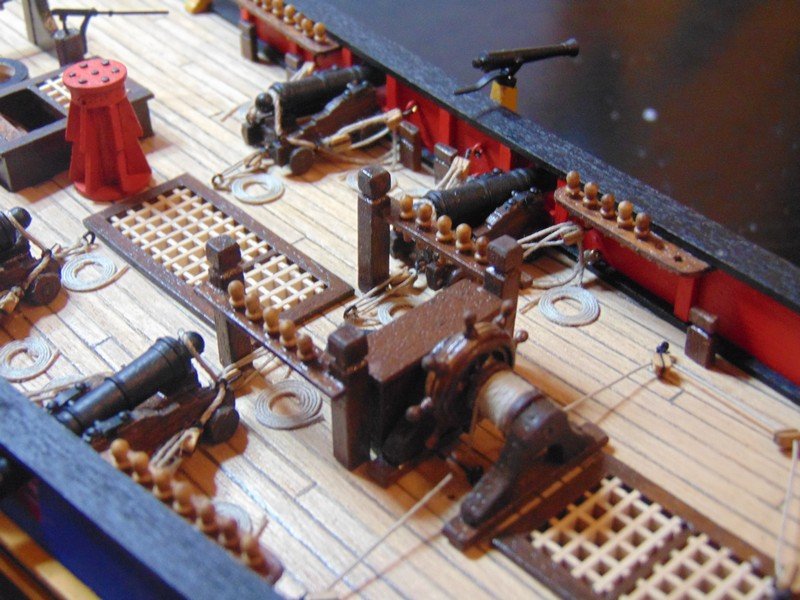
I also took the opportunity to take out the Victory and show the two in comparison ,the victory is 1/78 scale and the Bounty 1/50

-
Thanks Popeye sometimes I just need another person to bounce ideas off and unfortunately none of my friends or family have any interest in my hobby , bit of a coincidence also earlier I caught your update where you where making the small engine and using the fighting top piece from a billings kit for a radiator 🙂
- EJ_L, popeye the sailor and Eddie
-
3
-
Hi Graham regarding the final plates at the top how do you intend to cut them ? do you intend to add the final plates one at a time pre cut ? my panart version used similar looking plates they where .15 thick I believe. I plated from keel up and let the plates take there own course I drew on the waterline and just plated up over it then re done the waterline onto the copper and took a scappel and very carfully cut to the waterline all beit it took about a dozen blades and a steady hand ,or if you want a straight line of plates at the top drop your waterline down by the thickness of the plate .I opted out of the straight line of plates at the top I comment this because I found it very hard to hold the small plates and precut them hope this helps or gives you something to consider
kind regards
steve
-
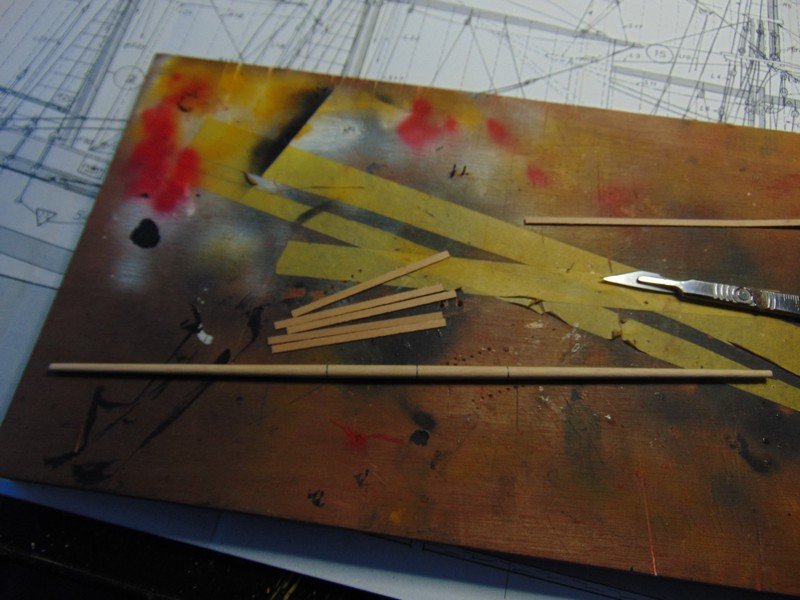
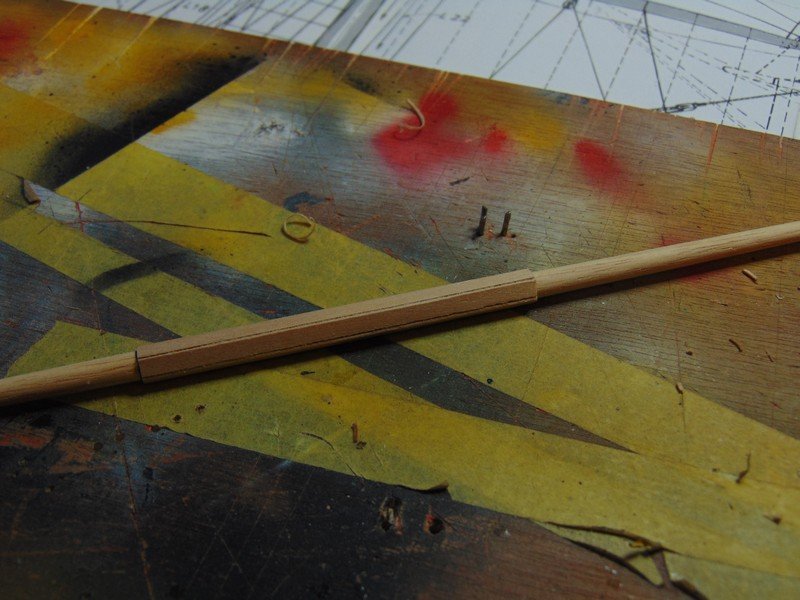
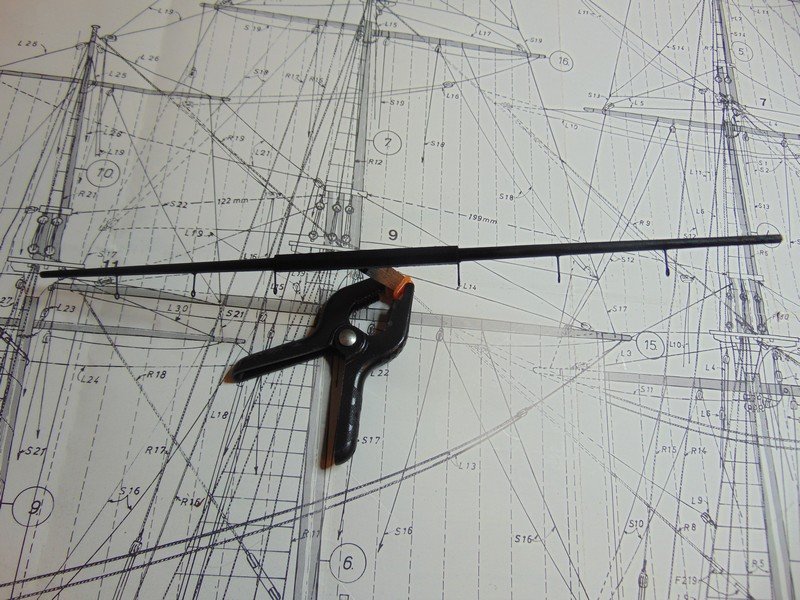
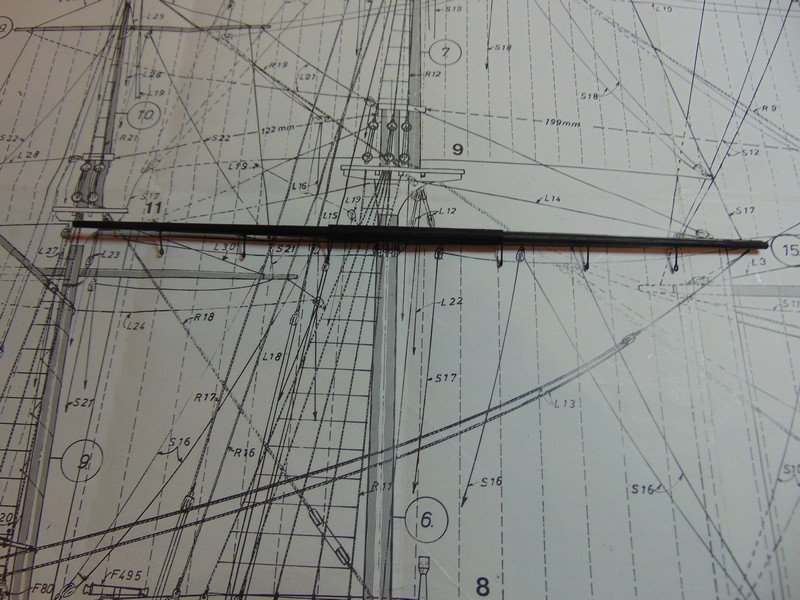
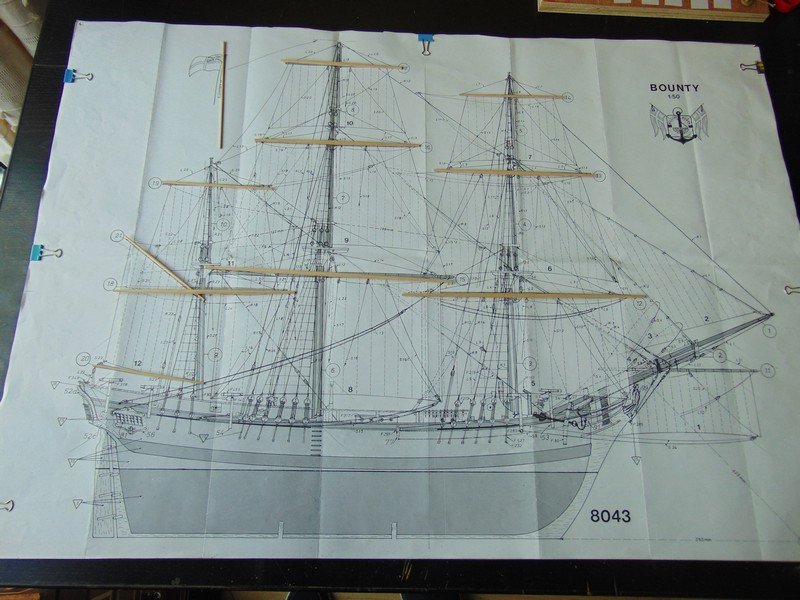
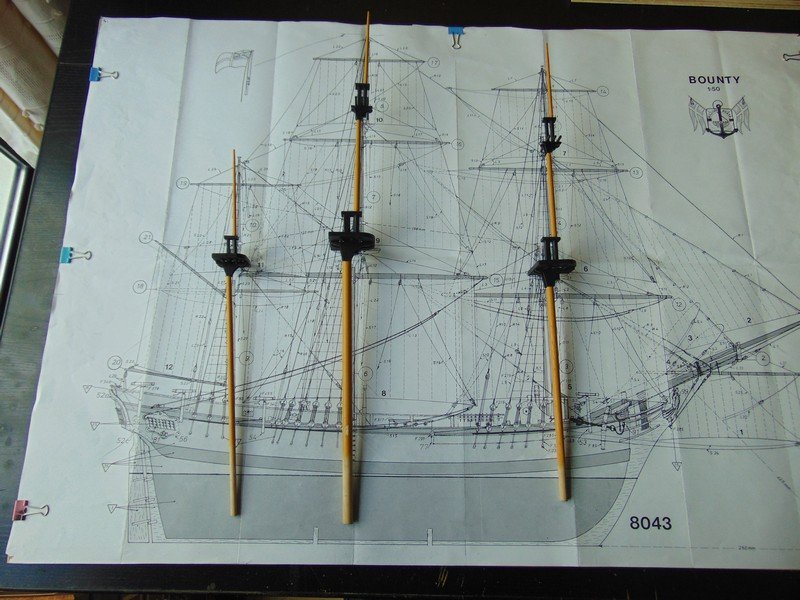
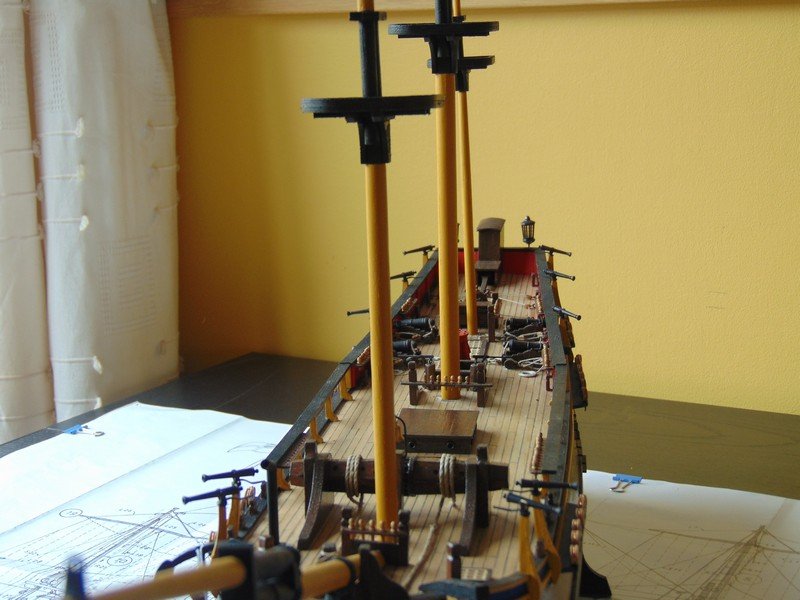
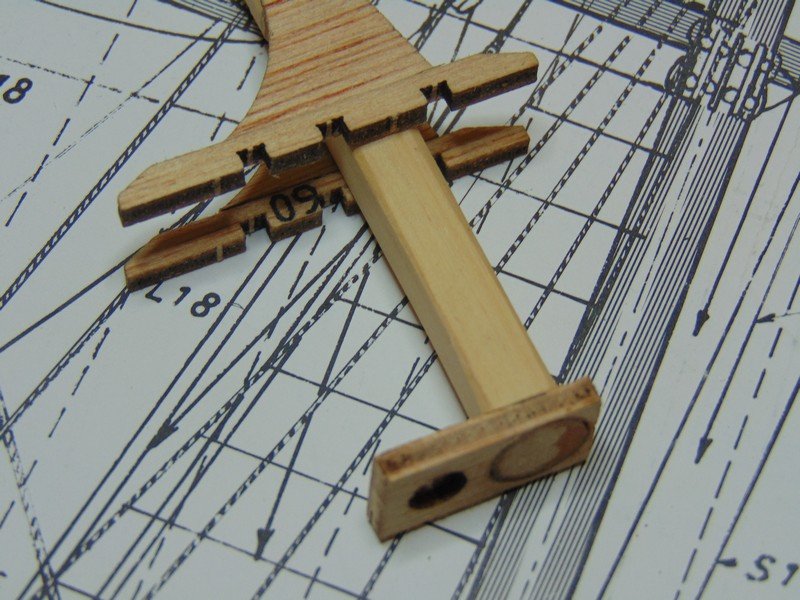
Hello all work started on the masts there wont be to much scratch stuff in this department I simply don't have enough knowledge of tall ships in real life,so I will mostly go as the kit intended
,I did square the top of the mast billings doesent show this but I learnt this from my panart kit and there is a few other small things I will add along the way.
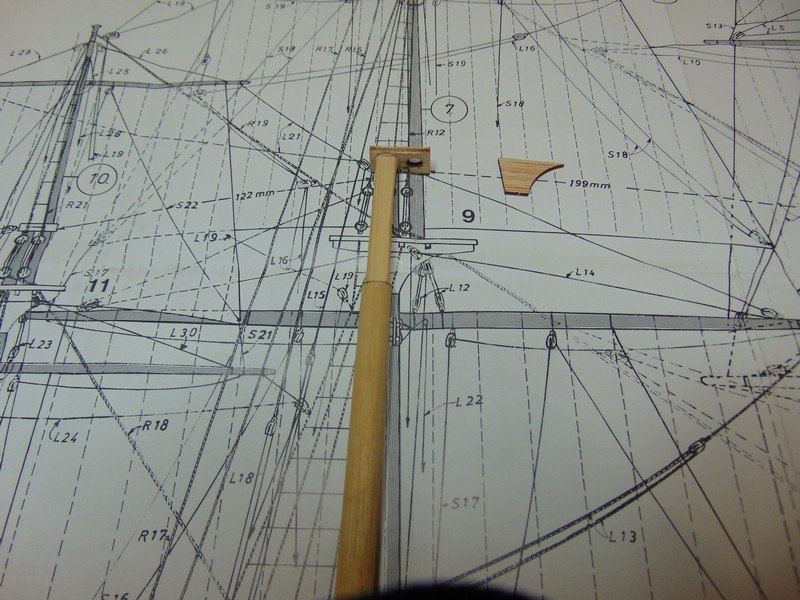


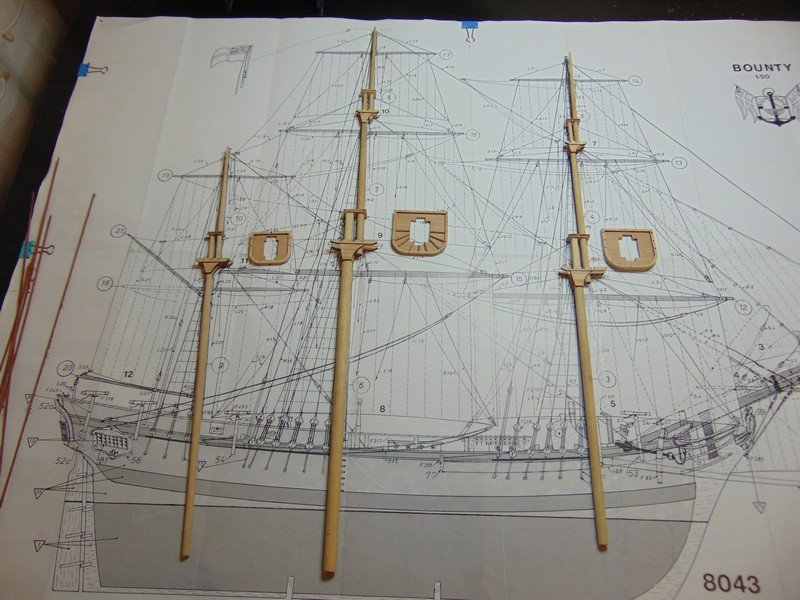
its real nice to have a full size plan to work off ,in my previous panart kit the masts where so big the drawing was showed in 75% size which meant I spent a lot of time using a calculater
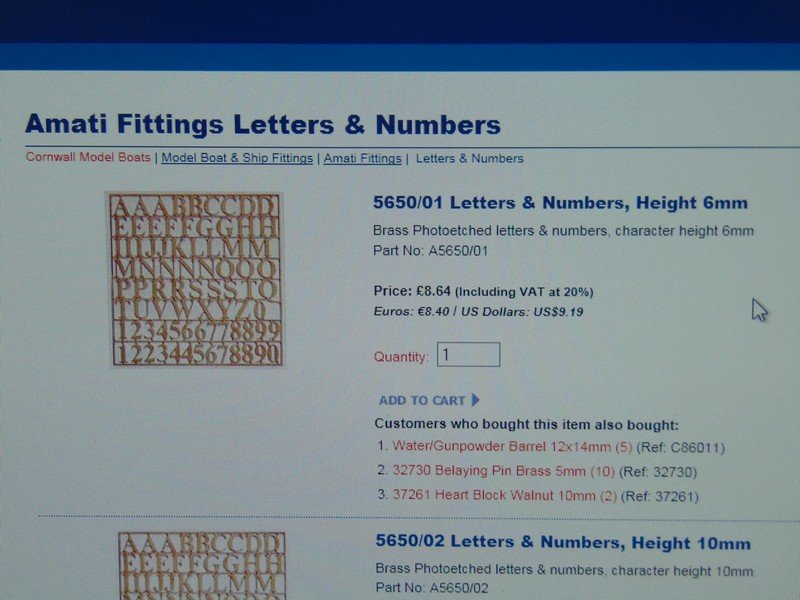
some advice please guys I am currently making up an order for cornwall model ships to replace my blocks with walnut in preparation to rigging and came across a possible alternative for the decal paper I found some photo etched letters six mm high perfect for my transom its a bit expensive for what it is but it would cost me that anyway for decal paper whats your thoughts guys
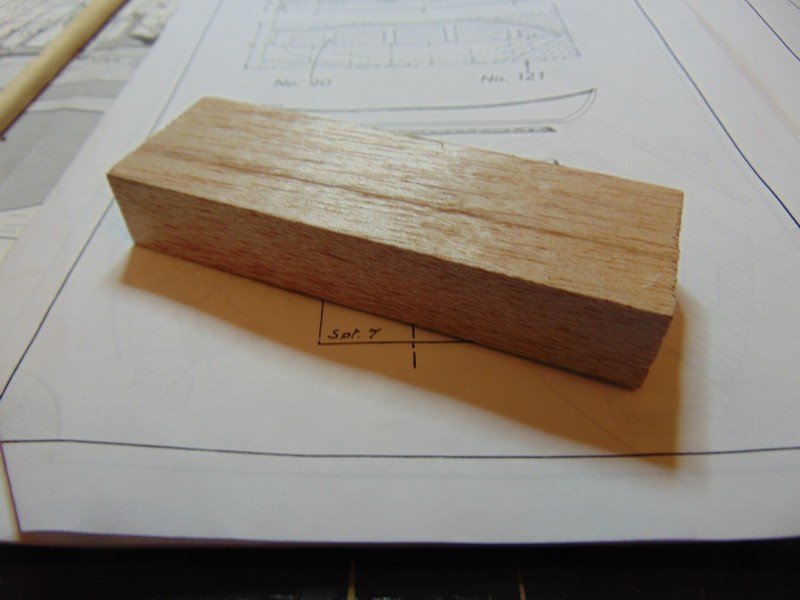
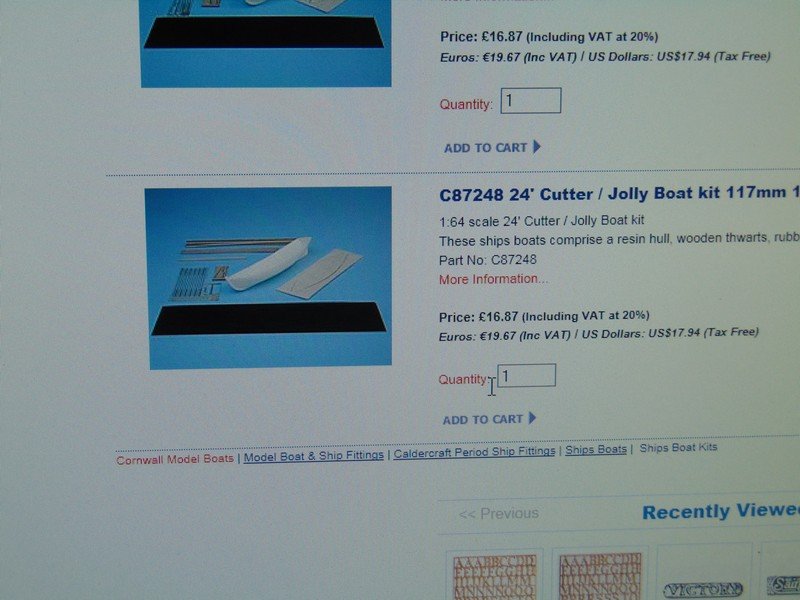
the next thing is the ships boat this is what billings offers yes its a block of wood
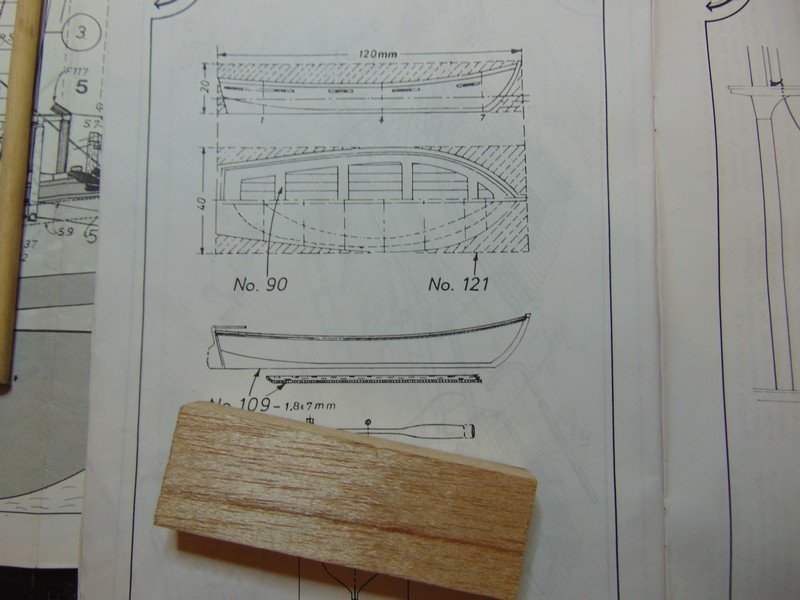
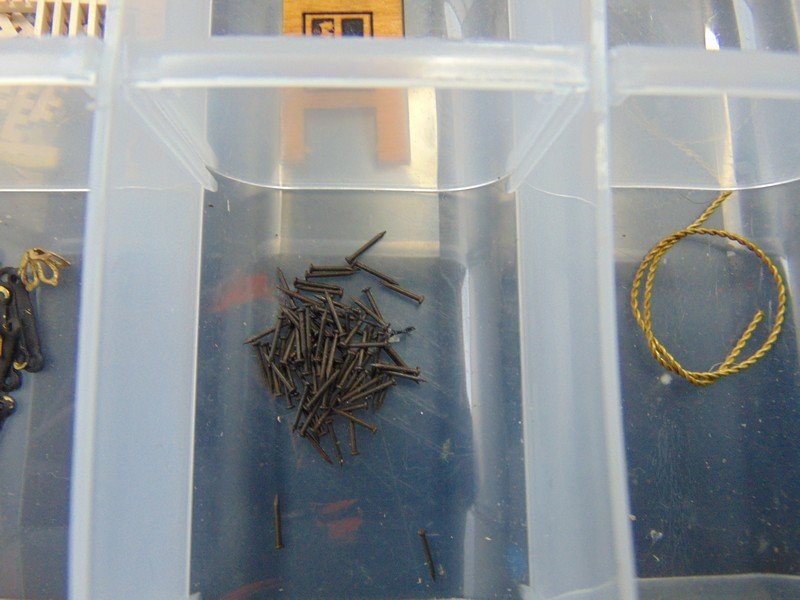
I came across this little kit on cornwall model ships has anyone used something like this before I cant see from there photo if they have a clinker effect and does anyone that used them find they painted up nice this one is the wrong scale but its that same size as what billings wants me to carve from the block of wood it also comes with oars and grapple hook which is nice
-
thanks derek i must try harder 🎣
- popeye the sailor, Blighty and Eddie
-
3
-
-
-
Thank you Nigel for the kind words I don't consider my bounty as anywhere near 100 percent accurate but I like to think it is instantly regoniseable as the bounty and anyone that knows the bounty will reconise most features on board . I'm truly honoured that others enjoy following and can actually Benefit from something I have done ,I think it is important to understand no matter what manufacturers kit you are building you have to understand just because they decided to do something a particular way doesn't make it right ,other sources are very important such as the john mckay book thanks again for following Nigel and the overly kind comments I look forward to seeing progress on your own bounty and urge any others members to check in on it and offer any advice that could benefit
-
Good luck hope that works out for you will follow with interest
-
-
-
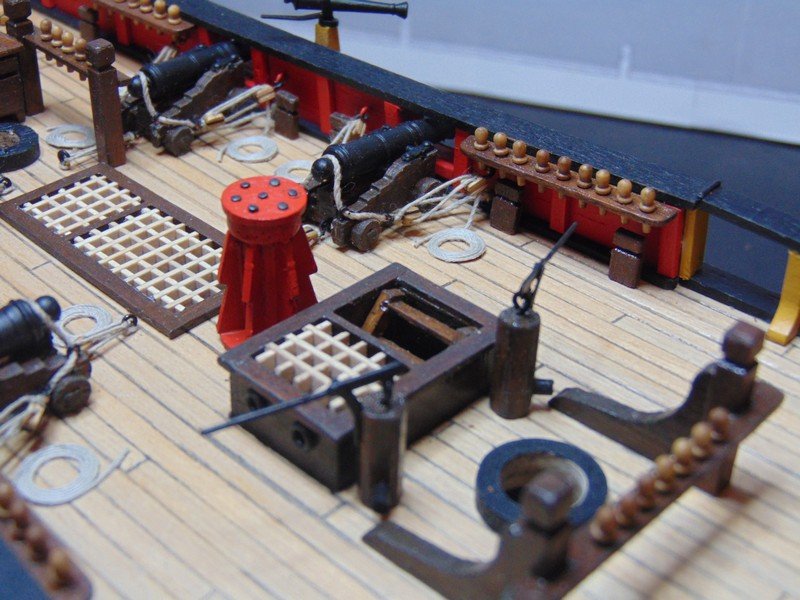
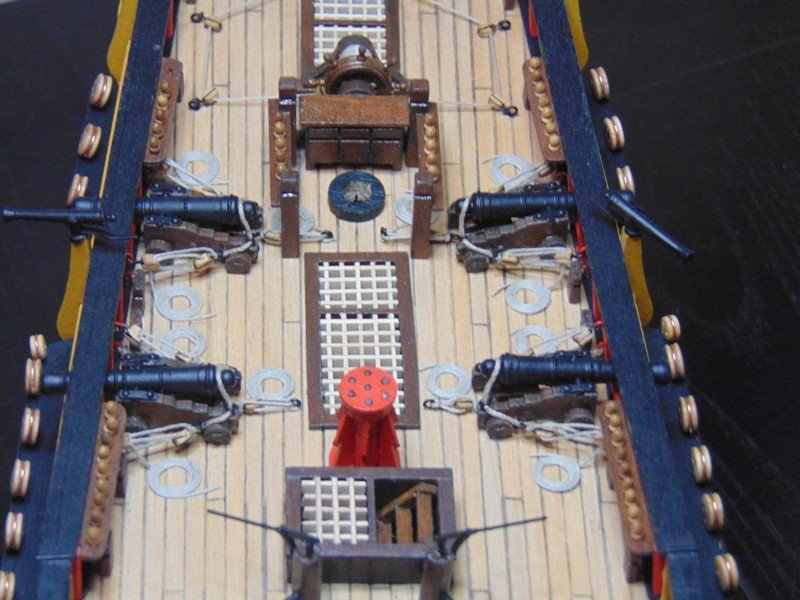
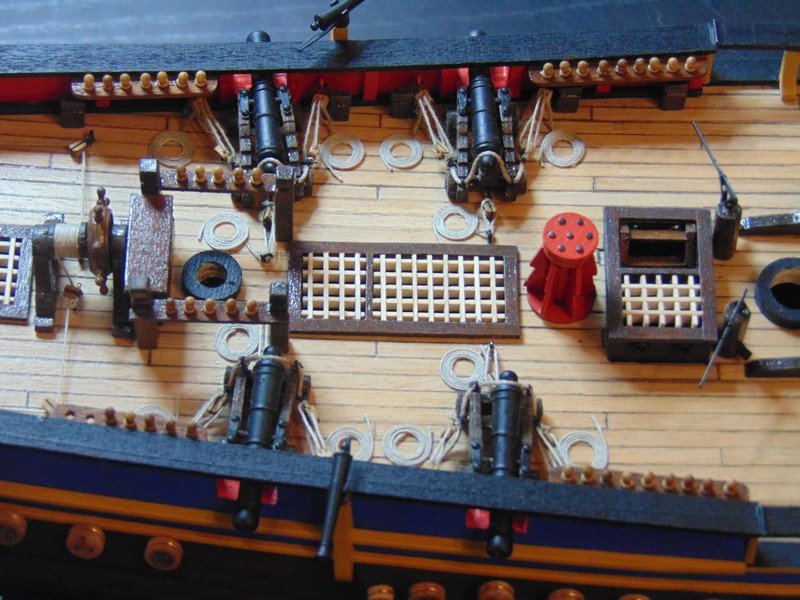
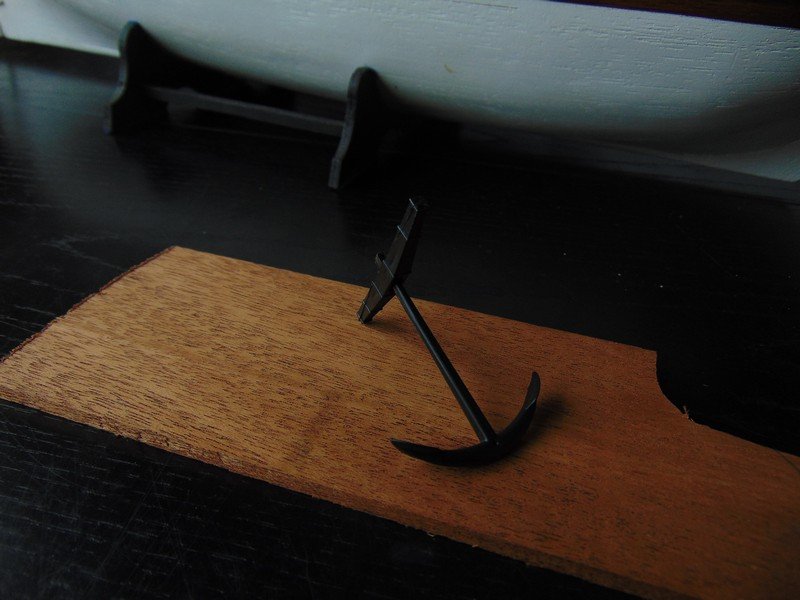
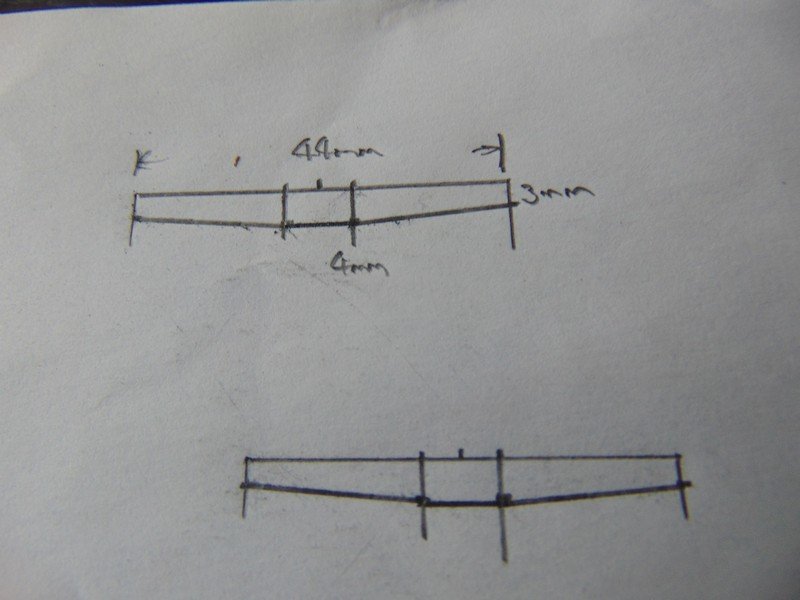
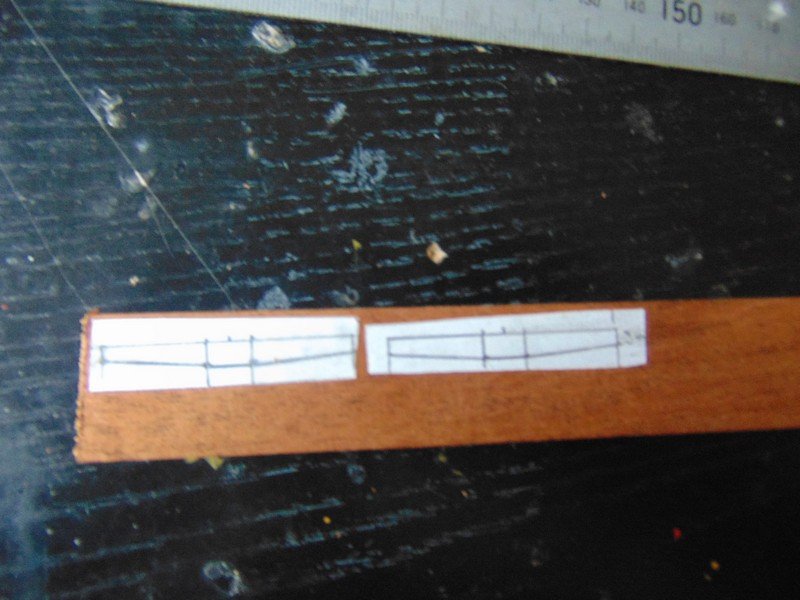
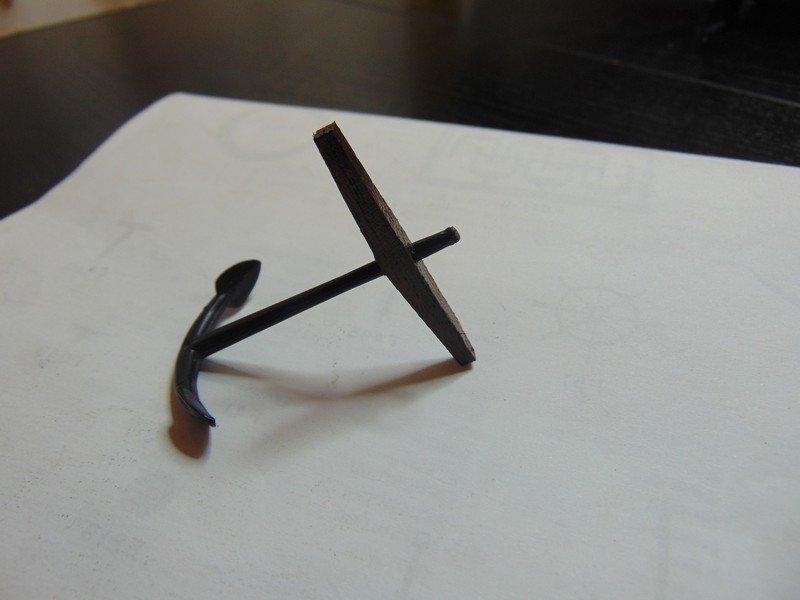
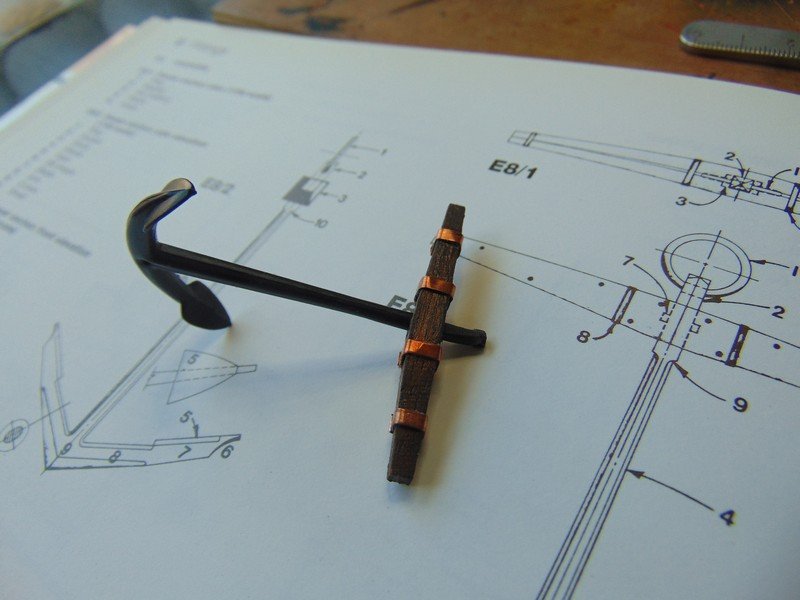
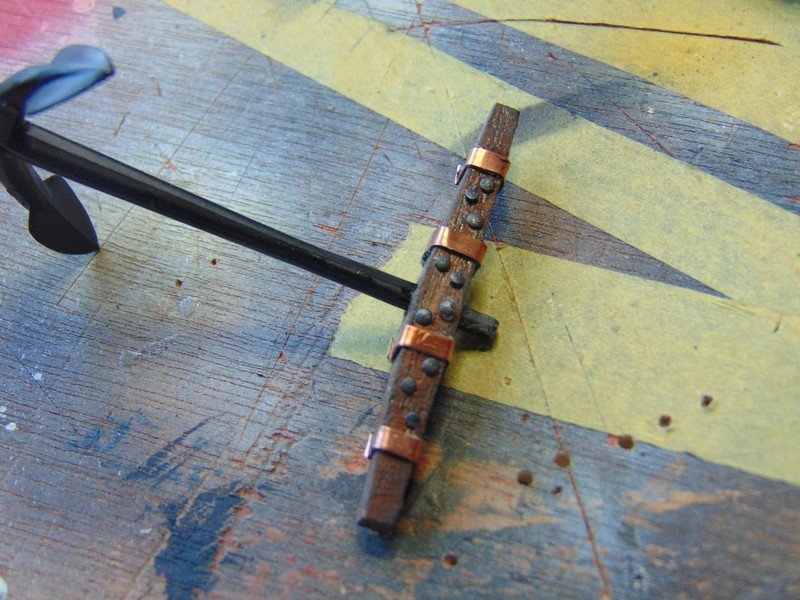
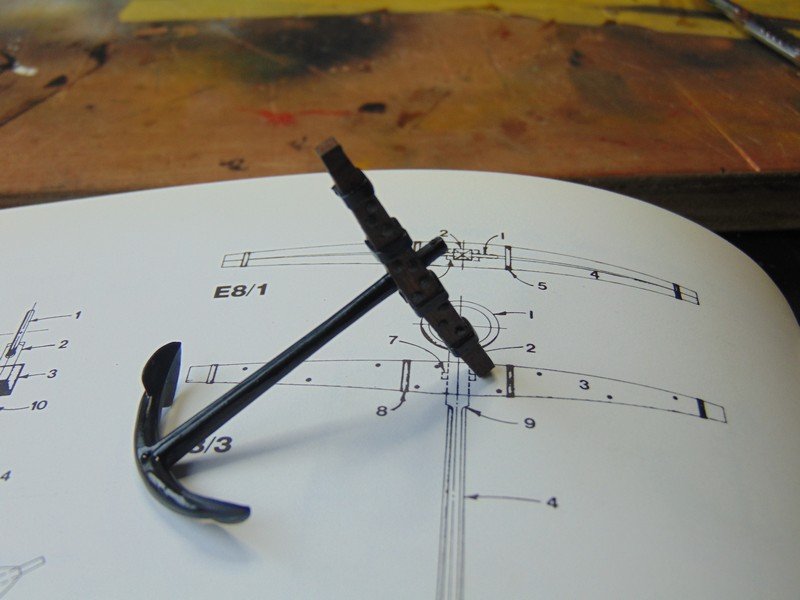
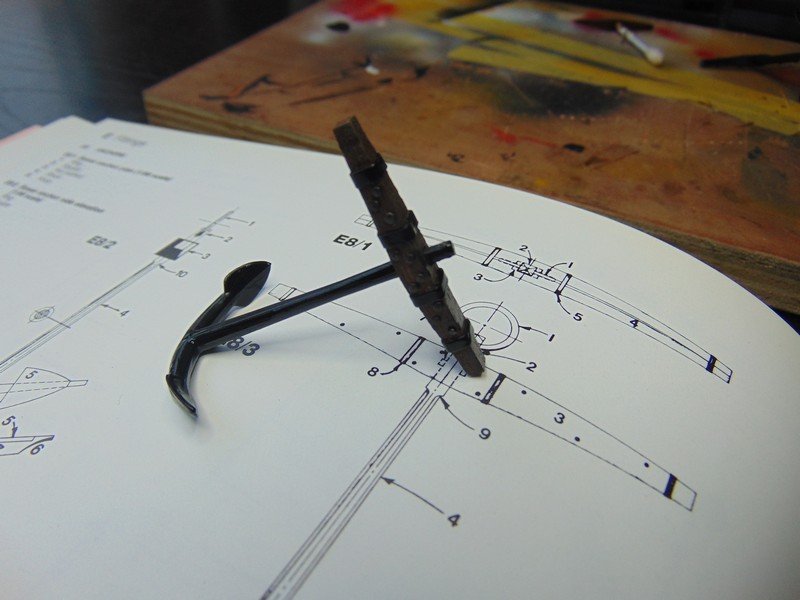
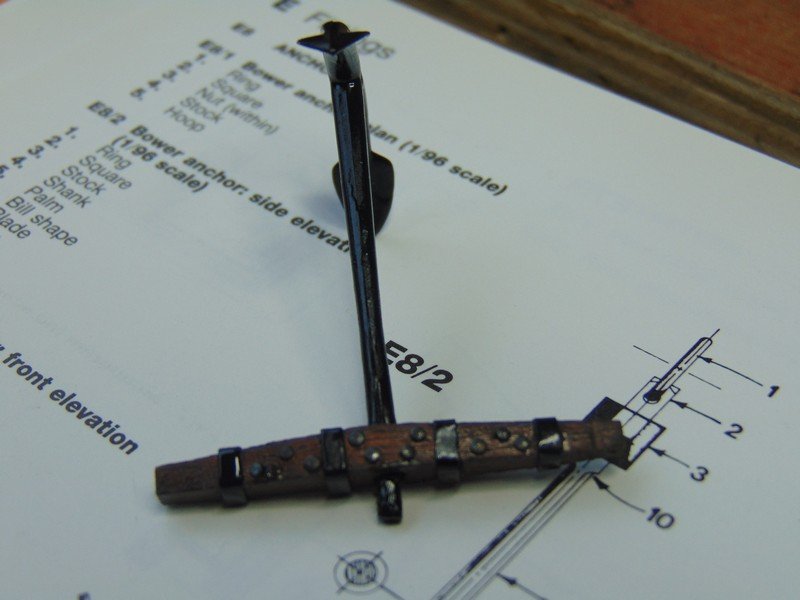
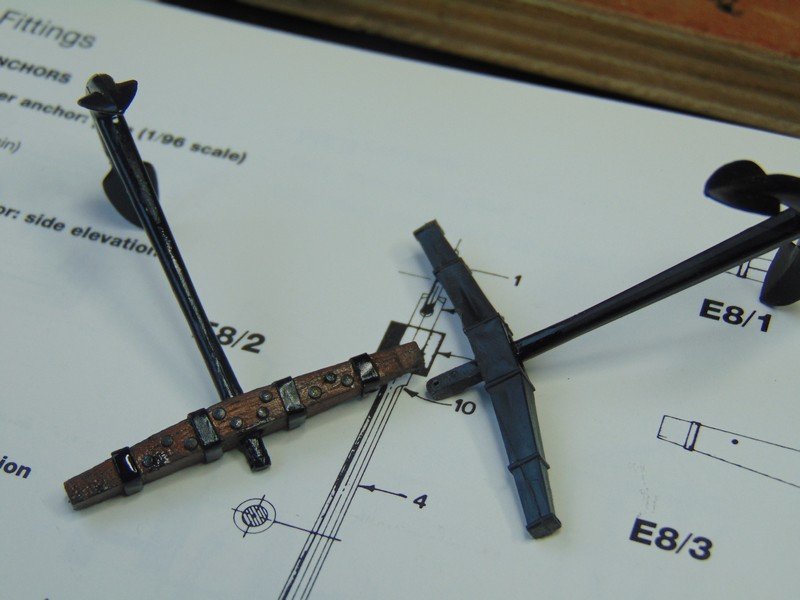
Hello all been tidying up on board ive fitted all pieces now that I had prepared and im calling the transom area of the ship complete ,I will at a later date add the word BOUNTY but need to buy a new printer as I will go with the decal paper suggested by EJ and kindly demonstrated by Derek ,ive dropped the height of the lanterns a tad and made a start on the anchors I will show the anchors in my next post.
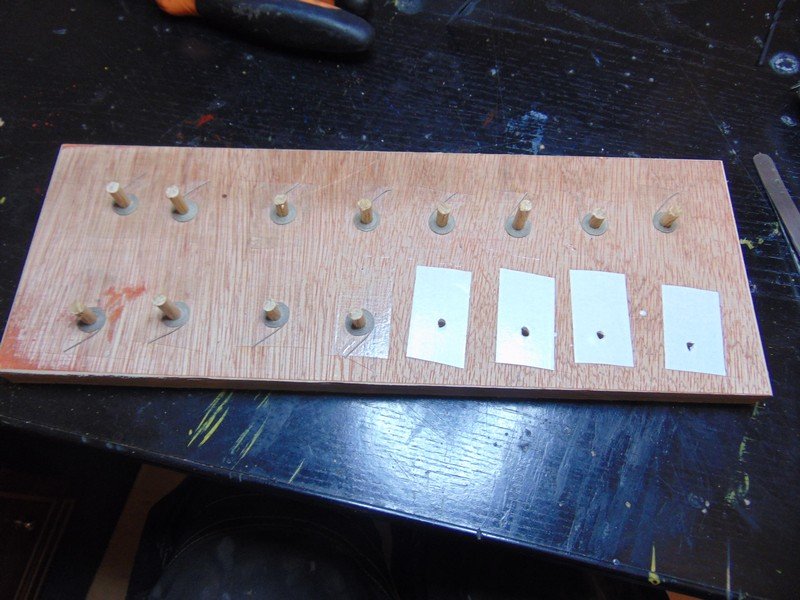
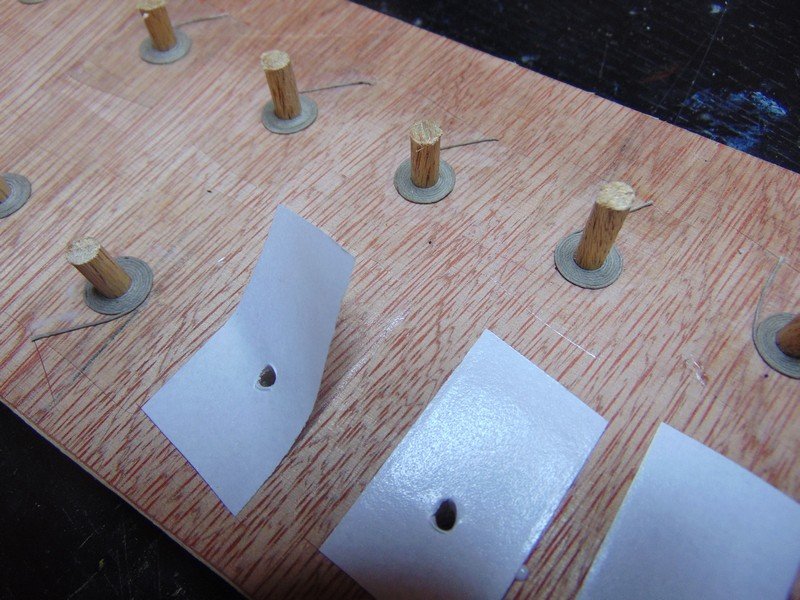
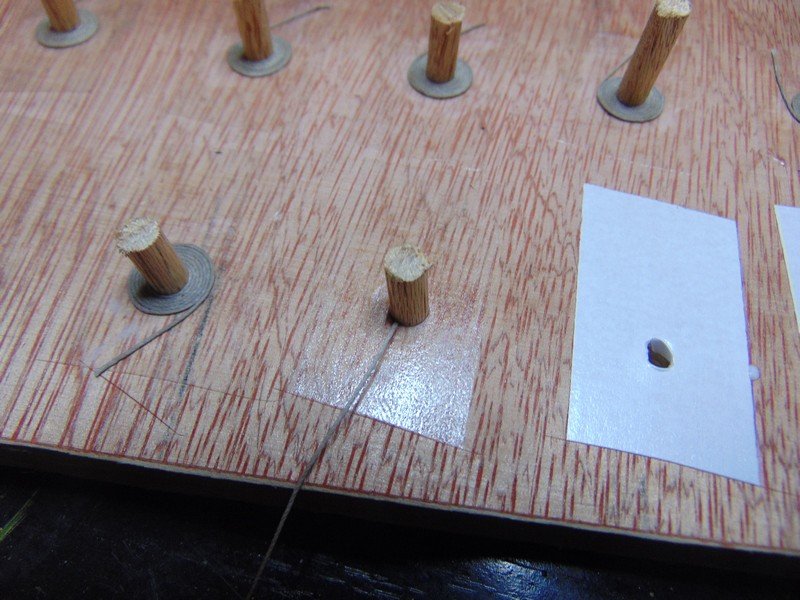
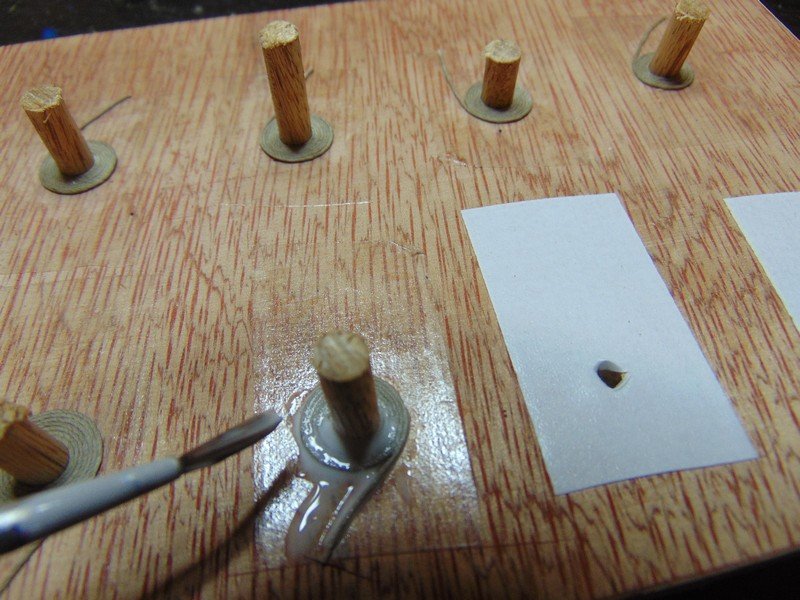
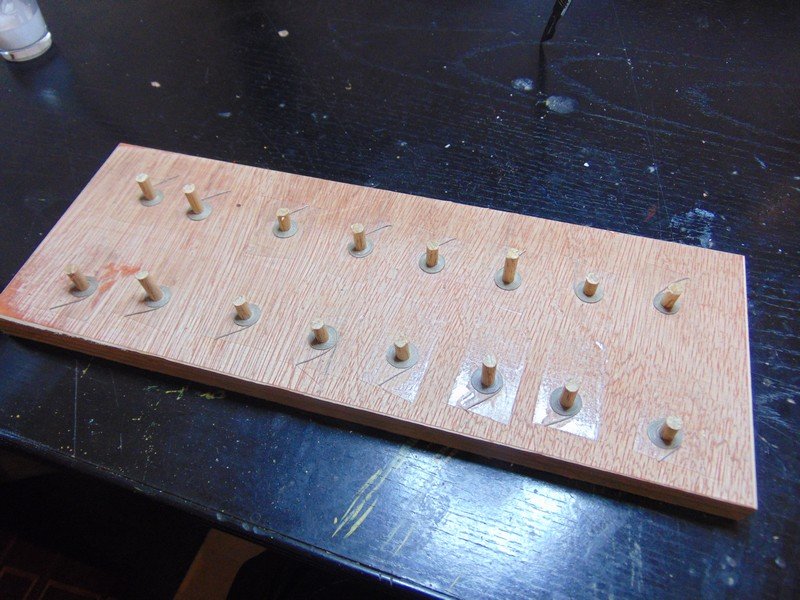
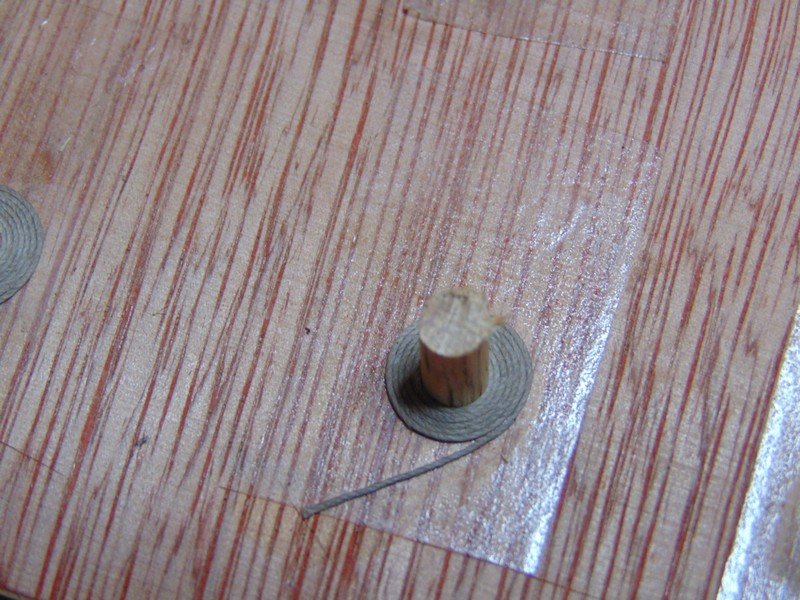
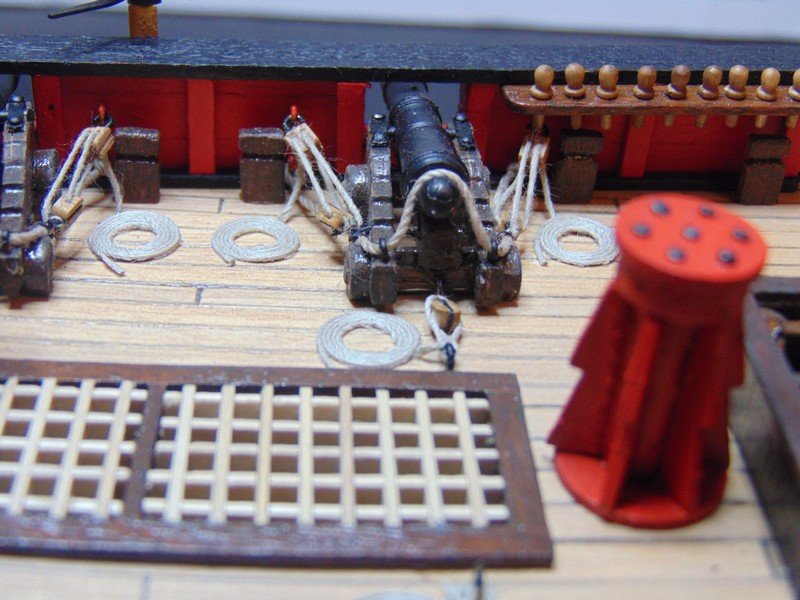
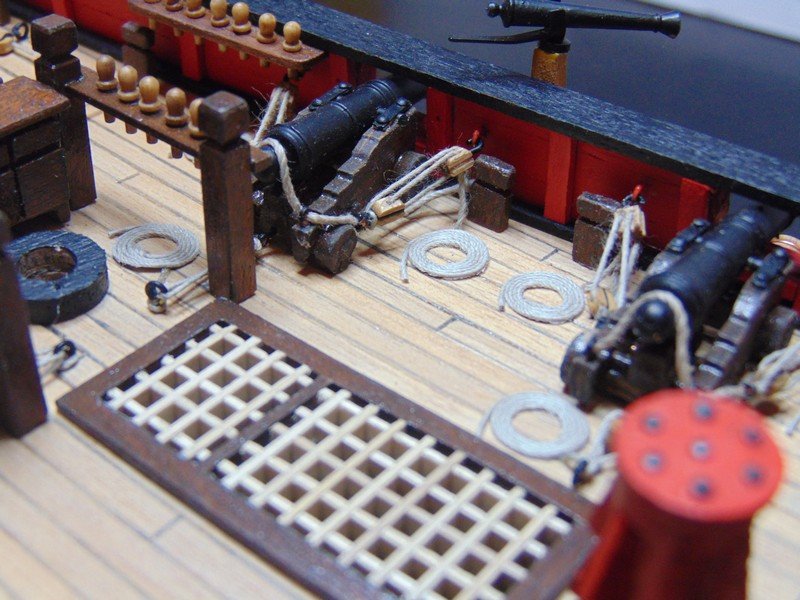
This evening I spent a few relaxing hours making rope coils I enjoy task like this where not much thought is required I can just loss a few hours lost in my work,this is the reason im looking forward to the rigging believe it or not I love to sit and tie rat line after rat line and just get lost in it then next thing four hours have disappeared below is how I make my rope coils
-
Hi frozenrabbit I caught your build yesterday I assume the progress from removing the kit from the car didn't happen in twenty four hours , is the log up to date now
ps looks like a very nice kit will follow with interest
- FrozenRabbit471 and CDW
-
2

Boulogne Etaples by popeye the sailor- Billing Boats - 1:20 scale kit
in - Kit build logs for subjects built from 1901 - Present Day
Posted
Love seeing the whole fleet together 😊