
BenD
-
Posts
468 -
Joined
-
Last visited
Content Type
Profiles
Forums
Gallery
Events
Posts posted by BenD
-
-
6 hours ago, modeller_masa said:
I'm sorry that the example of RoS was cable-laid, which is composed of 3 ropes.
People get confused about cable-laid ropes quite a lot.
That 3.8mm cable-laid is three 1.8mm ropes laid together. Each 1.8mm rope has 39 yarns, which means the cable has 117 yarns.
- modeller_masa and mtaylor
-
 2
2
-
-
2 hours ago, Thukydides said:
The polyester rope has many of advantages, but there are two big disadvantages to it that i have found.
- It is very stiff and doesn’t like to be shaped unless you want to use heat (which I don’t want to bring near the model itself).
- It doesn’t adhere very well to white glue.
This is totally how polyester behaves. One thing I've found about rope made with Gutermann E thread is it takes CA glue really well. Some polyester threads I've tried end up weak and crusty after being glued with CA but this stuff gets super strong. Another way to shape this rope is to use "super thin" CA, it goes right into the rope and then holds whatever shape you want. You will need a good applicator to pull this off.
Every type of thread I've used for making rope has problems. I'm always looking for new threads to try.
-
Absolutely beautiful ship. Estimating 2,500 hours of work involved... sounds about right for this level of kit bashing.
Looking forward to the photo shoot.
9 hours ago, Katsumoto said:I hope you will follow me again on the next journey. I have already done a lot of research for this model and that project will also be quite a challenge.
What's next up in the shipyard?
- Cathead, Katsumoto and Thukydides
-
3
-
I have an article about pine tar that might interest you https://maritime.org/conf/conf-kaye-tar.php It states that the production went on well into the 1900s.
I'm pretty certain the industrial process for coal tar didn't pick up until the 1850s (Can't seem to find my article on it). The Grecian being an American vessel I'm not sure about what tar would be used. The Royal Navy would have used Pine tar to the bitter end no doubt.
On tall ships today they use pine tar and coal tar mixed together from what I've read.
-
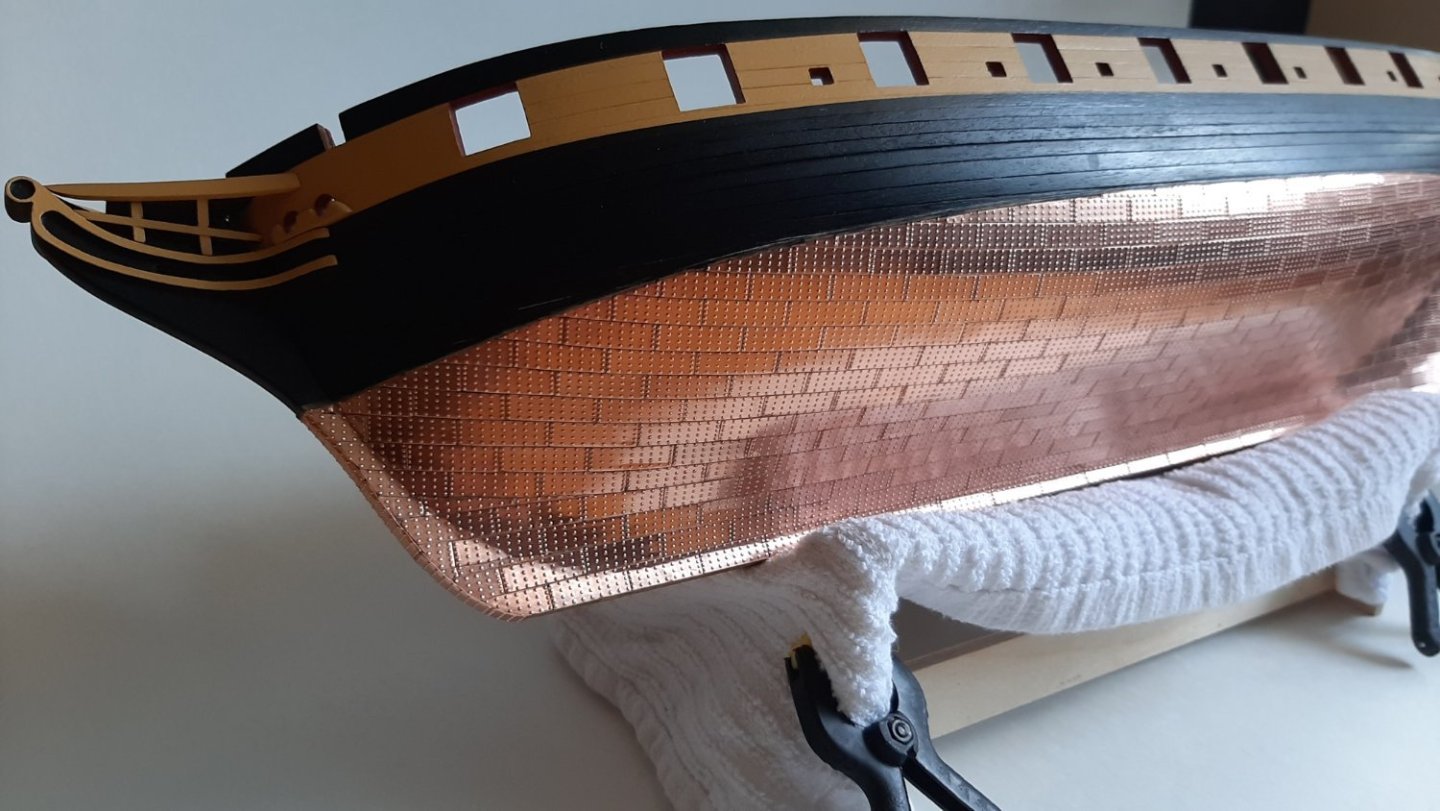
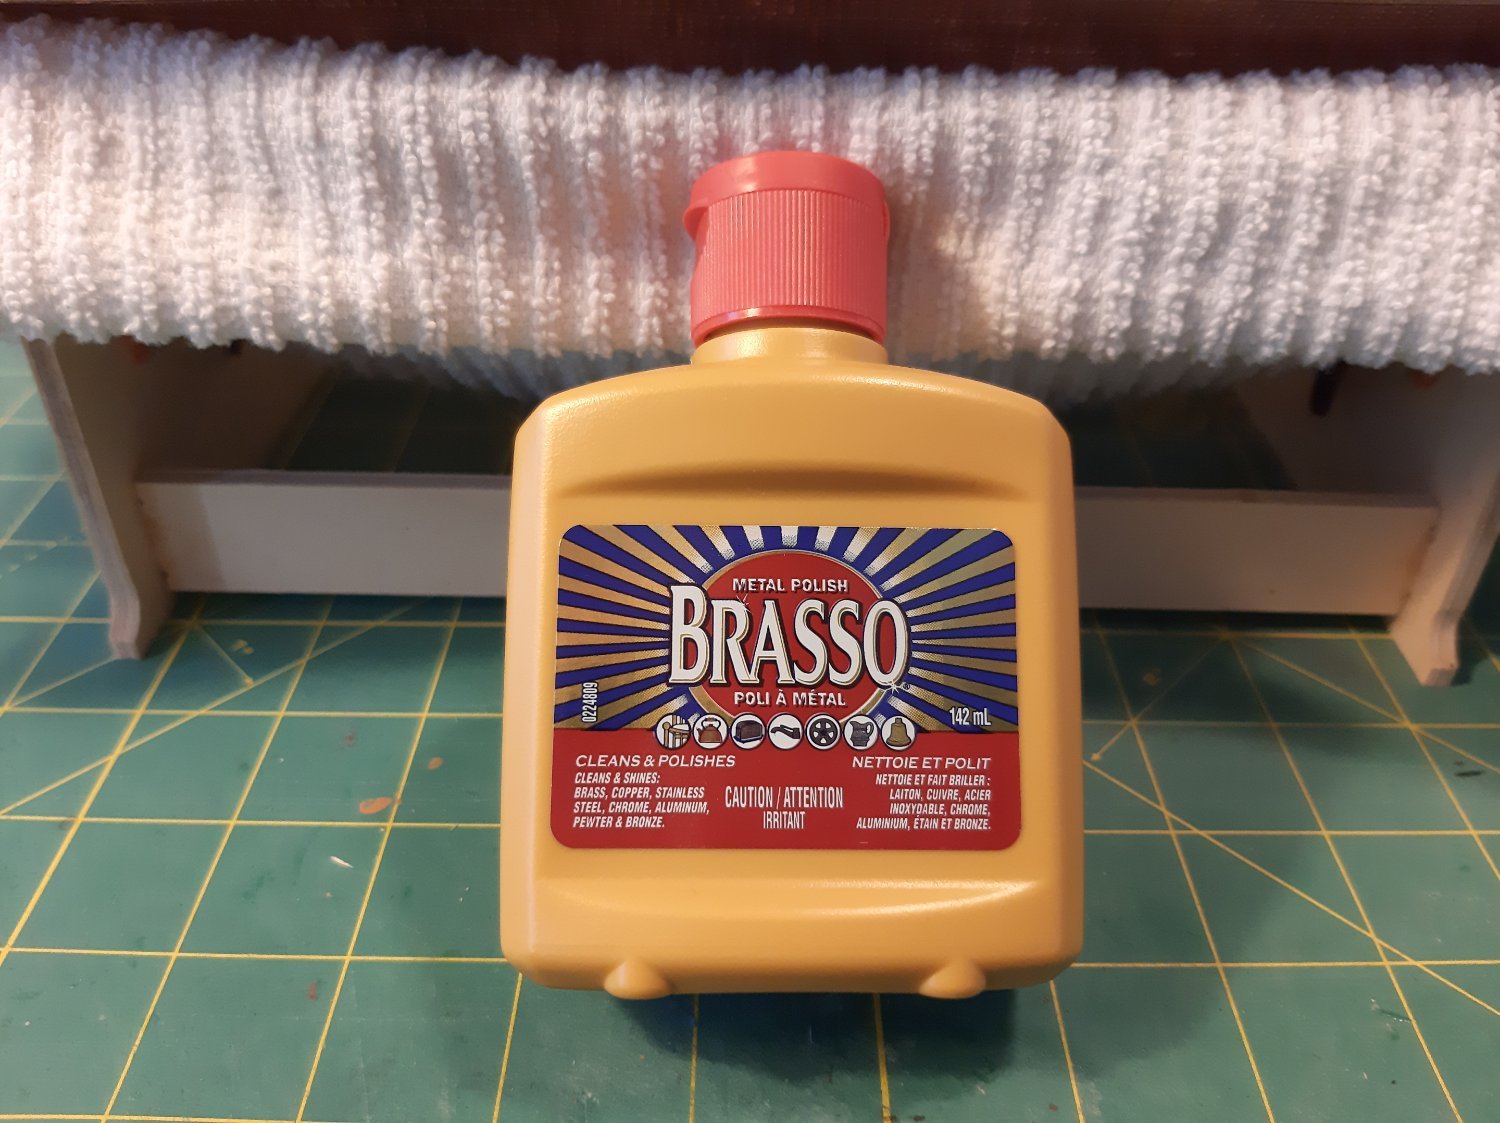
A common brass and copper cleaner from the grocery store should do it. I used a product called Brasso. Your coppering looks pretty good, just needs a good pollish.👍

Before.
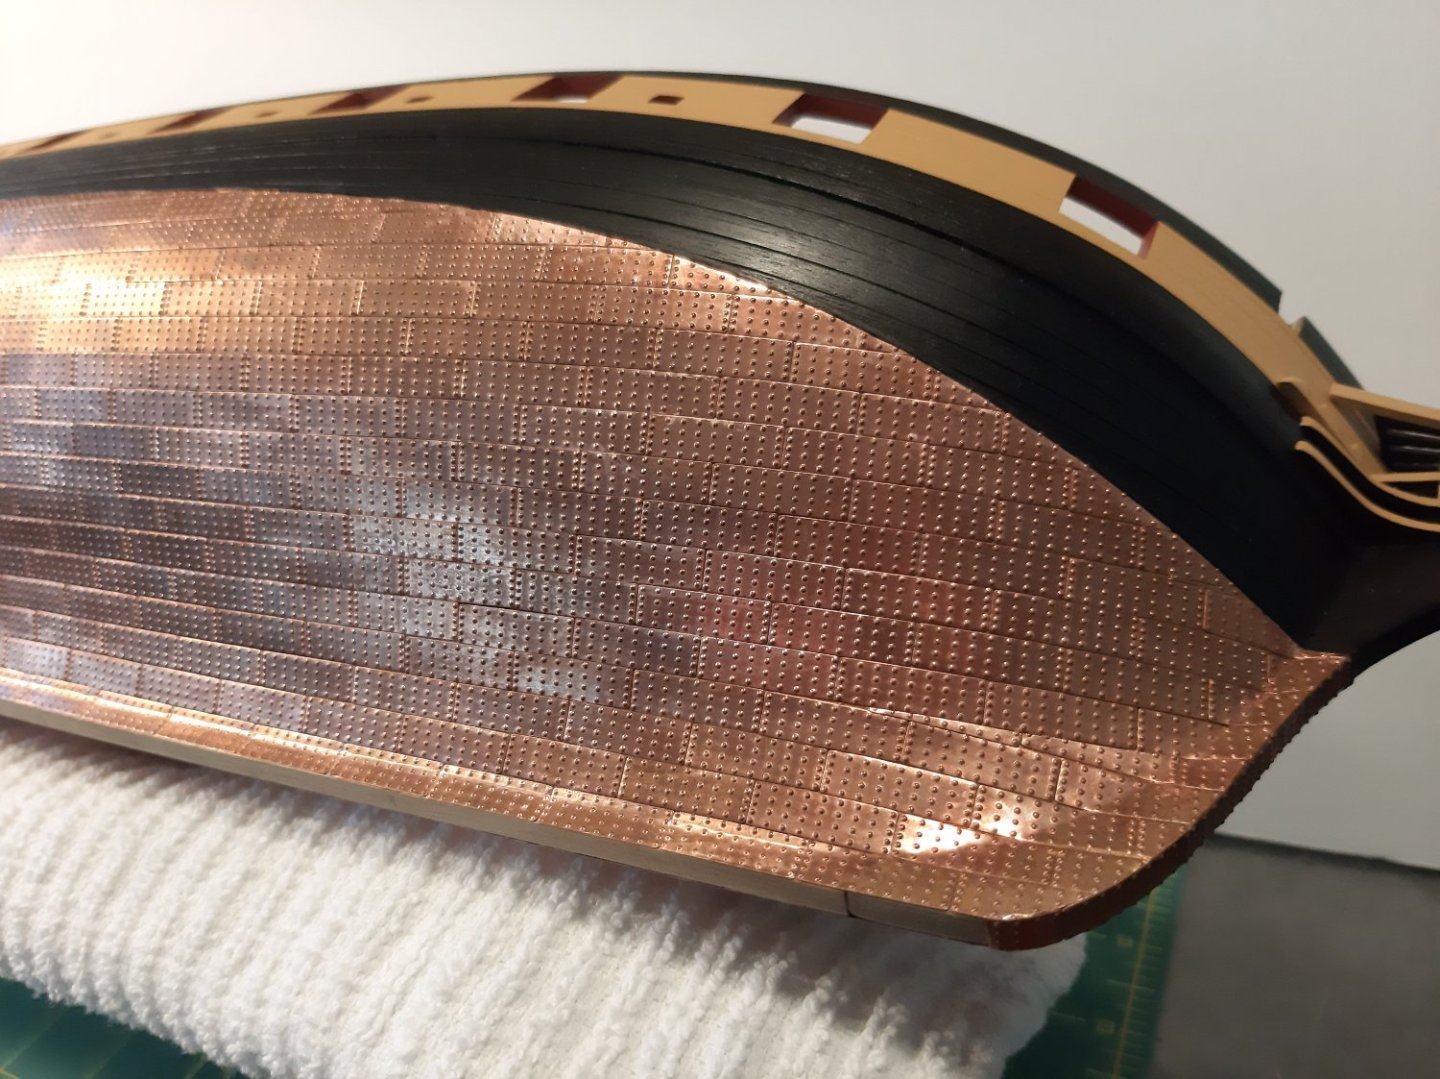
After.
- Ryland Craze and mtaylor
-
2
-
I've been working on the HMS Snake for years on and off. I'm not saying it's a bad kit, it's just a lot is expected from the modeler to just figure out. Who knows maybe it's right up your alley.
Some day I'll finish that damned thing!
I'm with the rest of the group on recommending The HMS Speedy or Flirt from Vanguard. Good quality laser cut parts and excellent instructions.
- Ryland Craze, markjay, Canute and 1 other
-
4
-
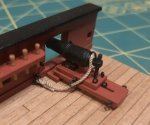
The way you are doing it on your build is just fine. I will add some pictures of the ways I know.
There is the "cut splice" way. which is a bit difficult to do for a model.
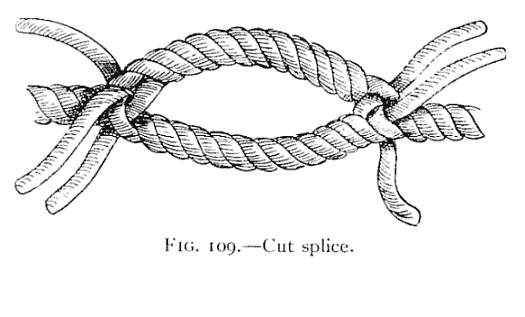
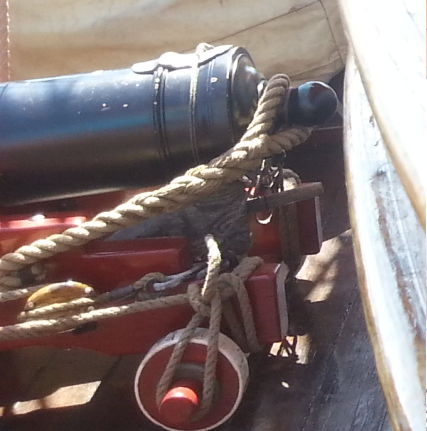
Wrap around the cascabel like The way you have done on your build log.
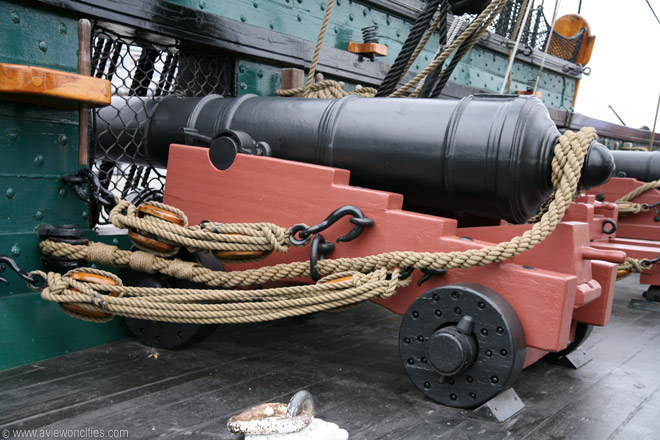
The next one only works if there is a ring on the gun.
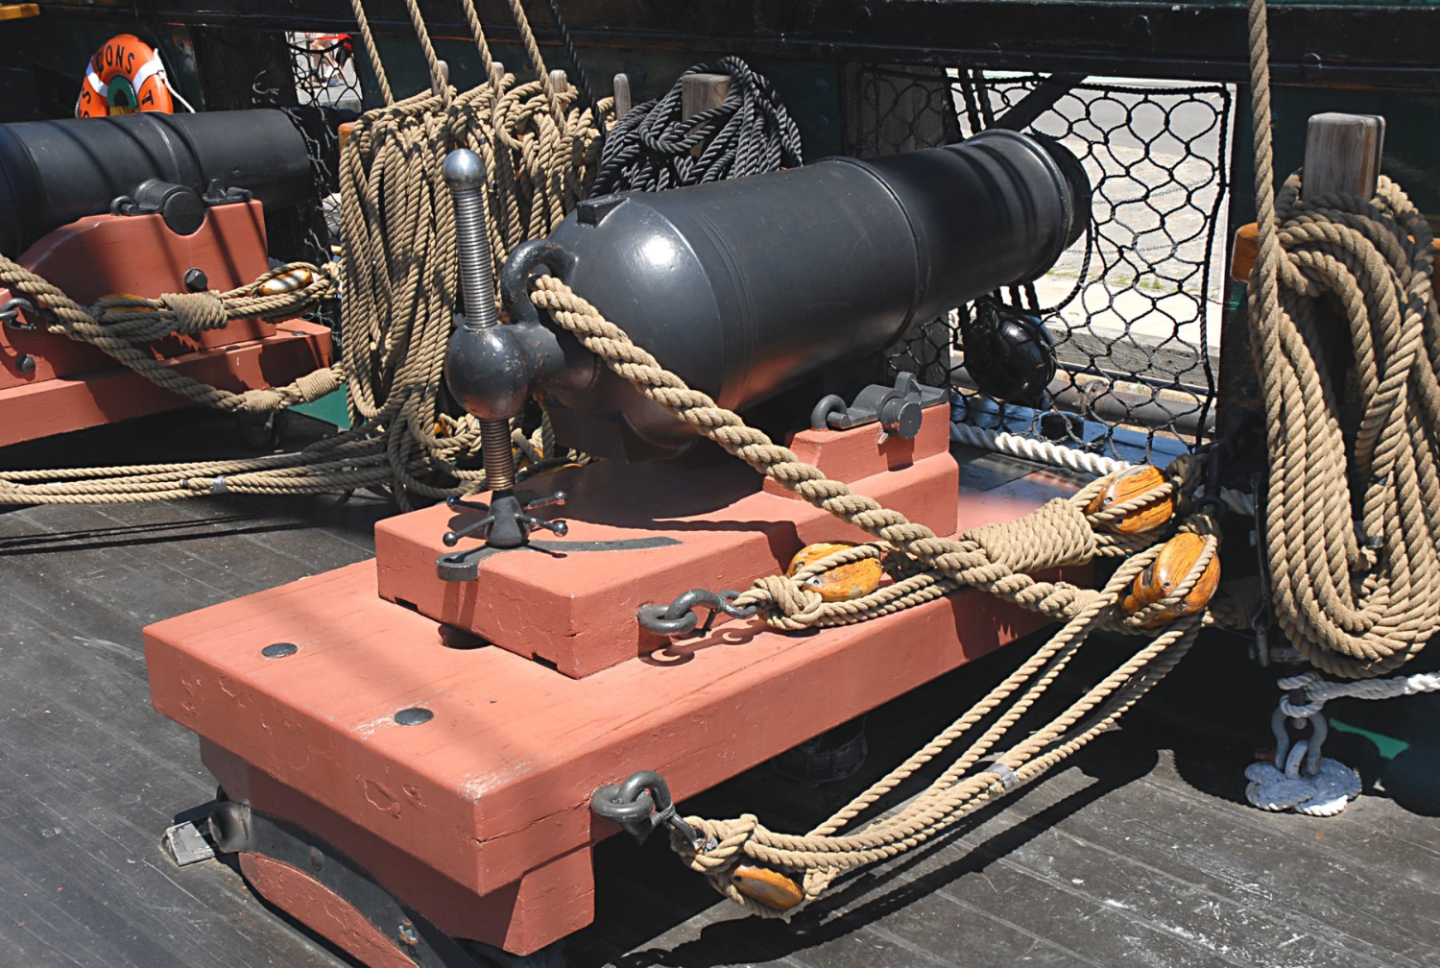
There is another way with a four-strand rope but I don't have any pictures. I've also seen some breach ropes that run through the carriage itself and not even touching the gun.
- Thukydides, druxey, Keith Black and 2 others
-
5
-
I was asking what word processor are you using to open the spreadsheet. If you said Microsoft is blocking it I'm assuming you are using Microsoft Word. I have not been able to get it working on that program.
I've been using a free word processor called Open Office to open the spreadsheet. I'll add a download link.
-
-
I think I found what you are looking for. They are not cheap, but they are well made. They might also take 2-4 weeks to arrive as they are made to order.
https://www.hismodel.com/articles-detail-414
-
-
-
2 hours ago, ChazG said:
Just found Catopowers Wolf build - all paper laser cut at that scale. One is tempted!!
I've been watching that build as well. I have the HMS Wolf on the shelf and keep looking in the box at the perfectly cut laser parts, drooling a bit.. then eventually putting it back. Need to finish other projects first.
The 1/72 card kits are more expensive but you get so much more. I'd say do as much as you can with this one then try out laser-cut ones. They even have the Le Coureur in 1/72.
I'll be watching your progress, good luck.
-
Welcome to MSW!
I've seen people use the card stock from cereal boxes. It's usually about 0.5mm thick so you would need to laminate two pieces together. Craft stores usually have all types of thicknesses, but you will pay an extortionate price.
The Shipyard laser-cut kits come with everything to make the kit. They are not nearly as affordable as the 1.96 booklet kits though.
- druxey, mtaylor and Keith Black
-
3
-
On 4/14/2023 at 12:23 AM, Twokidsnosleep said:
Just got my order and am super happy with the quality of these ropes..soon to the riggin !
Glad you like the rope! I'll be looking into your black pearl build.
- Twokidsnosleep, mtaylor and Dave_E
-
3
-
-
It's probably "Britannia metal" Quote from Wikipedia "(also called britannium or Britannia ware[1]) is a specific type of pewter alloy, favored for its silvery appearance and smooth surface. The composition by weight is typically about 92% tin, 6% antimony, and 2% copper."
Antimony is a little bit toxic... so don't eat it or breathe the dust from sanding it.
- mtaylor, Keith Black and thibaultron
-
3
-
7 hours ago, DaveBaxt said:
Lower Stays completed . I have fitted the Main & Fore lower Stays on top of the Preventer stays as per the Endeavour replica. Also Lees book states that a lot of small ships during this period carried the stays this way too. I think I will now adjust the tension on the lower shrouds before fitting the futtock shrouds and then the upper shrouds can be fitted before the upper stays and back stays are fitted. Here are a few more photos of the work so far. I also need to do a bit of work on the top masts and lower mast heads before the top masts are fitted.
I love how the bandage made a good texture for the mouse. Really creative, I might just use that idea.
Great work on the rest of the ship.
-
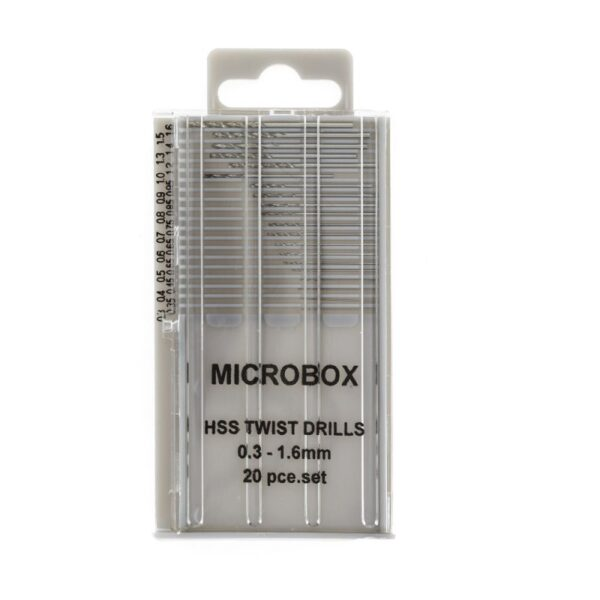
I agree with @AJohnson with the tip about drilling with a pin vice drill and using tape to help reduce damage. Fixing the damage is fairly easy, use some wood filler, sand it down, redrill the holes carefully, then paint over it again. Expanding the holes to 1.6mm you might want to start small and work your way up to that size. If you have a decent set of drill bits you can work your way up to that diameter, it helps stop the walnut from cracking up so badly. To harden the surface you can also use thin CA glue, I've also found that to help a some.
Your ship is coming along nicely.
- Aa-schipper and AJohnson
-
2
-
Historical inaccuracies aside, I liked the video. It would have taken ages to produce that D3 model and then make a flythrough deck by deck. Quite impressive.
- CaptnBirdseye, Tossedman and mtaylor
-
3
-
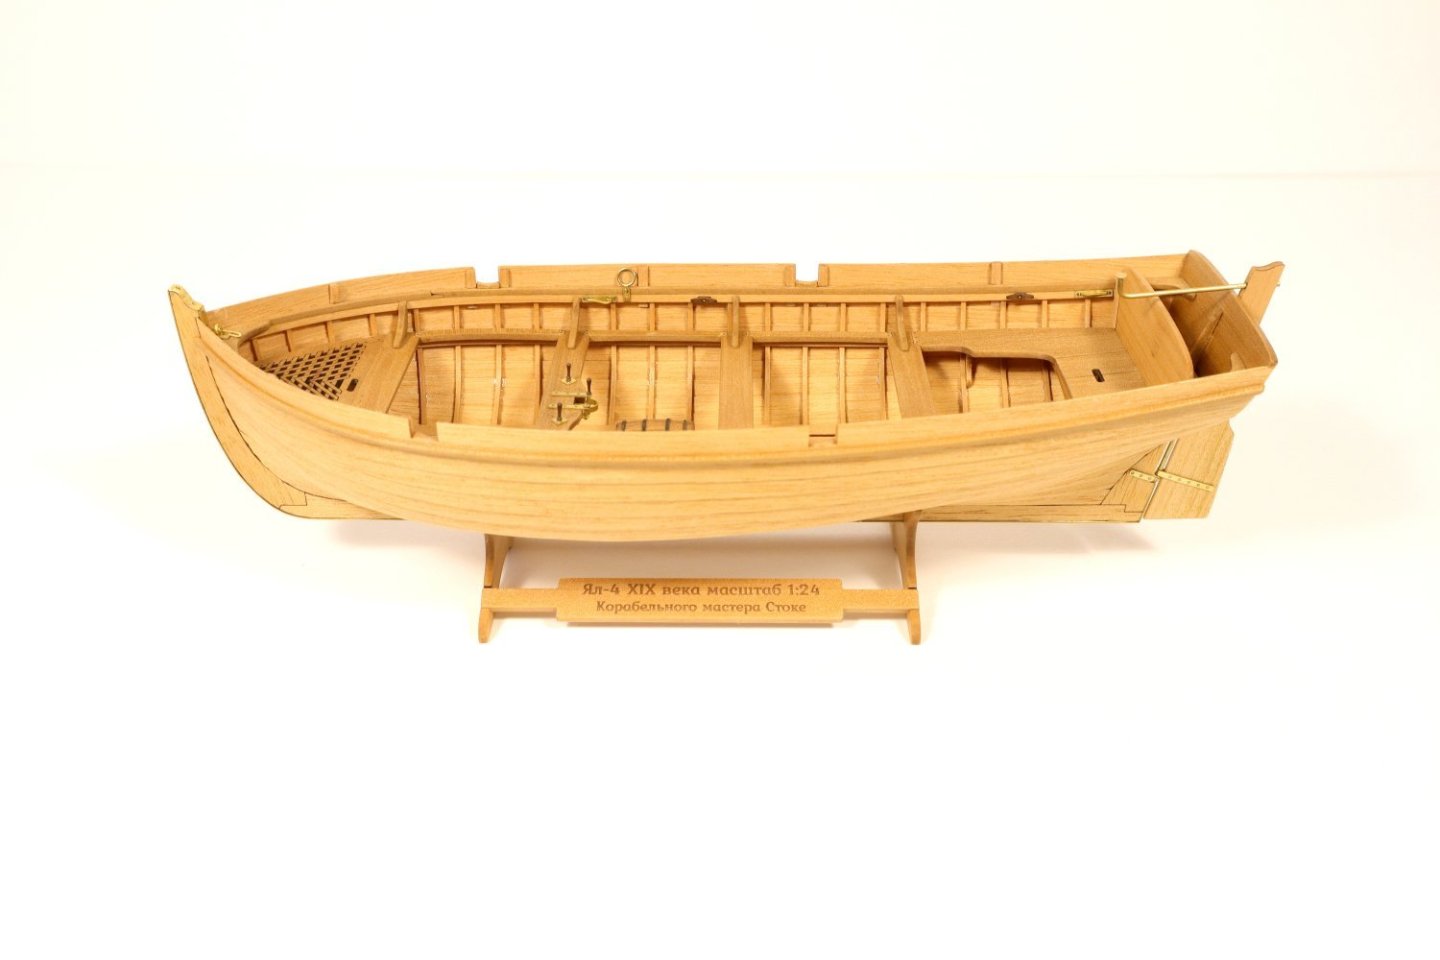
The hull is now finished!
It was a bit of a battle to get the photo-etch parts glued on. It's no fun when the metal parts slip out of your tweezers and get CA everywhere... Everything else went together easily enough.


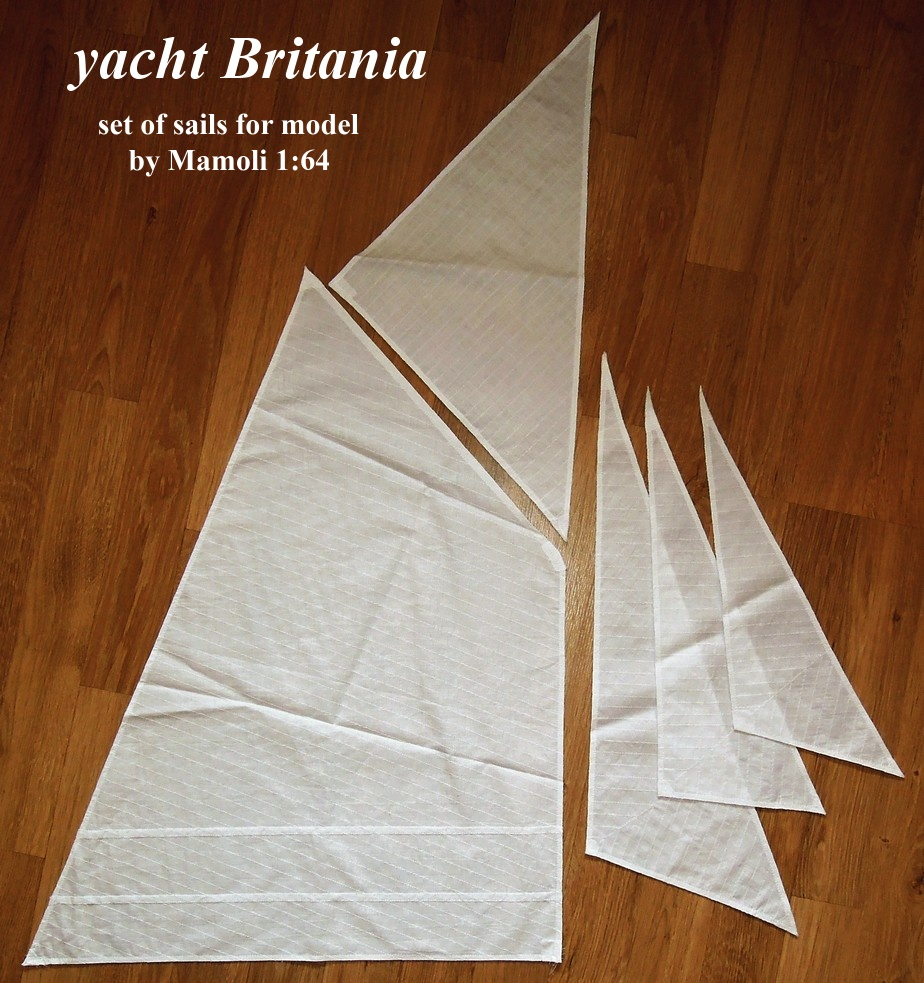
Sails are up next on the workbench. I photocopied the sails from the plan and cut them out so it would be easier to work with them and measure. I almost wish I could use them like this.
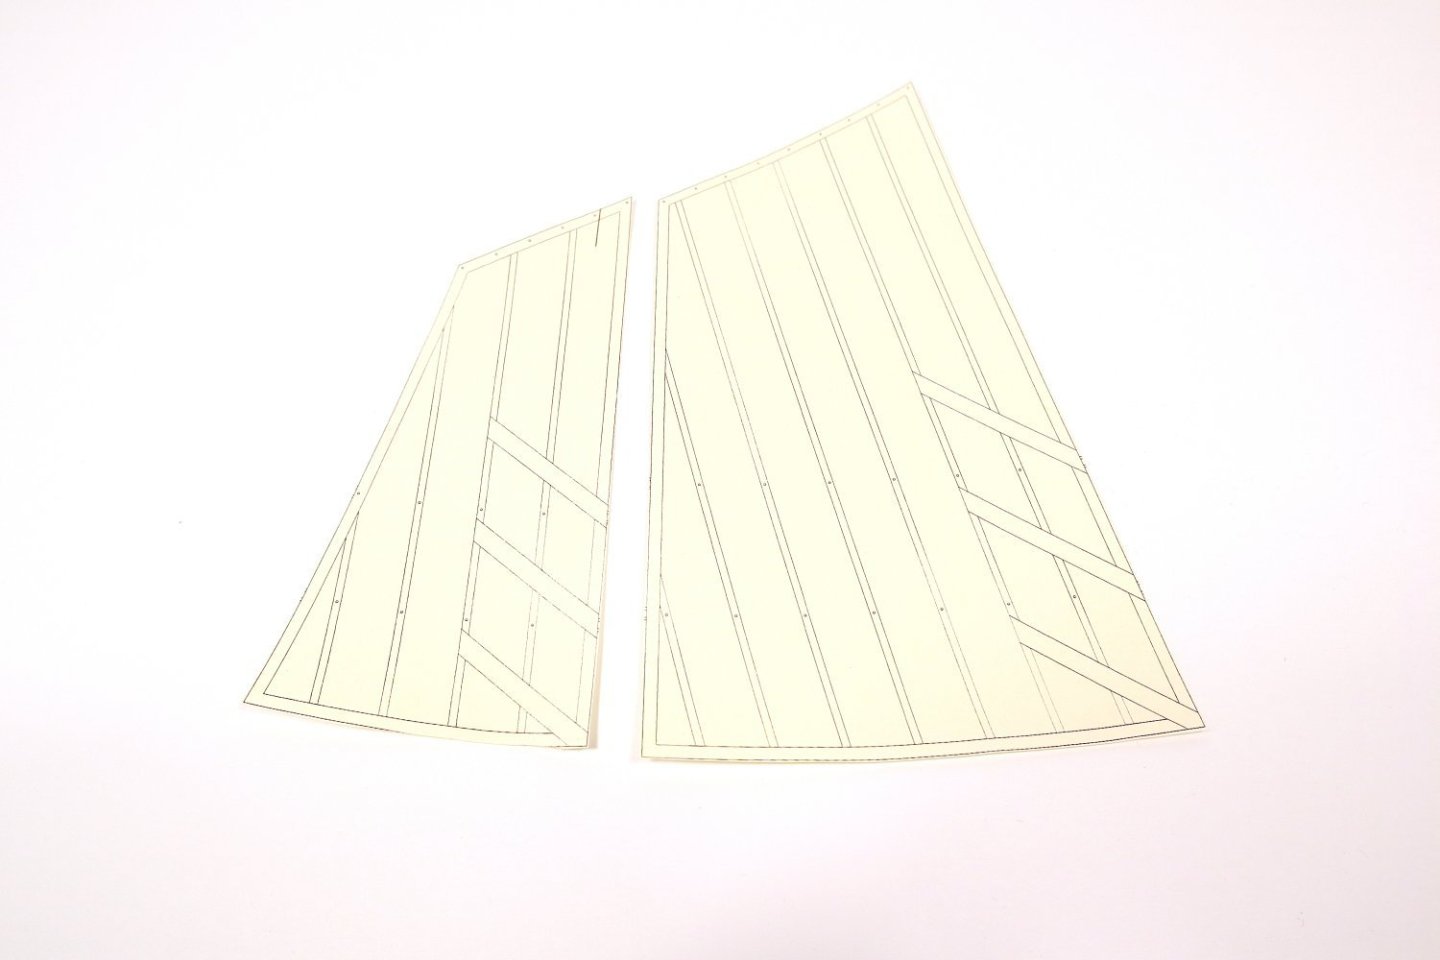
I've been experimenting with a lot of materials and so far the best results are from cloth. I soak them in diluted white PVA and hang them to dry. After that, I iron them so they are perfectly flat. Below are two failed samples, the sail-shaped one has pencil marks and the uncut sheet has a lot of fraying. I've made more sheets ready to cut that have more PVA to keep the fraying down. I am running low on cloth, I couldn't find anything decent from nearby fabric shops.
Does anyone know where to buy some good sailcloth?

- VTHokiEE, Prowler901, ccoyle and 1 other
-
4
-
2 hours ago, TomShipModel said:
Polyester lays up beautifully. However, several of the rigging techniques involve white glue (such as making fake splices and securing knots, seizings and strops). I also use white glue for getting the catenary droop in foot ropes and loose running rigging. Is there a way for me to get that with polyester line as white glue doesn't soak into it like cotton or cotton covered polyester?
Tom
With this particular polyester, you will find glues of all types will soak into the fibers as long as they are thinned enough. This includes PVA, Clear nail polish, CA, and even Shellac. As long as the glue is thin or has some type of solvent or alcohol it should work.
I've done tests with PVA and found 60/40 Water/PVA will hold really well. Using PVA for holding a shape in the line will take a few coats and some fiddling.
I've tried my wife's clear nail polish and found it will hold a knot really well. The only problem is it will leave a shiny spot.
The best glue for this rope is thin CA. It doesn't make it brittle and if you are light enough with the application it won't discolor the rope either. It goes right into the core of the rope and makes impossibly strong knots and seizings. I've managed to use thin CA for shaping curves in rope, it's tricky but can be done with the right applicator. Bob Smith Industries line of CA is what I would recommend for this job. It's high-quality CA that doesn't leave that awful white residue.
I bought some shellac from Home Depot to test it out of knots. It soaked right into the Poly rope and held about as well as PVA. It left a bit of yellowing. I have not tried buying shellac flakes and dissolving them, so I don't know how well that would work or how much discoloring there would be.
That covers everything I've tried so far.
- TomShipModel, Dave_E, mtaylor and 2 others
-
5
-


Citadel paint better for hand painting?
in Painting, finishing and weathering products and techniques
Posted
For brush painting, it really comes down to how much thinning is needed. I've found the Vallejo paints made for air-brush are really nice out of the bottle for hand brushing.
I was looking at some Citadel paints at a hobby shop a few days ago. I should have bought some to try them out. The Vallejo model color ones I have need quite a lot of thinner to make the brush strokes disappear.
As for mixing paints on models, I've personally had no issues. I only use acrylics.
I also bought some mixing balls a few months ago. They are really amazing at getting a bottle mixed up and ready to go. I highly recommend them to anyone.