HOLIDAY DONATION DRIVE - SUPPORT MSW - DO YOUR PART TO KEEP THIS GREAT FORUM GOING! (Only 20 donations so far - C'mon guys!)
×


Timothy Wood
-
Posts
571 -
Joined
-
Last visited
Content Type
Profiles
Forums
Gallery
Events
Everything posted by Timothy Wood
-
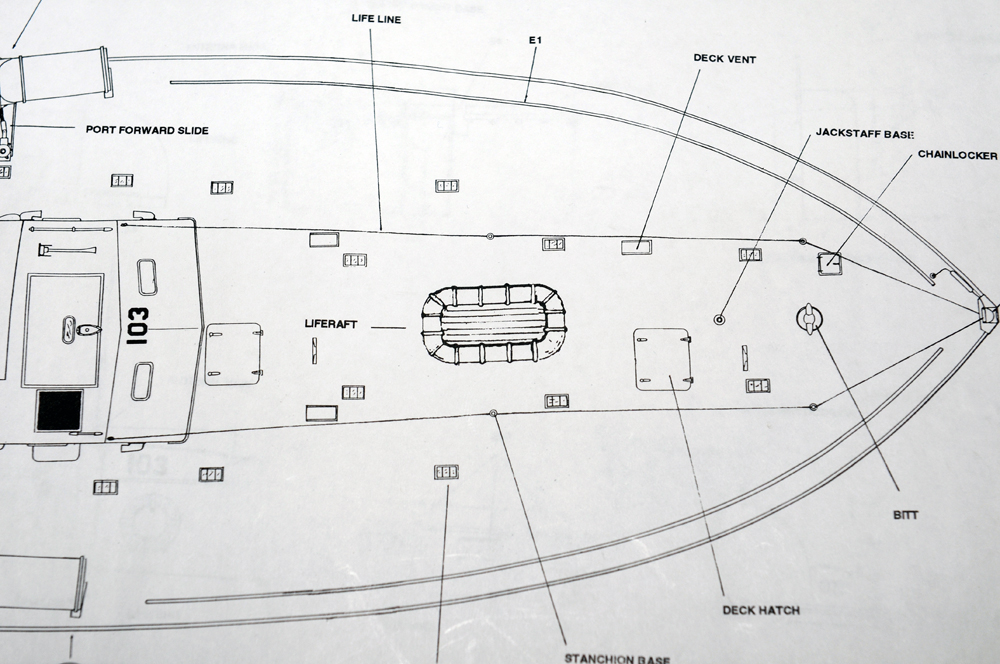
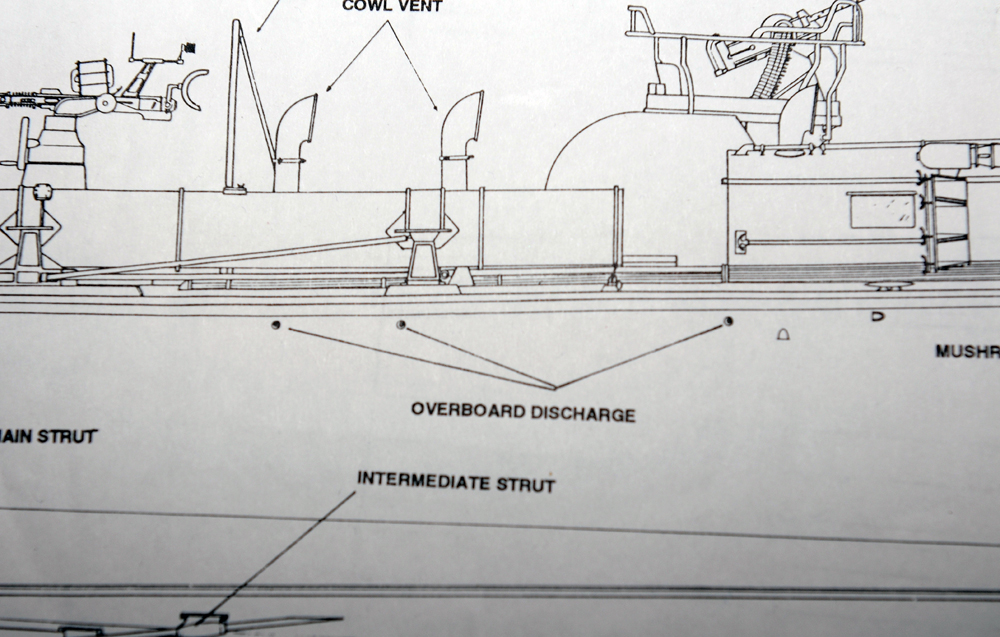
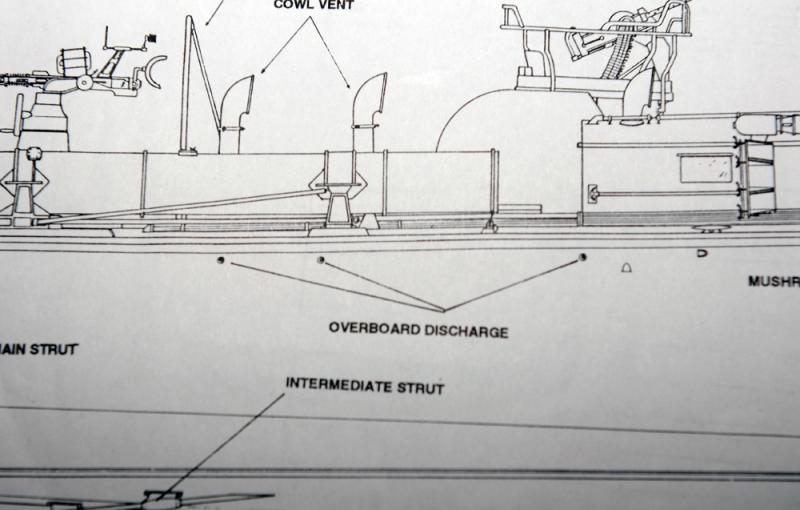
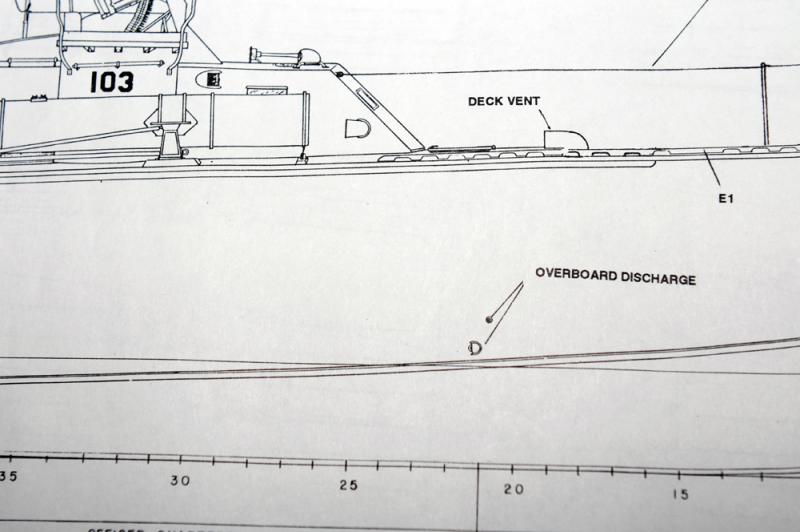
 The next three photos are the positions for the 1/16" holes for the aluminum tubing. Cheers, Tim Position of stanchion and jack staff bases. Positions of aft overboard discharges. Position of forward overboard discharge and vent.
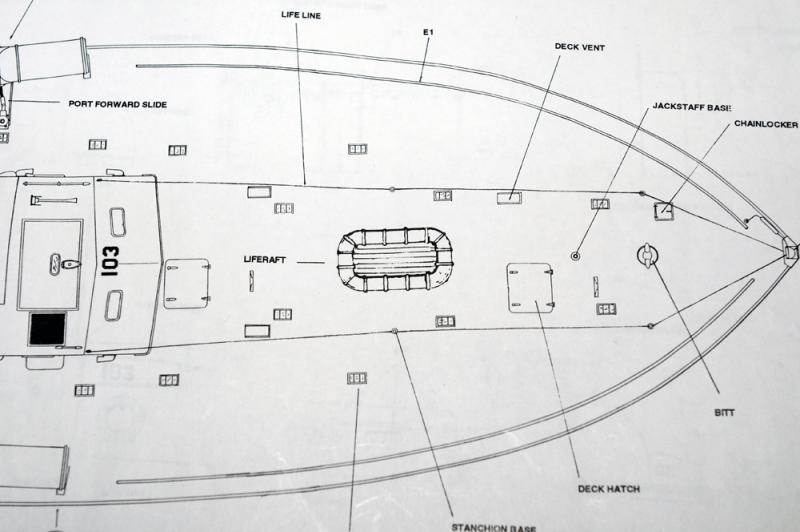
-
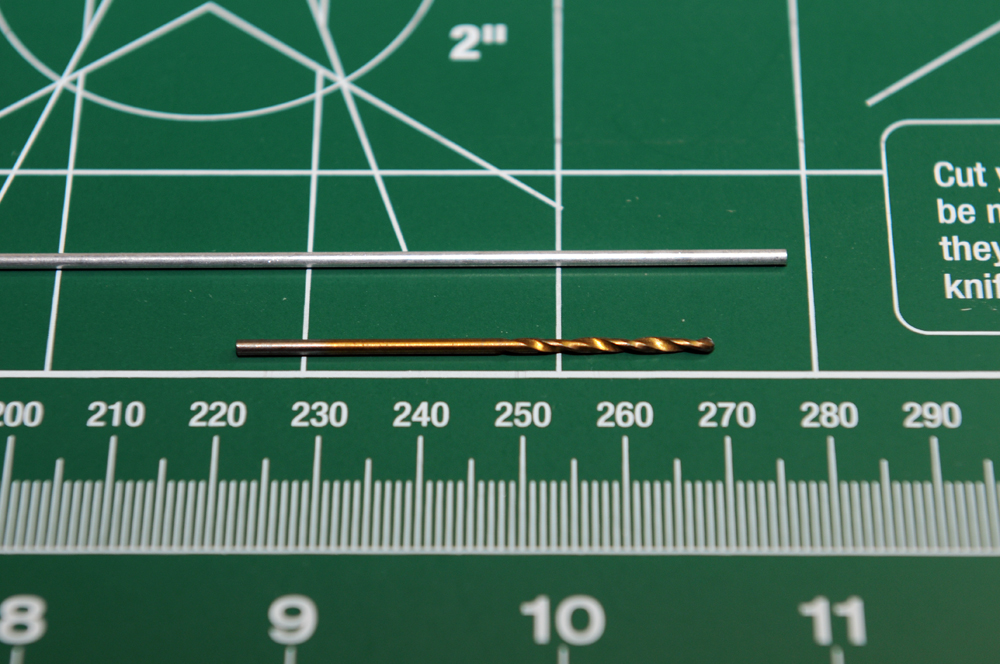
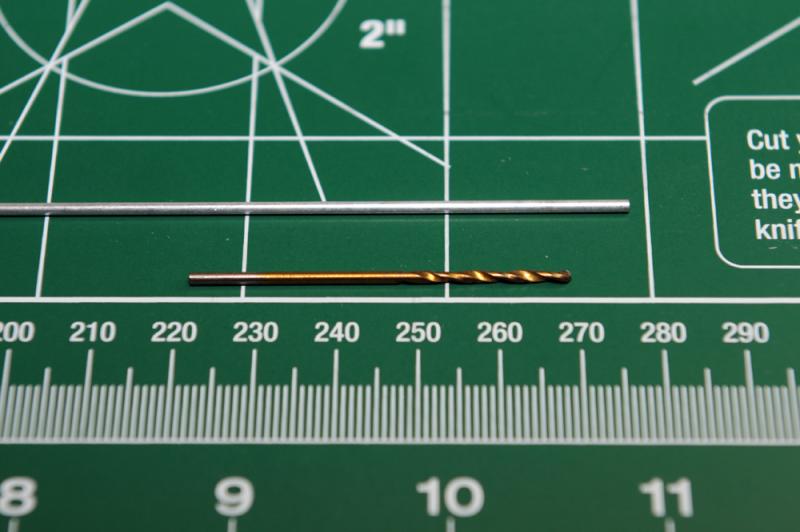
The next photo shows the 1/16" bit along with the 1/16" diameter aluminum tubing used for the stanchion bases, jack stand base and the overboard discharges and vents.
-
Looks Great! Cheers, Tim
-
Very nice job! The deck looks great.... Guess I'll follow along on this build! Cheers, Tim
-
Does anyone know of a source of US Navy figures 1/48 scale? Thanks, Tim
-
Ok Ryland, It's now the 12th of March, where are the latest photos? Don't keep all of us waiting! Cheers, Tim
-
This is the first chance I've had a chance to check back on your log. You are doing a very nice job on the deck! Keep up the good work! Cheers, Tim
-
Ryland, Thanks for the kind words of encouragement! Looking forward to seeing your Civil War Picket Boat on the forum.... Cheers, Tim
-
Very, very, good job! This kit is a pleasure to look at, Great Workmanship! Tim
-
Richard, If you get a chance, visit the website for Hampton Roads Ship Model Society. http://HRSMS.org We meet the second Saturday of the month at the Mariners Museum, Newport News, 10:00 am. We have a member who live in Midlothian, and another who lives in Richmond, they both make the monthly trip to our meetings. Please feel welcome to come and check us us out! Thanks, Tim
-
Outstanding job Richard... I look forward to following your build! Welcome aboard! Cheers, Tim
-
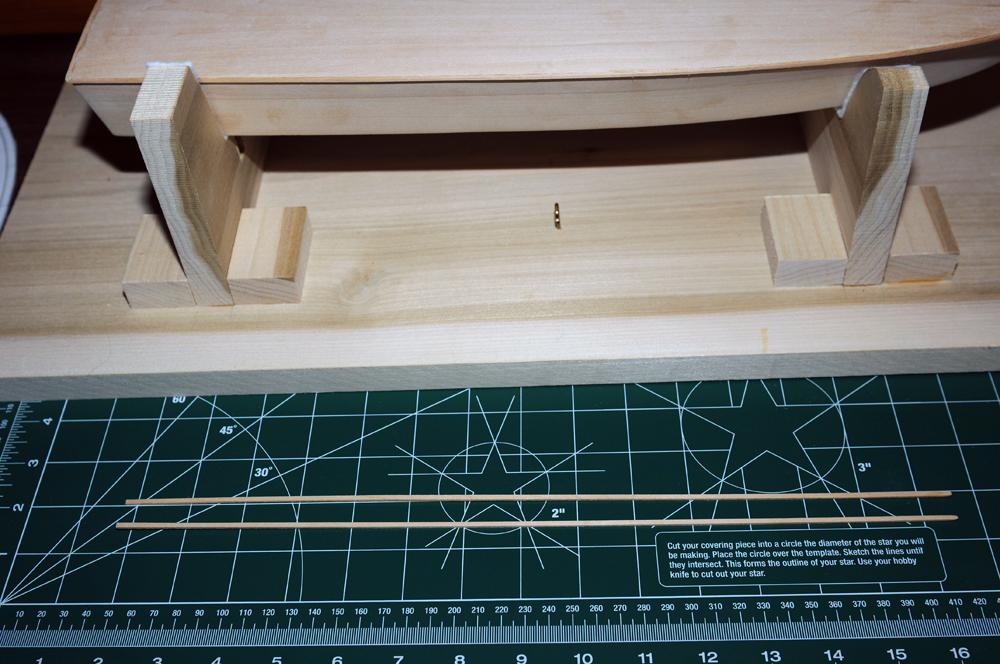
My next step will be to locate and drill the Stanchion Bases, Jack Staff Base and Overboard Discharges. All holes will be 1/16" diameter and about 1/8" deep, then I will then insert aluminum tube cut to proper the length. When sanded they will extend above the deck and out from the side of the hull .005". Cheers, Tim
-
Looks like you are doing a very nice job, I look forward to seing more photos in the near future! Cheers, Tim
-
Mark, I agree! Sure would have been great to be stationed aboard one back in their hayday! Tim
-
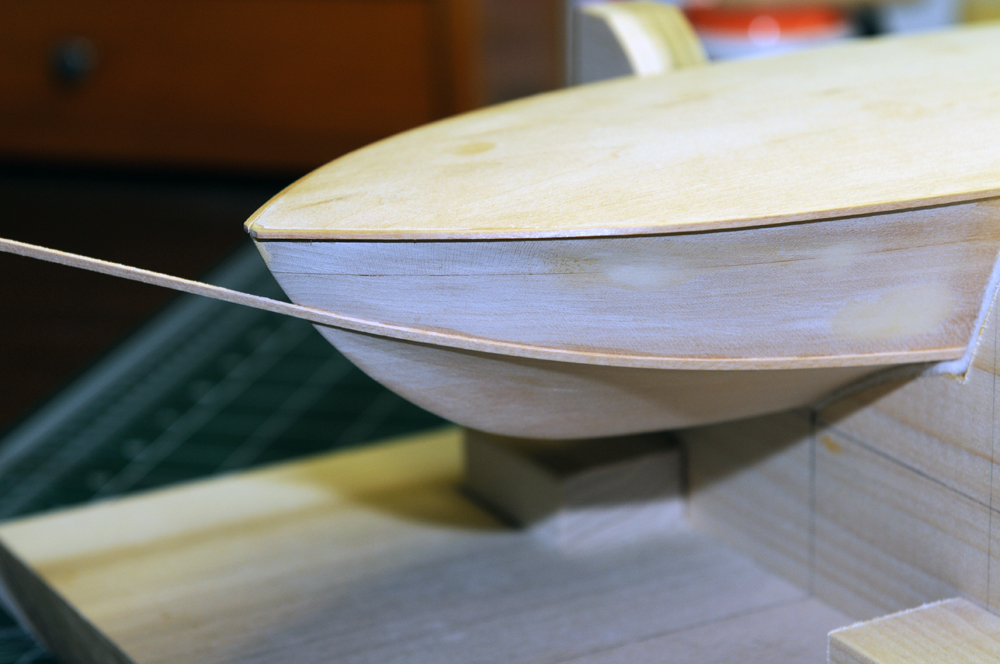
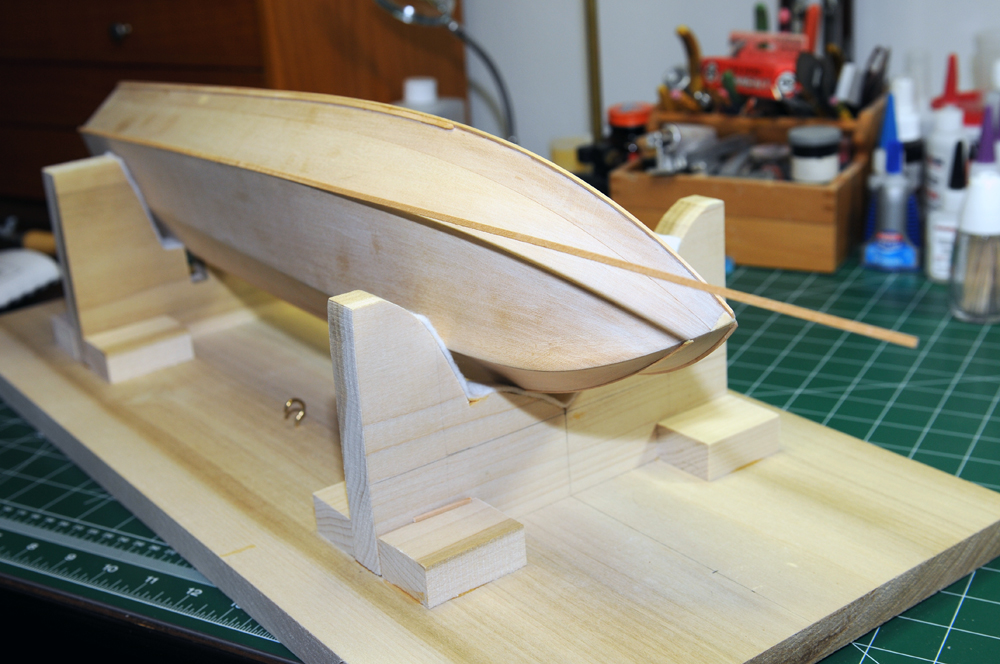
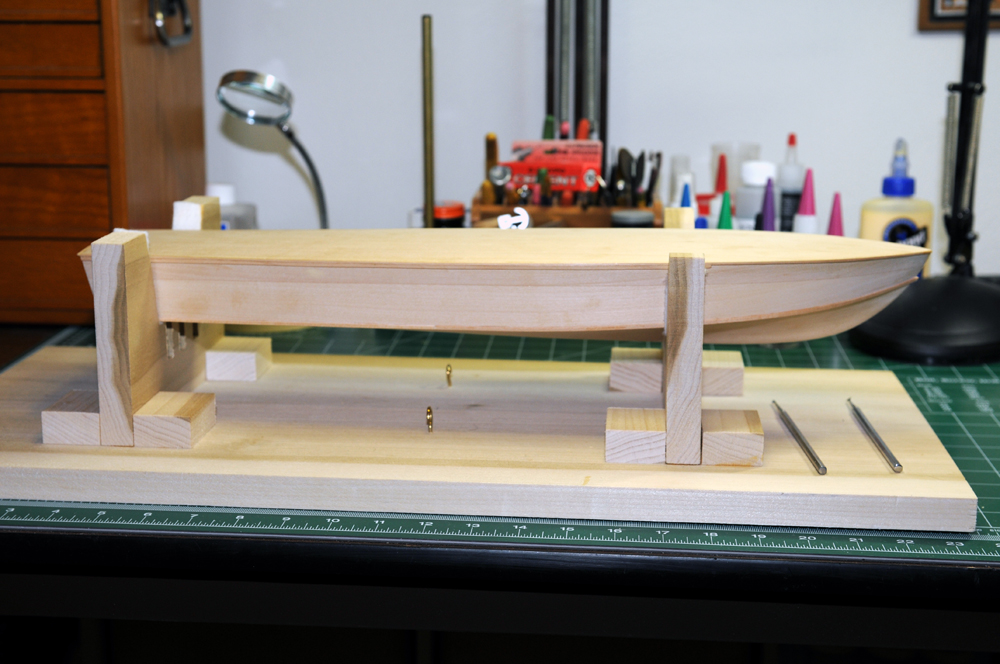
Well I finally got a chance to get back to the build, too many real world issues seem to get in the way. Oh well here we go! At this point I have installed the port and starboard 3/64" x 3/32" chine guards, starting from the transom I worked slowly forward to the bow. The next steps will to drill thw holes for the stanchion Bases and the overboard discharges.. Cheers, Tim


-
Hi Brian, The hull is solid basswood. It would be a ton of work to somehow convert it to accept RC. Cheers, Tim
-
Hi Alfons, I planed to seal/prime the hull after I installed the Chine Guards, which will be my next step. I agree with you, it's very easy to dent or scratch the hull at this point. Cheers, Tim
-
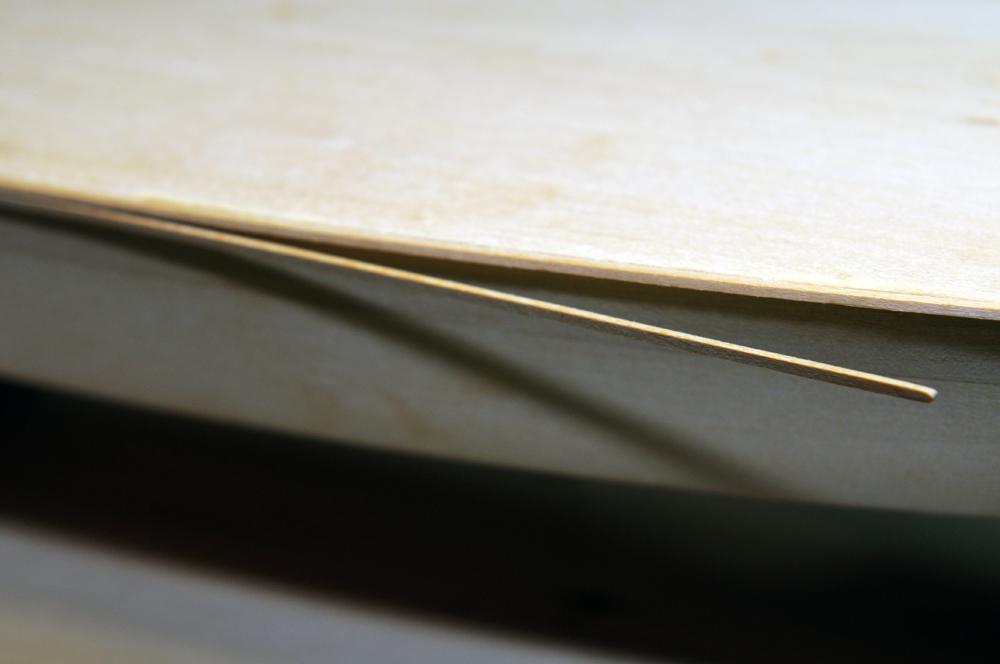
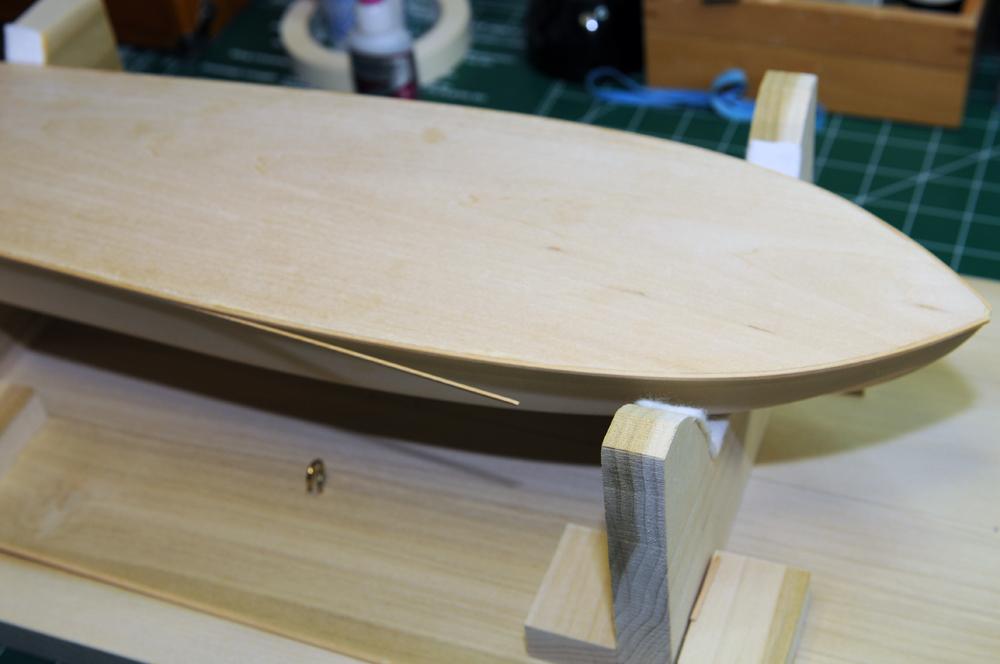
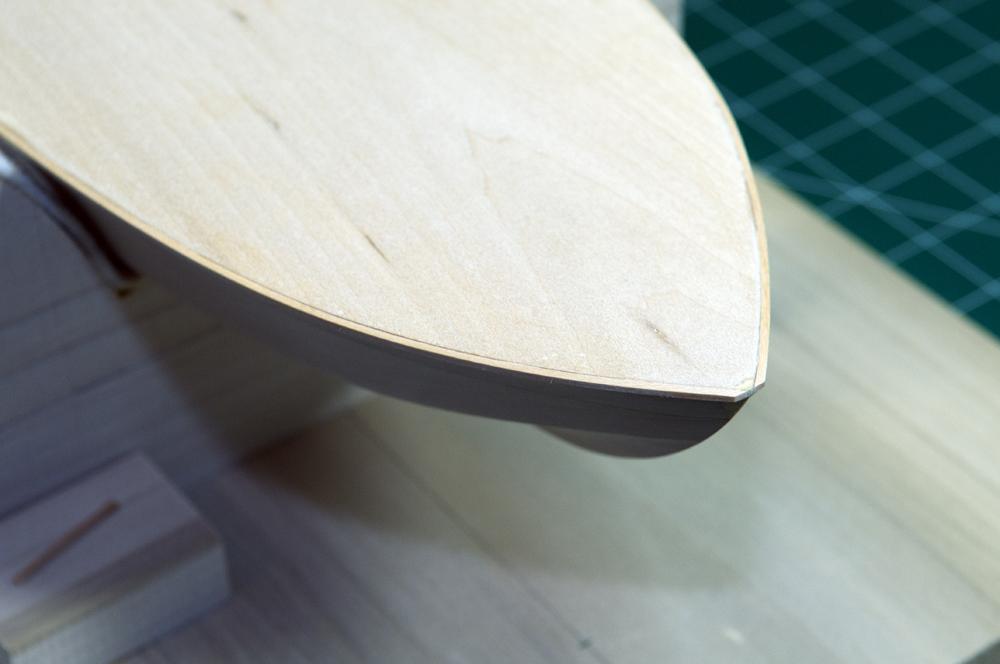
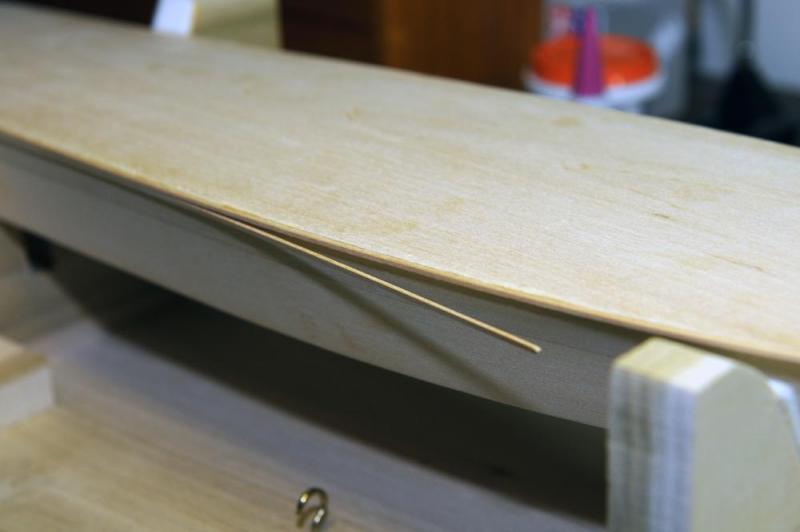
Greetings, My next step was to prepare the 1/32" x 1/16" Sheer Clamps. After fitting and rounding the forward ends they are glued to the hull and the bottom of the Deck Edge Guards. Cheers, Tim


-
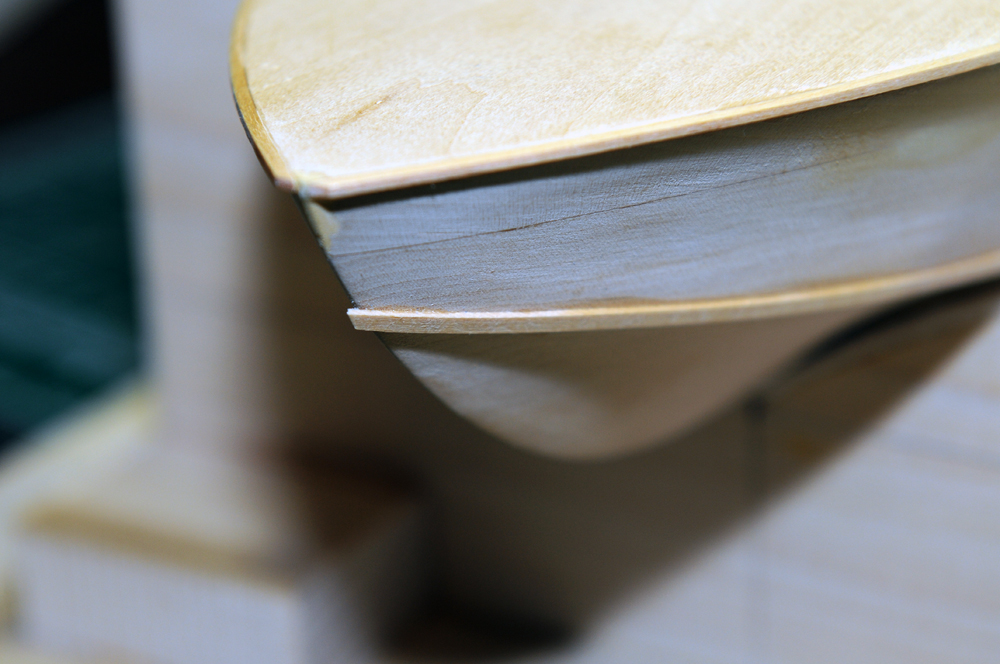
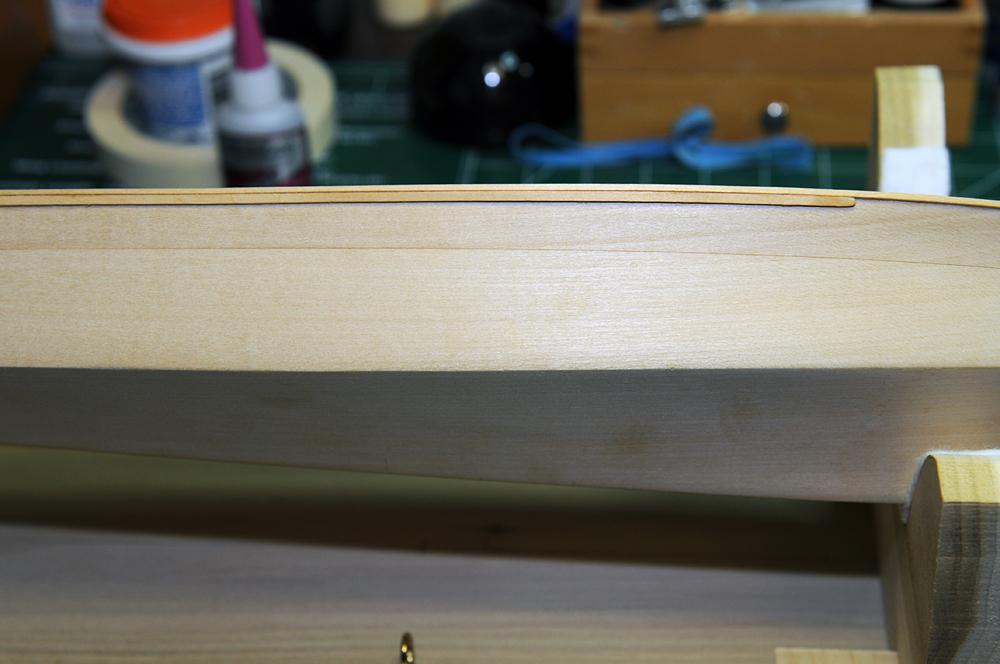
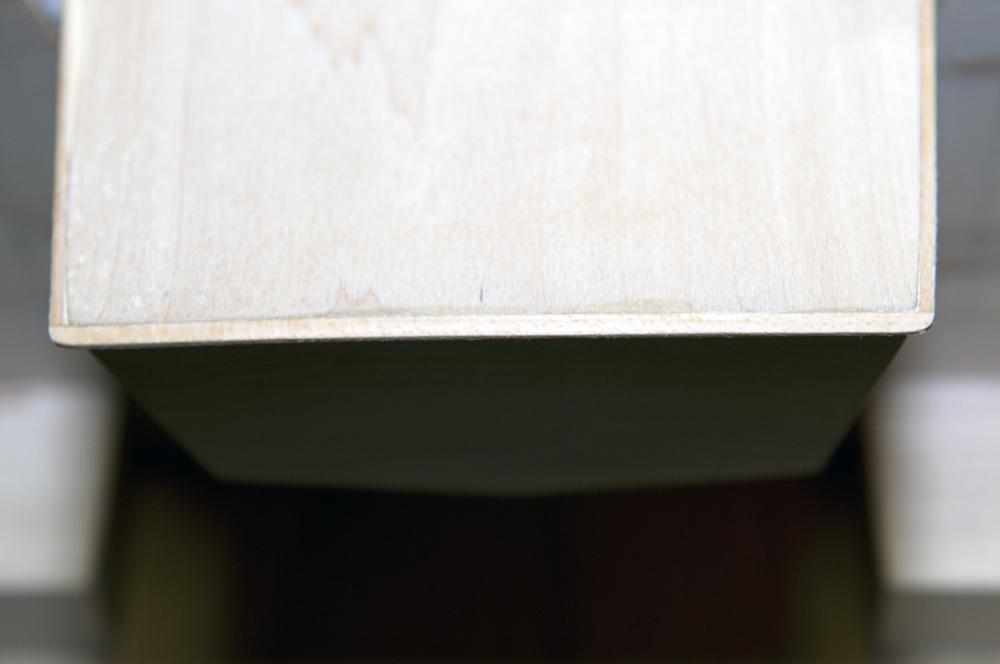
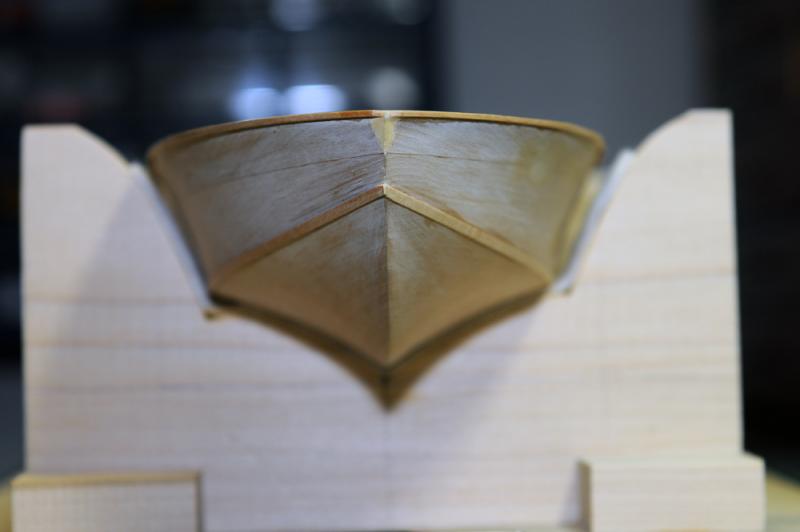
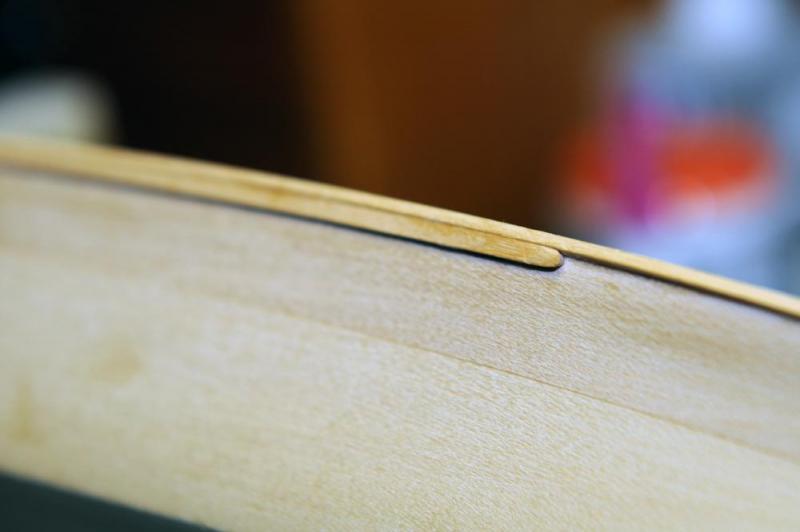
Greetings, View of stern Edge Guard attached and shaped. Cheers, Tim
-
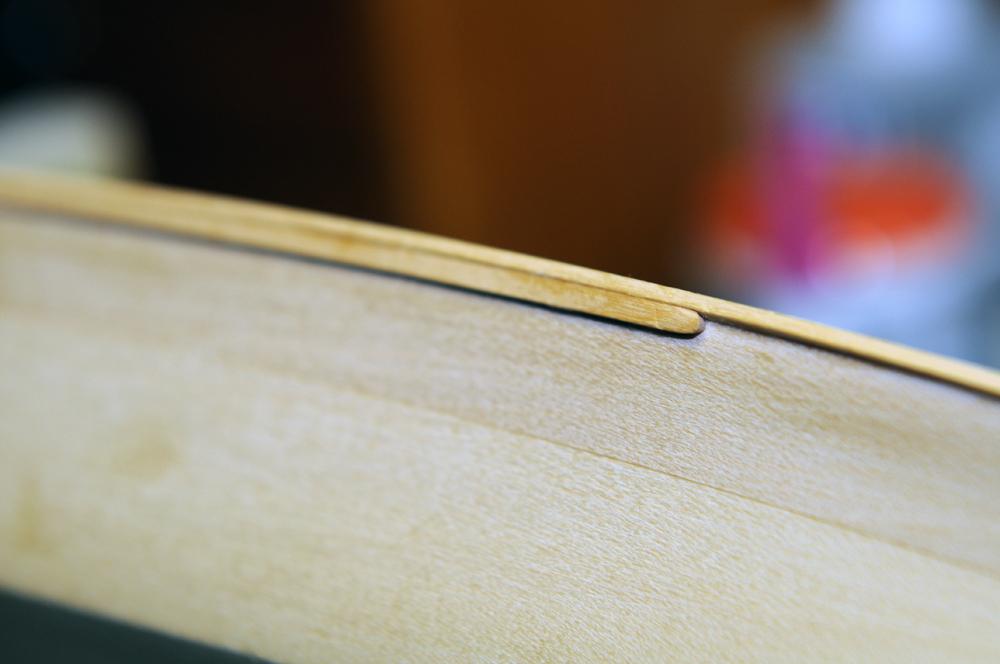
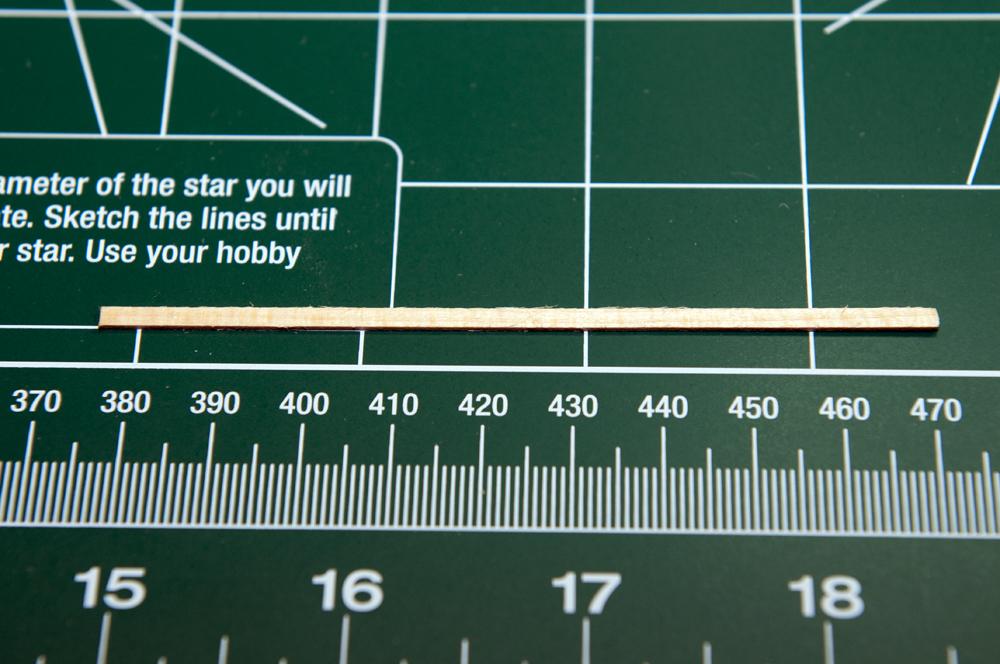
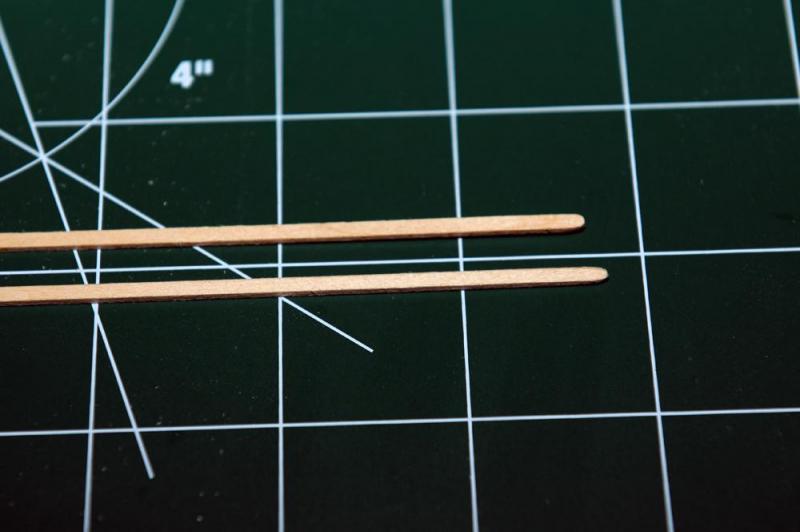
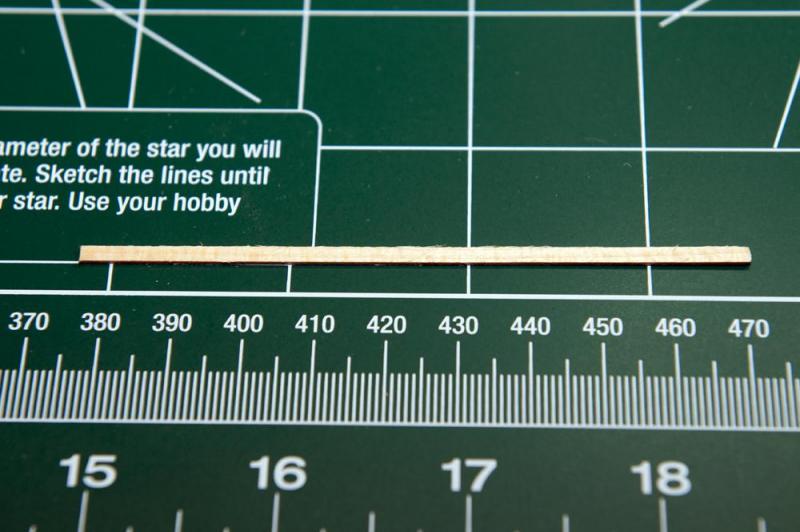
Greetings, At this point I have cut the stern 1/16" x 3/32" Deck Guard to length, roughly 3.75". Cheers, Tim
-
Greetings, My next step is to attach the stern Deck Edge Guard and the Sheer Clamps. Cheers, Tim
-
I can hardly wait to see this completed! What beautiful work!!! Cheers, Tim
-
Thanks you guys, Alfons is 100% correct with the observation that sanding gets old fast! Cheers, Tim
-
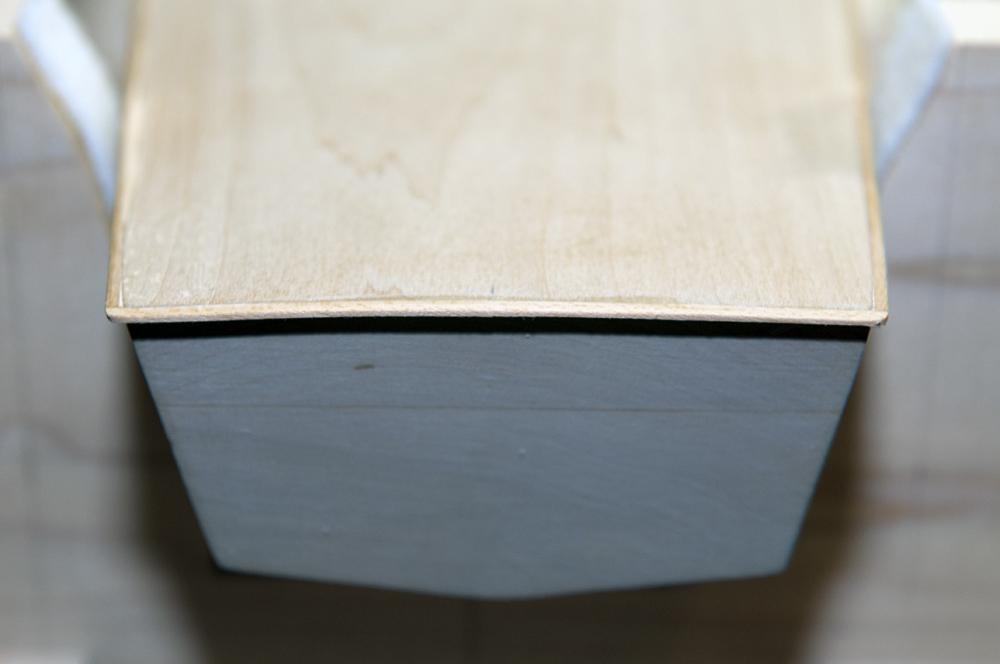
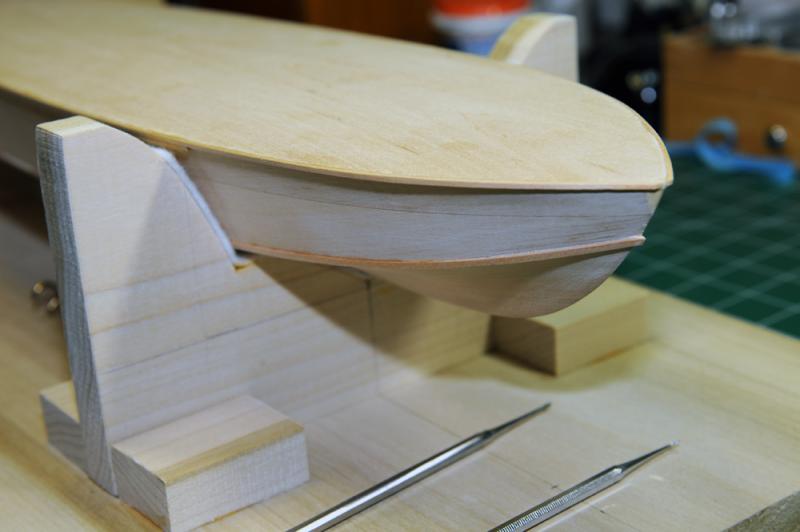
Bow section with both Deck Edges attached. Cheers, Tim