HOLIDAY DONATION DRIVE - SUPPORT MSW - DO YOUR PART TO KEEP THIS GREAT FORUM GOING! (Only 20 donations so far - C'mon guys!)
×

Timothy Wood
-
Posts
571 -
Joined
-
Last visited
Content Type
Profiles
Forums
Gallery
Events
Everything posted by Timothy Wood
-
 Ship Shape, Thanks for the encouragement. So far it's been a fun build, even though Im not too far into it! Cheers, Tim
 -
Normanh, Simply outstanding! I will enjoy watching your build log! Cheers, Tim
-
Greetings, Just got off the phone with BlueJacket Ship Crafters in Maine, I ordered a new set of shaft struts. A fellow member of Hampton Roads Ship Model Society (HRSMS) has offered to cast them in resin for me. I believe I'll take him up on his offer because is should be much easier to drill the openings for the shaft in resin over cast metal. I did start to work on the Chart House and Day Cabin last night, they are now at the proper height. Cheers, Tim
-
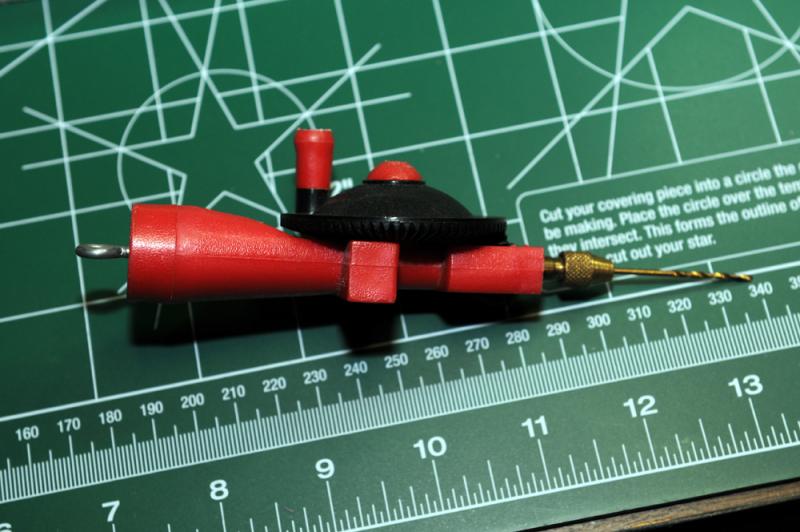
Greetings, Today I made the attempt to drill out the Struts so the shaft can be inserted. My attempts to say the least ended in failure, the reason is there is very little room for error when drilling the strut. The strut housing is a little larger than 1/16" diameter. I even started with a pilot hold with a #75 drill, then switching progressively to larger diameter drill bits until reaching the desired 1/16" bit size. (I must return to the drawing board with this problem). One solution I have thought of and may very well try is to cast the struts in resin. This will give me a part which can be easily and slowly hand drilled with a pin vise and bit. Cheers, Tim
-
Thank you, Harvey!
-
Thanks Gerty! Tim
-
She's looking very nice! It's a pleasure to follow your build! Cheers, Tim
-
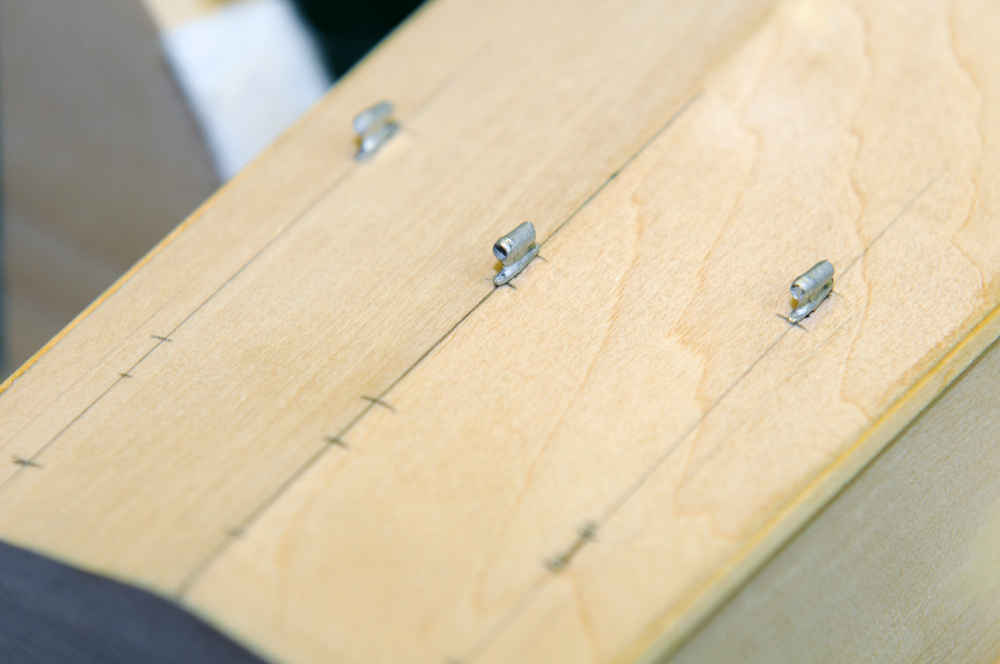
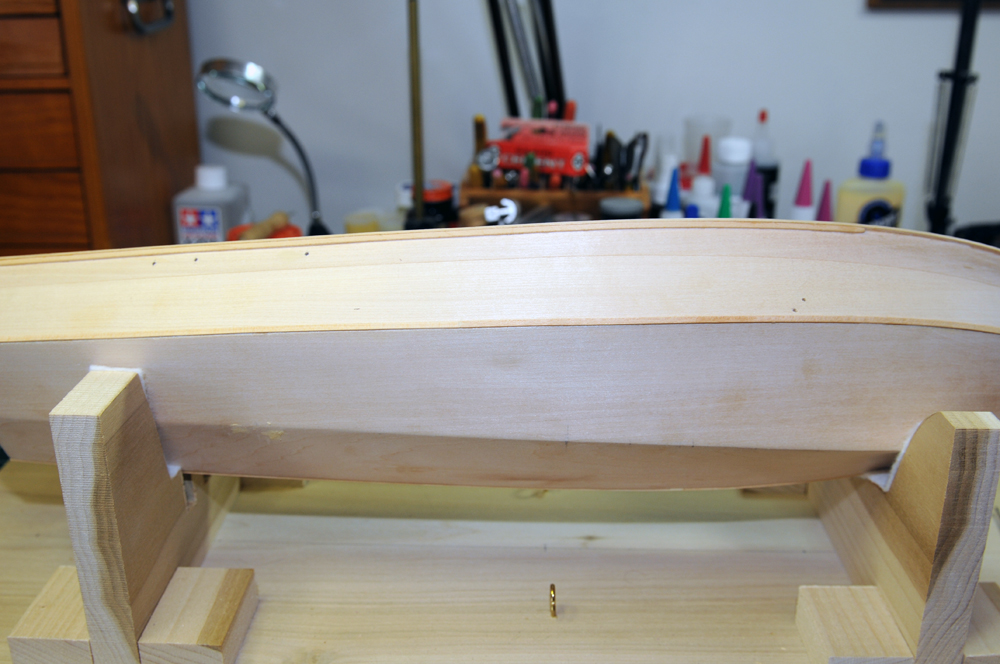
The final photos are of all the struts in their correct locations. The next step is to drill out the shaft struts with a 1/16" drill bit. Cheers, Tim

-
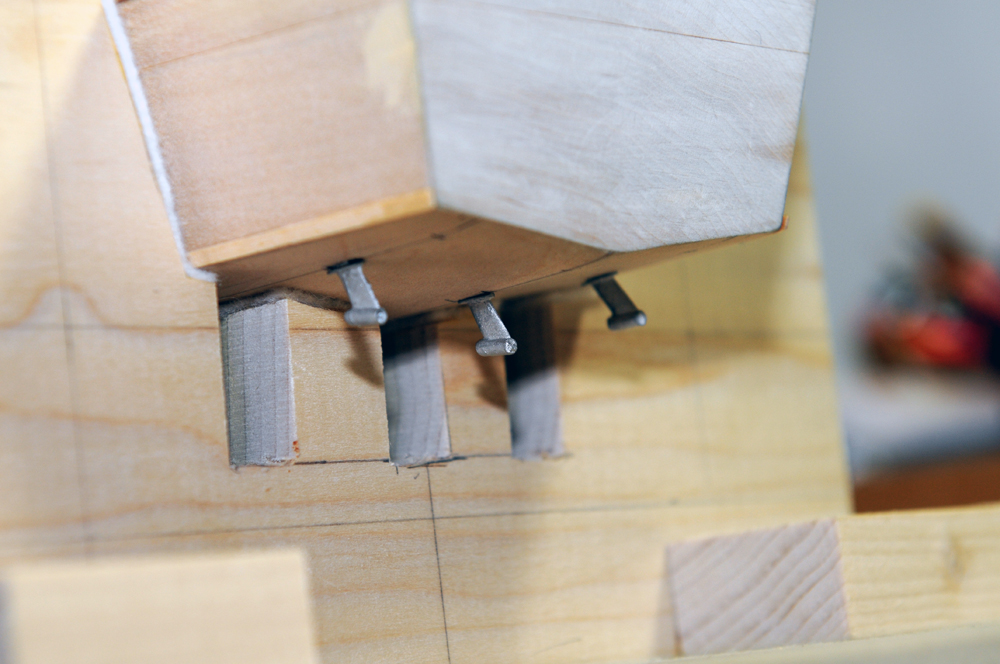
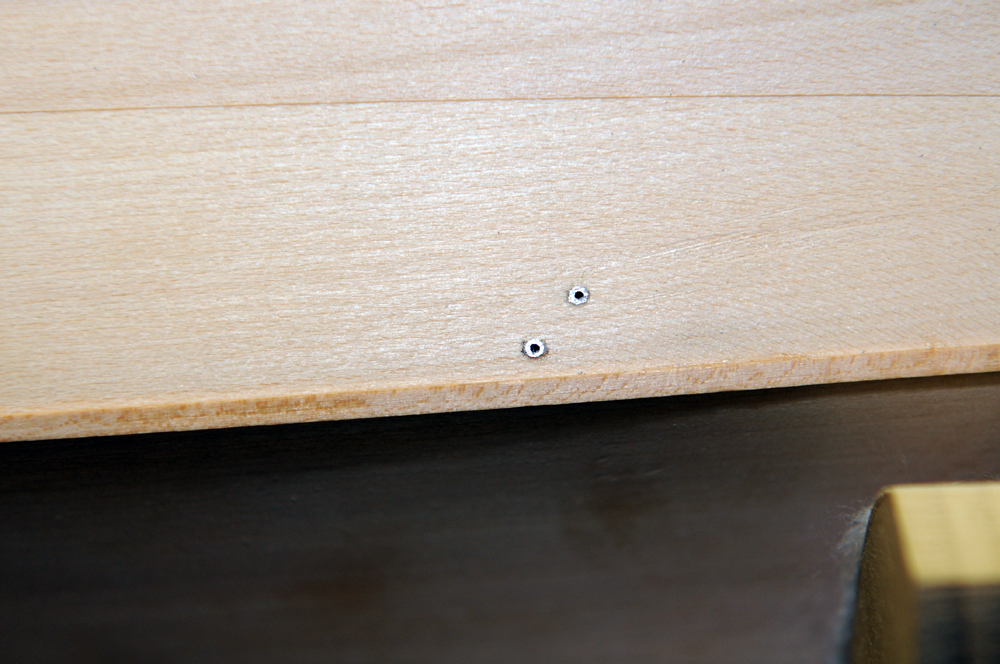
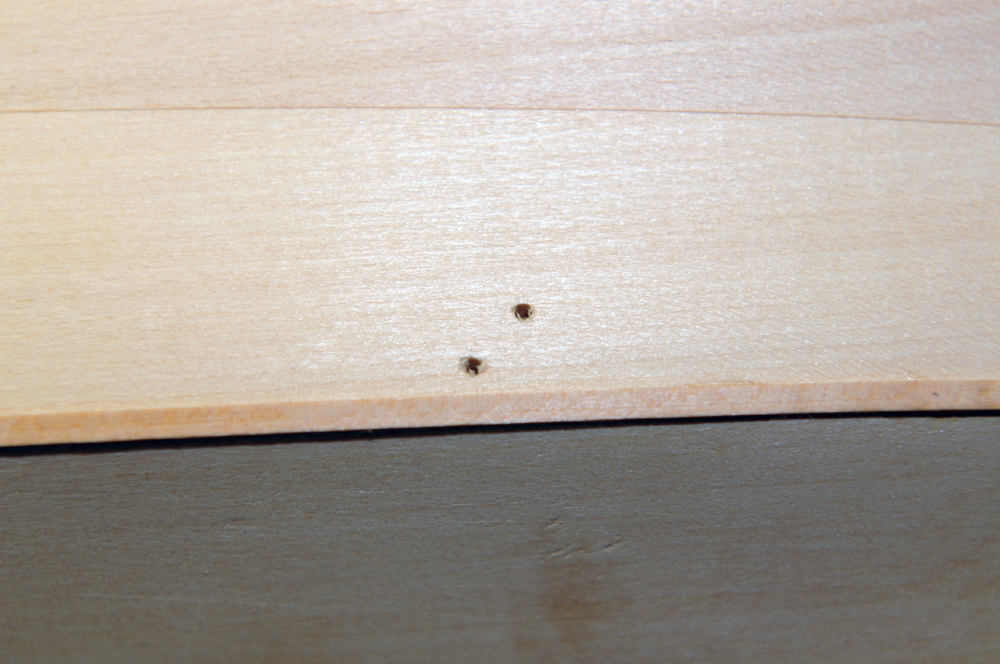
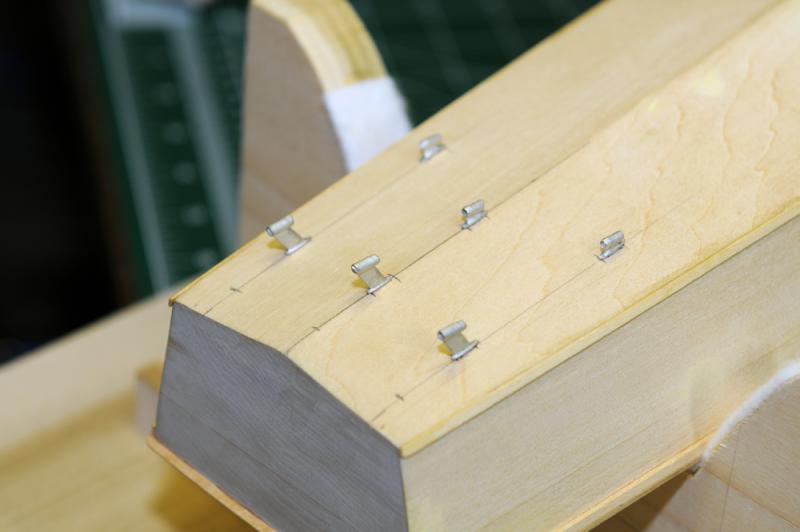
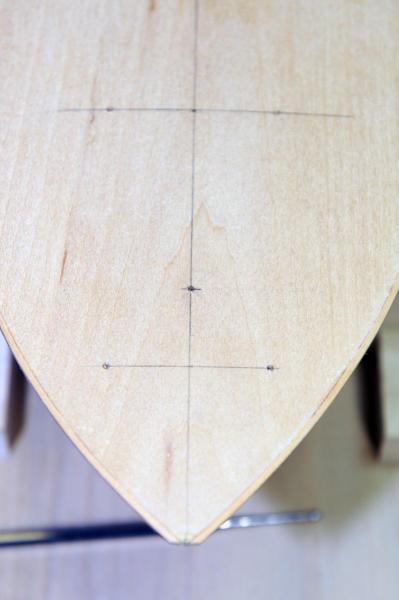
After I marked the hull for placement for the rudders, struts and shaft bosses, I used a #75 drill to drill the holes for the rudders. The next step was ro cut the slots for the locating tabs on the struts, this was accomplished by using a hobby knife blade. Pictured below are the forward struts in their proper location.

-
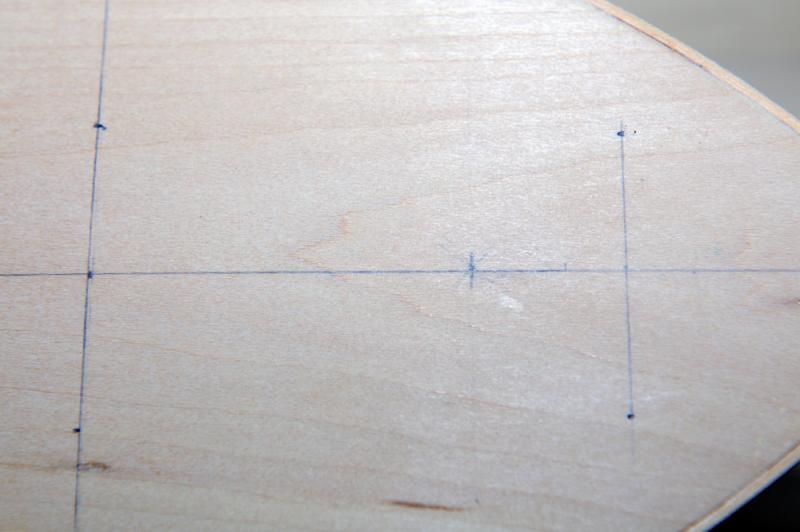
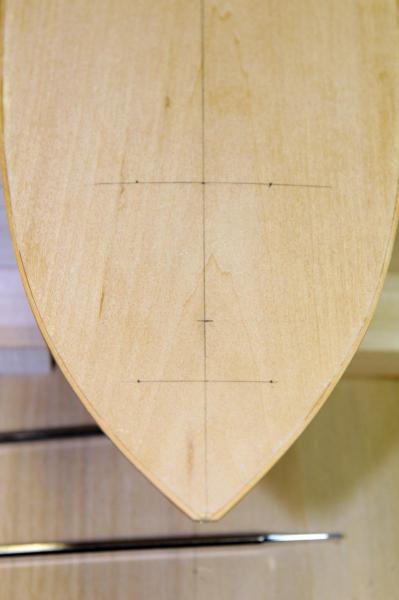
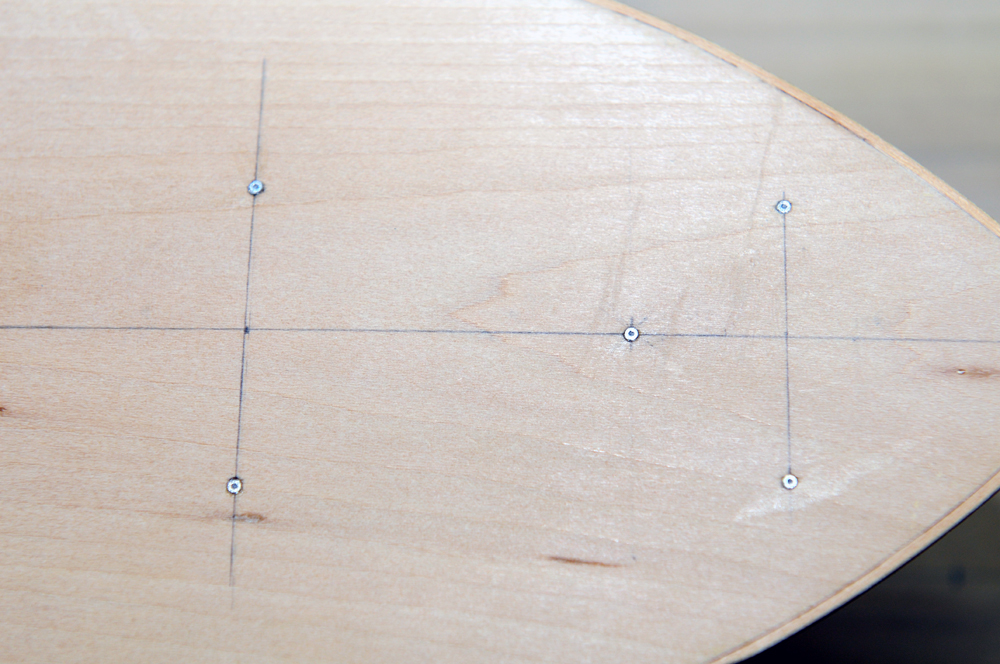
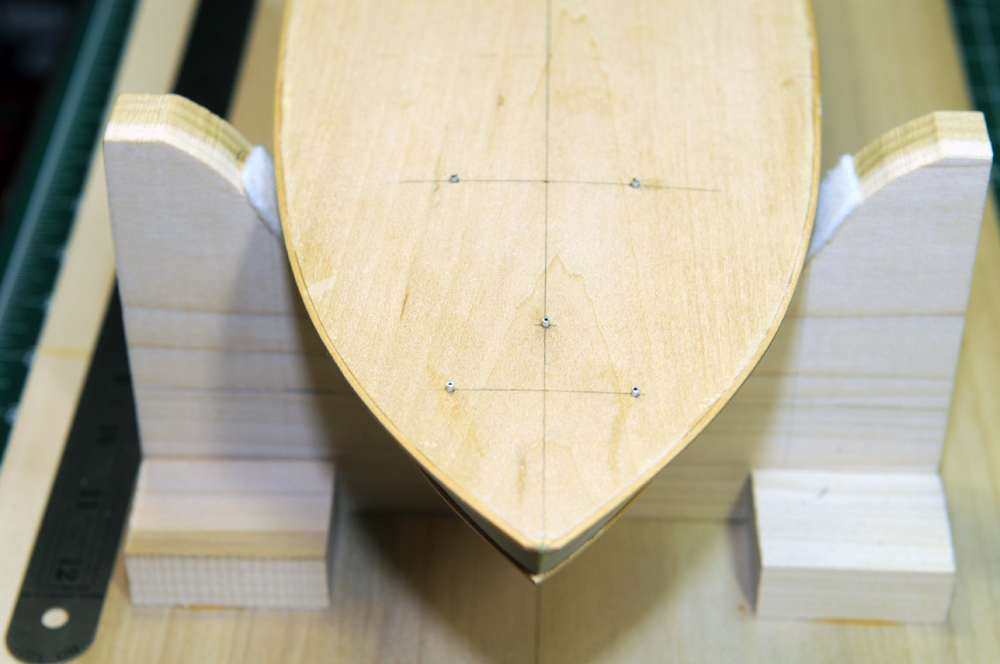
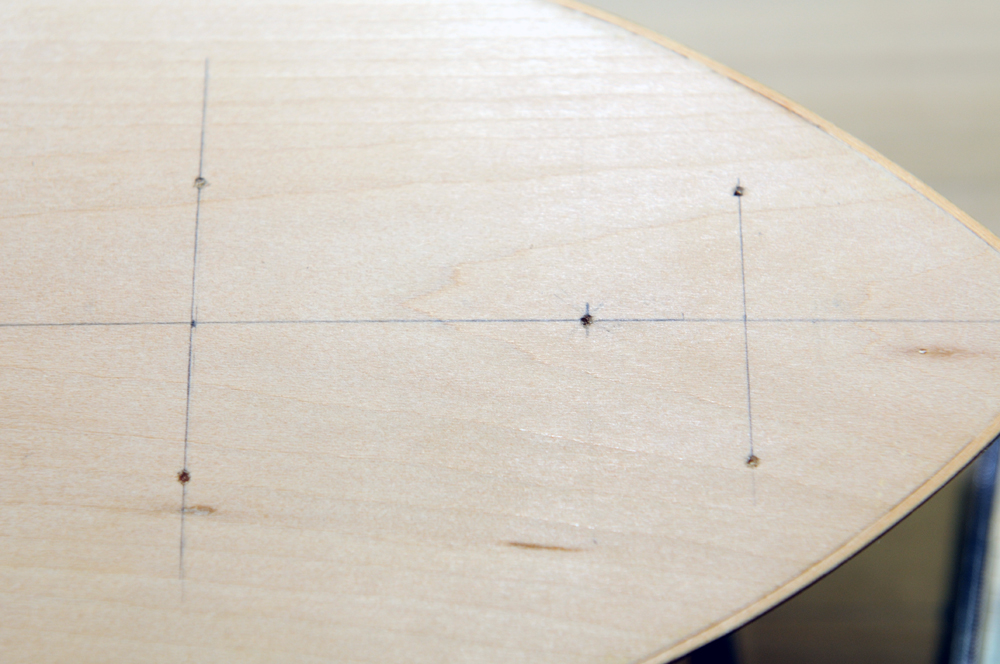
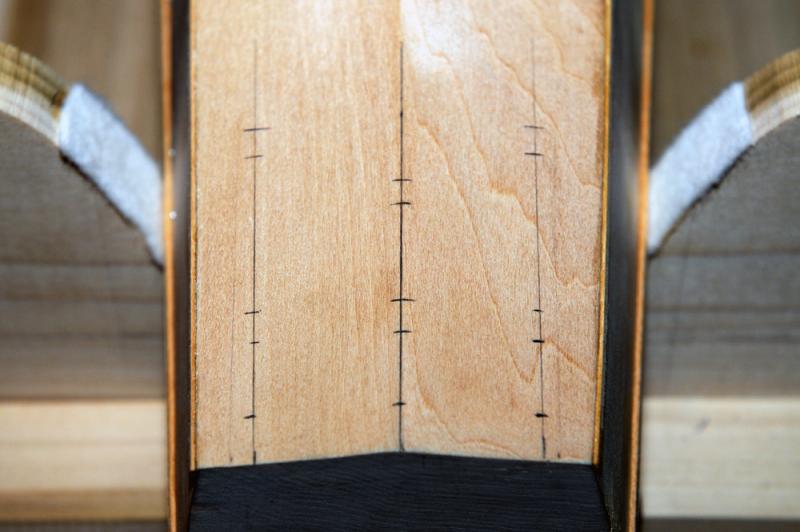
My next step was to mark the locations of the struts, rudders and shaft bosses.
-
Many years ago I purchased a kit of Blue Nose II by AL, sorry to say there were many things wrong with the kit, the worse being the hull. It was slab sided, it didn't even look close to the actual schooner. Needless to say it would have taken much rebuilding to make it correct! The only good thing I can say about it was that I learned how to planke on that kit. I would never, never buy anything AL again. Cheers' Tim
-
All I can say is FANTASTIC..... Tim
-
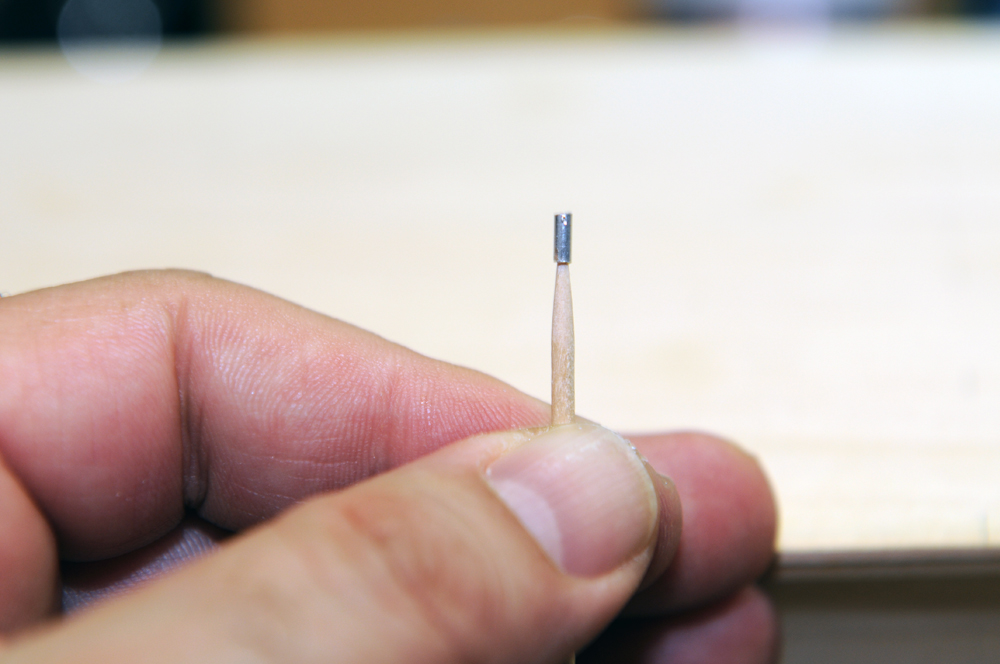
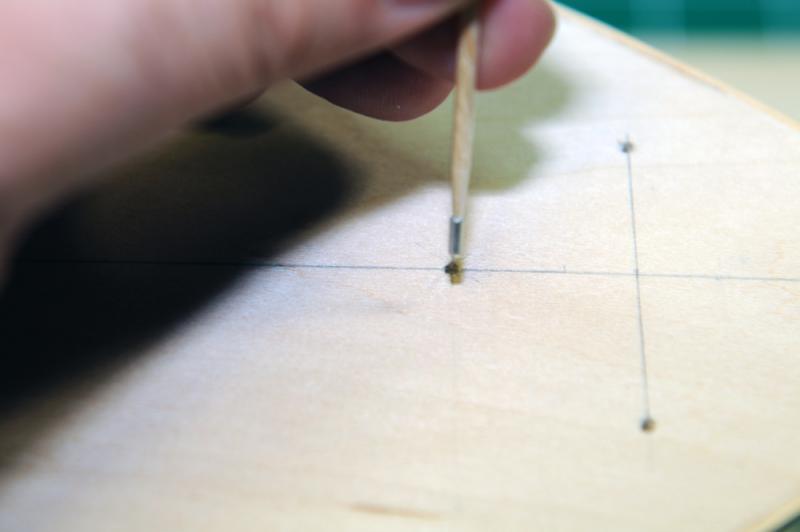
Thanks Harvey, I was siting there trying to fit them in the holes with my fingers, and not having much luck I might add, then it hit me. The end of the tooth pick just might work to hold the base, needless to say it worked perfect! That just may be the only bright idea I have all year! On to marking and placing each Shaft Boss. Cheers! Tim
-
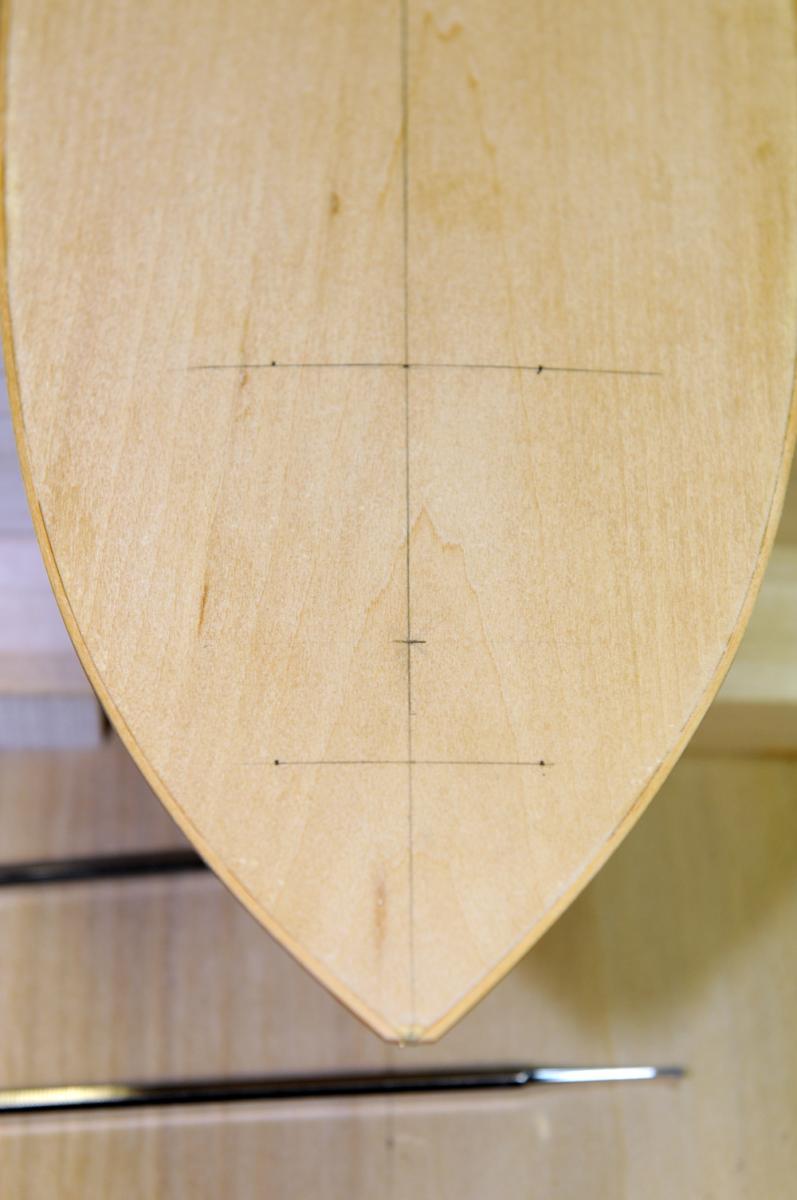
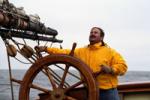
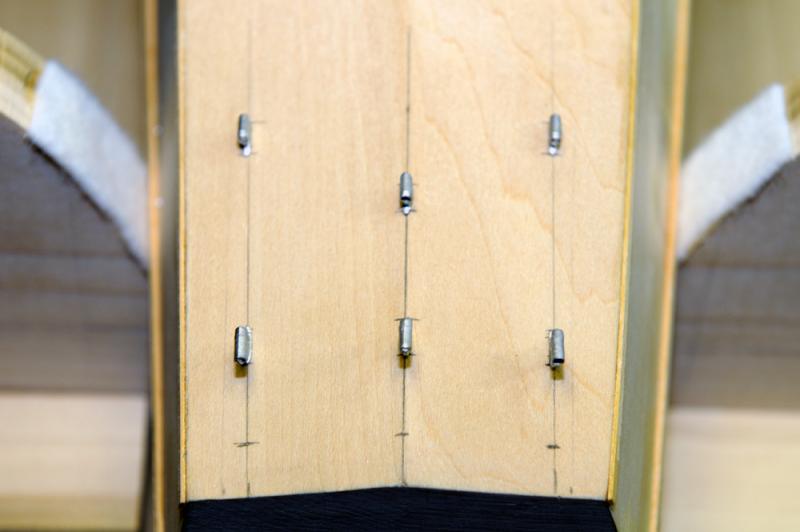
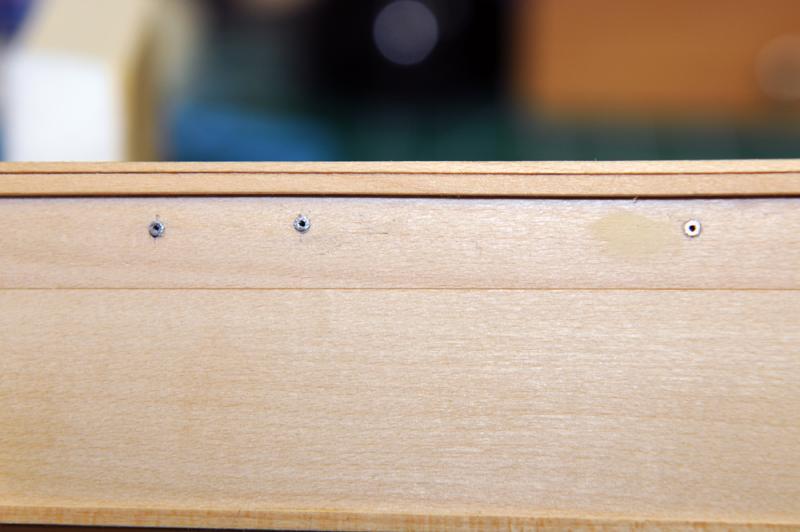
Greetings, The next step was to file the stanchion, jack stand and discharges to proper height, 005". Cheers, Tim

-
I found the easiest way to handle the stanchion bases was to insert a toothpick into the end, it made it very easy to insert the bases into the deck holes. Once the glue dries the stanchion bases will be filed doen to .005" above the deck, this is about the thickness of a piece of photo etched brass. Cheers, Tim


-
Wow! Really nice work, she sure is a pleasure to look at! Tim
-
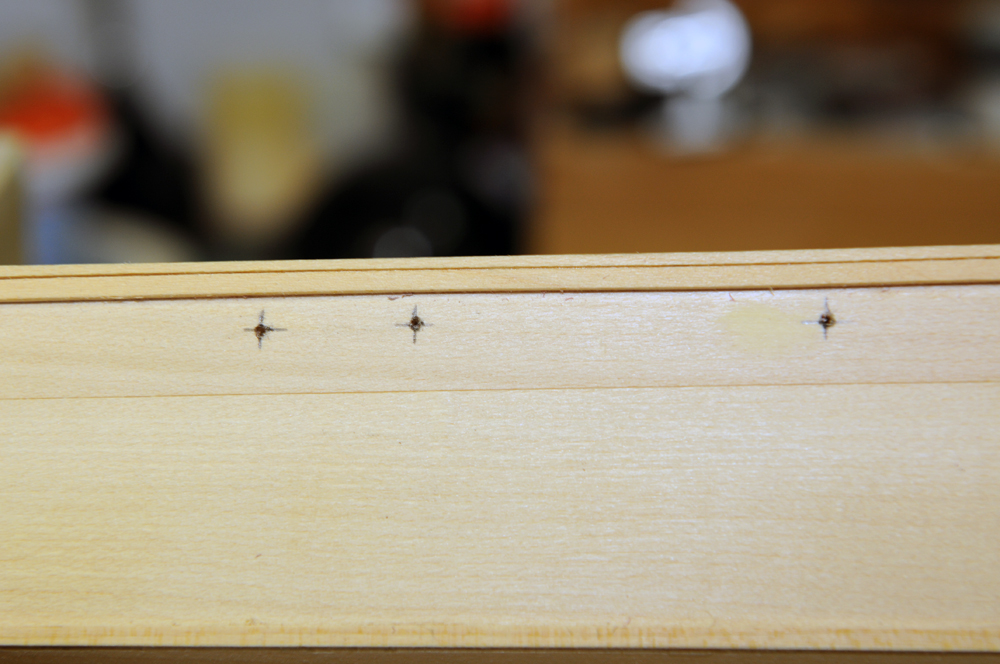
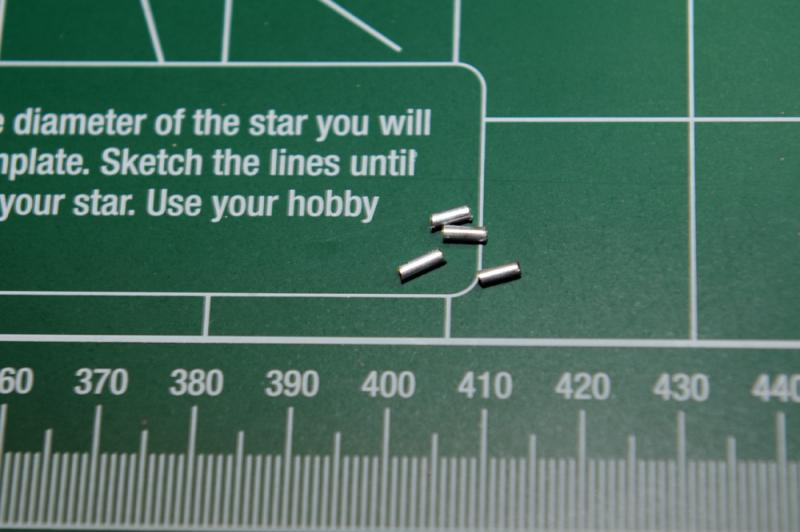
My next step was to cut the stanchion bases to 3/16" length, which is 1/16" longer than the hole for the is deep. They will be filed down to .005" above the deck which is about the thickness of a picee of photo etched brass.
-
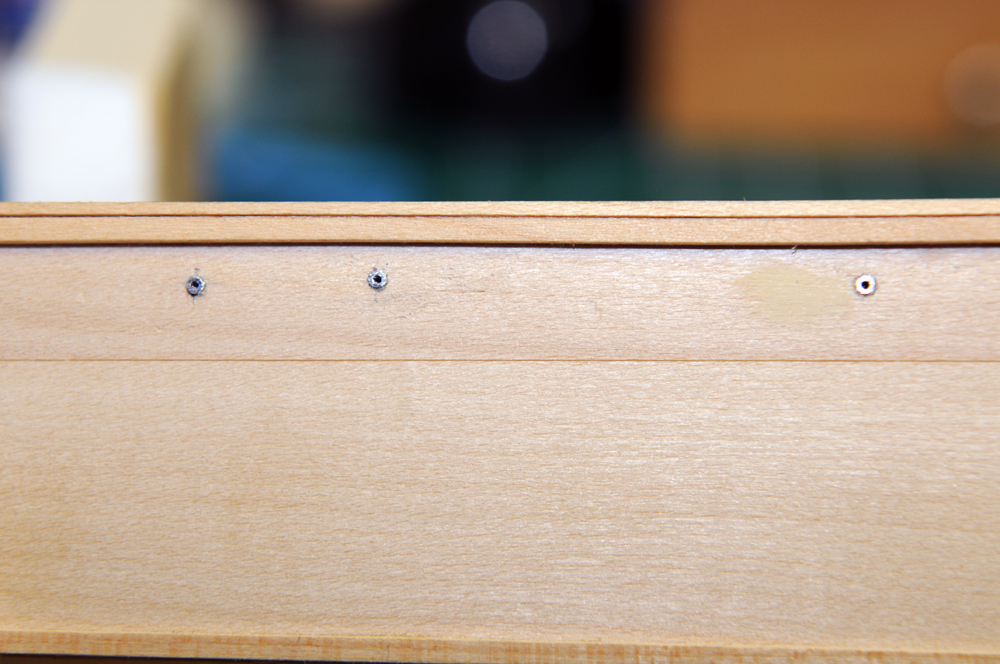
Greetings, Here it is Saturday and I'm finally getting back the kit. Funny how the real world gets in the way of the things we like! Oh Well here goes!!! The instructions only show and mention the starboard side of the boat, which didn't set with me, I contacted a fellow PT Boat scratch builder in our club and we mulled ove the question of discharges points only on the starboard side, he suggested I look at www.PT-103.com web site. He stated they have all kinds of information including the original PT parts catalog and many orignal drawings. (PDF Files) His lead really paid off, I found there are in fact discharges on the port side not mentioned in the instructions, I also found many water pickups located on the underside of the hull, from the orignal drawings, at this time I choose not to add these to my model. Below are photos of the starboard discharge points, I will also add the port discharges to to the model for accuracy. Cheers, Tim
-
Very nice work on your kit, sje is a pleasure to look at! I look forward to following the rest of your build! Cheers, Tim
-
A very nice job, keep up the good work! I have the same kit but havn't started it yet I need to get a little more build tome under my belt so to speak! I spent a week out in the Pride II back in the early 2000's, went from Baltimore, MD to Newport, RI. Needless to say it was a fantastic trip, if you get the chance to sail on her even for a day do so! The photo is ofmyself at the helm of the Pride II. I look foreard to following your build! Cheers, Tim
-
Alfons, You may want to do a google image search of American Fishing Schooners along with Bluenose II. Cheers, Tim
-
Alfons, Its been a while since I've checked in on your build, and I must say again what beautiful workmanship. Truly artwork in wood! It truly is a pleasure following your build log! Cheers, Tim
-
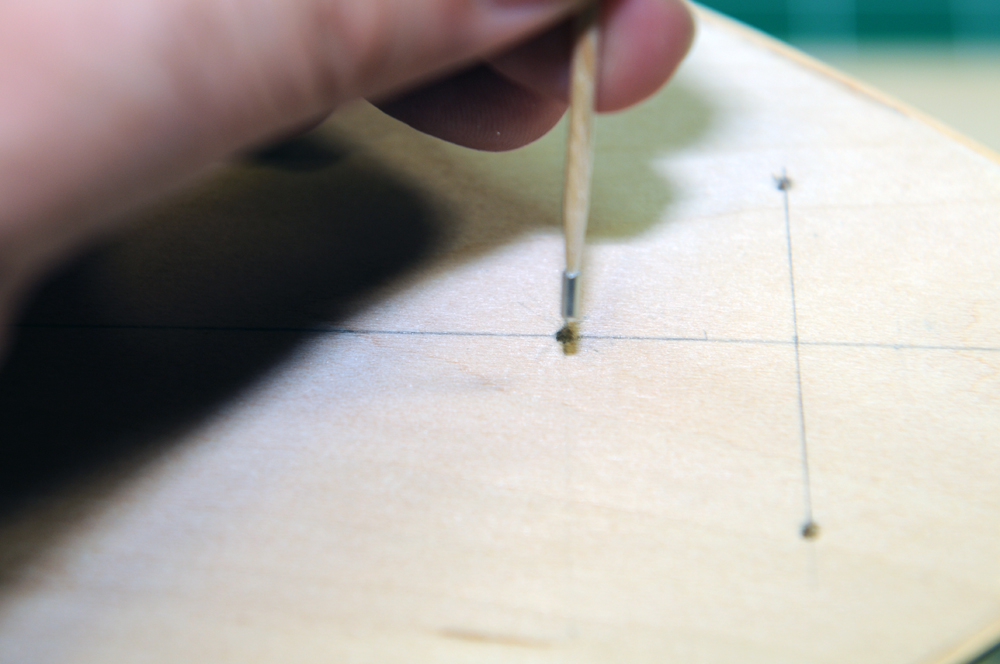
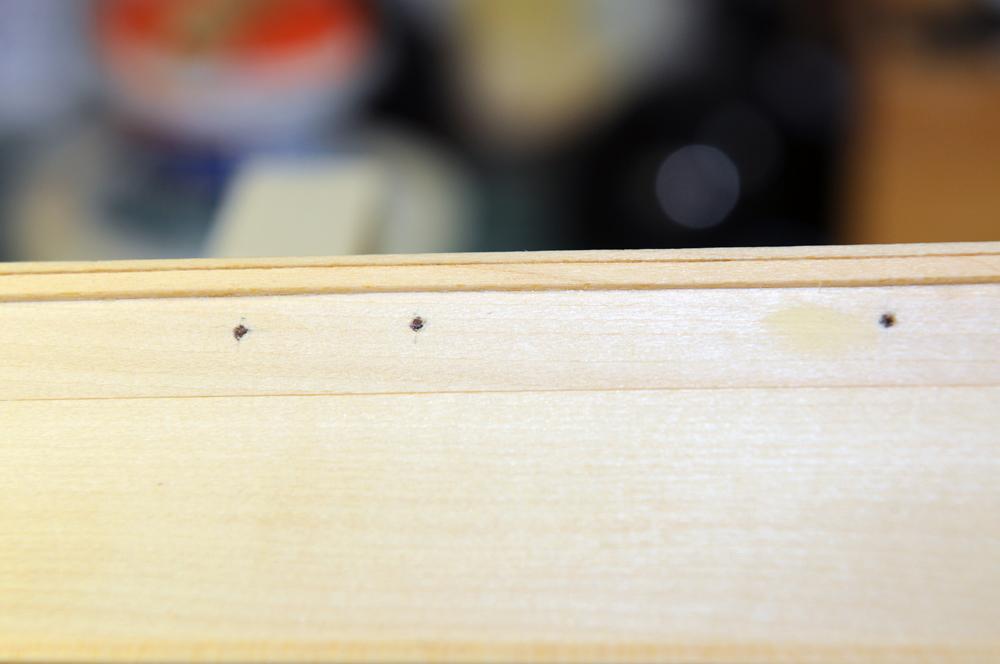
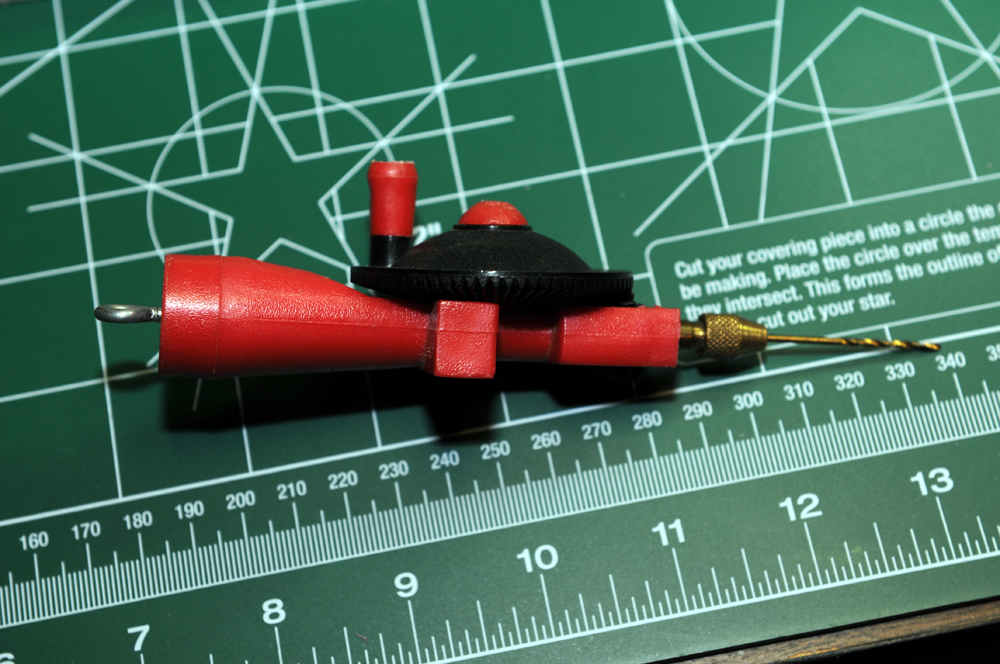
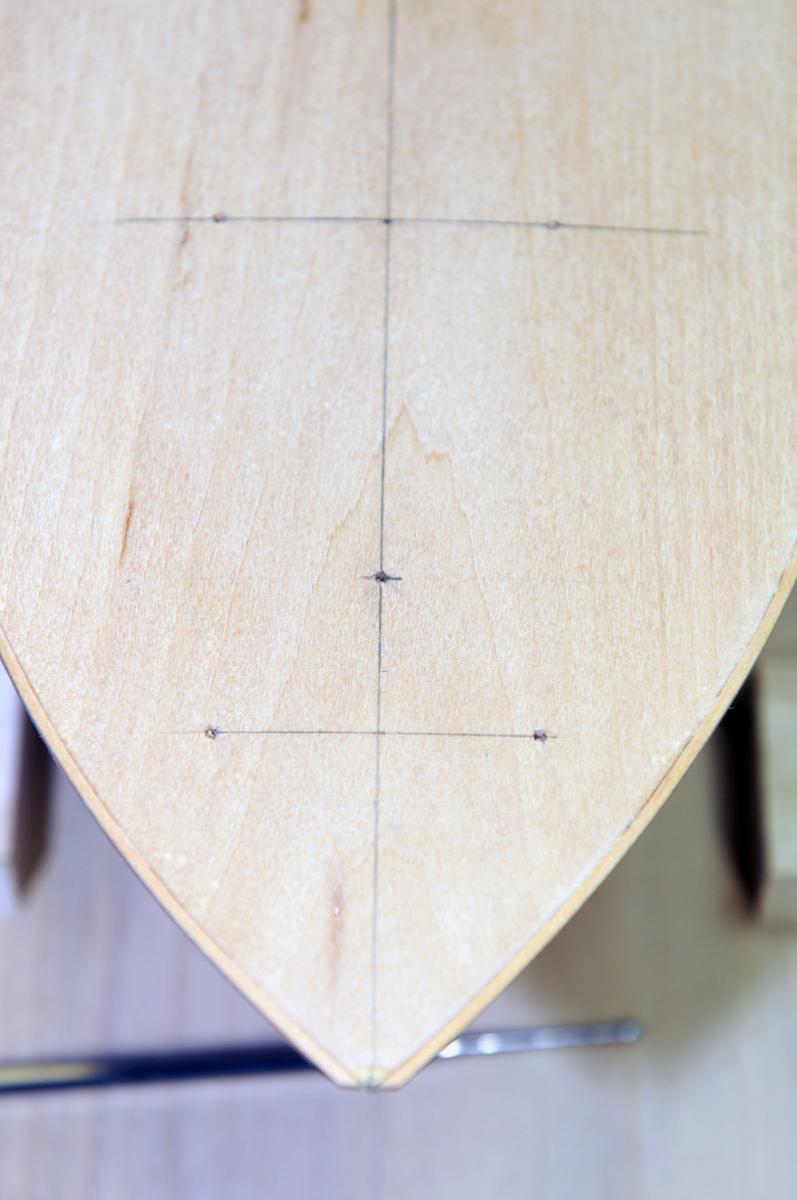
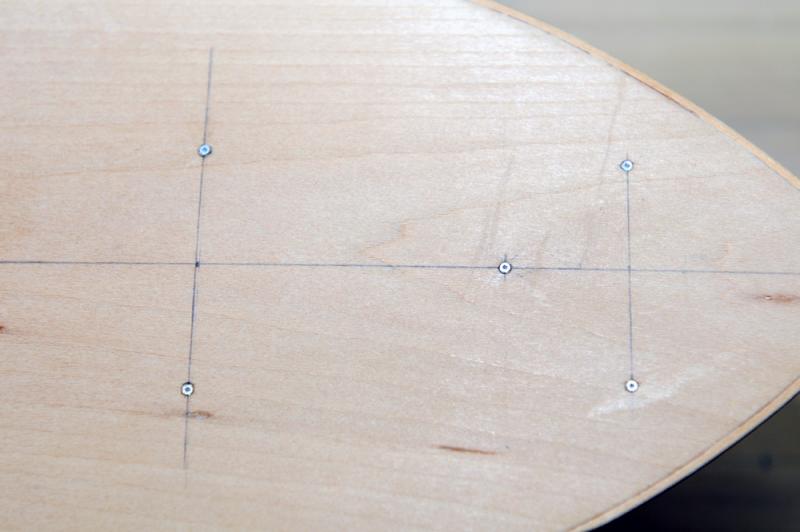
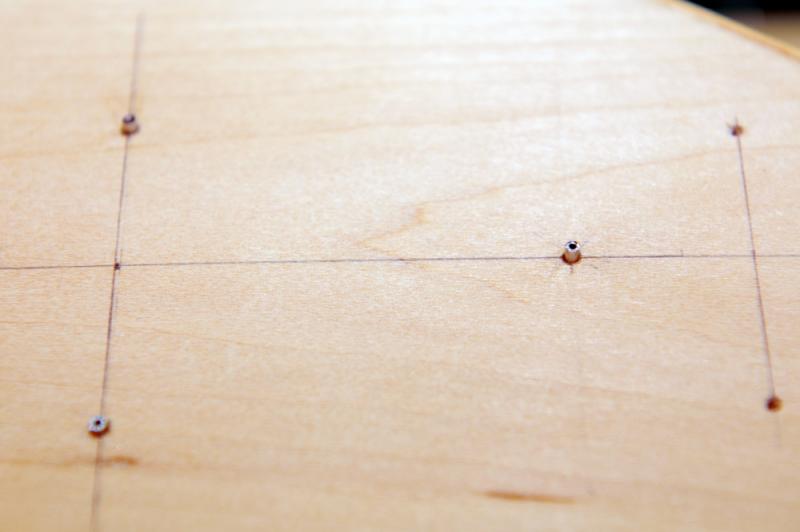
I decided to use my miniature egg beater style hand drill because it gives me precise speed and depth control. I used a fine point Sharpie to mark 1/8" depth on the bit. Following two photos are of the holes for the stanchion and jack stand bases. On to the discharge openings with my next post. Cheers, Tim

-
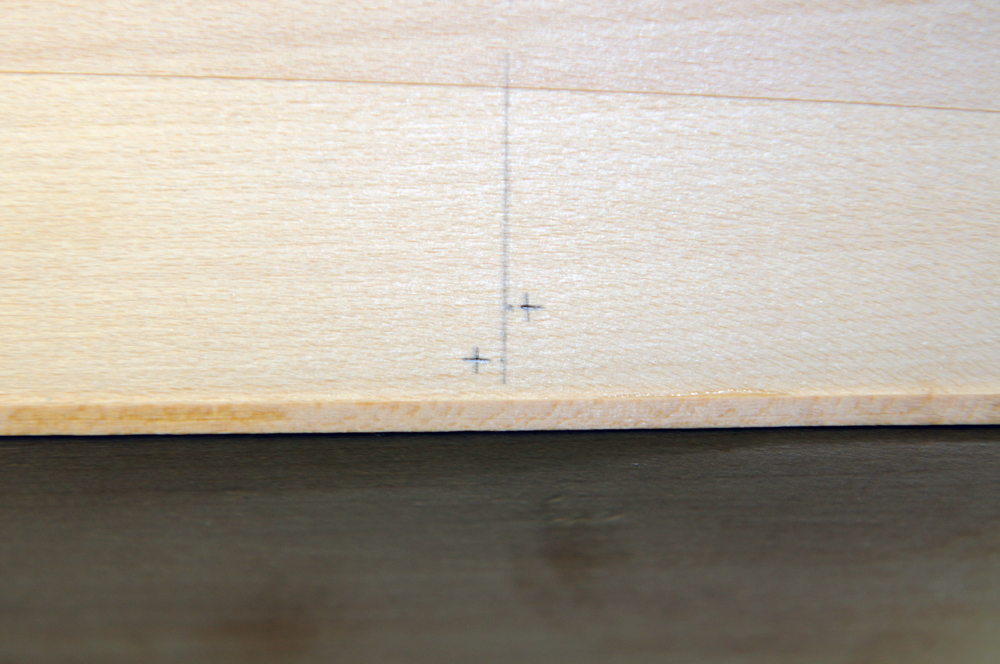
Greetings, My next step is to measure and mark the positions of the stanchion and jack stand bases. Cheers, Tim