Hubac's Historian
-
Posts
3,308 -
Joined
-
Last visited
Content Type
Profiles
Forums
Gallery
Events
Everything posted by Hubac's Historian
-
 I took some time today to read the first 50 pages and other pertinent sections of this dissertation on the development of the naval carriage. It does appear to be true that, in the early days of arming ships, navies sometimes employed a mixture of field carriages and purpose-built naval carriages. These field pieces, as noted by Druxey would be shod in Iron. By the 17th C., however, this practice had ceased and the trucks were made from alternating grain layers. I sometimes wonder whether the authors of these dissertations ever imagine their research making the rounds on modeling forums. I imagine they’d be heartened to know that someone other than the dissertation committee is paying attention. In other news, while fitting my port headrail last night, I have come to the conclusion that the only way forward is to remove these roundhouses. I guess we’ll see how sound a welded bond is, after all.
- 2,699 replies
-
- 9
-

-

-
- heller
- soleil royal
- (and 9 more)
-
I appreciate your argument, here, Keith. I will say though that the quoted advice comes to me directly from the leading living authority on French naval architecture, and I have no reason to doubt him on it. Yes, Mark, you are correct about the Vasa. Tenuous a connection, though it may be, the Vasa is the underlying rationale for my more vivid color scheme. Druxey, we’ll have to see about the head; there isn’t much room for them to move before they encroach upon the beakhead bulkhead ladders, and that may not be enough for the exercise to be worthwhile. Measurements to follow..
- 2,699 replies
-
- 9
-
-
- heller
- soleil royal
- (and 9 more)
-
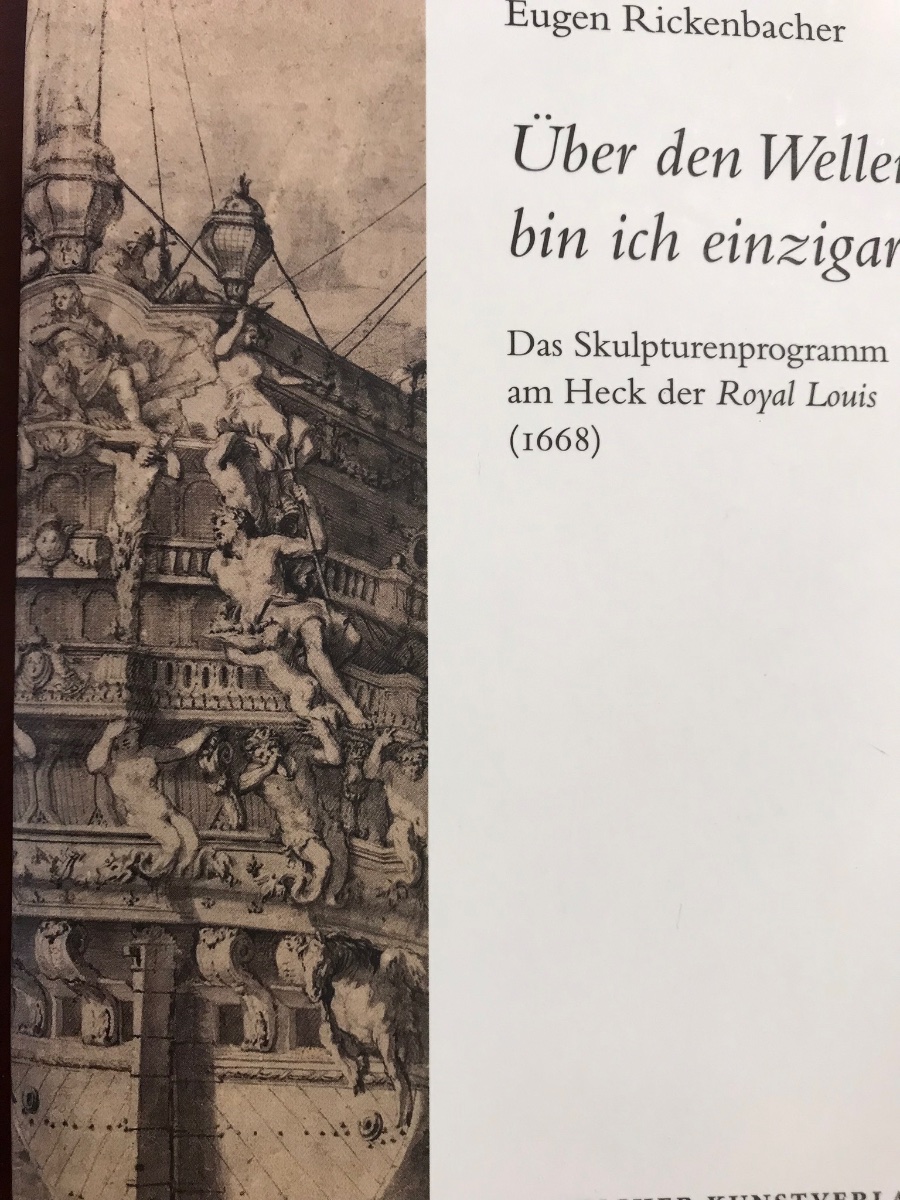
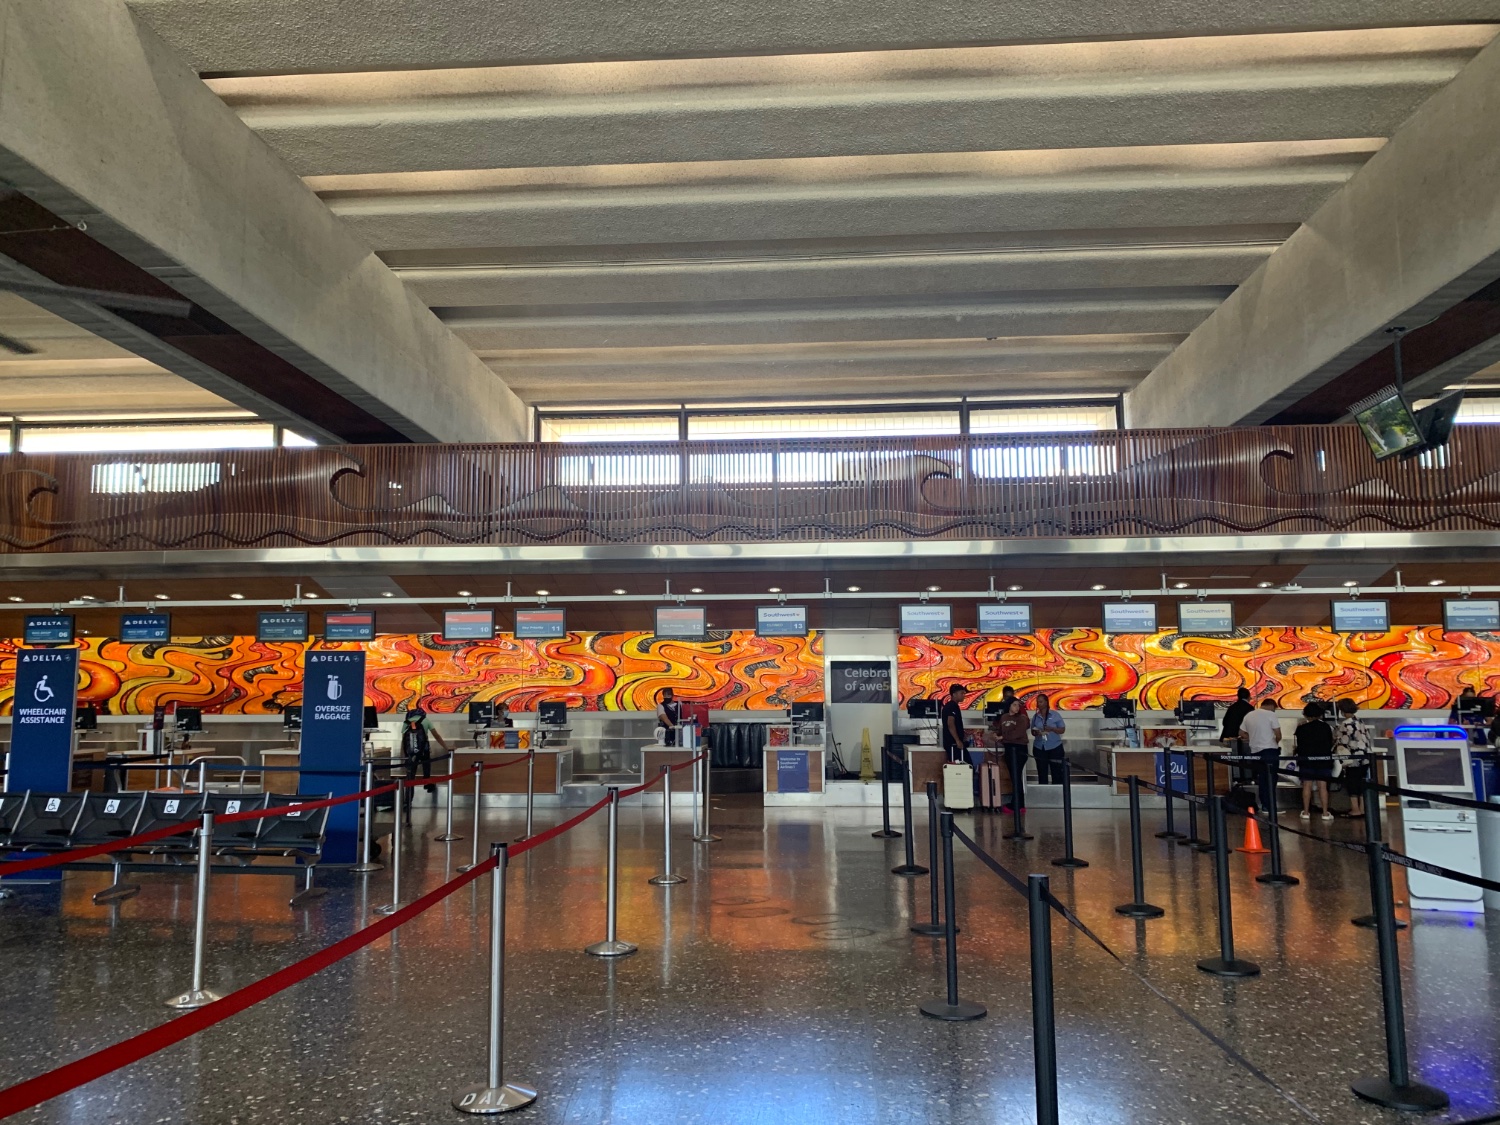
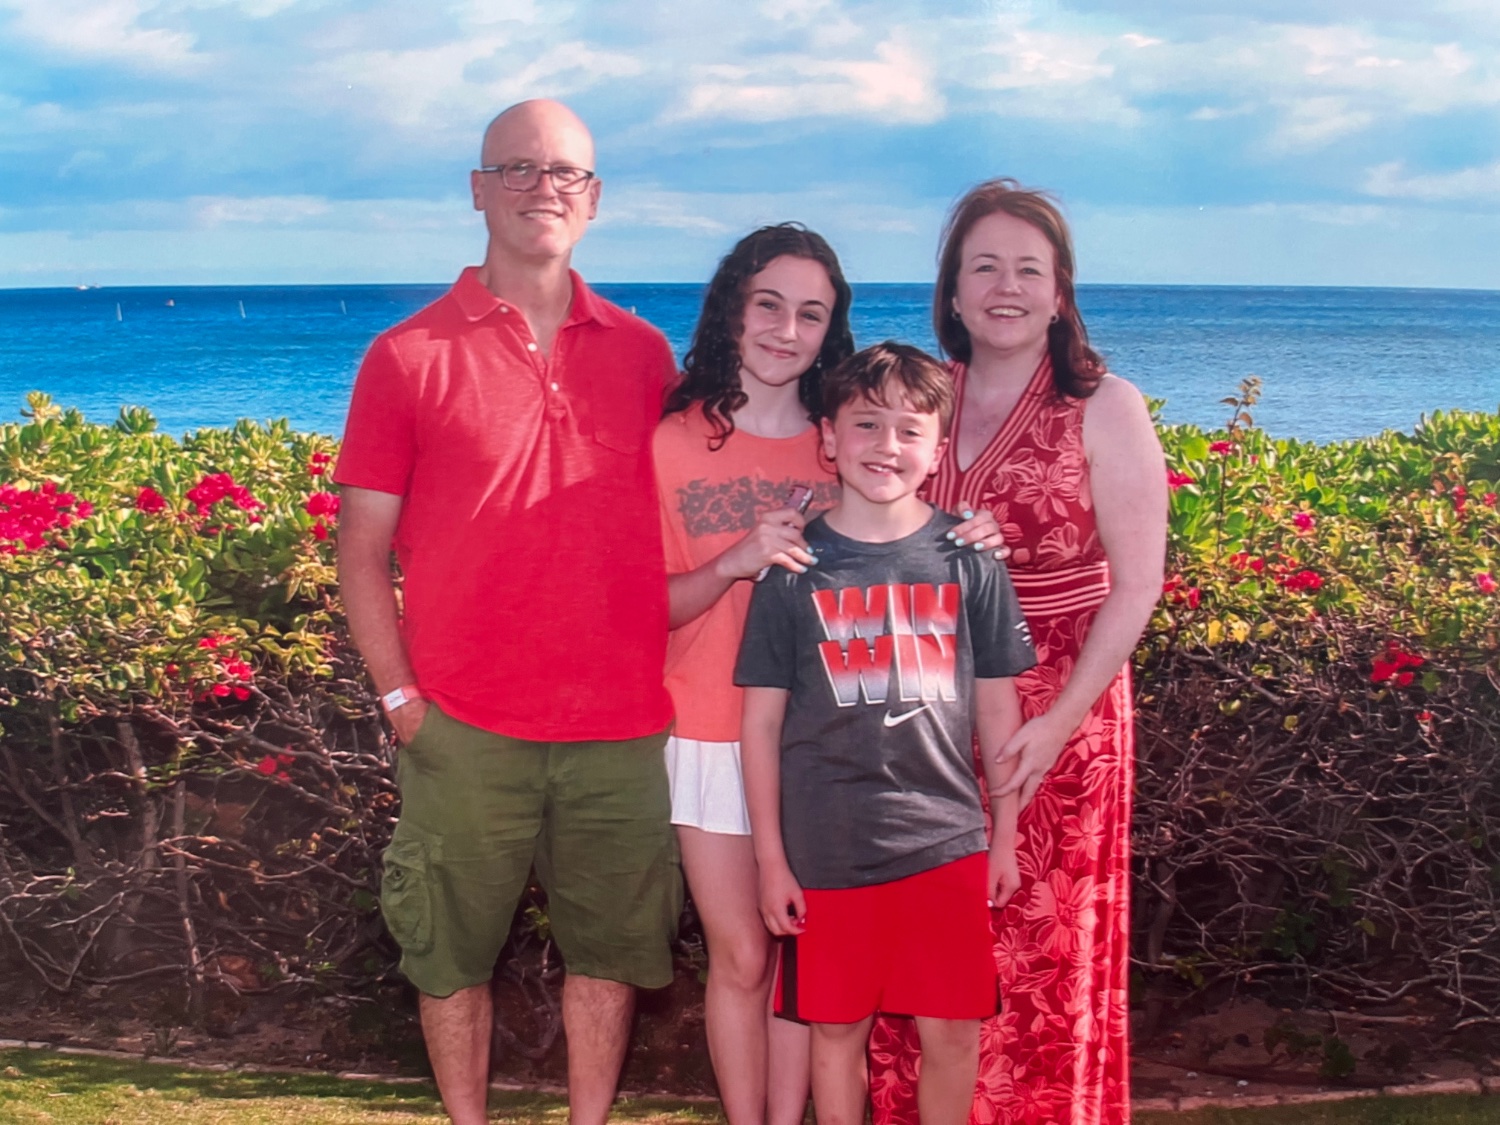
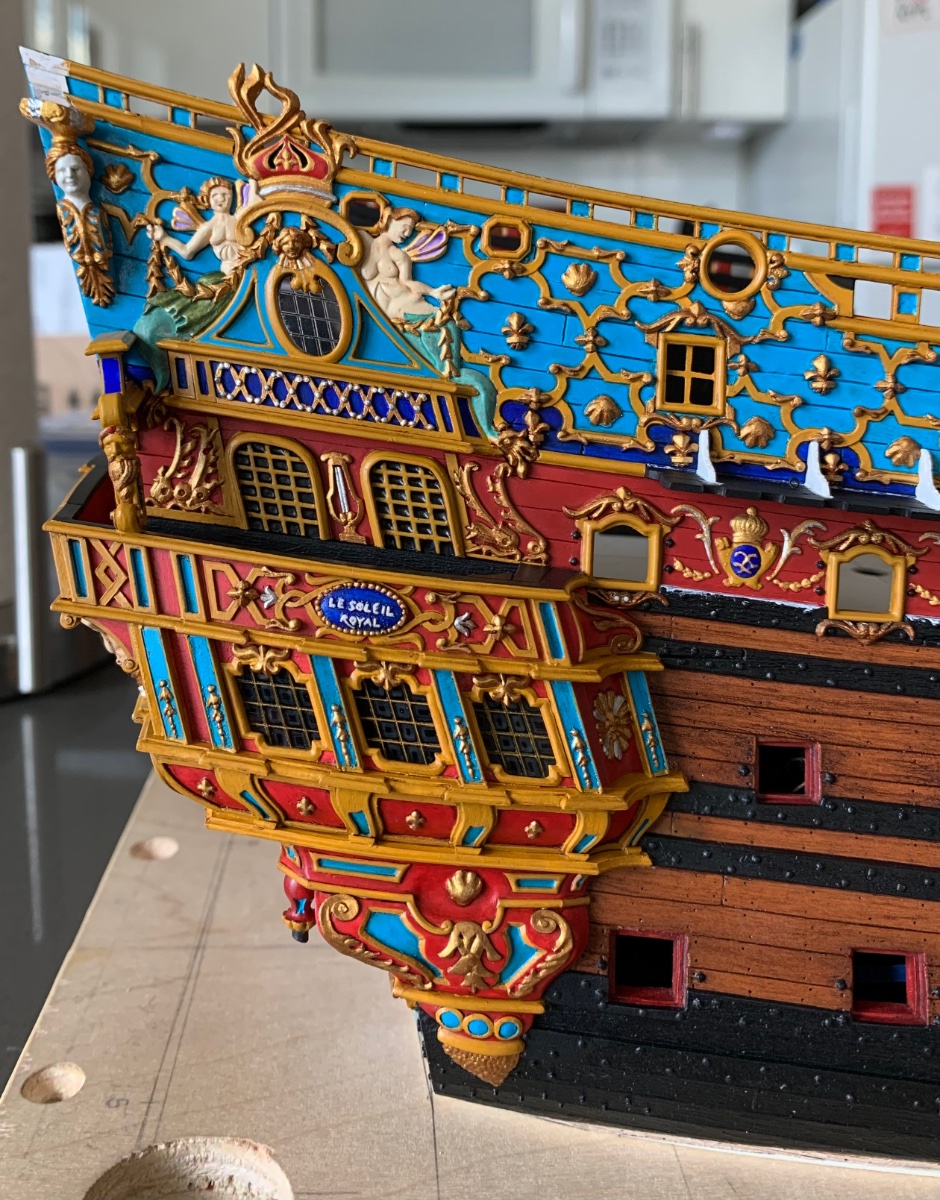
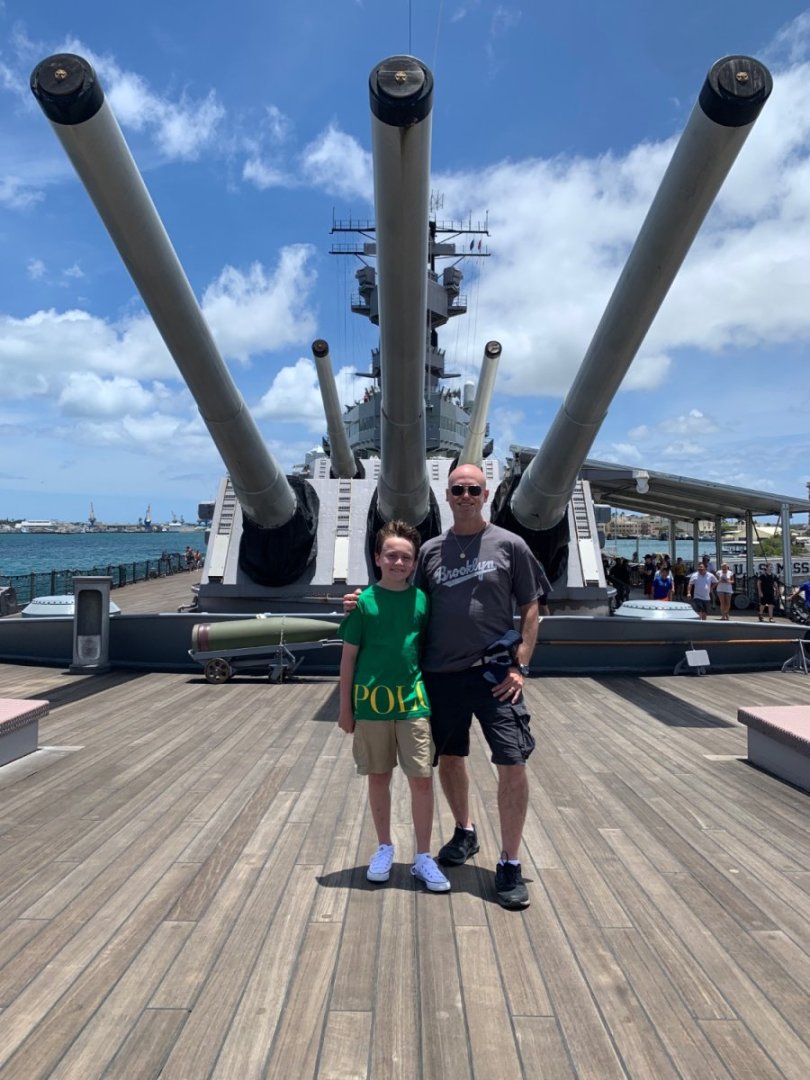
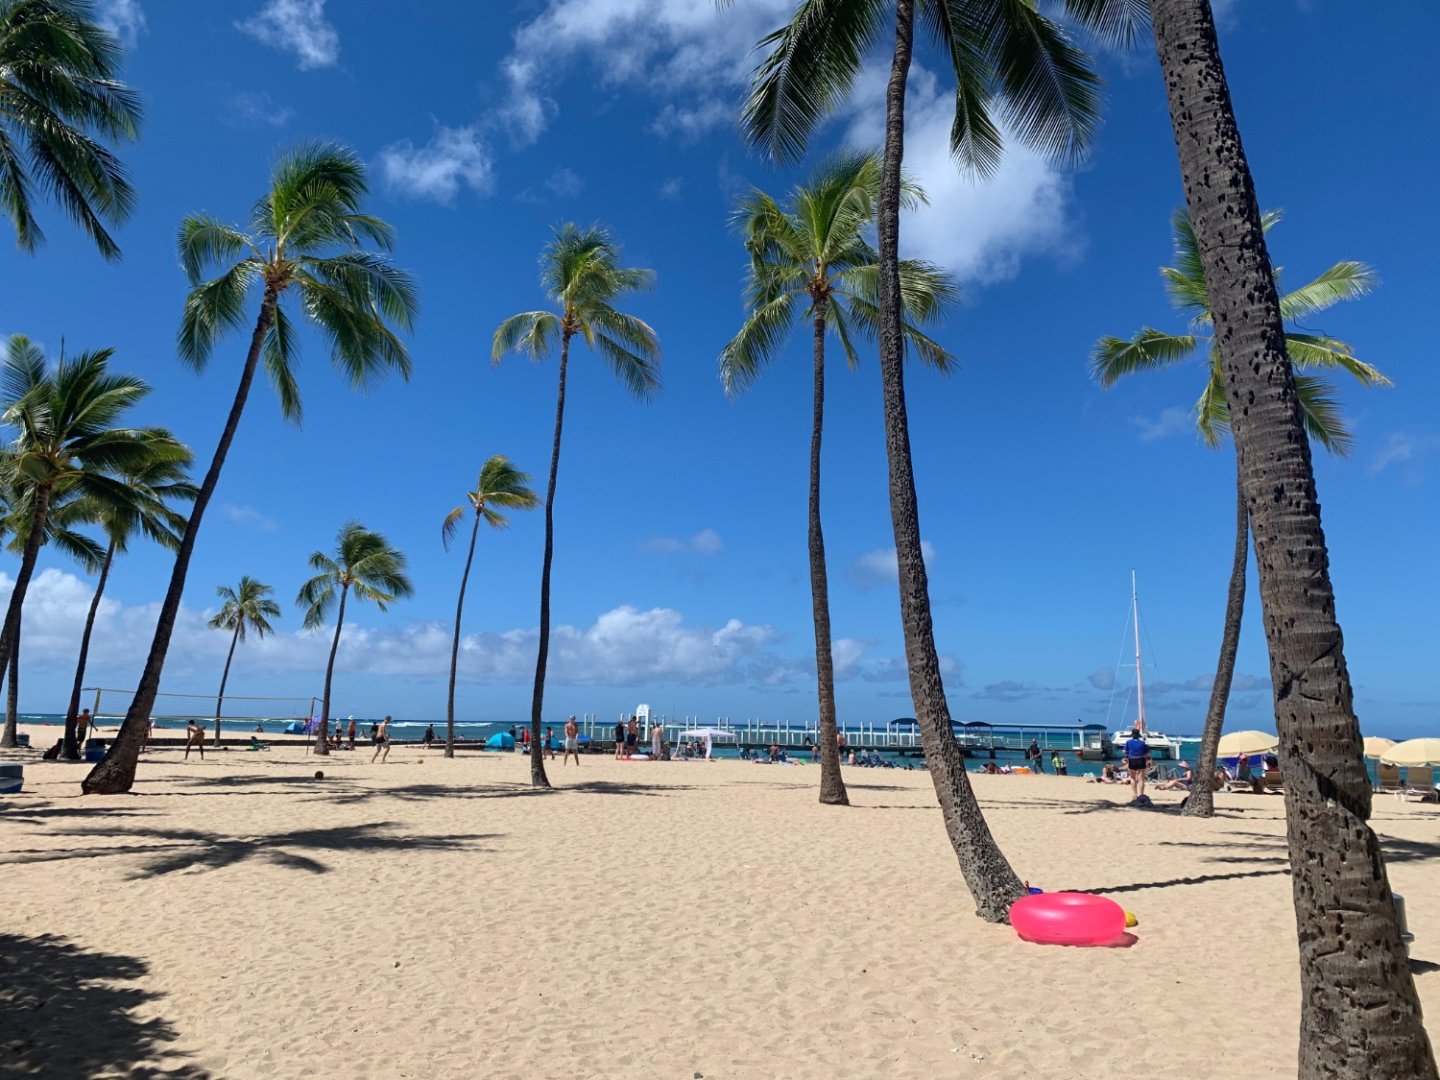
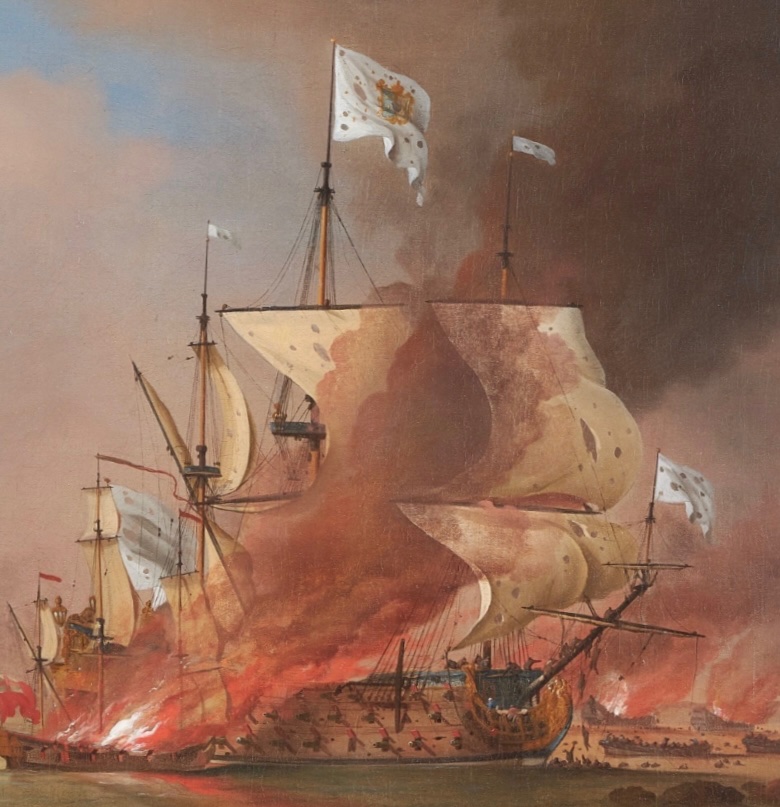
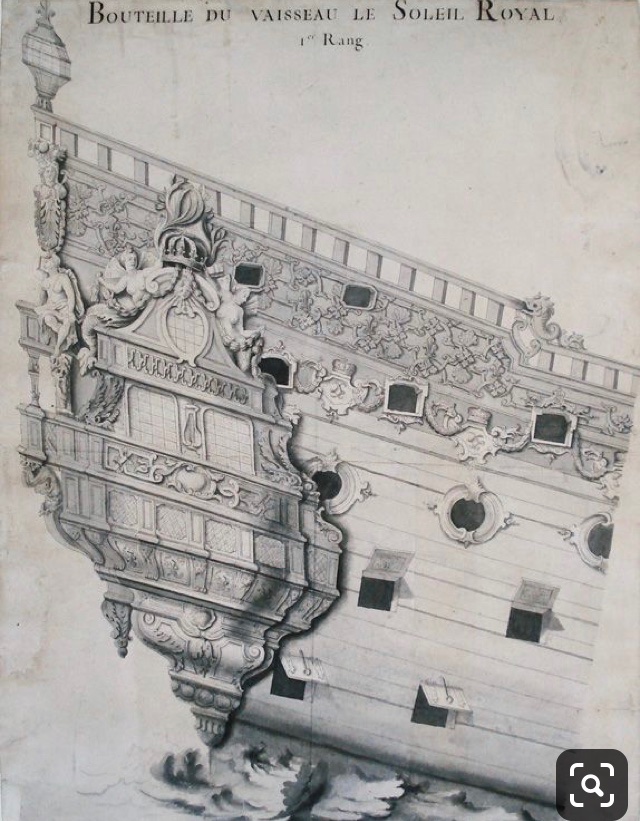
While this is not directly connected to 17th C. ship ornamentation, it is nonetheless a fascinating exploration of the role of color in original Greco-Roman sculpture work. I believe Bill Morrison mentioned this very subject, earlier in the thread. The embedded video is particularly fascinating for the use of technology to re-create the specific earth pigments that would have been used to color this Sphinx sculpture. The results are quite remarkably vivid: https://apple.news/AiERjAV0wTgSTSpC9R-26ag This husband and wife team of color archeologists make an interesting argument for the essential role of color in illuminating the allegorical narrative of important sculpture works and building facades. Soleil Royal’s continental figures are classically influenced, and I will color them accordingly, as I did the Four Seasons figures. This may or may not have been the historic reality of 1689, but I think it will make for a more thought-provoking presentation, with at least a plausible connection to classical traditions. I’m still a ways away from it, but it will require some research to think more specifically about what SR’s allegory is conveying and how those ideas might inform specific color choices in the classic tradition. The Uber Den Wellen exploration of the Royal Louis will be particularly helpful, in this regard, as it explores 17th C. French classicism in court painting. Now, all of that aside, there is of course support for the more conventionally accepted appearance of SR. This is the clearest resolution I have yet found for one of a series of portraits by Peter Monamy, depicting the Destruction of Soleil Royal. The portrait is attributed to the first decade of the 18th C.: On a separate note, it has been pointed out to me by several members that the gun carriage wheels would not have been banded in iron, as the metal would have torn the deck to shreds. This is a simple enough fix to scrape away the black bands and re-touch with red. A particularly knowledgeable contributor also noted that the headrails I am making would not have had these induced bends that I am forming. The fact that the headrails would have been flat is well established, and I do not refute that. Unfortunately, reverse engineering to the pre-established Heller architecture sometimes means perpetuating certain errors of the kit. In this instance, Heller situated the turret seats of ease so far outboard that straight headrails can not make a reasonable connection to the f’ocsle sheer rail. My relatively flat cardboard template illustrates this problem pretty clearly: Interestingly, this esteemed person pointed out that the winged figure carving, just aft of the headrails, would have concealed any smaller gaps that would have existed in this area. I will explore the possibility of moving these turrets in-board, but the curves I induced really just mimicked what Heller had produced, in the first place: I would also like to point out that the name badging that I included on the quarters would not have been a feature of French practice: While I am copying the color gouache by Pierre Vary, which shows the name, the original Berain draft does not: I think it is important to note when my artistic interpretation of this vessel diverges from known practices. As I write all of this, I am waiting for my flight to New York from Honolulu to board. This has been an incredible vacation and bonding time for my family: Our trip to the Mighty Mo was particularly fascinating. All-in-all, we saw so much in 10 days, and I can only hope that we make it back to this magical place some day. On the way through the airport, my daughter noted that this glass-art backdrop evokes the lava flows that Hawaii is famous for: And just like that - I had the inspiration for the Art Nouveau writing desk that I have been wanting to design for the past four years; I will use the idea of these pyro-plastic flows to create my “magma” desk in varied hues of bubinga, teak, and koa. I don’t quite have the shape of the thing in mind yet, but the drawer console, bordering the writing surface, will in some way evoke the mountainous topography of the islands. That’s a project for another time, though. For now, I look forward to pressing-on with Soleil Royal. Thank you for your time, your interest and for looking in!


- 2,699 replies
-
- 19
-
-

-
- heller
- soleil royal
- (and 9 more)
-
Is your plan to merely represent closed port lids, rather than to actually pierce the two lower gundecks?
-
The difference is astounding.
-
Vic - the pleasure is all mine. I’m so glad to have gotten a sense for you and your talents. As is your wont - you are surely underestimating your finish abilities. It is all coming together fabulously!
-
This looks awesome and much more plausibly seaworthy than the Heller kit. And, as a matter of fact, I think you have the forward sheer of the lower wales just right. On the Heller kit, they rise a little too much. You sure do make fast work of a tricky project!
-
Really nice decal work - do you seal your decals under clear varnish of some kind? They look great!
-
Thank you guys very much! Ian, I feel your trepidation. Hopefully, all goes well for all of us; fingers crossed emoji.
- 2,699 replies
-
- 3
-
-
- heller
- soleil royal
- (and 9 more)
-
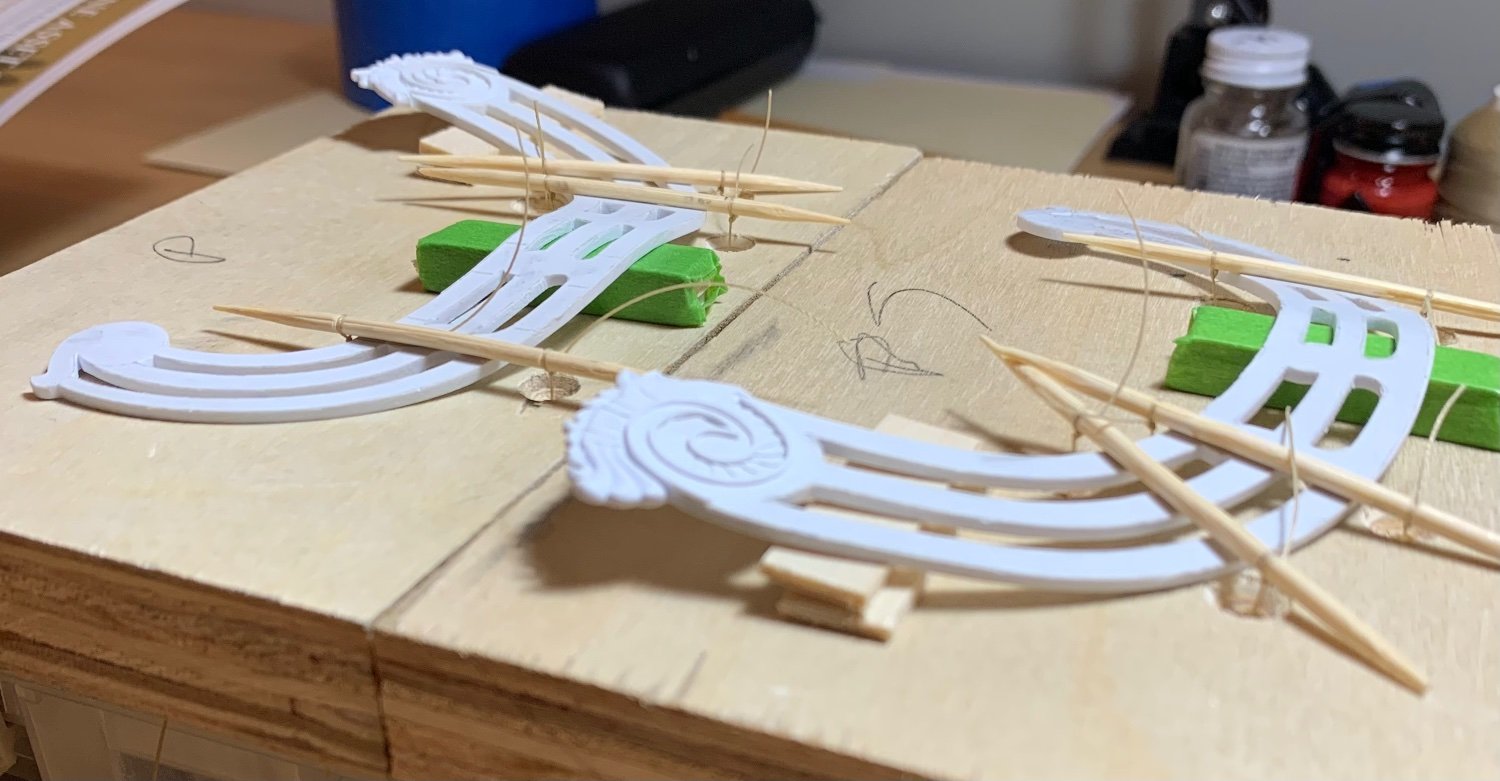
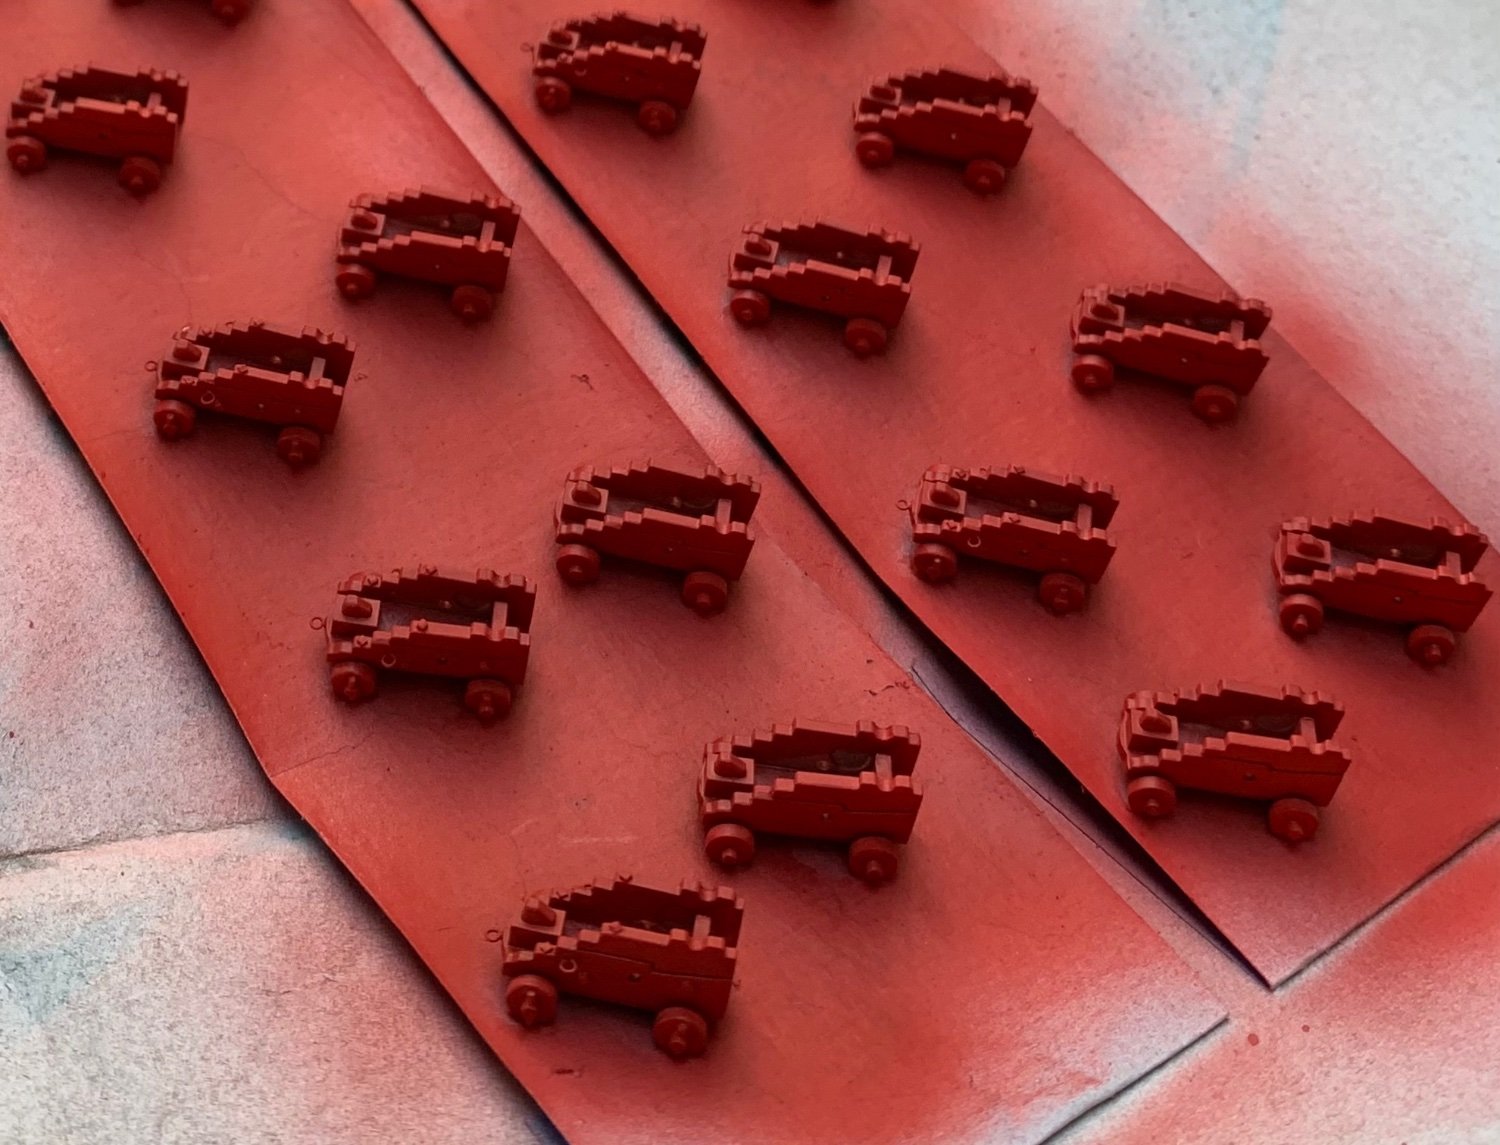
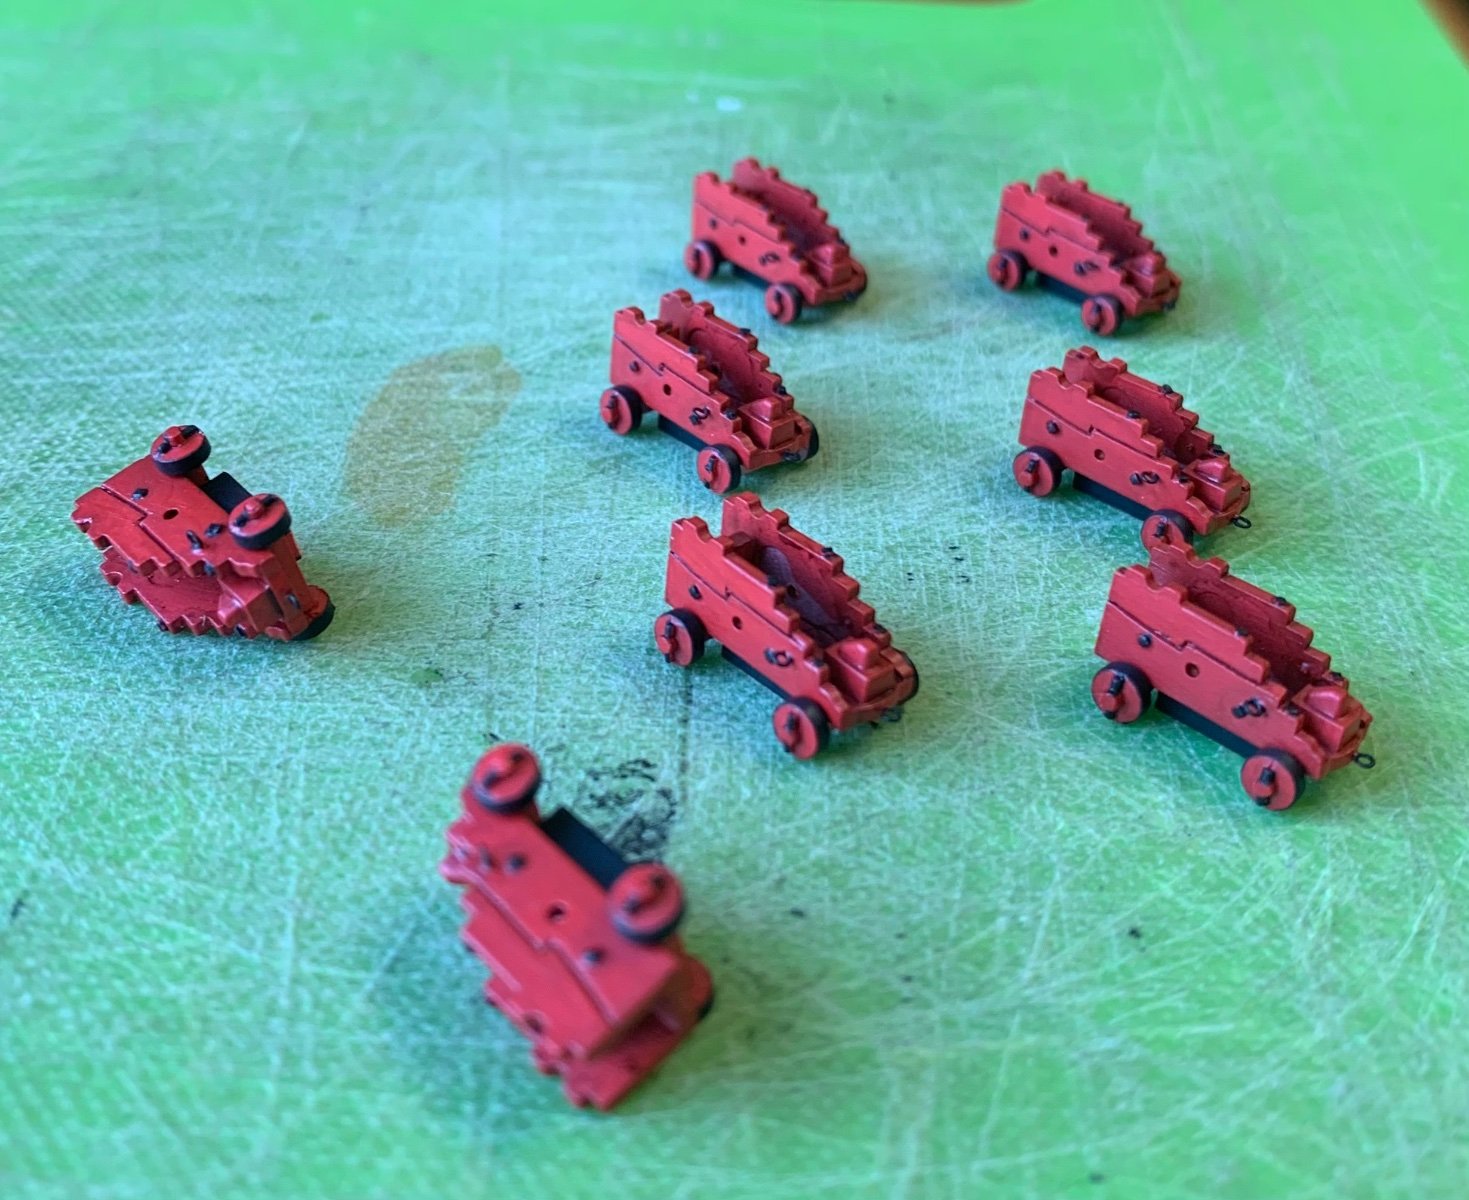
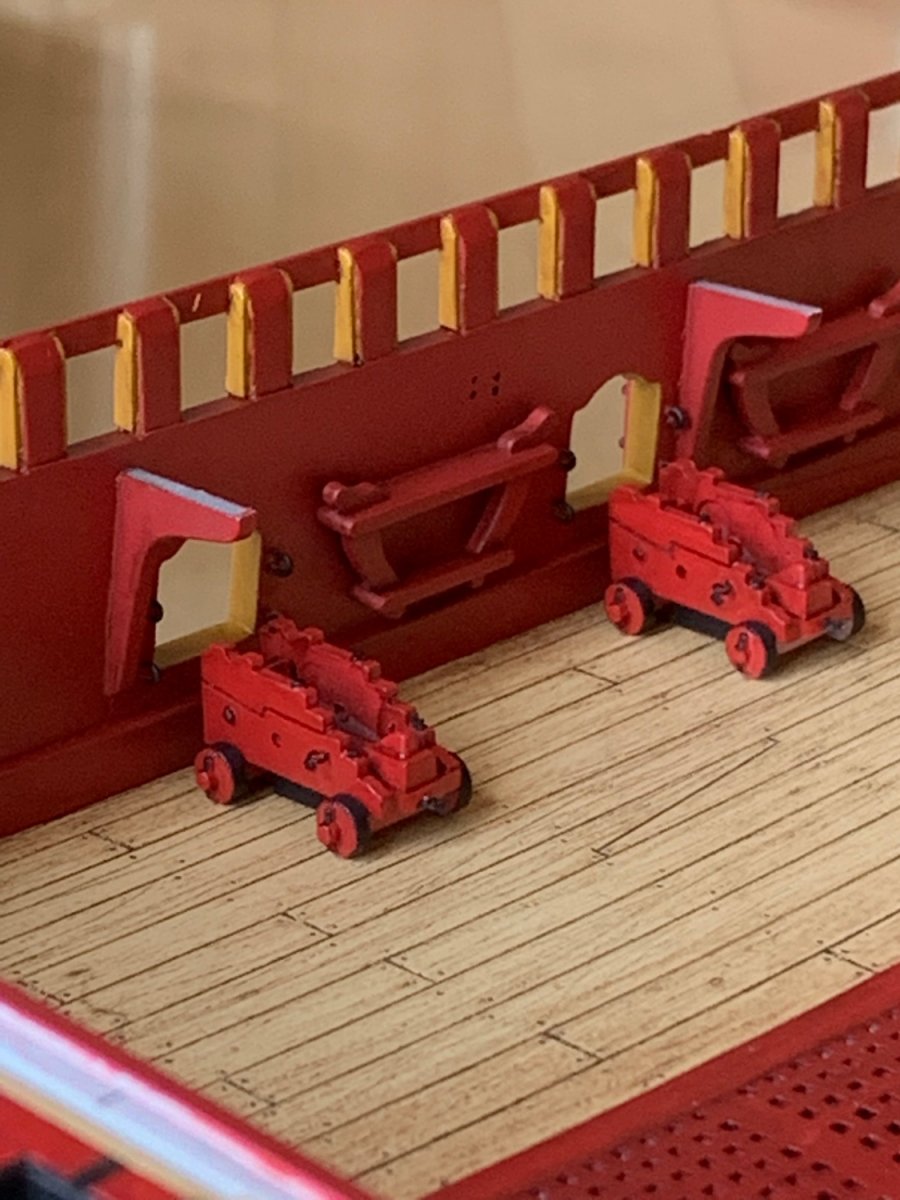
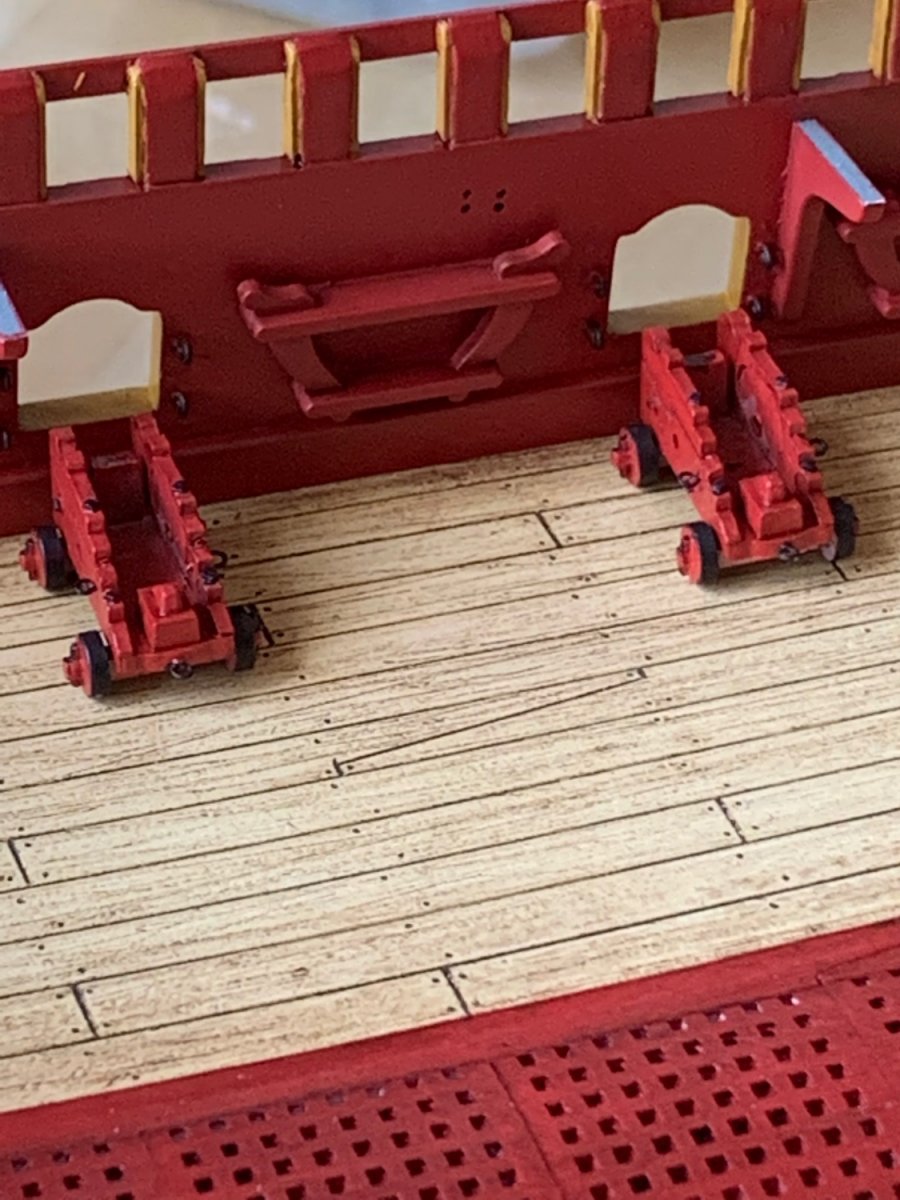
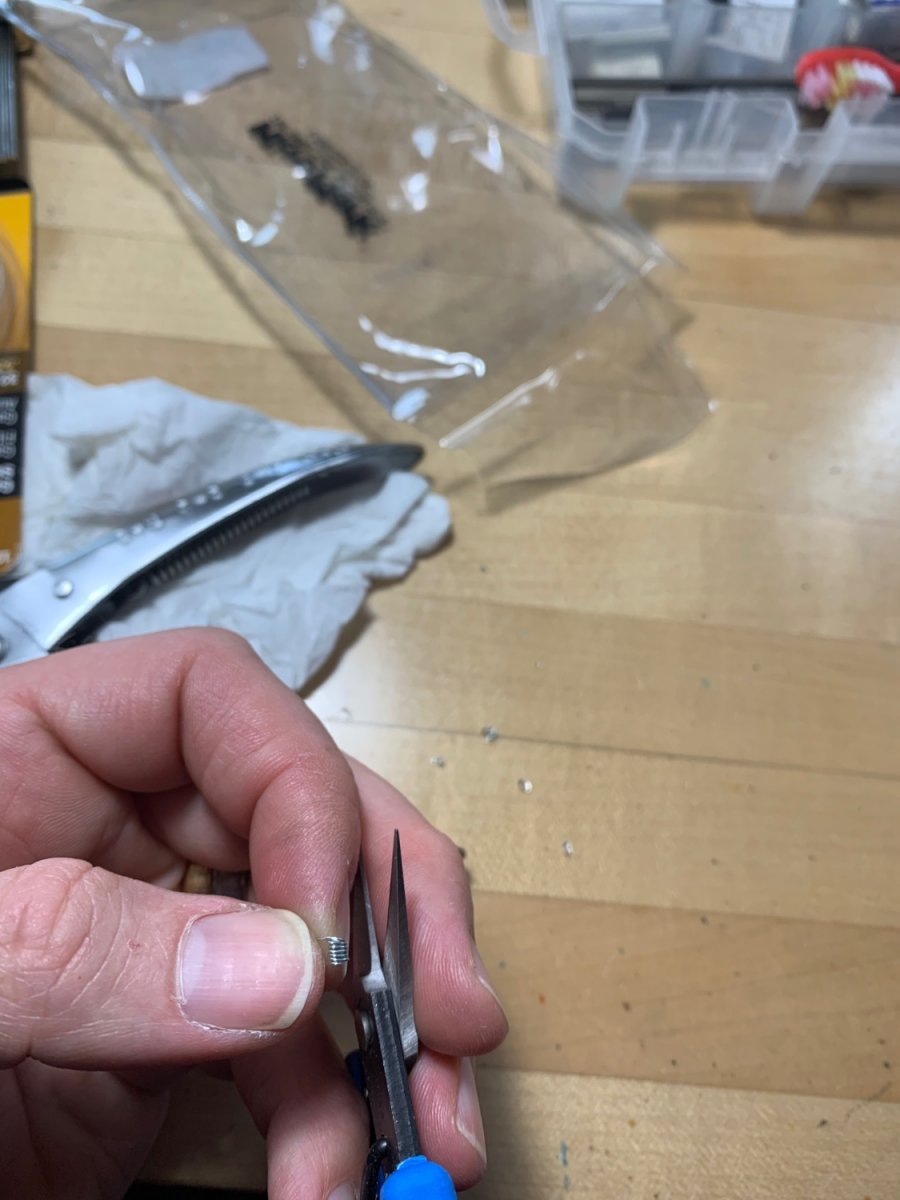
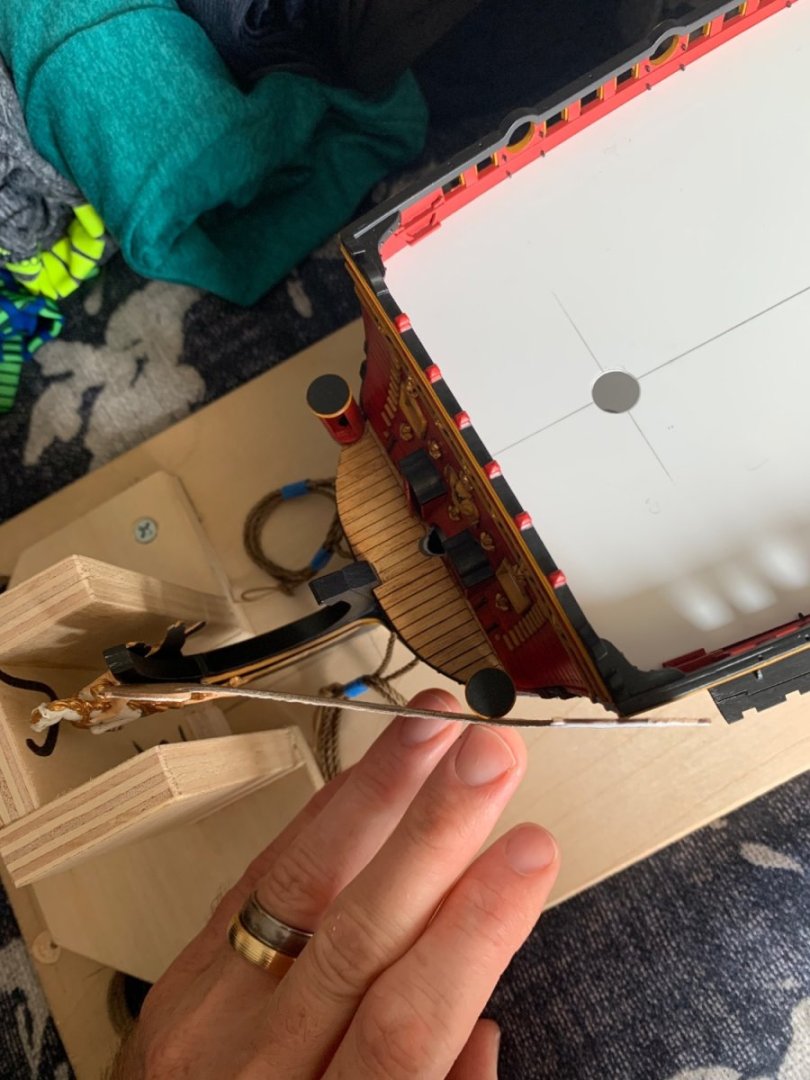
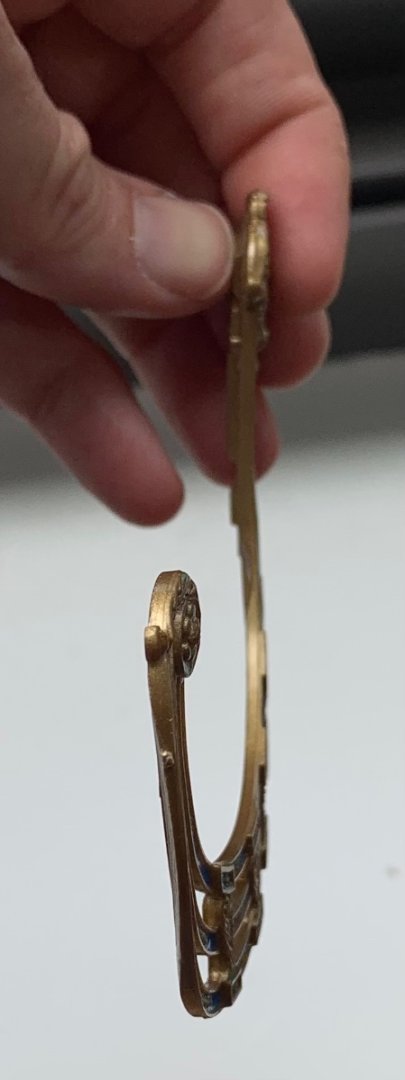
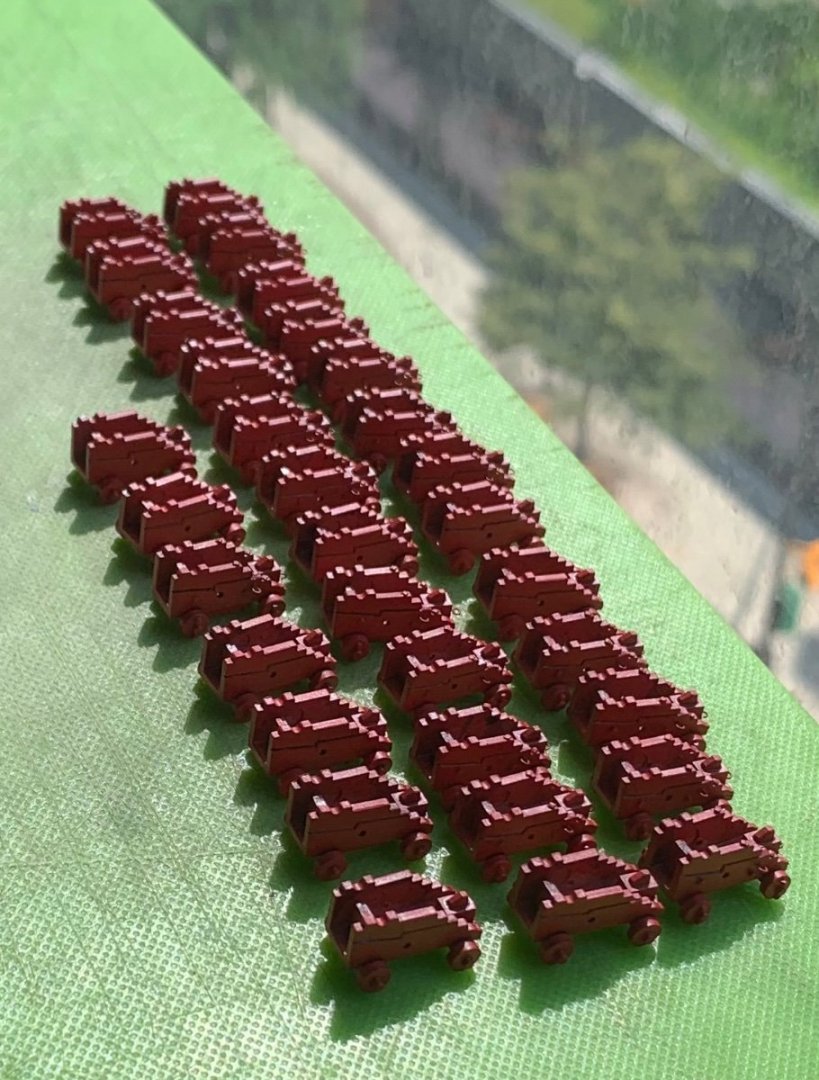
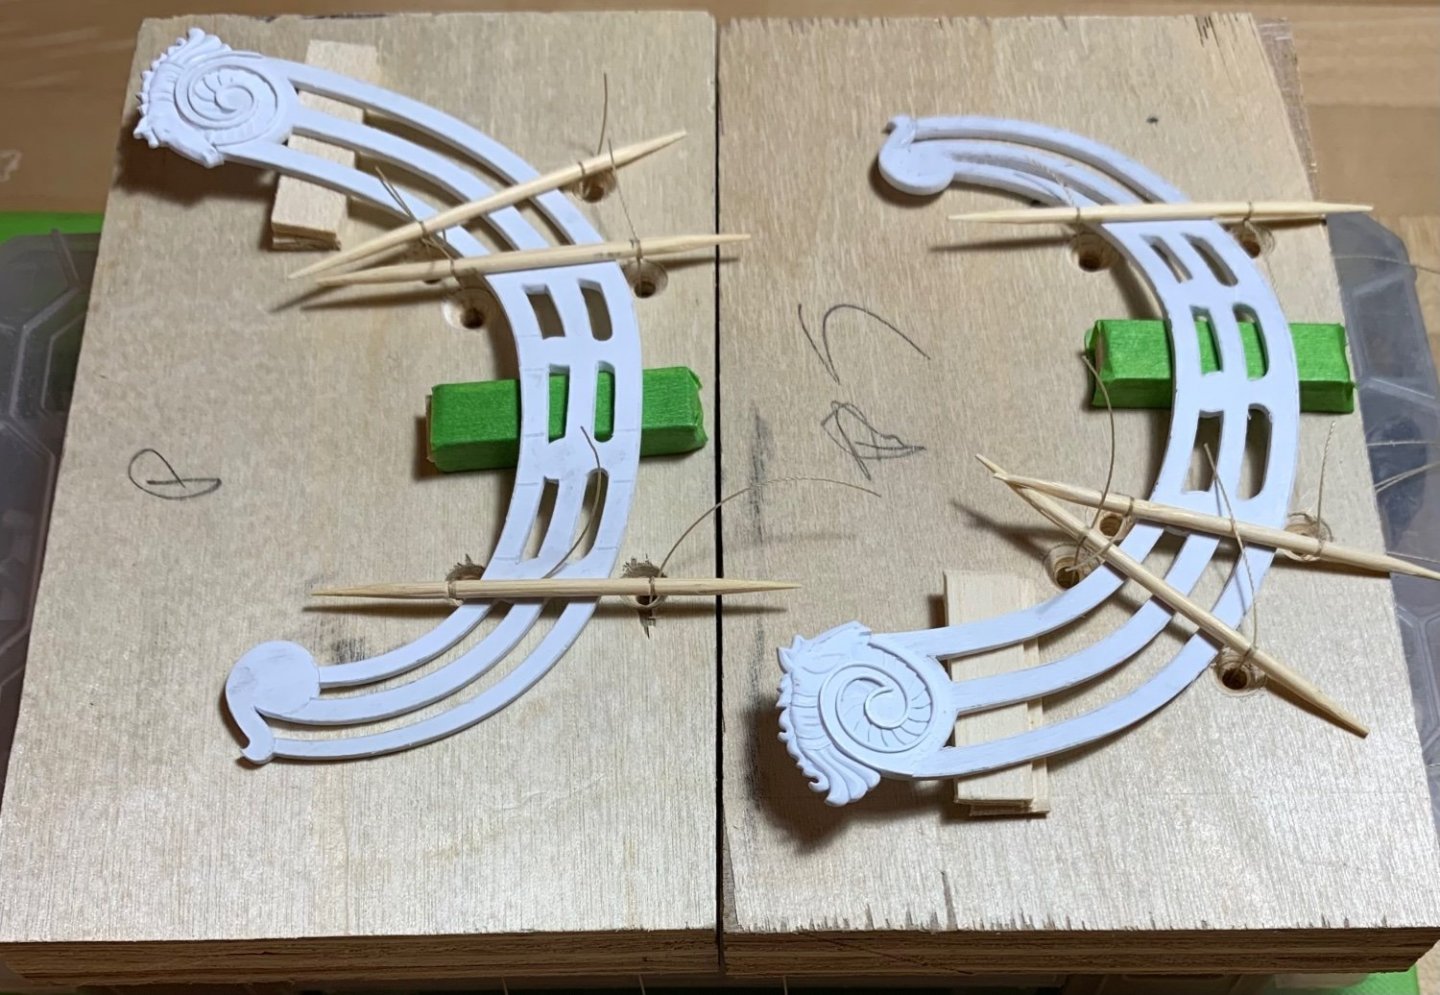
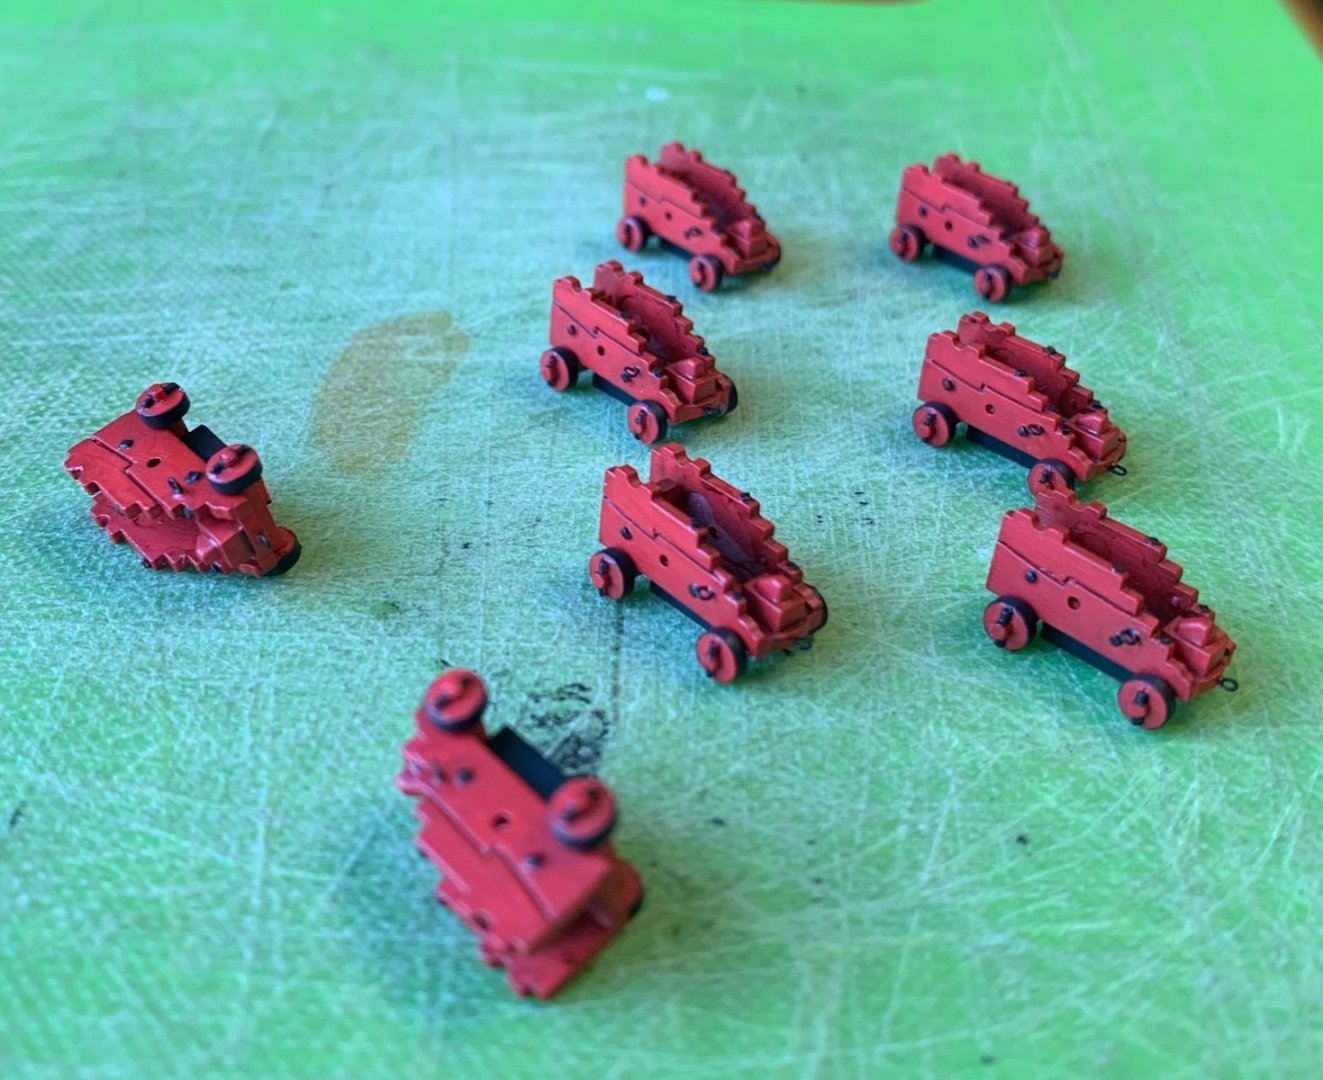
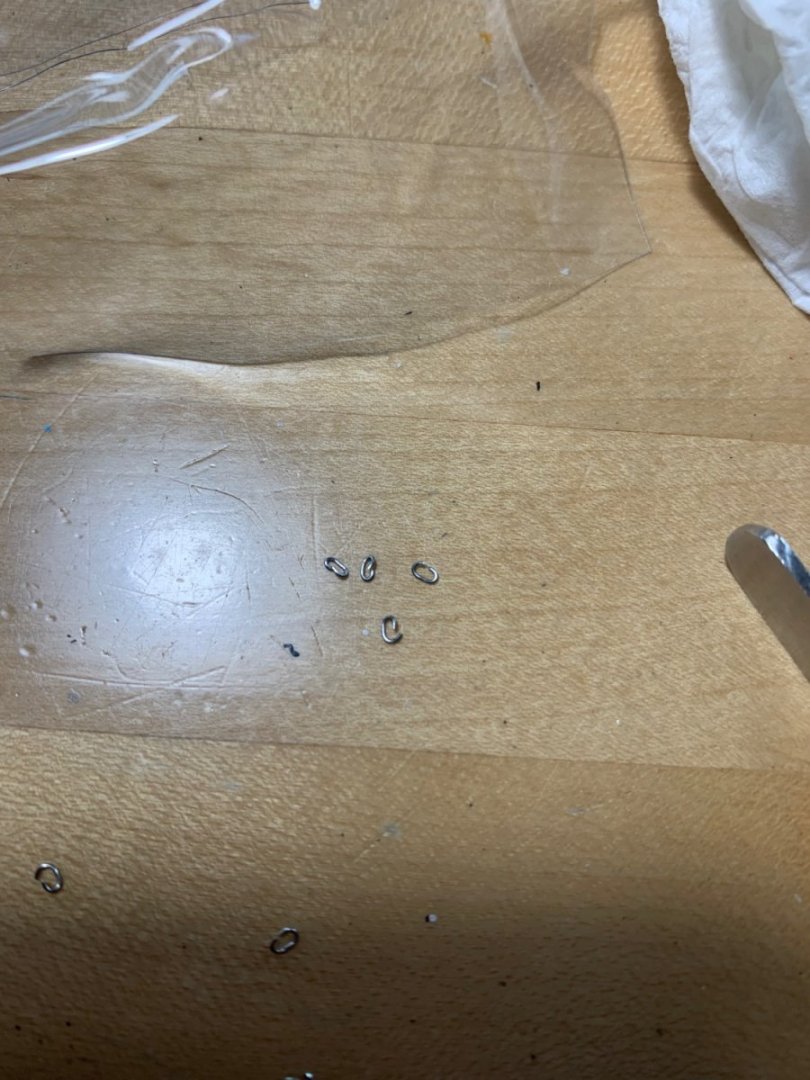
In a couple of days, I will embark upon my first honest-to-goodness vacation in about 12 years. Sure, we’ve taken family trips, but we have never been to any place quite as breathtaking as Hawaii. To say that we are excited is an understatement for all-time! I’ve taken things with the model to a nice break-point, to walk away and not obsess about it for a little while. I finished up the paint re-touches on the starboard side. While I will continue to modulate the walnut wash, right up to the clearcoat stage, I’m pretty happy with the ship’s sea-legs appearance. I have both headrails to the point where I need to induce a series of curves, before I fit them to the ship and then go whole-hog on the decorative detailing. I’ve decided that the best approach would be to set these up in mirrored forms, and allow them to sit in my Eastern exposure window, while I’m away. The sheet plastic these are made from is relatively supple, and I think they should relax into these shapes fairly well, with the ability to tweak their final shape by hand. Per David’s suggestion, I performed a light rhinoplasty on my horseheads, and think that these now look much better. I appreciate the heads’up! My plan for the head is pretty ambitious😜 as I will attempt to create a properly framed and cambered head-grating that also follows the upward sweep of the headrails. What I’m aiming for is pretty well illustrated in Marc Yeu’s photo of Frolich’s L’Ambiteaux: I will add additional seats of ease, just forward of the turrets. While I don’t need them anytime immediately soon, I thought it might be nice to complete the detailing and begin painting the gun carriages for the main deck guns. I attempted, in vain, to create these open hooks the French used for the haul-in tackles. I just couldn’t get the scale or shape right, and I could not manage to get them to set properly without making a mess of CA glue: I thought that if I flattened the back face with a file, I’d have enough of a glue surface to set these onto the carriages. In the end, I just didn’t think they looked good, so I abandoned them for the English practice of eye-bolts, which I found much easier to keep neat and in-scale: I have only bothered to super-detail the sixteen waist guns that you have any possibility of seeing. These will be the only guns that I rig on the main deck. I have made a few more carriages than I need here, but I may mount a pair of carriages (sans barrels) behind the first vestigial main deck “windows” of the amortisement, as this would likely have been an additional space for adding artillery, when needed. No one will ever see it, but I will know they are there. After walnut wash and blacking the iron bits, they look like this: I’ve blacked-out the styrene under mounts that are really my attachment point to the deck. On the ship: You may recall (way too long of a build log!) that these carriages are really the stock middle deck carriages. After manually scaling-up the lower and middle deck batteries with 1/32” inserts, I realized I could just bump the remaining calibers up a deck and achieve a satisfying increase in scale without too much of a hassle. As always many thanks to my benefactors on this build who have supplied me with a wealth of spare parts from which to draw upon. The way this has all come together would not be possible without your generous contributions! As ever, thank you for your continued interest, and I will see you all soon. More to follow..


- 2,699 replies
-
- 15
-
-
- heller
- soleil royal
- (and 9 more)
-
Just a spectacular planking job, Mark!
-
Nice save, Mark! The repair looks great and will mot be noticeable, in the end
-
That’s an excellent scale upgrade with the deadeyes. I will have to remember this for later.
- 857 replies
-
- 4
-
-
- Sphinx
- Vanguard Models
- (and 1 more)
-
Nice job on the caprail, Eric!
-
Bill and Gary - thank you very much! Bill, I have occasionally had this problem, but not lately. I don’t know why. Gary - I like your descriptor: the “nautilus” carving! And, you are right about the natural light - the while thing appears a lit less garish in-person, and in the day.
- 2,699 replies
-
- 4
-
-
- heller
- soleil royal
- (and 9 more)
-
Thank you, John, and you are welcome. My hope with the log is to demonstrate what is possible with plastic, and I would love it if this project inspires people to take the Heller kit in different directions. There is a La Reine, in-process, on this site. Maybe someday, some intrepid soul will really launch into a Royal Louis, 1668, which I think is eminently possible to make a representative, if not wholly authentic model of from the Heller kit. Plastic is fun. I hope to encourage people to play with it.
- 2,699 replies
-
- 8
-
-
- heller
- soleil royal
- (and 9 more)
-
B.E., here's another gem that I've been missing out on! Beautiful work, as always. I am particularly drawn to your shade-painting of the frieze elements; the effect is really outstanding.
- 857 replies
-
- 3
-
-

-
- Sphinx
- Vanguard Models
- (and 1 more)
-
Gary, this model is such a gem, and I'm sorry I missed its construction. You are just too agile a builder for me. I won't miss-out in the future, though. I really loved the alignment tools that you made for the ribs. Just beautiful!
-
Ah, okay - I get you now.
-
Or is it that the counter planking runs into that rabbet and it isn’t a fair transition from the curvature of the counter into the rabbet. I can see, maybe, how the round tuck planking fays up beneath the wing transom?
-
Hi Mark, I see the rabbet in the wing transom, but I am having trouble understanding exactly where you went wrong, here. Should the rabbet be more shallow, so that thicker tuck planking can fair into thinner counter planking?
-
Thank you, Druxey! I based the horseheads, somewhat, on the Ford Mustang emblem, but who says I can’t tackle a little rhinoplasty?
- 2,699 replies
-
- 4
-
-
- heller
- soleil royal
- (and 9 more)
-
Thank you, Mark! There is no need to give up the hobby; angles are everything in photography, and that angle lies a little bit.
- 2,699 replies
-
- 5
-
-
- heller
- soleil royal
- (and 9 more)
-
Vic - you are a bonafide ship-modeling legend and a true artist. You are among the very few to have sailed their historic creations on open water, and the pure magic of all of that is an inspiration to everyone that sees them. I’ve seen the bare bones of what you have planned - it’s going to be amazing, no matter what way you get there, and particularly because you think outside the ol’ sea chest.
- 2,699 replies
-
- 5
-
-
- heller
- soleil royal
- (and 9 more)