Hubac's Historian
-
Posts
3,308 -
Joined
-
Last visited
Content Type
Profiles
Forums
Gallery
Events
Everything posted by Hubac's Historian
-
 SR1’s armament fluctuated over her 22 year life span:
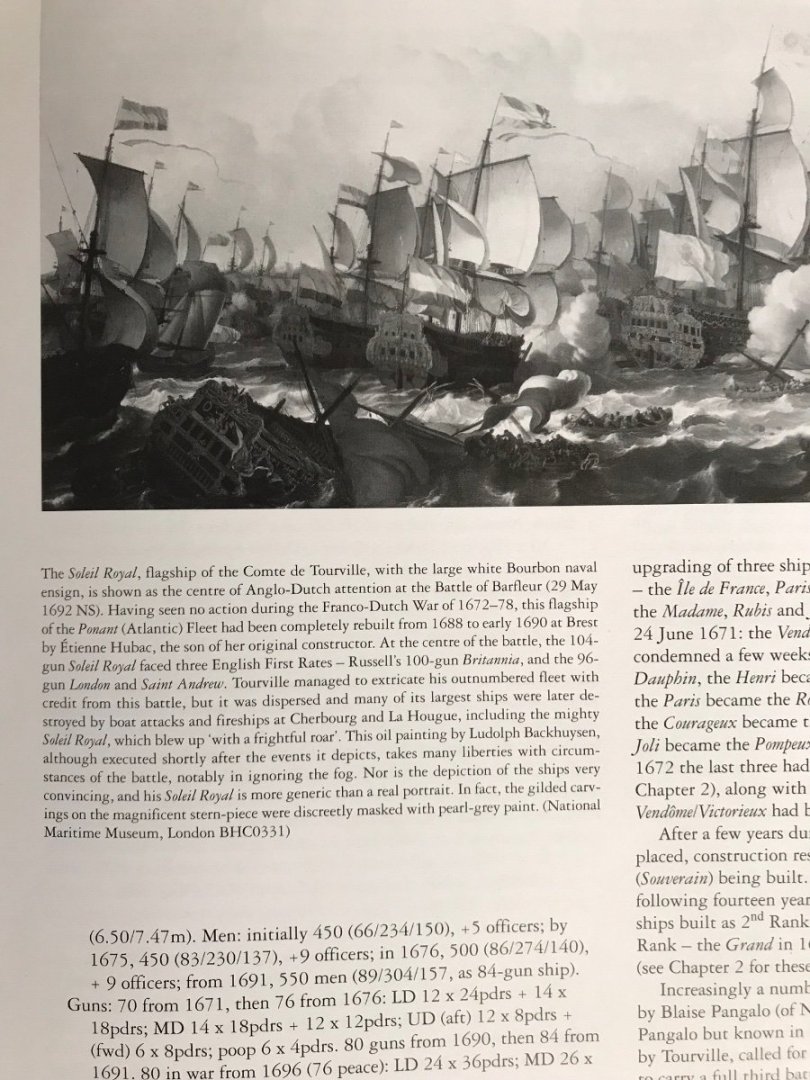
- 208 replies
-
- 6
-

-
- le soleil royal
- 104 guns
- (and 2 more)
-
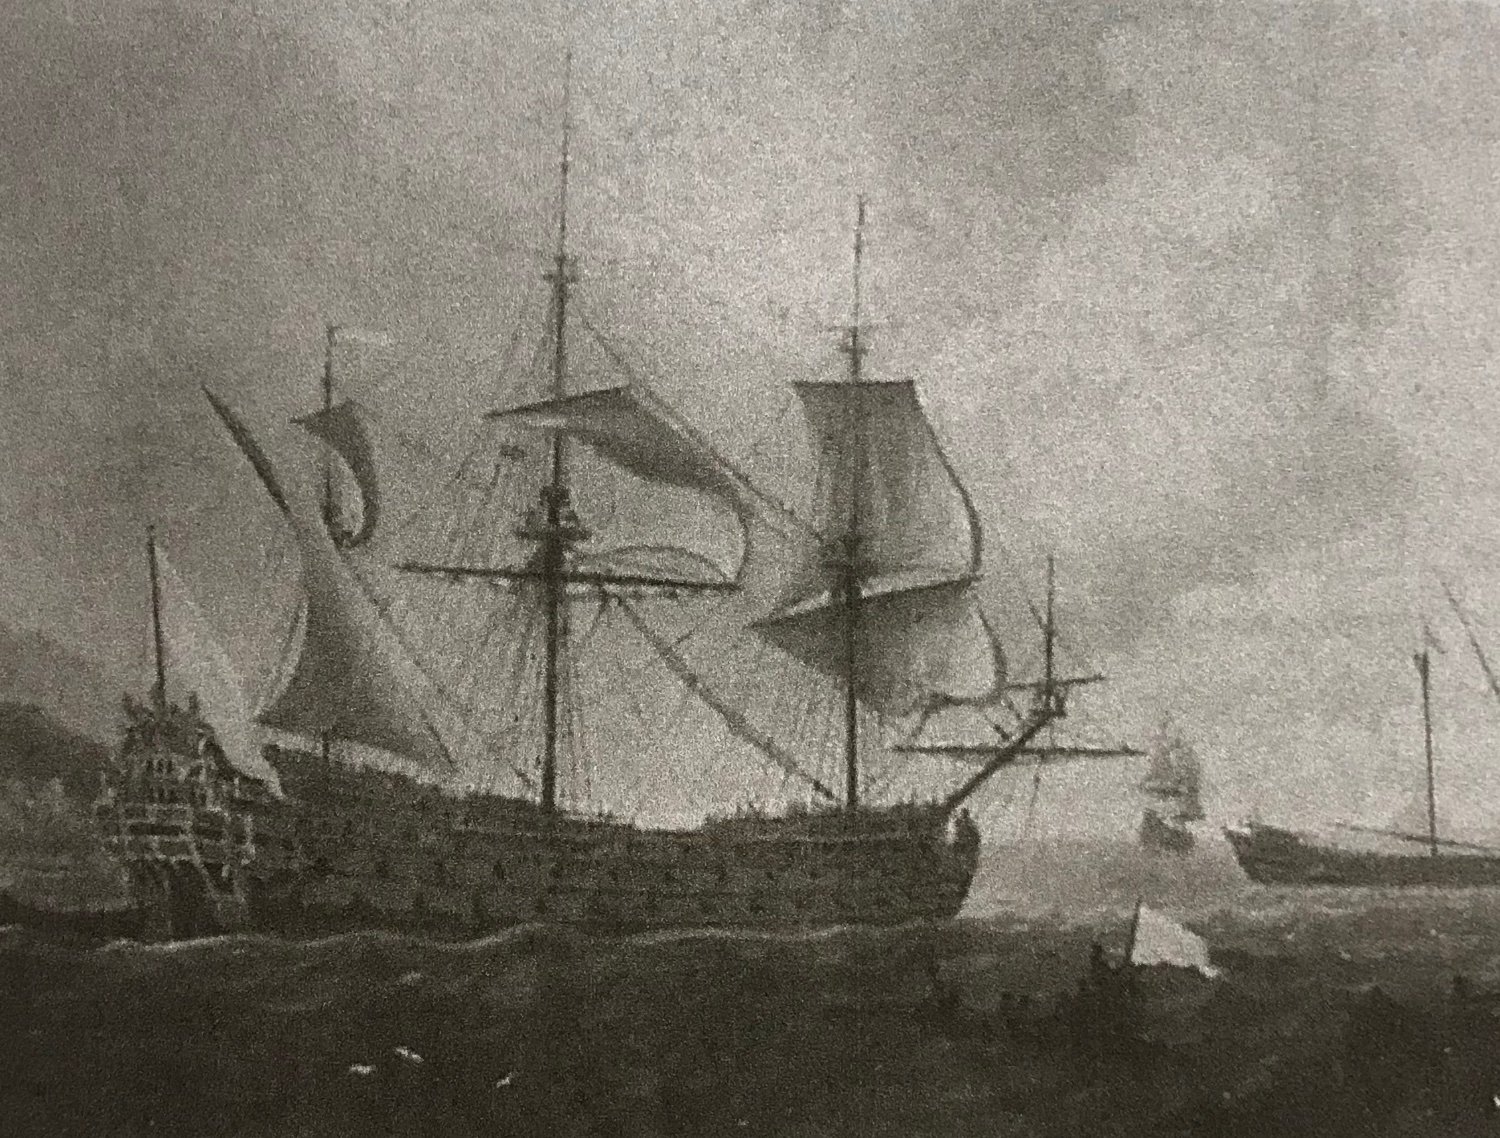
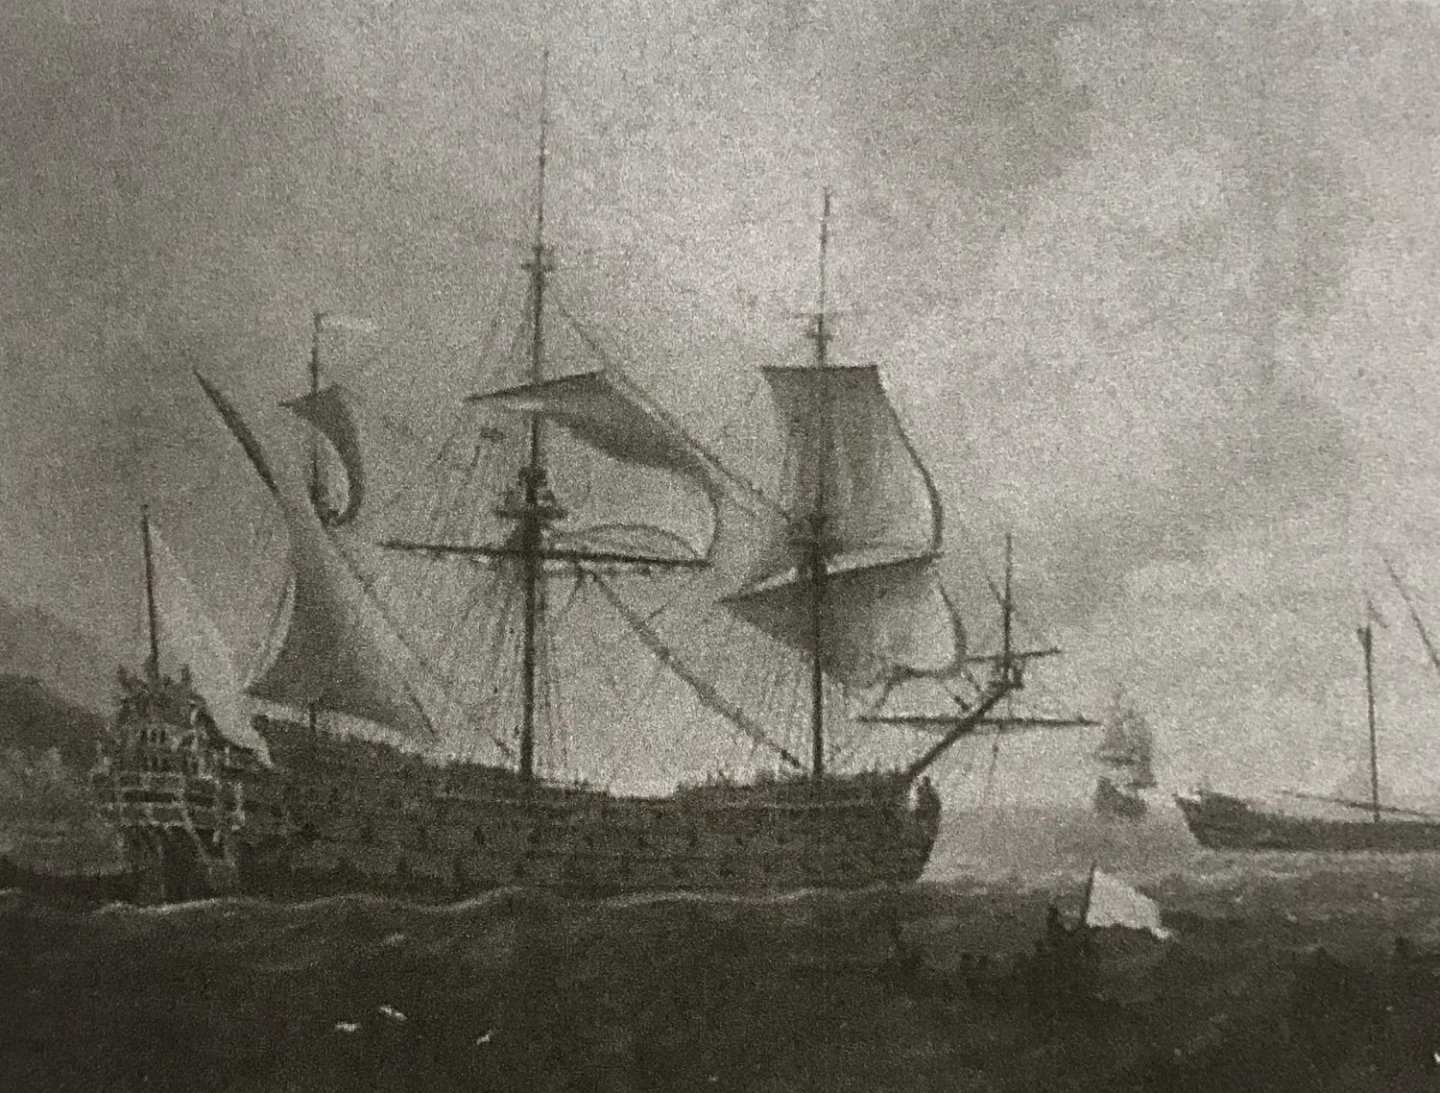
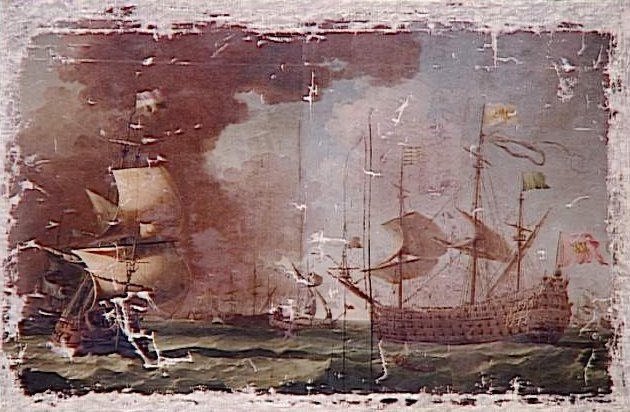
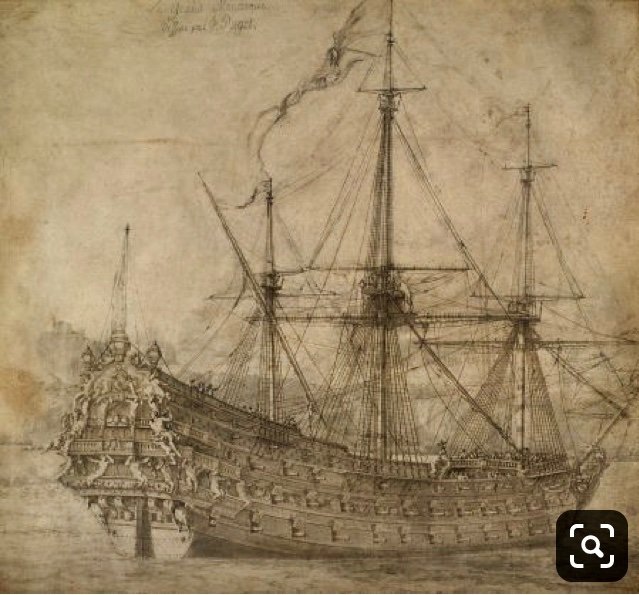
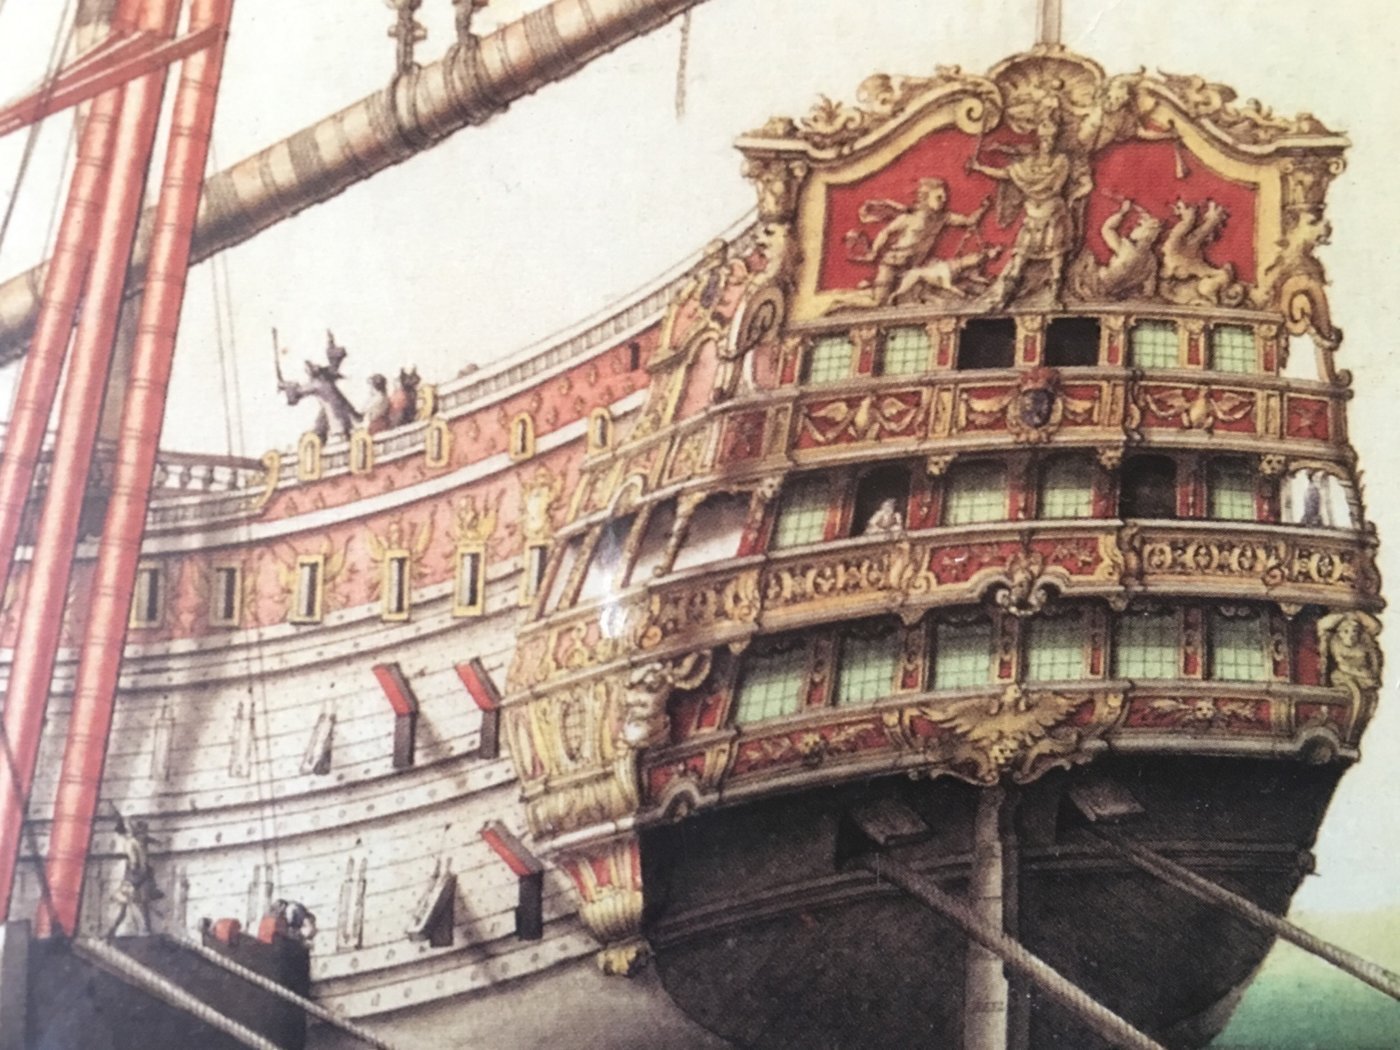
Agreed. I can only guess at what some of Tanneron’s original sources were. I strongly suspect, though, that SR 1670 was very similar in structure to the Monarque of 1668: Perhaps this is SR, 1670: Or, perhaps this is SR 1670: There is no way of knowing until I can obtain better images of these portraits.
- 208 replies
-
- 6
-
-
- le soleil royal
- 104 guns
- (and 2 more)
-
Overall, Bill, I agree with you that Tanneron’s model is more representative of SR2, however, it seems to me that Tanneron was attempting a composite of SR1 and SR2; the most notable features of 1669/70 are three open stern balconies, and fully open quarter galleries. Stylistically, the shape of the QGs is more directly connected to what the shipyards were producing from the 1690s, onward.
- 208 replies
-
- 5
-
-
- le soleil royal
- 104 guns
- (and 2 more)
-
Nice work! Revenue cutters have sweet lines, and you did her justice.
-
Alright, I am in! This looks like it will be a fun project, and your painting skills are evidence of a thoughtful, meticulous approach.
- 14 replies
-
- 1
-
-
- United States
- Revell
- (and 1 more)
-
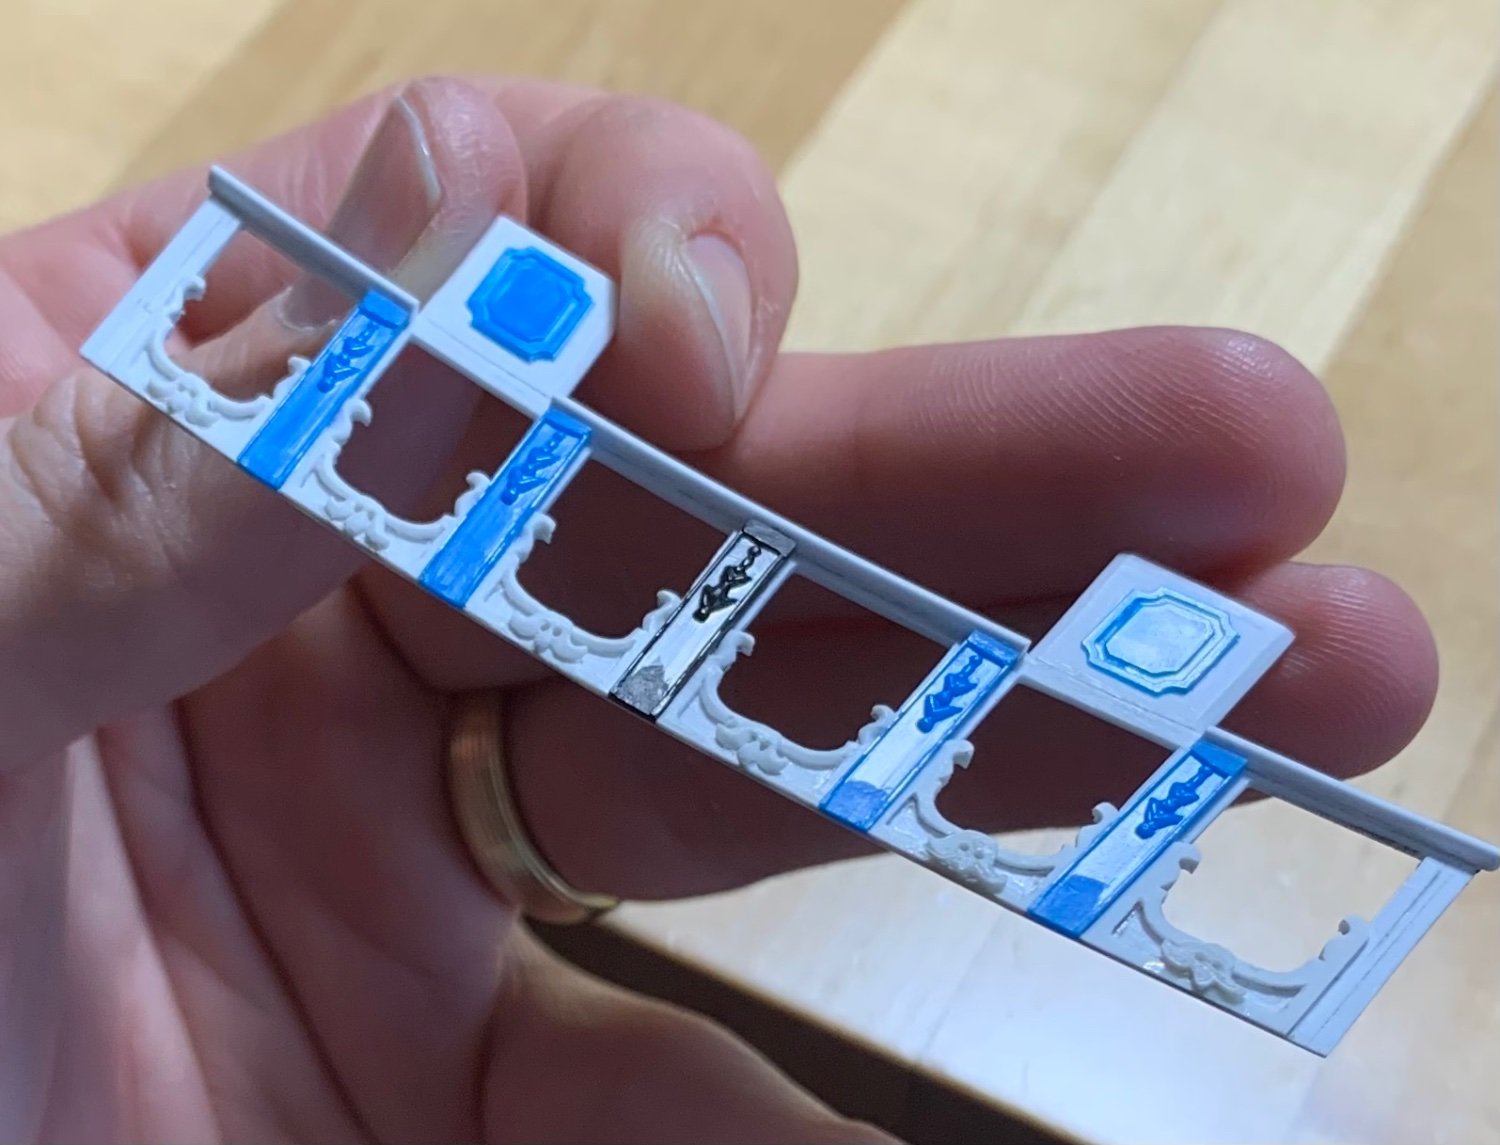
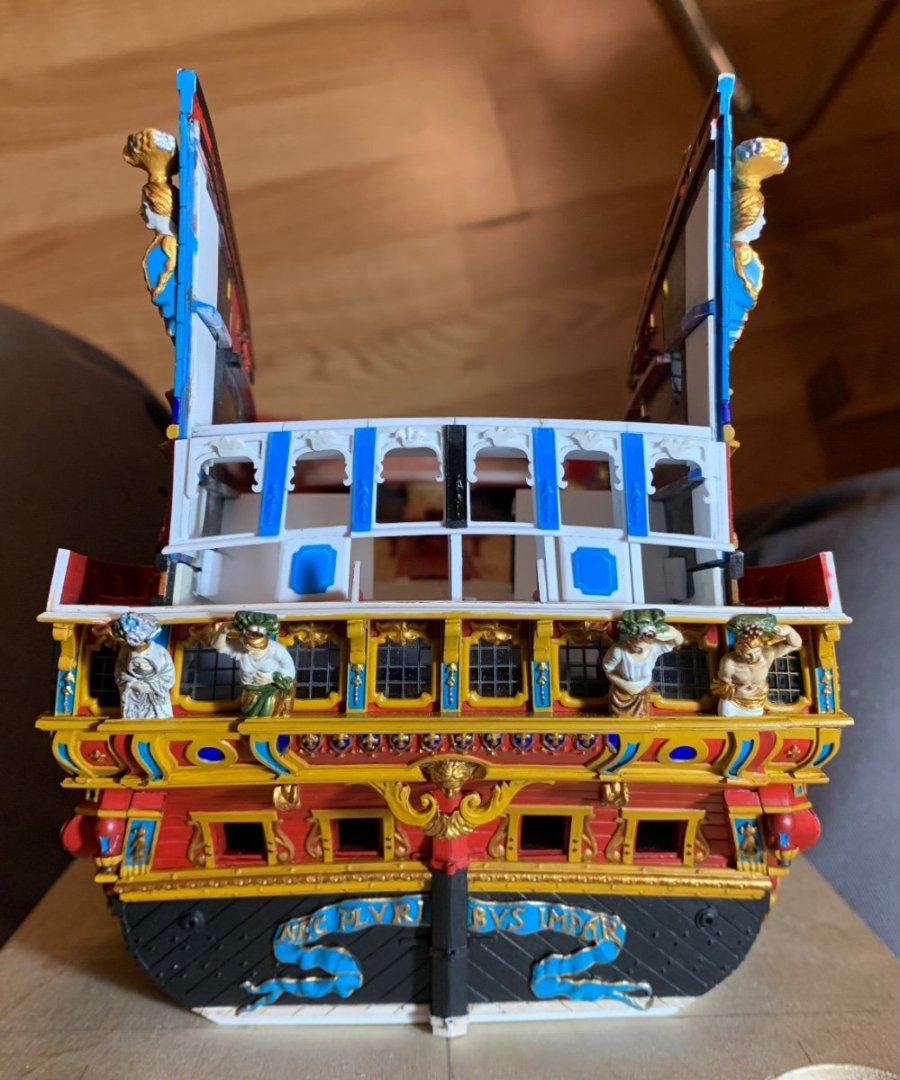
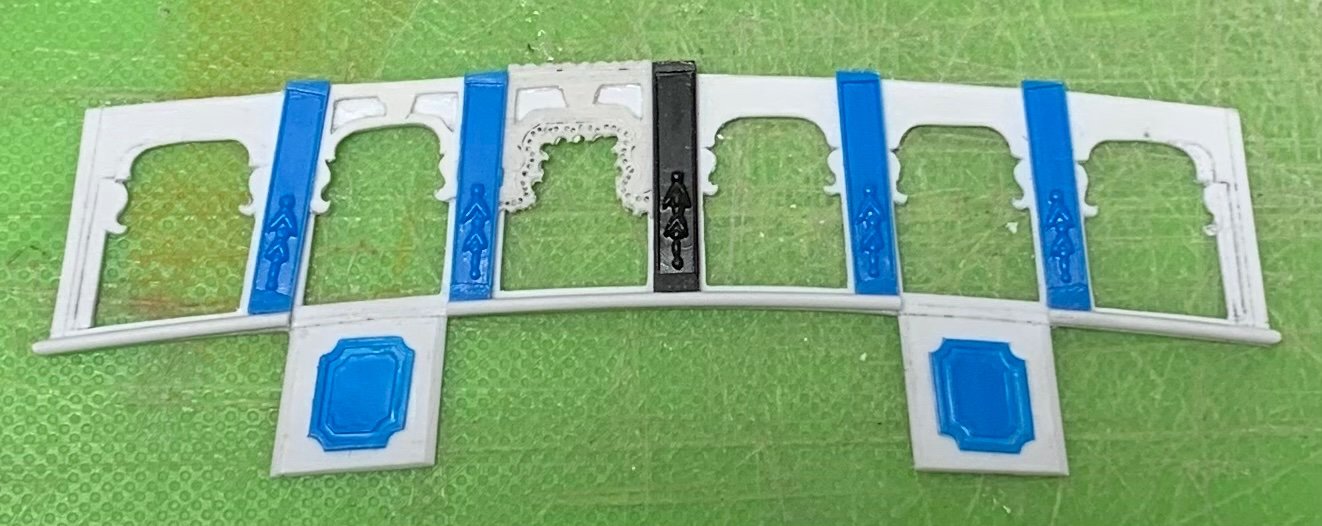
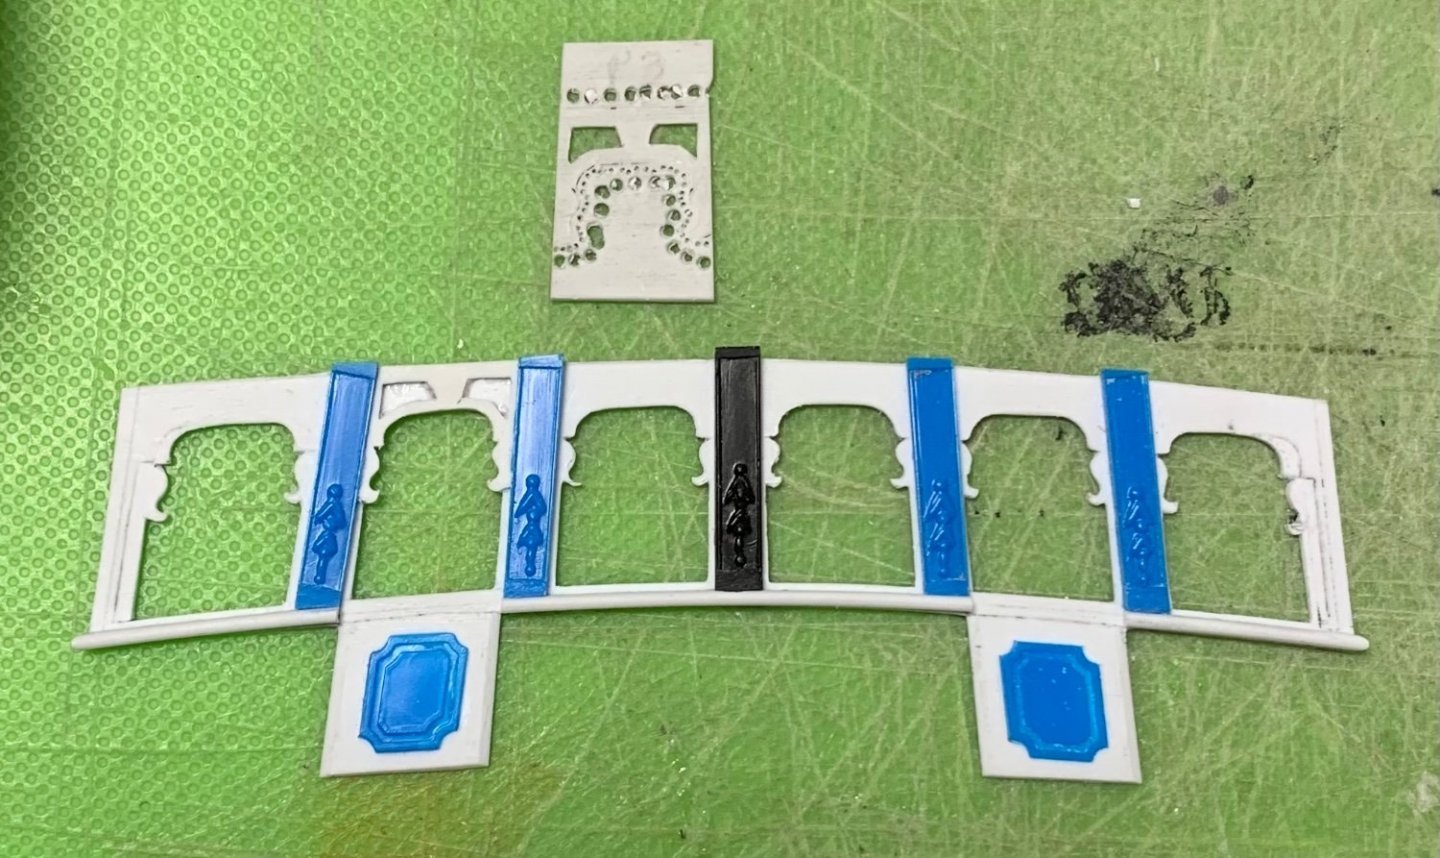
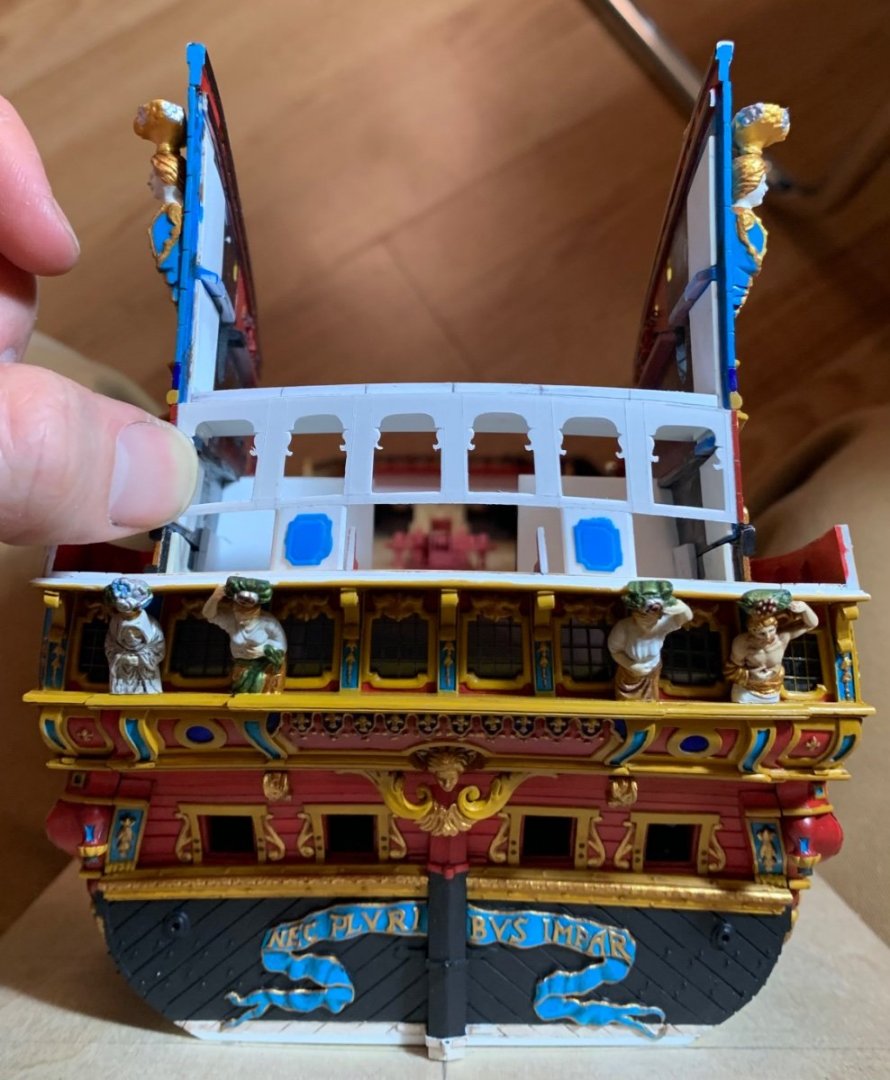
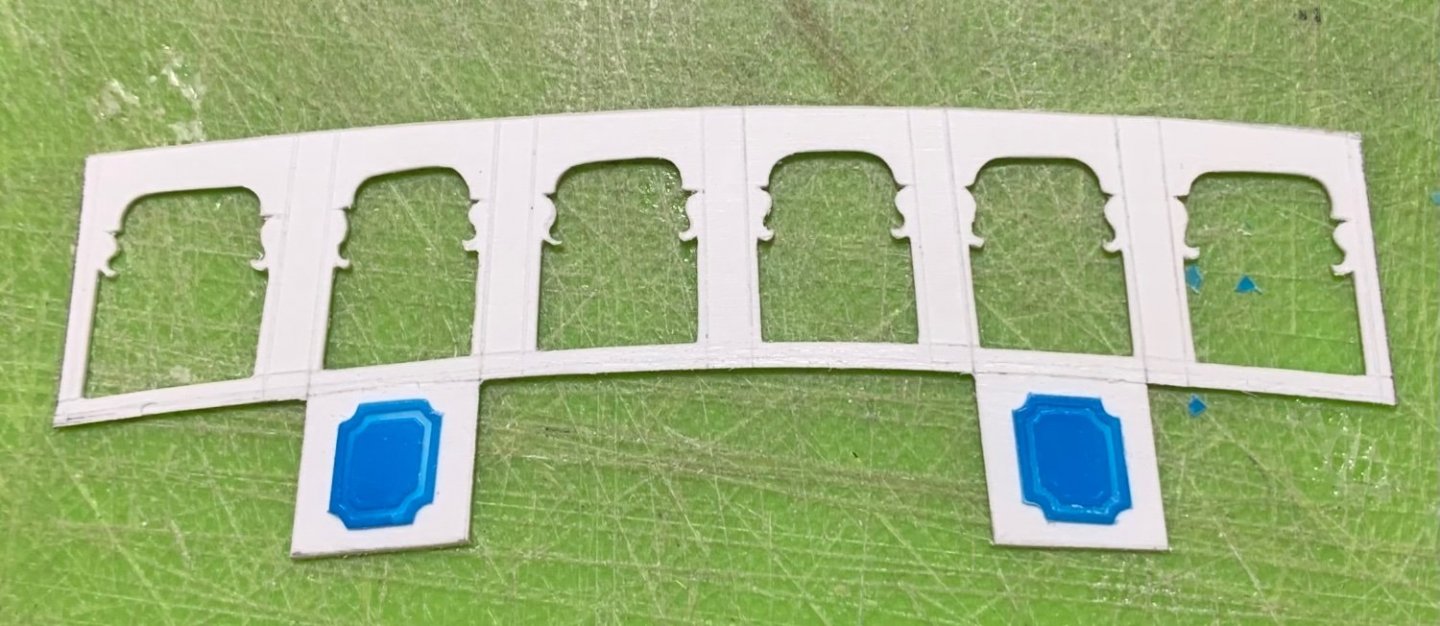
My method for making the window plates is well-documented, earlier in the log, so I won’t go into great detail. Some pictures: I found it best to fit the rough blanks between the pilasters, first, before relieving the negative space panels. This way, I could trace on the backside, the top and bottom edges of the top rail, thereby knowing just how thin to make the reliefs. Once all of the panels were in, and I had also glued-in the central bell-flower ornament, I could begin modeling these reliefs: It really doesn’t take much to give them a little shape and dimension. I began framing in the bulkheads: I like to glue-in positive stops, top and bottom, so that it is easier to glue-in the bulkheads and get them aligned exactly where they need to be. Keen observers will note that the bulkheads do not align, neatly with the tops of the pilasters beneath them. Instead, they fan out more towards the sides: I considered whether to re-draw the plate, but determined that this would result in less pleasingly shaped and proportioned windows: The discrepancy is a result of my decision to revise the tumblehome of the upper bulwarks. The lower tier is based upon the more vertical tumblehome of my original drawing, so the pitch of the window stiles is less severe. This middle tier simply follows the more pronounced pitch of the accentuated tumblehome. In the end, the lower balcony railing will serve as a visual interrupter that minimizes this discrepancy. I point all of this out to highlight just one of many imperfect compromises I have made, where I have deemed one aspect of the construction to carry more visual importance over another. In this instance, the whole model is more ship-like with a more pinched tumblehome, and the windows have a pleasant shape and arc of camber. Thank you for your likes and comments and continued interest in this project. More to follow.


- 2,699 replies
-
- 17
-

-
-
- heller
- soleil royal
- (and 9 more)
-
I agree with Mark - it’s been a long while since I’ve seen your beautiful model. I look forward to updates whenever you are ready.
-
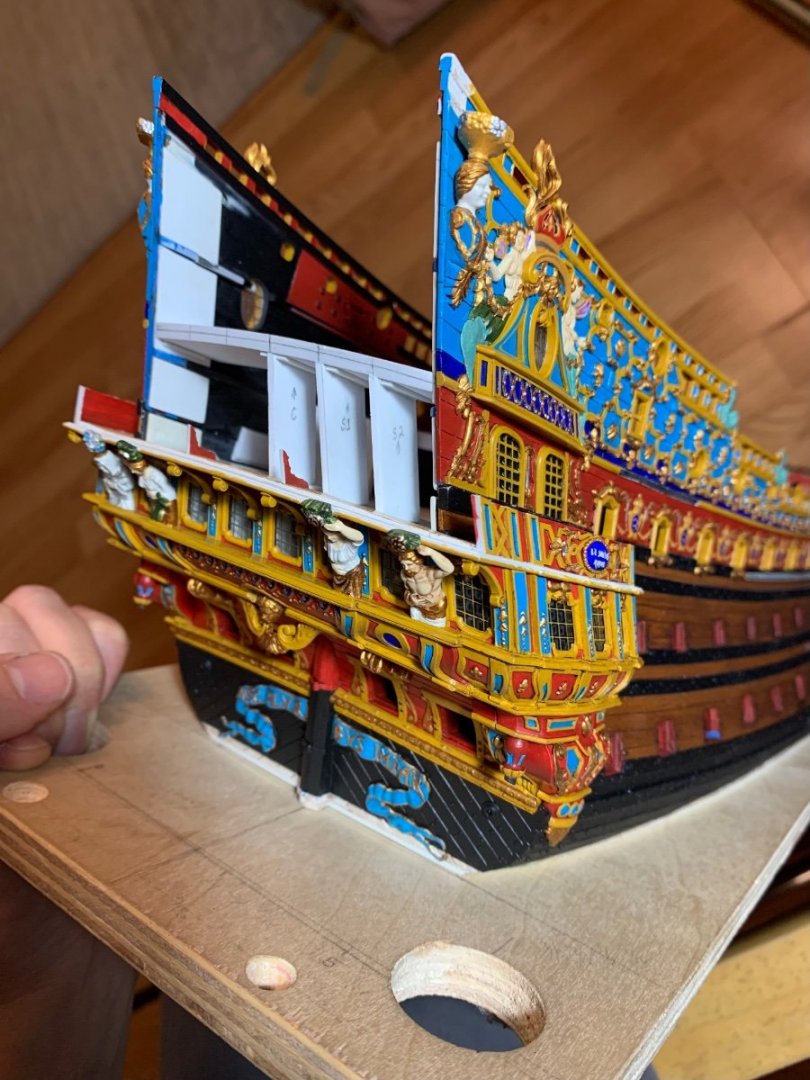
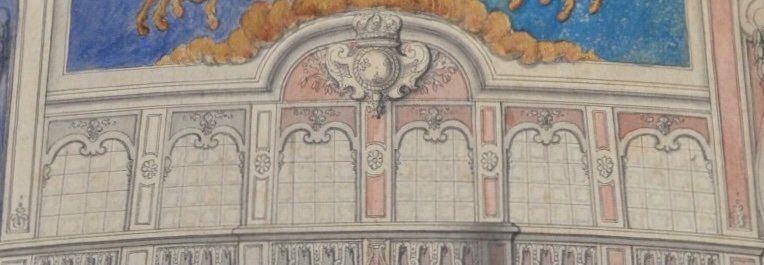
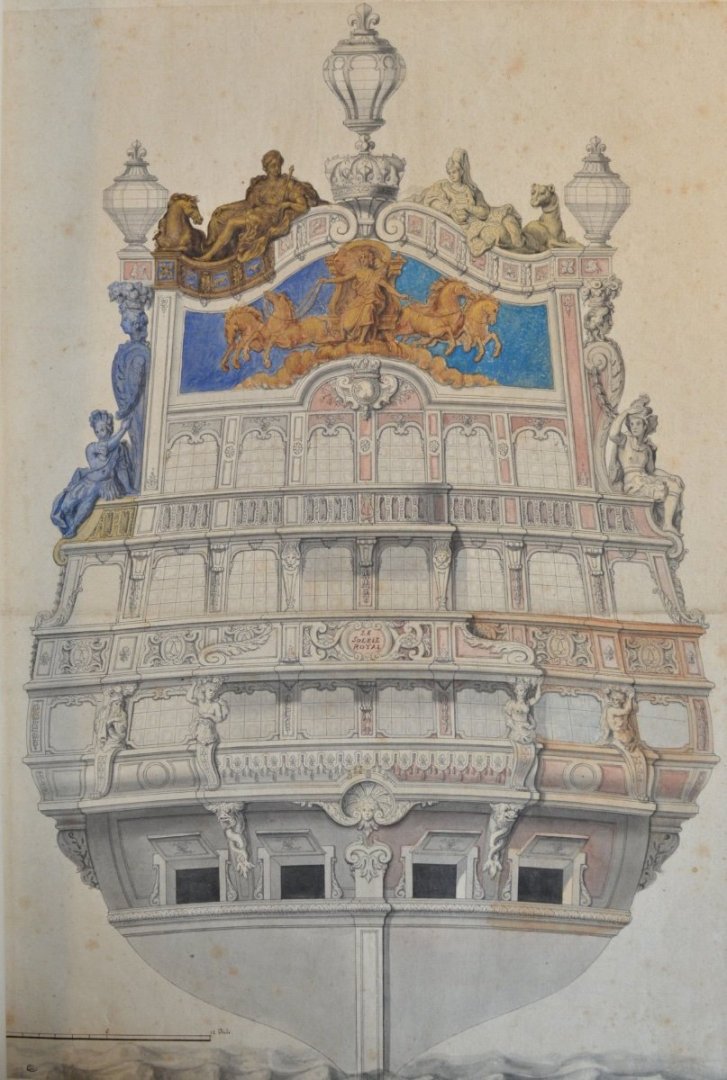
Thank you, Marc! My color choices come, in part, from Lemineur’s discussion in the St. Philippe monograph, where he discusses the likelihood that yellow ocher and red vermillion were much more likely paint choices for the deadworks. Given the exorbitant cost associated with true ultra-marine, it would only have been used as a backdrop to ornament that makes specific reference to the crown. I have been slightly more indulgent than that, but mostly, I have stuck to that premise. It also seemed likely to me that the extensive use of gold leaf, that may have been used on the ship as she was launched in 1670, would have been severely reduced by the time of her refit - especially considering they were preparing the ship for war. My lighter blue should probably be lighter still, and with a slightly greenish cast, in order to be fully faithful to the times, but I liked the way this cerulean blue relates to both the yellow and red ochers. Also, and I may be mis-interpreting the faded color, but Berain’s stern drawing appears to be shaded in a faded red color. As I had grown a little bored with always seeing SR as being tan, blue and gold, I wanted to present the possibility that a ship of SR’s importance would have used a polychromatic scheme to accentuate all of the ornamental work; this, much like the Vasa some 50 years earlier, would be an exuberant artistic expression in form, ornament and color. Here is a contemporary watercolor of a ship that I have yet to identify: My idea was to unify the red of the beakhead bulkhead to the stern, by painting the plank of the main deck battery in this same color. All of this may not be exactly historically correct for SR at this time in her career, but I do believe these colors are historically plausible.
- 2,699 replies
-
- 10
-
-
- heller
- soleil royal
- (and 9 more)
-
I’m excited to see your next update, Marc, and I’m really glad you’re back in the shipyard!
- 208 replies
-
- 6
-
-
- le soleil royal
- 104 guns
- (and 2 more)
-
Marc - thank you for granting me access to your pics and permission to post them. I’ve been in contact, recently, with another modeler from the UK who was also a great admirer of Michel’s work. He had just recently learned of Michel’s passing and was very saddened by the news.
-
Hello Melissa - this is a very nice subject for a kit, and I am looking forward to watching your progress. You are off to a great start!
- 84 replies
-
- 3
-
-
- Statenjacht
- Kolderstok
- (and 1 more)
-
Yes, there is an easy way to reliably rip consistent depth mouldings by temporarily cementing a depth stop to the Byrnes table, both before the blade and on the off-cut side. Then, one can simply adjust the fence so that the wood blank meets the stop. One caveat to this is that the fence adjustment on some micro-saws may not allow for a “soft” approach to an external stop, thereby exerting excess pressure between the blank and the stop - if that makes sense.
-
That is a high compliment, Gary - thank you very much! As you know, I am likewise a fan of your super realism.
- 2,699 replies
-
- 4
-
-

-
- heller
- soleil royal
- (and 9 more)
-
Extraordinary!
-
While you may not be satisfied with the color of the deck housing, the sense of faux graining is very good. If I were doing this, that is exactly what I would be hoping to achieve.
- 444 replies
-
- 3
-
-
- Cutty Sark
- Revell
- (and 2 more)
-
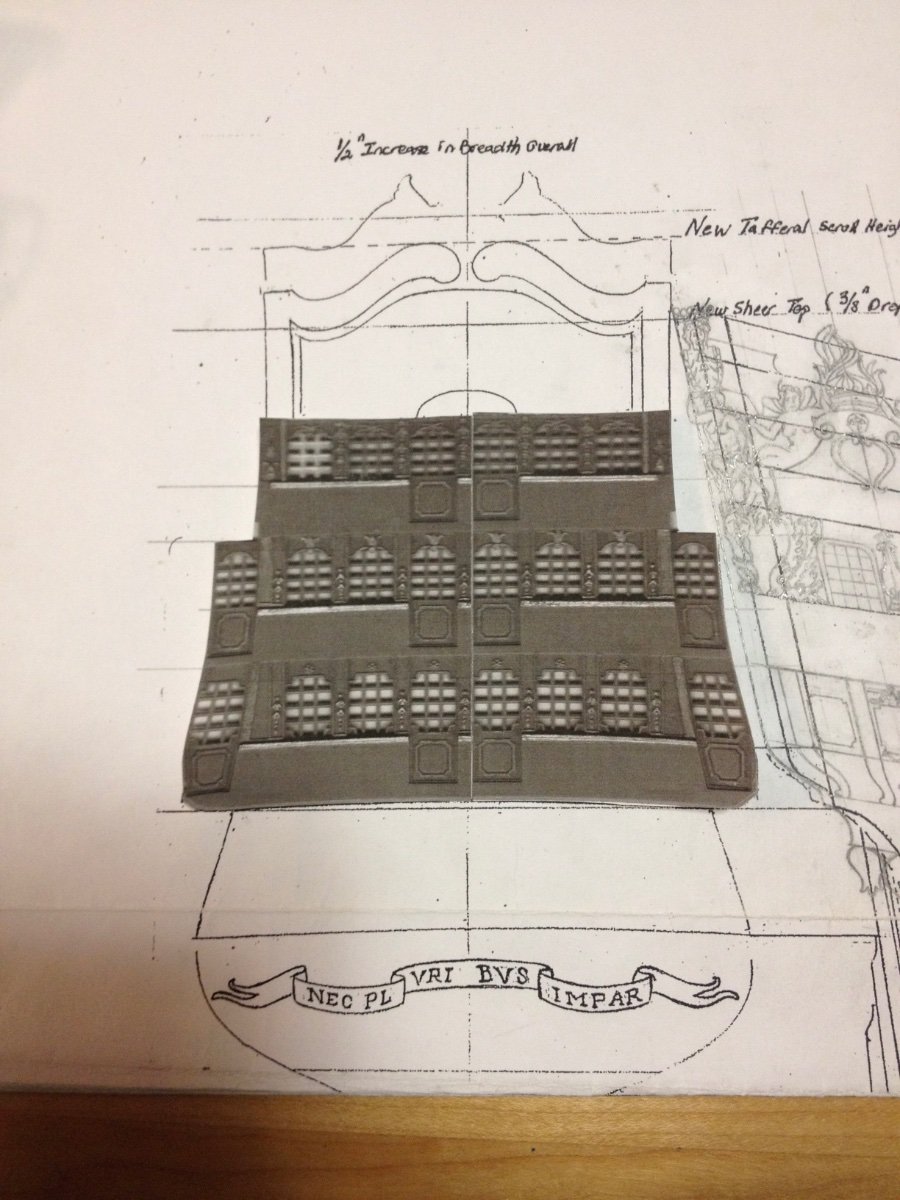
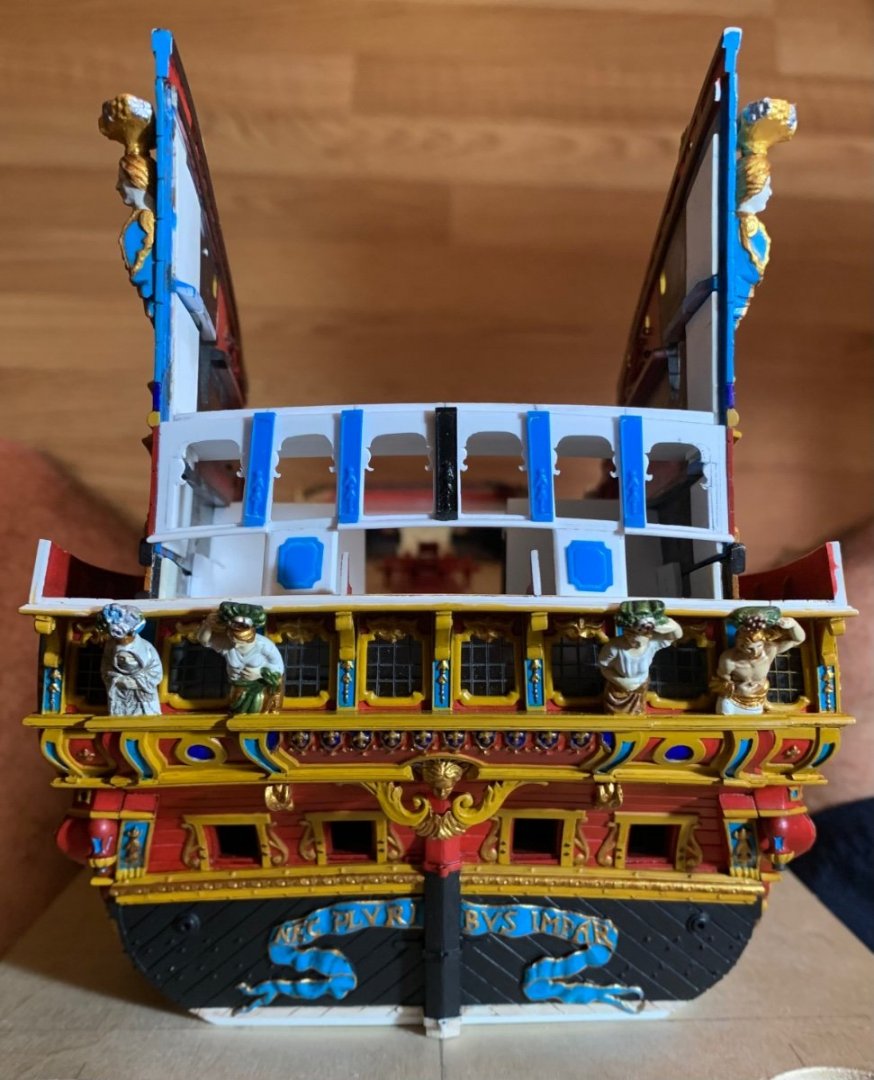
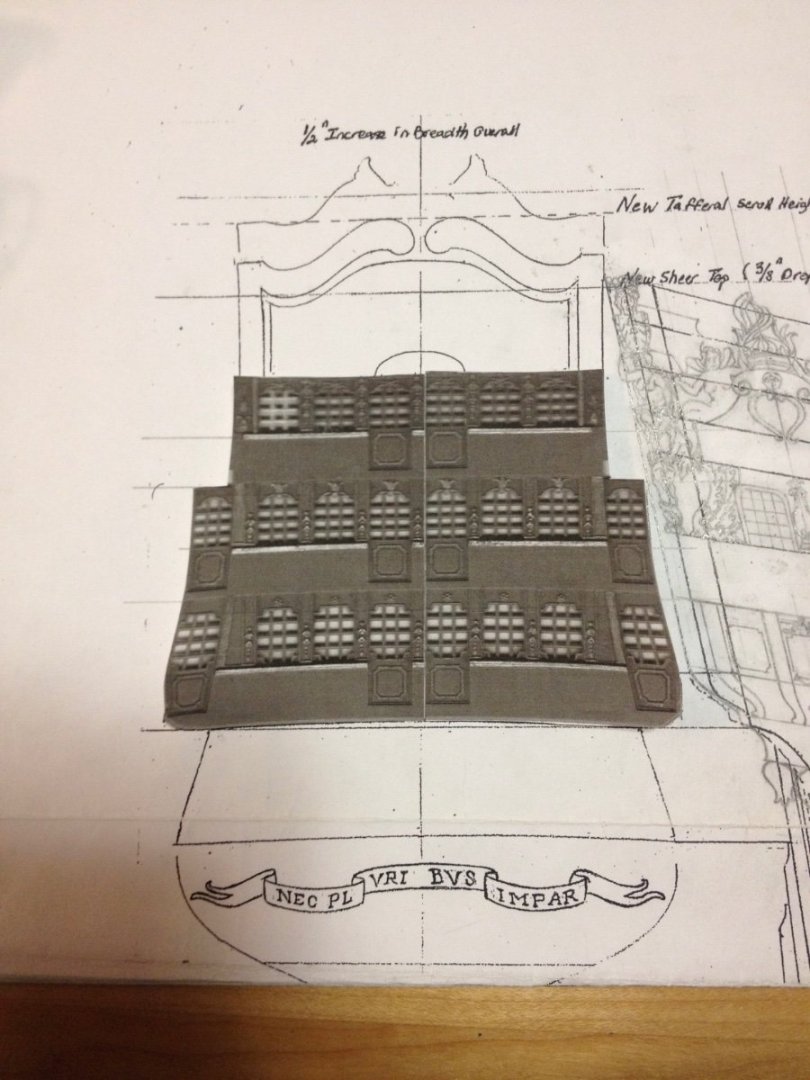
Thank you, Michael! It’s interesting because, while I do need to re-draft the reverse cyma curve of the tafferal, I should be able to use the kit sculptures of “Europe” and “Asia” because the tafferal width turned out to be about the same as stock. That’s a big help because those figures are very challenging to make well, from scratch. I will, however, have to carve the Americas and Africa figure from scratch because I reduced the stern height, overall by a 1/4”, and Africa’s posture is all wrong. Those will be difficult to do.
- 2,699 replies
-
- 5
-
-
- heller
- soleil royal
- (and 9 more)
-
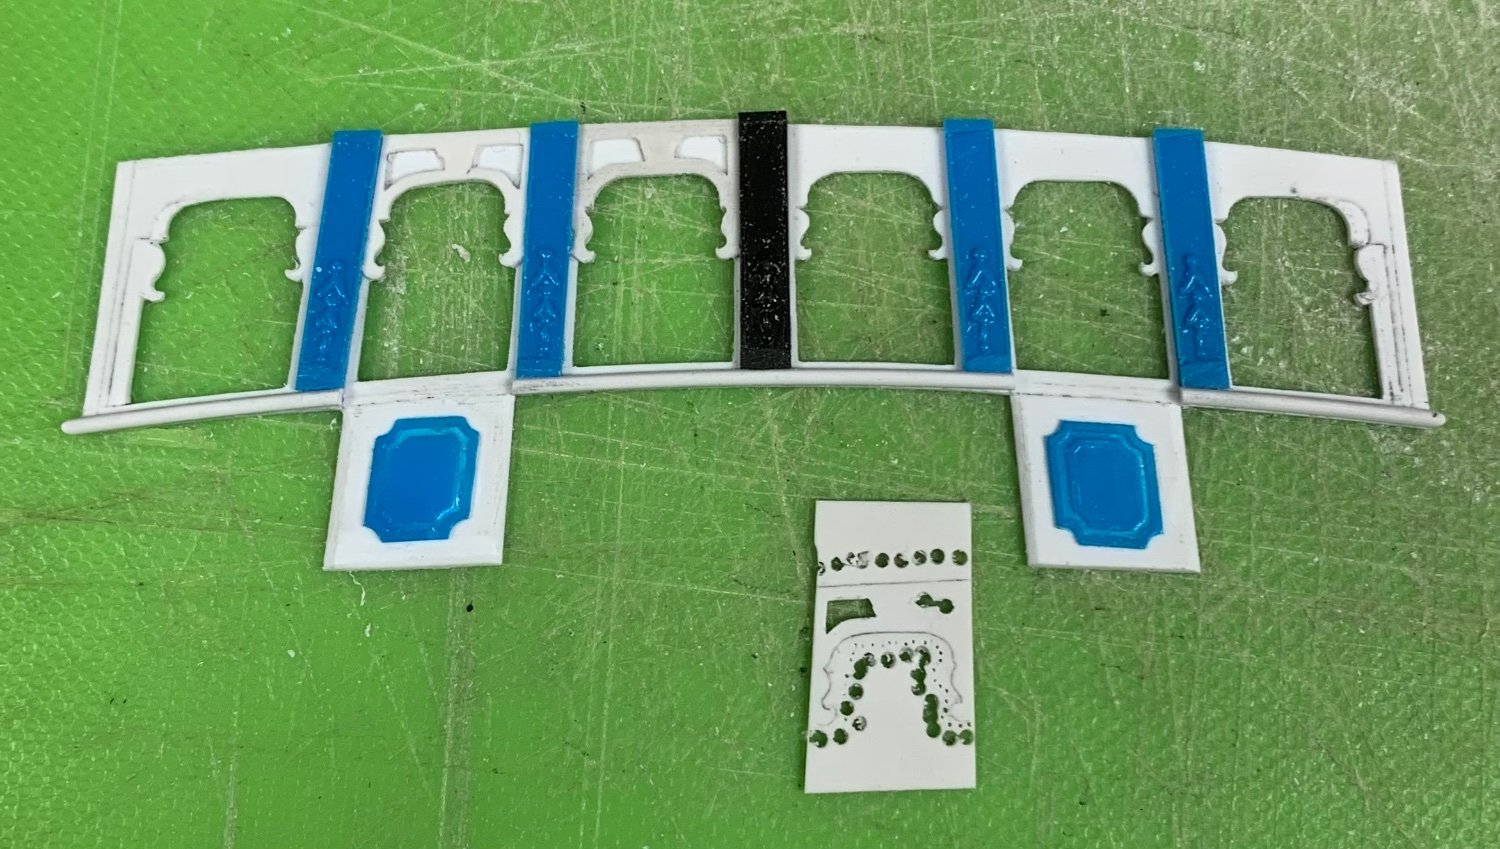
Thank you, Mike! Kevin - I am far from quick, but I certainly am committed. I’m getting back some of my former momentum, now, and am excited to continue climbing the stern. I can also appreciate that certain aspects of the build seem a little exaggerated, like the raking angles of the stern lights, but that is all part of designing within the pre-existing architecture. For their part, Heller maintained a more or less vertical window framing for the stock stern plate. If I had gone with my original plan to use the stock stern lights, it might have looked something like this photocopied mock-up: Instead, I’ve chosen a closer approximation of Berain’s intent. Here, I’ve corrected the clearance issue for the outer pilasters: Comme-ci, comme-ca; my happy medium between what is and what should be.
- 2,699 replies
-
- 14
-
-
- heller
- soleil royal
- (and 9 more)
-
Plastic is a wonderfully forgiving material, Ian. Whatever dissatisfaction I currently have with my little squiggles will be veneered over with a top layer that I can shape to satisfaction.
- 2,699 replies
-
- 7
-
-
- heller
- soleil royal
- (and 9 more)
-
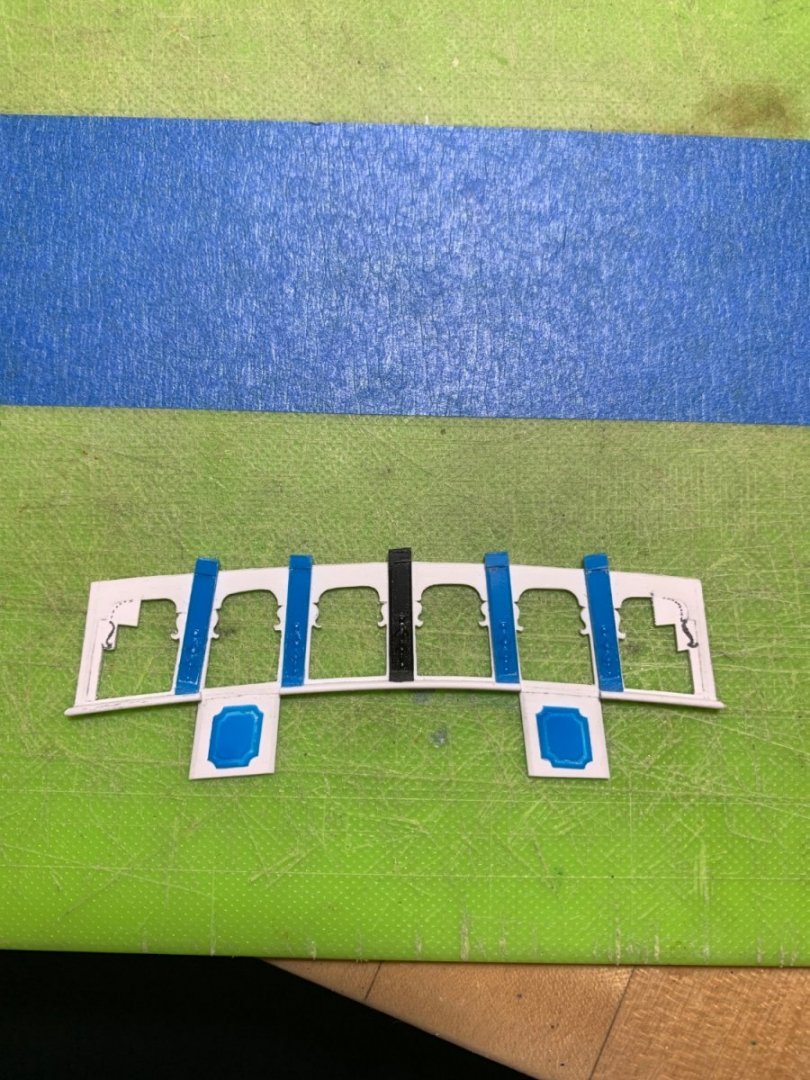
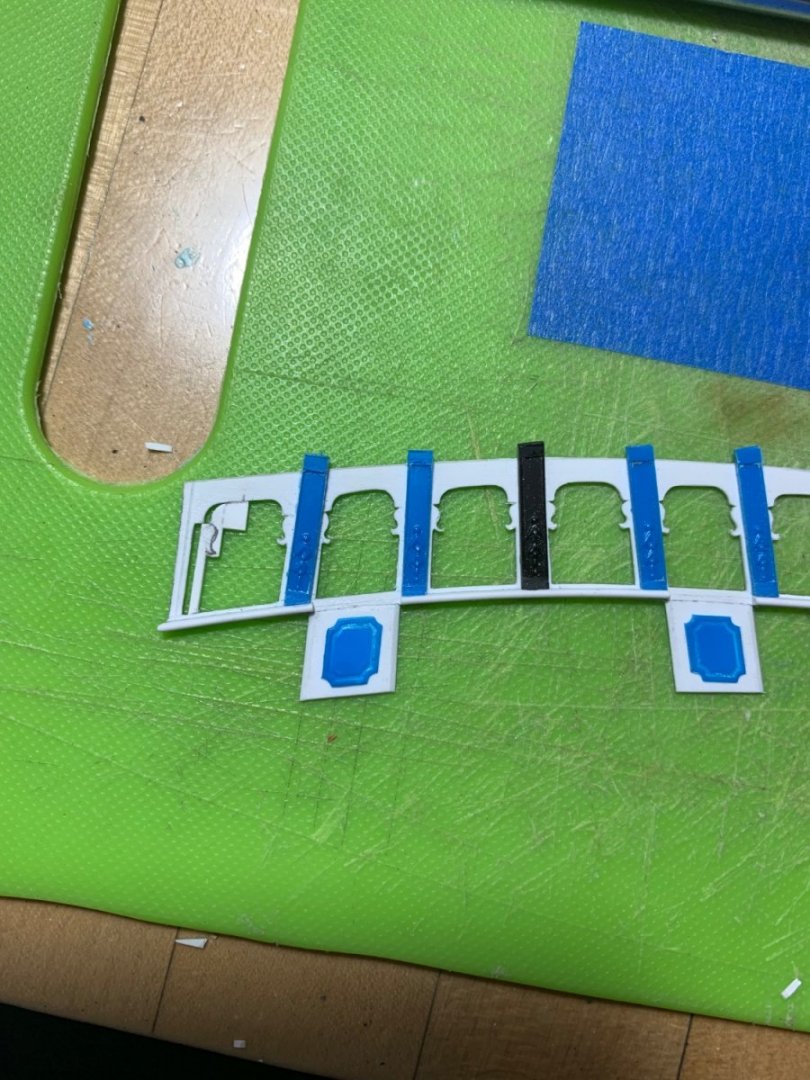
Well, guys, it turns out that I ended up having to make those side lights closer in width to the other four. After fitting of the window plate, I realized that there was not enough room left for the end pilasters. I made some filling pieces and will re-profile after dinner:
- 2,699 replies
-
- 14
-
-
- heller
- soleil royal
- (and 9 more)
-
Michael, your work is a true source of inspiration to me. There are so many things that you do with the greatest care and attention to detail.
-
I think the teak effect came out quite convincingly on the deck housings, Kevin, and I really like the plank variation in the decking.
- 444 replies
-
- 2
-
-
- Cutty Sark
- Revell
- (and 2 more)