Keith Black
-
Posts
6,450 -
Joined
-
Last visited
Content Type
Profiles
Forums
Gallery
Events
Everything posted by Keith Black
-
 Pick you poison or you can try Cornwall Model Boats, they don't give scale, only size. https://www.google.com/search?q=1%2F24+scale+wooden+barrels&client=safari&rls=en&ei=n1fZY9uAKs-uqtsP05e08AQ&ved=0ahUKEwibzKGKsvL8AhVPl2oFHdMLDU4Q4dUDCA8&oq=1%2F24+scale+wooden+barrels&gs_lcp=Cgxnd3Mtd2l6LXNlcnAQDDIHCAAQHhDxBDIFCAAQhgMyBQgAEIYDOgoIABBHENYEELADOgUIABCiBDoKCAAQ8QQQHhCiBDoJCAAQBxAeEPEESgQIQRgASgQIRhgAULMRWO4dYJQ1aAFwAXgAgAFViAHAApIBATSYAQCgAQHIAQTAAQE&sclient=gws-wiz-serp#ip=1
 -
John, good to hear from you and thank you for posting regarding this model. IMHO the Harry was the crown jewel of this decorative style model made in Germany made in the 20/30's and no one knows the Harry better than yourself. Not to wish any ill will between you and your wife but I'm hoping Howard takes you up on your offer. Keith
-
Good evening from New Jersey USA!
Keith Black replied to Funkingonuts's topic in New member Introductions
Michael, welcome to MSW. Glad to have you aboard. -
Such a distinctive style Gary. I never tire viewing your work whether it be for minutes or hours. The natural light spilling down the top of stairway from above makes the stairways look so real. Will that aspect be incorporated into the final scene or will it be lost once framed?
-
Dave, I think the carriage and cannon look great except the wheels need to be darker, IMHO. I treat all my brass with Casey's but wind up painting over it as the treatment never looks right.
-
Thank you Eberhard for making me aware of a possible issue. I worried about that when I was rigging the mizzen so I applied lots of pull both forward and and aft and got no deflection in the shroud lines. I did get some deflection in the running lines but they pulled taut when I tested the standing stays between the mizzen and main. Because I'm working aft to fore I feel confident that the forces on all the shrouds and running lines pull tight as they should when the stays get run to the bow and sprit. This is something I thought about and will watch as work progresses. Thank you again for asking.
-
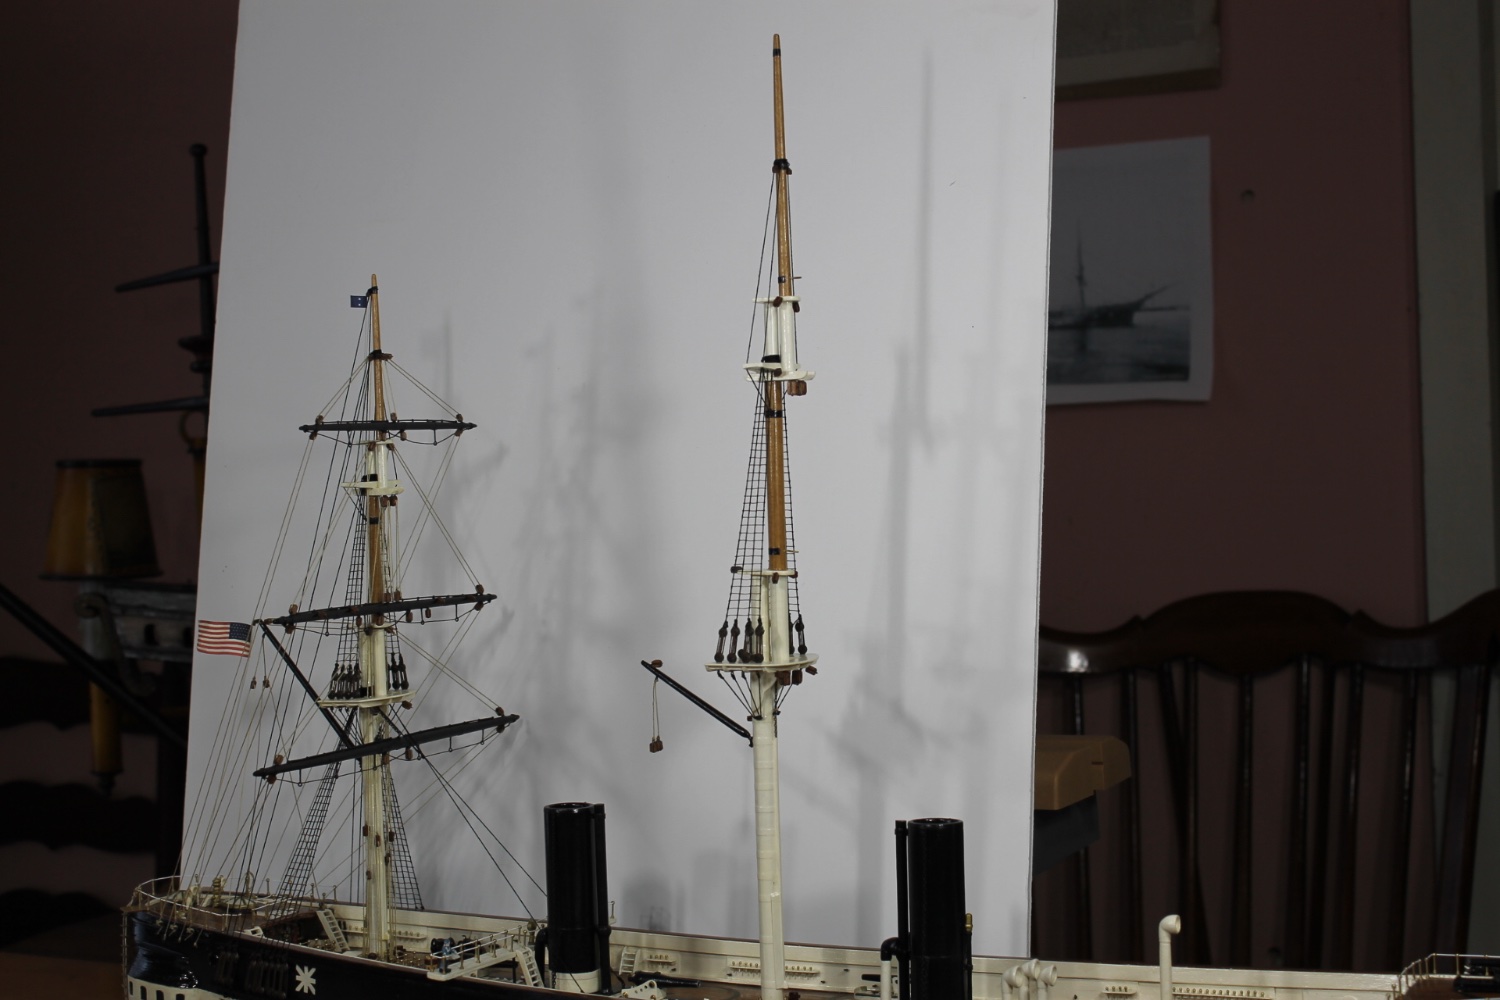
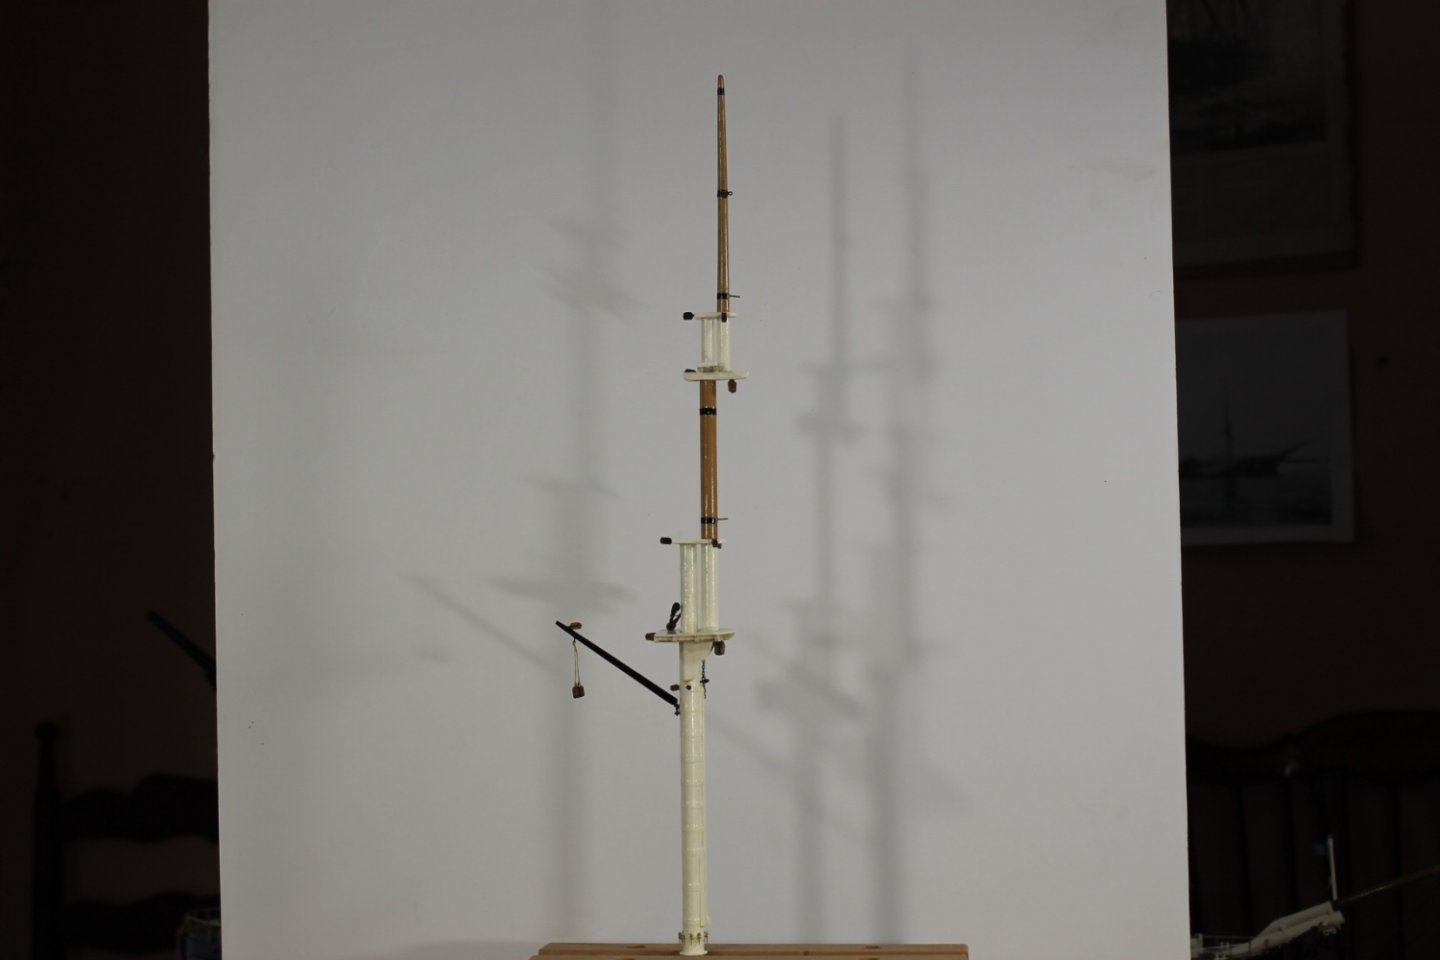
Thank you Phil. Keith, I shorten game time by taking lots of breaks. The main is ready to be rigged. I can't wait to fill the void that exist between the mizzen and main by adding the main's yards and adding running lines and stays. But, as excited as I am, I'm going to wait and go ahead with the boring job of getting the fore ready for rigging. It was such a long period of time since I added the deadeyes and shrouds to the mizzen that I had to relearn a lot of the how to's and the little time saving tricks. So, while I've got all the tools out for the job and while all is still fresh in my mind, I'll ready the barren fore with it's deadeyes and shrouds. Thank you to all for the comments and likes and for dropping by. Keith

-
Looking good Mike. 👌
-
Mark, there are some good photos in the below link. https://www.tripadvisor.co.nz/LocationPhotoDirectLink-g230028-d243858-i42175785-Fregatten_Jylland-Ebeltoft_Southdjurs_Municipality_East_Jutland_Jutland.html
-
Perfection is a quest each of us is drawn towards but always remains just beyond our reach. For sanity's sake we must be at peace knowing we did our best and judge ourselves not as if we were a god but as the mortal men we are. "Thanks Keith- i can say the same about your build too" Keith, thank you for saying that but your work puts my meager efforts to shame.
-
My thoughts and prayers go out to you for your upcoming surgery. May you heal quickly and be back at your work table in short order.
-
I like the stand and the mounting board blends well with the model. The chrome stand looks like stanchions saying, "stand back, mind your manners" You could photoshop her on water and you'd swear you were looking at the real thing.
-
Mark, over the years I've gathered up lots of info for the time period between 1860 and 1900. If ever you need a lead on something don't hesitate to ask. This period from sail to steam, cannon to gun, and wood hull to clad is amazing. All the new technologies being brought online by Navies round the world was incredible. Ships were launched and became obsolete in a fifteen/twenty year time span. The Tennessee that I'm currently working on was the USS Madawaska and renamed the USS Tennessee in 1869 after a spar deck was added and a major refit only to be scrapped in 1886. And we think todays military spending is crazy.
-
Mark, I just discovered your Jylland build log. She's taking shape nicely. Screw frigates are my passion, I look forward to following along. Where are you located in our lovely state?
-
DJ, the repairs you've made look great and the "W" looks like it's always been there, your grandfather would be proud. Impressive results thus far, she's cleaning up nicely.
- 32 replies
-
- 3
-

-

-
- Malek Adhel
- Restoration
- (and 1 more)
-
Rick, welcome to MSW. Glad to have you aboard.
-
Buddy, sometimes it's not knowing how to do it but how not to do it. We're all on a learning curve, I've tossed some my what was to be my best work into the rubbish bin. Your second attempt looks better than the first and as you pointed out it made the next steps easier.
-
William, welcome to MSW. Glad to have you aboard.
-
Sorry Mike, I forgot that this is a friends model and not yours. And now I remember past conversations.
-
I don't understand why red was used on the bulkheads, I know it was but white makes more sense (IMHO) with it's ability to reflect light. Great progress Tom.
- 341 replies
-
- 1
-
-
- Sophie
- Vanguard Models
- (and 1 more)