Keith Black
-
Posts
6,691 -
Joined
-
Last visited
Content Type
Profiles
Forums
Gallery
Events
Everything posted by Keith Black
-
 It sits on a table or bench top and is only 8 inches, not that much bigger than the third hand you're currently using.
- 342 replies
-
- 1
-

-
- Sophie
- Vanguard Models
- (and 1 more)
-
Tom, I hit the like button because of your response to Chris not because of the third hand you're using for a table top vice. Order that Workmate off eBay or PM me your address and I'll buy it for you and have it shipped to you.
- 342 replies
-
- 1
-
-
- Sophie
- Vanguard Models
- (and 1 more)
-
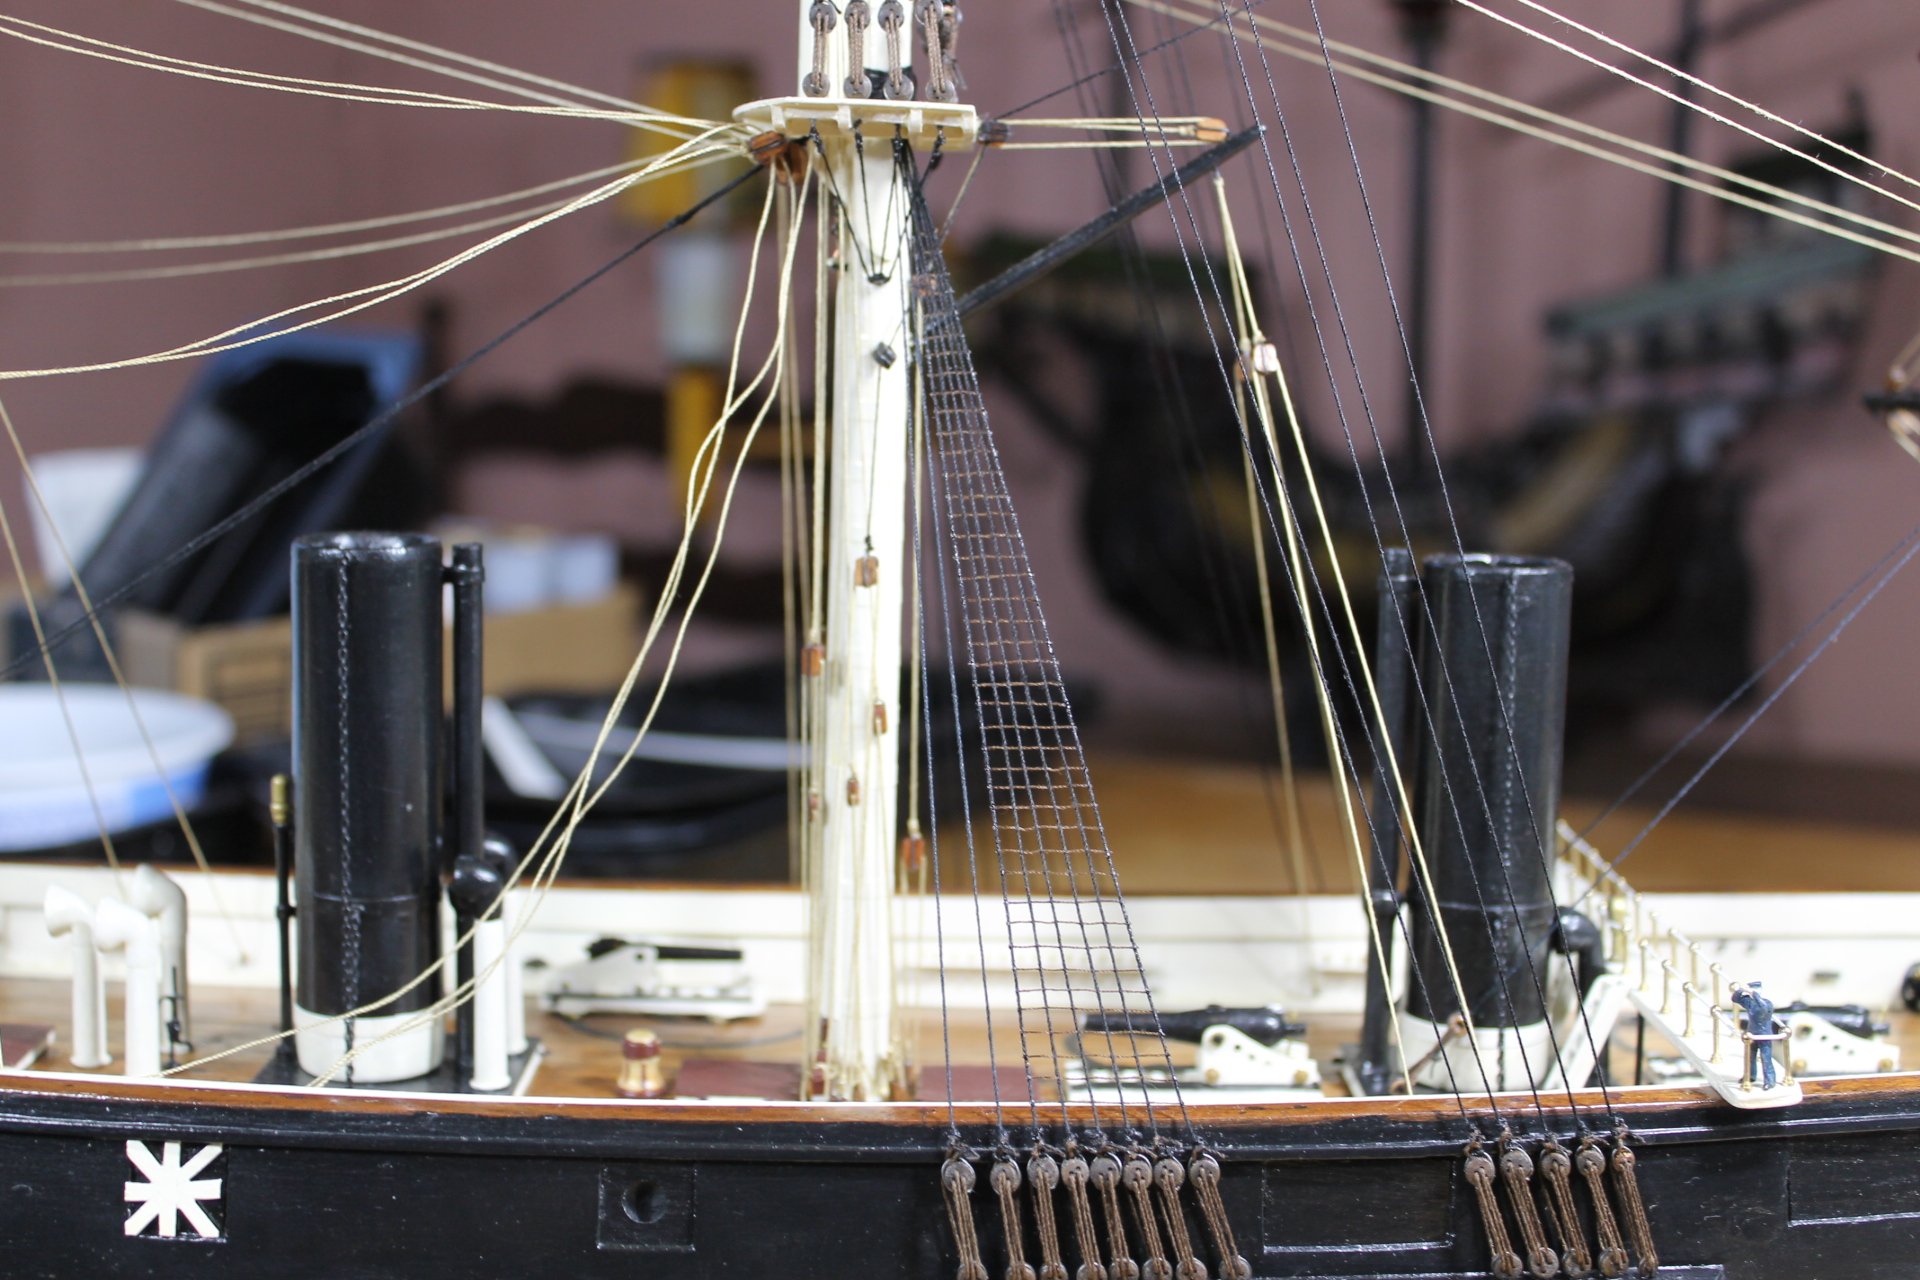
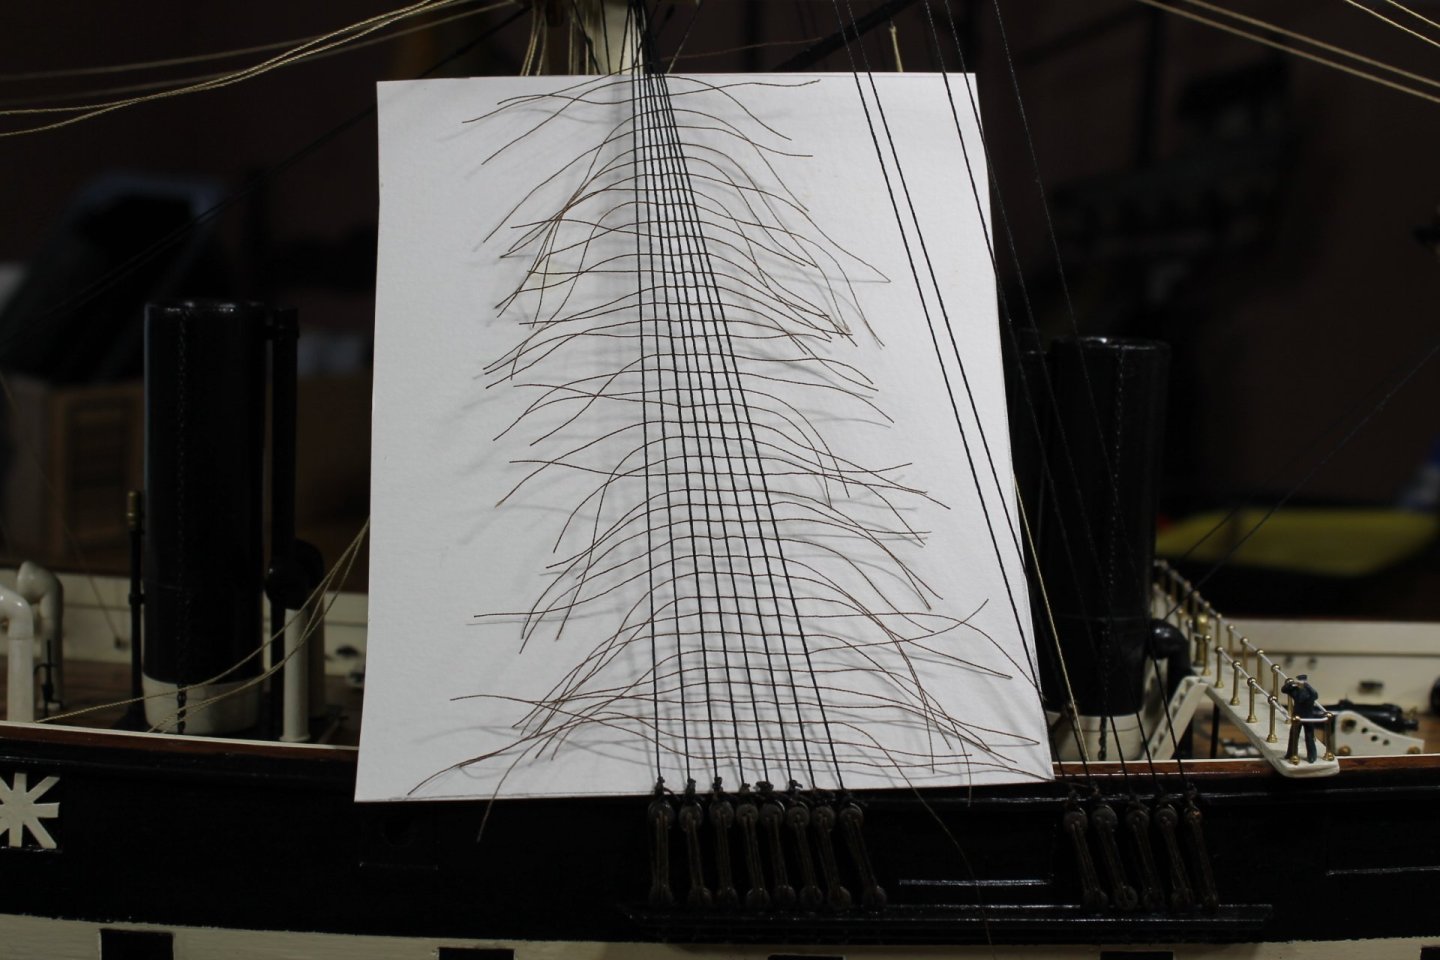
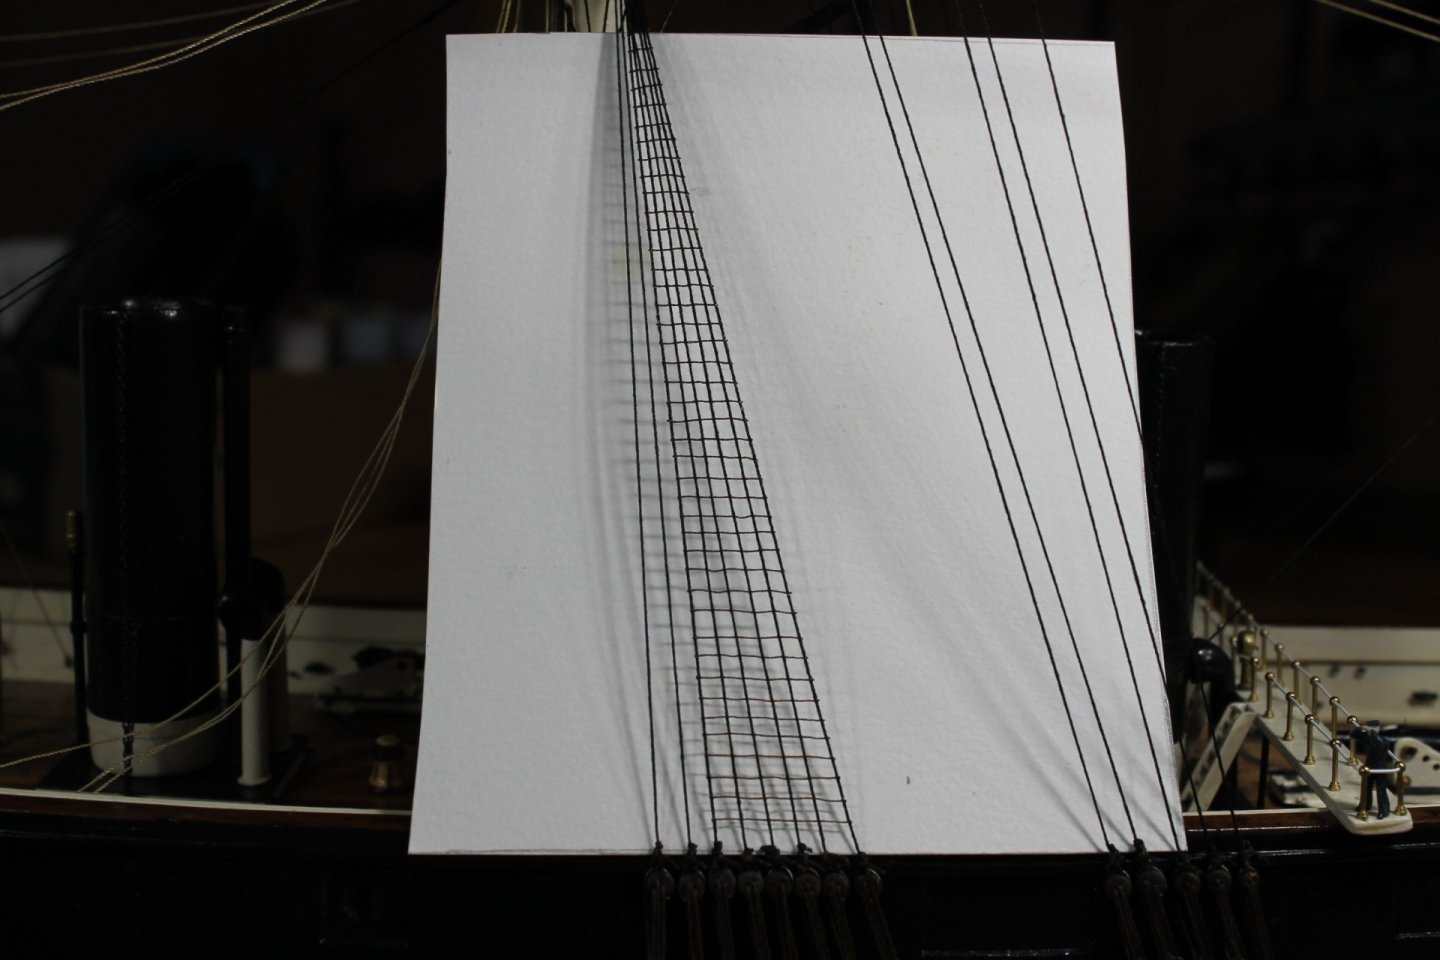
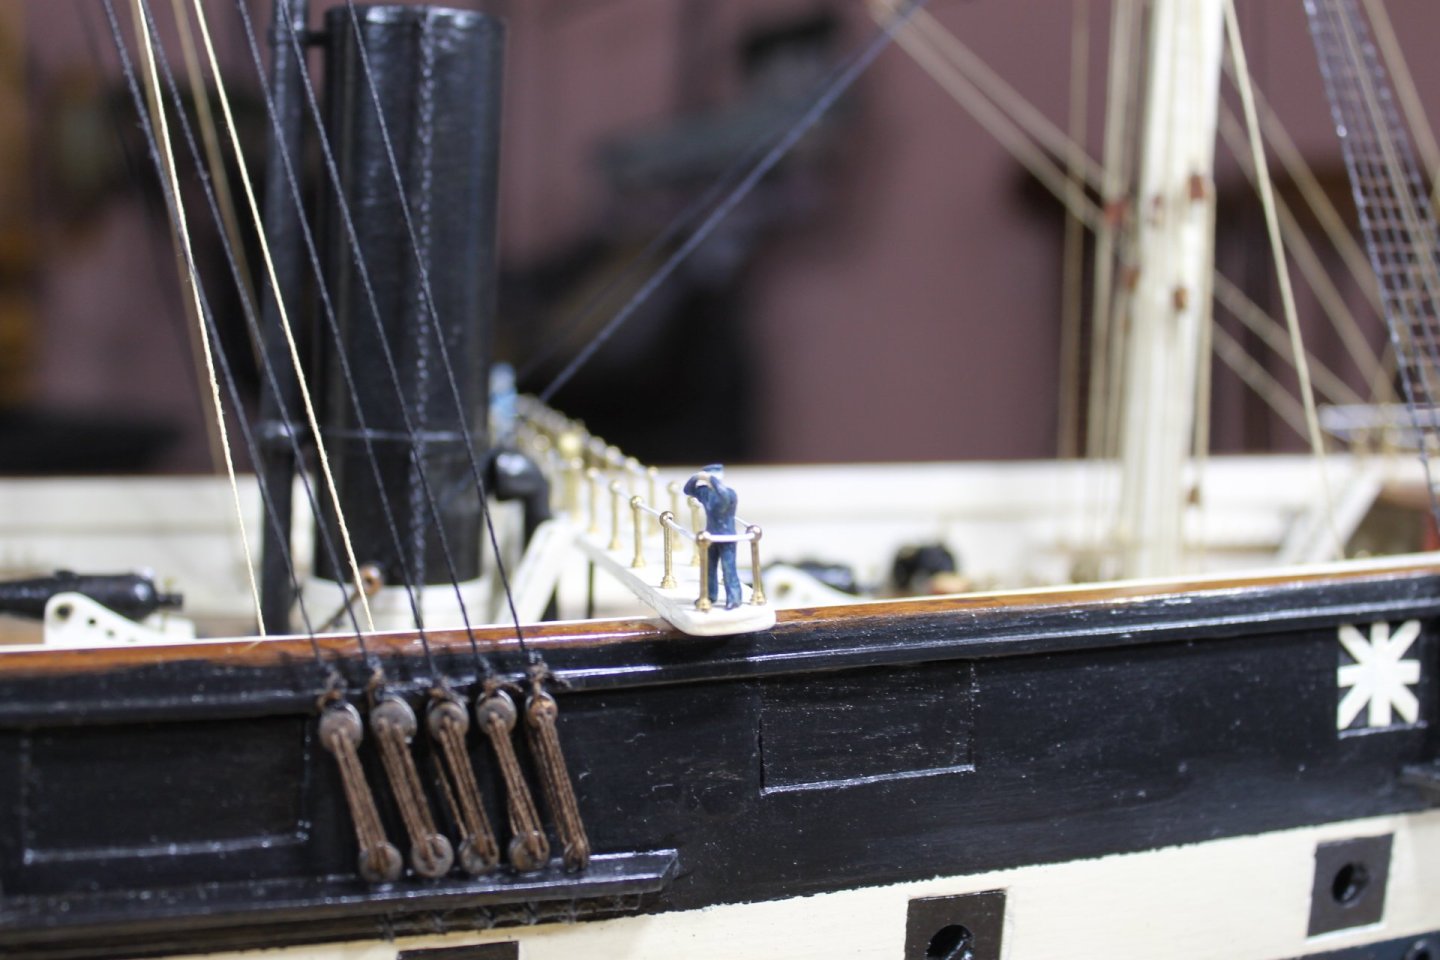
Now for some boat stuff. I got the port side House Centipede woven. The port side is the most difficult as I have to work right to left. Shrouds one and two don't get ratlines according to the photographs, only shrouds three through eight. Getting my right hand between shrouds eight and nine to start the weaving process was a challenge. I had to use needle nose pliers to hold the #12 beading needle to pierce shrouds eight through three. But I managed and here the ratlines are trimmed and done. The main shrouds took much longer than the mizzen. I'm trying to complete the actual build of the Tennessee before messing with the figures. But placing the figures where it looks like design and not by chance may require that I do so in unison with the actual building process. The figure below is not in his permanent place, he will eventually replace ole Bob on the starboard side. I did get a chance to to try Minwax Polycrylic flat and the sheen is acceptable. Next up, starboard side centipede. Again, thank you to each of you, for everything. Keith

-
Tom, I sincerely hope you're able to gracefully accept this. I can not, not at this time. I've thought of you and your post many times these past two weeks. Thank you so very much, Eric. Looking after Maggie is one of the tougher jobs I've had in this ole life. Thank you, Keith. Unfortunately I think Maggie's clicker maybe broke. I'm not giving up but I have resigned myself to life being what it is if things don't get better. Thank you, Mark. You're absolutely correct, it's one day at a time. Thank you, Pat. It befalls us all, I just wish I was able to accept it. Thank you, Glen. Thank you, Bob. That means so much. Thank you, Brian. Yes, having you folks, my MSW family, gives me endless joy looking over the shoulders of each of you as continue with your builds. Thank you, Gary. I carry forth because of my faith and you my MSW friends/family. Thank you, Rick. Your prayers mean the world to me. Thank you, George. Trying to choose the right facility is a difficult task because chances are the facility you choose is going to be it! A very heartfelt 'thank you' for you comments, the likes, and for following along. We journey together and I"m truly grateful for your support.
-
Brother Tom, those look great and that's a lot of work. Yes, do as much off model mast work as possible attaching the spars to the mast. It's so much easier, do you have a table top vice? My B&D Workmate bench top vice proved to be invaluable (thanks again to @rwiederrich) for doing off model work. Here's a eBay link for one at a great price. https://www.ebay.com/itm/326180611770?_trkparms=amclksrc%3DITM%26aid%3D1110006%26algo%3DHOMESPLICE.SIM%26ao%3D1%26asc%3D20231107084023%26meid%3D68cd33138caa4d7284a621ac4a276bed%26pid%3D101875%26rk%3D1%26rkt%3D4%26sd%3D375500335234%26itm%3D326180611770%26pmt%3D1%26noa%3D0%26pg%3D2332490%26algv%3DSimplAMLv11WebTrimmedV3MskuWithLambda85KnnRecallV1V2V4ItemNrtInQueryAndCassiniVisualRankerAndBertRecallWithVMEV3EmbeddedAuctionsCPCAutoWithCassiniEmbRecallManual%26brand%3DBLACK%2BDECKER&_trksid=p2332490.c101875.m1851&itmprp=cksum%3A32618061177068cd33138caa4d7284a621ac4a276bed|enc%3AAQAJAAABgP9d%2BMZSXlztIfYFu3kI%2B7ft0VcQix7rTrUVdiJwc2upzwLfM%2B2UEqu0ZqdXqu2qWe6up6s9MSEY%2BWikIwEh4xLkizL%2BG%2Fyhg6cdW4xfkbb75erVQBYYISNxGN1au%2BE0eJ778JYYSAyLJRupNiZky3B2UHpMsaEp7JRgW9fuueOszPlG9eCPE4mSzJx4EejjZE0v1xx3s4HgKujjhEB3s6n3rVM74tXr%2F3IePxzpUMK1eP7655q8enVEHXpfbSIUTWQDNEZ%2BV3iSAOL1%2B1OEcY3M0wq4YZnJpkZbM0m2sUP8%2B6QHYeDmryoe8C1eNpvCBFz1Hv%2BdGYxWil5kGzBwyPNE3IOWbw65qbOzeYo8kHEj9NwAymyhJEpr%2Ffu%2B0fiXIOgNVbkzp2fkFUCvR%2BYm5NPIYGnDnE27NP4LWjW89G%2FIAxLXZCYGeqkG7ZVEPJJulLEQzib26iy92TGpXPJSbVXO3%2FovDTPspVyEML%2FXA7r6Pw%2Fwi3YP%2BQ2tZnB4NFVB0A%3D%3D|ampid%3APL_CLK|clp%3A2332490&epid=28030358934&itmmeta=01J1JSEP84HQ2KF40PA6QQHTQX
- 342 replies
-
- 2
-
-
- Sophie
- Vanguard Models
- (and 1 more)
-
Rob, it could well have been used to lower and raise the fore's main yard should it have needed repair or replacement.
-
Borrowing a remark from @mtaylor, "stairways to heaven"
-
Incredible work, Ian. Regarding coating, I used Minwax Polyurethane satin and it's some pretty shiny stuff. I recently tried Minwax water based Polycrylic matte and it's has some sheen to it. I then tried the flat and it has a lot less sheen but still a tad shiny but not bad. I was working out of the can (Polycryclic dries quickly) and started forming a skim on top within 45 minutes of open can use.. I've yet to test Polycrylic on top of Polyurethane to see if the two are compatible.
- 536 replies
-
- 3
-
-

-
- Quadrireme
- radio
- (and 1 more)
-
See @FriedClams (Gary) build. link below, page 13, post 387. Some clutter but not so much that it detracts from the model.
-
Welcome to MSW, glad to have you aboard.
-
Please tell her 'welcome to SIBSPC' (SIB Suggestion Probationary Club) and that 2025 isn't that far off.
- 235 replies
-
- 7
-

-
- Banshee II
- Bottle
- (and 1 more)
-
Andrew, so sorry to hear that Belle passed away. Our little furry children are as much a part of families and lives as the humans, it's a tremendous loss and my heart goes out to you. Then on top of that to have a heart attack. ☹️ I hope your recovery continues to go well, welcome back. Keith
-
I've said before that the Kraken was my favorite till you built the Lost Jenny but now I think I'll be changing my favorite yet again. That's some great stuff right there, Glen.
- 235 replies
-
- 5
-
-
-
- Banshee II
- Bottle
- (and 1 more)
-
I don't wanna see funnel smoke that badly, Glen. May I suggest Raid as a SIB friendly alternative?
- 235 replies
-
- 5
-
-
-
- Banshee II
- Bottle
- (and 1 more)
-
Welcome, glad to have you aboard.
-
Not much carrying capacity in the ship's boats, Glen. You might, might be able to crowd three wee black ants aboard if they all hold their breath. They look sharp.
- 235 replies
-
- 4
-
-
-
- Banshee II
- Bottle
- (and 1 more)
-
Looks fishy to me.
-
hear, hear
-
Dan, welcome to MSW. Glad to have you aboard.
-
Yes, congratulations on completing a difficult build, Chris.
-
Amazing that you were able to paint in that much detail at that scale, Eberhard. I was spending three plus hours per figure trying to paint in detail and in the end I was very displeased with my efforts. My hat is off to you for succeeding.
-
https://www.shapeways.com/product/KVS8JDNSF/six-1-32-scale-vickers-machine-guns?optionId=301091122&li=marketplace https://www.shapeways.com/product/A94KRLFCL/two-1-30-vickers-machine-guns?optionId=299287528&li=marketplace https://www.shapeways.com/marketplace?type=product&q=1%3A33+vickers+gun I searched Shapeways for Vickers sight and they have one that about the size of the model so I came up dry on the sight but they do have vickers guns. Chris, I don't know if any of the above will work for you? Being 3D resin they're probably more robust than paper and adding a sight might be easier on one of them because they are 3D resin?