Bossman
-
Posts
283 -
Joined
-
Last visited
Content Type
Profiles
Forums
Gallery
Events
Everything posted by Bossman
-
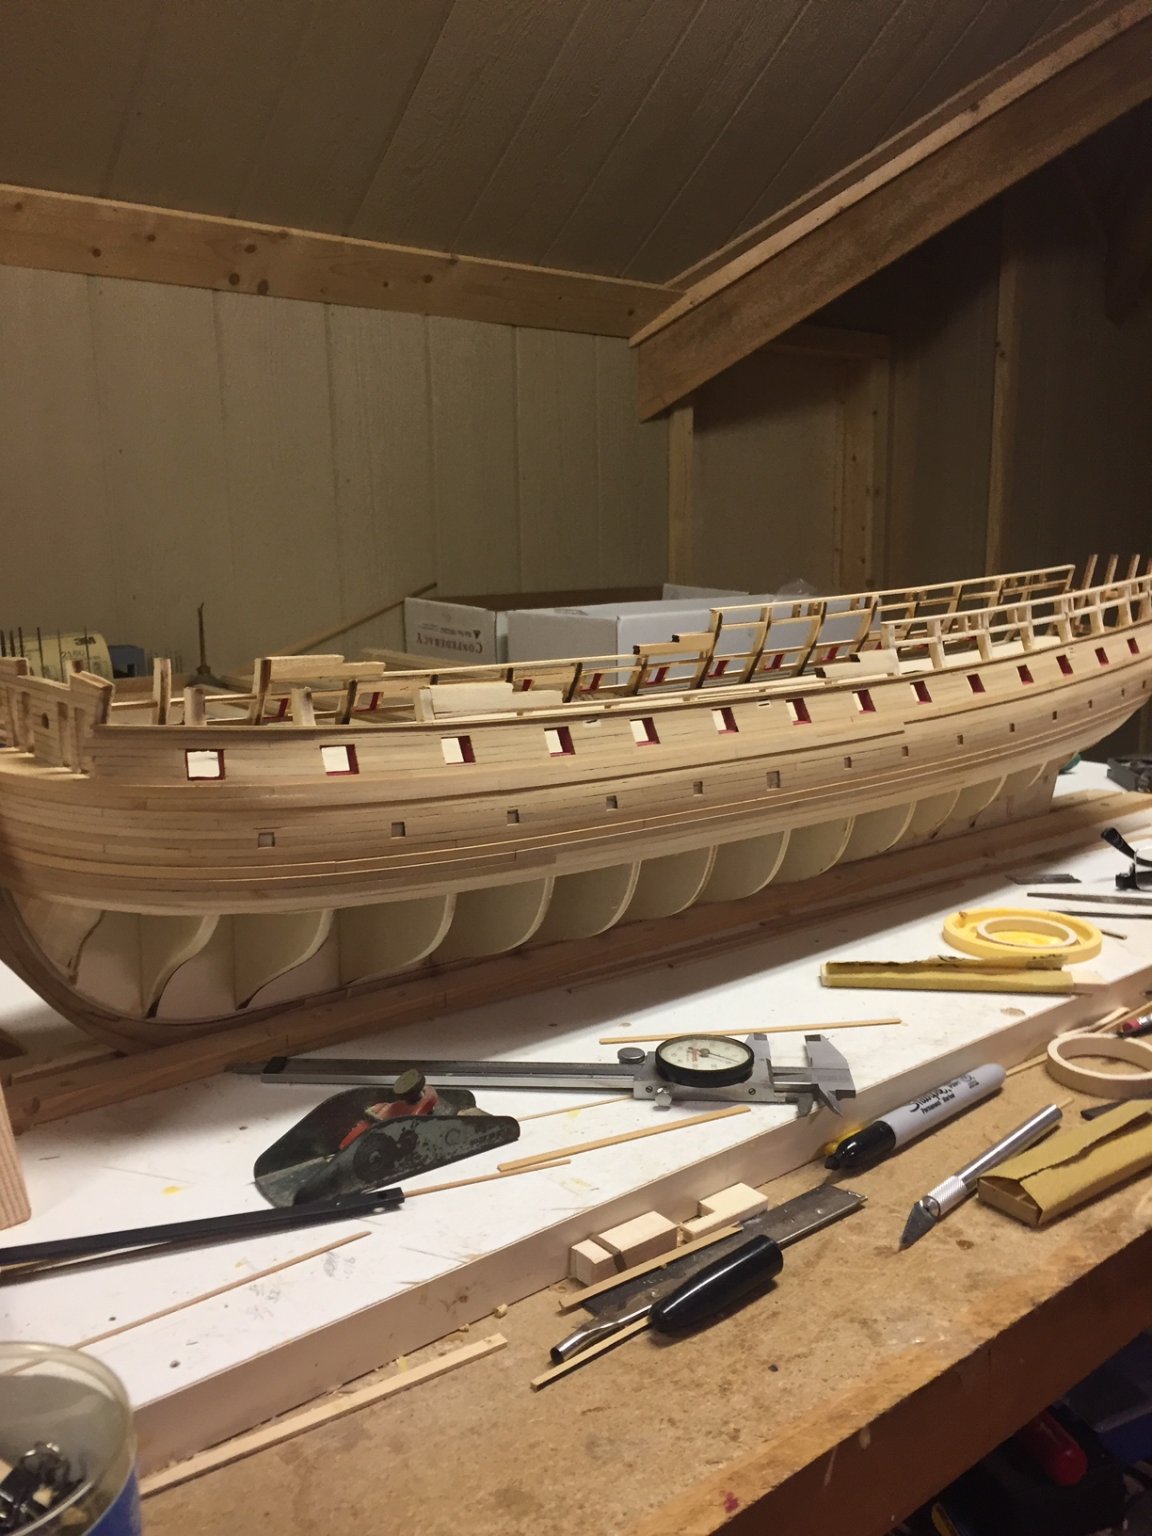
 Just a short update. This model is one big puppy! With 1/8” wide planks you get nowhere fast. I should finish above the wales tomorrow and then can go to the other side which is planked above the sweep ports. As that is the side that will show I am hoping all I learned can be improved. My apologies for the poor photography. My camera is an iPad and that’s as good as it will get. Thanks for the thumbs up Gents!
- 127 replies
-
- 12
-

-
- confederacy
- model shipways
- (and 1 more)
-
Peter, she is absolutely beautiful!
-
Wingnut Wings Albatros fighter by RustyNail123
Bossman replied to RustyNail123's topic in Non-ship/categorised builds
Rusty, that is superb work! The only thing I have against WNW kits is that they are so good they cry out for all the added detail that you have done a great job on, then you close up the fuselage and 90% of it disappears! Do you plane on setting her in a diorama? -
As Phil said, “hope is never lost”. Do you have a trimmed piece korabel? If so, cut a piece to fit exactly into the gap, put some pva glue into the seam and sand with fine paper while the glue is still damp. It will form an almost invisible seam. If you do not have an extra piece of the same wood, you can surely find something that will stain very close. Very nice work by the way! If after all attempts at repair fail to your satisfaction, display that side of the model to the wall.
-
Edward, thank you very much Sir! I’m hoping she will clean up nicely once sanded.
-
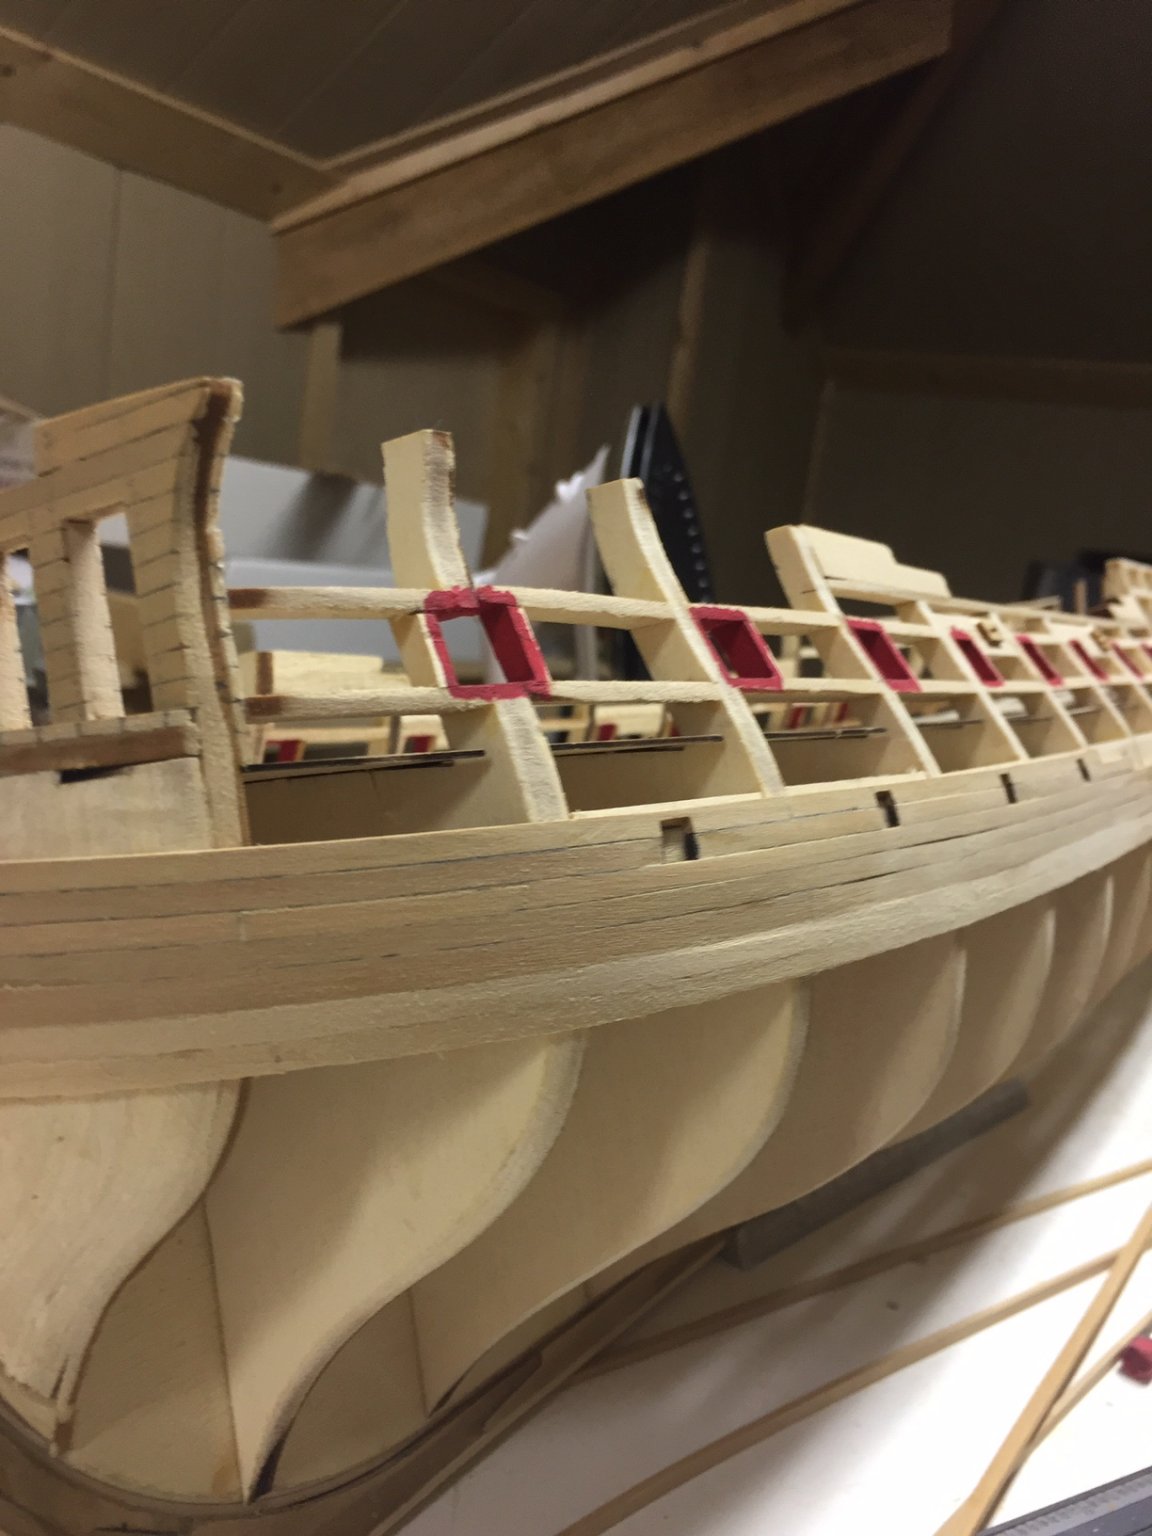
Good day Folks! The likes are much appreciated. I finally topped those pesky sweep ports and now working on the channel Wales. It’s a long way from perfect but I will take it.

- 127 replies
-
- 10
-
-
- confederacy
- model shipways
- (and 1 more)
-
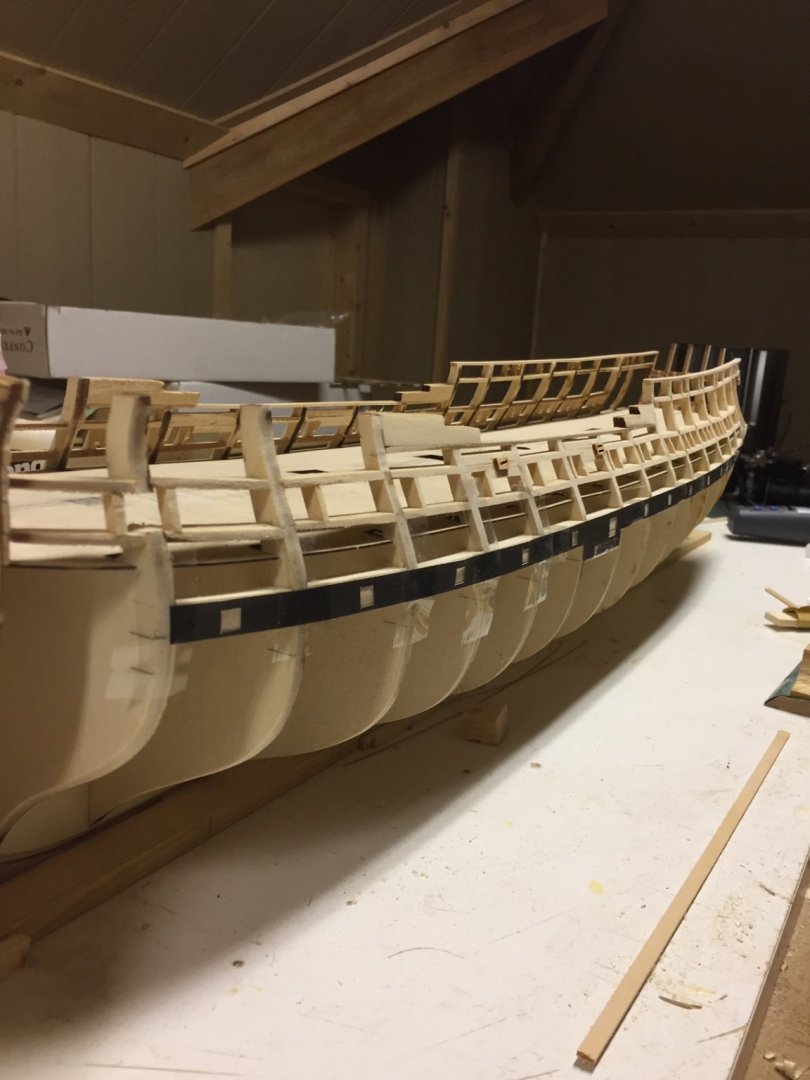
Does anyone else have one mistake compound on itself? While eyeballing the planking on the starboard side I noticed a slight upward bulge about 9” from the stern. It seems I made a 3/64” mistake while placing the batten for marking the the position of the top wale plank. Mistake #1. Now if you look at the 3rd plank from the top, the black strake, you can see that is a bit wider at this spot. Poor cutting and milling on my part. Mistake #2. By the time I would have made it to the top rail it would have looked like a humpbacked whale! So, off with their heads. The offending planks and those above are removed and the offending workmen have been fired. The new batten is correct and the lines marked. Now let’s see if I can make it look right. Gotta love this hobby!

- 127 replies
-
- 9
-
-
- confederacy
- model shipways
- (and 1 more)
-
Always a satisfying moment in a modelers life. Well done!
- 360 replies
-
- 1
-
-
- sultana
- model shipways
- (and 1 more)
-
Welcome Bob and thank you for your service.
-
I wish I had your skills! Excellent craftsmanship.
- 642 replies
-
- 1
-
-
- winchelsea
- Syren Ship Model Company
- (and 1 more)
-
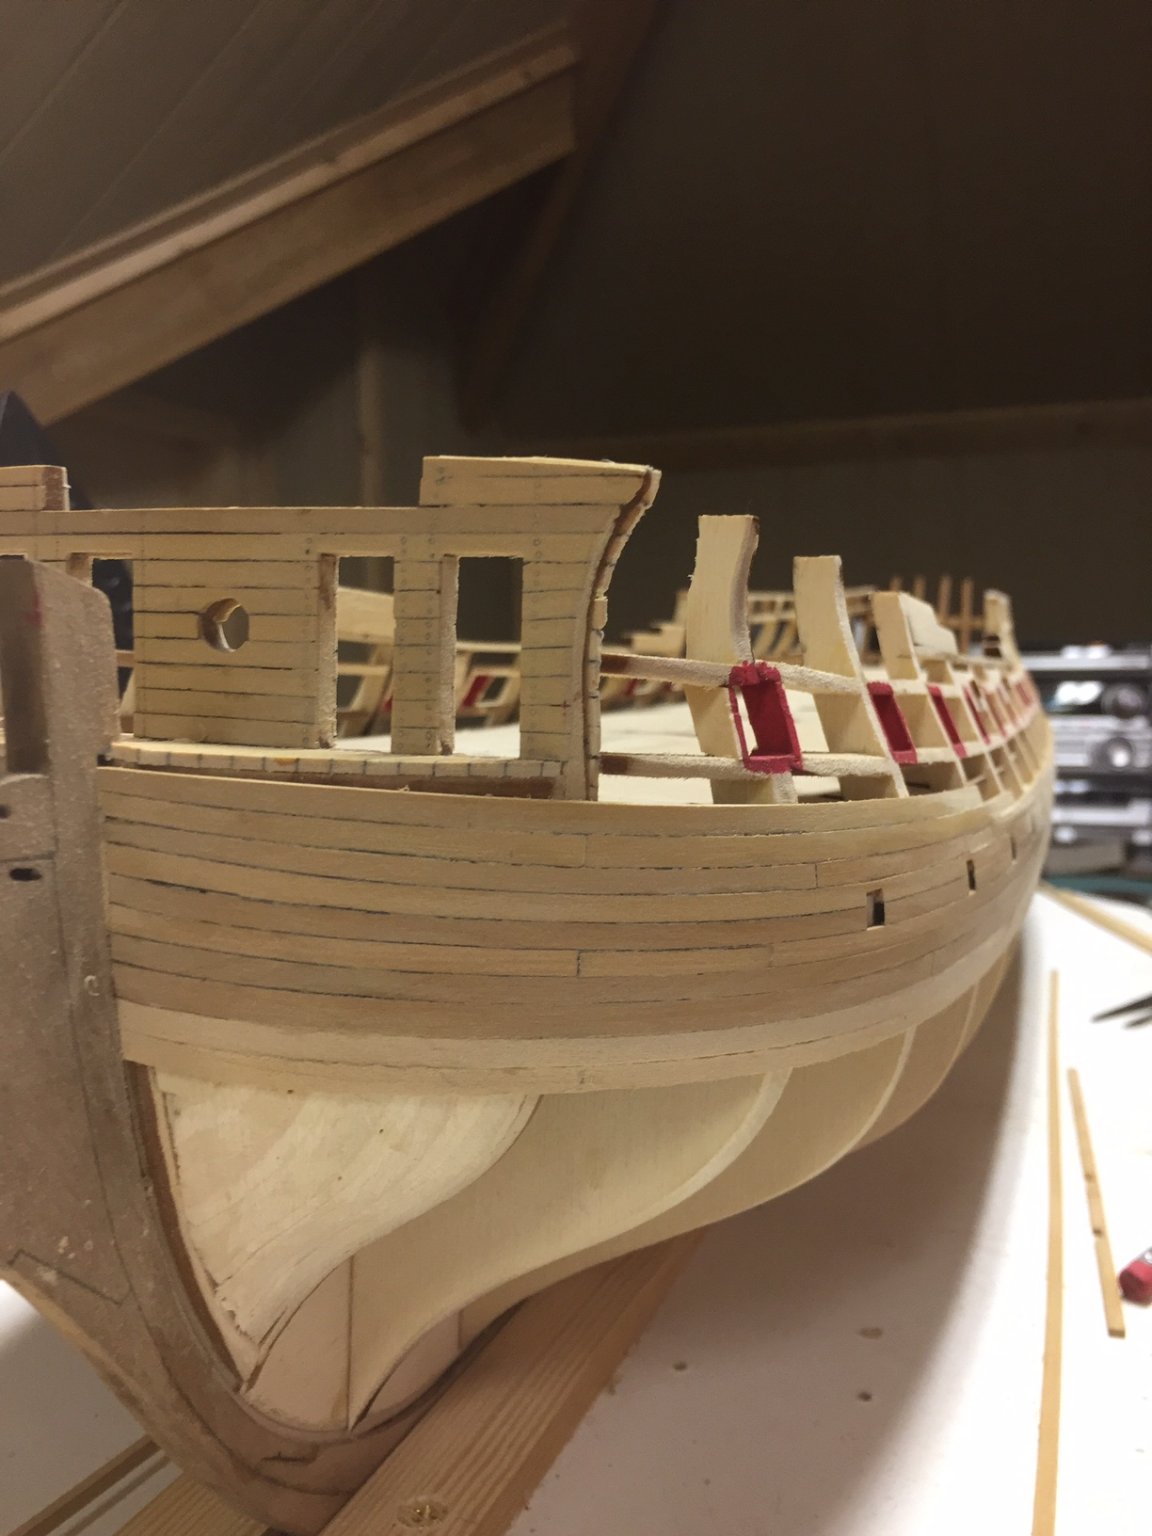
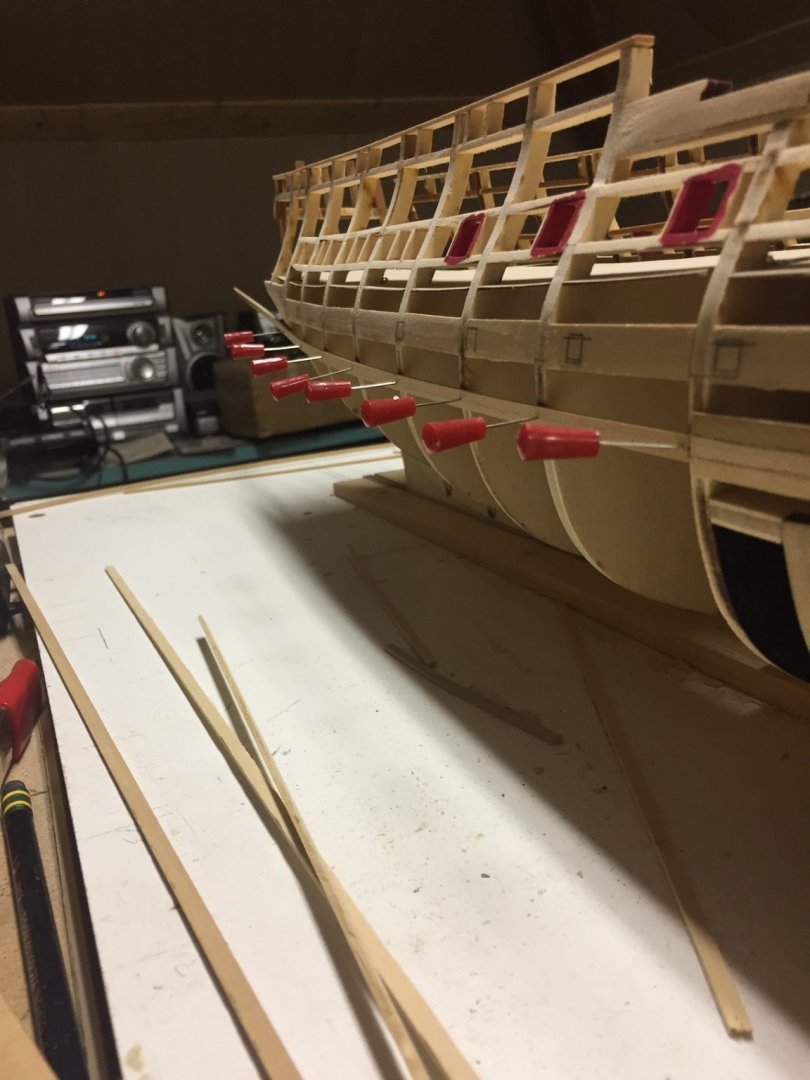
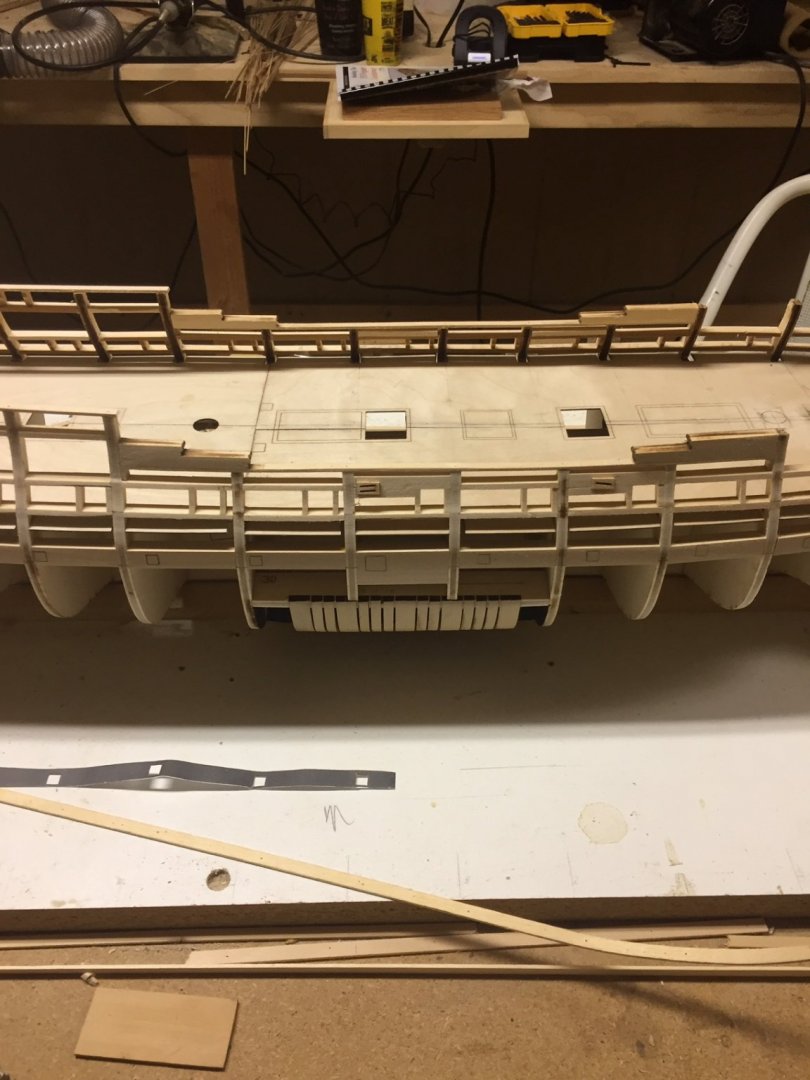
Thank you for the likes Gents! Some more progress today. Notching around the sweep ports will try one’s patience! There are a few gaps I will have to address. Being a bit more careful would help.

- 127 replies
-
- 7
-
-
- confederacy
- model shipways
- (and 1 more)
-
Good day Ladies and Gents. I have finished the lower counter and have started the planking. The two boxwood planks at the bow are the black strake and the first first plank above it. The two lower wale planks are kit basswood and will be covered with ebony. There are mistakes but if I tore out everything that did not suit me I would never finish the ship. As my modeling friend Russ Barnes says, “have fun.” I have to keep reminding myself of this saying.

- 127 replies
-
- 11
-
-
- confederacy
- model shipways
- (and 1 more)
-
Ed, it looks darn good to me. We are our own worst critics. It’s the only way to improve.
-
This is way too cool! Beautiful.
-
Hello and yet another Syren in progress
Bossman replied to Kevin53's topic in New member Introductions
Kevin, that is a beautiful model. You obviously have the knack! -
Rusty, very nice planking! She is going to be great looking model. Well done Sir
- 642 replies
-
- 1
-
-
- winchelsea
- Syren Ship Model Company
- (and 1 more)
-
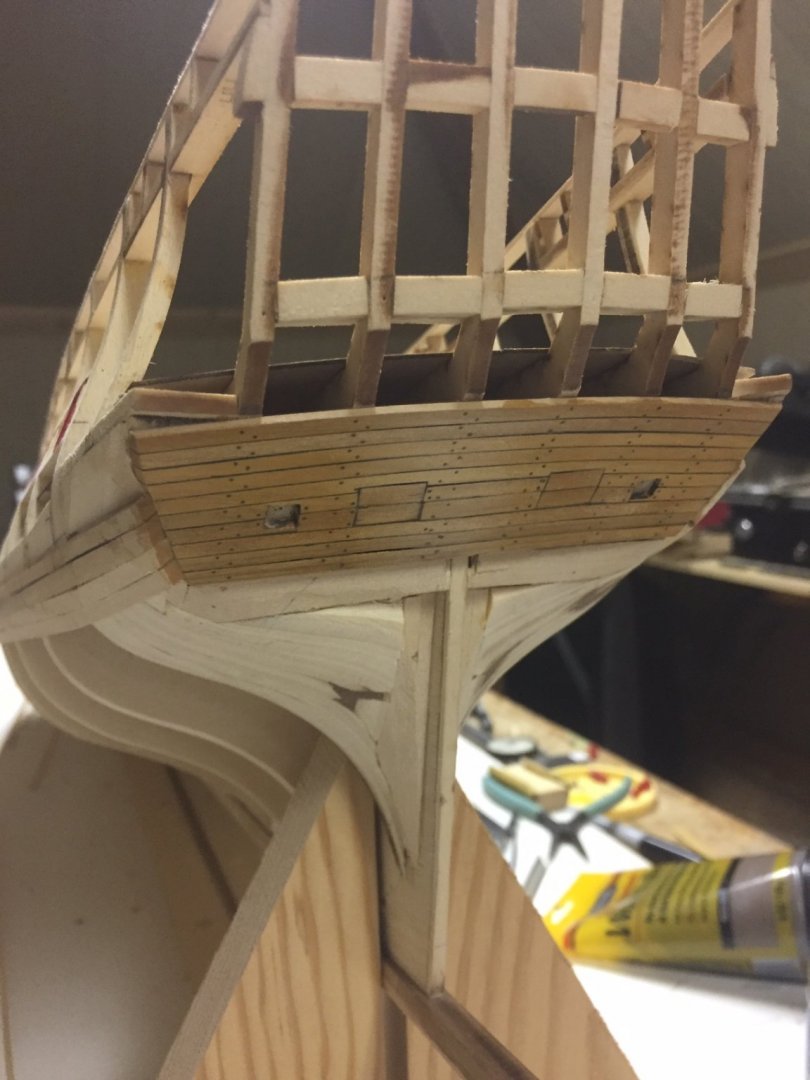
Another good day in the shop today. I spent most of the morning making a jig to edge to edge bend planks using Chucks simple method. I finally got an acceptable over curve which allowed the proper bend for the counter planks. I used drawn bamboo treenails on this step for som extra holding power, warranted or not. If anyone sees something amiss with the counter, please speak now. Also, after a fine sanding of the inside of the gunports with 400 grit sandpaper, I painted those. Every fine lady needs some lipstick! Thanks for the thumbs up Gents! It is most appreciated.

- 127 replies
-
- 9
-
-
- confederacy
- model shipways
- (and 1 more)
-
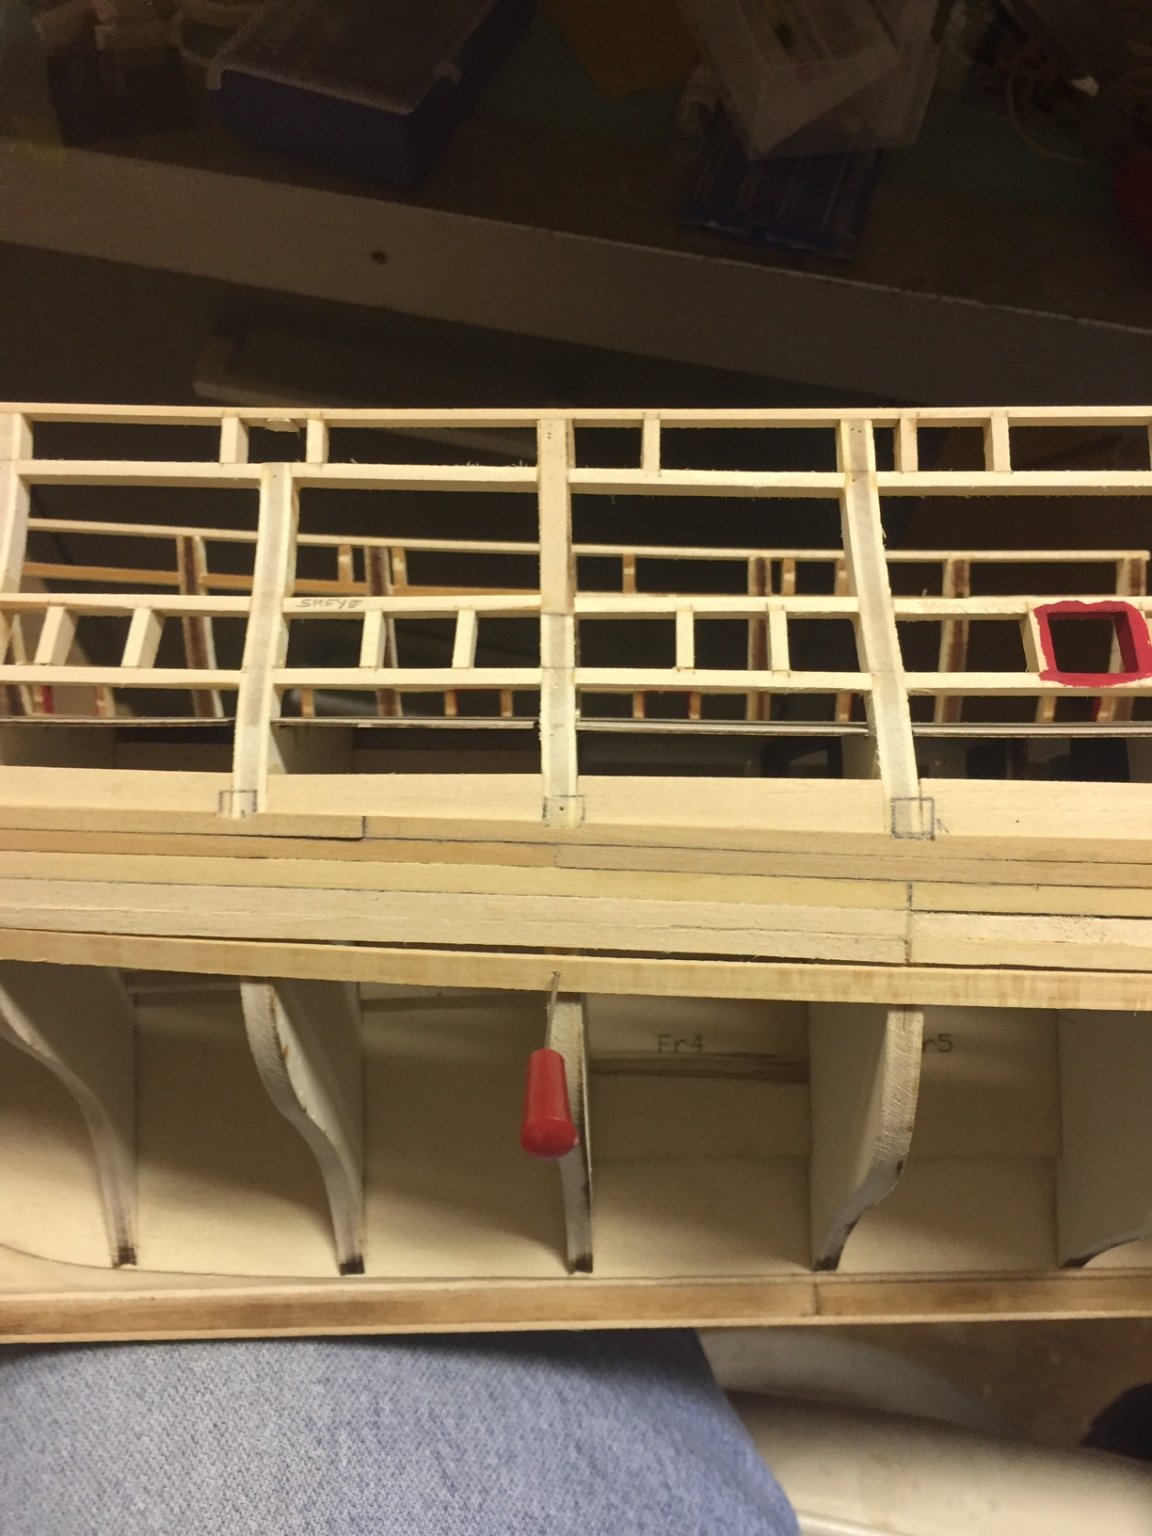
I was able to spend some time in the boatyard and made some progress. Only one small self inflicted wound. While marking the starboard sweep ports, I used the reference marks for the bottom of the template. On a whim, I reread Chucks instructions and the reference marks are the bottom of the sweep ports, not the template. A quick reference to the plans confirmed my mistake. As they are just pencil marks it was an easy fix. Getting ready to plank the stern counter.
- 127 replies
-
- 10
-
-
- confederacy
- model shipways
- (and 1 more)
-
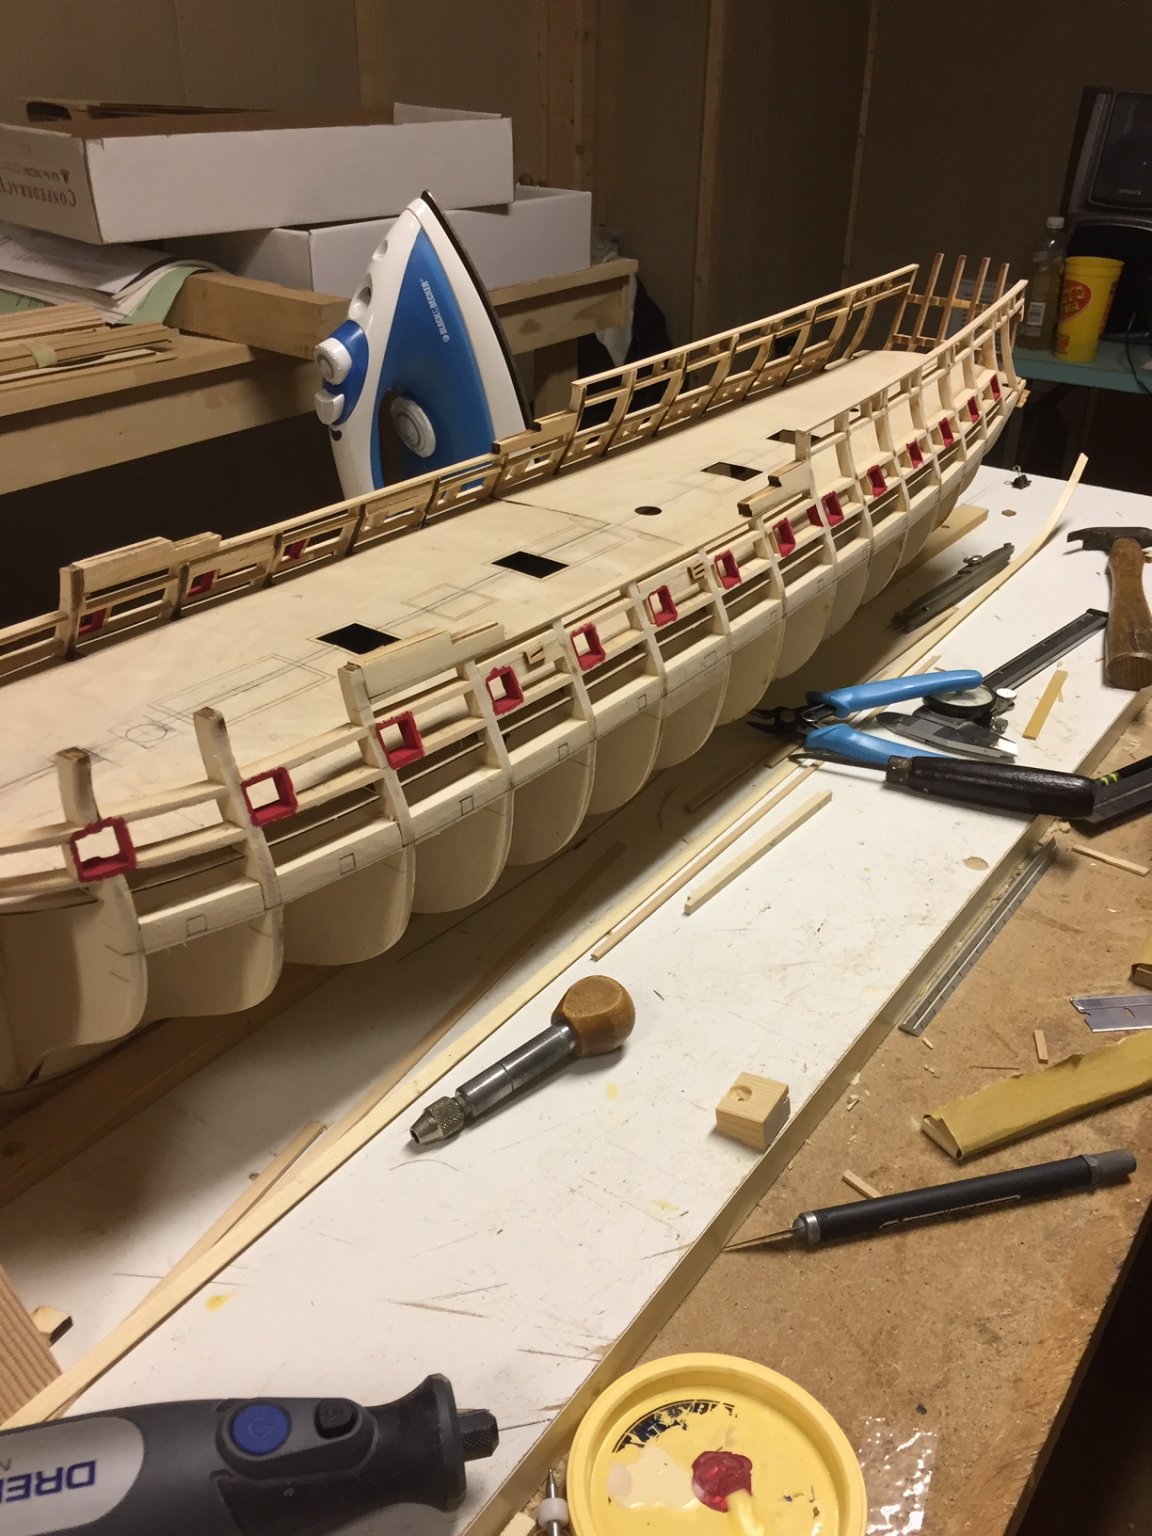
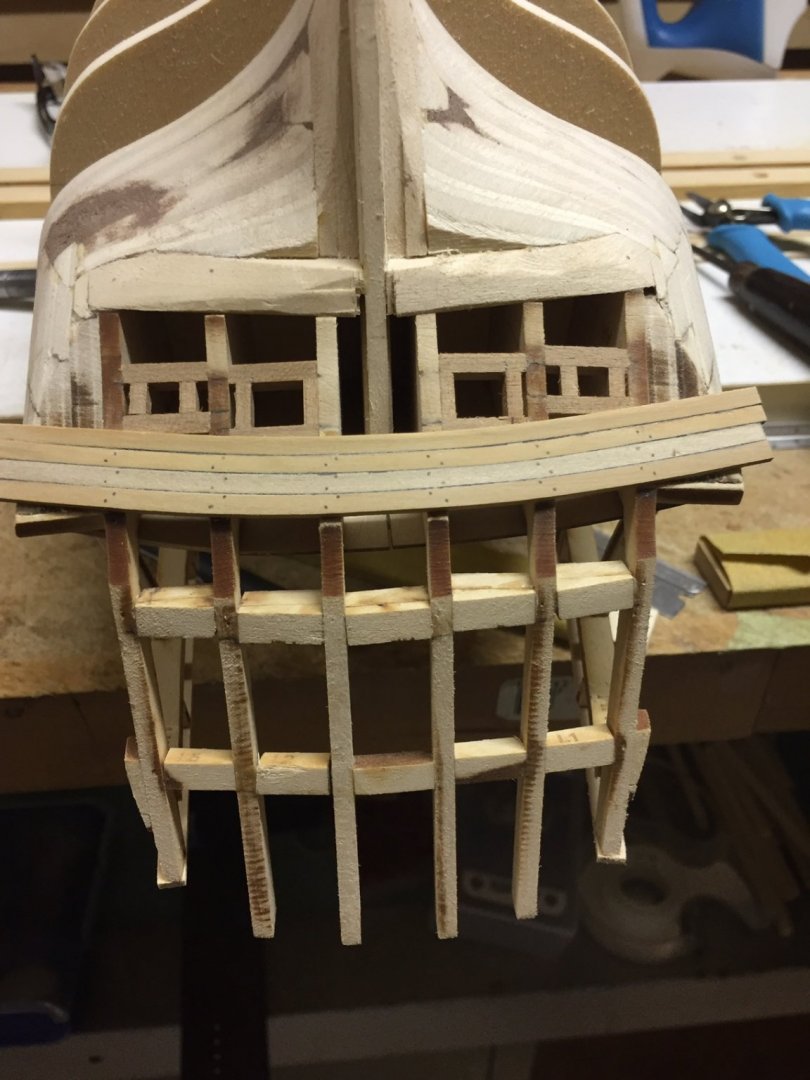
Small update. Finished the sills and uprights. Ready to install sweep port backing pieces. A final fairing and we can start closing this puppy up!
-
Looking great Peter! Nice job.
-
Chuck, thank you Sir! I used a #75. The old eyes are not what they used to be.
- 127 replies
-
- 1
-
-
- confederacy
- model shipways
- (and 1 more)
-
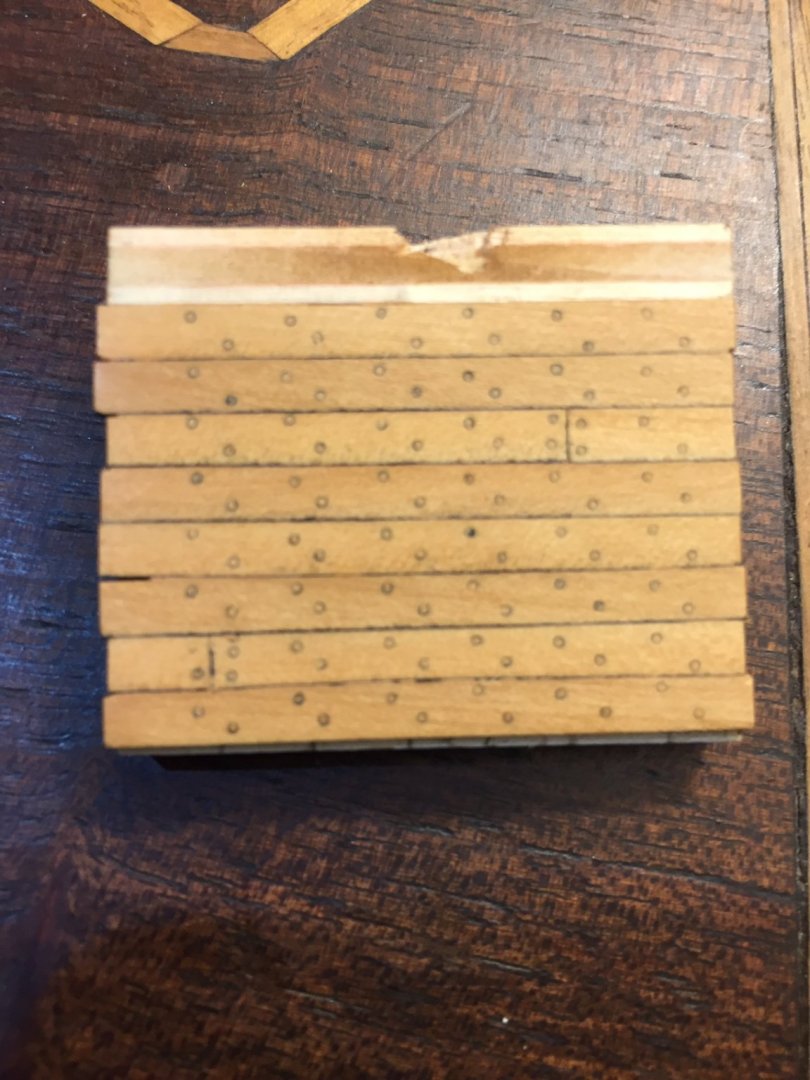
Thanks for the thumbs up folks. It is much appreciated. As this is my first ship in 15 years or so, I’m learning a few new tricks, such as Chuck’s tree nail method. I made up a test strip using it and while not perfect, I like the effect. I’m still not sure as to using it on the model or without. Any comments or suggestions are welcome.
- 127 replies
-
- 4
-
-
- confederacy
- model shipways
- (and 1 more)
-
Welcome scrogg. Go slow and ask questions. Good luck on your project.