HOLIDAY DONATION DRIVE - SUPPORT MSW - DO YOUR PART TO KEEP THIS GREAT FORUM GOING! (Only 13 donations so far - C'mon guys!)
×

Bossman
-
Posts
283 -
Joined
-
Last visited
Content Type
Profiles
Forums
Gallery
Events
Everything posted by Bossman
-
 The stern is done except for the anchor chain and gunport ropes. I have struggled with the photo etch. I have a lot to learn working with that. Also, keeping a consistent color painting it. It is what it is. My last eyebolts were correct. So much for the other ones. This was a skill I had to relearn. All in all I’m happy with it. I hope all are staying safe.
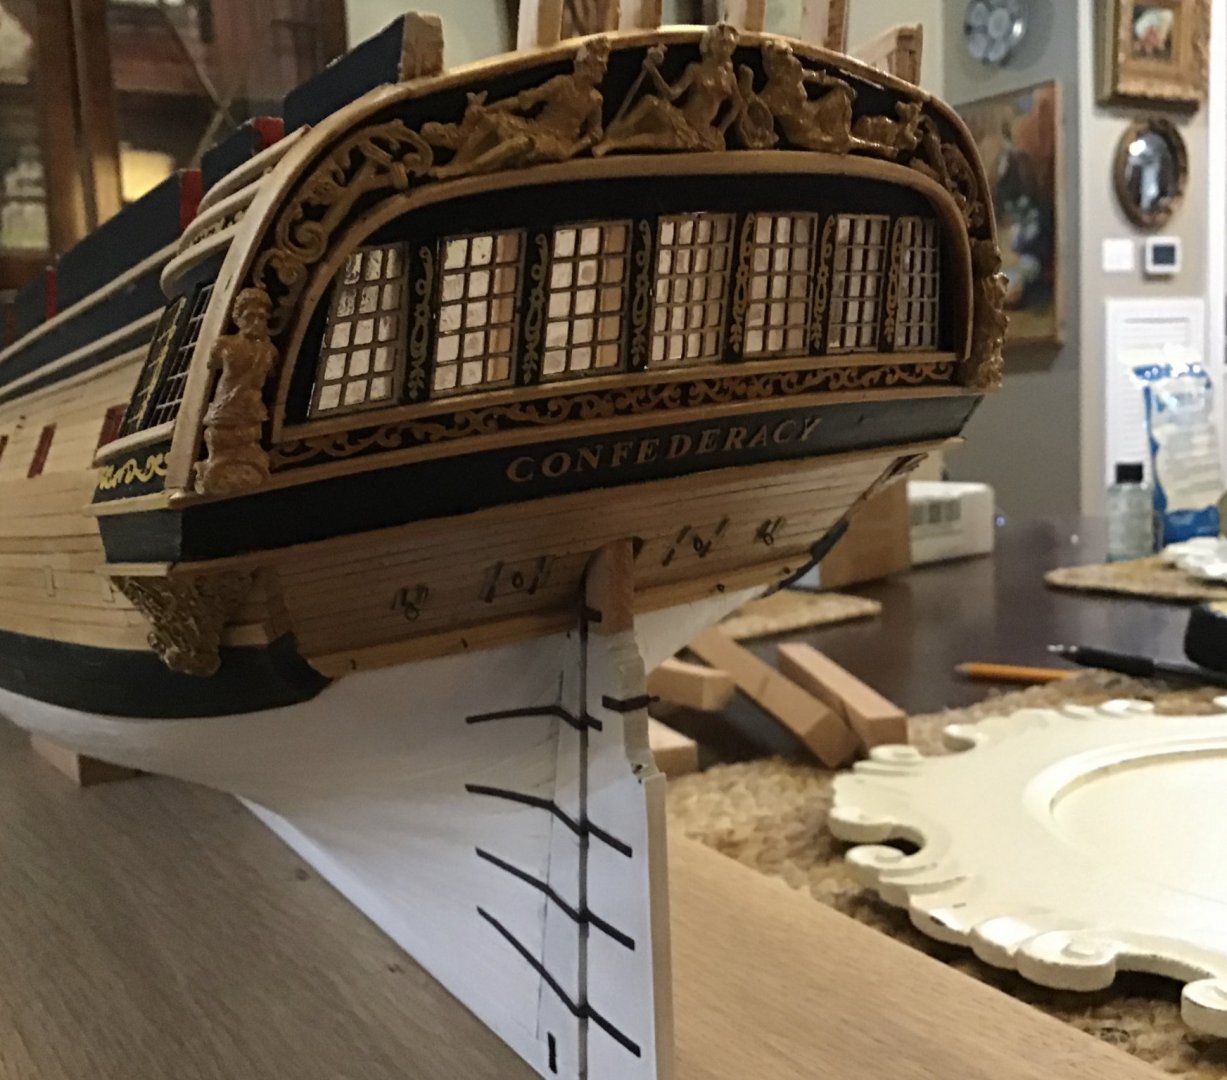
- 127 replies
-
- 12
-

-
- confederacy
- model shipways
- (and 1 more)
-
Adding Bulkheads
Bossman replied to acaron41120's topic in Building, Framing, Planking and plating a ships hull and deck
Acaron, I am assuming you are building a kit. People often add balsa “filler” between bulkheads. This will remedy the problem you speak. I hope this answers your question. -
Mark, I don’t think one in a 100 people would notice the new spacing. This is just a thought as it might look odd but I will throw it out there. Have the ports closed, or, partially open with the space behind painted black.
-
Thank you all for the likes. It’s means a lot. The encouragement keeps me motivated.
-
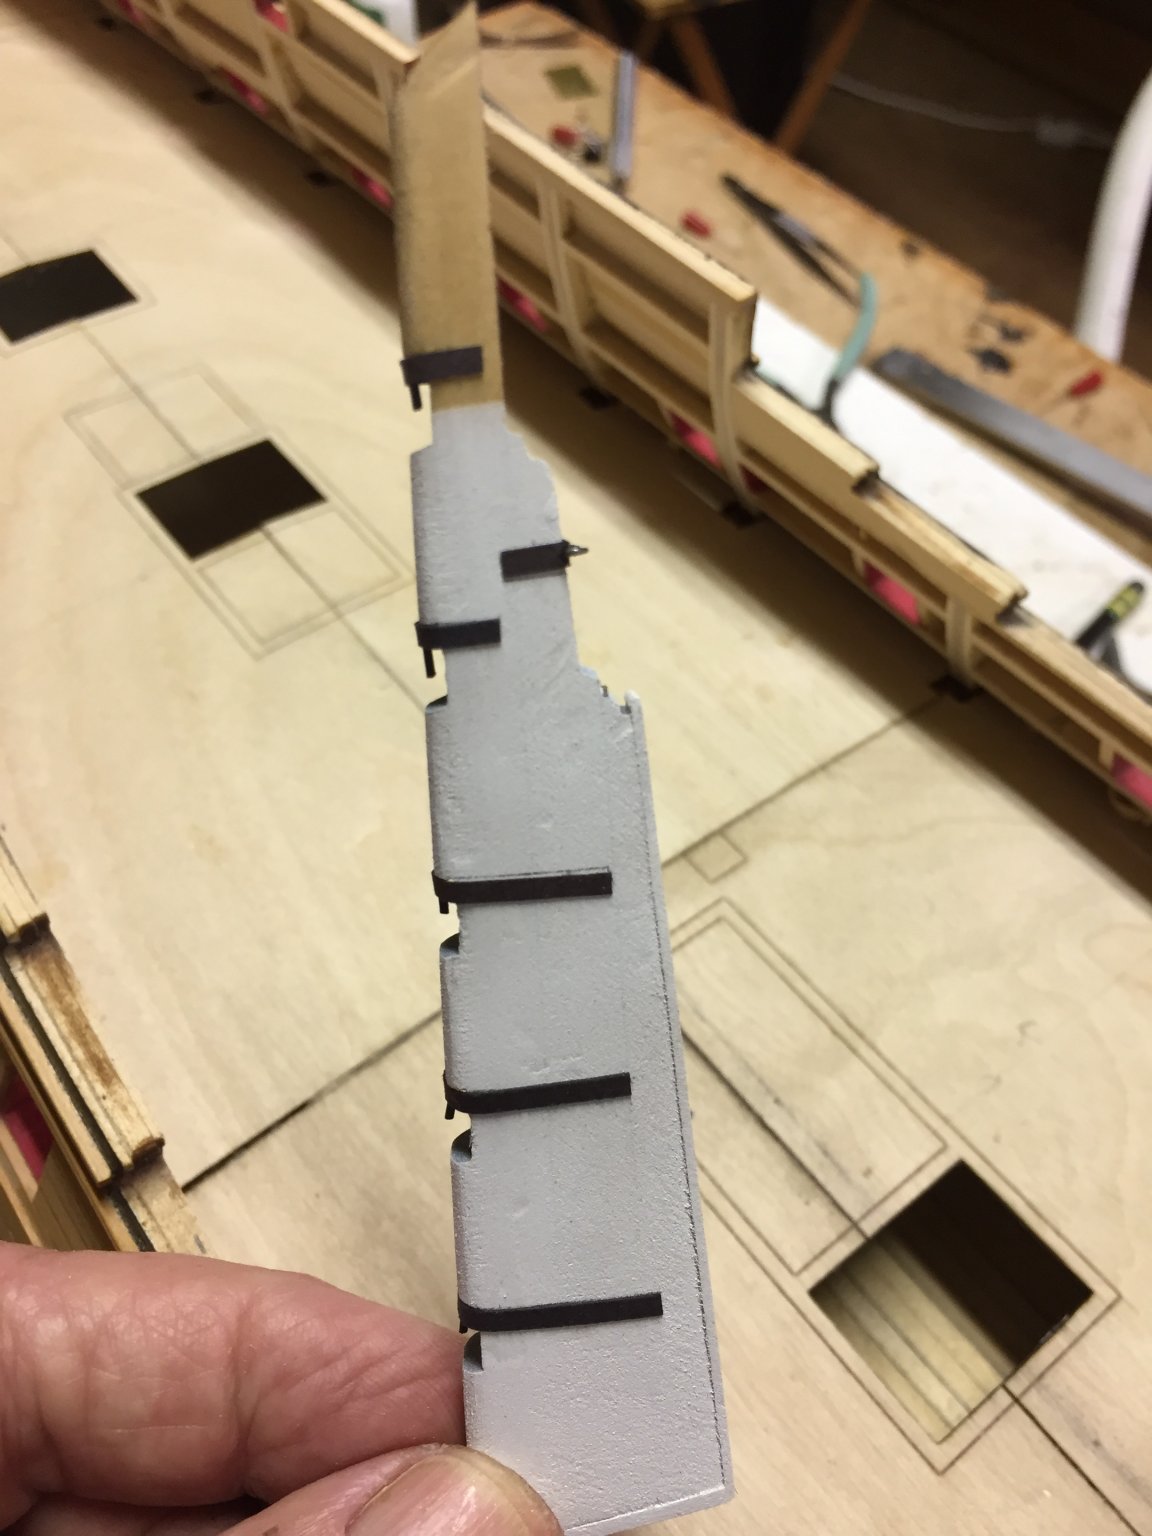
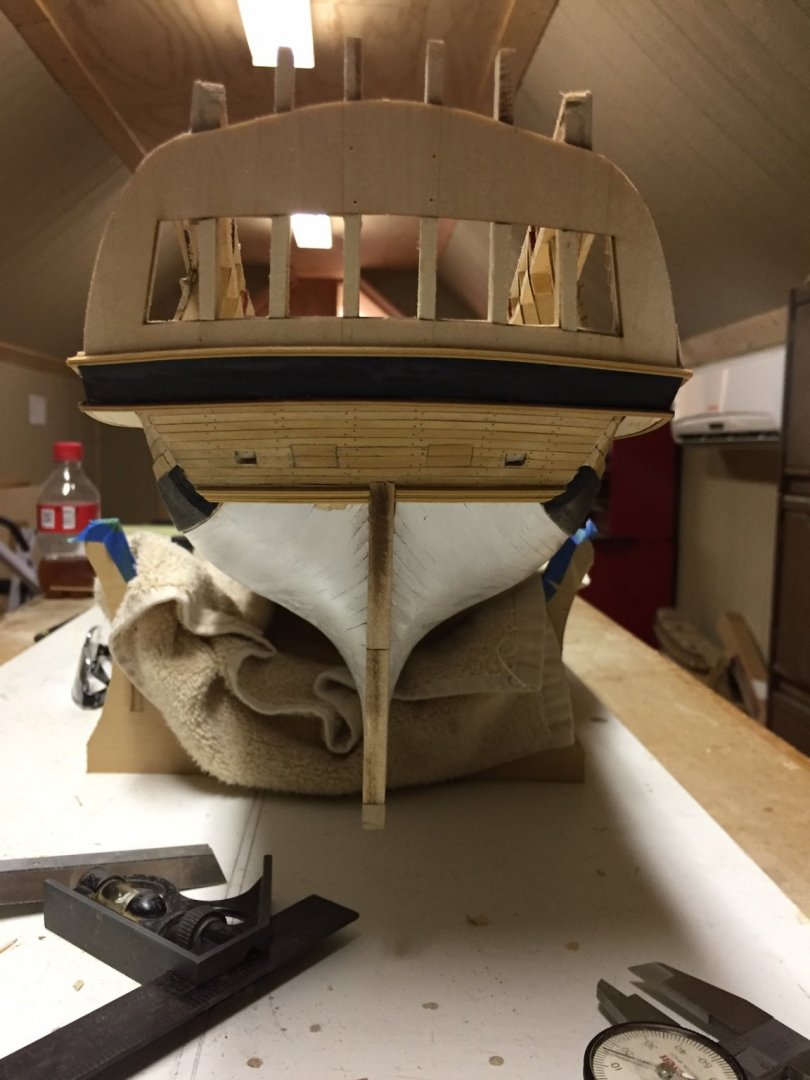
Between retirement and this quarantine stuff a fellow can get a bit done. I hate mounting a rudder. Don’t ask me why but I do. I deviated from the norm by not using brass. I have used black construction paper for my last 2 models. They were done over 20 years ago and still good so I will continue using it. It is easier to work with than brass and when coated with polyurethane looks just like blackened brass. In his instructions, Chuck says “the rudder should swing freely.” I pin my rudders. Let’s face it. It ain’t going but in one direction. Now that I’m fifnished with the dreaded task of the rudder, I’ll have a cup of coffee. I also painted the stem black according to a contemporary sketch of the Confederacy after her capture


- 127 replies
-
- 15
-
-
- confederacy
- model shipways
- (and 1 more)
-
Welcome captain james!
-
Schafer, you have been given good advice. I have never built a kit that did not need some “adjustments” of some kind. As DrPR says, if a bulkhead is high at deck level, sand it down. If one is low, add a strip of wood to it. Same goes for the outside. Once you start fairing the hull bulkheads, if one is low, add a strip to it. Use a strip of plank and check your work often. Go slow. Trust me on this one, I’m the world’s worst at going too fast. Above all, have fun.
-
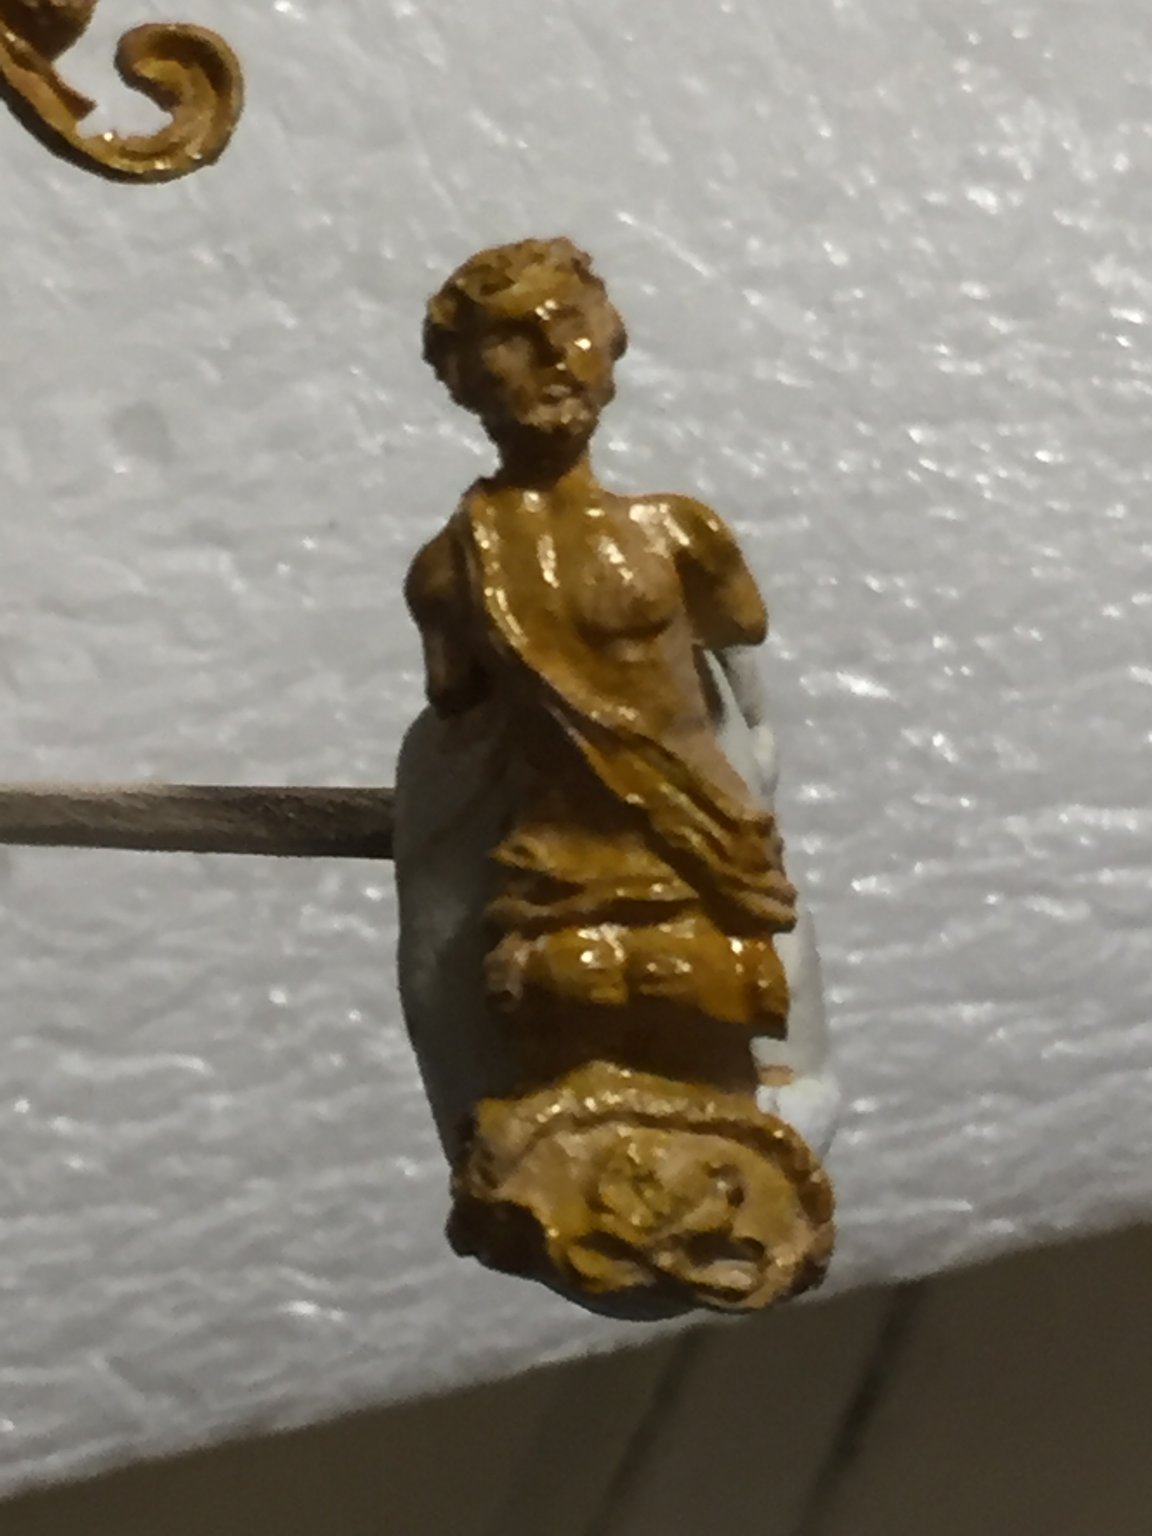
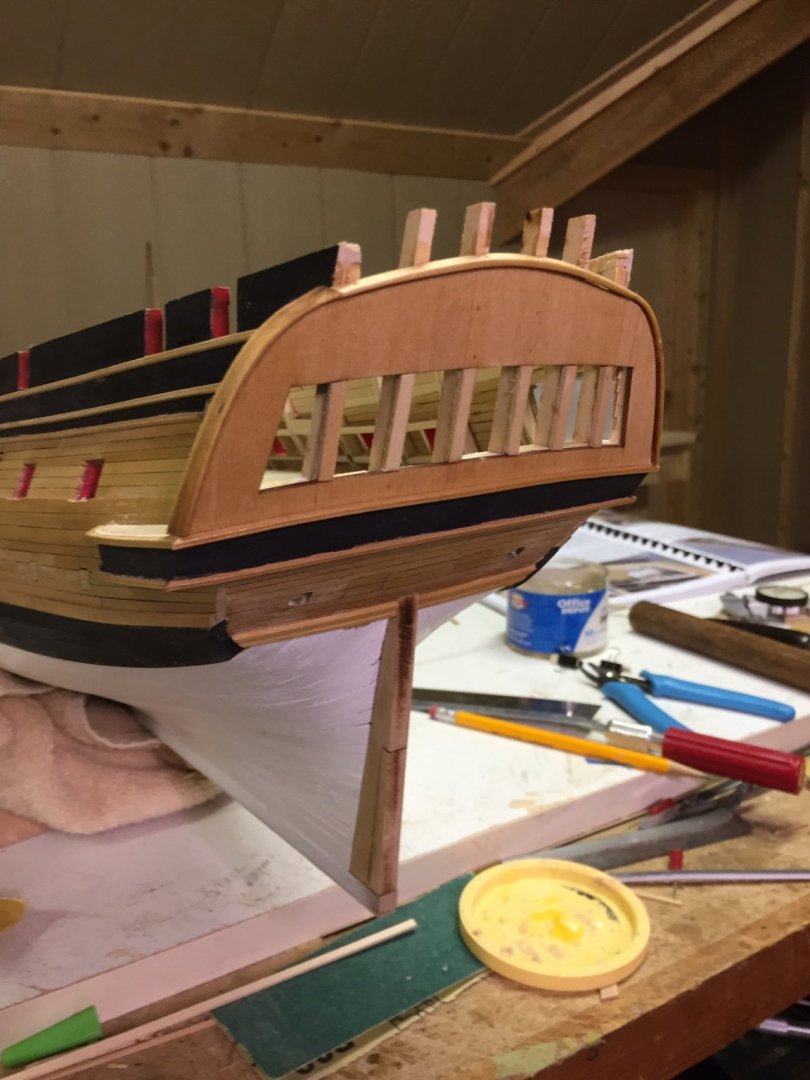
We are rolling right along with the stern. I fitted the 2 decorative pieces under the galleries. I forget what they are called at the moment. Also one piece under the stern lights and the lettering. I cut a piece of tape and fitted it to the counter to give me a line for the bottom of the lettering. I then marked off the letter spacing on the tape. I glued the “D” in the middle and then worked left and right. Thanks to Model Shipways for supplying 2 sets of lettering. One of the E’s went into the black hole of modeling parts, never to be seen again. The hole for the rudder was cut also.
- 127 replies
-
- 10
-
-
- confederacy
- model shipways
- (and 1 more)
-
Thank you Sir! Don’t know about “superior” but I’ll show that to she who must be obeyed and see how far that gets me. Thank you again.
- 127 replies
-
- 2
-
-
- confederacy
- model shipways
- (and 1 more)
-
Script, we are in the same boat! I’m a bit ahead of you on the Confederacy. This is my 1st in 15 years ago. Mistakes? I can send you a list. Wood filler and paint covers a lot of them.
-
Script, nice to see another Confederacy in the works. Looking good!
-
And here is the result. Again, not perfect but I’ll take it right now. Need to do a bit of touch up. Can someone tell me the name of the phenomenon where you say “that’s good.” Then you take a picture and when you look at it you say “where did those mistakes come from.”
- 127 replies
-
- 13
-
-
- confederacy
- model shipways
- (and 1 more)
-
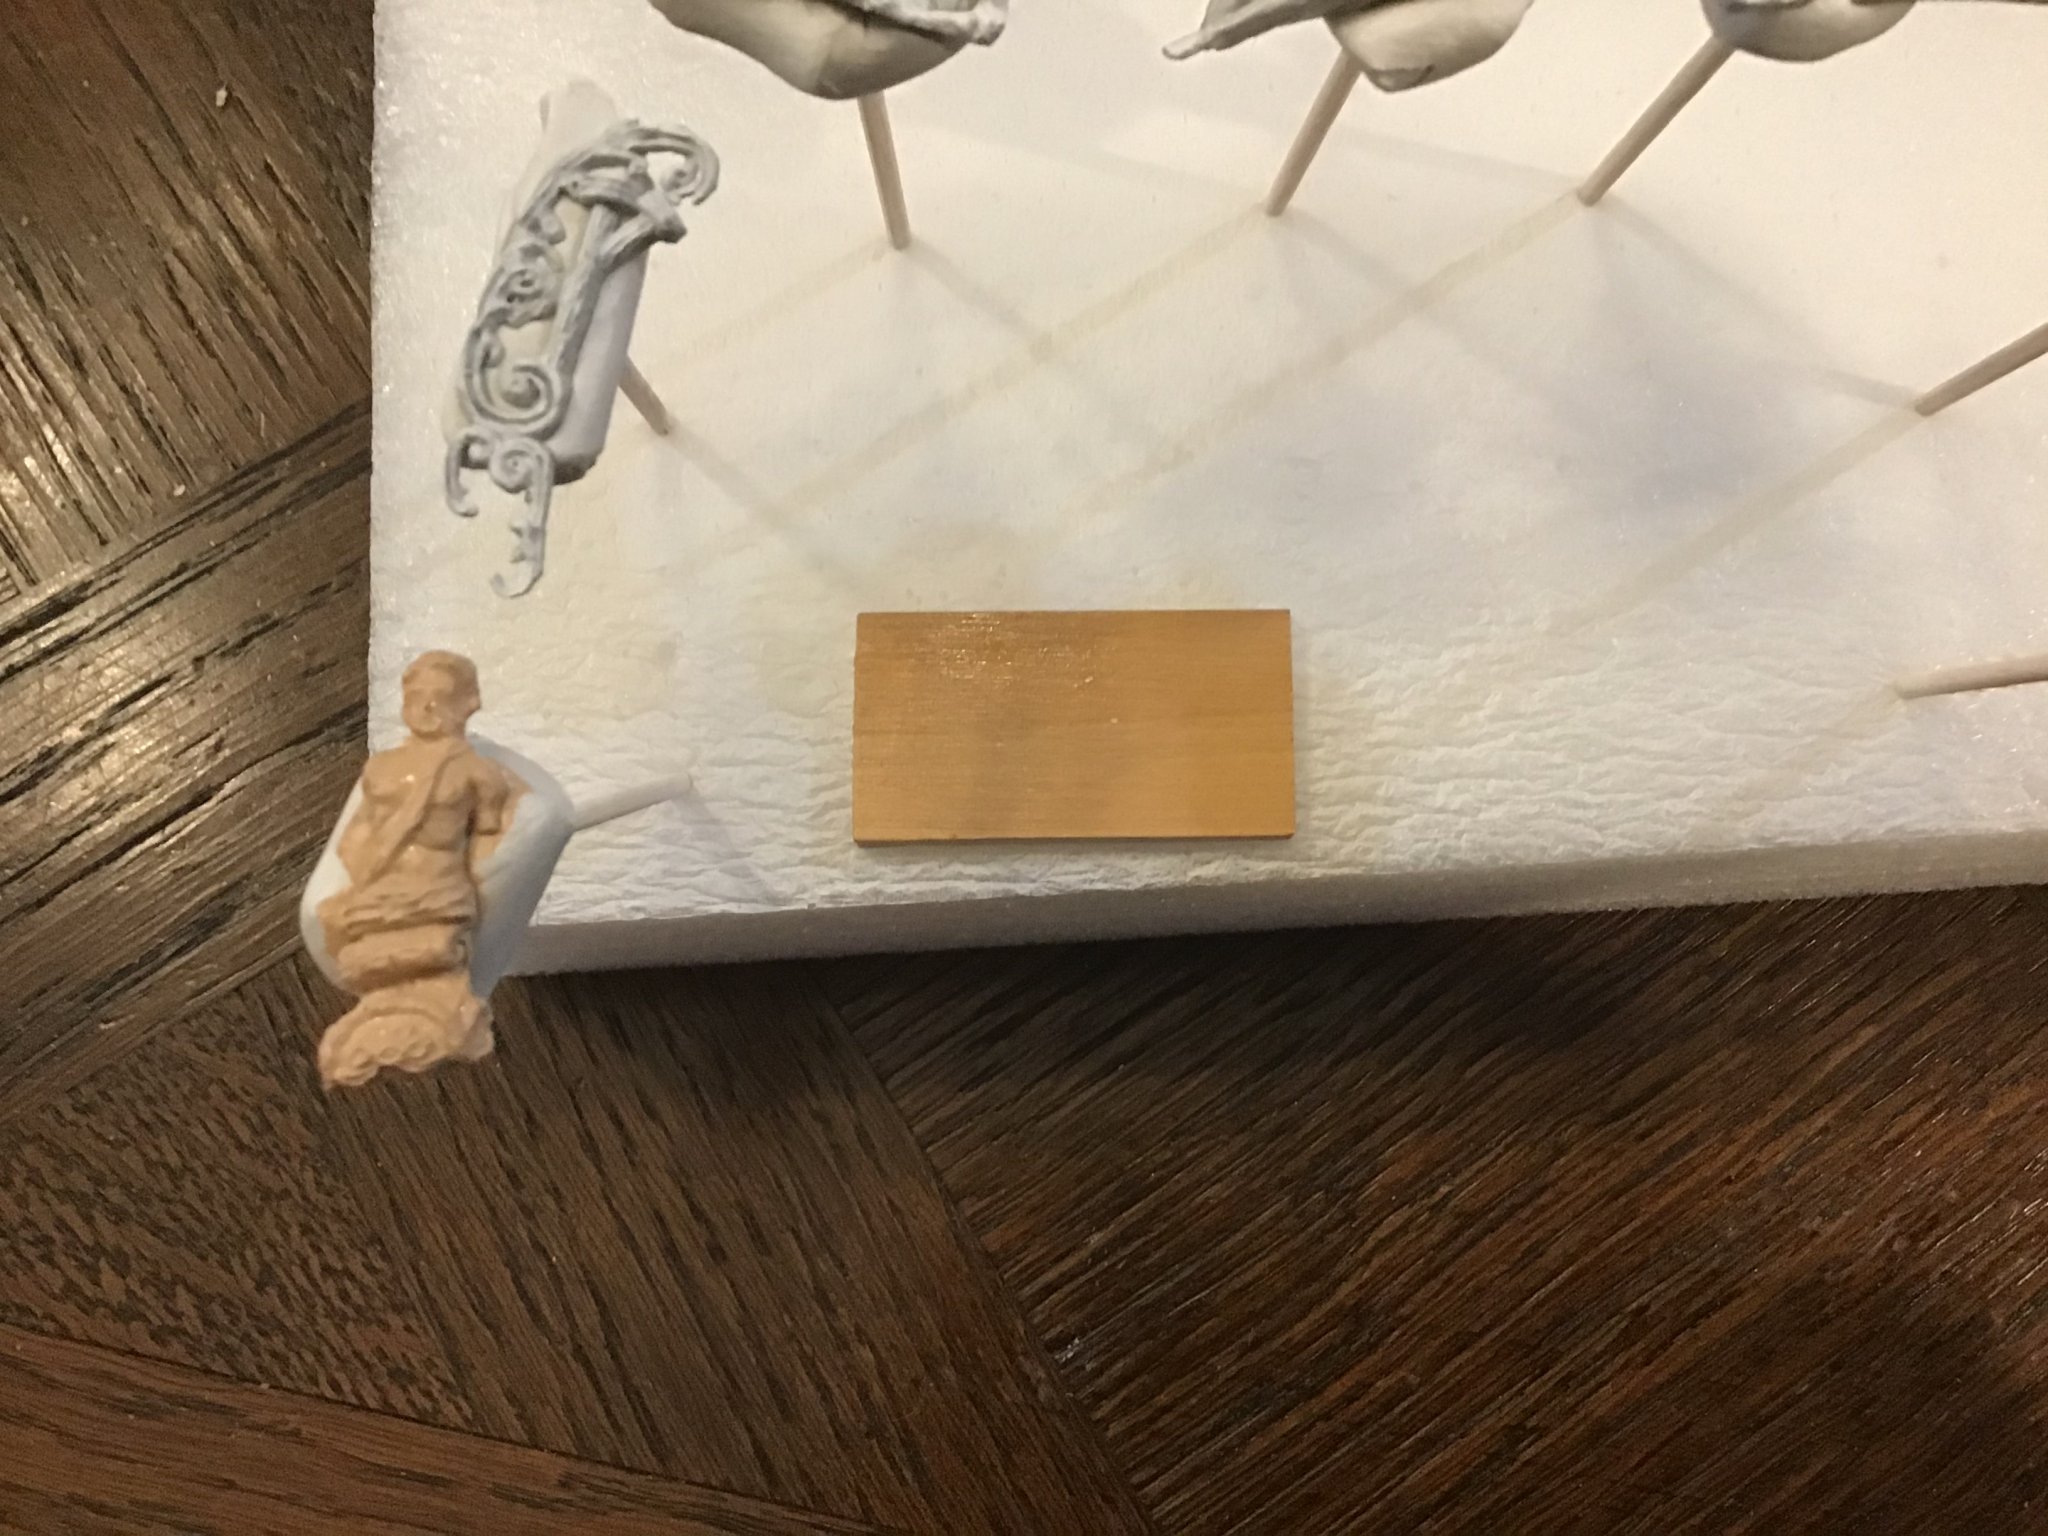
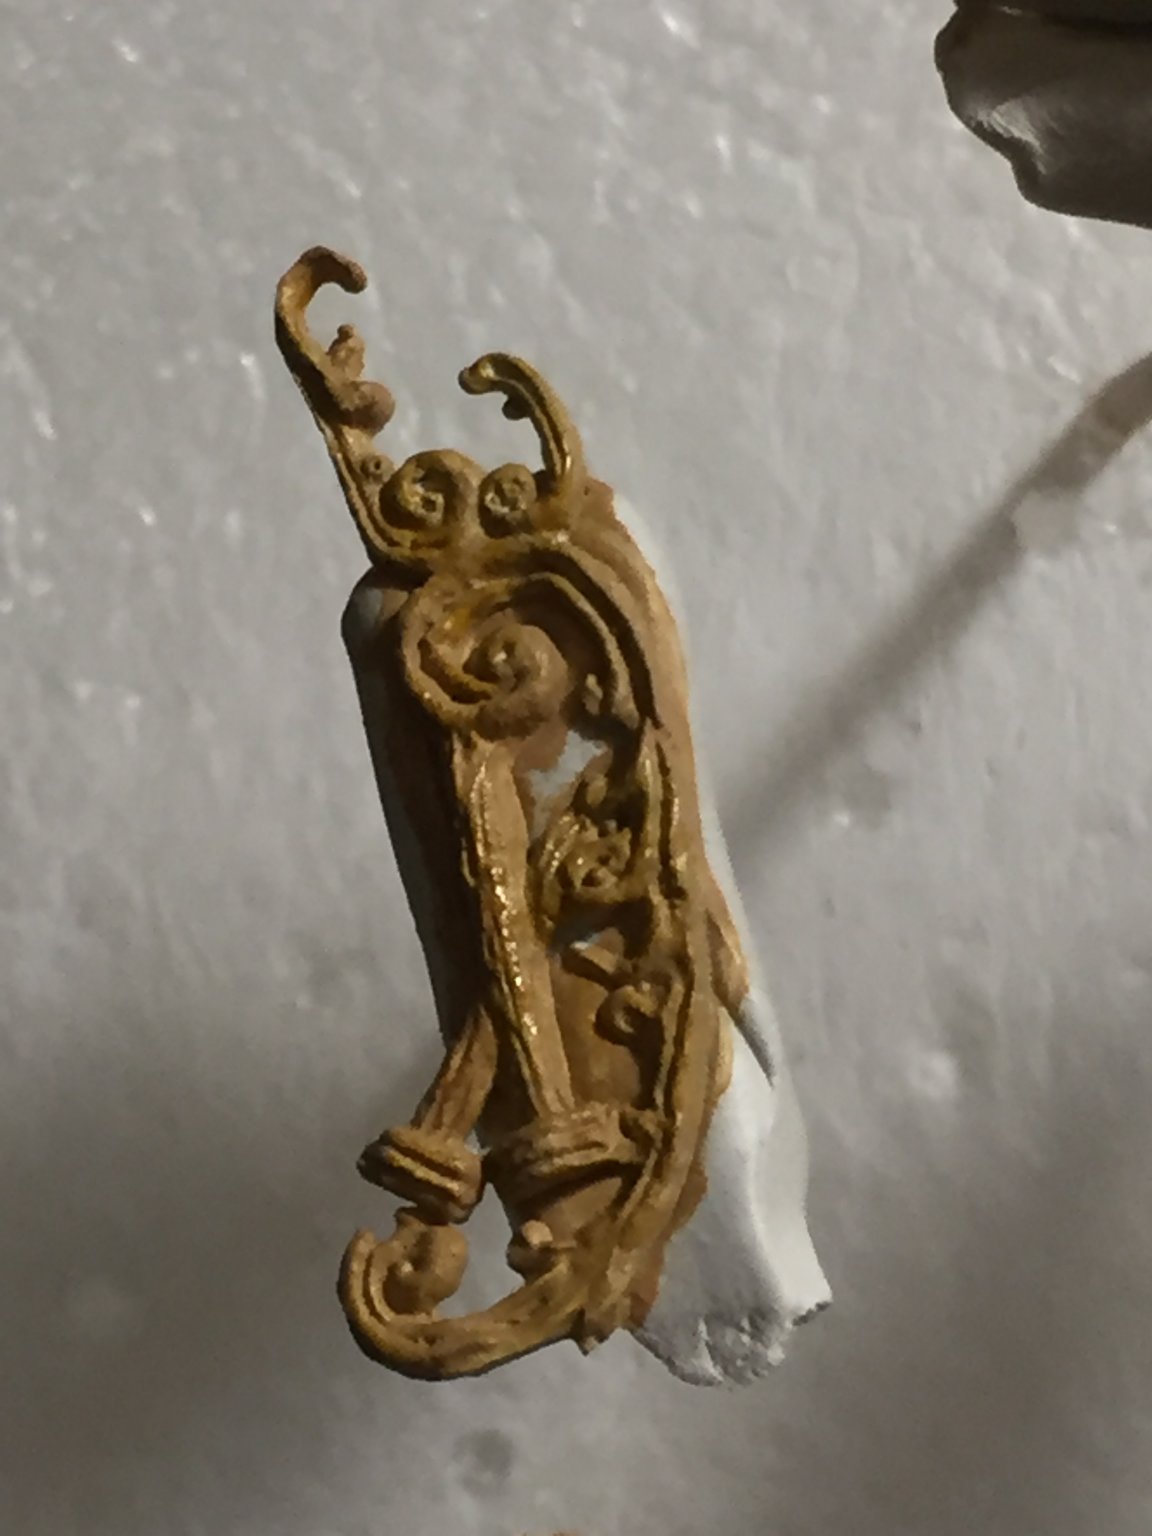
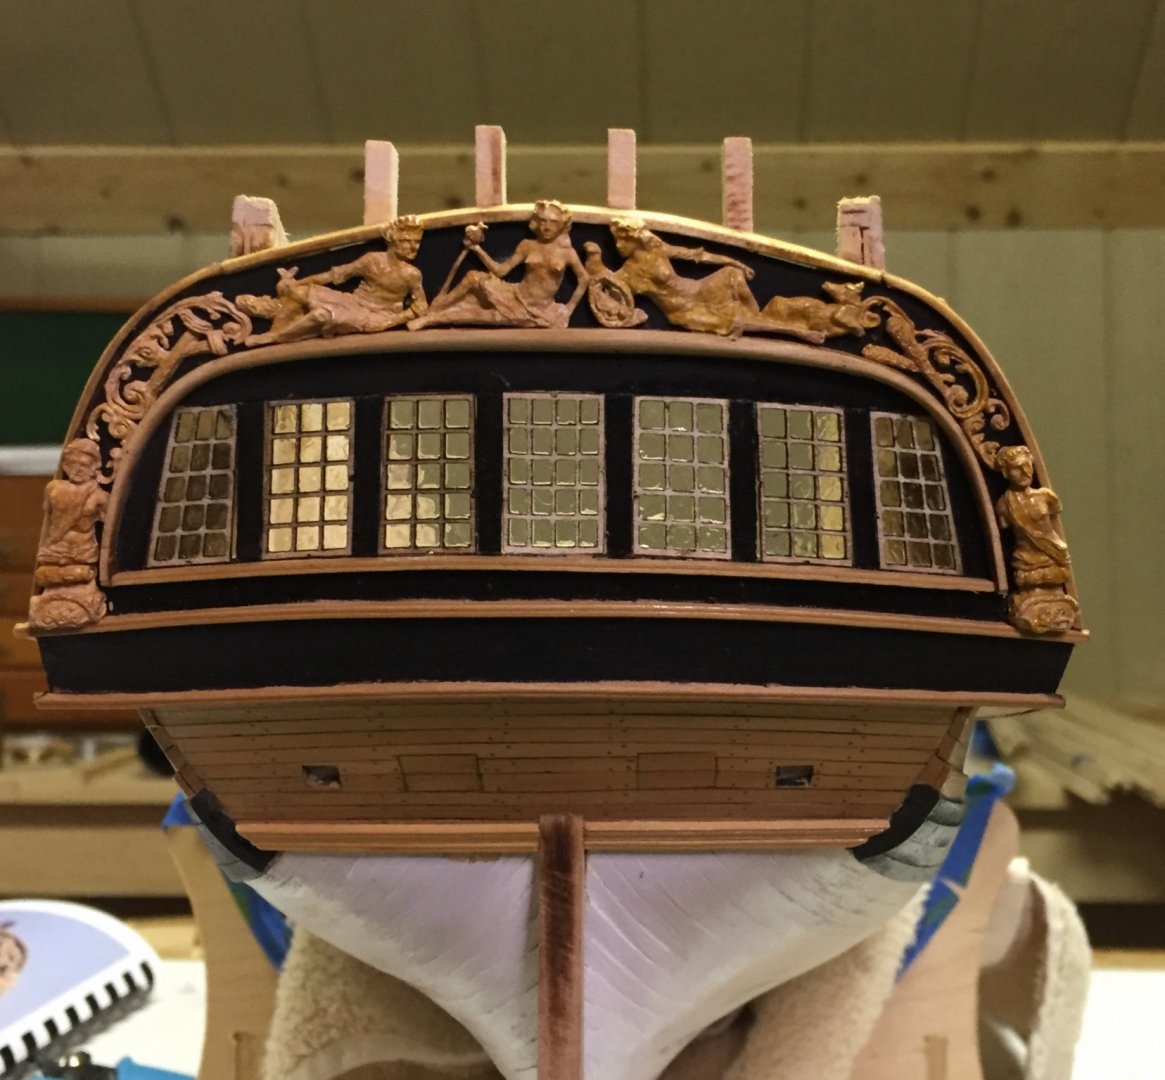
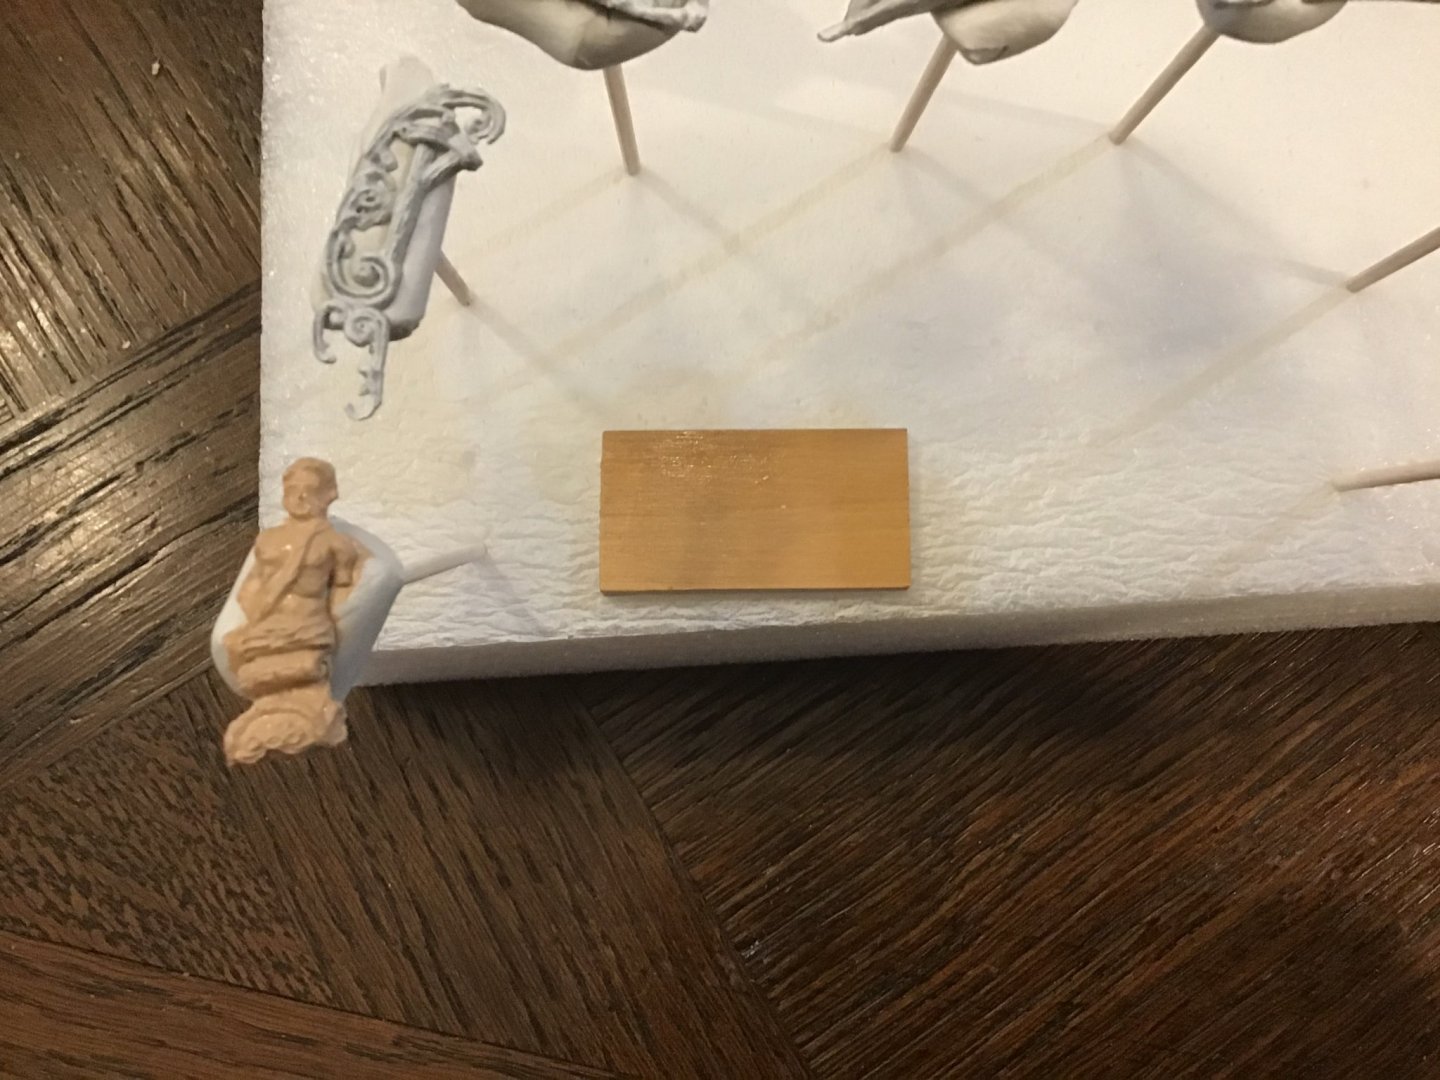
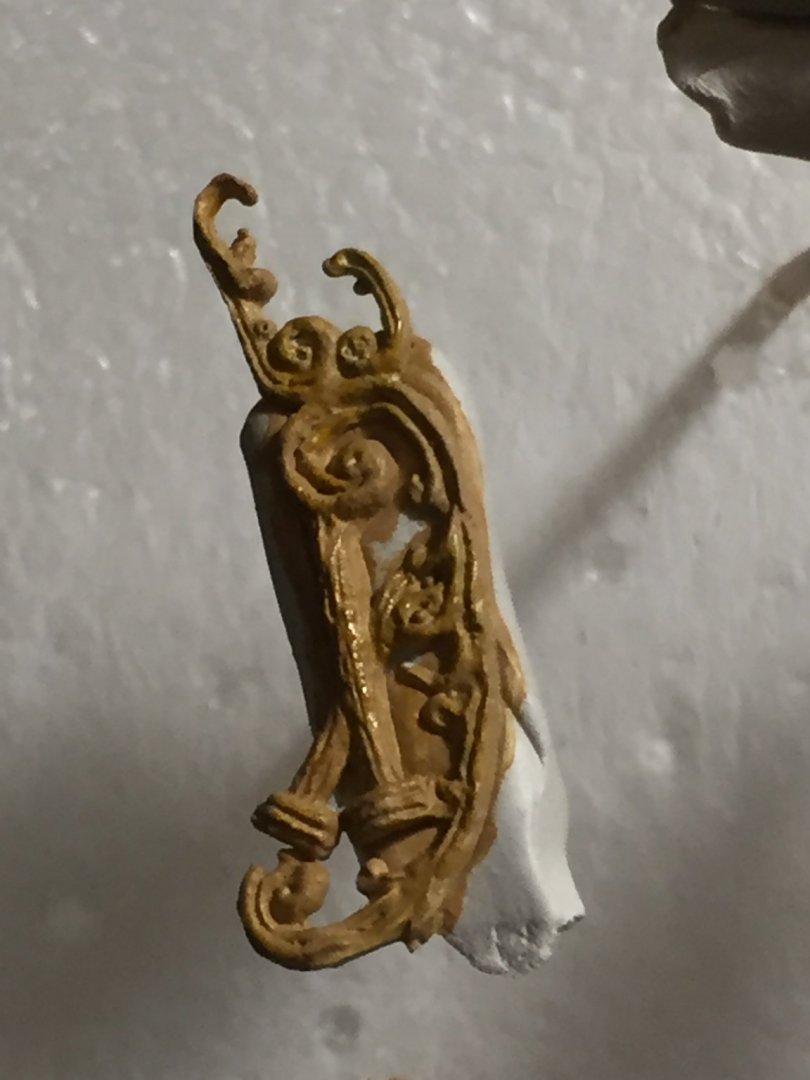
Thanks for the thumbs up gents, and thank you Chuck. Time to paint the stern carvings. Ok, yellow ochre, burnt umbre, antique white acrylic. Mix this, mix that. Looks like it needs more of this, nope too dark, add more white, getting close. Paint the suckers! Now a little dry brushing and a coat of Tamyia clear orange and this is what I have. they seem to look very close on the model. We will find out tomorrow after they cure.

- 127 replies
-
- 10
-
-
- confederacy
- model shipways
- (and 1 more)
-
Javier, she is a beautiful lady. Fantastic work at any scale.
-
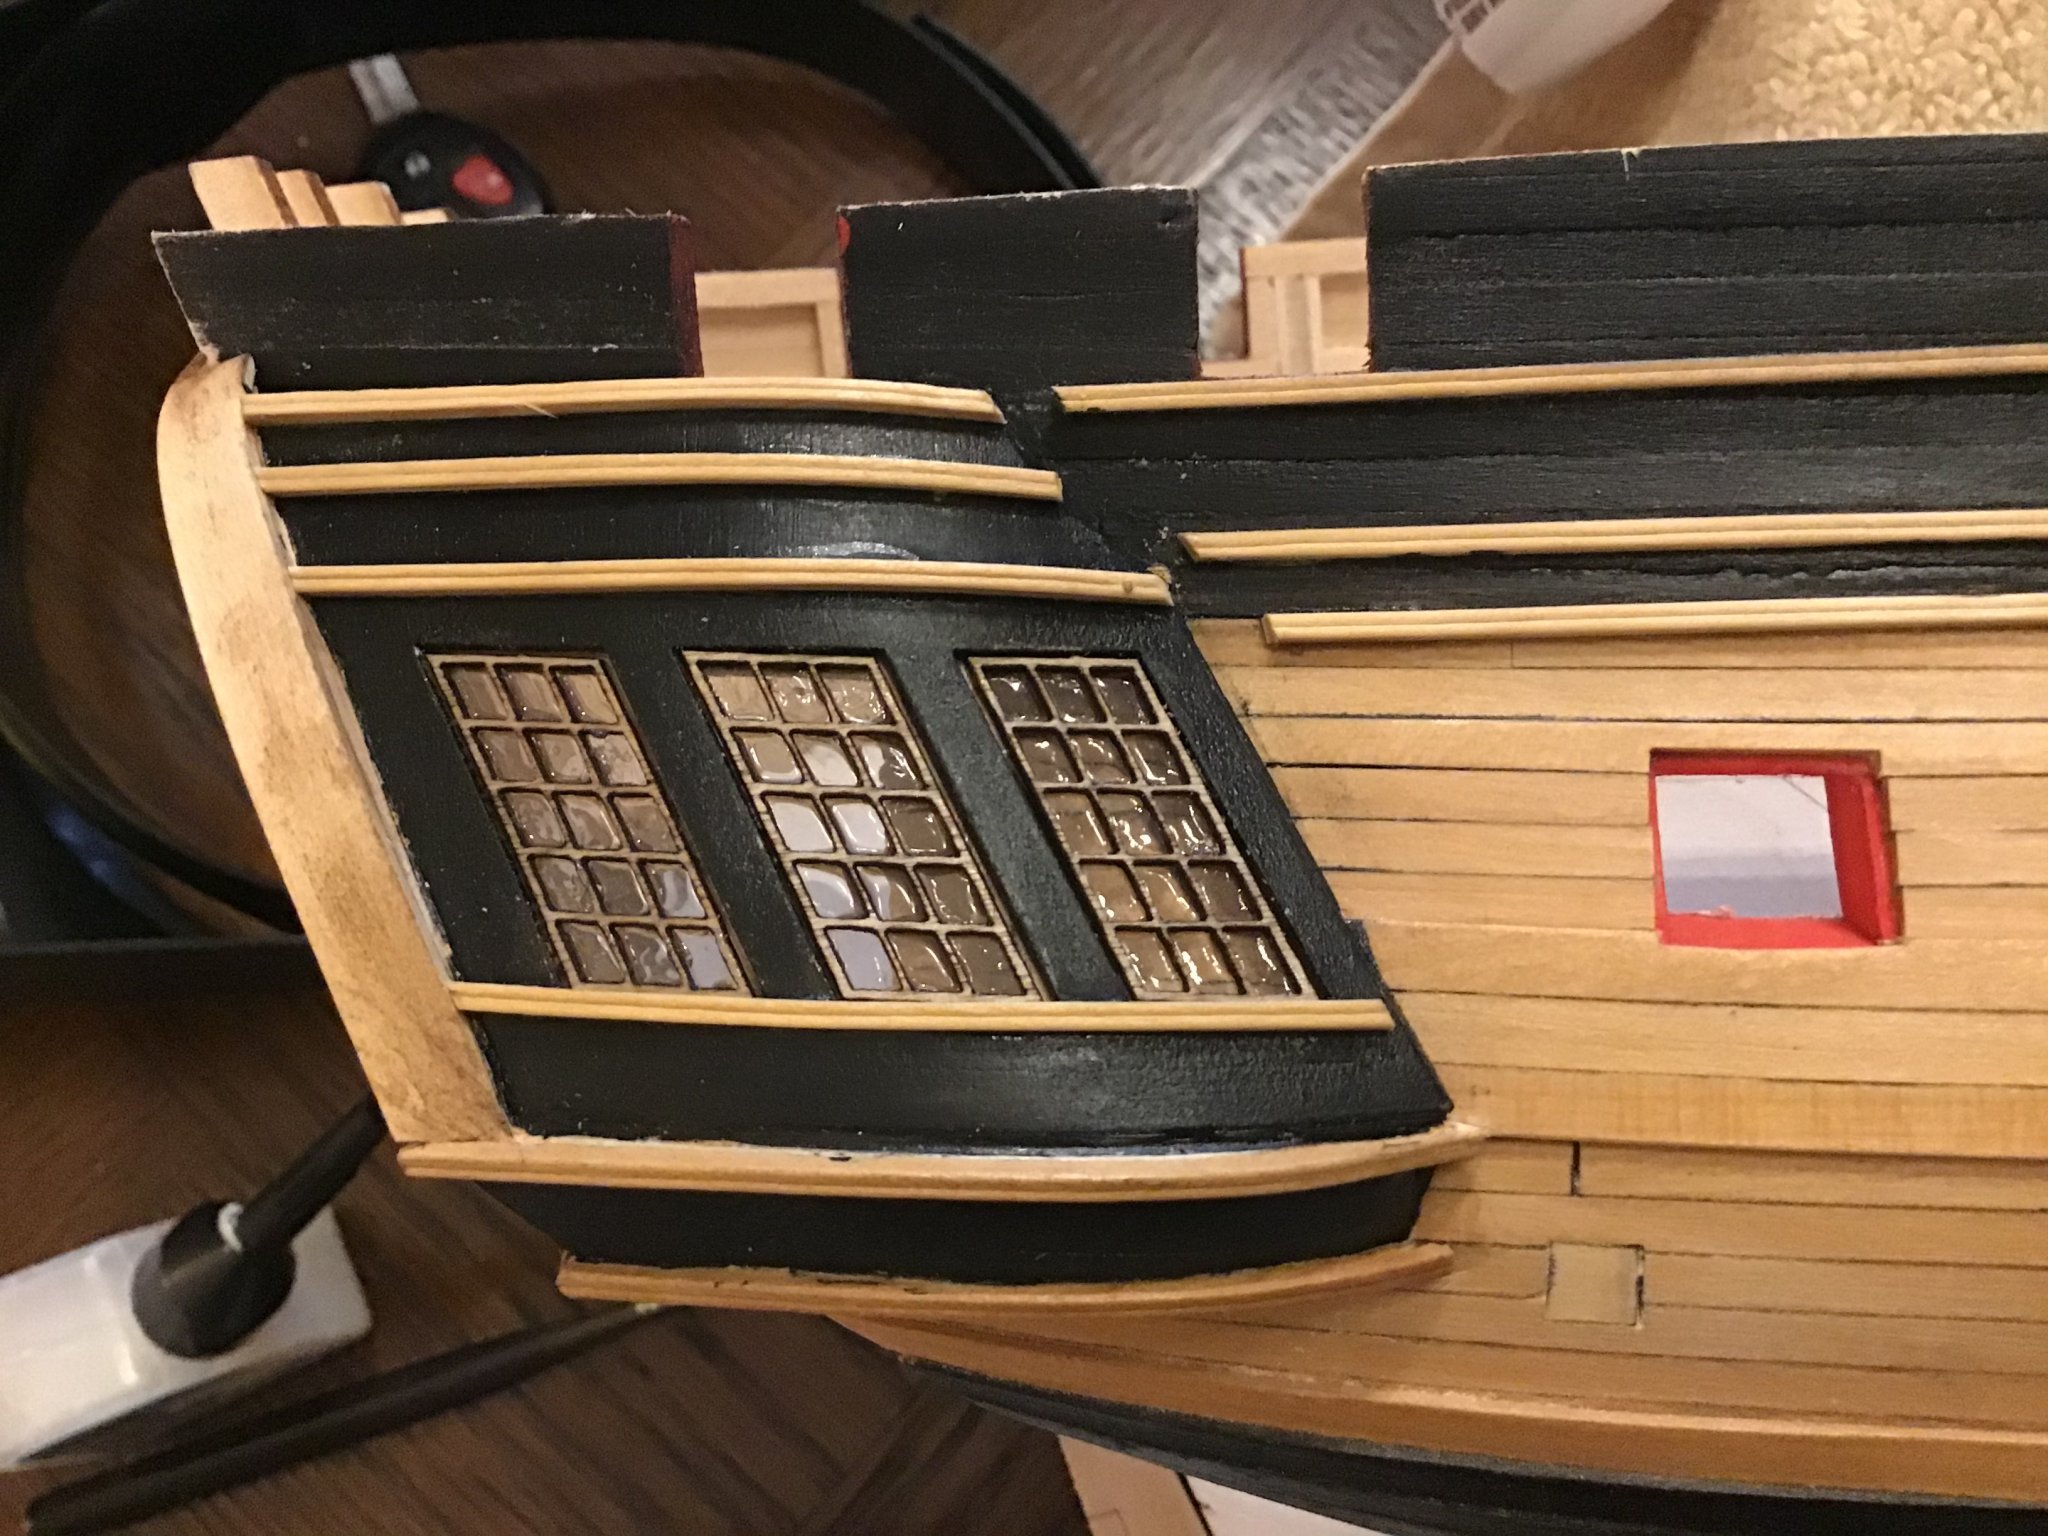
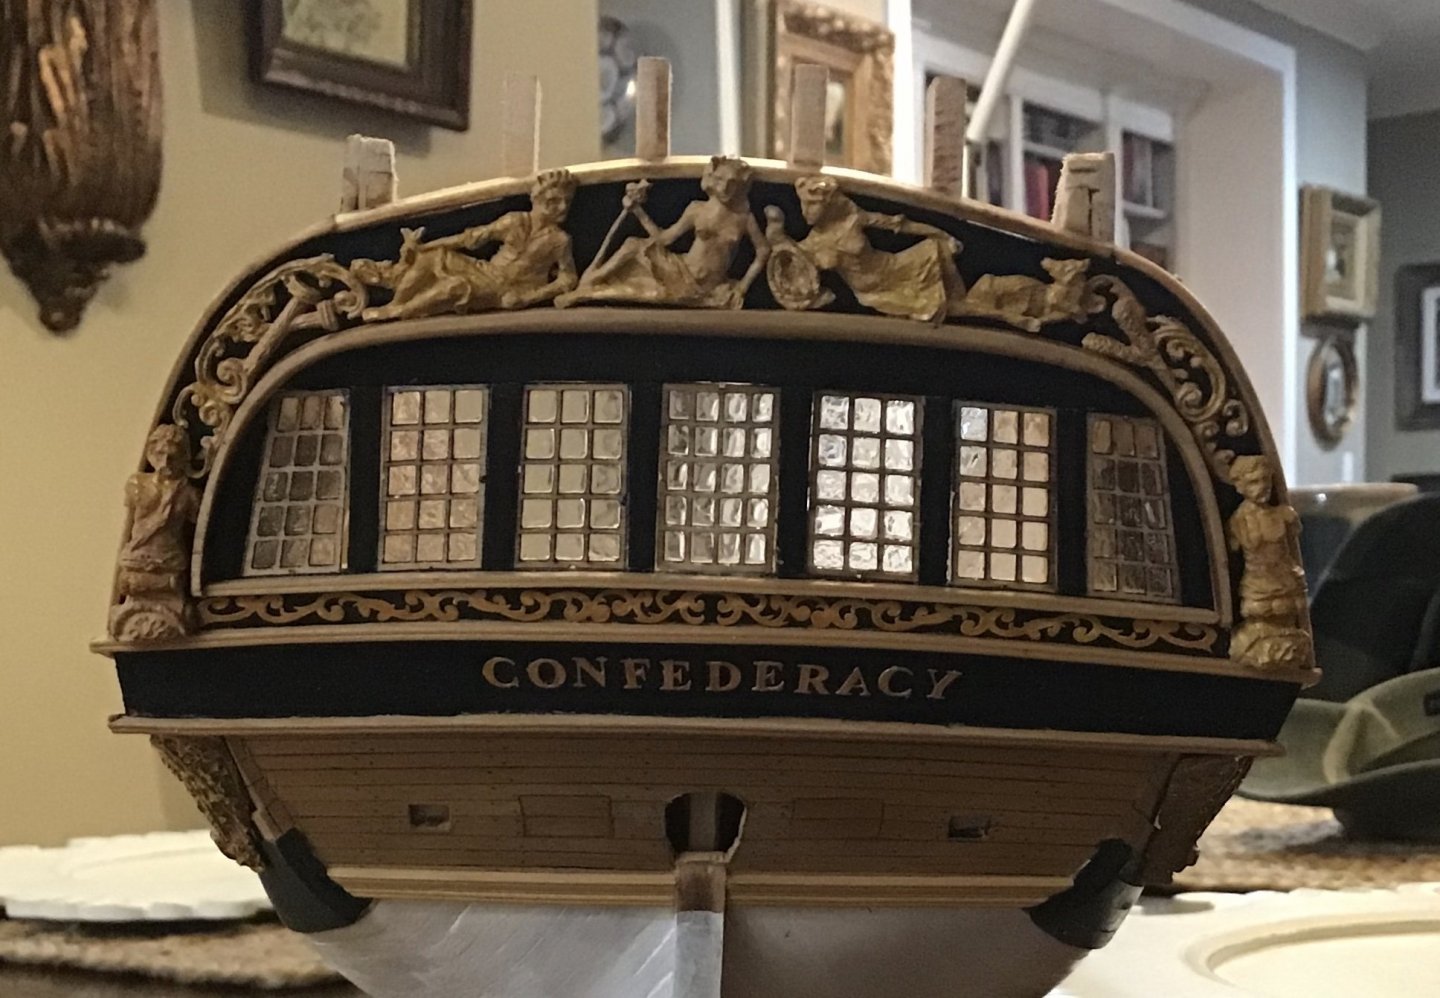
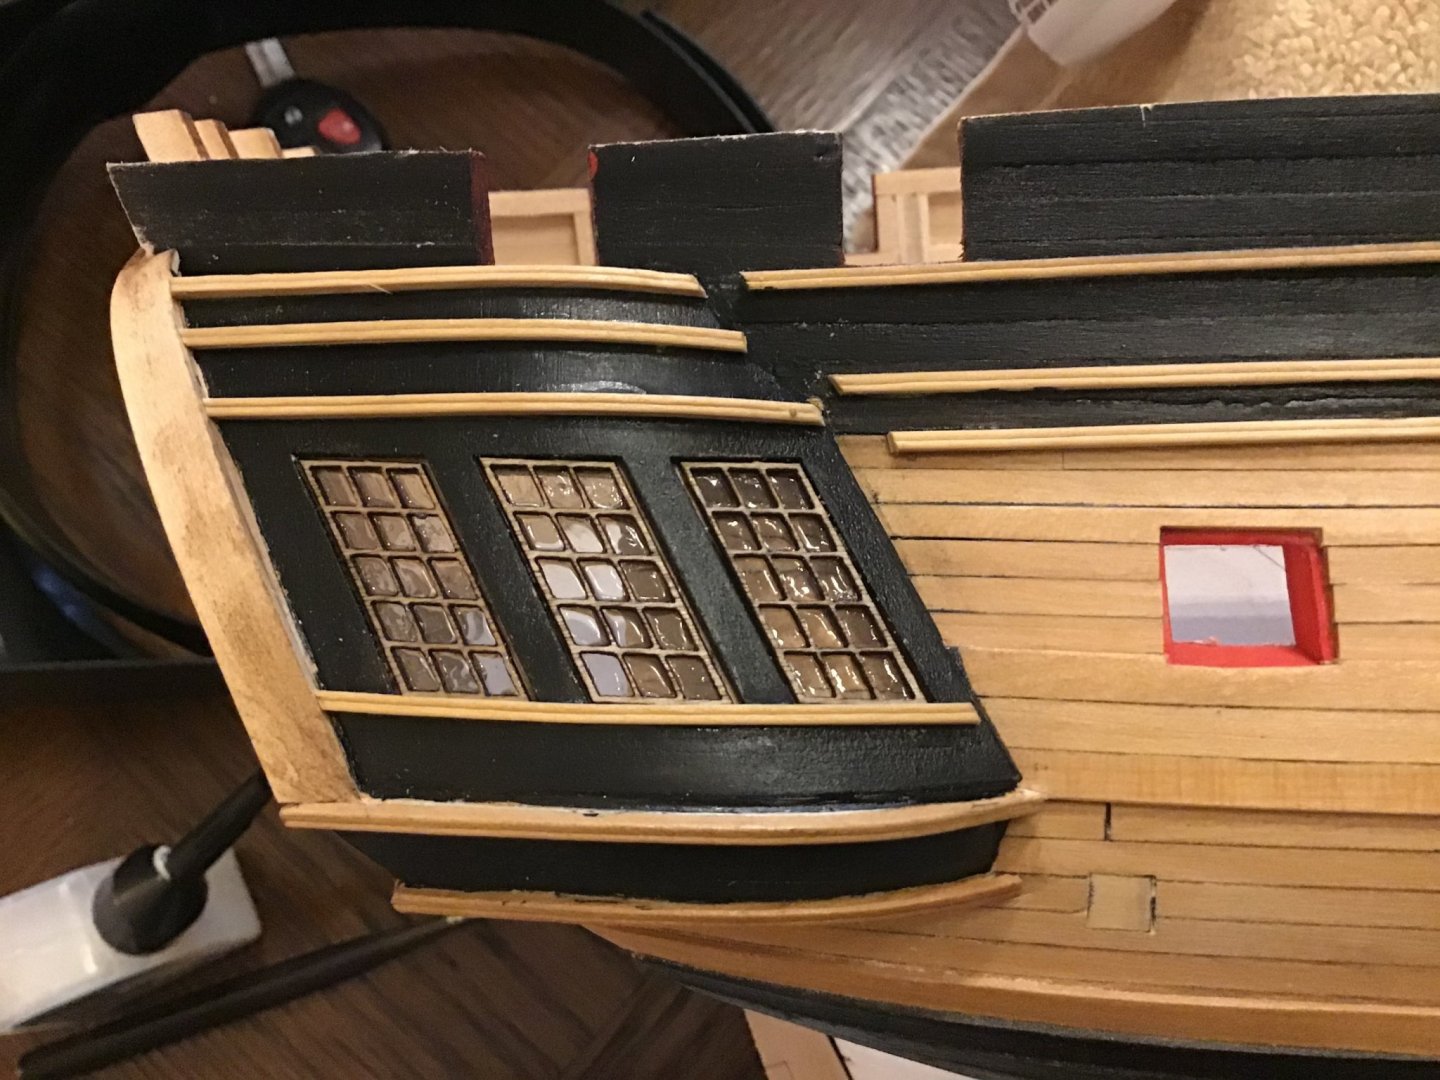
Thank you Edward and all the likes. Encouragement is always appreciated. I did not really like the look of the clear plastic behind the windows. For the most part, they were invisible. I took some Testors canopy and window maker glue using a small brush and gave them a coat. I like this look much better.
- 127 replies
-
- 14
-
-
- confederacy
- model shipways
- (and 1 more)
-
One word Graham, WOW!
-
She looks great!
-
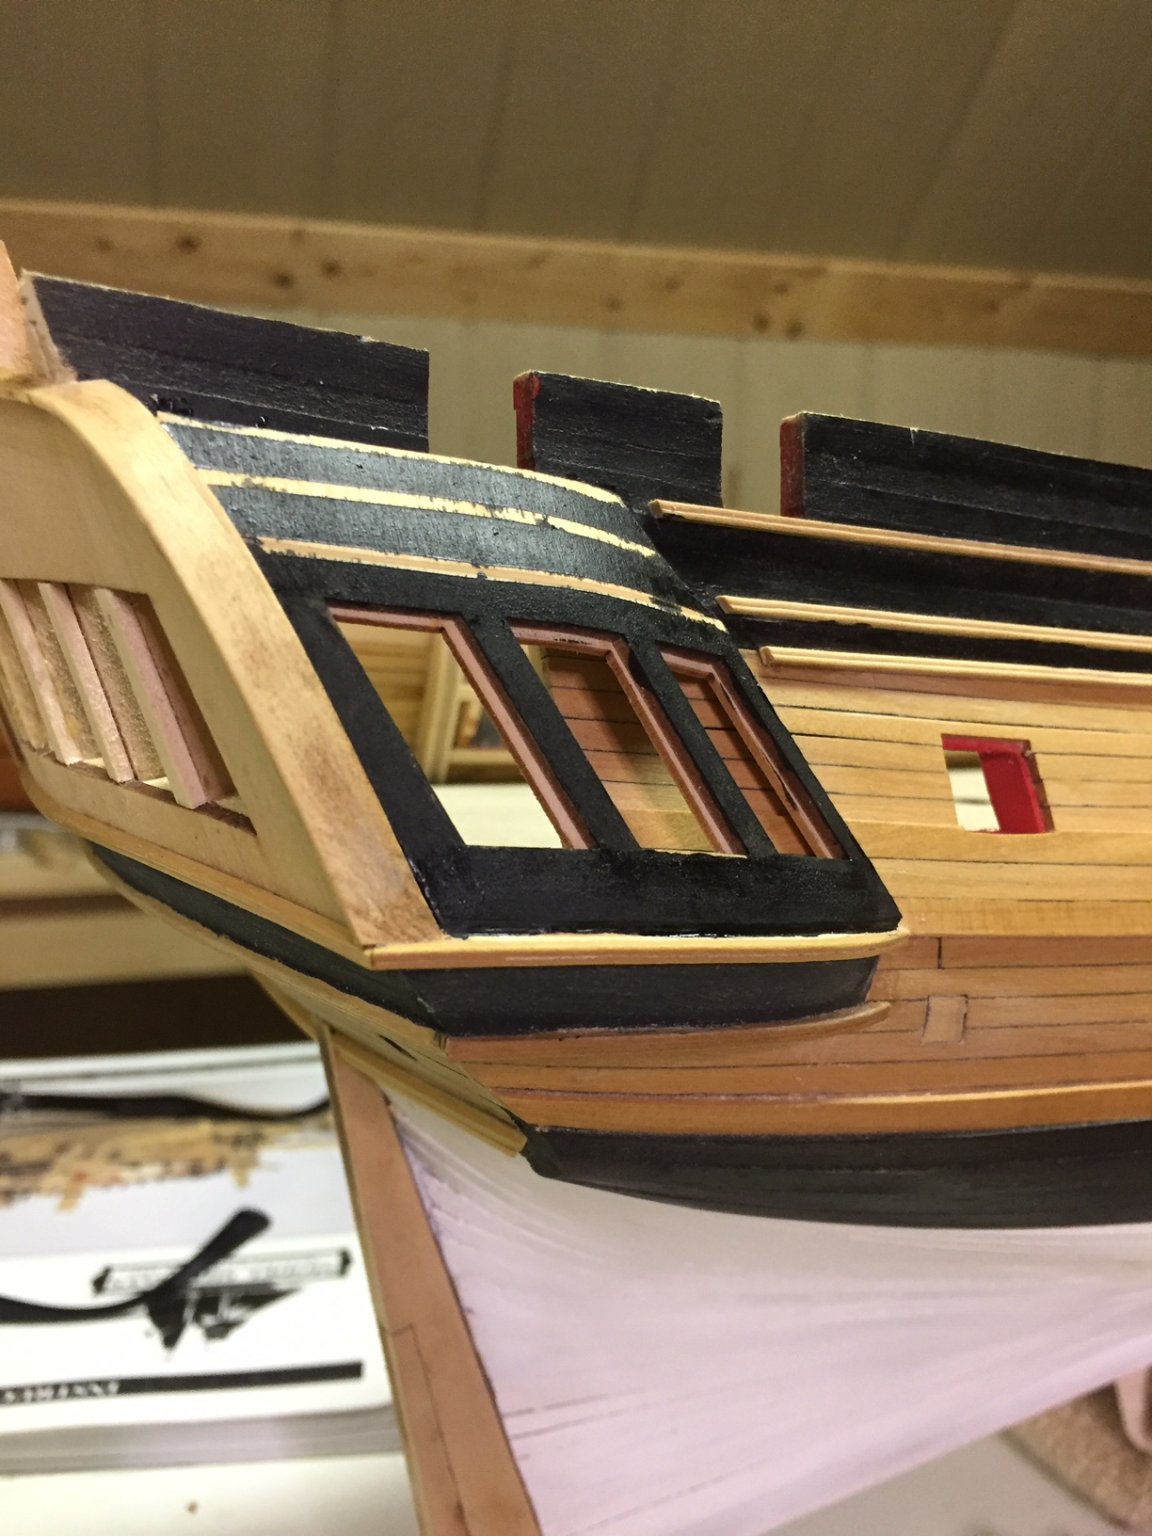
We are moving right along folks. Thank you for the thumbs up! I am working on the quarter gallery and stern lights. A few smudges gluing the clear to the frames but we will call them salt stains.
- 127 replies
-
- 12
-
-
- confederacy
- model shipways
- (and 1 more)
-
Looks like a great start David, I will be watching this build.
- 136 replies
-
- 2
-
-
- kolderstok
- batavia
- (and 1 more)
-
Bruce, thank you for reminding me! Yes, the ends were tapered. About 3 to 4 inches from the end if memory serves correct. Don’t get discouraged. There were a few times I had to just walk off and take a breath. She is a bit complicated. Filler and white paint works wonders.
-
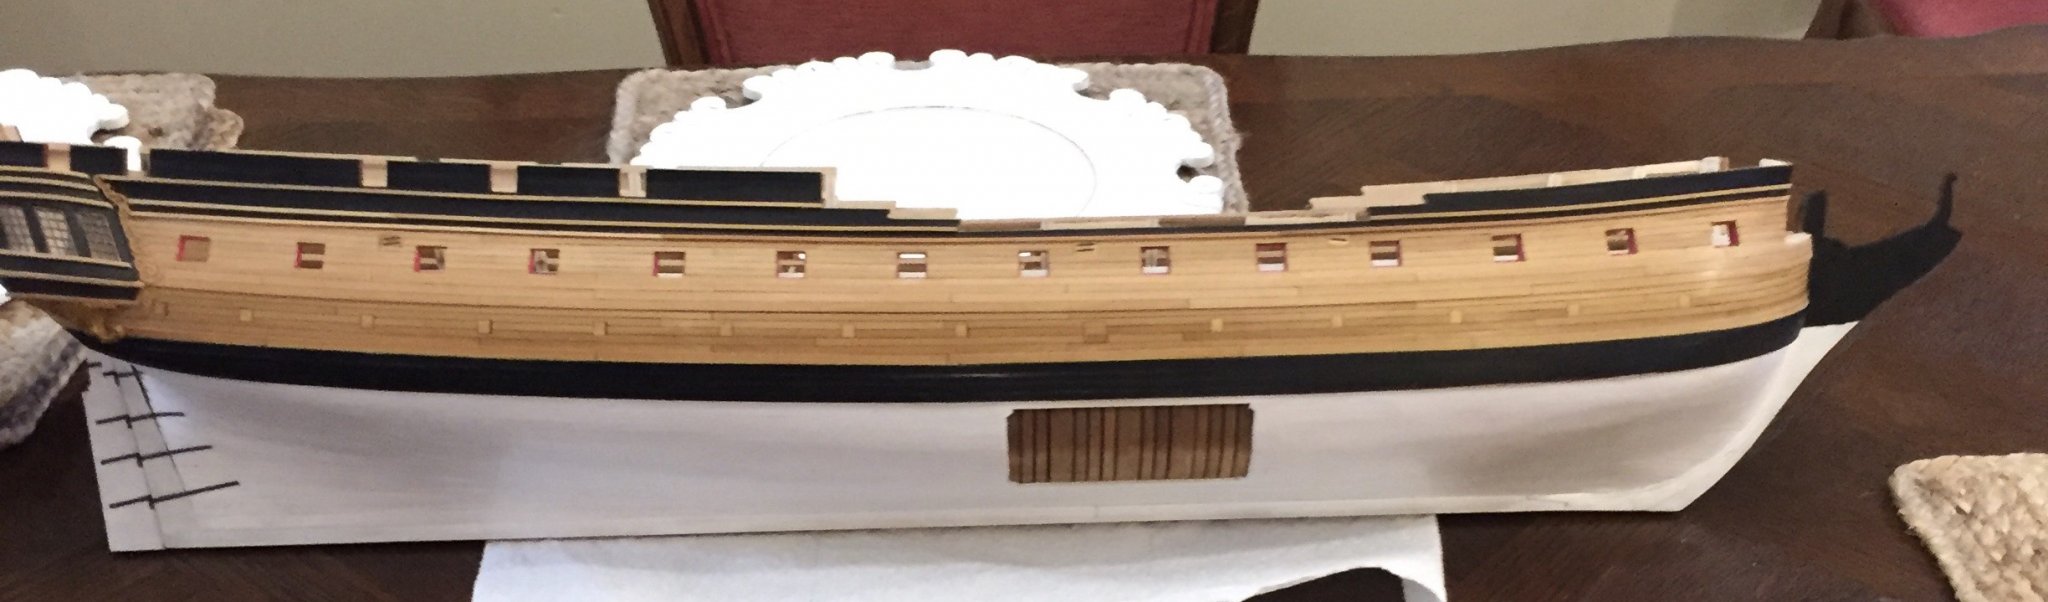
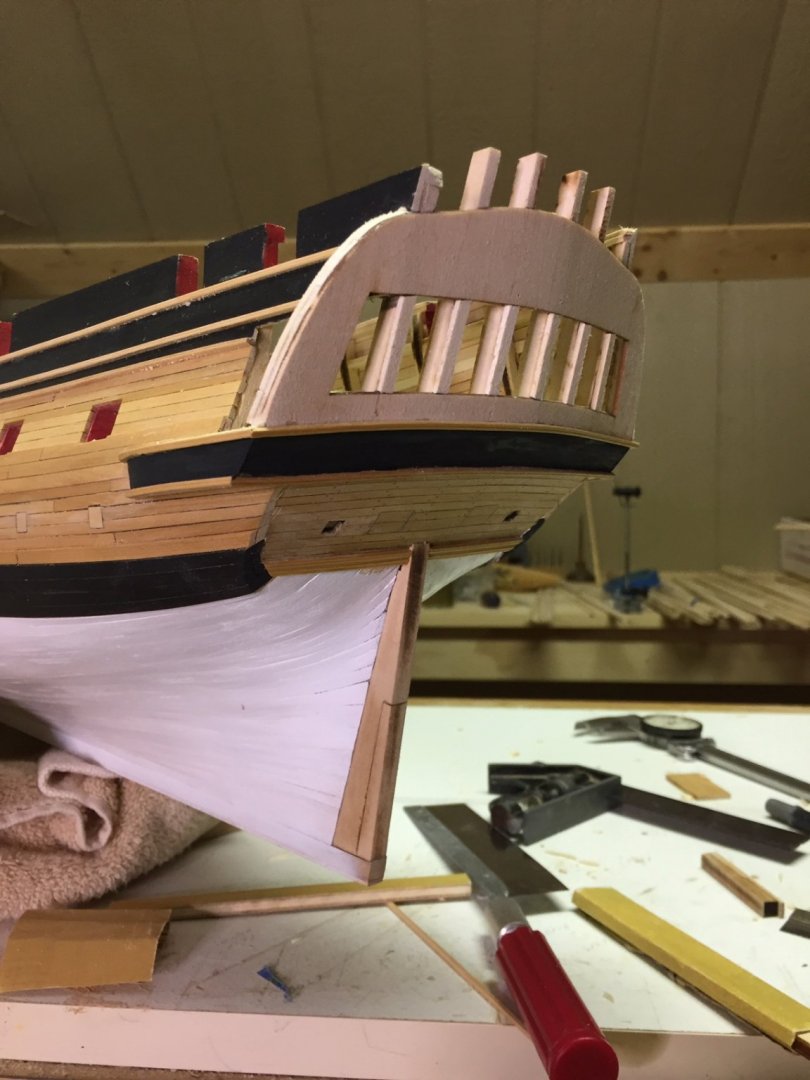
Bruce, I’m not saying mine is correct but so far so good it seems you are ok to me. Looking at your picture and comparing it to mine, they seem pretty close. Yes, the other wale strakes twist and tuck under the counter. I hope this helps. If not, shout again. far so good. I don’t know if this picture answers your question but here it is.
- 126 replies
-
- 6
-
-
- Finished
- confederacy
- (and 1 more)
-
Very nice work! She is looking great.
-
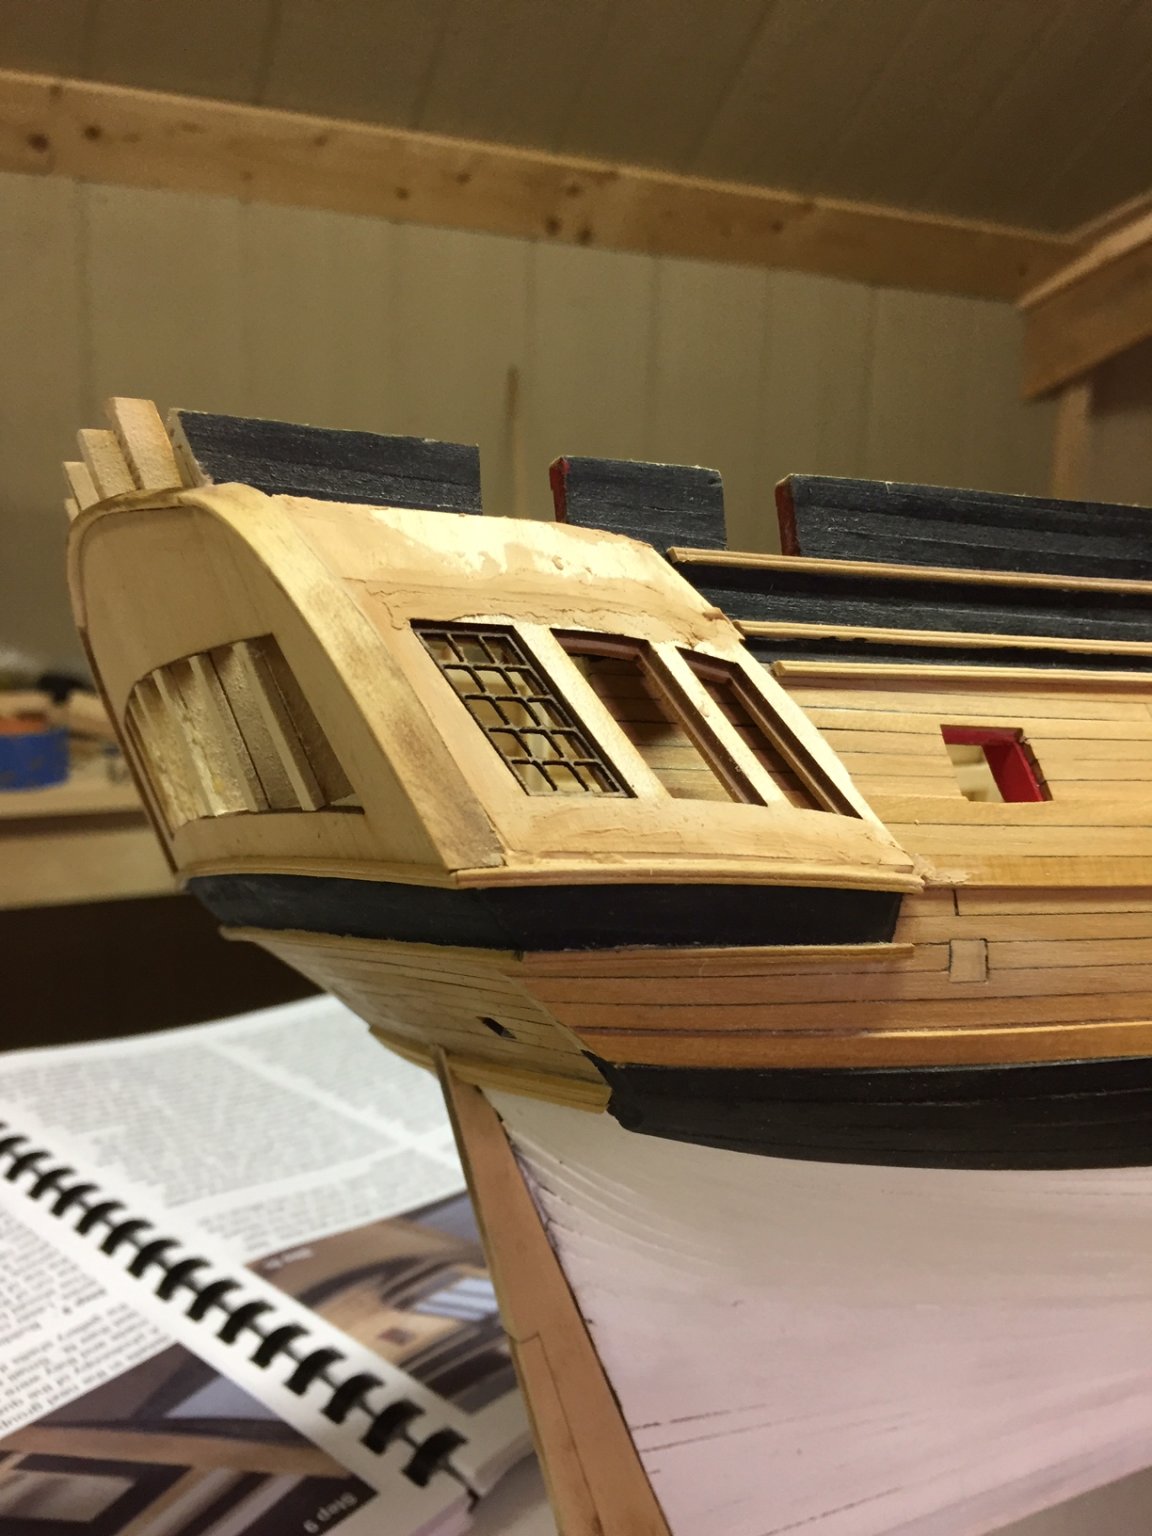
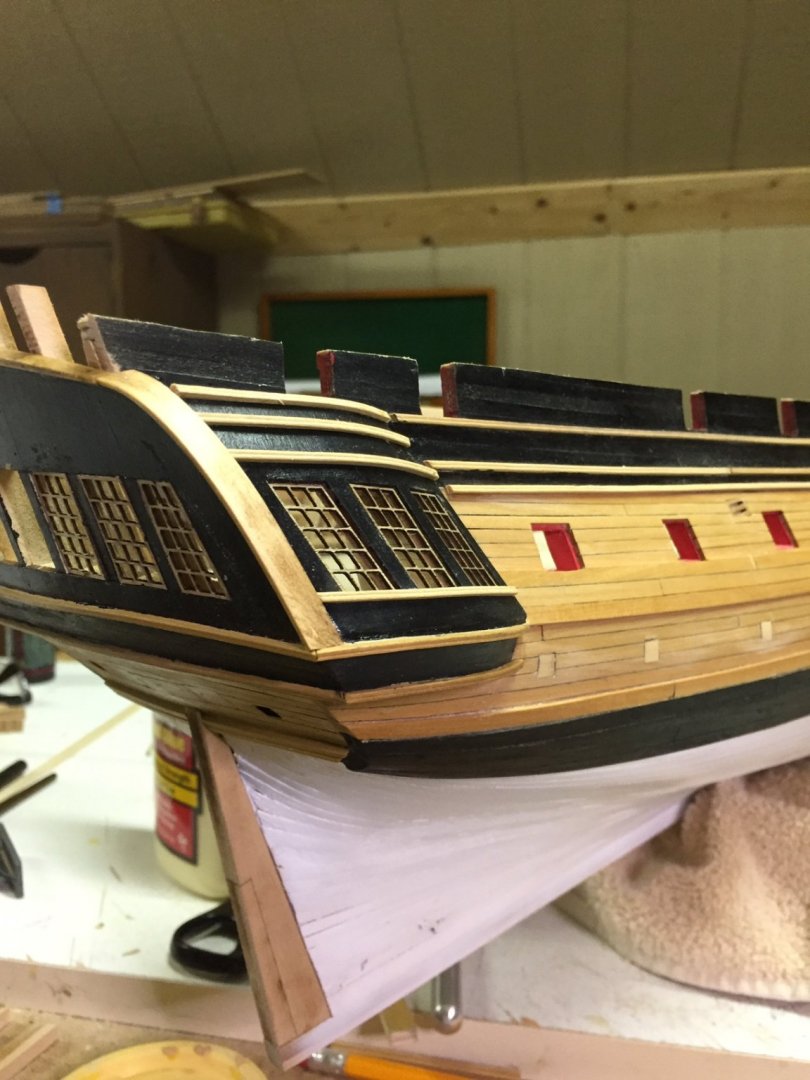
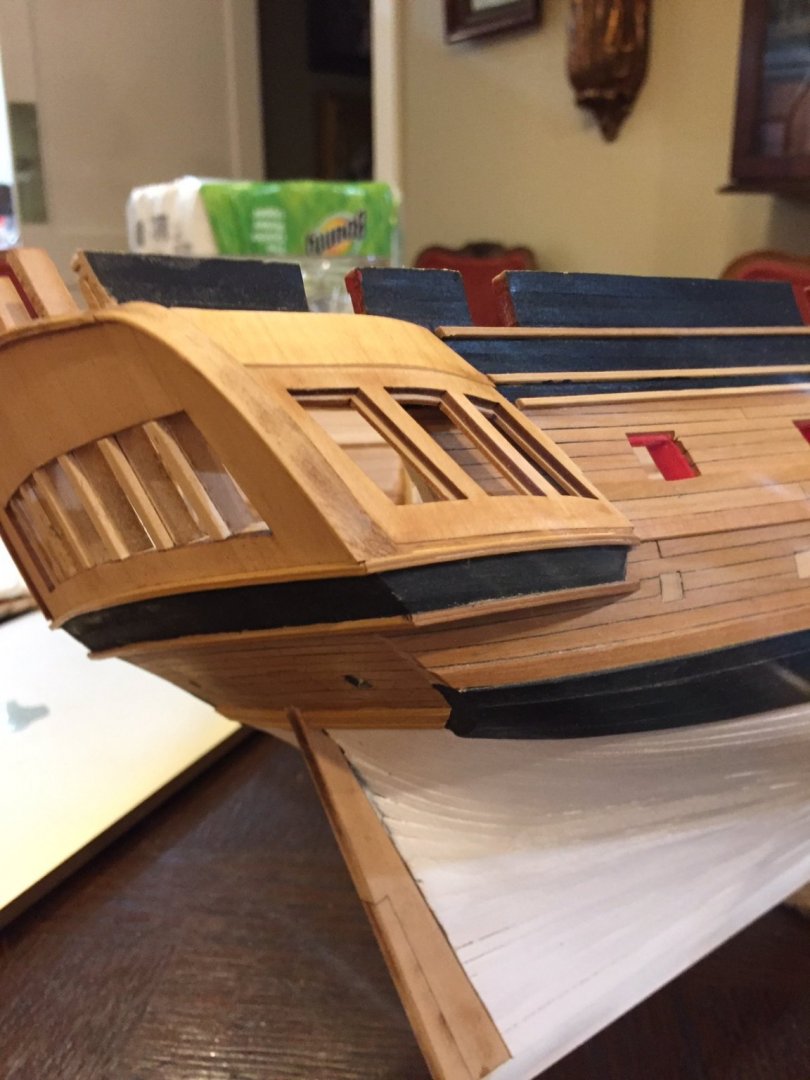
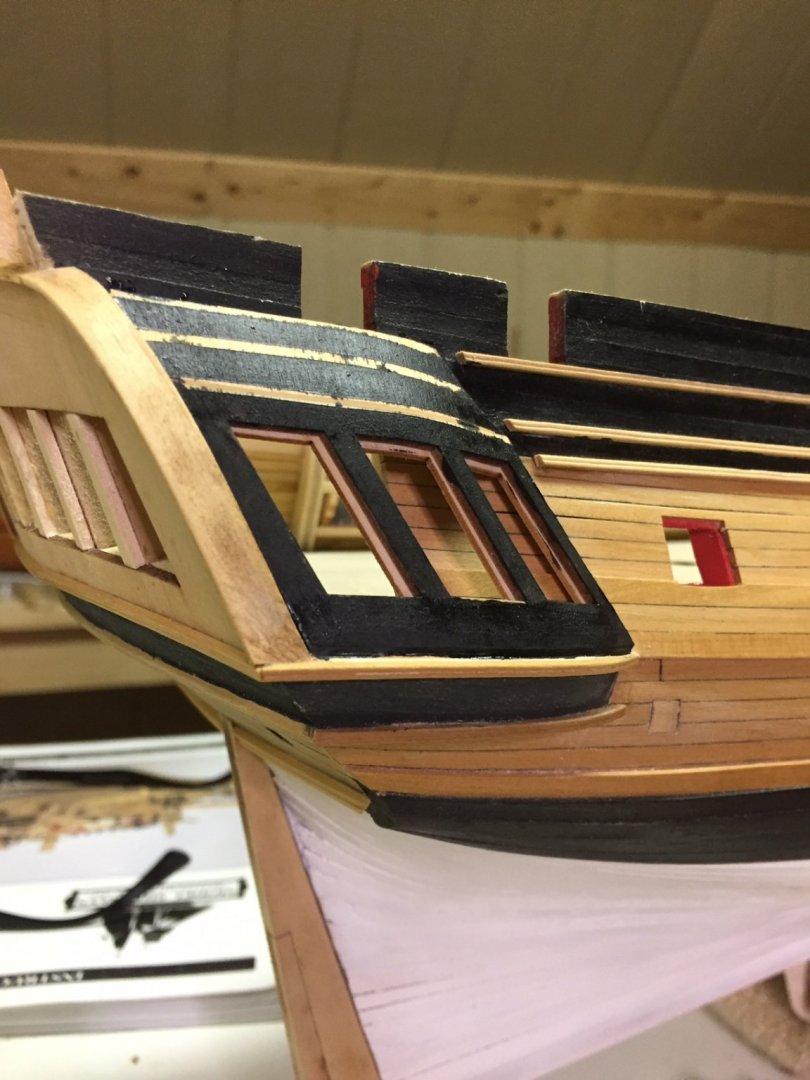
Good day folks, I have painted a little and added the cap rail. The laser cut cap rail fit perfectly. No hiccups. Then on to the the quarter galleries. This was not too bad. If you follow Chucks directions and take your time, they turn out pretty nice. I have put one coat of paint on. It will be sanded once more and then another coat and I will add the decorative molding. The windows fit perfectly. One quarter gallery down, one to go! The more I see that nasty looking spot below the counter, the more it bugs me. This will not do. It has to be fixed. There is filler and white paint in my future.


- 127 replies
-
- 11
-
-
- confederacy
- model shipways
- (and 1 more)
-
Steve, excellent work Sir. She is looking very nice.