
Boxbuilds
-
Posts
315 -
Joined
-
Last visited
Content Type
Profiles
Forums
Gallery
Events
Posts posted by Boxbuilds
-
-
On 10/26/2020 at 10:00 PM, AON said:
IMHO
If you are not happy now, think of how it will eat at you for the next 20 years.
If it is truly a learning lesson what is to be lost by taking it off and trying again.
Only lesson learnt is by doing it over until you're satisfied. If something gets damaged, do that over too. You will be glad you did... eventually.
I was so reluctant to remove items... now I don't think twice about it...but it did hurt the first few times.
Many of us say that if it's worth doing, it's worth being happy about it. Welcome to the world of adjusting everything regardless of how much experience you have. Overcoming the little problems is an extra source of joy over that provided by the kit manufactures, if that makes sense.This hobby is one of craftsmanship, making every model a unique work of art...as yours now is. I hope you get as much satisfaction from your build as we all do from ours.
- FriedClams, pwog, Ryland Craze and 2 others
-
 5
5
-
Maritime museums of North America, including Canada, written by Robert H Smith, published in 1927. I came across this book and thought although somewhat dated (lol), it would be worth sharing. It's an excellent to get a taste for all these museums and could potentially be a source for someone's research. You can find the book for free at: https://archive.org/details/maritimemuseumso0000smit/mode/2up
-
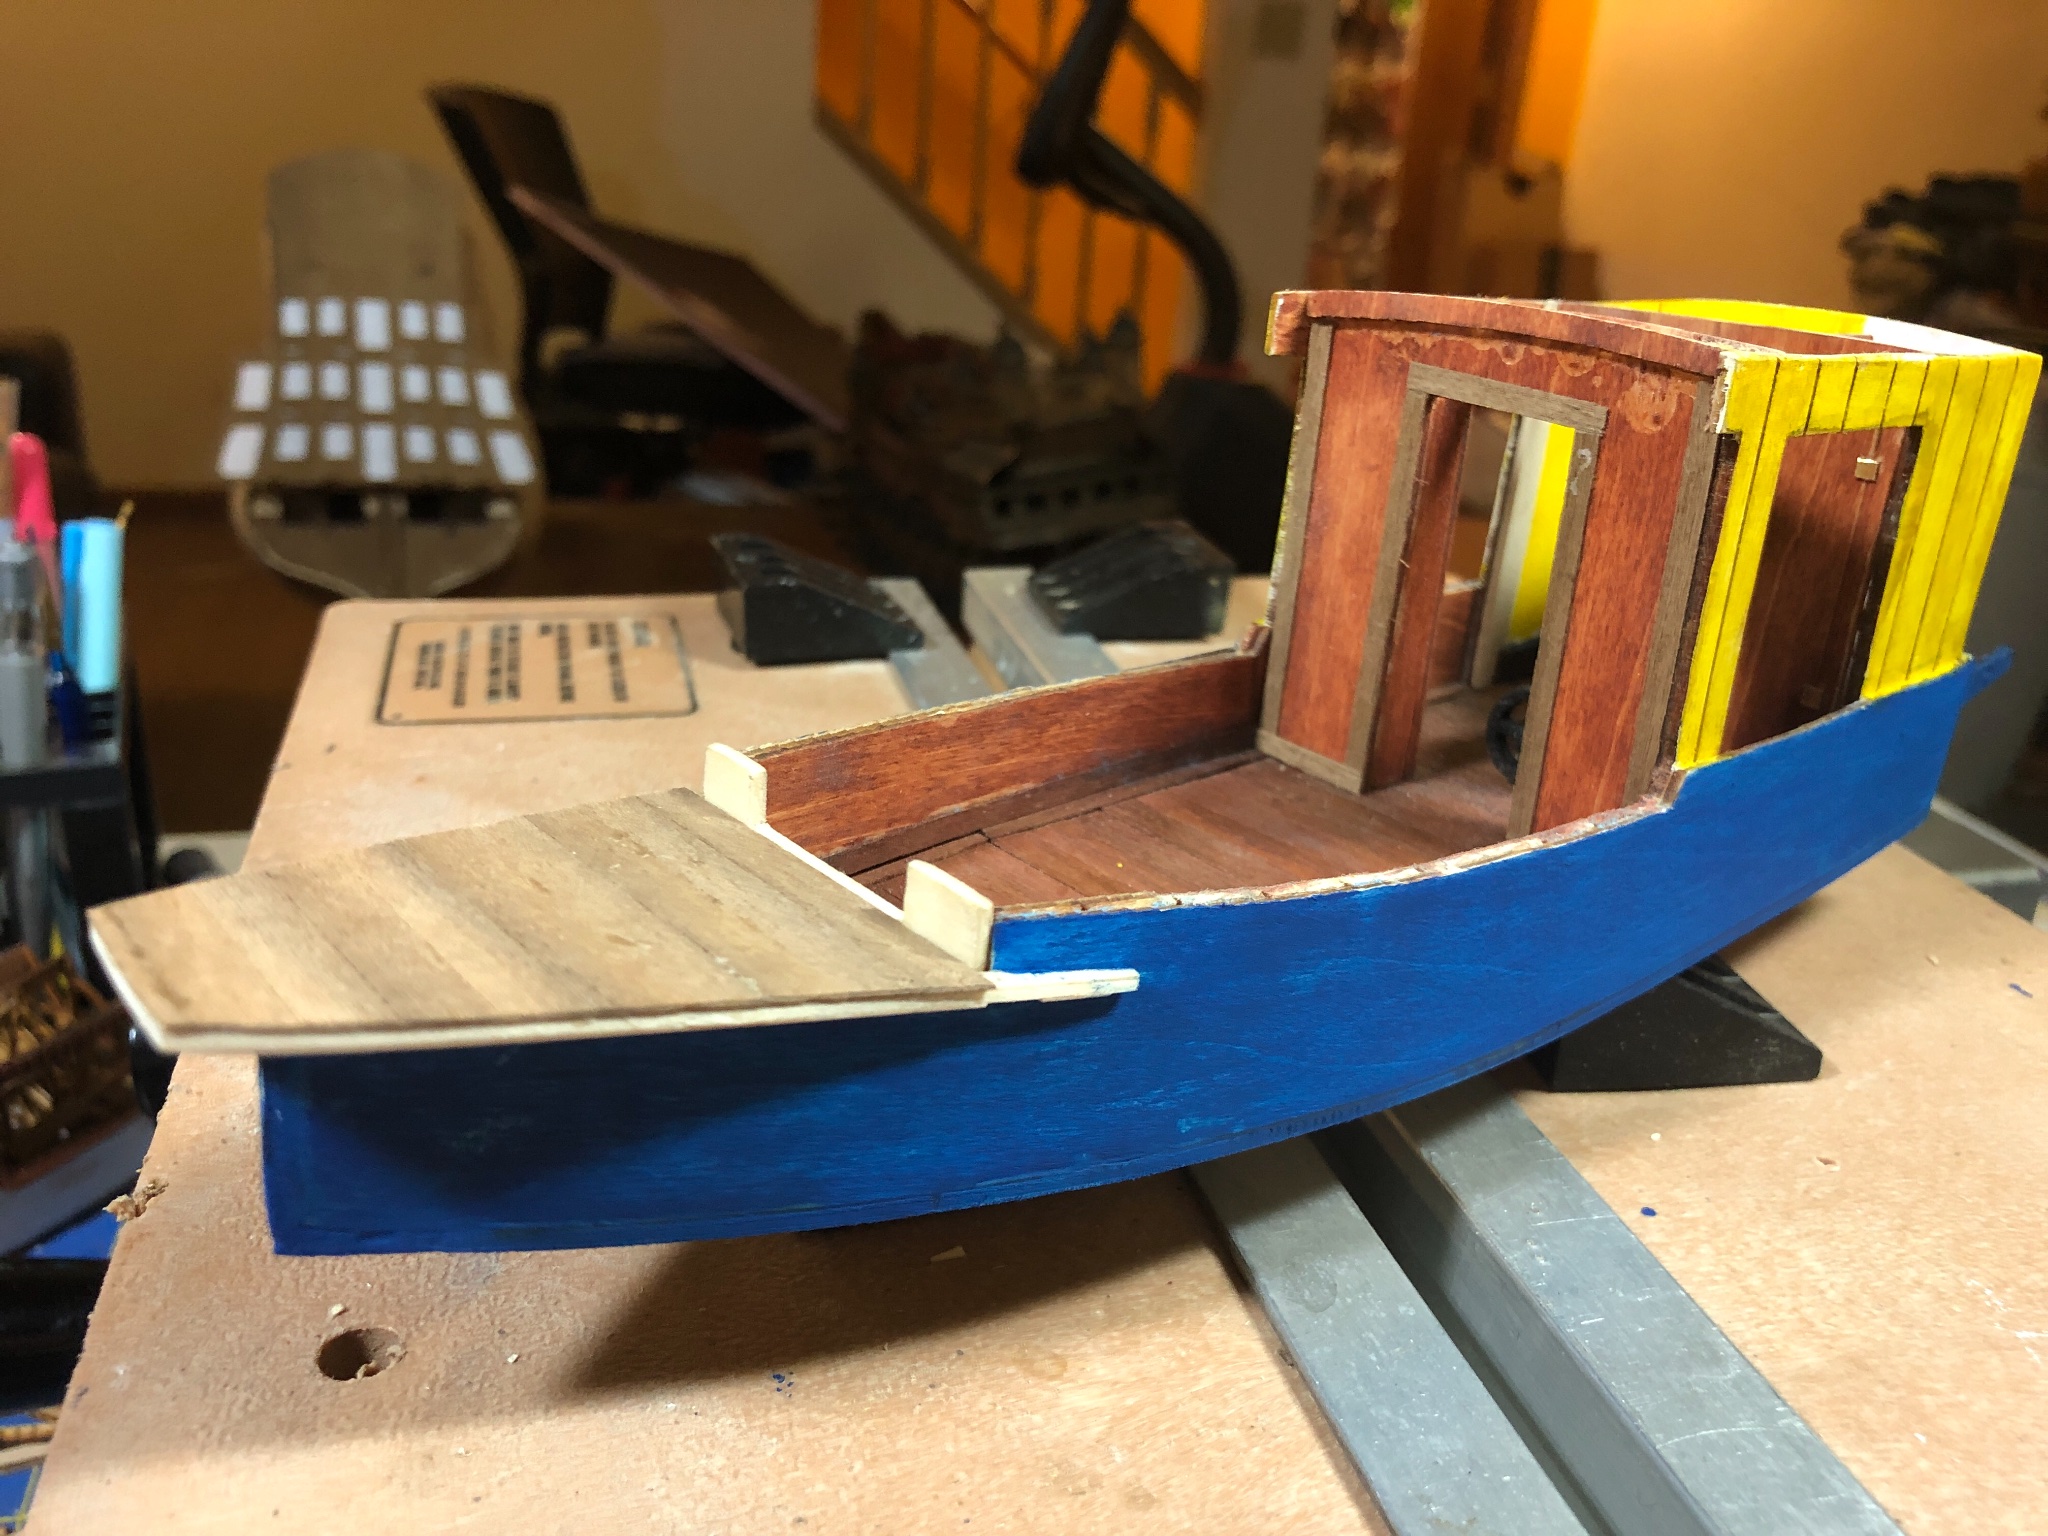
Working on cabin....engine compartment, galley and head. Trim is walnut. Going with a water taxi theme although Davis indicates these were family craft too. Like bigger shallow water craft, this boat includes a loading ramp on the bow.


- Keith Black, MEDDO, GrandpaPhil and 2 others
-
5
-
Starting again. I/25 scale. Burned the sides, bottom, deck and cabin sides.
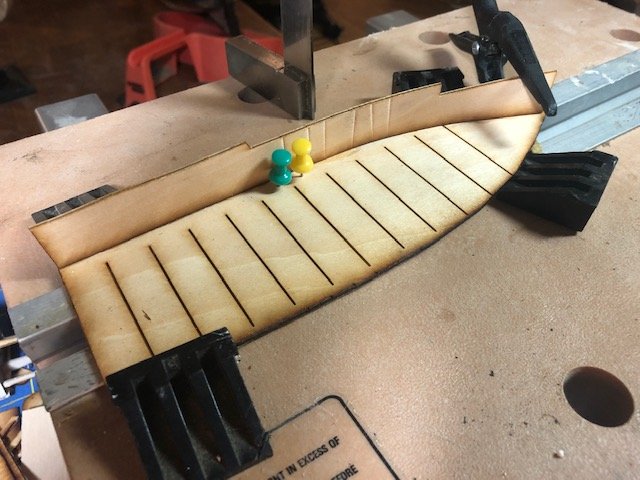
Assembled the boat shell, added the cabin sides and the transom.
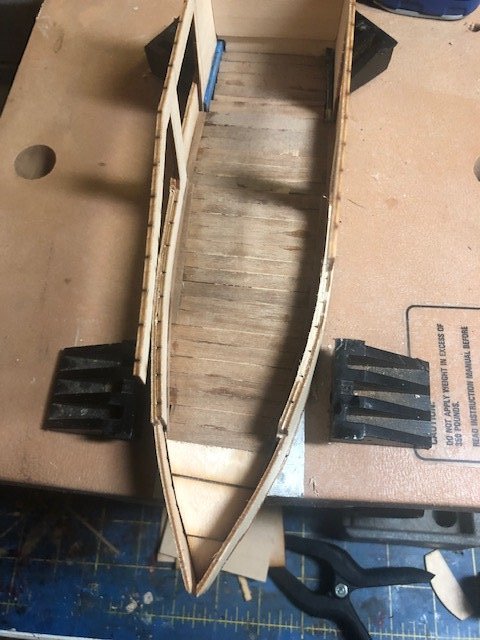
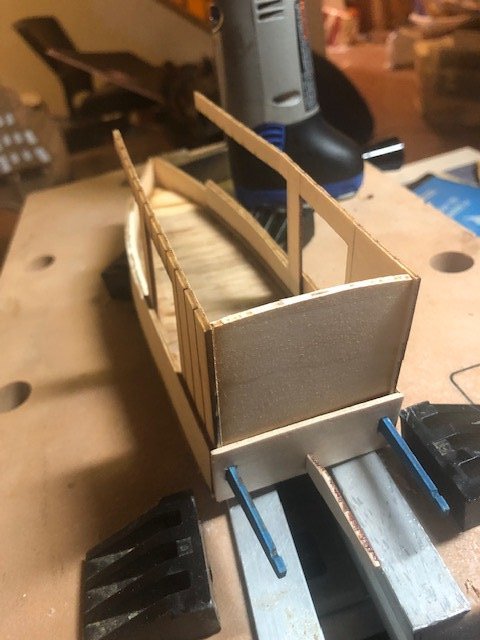
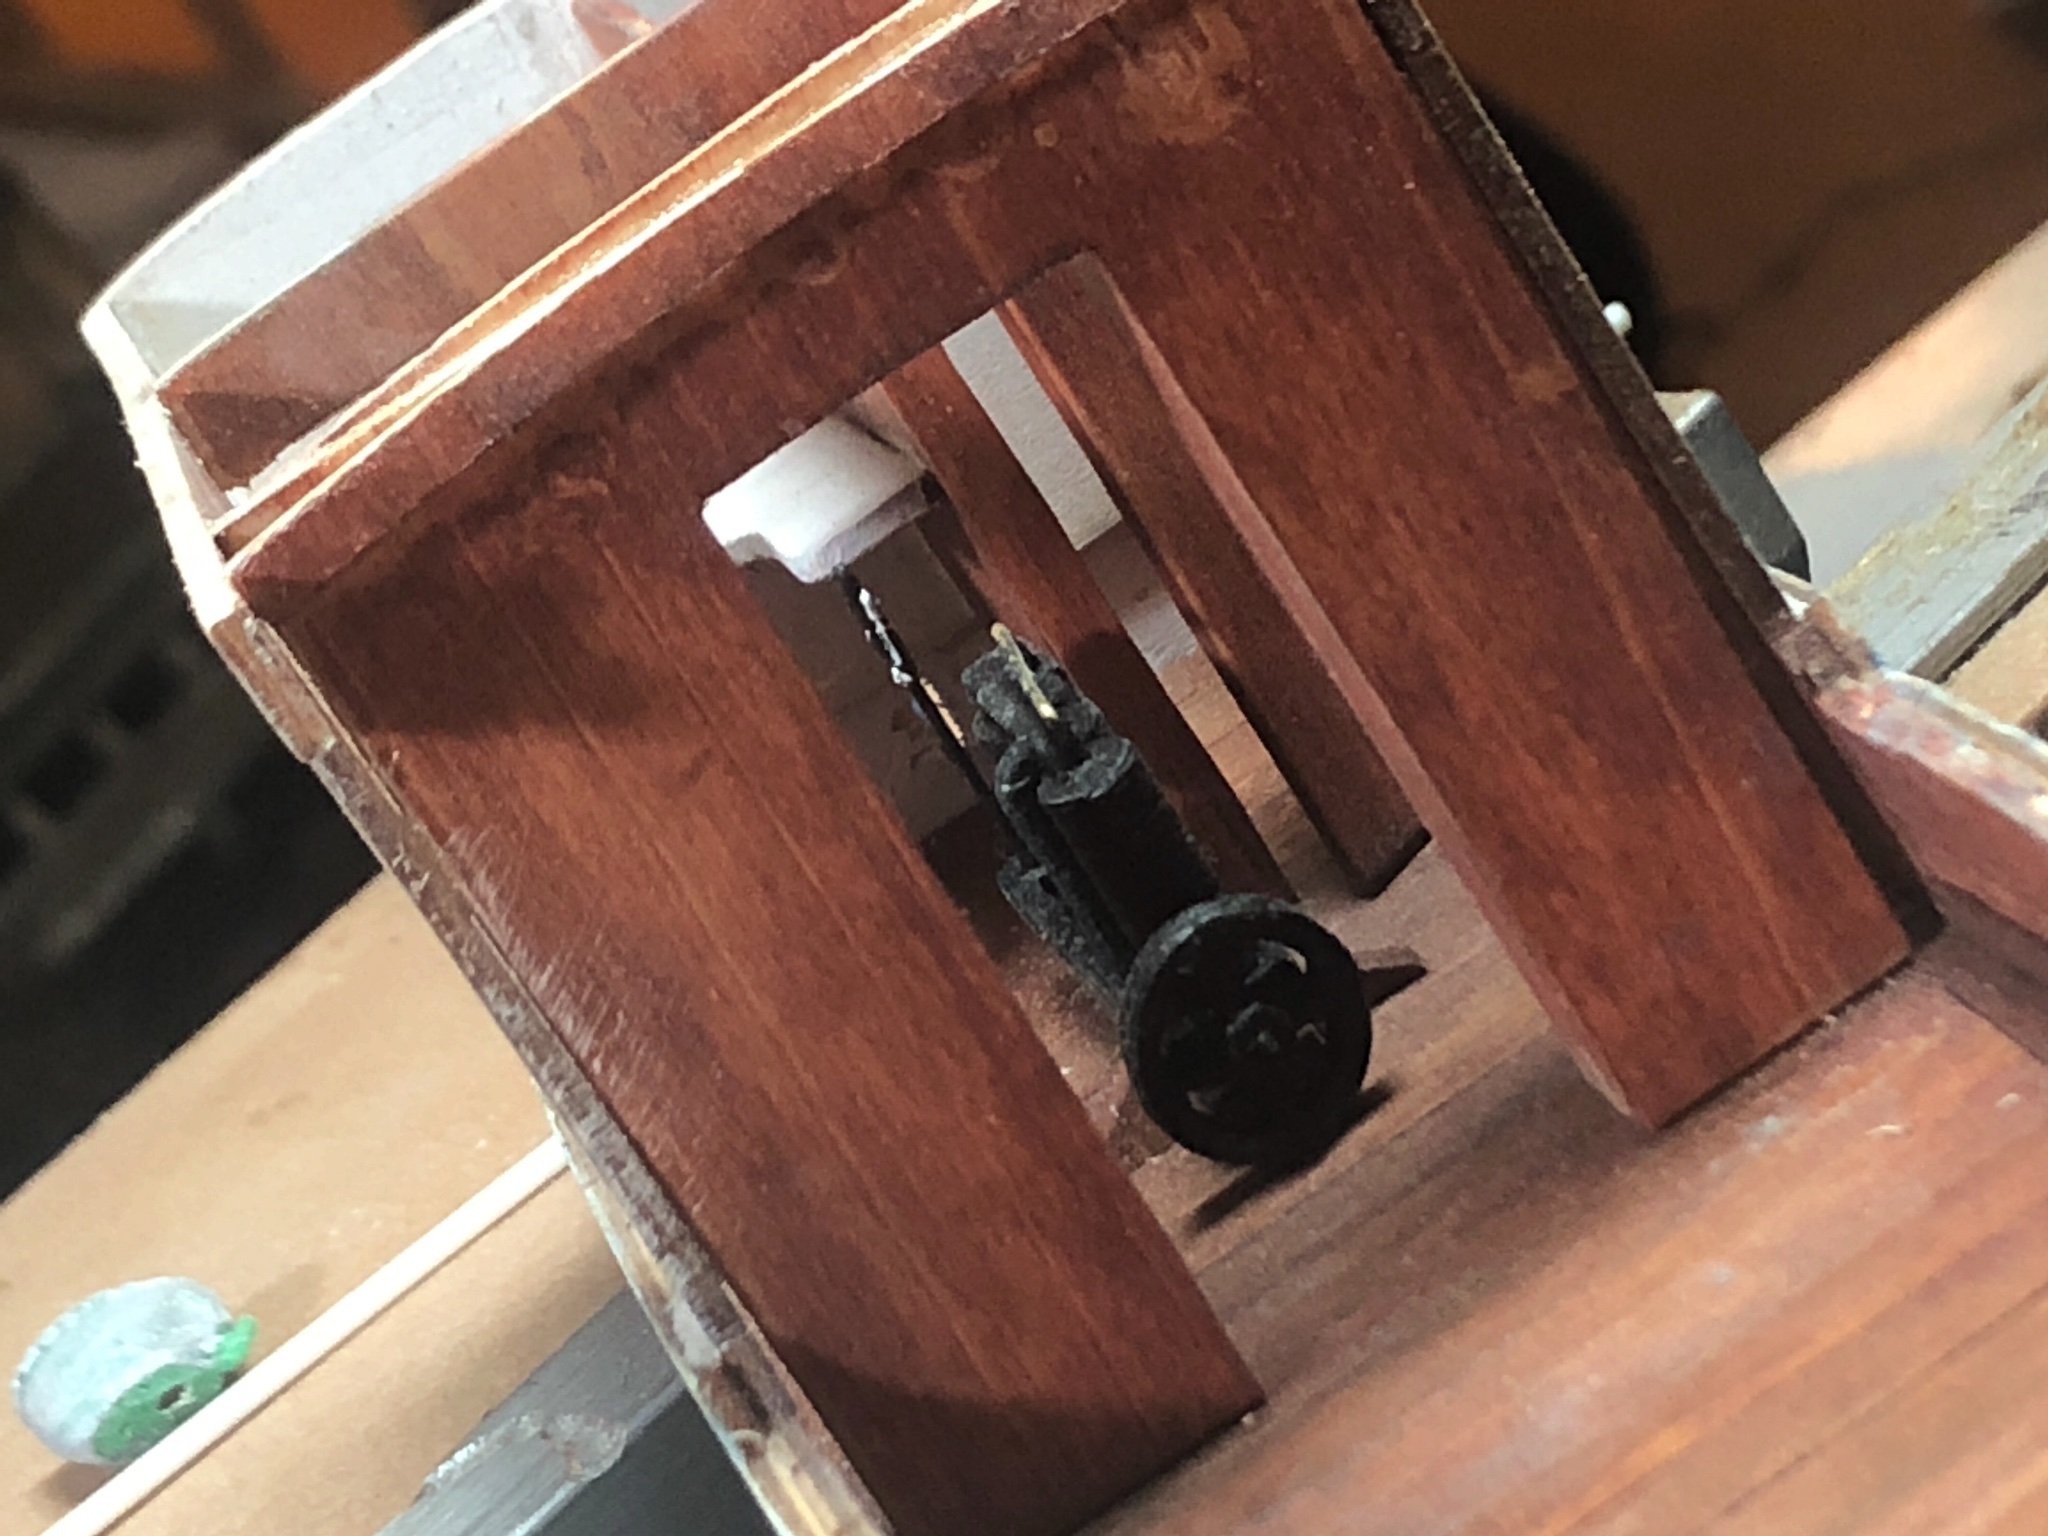
The transom accommodates holes for the paddlewheel supports and the drive shaft. Printed a new "engine" and toilet.
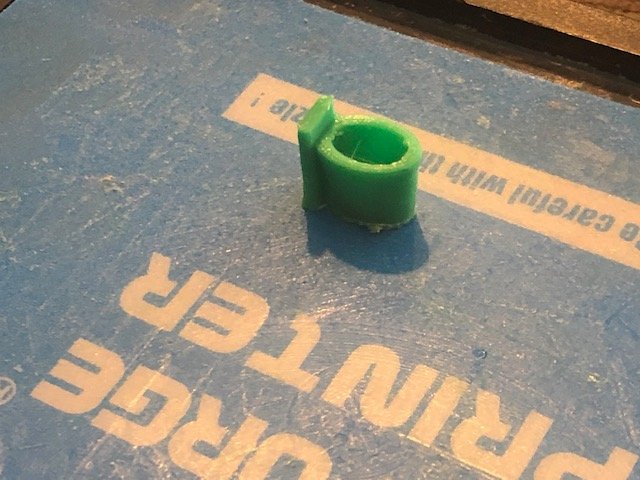 (still needs cleaning)
The original engine attempt was one piece resulting in an item too rough and imprecise. Instead of making the engine one piece, I got more precision and a cleaner look by breaking the small pieces down and gluing them together. Some more prominent tubing, like the gas feed, is represented by dirtied wire.
I burned the paddlewheel supports. A jig was essential to attaining the right width and mounting the 'buckets'.
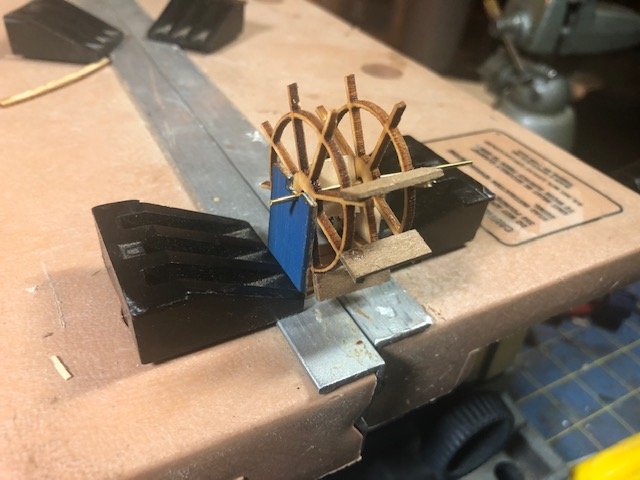
The engine positioning, the paddlewheel positioning, the drive gear locations and all are requiring a lot of dry fitting and micro adjustments. I managed to form a worm gear and matching drive gear for the axle. To get the spacing right, the engine mount, drive shaft and paddlewheel drive support were the most affected.
- MEDDO, mtaylor, GrandpaPhil and 2 others
-
5
-
Thanks for the support..........however,
my transfer of drawings, scaling and uniformly matching-up "burned" parts sheets;
Too rough an engine part;
and just disliking how this model is coming,
I am scraping and restarting the model.......stand by
- mtaylor and Keith Black
-
2
-
Remarkable precision
- Louie da fly, Ondras71, mtaylor and 1 other
-
4
-
On 7/8/2018 at 2:20 PM, Forlani daniel said:
near a knot to respect as much as possible in the direction of grain.
This should make the knee of the keel much stronger than more usual Method using straight grain Pieces of wood. Well engineered sir.
Questo dovrebbe rendere il ginocchio della chiglia molto più forte di più metodo utilizzando grano dritto Pezzi di legno.Signore ben progettato- mtaylor, Forlani daniel and Roman
-
3
-
And now, you are also an expert as we can see.
- flying_dutchman2 and mtaylor
-
2
-
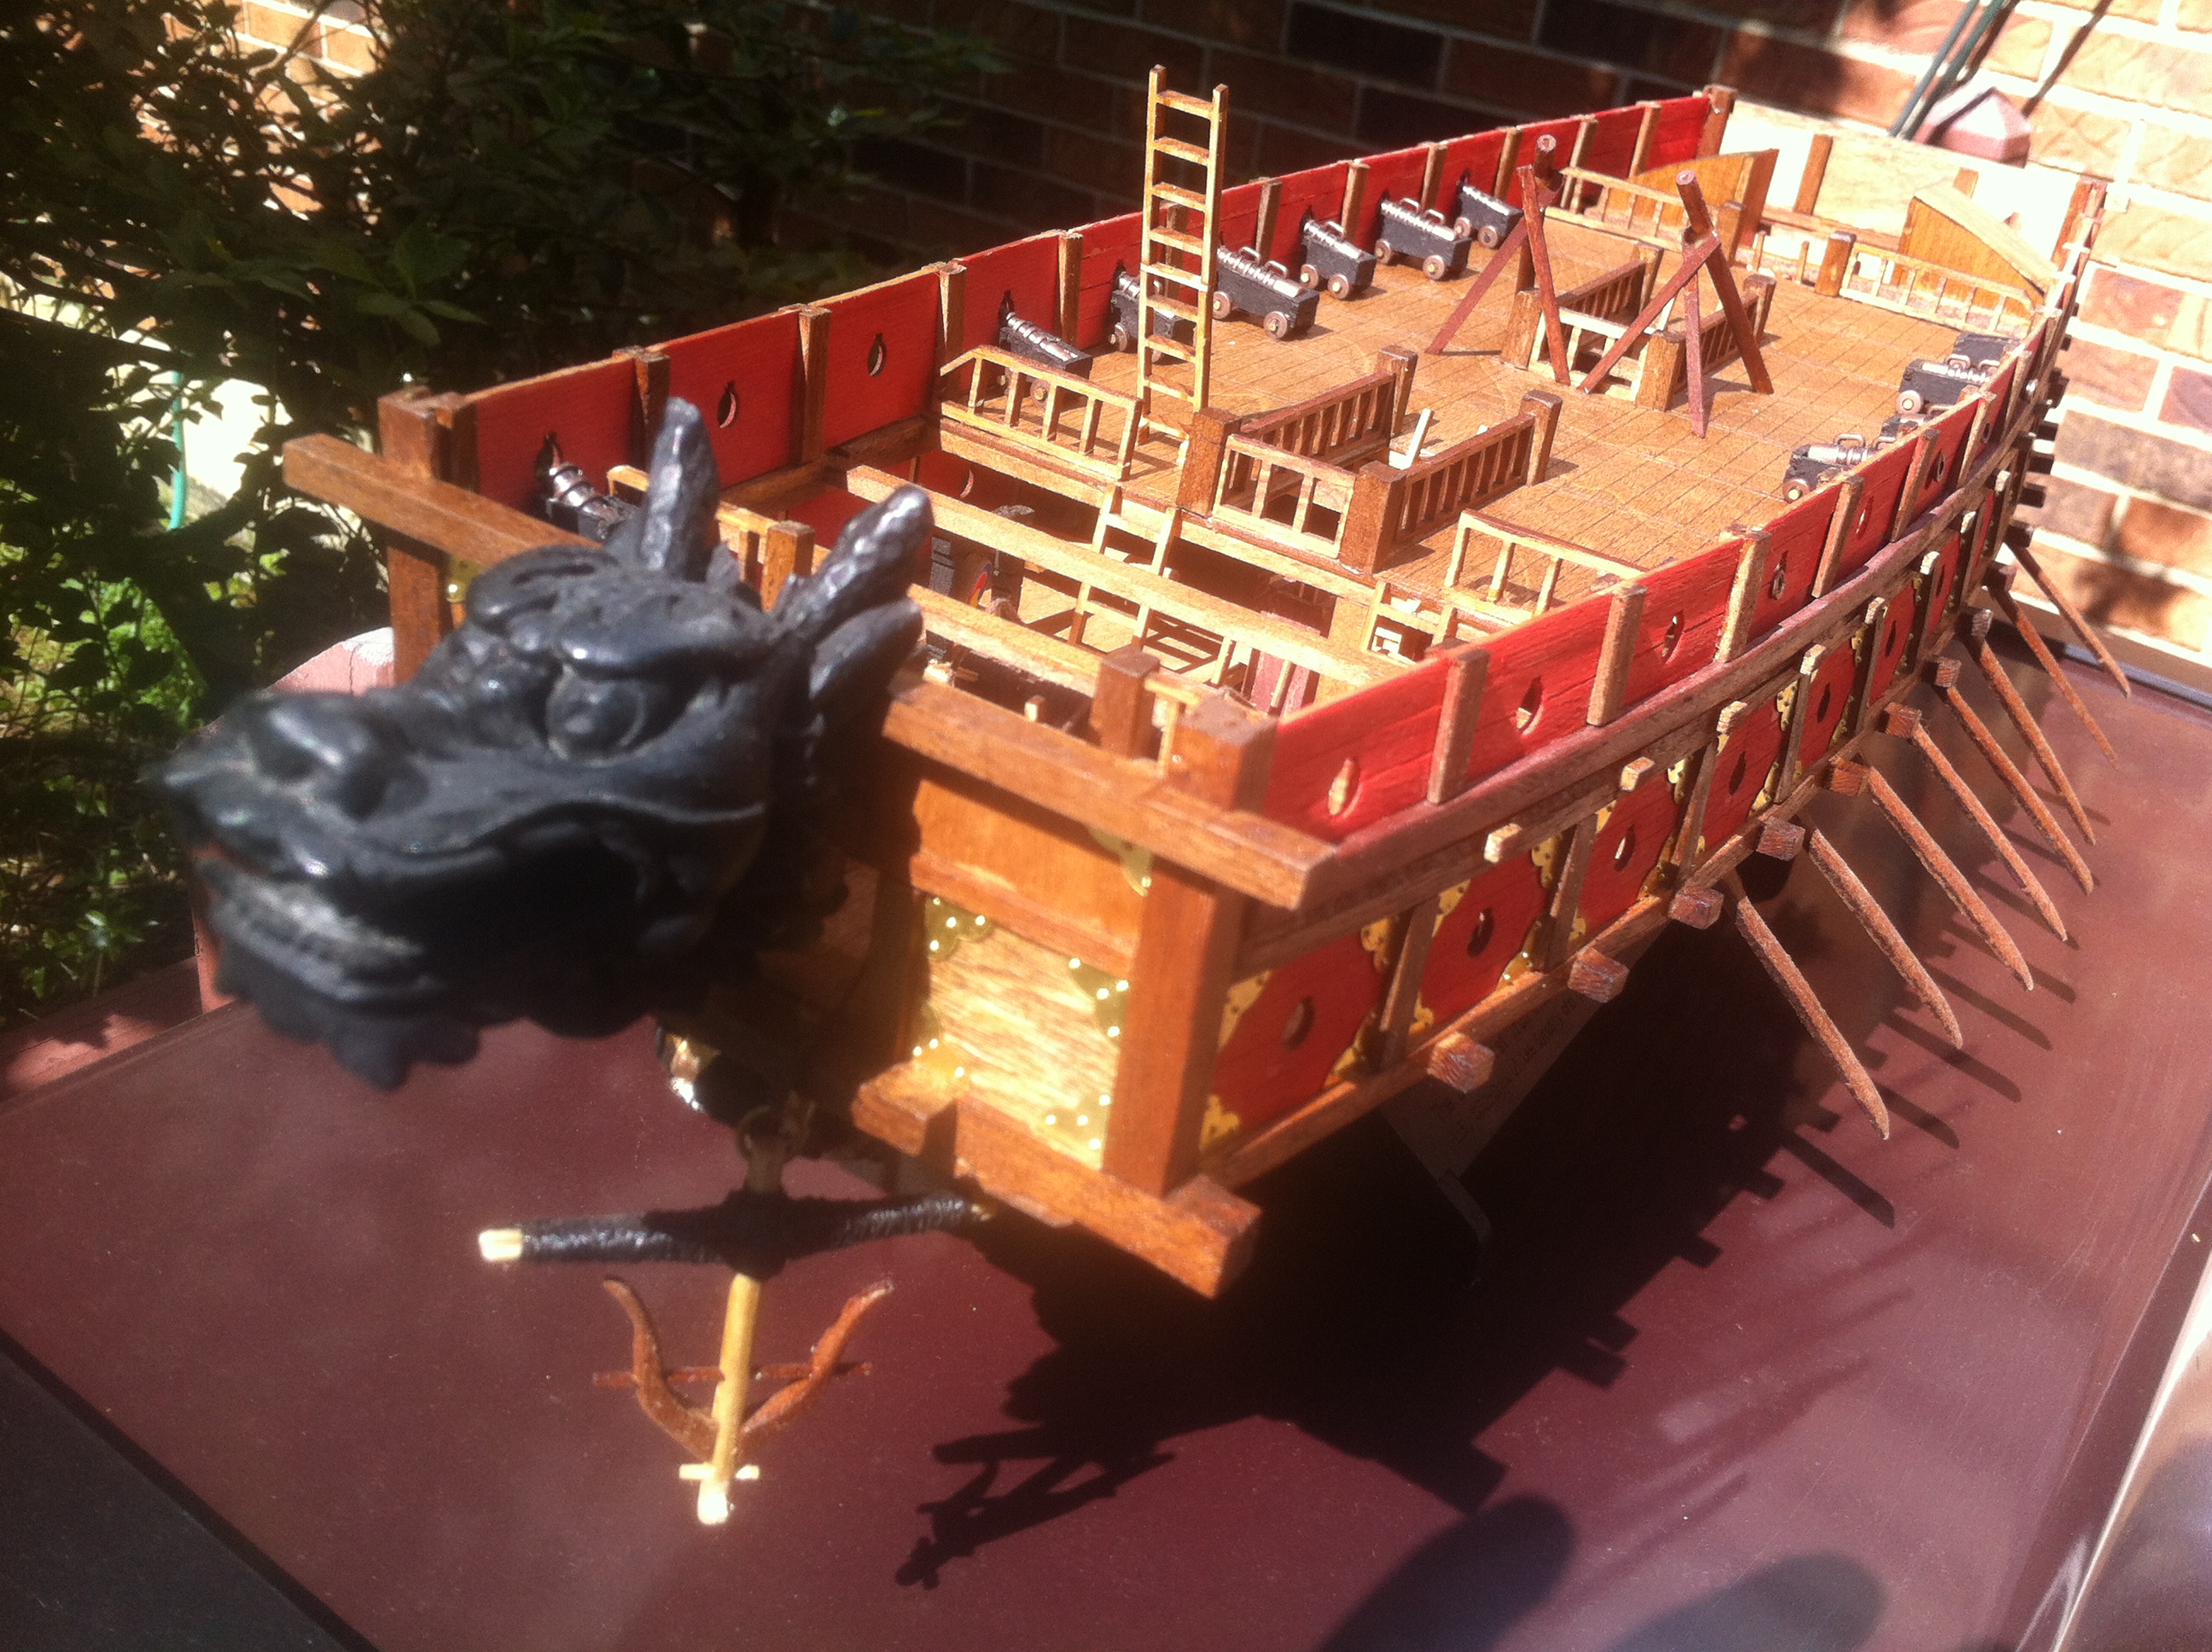
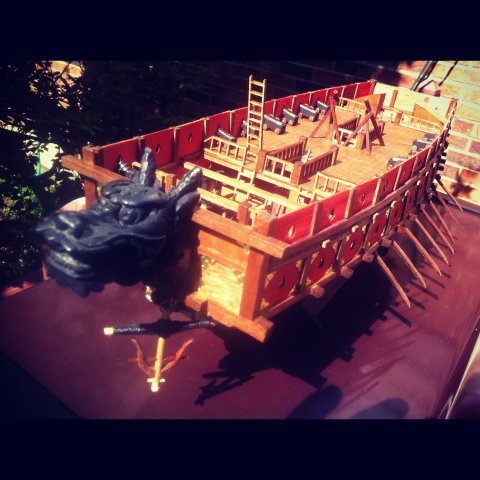
You really need to switch those shields.... or at least let the guys switch seats!
Seriously, remembering the trials the castles caused, they are a magnificent "crown" to your
achievementship.- mtaylor, Keith Black and Louie da fly
-
3
-
This is sooo much more complicated than many builds. The complicated wood manipulation is commendable. ......and a good lesson for many of us. I've run into a few types of these complications but for them all to converge in one build is mind boggling.
- mtaylor and flying_dutchman2
-
2
-
-
Really like your design of the figures. look forward to seeing the finished figures.
- FriedClams and Louie da fly
-
2
-
This is magnificent. Your carvings and research are exemplary. I'll be stealing your carving techniques but I'm not sure I have the endurance to carve this number of figures. Obviously a labor of love.
By the way, aren't the shields for the Sixteenth and seventeenth port side rowers reversed?. 🤗😉
-
Great job with the rudder. When something bothers you, removing the problem is often the correct approach. You're more satisfied and others will appreciate the improvement too. Your cog is probably put together just like one was constructed in medieval times...loosely planned and adjusted on the fly. As long as building it is fun, keep at it.
- Louie da fly and mtaylor
-
2
-
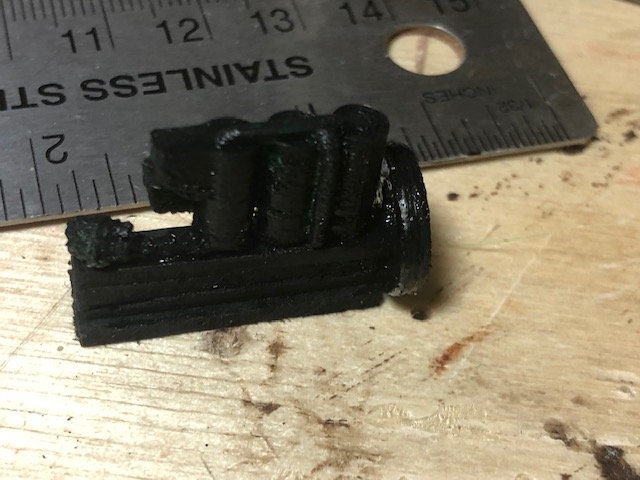
Still working on the details, I engineered and printed a facsimile of a 3 cylinder, 2 cycle gas marine engine
- GrandpaPhil, MEDDO, mtaylor and 1 other
-
4
-
Thanks Hellmuht, this is intriguing. I appreciate your explanation. I wonder if the methods left over from ships made with tied rushes became a natural progression to building wooden ships for the Egyptians. Something must have interfered with logic that led other cultures to wooden pegs and nails for fastening....hmmm. I will read up some more on this.
-
-
-
-
-
The subtle curves and the precise cuts of your mill are enviable. Having the right tools is an underappreciated factor...as is knowing how to use them. Very nice work.
- Jorge Diaz O, Oliver1973, MEDDO and 1 other
-
4
-
-
It was enjoyable to see the sequence and art illustrated in your work.
I may have missed it but did you laser cut any of the parts? The edges of some pieces looked characteristically black.
Wouldn't the framing of the bilges mitigate any movement of the ballast?
In any case, bravo.
-
Such patience. But with all the work that's gone into SR so far, carving the ornaments is a fitting tribute. Why not use walnut for the decorations? The details are soooo fine I would think a very hard wood would be necessary. Non?

13. Maritime museums of North America, including Canada : with selected lighthouse, canal, and canal lock museums
in Nautical/Naval History
Posted
Thanks for your help.