HOLIDAY DONATION DRIVE - SUPPORT MSW - DO YOUR PART TO KEEP THIS GREAT FORUM GOING! (Only 24 donations so far out of 49,000 members - C'mon guys!)
×
Tom E
-
Posts
469 -
Joined
-
Last visited
Content Type
Profiles
Forums
Gallery
Events
Everything posted by Tom E
-
 Jond, What a wonderful build. I am learning so much! Your use of historical photos, actual photos of Bowdoin, and your current build is spot on. That pic of the stained wheel is beautiful. That's a work of art in itself. She will make a handsome display! Thanks for sharing, Tom E
 -
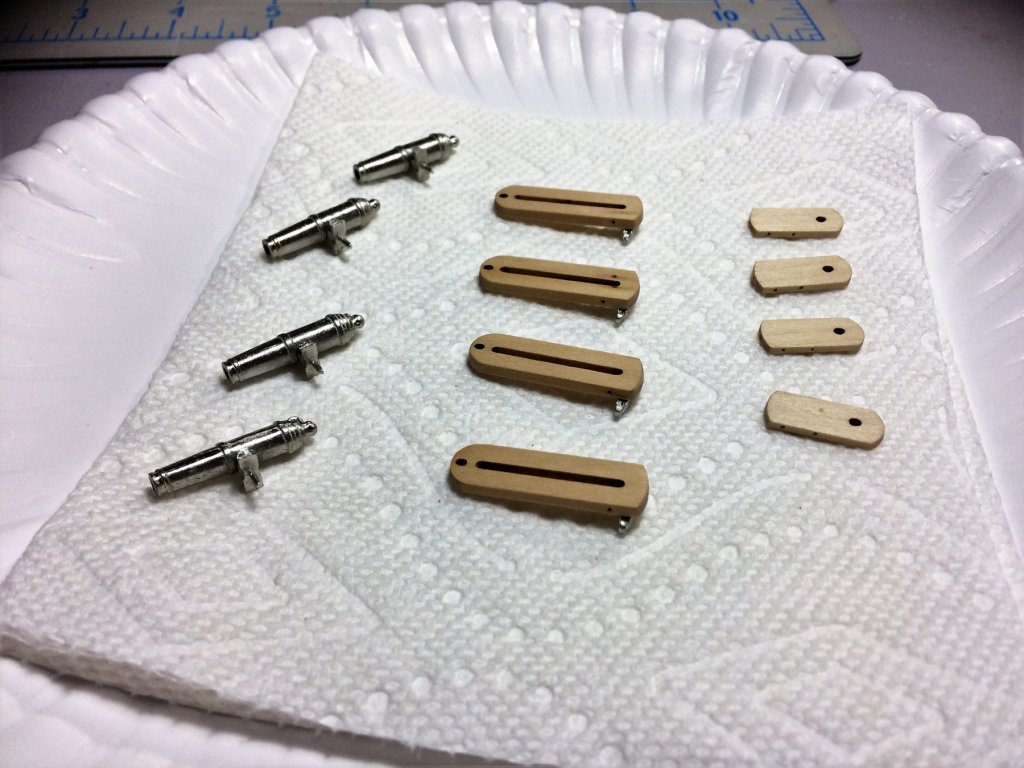
The way I have it right now.... I used the ones in your pic for the Bowsprit Cap, they must cut an extra one. The Lower Caps I used are from the sheet that has the pre cut Waterways and Catheads. The Fore and Main Top mast caps I took from the sheet that has the Long Gun Carriage parts. Tom E
-
Gary, Appreciate the advice. I'm going to rig that topping lift. Its a big part of the Spanker, in my eyes, and the more I look at it, the more It should be rigged in. It will look better with it. Glad to have you back. I was watching your build. Tom E
-
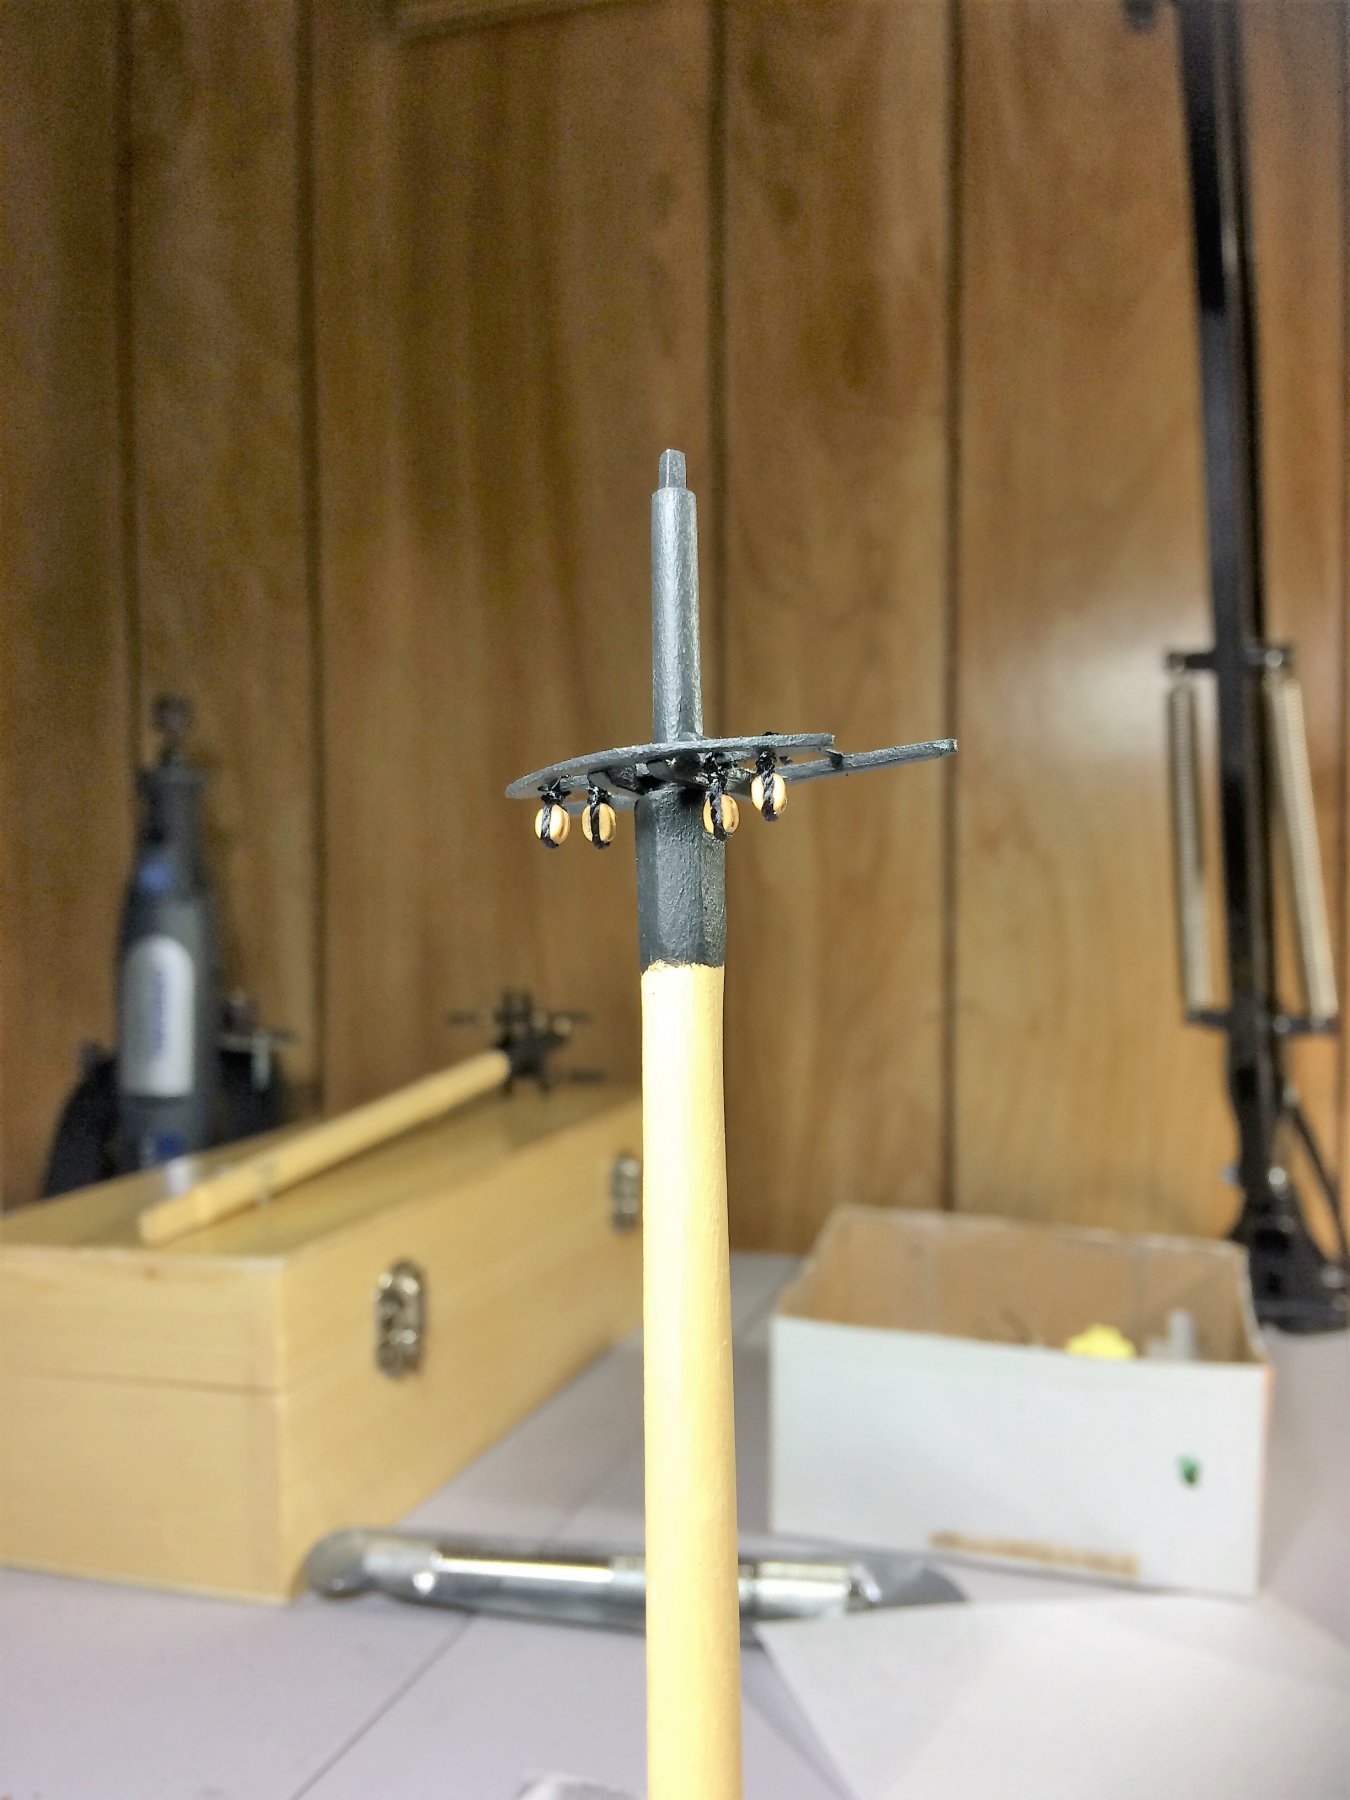
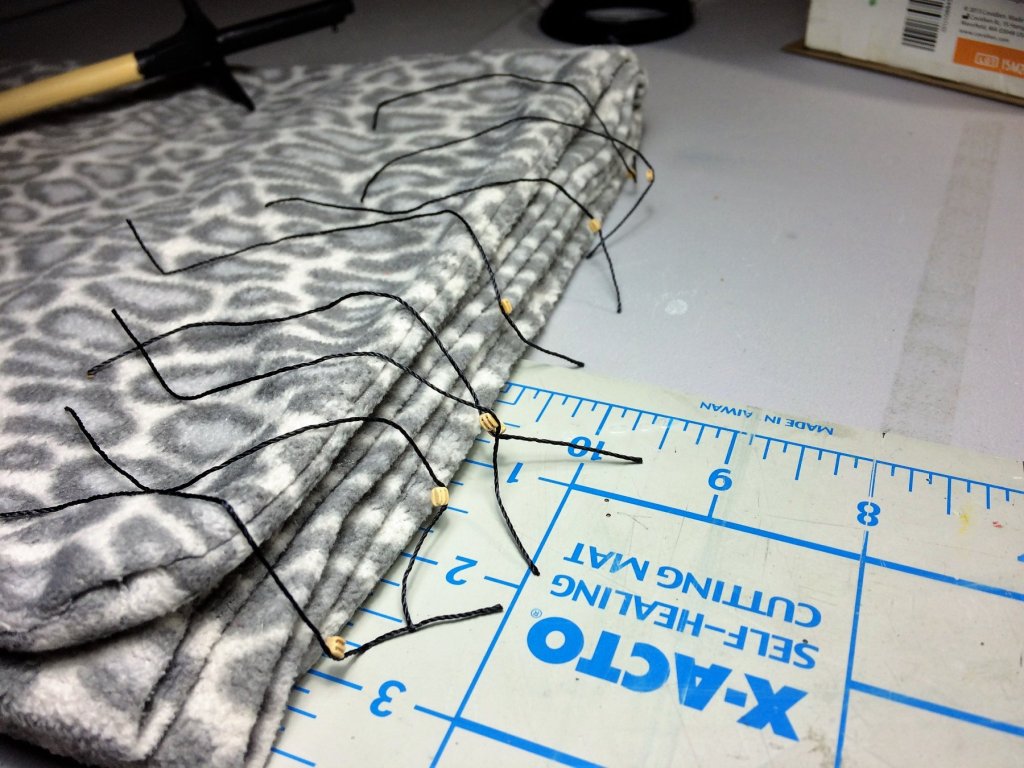
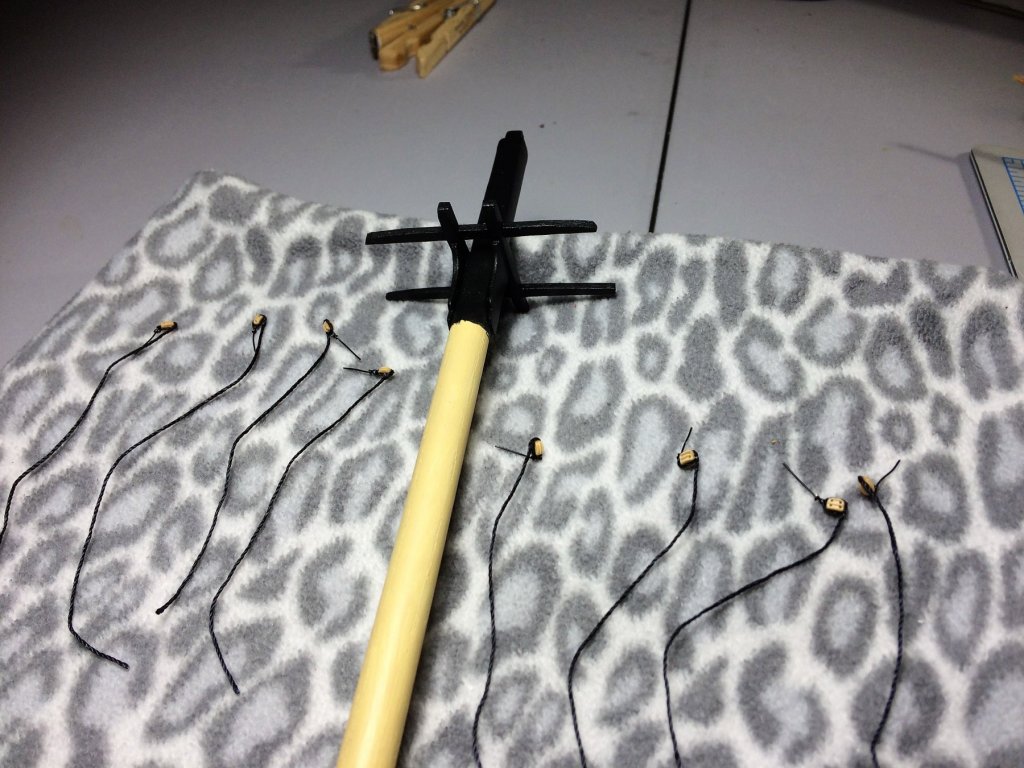
Evening, Happy New Years! Probably one of the better nights to just stay home, cook something awesome, and hang out in the Shipyard. That's exactly where I've been...….all day! Its been awesome! The Fife Rail needs just one more coat of black and I'll call it done. The Main Hatch is done. You get a few of these coamings under your belt and it gets a bit easier. The toughest part of the supplied grating is keeping it lined up. If you don't keep track of it, it will wander! It came out pretty well in the end. Decided to start the process of hanging block on the Main mast. Per the plans, the inner row is 1/8 singles and the outer rows are doubles. These are Syren blocks. I glue a length of rope to one edge of the block. Feed an eyebolt thru the rope then wrap and glue the rope to the other side of the block. Where they meet they are trimmed. Its ok...…..I'm getting better at it. These are setting up and will be trimmed. A hole will be drilled completely thru the Crosstrees. Any excess wire is trimmed, and sanded, from the top. I feel this gives it a good anchor in the Crosstrees. Tom E


-
Evening, From what I've found In the plans some of these eyebolts are needed, Others may not be? Example, One is for the Royal Backstay, Port and Starboard...….need this one. Another is for the Spanker Boom Topping Lifts and Vangs. Can these be left out if not rigging with sails? Tom E
-
Jack, Great looking ship! I have to give this PE stuff a whirl. In the very beginning, you mentioned a PE tool from The Small Shop. Did you find yourself using it? Do you feel its a "must have" kind of thing when working with PE? I ask as I have been eyeing one up on there web site. I was thinking of making an Investment in one first, then dive into buying a model with PE. Thanks, Tom E
- 140 replies
-
- 7
-

-
- the sullivans
- trumpeter
- (and 2 more)
-
Dave, Wow, what an impressive ship! This model is quickly finding it's way to my stash. Seems to be a quality kit, with some repairable hiccups. All the deck details, are those part of the kit or a separate "detail up" kit? Thanks, Tom E
-
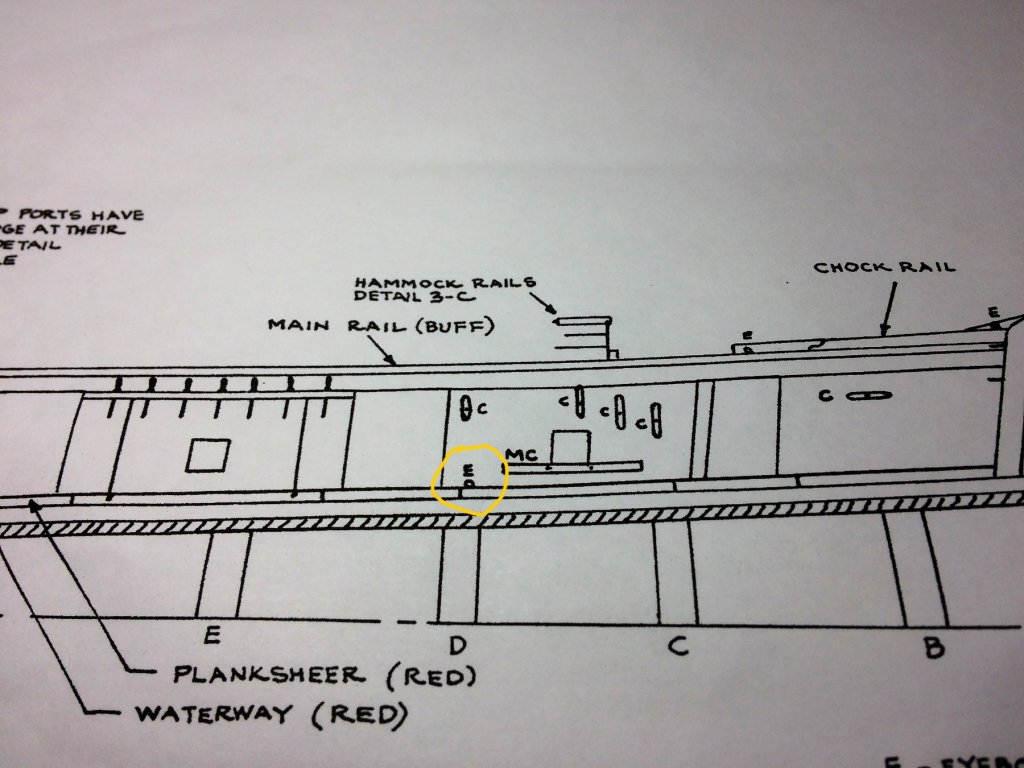
Evening, Hope everyone's having a great Holiday so far! Have the next four days off from work, and all chores have been done. Even baked a fresh blueberry pie! Not much of an update tonight as a query. With the Cannon/Carronade essentially done, minus rigging, I'm focusing on the inside bulwarks. Cleats, eyebolts, touch up painting....etc. The deck furniture is coming along nicely. Main hatch should be getting its gratings soon and the Bilge pump will be next. I started with the Mooring cleats. While sanding/prepping these little guys I was studying the plans. I notice there are eyebolts peppered through out the planksheer. These are "in addition to" the cannon rigging eyebolts? Right? That's how I'm seeing it right now. Some seem to be right on top of where some cannon eye bolts would be. Tom E

-
Tim, The carronades are from the kit. Actually, the entire build so far has been from the kit. Only thing I upgraded was rope and blocks. Tom E
-
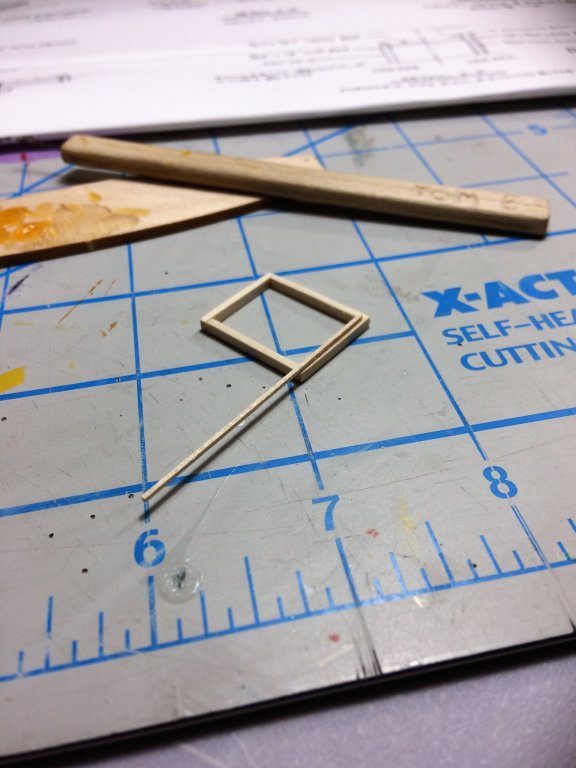
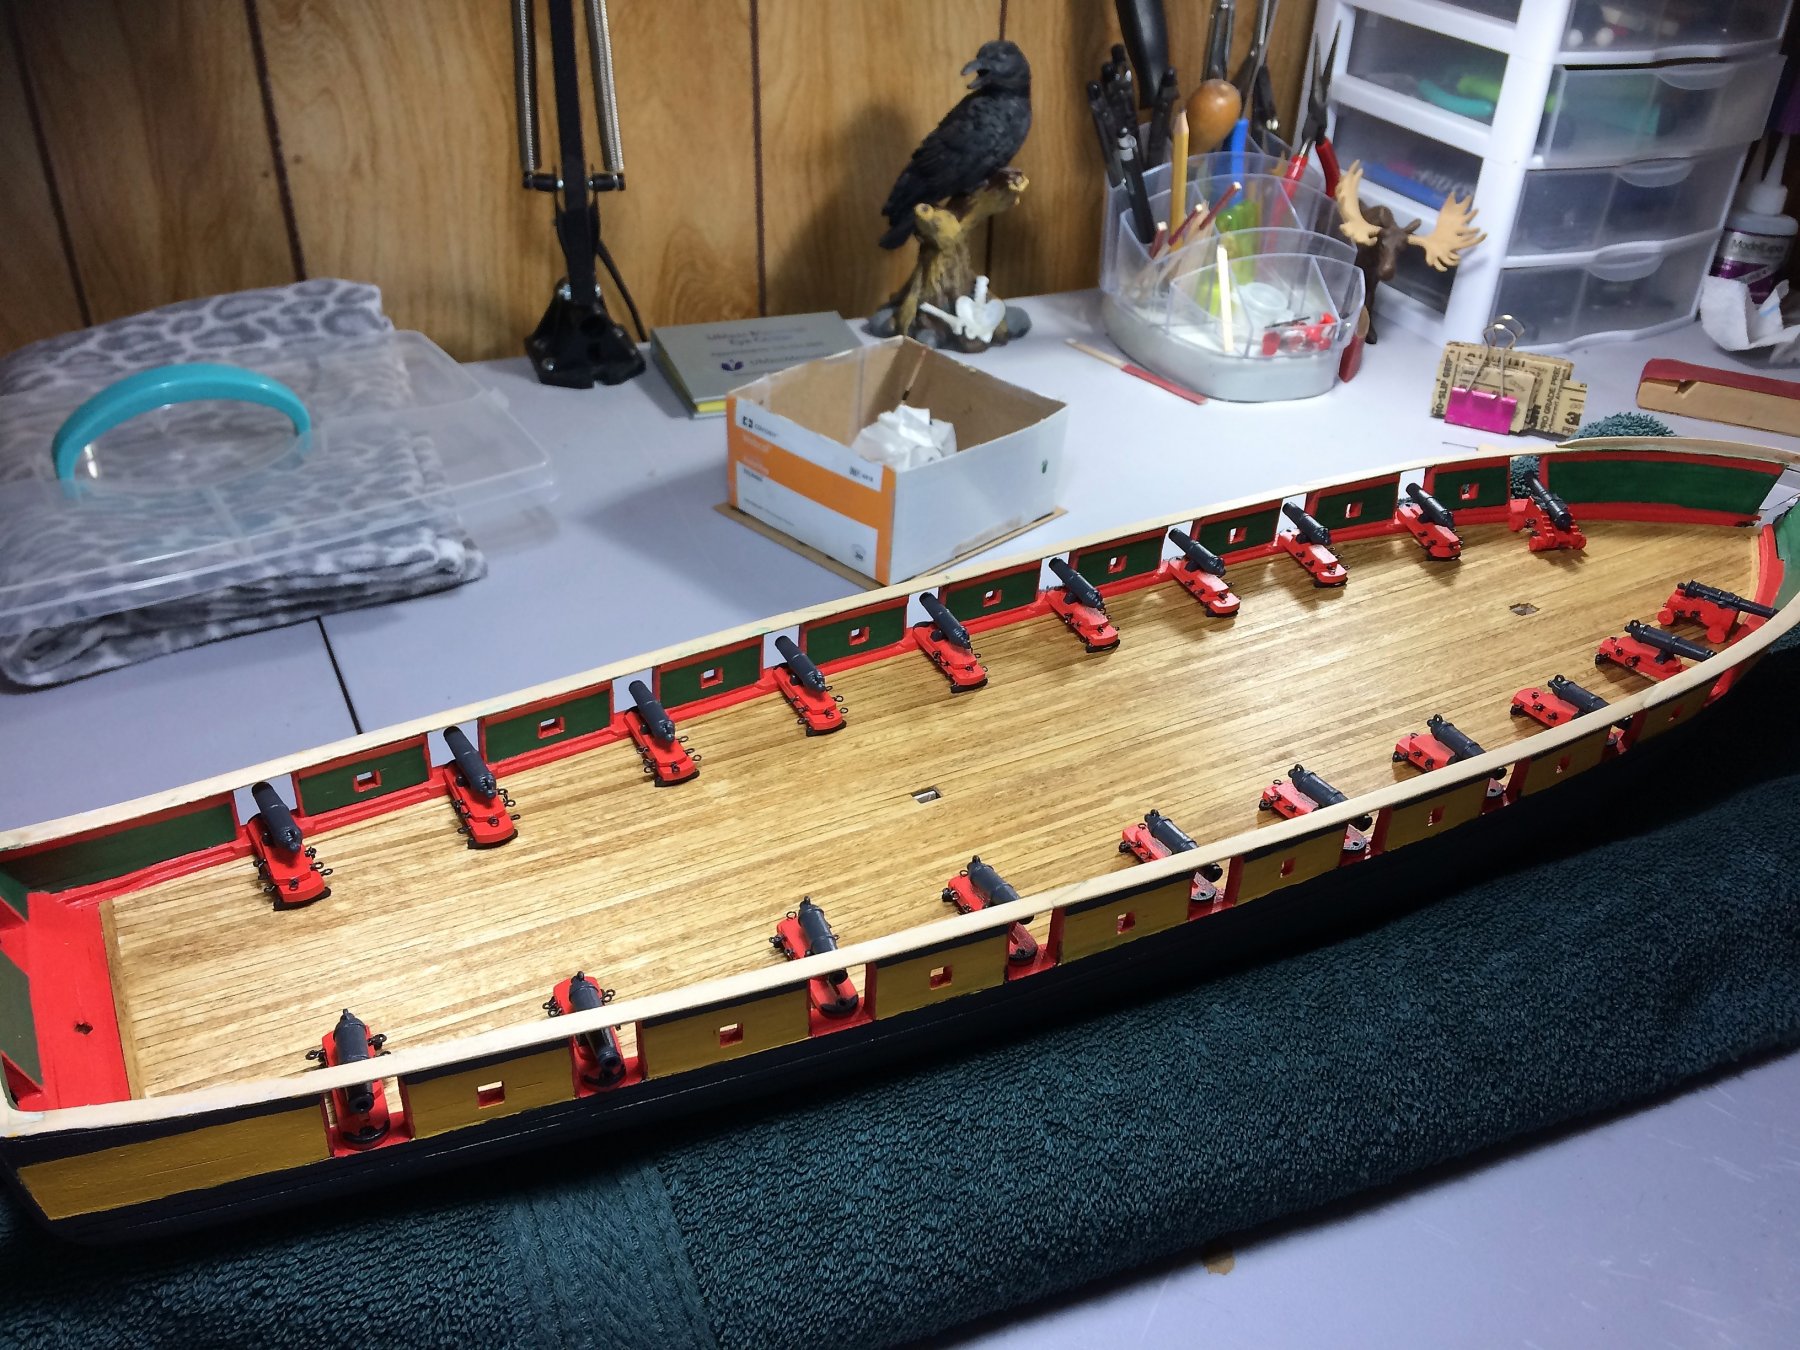
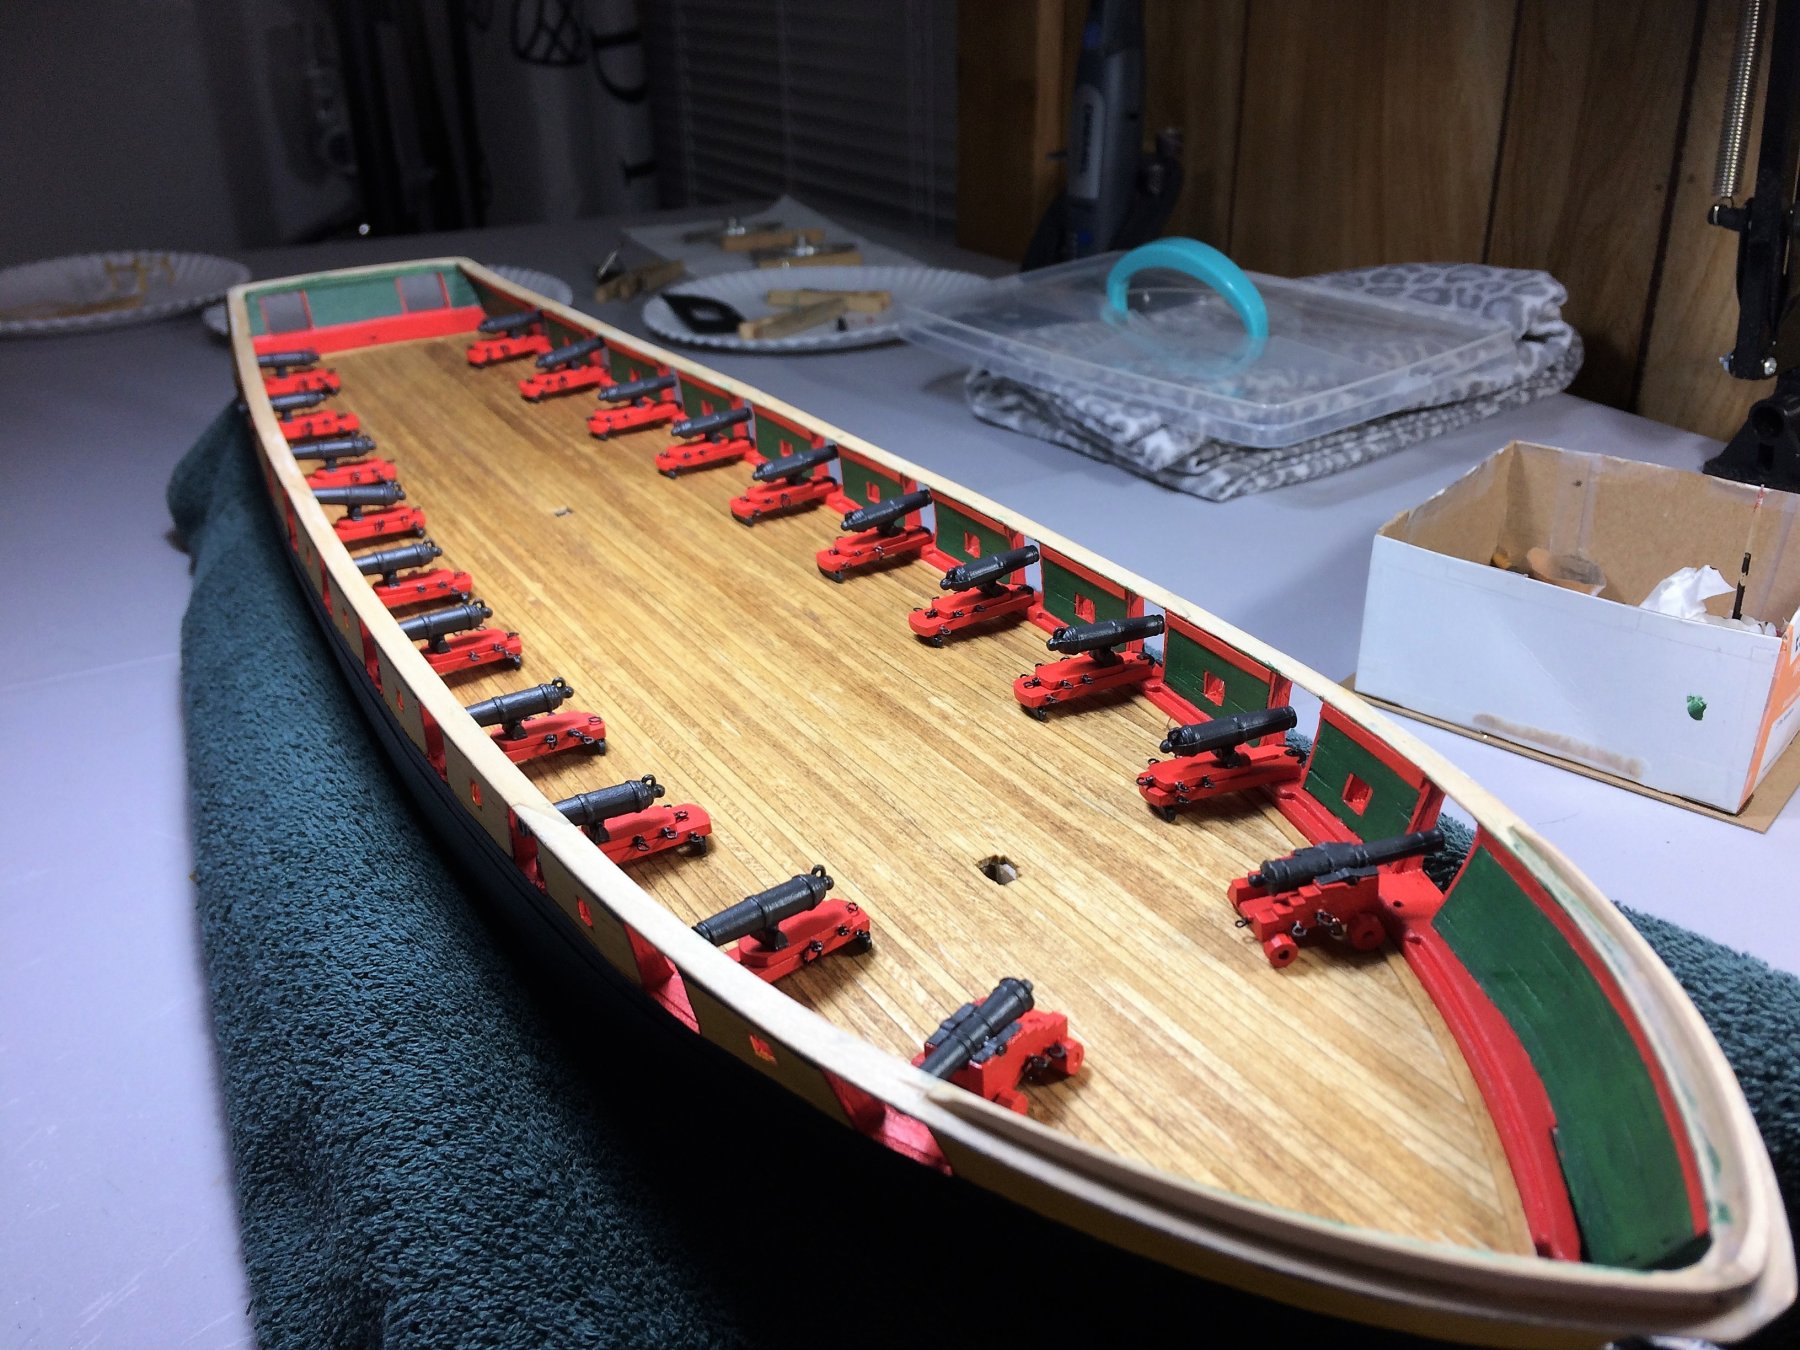
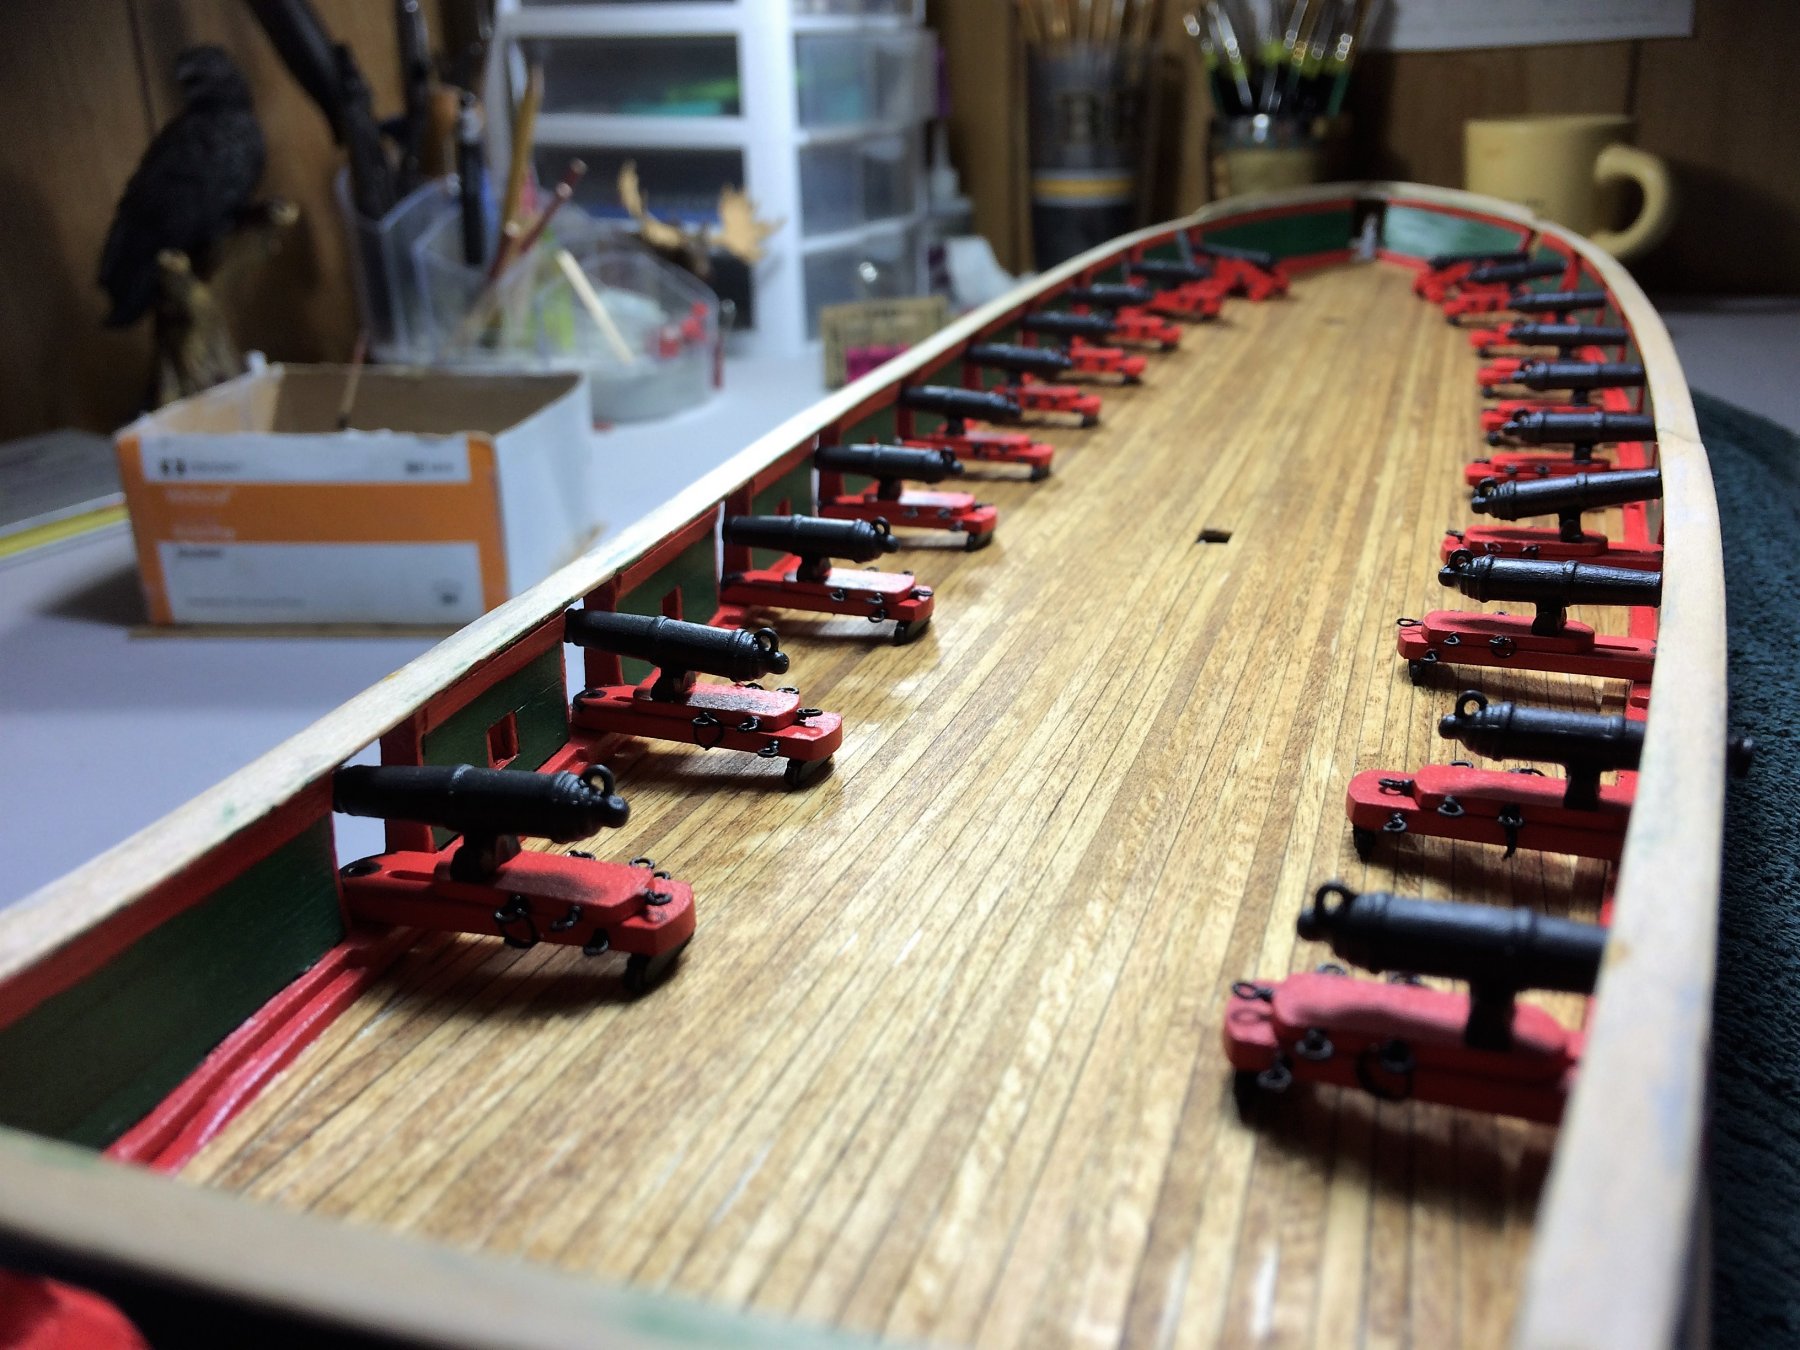
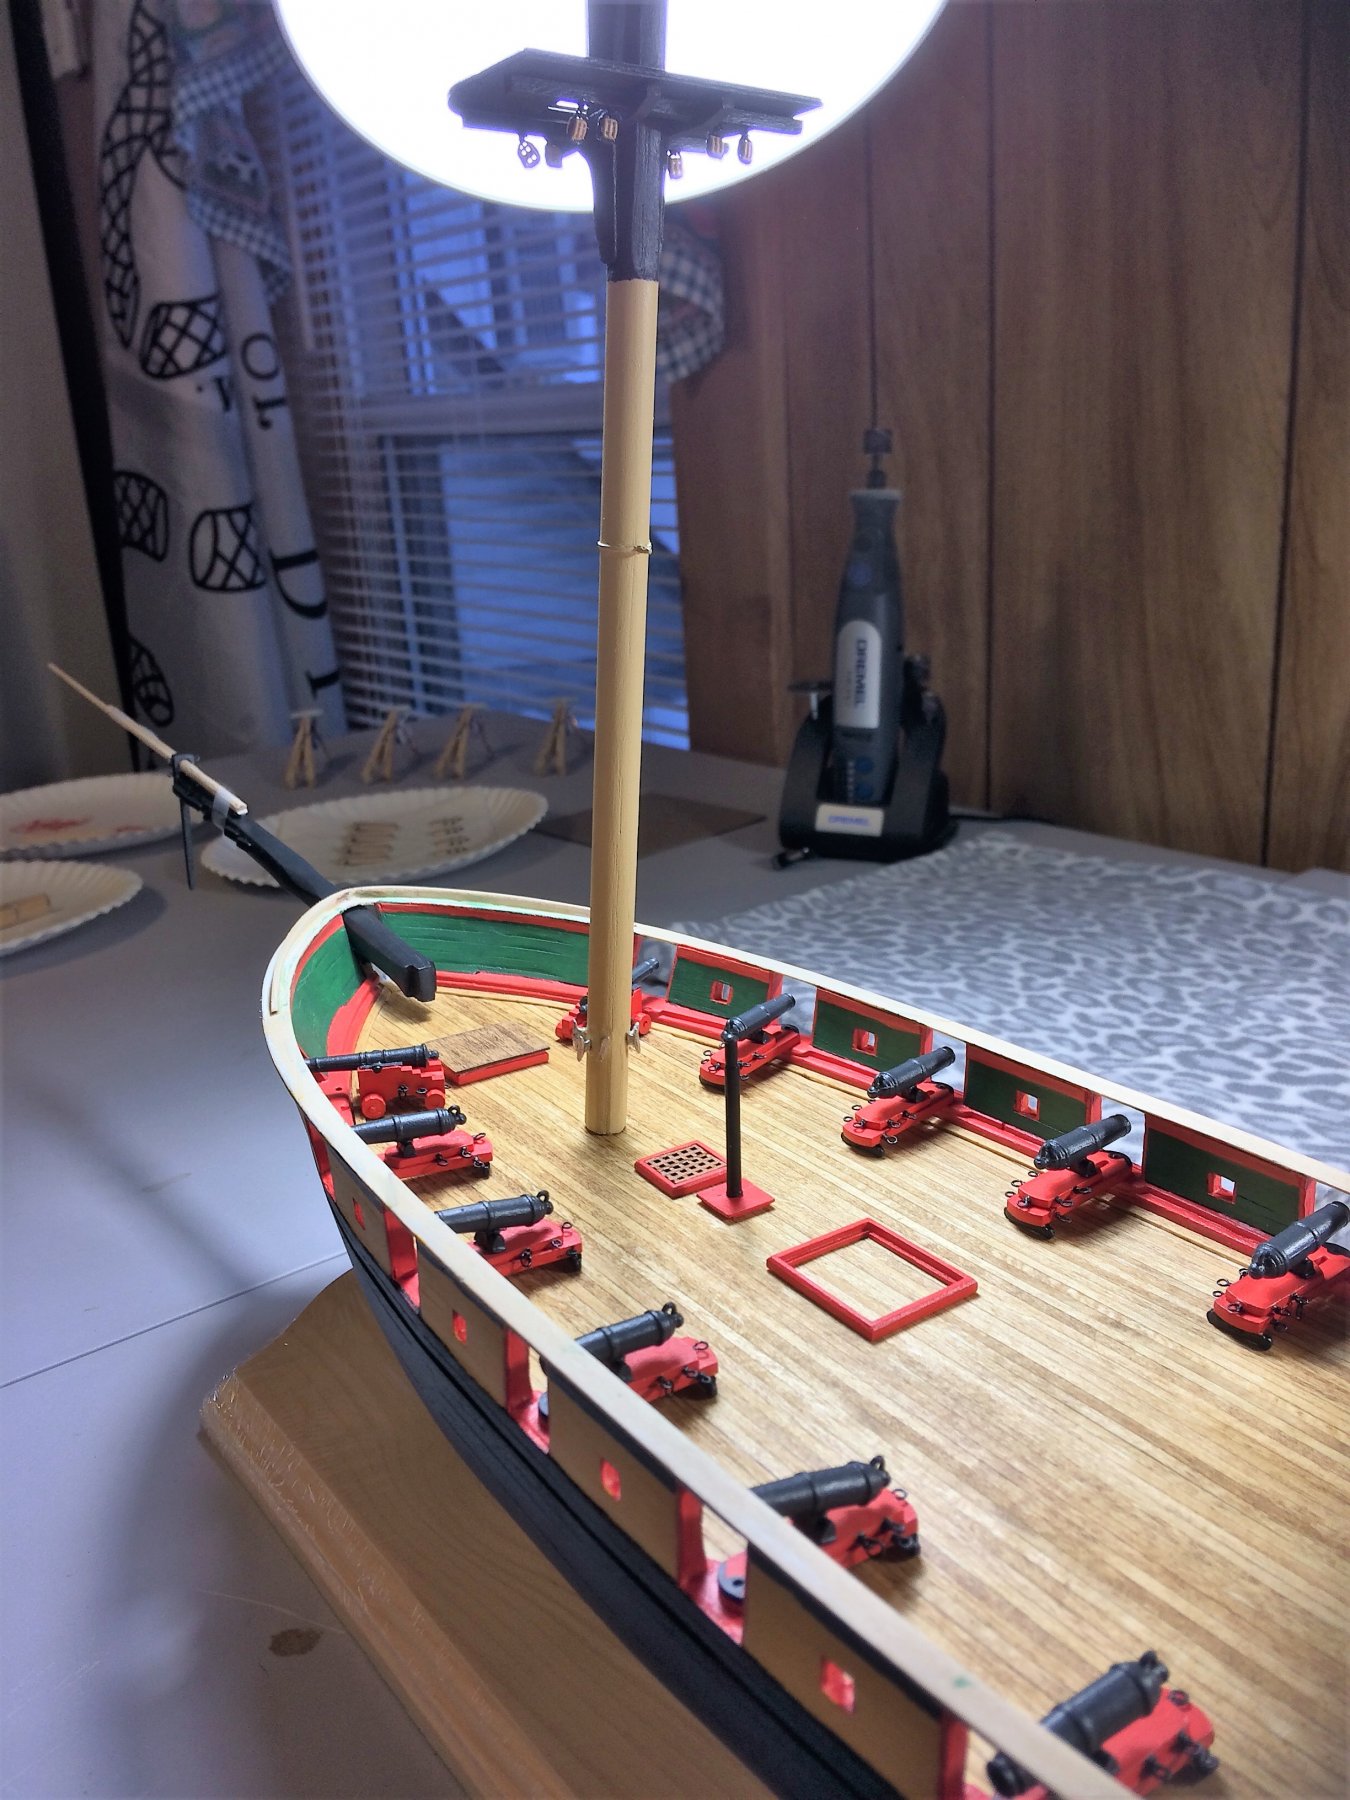
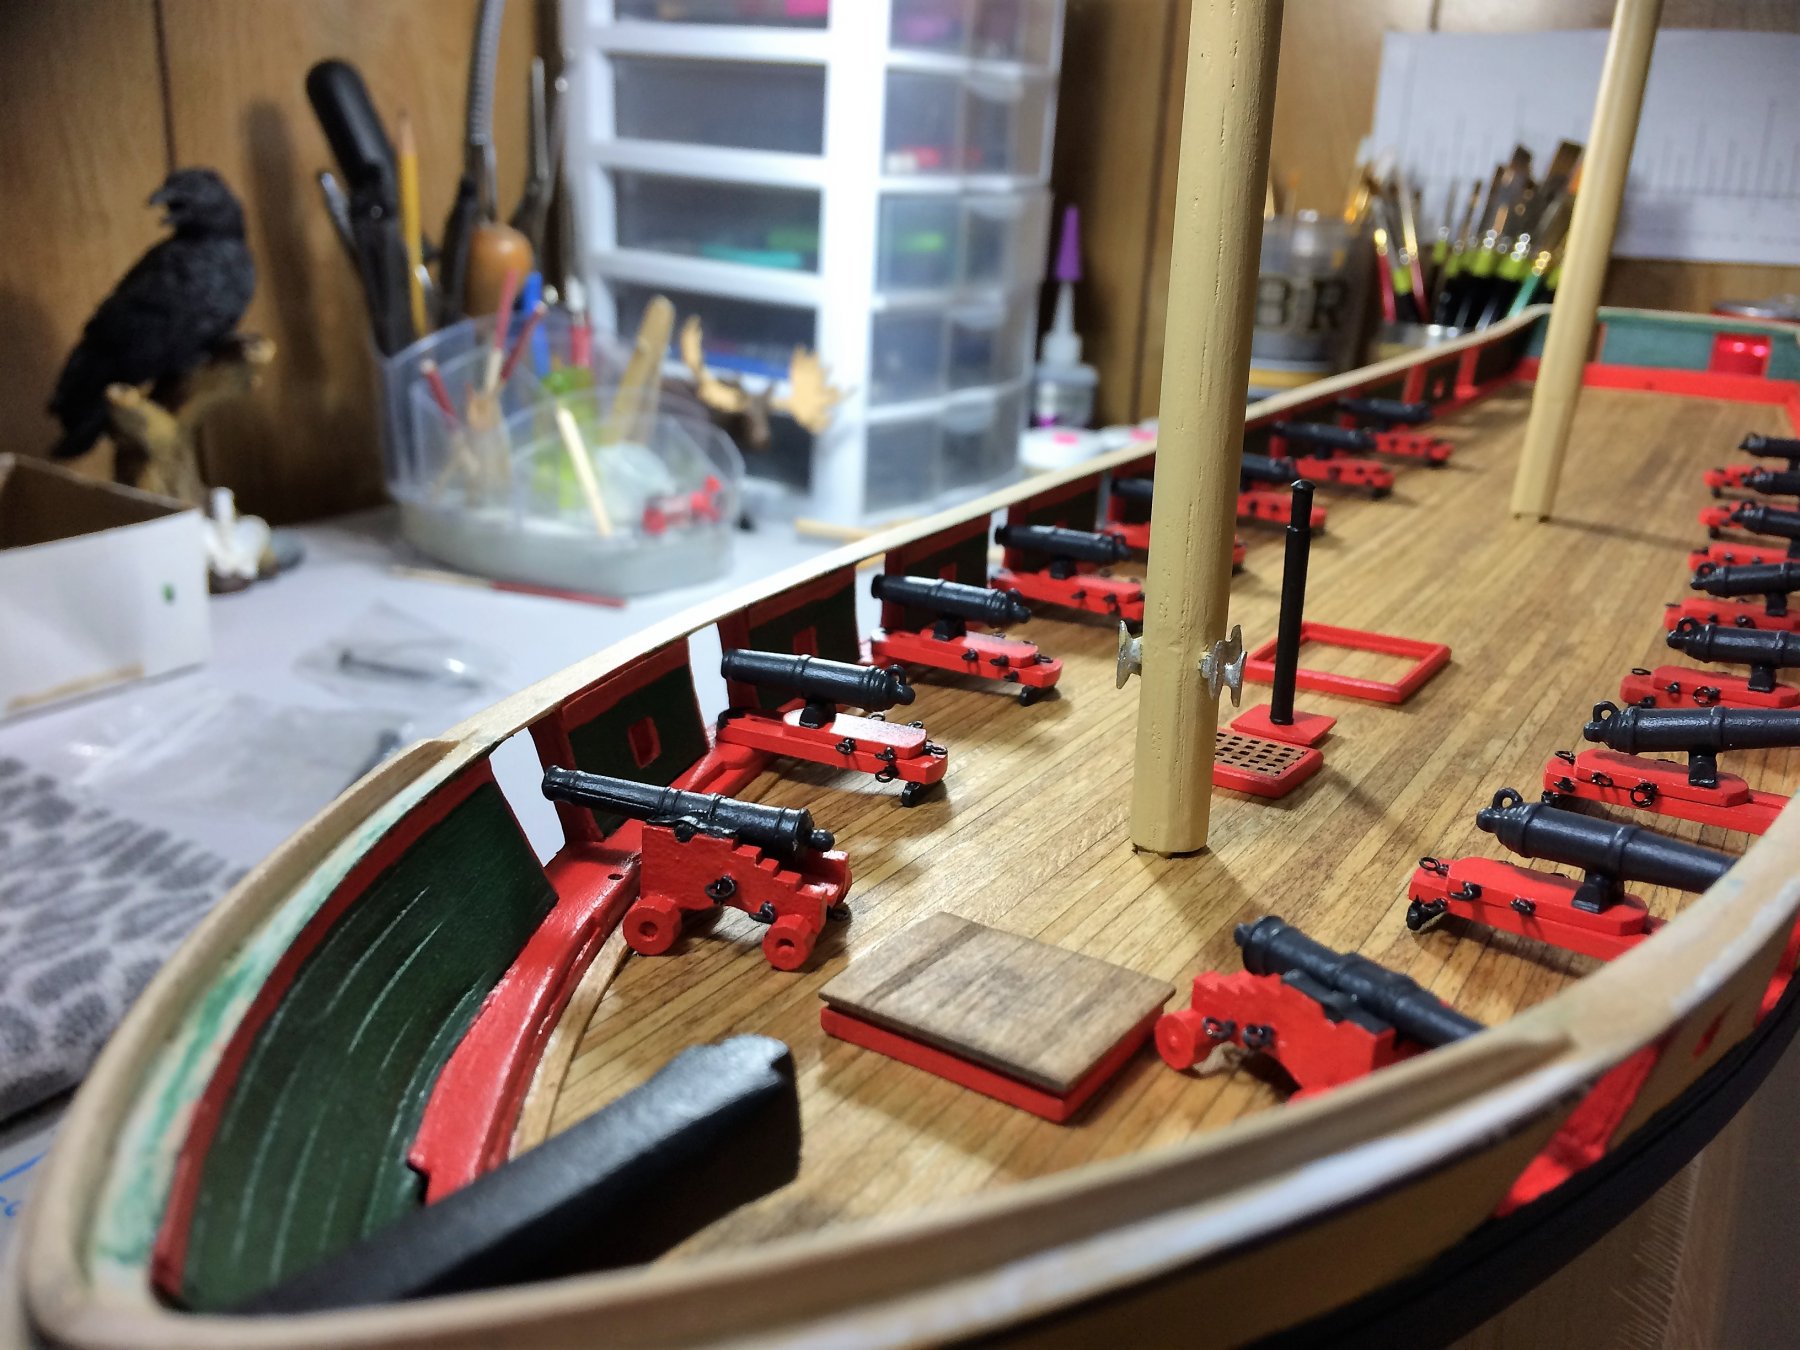
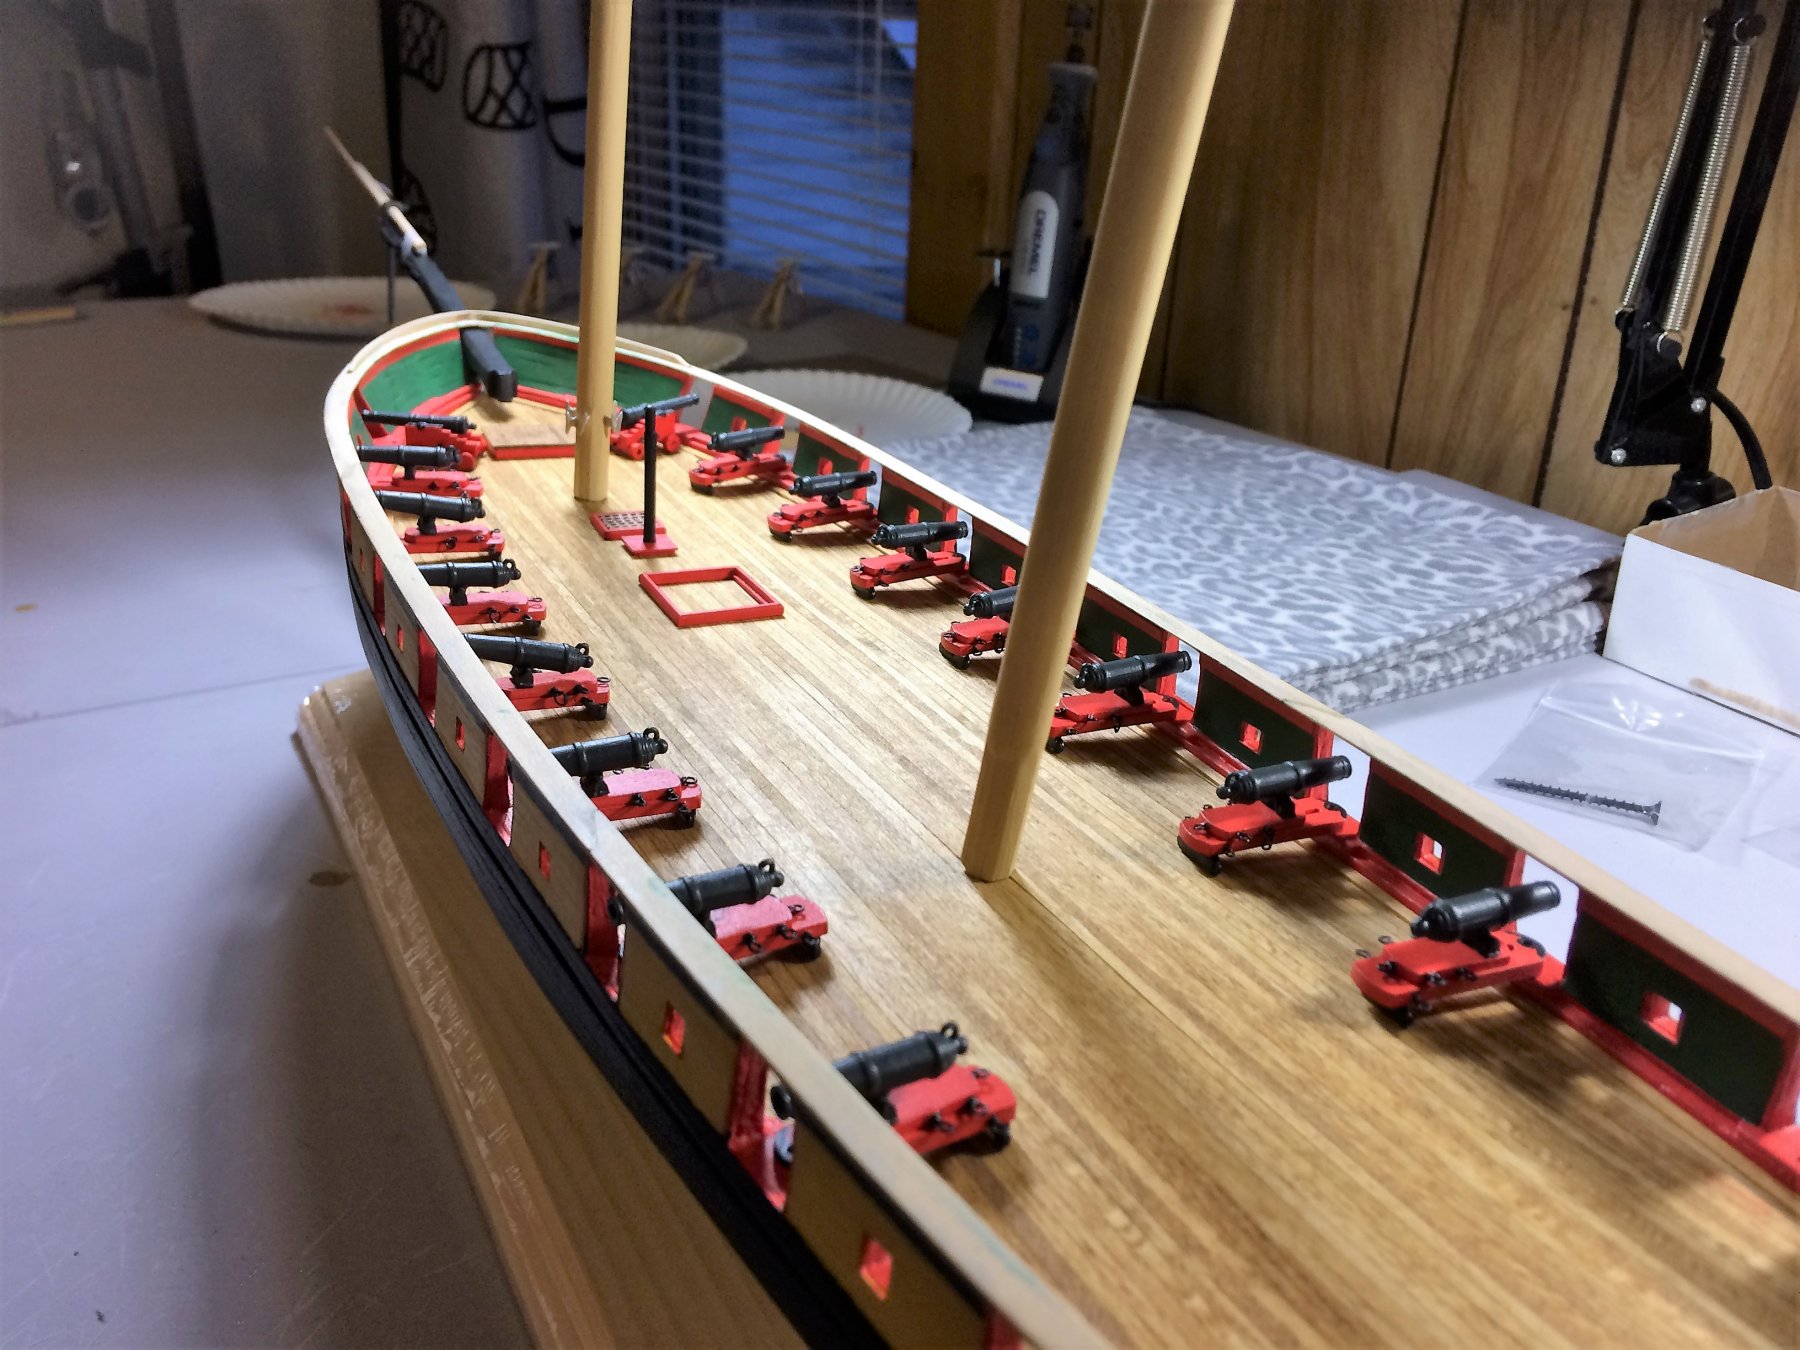
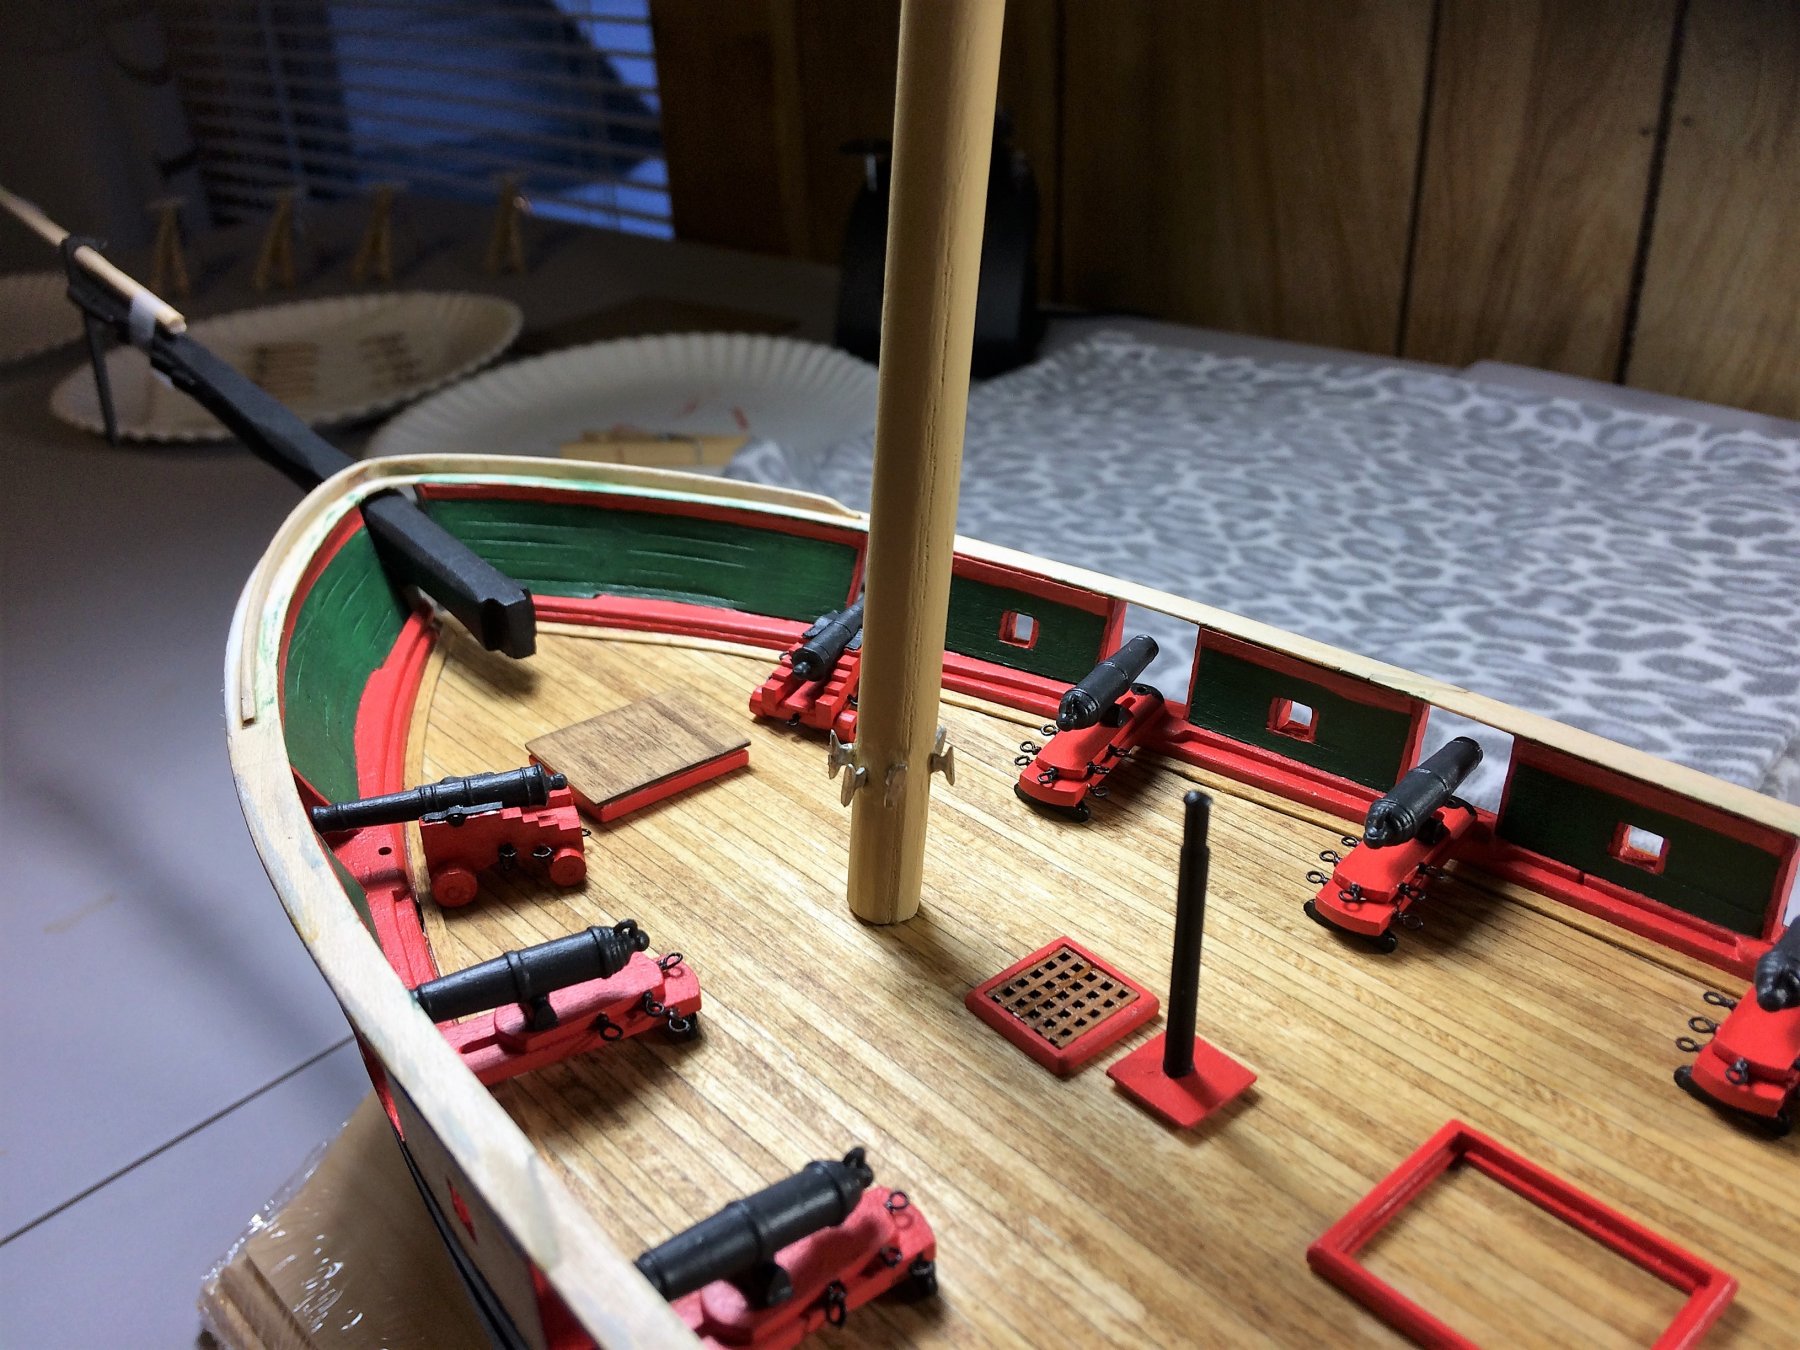
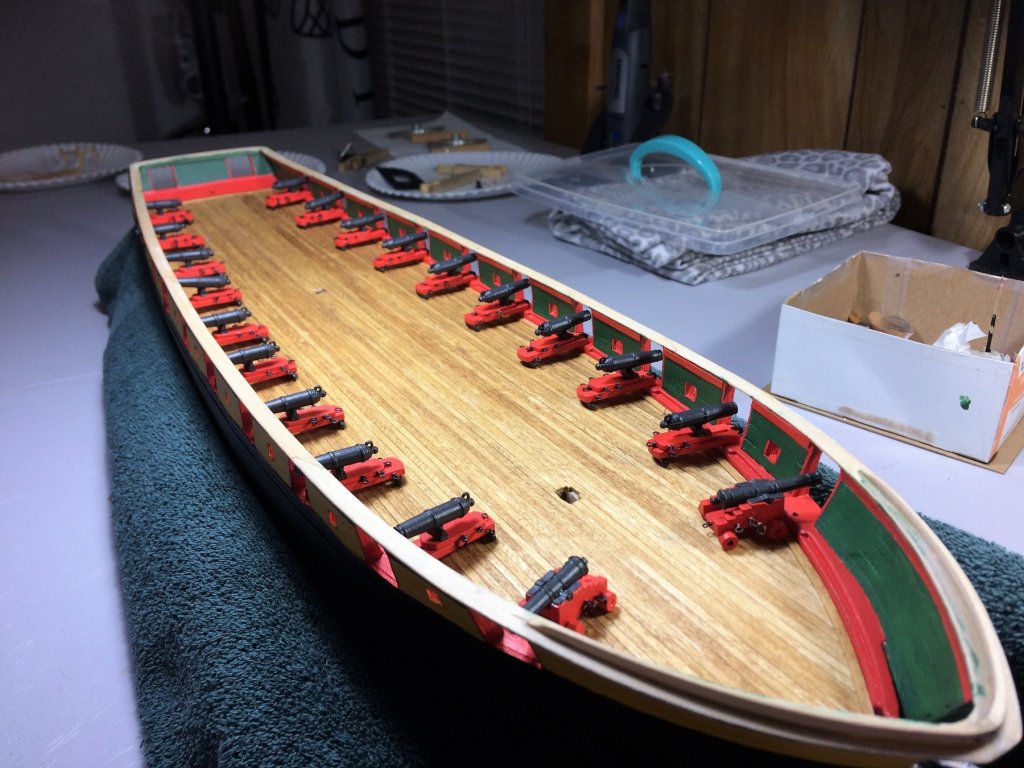
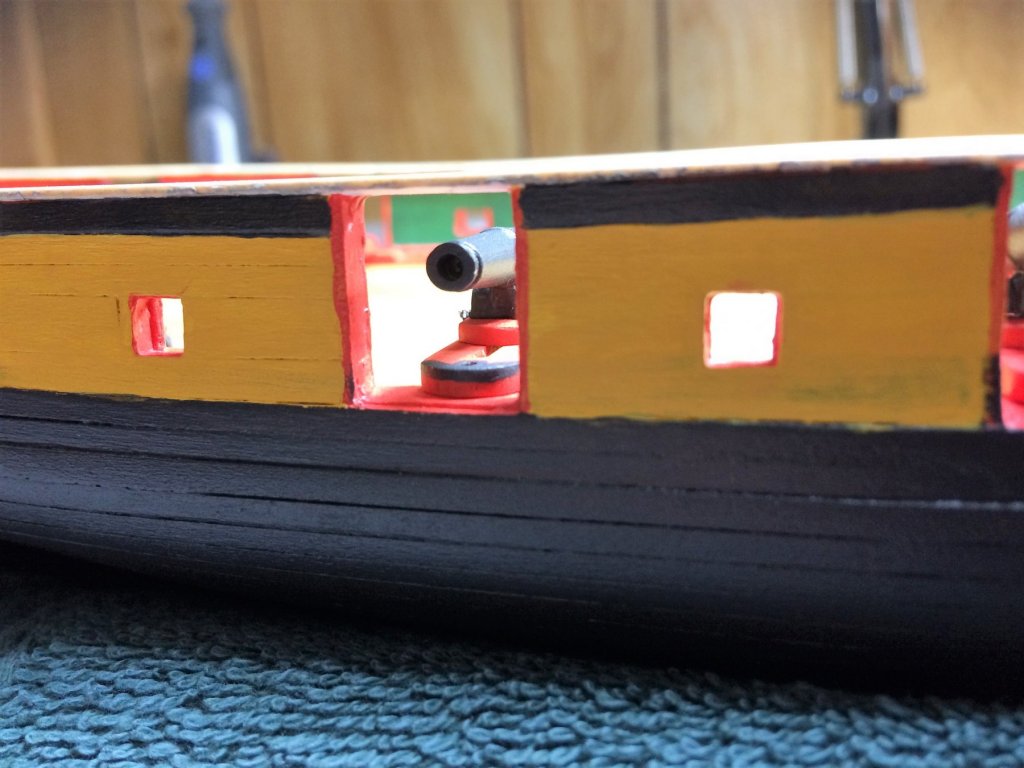
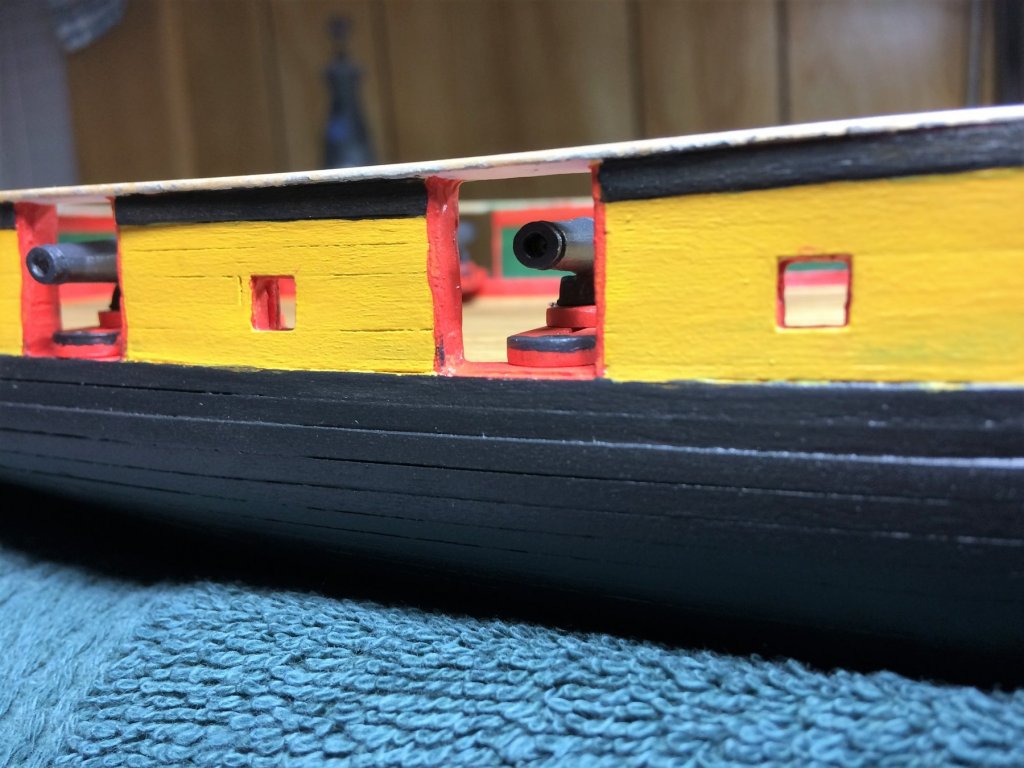
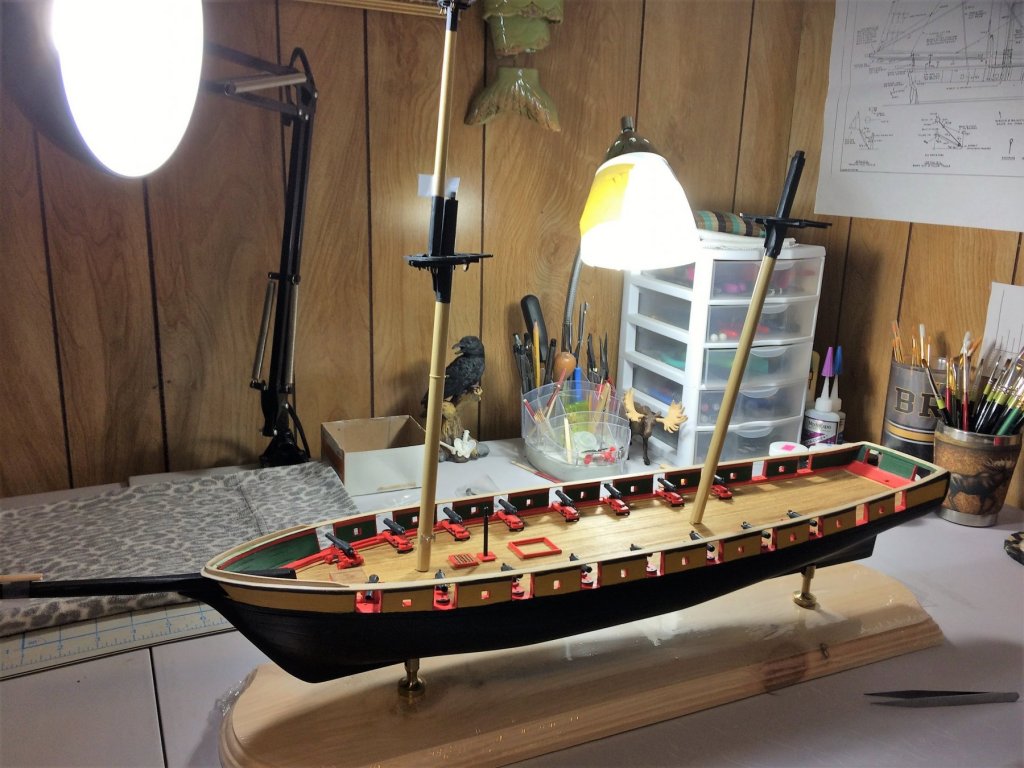
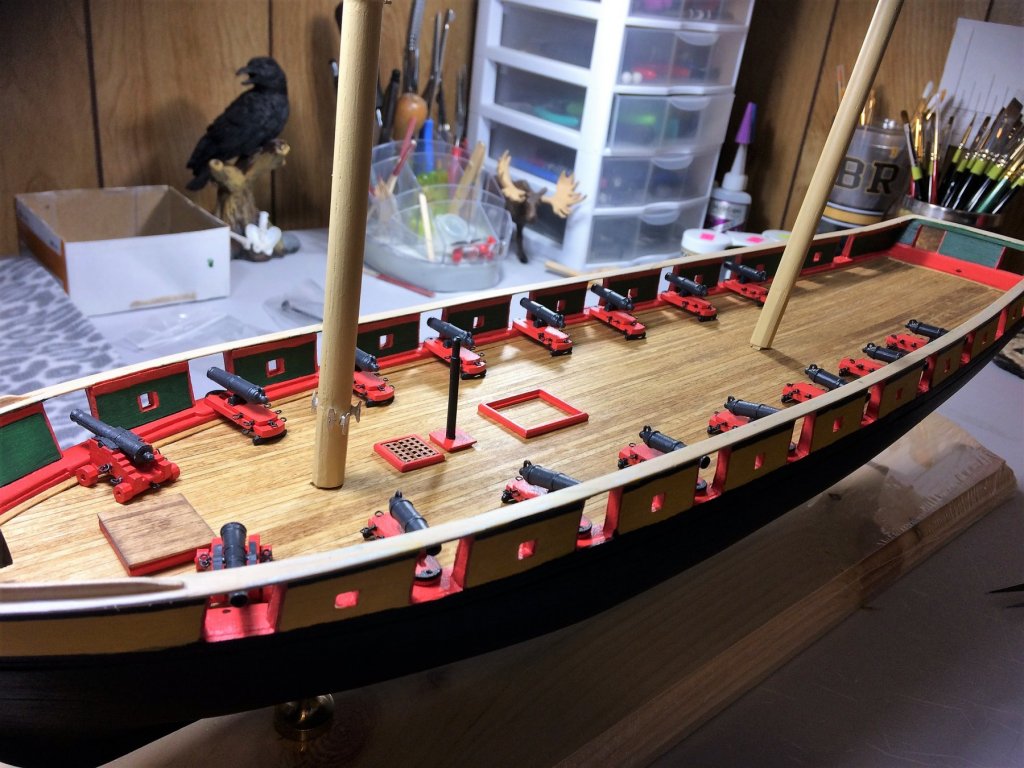
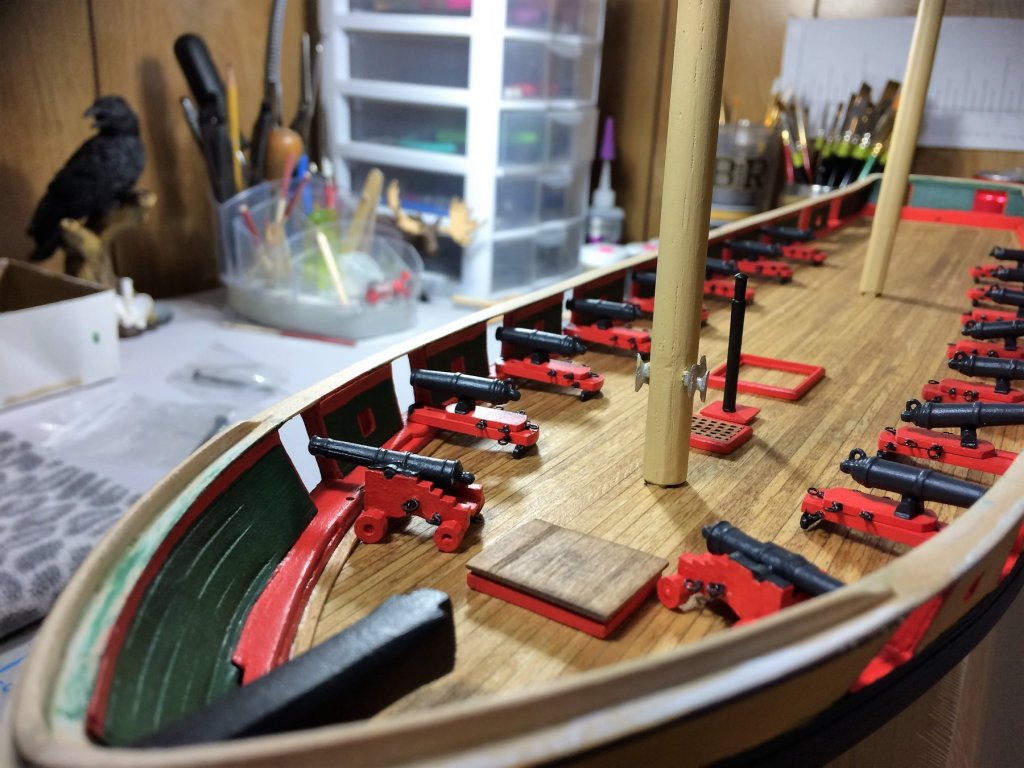
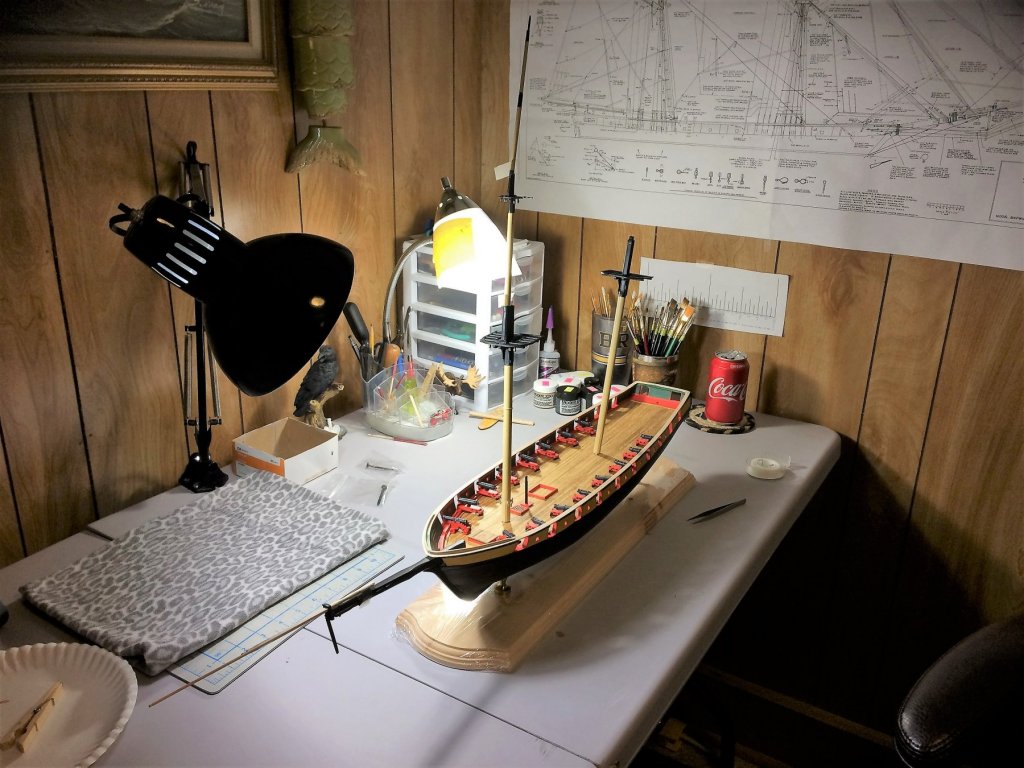
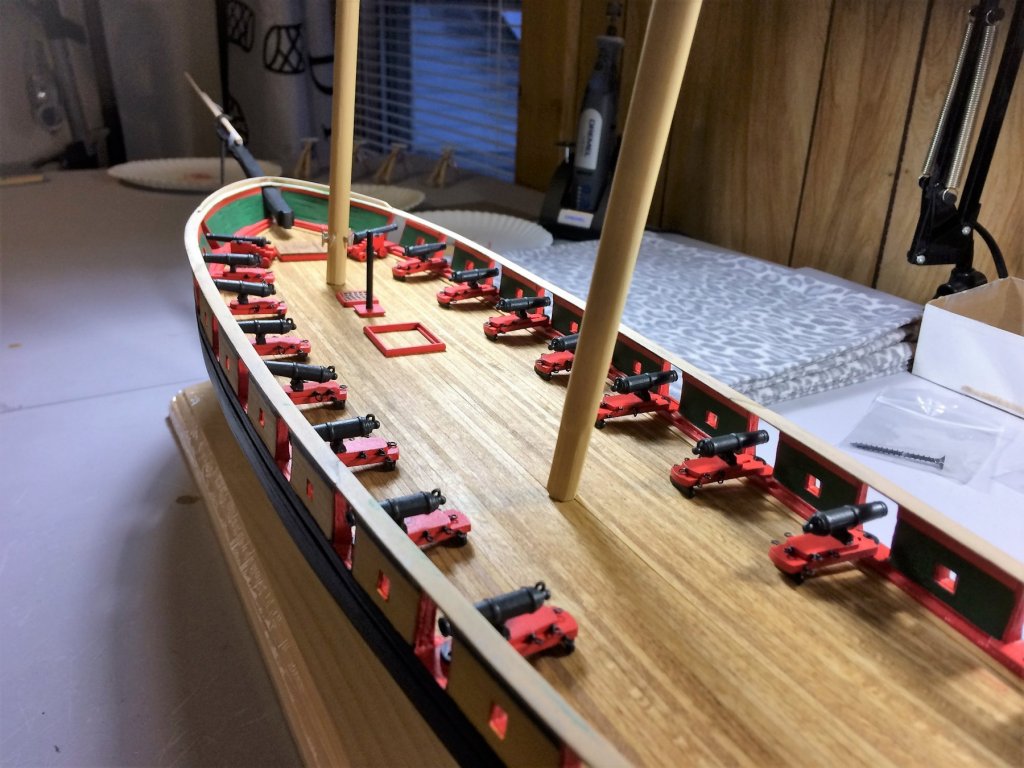
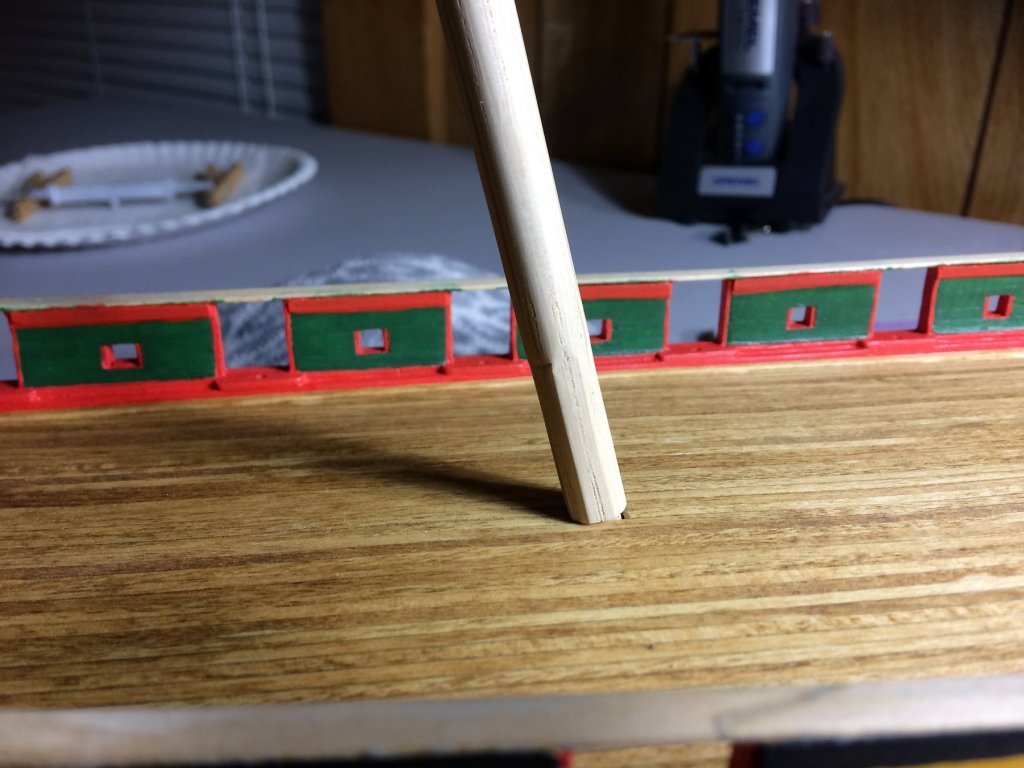
Evening, Hope everyone is having a great Holiday. Christmas sure does come fast! Oh well, Chores are done, off to the Shipyard! The Forward Fife rail has its first coat of buff. The knees will be black. I started the Main hatch. It starts with a box. The size is pulled from the plans. I border the inside with 1/32x1/32 strips for the grating. A good overall sanding, then put an angle on the straight edges. It will get a coat of primer next. I've hit a milestone in this build, well at least I think it is. All guns are done, except for some small things, and the Quoins. Rigging is a whole other beast! I'll cross that bridge soon enough. They look good. In person, seeing it, it's impressive. Never thought I would get this far with it! Checking the height of the guns to the Main Rail. Not too bad. Tom E


-
That Grating looks fantastic. I'm literally in my Shipyard tonight working on a Main hatch. Looking at the kit supplied grating and wishing I had a saw! Tom E
-
Congratulations! They look great! I'm a huge Bluejacket fan, and these are now on the "wish list"...….come on Santa! The case is pretty handsome too, it compliments the subject. Tom E
- 43 replies
-
- 3
-
-
- virginia
- BlueJacket Shipcrafters
- (and 1 more)
-
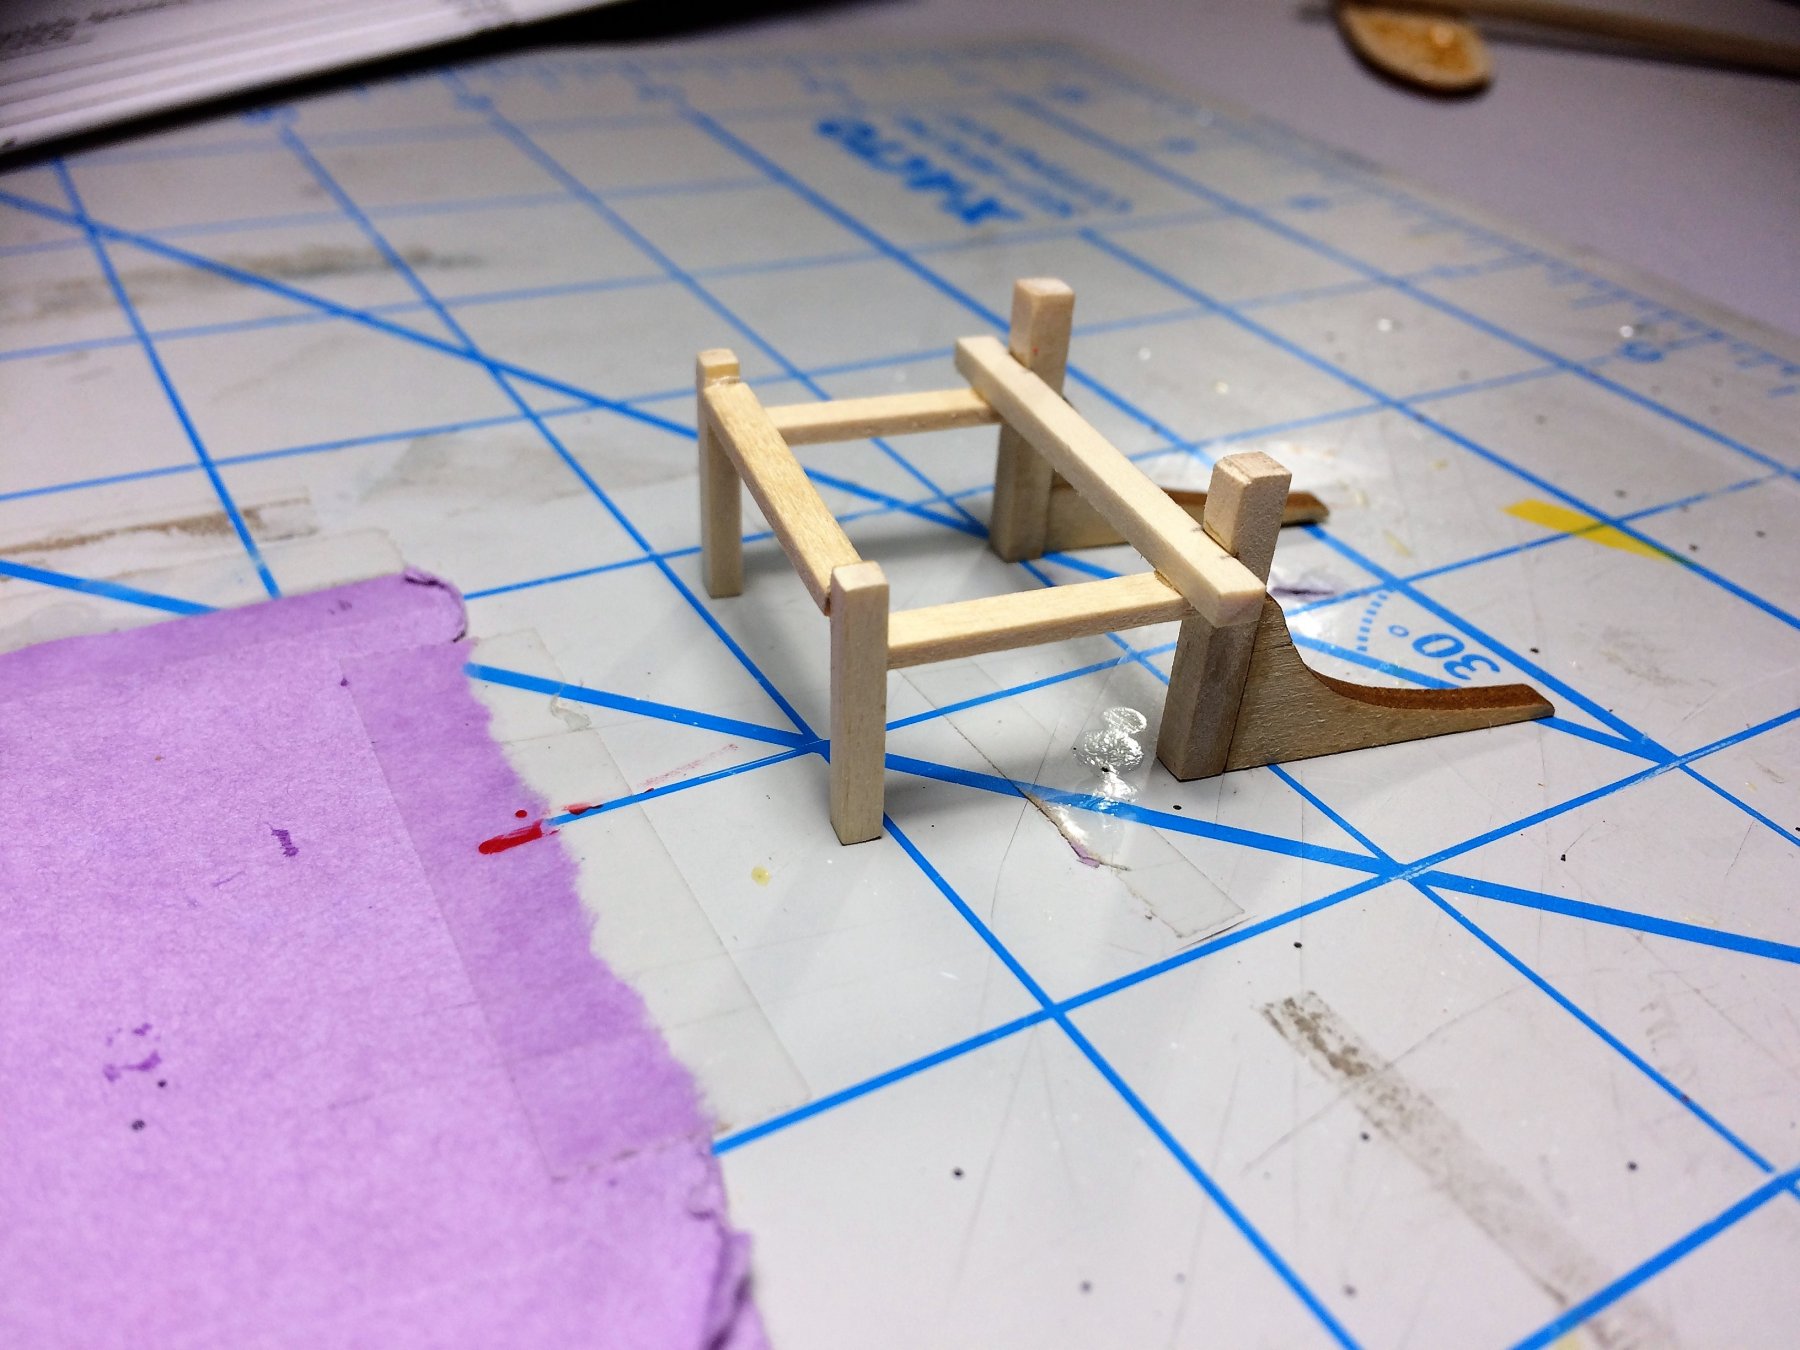
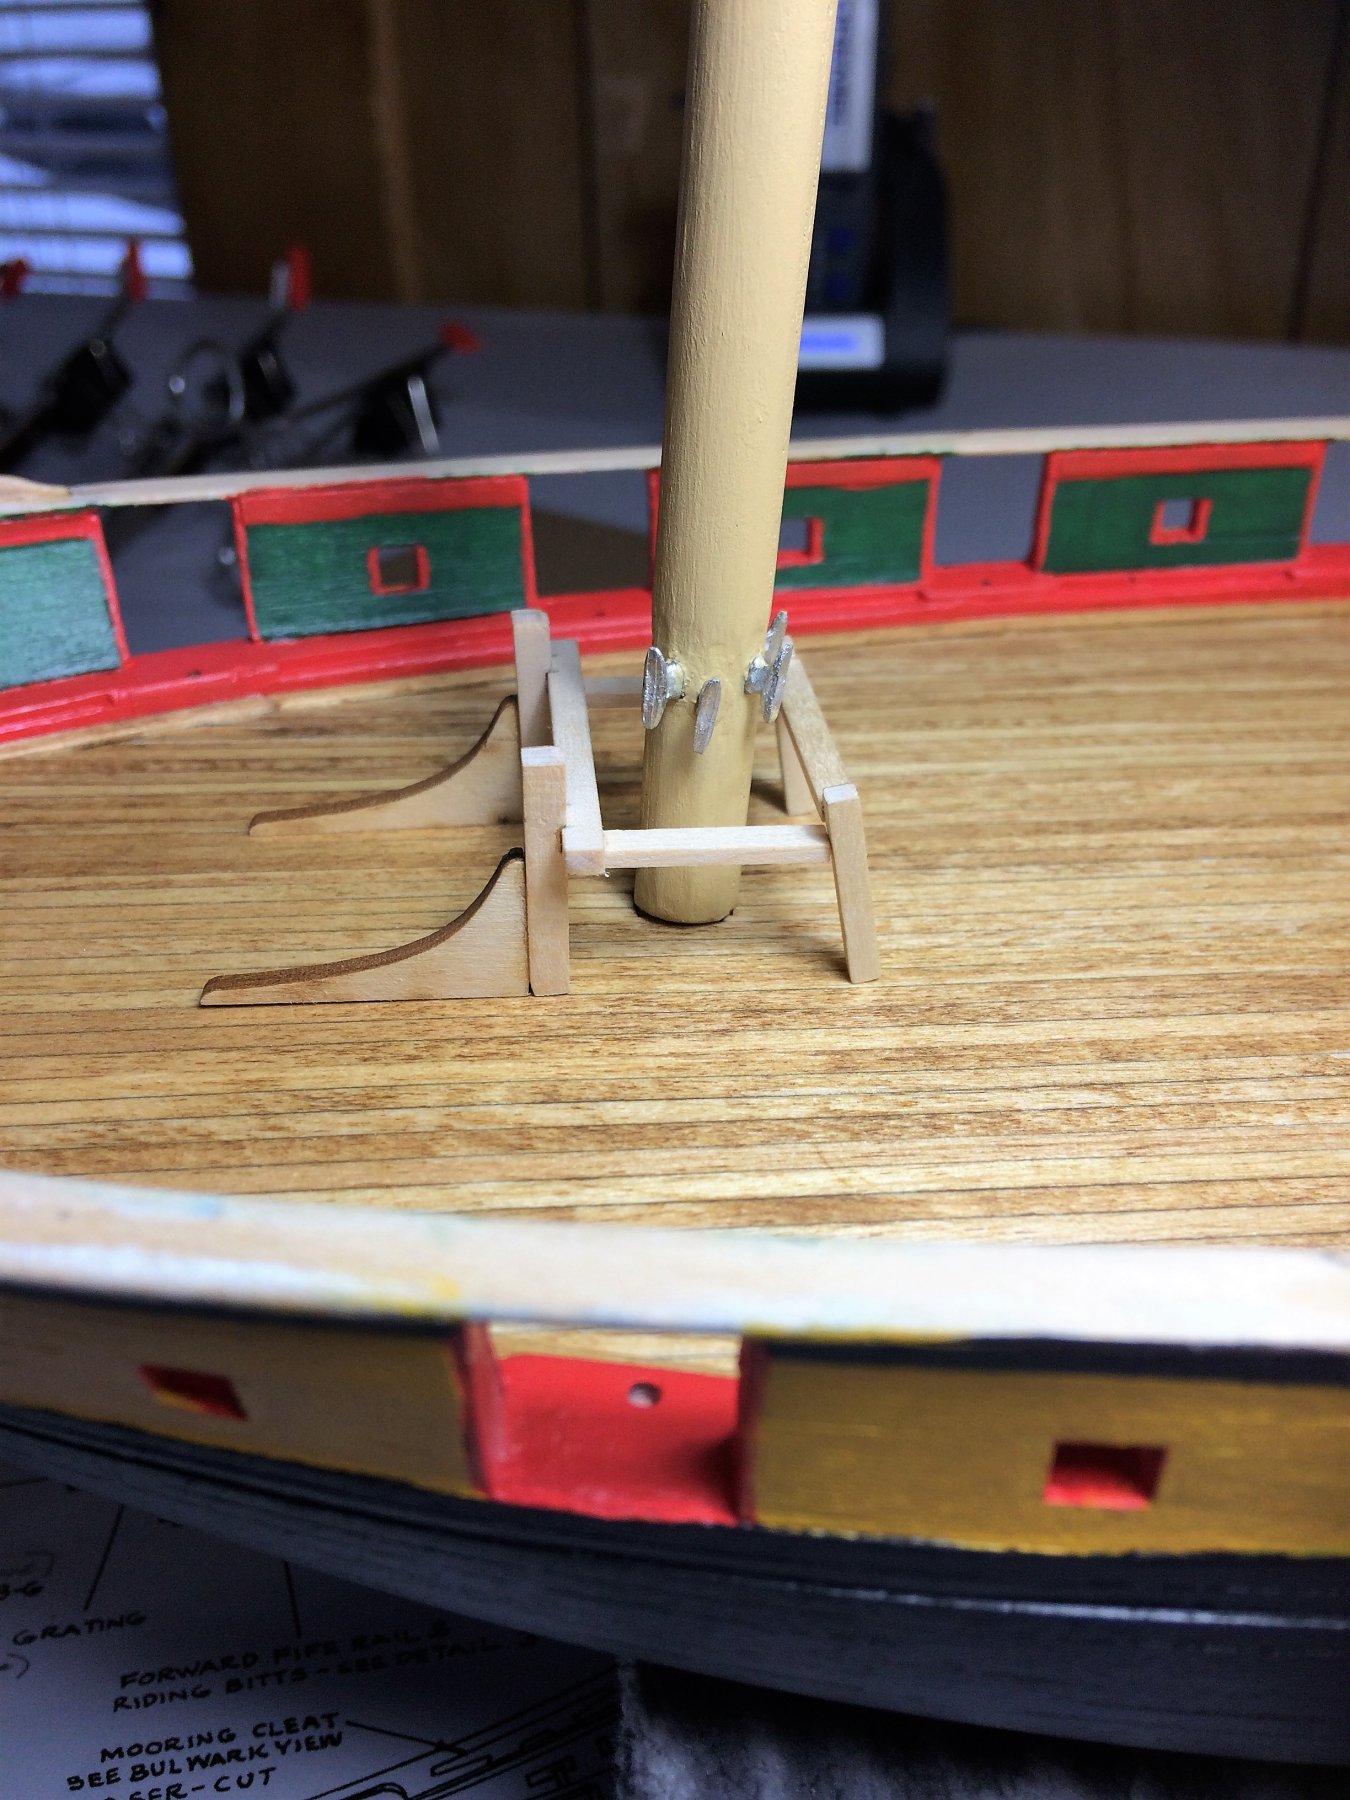
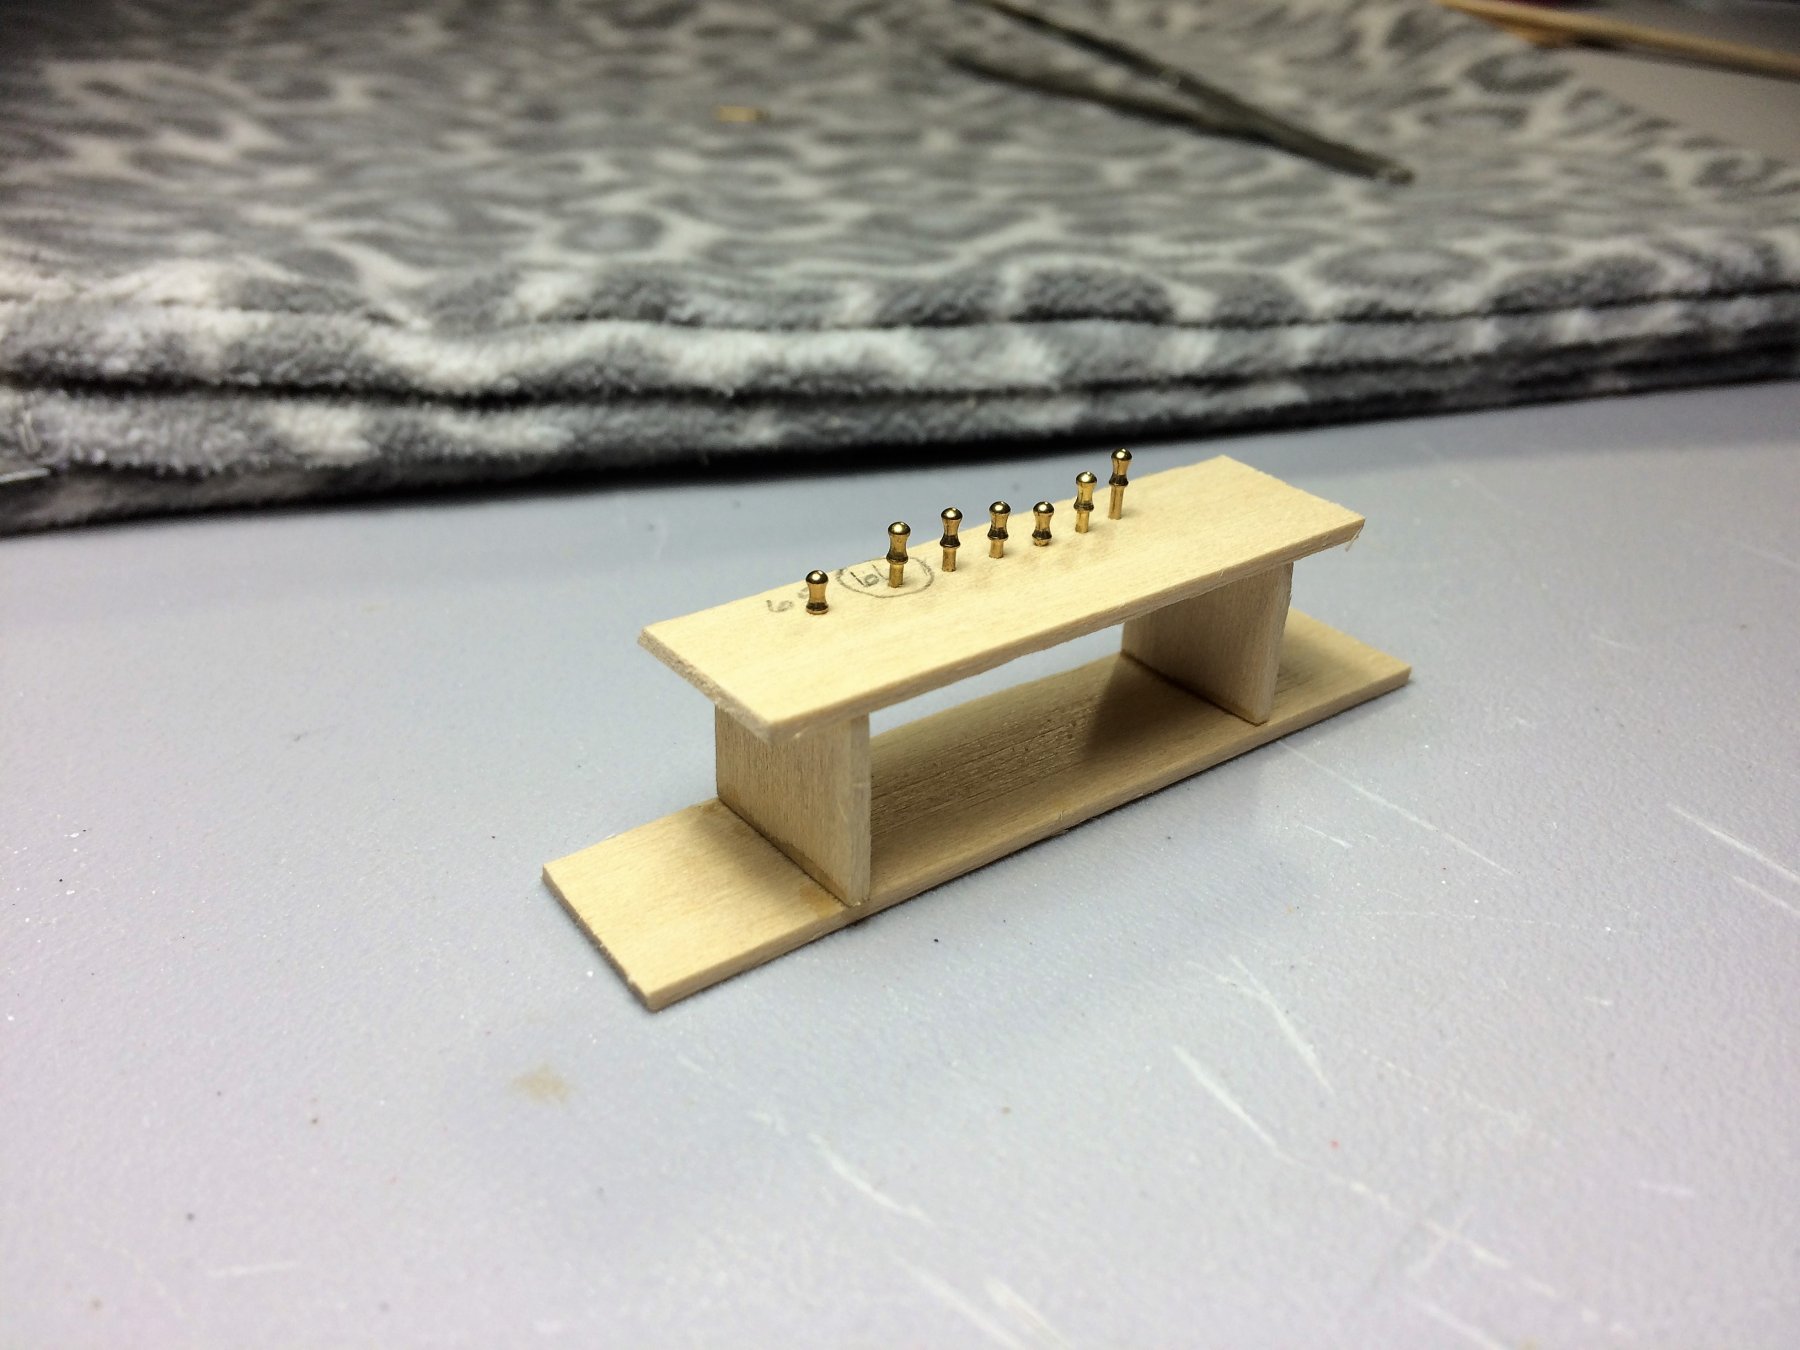
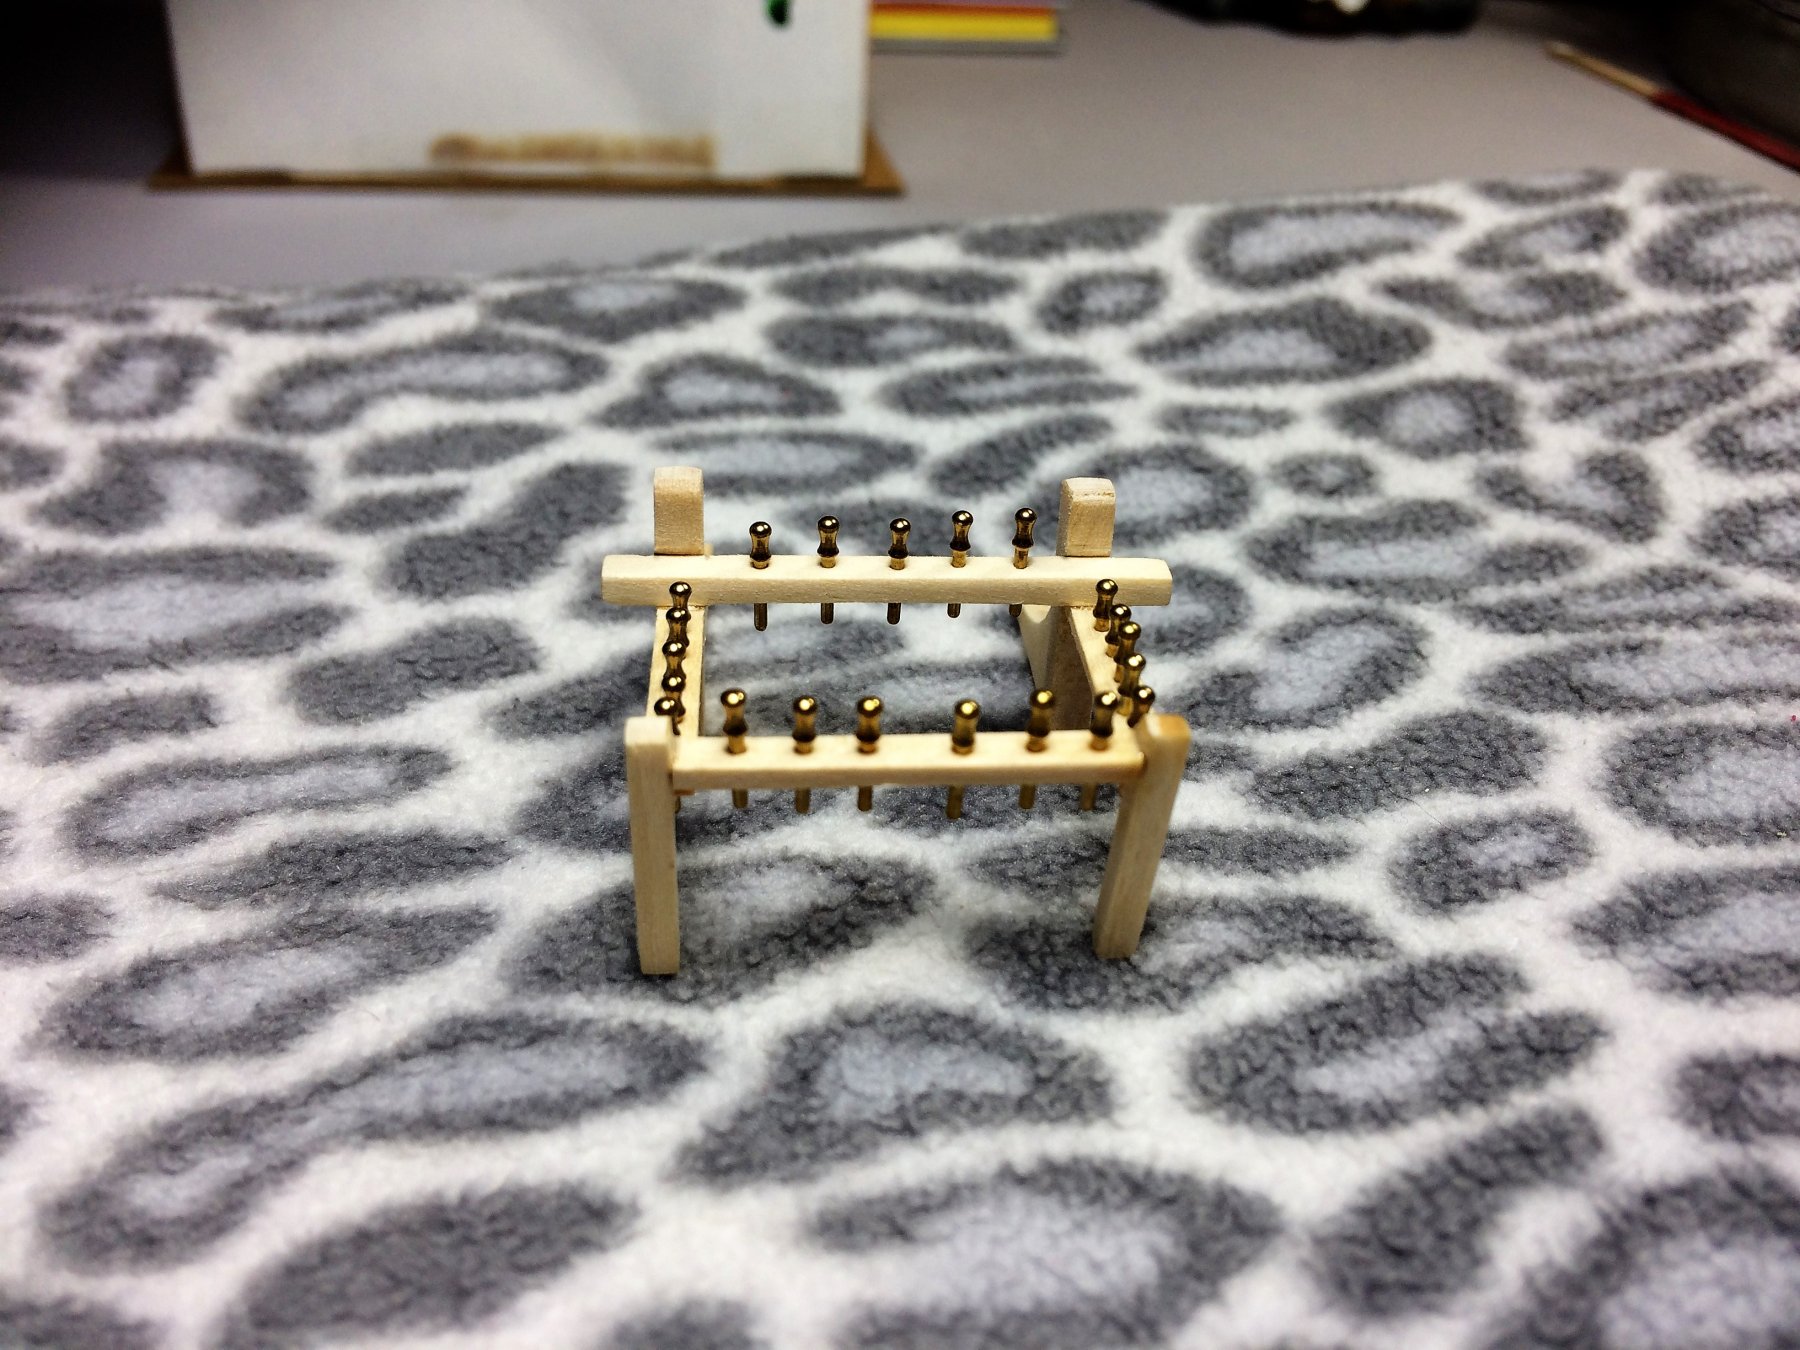
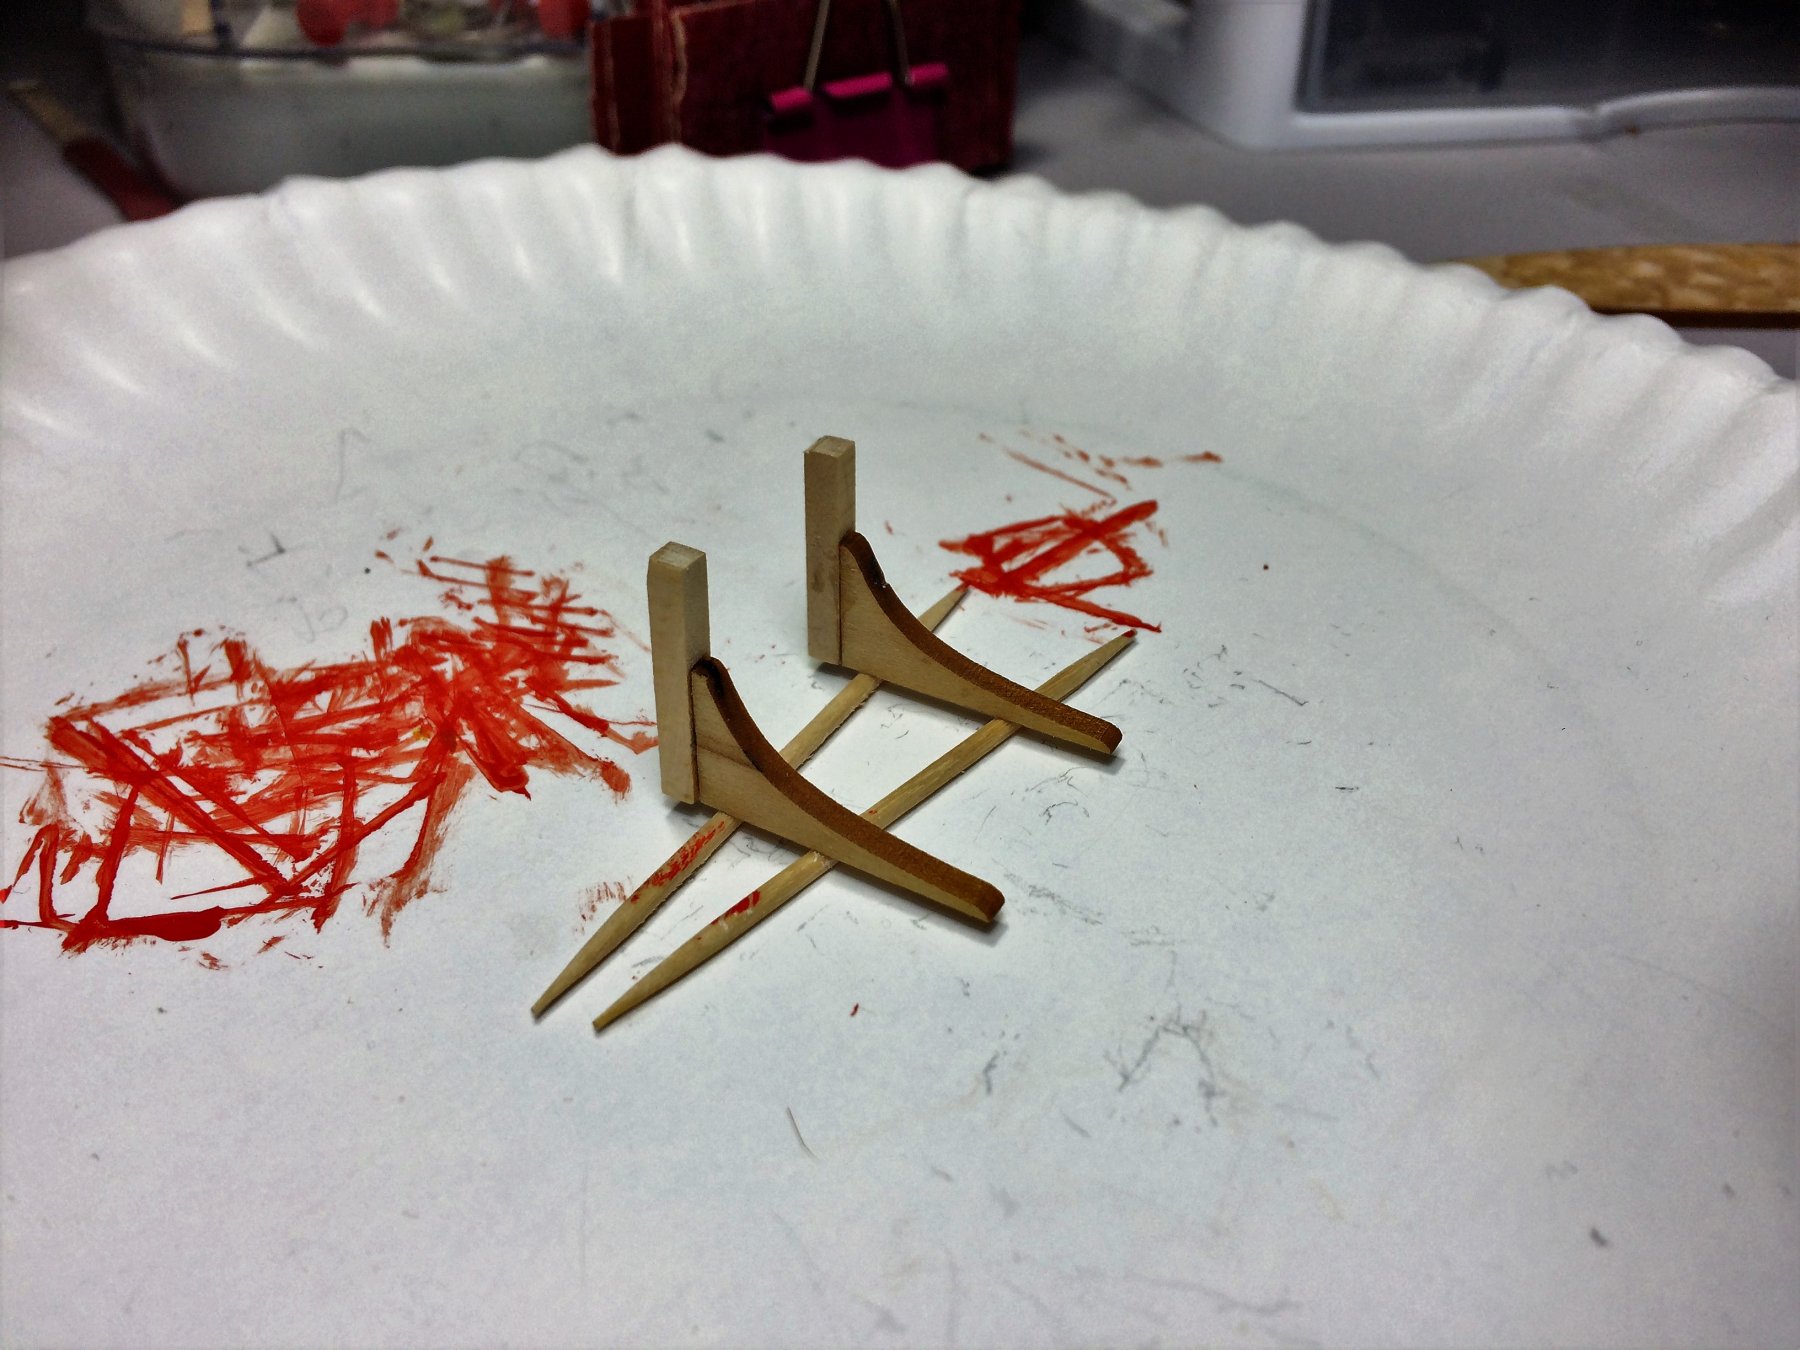
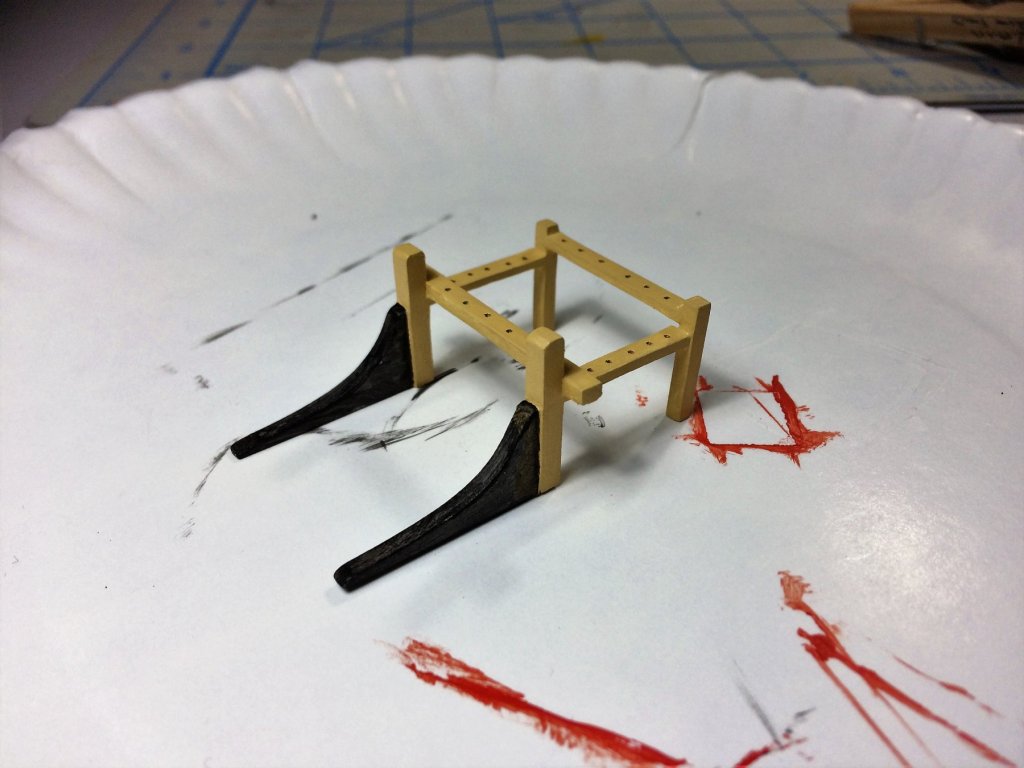
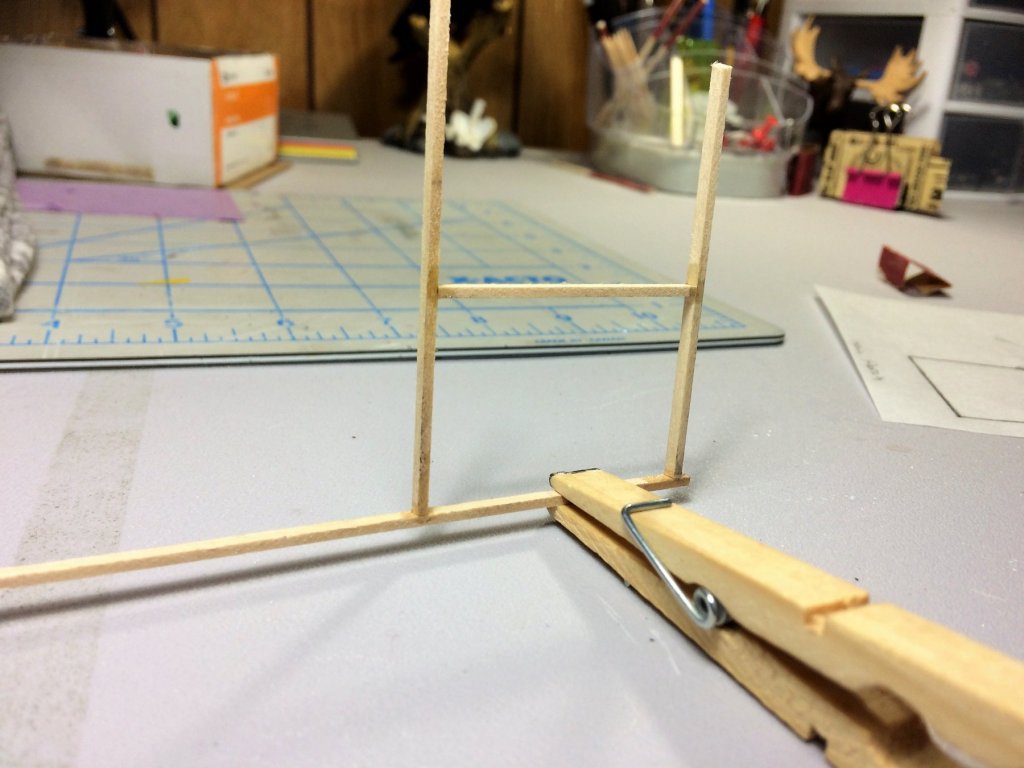
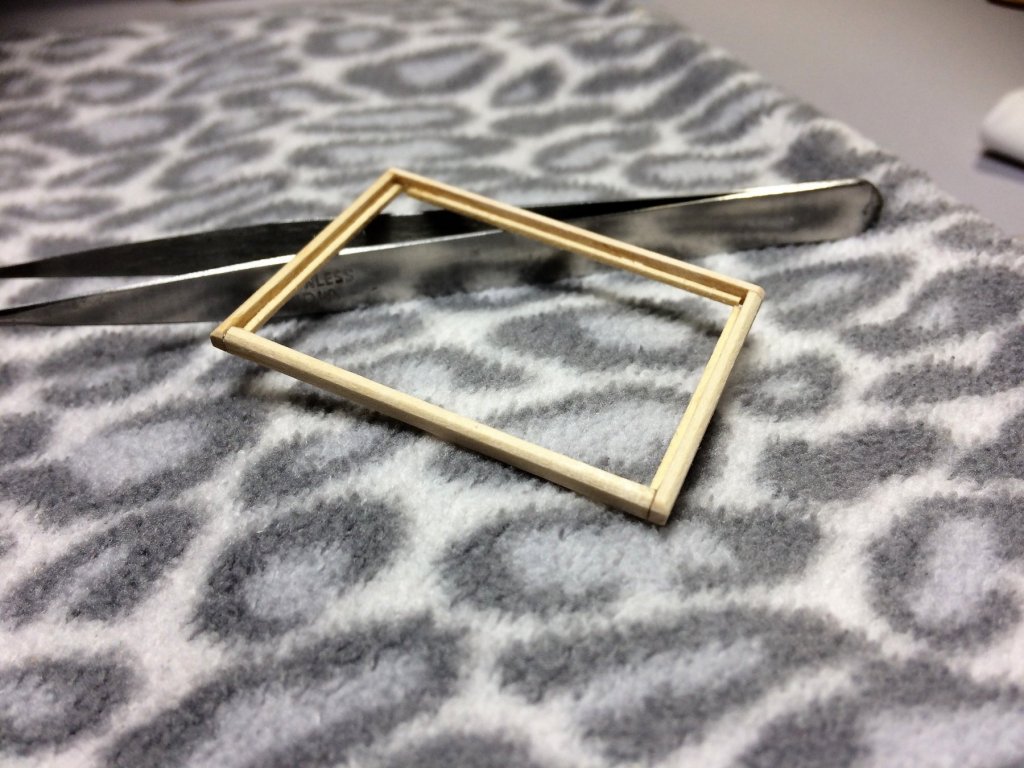
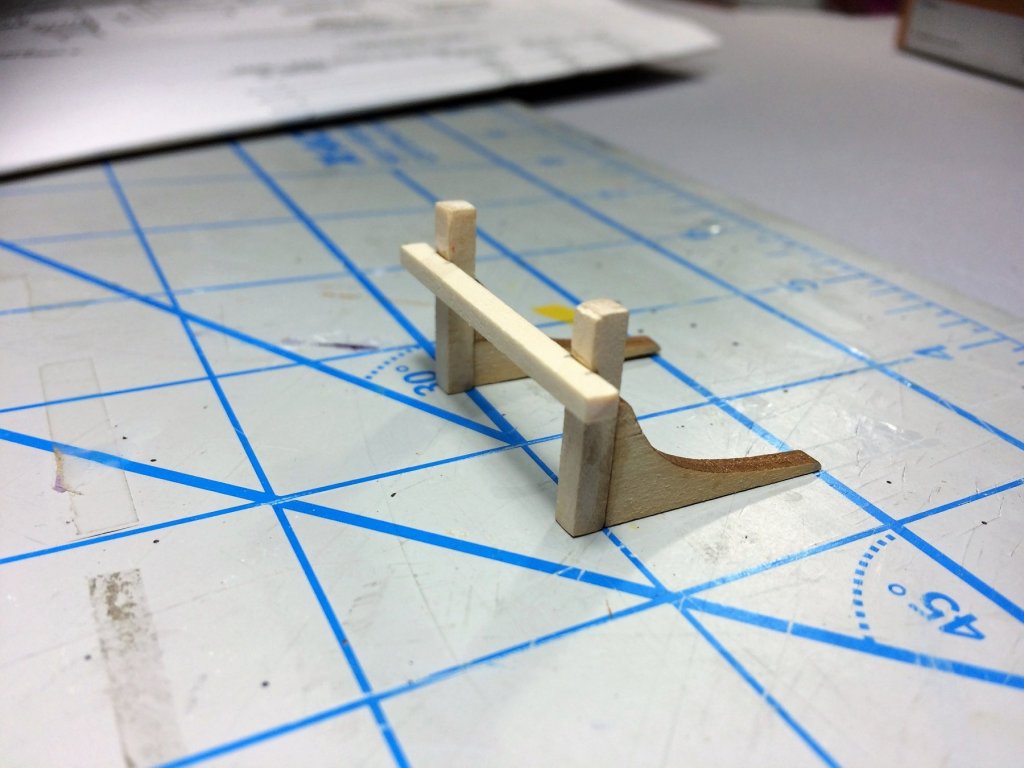
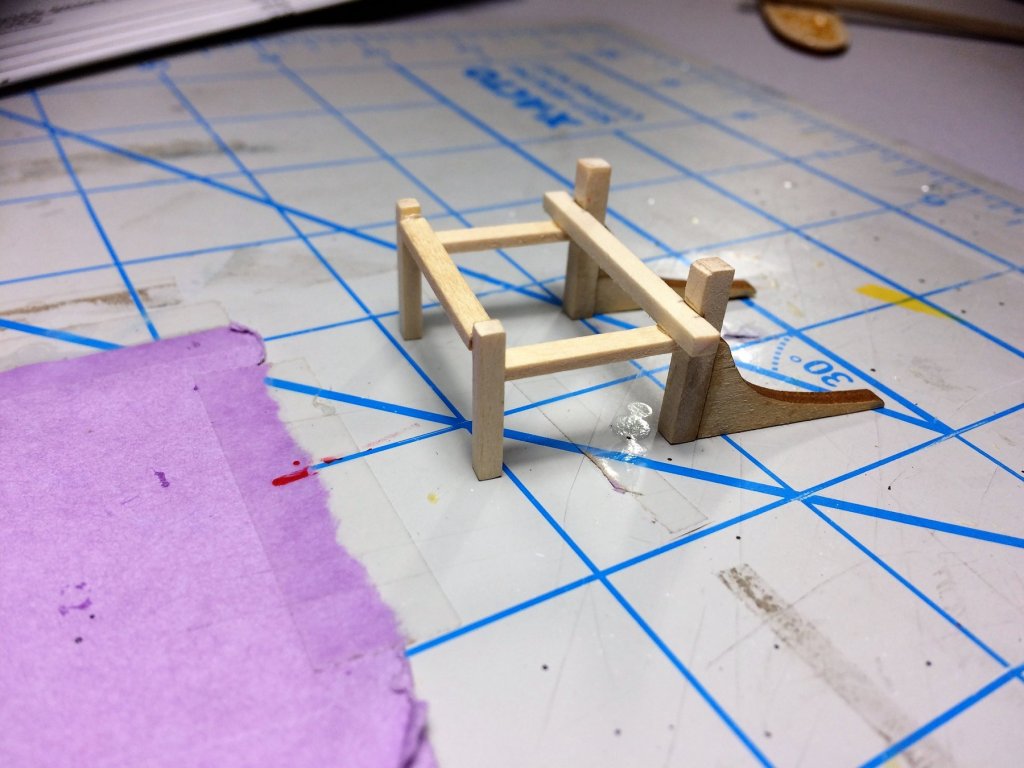
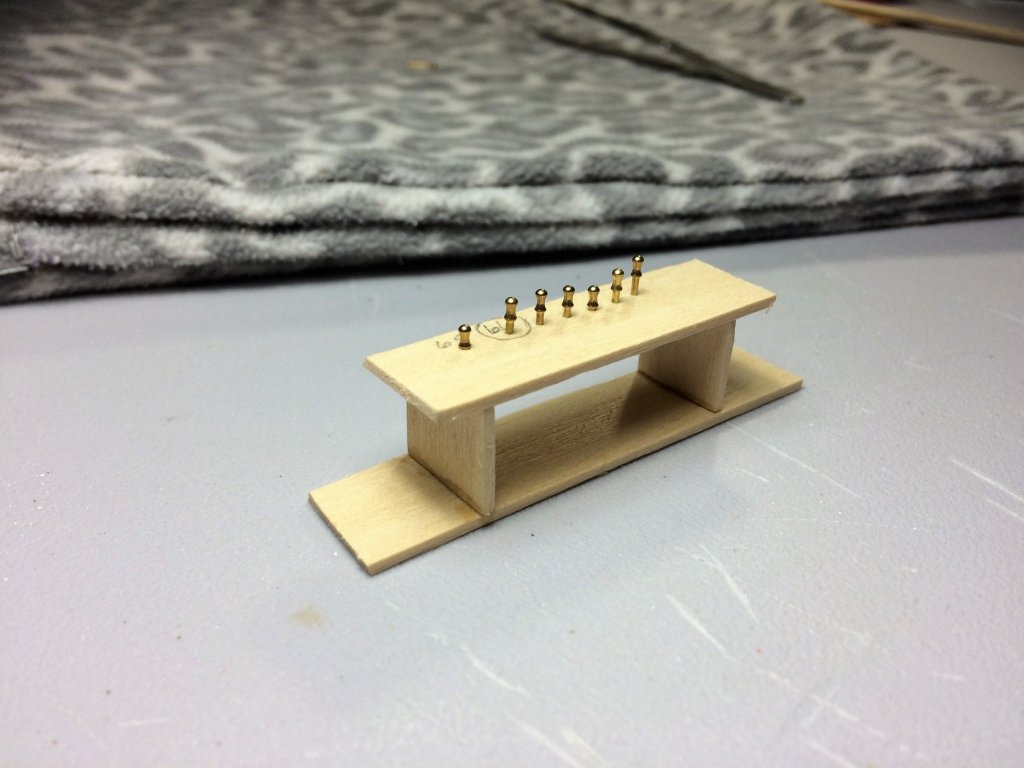
Evening, Hope everyone is well. Chores were done early, and into the Shipyard I went! Started pulling together the pieces for the Forward Fife Rail. I imagine this little guy will have a lot of stressors on it. Loaded with Belaying pins and rope pulling on it must push this wood to its limits. Well glued joints with pins it is. Started with the knees to there respective bits. I would just move forward from there. Side bars next then the smaller bits. It was more difficult in my head. It's square for the most part. Not bad for my first try. A little sanding should hide it! Before I glued it all together I did check it on deck with the Foremast for reference. Looks good to go from my side. Built a little Jig/Shelf to find the right size drill for the Belaying pins. Didn't take much. Started with a #65, was a bit loose, went to a #66, was a tight fit but just right. Compared the size of the drill to the belaying pin, was a Hail Mary. All dressed up. It will still get some more sanding, and I want to fill some glue starved areas. The pins were laid out according to the plans. I noted there was only 1 hole that was dead center. That little fact actually made laying out the rest easy...….I thought. I figure with these pins coming in and out the holes will widen and become easier. The holes are on the "tight" side, but not by much. These pins have been pulled and its in the paint shop as of tonight. Last thing I did today was put a primer coat on it. I'll follow the plans and the knees will be black and the rest will be "bright", per the plans. I've been using the Model Expo Niagara paints, I'll use the Deck Buff, same as the Masts. Tom E


-
Jond, Such a beautiful ship. The deck is weathered nicely, it really looks great. Bowdoin just seems to drop in perfectly to the acrylic sheet. Are you going to build up anything around the hull of Bowdoin, like icebergs and the like? Tom E
-
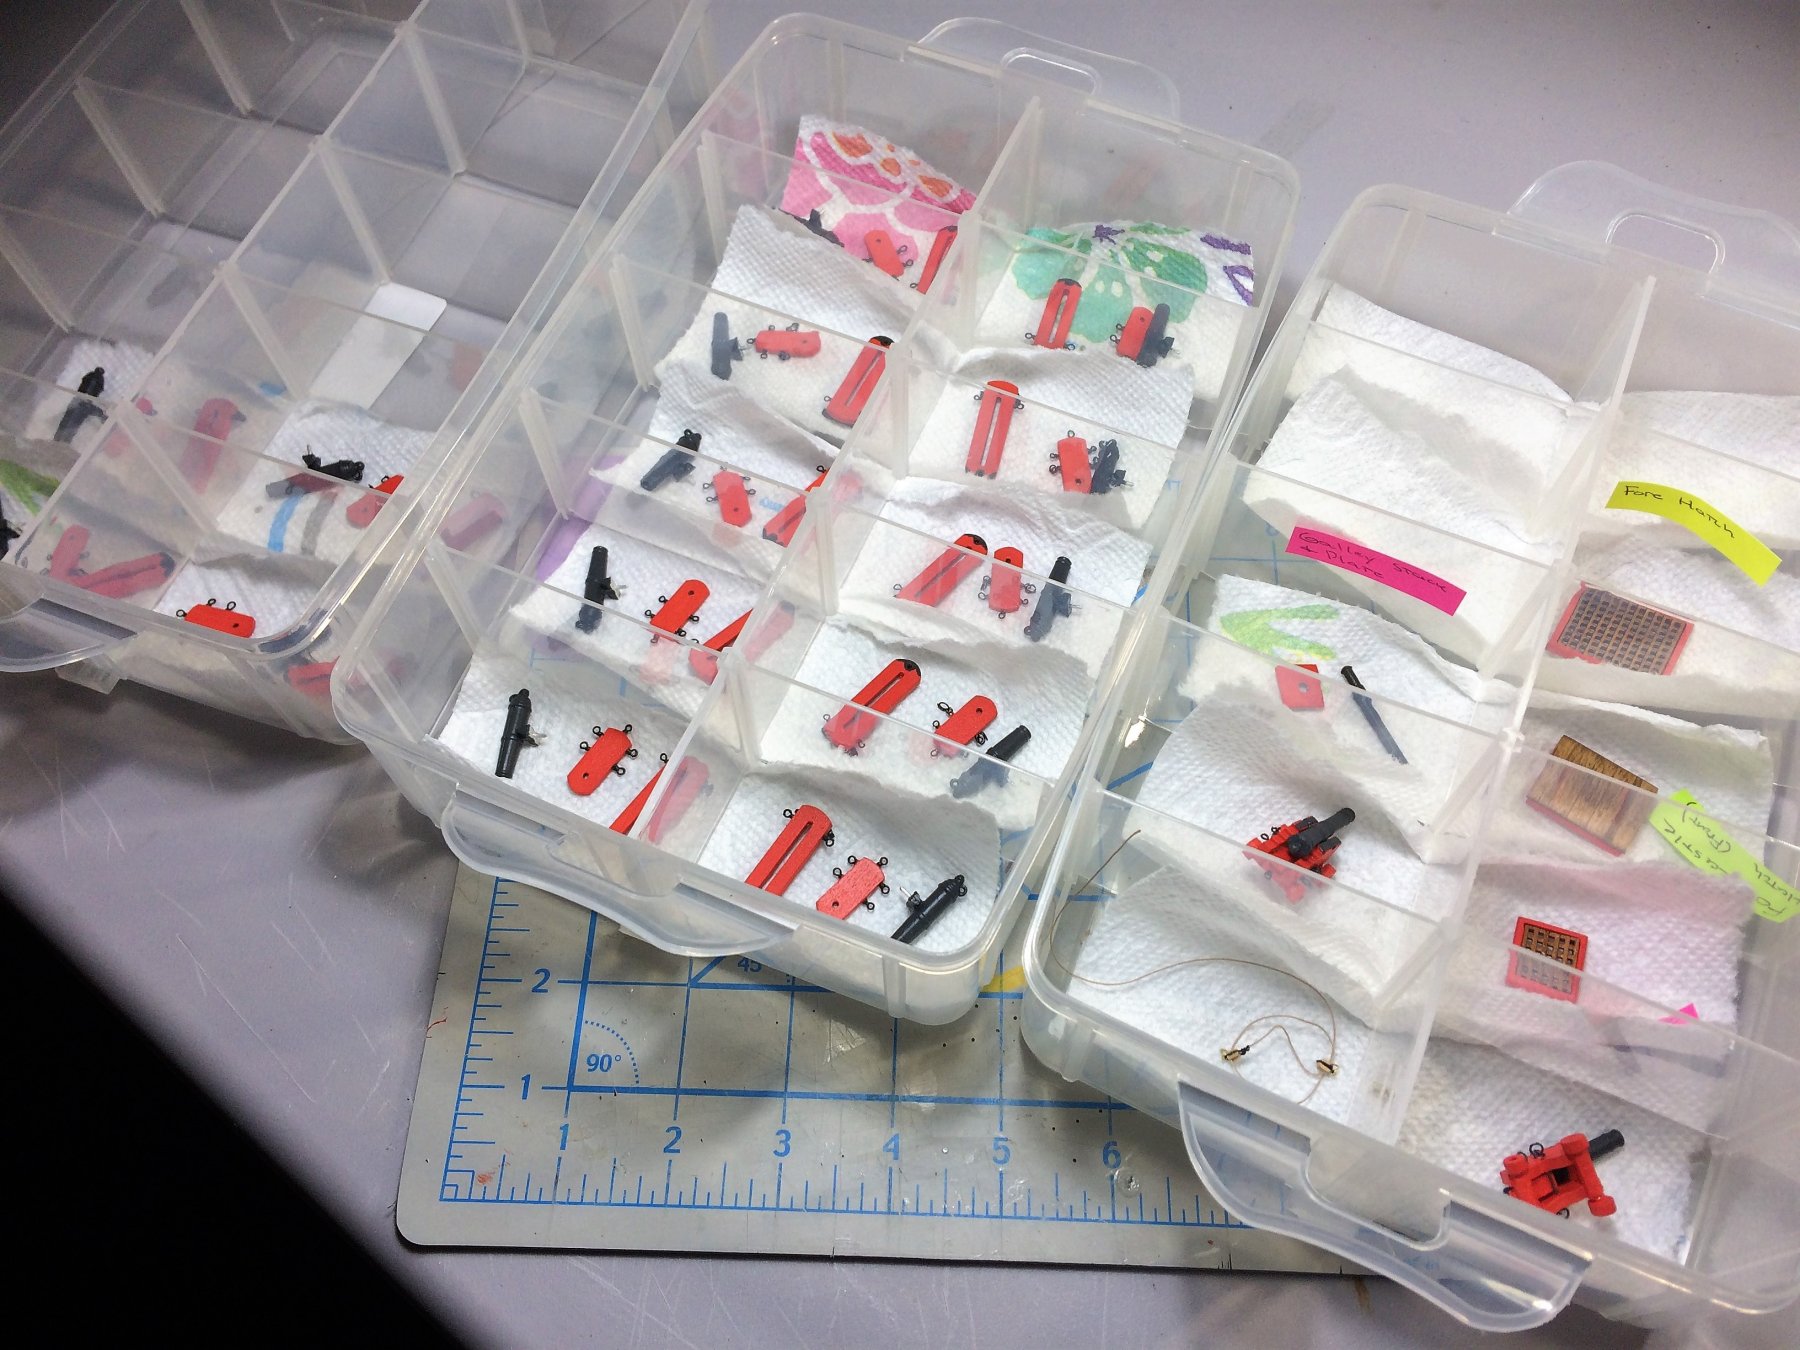
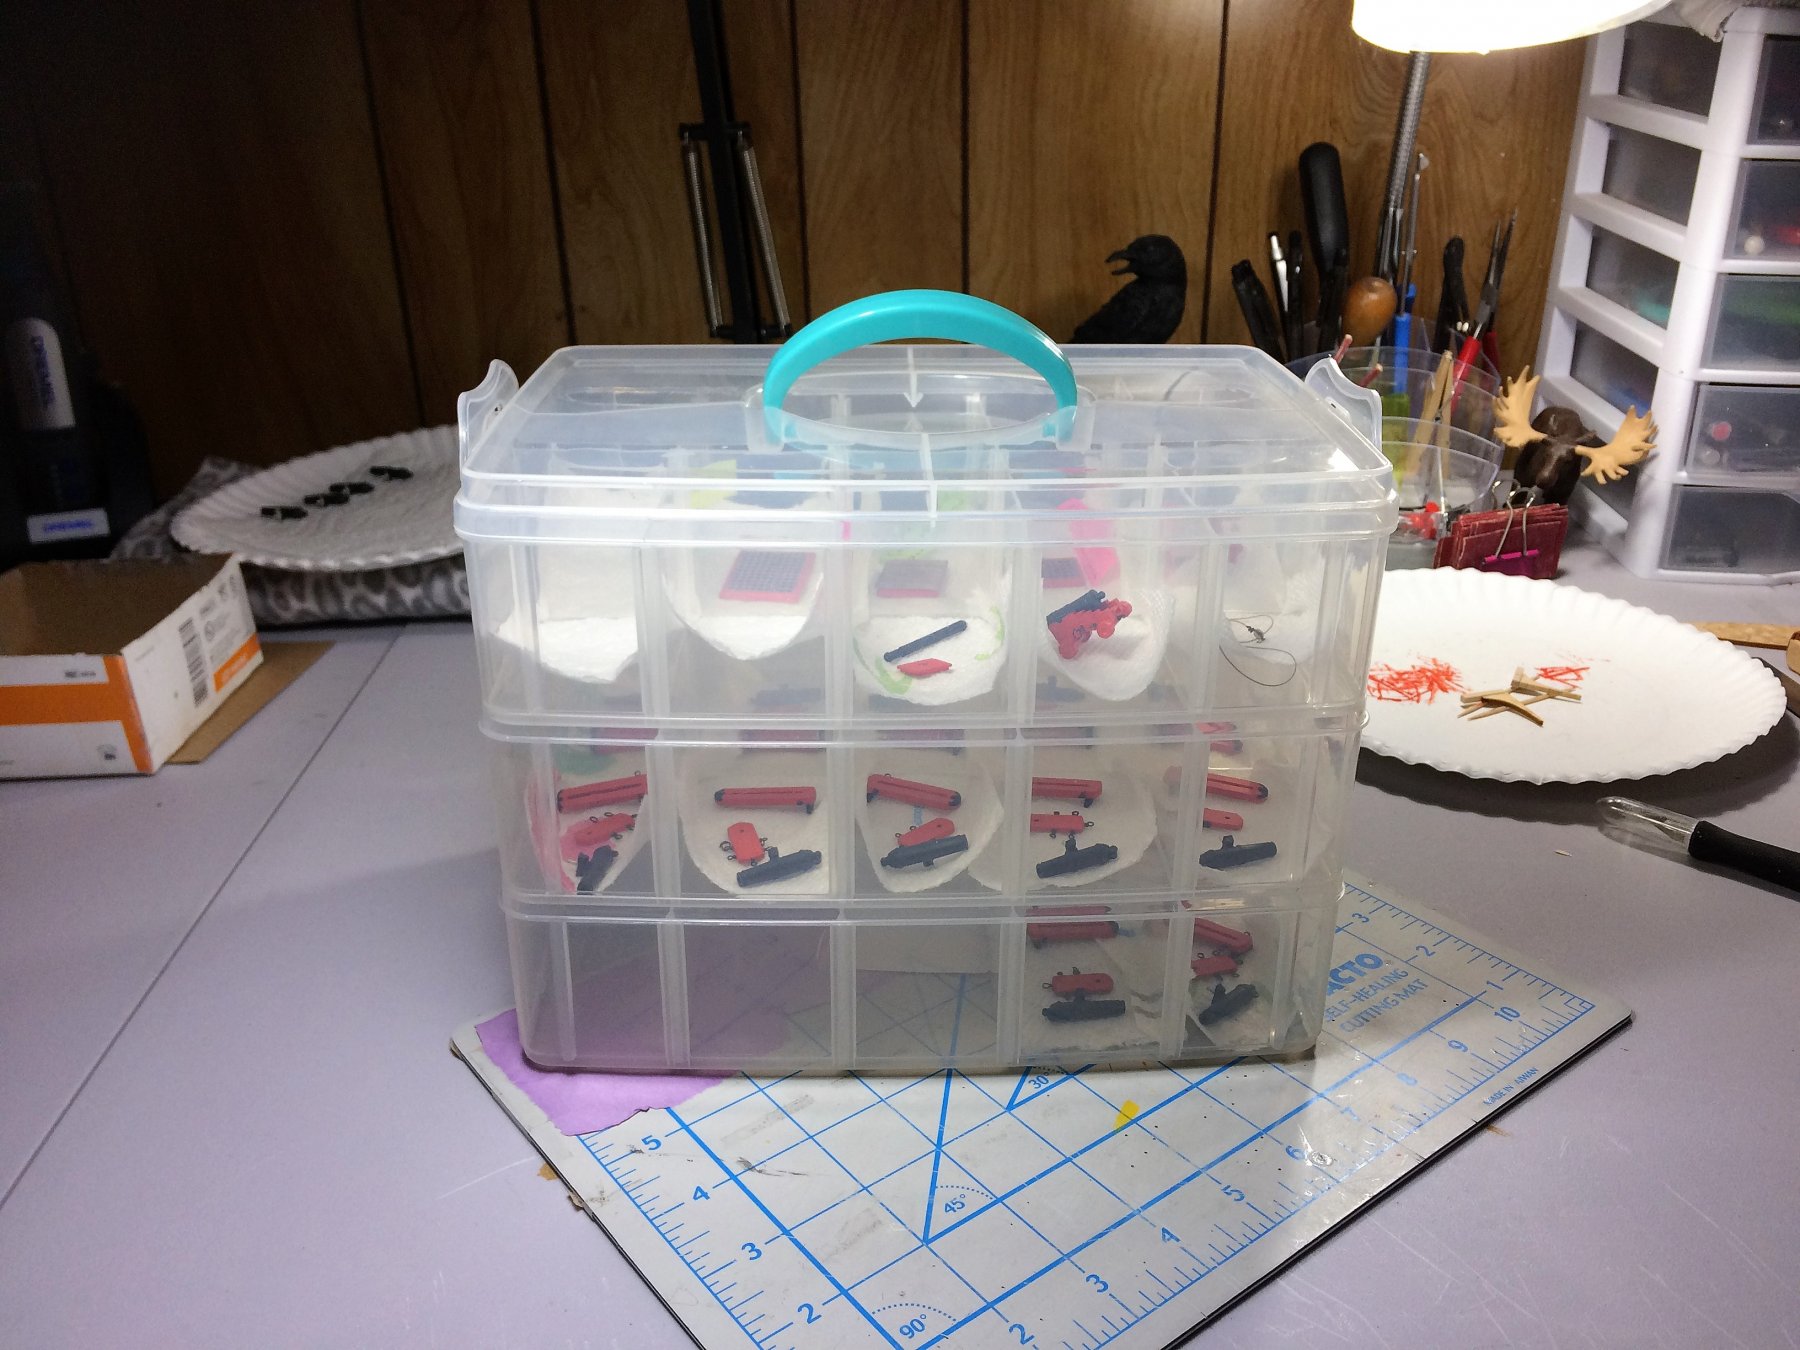
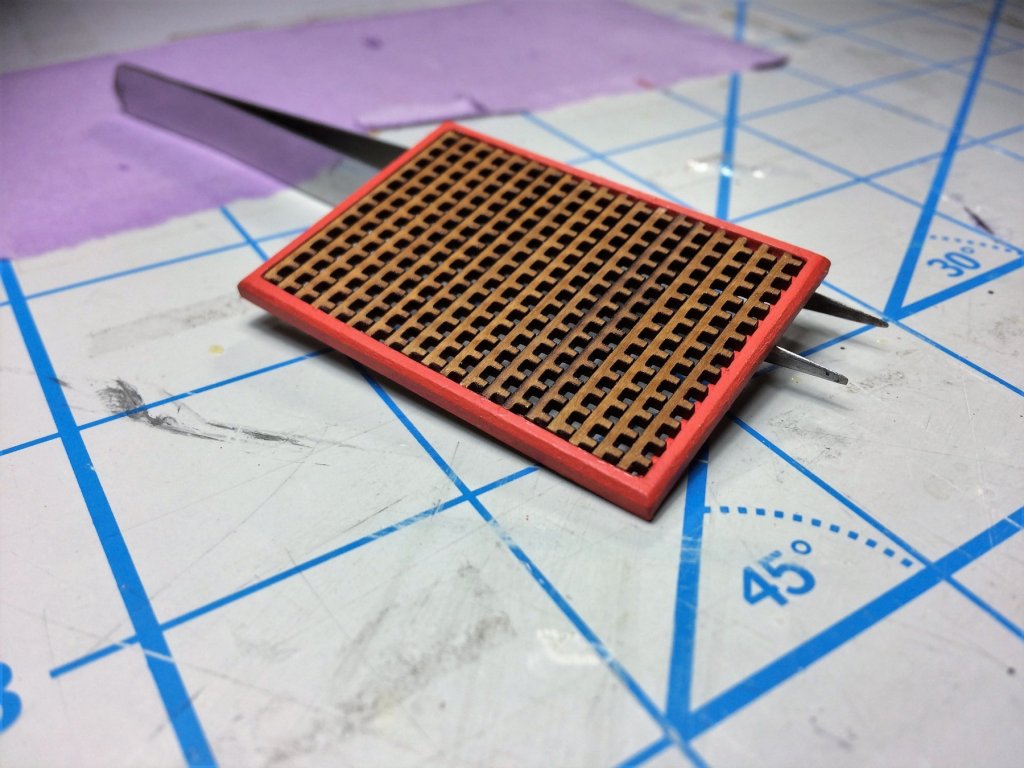
Evening, Quiet night in New Hampshire, wintery outside, but the Shipyard is warm and the Patriots are winning! As mentioned in an earlier post, I started the grating for the Fore Hatch. This time I laid it down 1 piece at a time, instead of building the grate outside the Coaming, like I did with the Galley grating. I think it came out more uniform and even. Started to bring together the pieces for the Fore Fife Rail. Never built one of these before. This should be interesting. As of this evening, I have all the parts shaped and ready to go. My biggest worry is keeping everything square. Everything in its place. Once I'm done with a piece I stow it in these plastic organizers. Bought them at Michaels. Maybe $3.99. Stackable and easily store out of the way. Tom E


-
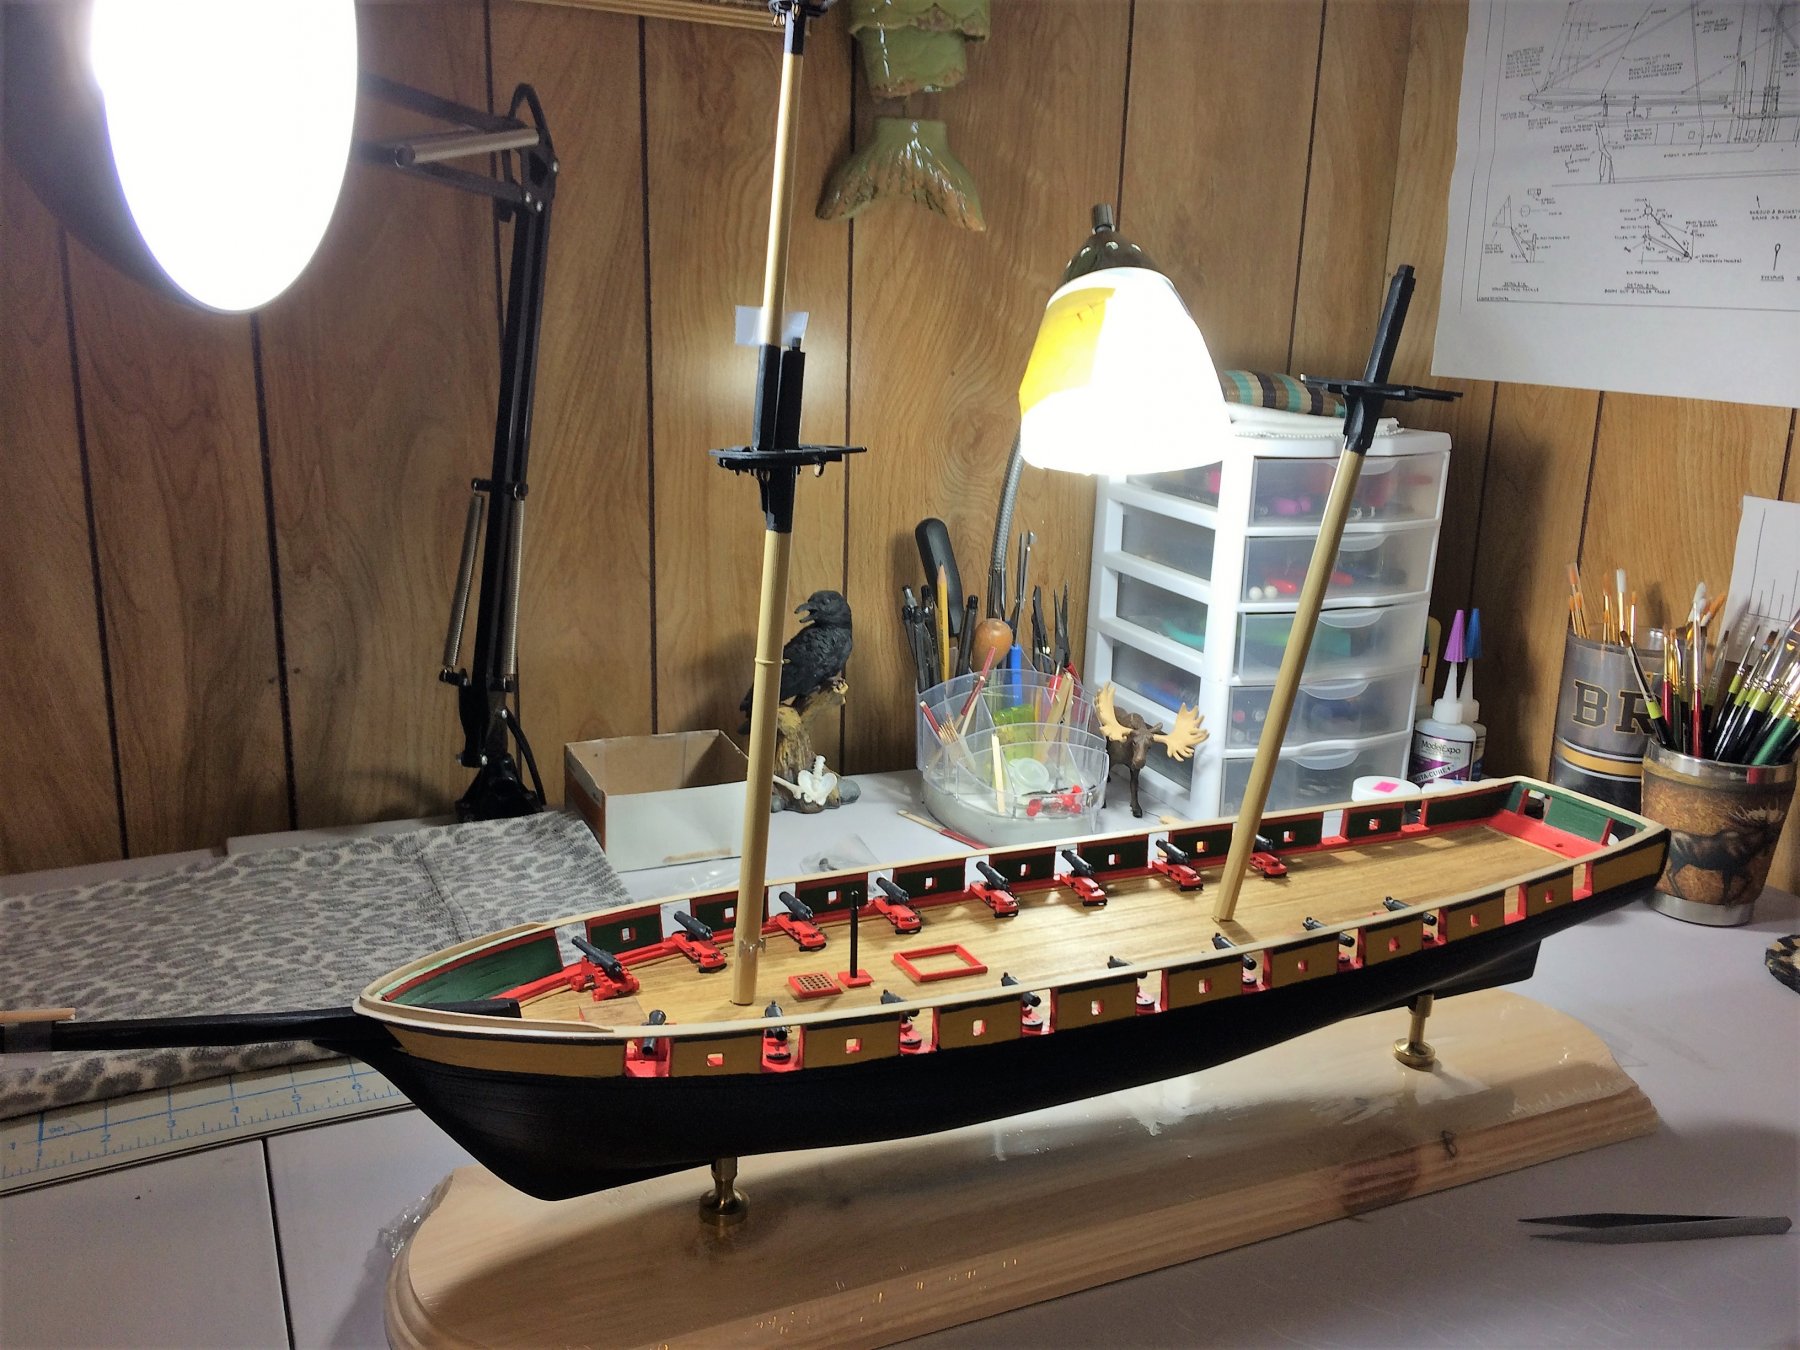
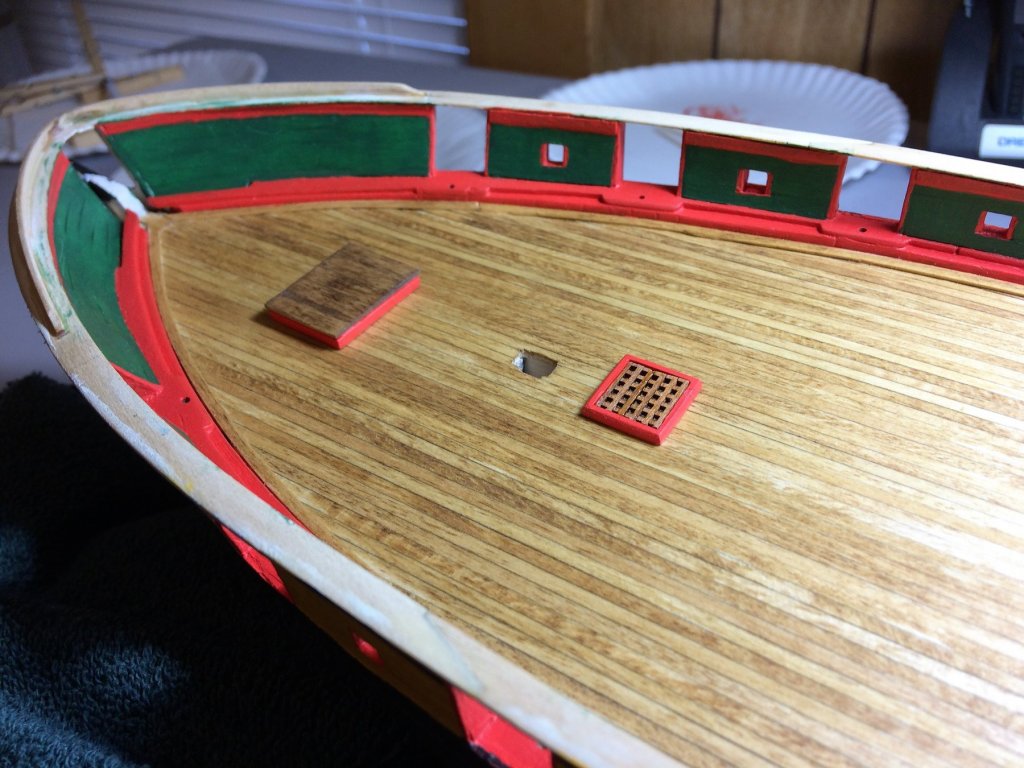
Evening, Well, admittedly, I did more playing than actually building! But I have started building the Forward Fife Rail. Every once in a while I like to put everything "together" and see where I am. Never did I ever think I would get this far! Its so cool! Not one thing is glued to the ship. Purely just a "test fit". I my rebuild the Galley grating. Looks like one of the sailors stepped on it! The Fore hatch grating came out much better. Tom E


-
Evening, Hope everyone had a great Thanksgiving. The best part of the holiday is when everyone heads home and I still have a full weekend to spend in the Shipyard! This build needs an update! The Main Mast is coming along. The Tops are pretty easy and fun. I got them shaped up and in for paint within a day. As with the Fore Mast, I strengthened the sides of the Top with a brass strip. A firmer base for the Top mast shrouds. The wood used is pretty flimsy and needed a bit more back bone. One coat of primer. First coat of Hull Spar Black. As a side project I primed and painted the Galley Stack. I don't have much skill yet to really bash this thing. What I have done is modified the Galley base. Instead of just a simple pad per the plans, I put some 1/32x1/32 strips underneath to lift it up a tick. THE LAST FOUR BLOODY CARRONADE! So glad my next build (Bluejackets Bowdoin) has none. As of tonight these all have eyebolts and a coat of primer. I'm hoping to have these done by the weekend...…..we shall see! Tom E


-
Count me in! I've admired this kit for a while. Tom E
-
Beautiful ship! This kit is officially on the wish list! Job well done Tom E
- 258 replies
-
- 2
-
-
- harriet lane
- model shipways
- (and 1 more)
-
Jack, I'm pulling up a chair for this build! With all the plastic models on MSW now, It's rekindling the kid in me that did nothing but plastic models. I've never worked with PE, but I really want to give it a try. It does add some great detail. PS - Your Ice boat came out great! I doubt I'll ever be a scratch builder, but If that was a kit....I would buy it! Tom E
- 140 replies
-
- 5
-
-
- the sullivans
- trumpeter
- (and 2 more)
-
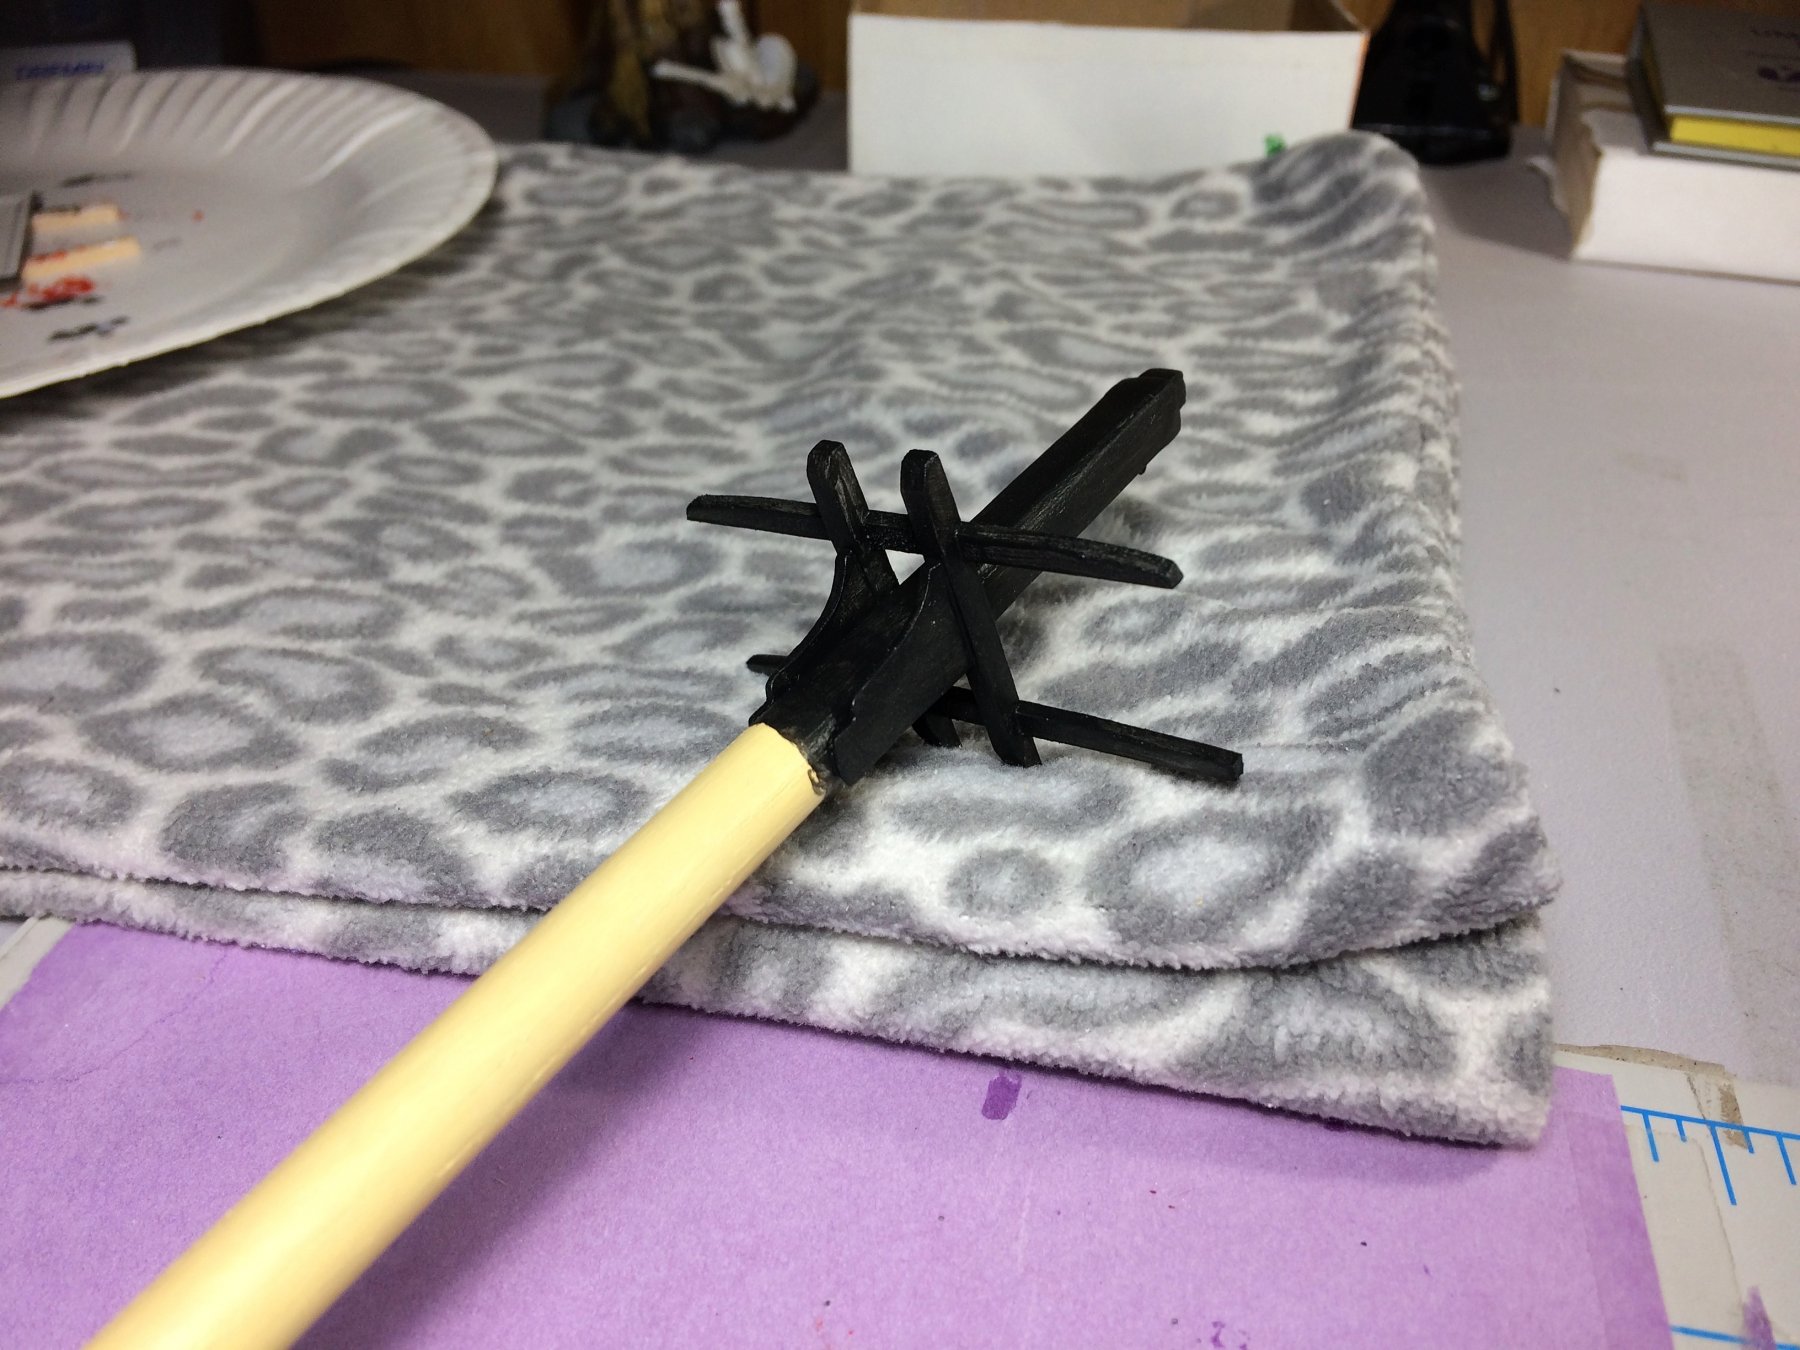
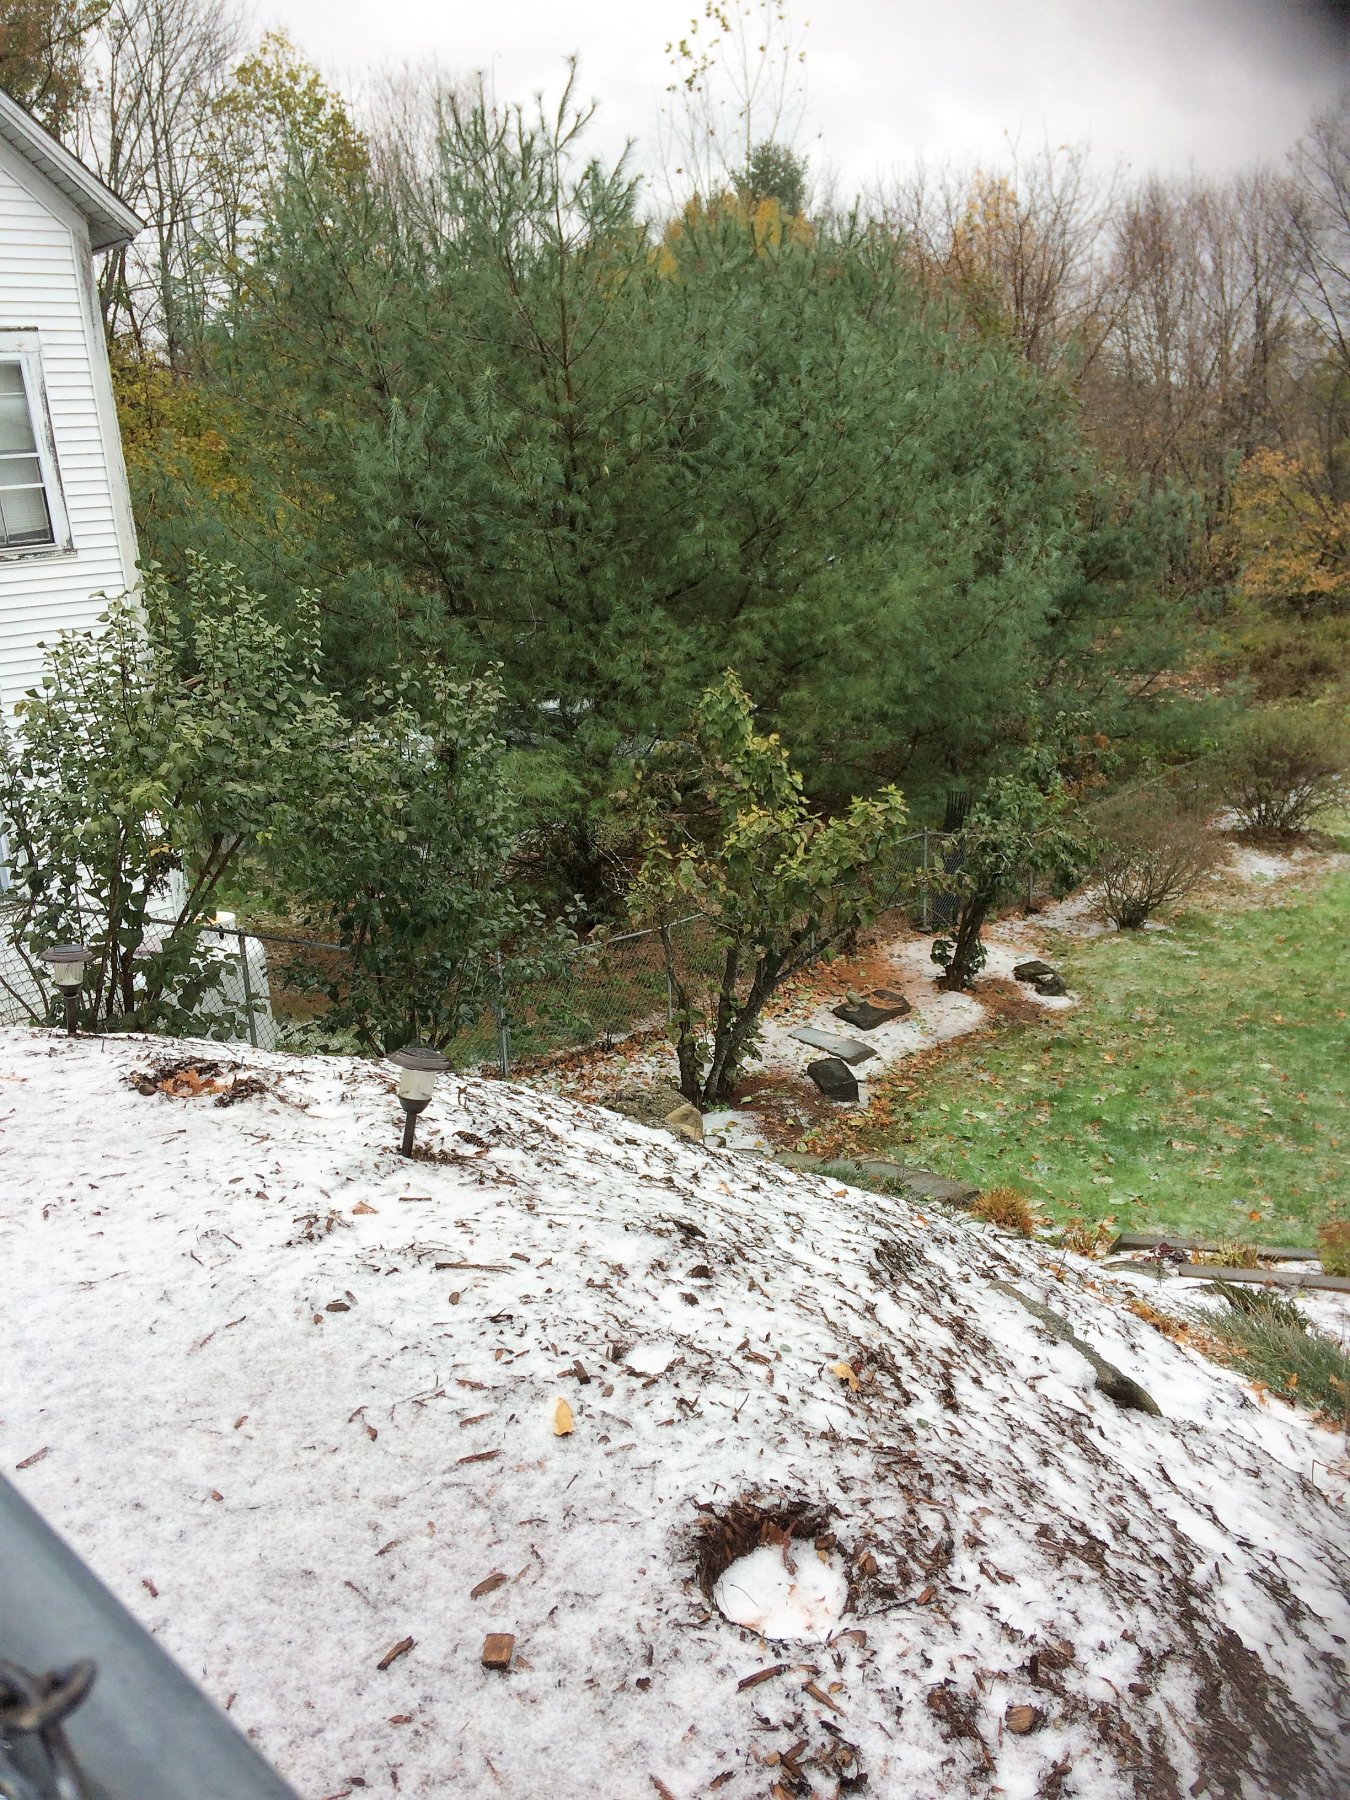
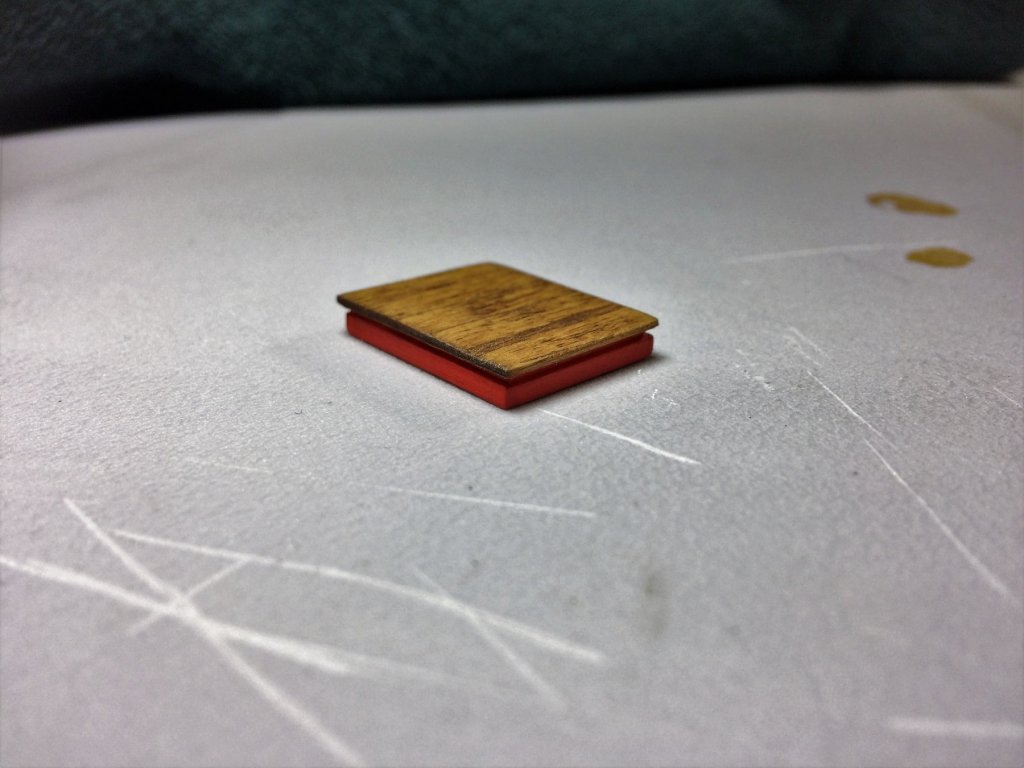
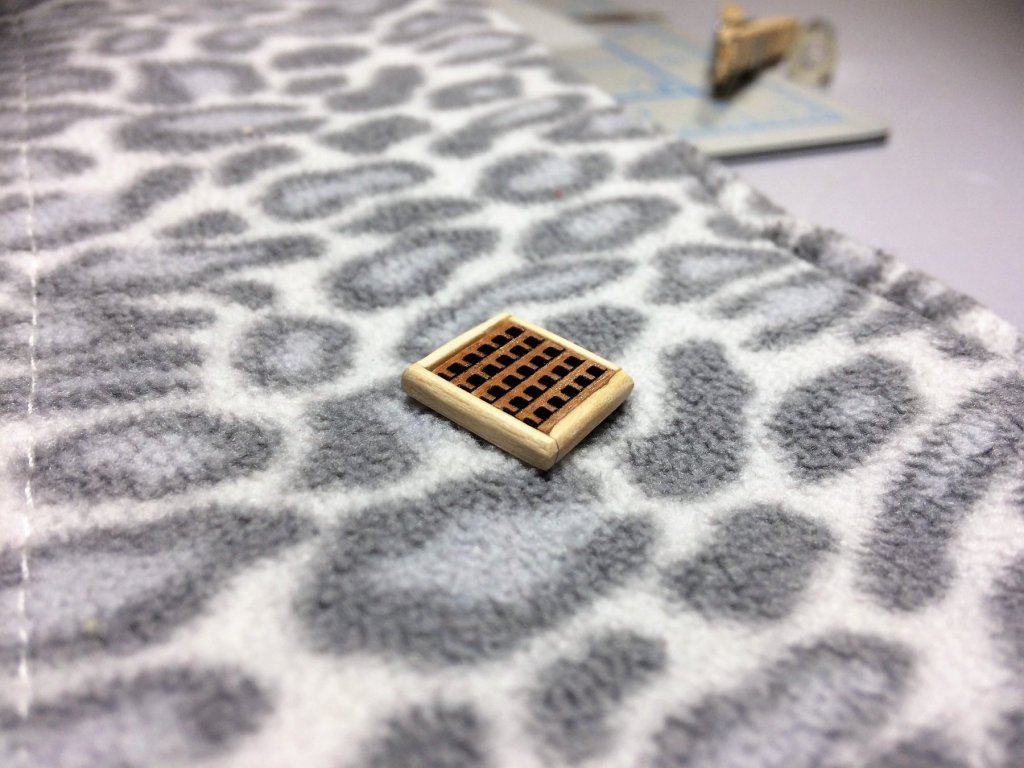
Evening, Admittedly, I haven't been in the shipyard as much as I want to be. Life gets in the way. Nothing bad, just prepping for the winter. Get the truck inspected, serviced,,,blah blah blah....chores. I made some progress on the Main mast. It starts with the Octagon. I did much better on this one than the Fore mast. Squared up the top portion. I finally stripped that orange like paint off the Forecastle Hatch. Stained it an "Early American". Looks soooooo much better. I also finished the Galley grating as well. I chose the "Early American" stain for the Forecastle hatch because it was close to the color of the Gratings supplied. Don't know if its right, but I like it. Just as I wanted, Its just a tick or two darker than the deck for some contrast. On a side note, We had our first snow event! Local ski resorts are starting to open up. There's a lot more snow in the mountains than what we got in town. Tom E


-
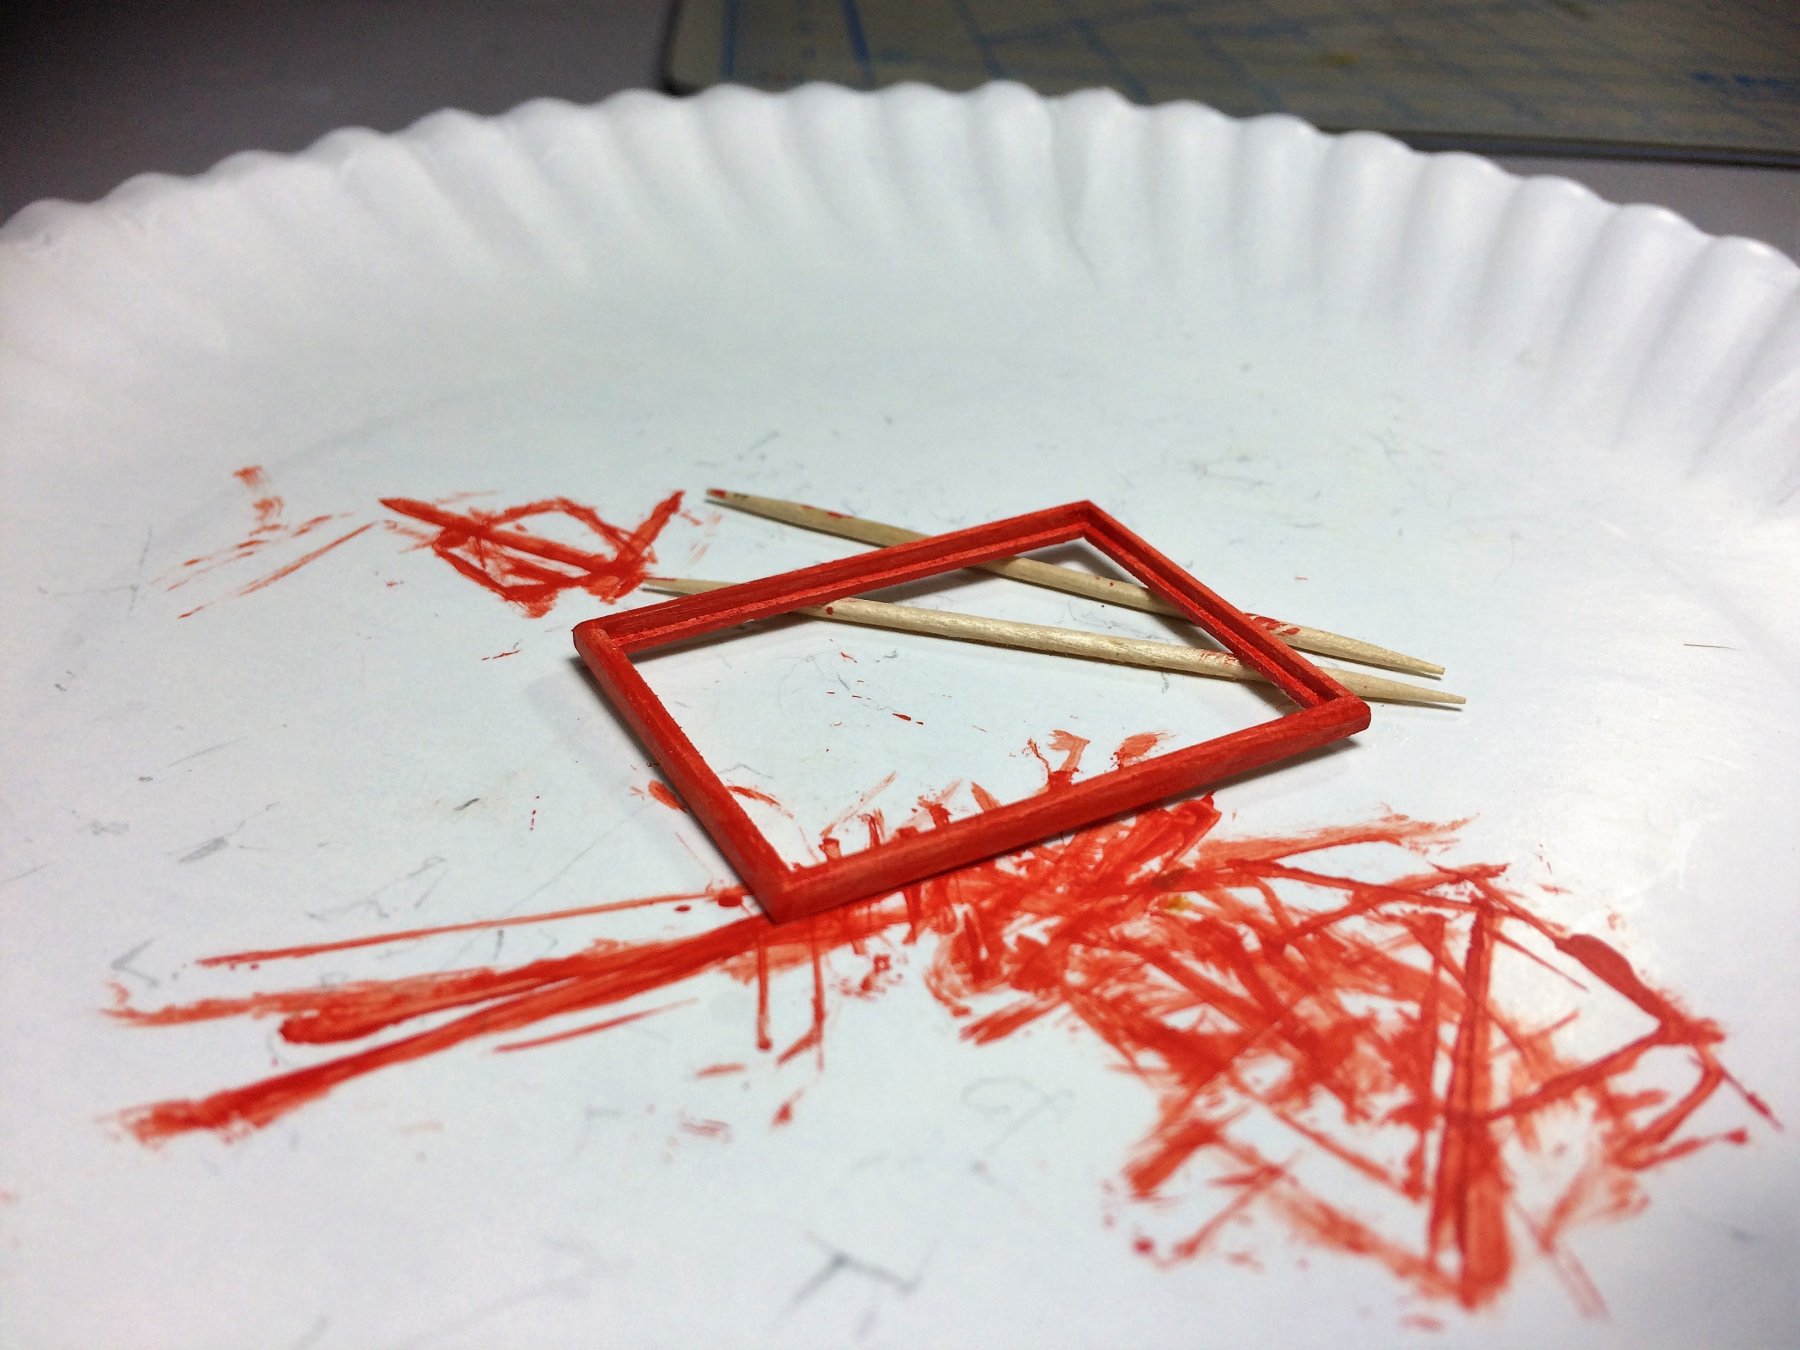
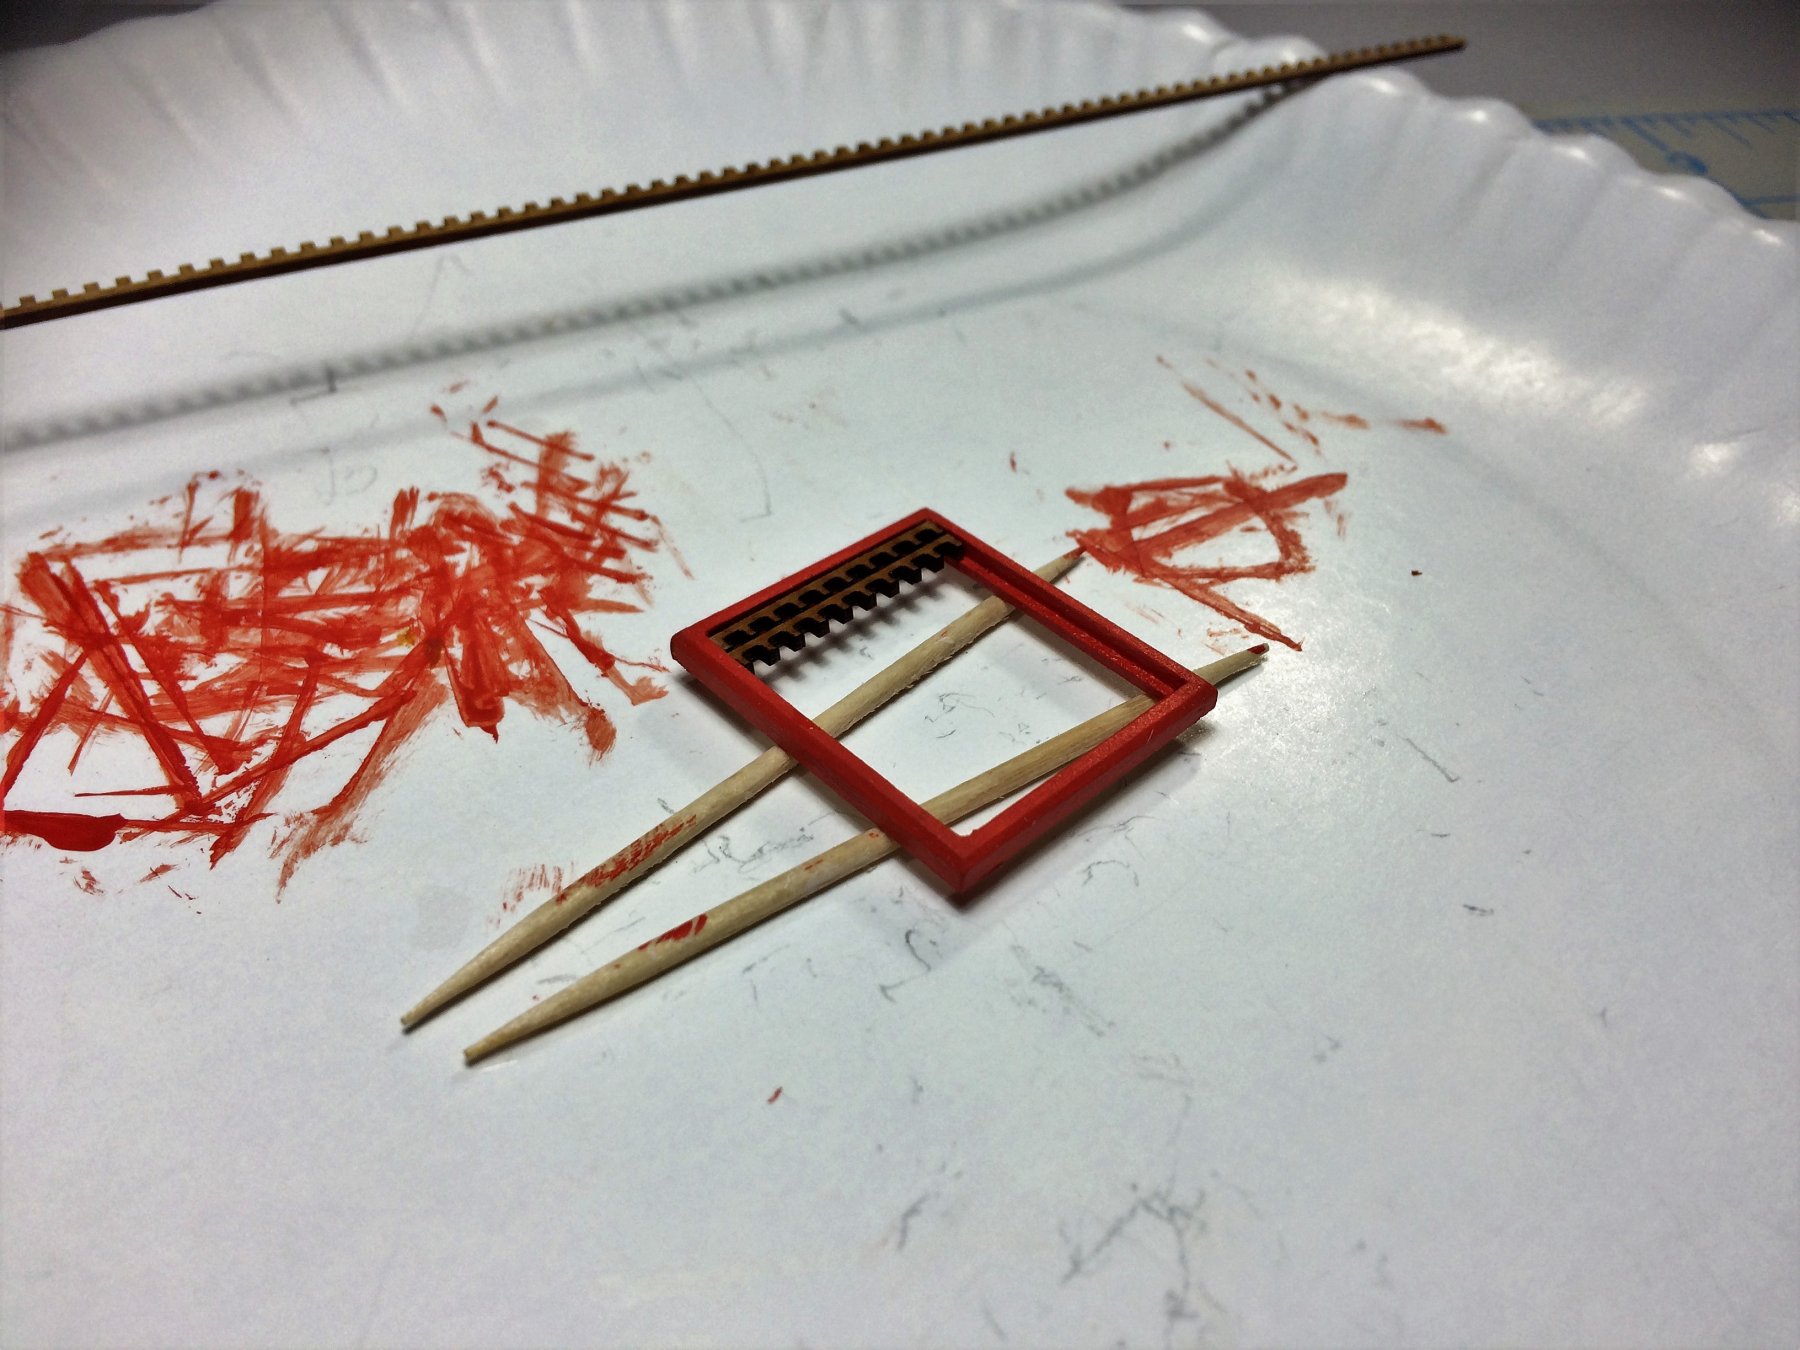
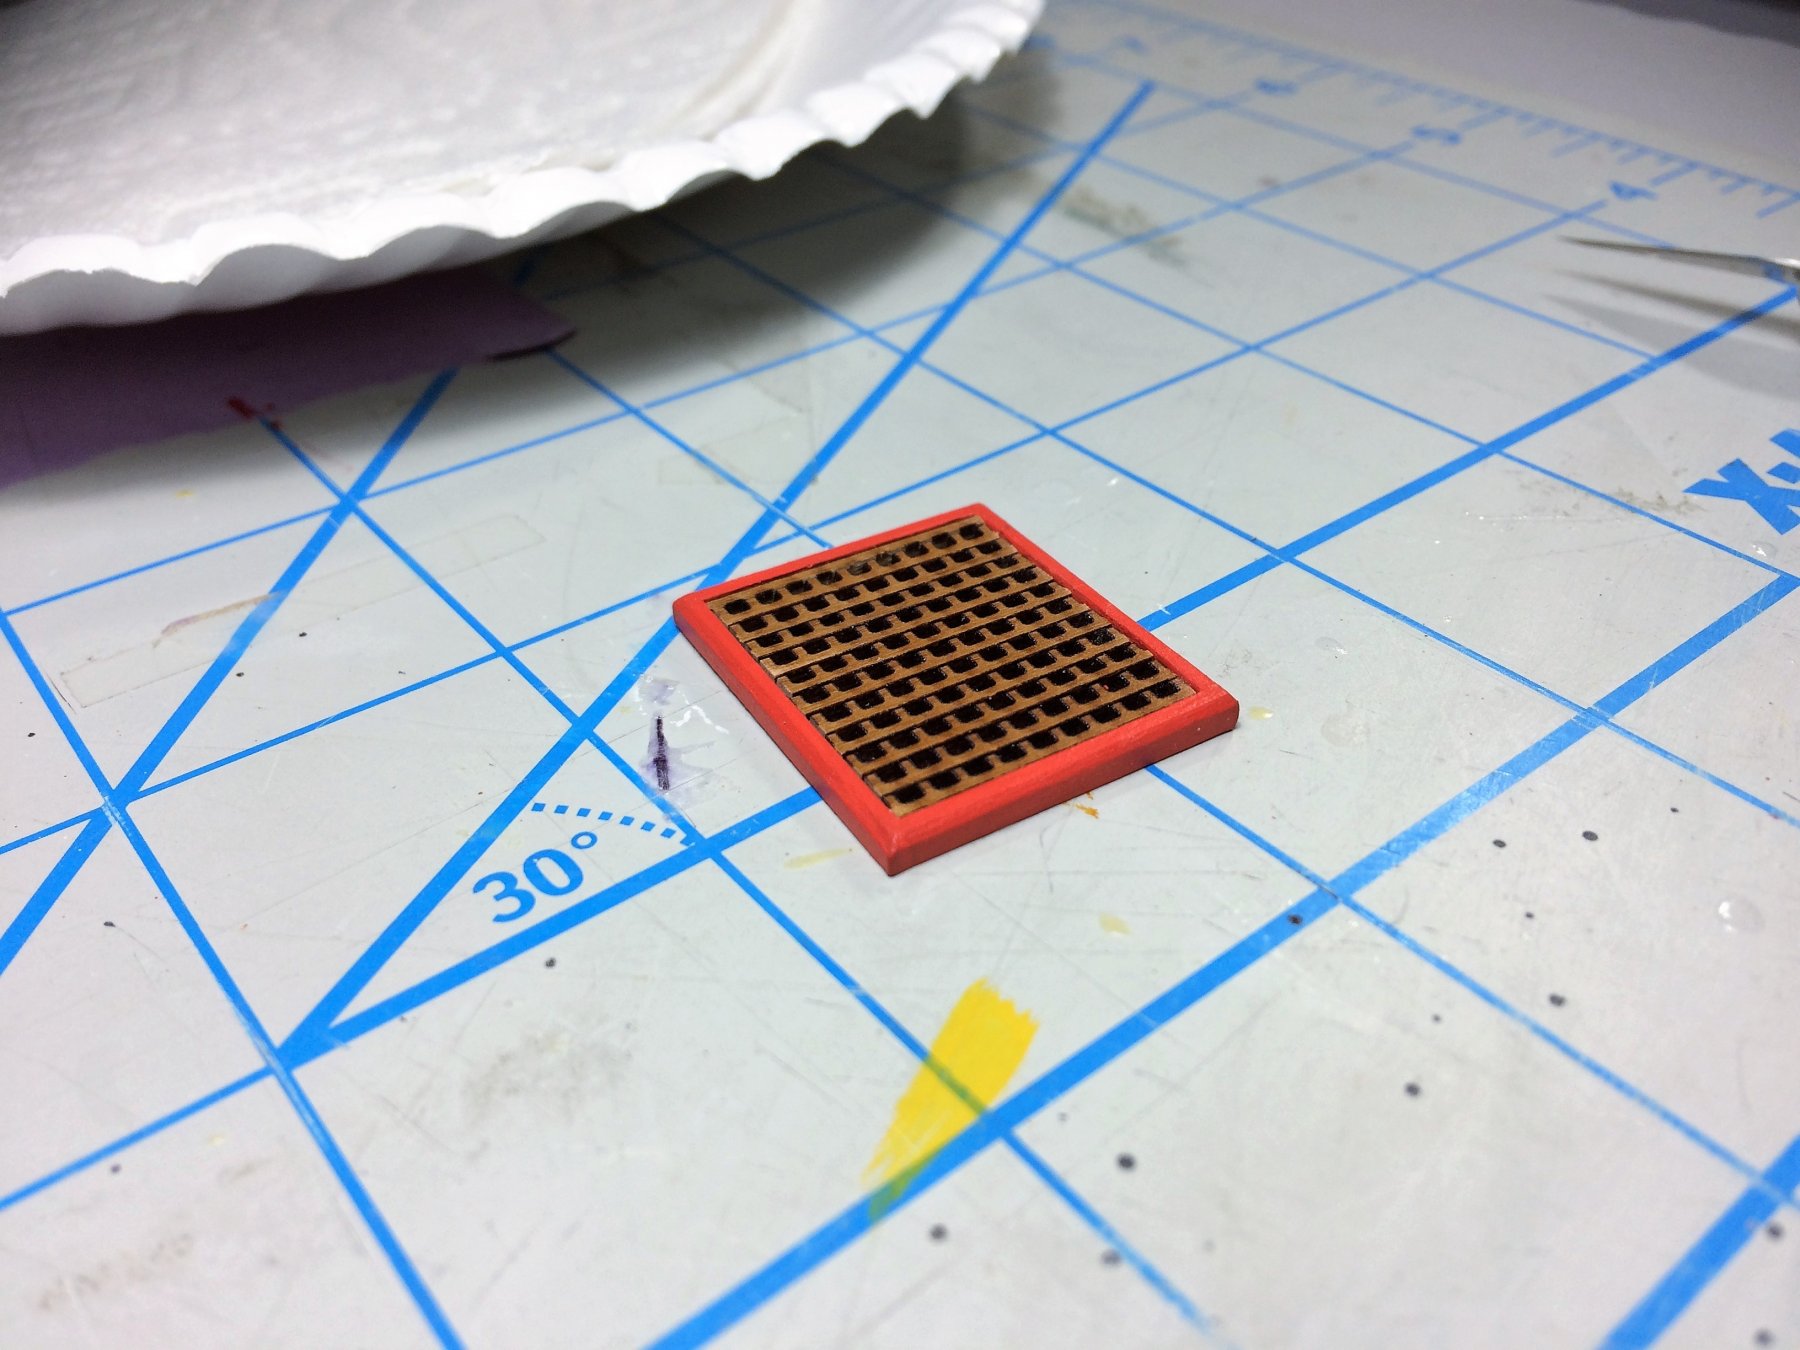
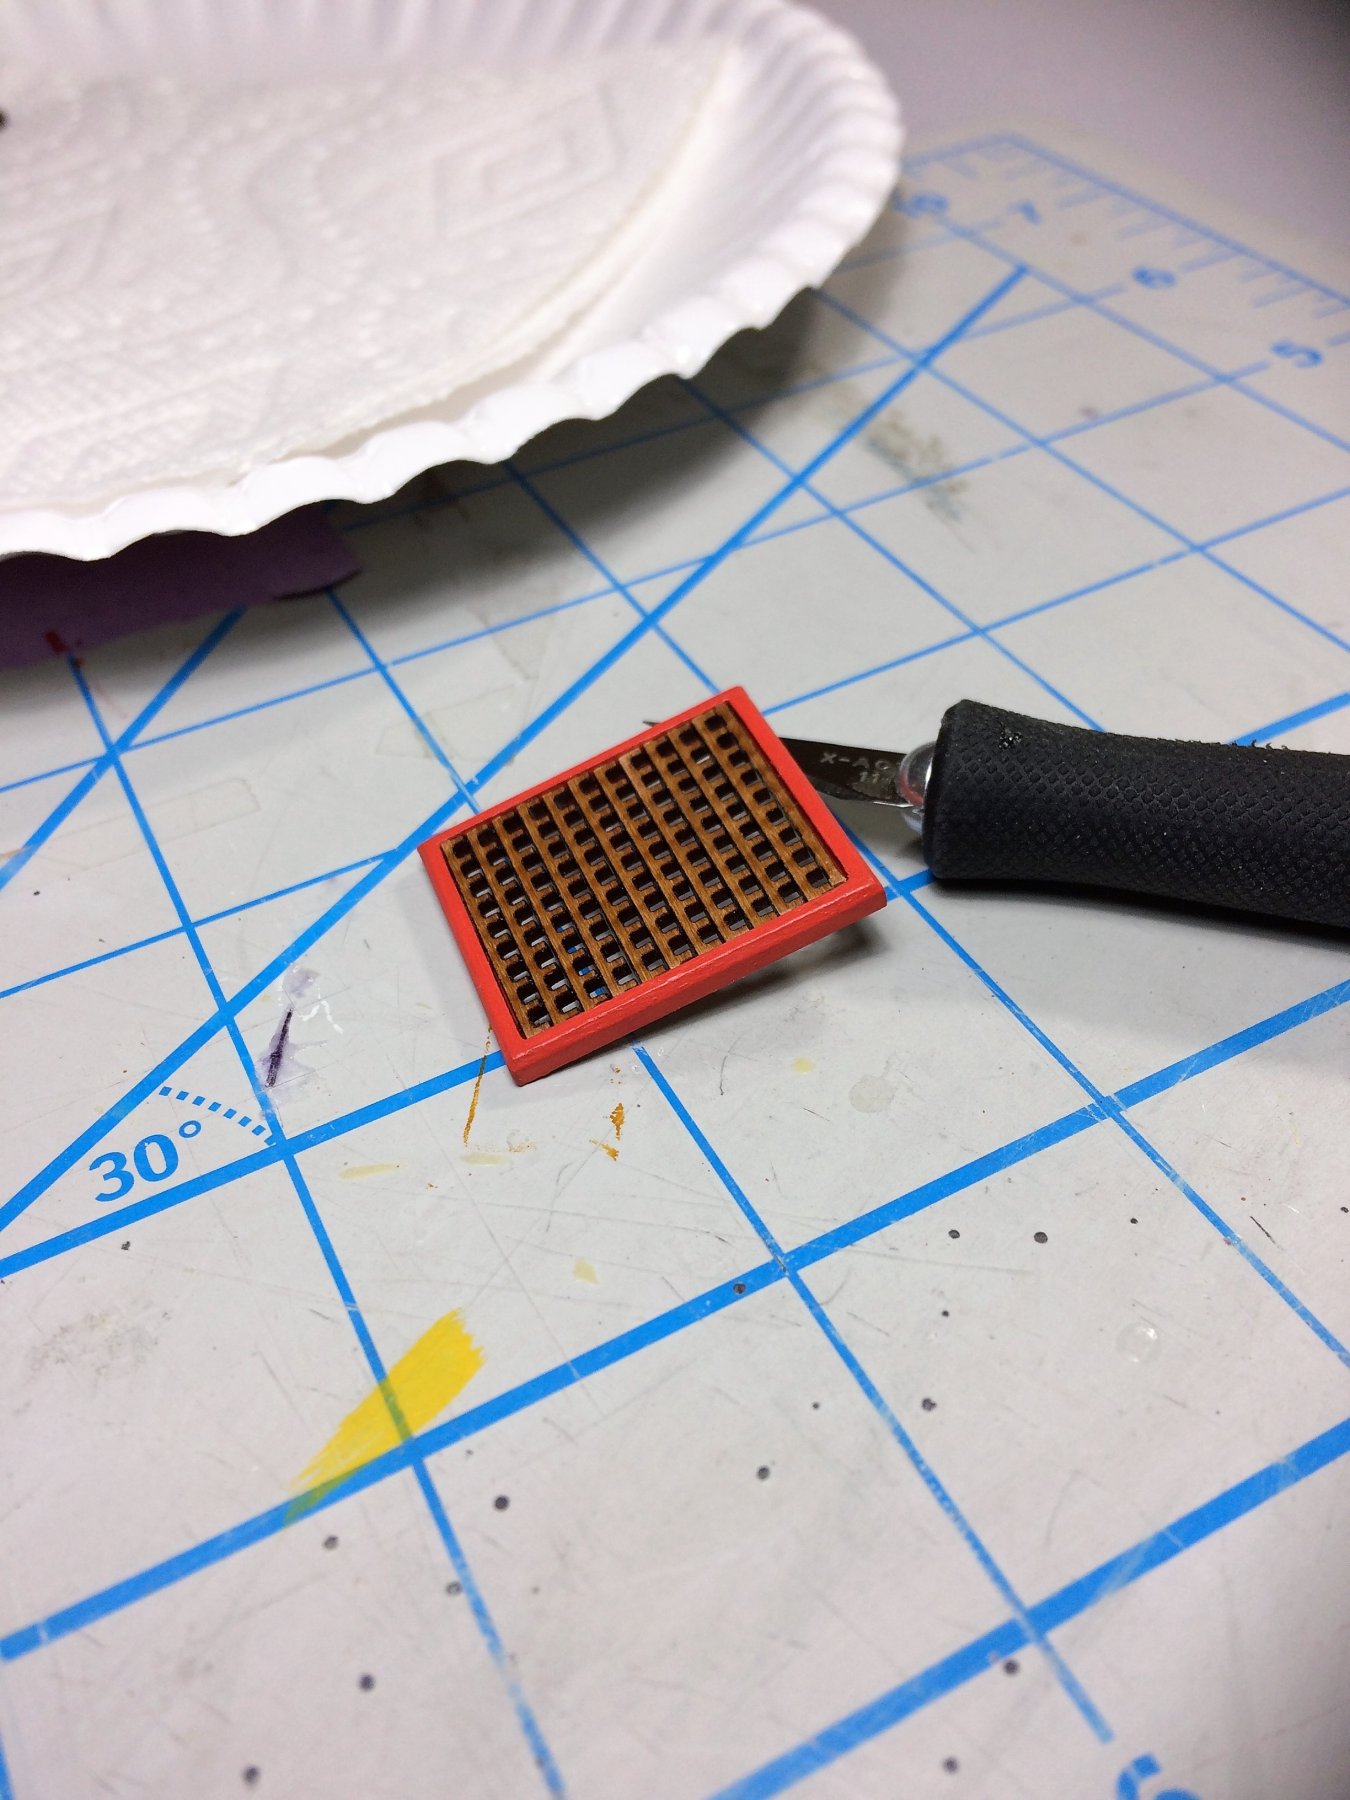
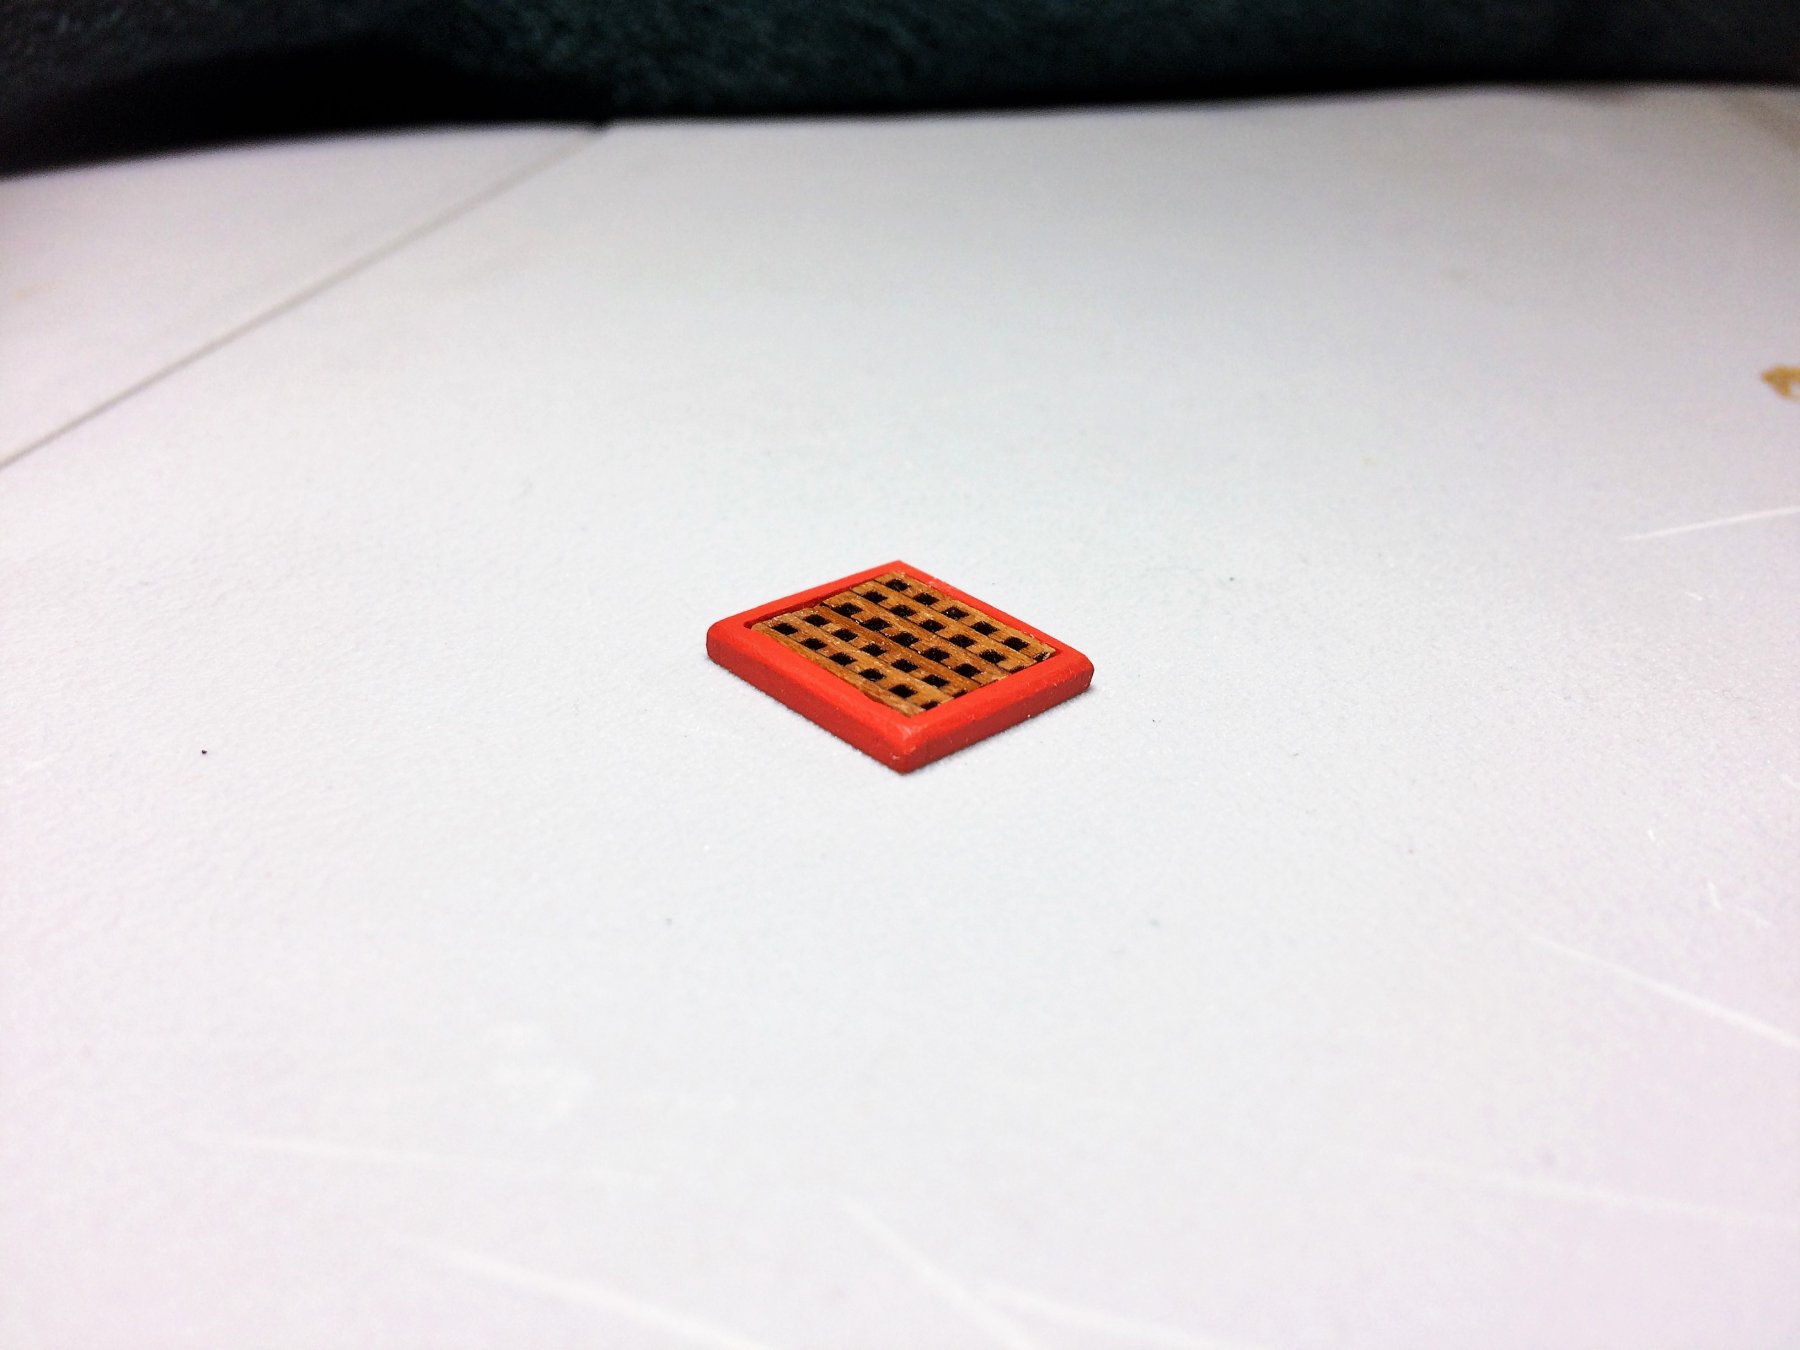
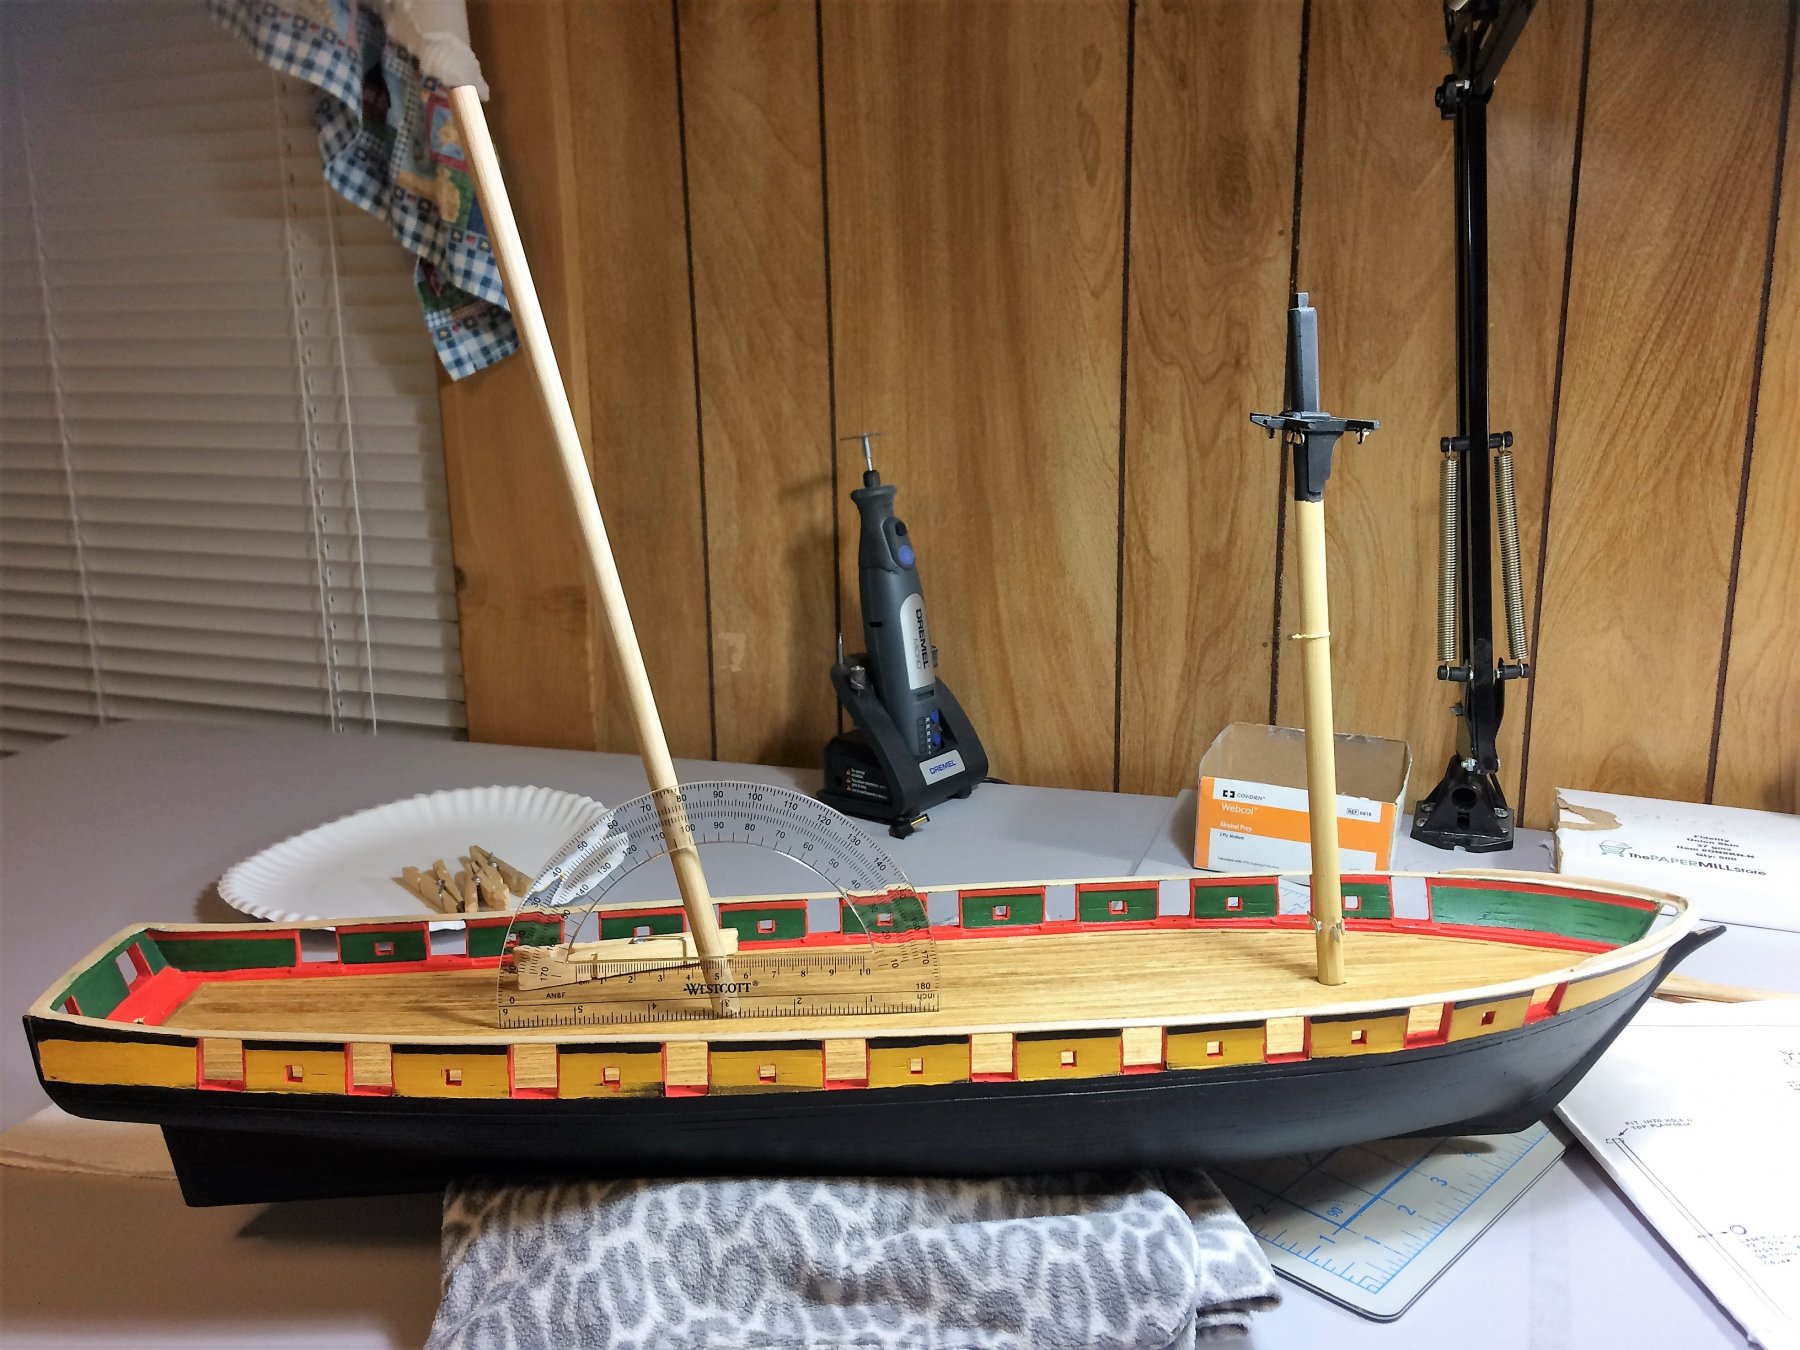
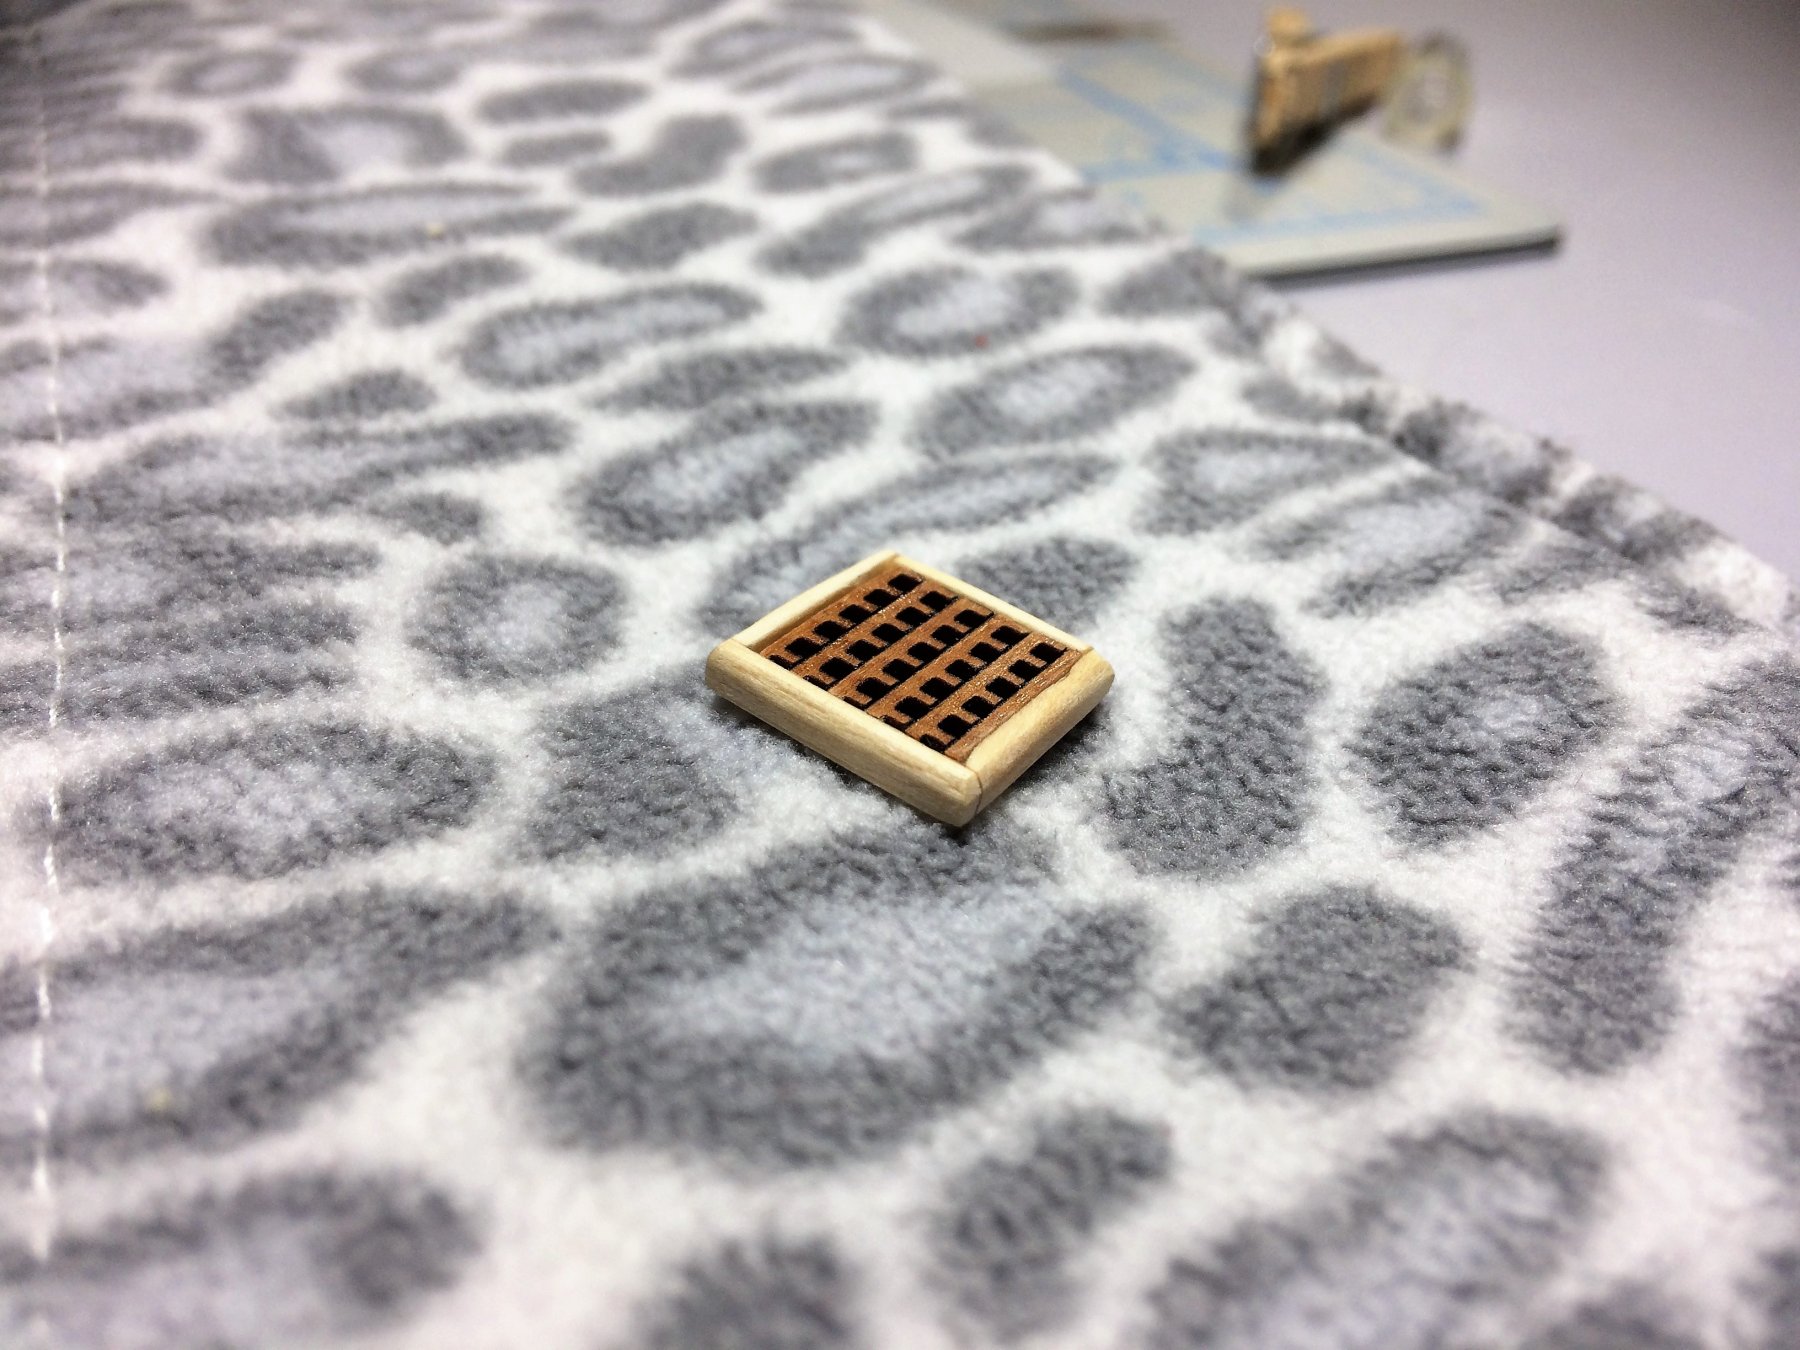
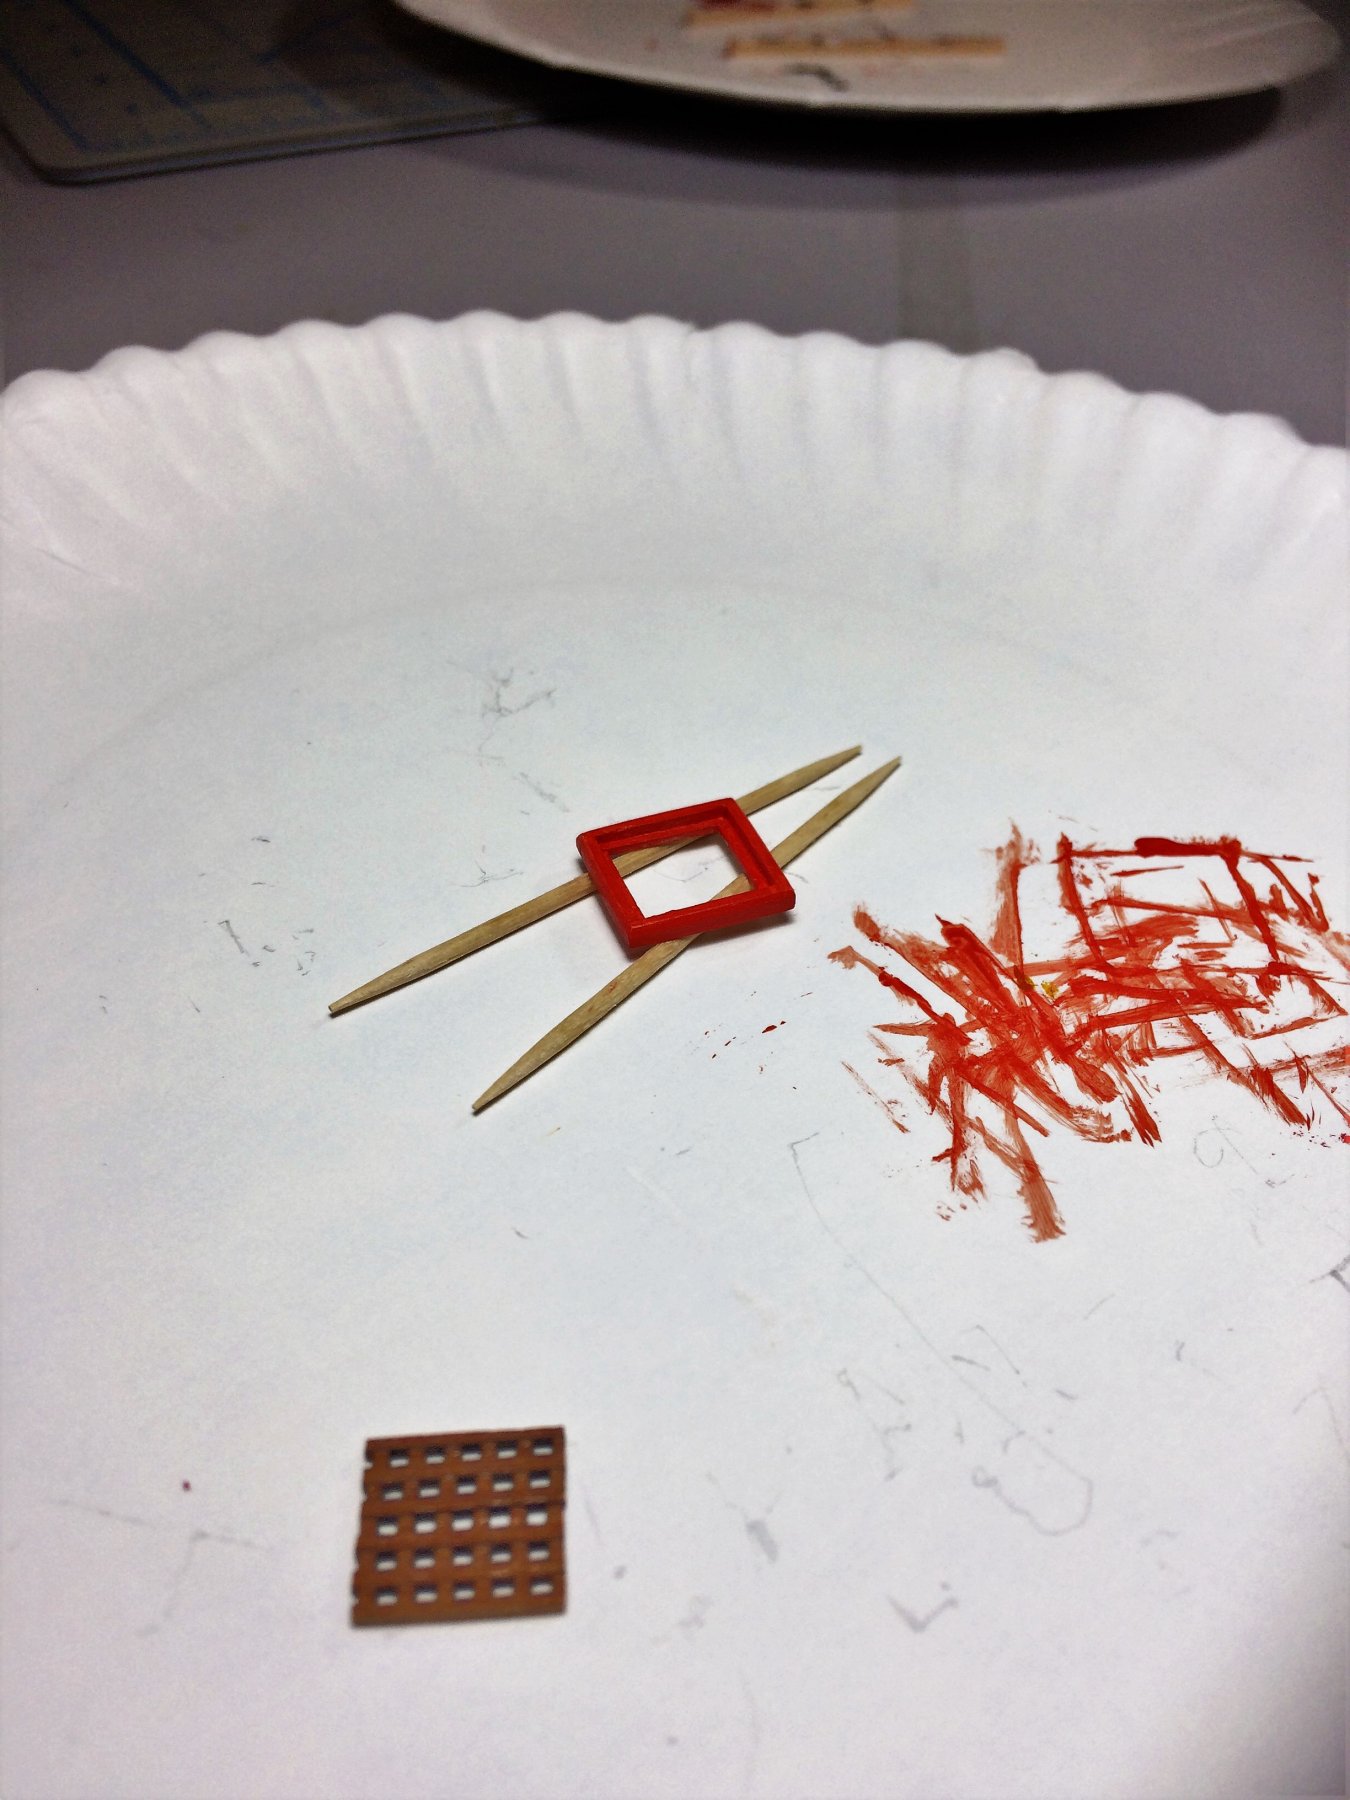
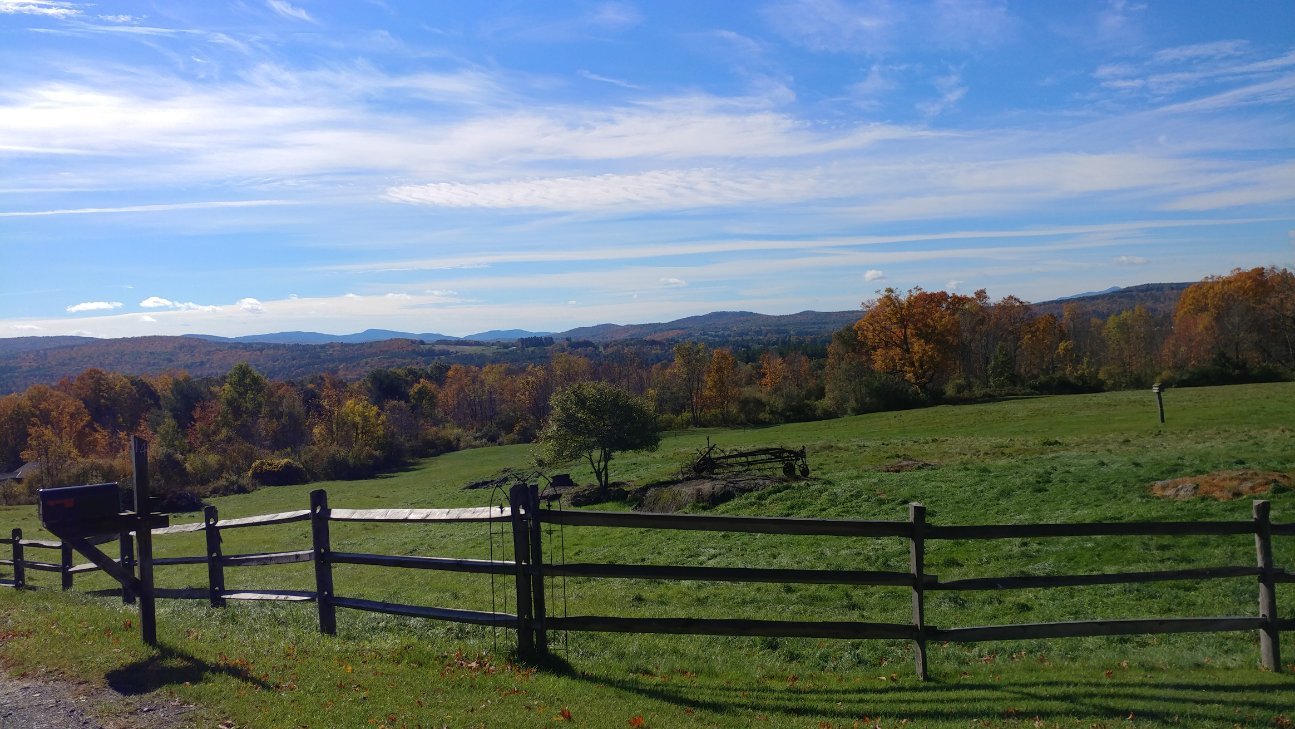
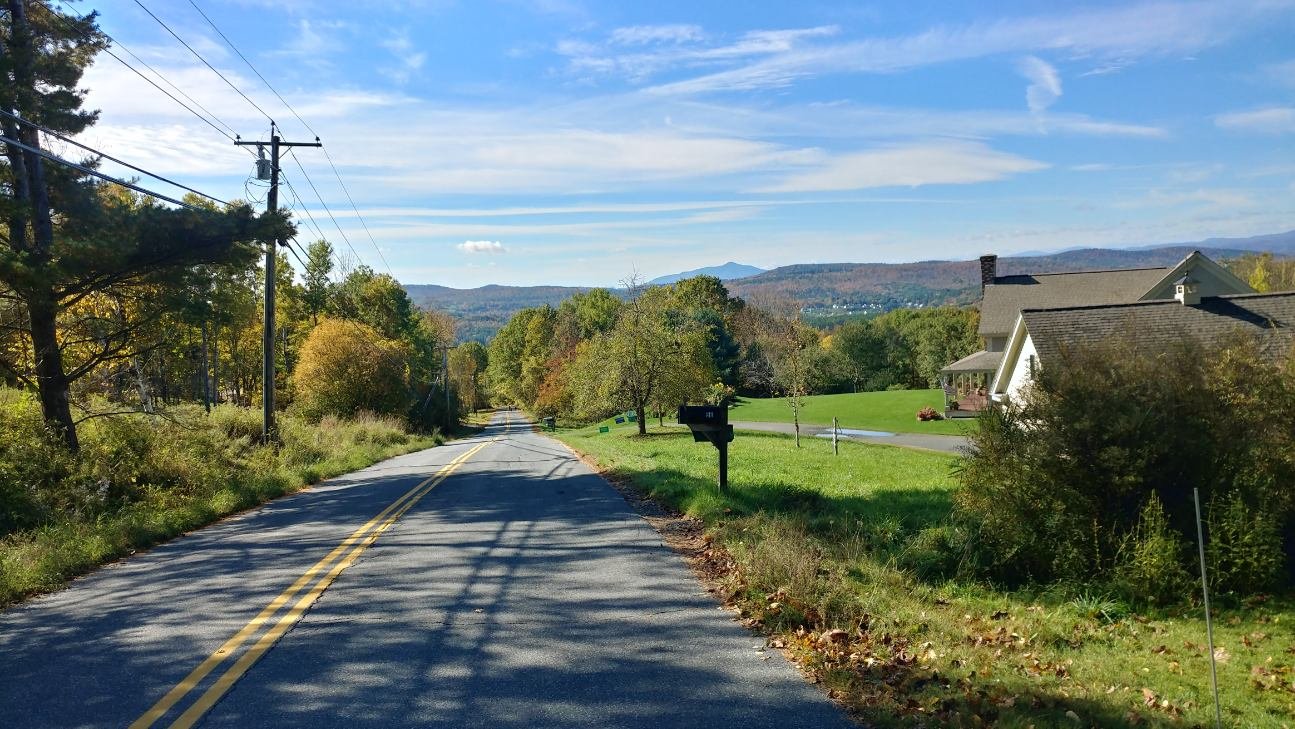
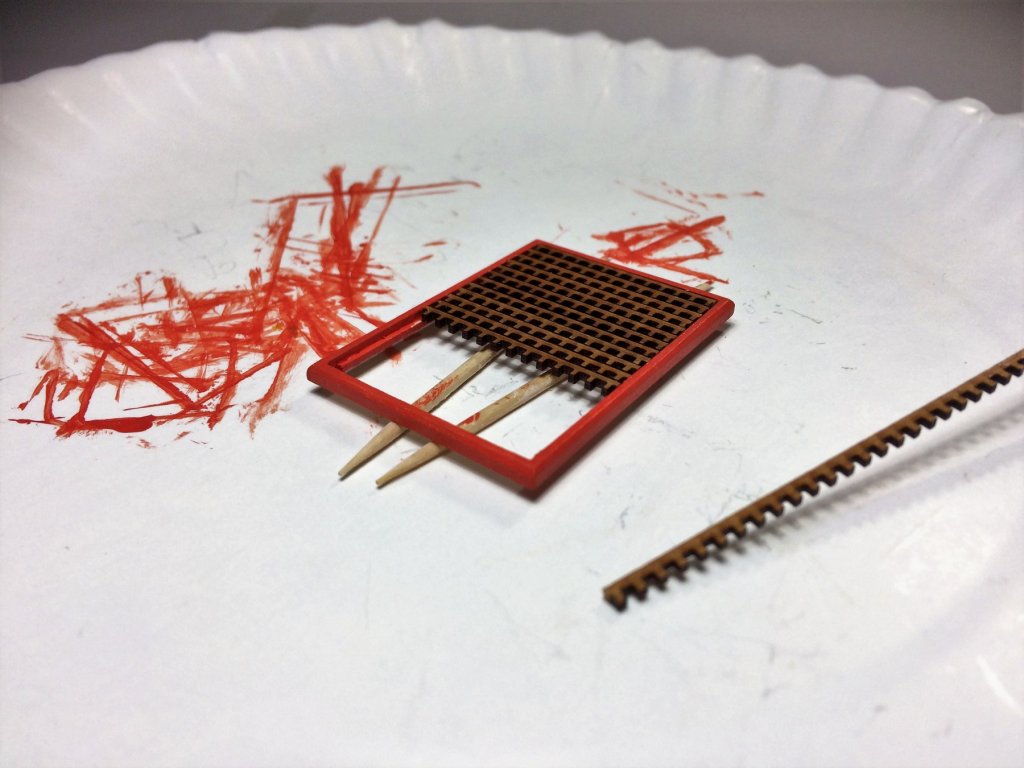
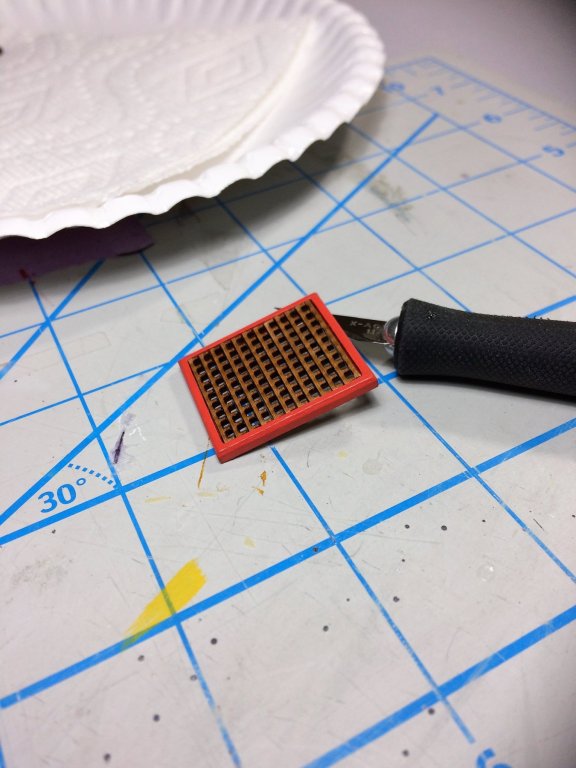
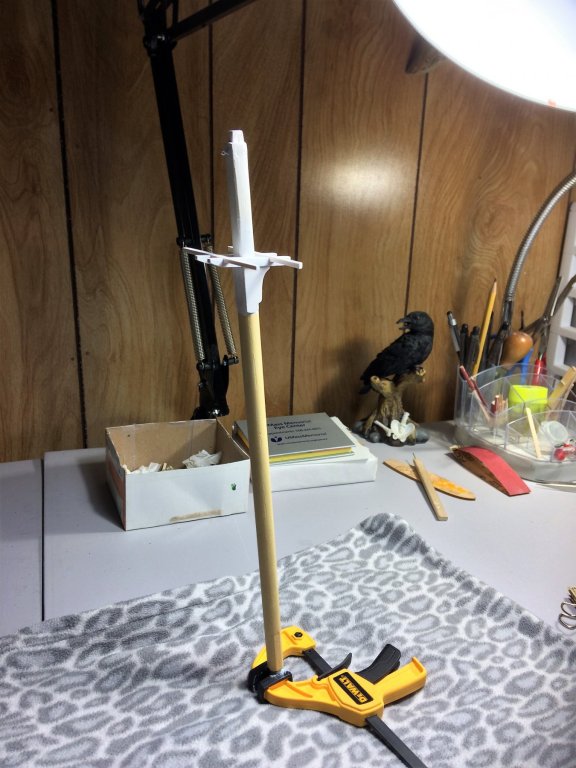
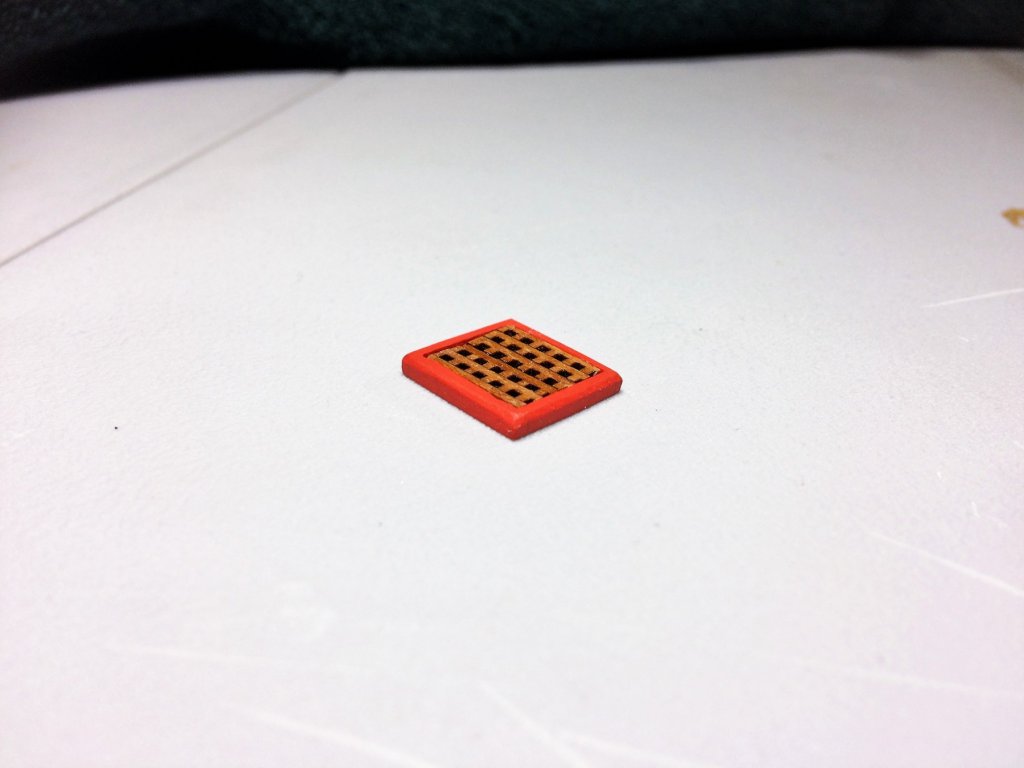
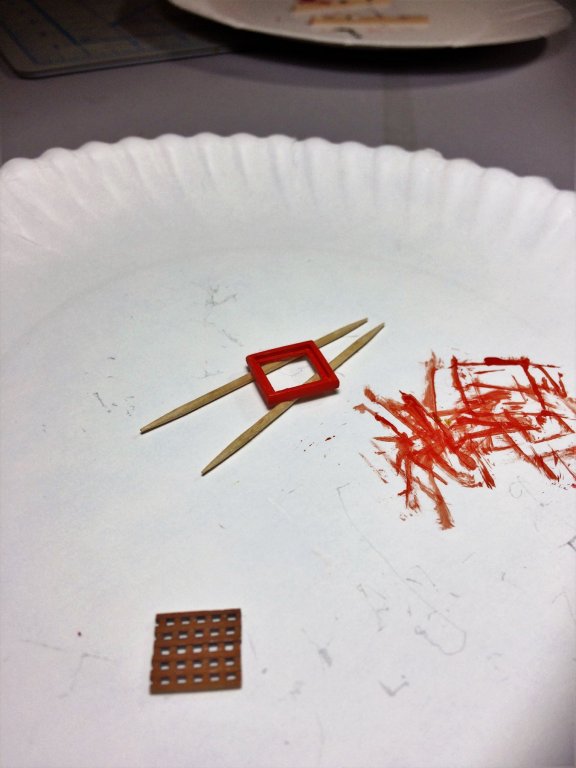
Evening, Well, I started today about 4am, just to get the chores done and get back to the shipyard. First quiet weekend in a while. Looking to take full advantage! I started cutting the Main Mast From what I can tell. The Mast has an angle roughly 11 degrees. Am I reading this right? Is the angle measured on the protractor from the center line of the dowel? Not the fore or aft edge of the dowel? I've also been keeping in mind where the Shrouds are located, and 11 degrees looks good. I made my Galley grating! It was kinda fun. The eggcrate method with the grating supplied is unique. Odd looking stuff. Maybe not for this build, but, I see an upgrade to Syren gratings in the future. Primed, then a few coats of red. I just had to throw in the below pics. Its been a beautiful fall in New England. Winter is next! I'm ready! Tom E


-
Andrew, The Bowdoin is my next project. I just love the look of this ship. I'll be following with great interest! Tom E
- 106 replies
-
- 1
-
-
- bowdoin
- BlueJacket Shipcrafters
- (and 1 more)
-
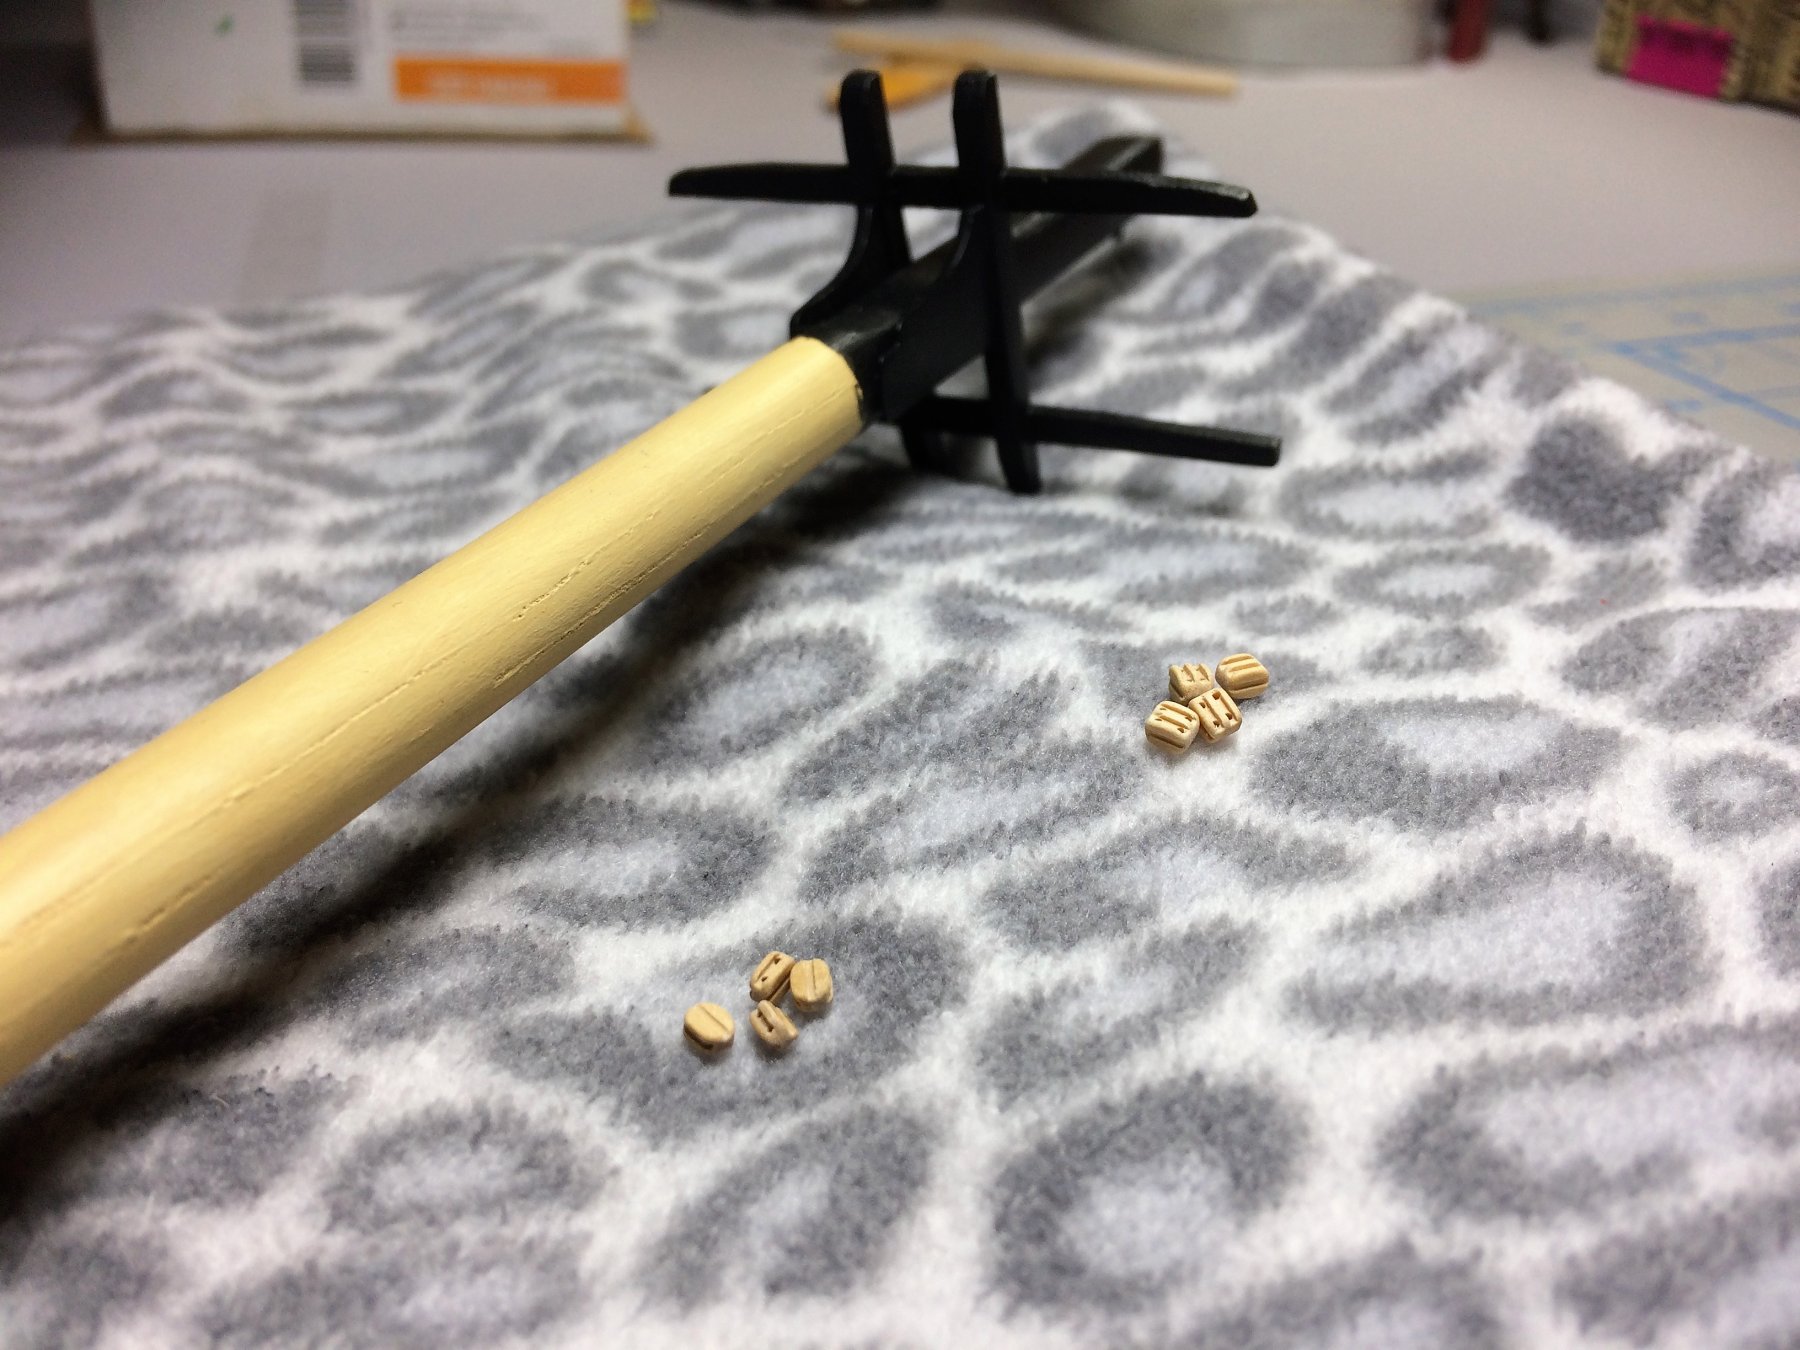
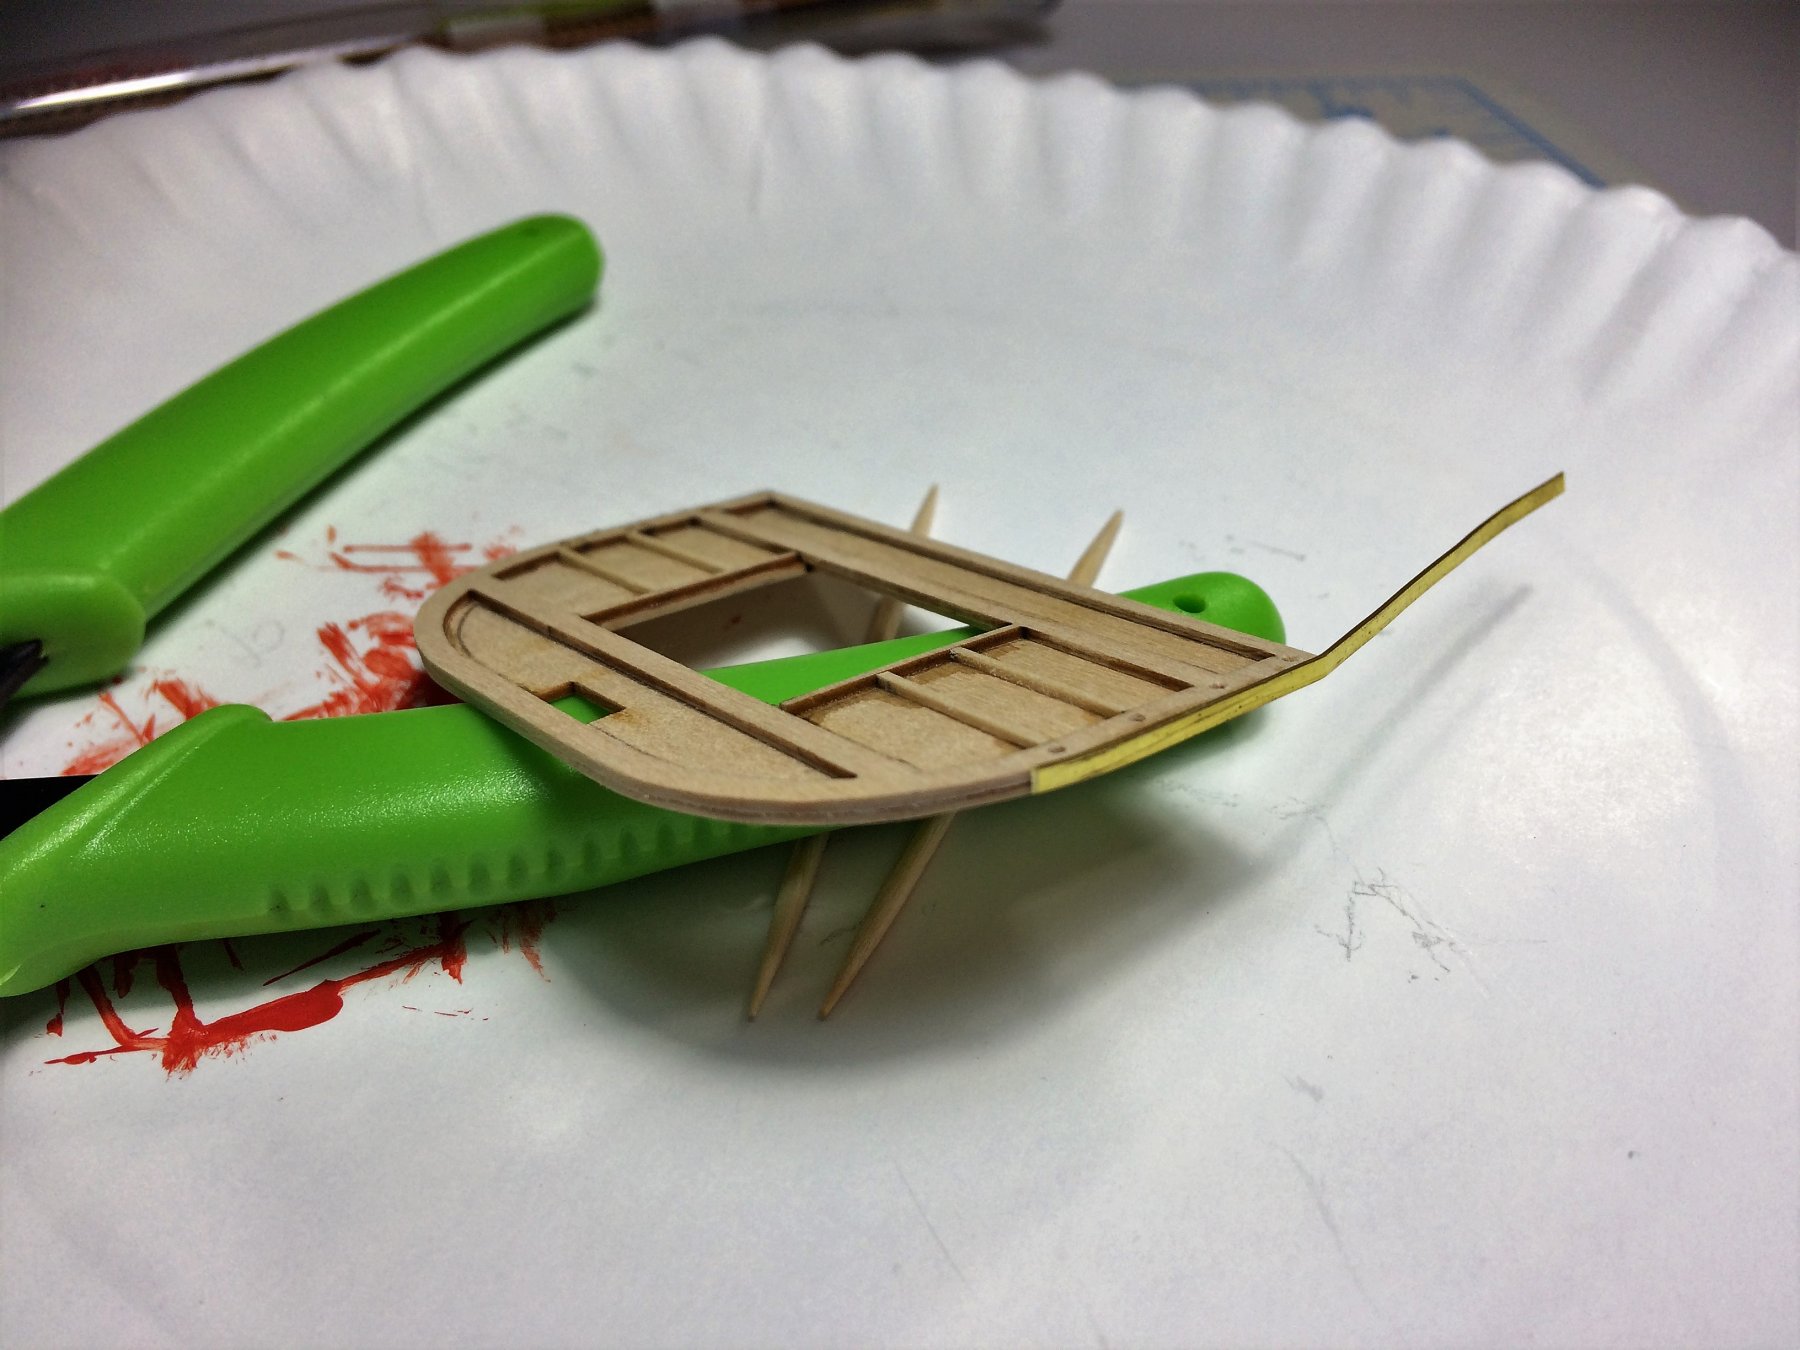
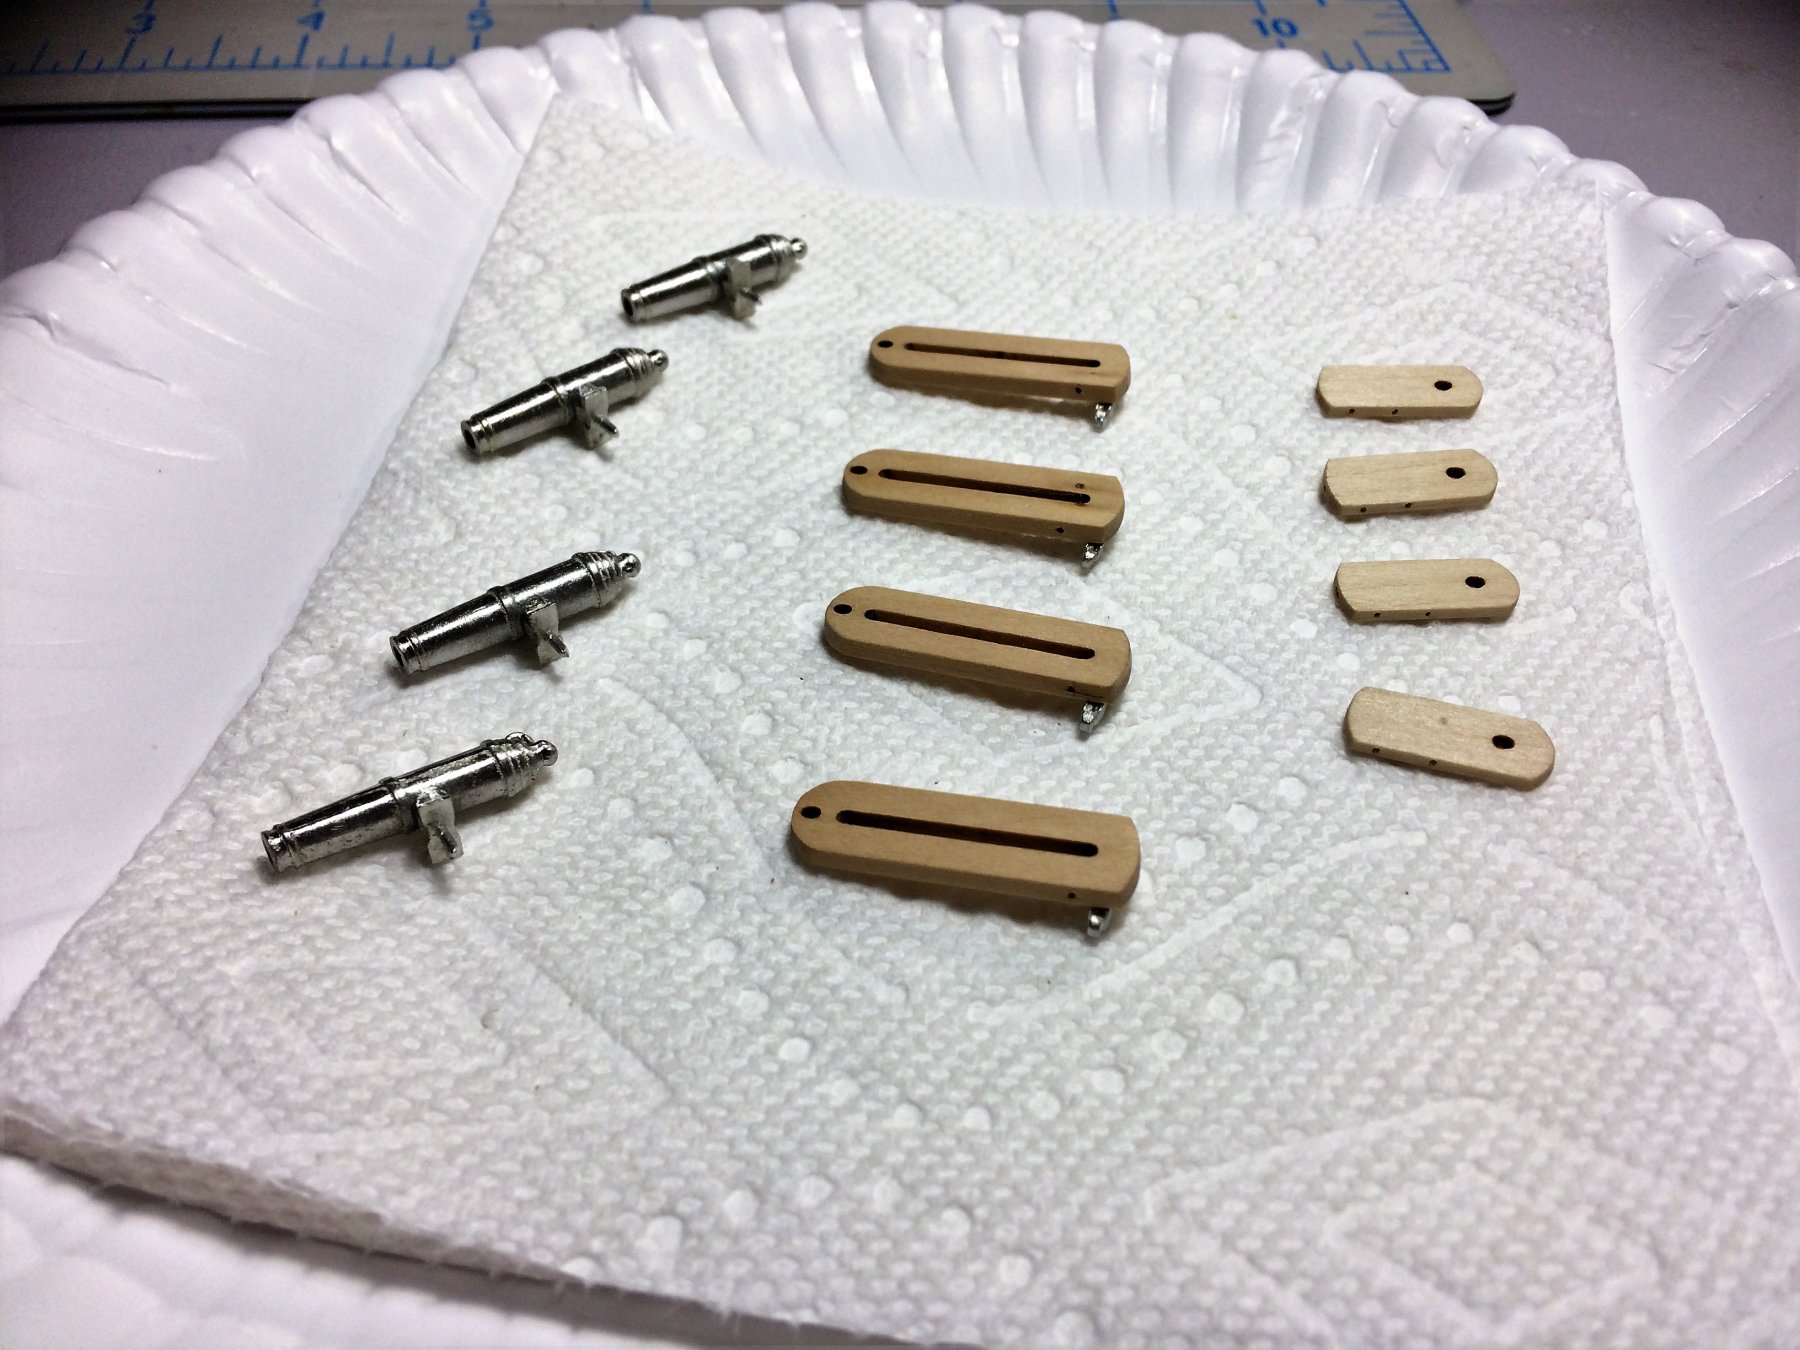
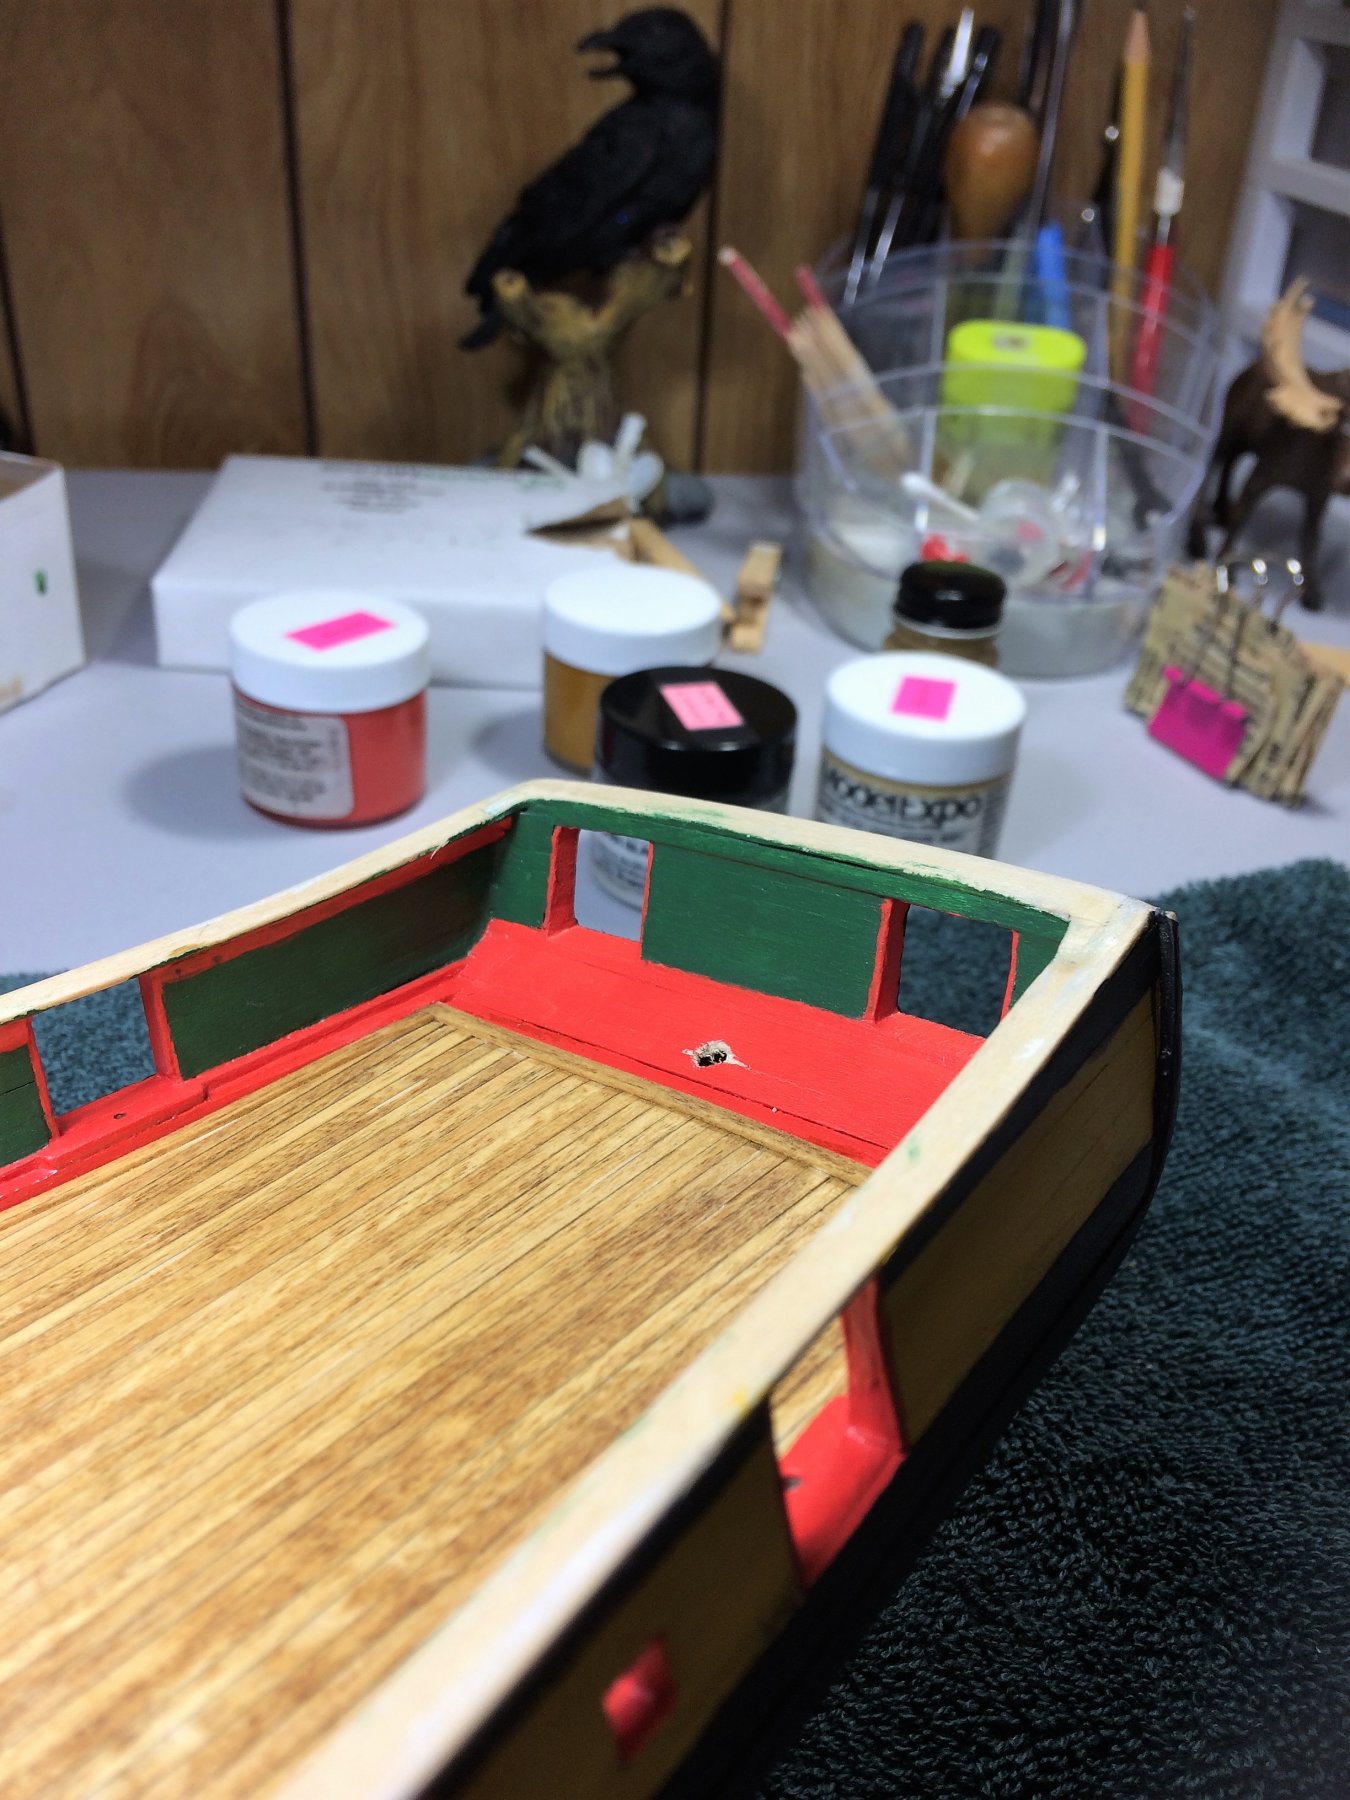
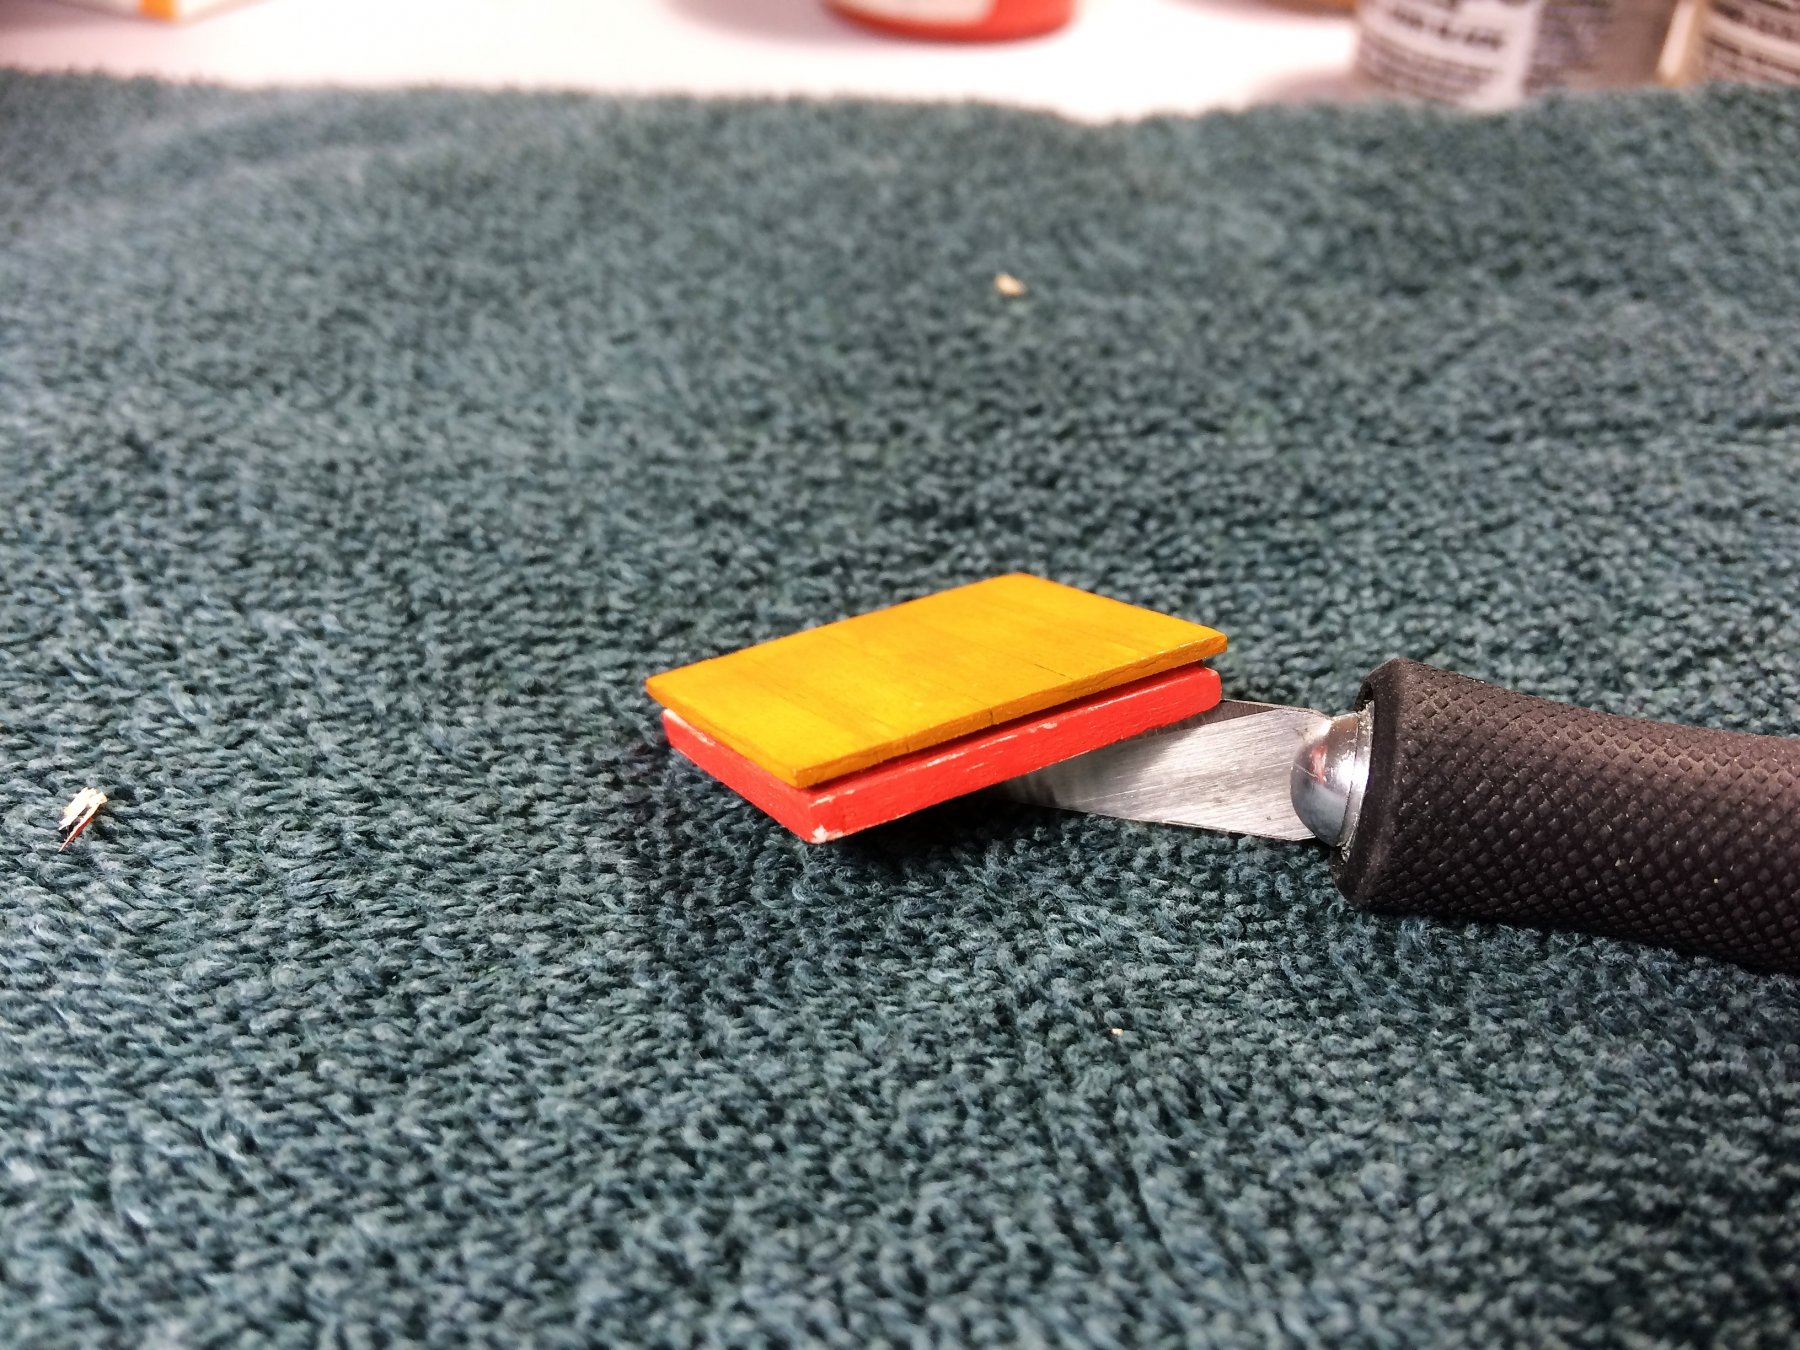
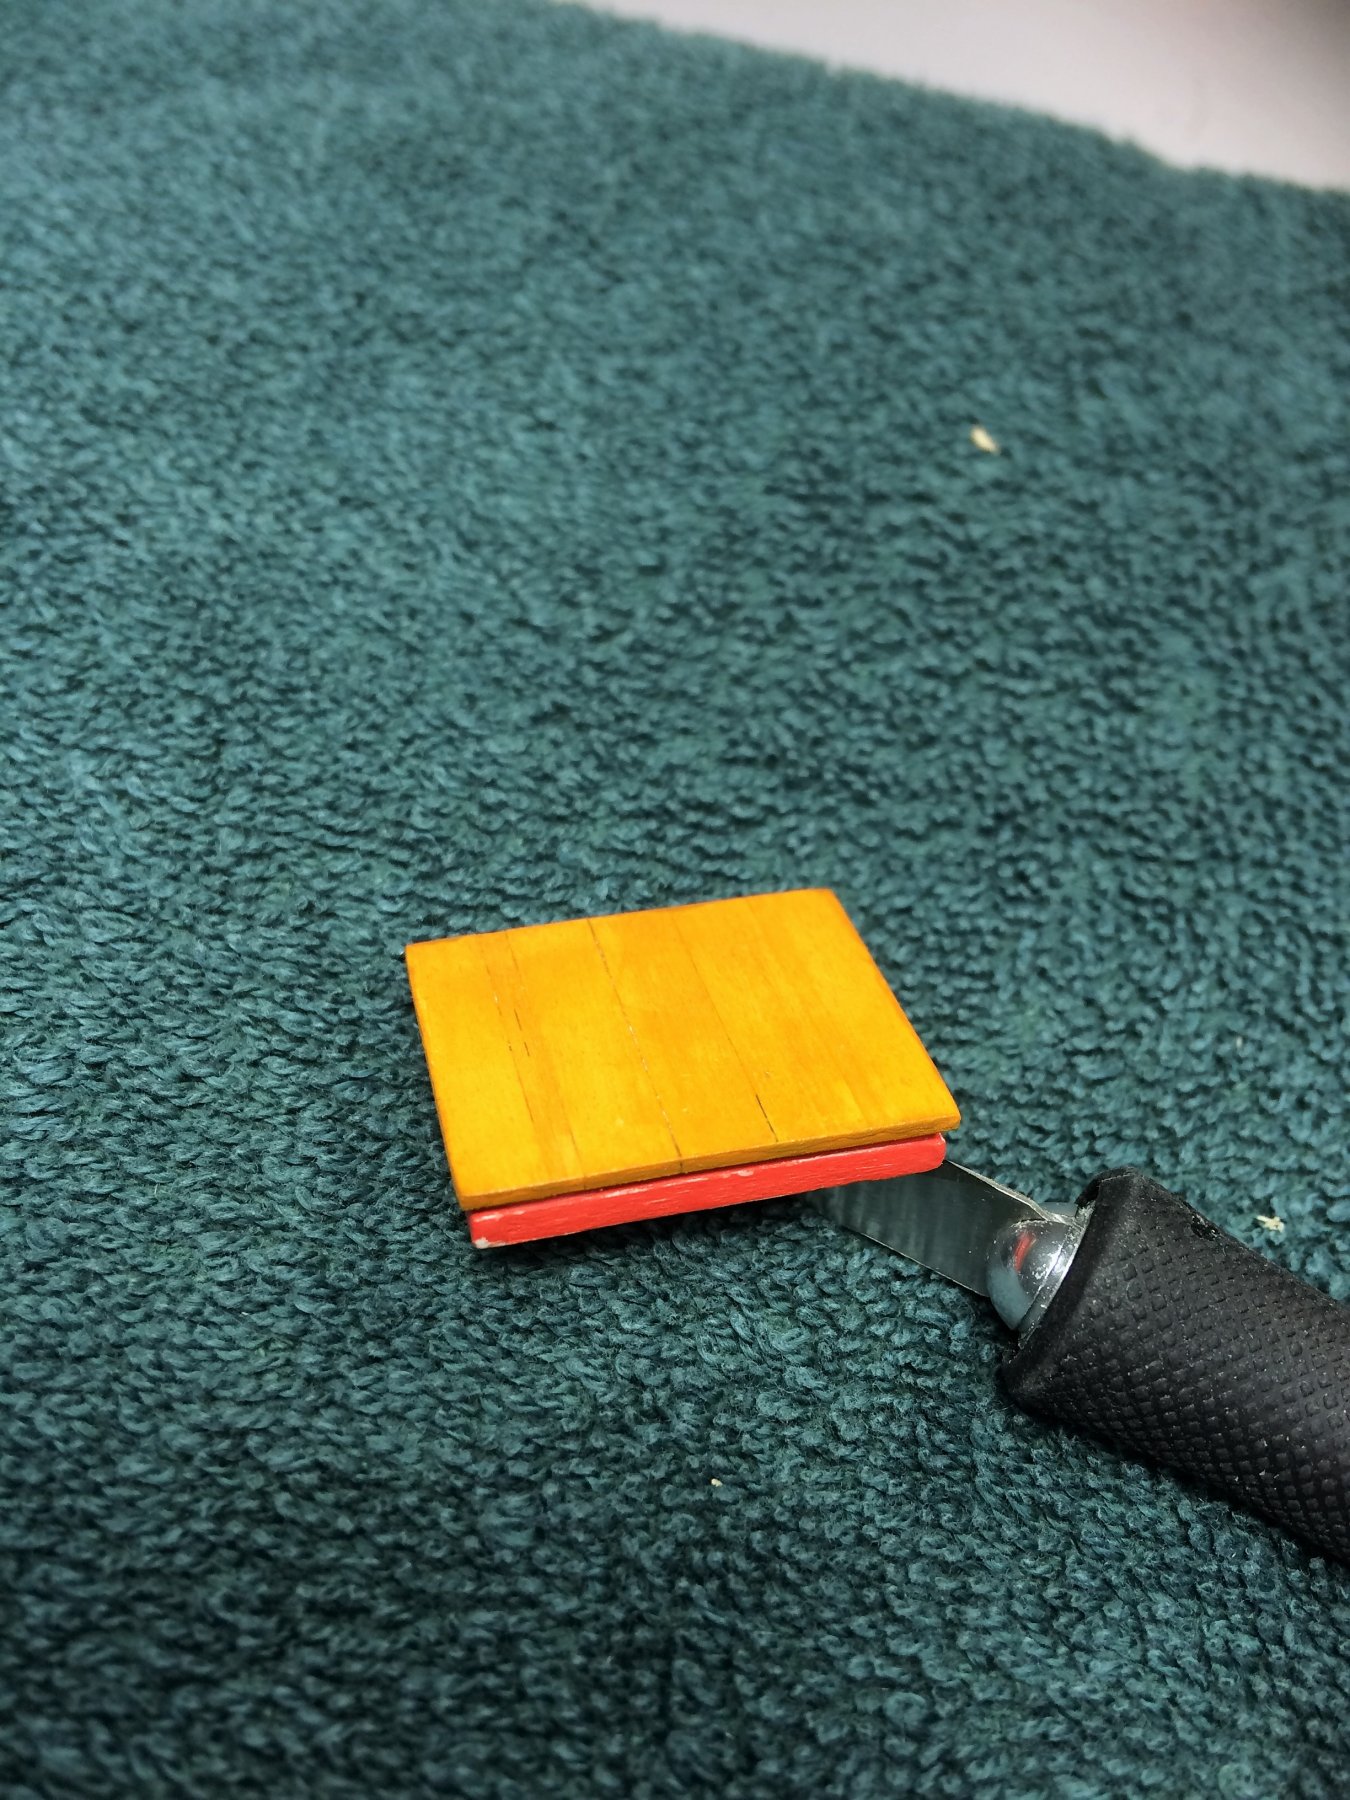
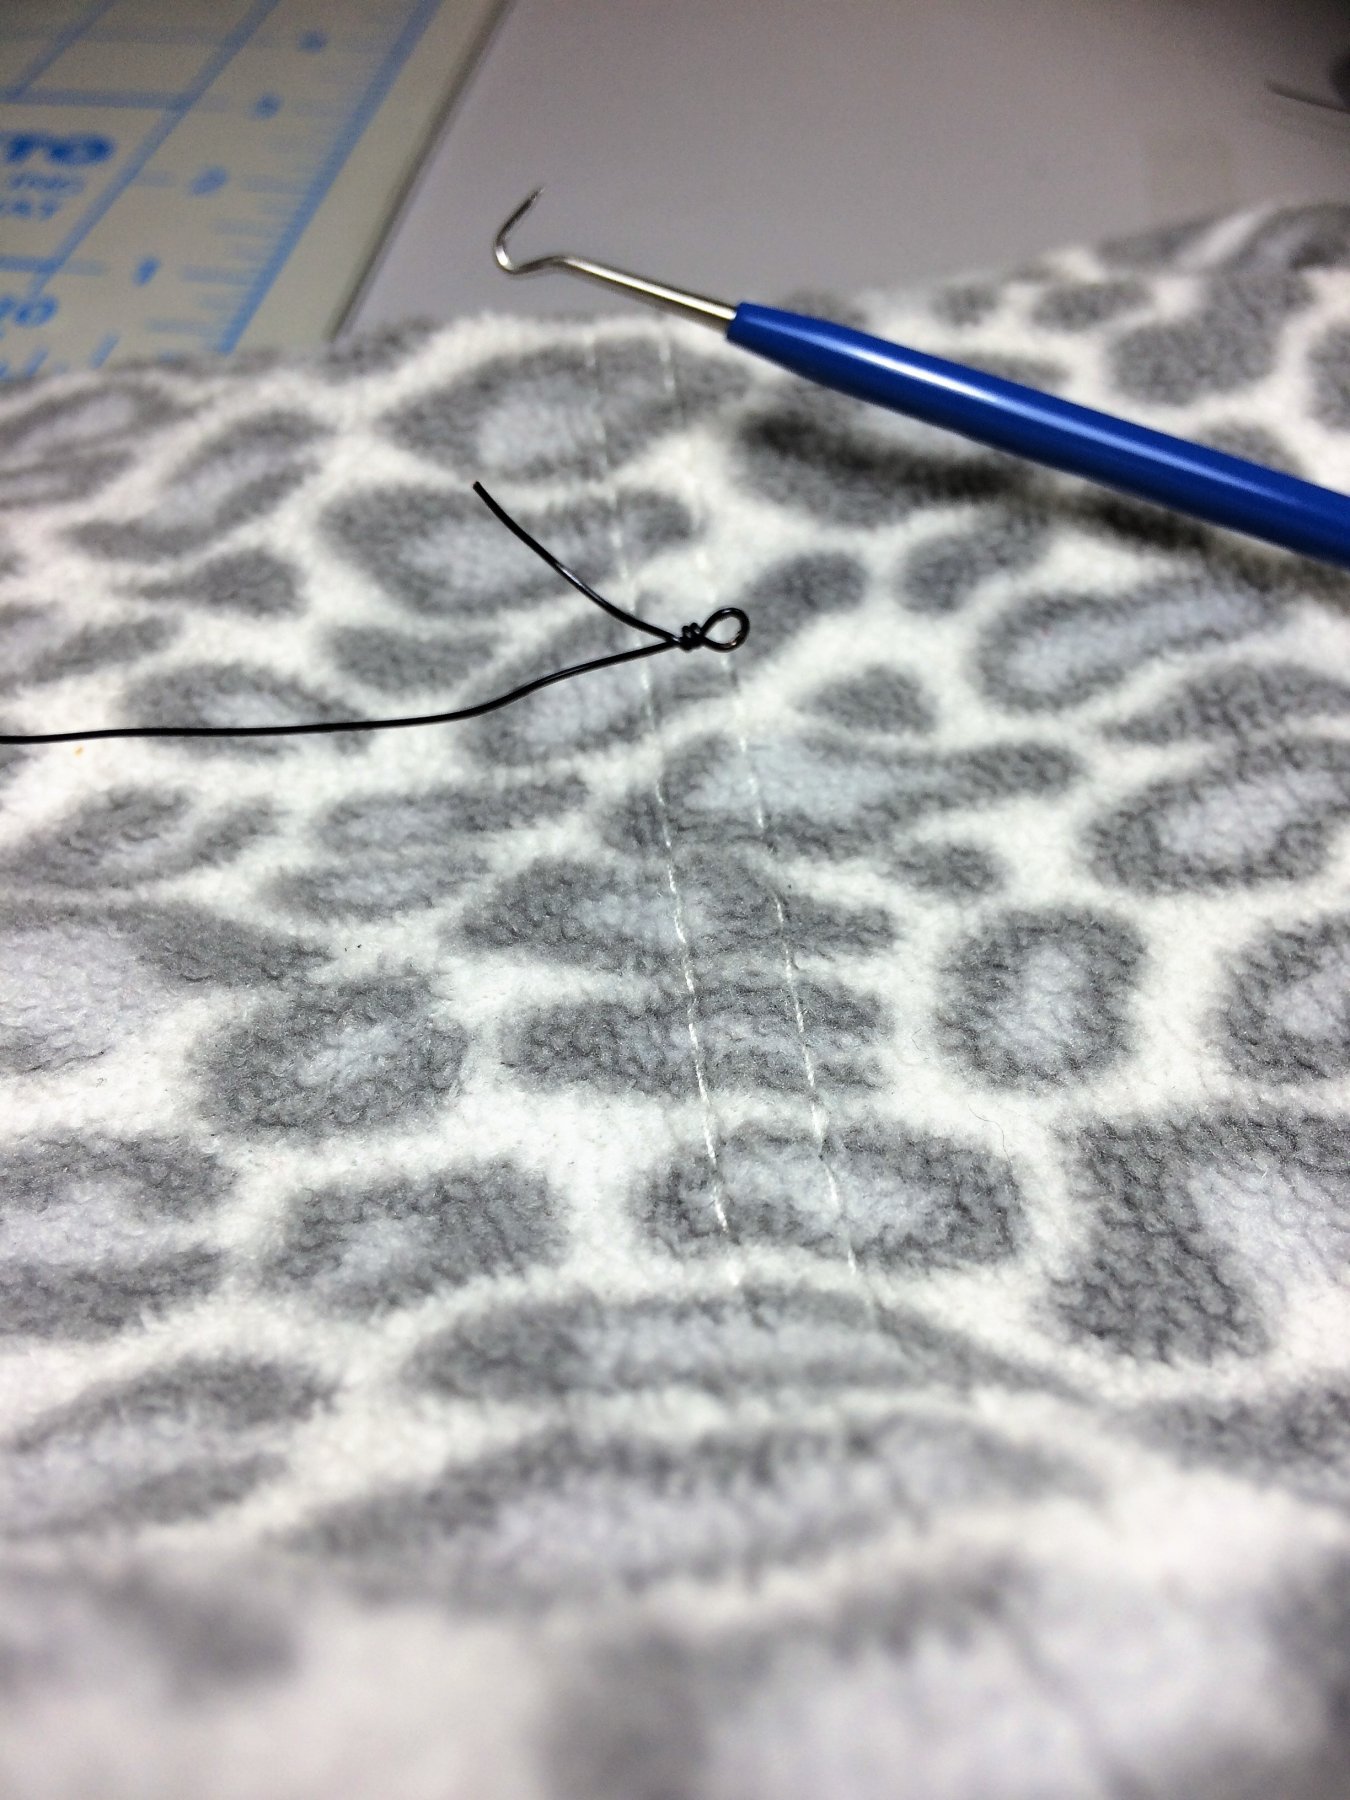
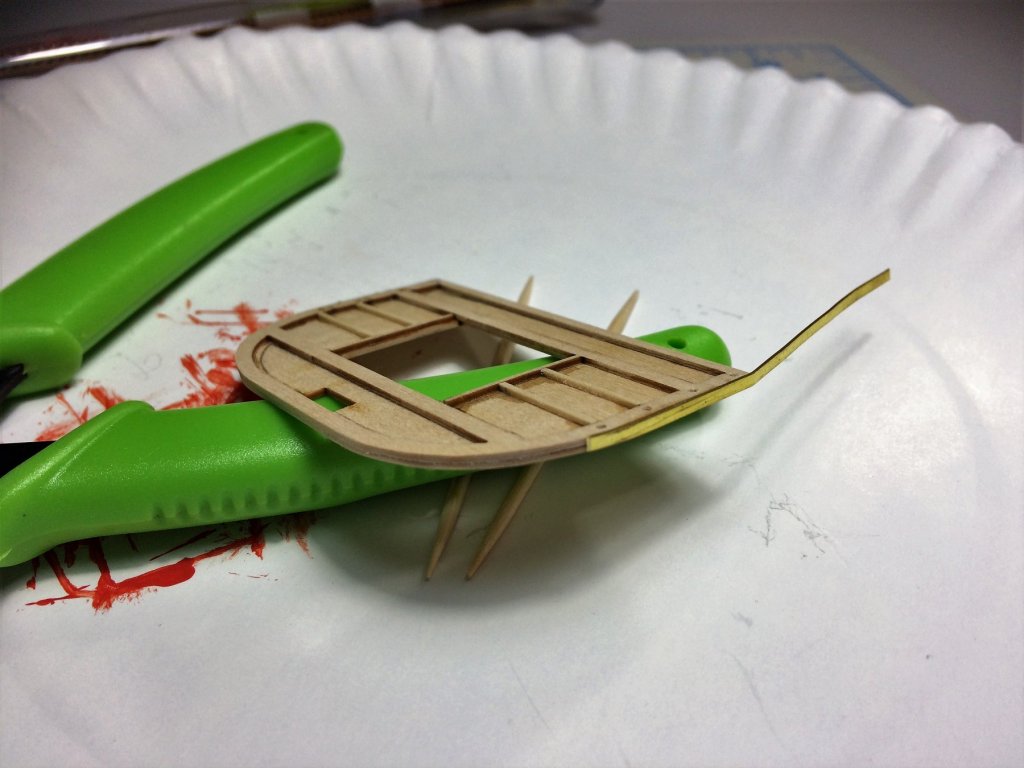
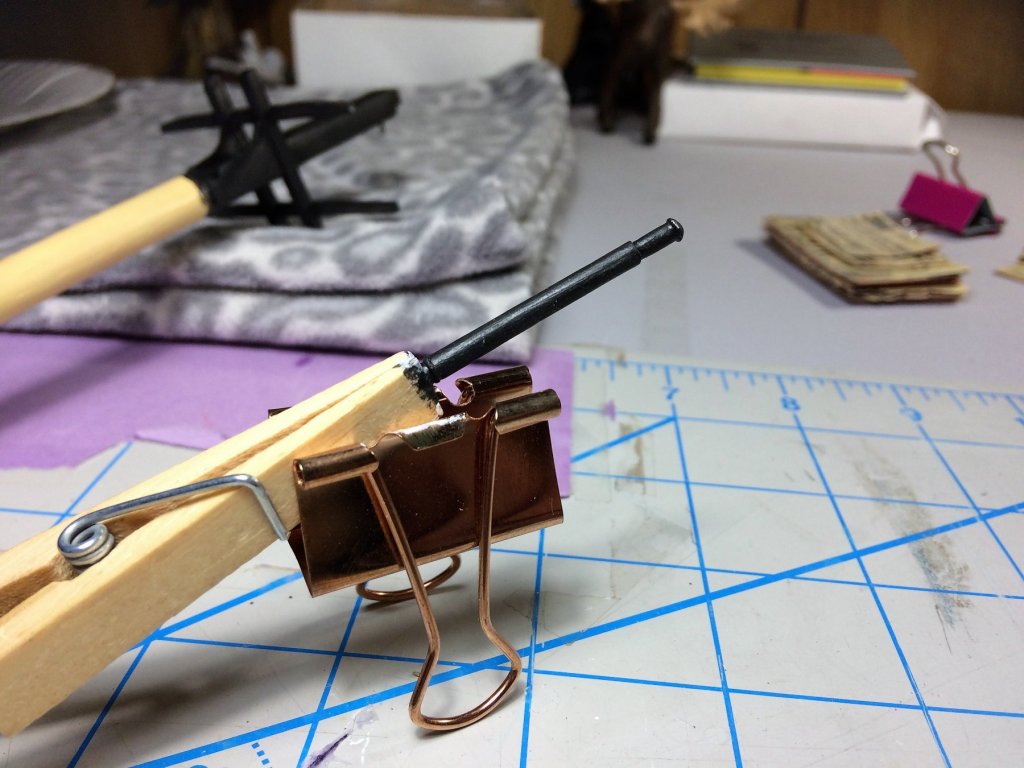
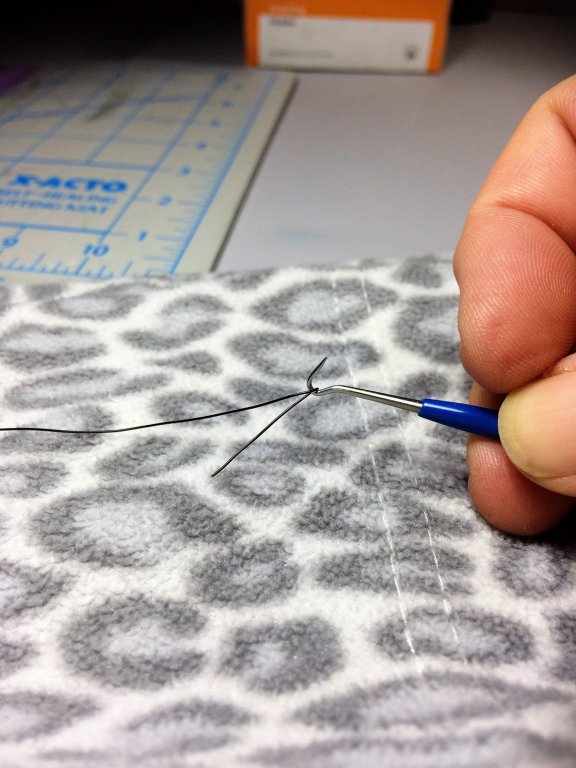
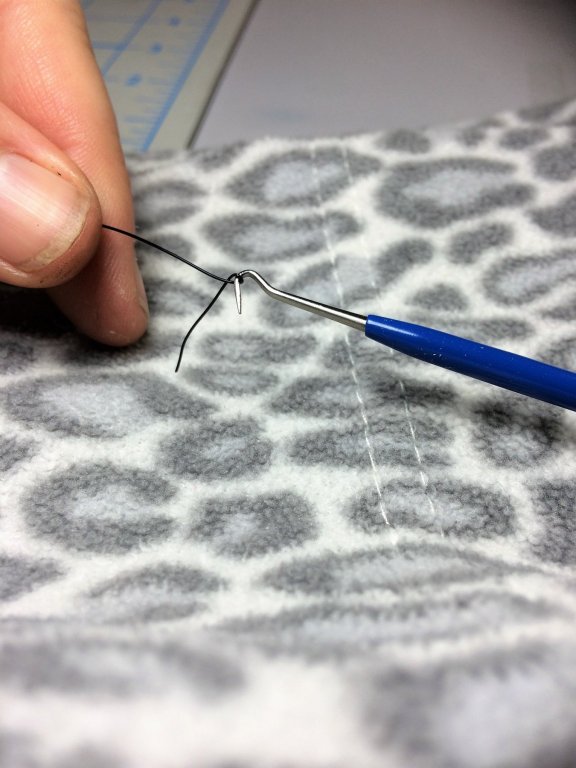
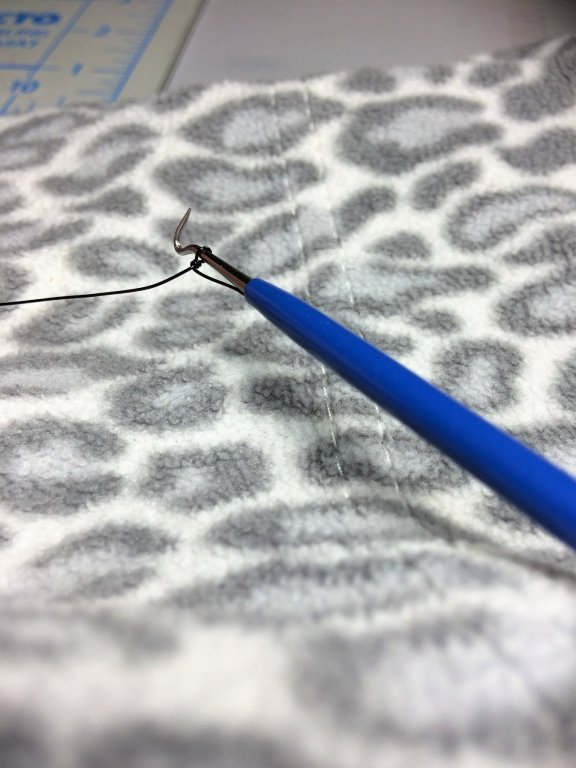
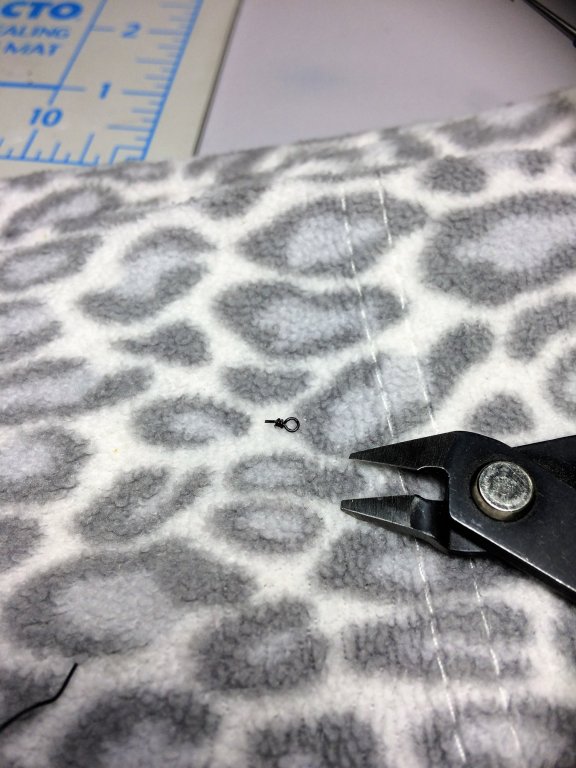
Evening, Been a while, time for an update. Admittedly, haven't been working on Niagara as much as I want to. During the Fall, a lot of family and friends visit for the foliage. Good food, family and friends...…...good times, good times! I drilled out the hole for the rudder. That was nerve wracking! I was going to drill it out with my Dremel......was. I was looking thru other ship builds and I saw where it was drilled out and the planking around it exploded. Did not want that! I wrapped some tape around a 1/8th drill bit for finger traction and did it by hand. I'll clean it up with some sand paper. The Hawse holes will be done the same way. No power tools here!!! I built the Forecastle Hatch. Seemed easy enough. It was the paint that would prove difficult. I used a Golden Oak paint I had left over from another build. Yes, Its as orange in person as it is in the pics! The paint has been stripped off. I've been thinking of staining it a dark stain to contrast the some what light deck stain. I'm still chewing on that one. I started building the Galley Hatch over the weekend. Should have pics soon. Most building of late has been Carronade. I only do 4 at a time. Feels rushed If I do all at once. Just feels like more of a controlled process. I'd feel overwhelmed with all 20 guns at once. Below are primed and ready for the first coat of red. As with any Cannon being built, eyebolts are always in the picture. We all have our own methods. Here how I do it. I use a pick like tool Model Expo sells as a "Rigging Tool". I use 28g wire and wrap around the tool head. While holding the wire with the left hand and the pick in the right. Twist about 2 times, then gently force down the neck of the pick to form a loop. Need a bigger diameter eyebolt, force it further down the neck of the pic. I would go about 1/3 of the way down the neck. That seemed like an appropriate size. I remove it from the pick to fix it up a bit before clipping of the tail of the wire. 1 eyebolt. Easy peasy lemon squeezy! It works for me! Tom E


-
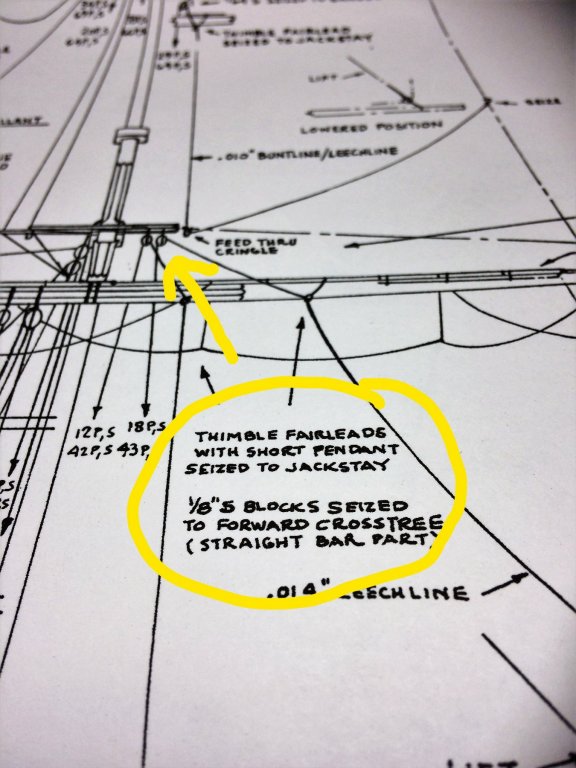
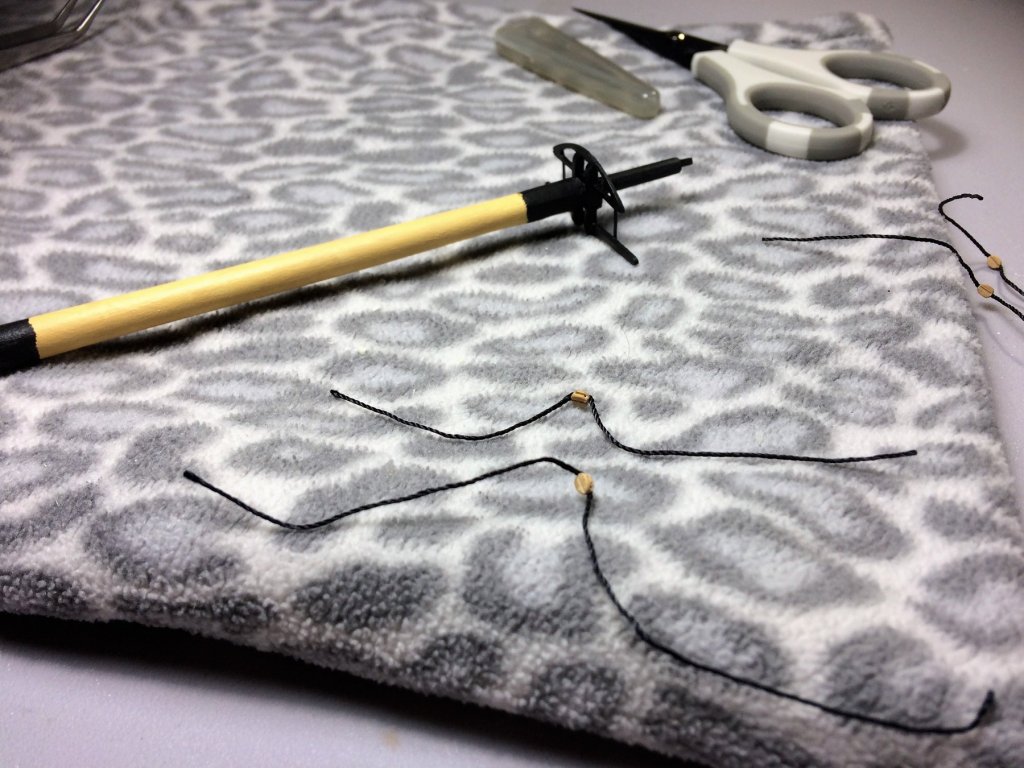
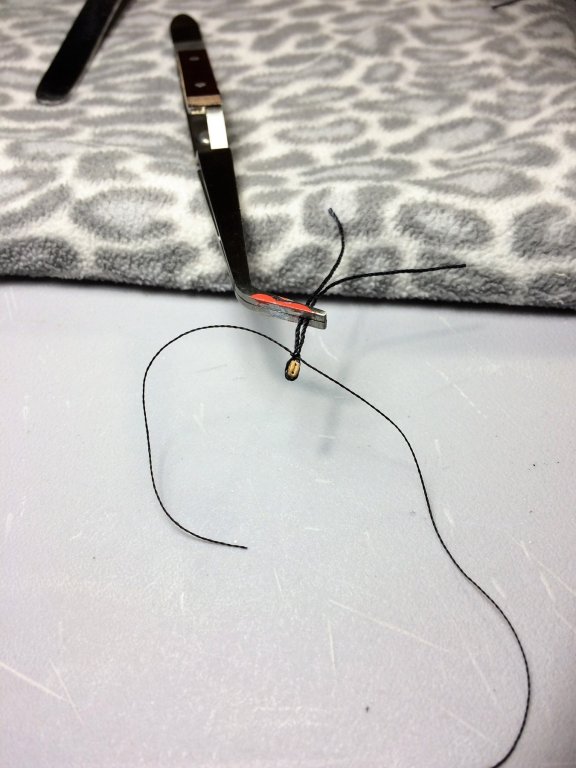
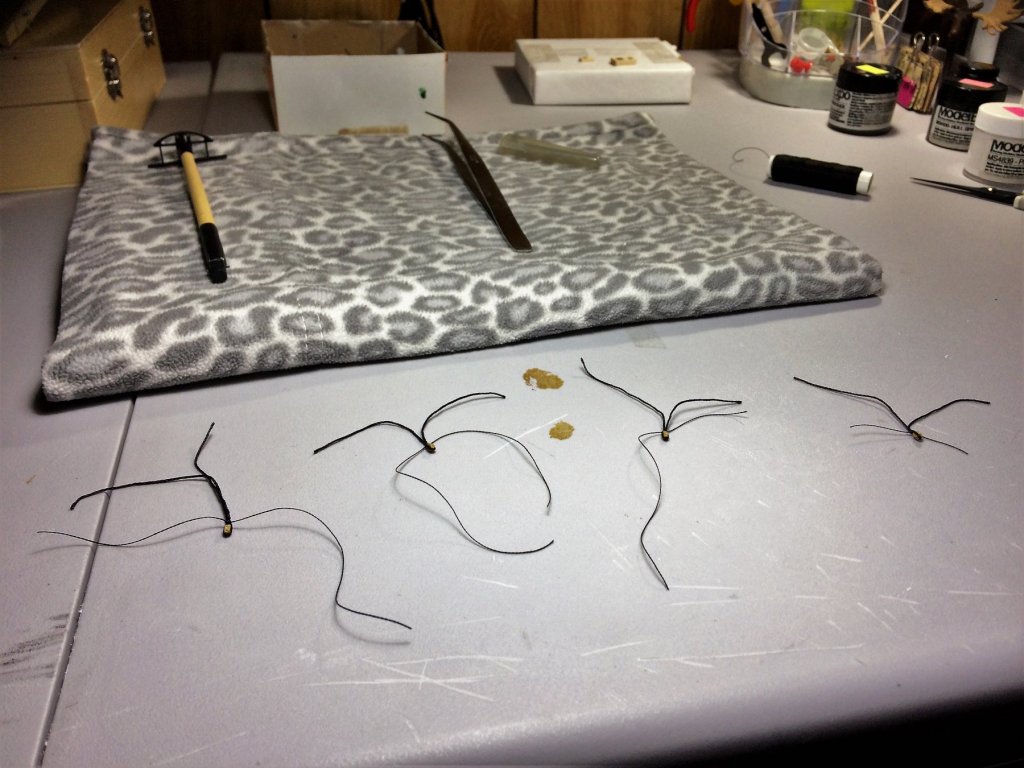
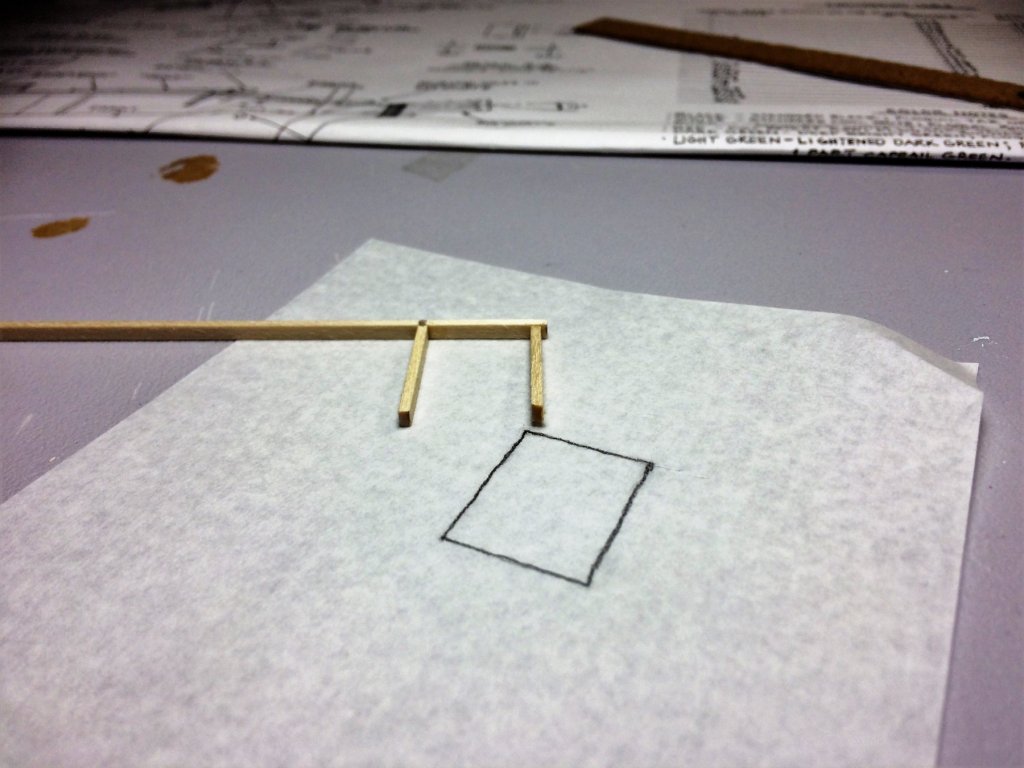
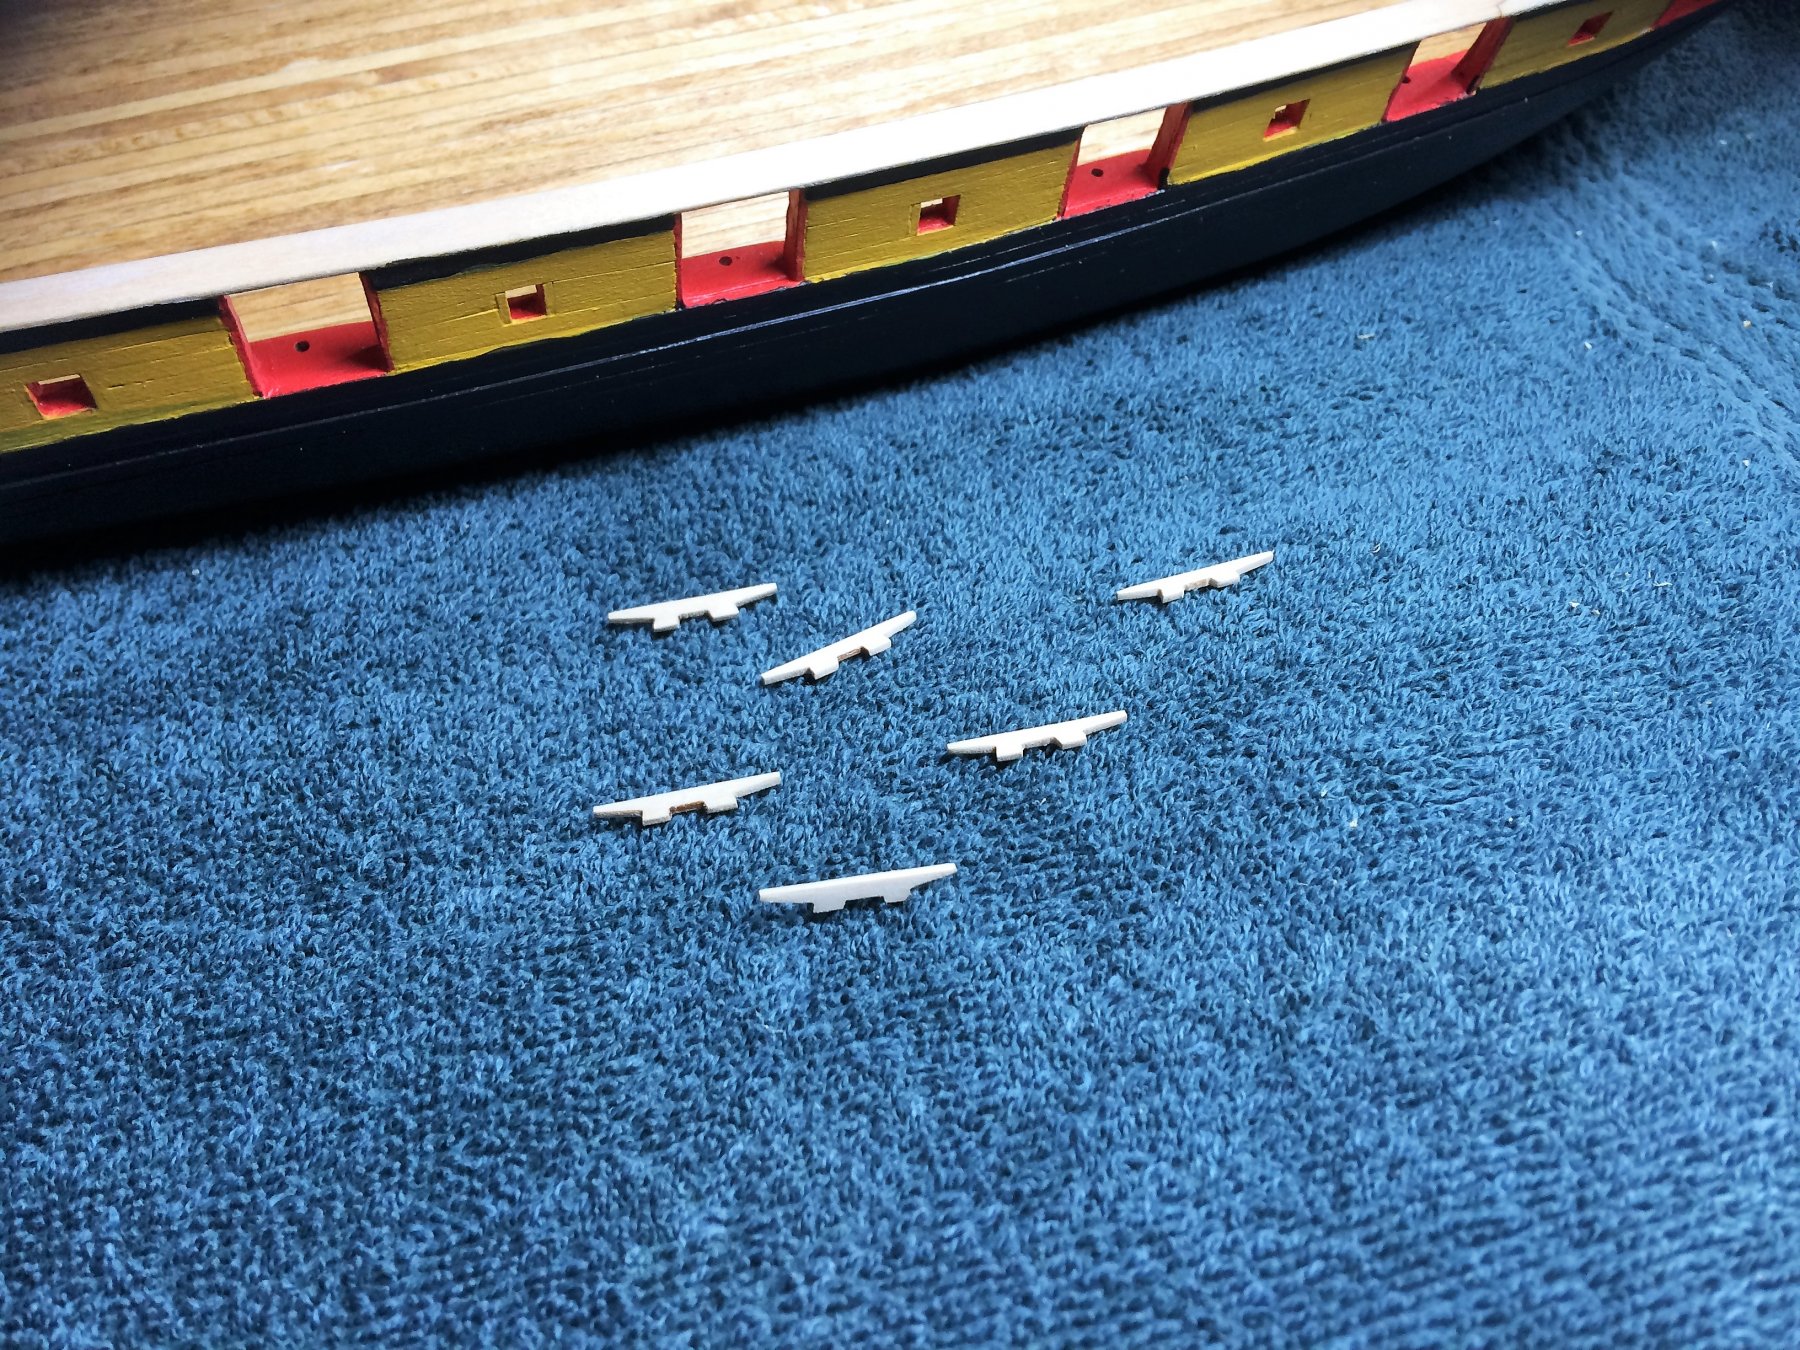
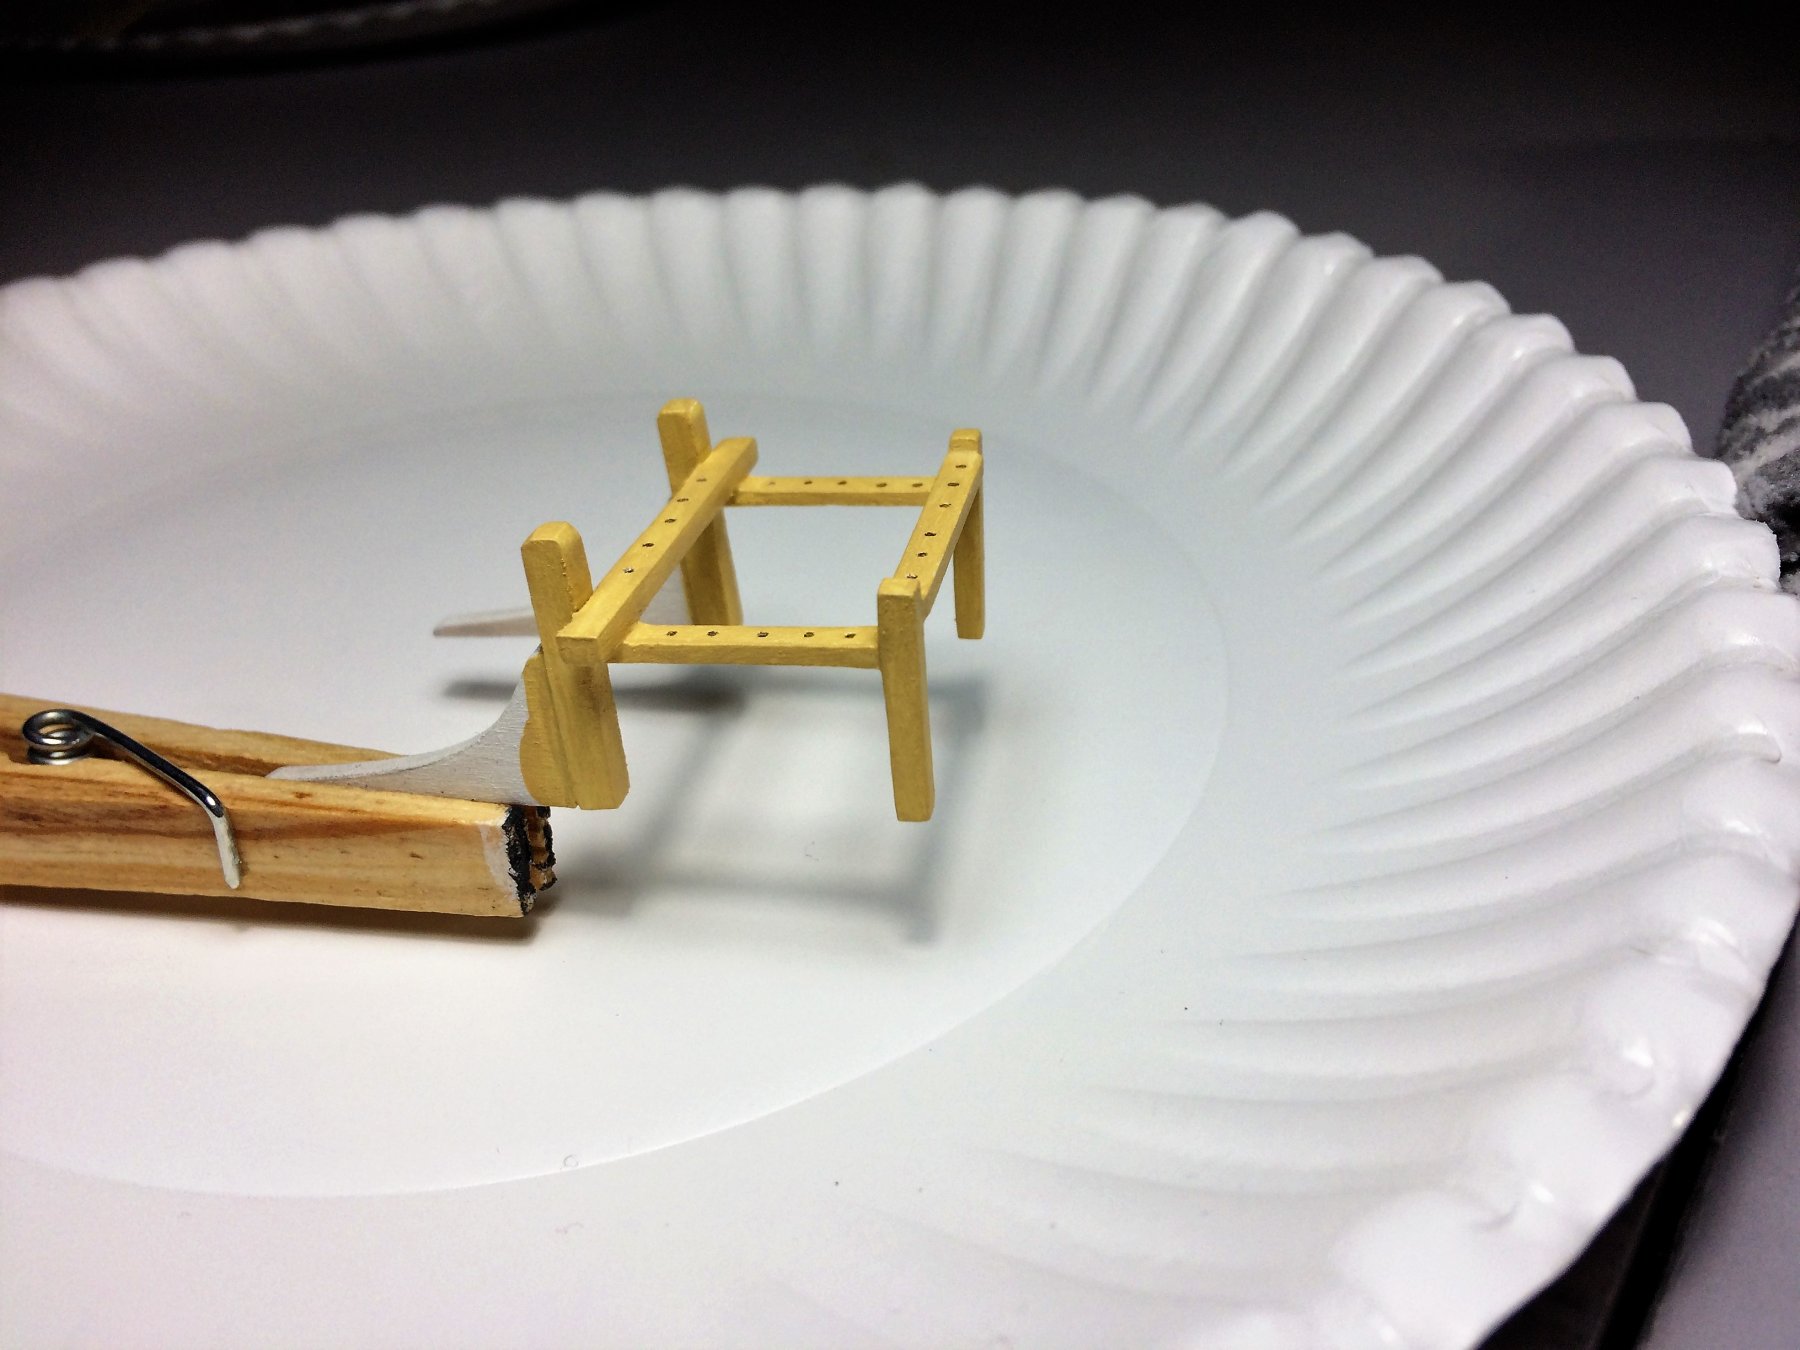
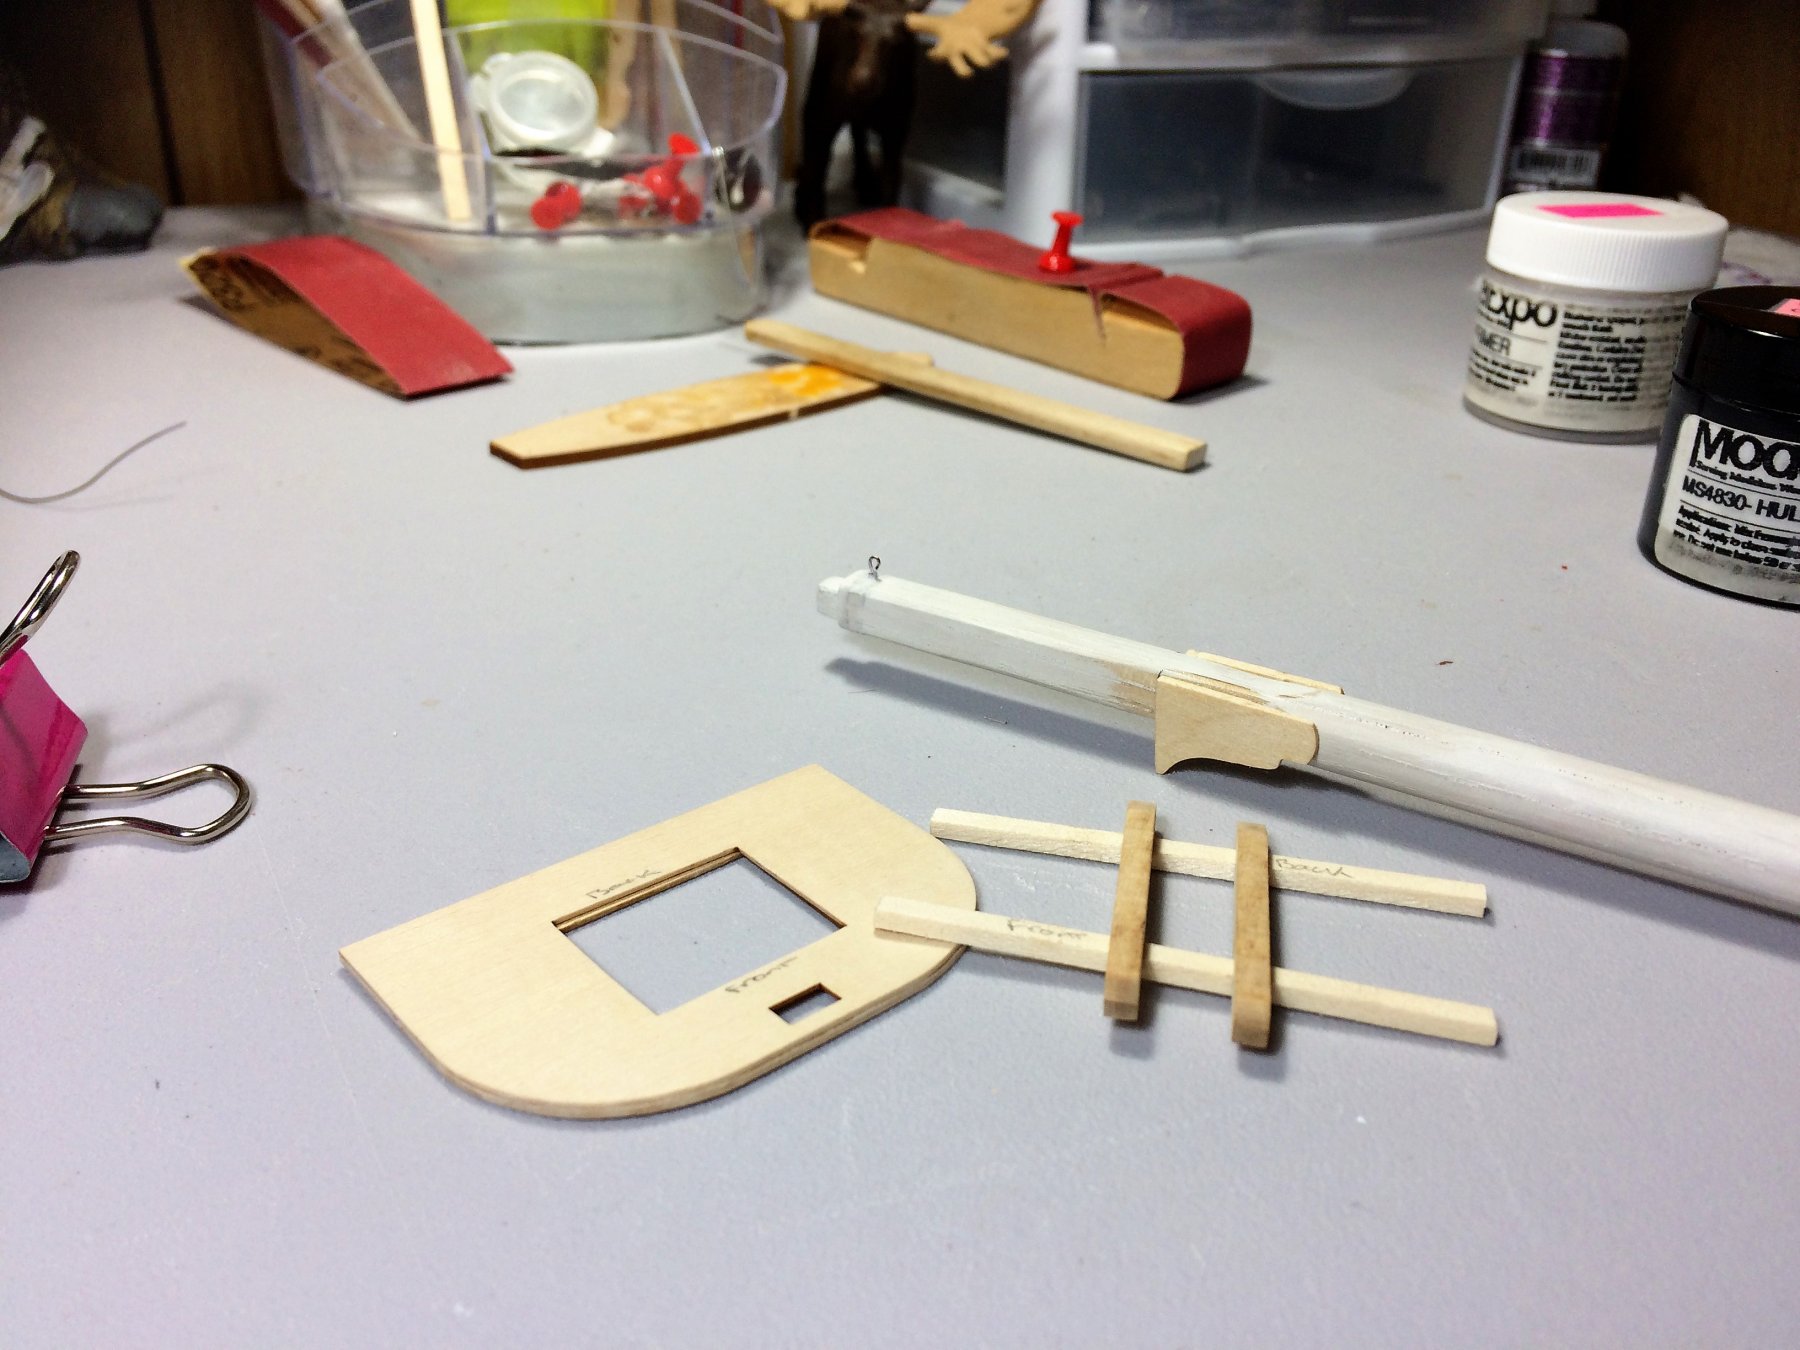
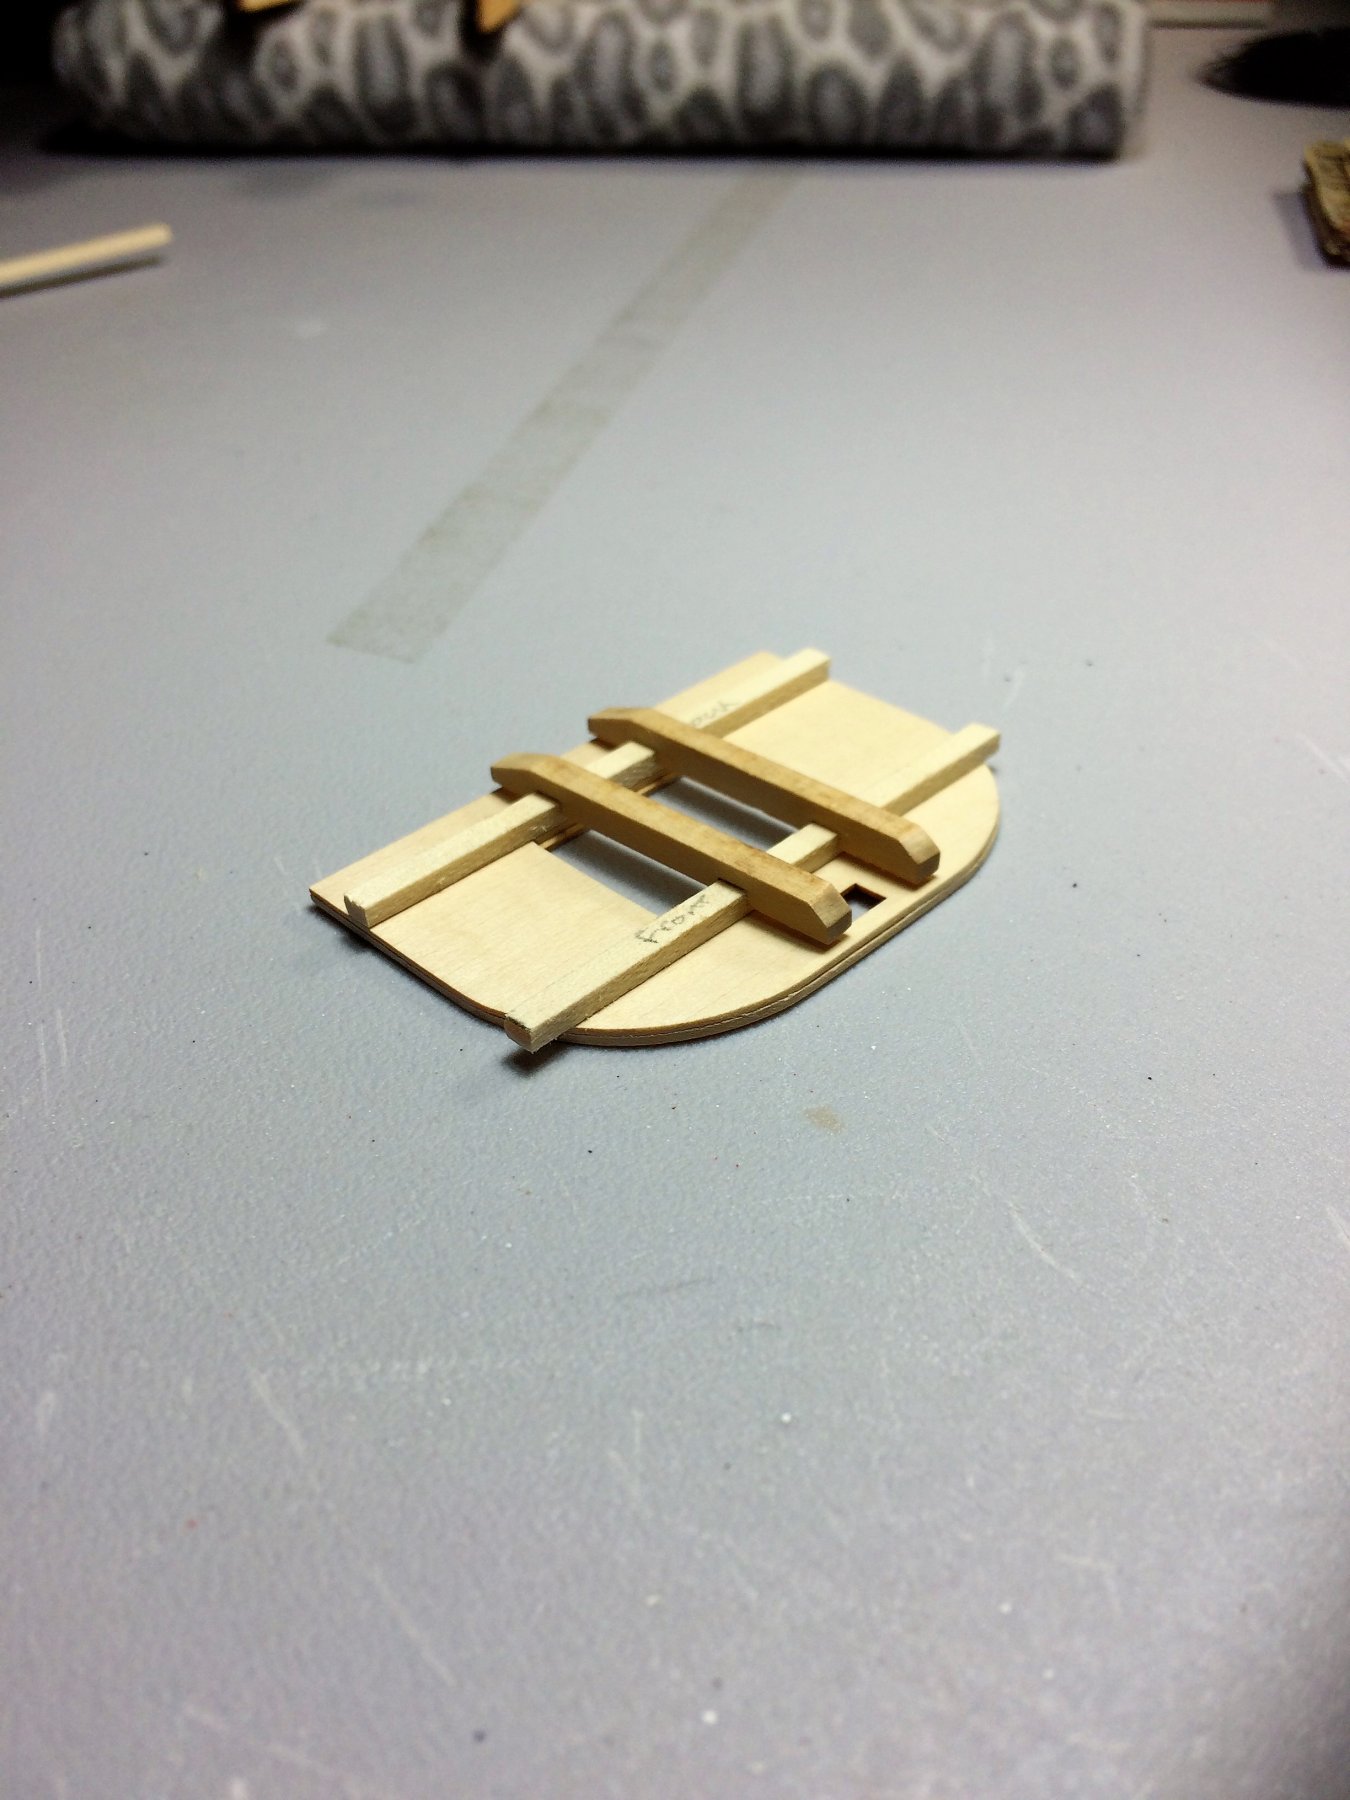
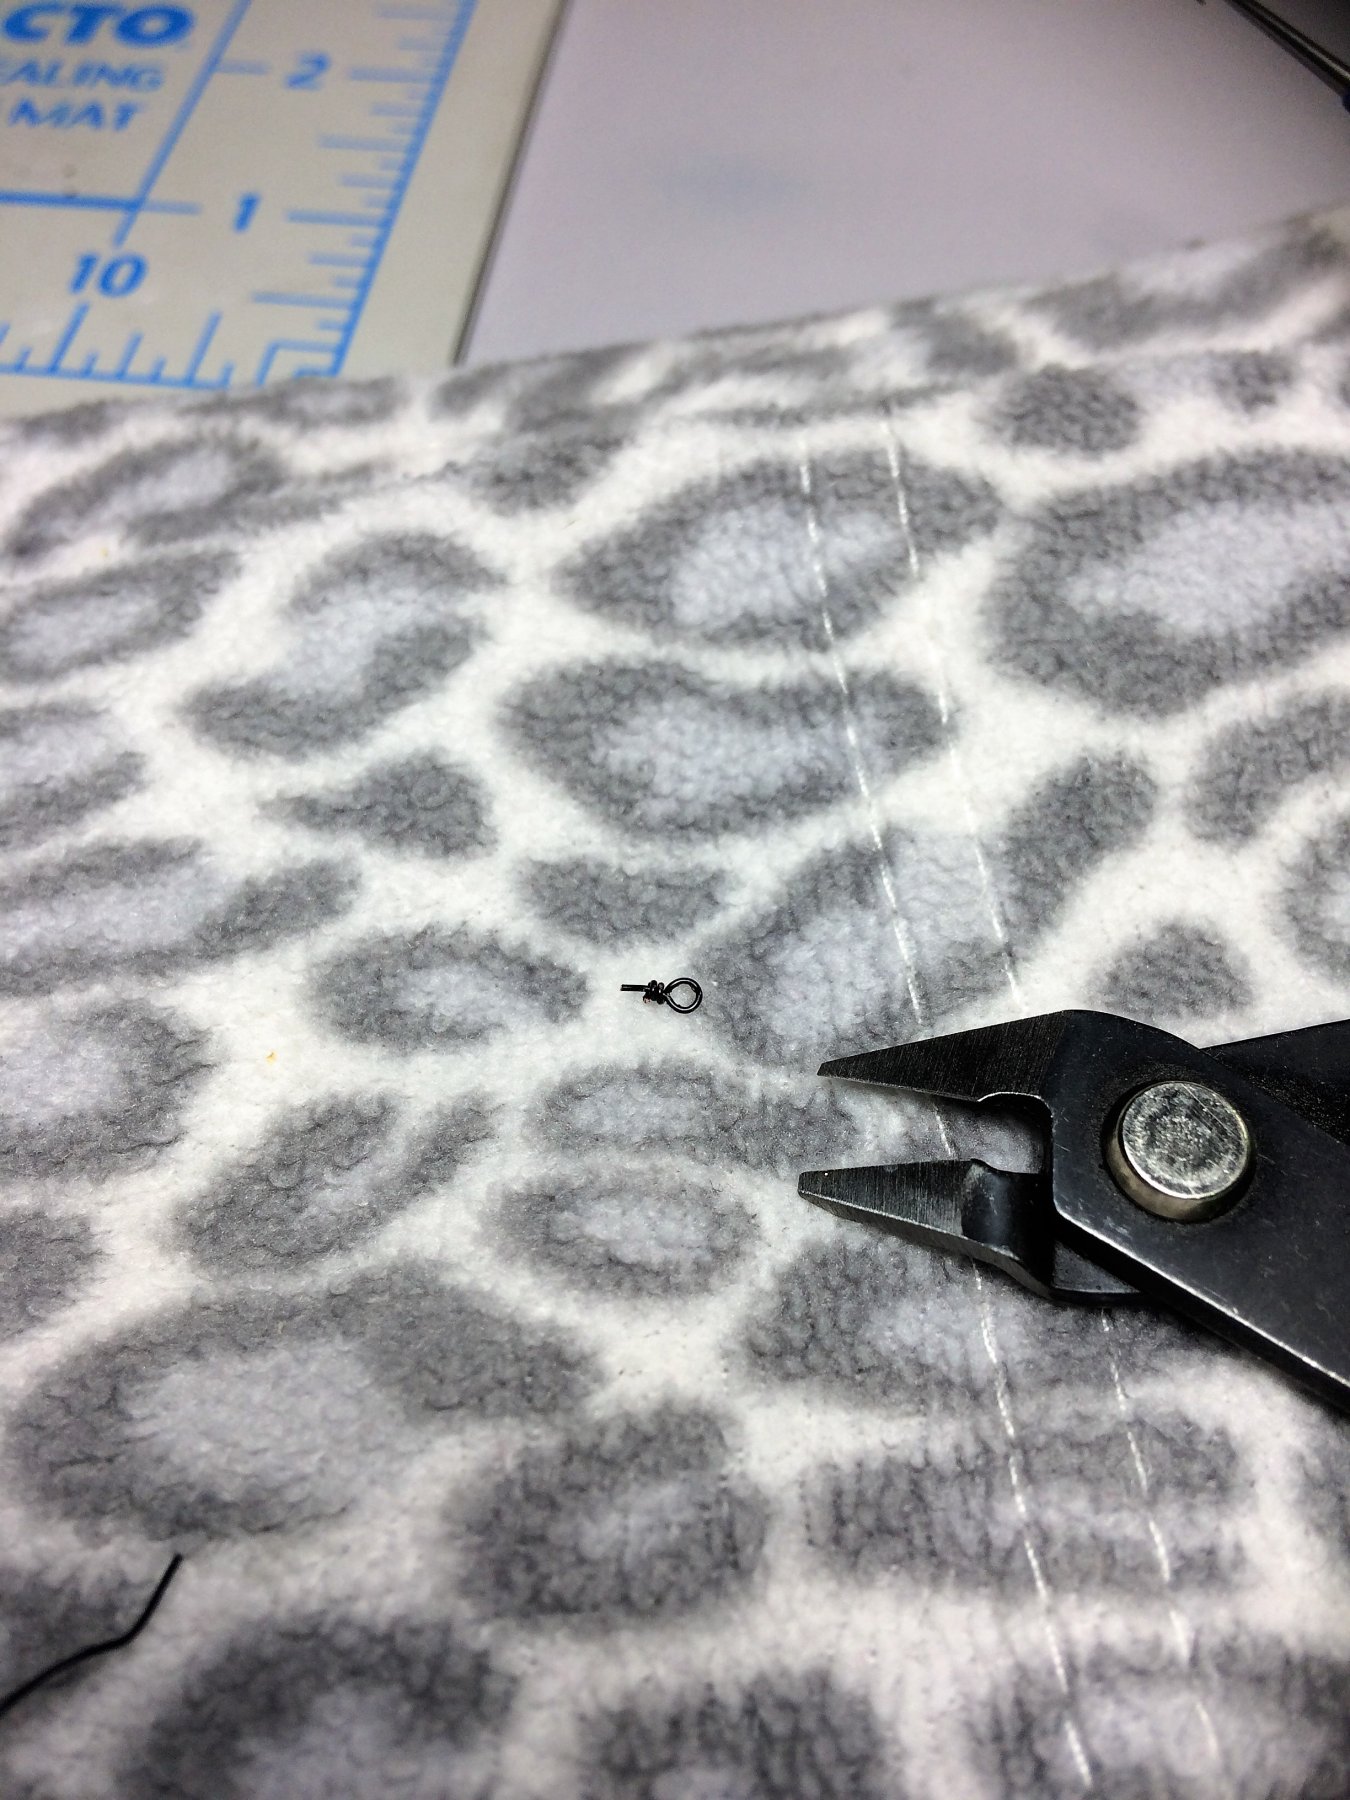
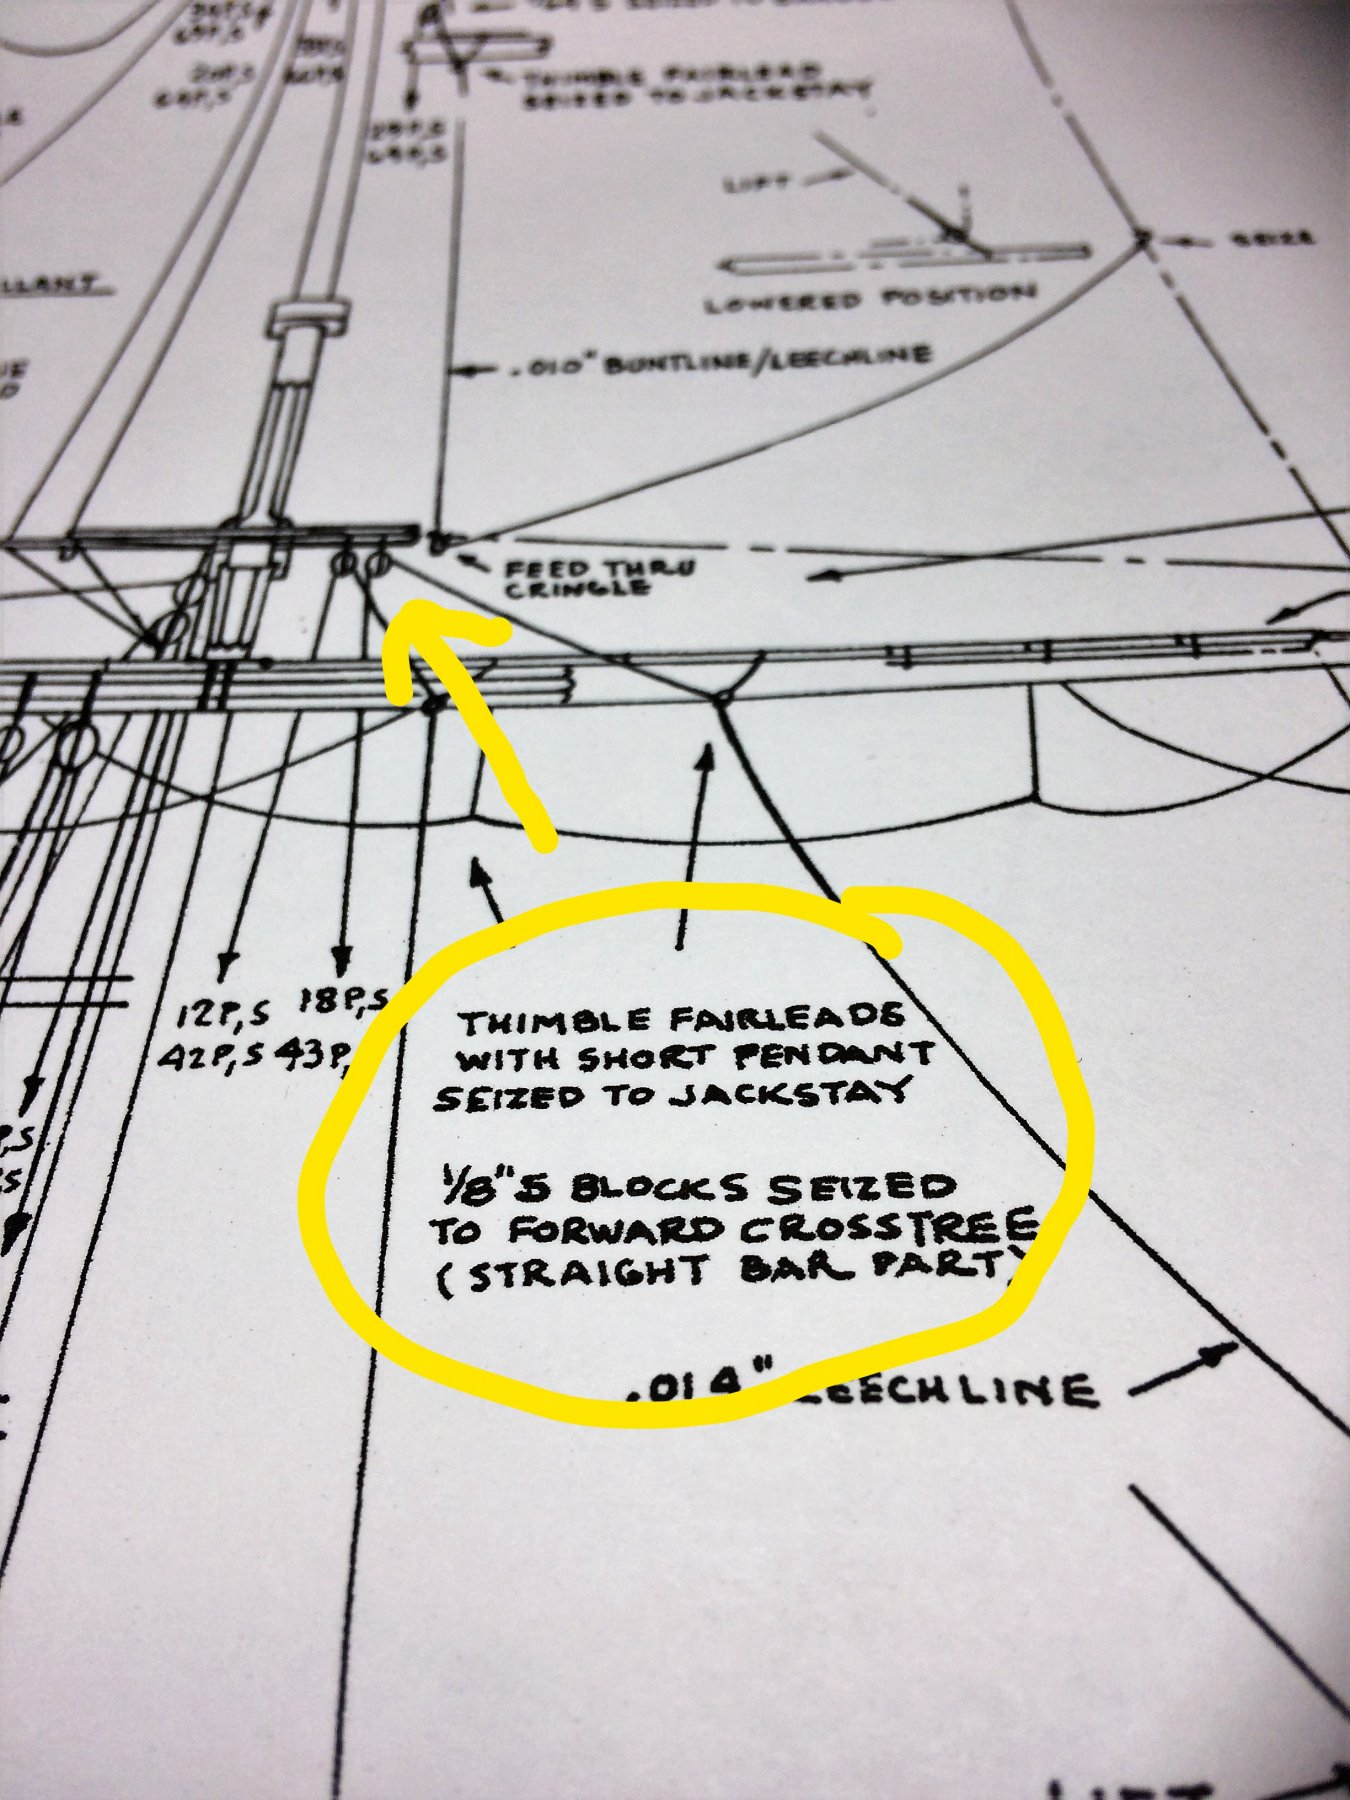
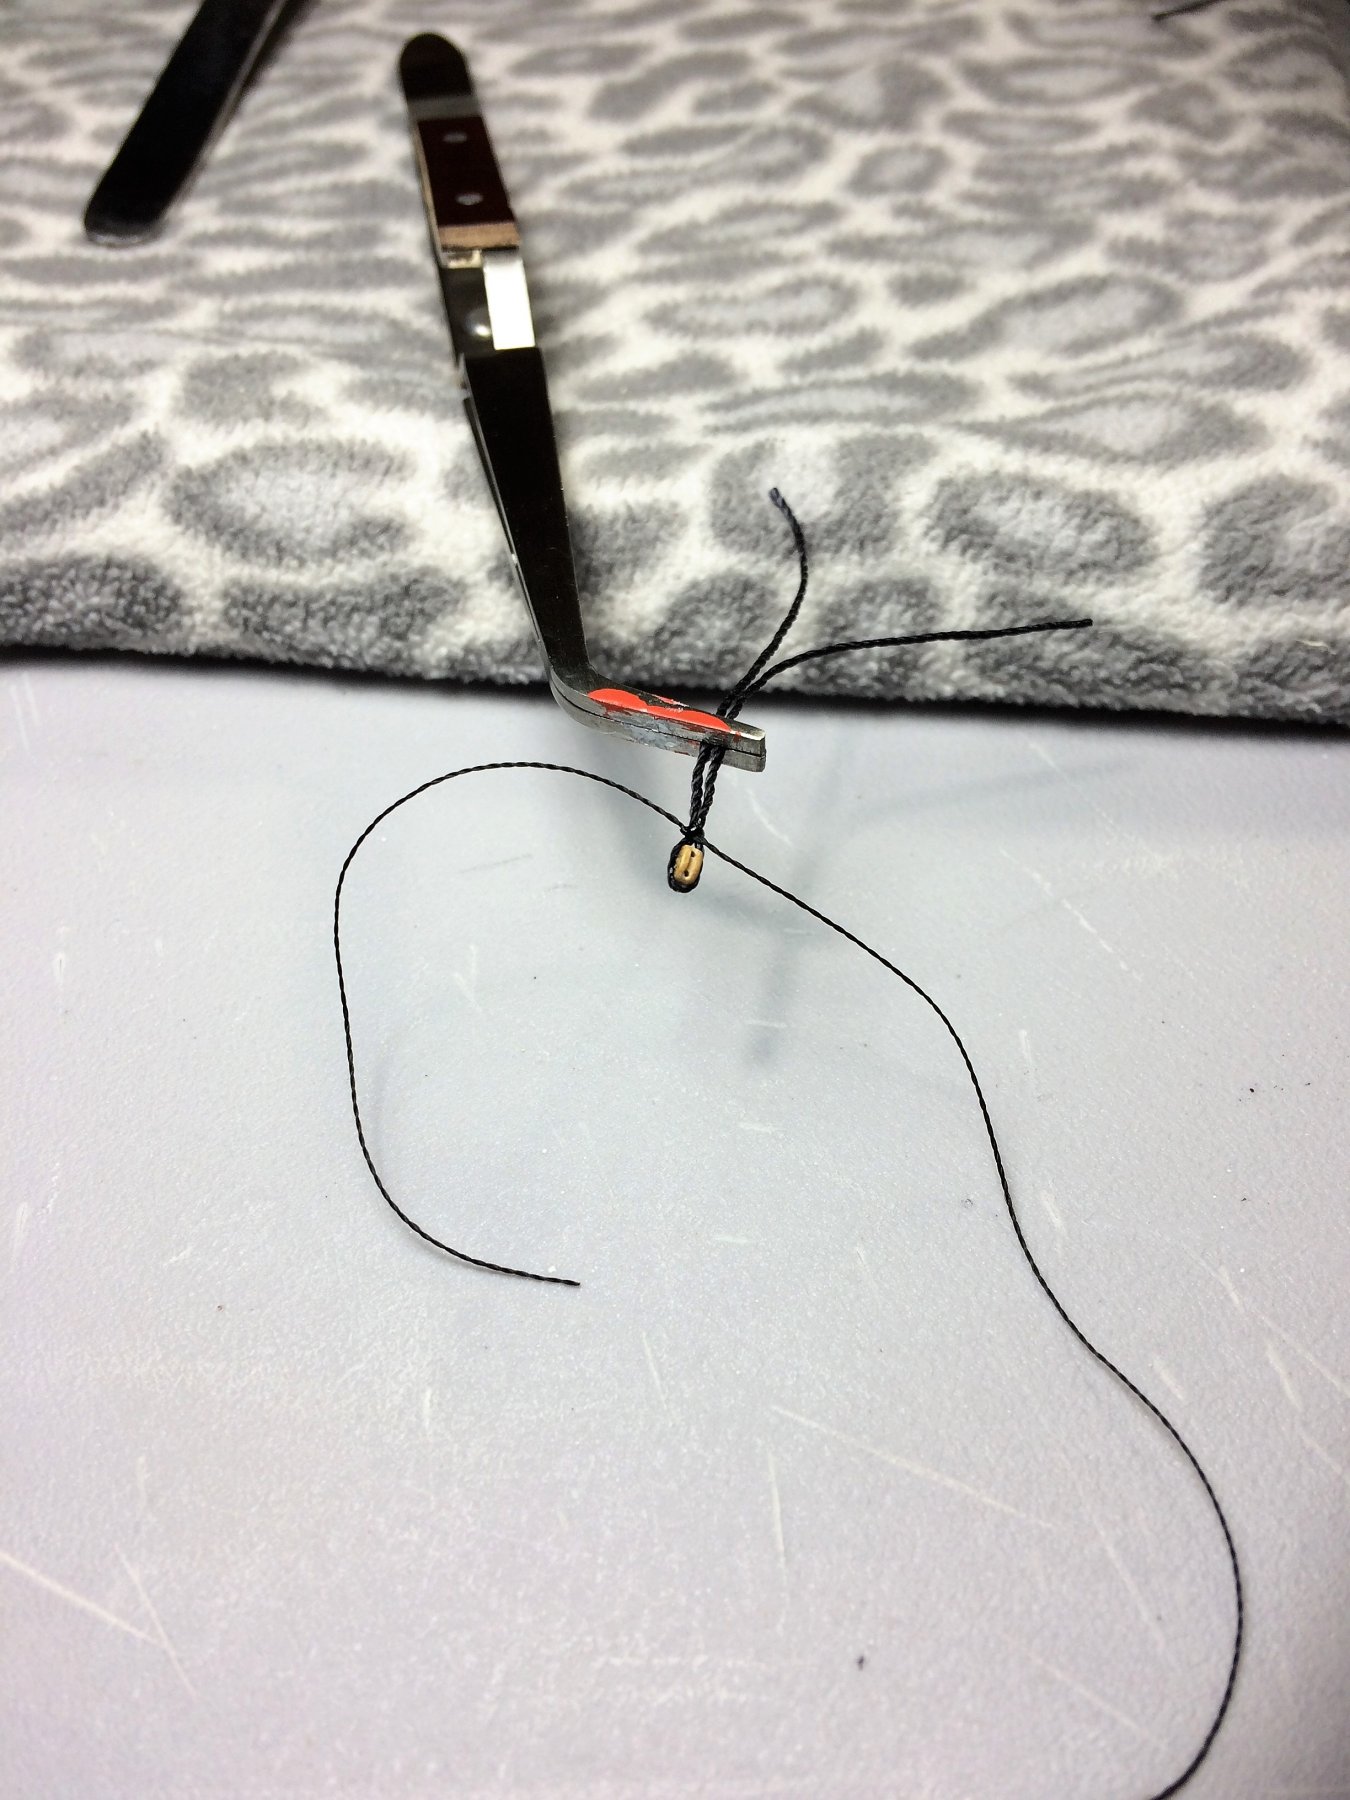
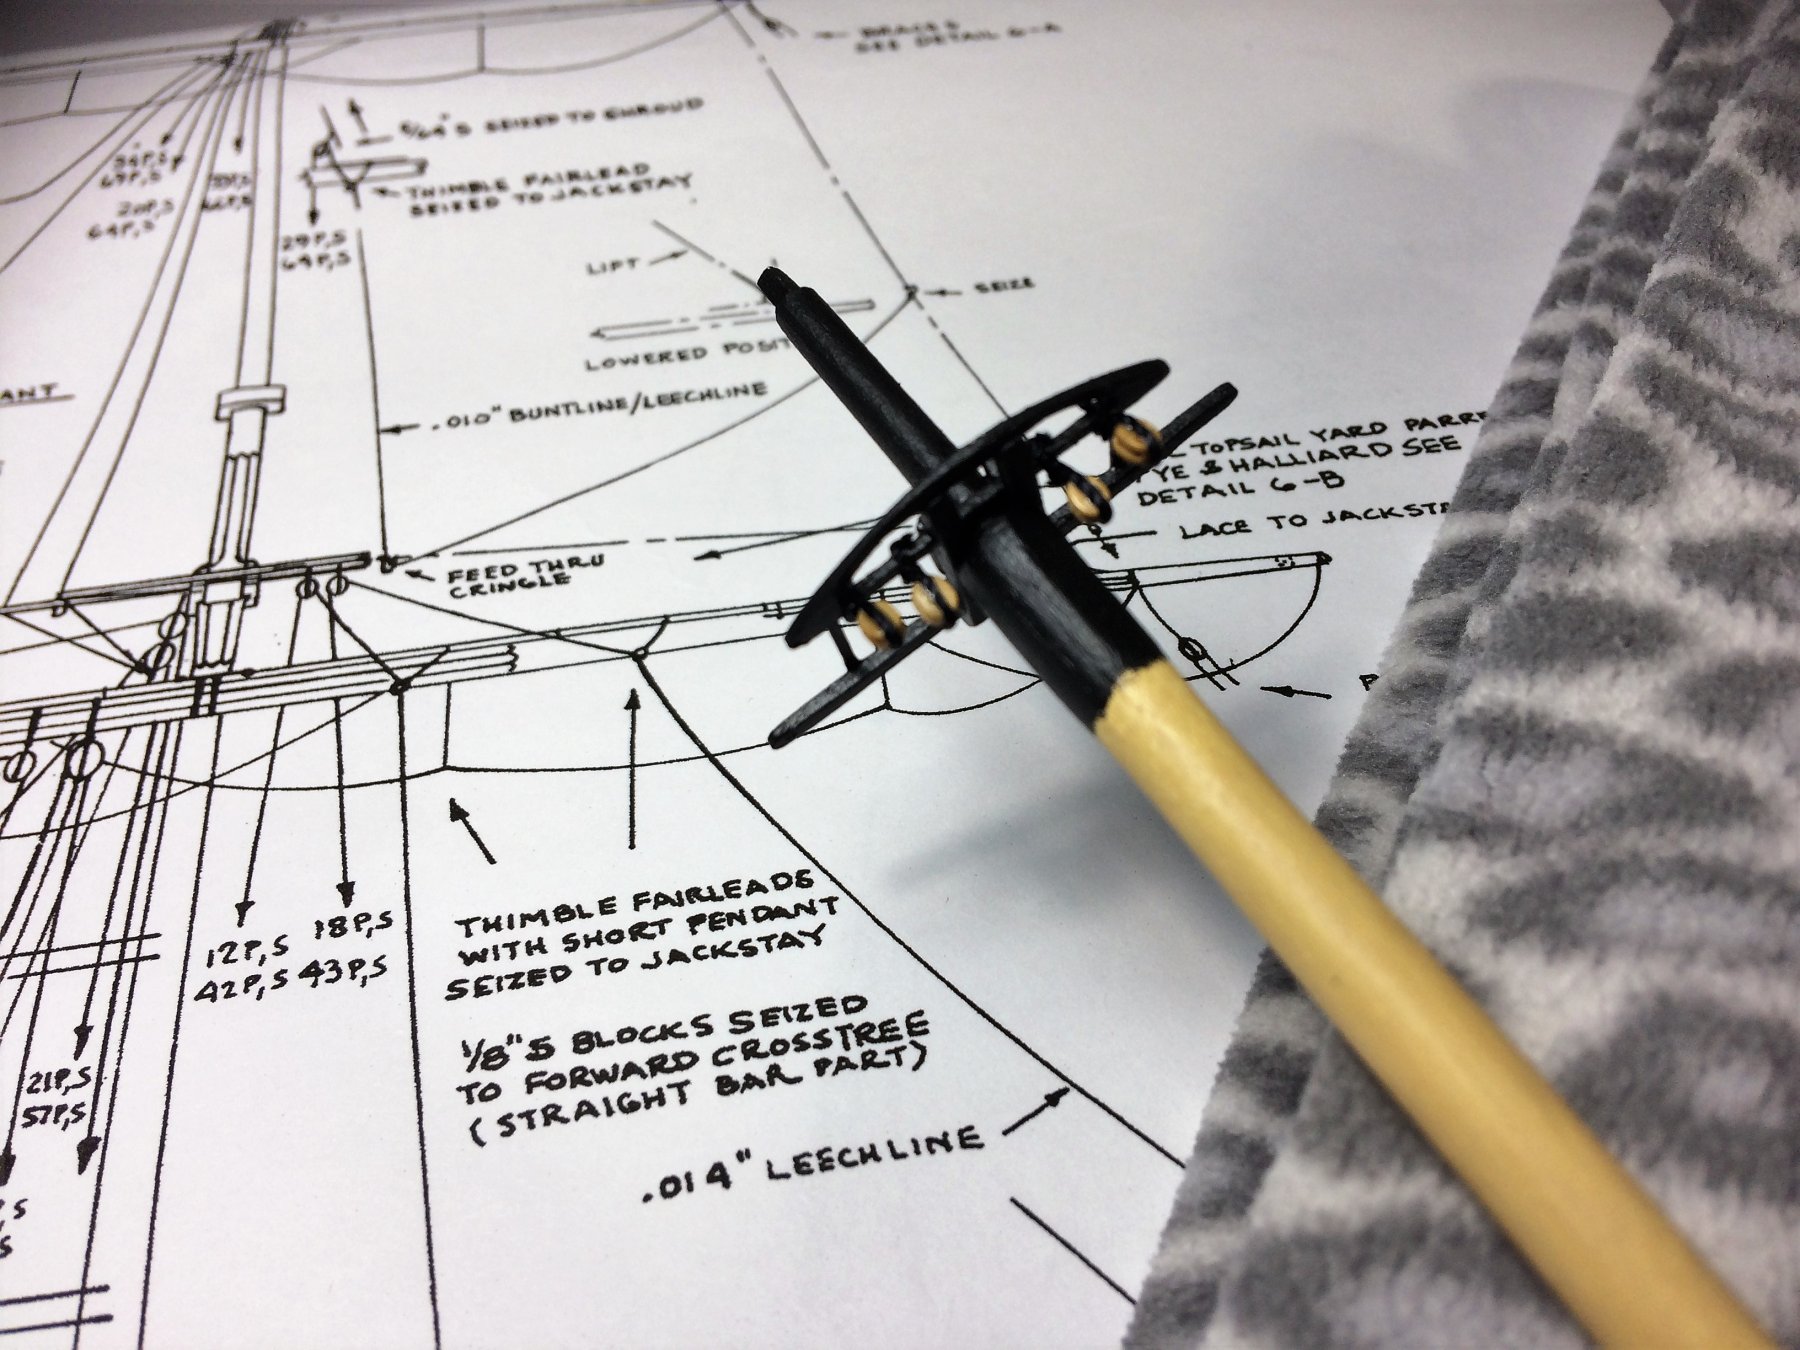
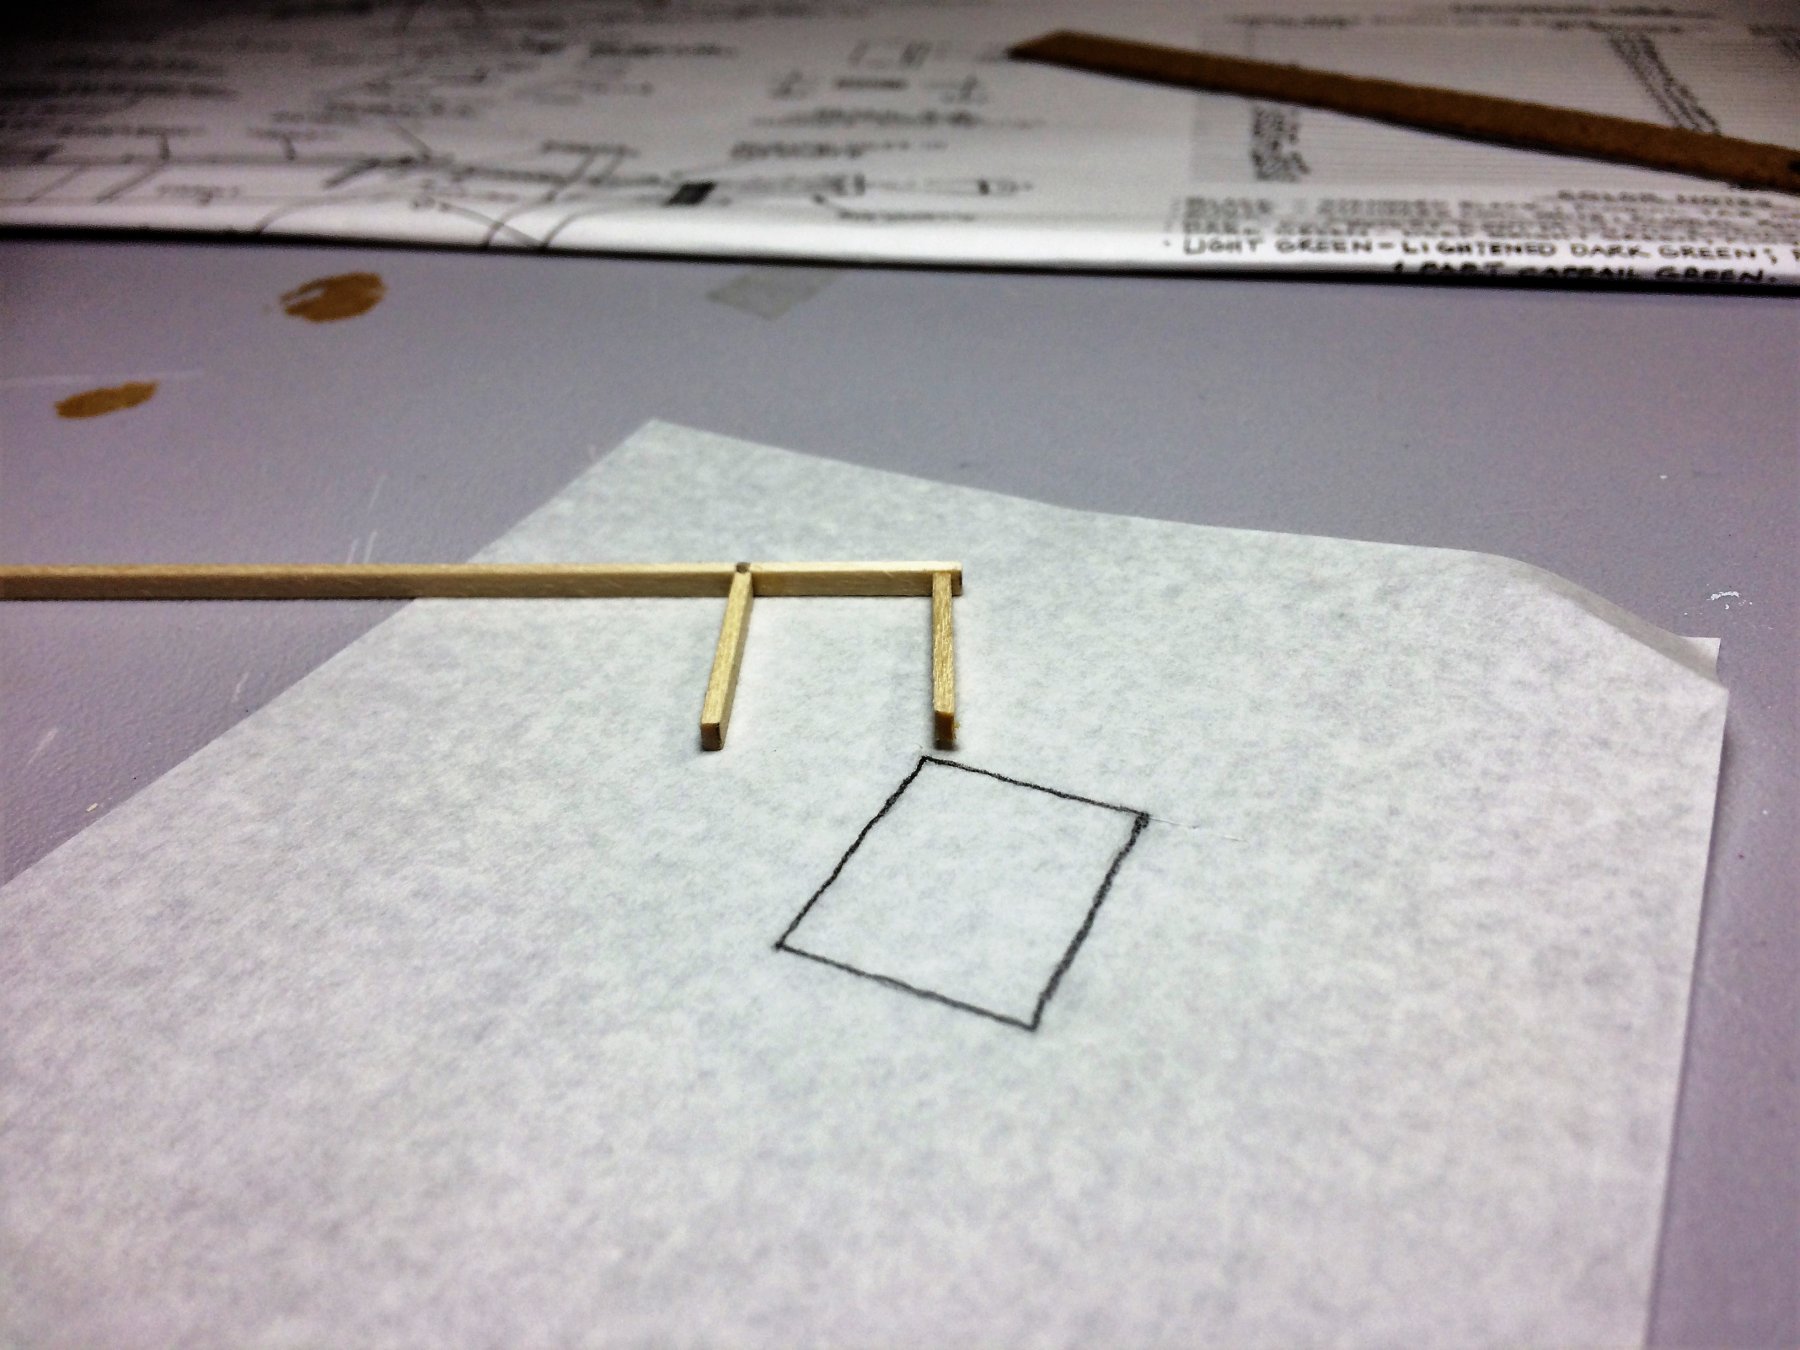
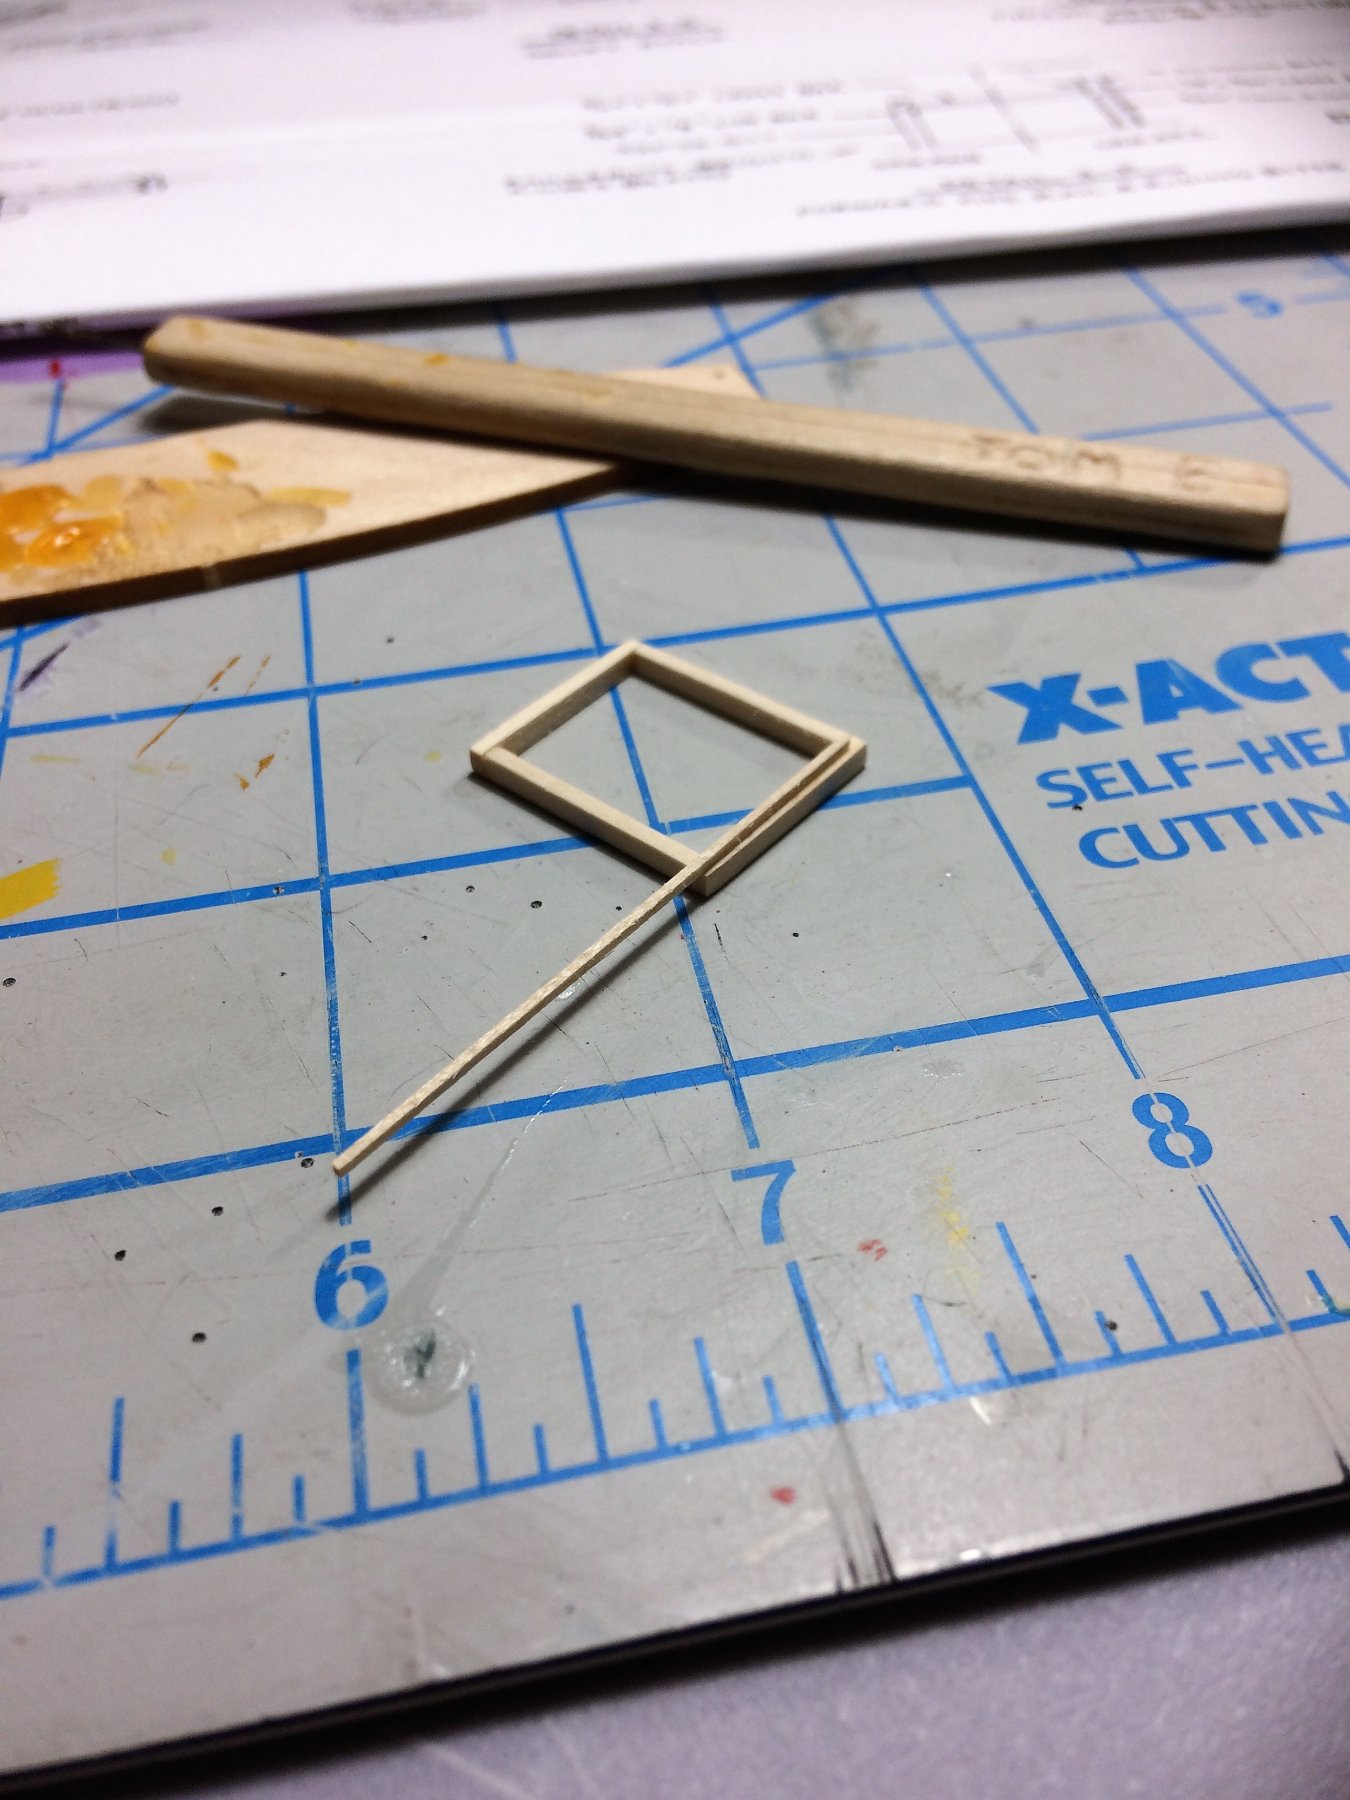
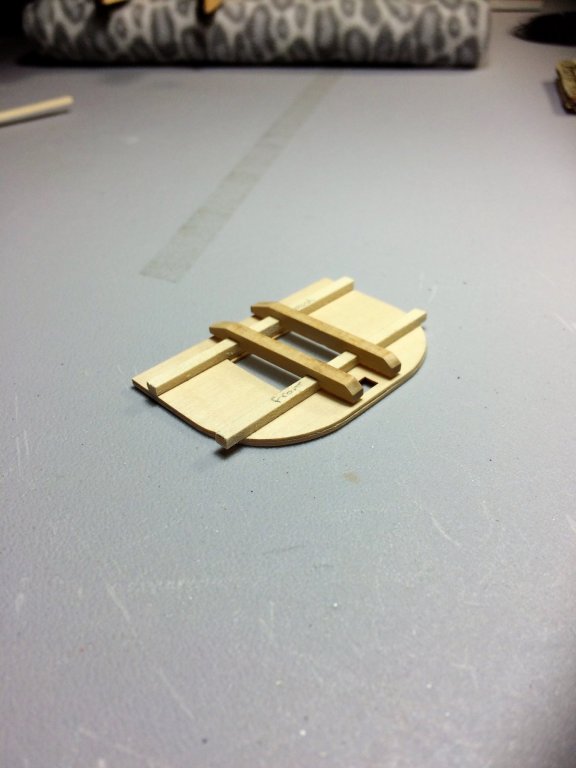
Evening, Time for an update. Spurred on by a stained deck, I have been somewhat busy. The work week does get in the way of my ship building tho! For several weeks now, more than I like to admit, I have been wondering how many blocks are under the uppermost Crosstrees. Looking thru numerous builds, looking at the plans...….frustrated. Then I found the below on one of the plans. I had just never seen this before, believe me, I looked! Its the second paragraph that grabbed my attention. Sooooooo, I did that Started stropping 1/8 Syren blocks. I used a simple seize to tighten things off. Then I'll hang from the straight part. Only needed 4. If it's wrong, It's easily re-done. I also started on some deck furniture. I'll start with the Forecastle hatch. Work my way aft. It starts with a box. With a small square strip around the top. This will be covered with planks. I'll start with planks, then I'll start using the grating on the other pieces. I wanna get a feel for building furniture. I'm still learning! Tom E