


Derek C
-
Posts
333 -
Joined
-
Last visited
Content Type
Profiles
Forums
Gallery
Events
Posts posted by Derek C
-
-
-
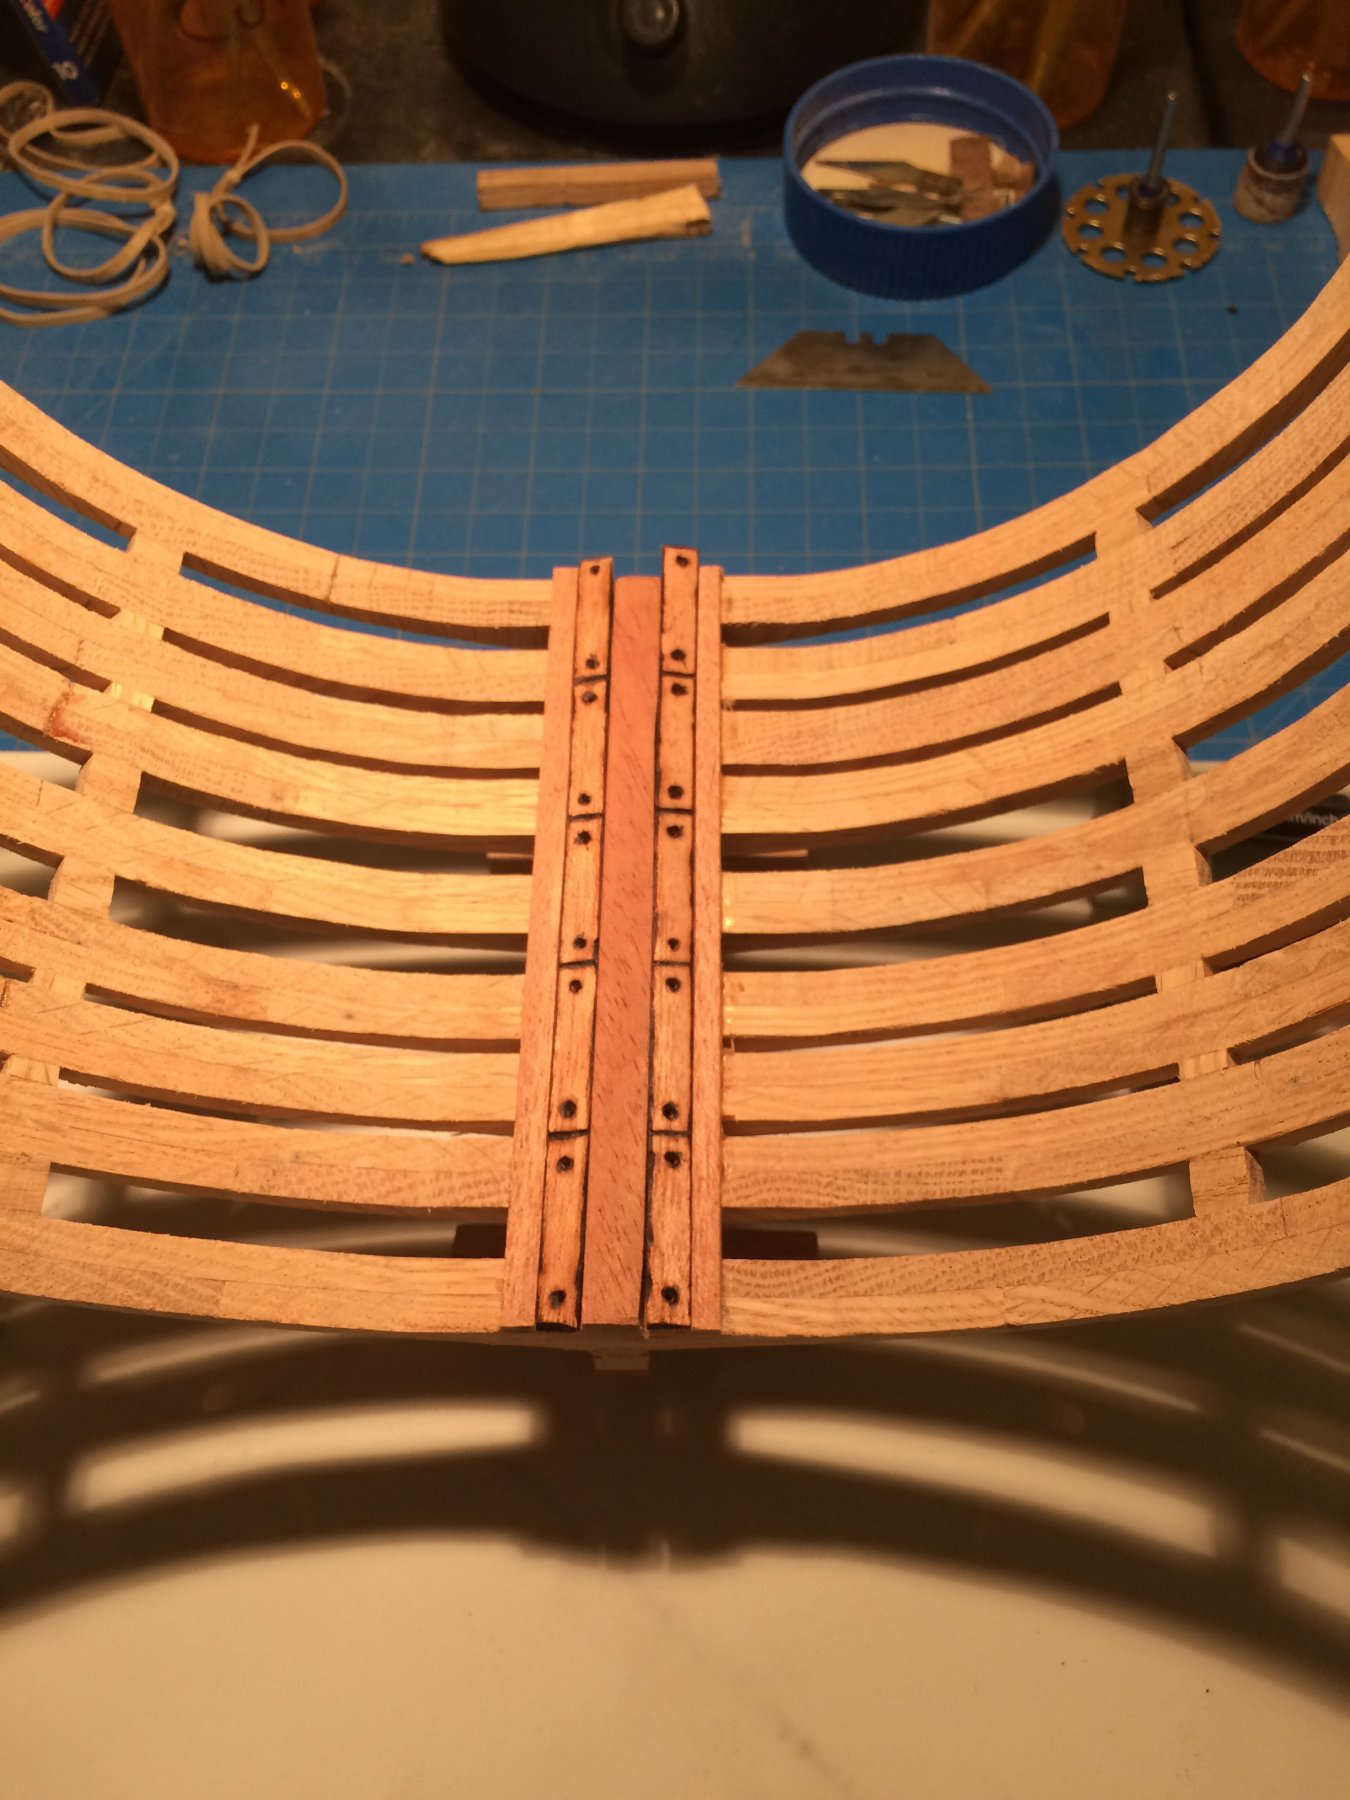
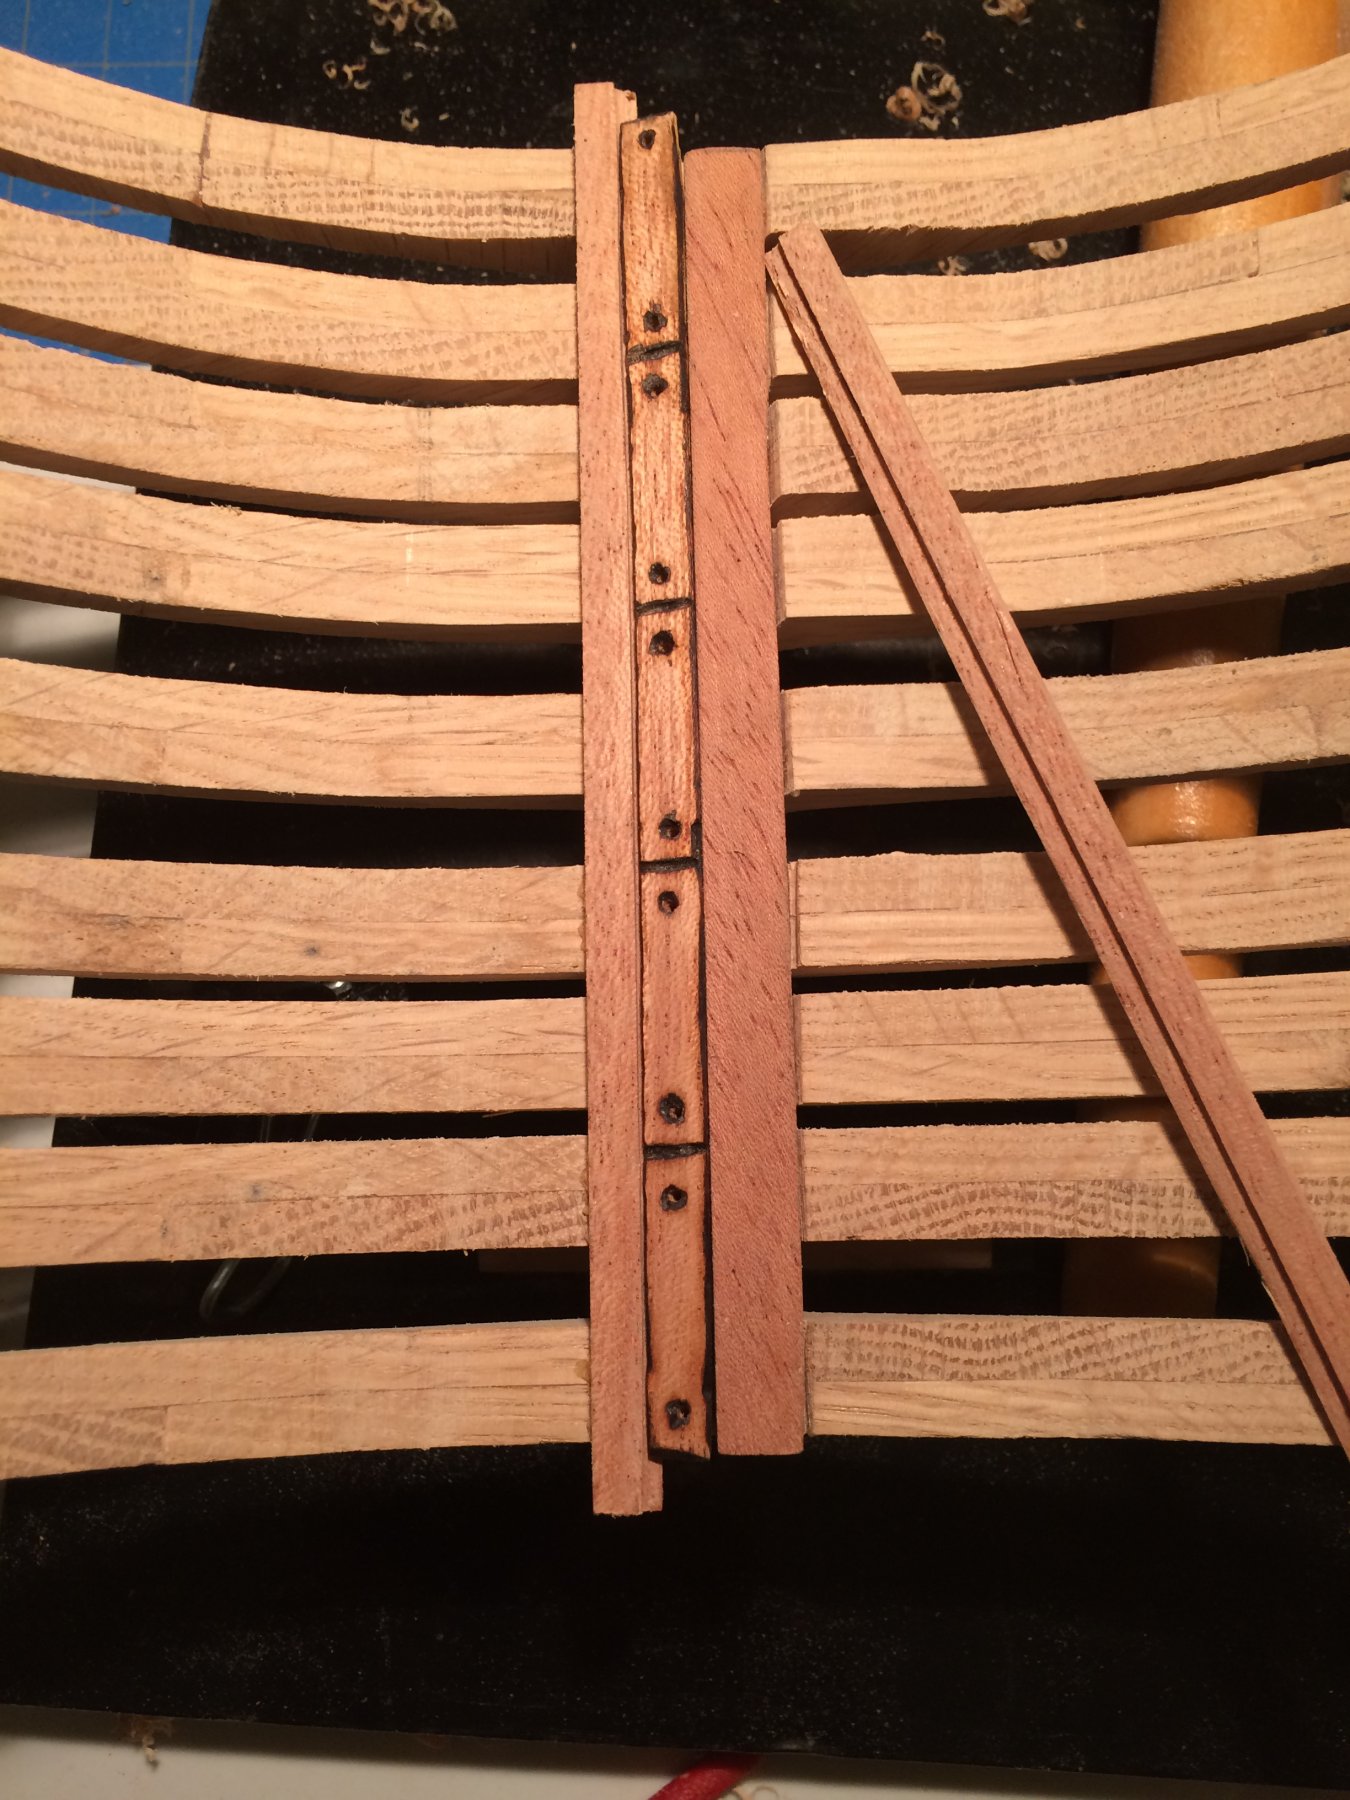
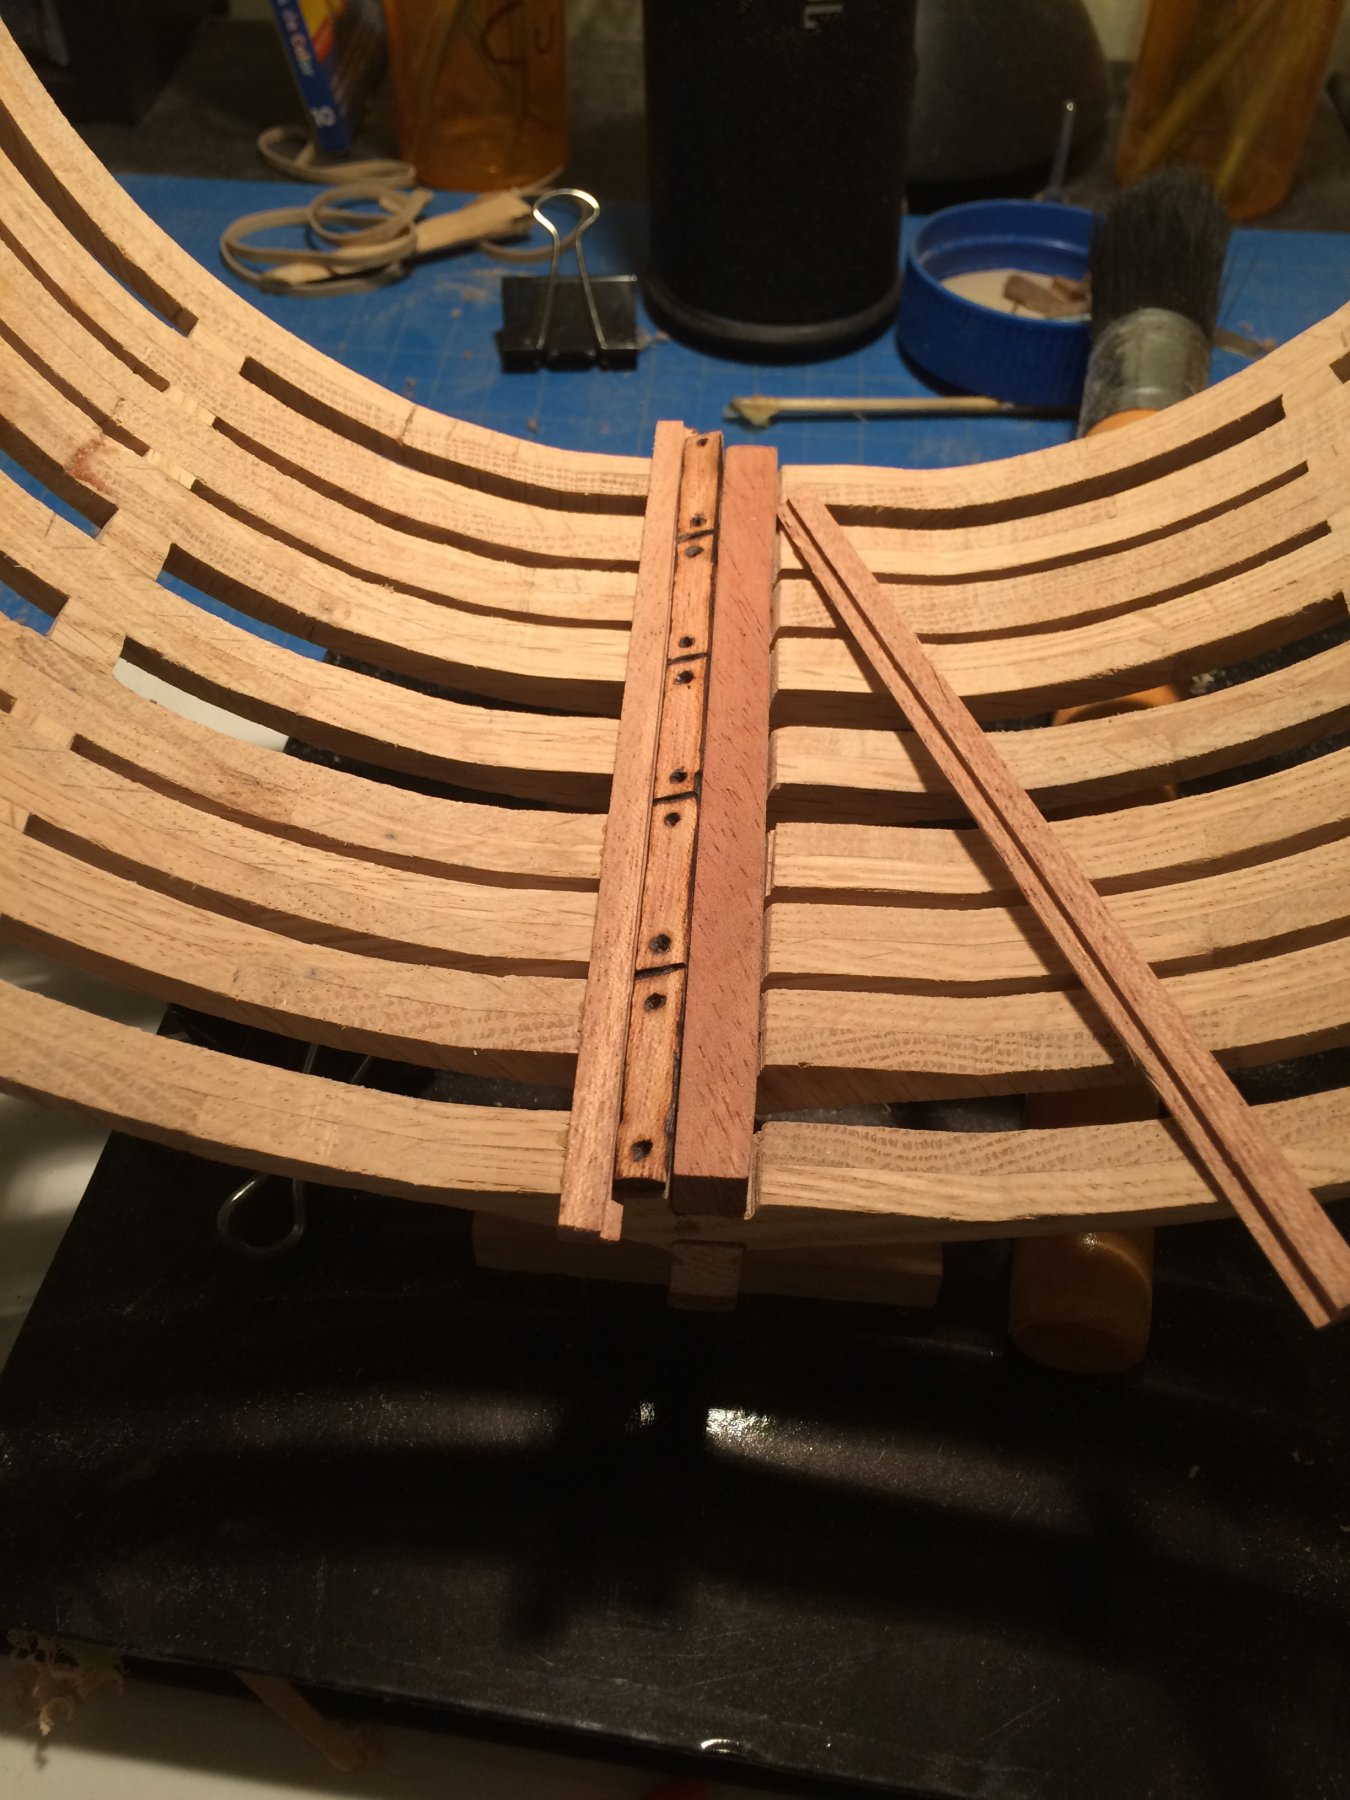
I worked on limber strake and limber boards today I got one side fit. I used a #11 blade to cut the seat for the limber board into the limber strake
i used files to get final shape.
The limber boards were shaped by hand using sanding blocks and files .
I then marked and scored with a small triangle file to simulate 4 foot scale sections and drilled holes in the ends of each section to allow the crew access. Using a high temp soldiering Iron I chard the scored marks,holes,and edges to give it a bit of character

I am working on the other side , now hopefully I can get it done tonight , but the admiral has other plans I believe.
Hope you like the progress,and thanks for looking in😁
Derek
-
-
-
-
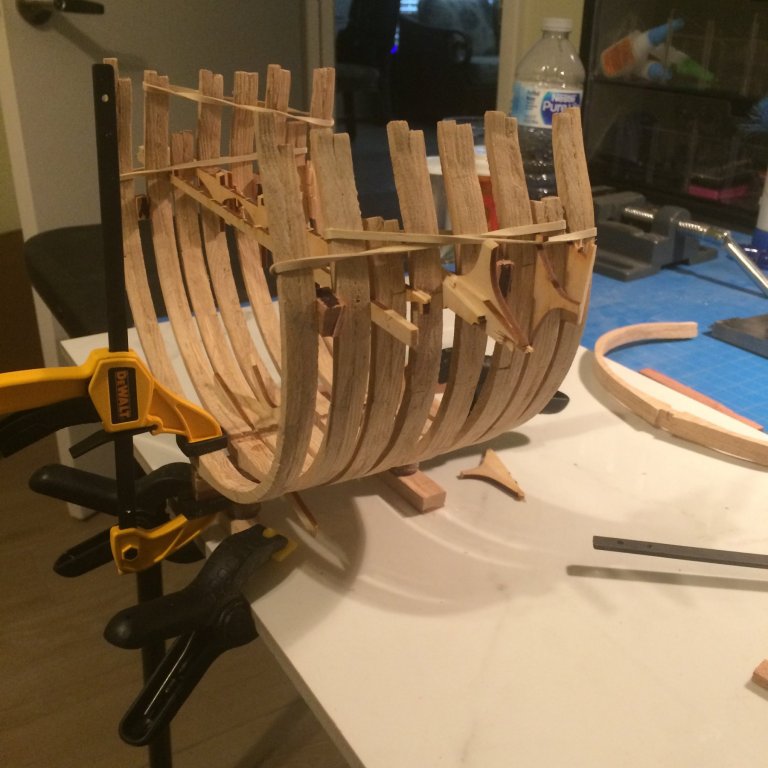
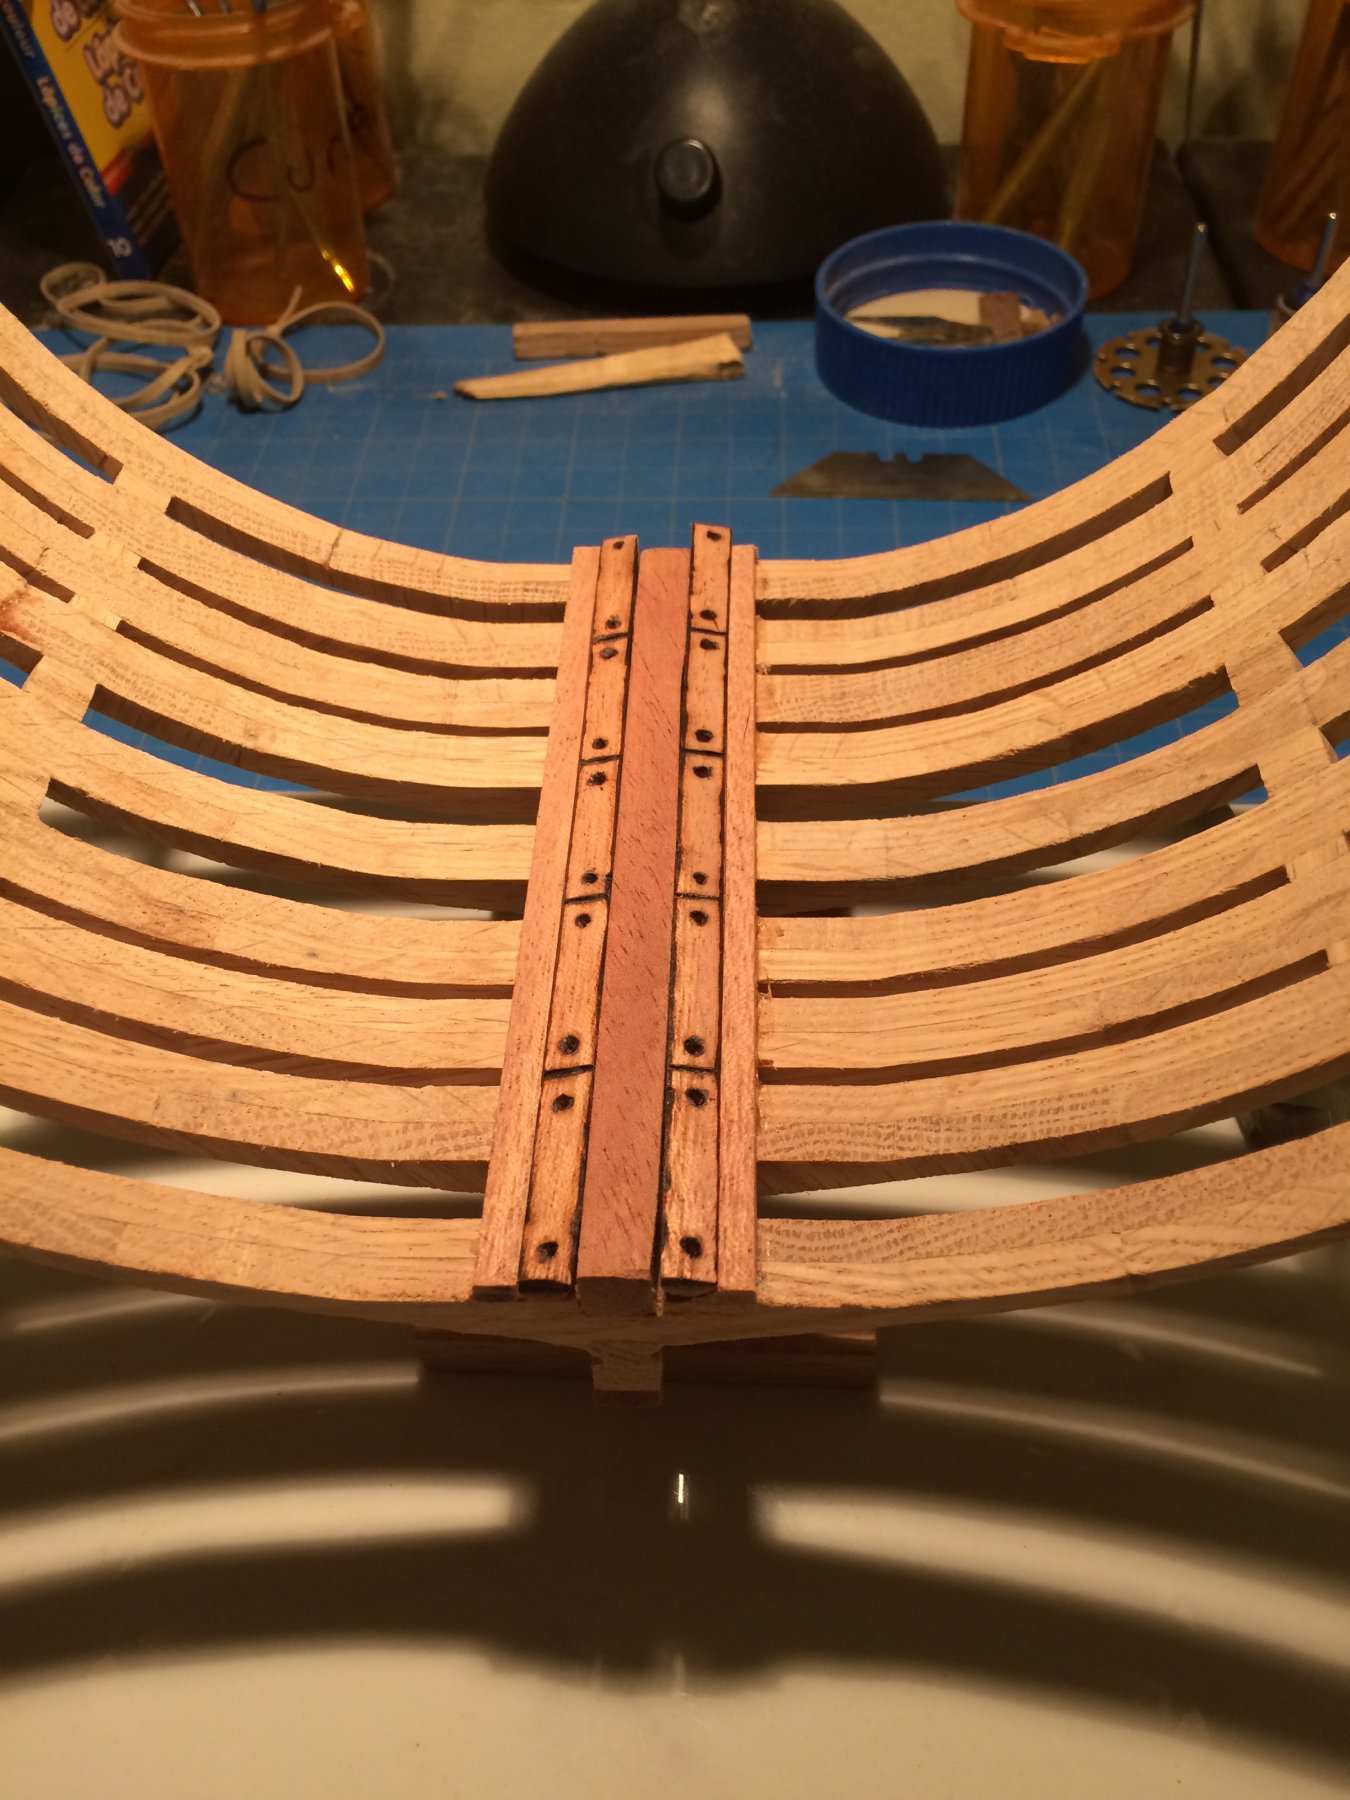
I have only made a small bit of progress , I glued in permanent spacers and faired inside and out.
I was wanting to leave half the frame work open to show but I’m not sure my frames are good enough for that .
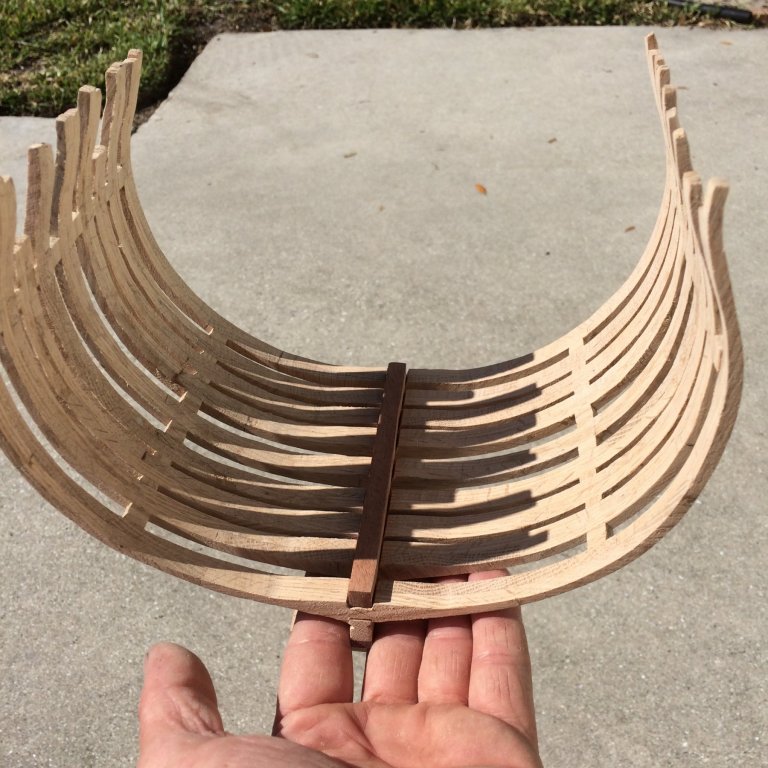
i still need to file down spacers to get them sized .
Thanks for checking in !

Derek
-
-
-
-
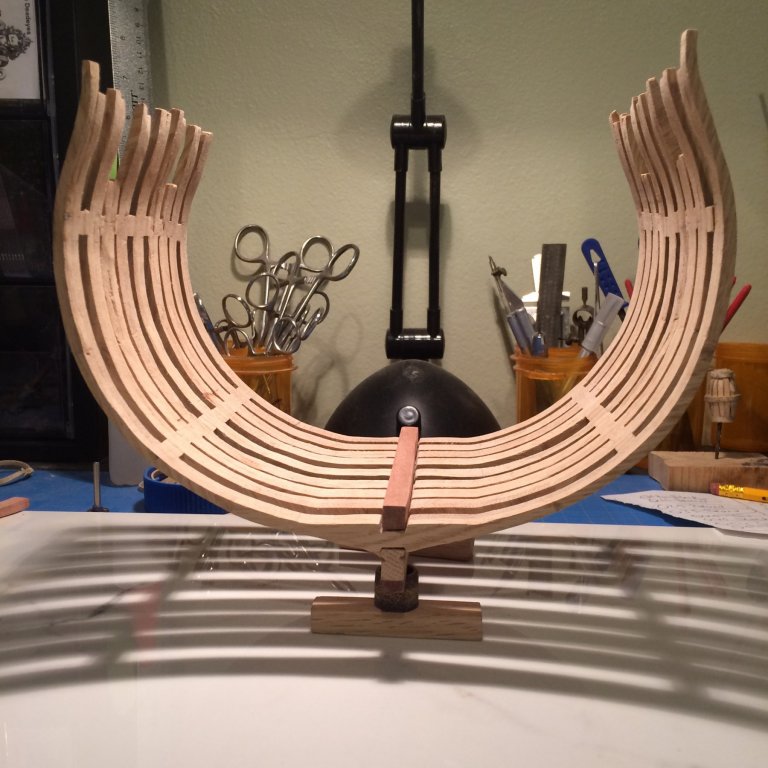
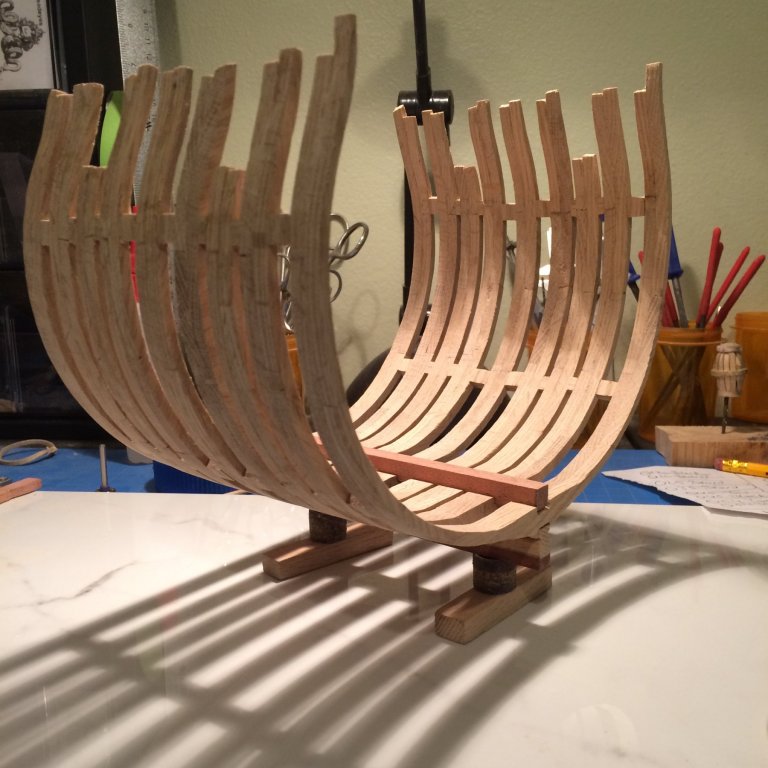
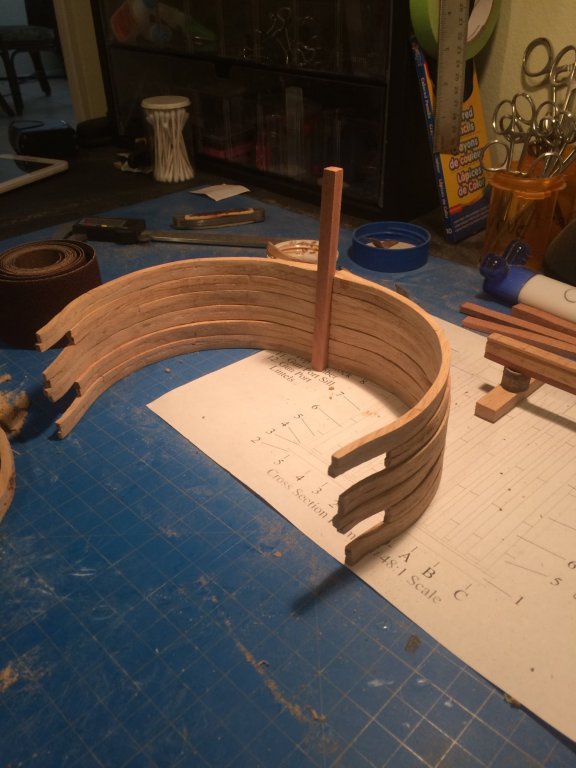
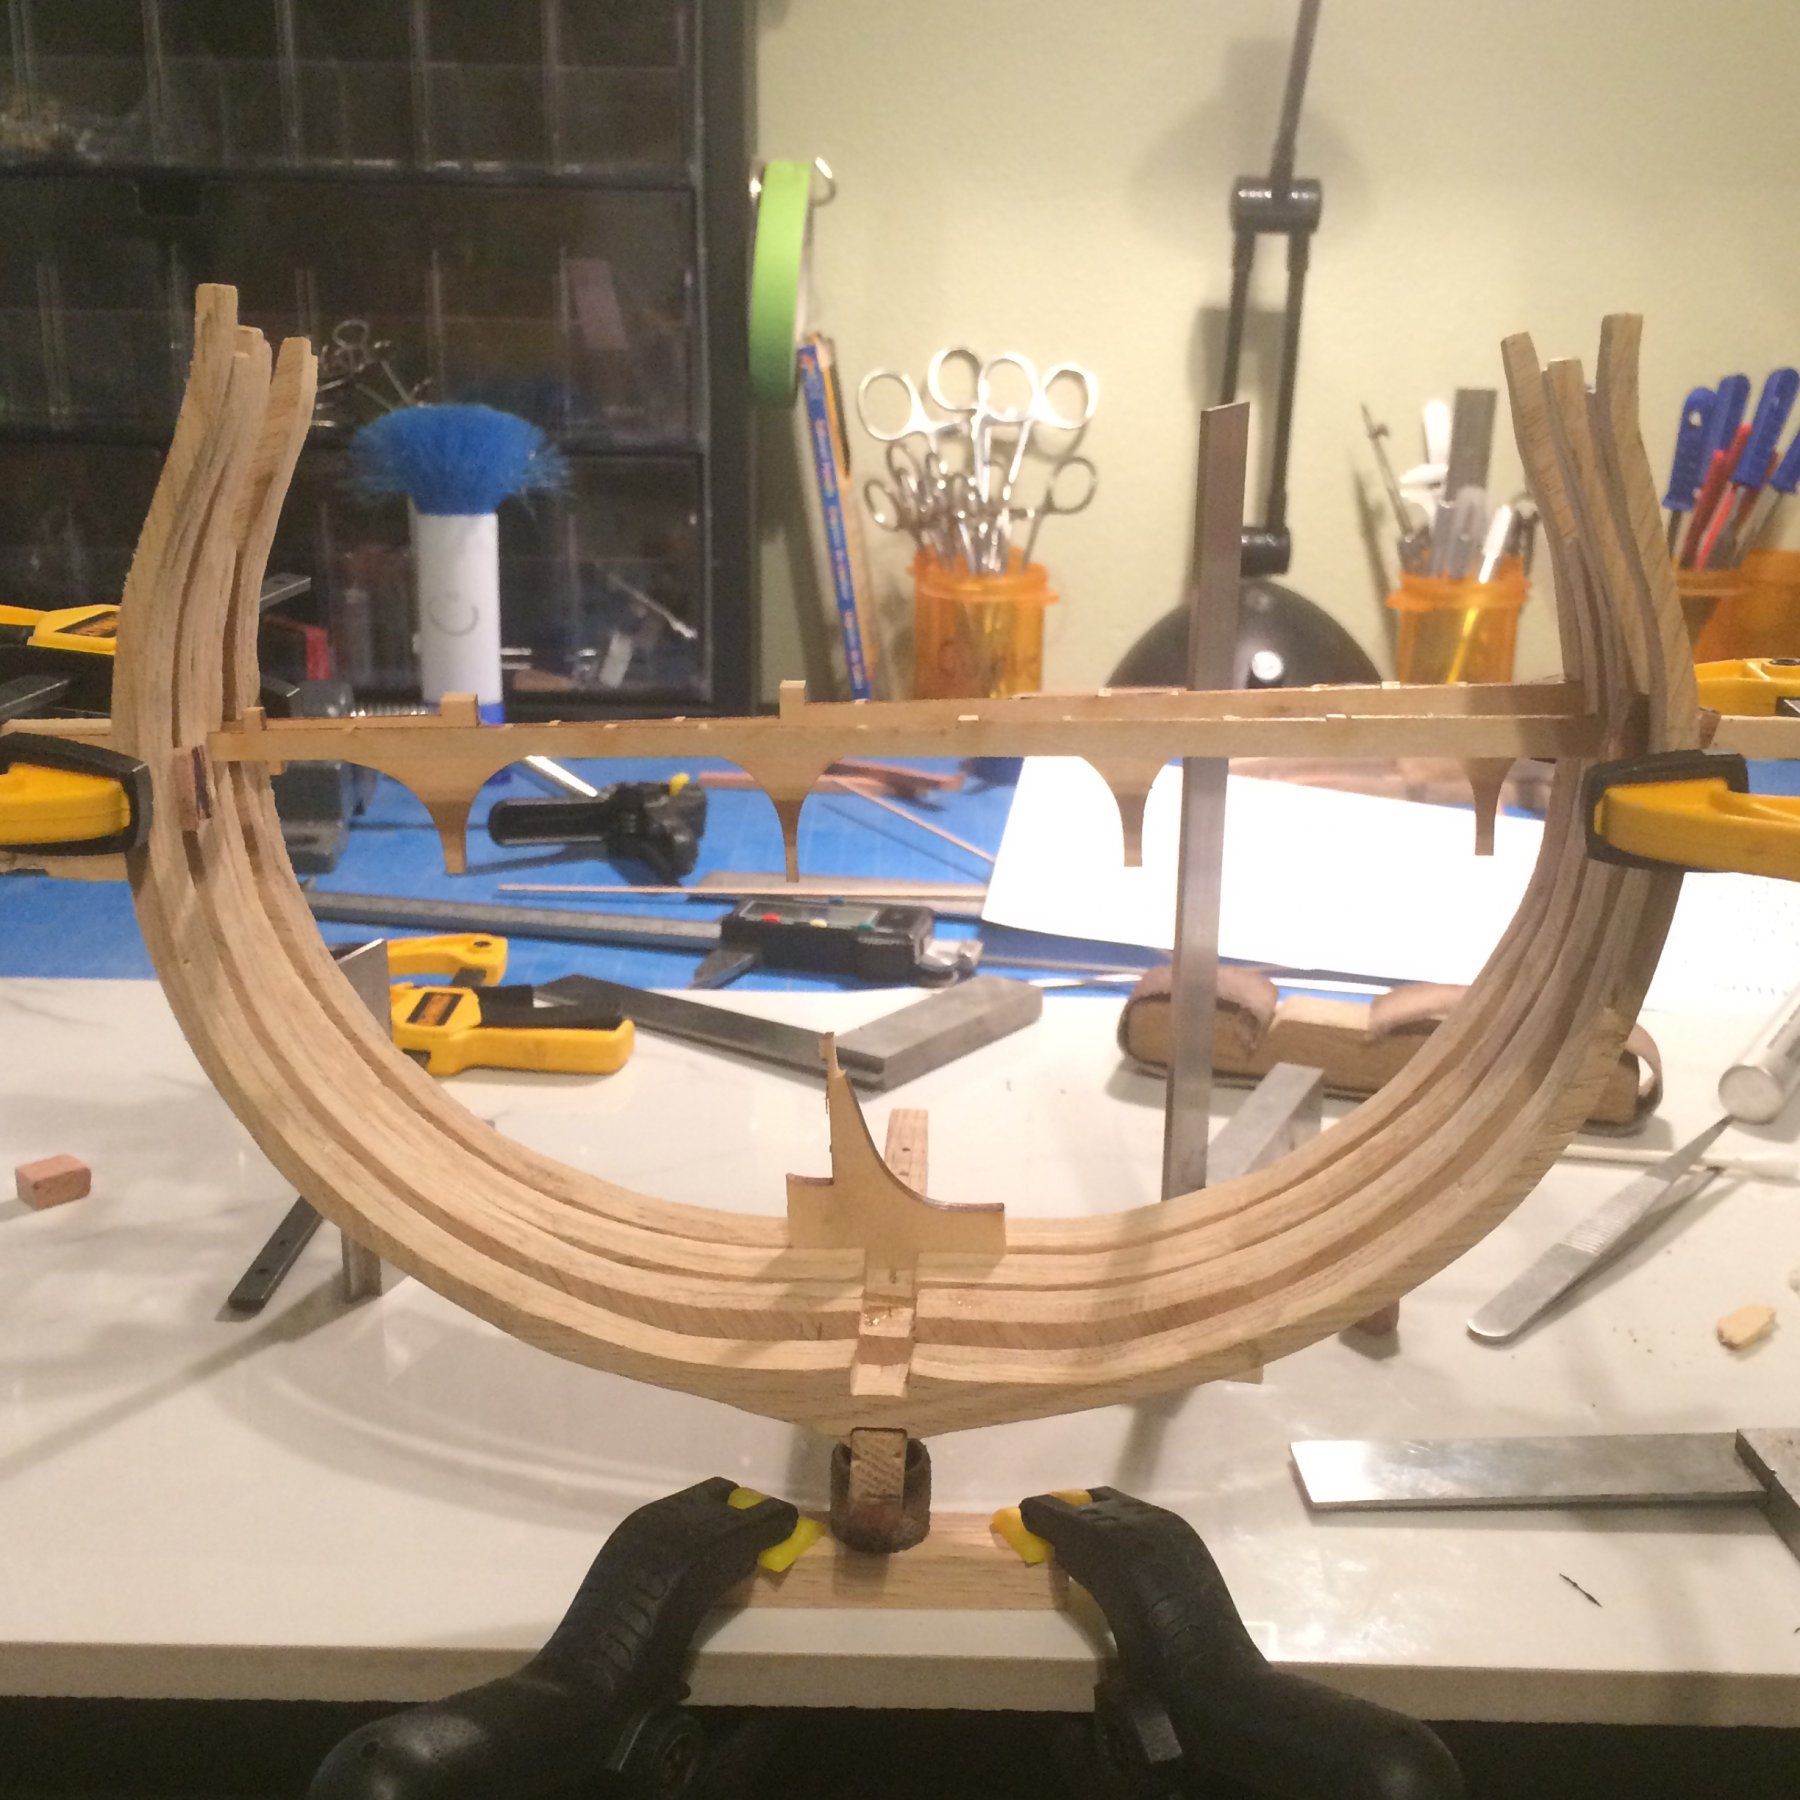
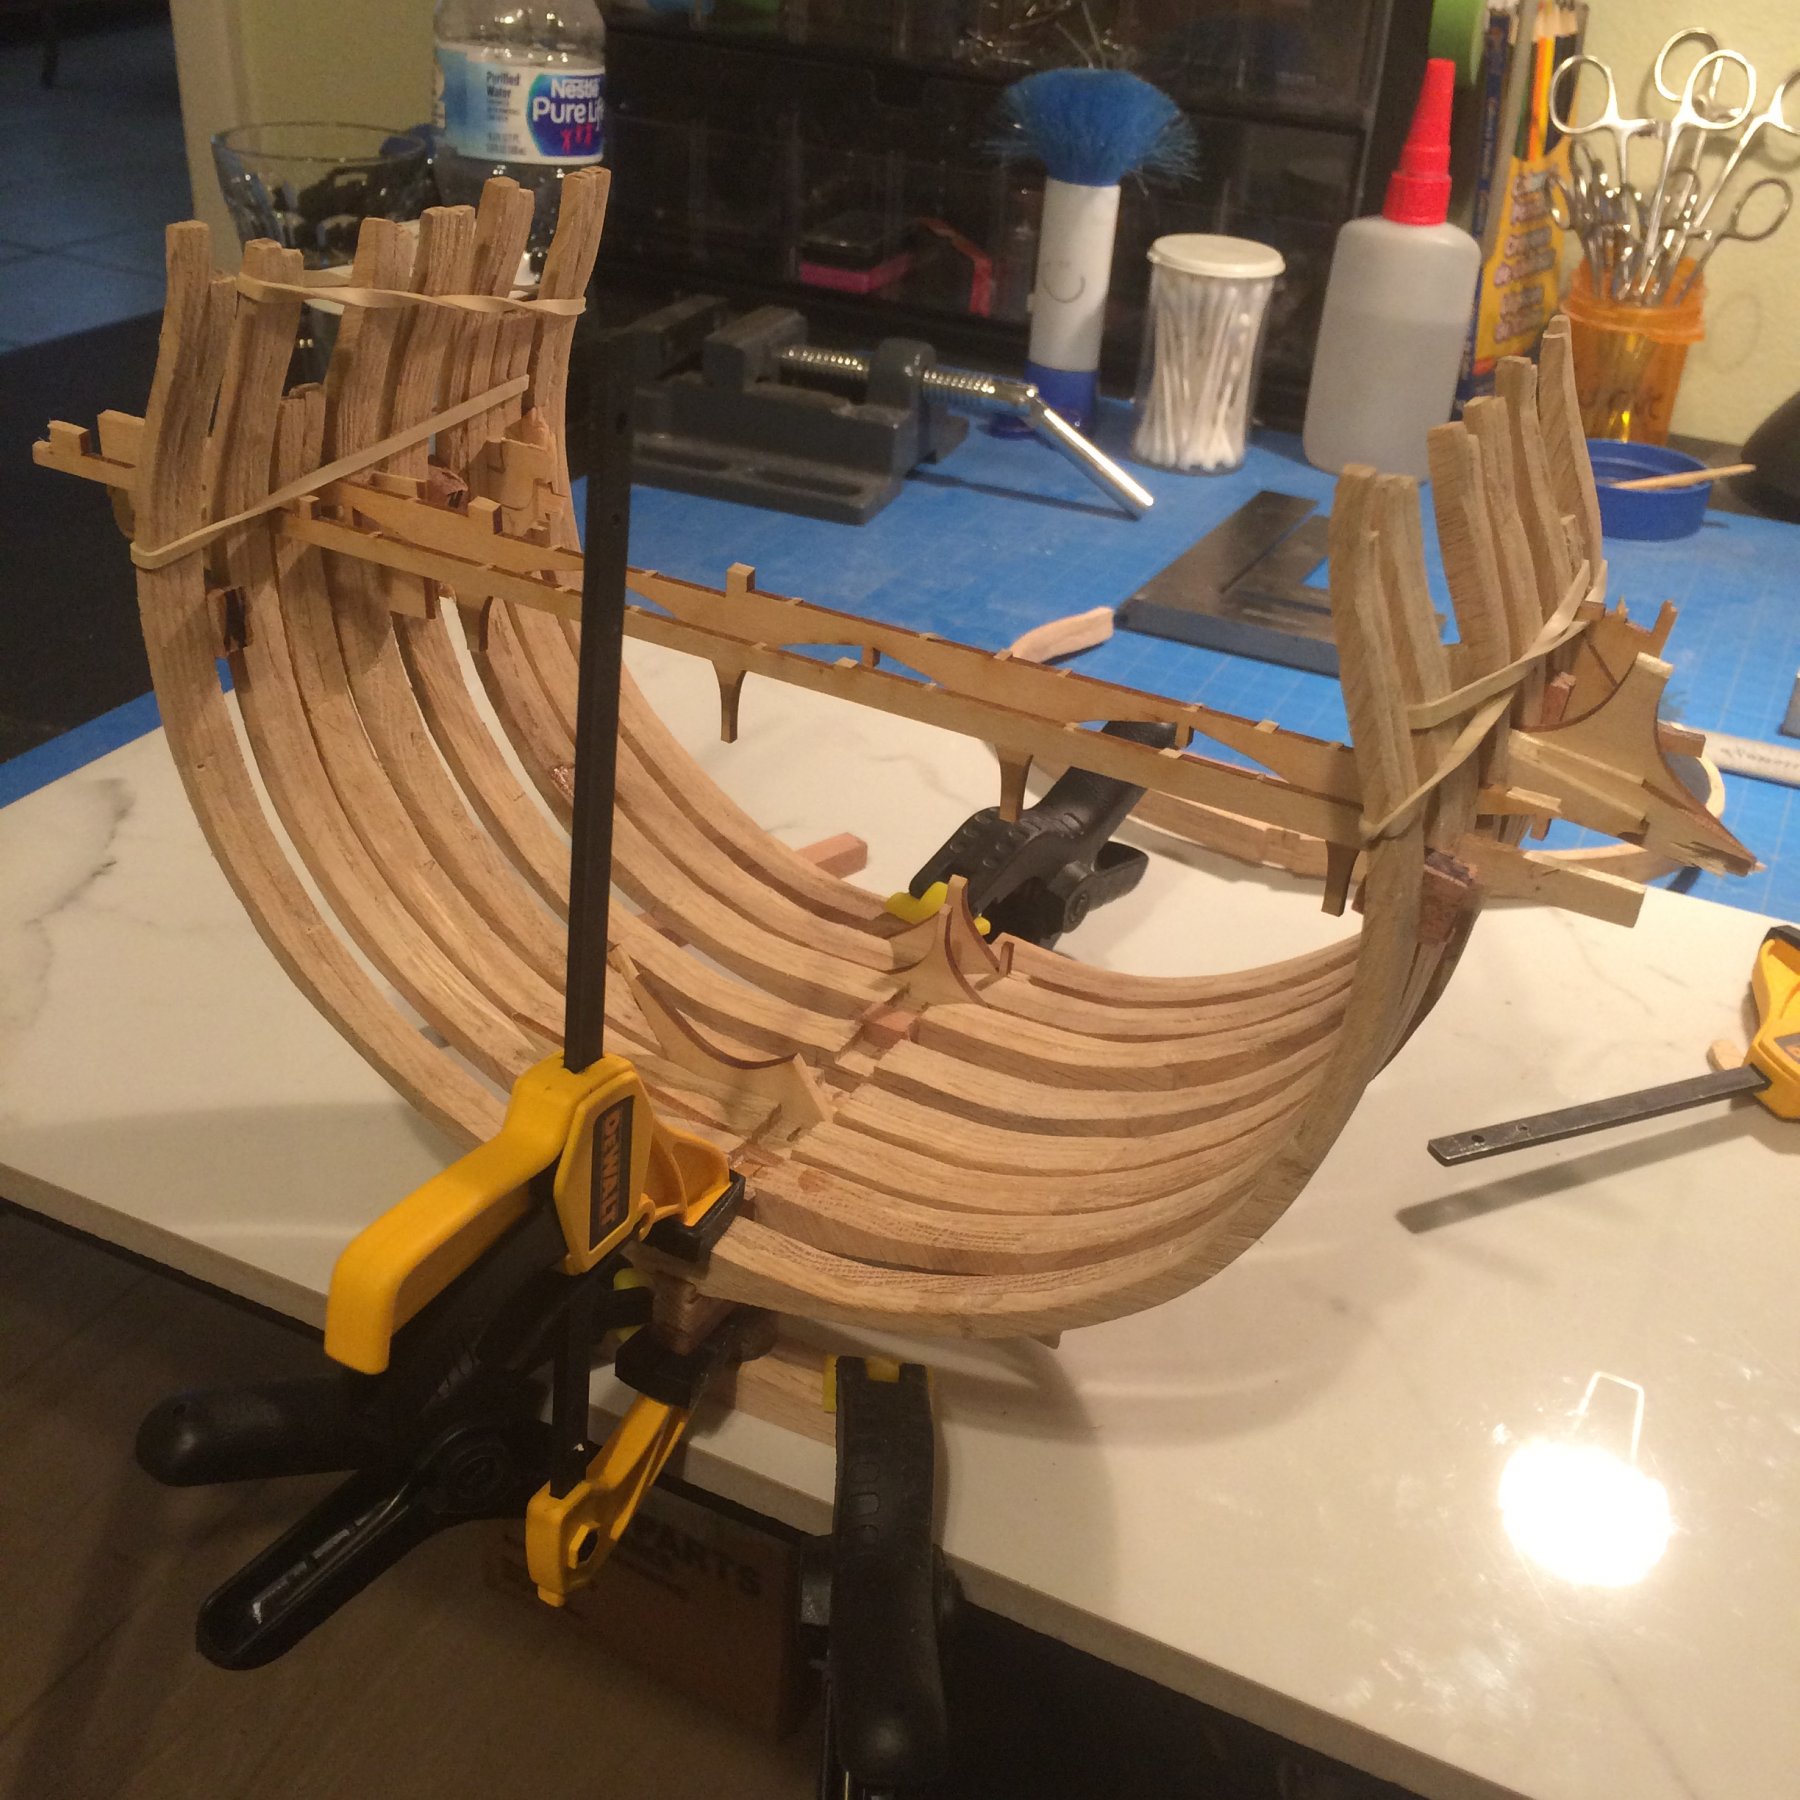
After sanding for a bit I got up enough confidence to assemble the frames to the keel. Now I wait for them to dry .Then I can pull out the spacers and tack in some temporary stiffeners to fair the inside and out .Everything is square and true right now I hope it stays that way once all the clamps and bands are removed. 🤞🏻
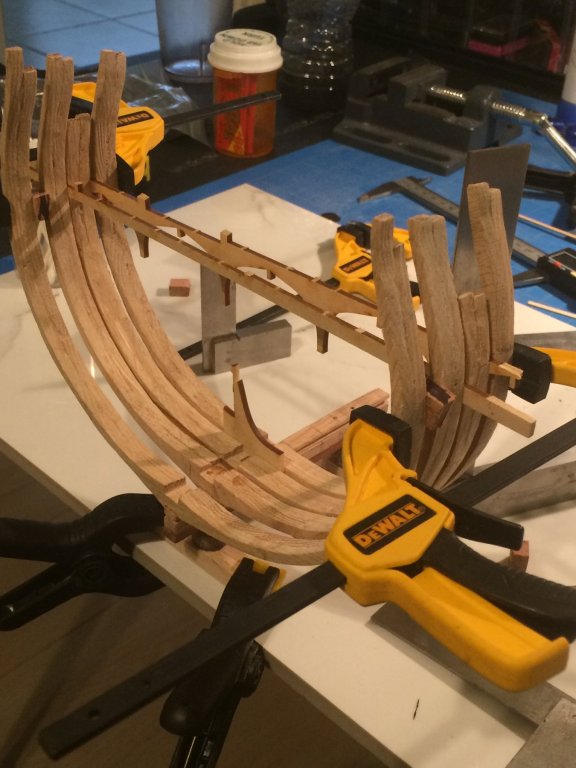
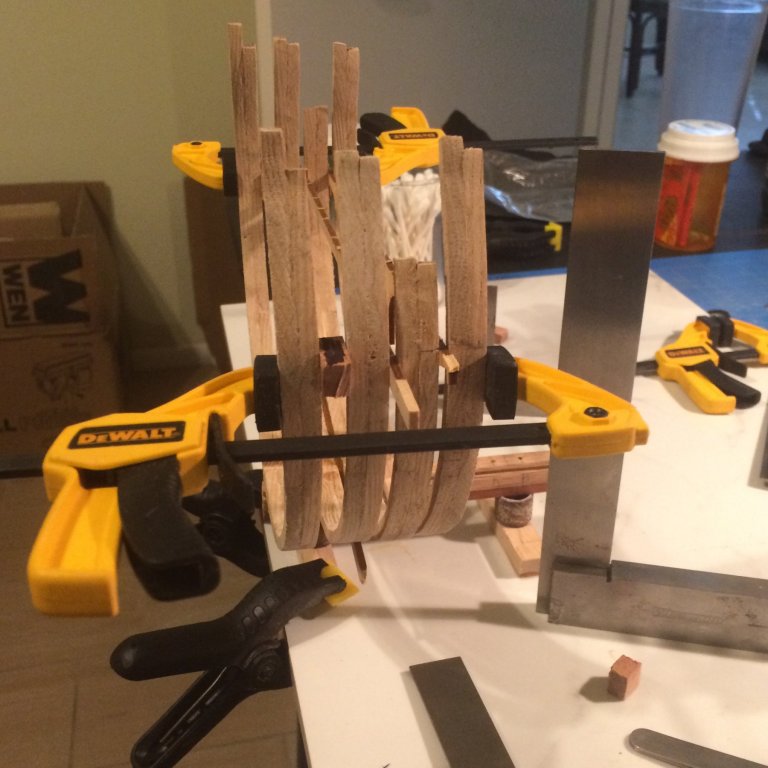


We shall see what tomorrow brings

Derek
- davec, Jolley Roger, mtaylor and 5 others
-
 8
8
-
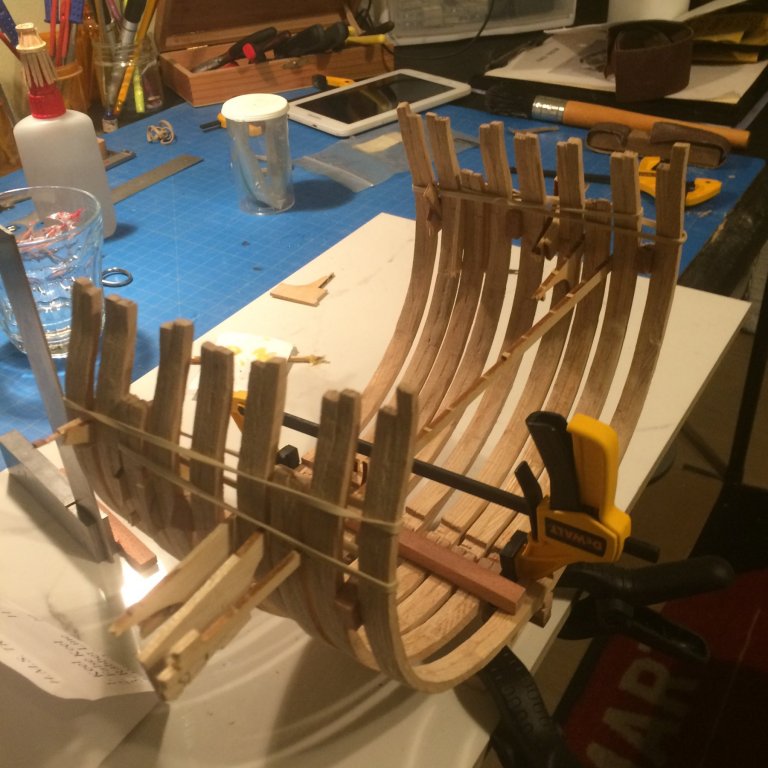
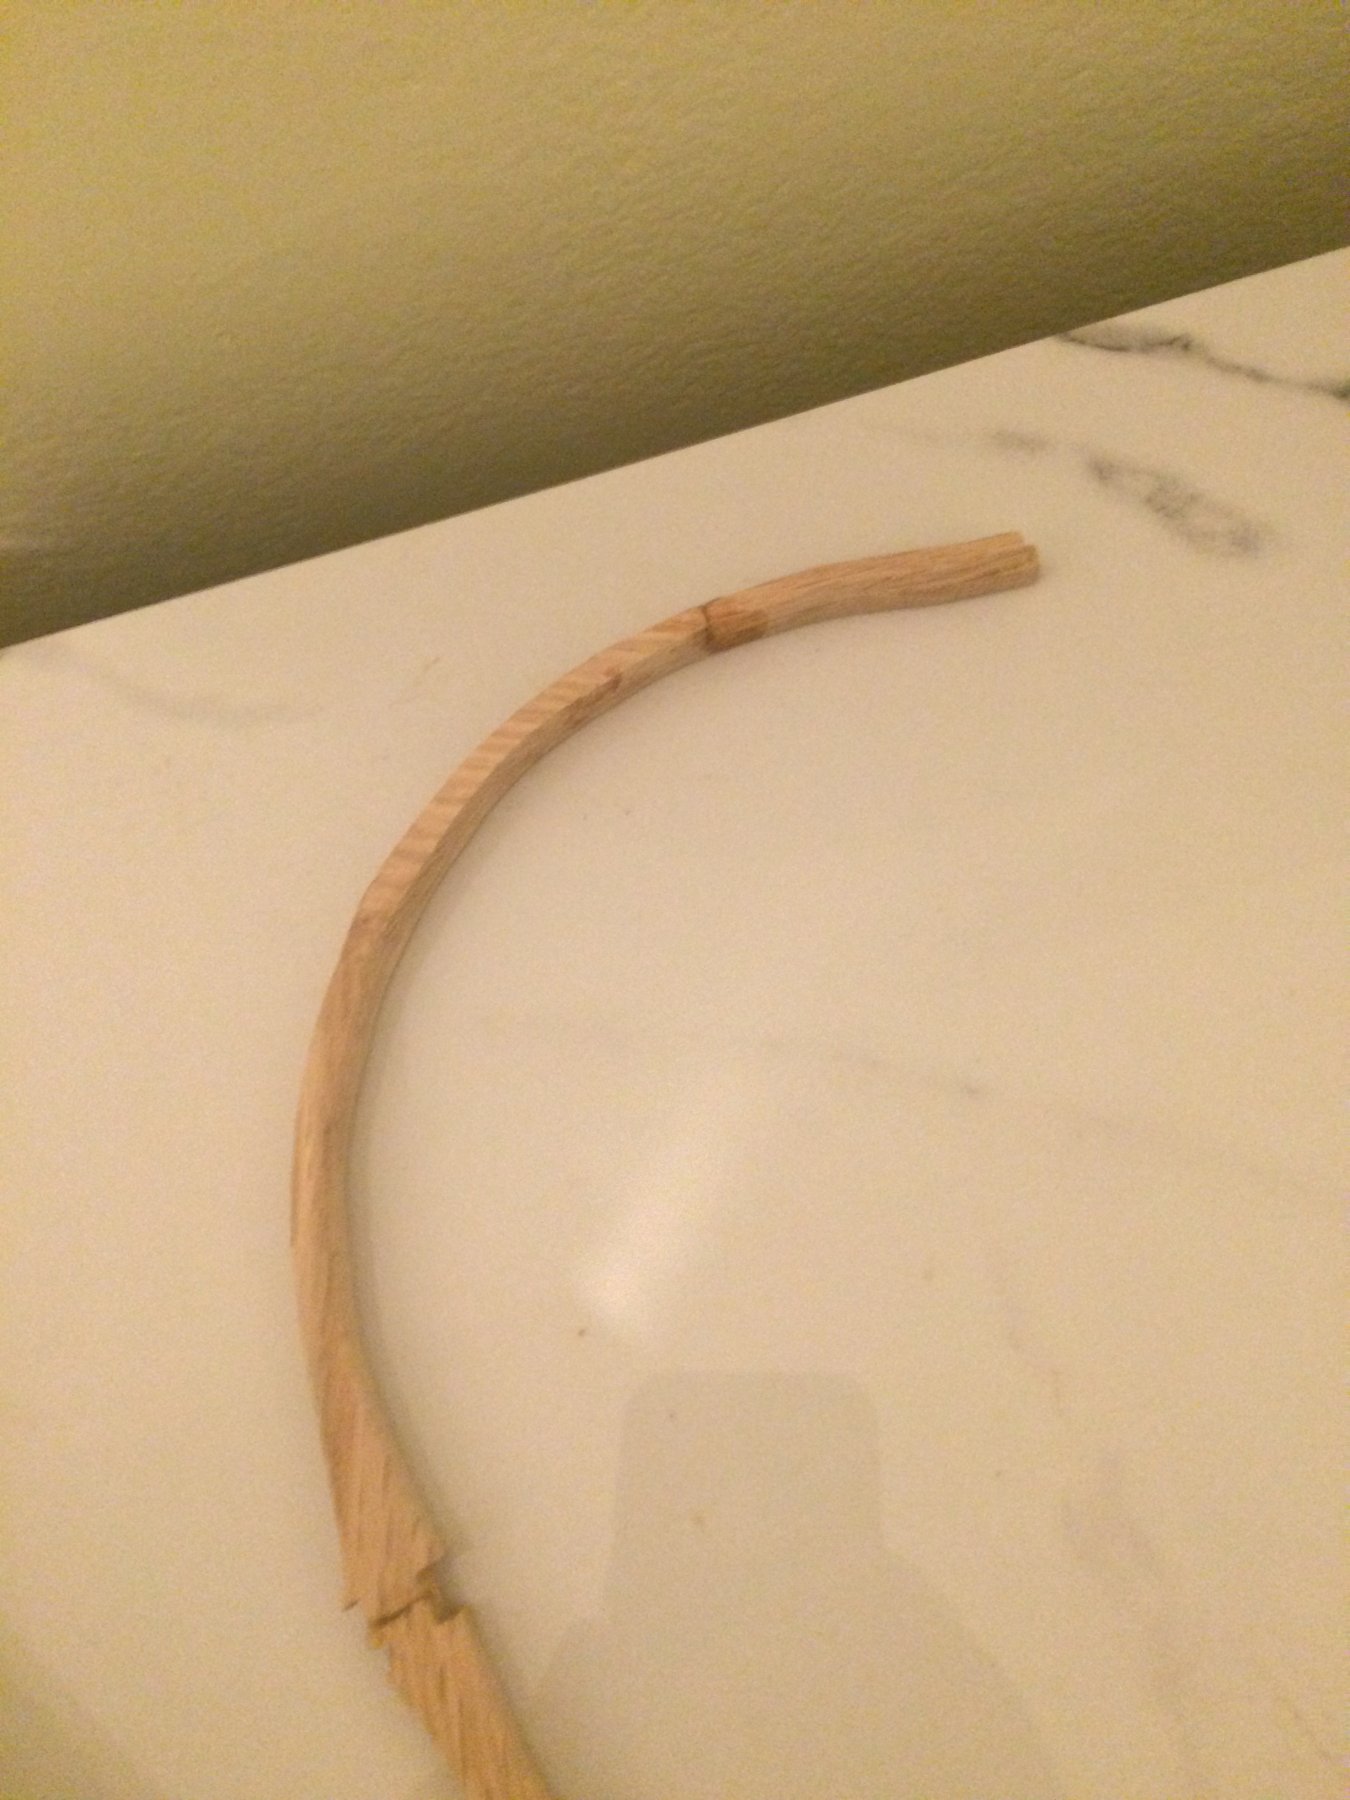
The repair on the frame feels strong , I will do a bit more sanding to it then take care of any cosmetics if needed.

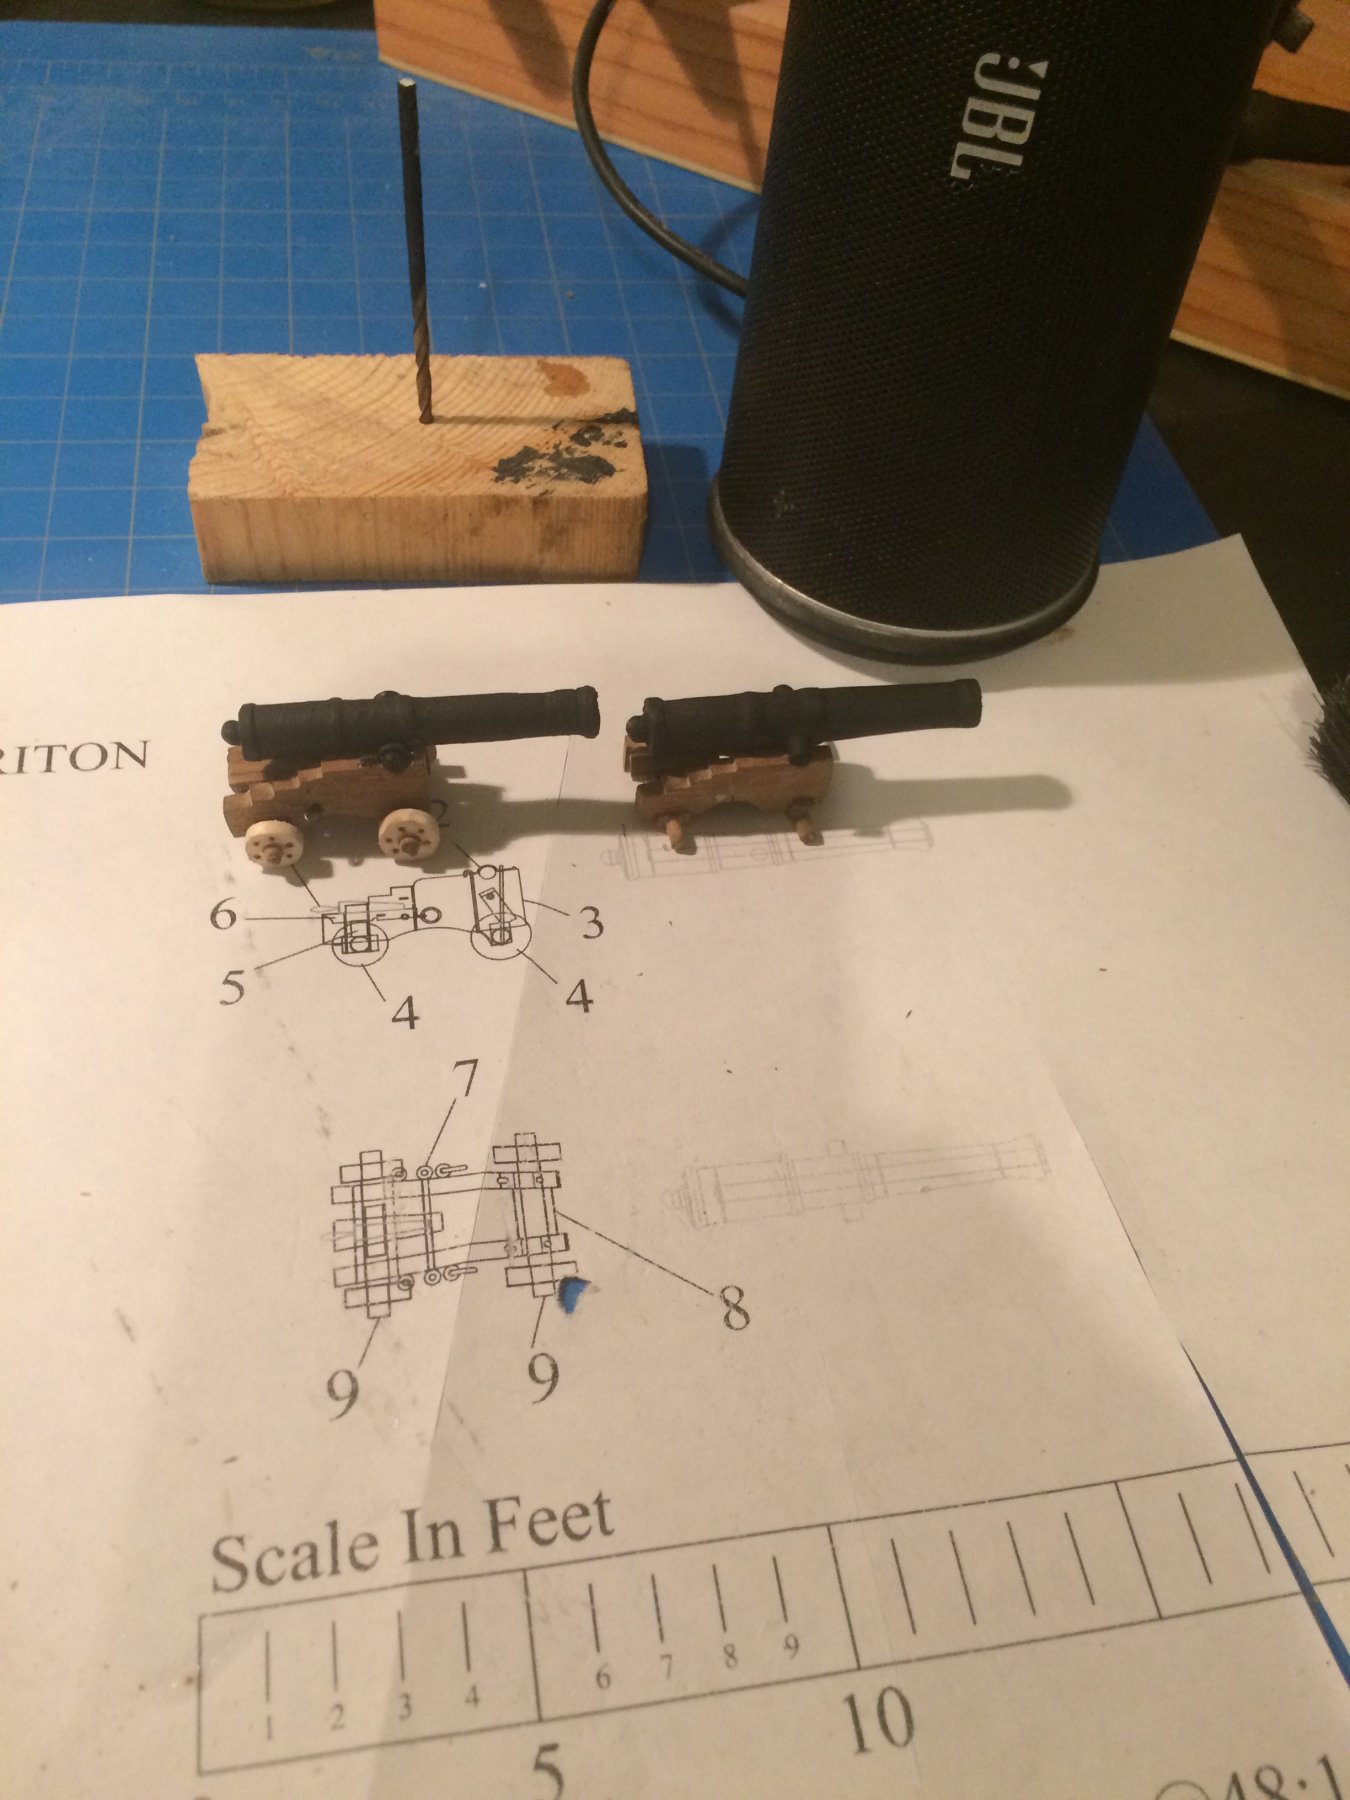
i also worked on another cannon barrel using same technique as used on the first barrel, I still need to make wheels for the second carriage and finish fitting them with hardware for rigging.

I will continue to play with my frames , sanding , cleaning,and dry fitting them today in hopes to get them assembled next week.

Derek
-
-
-
-
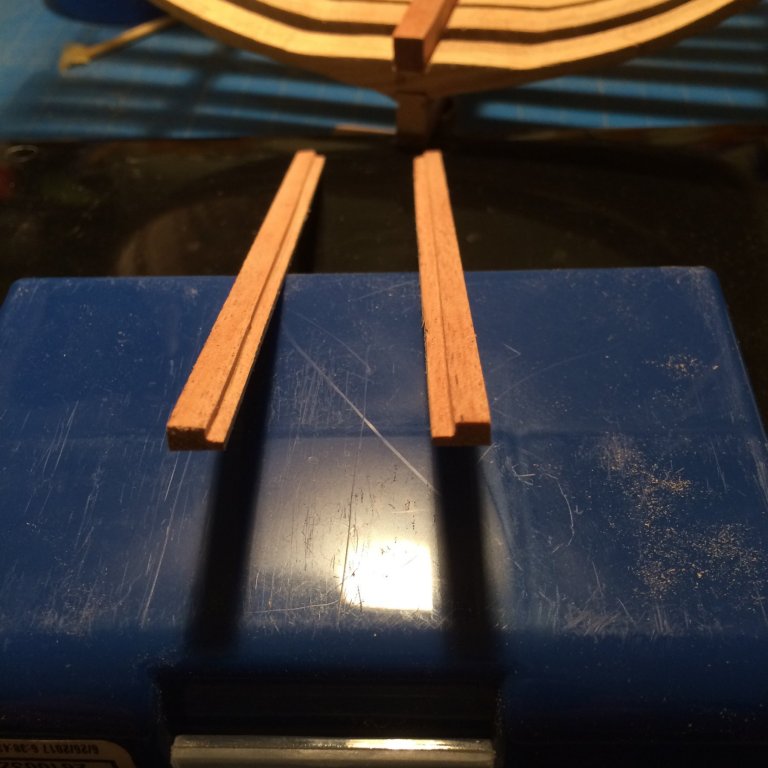
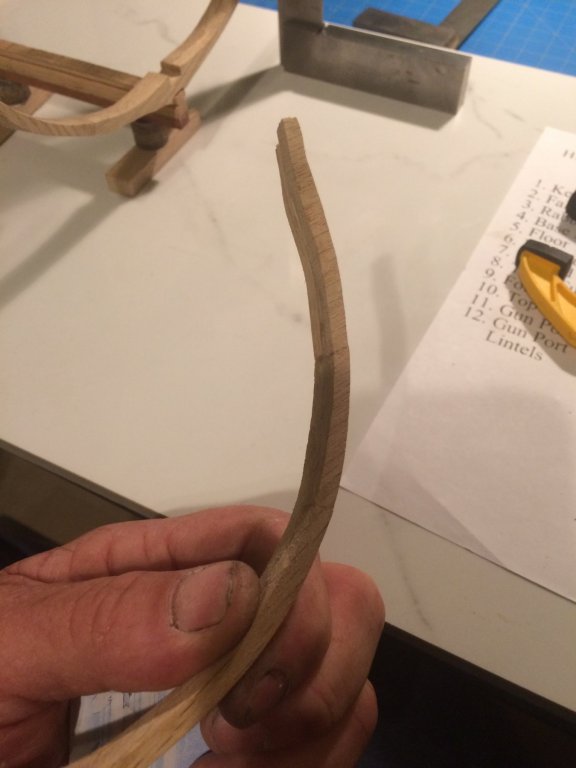
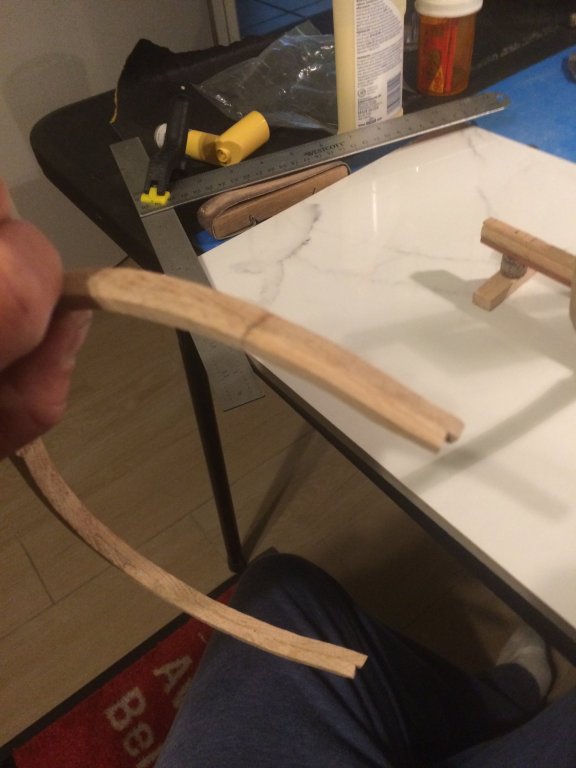
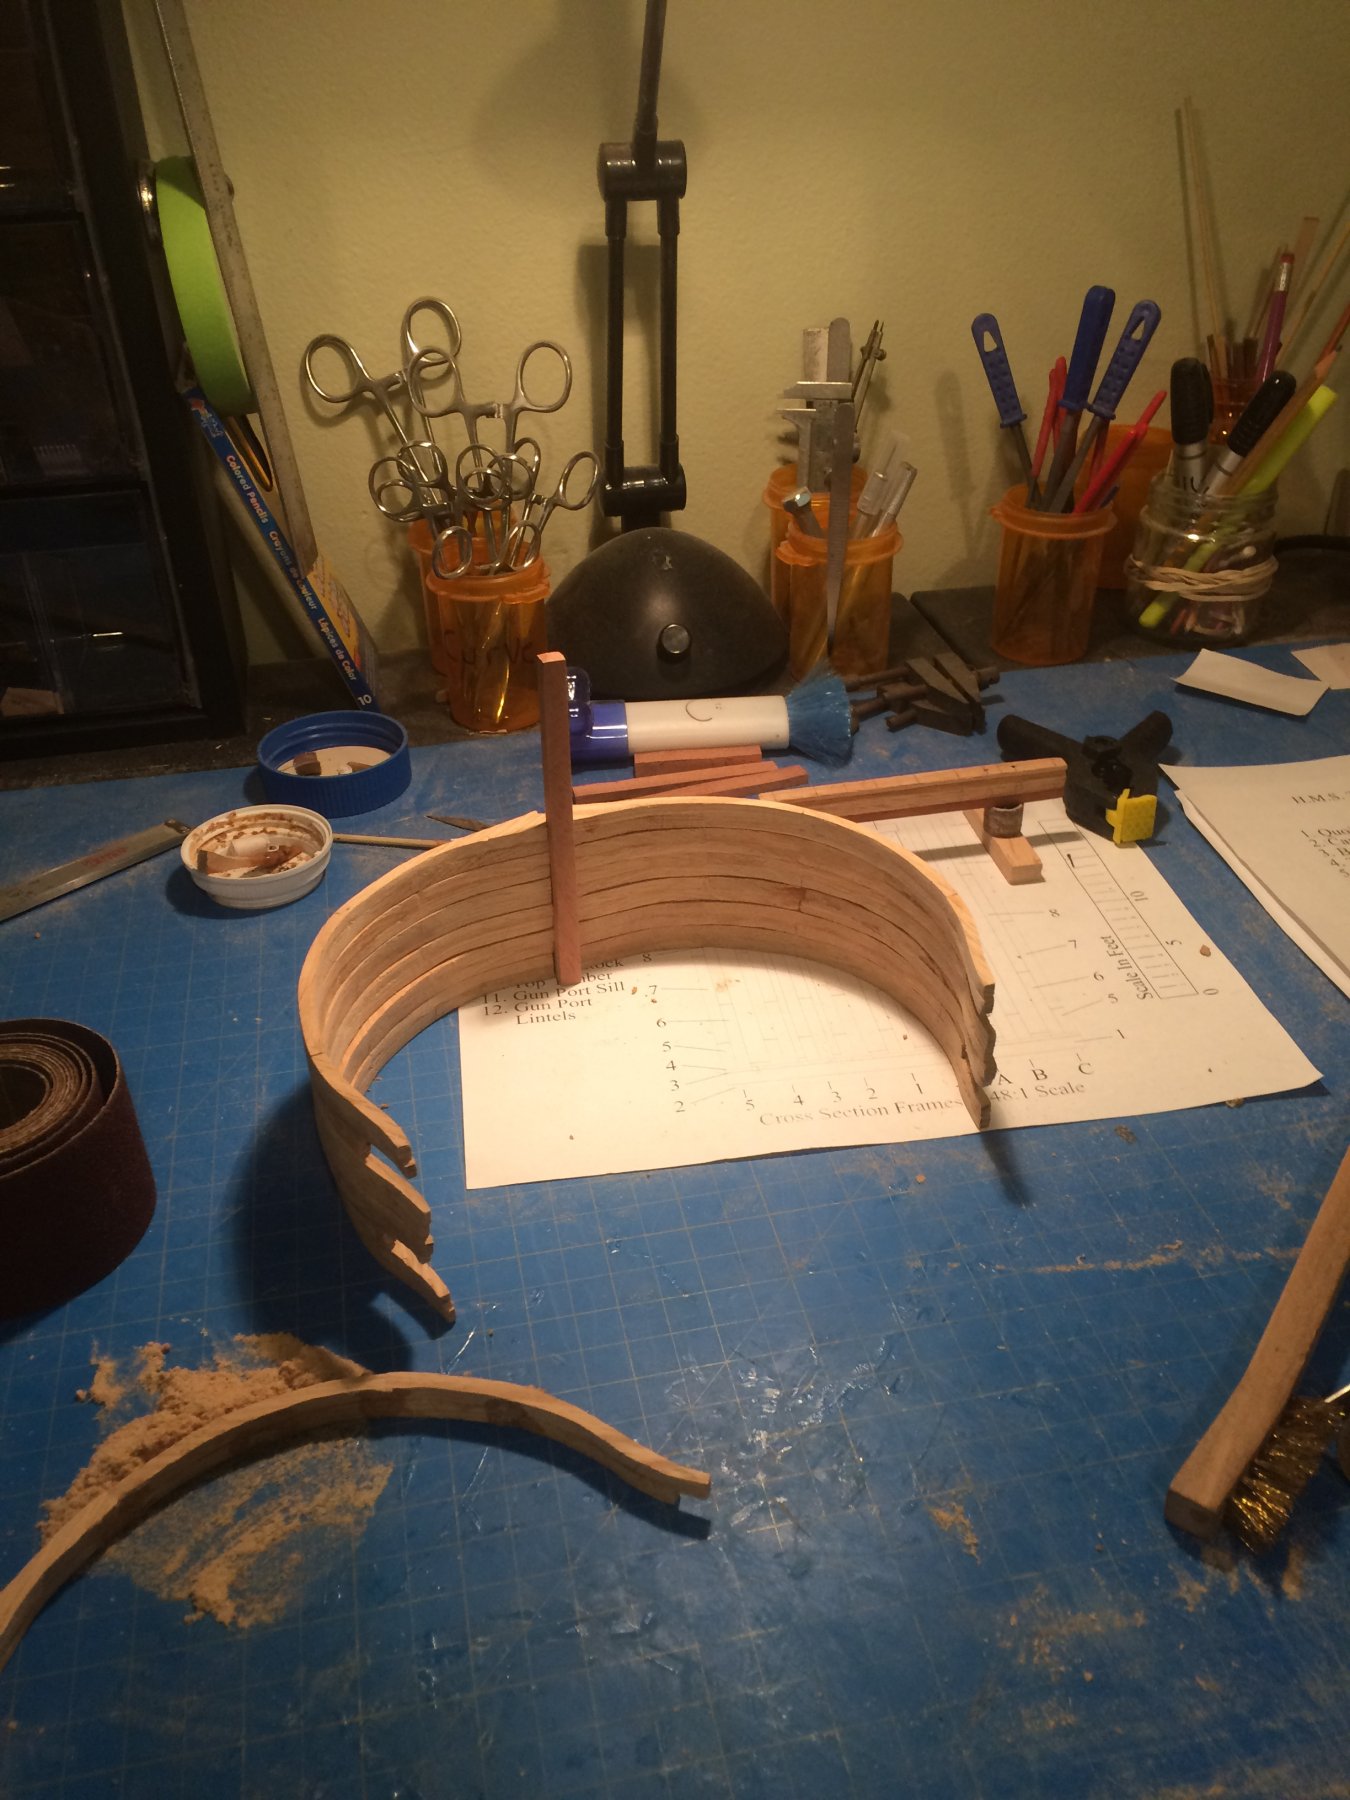
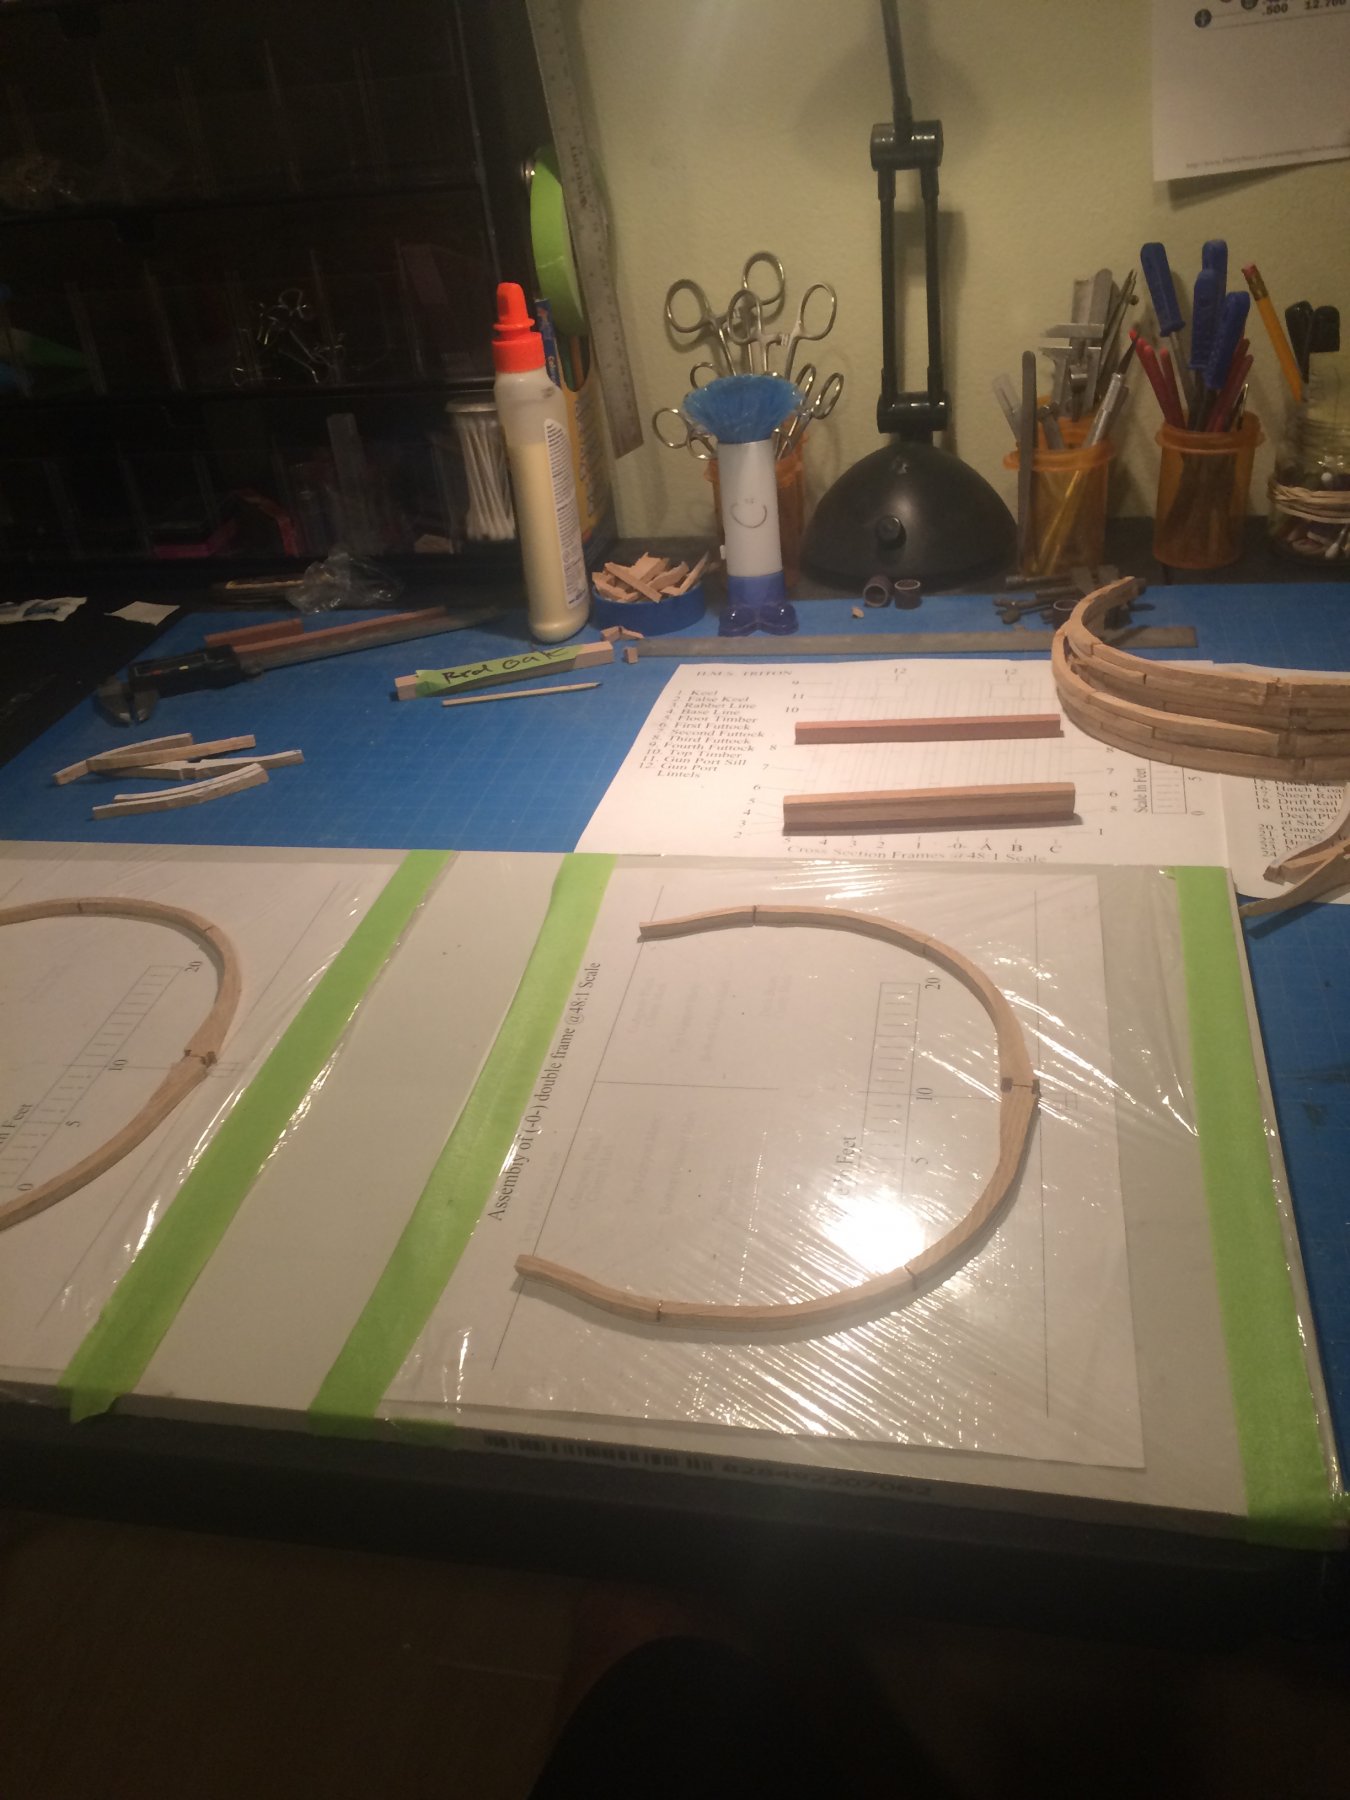
I was moving right along today sanding the frames with 80 grit to get close to the final shape I only had a couple more to go when I decided to get a refill on my coffee.stood up ,grabbed my cup and slung #5 frame across the room
 . Apparently it had hooked the cup 🤨.
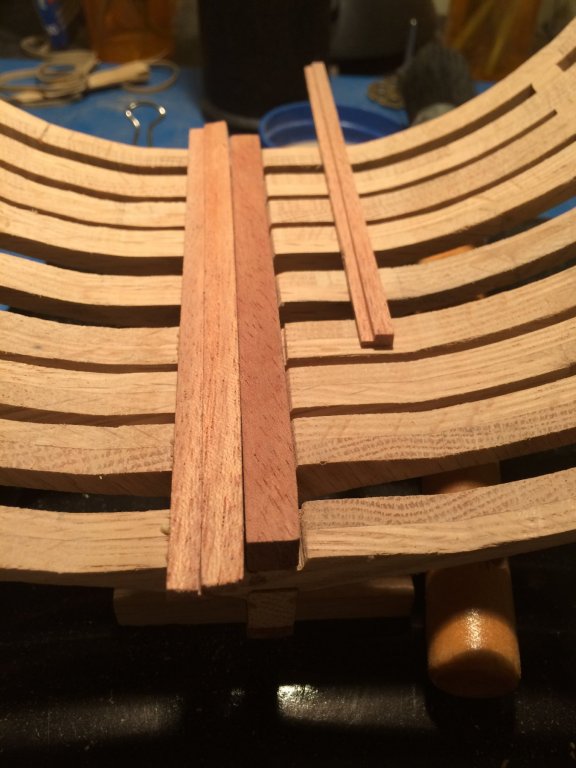
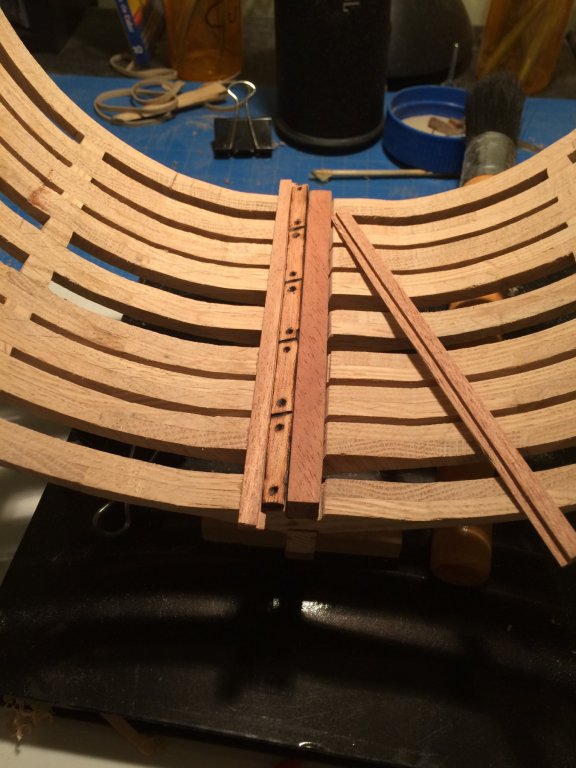
so to fix it .I drilled holes in the center of each of the frame pieces,using a #72 bit.
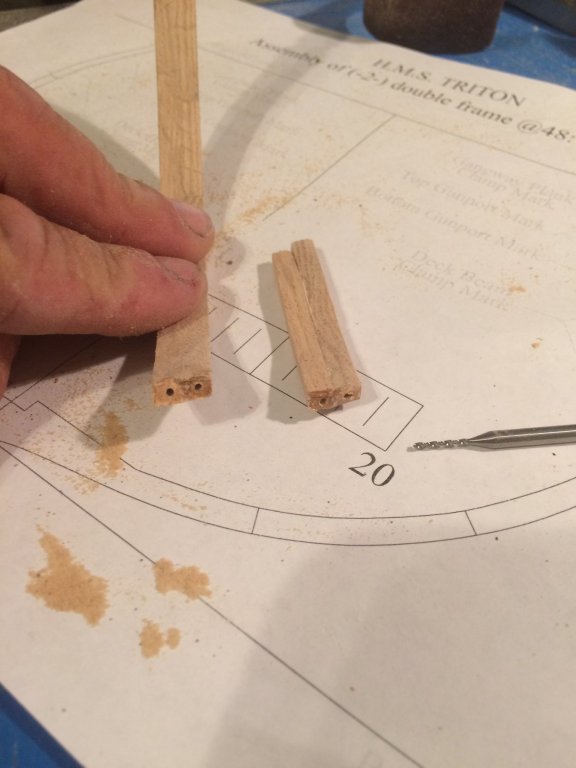
i then cut two pieces of wire 3/4 of a inch in length ,and inserted them with glue into the holes of one piece then filled holes of other pieces with glue.
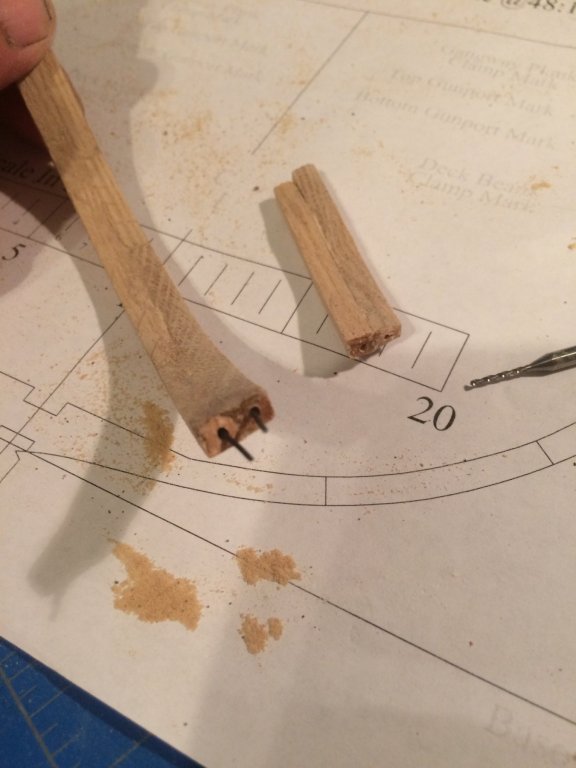
then in I assembled the pieces and set on a flat surface to dry.
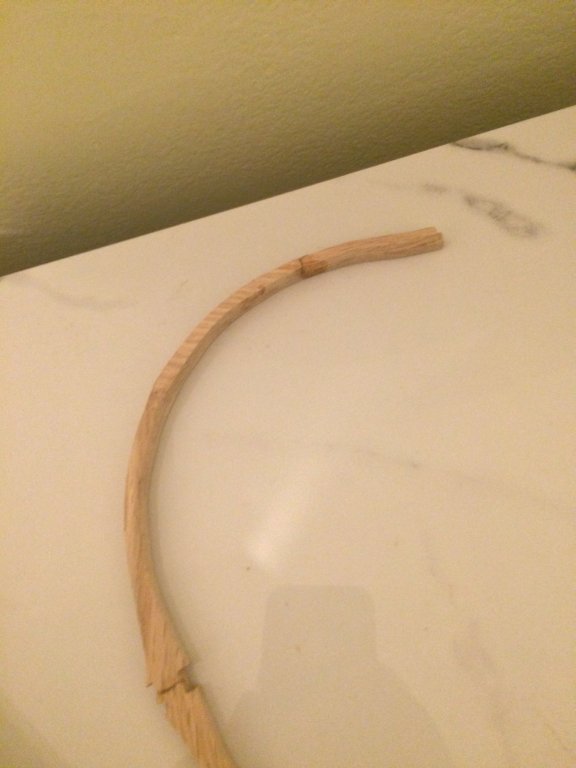
tomorrow I will sand and see if it will hold up or if i need to cut and assemble a new frame.i feel pretty confident in the repair.
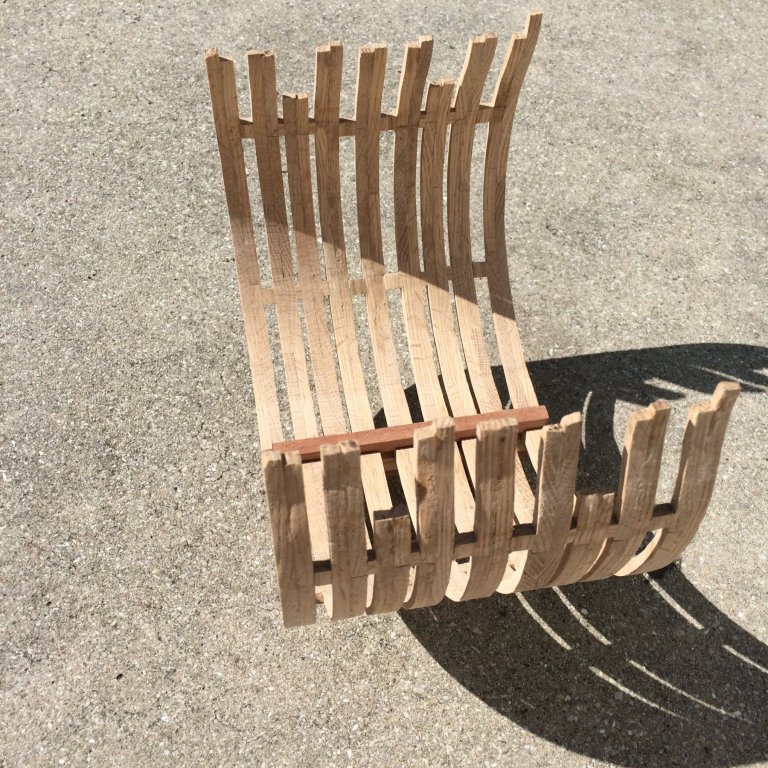
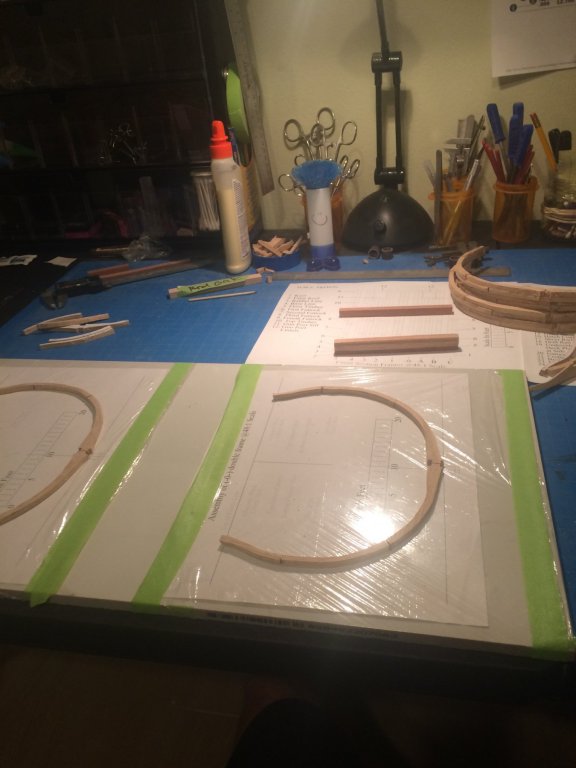
Here is a pic of the ones that are ready to get rubbed with 220 grit paper before assembly begins .

i will post a pic of the repaired frame tomorrow to show how it came out whether it’s good, bad, or ugly lol
Thanks for looking in .👋🏻
Derek
-
I use exacto but I like the idea of surgical. I will purchase these next time . Thanks Clifford
Derek
- Canute, thibaultron and mtaylor
-
3
-
I would suggest you buy a kit from a manufacturer that is known for good instructions and prints the Chinese ripoff’s are neither good quality nor good instructions, and they steal the product from good legitimate company’s. Look at some of our sponsors they have great kits available with quality and ease of instructions and I have seen first hand they back there products. Do yourself a favor and trash that kit or send it back.
-
-
Happy Thanksgiving fellow MSW Members

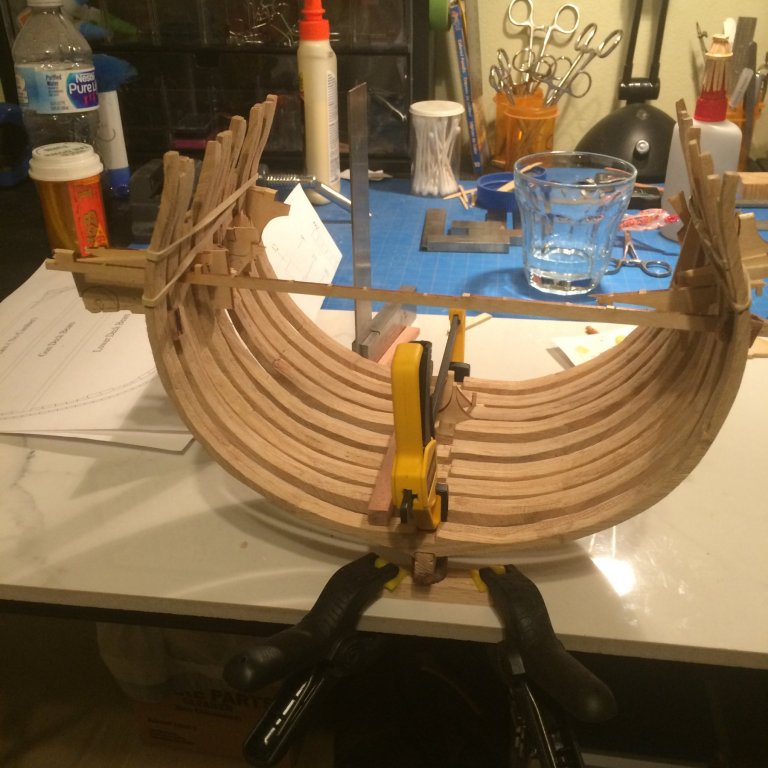
Just a little update on my progress. I am still gluing frames together as I sit here smelling all the good things cooking in the kitchen . I had planned on finishing the gluing today but I fear once I eat the gluing will stop and the napping will proceed.
Thanks for looking in.
Derek
-
-
-
-
-


US Brig Niagara by Tom E - Model Shipways - 1:64 Scale
in - Kit build logs for subjects built from 1801 - 1850
Posted
Lol lather rinse repeat 😂