


Derek C
-
Posts
333 -
Joined
-
Last visited
Content Type
Profiles
Forums
Gallery
Events
Posts posted by Derek C
-
-
Check out this link
Maybe you will find some ideas .
Good Luck
Derek
- Canute, mtaylor and thibaultron
-
 3
3
-
-
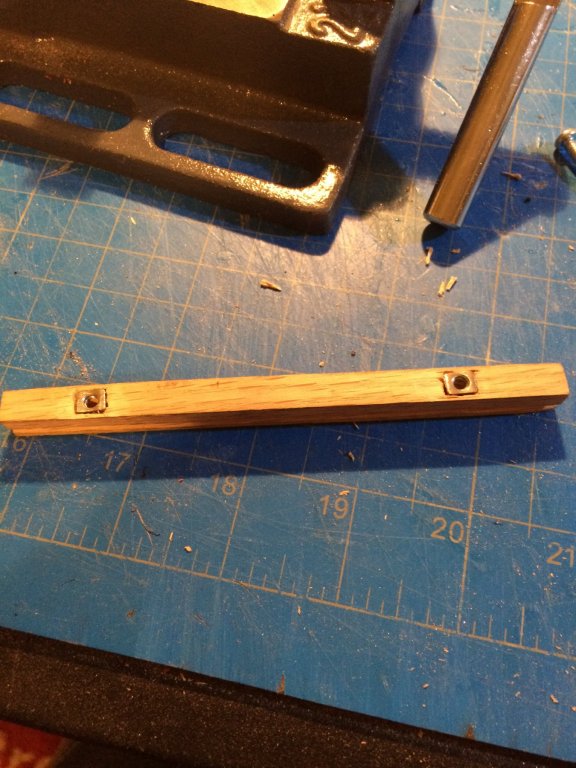
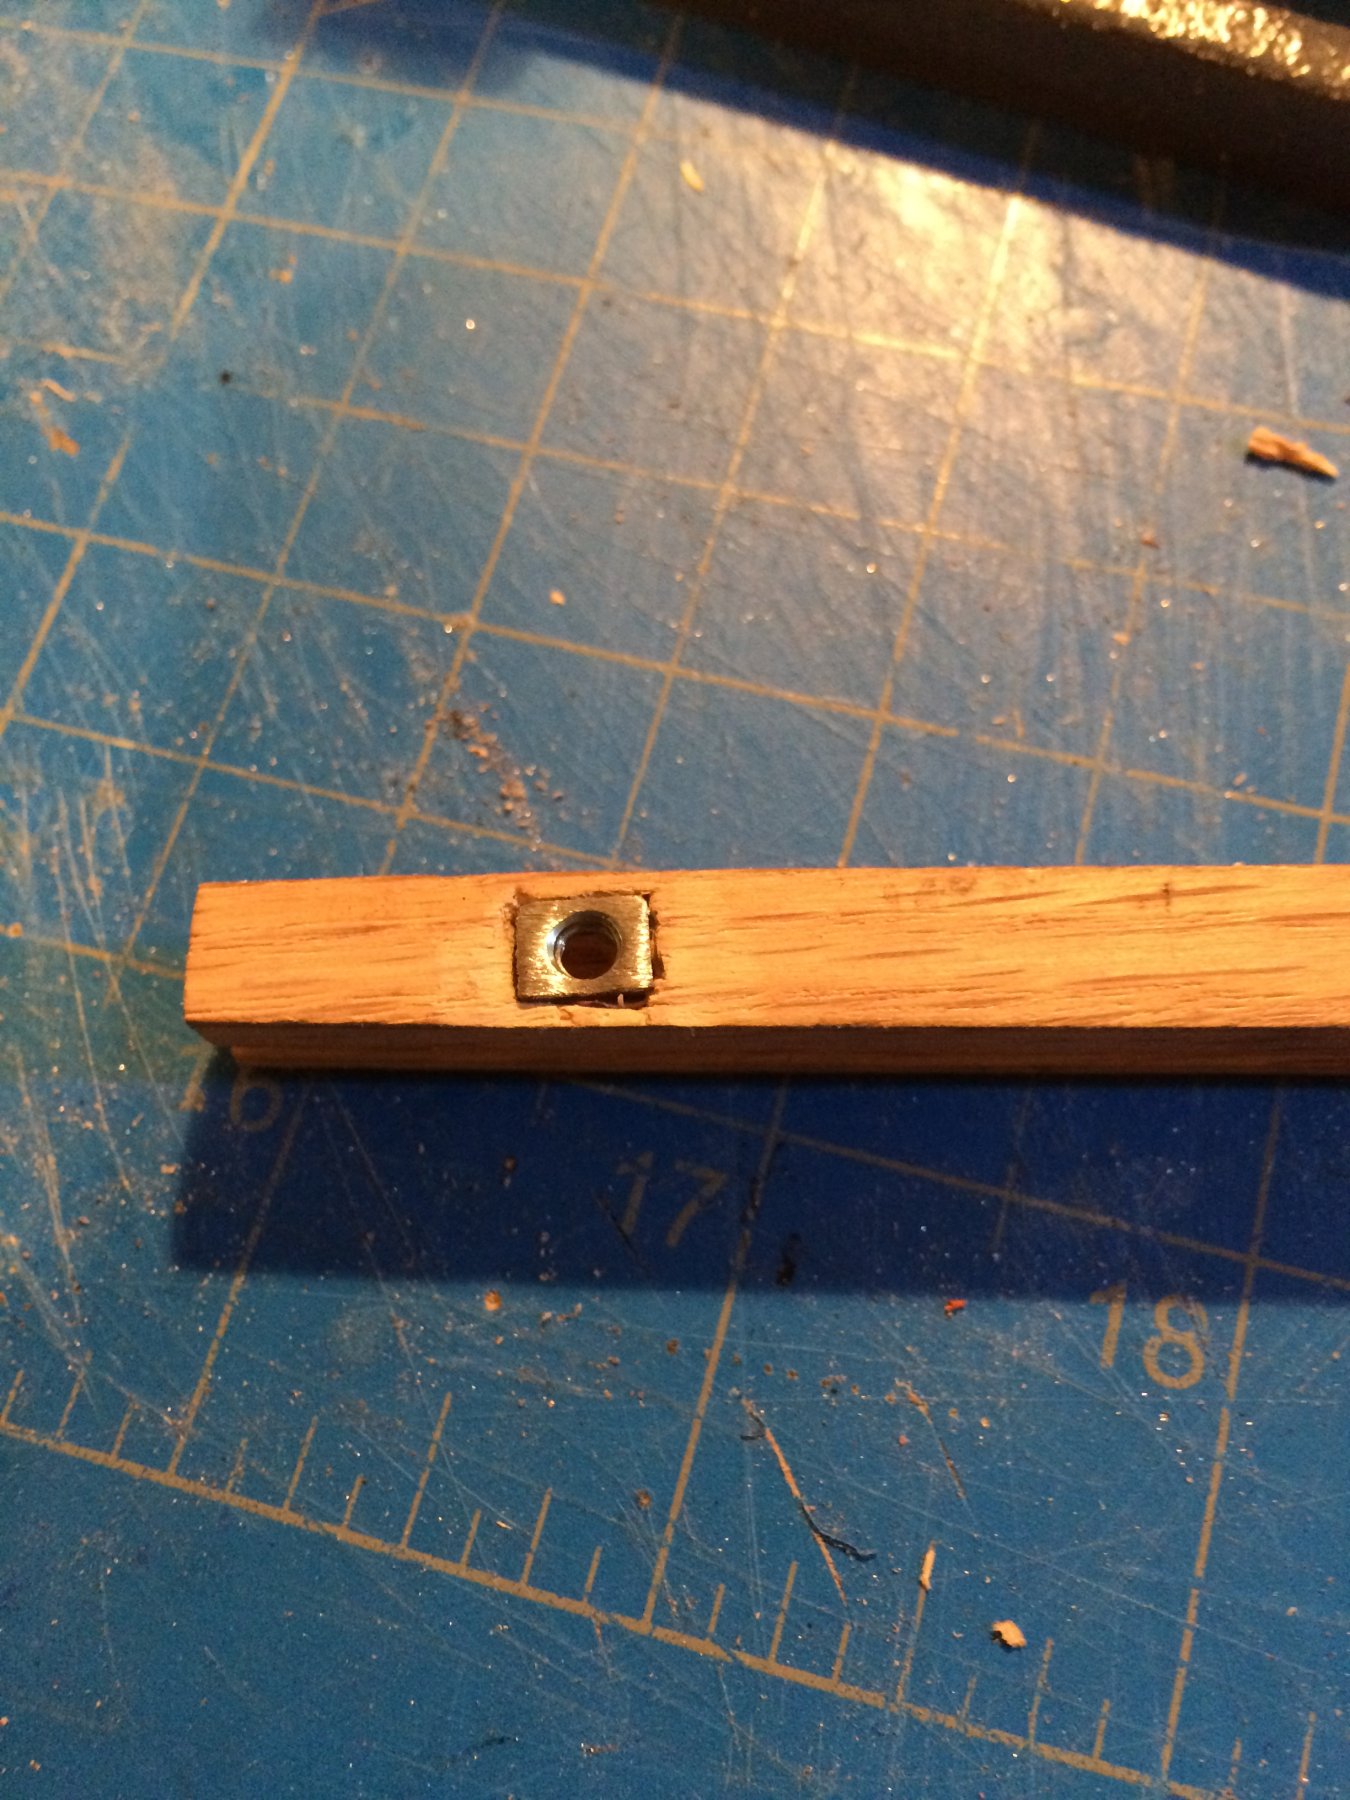
Here it is all glued up tight , you can see the nuts in there new home .I will use these to mount the keel to the build board ,and later to mount to the base .
- mtaylor, Tom E, Jolley Roger and 3 others
-
6
-
-
Welcome to MSW
You can get planks from http://www.woodprojectsource.com/ they are one of the sponsors here at MSW.
All the best
Derek
-
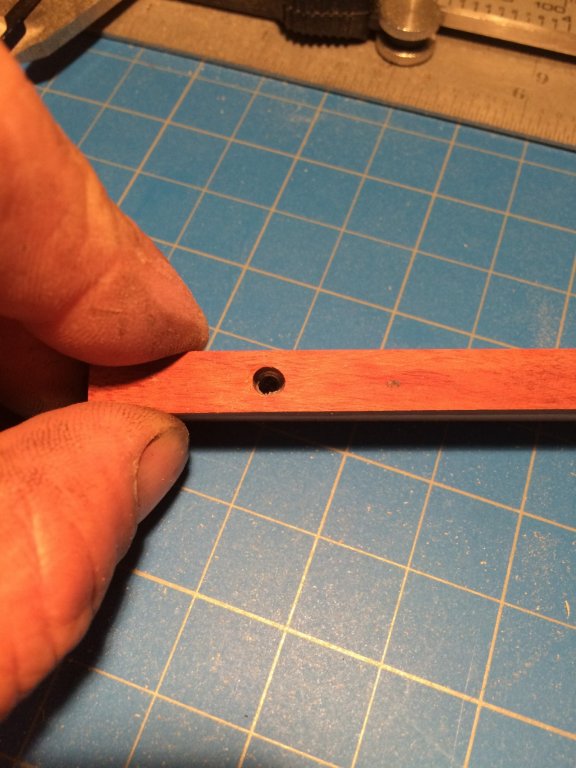
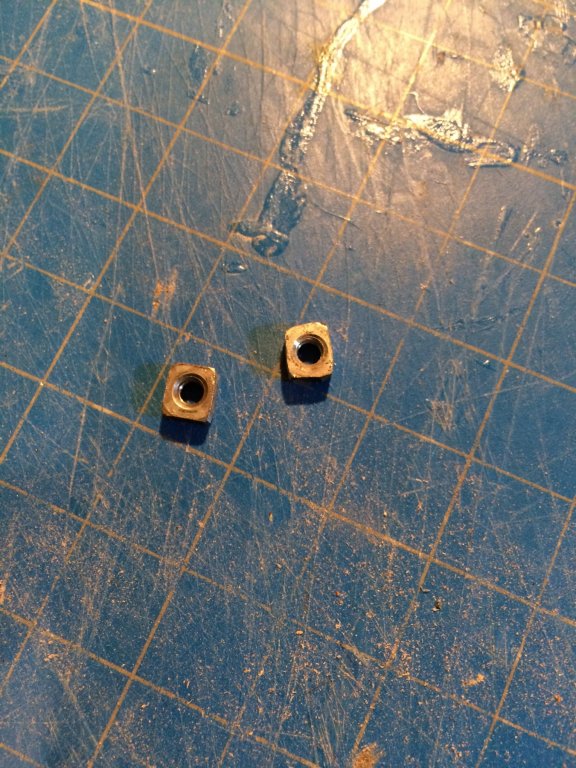
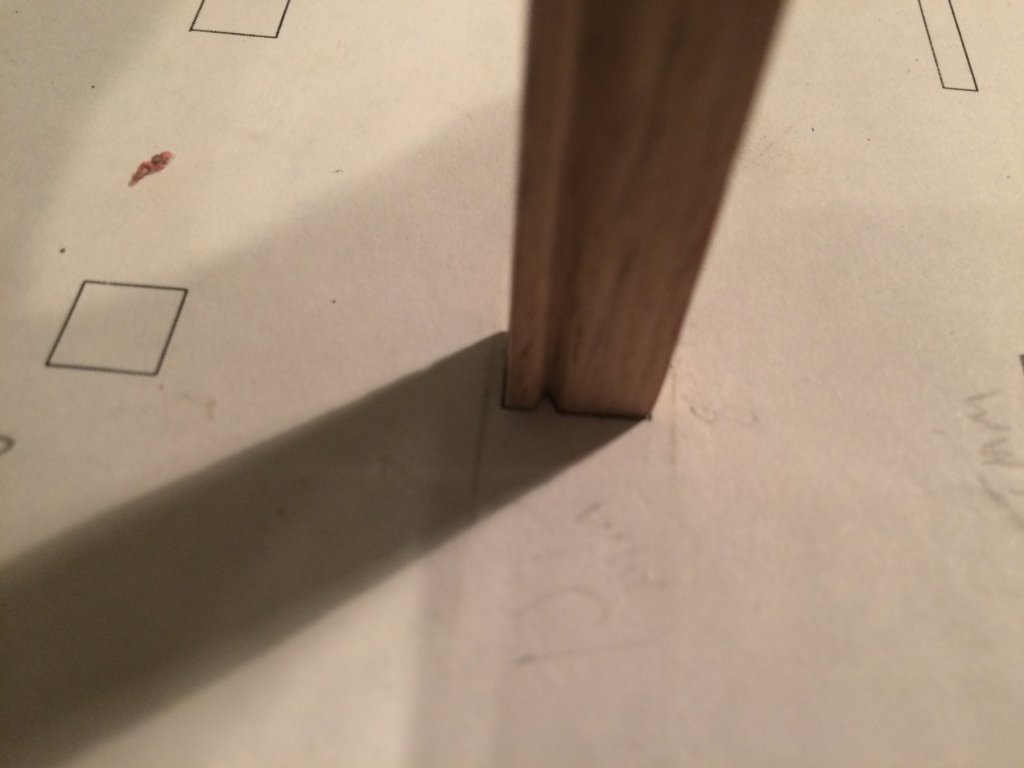
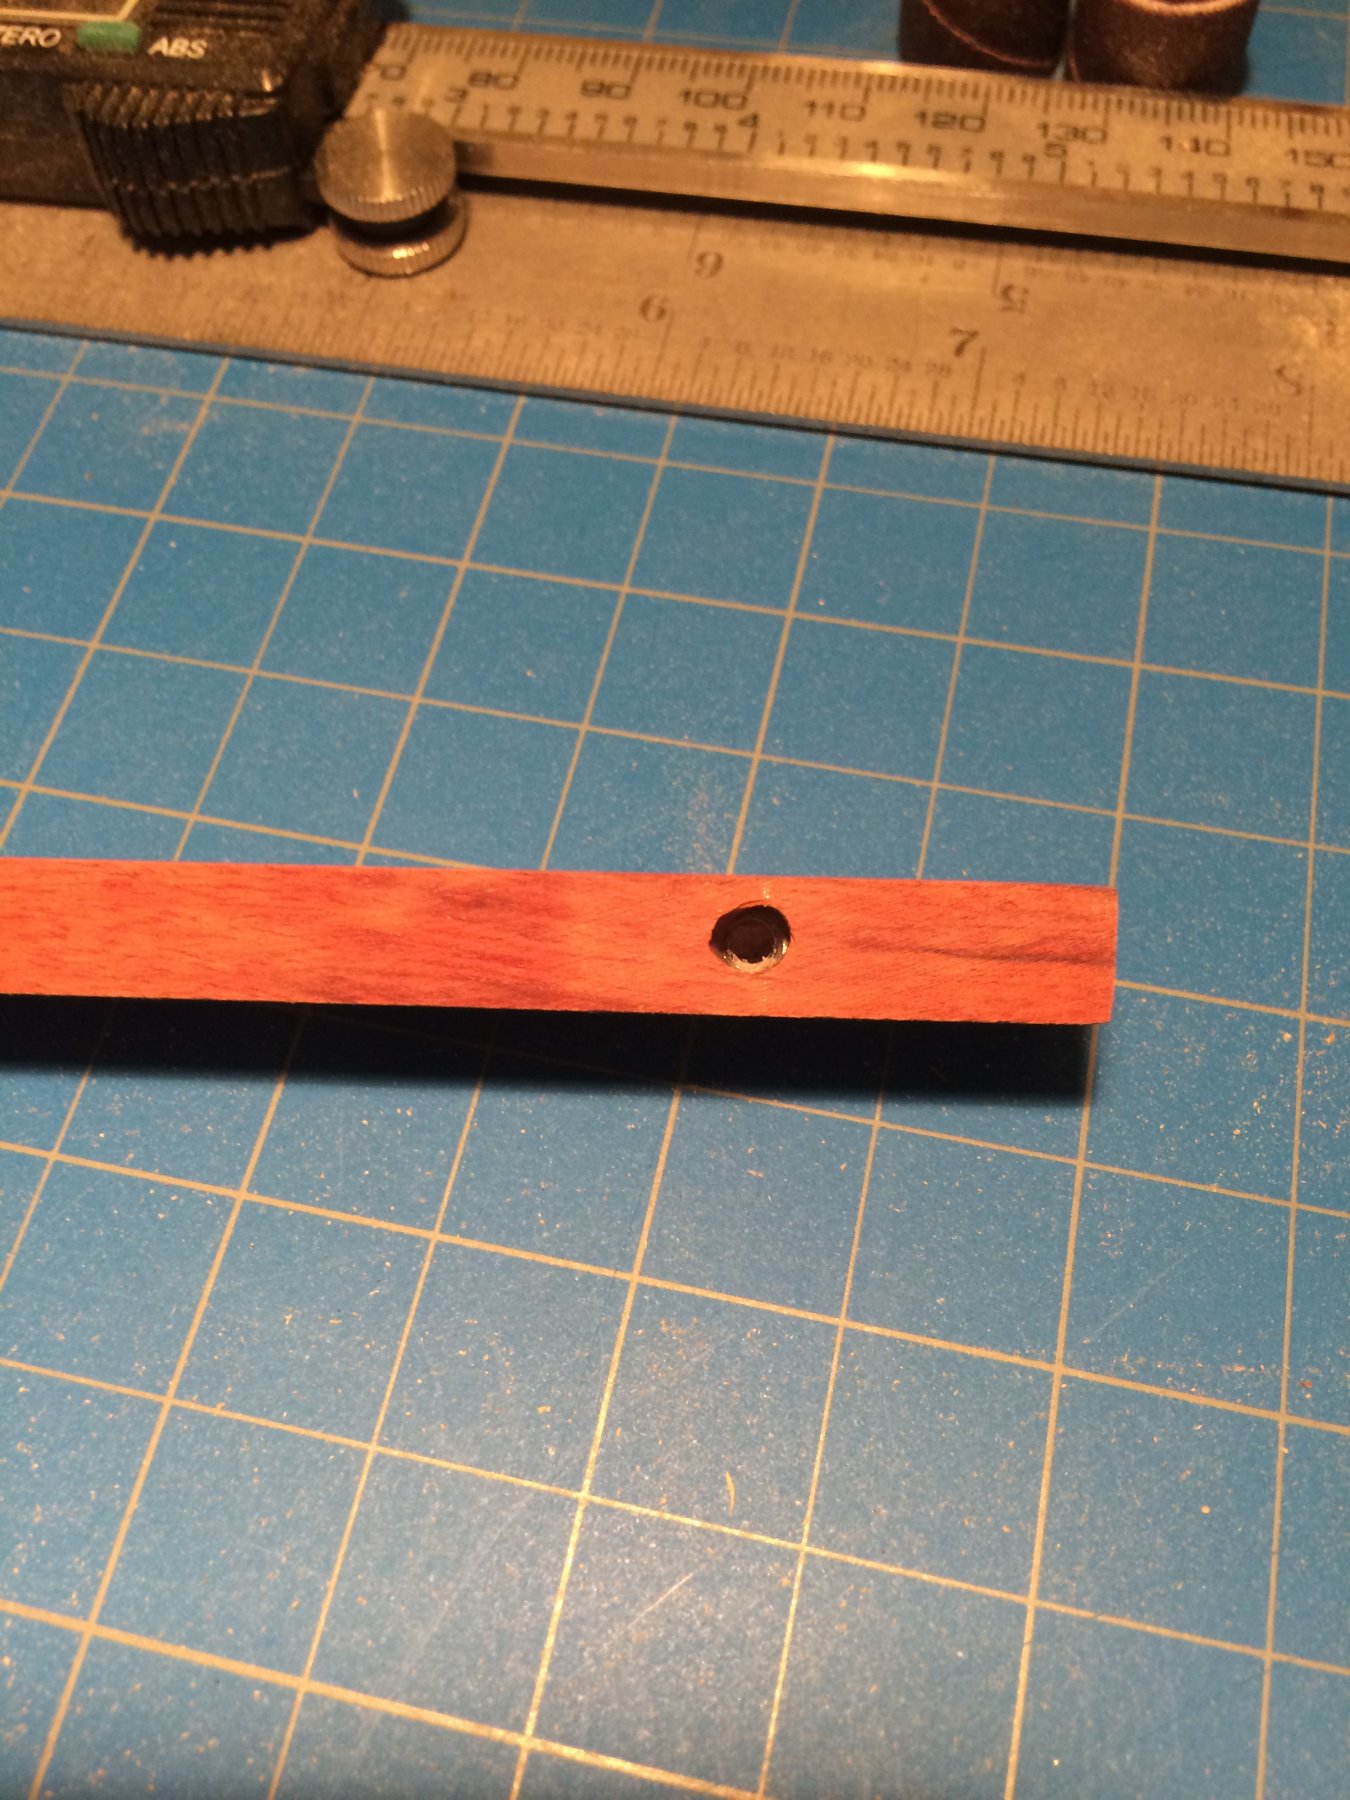
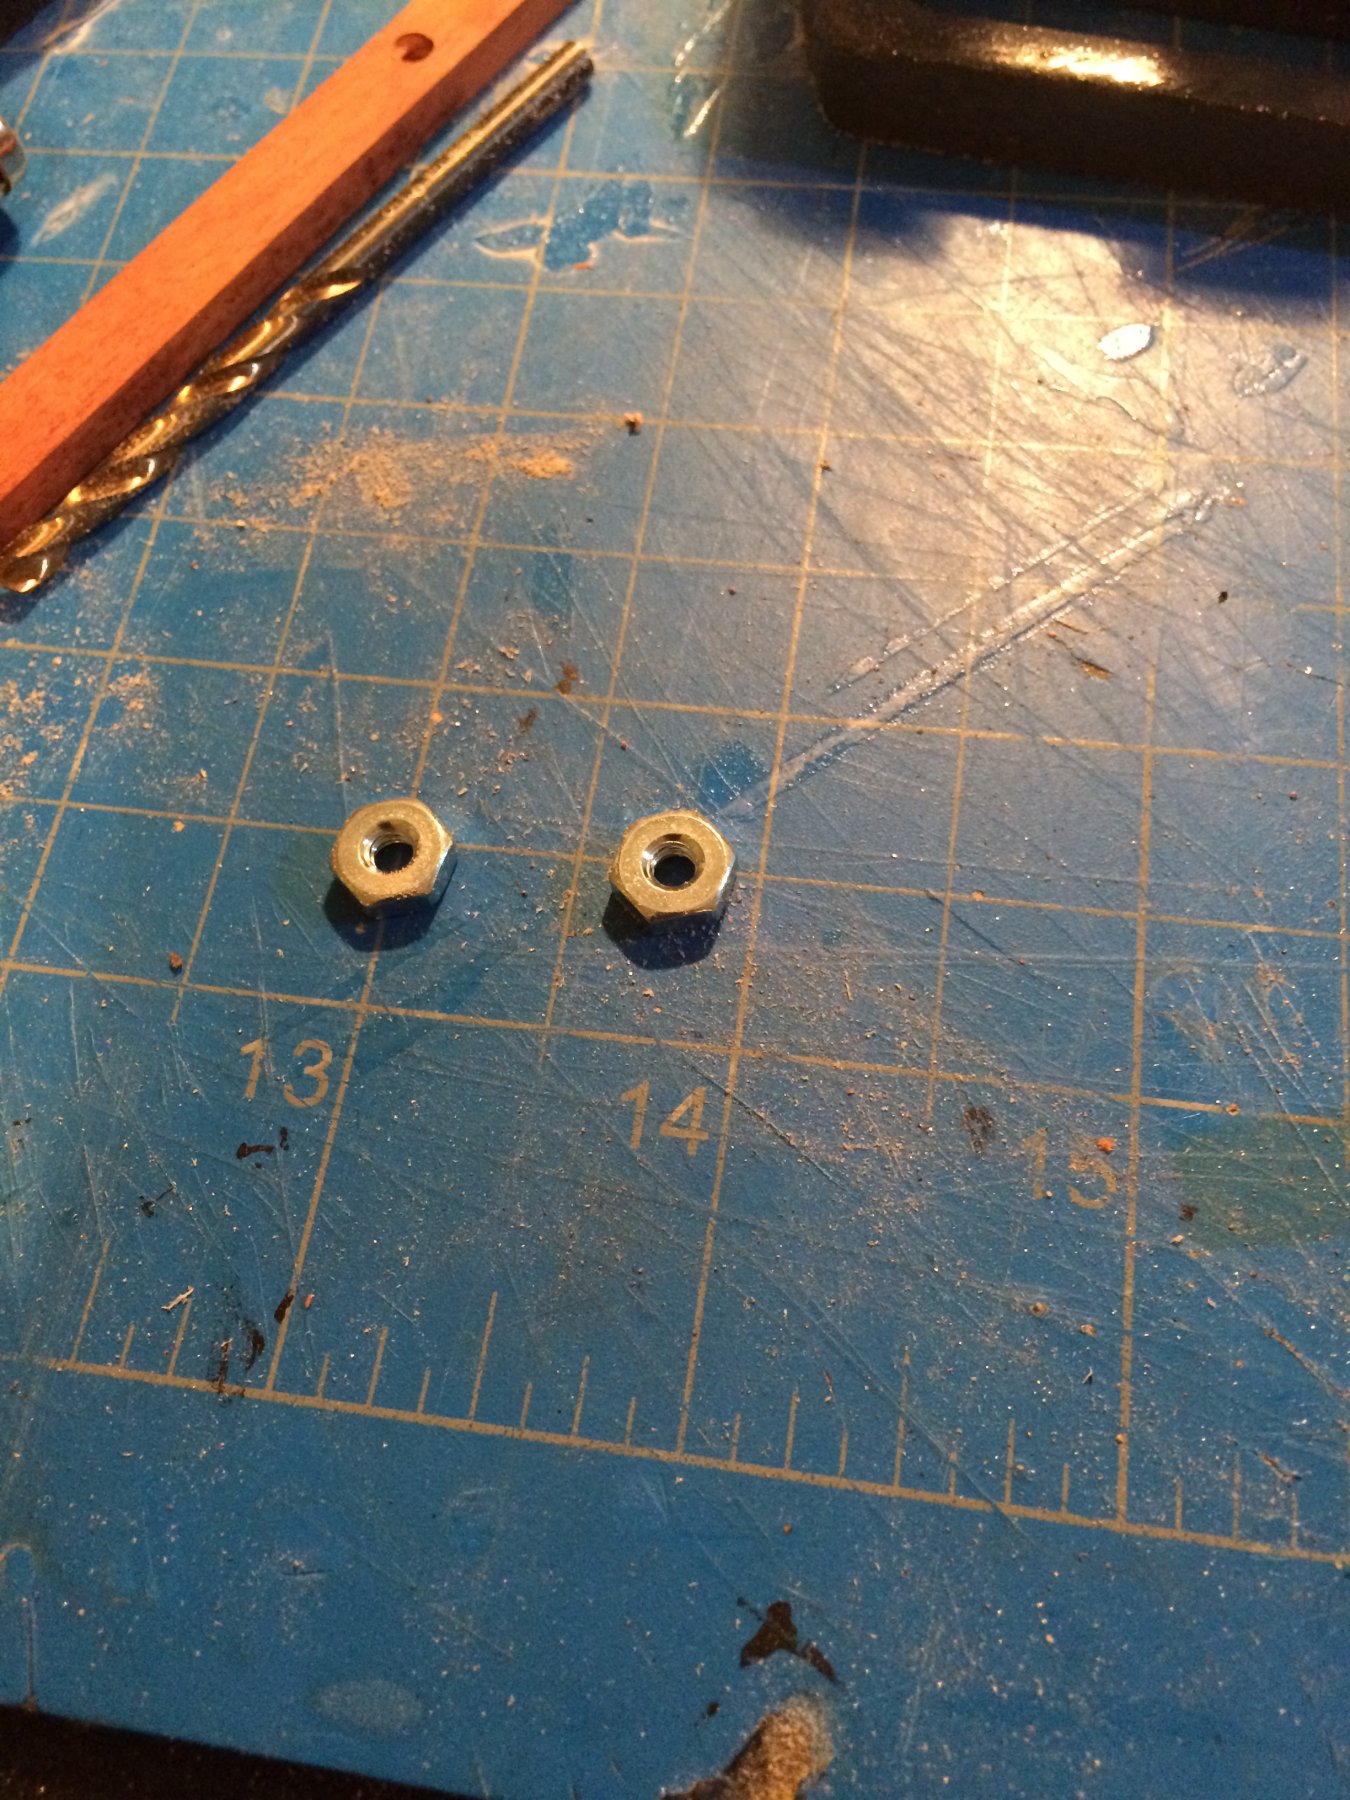
I decided to put in the nuts to mount the keel assembly to my build board .
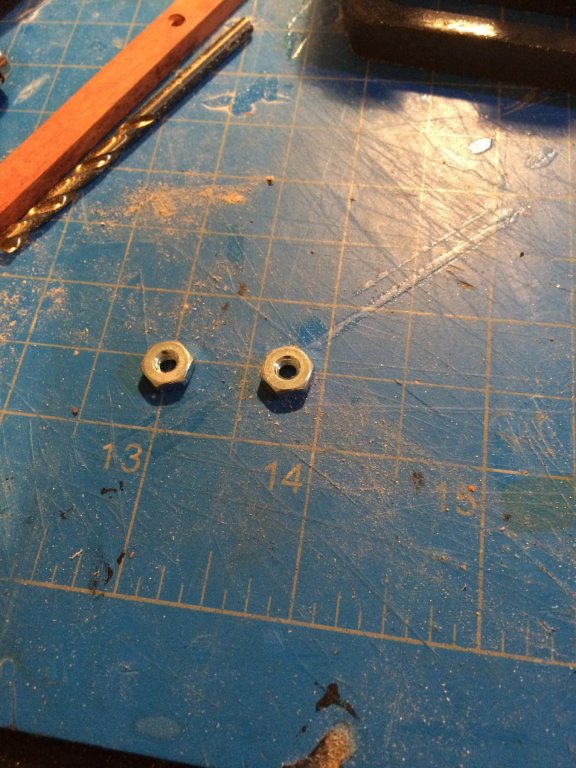
first I ground down two sides of the nuts,using my dermal
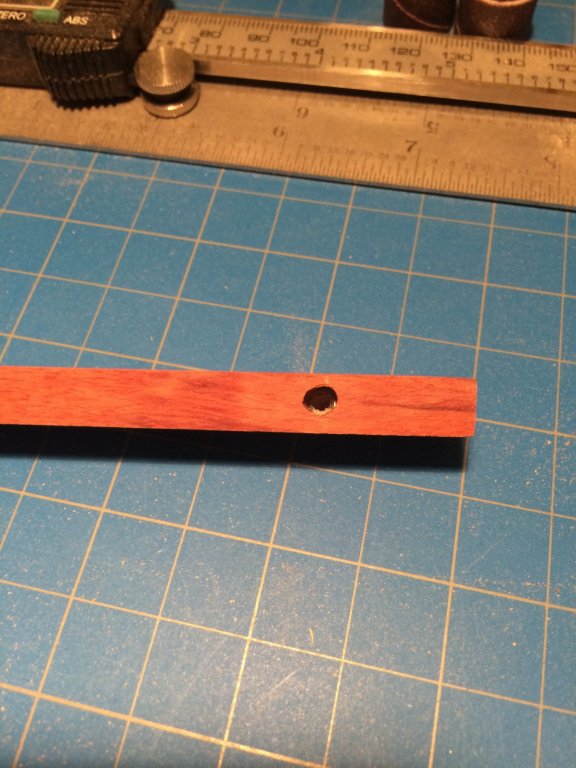
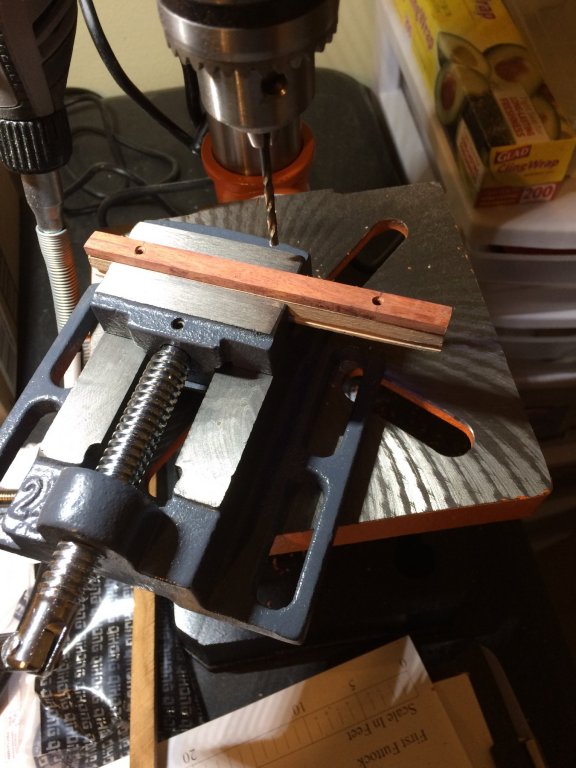
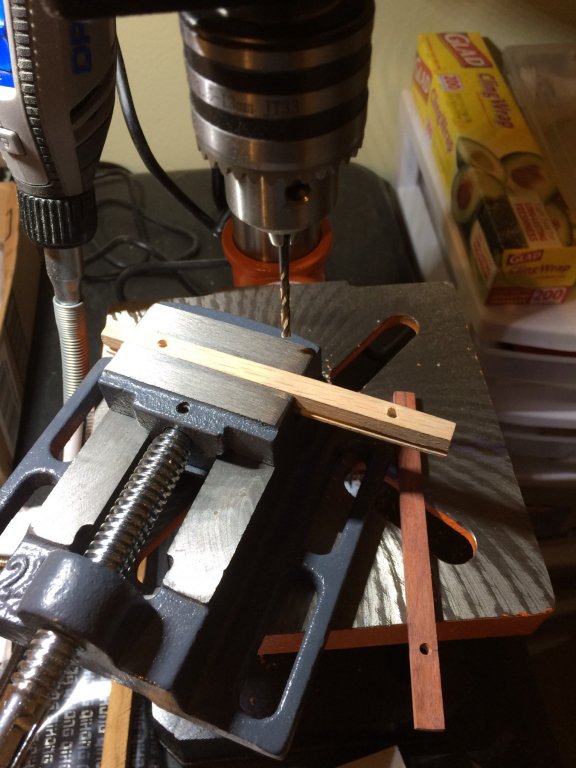
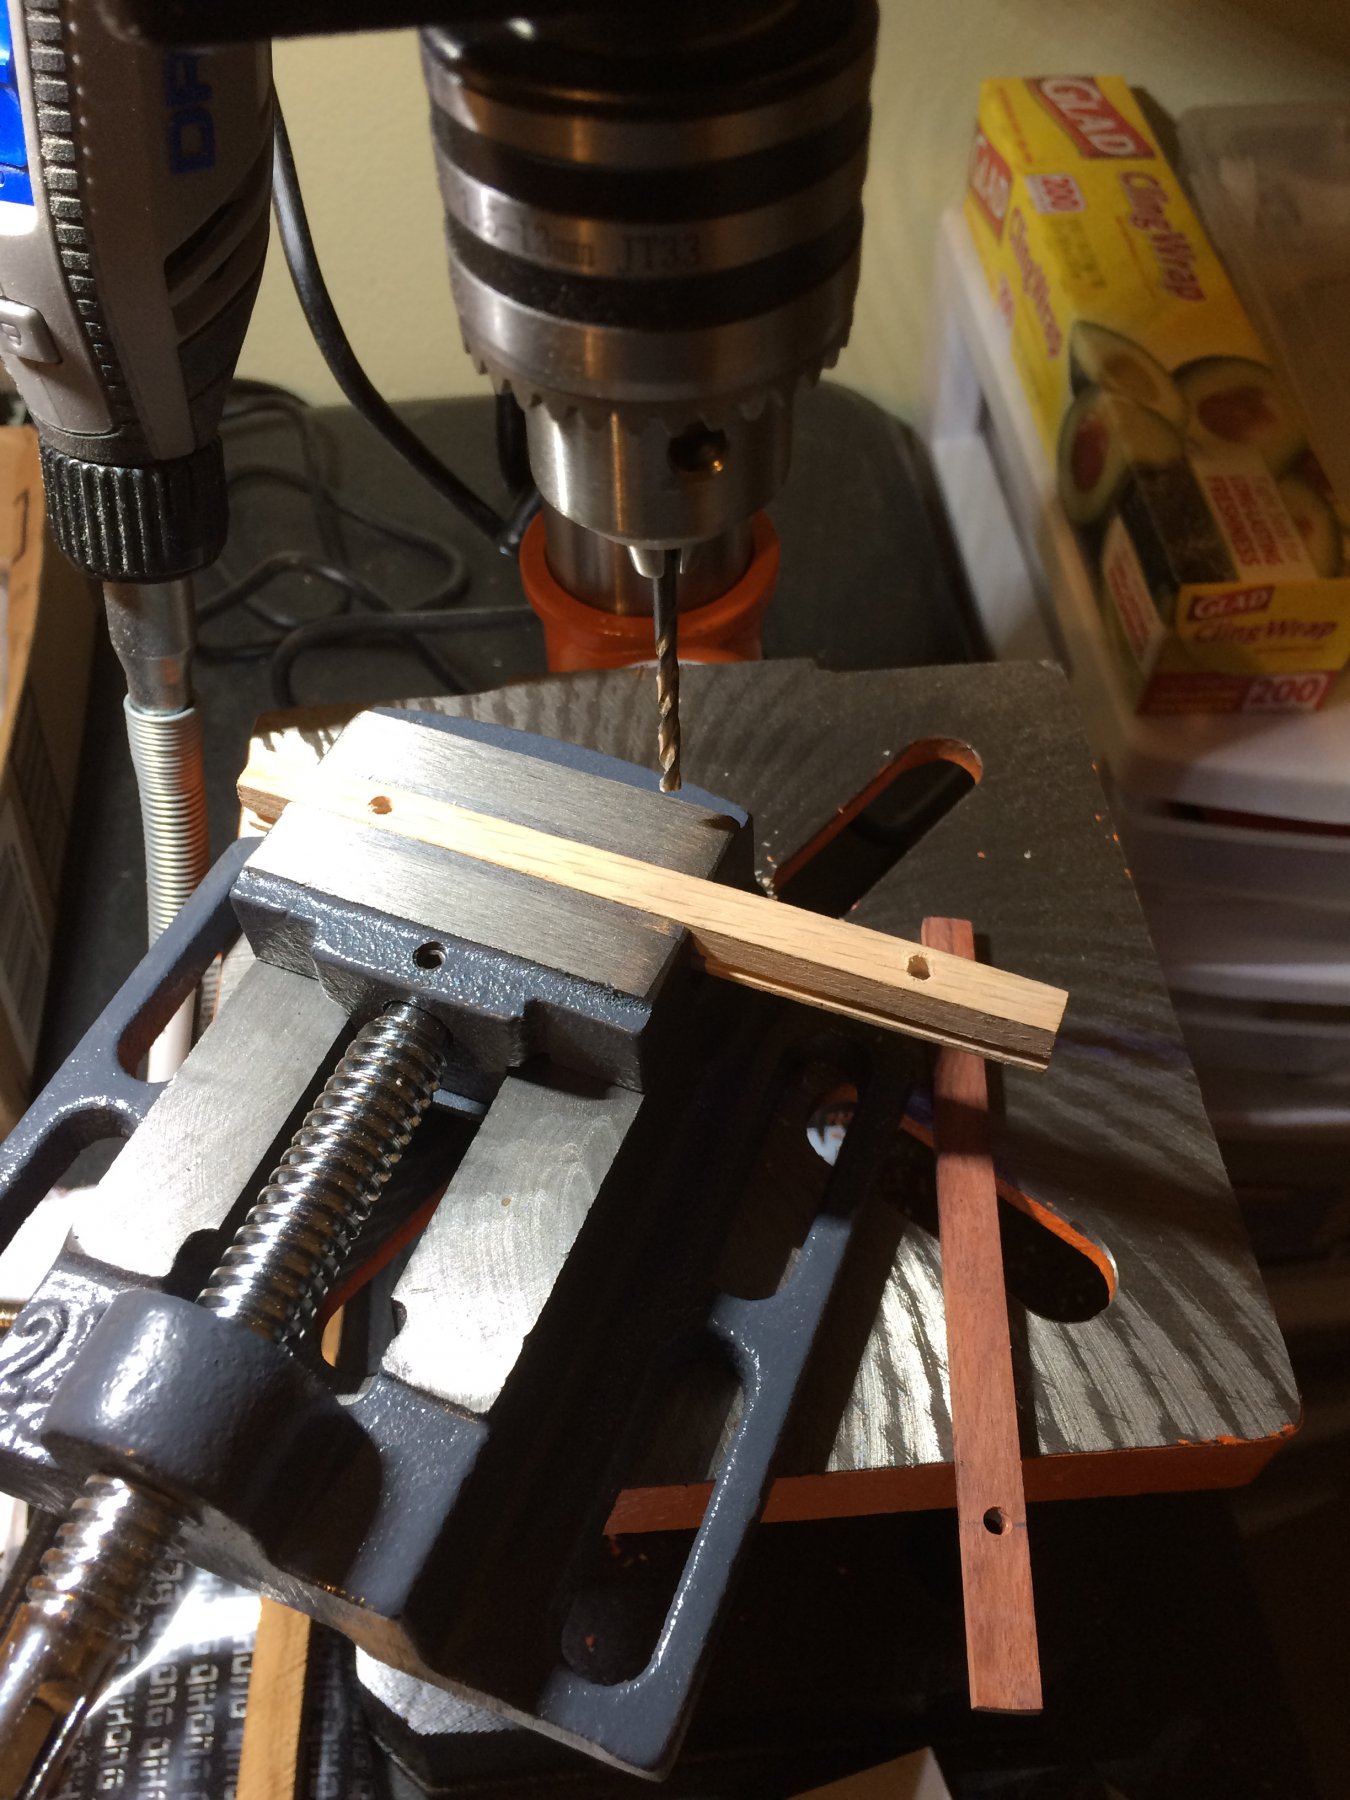
Then I clamp the false keel and keel together in the vise and drilled through the false keel , and approximately half way into the keel .
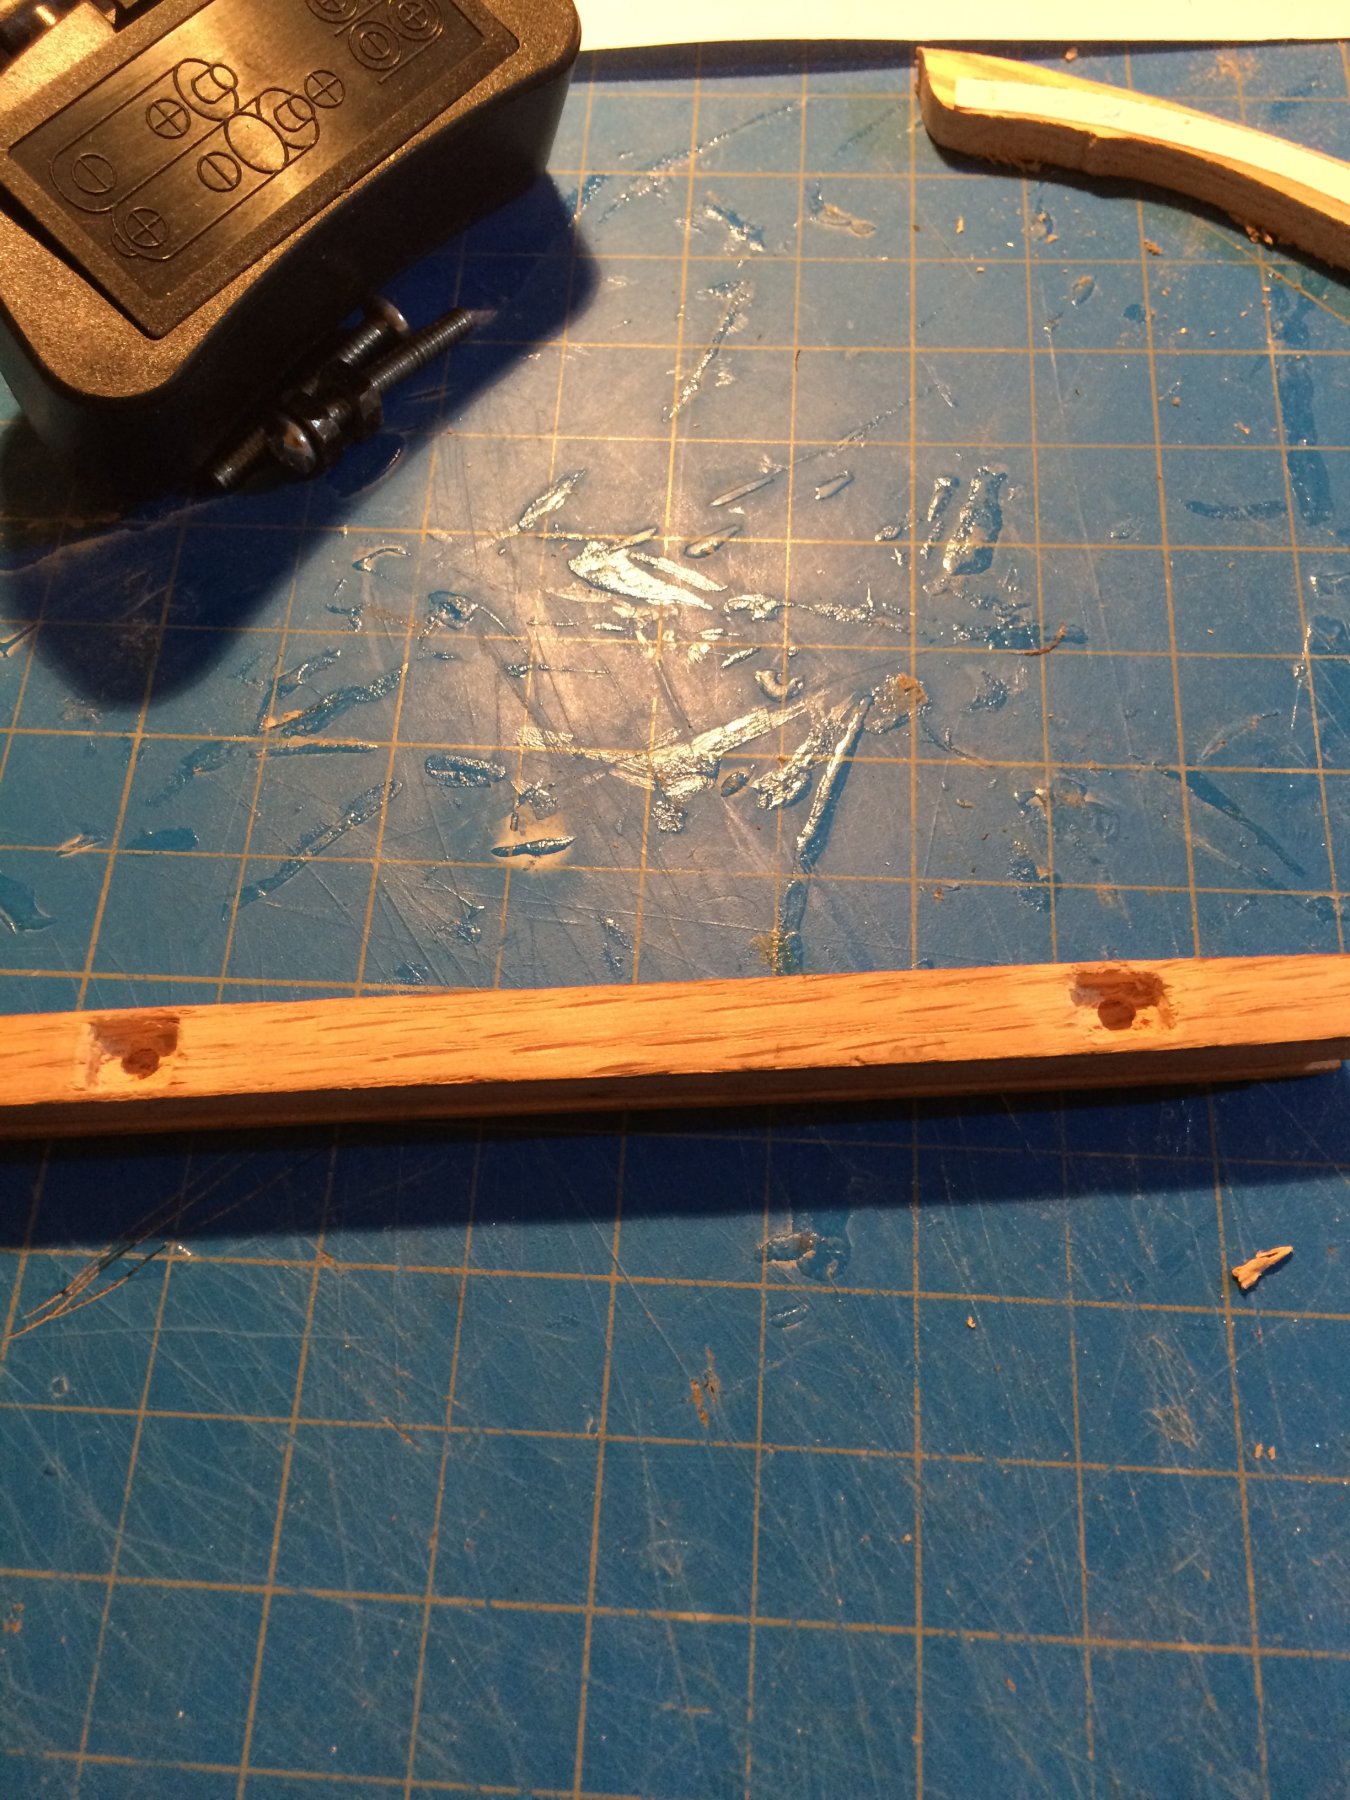
using a 11 blade and files I cut out the recessed notch in the keel for the nuts to fit in flush

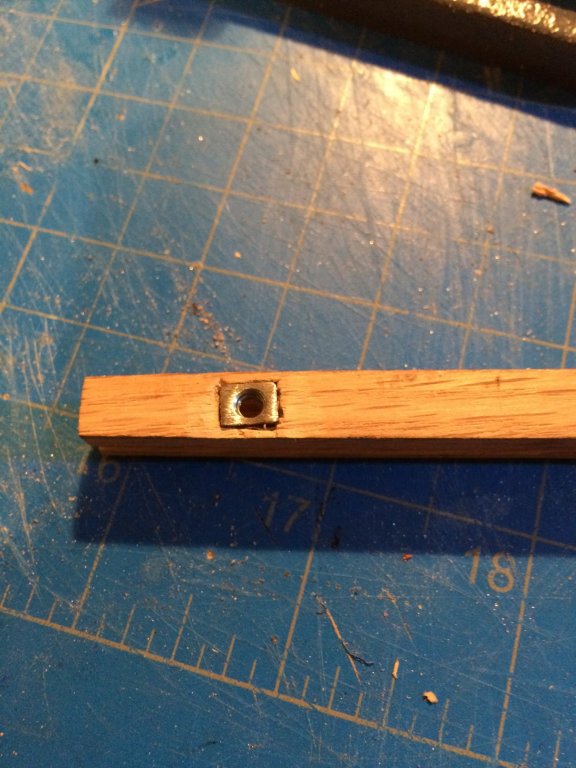
I then added glue to the keel and applied the false keel to the keel covering the recessed nuts I used a couple of screws to assure alignment and clamped it all together to dry.
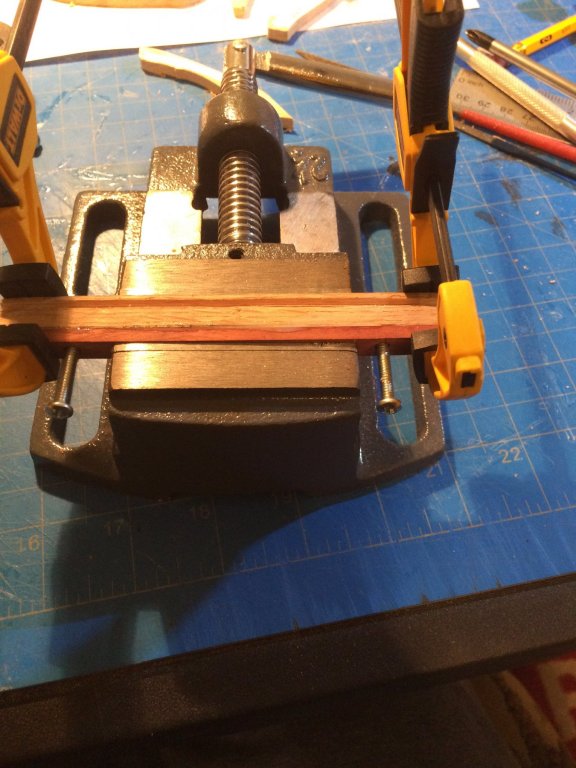
thanks for for looking in

Derek
-
-
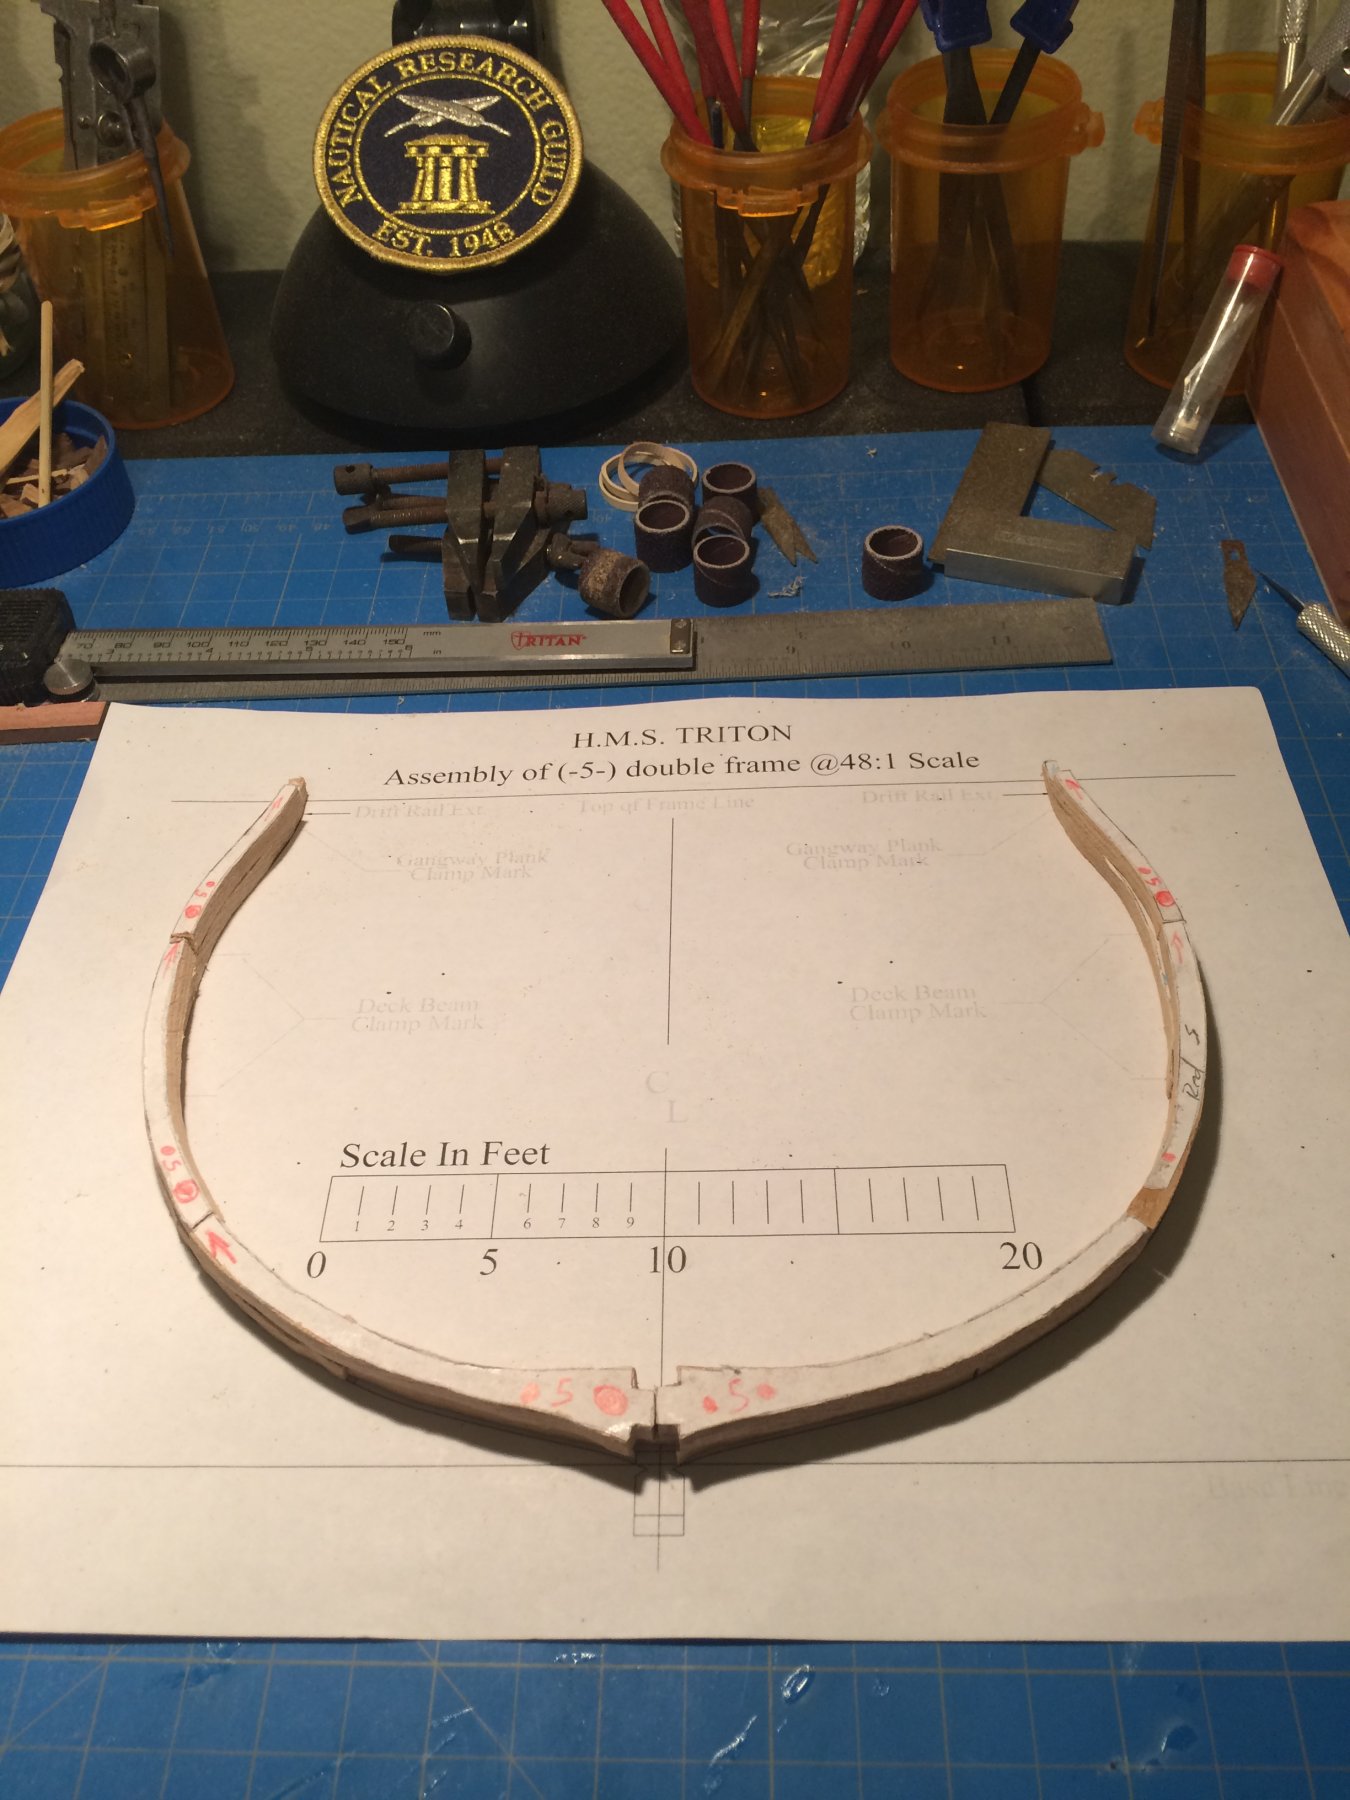
Just a quick update I have 4 of the 9 frames cleaned up and ready to glue not as much progress as I hoped this week,work was relentless glad the weekend is here so I can finish cleaning up the frames and hopefully start gluing them all together so I can start sanding again lol

Derek
-
-
 wooosa.. soooo how bout another guitar lol .
- CaptainSteve and alde
-
2
-
-
-
-
Yea I think I would work with whats there, and you can fill it in where needed with a sawdust and glue mix and it will be golden

-
Lol I think the press operator drilled your hull on a Monday after a rough weekend
. As far as fixing I would just go with what you feel most comfortable with. And what ever you decide will look way better than it does now
- BETAQDAVE and austristan
-
2
-
-
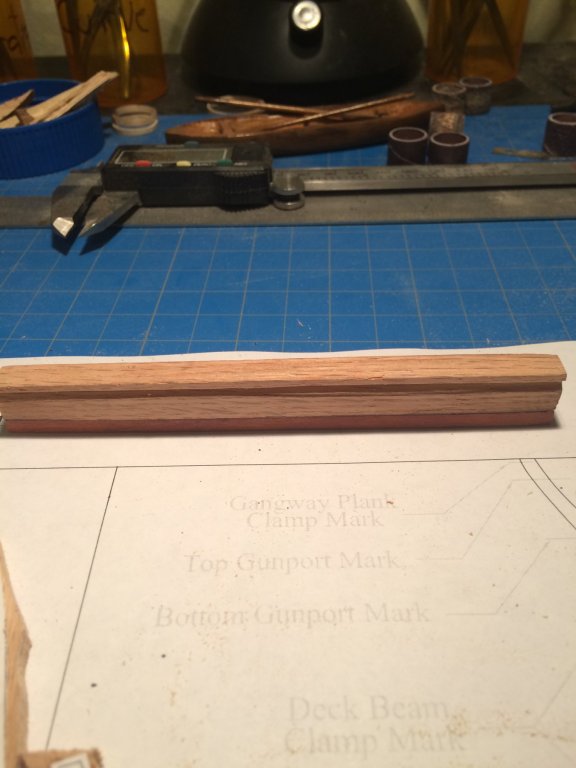
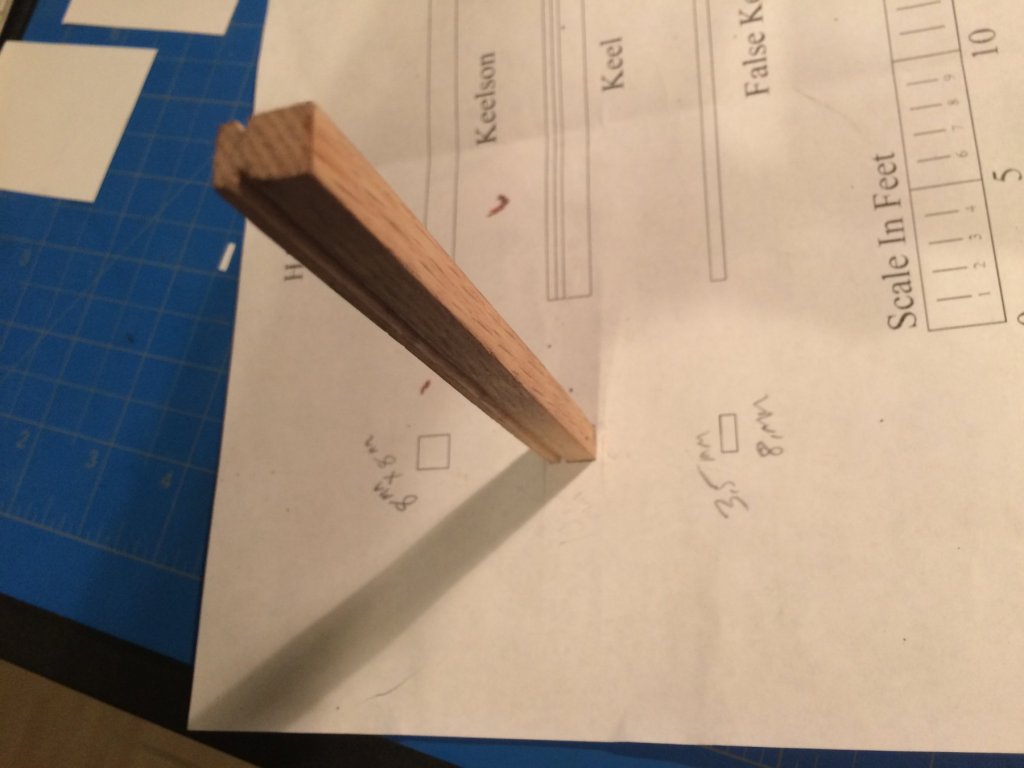
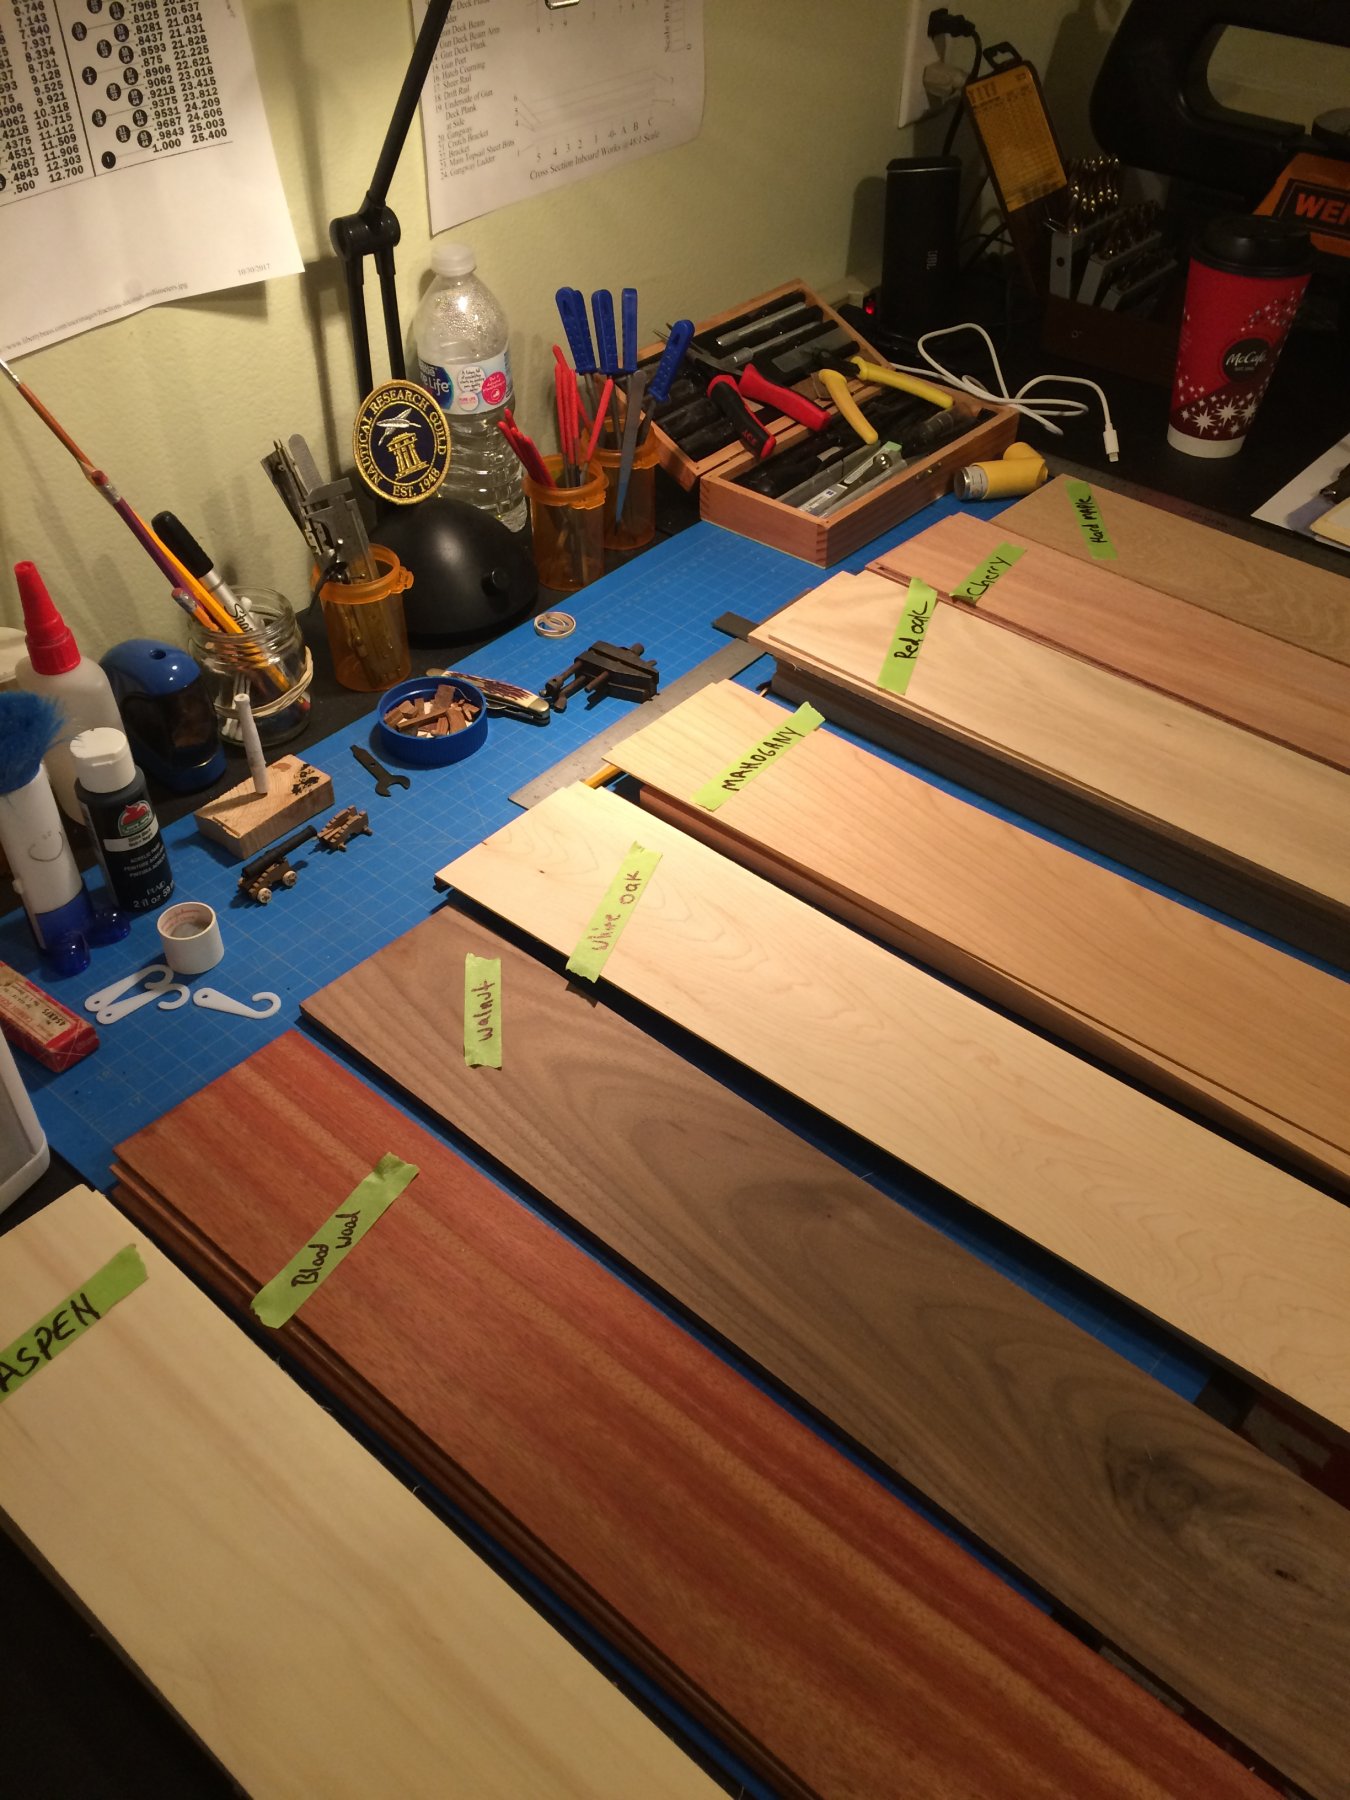
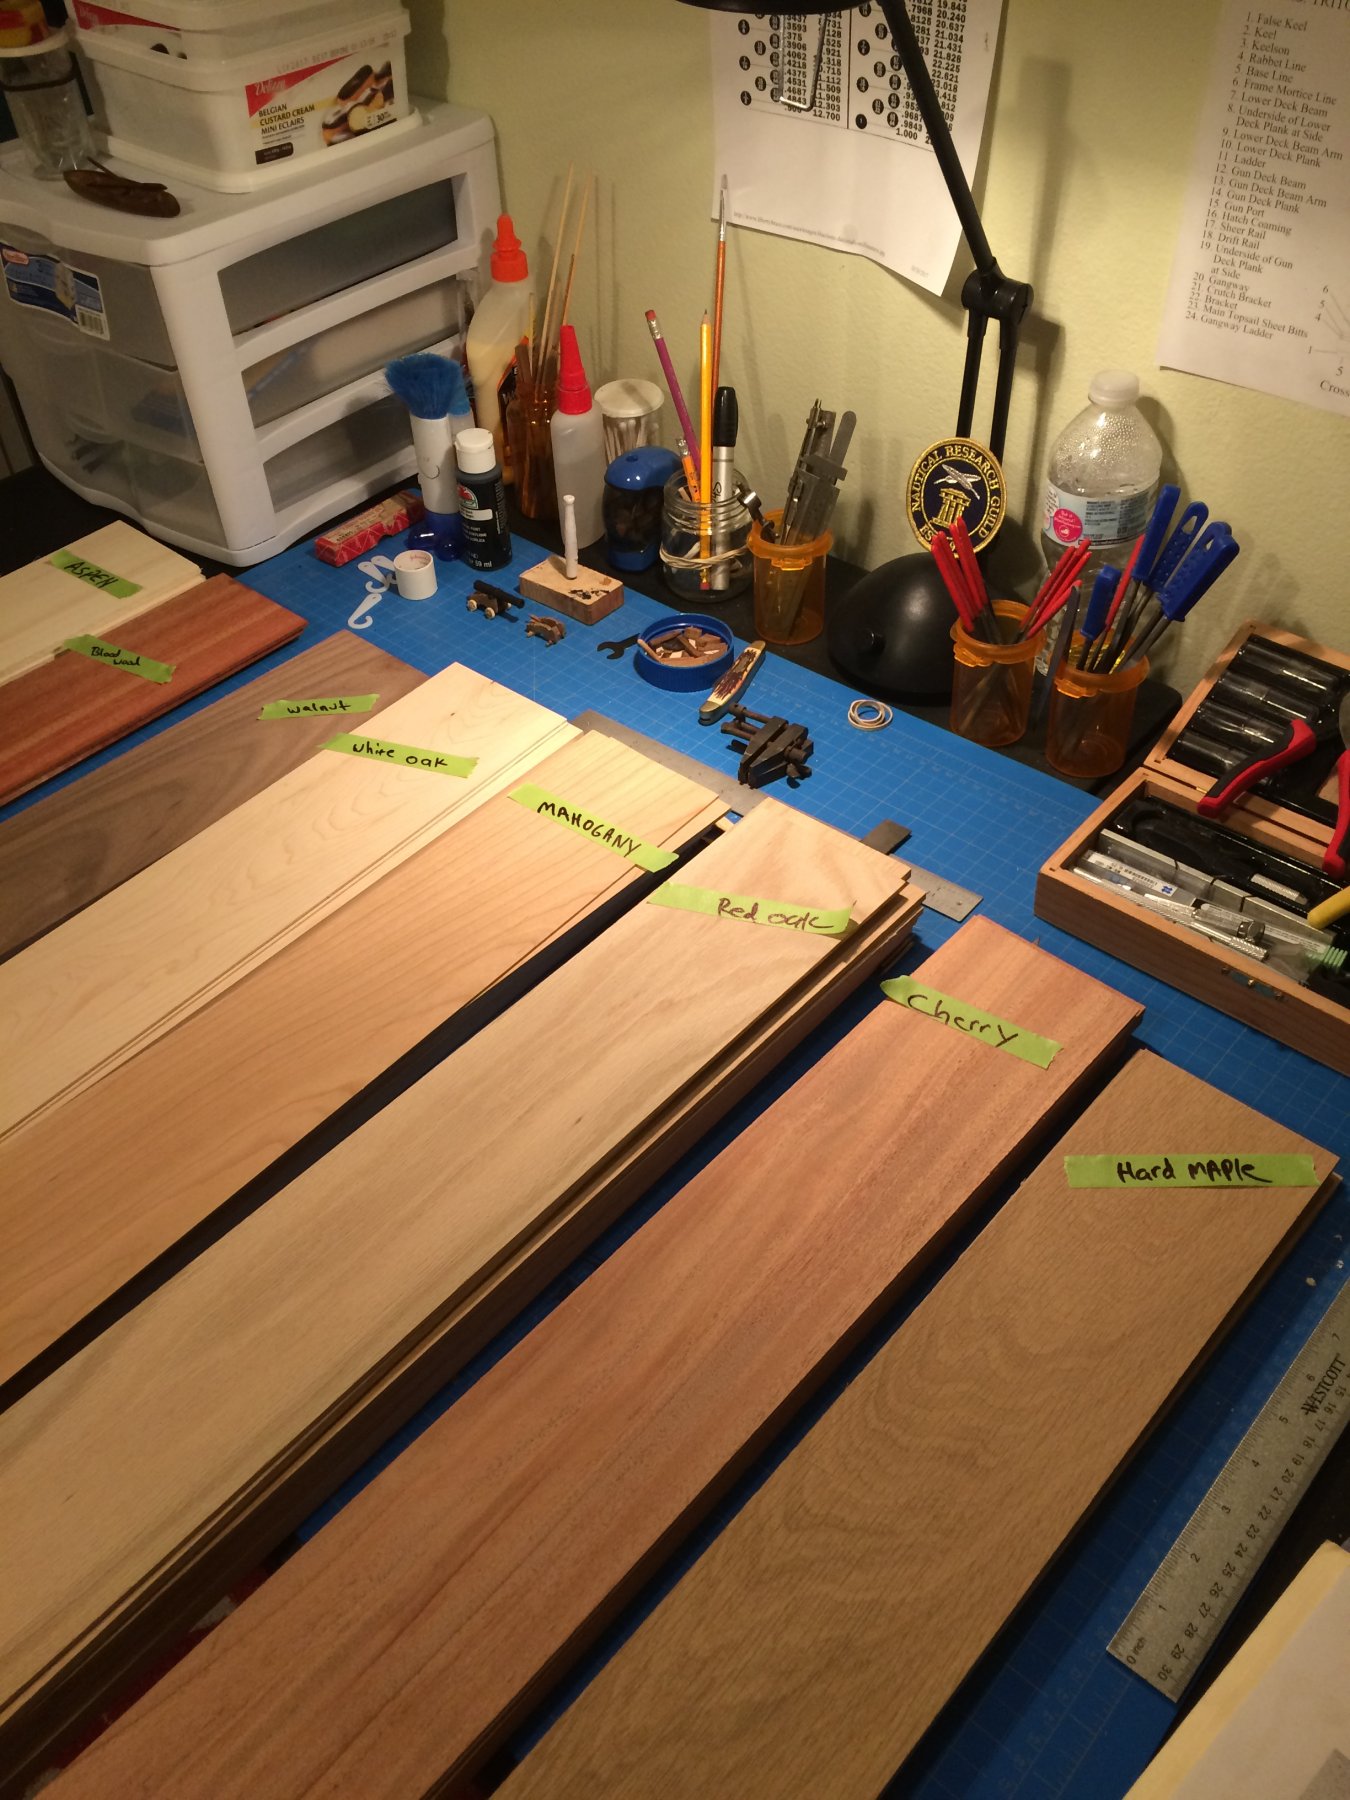
Today I did the keelson and false keel . The keel is made of red oak the false keel is blood wood,and the keelson is cherry.
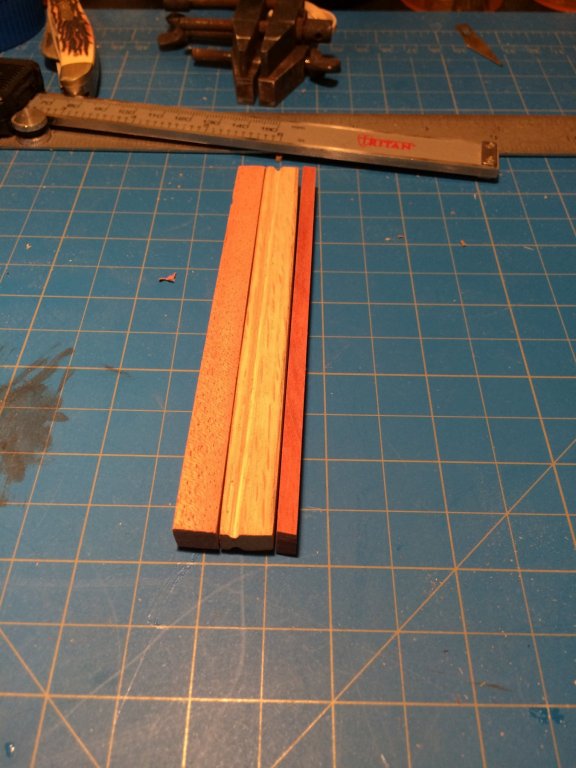
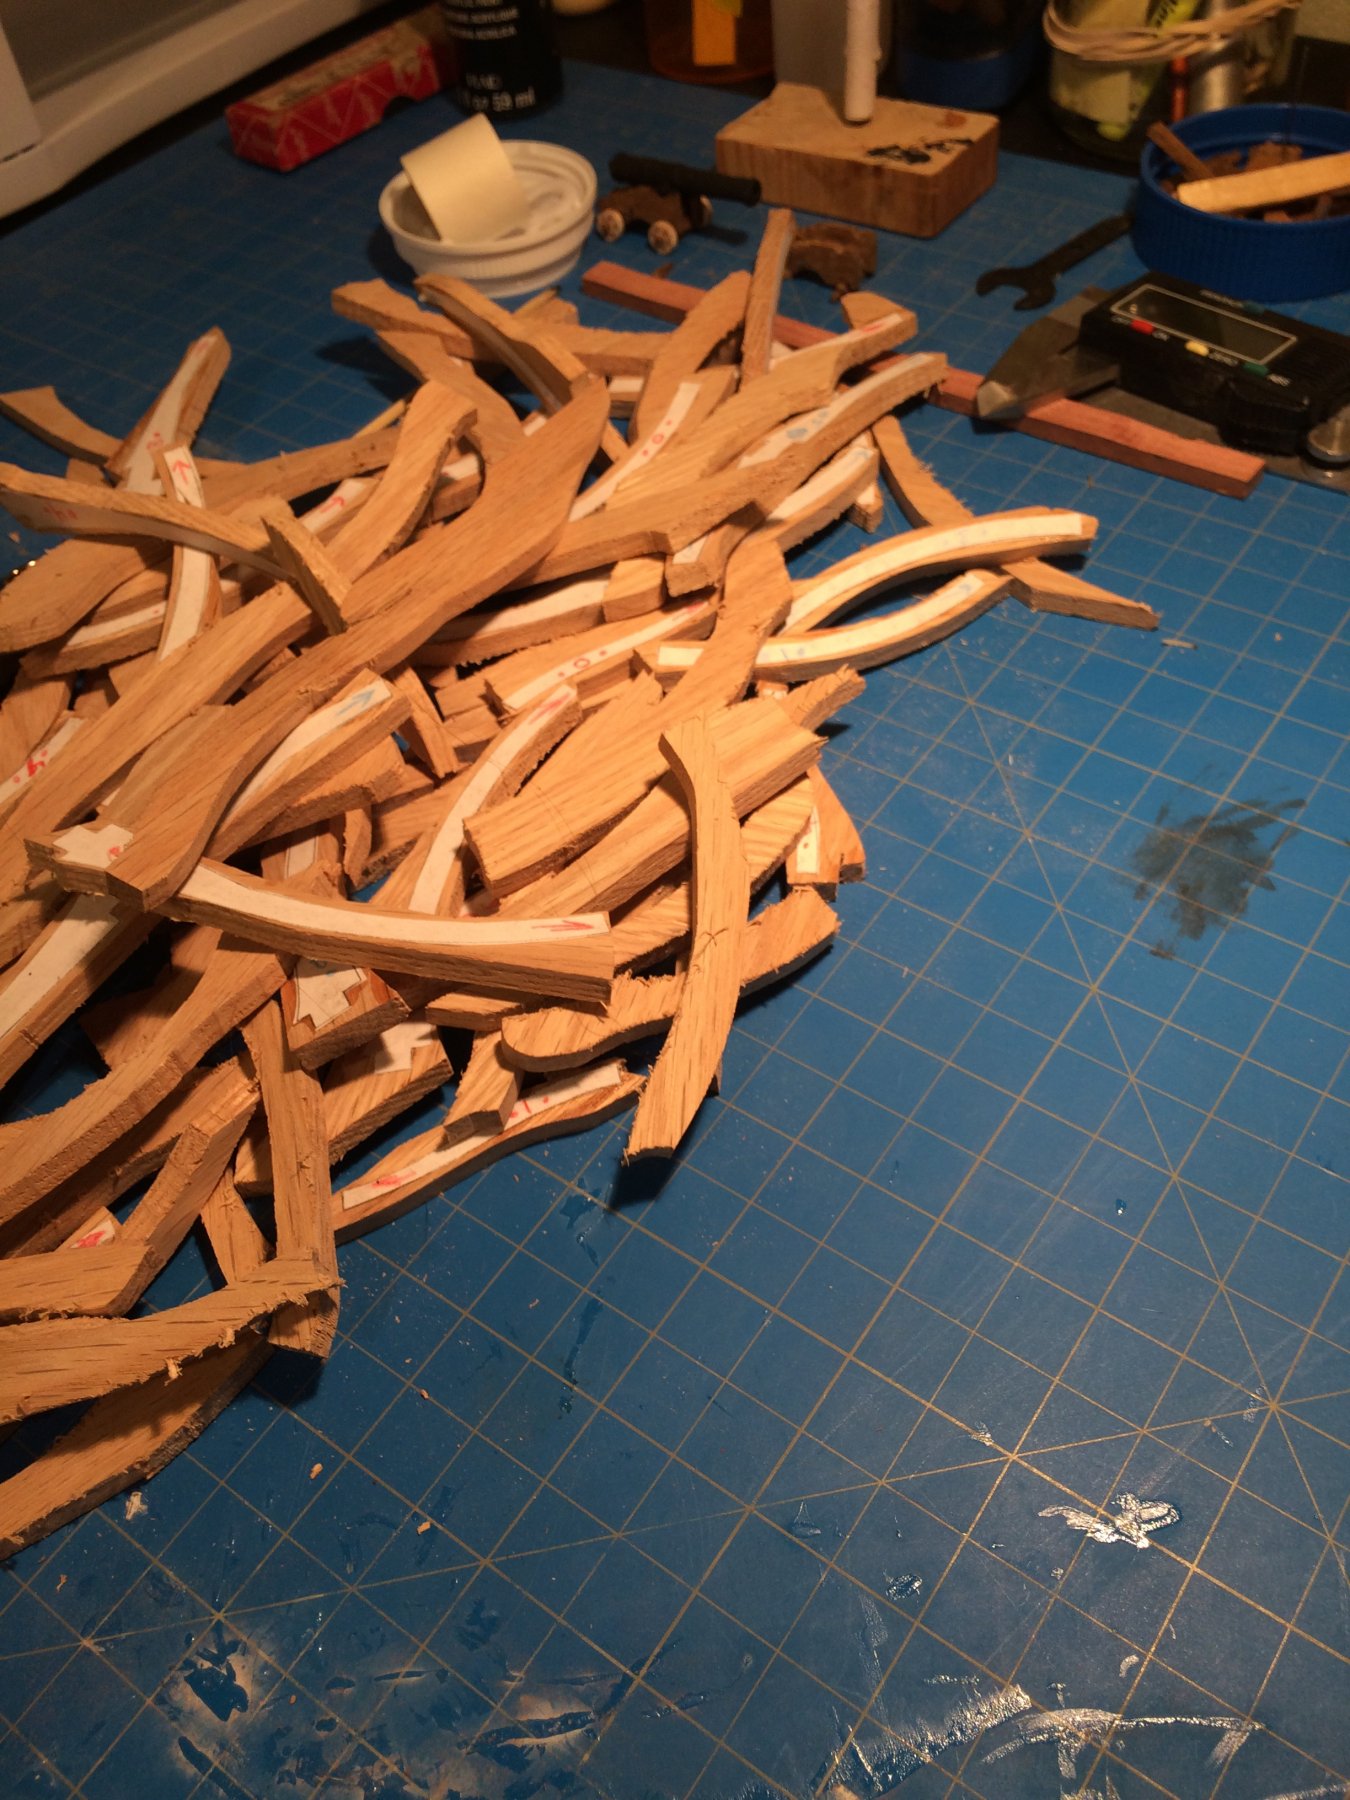
i also rough cut the frames , all at once . I will go back and trim them up and sand them down one section at a time starting with 5 and working my way to c . Not for any special reason just the heading I have chosen .
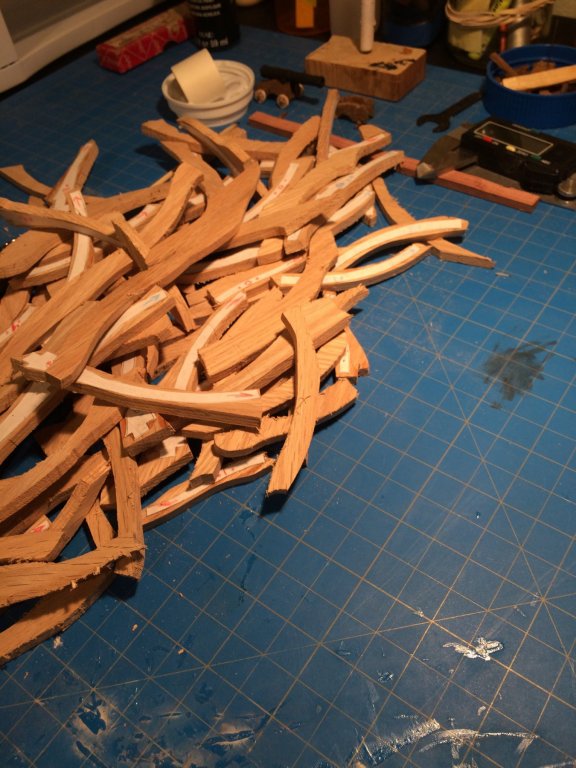
sooooo many pieces
 lol let the fun begin
 Derek
-
Shipyard was not very productive this week,work got in the way . But I did make a little progress I cut and shaped the keel.
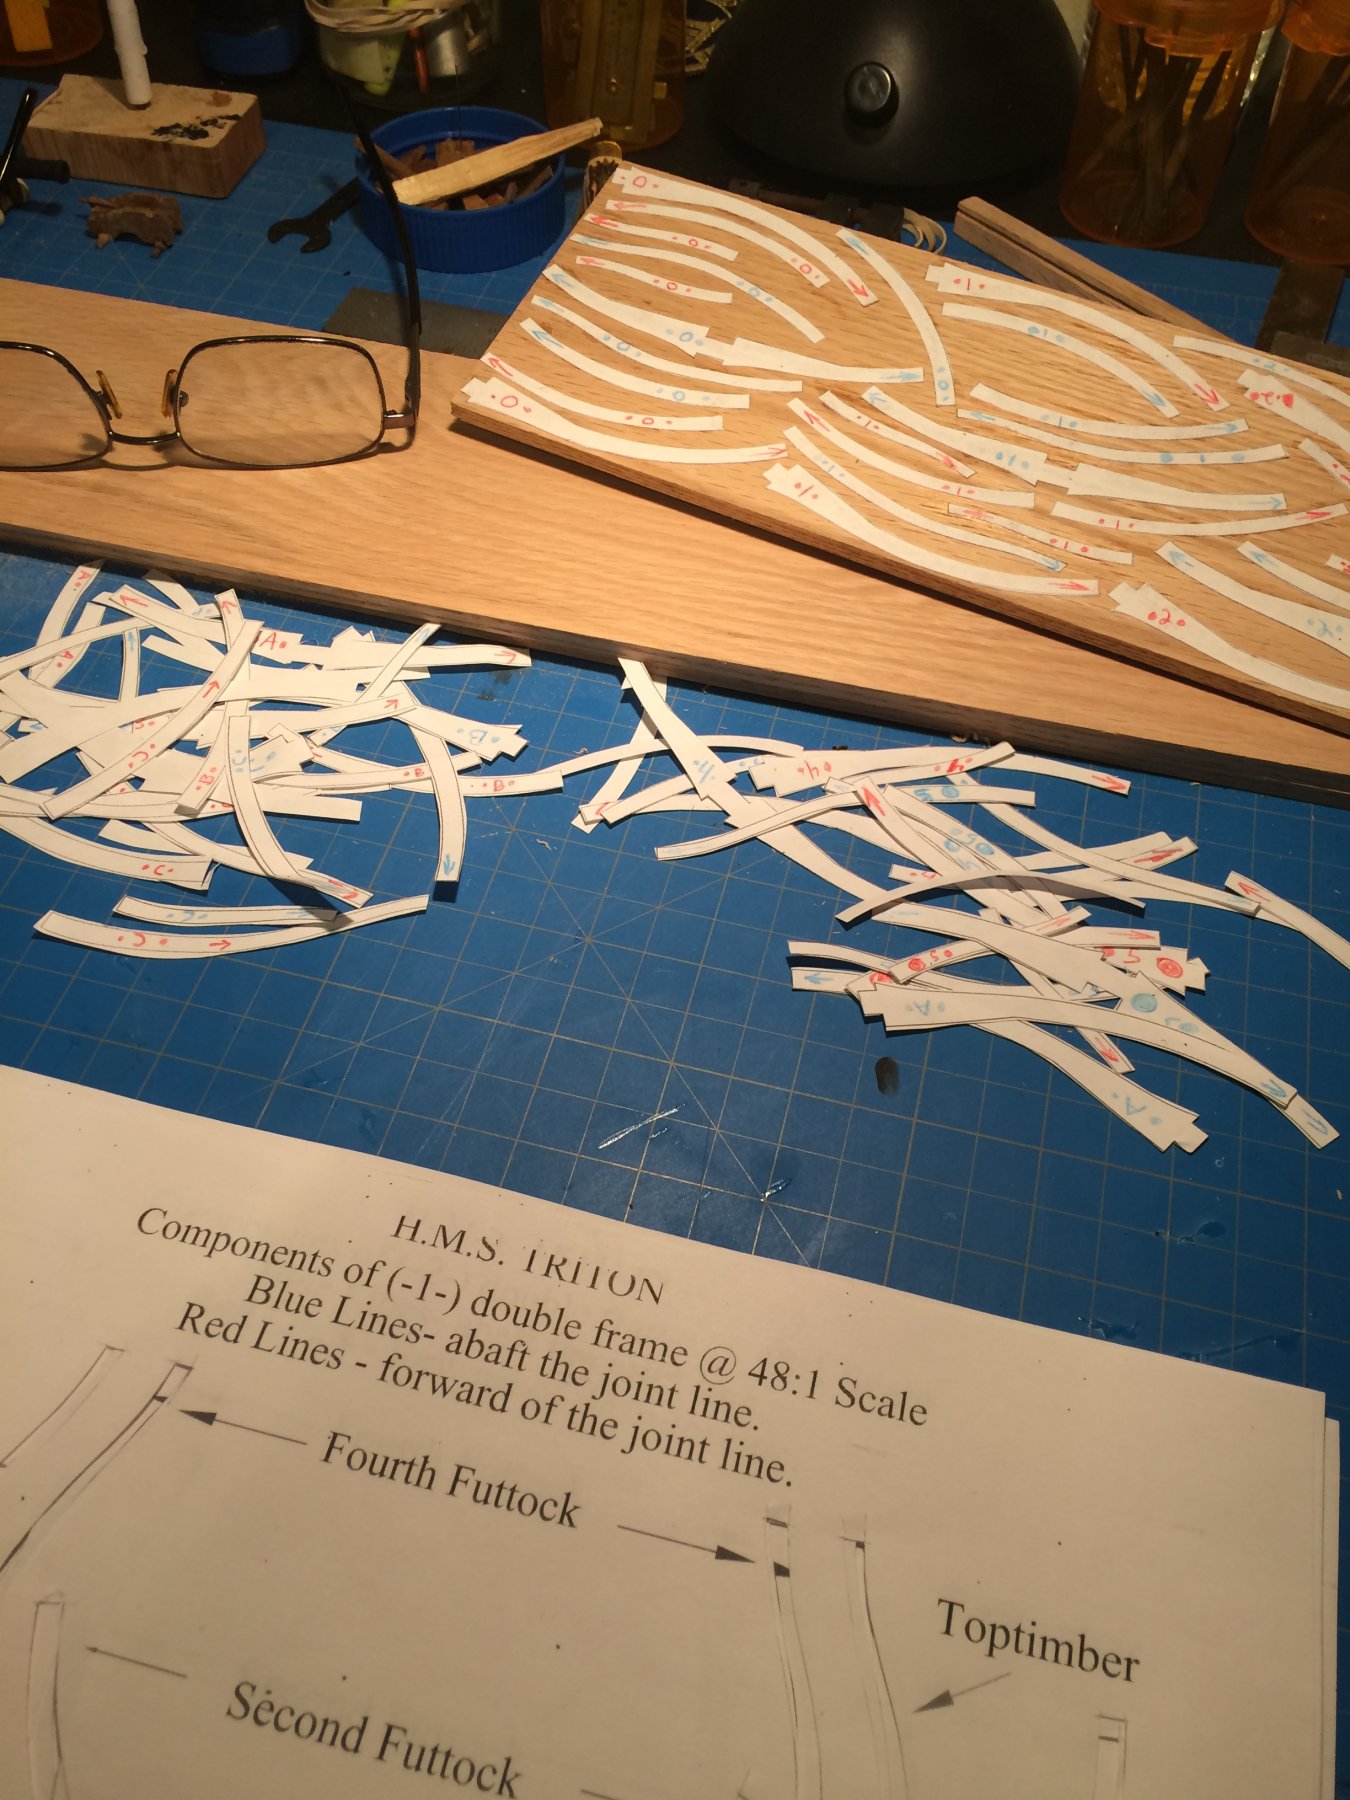
and i cut out the templates for the framing and started gluing them on a piece of 3/16 “x4”x24” red oak .
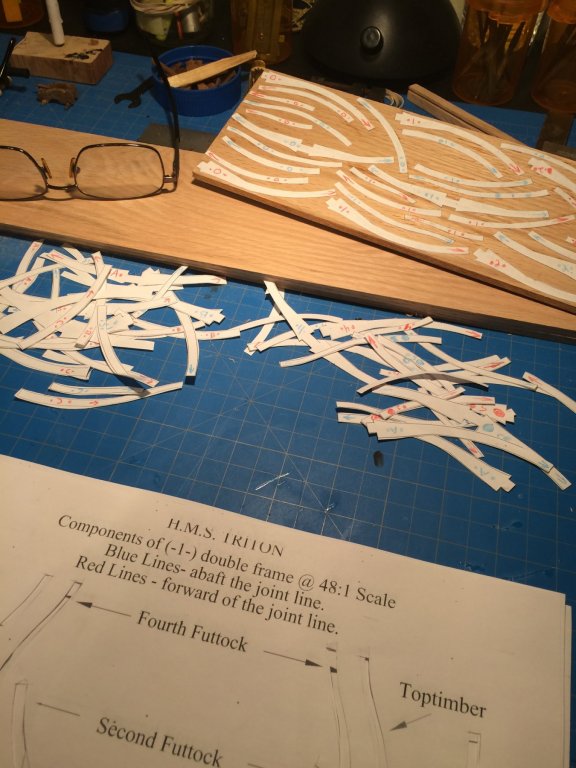
i will finish gluing them them up today and start cutting them out on the scroll saw . I will wait to start gluing them until I go to the hardware store and pick up a few sheets of glass to ensure the frames are straight .
thanks for looking in
Derek
-
Welcome to MSW
 , good luck and have fun.
Derek
-
Your boat is looking spot on B.E. , makes me want to sink mine lol.
Derek
- Tigersteve, Blue Ensign, mtaylor and 2 others
-
5
-
-
No worries Nirvana ,
yea I’m getting ready to try my luck on the Triton cross section .
Derek
- mtaylor, thibaultron and Canute
-
3
-
Nirvana
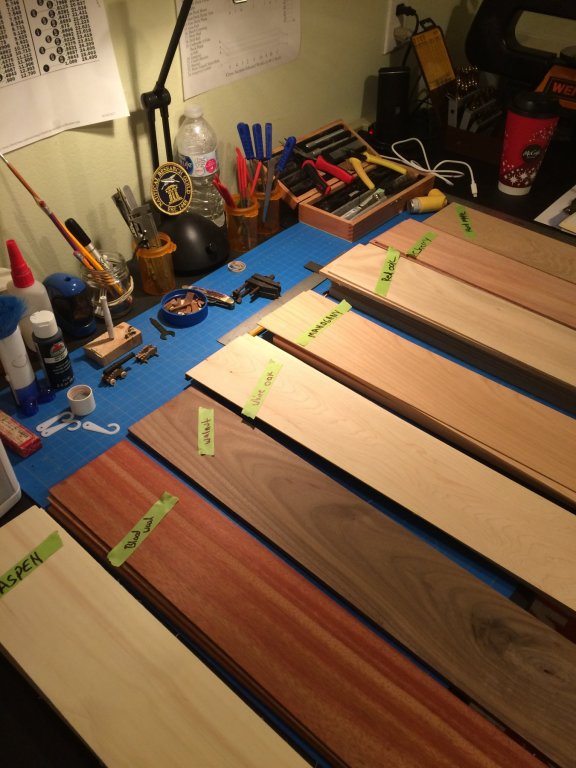
The list above shows the count of each wood some of the 1/4 I had him mill to 3/16 . The total price with shipping was $173.46
- Canute and thibaultron
-
2
-
I received my wood order today looked pretty good ,and shipped fast .

- Landlubber Mike, mtaylor, Nirvana and 4 others
-
7


18th Century Longboat by mahjong25 - FINISHED - Model Shipways - 1:48
in - Kit build logs for subjects built from 1751 - 1800
Posted
Hello mahjong25
Its looking pretty good so far , the planking on this boat is tricky. After you fare the hull u can use a mixture of the sawdust and a 50/50 water glue mix to help with gaps in planking ad resand . Make sure to get the char off the inside the hull it wont pay nice with your finish.looking forward to seeing it progress
Derek