HOLIDAY DONATION DRIVE - SUPPORT MSW - DO YOUR PART TO KEEP THIS GREAT FORUM GOING! (Only 20 donations so far - C'mon guys!)
×

Osmosis
-
Posts
626 -
Joined
-
Last visited
Content Type
Profiles
Forums
Gallery
Events
Everything posted by Osmosis
-

Hobby Zone Organizers and Ship Building Slip
Osmosis replied to Osmosis's topic in Modeling tools and Workshop Equipment
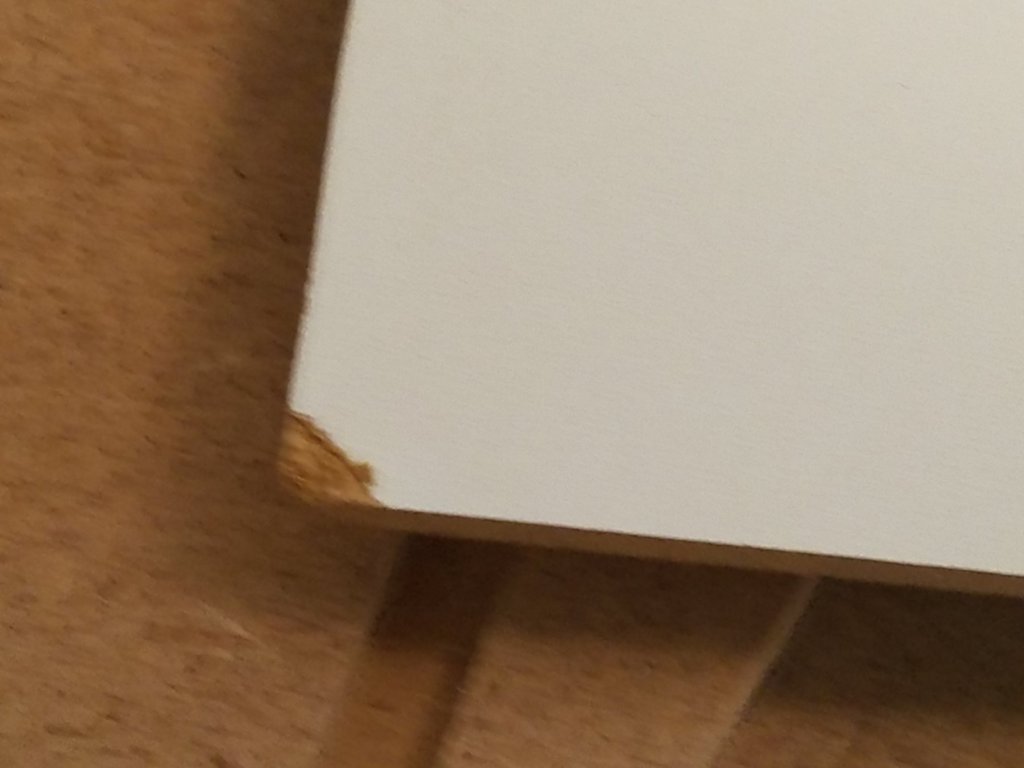
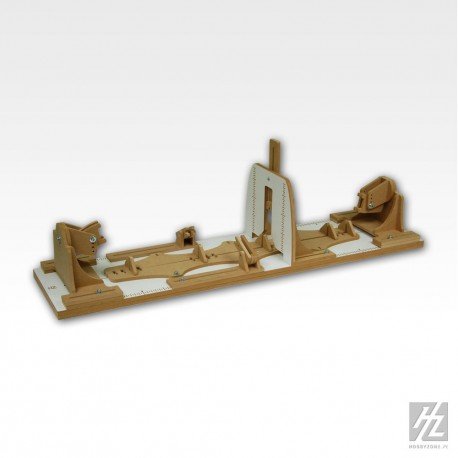
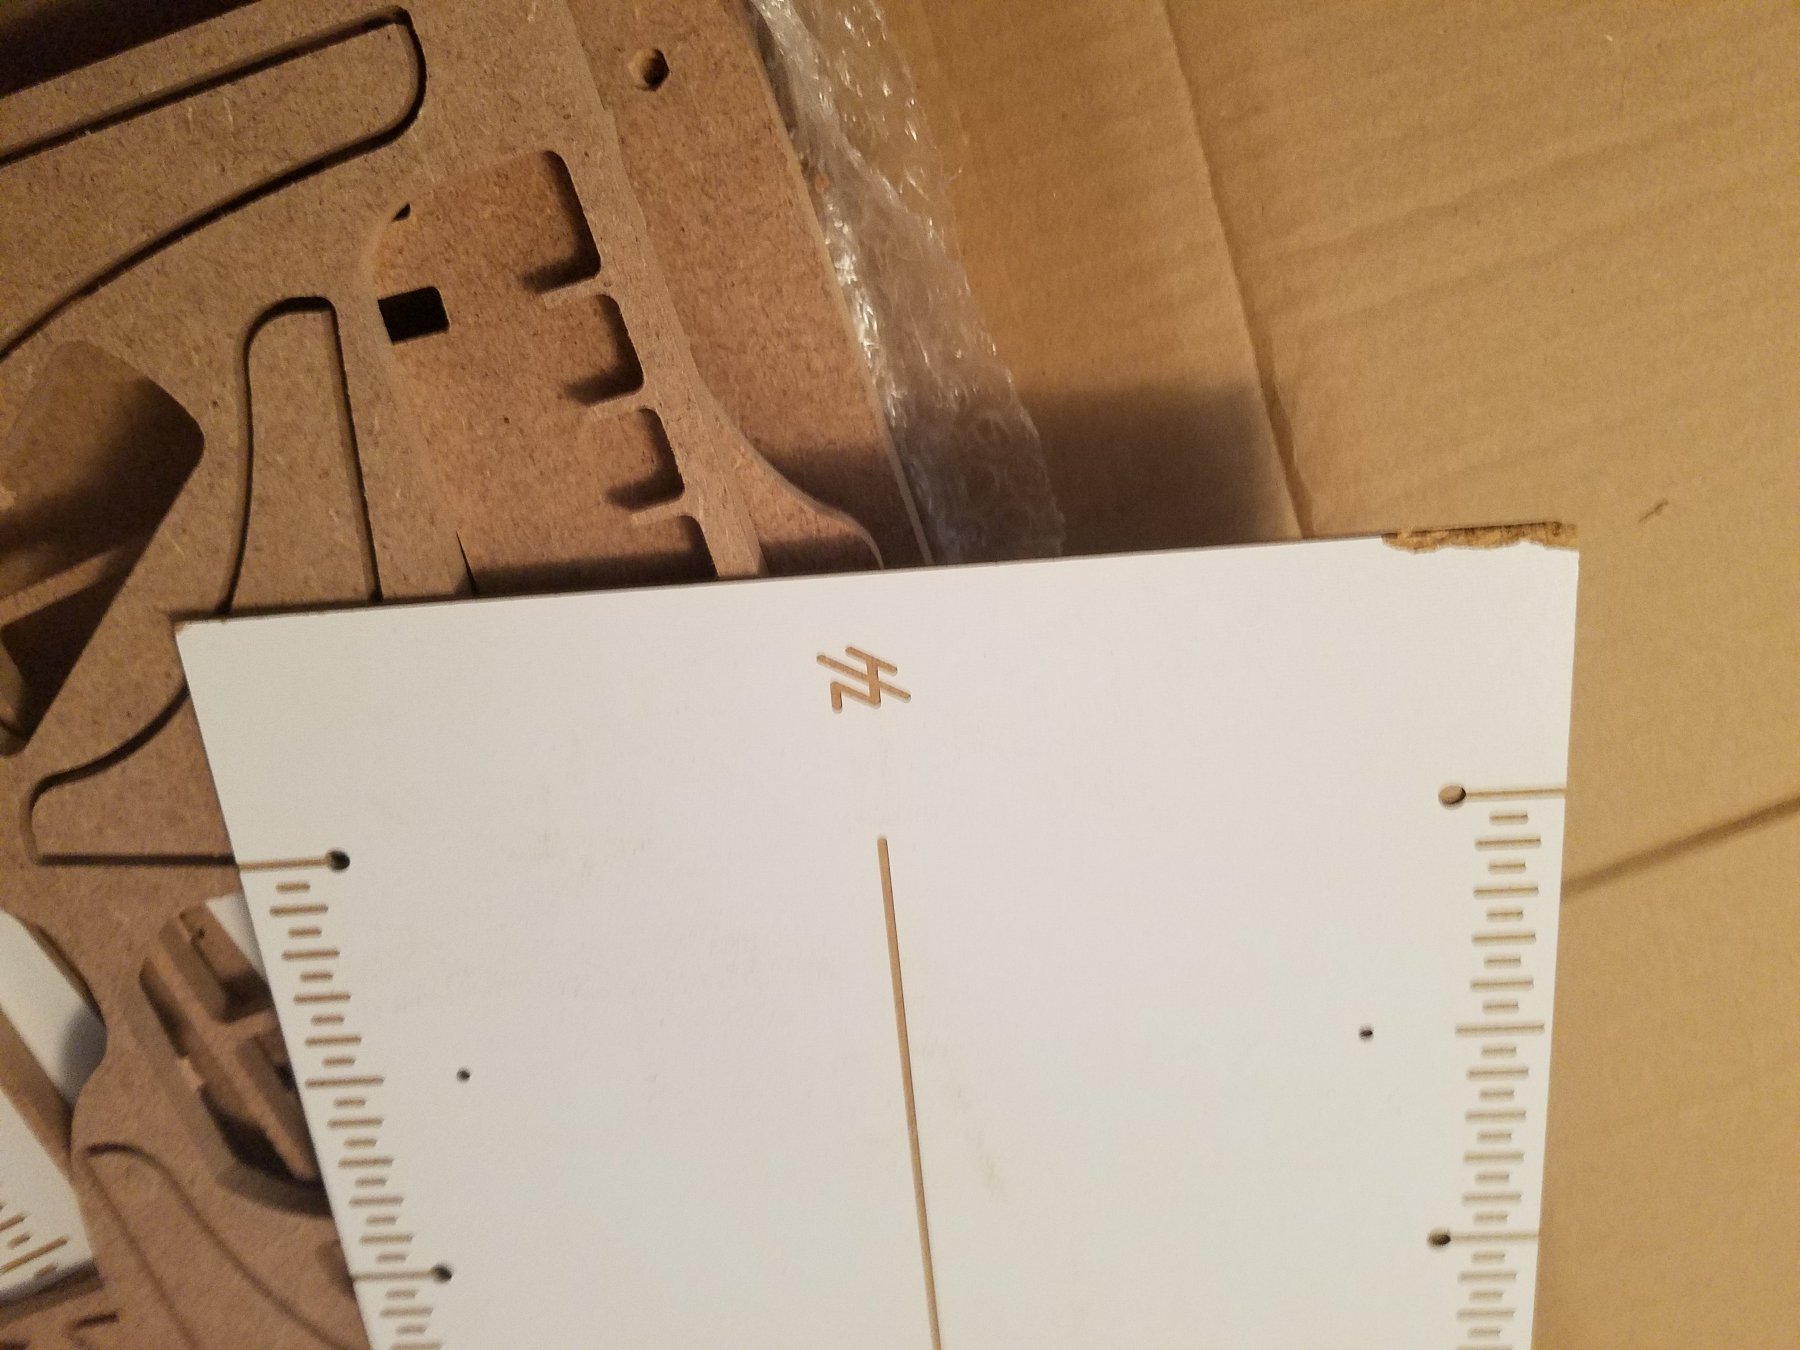
I just opened the Building slip and found this. The corners on both ends of the top sheet are pretty dinged up. Also they shorted me on a couple of hex nuts. This while disappointing will not be a big deal as I had already planned on shortening the base by about 4" in order to make it a bit more manageable on my smallish work table. The building of this jig has been covered in another thread so I don't plan on going into detail here.
-
Kingfisher by amateur - FINISHED - 1:1 - CARD
Osmosis replied to amateur's topic in Non-ship/categorised builds
Looks like fun. What kind of glue do you use? Would one of those glue sticks work? Thanks -
Hobby Zone Organizers and Ship Building Slip
Osmosis replied to Osmosis's topic in Modeling tools and Workshop Equipment
Well it has been a while since I had any time for hobbying but I finally got the storage organizers finished and filled up. I don't know where all this stuff was before but I managed to fill them up without adding any additional stuff. Time to start on the Building Slip.
- 13 replies
-
- 11
-

-
My First Attempt At Metal Blackening
Osmosis replied to Osmosis's topic in Metal Work, Soldering and Metal Fittings
Thanks Michael, I did not get very good results using this method on brass. But it works great on the cast white metal parts. Regards -
Sir, I just stumbled upon this thread and have read every word in the last hour or so. May I say as a complete novice what an inspiration this kind of work is. Sadly I have taken up this great hobby too late in life to hope to achieve this level of competence. However I can still admire great work like this when the opportunity comes along. Thank you for sharing your wonderful work. Best regards,
-
Thanks everyone and Doc I just saw your battle station for the first time and am truly humbled. Best Regards
- 82 replies
-
- 2
-
-
- naval smoothbore
- model shipways
- (and 1 more)
-
Doc, A true masterpiece. If I had seen yours before building mine I don't think I would have made the attempt.
-
Hobby Zone Organizers and Ship Building Slip
Osmosis replied to Osmosis's topic in Modeling tools and Workshop Equipment
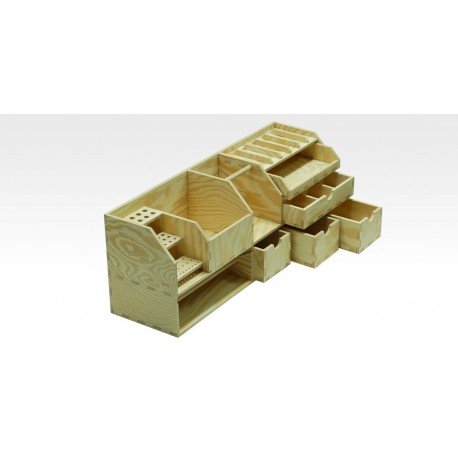
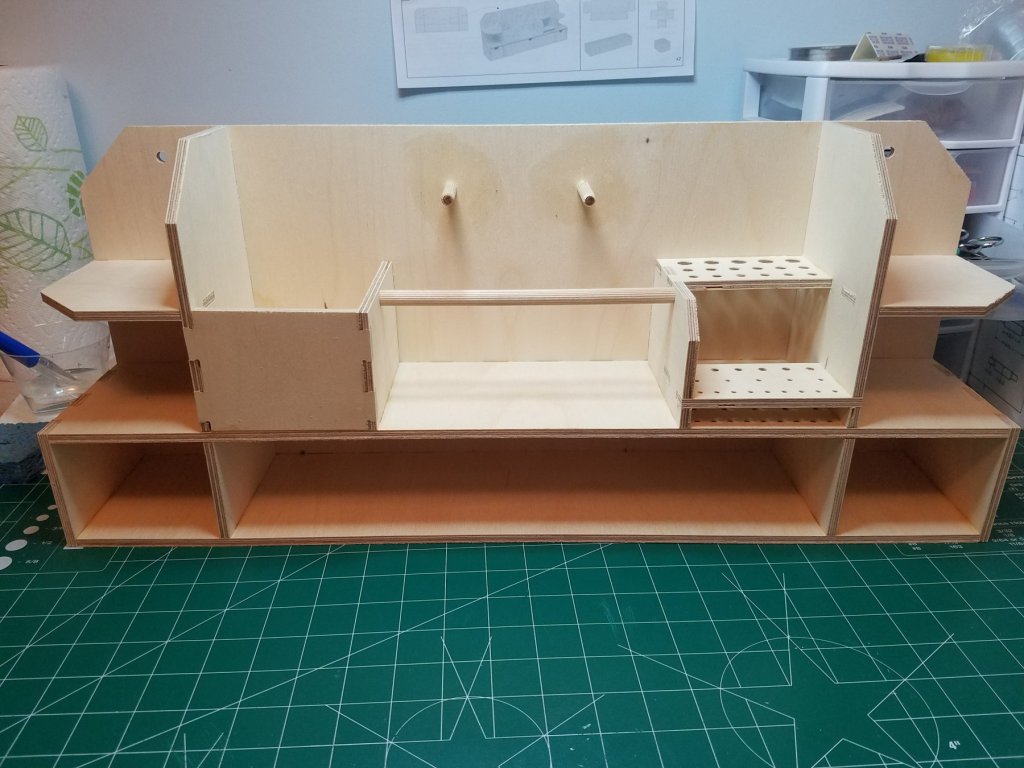
Well, after I fixed breakfast and got the Admiral packed off to the Renaissance Festival I had no problem finishing the carcass for the bench top piece. Again a little light sanding and a couple coats of poly and this one will be done.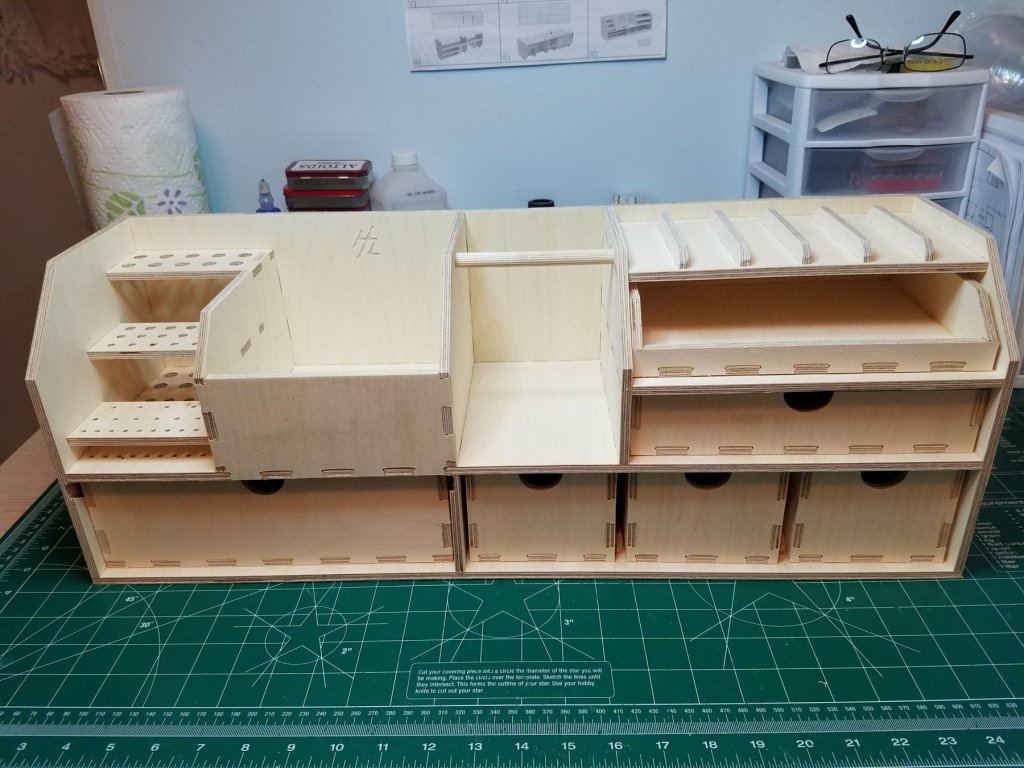
-
Hobby Zone Organizers and Ship Building Slip
Osmosis replied to Osmosis's topic in Modeling tools and Workshop Equipment
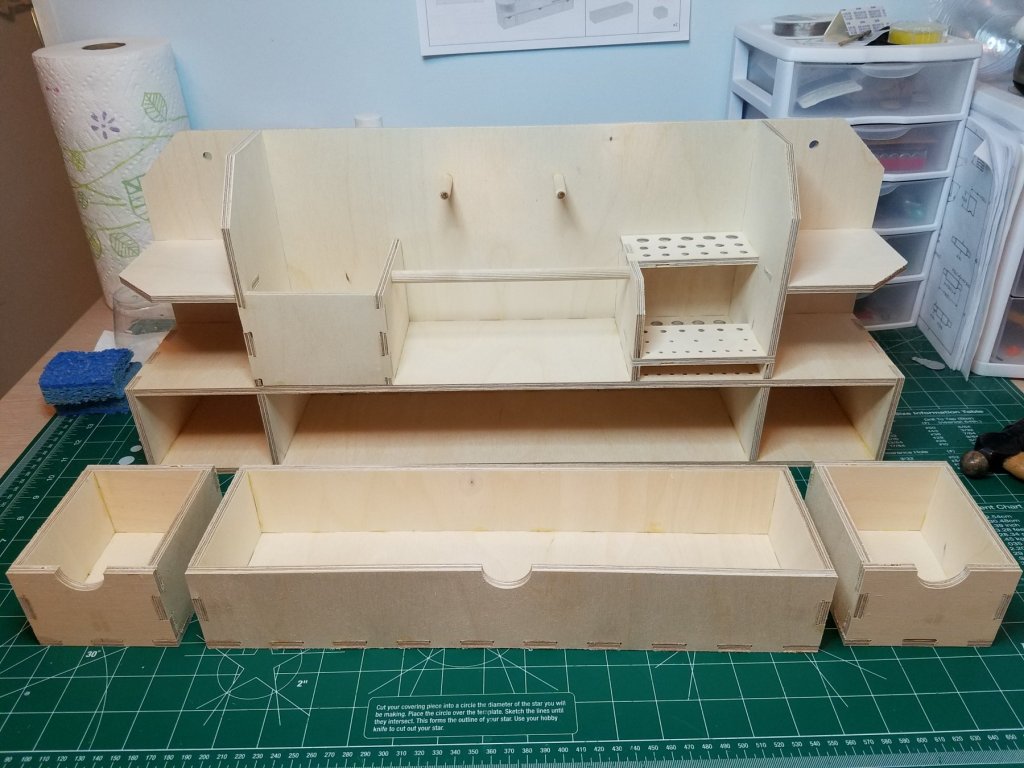
Managed to get all the drawers done in the past few evenings. There are a few more in this one I should have plenty of time tomorrow to finish this one. The Admiral will be at the Renaissance Festival all day..thumb.jpg.98684df4e2151cb8e2b103bb4291be86.jpg)
-
Hobby Zone Organizers and Ship Building Slip
Osmosis replied to Osmosis's topic in Modeling tools and Workshop Equipment
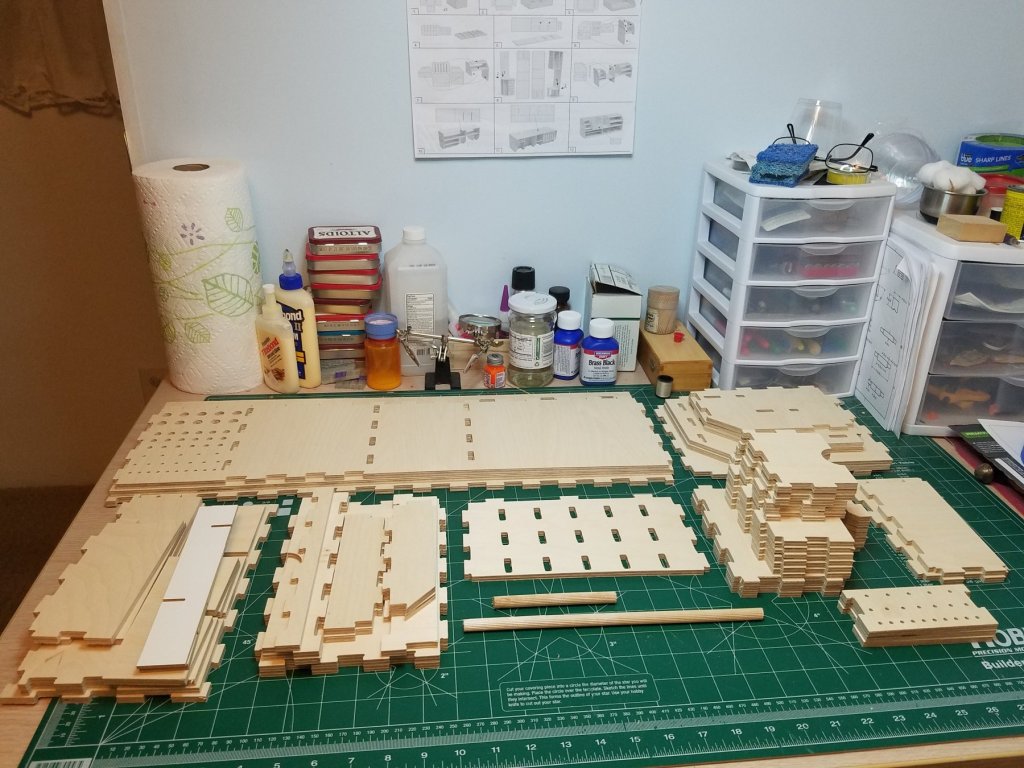
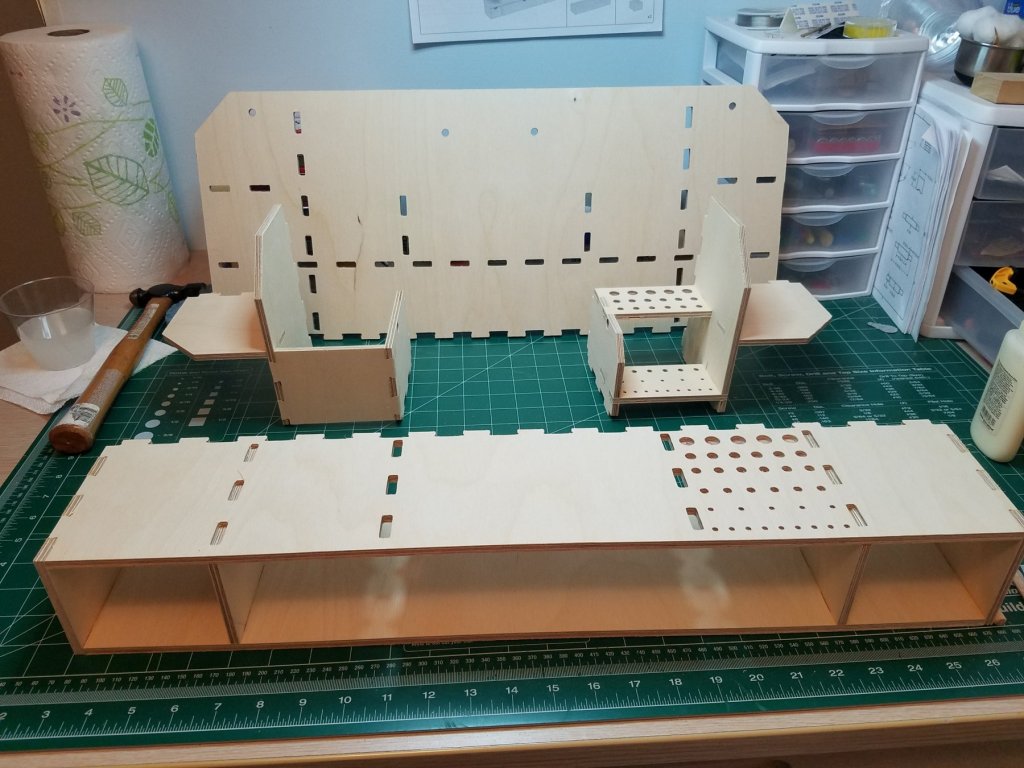
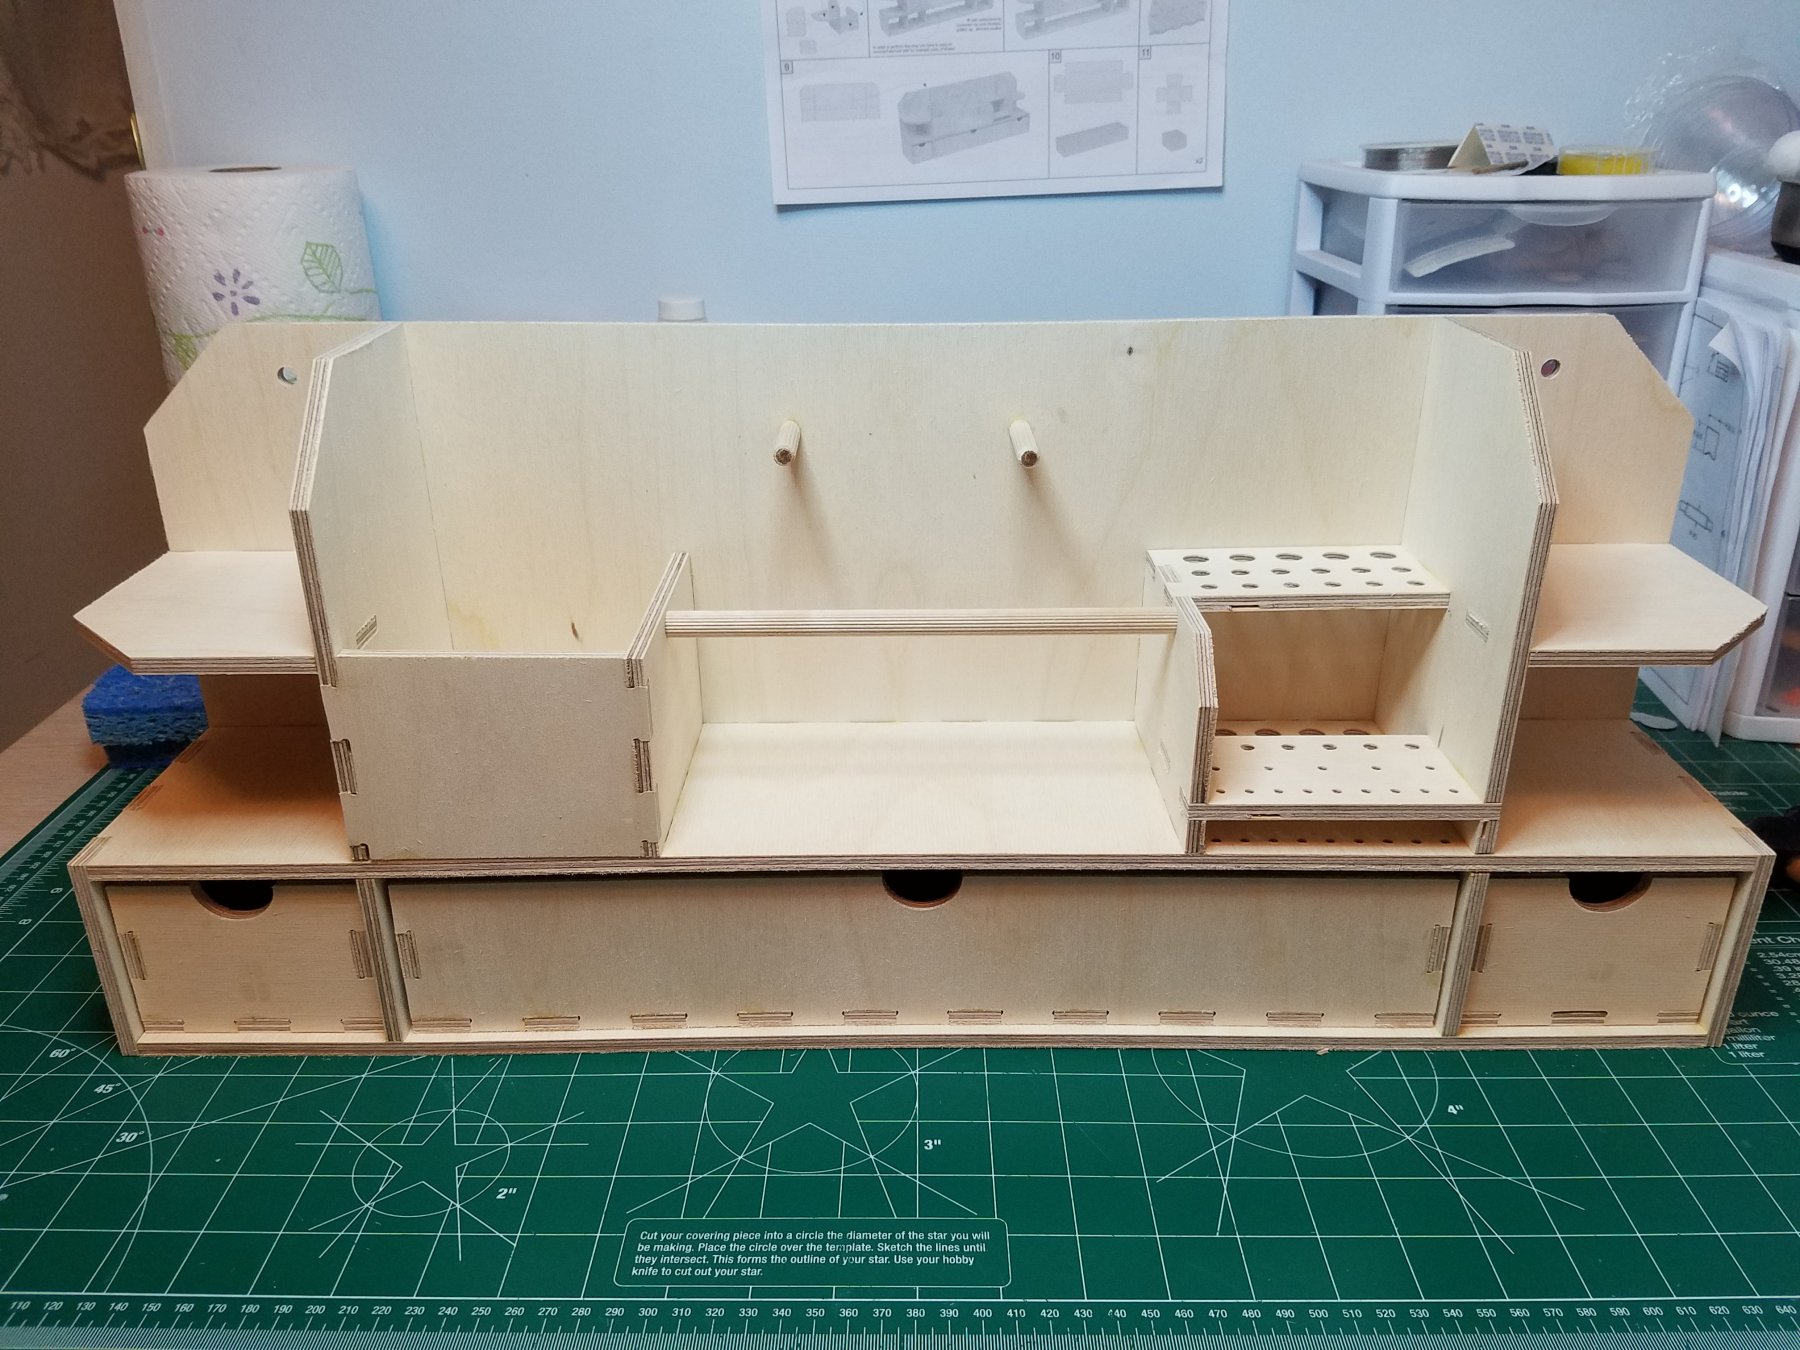
Parts all laid out and inventoried for the bench top organizer and as you can see in the pics I need some organization. Construction starts tomorrow night.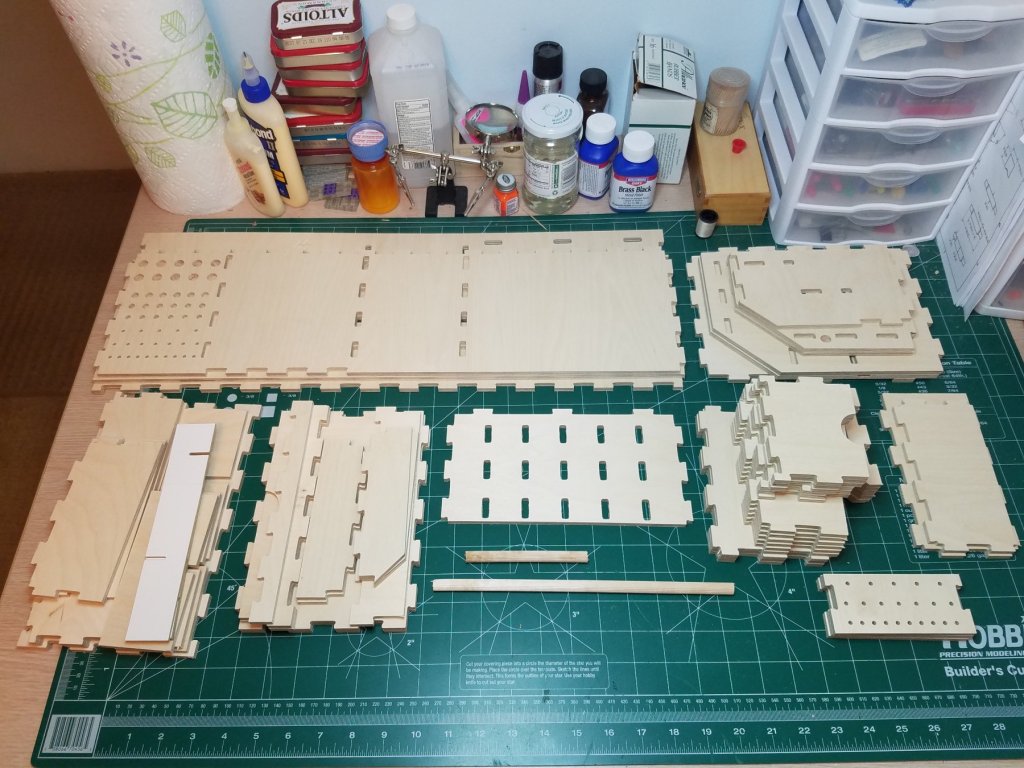
-
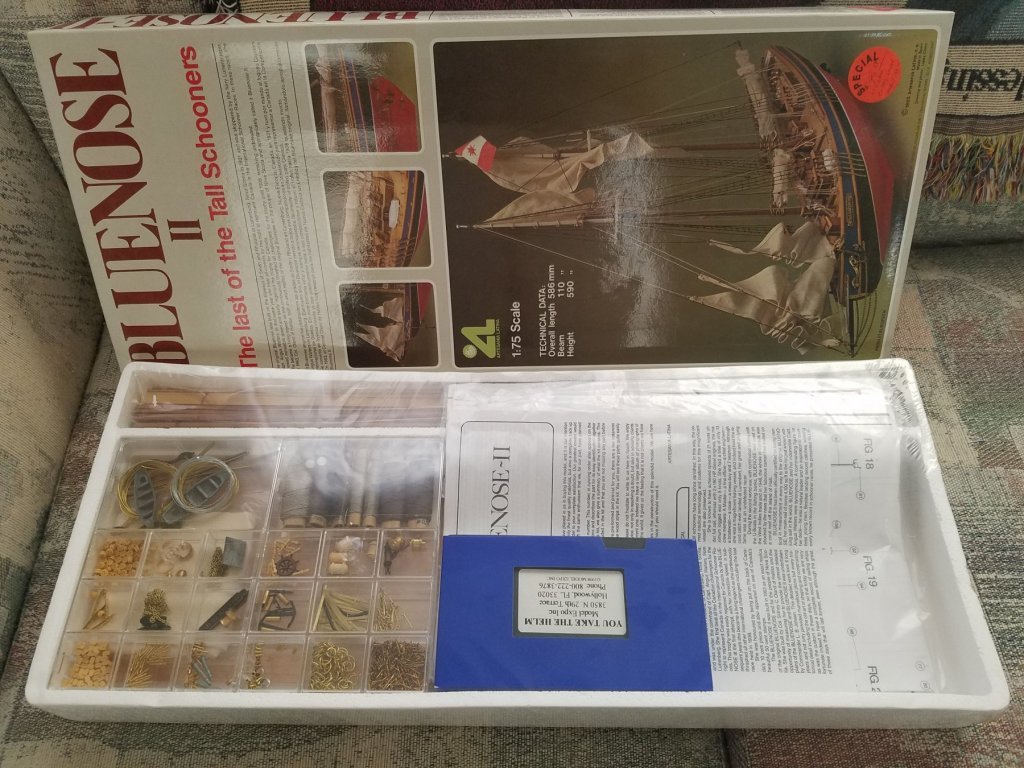
I recently purchased an older AL Bluenose kit that was still sealed. When I opened the kit I found a VHS copy of the video "You Take the Helm" by Model Shipways sealed inside the inner packaging. I guess I have 3 questions: What is a Model Shipways video doing in an AL kit? What is on the video, is it a practicum? A google search did not come up with much. Is it worth tracking down someone with a VHS player so that I can convert it to DVD? Thanks
-
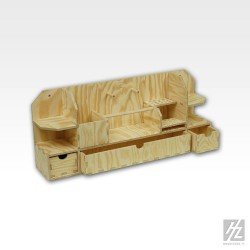
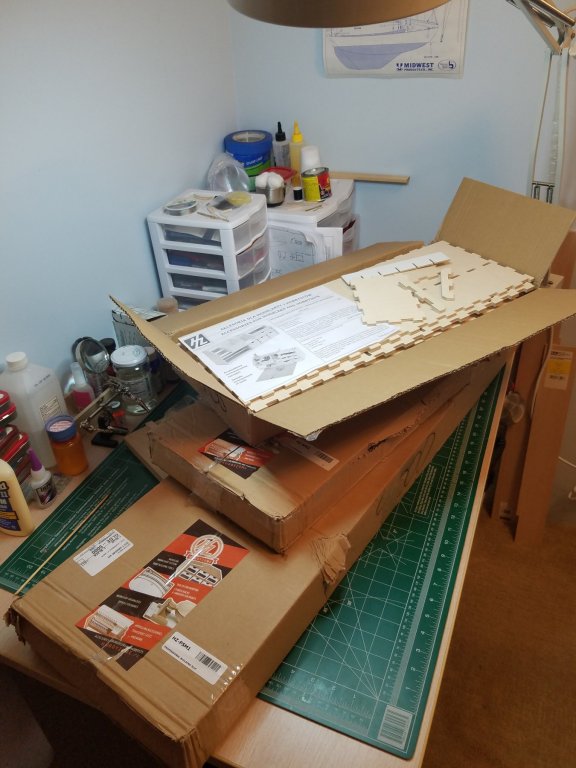
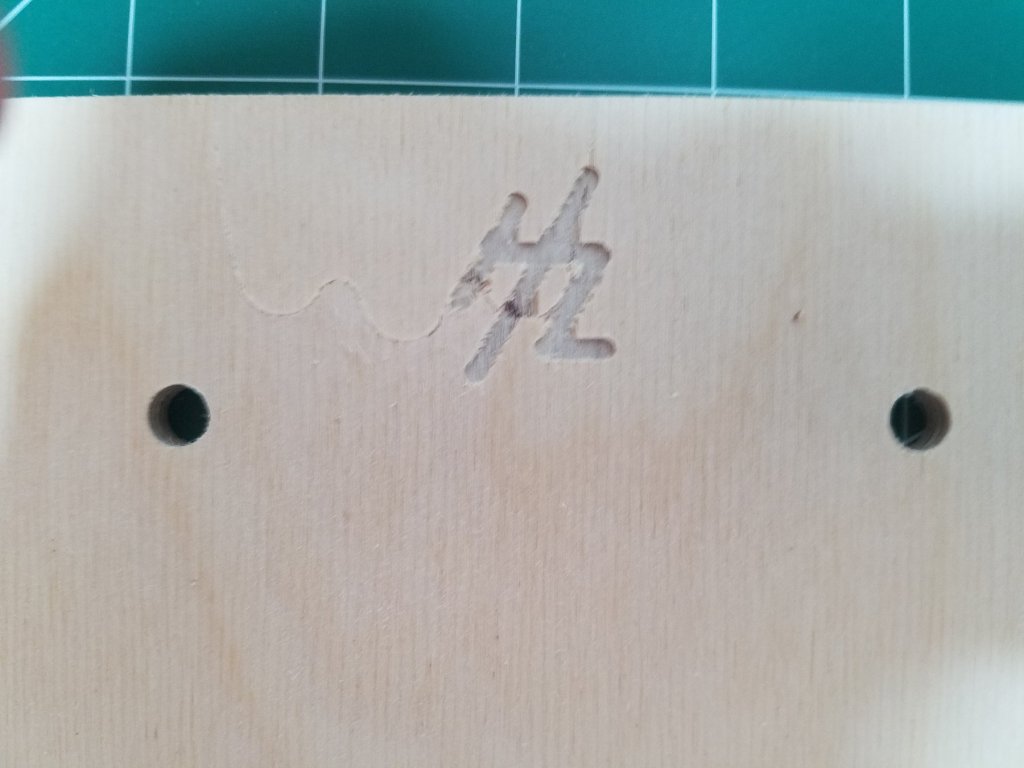
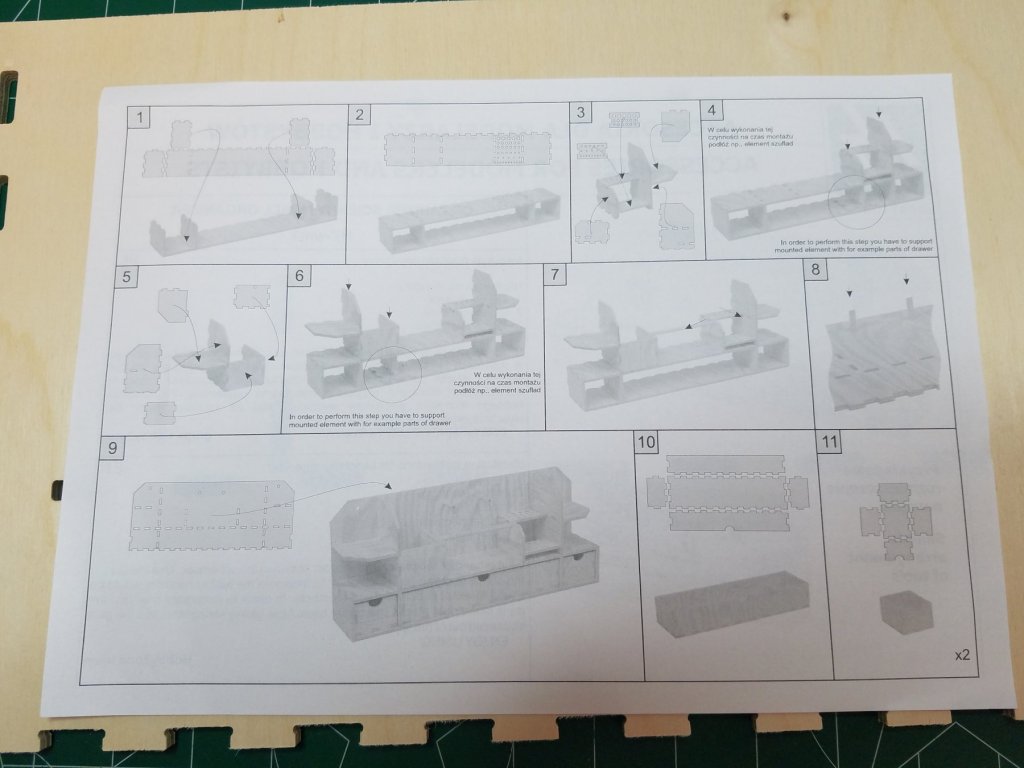
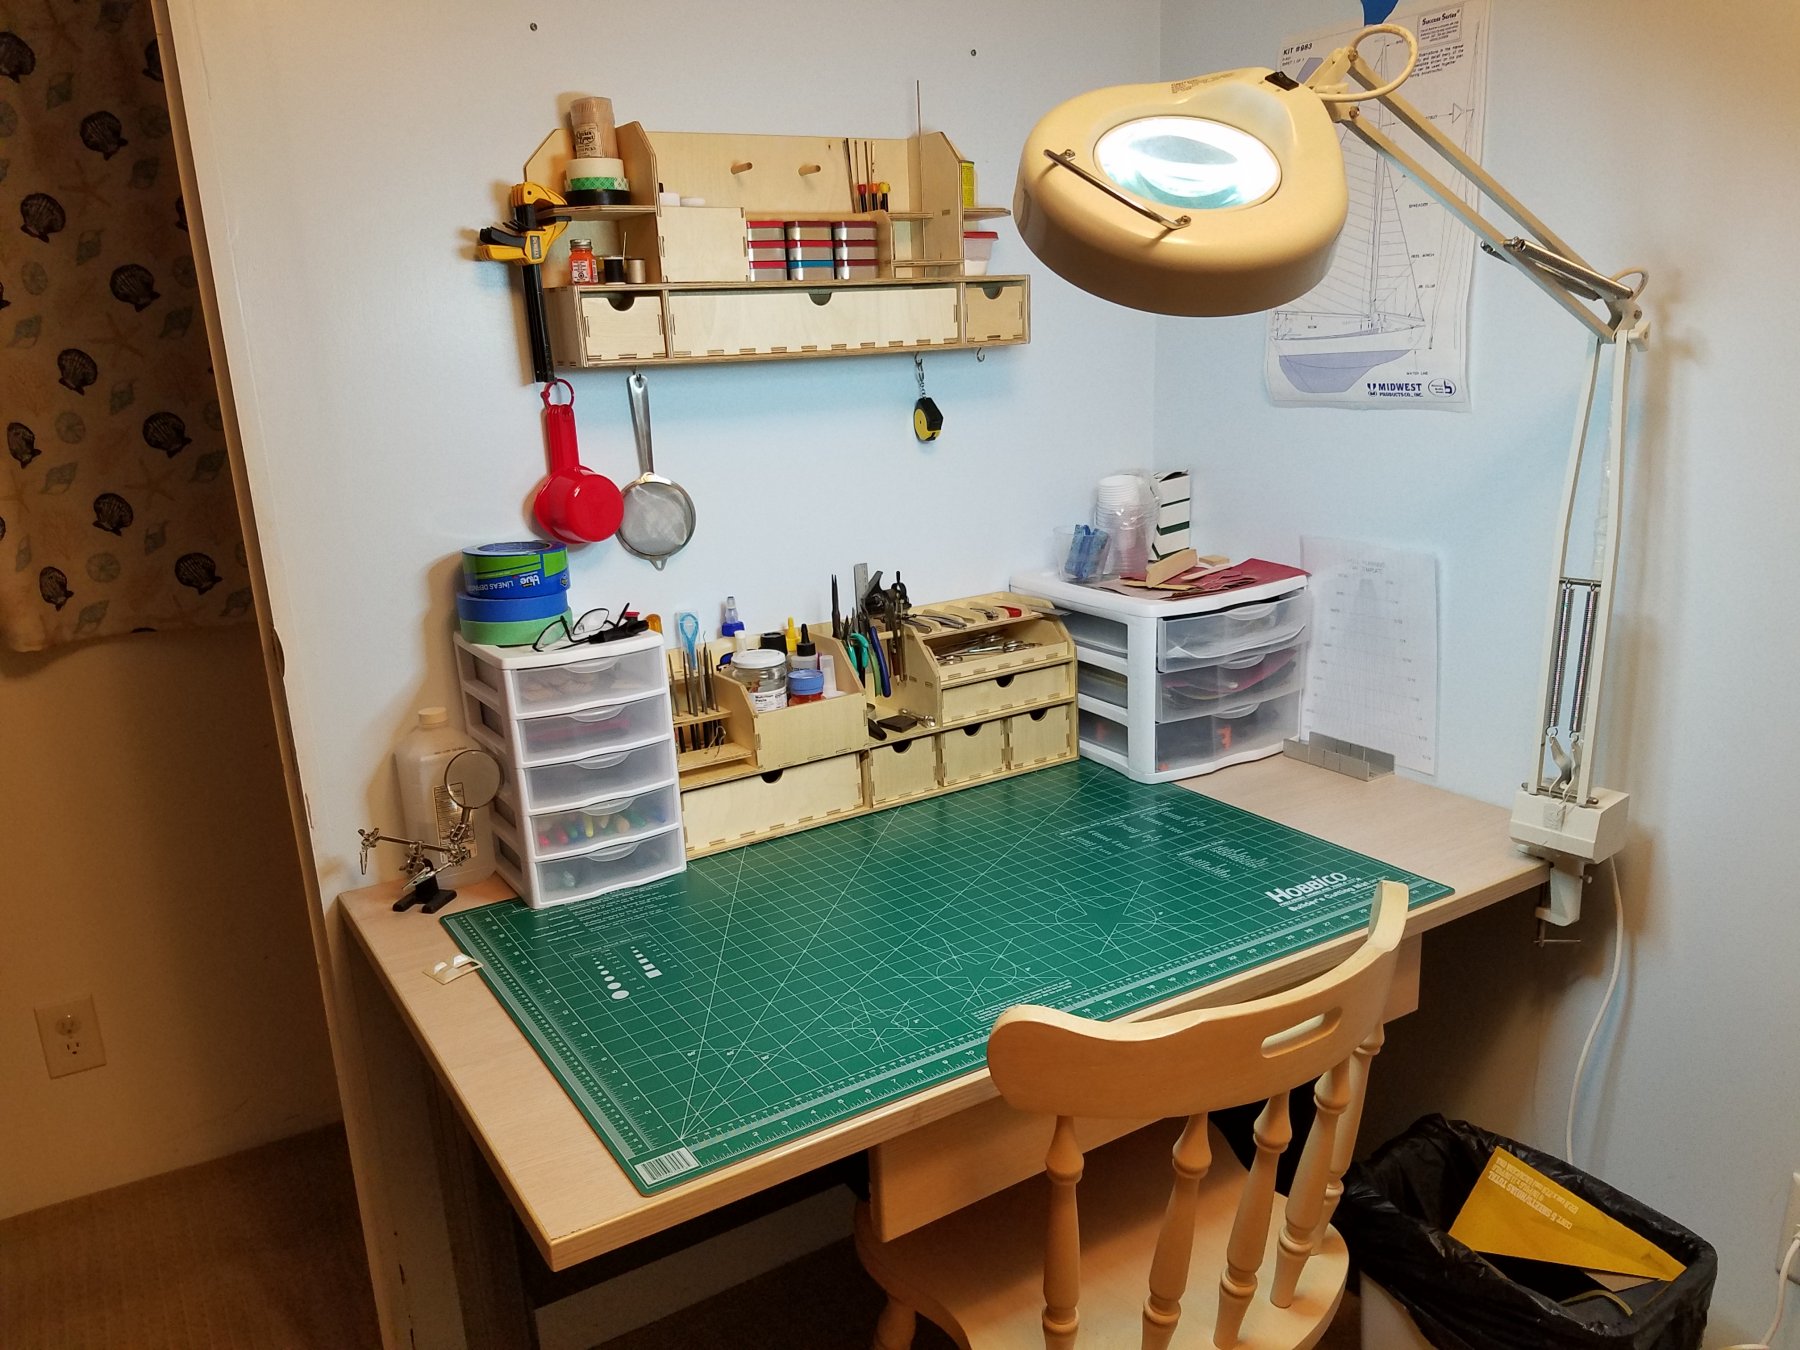
I recently placed an order for some Hobby Zone Products with Hobby World USA. It was my first time dealing with Hobby World and I could not be happier. Ordering was easy, but I would call or email to check stock because their website is not always up to date. My entire order was shipped promptly and received within 1 week. I ordered the following three items. All arrived well packed and undamaged. As you can see in the picture my limited work area is becoming quite cluttered so it was time for some extra storage space. I thought I would do a sort of review/build log of these products. The building slip has been pretty well covered in another thread so I won't rehash what has already been done. I started with the easiest one, the wall unit storage. The illustrated instructions were very simple and easy to follow. I started by laying out and checking all of the pieces. All were nicely router cut with no chips or marks that I could see. Overall the fit and finish of the parts was exceptional. The only exception was the Logo oddly enough. However because this particular unit is symmetrical I was able to turn the back panel over and build it with out the logo showing. The fit on all of the parts is quite snug and required some light taps with a hammer in some cases. I decided to dry fit each assembly before actually gluing them. The first step is to build three main sub assemblies. I used the back plate as a sort of jig for building these by gluing up the assembly then making sure that there was no glue on the back edges I "Plugged it into the back panel and let it dry. This way I was sure that when it came time for the final assembly everything would line up. After assembling the three sub assemblies together the back panel is glued in place. This was kind of daunting as there were so many slots and tabs to apply and spread glue on. Then aligning them for assembly before the glue started to set up was a little tricky. This is where dry fitting at each step came in handy. The three drawers were fairly straight forward. I would say that this was a fun and useful little project. The assembly to this point was done in one afternoon. No doubt it could be hung up and used just as it is. But I will do some light sanding to ease some of the edges and apply a couple coats of oil based poly before loading it up. I am guessing that the bench top unit will go together in much the same way. I will update when I get going on it. Thanks for looking in.
.thumb.jpg.2e2a0e3a0f3d44afe3edc40abfb39a0a.jpg)
.thumb.jpg.03cc6f2e3f73dce854a9c4482402227e.jpg)

- 13 replies
-
- 11
-
-
Bravo Zulu! Very well done sir Just like I remember her.
- 82 replies
-
- 2
-
-
- carl vinson
- trumpeter
- (and 2 more)
-
Thank for all the wonderful comments. I picked up an older AL Bluenose kit off of Ebay for $39.00 a while back so I suppose that will be my next (really my first) "ship" build. But first I just ordered the Hobbyzone building slip so that will have to go together before I can start on the Bluenose. Thanks again and best regards.
- 82 replies
-
- 2
-
-
- naval smoothbore
- model shipways
- (and 1 more)
-
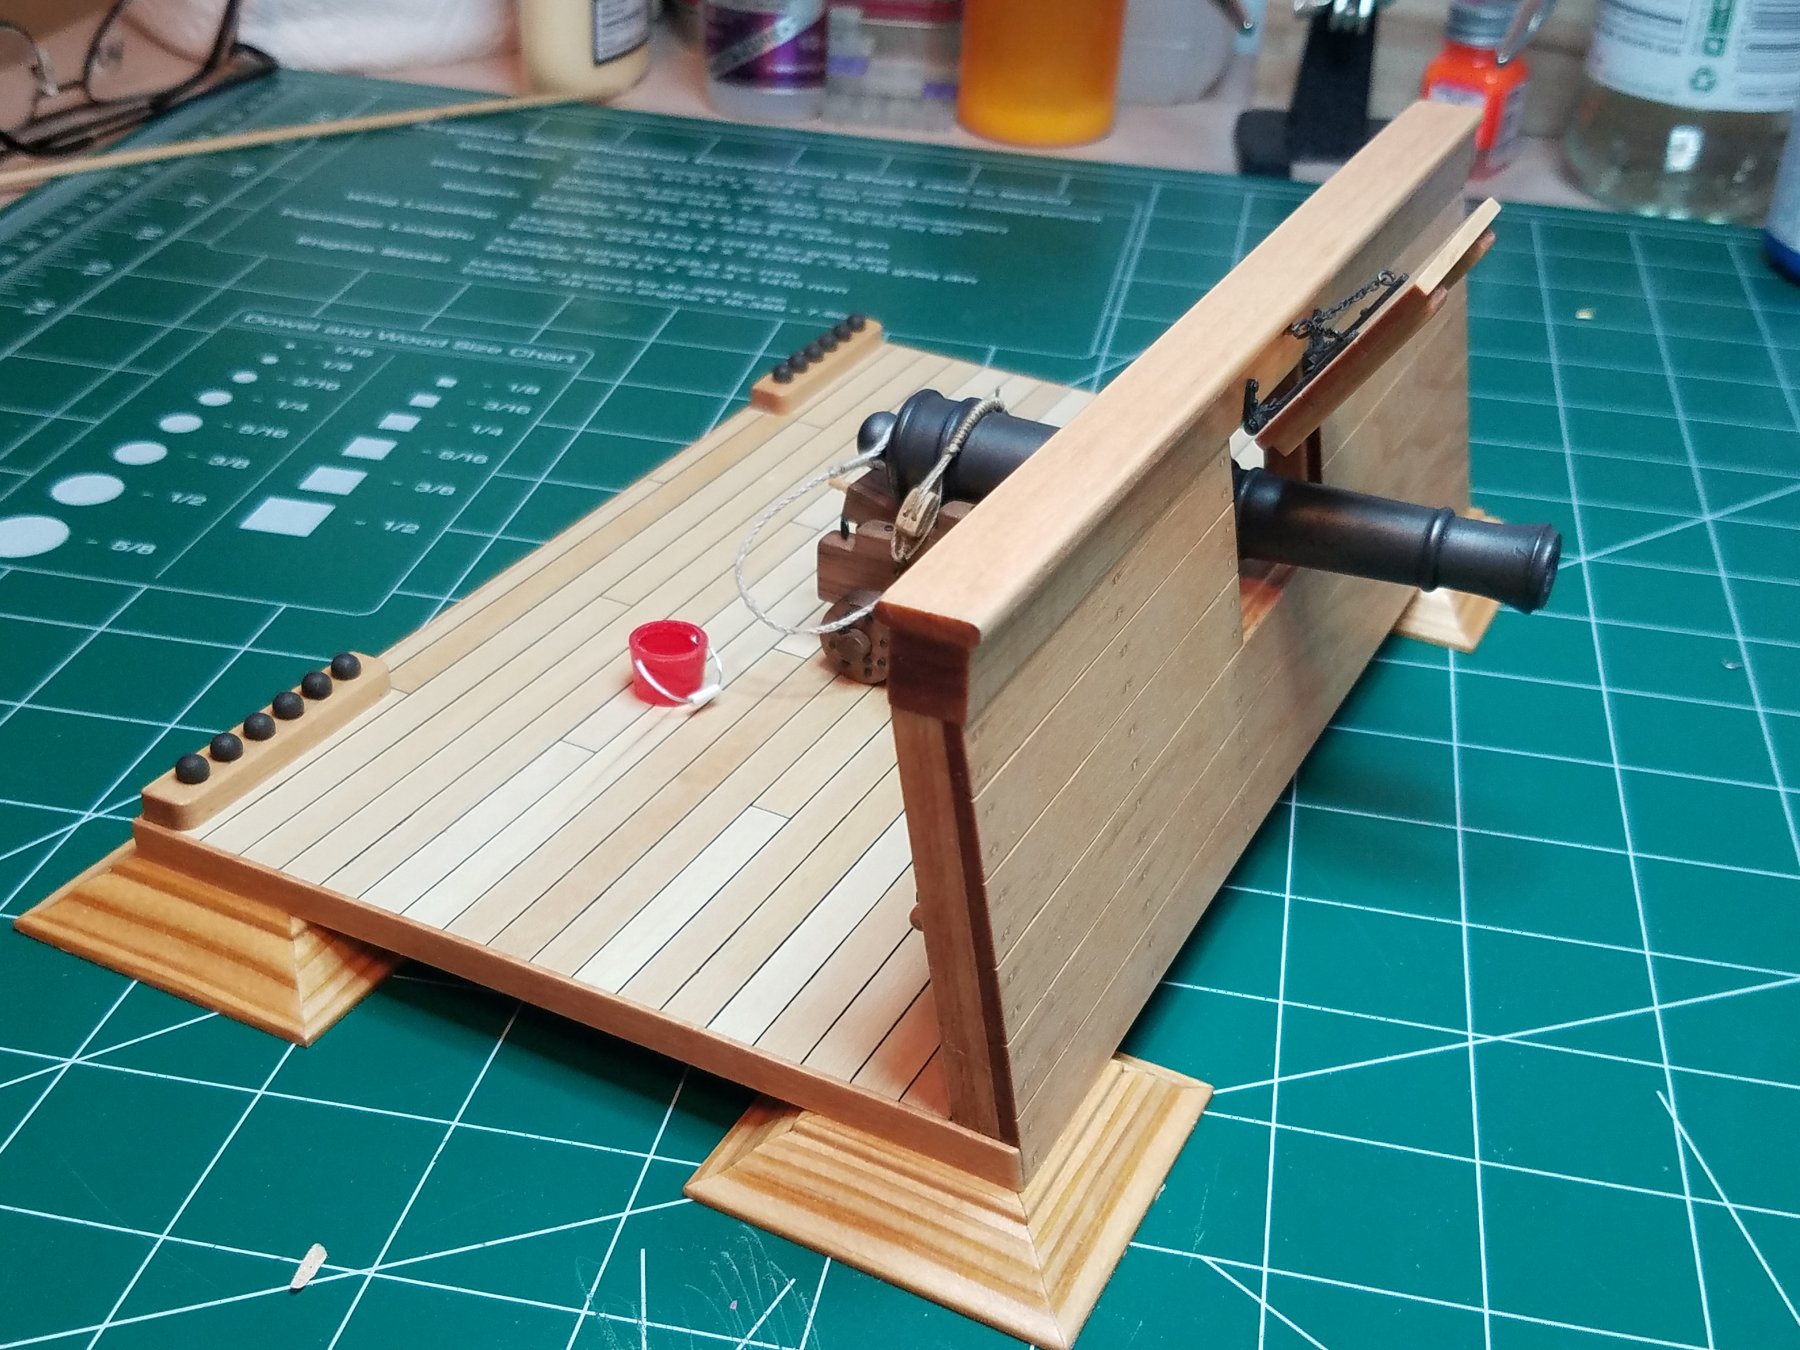
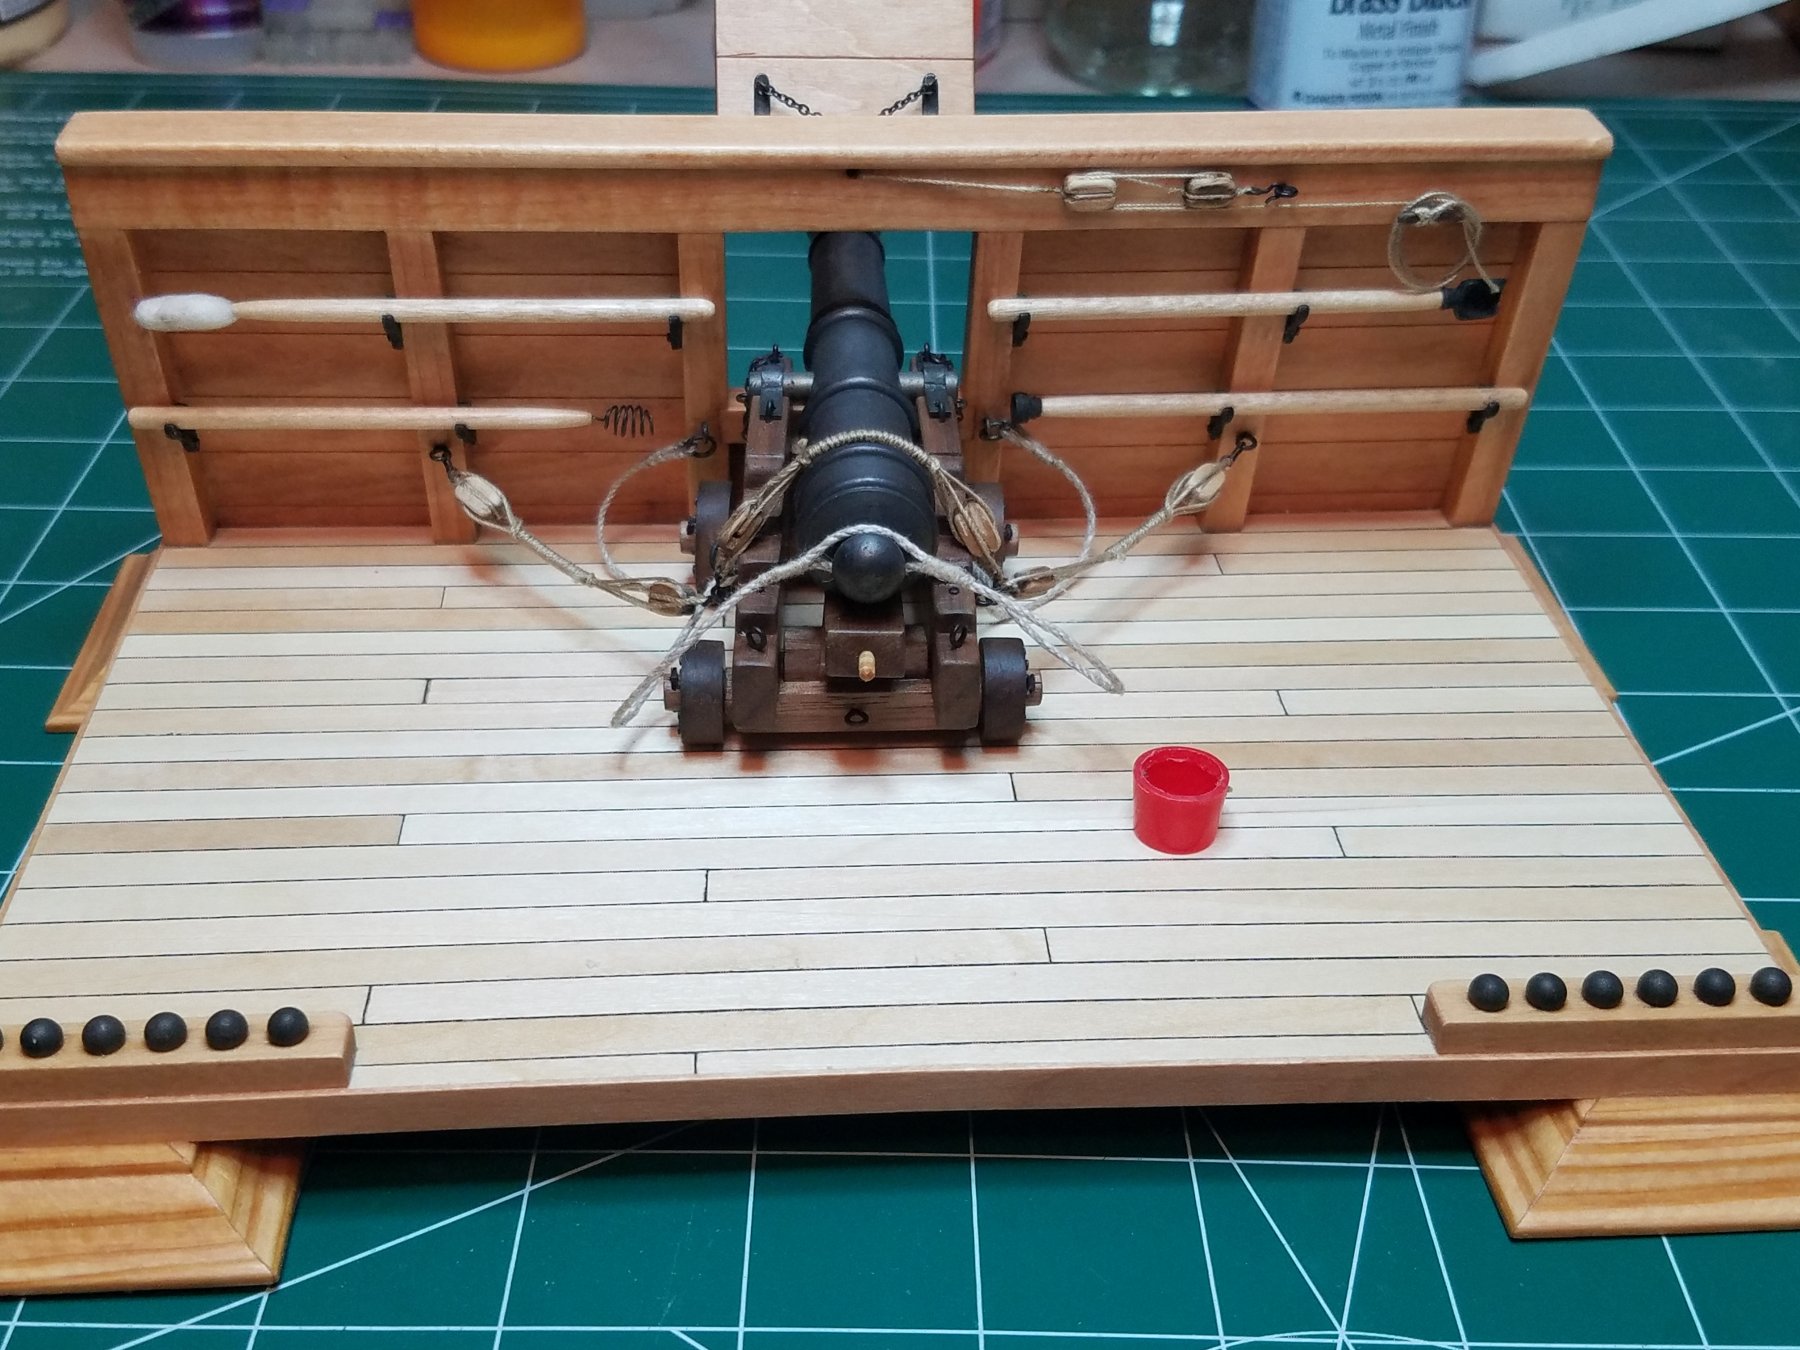
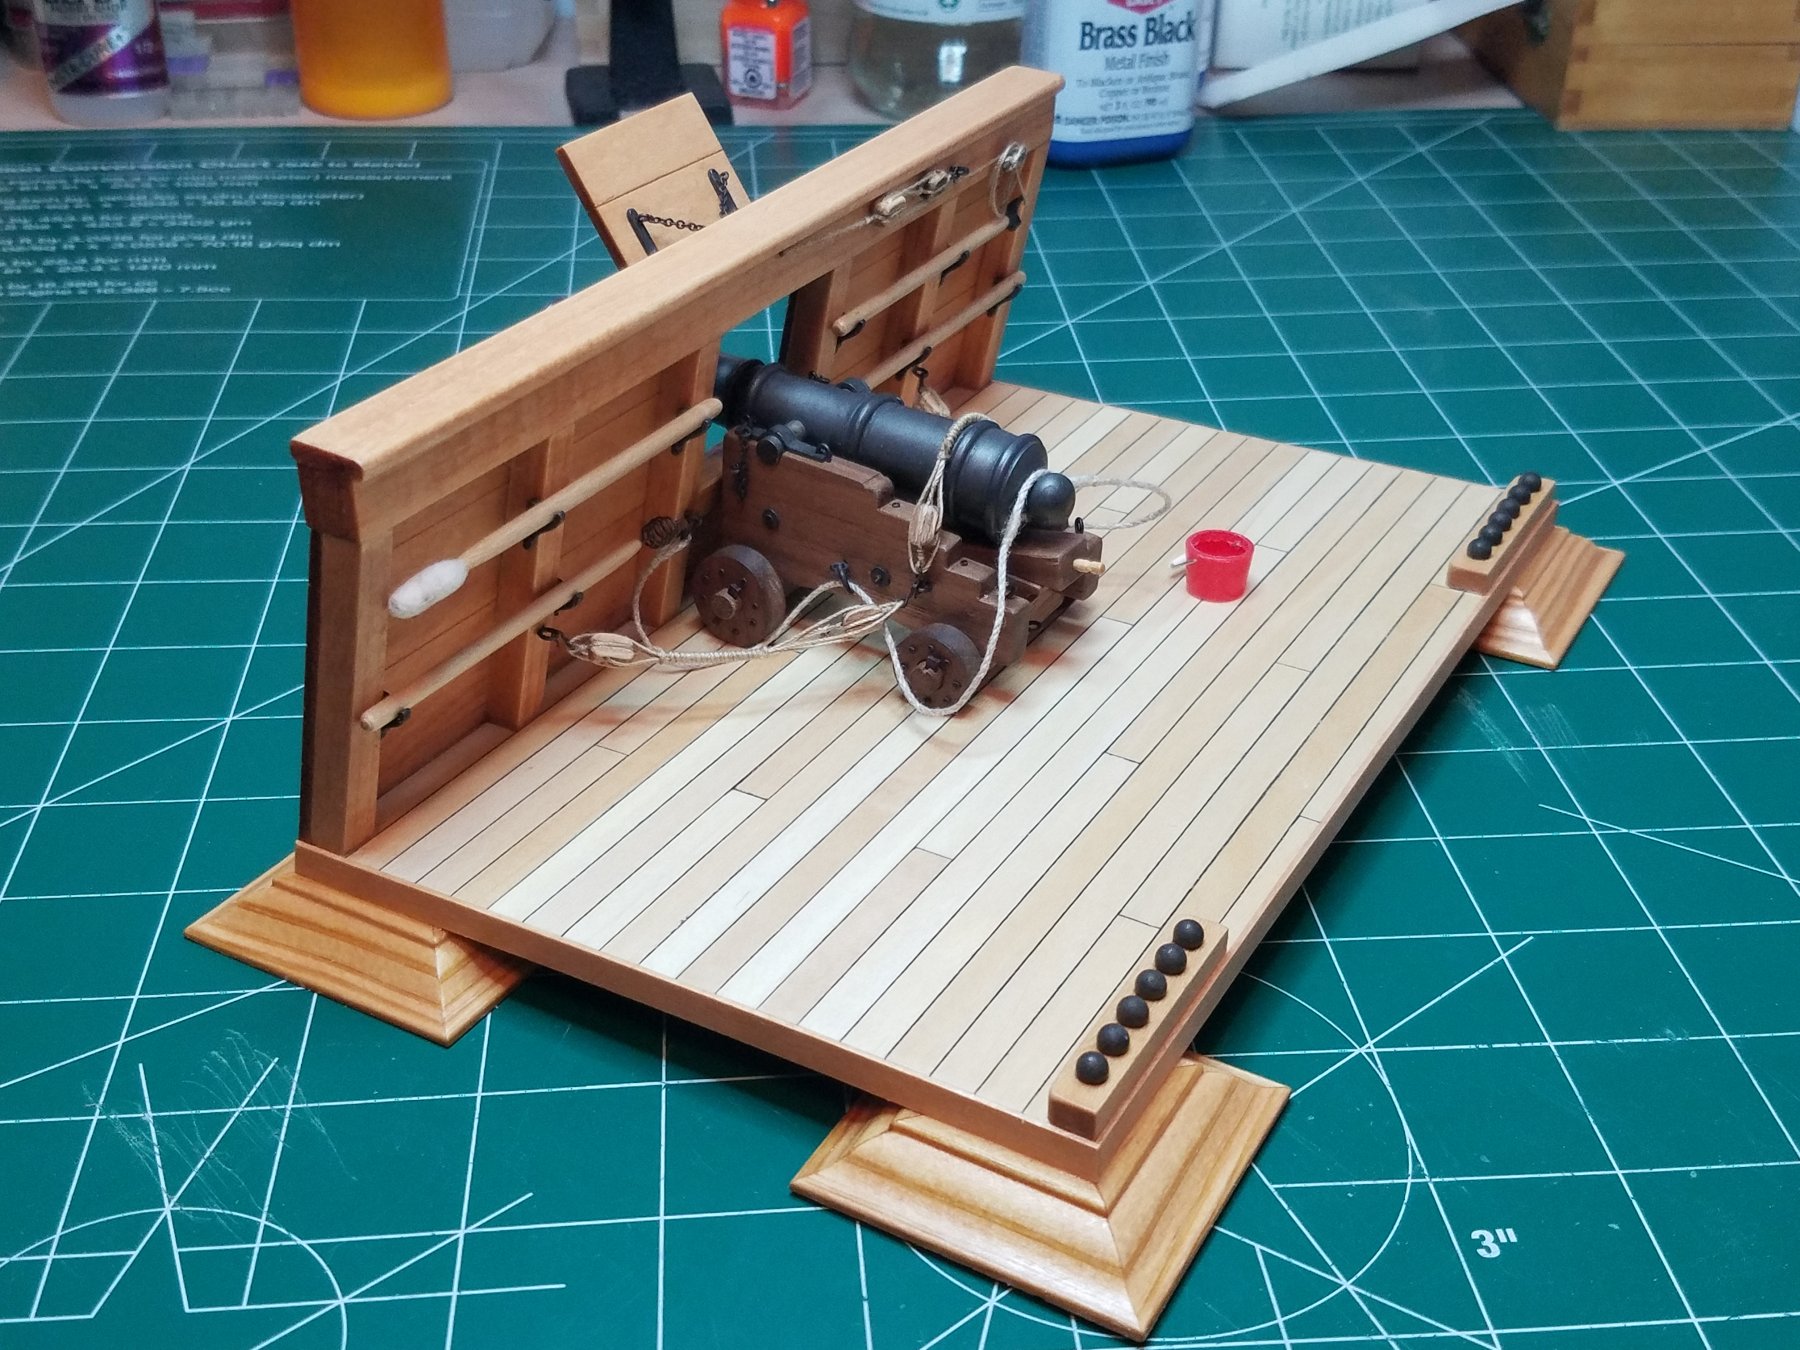
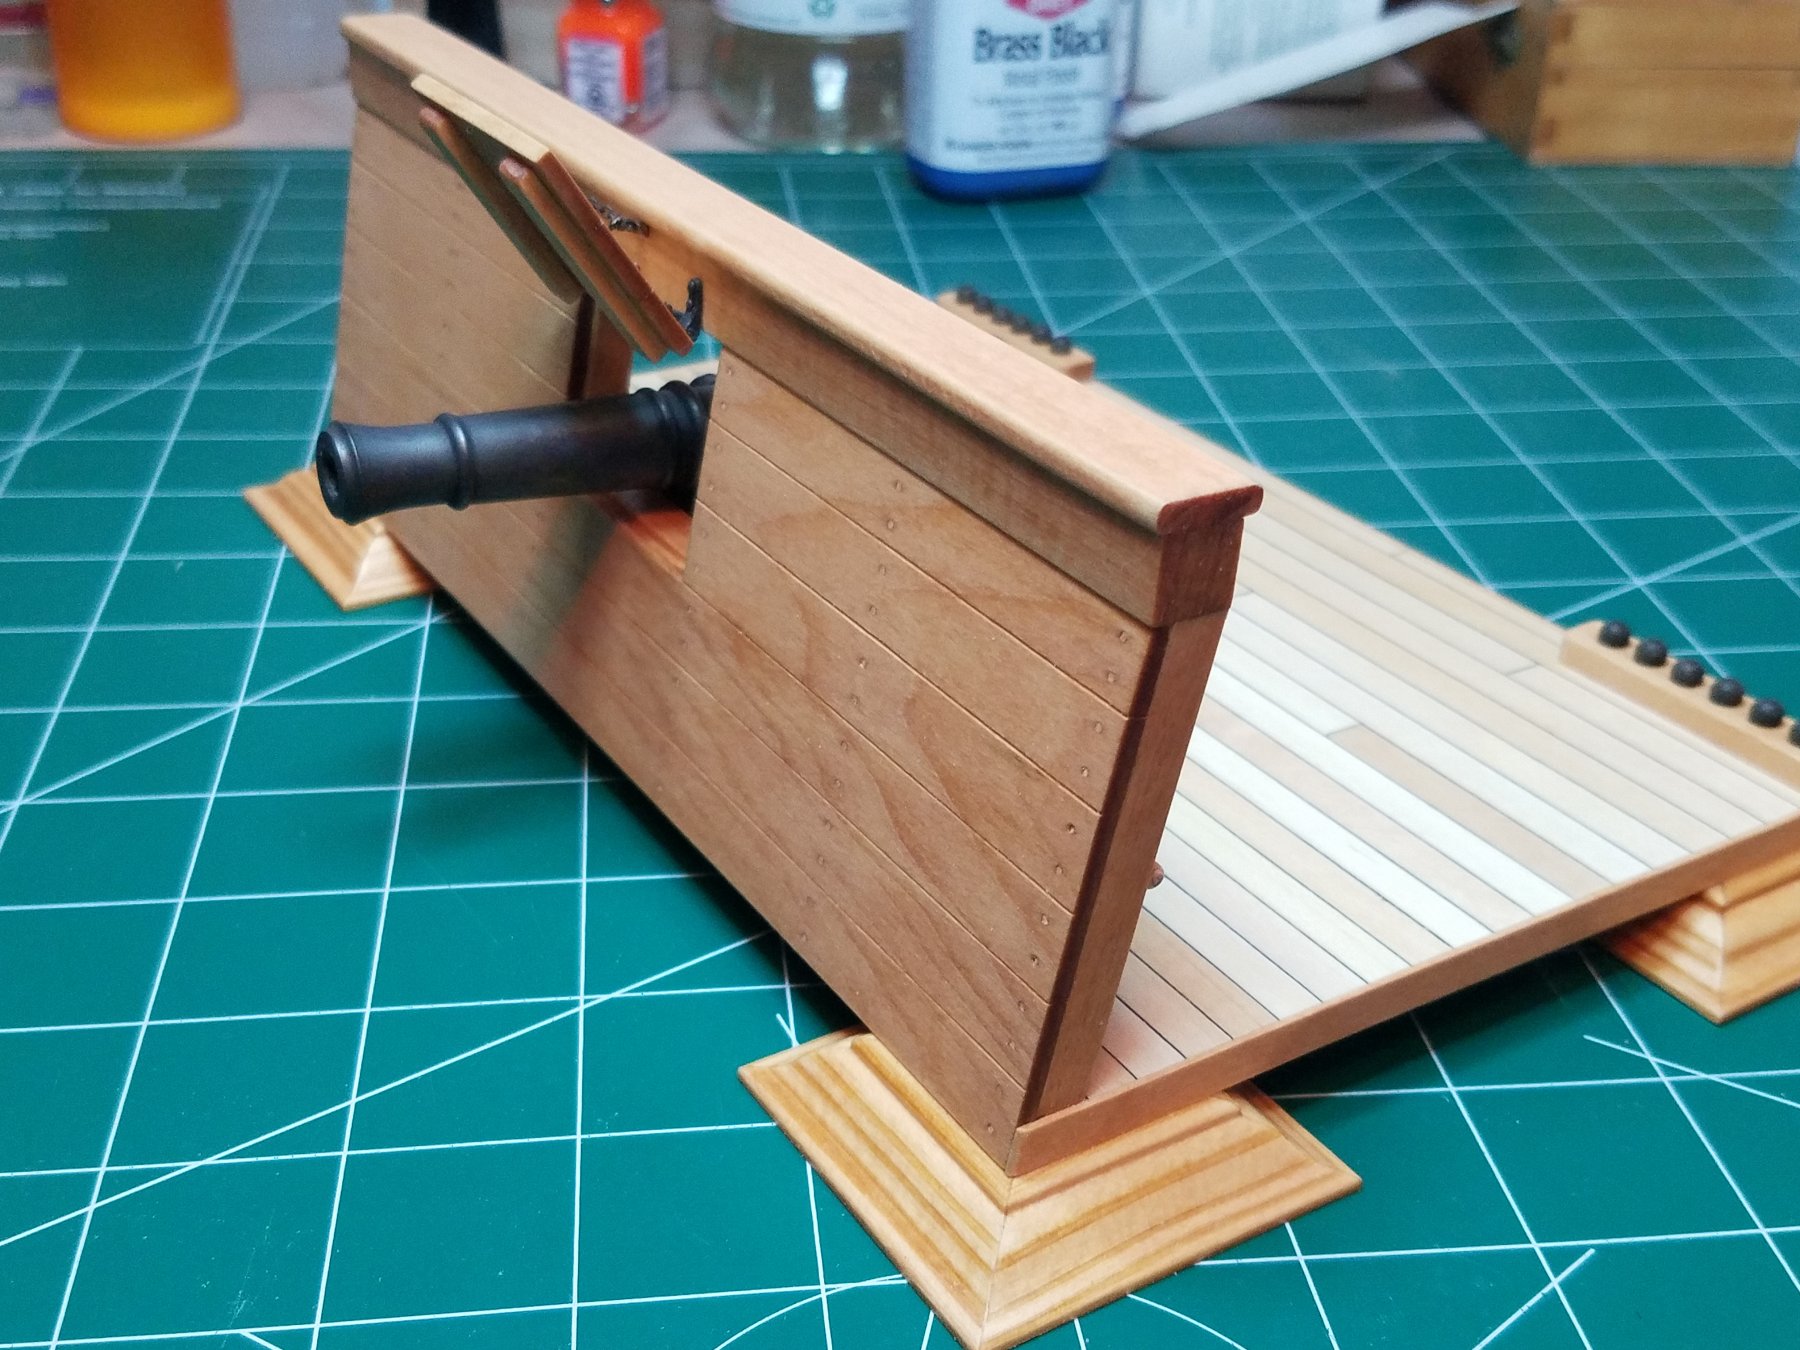
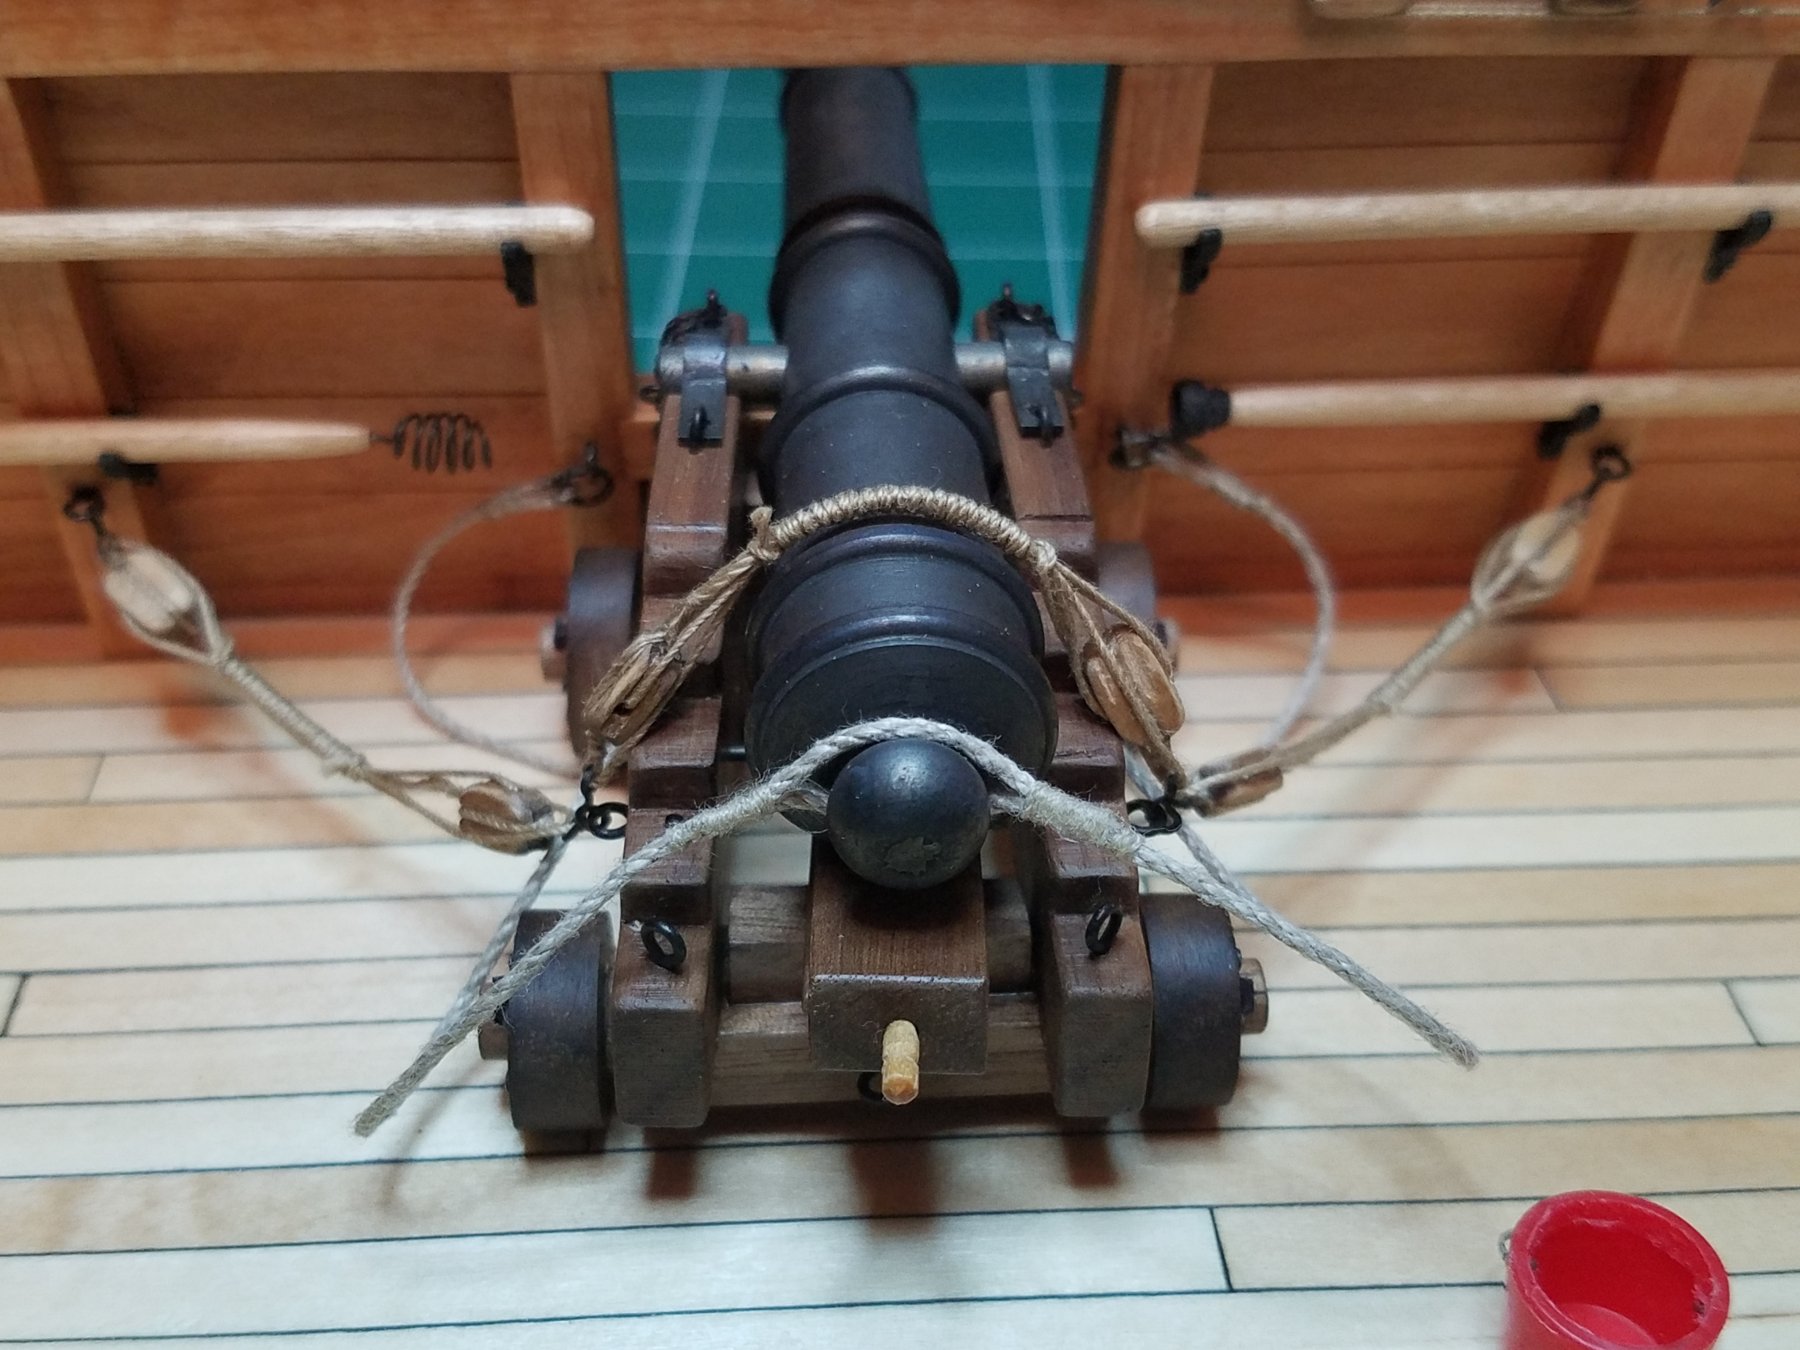
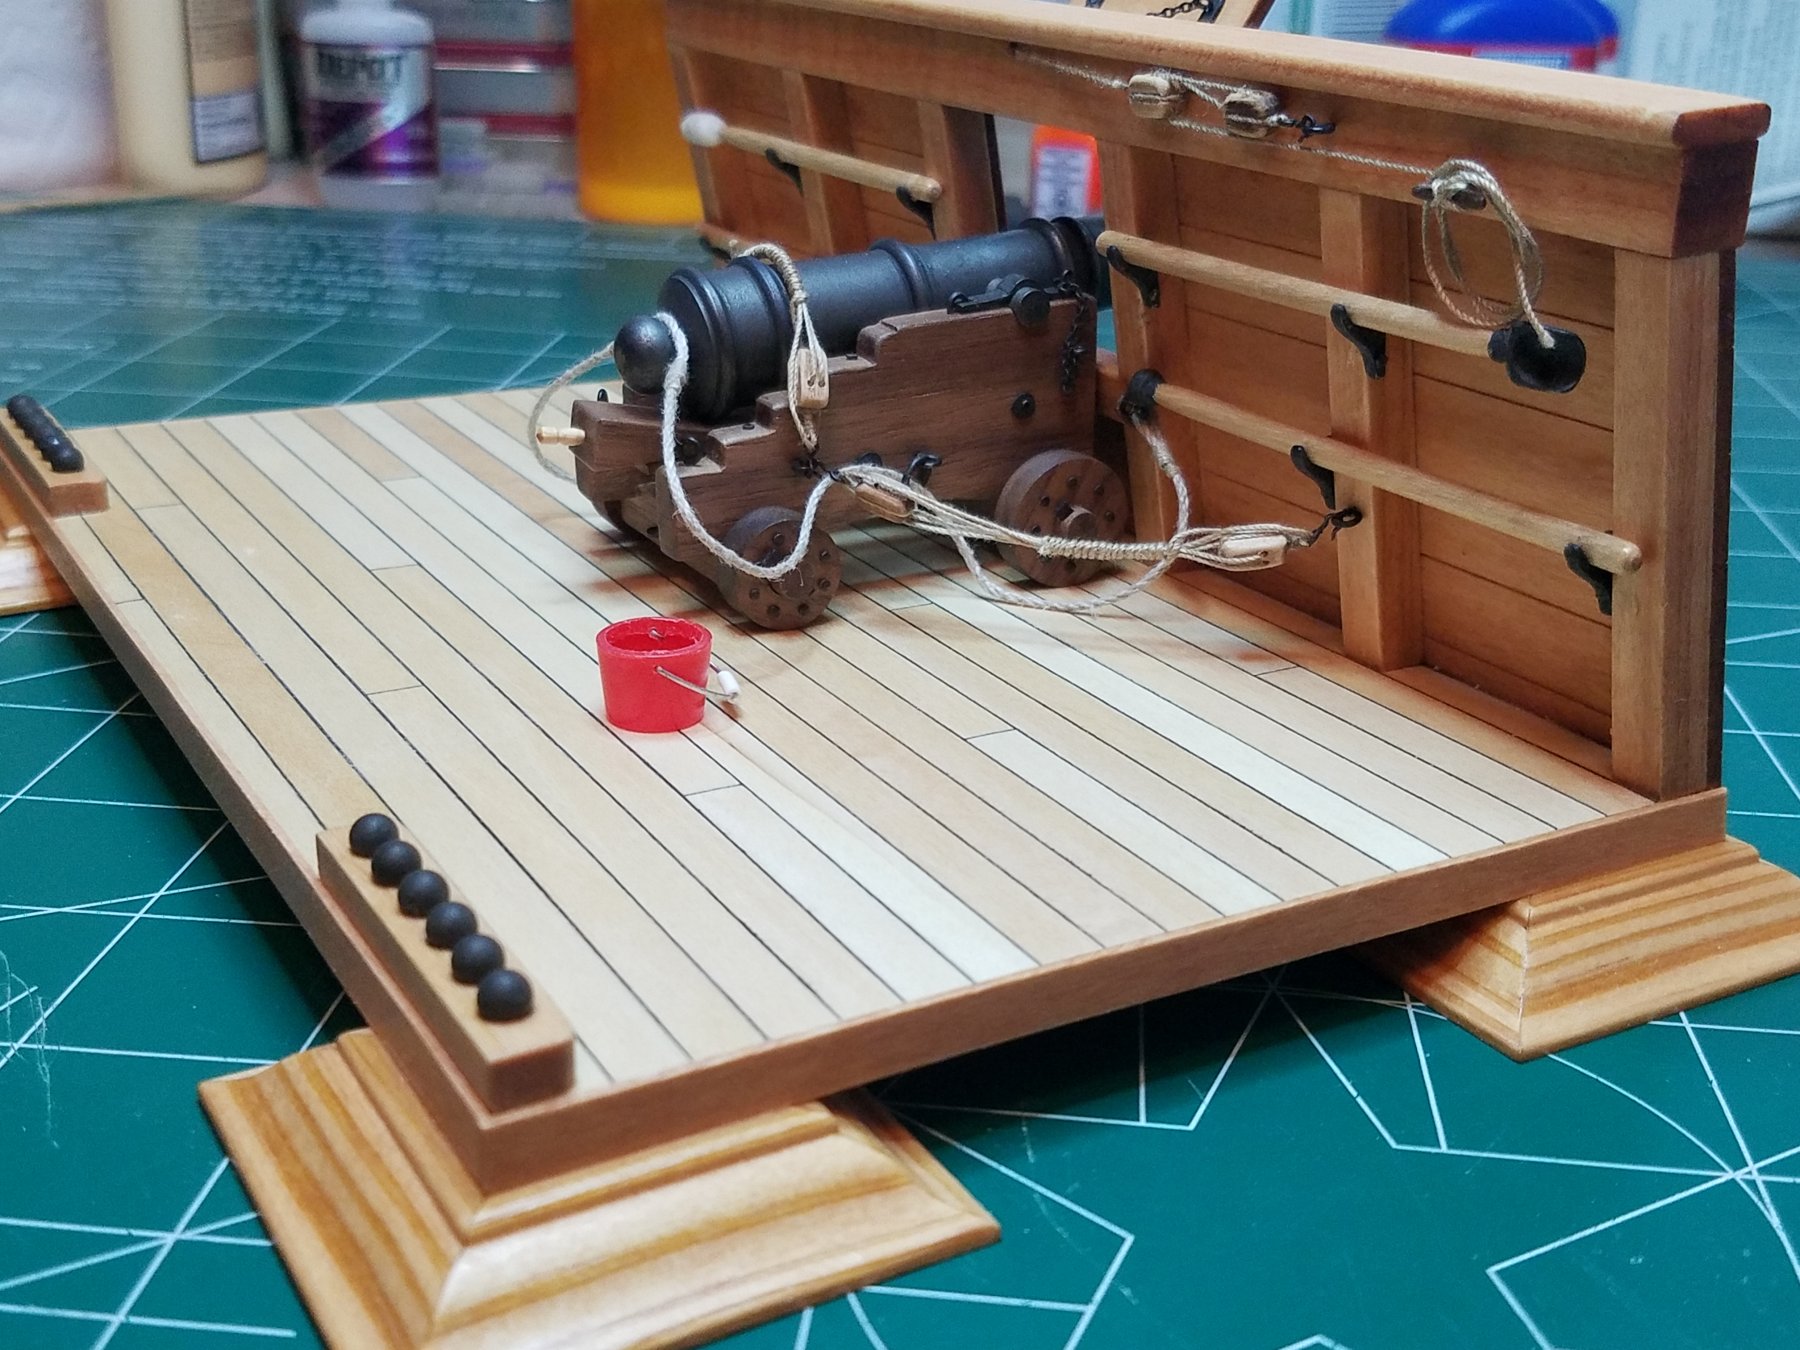
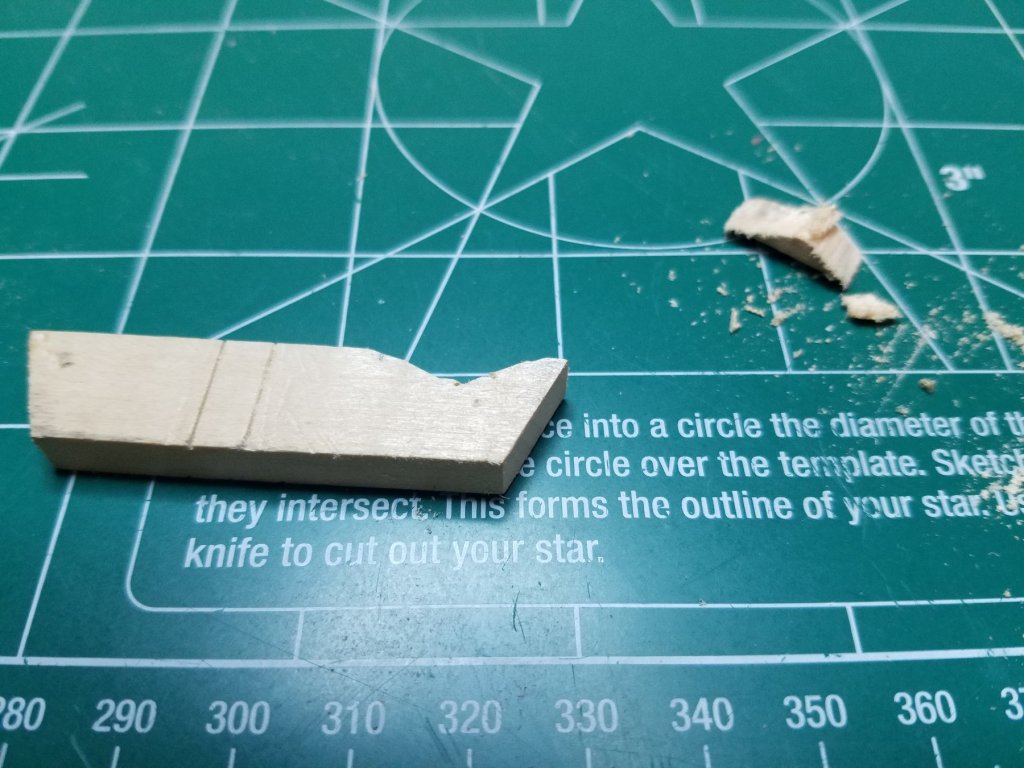
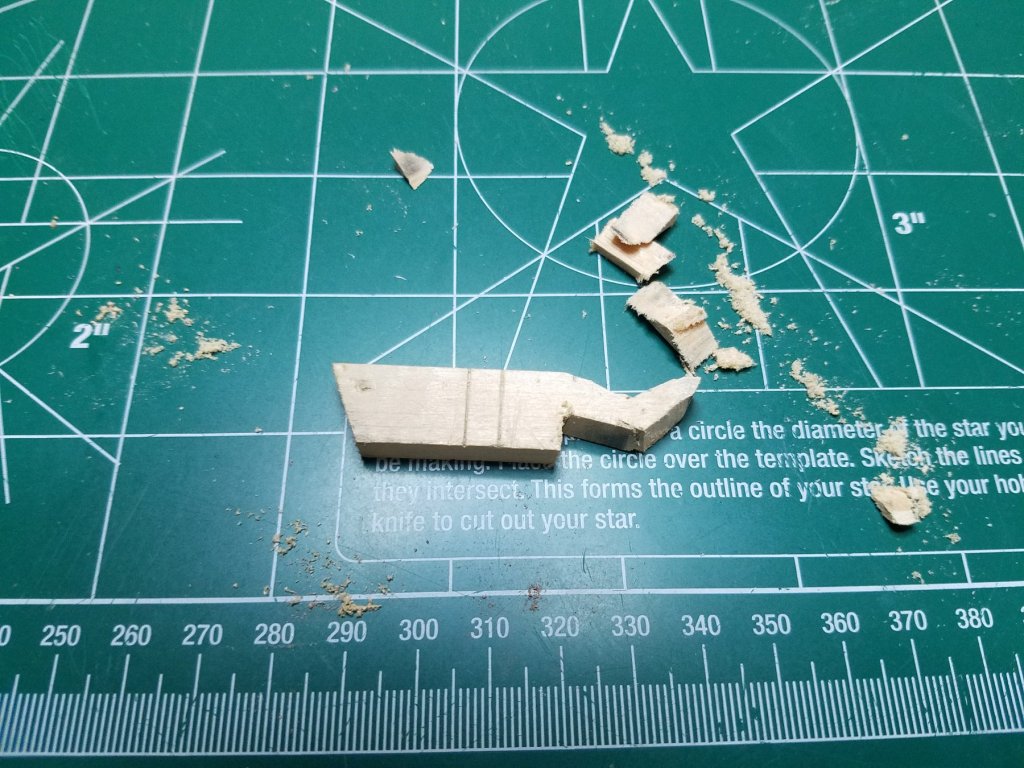
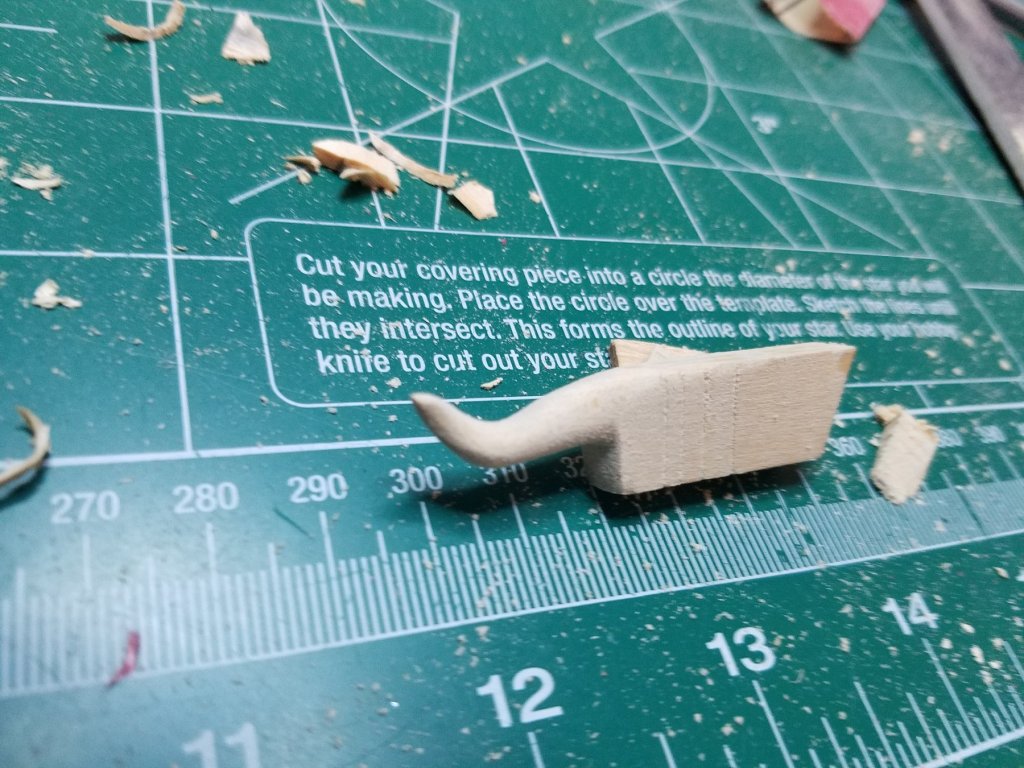
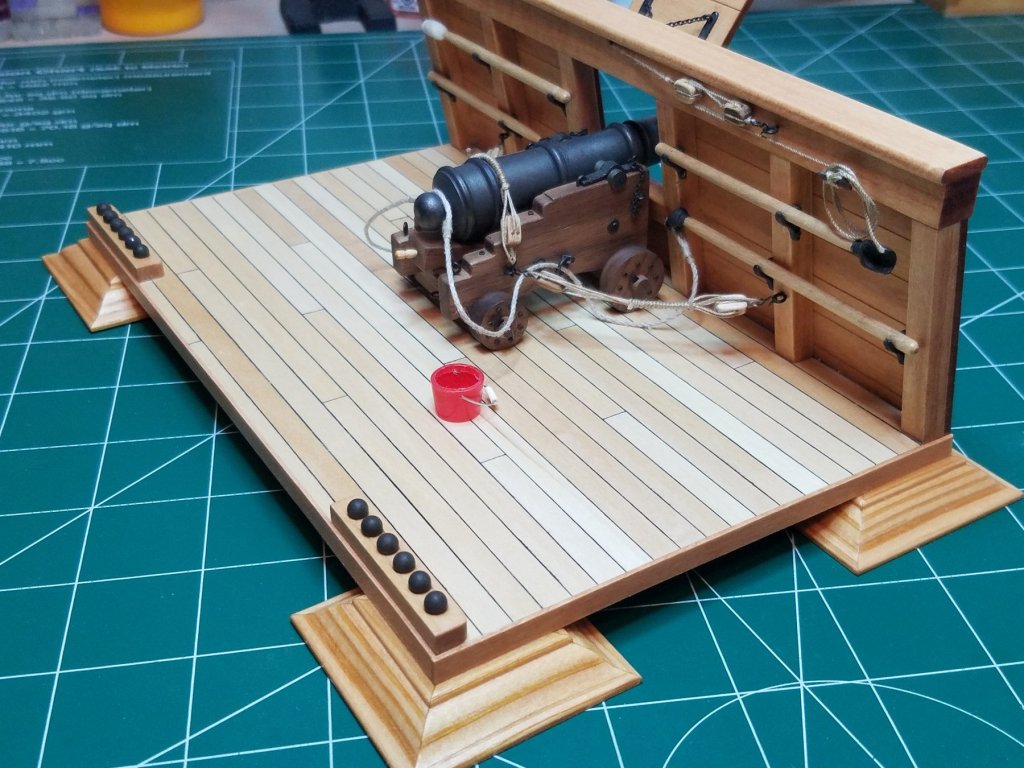
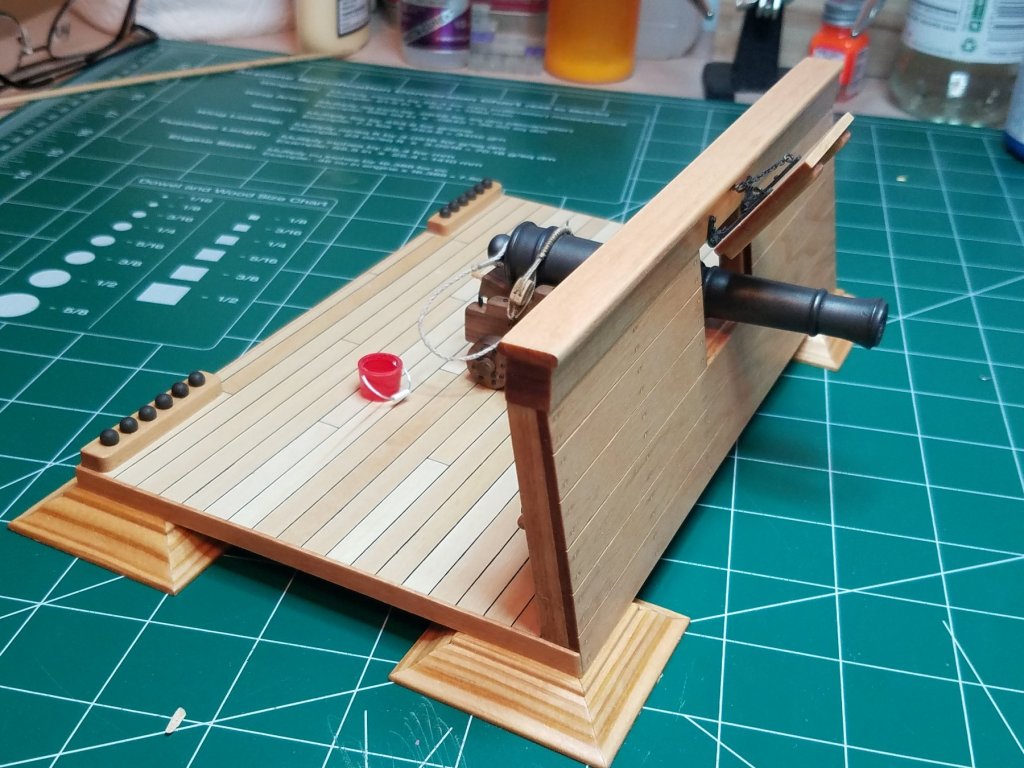
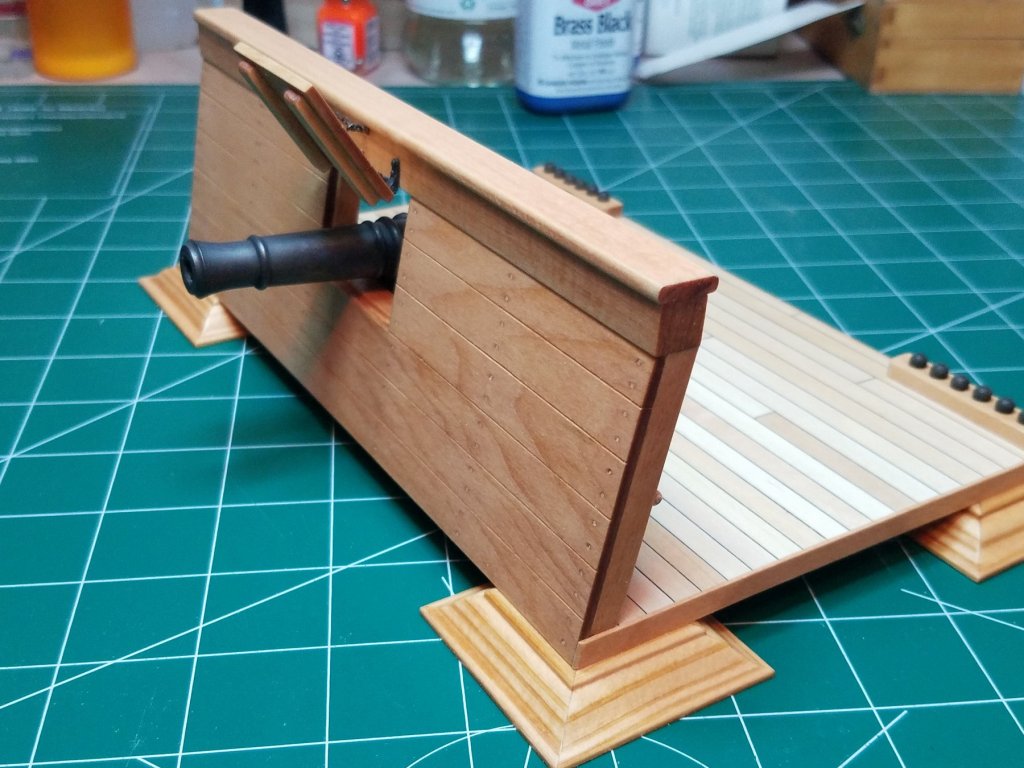
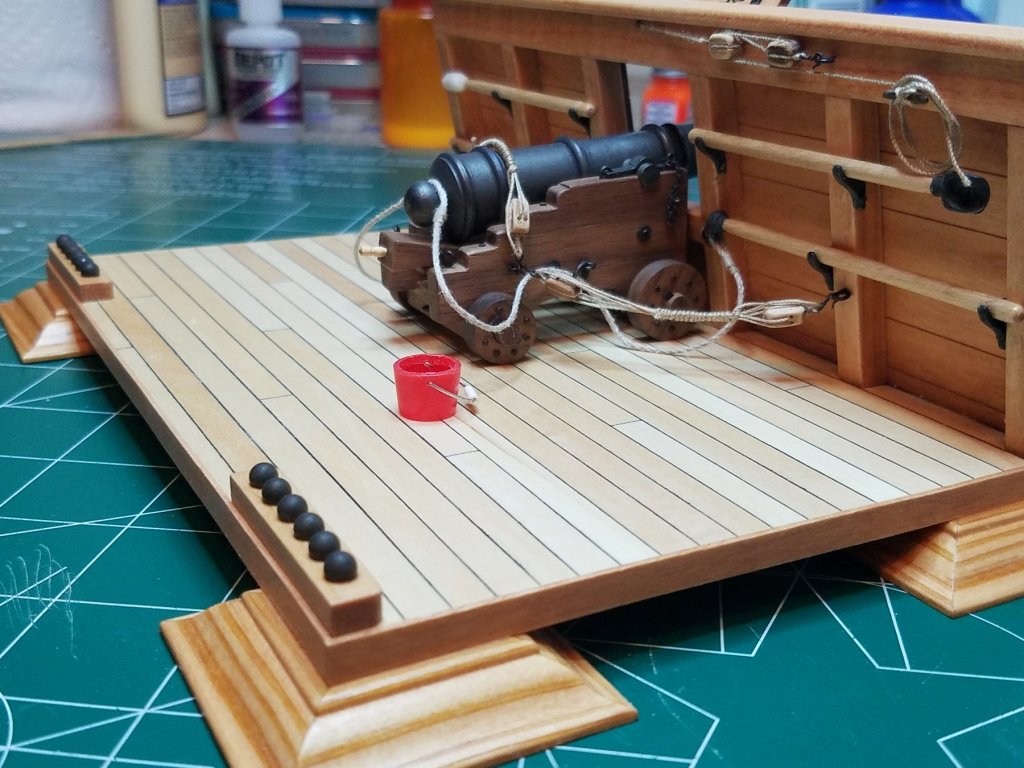
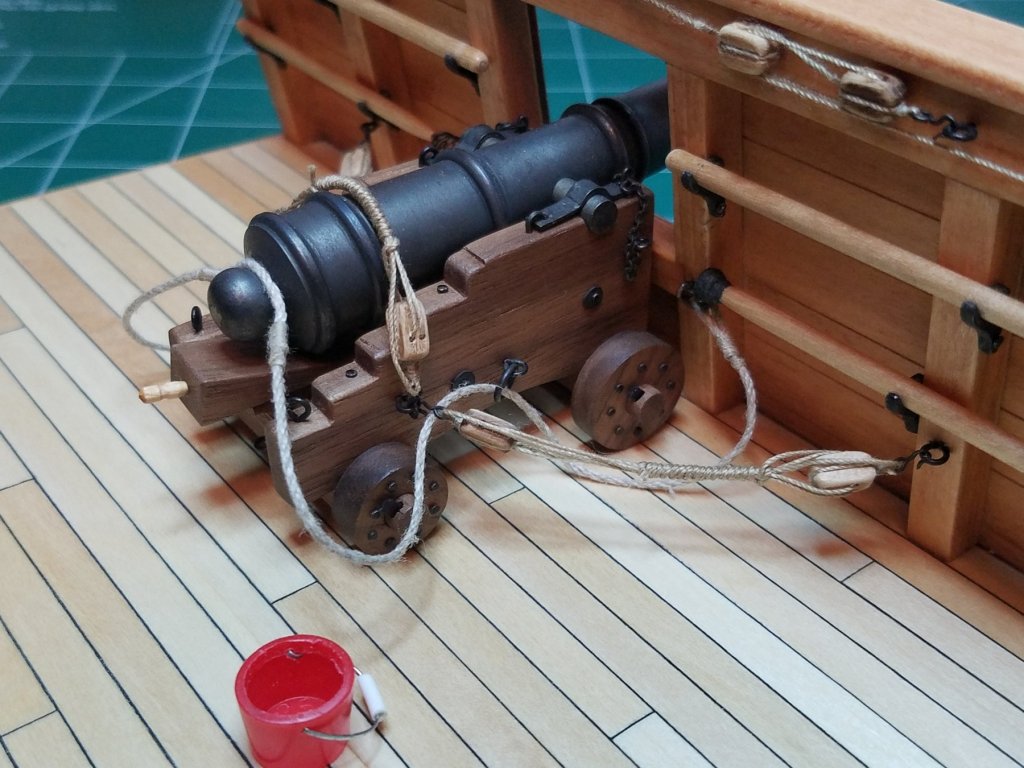
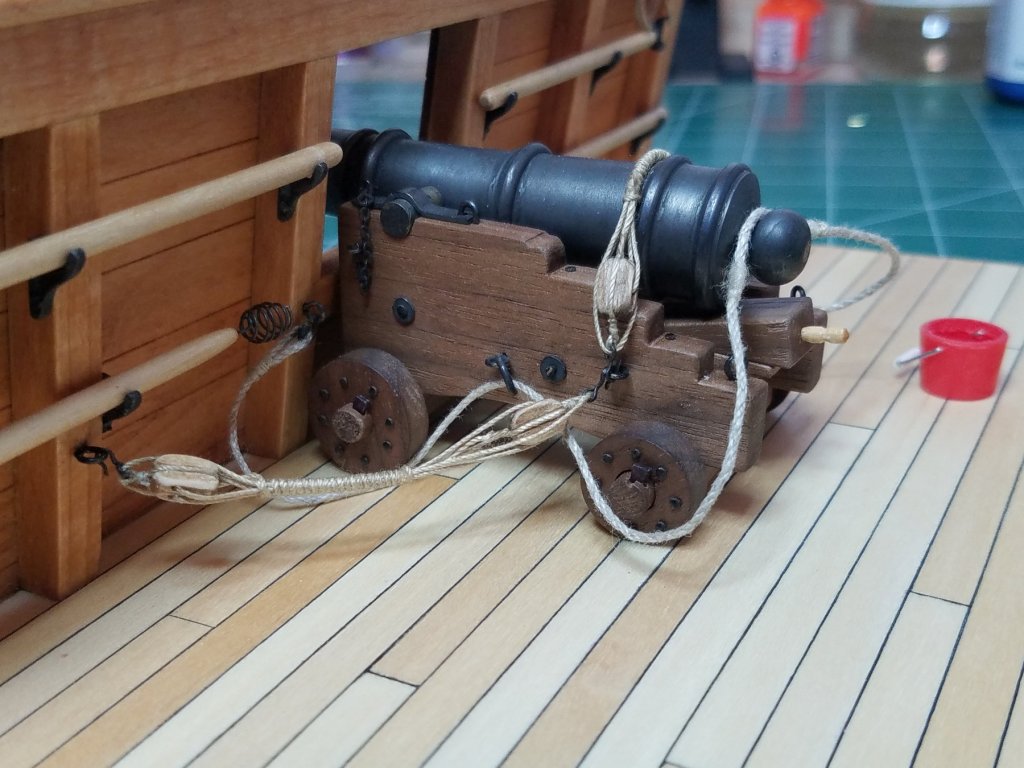
Well it has been a while but finally had some time to put in a couple of hours of work on this project. I would like to thank all those who have followed, commented on and liked this thread it is greatly appreciated. Also a special thanks to member robdurant who provided a great photo tour of the HMS Victory. I would encourage anyone who has not seen them to follow the link HMS Victory Photos as they provided most of the detail and ideas for this build. On to tonight's progress report Using a scrap piece of bass wood I started rough shaping. and more hacking and some sanding and more shaping Then some cussing. An hours work on what was shaping up to be a nice powder horn in the scrap pile. I tried to repair it but could not make it line up right so I might try again later. I decided to go with the rigging in the stowed configuration shown in the photos by robdurant. I thought it was a little different from all the other examples of this kit I have seen. And I think we can call this one finished. If you are wondering about the "period correct red bucket" follow the link at the beginning of this post. Again thanks to all and I hope you enjoyed it as much as I did.
.thumb.jpg.3e21ad447eb76105582885d9bbc14cd9.jpg)


- 82 replies
-
- 20
-
-
- naval smoothbore
- model shipways
- (and 1 more)
-
Micheal's sells pure bees wax in a one pound block for candle making is that what I should use? Thanks
- 82 replies
-
- 2
-
-
- naval smoothbore
- model shipways
- (and 1 more)
-
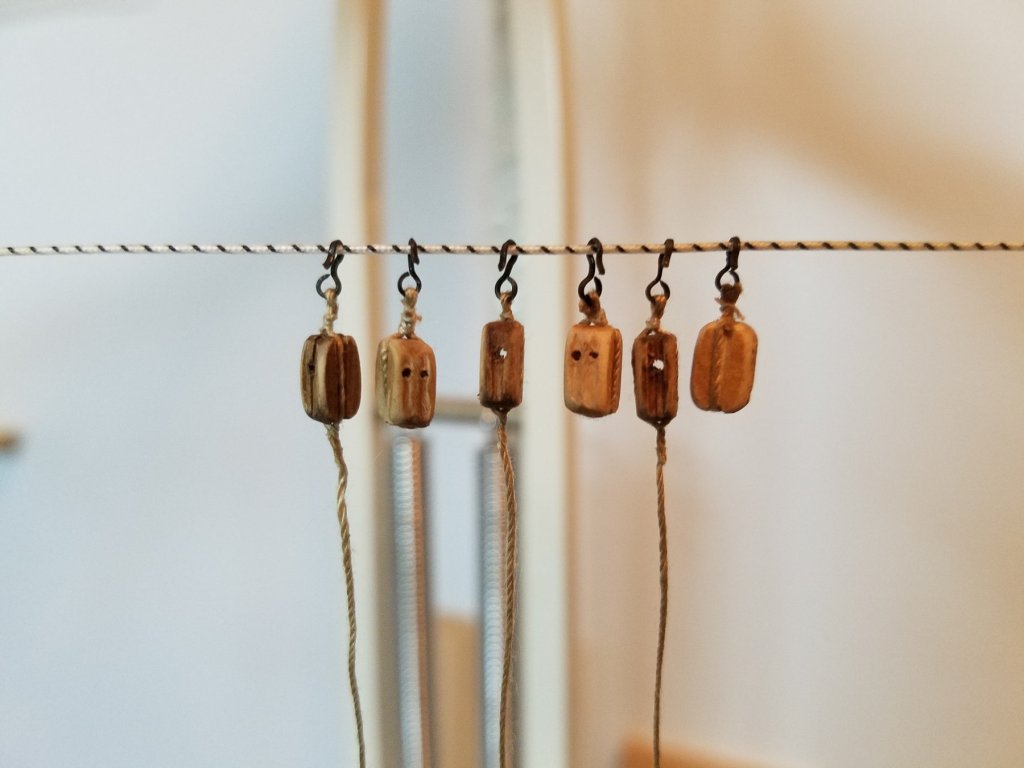
Not much to report tonight. But what little I did get done made my old hands feel like I had done a full days work. I can hardly wait for the day when I have a ship with a couple of hundred of these to do. All of the blocks are stropped and rigged. I will clean them up and install them tomorrow. That's it for tonight.
- 82 replies
-
- 7
-
-
- naval smoothbore
- model shipways
- (and 1 more)
-
This one www.hobbyworld-usa.com
-
Thank you Tom, How is the Chaperon coming along? Best Regards
- 82 replies
-
- 2
-
-
- naval smoothbore
- model shipways
- (and 1 more)
-
Don't find too many references to them on the forum. Has anyone dealt with them? I tried calling the # on the website and got a generic message making no reference to a business so I was just wondering. Thanks


.jpg.939263ee60c570166b01081308f48584.jpg)


.jpg.358982abb92127c9640130549a5424f1.jpg)
.jpg.aa3f702243586dafbac54866d0c55eba.jpg)


.jpg.6b94c948b68223a51100044ab76fbdf0.jpg)