JerseyCity Frankie
-
Posts
1,338 -
Joined
-
Last visited
Content Type
Profiles
Forums
Gallery
Events
Everything posted by JerseyCity Frankie
-
Those are called Lizards. But I've never seen them as big metal rings before. A Lizard is used in the bight of a line that may otherwise foul or chafe on something. Usually it's just an eyesplice or bowline knot in the end of a bit of line that the other line passes through somewhere off the deck.The length and position of the Lizard holds the middle of the line in check so it won't whip around or get into some area it shouldn't. Often seen on docklines to keep the hanging portion of the line from snagging shoreside objects. It's a fairlead in general.
-
Lateen Rig - Gammoning a Yard
JerseyCity Frankie replied to mikiek's topic in Masting, rigging and sails
I say ignore the kit instructions and make the halyard a separate piece. Just glue aninch of the halyard onto the spar and you are going to serve over it with a separate piece, trapping it with the serving. there are a couple of clever ways to bury the end of that serving back under the last few turns so it won't come out and loosen the turns. The "common whipping" technique would work for you. Note that the two ends wind up buried under the serving. Practice on a piece of dowel using thick string in order to grasp the mechanism at work. Note that you have opportunity to pull each end tight by pulling on the opposing elements that are going to be buried under the turns.and obviously in this instance your serving goes on in such a manner as your halyard emerges from the center of it.a
-
Working with braided steel lines
JerseyCity Frankie replied to skipper1947's topic in Masting, rigging and sails
beyond the discussions of how to make wire, the original point you made was that the kit supplied wire was hard to work with and wouldn't bend easily. Regardless of weather or not it was braided or stranded, you shouldn't use it if it's going to prevent you from making very small eyes in the ends. You could even make the "wire" out of regular fiber thread or string then paint it a matalic color. -
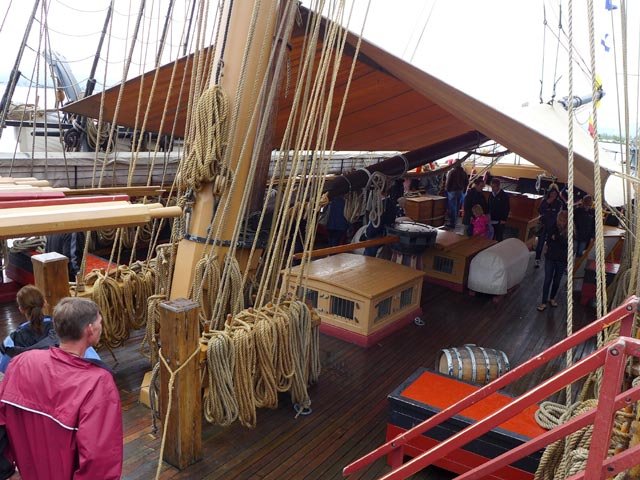
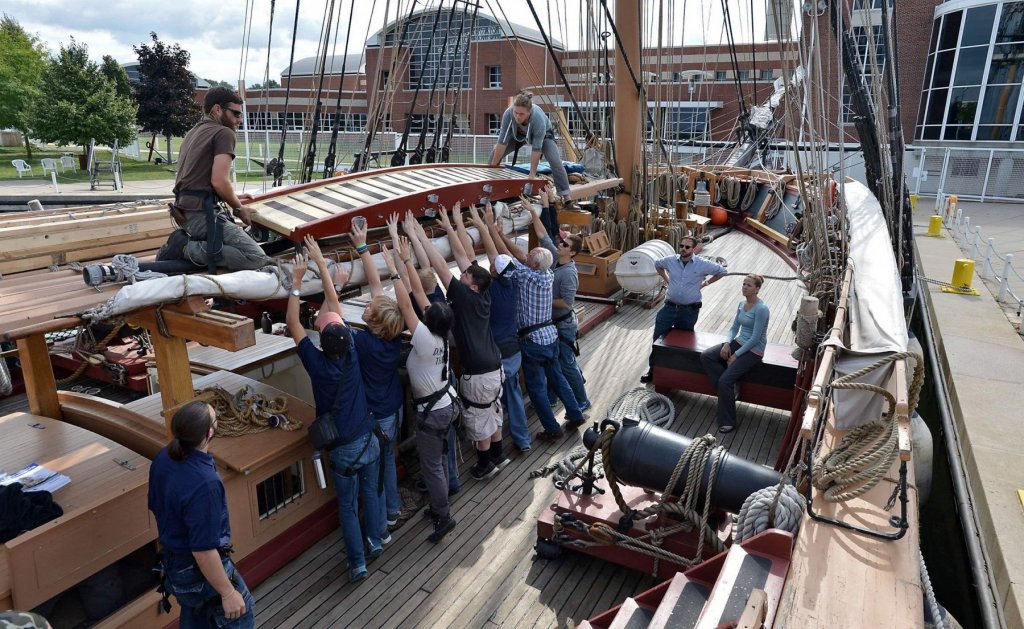
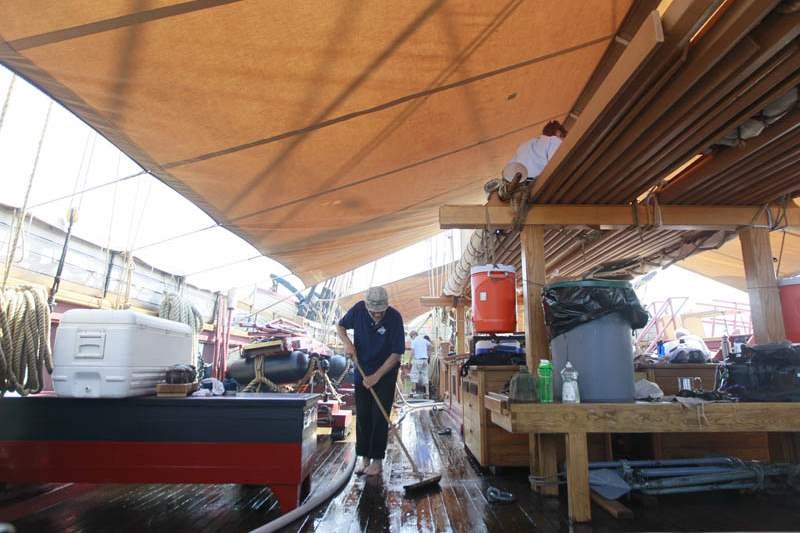
The Brig Niagara had sweeps aboard for a season or two before discontinuing their inclusion. They were stored midships supported on each end between the masts and here are some photos I dug up on the internet. I was curious about sweeps too so I asked some Niagara crew members about the sweeps. They rolled their eyes and said they could only remember their being tested once. Aparently it was so disagreeable that they never tried again and in fact I believe Niagara no longer sails with them aboard.
- 1 reply
-
- 5
-

-
Working with braided steel lines
JerseyCity Frankie replied to skipper1947's topic in Masting, rigging and sails
It simply isn't true that "making twisted wire rope isn't easy" or that "it takes a lot of tension to keep the twist tight" and certainly a ROPE WALK is not used to make Scale steel wire rope. It's a one step operation using any kind of drill. Three strands of wire are simply twisted together all at once using a drill in one smooth operation that requires no special tensioning considerations or strength or crazy skills. It's REDICULOUSLY easy. -
Working with braided steel lines
JerseyCity Frankie replied to skipper1947's topic in Masting, rigging and sails
I'm skeptical braided wire rigging was employed on the actual ship and in fact I can't remember ever seeing anything thicker than picture hanging wire being braided. Twisted steel wire rope is going to be more likely. In my opinion. I'm guessing the manufacturer of the model couldn't source stranded twisted wire in the proper diameters and substituted braided stuff. If it was me, I would twist up my own home-made stranded wire. It's ridiculously easy to make with any kind of drill. -
18th century sailing commands
JerseyCity Frankie replied to timboat's topic in Nautical/Naval History
I've always hoped someone would design a square rigged ship simulator with features like you are describing. As to your question, John Harland goes into the commands given during sail evolutions throughout his book Seamanship in the Age of Sail but I don't think it is information gathered in one place within the book. But when he discusses the work the crew is doing he also mentions the commands given. usualy on any sailing vessel, the intention to change tacks is indicated by the command "Ready About" announced to all on deck first, then the individual commands are given as necessary to those on the lines in use, at the local level. "Helms Alee" is given loud and clear too, as many of the other tasks performed during a tack are dependent on the timing of changes to the helm. -
Steamboats and other rivercraft - general discussion
JerseyCity Frankie replied to Cathead's topic in Nautical/Naval History
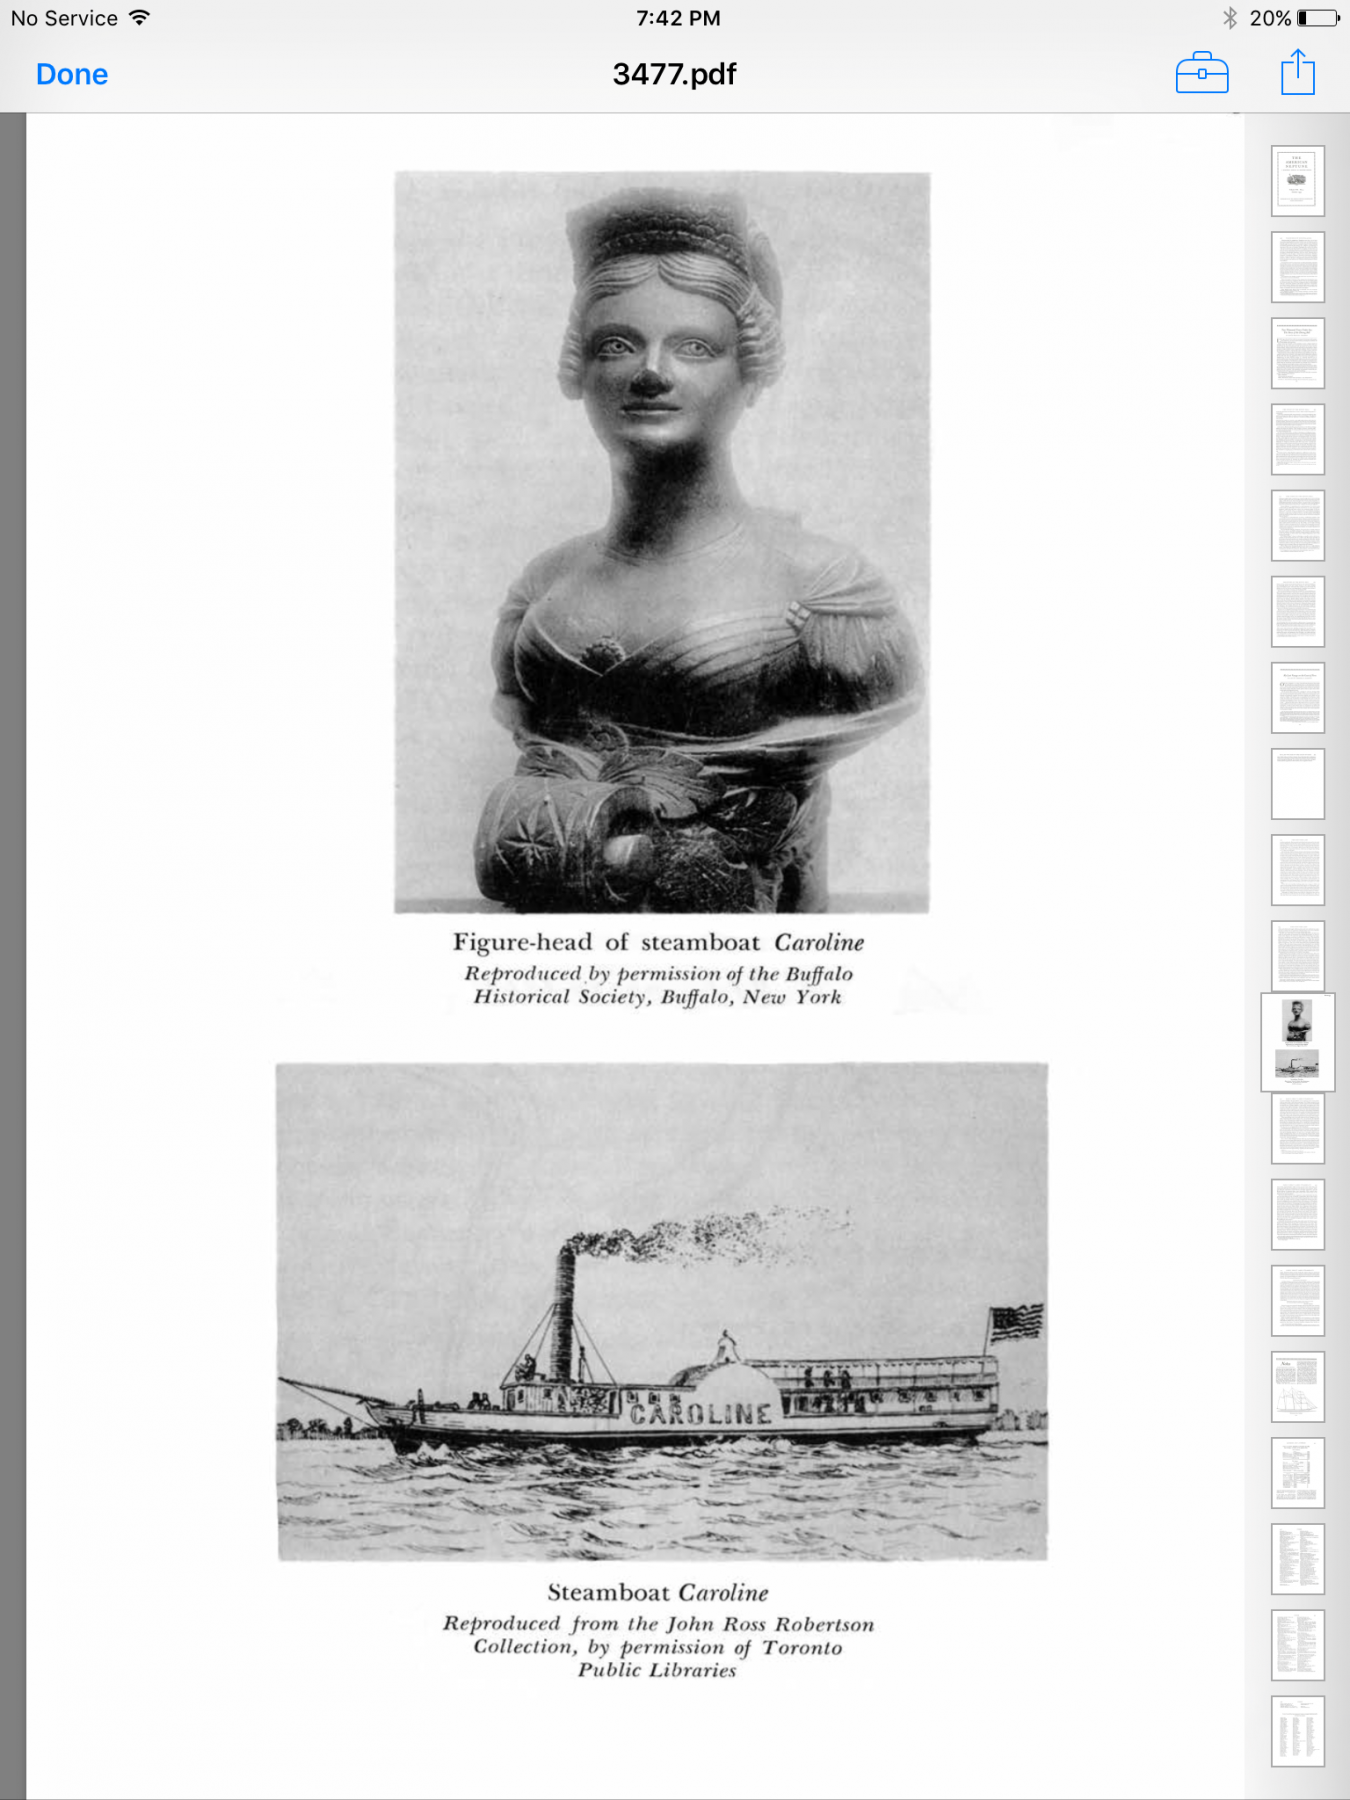
I've gotten some results on my Caroline researching. This website is a great springboard from which to branch out from when looking at early steam vessels in the United States: http://www.maritimehistoryofthegreatlakes.ca/Research.asp and it put me in touch with a guy who had knowledge of Caroline. He sent me a PDF of a 1947 American Neptune that had a drawing of the Caroline and more details about her machinery and layout.
- 281 replies
-
- 3
-
-
- Steamboats
- riverboats
- (and 3 more)
-
Steamboats and other rivercraft - general discussion
JerseyCity Frankie replied to Cathead's topic in Nautical/Naval History
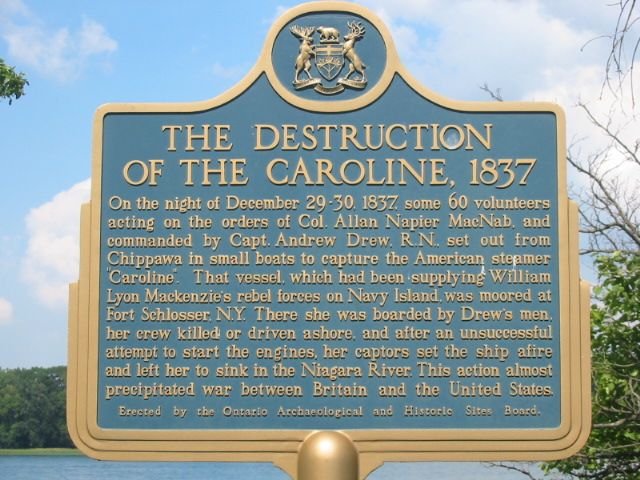
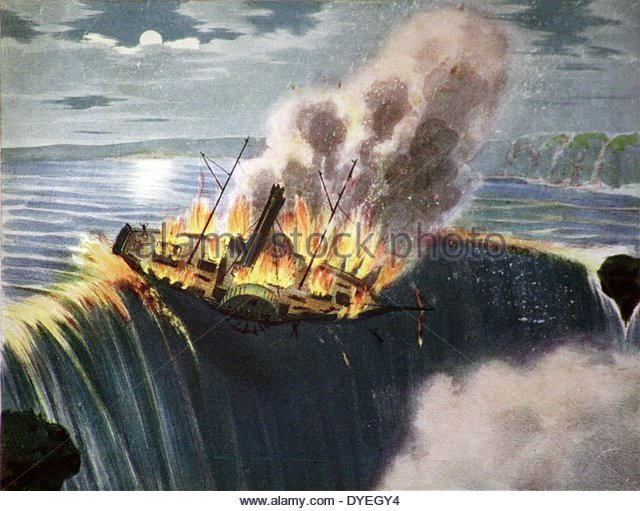
I'm trying to research the Caroline, a 75' OA steamer that operated briefly on the Niagara river near Buffalo and which may or may not have been set alight and allowed to drift over the Niagara Falls in 1873. She was featured in an historical event known as The Caroline Afair. https://en.m.wikipedia.org/wiki/Caroline_affair. She's otherwise not wel documented so I'm trying to find anything I can on Great Lakes steamers under 100' from the early 1800's. The second half of the 1800's seams to dominate the genre as there was more proliferation, tech development and available cameras. But what of small steamships BEFORE 1830?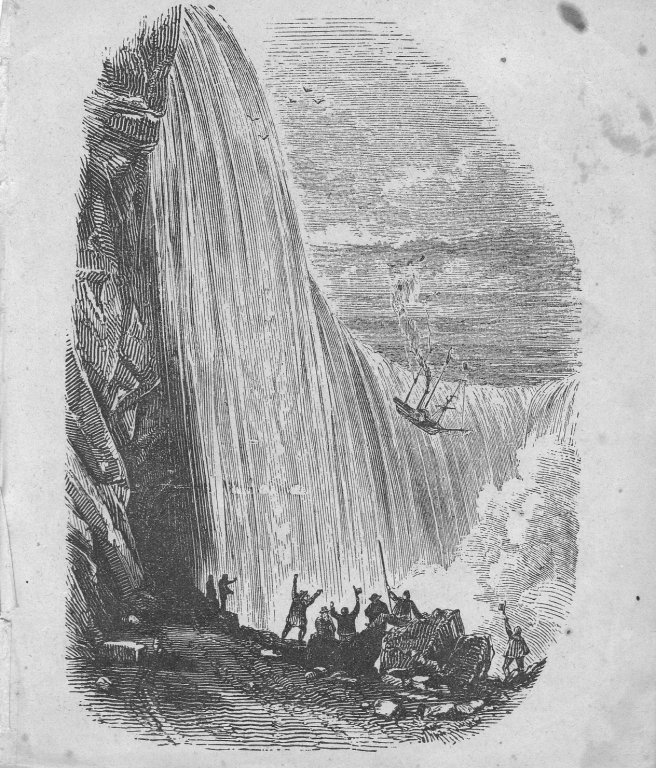
- 281 replies
-
- 3
-
-
- Steamboats
- riverboats
- (and 3 more)
-
The line would, in my opinion, slip off the top of a vertical fixture like a timberhead? As mentioned above, I would lead the line through a fair lead or lead block first in order to get the lead to come in from the side. Nearly any Hitch will now work to belay the line but you have to take into account how difficult it could be to untie a knot if it's under strain over time. For instance a clove Hitch would require a lot of prying to open if a heavy load was on the line for any amount of time. If it was me I'd use the Tugboat Hitch.The beauty of this hitch is that it will hold anything and it's impossible to jam. http://www.animatedknots.com/lightermans/#ScrollPoint. Untying involves NO struggle to pass parts of the line that are pinched tightly by any other part of the line. A child could untie it.
-
There is more to pins than simply belaying though, pins are also used to ease lines under strain. Let's say you have a eight hundred pound load on a line belayed on a pin. You want to lower the load six feet then belay it again at a height above the deck with the line still holding the weight. One person can do this singlehanded even though it may have taken six or more sailors to initialy raise the load. The sailor takes the First of the three turns off the top and bottom of the pin and holds the line tight then pauses to observe. Did the line start to creep around the pin? If he or she takes the second of three turns off, the line may start to creep on its own around the pin, the weight it's holding being so great, and this is what the sailor wants, but he or she wants to CONTROL the speed at which the line creeps or renders around the pin. The line starts to render slowly so the sailor has time in which to act. Maybe the two remaining turns are still providing enough friction to hold the line in place? But the sailor WANTS to lower the eight hundred pound load so he NEEDS the line to render so they have to remove more friction. He or she then takes a turn off the top or bottom of the pin, again keeping the line in their hands tight between them and the pin.now the friction the belay had provided has been reduced by more than half and the line does start to render around the pin, the sailor feels it moving in his or her hands and can see and hear it too. The weight above begins to lower toward the deck. But the sailor can control the speed at which the line eases off the pin by taking off or putting back on the turns AND by adjusting the angle the line takes from their hands to the pin. The sailors muscle power is the determining factor in how fast the line eases at this point, but the sailor has first managed the friction the pin provides so that the forces involved are comfortably within their muscles ability to control the line. It's all a matter of observation and judgment on the part of the sailor. It NEVER takes two or more people to ease on a pin, regardless of the weight of the load. Often the order is to simply cast off the line and "let it run". In this case the sailor makes sure the coil is free to run and quickly takes all three turns off the pin in quick succession and the coil runs out on its own. Note that in All these descriptions the pin itself never moves. It doesn't even rotate in its hole as the crossing turns always oppose the rotating tendancy even when the line is under tremendous strain. Nobody ever pulls a pin out as a way of freeing up a line or letting it run. Note also that in nearly everything I've said above, the two horns of a cleat could be substituted, the operation for handling a line on a pin is exactly the same for the use of line on a cleat, from line as thin as a signal halyard up to the size of a dock line.
- 20 replies
-
- 13
-
-
Probably a good time to discuss how pins work. The way a line is belayed to a pin has not changed for centuries, and the method I'm describing is the ONLY method currently in use universally on every sea or at any time in the past, there are no variations in this procedure. The facts: lines come down to deck and they need to be secured in a way that they stay where the sailors put them. Some of those lines are slack and just need a place to "live" and be kept out of the way. Most of the lines however will be under strain, sometime a lot of strain and these lines need to be fixed in a way that is easy to do, secure enough to hold any weight, and easy to undo in an instant. The pins are simply a cylindrical object passing through a shelf of some kind in a way that has half the pin over the shelf and half under. ( the "shelf" is the pinrail, cap rail, spider band, fife rail etc) usually pins are vertical but they can be horizontal. to Belay the line a sailor takes a bight of line and passes it behind or under the lower half of the pin or the half farthest away from the load, then diagonally across and over the top and behind the upper half of the same pin. thats considered one turn and the diagonal path the line took makes it resemble the letter "S". He or she repeats this operation twice more, creating three turns each turn crossing over the one beneath it on a diagonal across the face of the pinrail- picture a letter "S" with a reversed left raving "S" over it with a final Right facing "S" over that. These are known as figure eight turns and it's the way that they cross over each other that creates enough friction to hold the line in place. Three crossing turns. Never four, never two. Always three. You can hold the heaviest load with three turns, a fourth turn is just a waste of rope. Now you can coil and hang the rest of the line. Here's a video of a guy demonstrating
-
Pins are removable but need not be. If they couldn't be removed at all it would have no effect whatsoever on how lines are belayed or cast off of them. Many pins on many ships can't be removed do to swelling of the wood or corrosion of the metal, but I've never heard of wooden pins fixed in place deliberately with fasteners or glue. As far as I know all pins, wood or metal, are designed to be removable. I HAVE seen steel rods or pipes welded onto fixtures to creat fixed "pins" but that was only due to scarcity of real pins. I IMAGINE pins are removable so they can be swapped out when worn. I willl ask around.
-
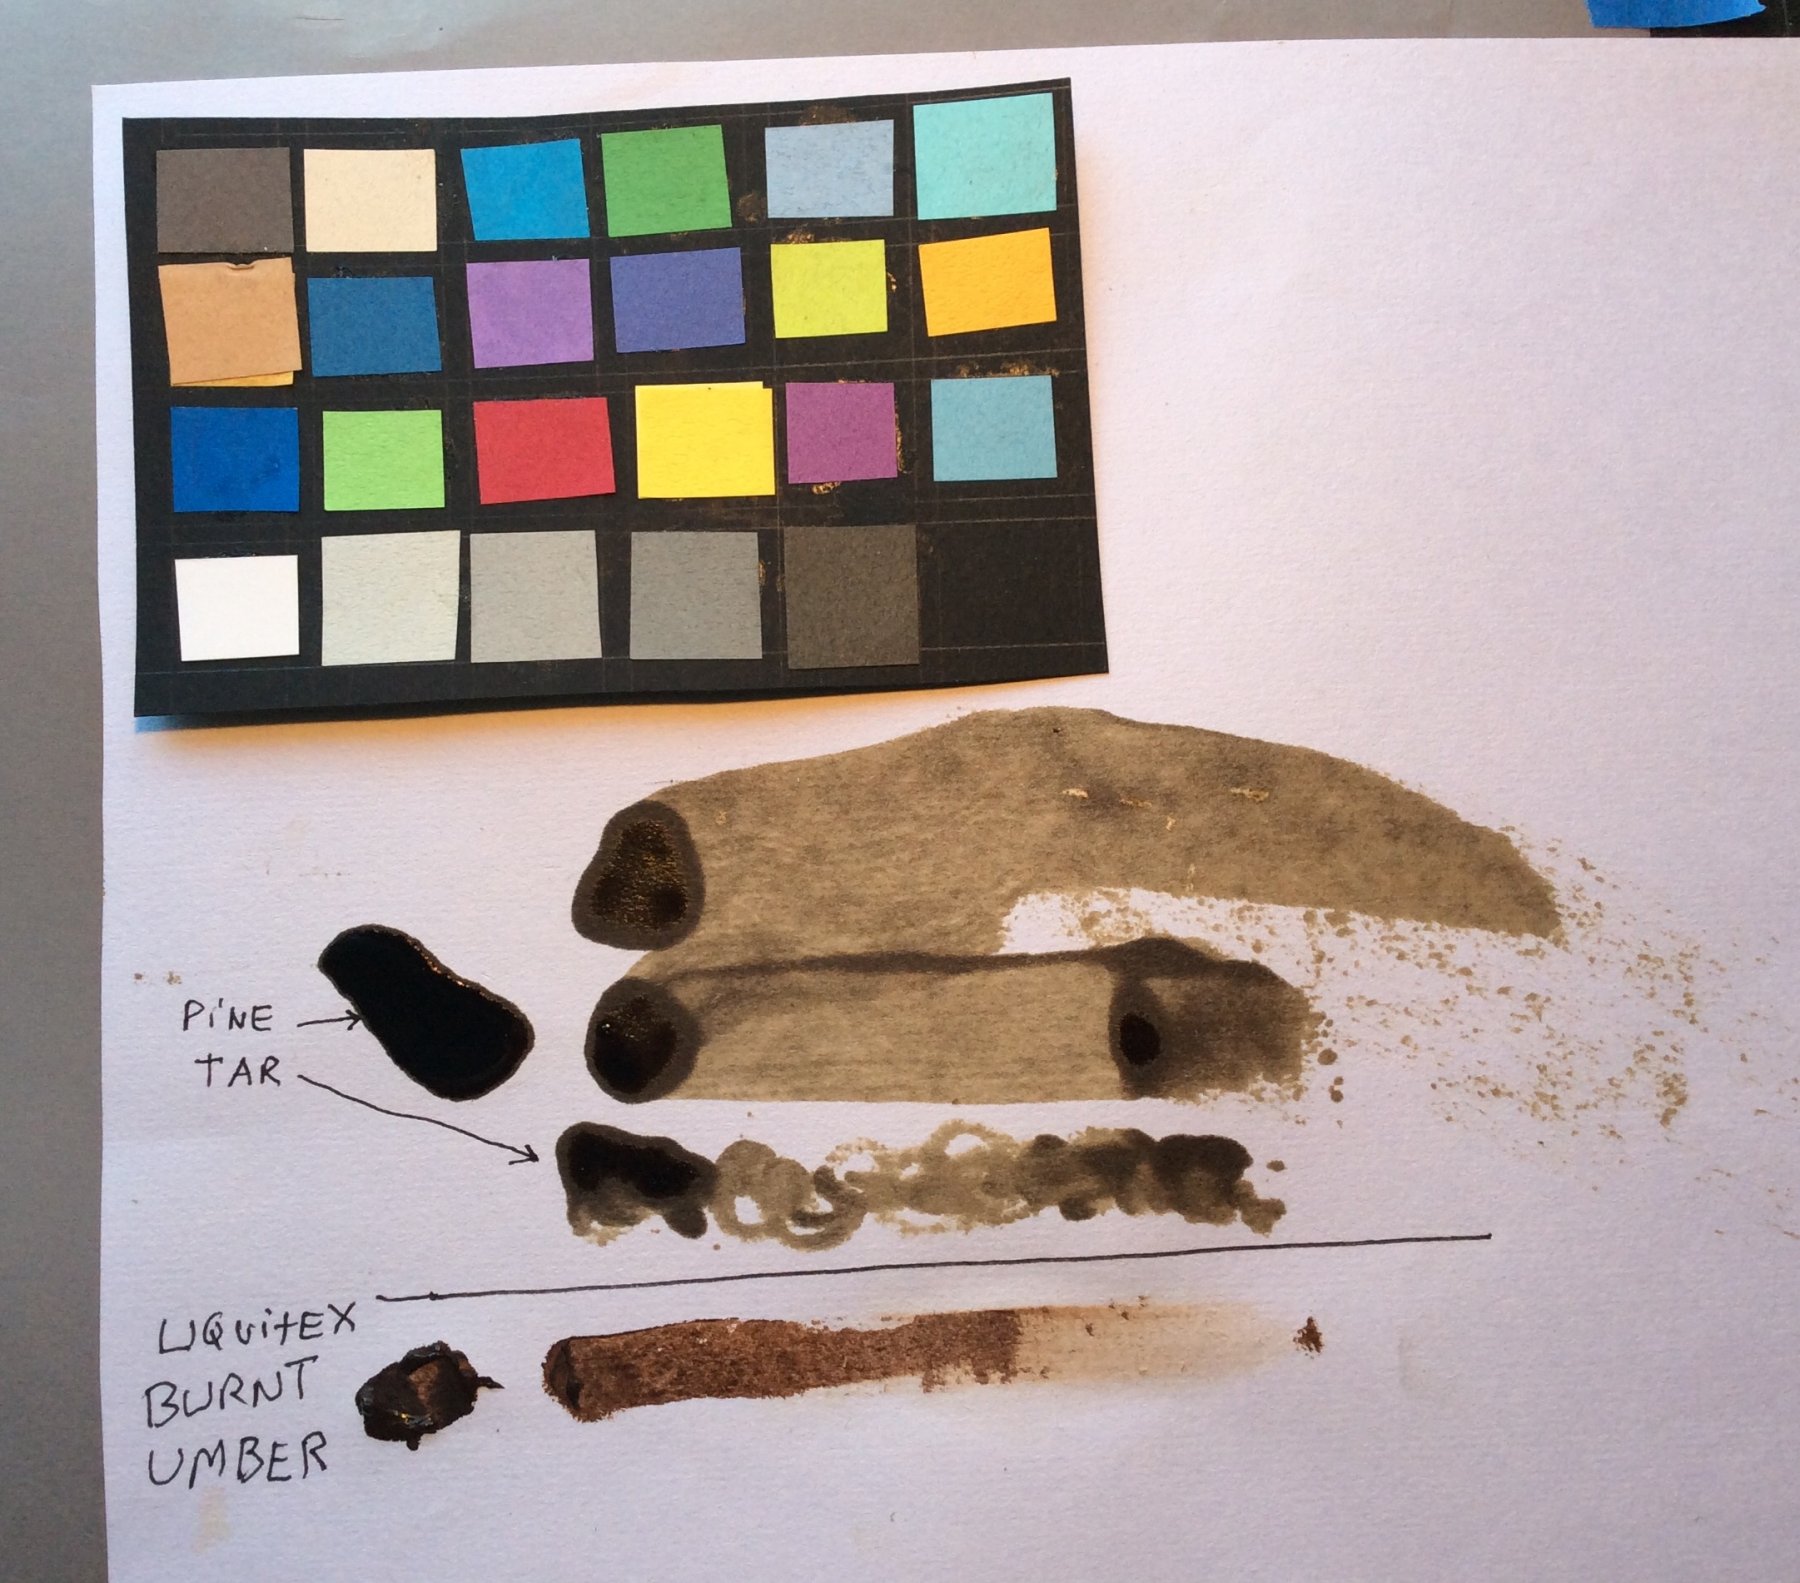
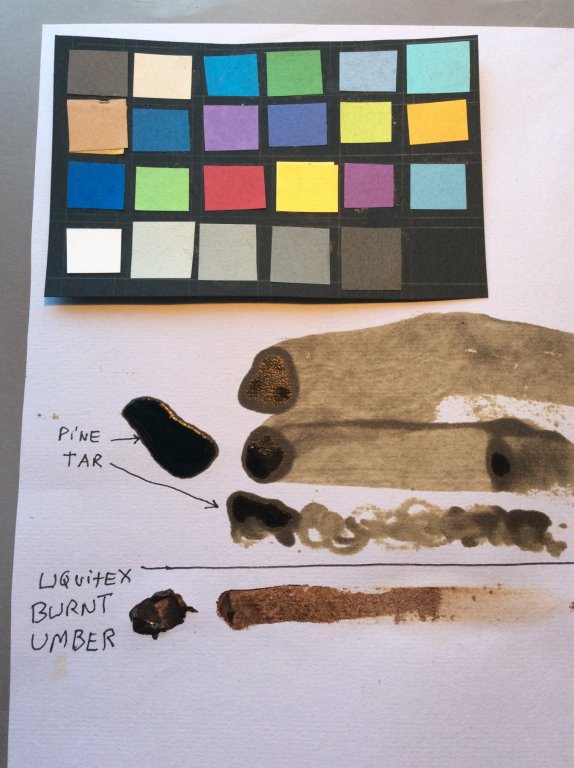
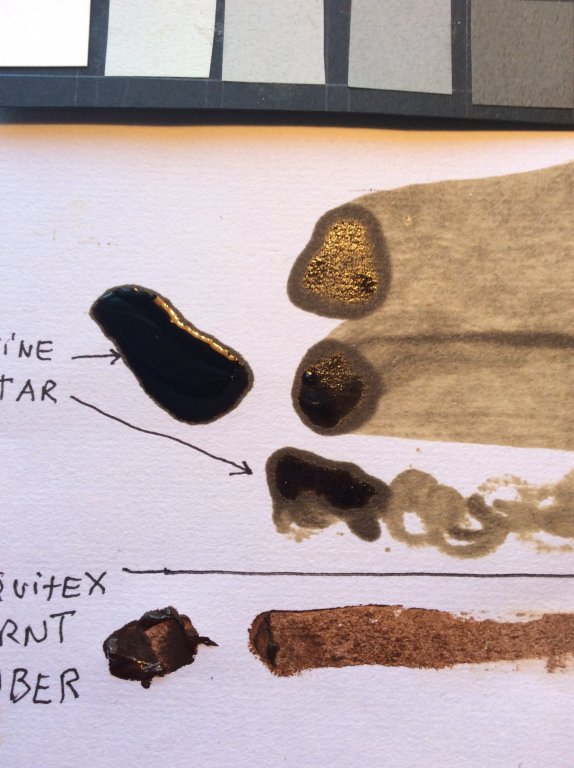
Shooting photos of things that are colored black dark grey or dark brown always brings you up against the built in limitations of the camera and films ability to capture and represent subtleties. But I shot a blob of tar next to a blob of Liquitex brand Acrylic Burnt Umber. As you can see I smeared them into the absorbent paper. The paint has more color than the tar, but they are pretty close. When dry the colors will undergo a slight change too, but not much. And as mentioned before, many layers of tar are going to have a different tone too.

-
Yes tar is not paint! I only included it in my model as an eccentricity or a nod to the culture of historic ships, not because it's a practical ingredient for a display model. My model will go into a case but if it wasn't intended for hermetic protection I'd never use tar on it.

-
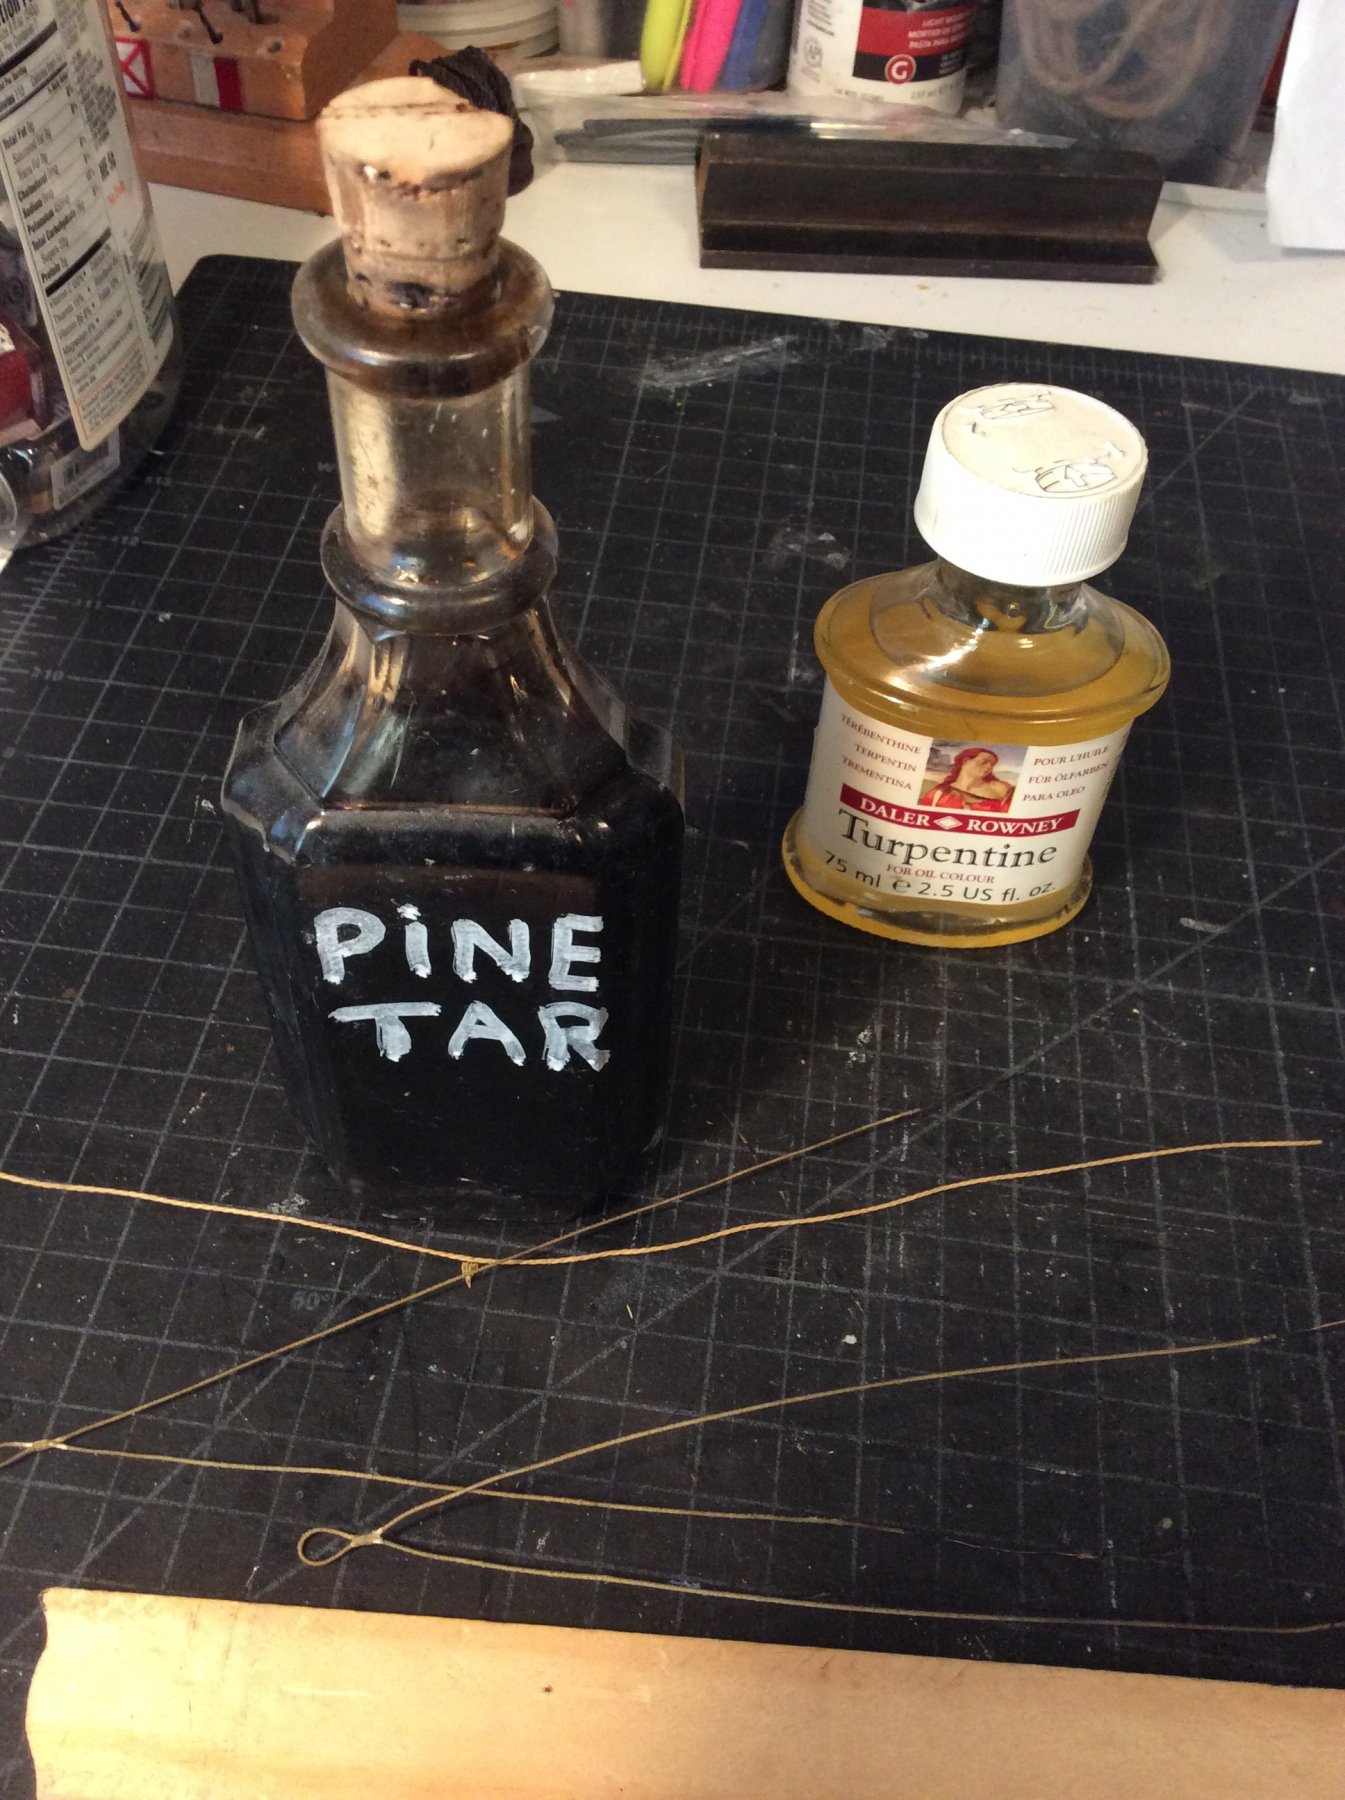
Yah I mixed it very approximately 3 parts Tar to 1 part turpentine. Without being diluted it's got the consistency of honey.

-
A method for making panelled sails using paper
JerseyCity Frankie replied to Cathead's topic in Masting, rigging and sails
I would love to see the sails made of khaki pants! One of the dead horses I keep flogging is the color of sails. Worn khaki is likely a very good choice due to the color: not white, not grey, some kind of cream/grey hybrid.- 49 replies
-
- 5
-
-
- sails
- sail panels
- (and 1 more)
-
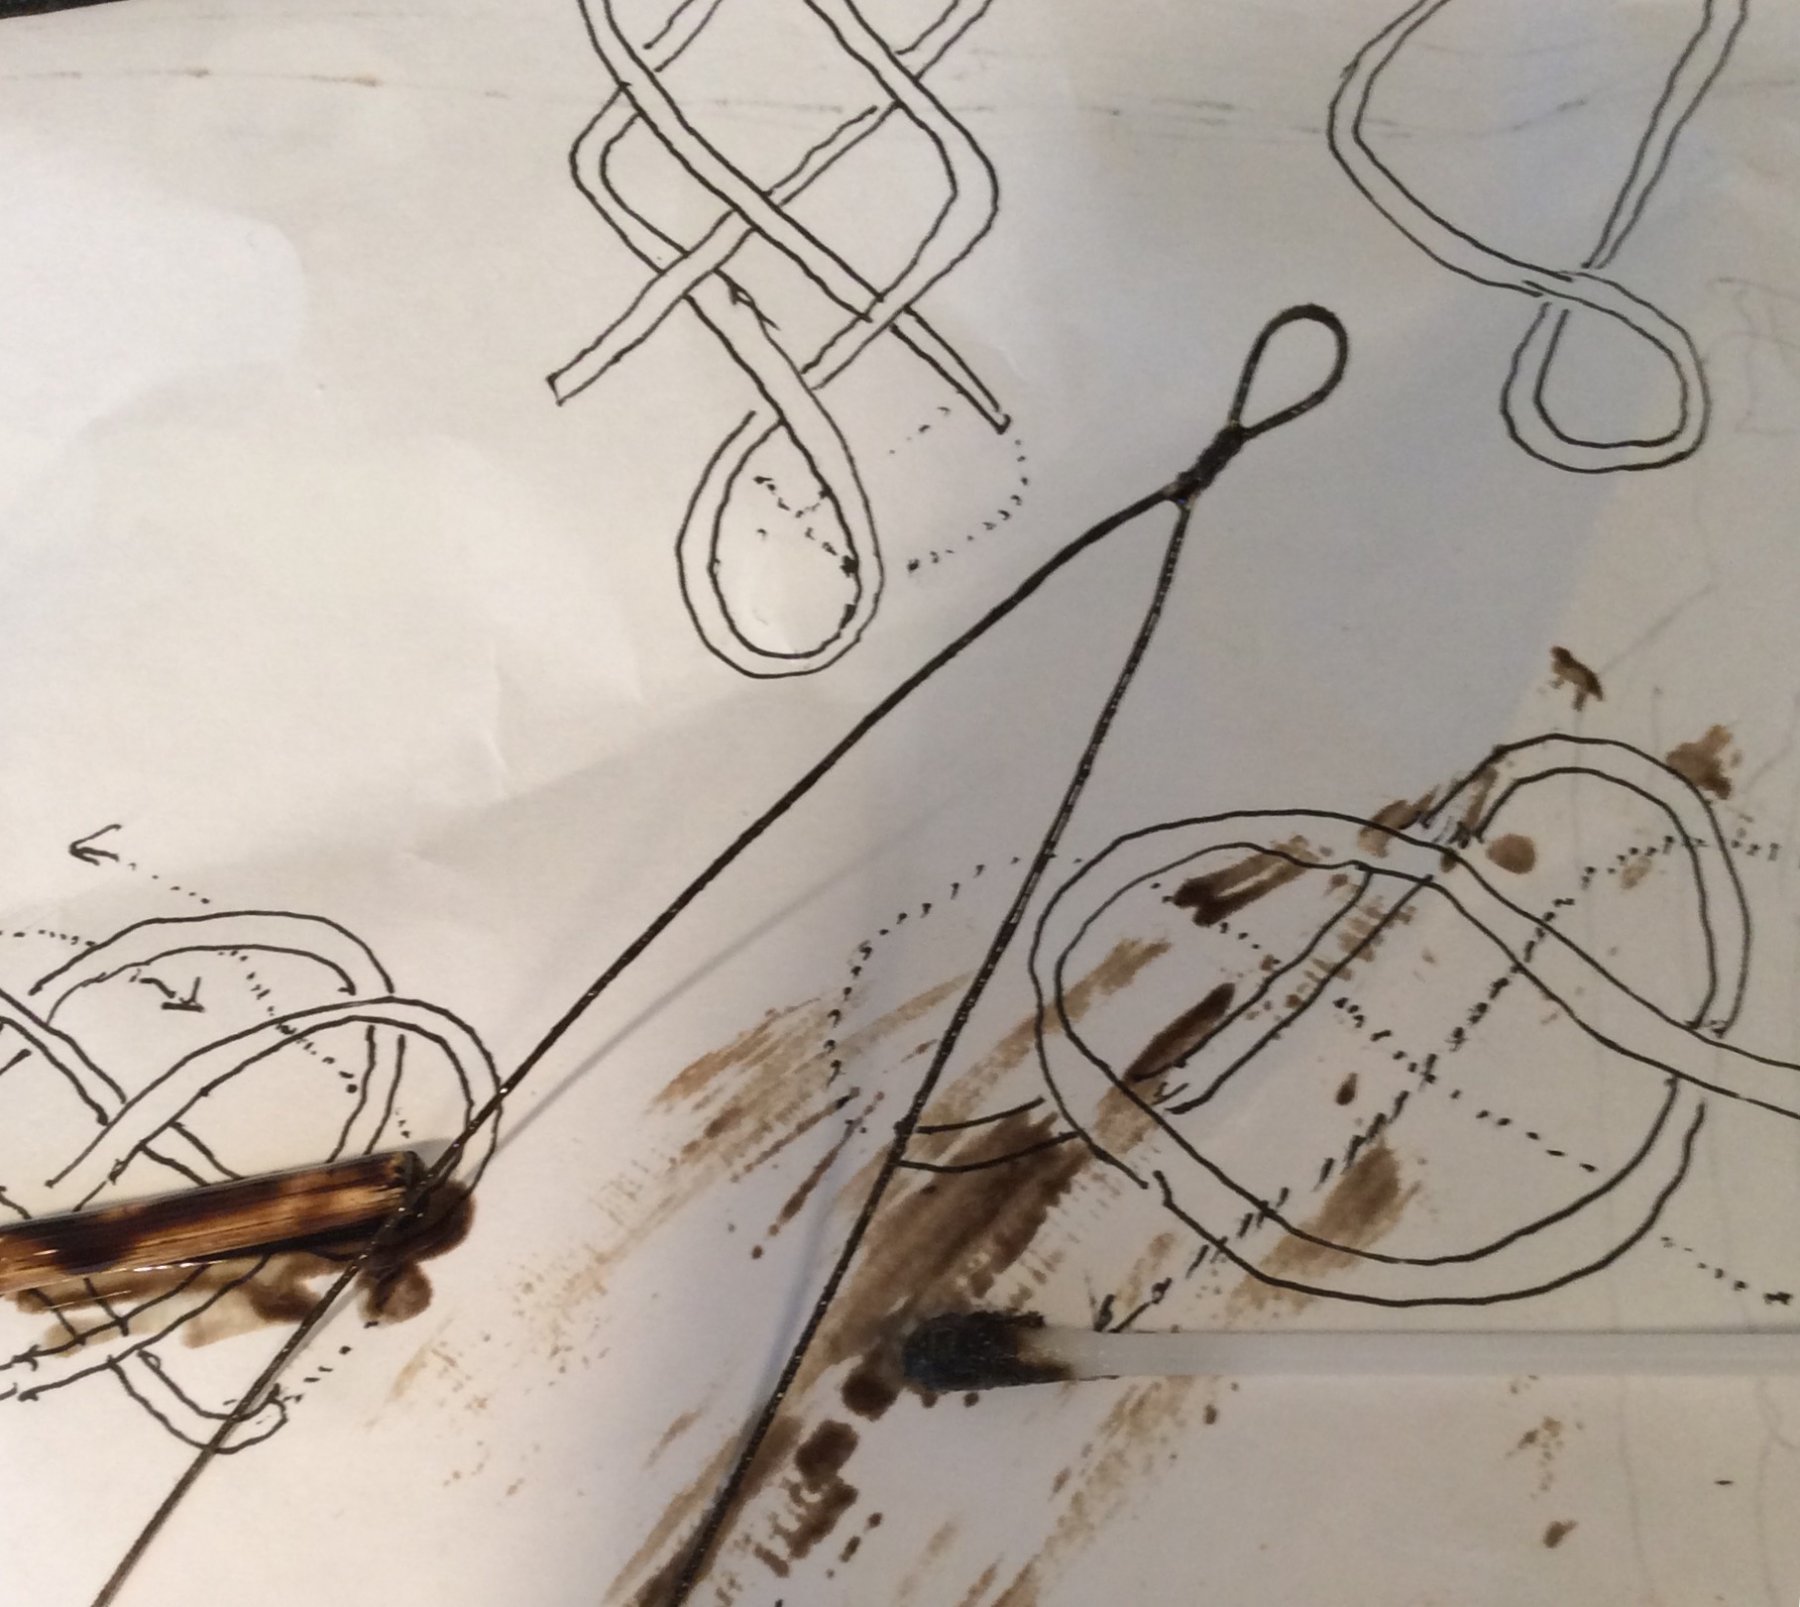
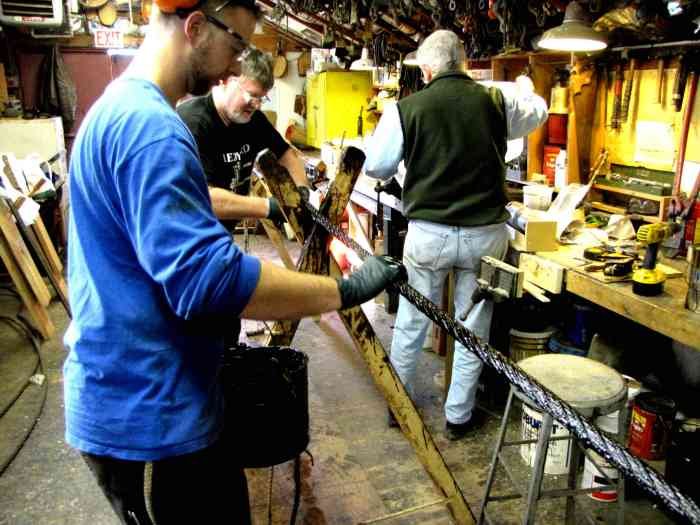
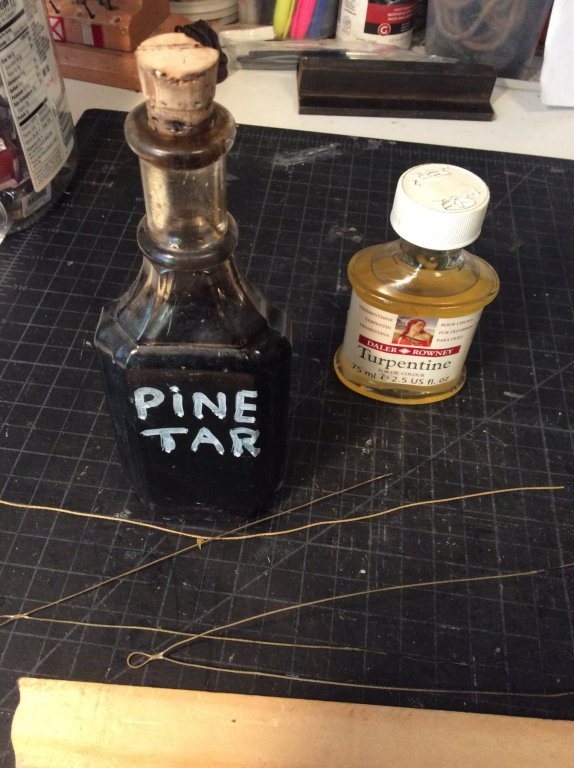
I painted pinetar on my Yawl Dulcibella shrouds last week, check out my build log. I got my tar from the rigging job I worked on last summer where we were SLINGING tar. We had a 55 gallon drum of it. In the past I had looked into the source and in the United States it's from a company called Natrochem. But I'm fairly certain they're wholesalers and you won't get a smaller amount than 55gallons. The product I actually see in gallon and quart cans in stores is this one : http://www.shop.com/BICKMORE+083376+4+25+x+4+25+x+4+88+Pine+Tar+Quart-919940759-p+.xhtml?sourceid=298&CAWELAID=120179650000148722&CAGPSPN=pla&CAAGID=35808311682&CATCI=pla-67778834022&catargetid=120179650030268109&cadevice=t&gclid=CMrasZCF5dICFZGCswodemoJ6Q but a google search reveals many other sources. Pine tar is used in sadelry and horseback riding circles so it's to be had in tack shops or perhaps rural farming stores? It's an historic skin care product too and you can get creams and soap made with pinetar but it's been diluted into soap and skin creams in those instances. I'm sure the two products shown in the above post are the real unadulterated pine tar and to me it looks like a good price. Pine tar takes a long time to dry. Or does it really ever dry at all? It reliquifies on very hot days and starts to drip again, but on a model this won't be an issue. Still, it's going to remain sticky for a long time time, longer than oil based paint takes to dry for a certainty. I diluted my tar in turpentine and dabbed it onto my shrouds with a q-tip. I put it on a week or so ago and it's still slightly greasy, I can pinch the shroud and get a very slight smear on my fingers that way.
-
I've tried starch (powder form, mixed in water) and was disappointed. It IS good for firming up fabric you iron flat in order to cut with a razor though, it completely halts any tendency for the material to Frey at the cut. But it won't make sails hold a shape and as mentioned by Wefalk above, it's a food item and microbes will eat it. In my current build I'm using two part epoxy, check it out in my Yawl Dulcibella log link below.
-
A method for making panelled sails using paper
JerseyCity Frankie replied to Cathead's topic in Masting, rigging and sails
Paper intended for max longevity is made of rag from fabric rather than wood pulp. It'll be labeled "100%rag". Wood pulp is full of acids that oxidize the paper and make it brittle and yellow. Some suggest that sealing paper on all sides with a varnish or coating of some kind will block oxygen from aiding the decomposition of the paper but I imagine it wouldn't guarantee immortality.- 49 replies
-
- 12
-
-
- sails
- sail panels
- (and 1 more)
-
I always try to stop myself from saying "I KNOW this thing is true/not true" so I'm still going to say this is my opinion and I could be wrong, but I'm ASTONISHED any rig plan would call for only a single shroud per side on a sailing vessel of any size but ESPECIALLY astonished and very skeptical that a rig like that could work on a schooners mainmast. And I can't imagine why the designer wouldn't put on three shrouds a side, which is normal for schooners. About the topmast shrouds going to a collar or mast band: you are still going to need a method by which those shrouds can be tensioned so you would have to incorporate deadeyes in there somehow.
-
? for experienced riggers
JerseyCity Frankie replied to Senior ole salt's topic in Masting, rigging and sails
One square rig sailor I know, a man who is also as experienc d a rigger as it is possible to become in this day and age, told me the lifts ARE used when underway. When the ship is healing over, he says the lifts are adjusted to get the yards more in line with the horizon. One effect this has is to keep the clews of the lee lowers out of the water. This from a man who has sailed in and rigged square rigged ships in numerous oceans and all over the world. -
Fitting the yards to the masts
JerseyCity Frankie replied to Telp's topic in Masting, rigging and sails
The real answer to this is kinda complex and a lot will depend on the ship you are building and the date it's representing. As mentioned above, the Peral Rope is what holds the yard in closer to the mast and also look up the Truss Pendants too as they are in the mix depending on which yard and which ship. But the story doesn't end there since the Peral, on its own, can't support the weight of the yard, it just keeps it close in like the leash on a dog. The Halyard and the Sling and the Lifts are holding the weight of the yard. as mentioned above, when shipbuilders started using iron they invented a goos neck swiveling crane, a metal Truss that performed the function of the Peral -
Bending Sails to Halyard
JerseyCity Frankie replied to FoldedFrog's topic in Masting, rigging and sails
Not sure when the Jackstay came into use and judging by the date of the ship I would give that some consideration. But the original question was how is the halyard attached to a sail, and no particular sail was specified. The fore and aft sails often do have a halyard bent directly to them, as well as sheets and tacks. Is your sail triangular? The halyard will be bent to a ring or a cringle set into the sailcloth or an eye seized in the boltrope at the sails head or upper corner. the knot used won't matter very much at small scales but ere on the side of the smallest possible knot as the actual knot used on an actual sail would be no larger than a human fist- and it could have been a splice. Probably use an Overhand Knot or just use glue. If you want authenticity I would us a Round Turn and Two Half Hitches (that's the knots actual name) or if you wanted to get fancy use a Fishermans Bend or even the Stunsail Sheet Knot, a close relative. -
Someone above opined and I agree that the woven nature of this bit of gear is just a model builders contrivance.im not saying you don't need a piece of rigging to hold the spar to the mast but I am saying the object in the photo is not doing anything more than a simple piece of rope encircling the mast would be doing. Which suggests it's just eyewash. Which is very odd given the very accurate details and workmanship that went into the Futtock Shrouds visible in the photo and how they are correctly depicted, a demonstration of skill and understanding. So now I wonder who built the model? Was it a team effort and we see the work of more than one person? Or was there a subsequent restoration and the person who cleaned and restored the model addd the odd woven mat? As always I will end by saying "I could be wrong though" since let's face it, I have been wrong often enough in the past. But I'm hitting the "reply" button with a clear conscience on this one. There is something fishy about that thing.