GrandpaPhil
-
Posts
4,920 -
Joined
-
Last visited
Content Type
Profiles
Forums
Gallery
Events
Everything posted by GrandpaPhil
-
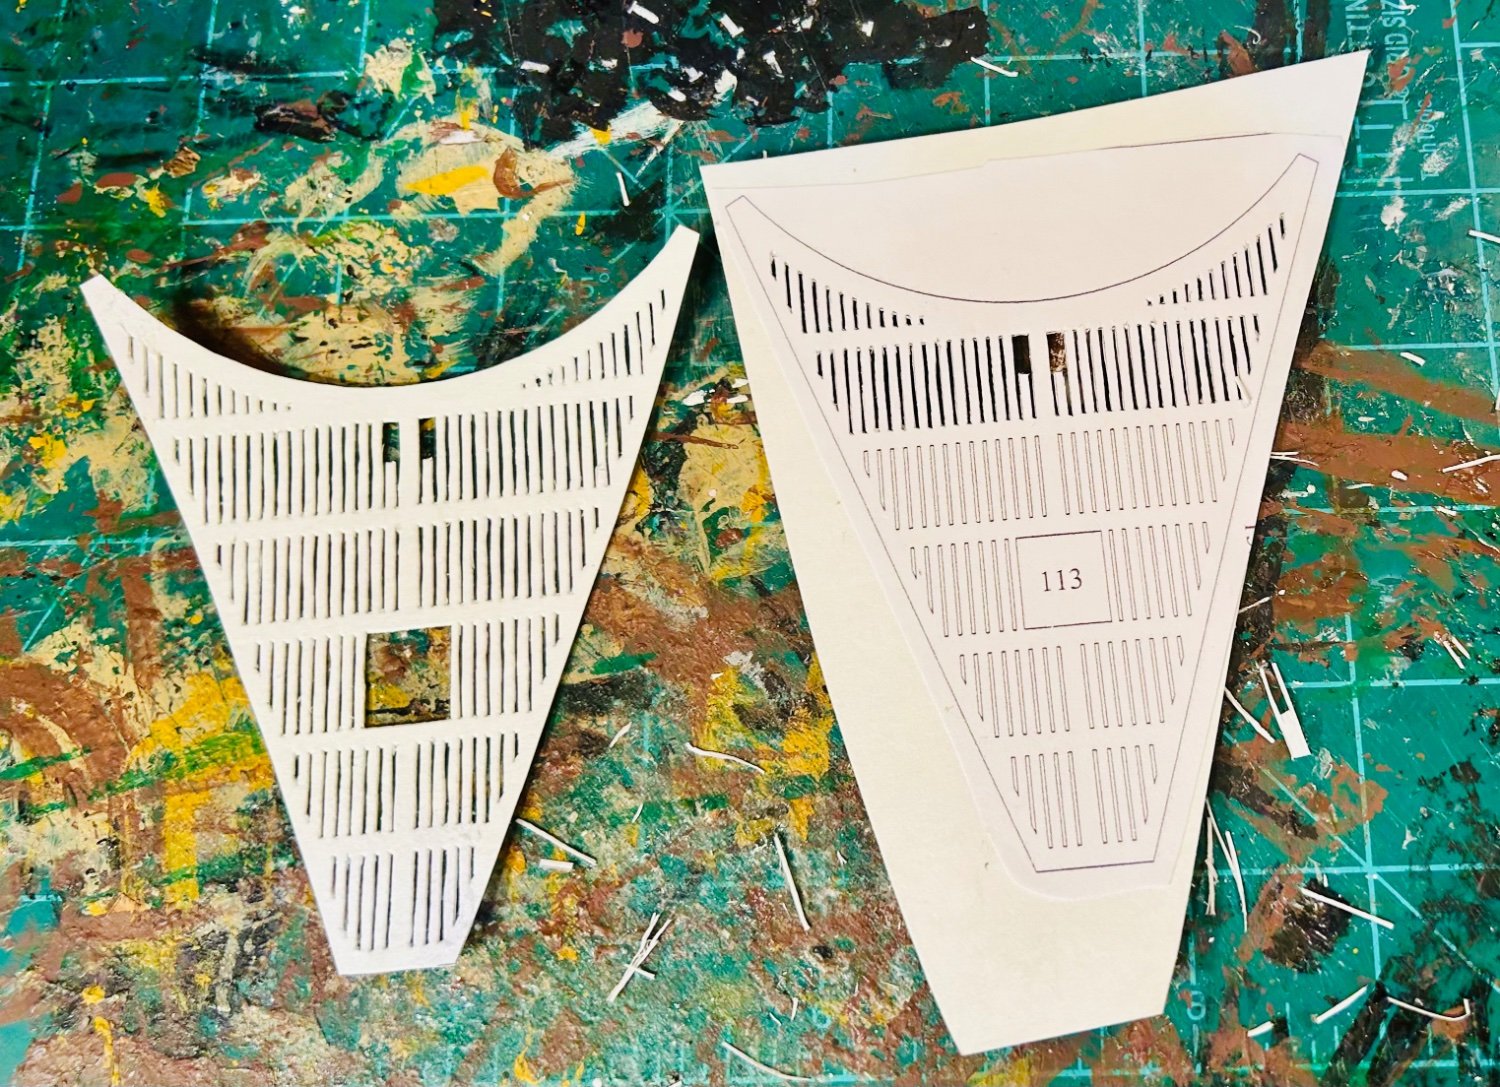
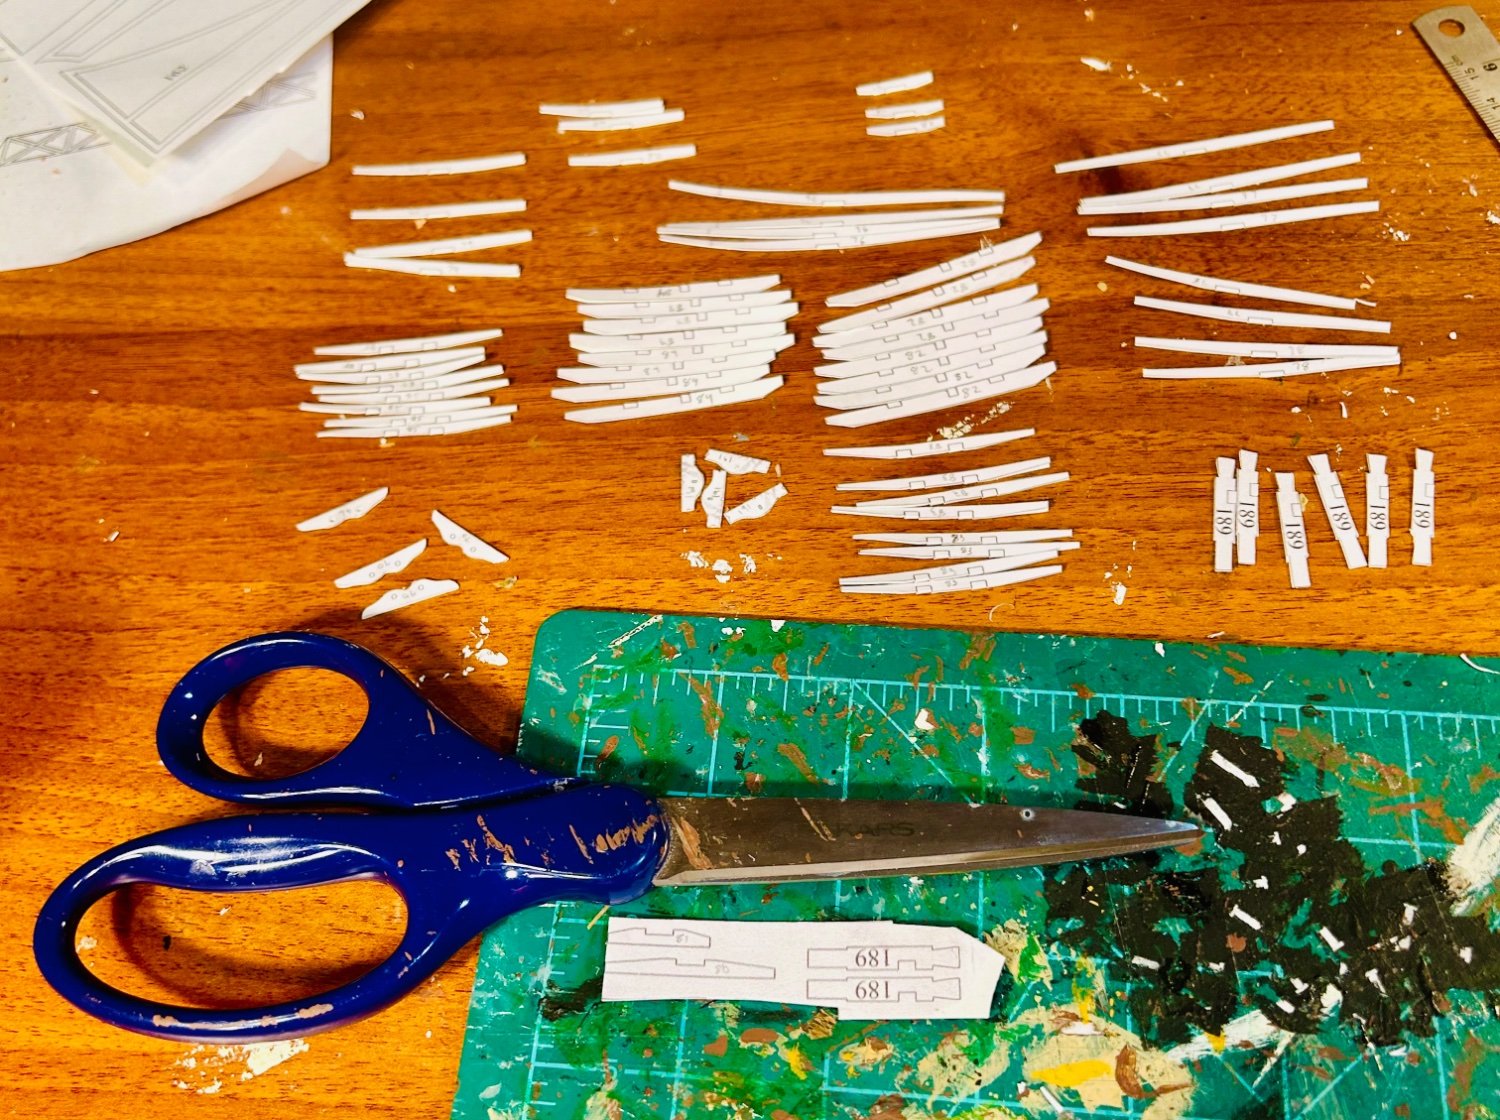
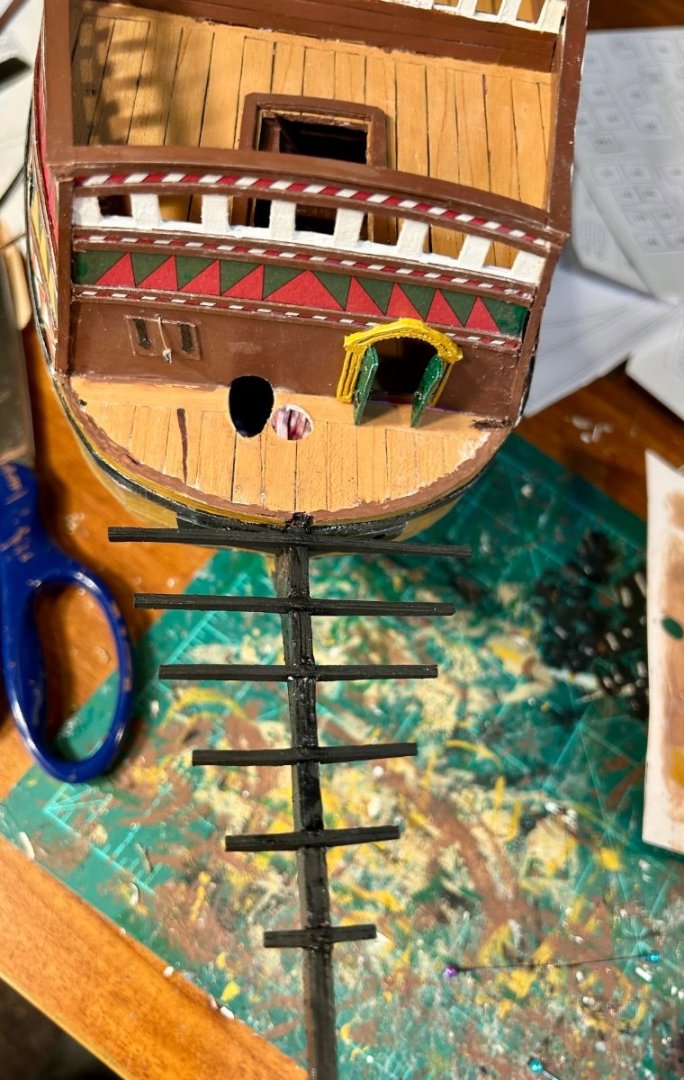
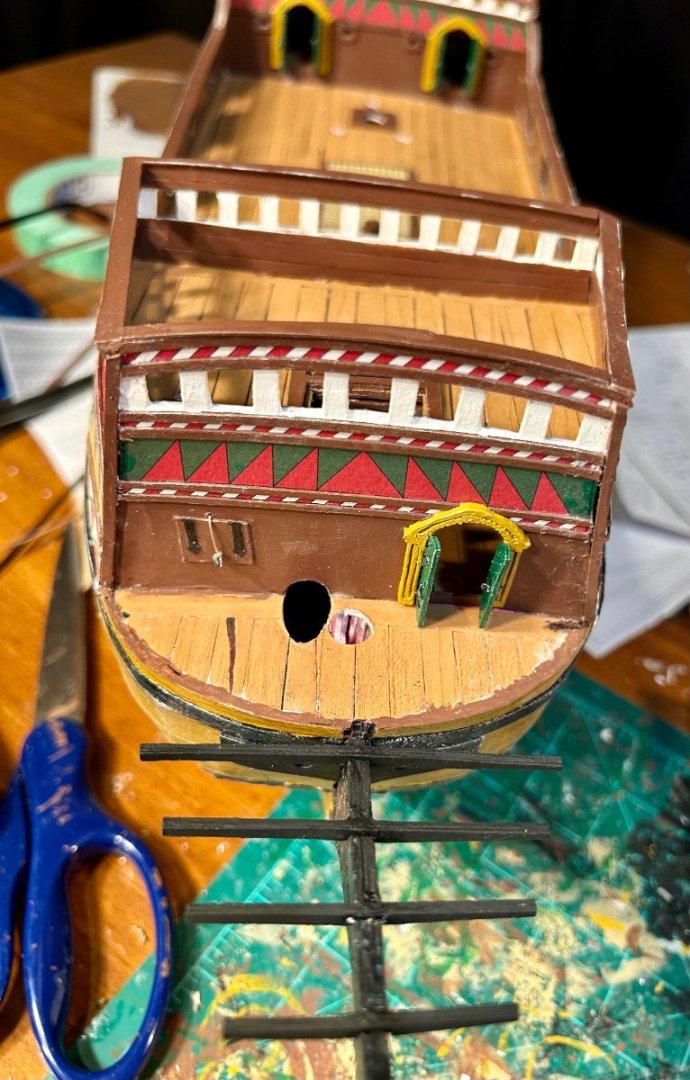
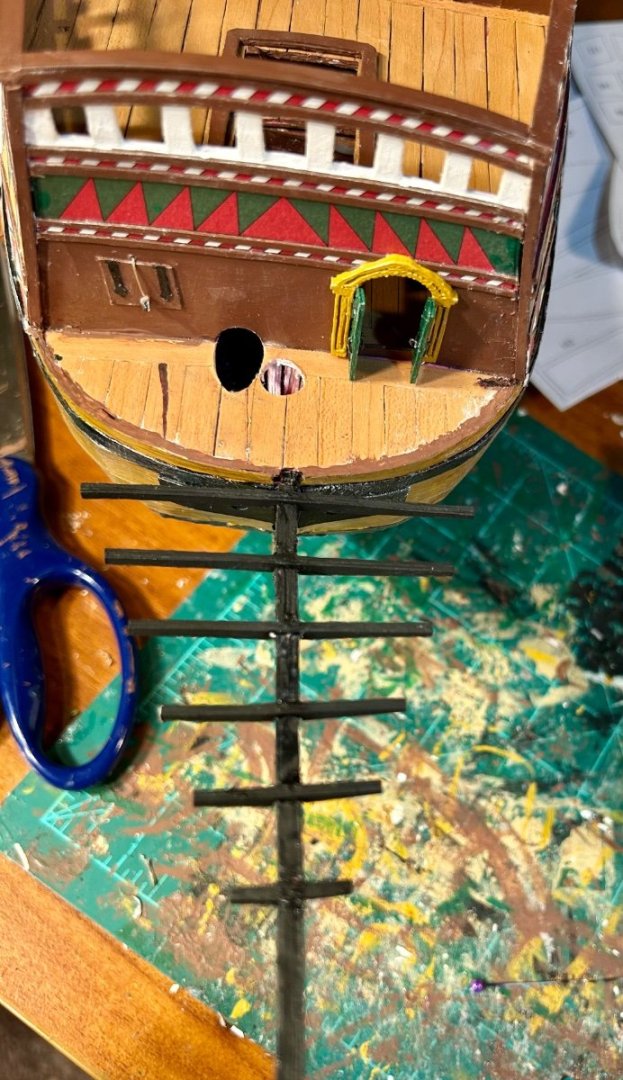
Working on cutting out the head grating: It’s slow going and double layered, but it will look really good when it’s done.

-
Patrick, Lol! The angle of the camera made the bend look a lot worse than it was. However, there was a slight angle that I straightened out. That’s one downside to card, it needs additional support a lot of the time. Good call! Everything should be fixed in place once I add the gratings. Also, thank you very much for the information on the seats of ease. I try to be thorough with my models.
-
The head is taking shape: The head timbers are lot more square and straighter than they look in the pictures. Next up is to cut out the head gratings and the sides of the head. I also need to make the scroll work. I was going to use card, but I want to try making it of wood first. I think it would look better.
-
Still working on the head. Question for everyone: the seats of ease are not marked on the plan set. Would it be safe to assume that the seats of ease in a late 16th century English ship would have been in the usual location on the head grating, on either side of the head? And that each one would have seated two?
-
Meriadoc, Thank you very much!
-
There are plans for the hull of the Morris on Plate VII of Chapelle’s “The History of American Sailing Ships” which means that there is a full set of plans available from the Smithsonian. The Revenue Cutters were relatively standardized so it should not be too difficult to find/come up with dimensions and drawings for masts/rigging.
-
Pirate Ship by calt4 - RESTORATION
GrandpaPhil replied to calt4's topic in - Build logs for subjects built 1501 - 1750
Very cool! -
Welcome!
-
Welcome!
-
Hull painting etc.
GrandpaPhil replied to Charlie pal's topic in Painting, finishing and weathering products and techniques
I would paint the red over the white. Remember that painter’s tape with sealant is your friend. -
Very cool!
-
Time for another round of parts to include the head timbers. Also cutting out the crosstrees, the supports for the mast tops and some other miscellaneous fittings, while I’m at it.

-
Thin pieces of card, painted black, make excellent rudder gudgeons.
- 30 replies
-
- 2
-

-
- first build
- BlueJacket Shipcrafters
- (and 1 more)
-
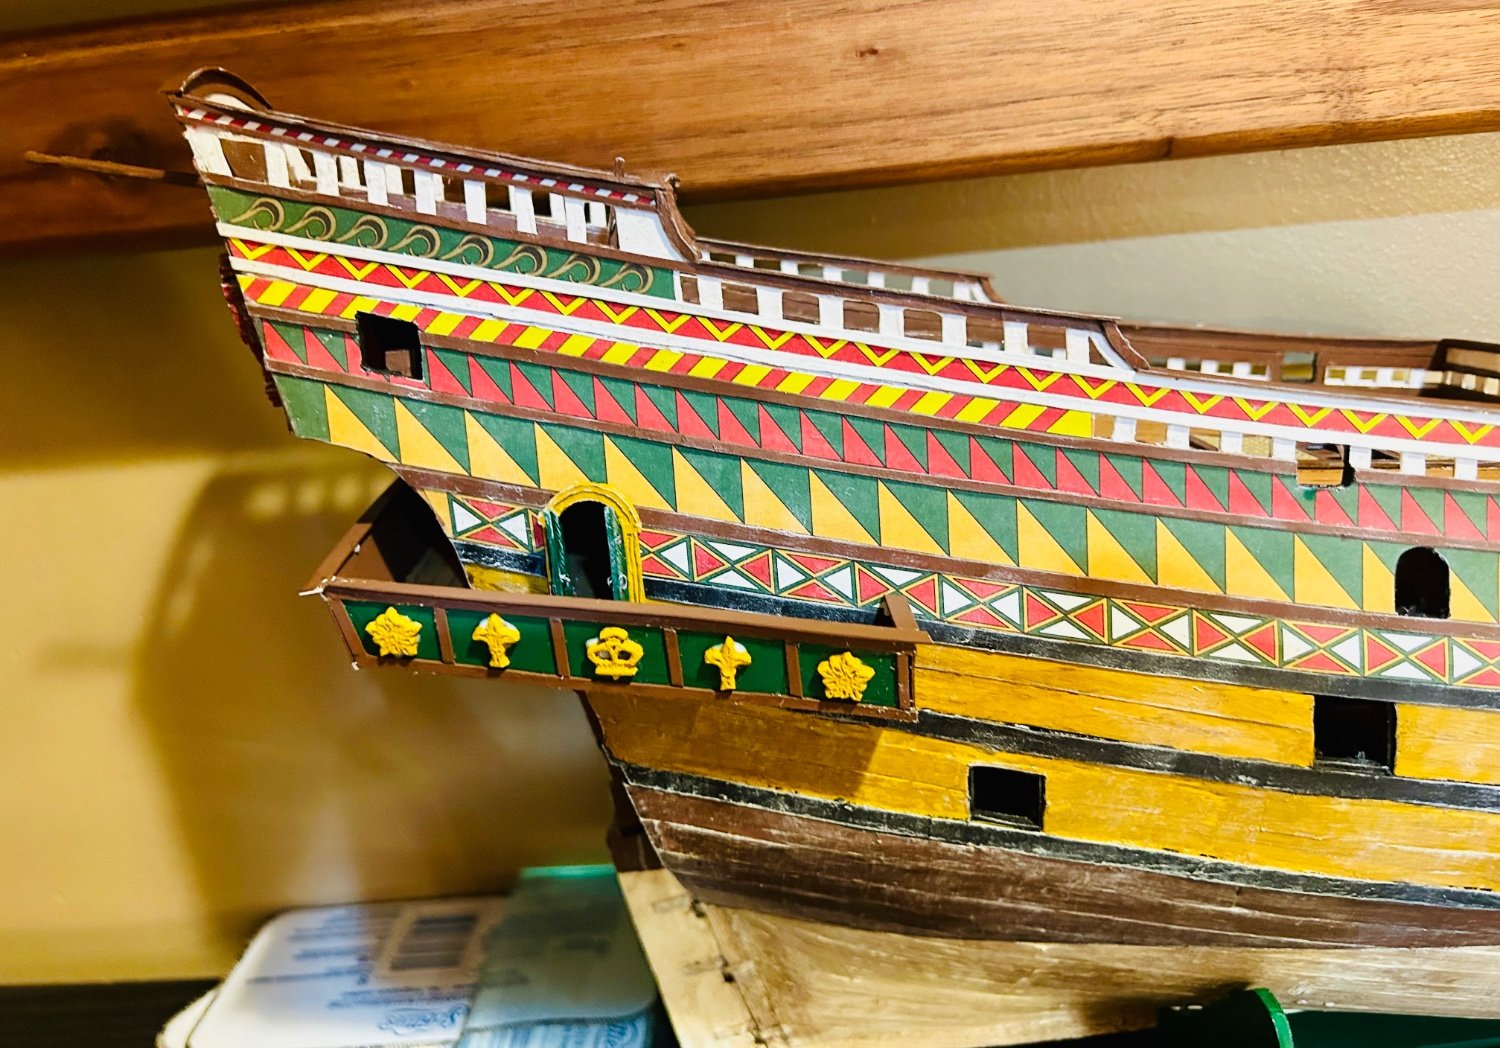
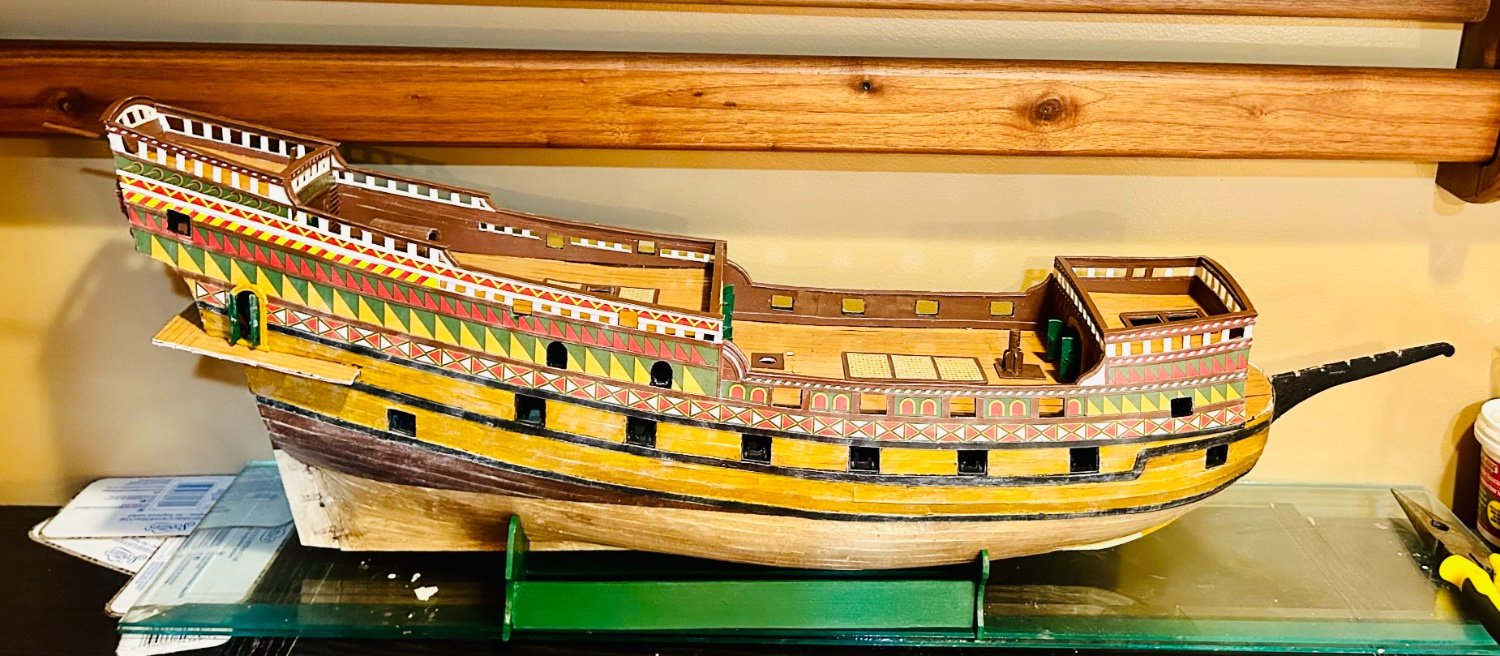
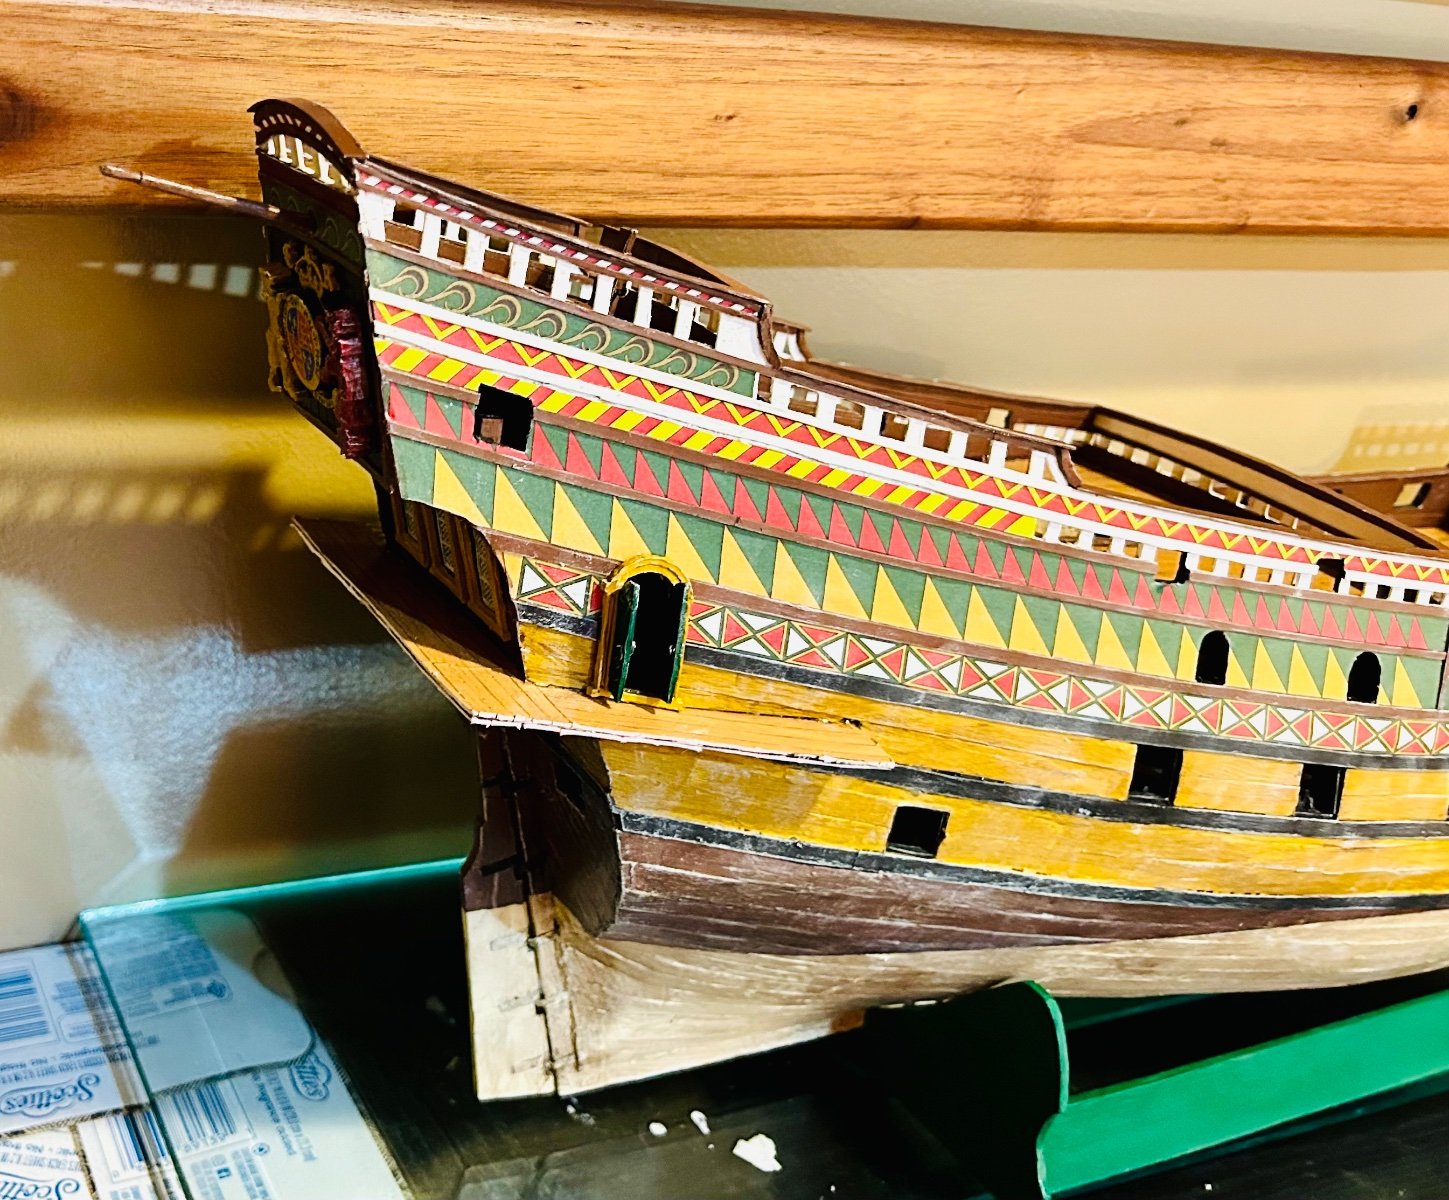
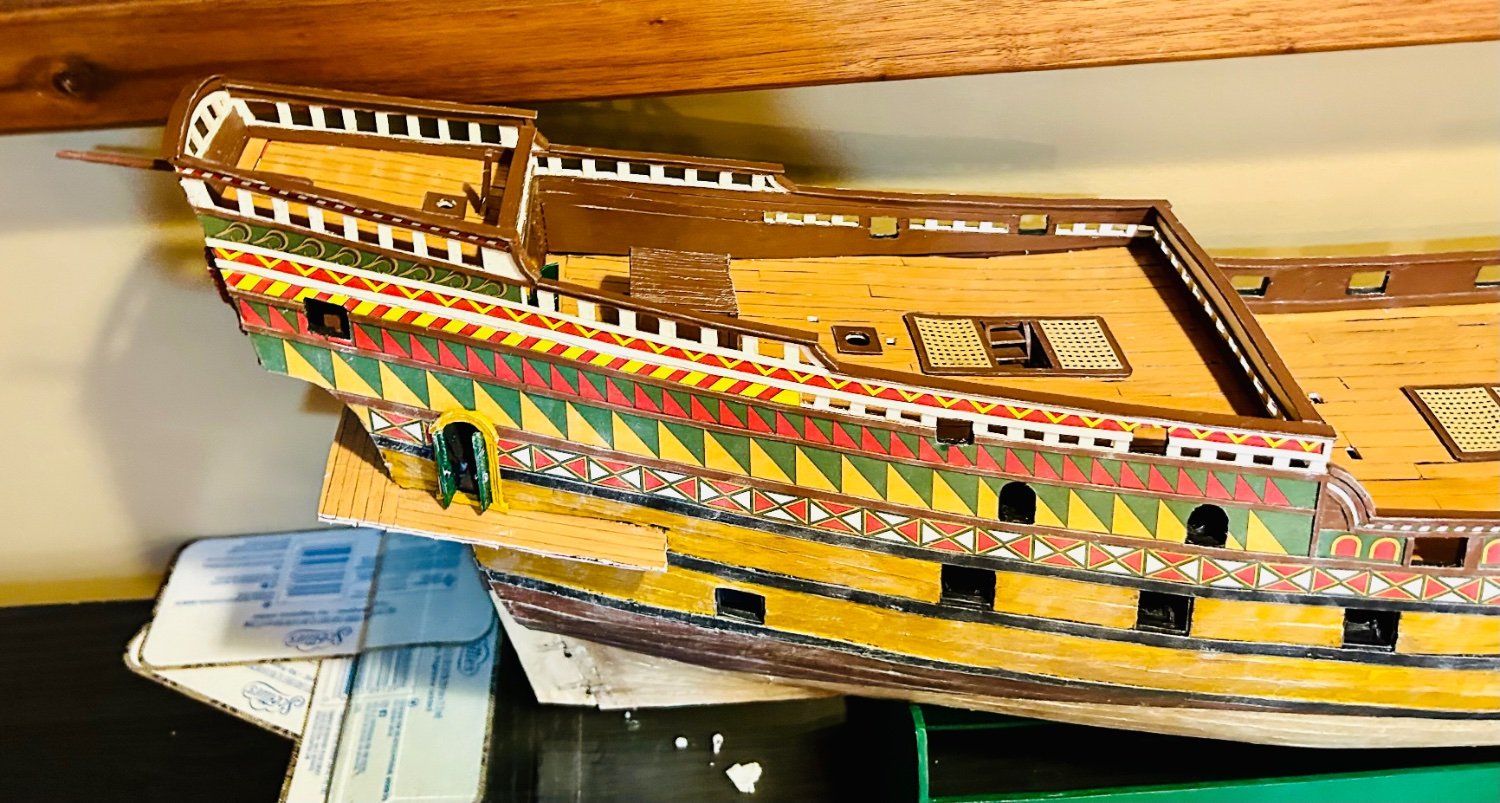
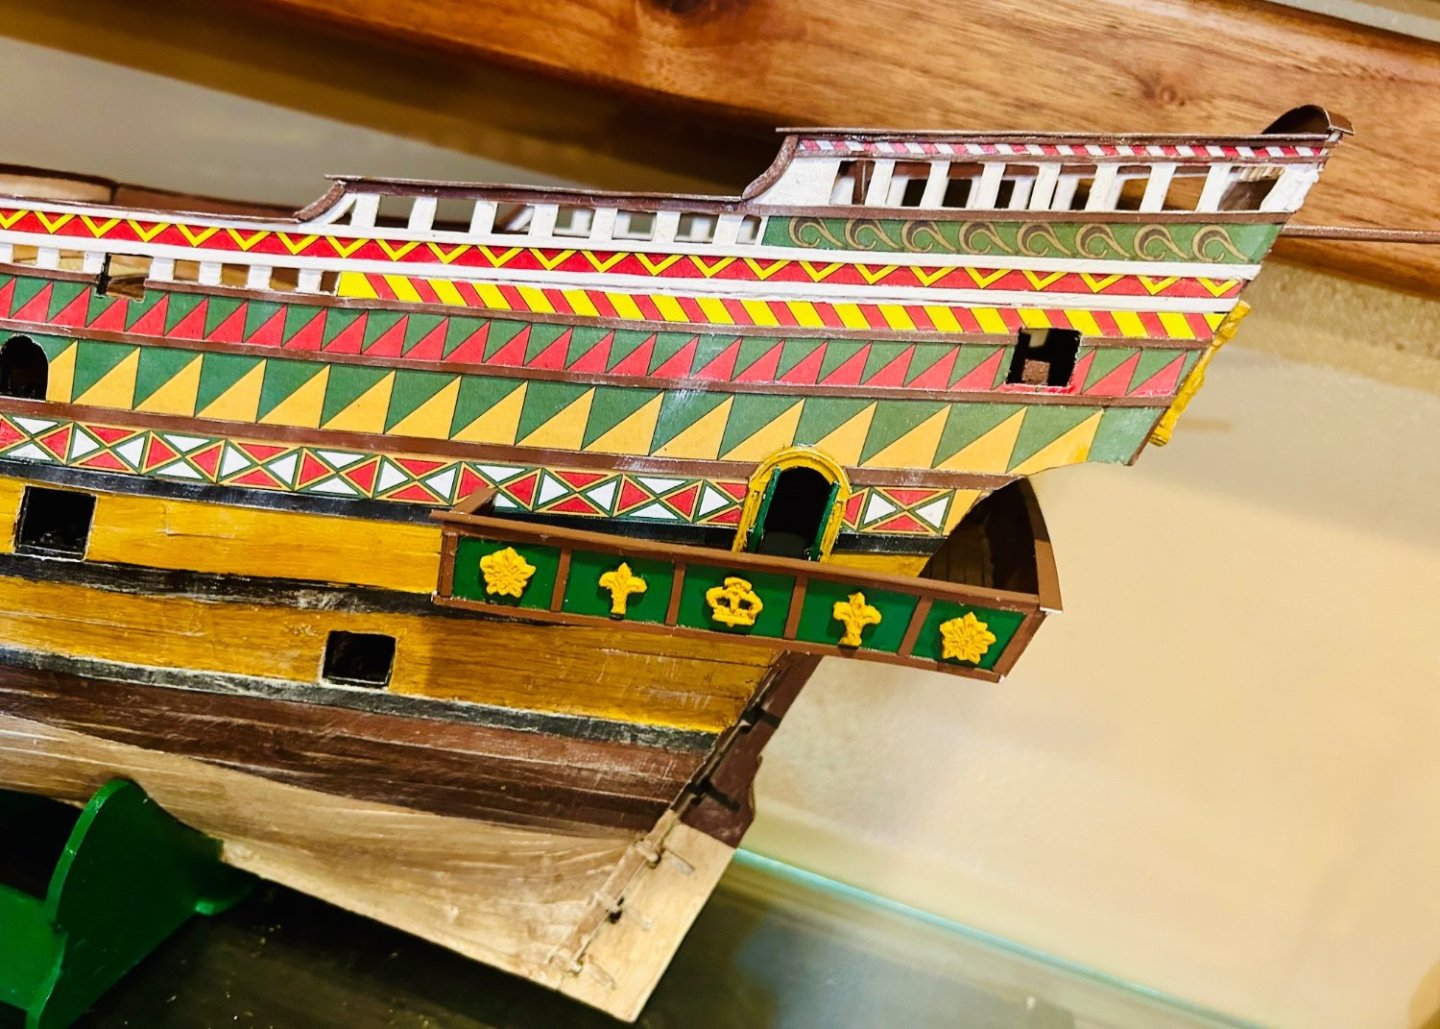
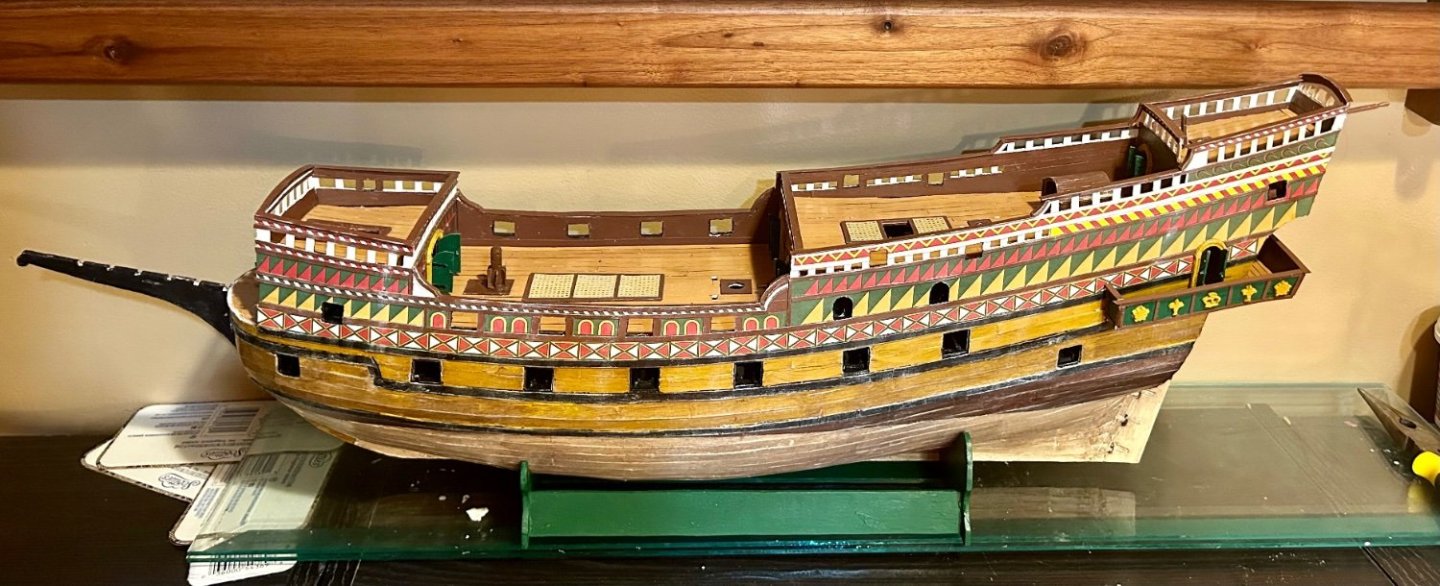
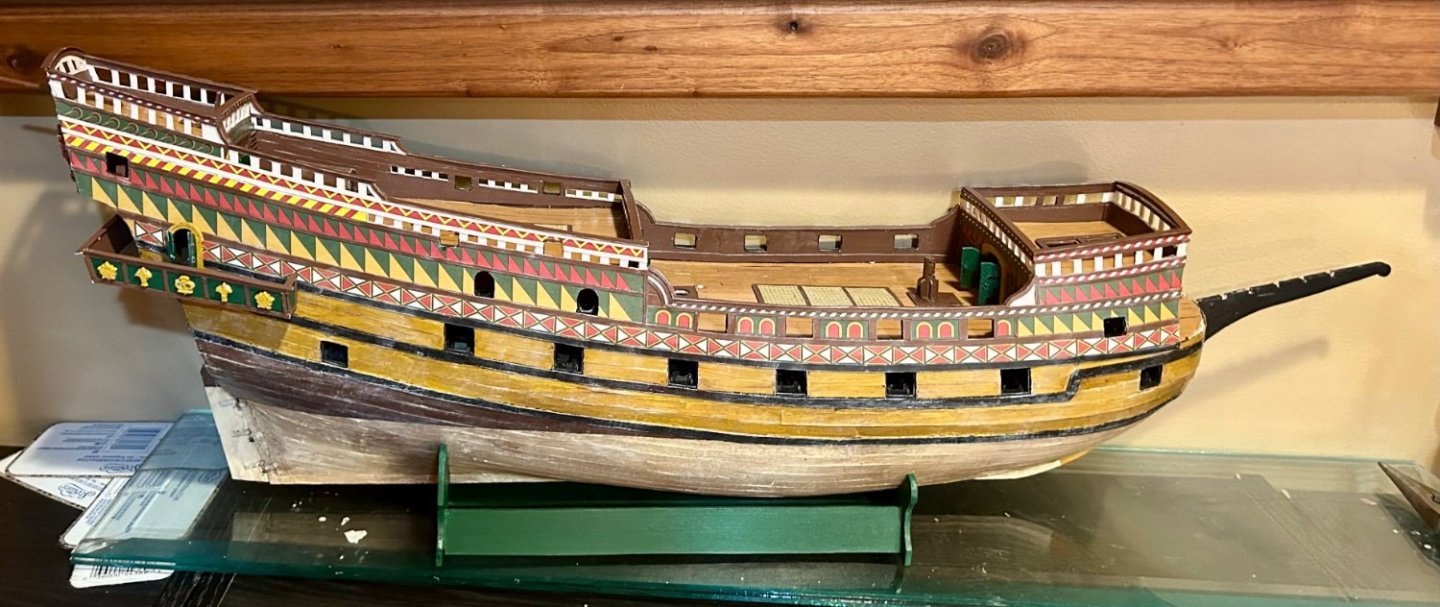
Admiral’s Walk is on and decorated: Here is the ship side-on: I am very happy with how it is turning out. Next up is another round of trimming, touch ups and sealing. Then on to the head!

-
Welcome!
-
I have the Seahorse kit that I would like to enlarge to 1/64 scale and then build from that. The cedar that I just used for the carvings I just made for the Revenge worked well, but was brittle from age. I am going to have fun with all the decorations on De Zeven Provincien. The carvings are becoming some of my favorite pieces to make.
-
kit review SMS Sleipner by Hamburger Modellbaubogen Verlag
GrandpaPhil replied to ccoyle's topic in REVIEWS: Model kits
Very cool! -
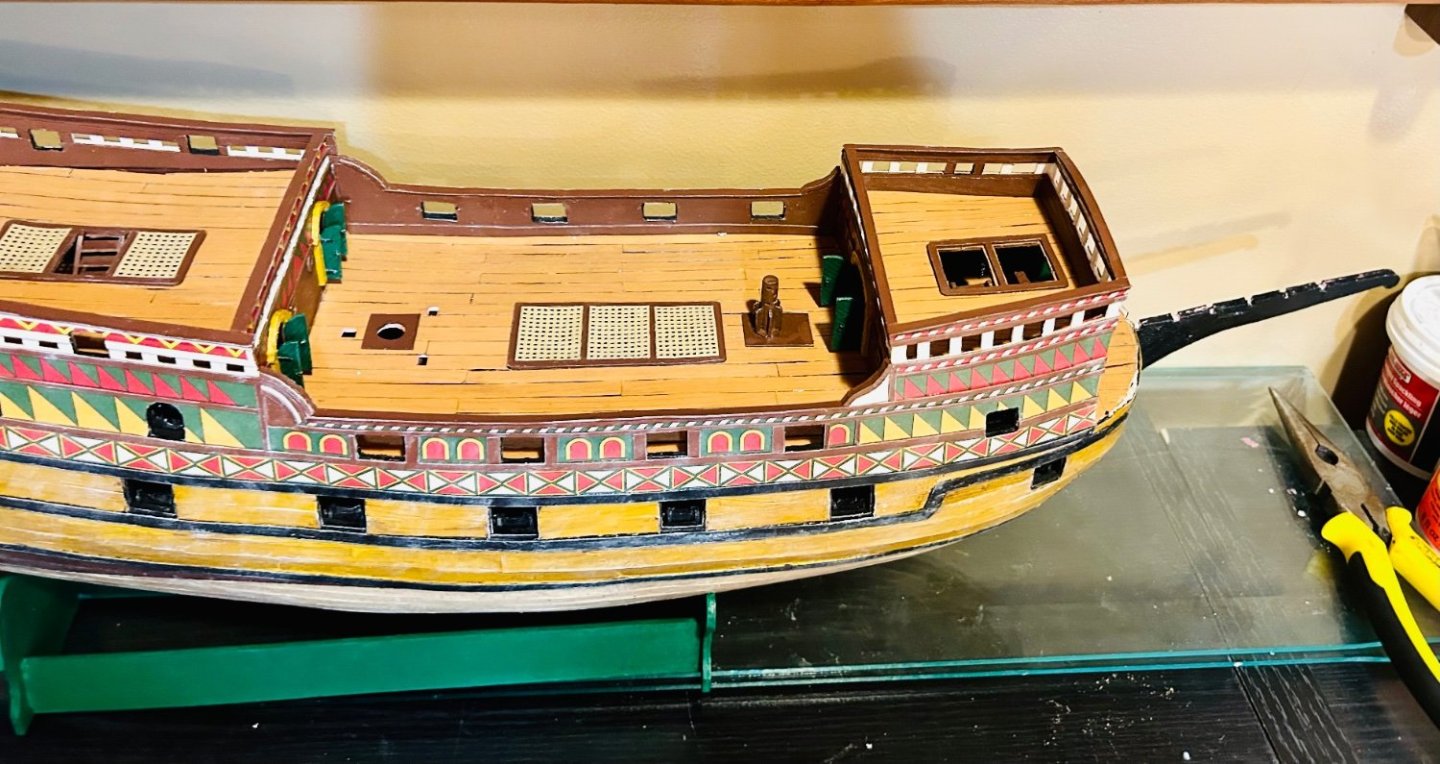
Thank you very much, Patrick! All touch ups are done and the model is sealed: The bitt on the poop deck and the stern boom is in place: Working on the Admiral’s walk bulwark now.


-
Paint help
GrandpaPhil replied to Late to Soleil's topic in How to use the MSW forum - **NO MODELING CONTENT**
There is a section dedicated to paint and finishing questions here: https://modelshipworld.com/forum/21-painting-finishing-and-weathering-products-and-techniques/- 1 reply
-
- 4
-
-
Thank you both very much for the information. I am planning on building the 17th Century Dutch 80-gun warship De Zeven Provincien next and am looking at options for making the carvings.
-
Looking good! I like the idea of the alignment rods! I will have to remember that!
-
Looking good!
-
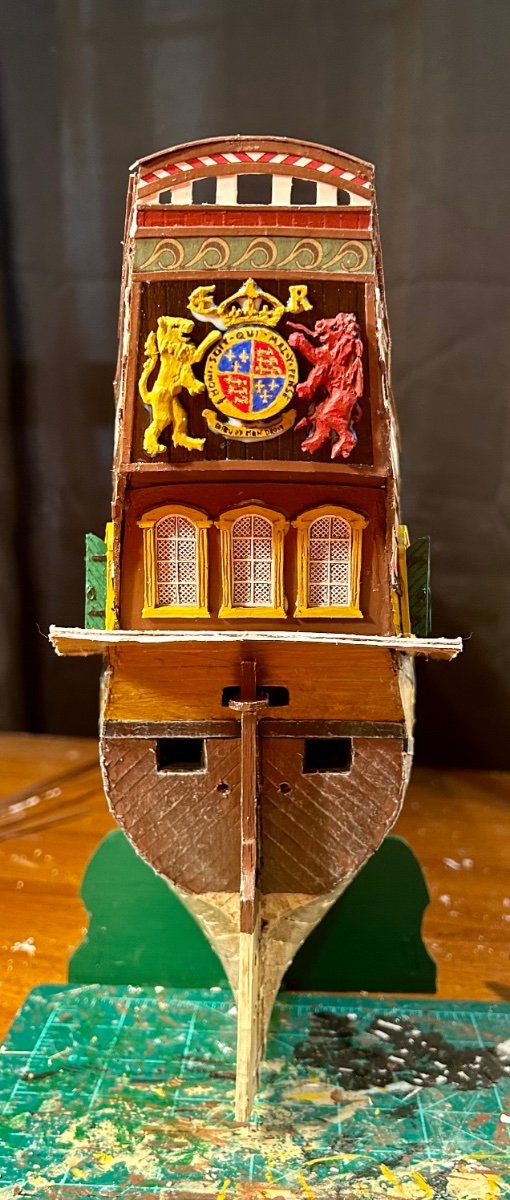
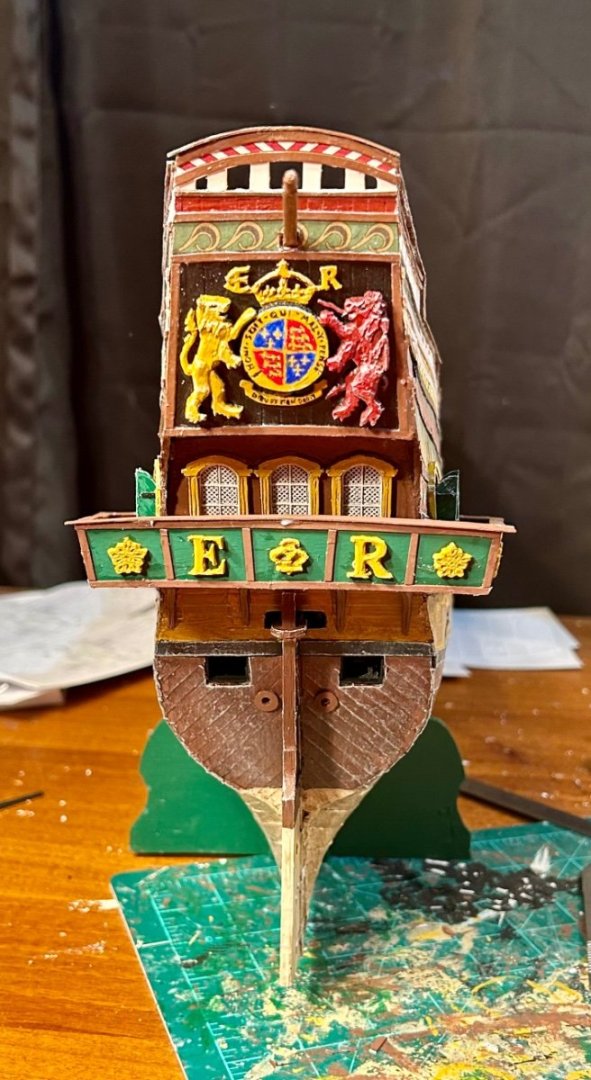
The stern gallery is glued down! This is the first set of stern carvings that I have ever made for a model. I am sure that I will get much better over time, but for a first attempt, I am happy with these carvings.

-
And painted: Not perfect, but it will work quite well.