GrandpaPhil
-
Posts
6,166 -
Joined
-
Last visited
Content Type
Profiles
Forums
Gallery
Events
Everything posted by GrandpaPhil
-
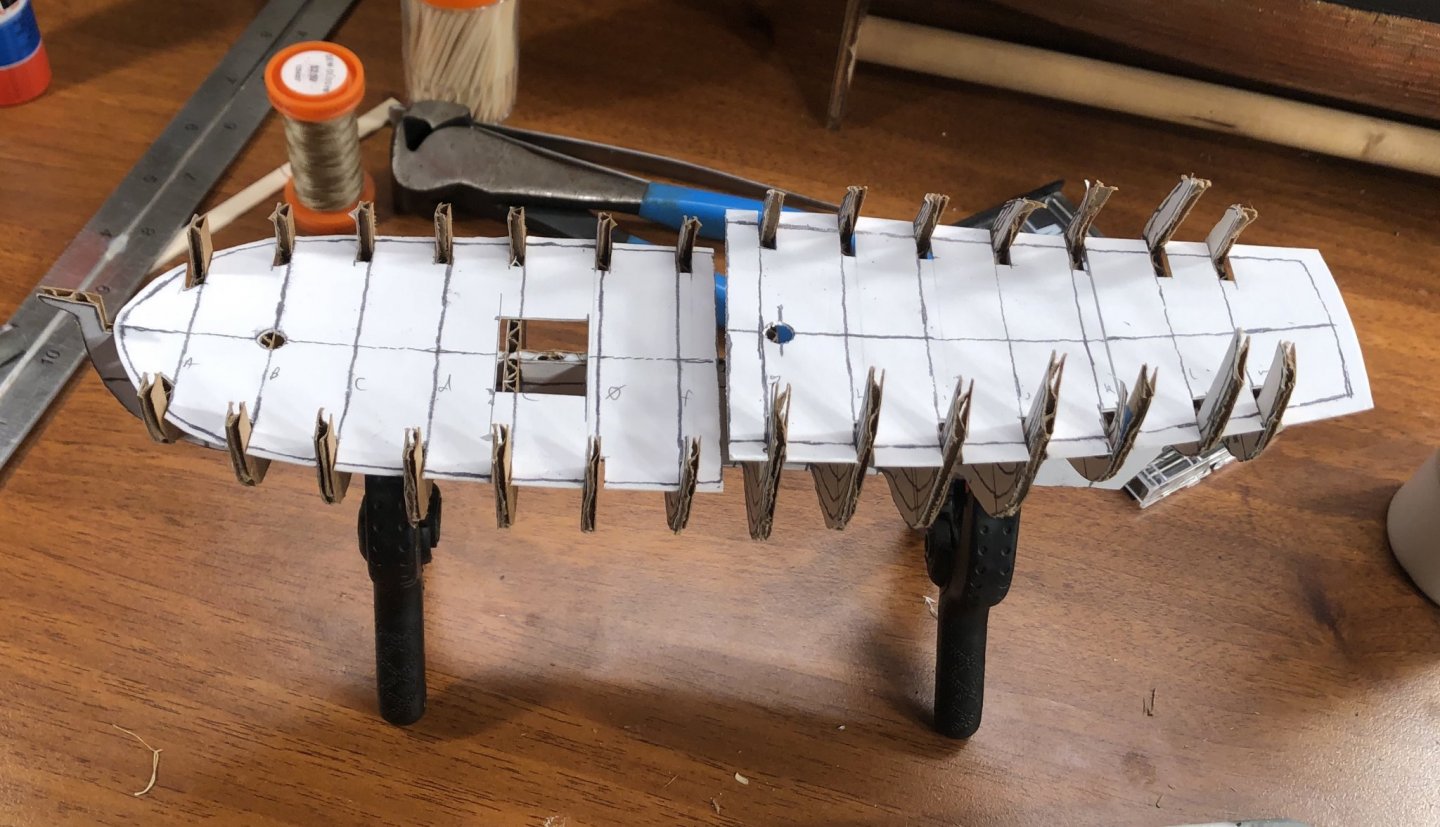
The bottom of the keel piece is covered: The transom pieces will be ready to cut once the patterns dry. Then I will have to carefully fit them. I have a bad habit of playing a game of Make It Up As We Go Along with my builds. This one will be no different, lol.

- 258 replies
-
- 10
-

-
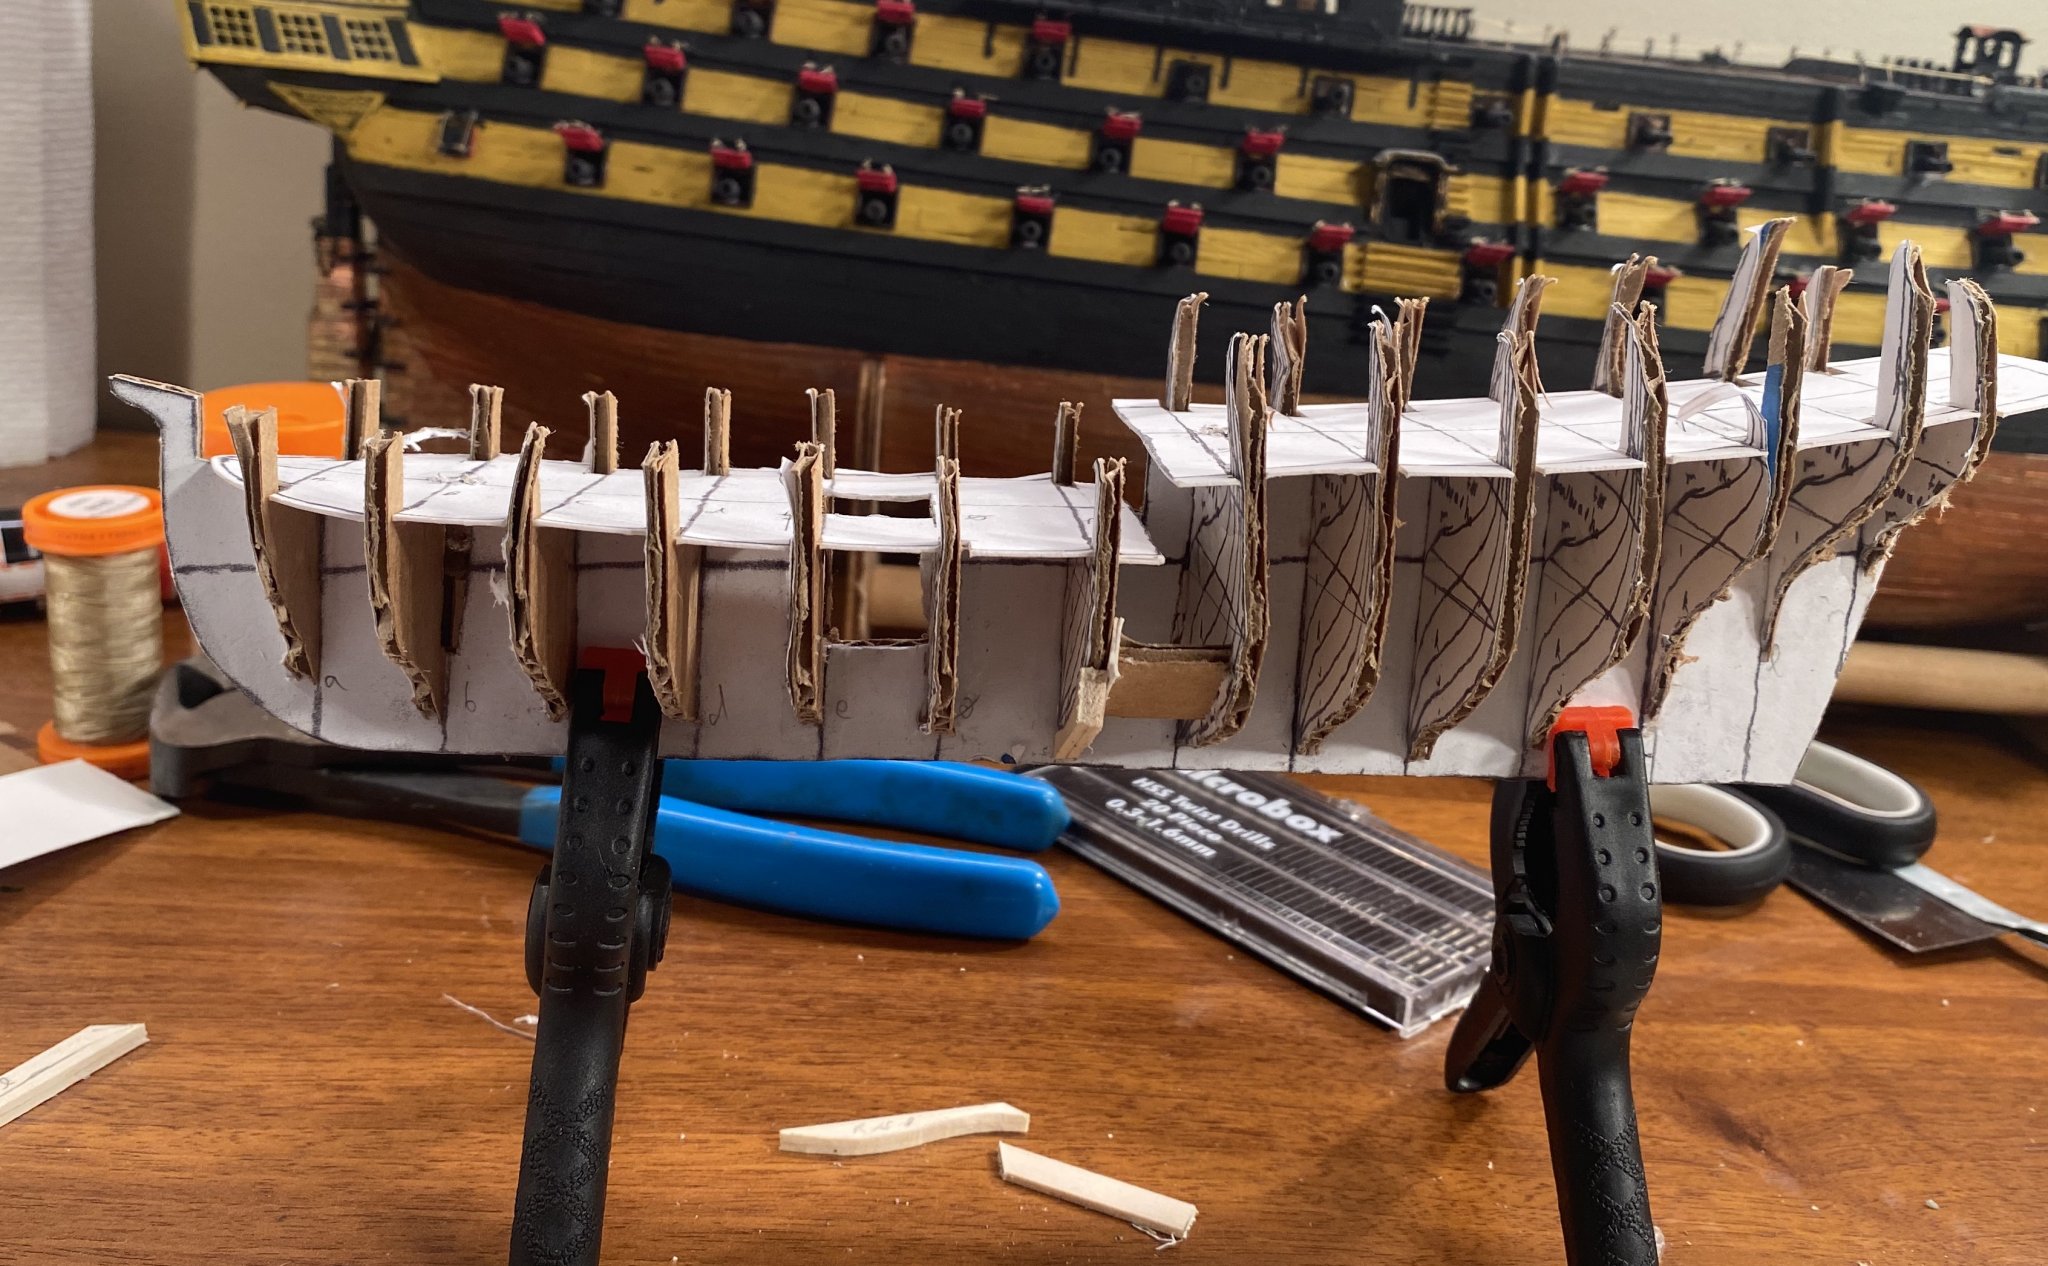
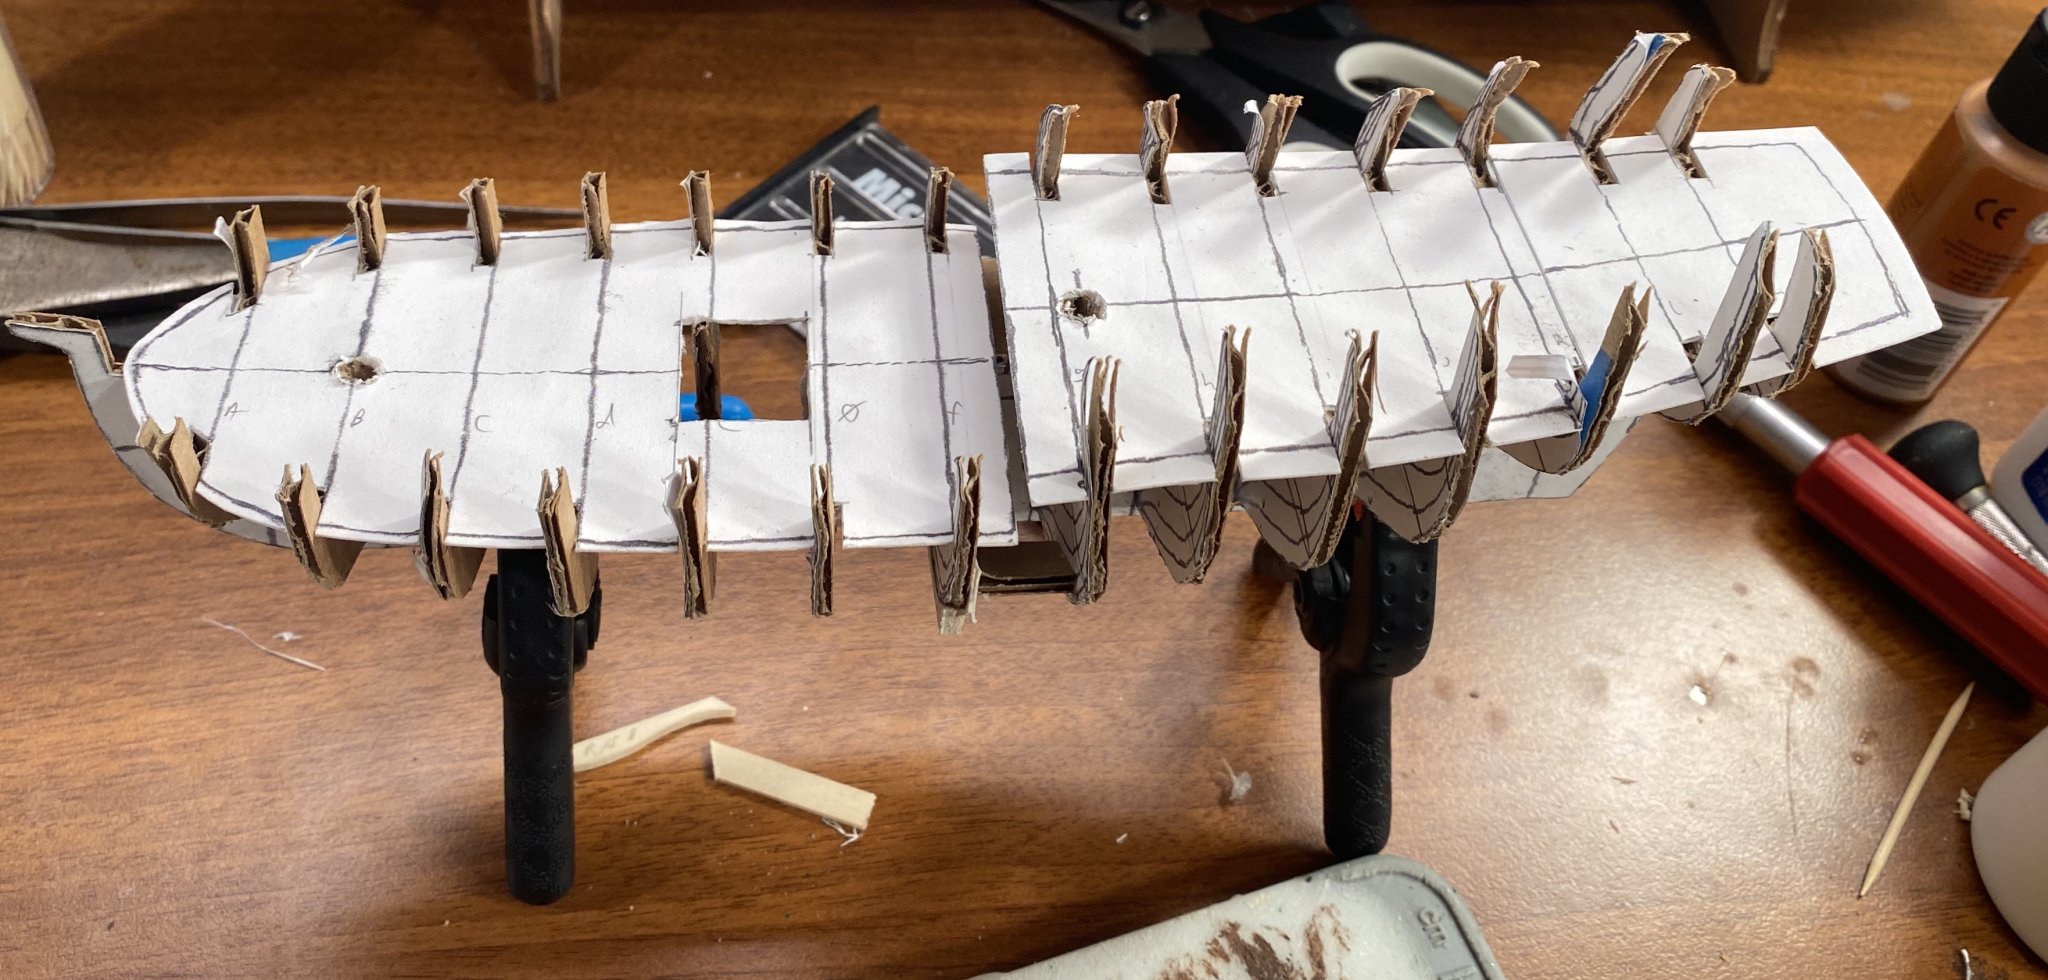
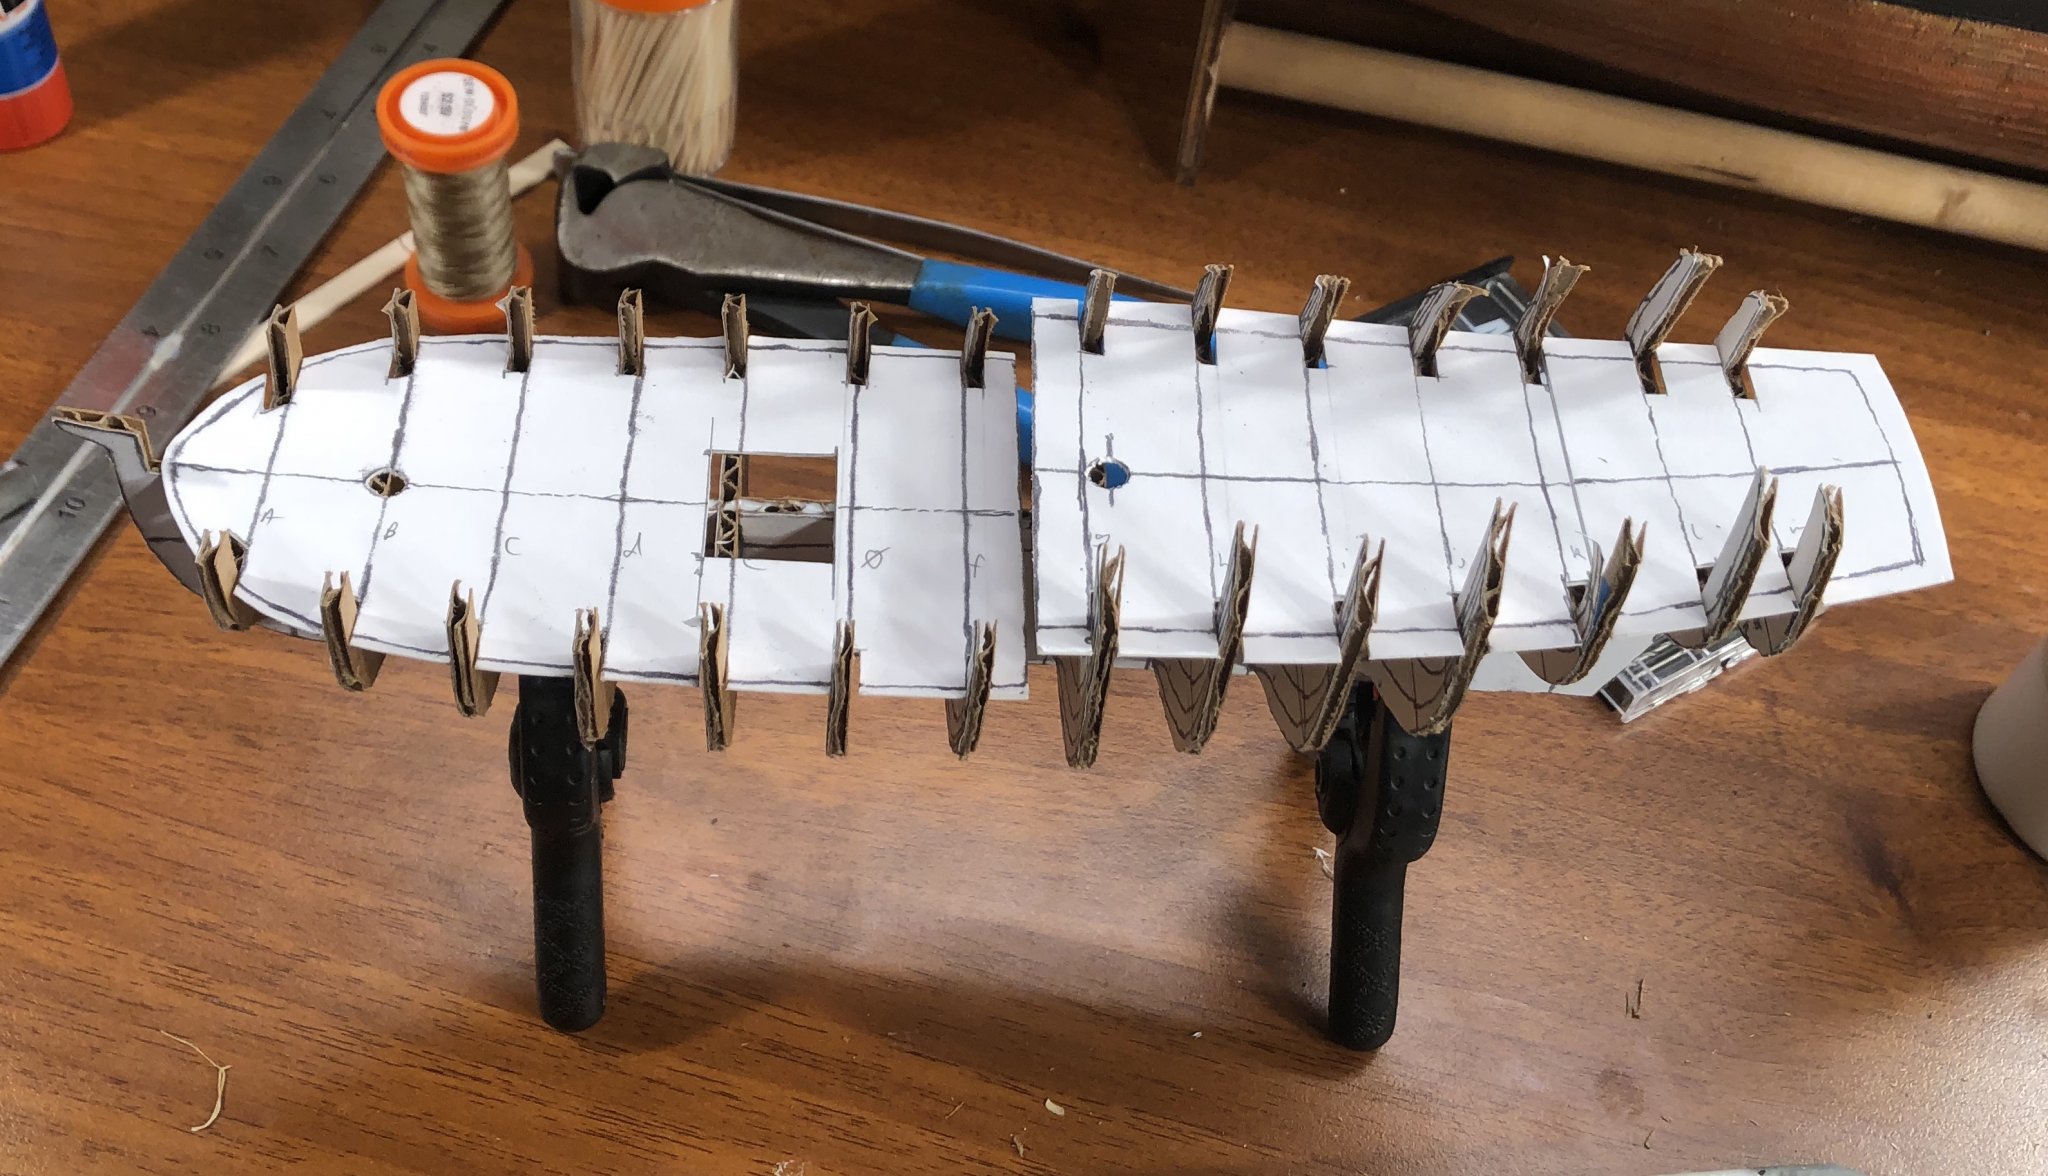
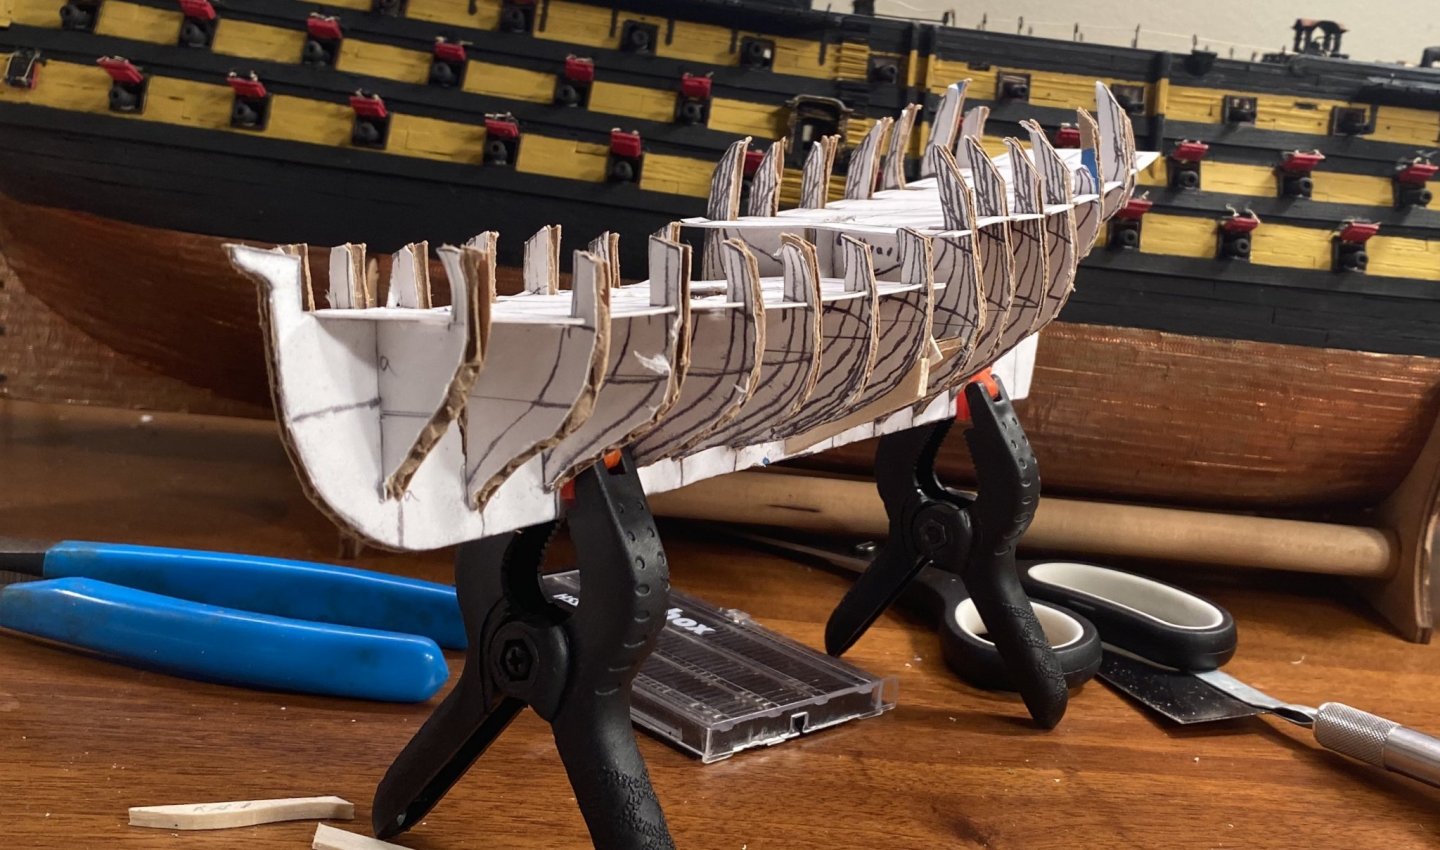
I modified the initial plan after looking at the model of Hannah in the US Navy’s museum. I ended up fairing the entire hull and only built up frame f. Frame l was fine. Frame m stuck down too much. I am waiting on the glue to dry so I can carve down f. I cut the hole for the hold. I made two spacers and ended up shimming one side of that. I also drilled/cut the mast holes. I still need to make the framing pieces for the transom. I’ve never done this part before, so it will be a learning experience.

- 258 replies
-
- 10
-
-
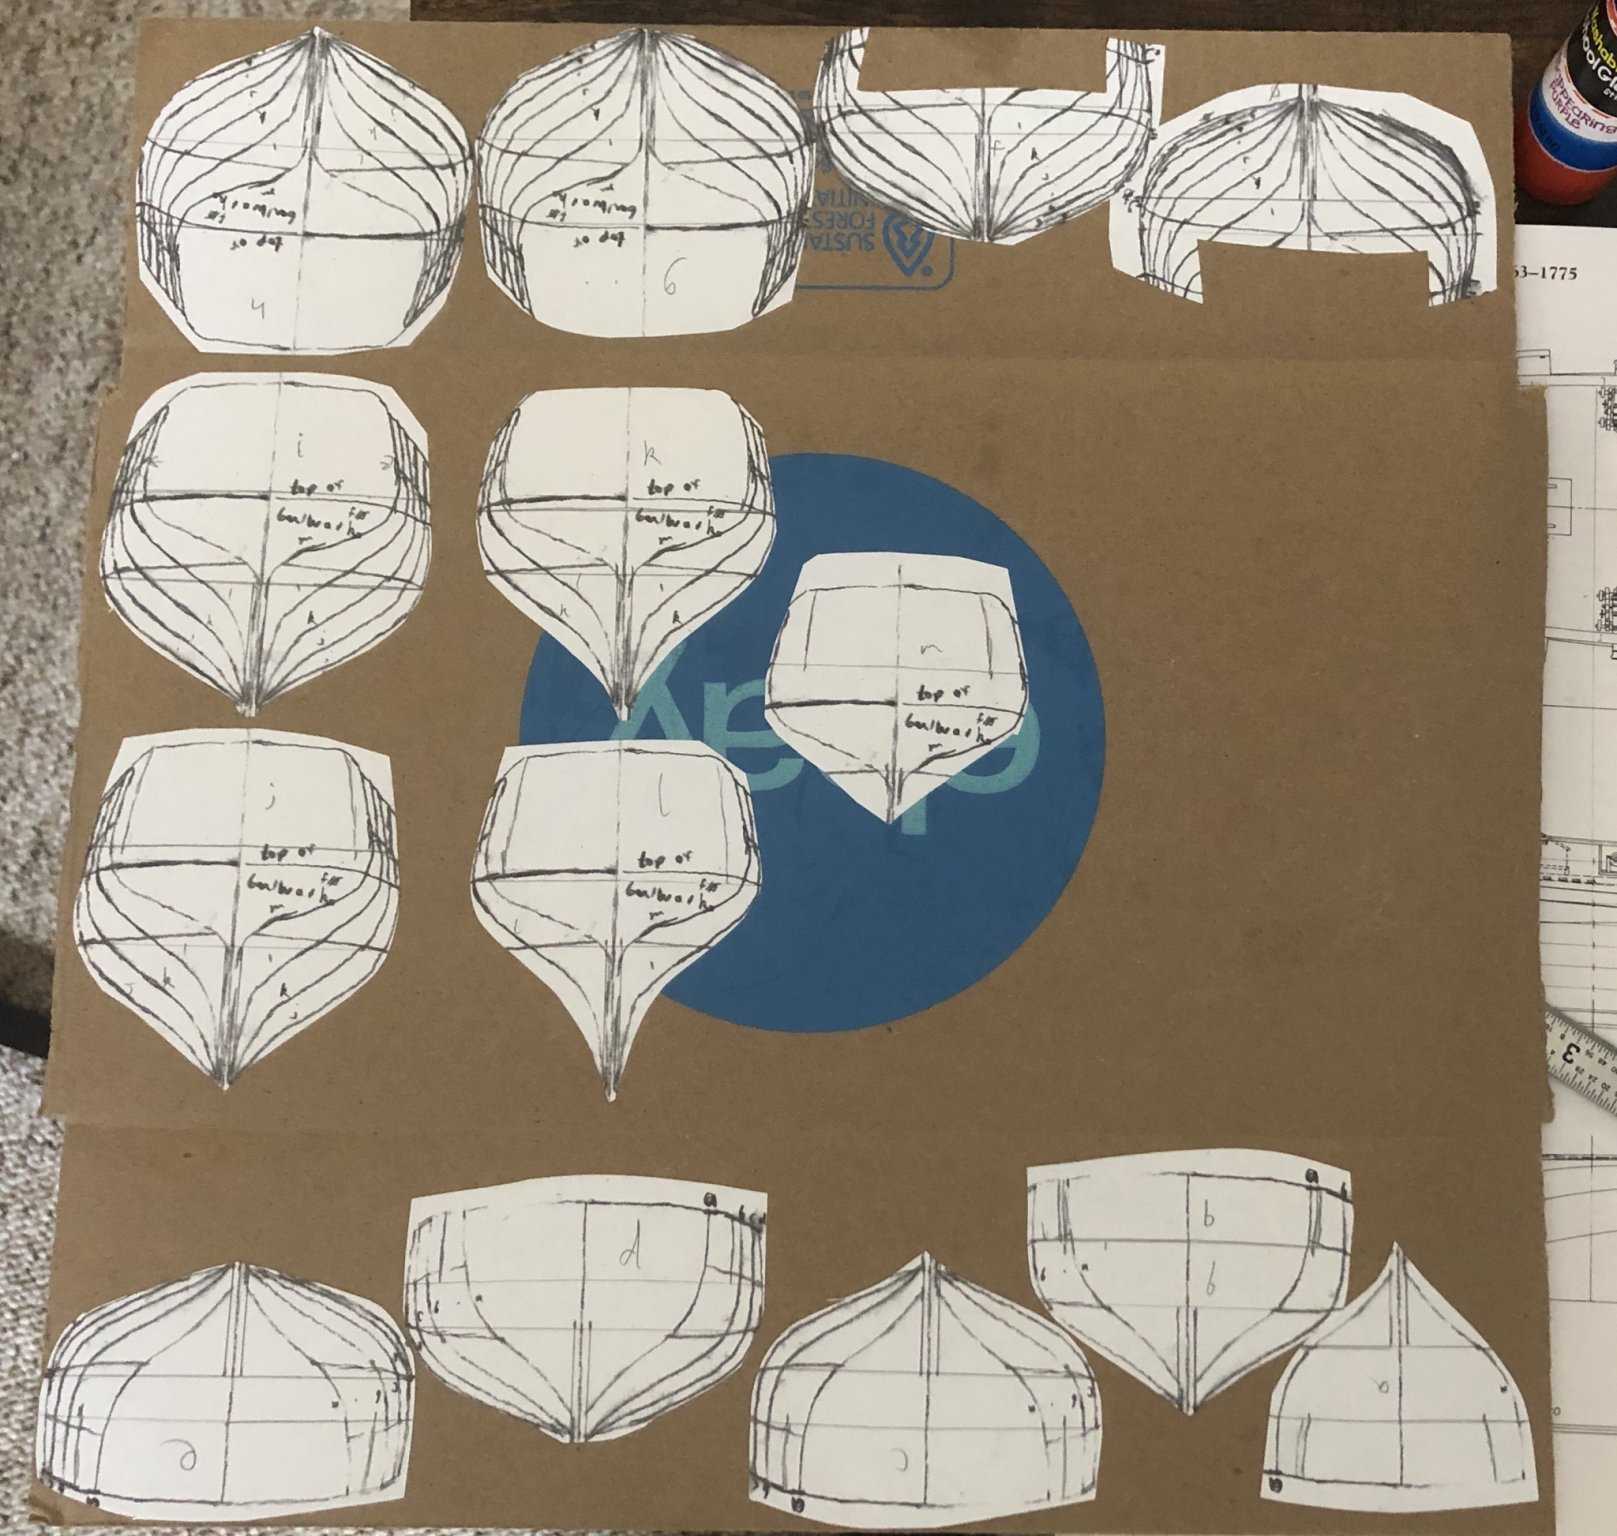
Yes, they do, lol. Here is my solution to the issue of the bulkheads: I traced the pattern onto double thickness 1/16” x 1/4” basswood.

-
HMS Terror by Major - OcCre
GrandpaPhil replied to Major's topic in - Kit build logs for subjects built from 1801 - 1850
I like the Model Shipways Deadeyes. -
I used Delta Ceramcoat Antique Gold for Ochre on my Victory.
-
Welcome!
-
I’m very sorry to hear that. My condolences to his friends and family.
-
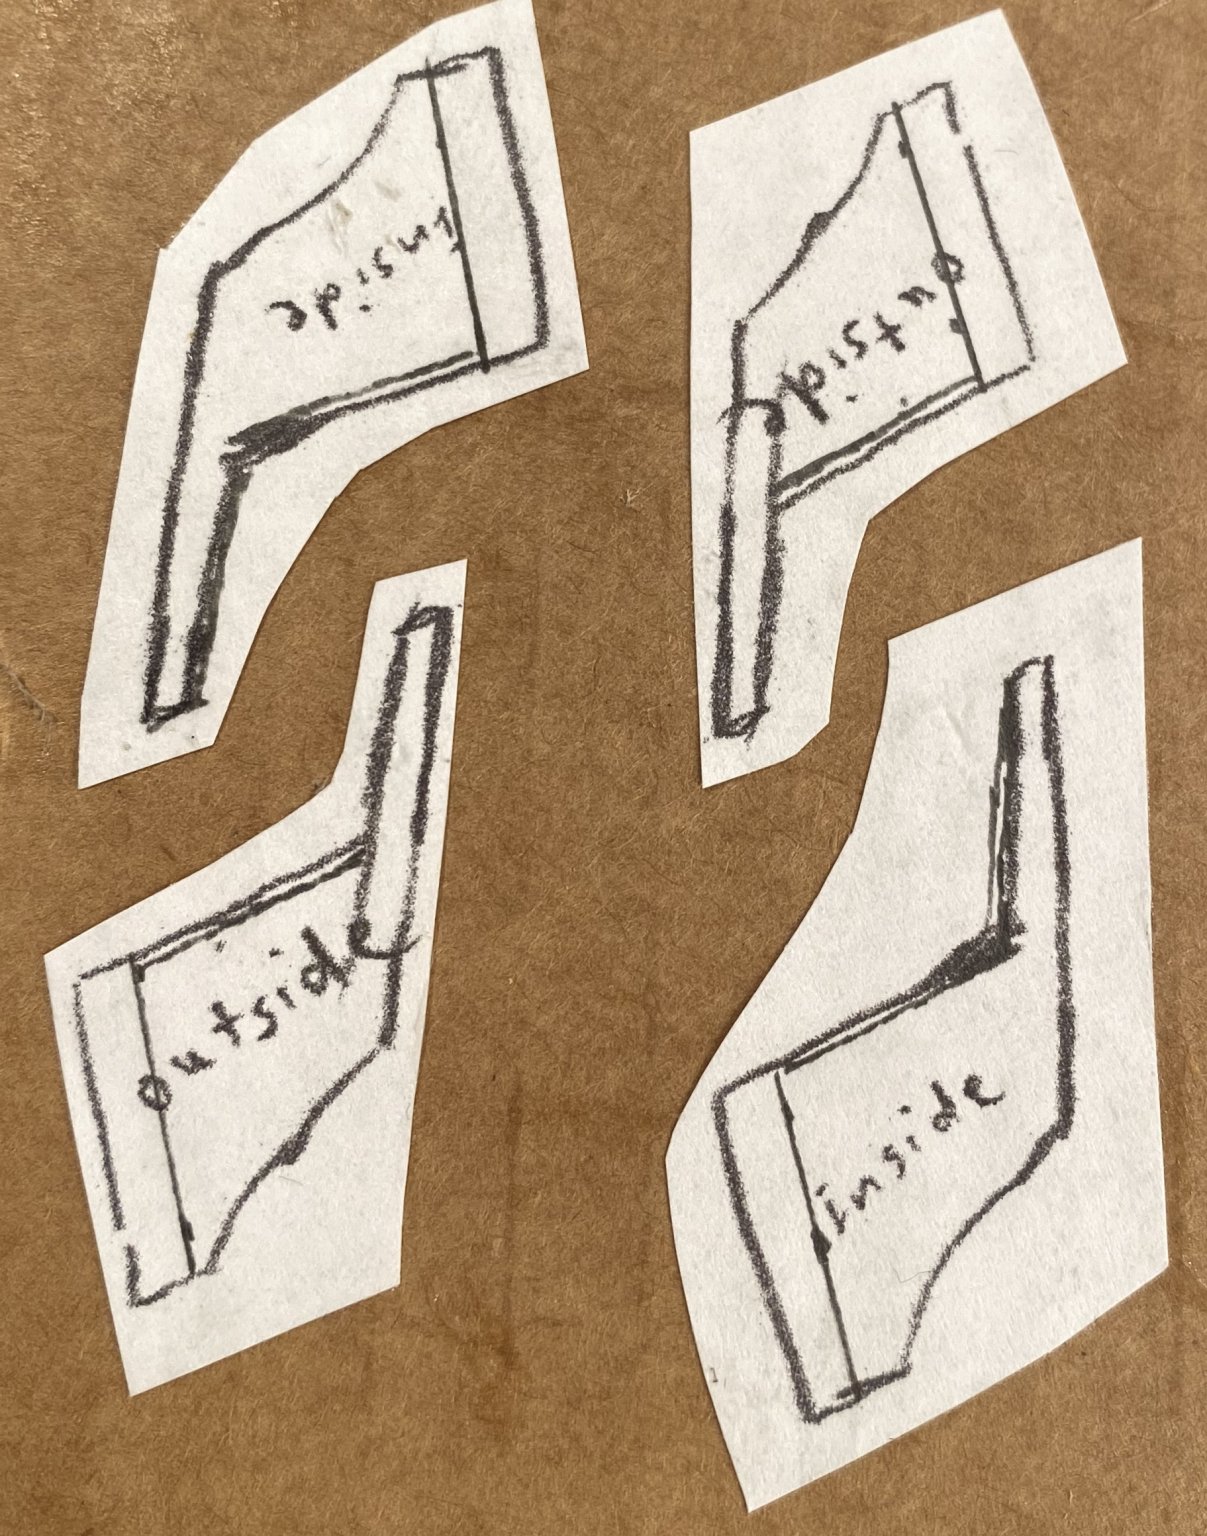
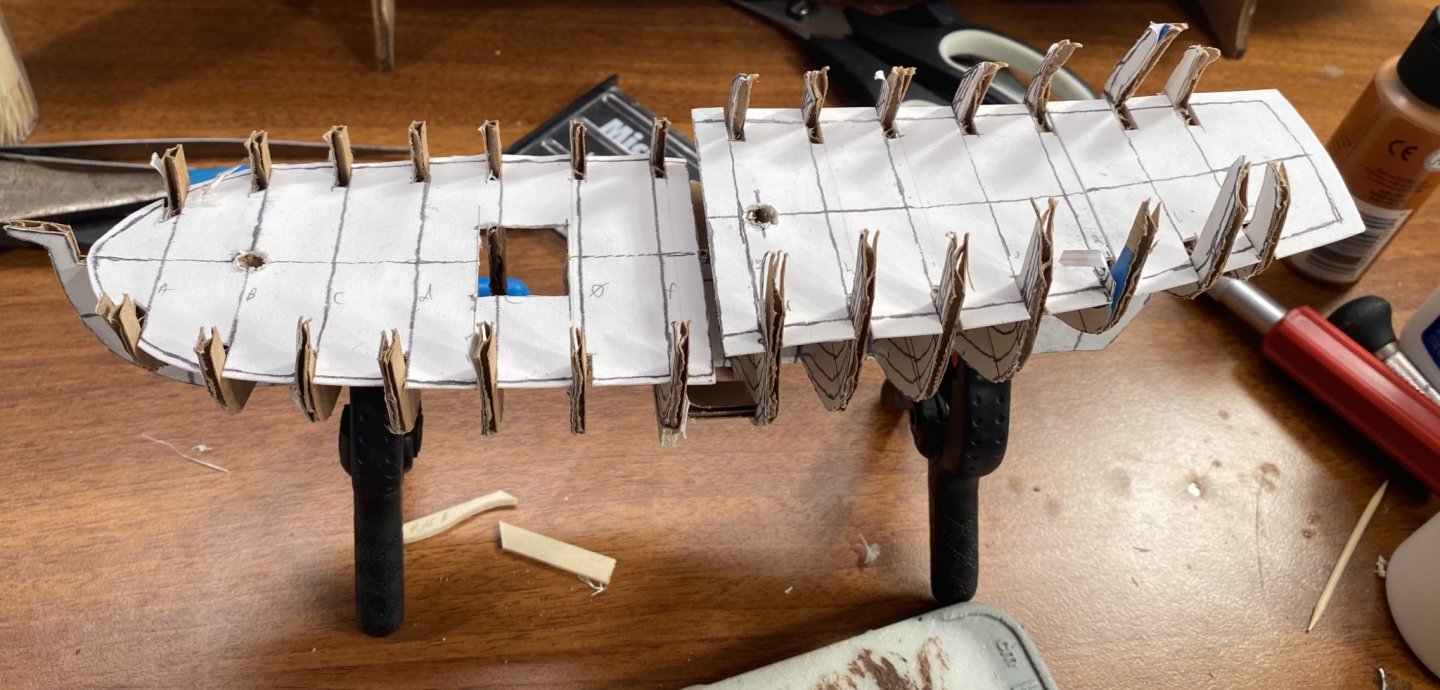
Once those repairs are made (or while they are drying), I need to do a few things. I need to make four transom framing pieces. I need to cut out the holes for the mast, in the bulkheads. I need to cut a hole in the framing around the square in the forward deck to simulate a hold. I will need to block that in with card and paint that to make it look like there is a deck there. Then I can fair everything and cover the hull, exactly like I did the Prince de Neufchatel.
-
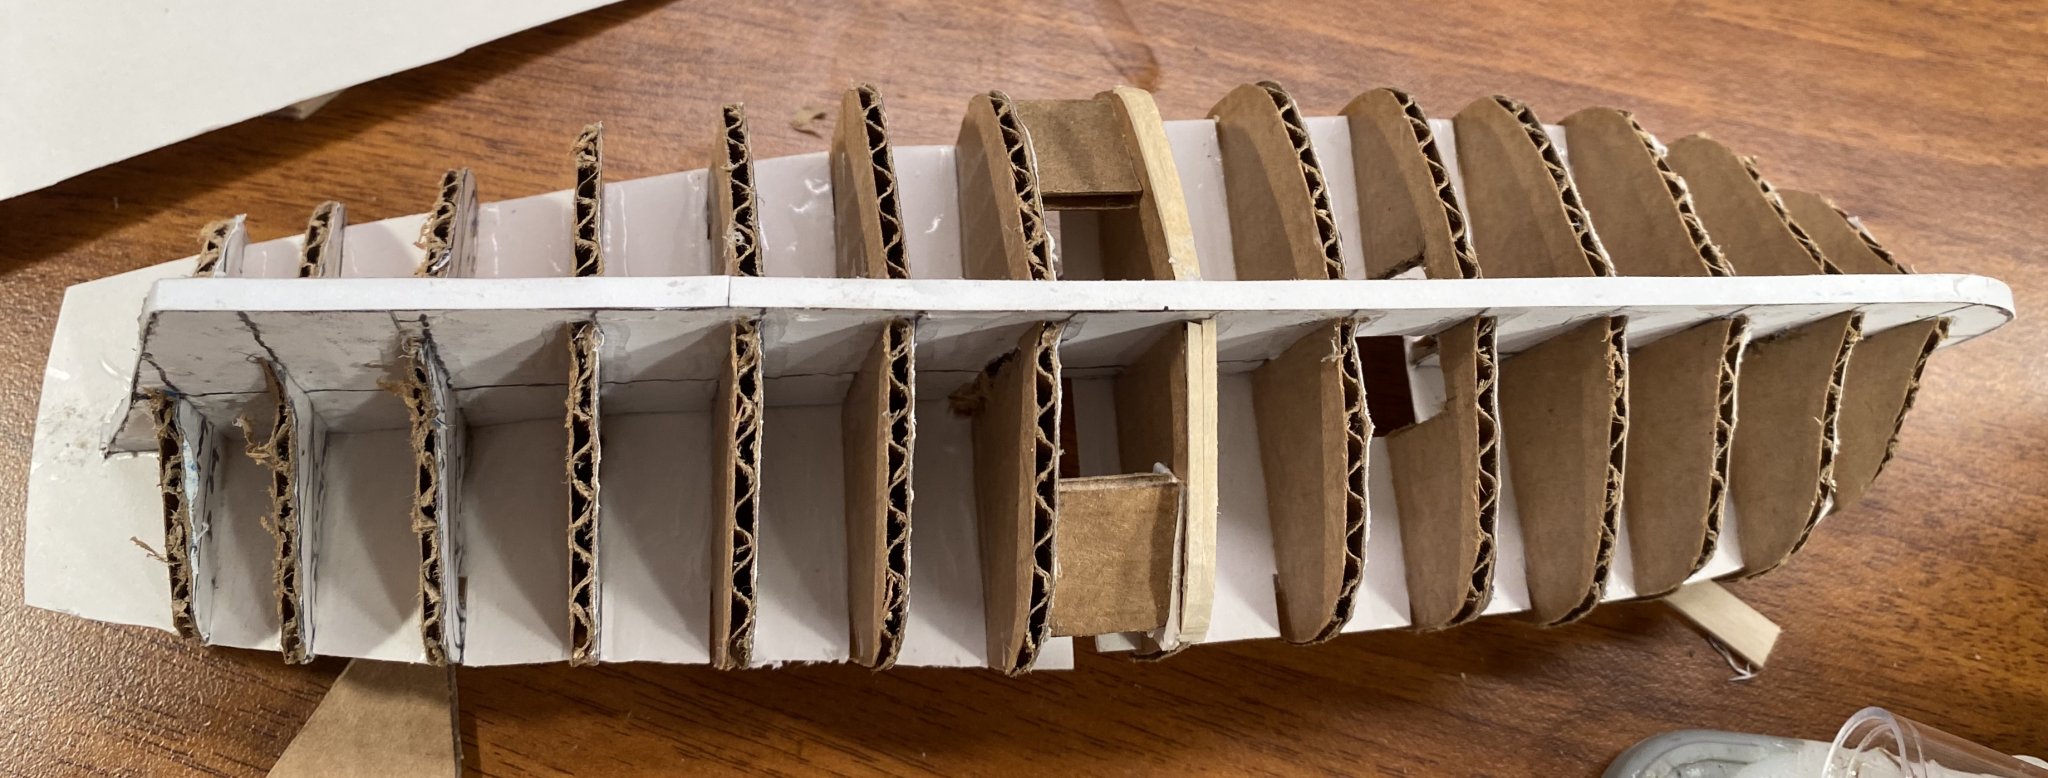
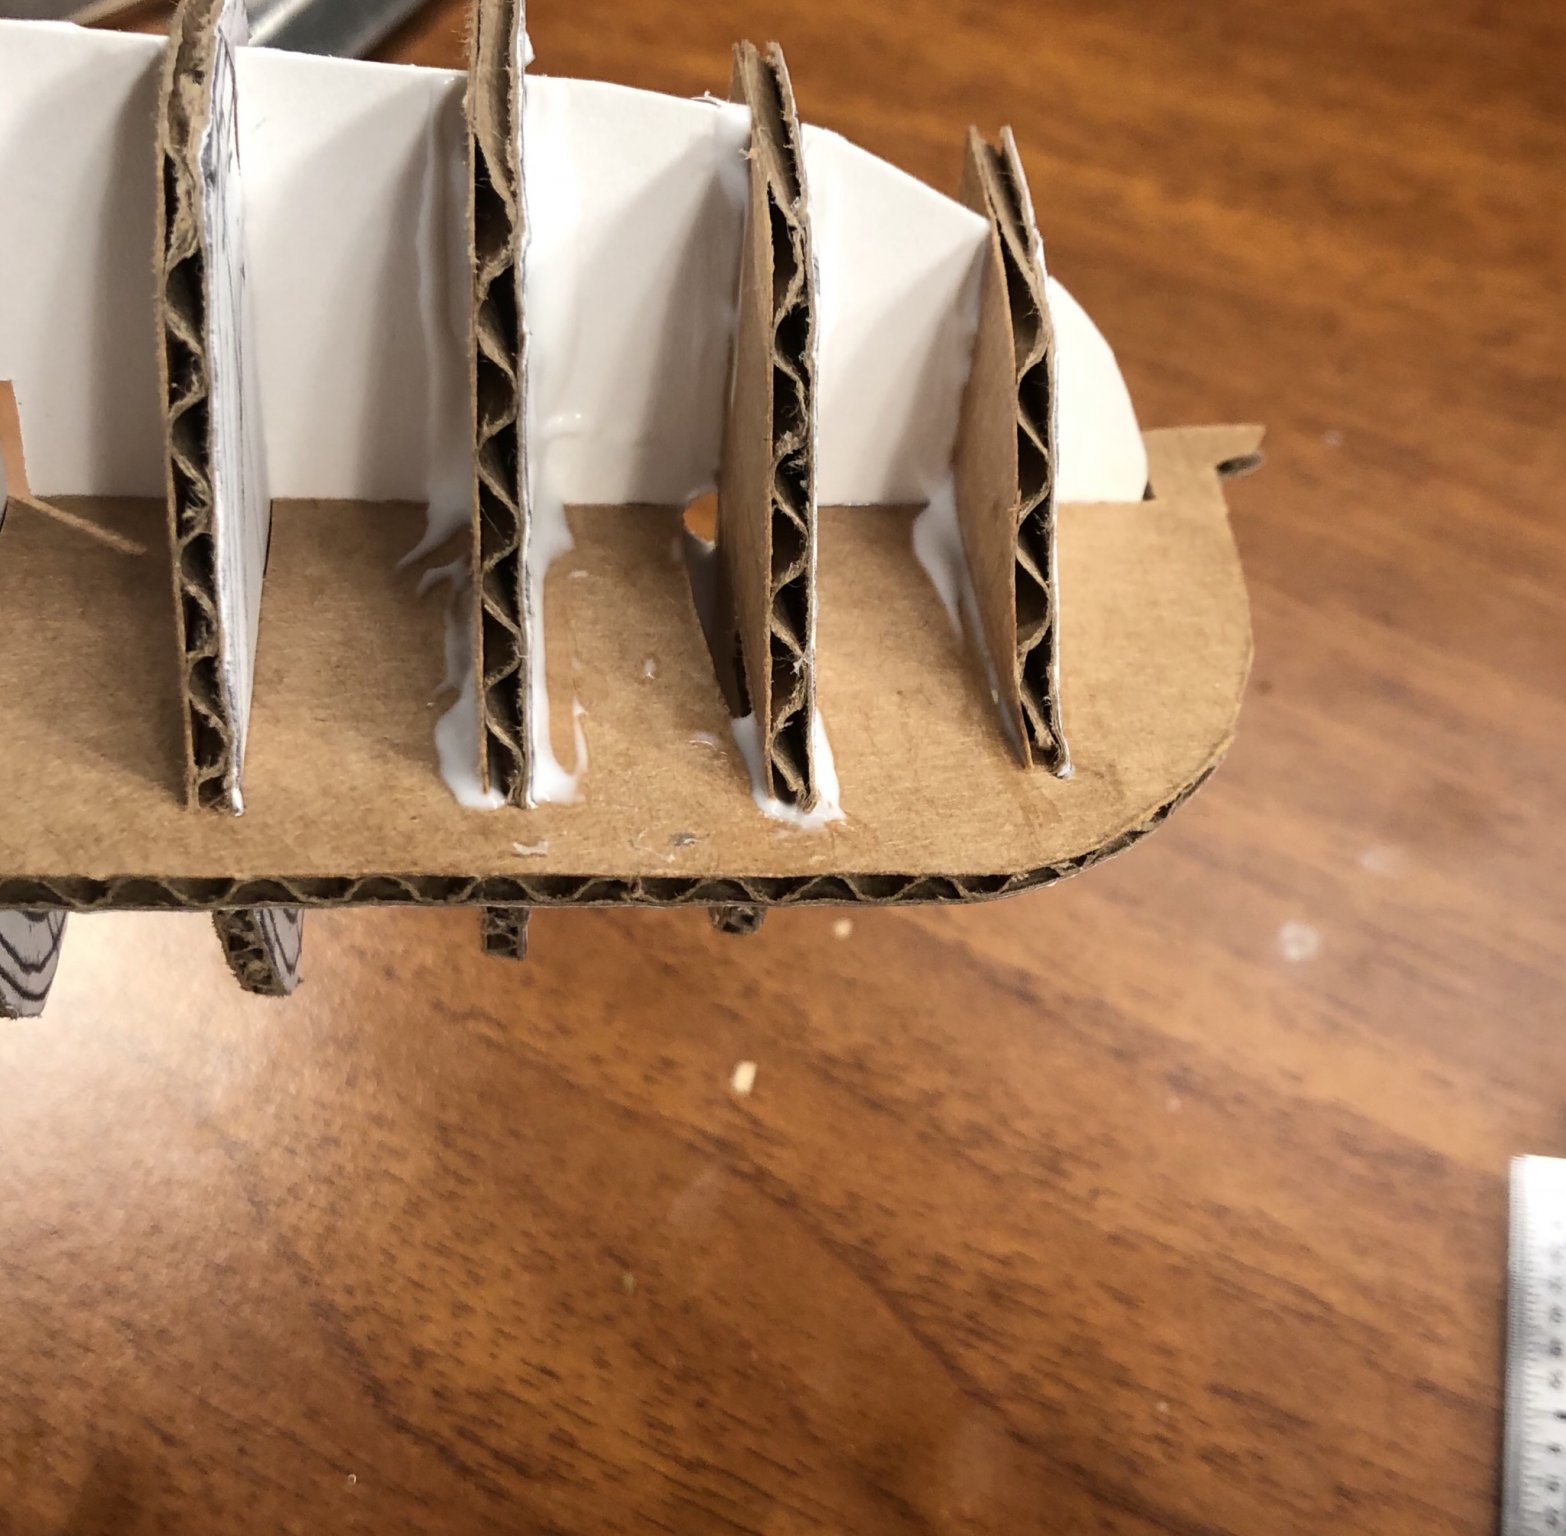
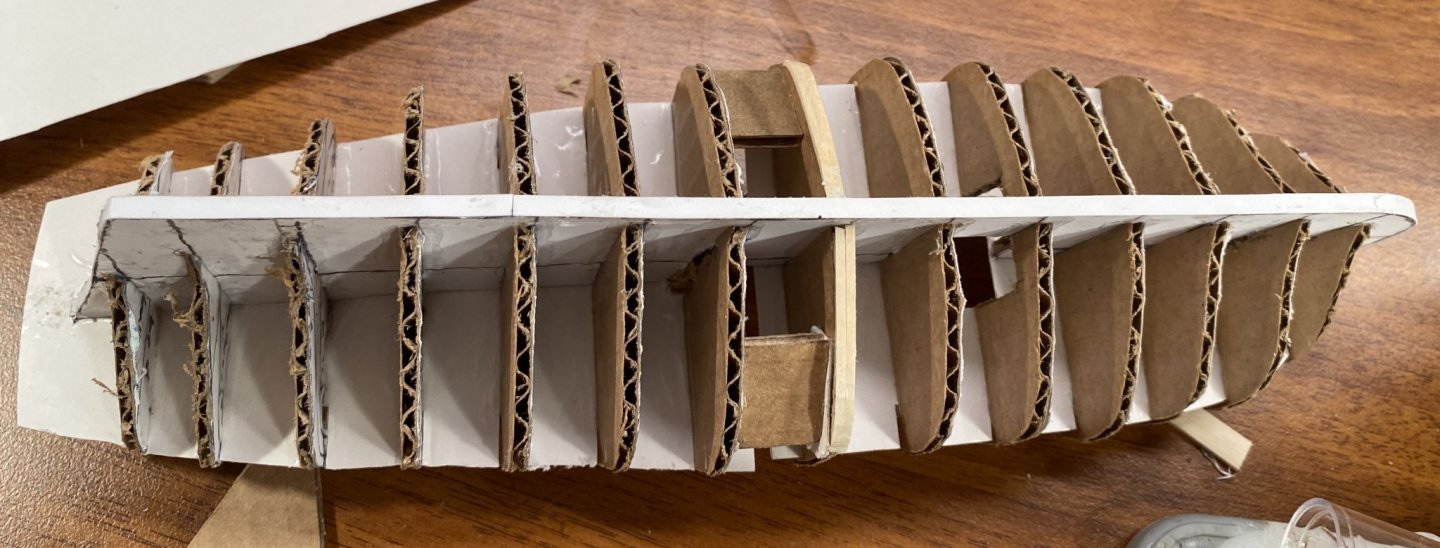
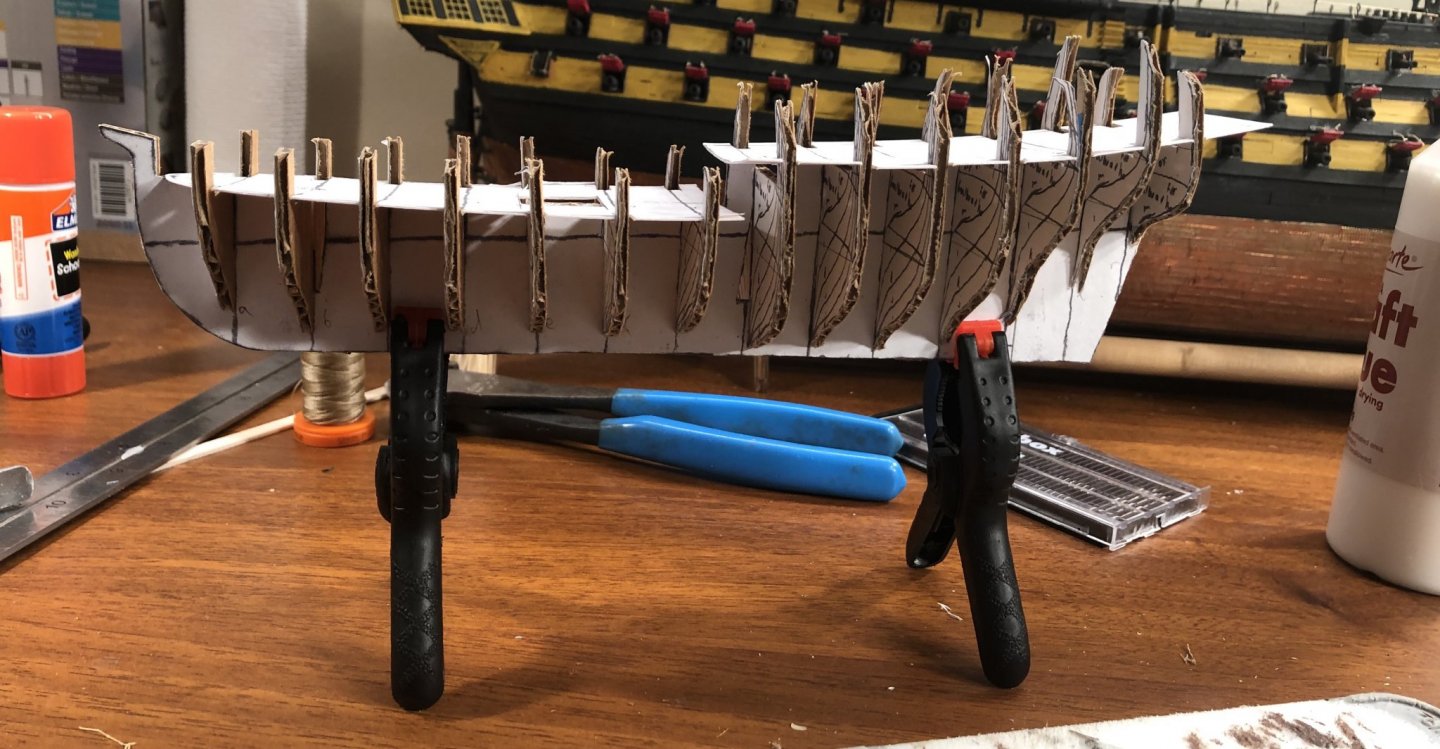
So far, so good: Everything is glued in place. I have identified a couple of bulkheads (l, the one sticking up in the back, and f), that are going to require some slight improvement. I will build them up with posterboard once they dry and do some minor reshaping. Note to self-person: check for this BEFORE you glue. I will also make some spacers where the two decks meet, between f and g, to correct a slight bend.

- 258 replies
-
- 10
-
-
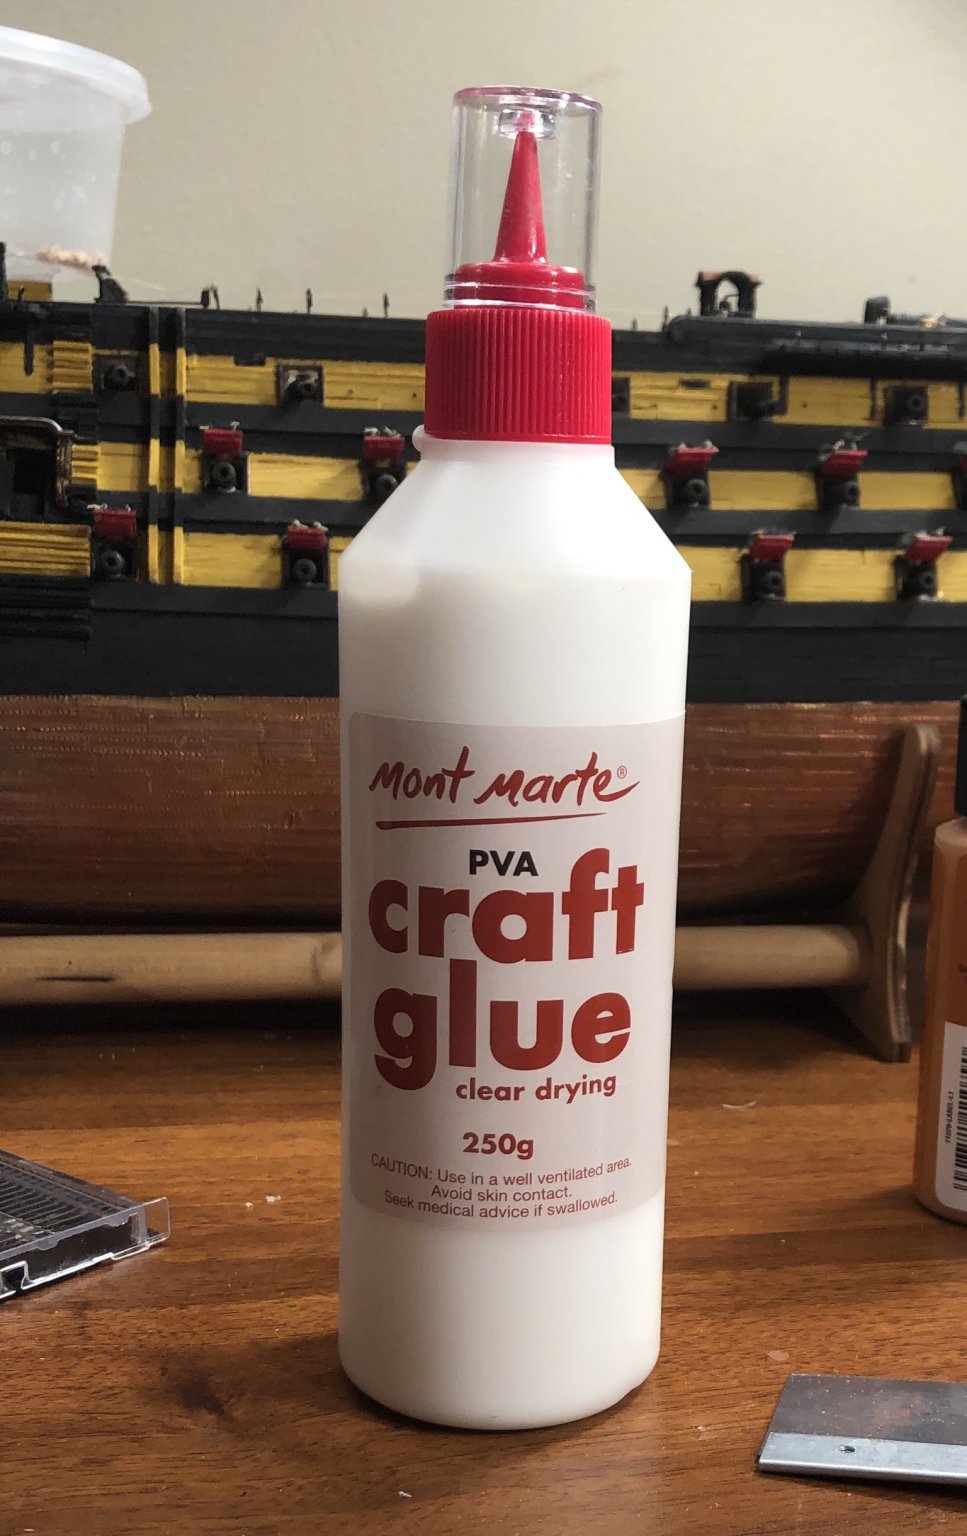
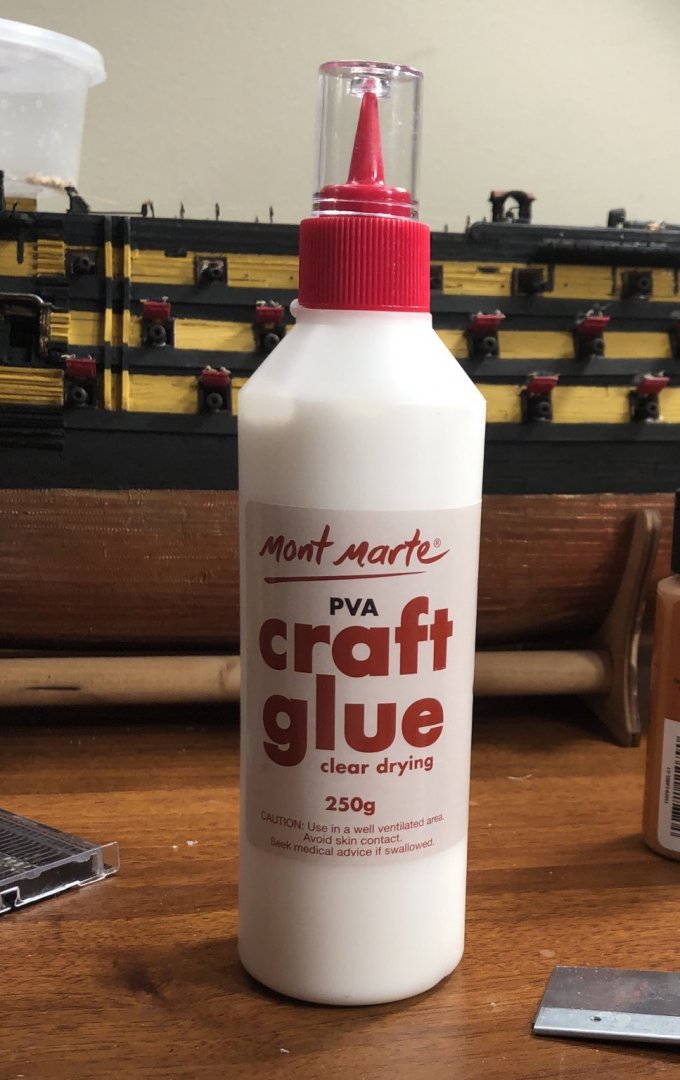
Dan, Thank you very much for the recommendation. I am using it for my current card build and it is working great.
-
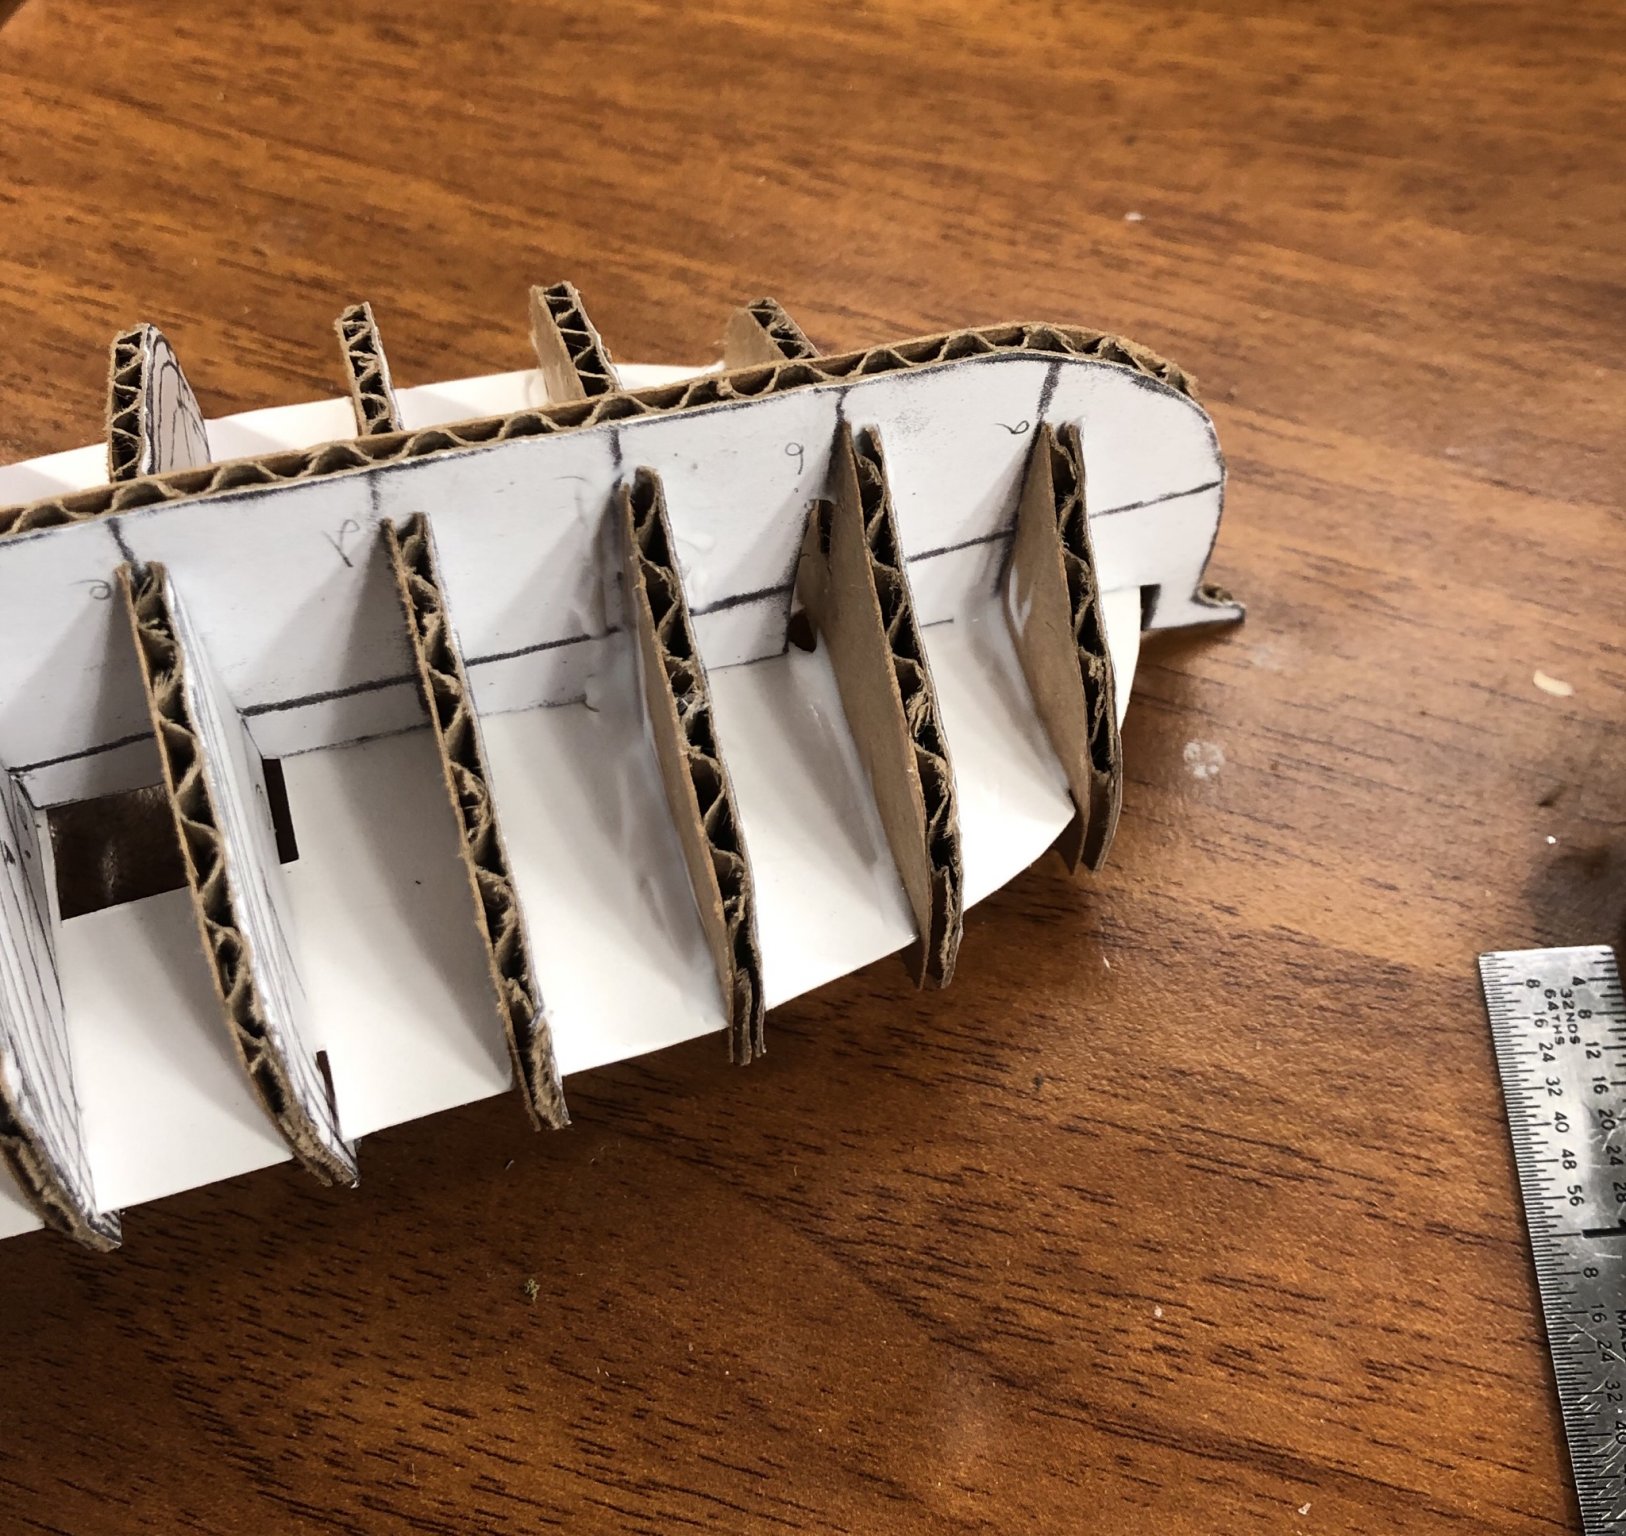
I have started gluing bulkheads: The Mont Marte glue is working wonderfully. A quick note: I have always had problems with making the frame of the model and covering it. I am good at the detailing part of the model, but I have a hard time with the early stages of a model. Another lesson learned from the past is that this does not matter if the model started as a kit, or from scratch. Once you cut out the hull framing parts, you have what primarily comes in most kits.


-
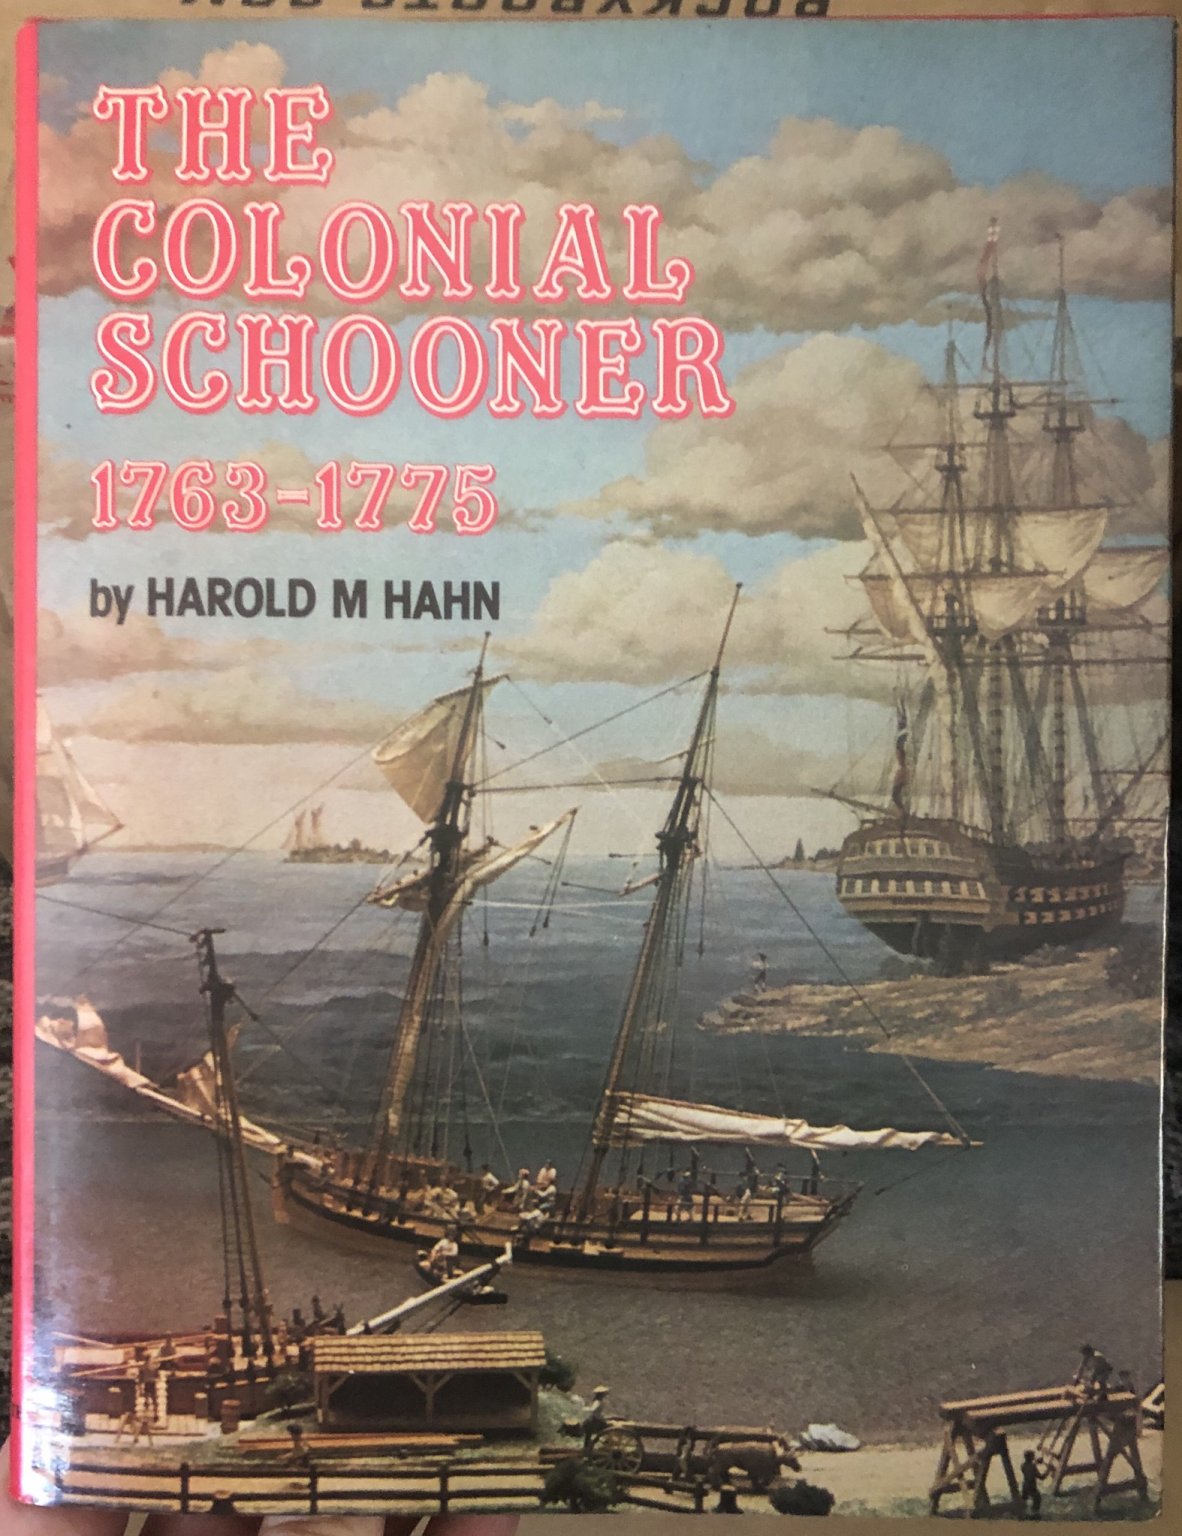
Welcome aboard! Gaetan, That book I have pictured has the plans for the schooners Hannah and Halifax. I think I paid about $20 for it on EBay. I finished cutting the bulkheads out and cut out the under decking. I glued the under deck to the top of the center keel piece, only. I will let it dry over night and then start gluing the bulkheads in place (which are currently loose). I am using Mont Marte PVA glue that I ordered off Amazon.
-
Here is Ab Hoving’s tutorial. This is a great resource to learn to scratch build from card. It is in the scratch build log area.
-
I use the Delta Ceramcoat Sealer.
-
The Victory still sits on my work table. She just shares it now with the other one. I will finish Victory, I have too much time and money invested in her to give up, lol. I just need a break.
-
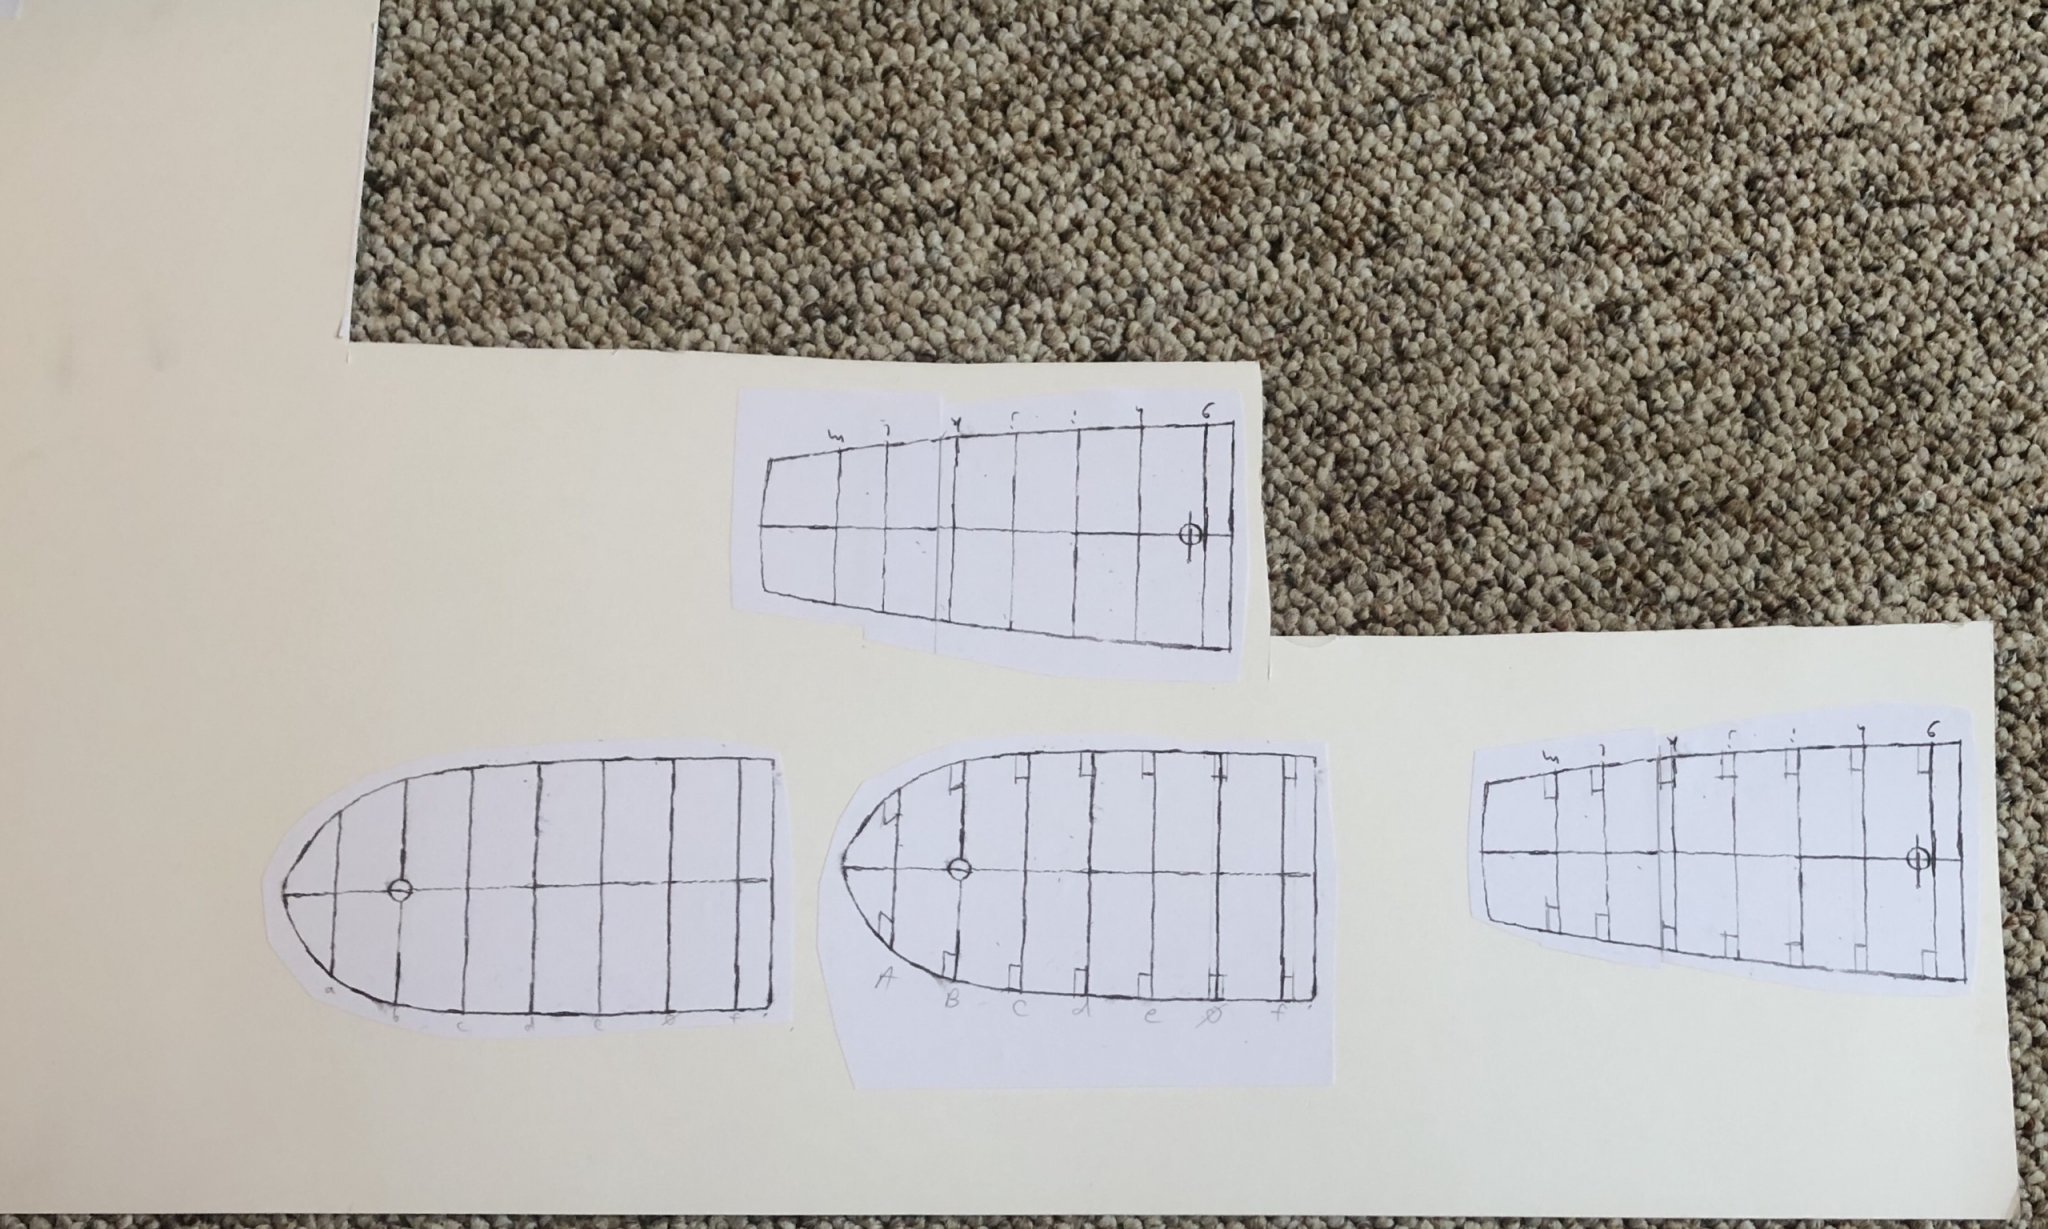
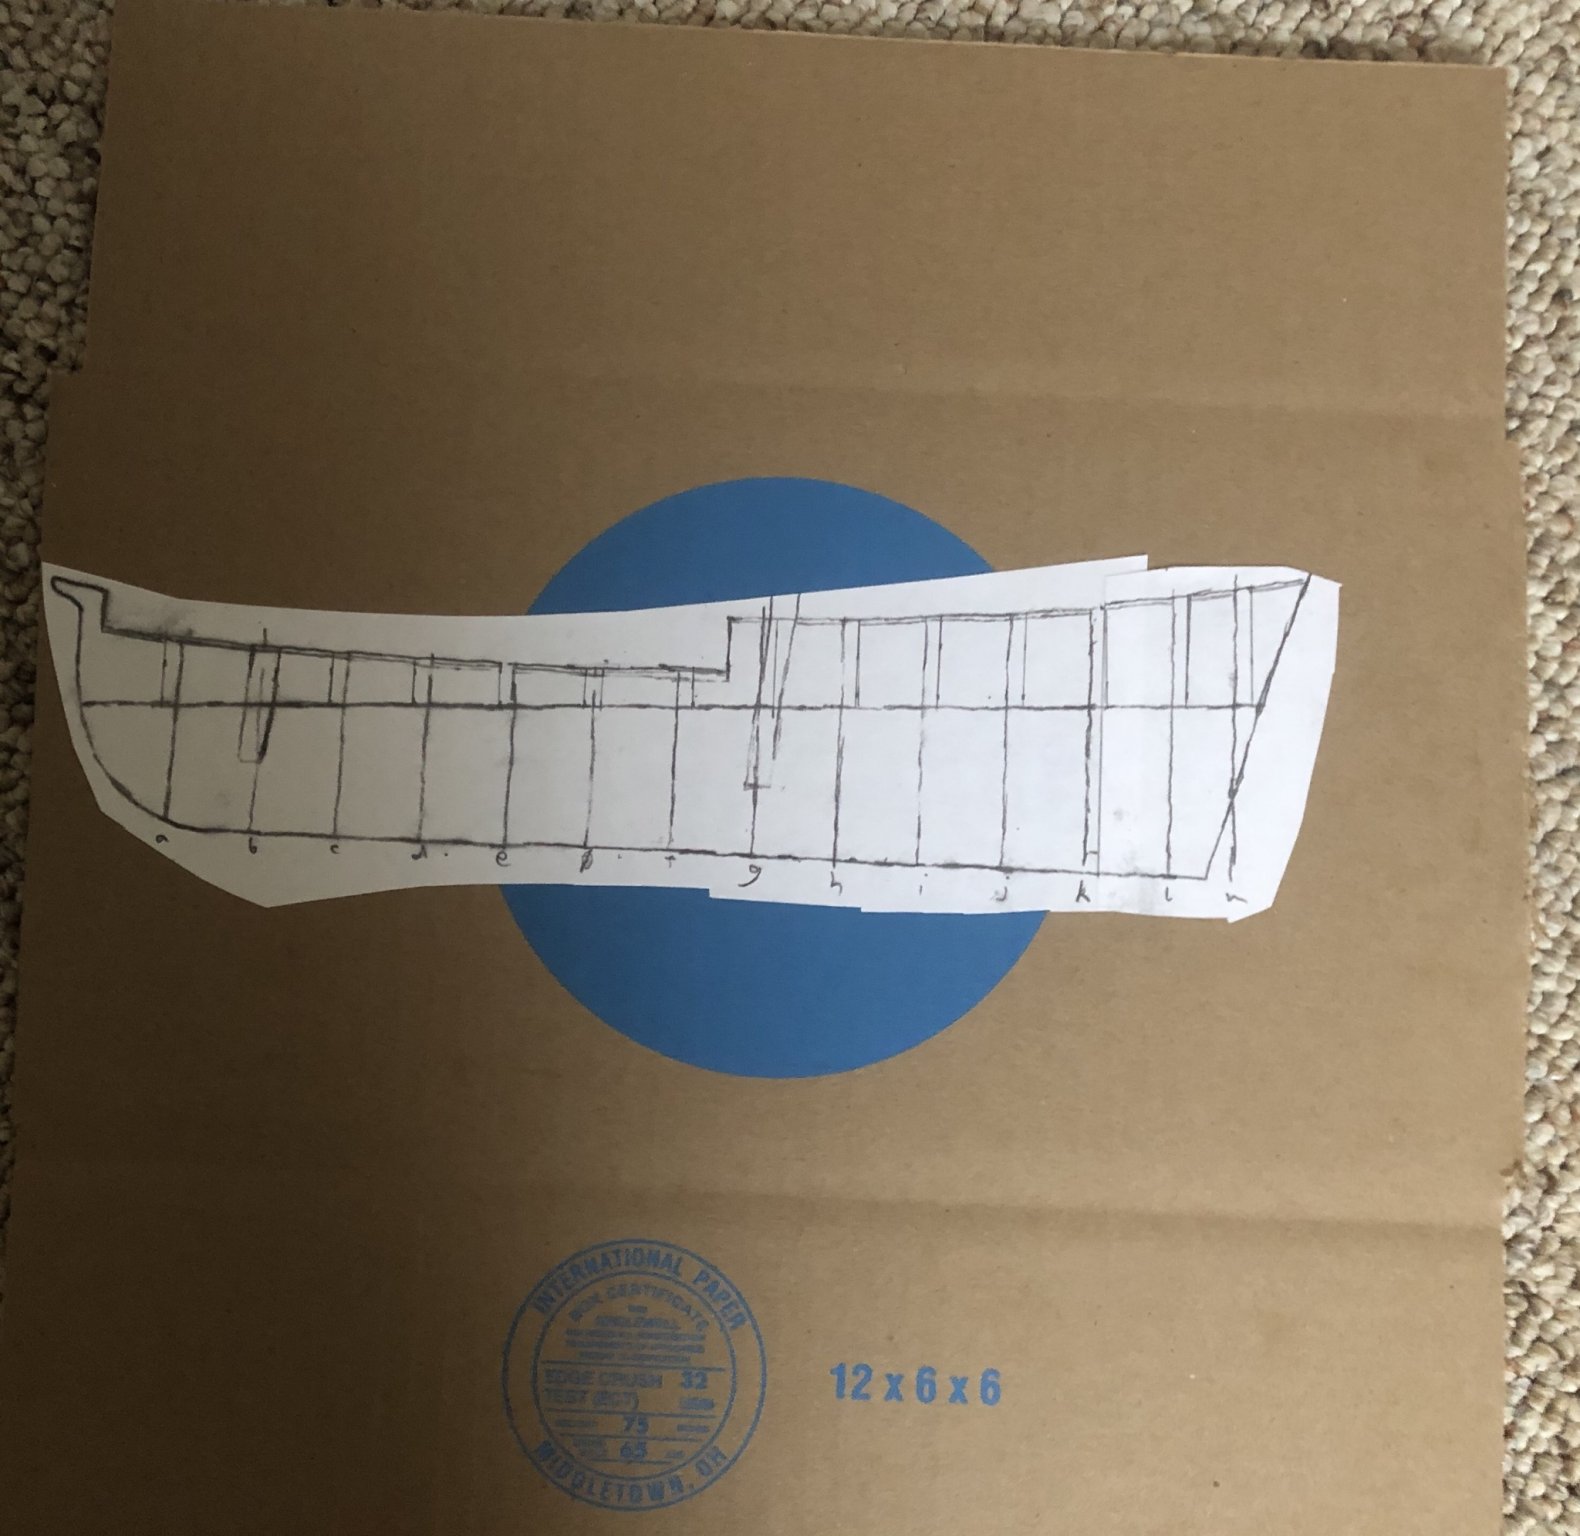
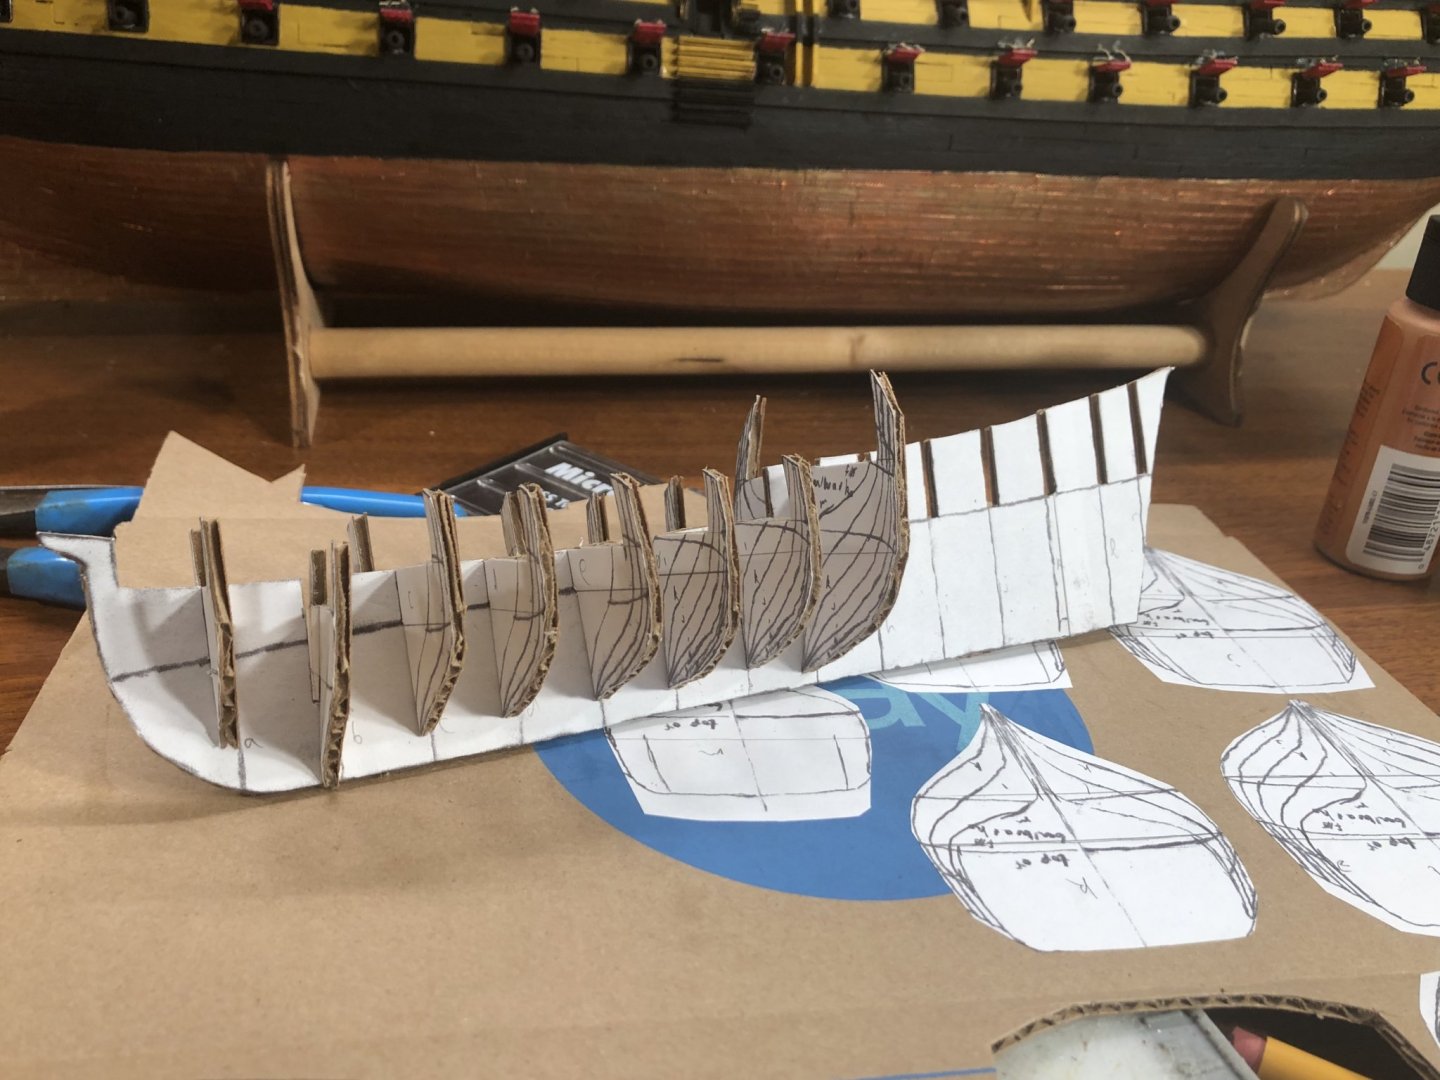
The first day’s work is done on Hannah: I did the hardest part. I converted the line drawings to bulkheads and laid out all structural parts on cardboard or poster board. Now, it’s just a matter of cut and assemble. This is a much easier build than my first scratch build. I’m still mostly using Ab Hoving’s methods. I just modified them a little bit. If you haven’t seen his tutorial on this website, I strongly recommend it. He lays everything out very neatly and explains the whole process very well. I built the Prince de Neufchatel after I read it, following it.
- 258 replies
-
- 13
-
-
At this point, I have drawn out and prepped most of what would be included in a kit. All bulkheads are ready to cut, the center keel plate is ready to cut, and both the under deck and top layers are ready to cut. I am pretty much building this like any other plank on bulkhead model, just using cardboard from a box instead of plywood.

- 258 replies
-
- 10
-
-
I thank everyone for your support. I apologize, but the Victory is starting to aggravate me again. I'm going to take a step back and build a schooner. I have started a build log for the schooner Hannah from the mid-1760s over in the scratch build section. The last time I did this, my progress on Victory increased exponentially after I finished my side project.
-
Thank you, VTHokiEE! The bulkheads, center keel plate and decks have been traced onto tracing paper and resized with a copier.
-
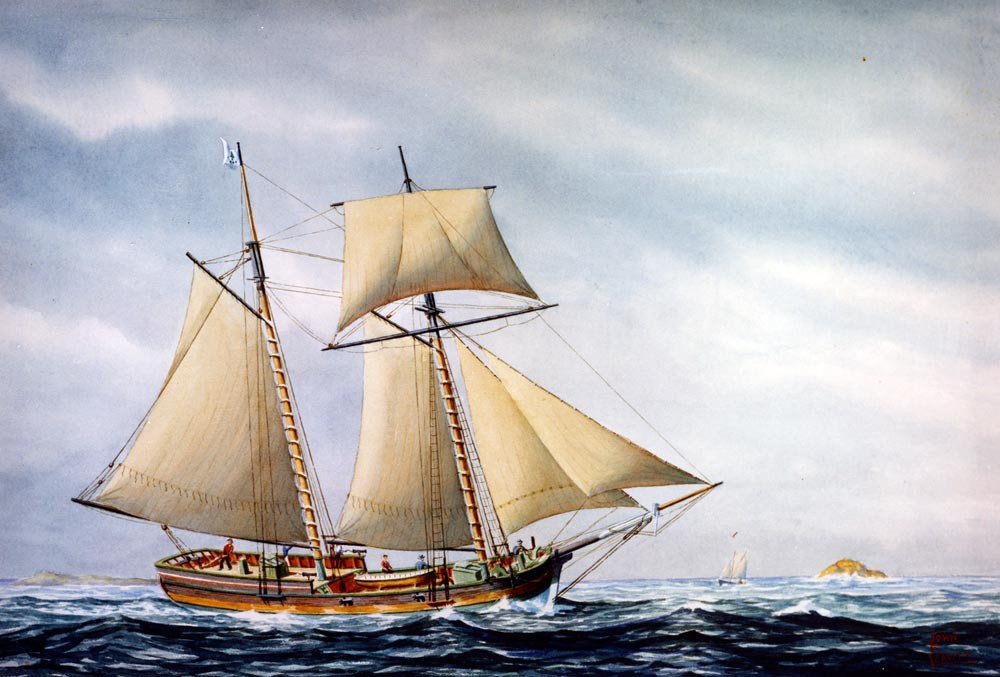
I bought the Harold Hahn book, “The Colonial Schooner” a while back. This is an excellent book. It has the plans for the Hannah and a couple other schooners. Harold Hahn built his models in an admiralty style. I’m not that good. I like to build plank on bulkhead. However, the book has hull lines and where there are hull lines, there can be bulkheads easily made. I have discovered that card works beautifully for me. So I am starting with this: and turning it into this: The picture is from the US Navy’s History and Heritage Command. I chose the Hannah because I would like to make a relatively quick build. Schooners have very easy to make rigs and are relatively simple to make. The Hannah has a very simplistic design with a simple head and no decorations at all. She will make a nice change of pace from the Victory. I am building in 1/72 scale because it is a very convenient scale that is large enough to get as detailed as you want without having to work at super small scale. It will also match the Prince de Neufchatel’s scale.


- 258 replies
-
- 13
-