GrandpaPhil
-
Posts
6,157 -
Joined
-
Last visited
Content Type
Profiles
Forums
Gallery
Events
Everything posted by GrandpaPhil
-
Sails make a model look awesome. They can be a lot of work, but are absolutely worth it. I’m looking forward to seeing this!
-
Welcome!
-
Welcome!
-
Welcome!
-
Running the shrouds (particularly getting the spacing on the deadeyes) is the hardest part of rigging for me. Well done on yours.
- 15 replies
-
- 1
-

-
- supply
- artesania latina
- (and 1 more)
-
A Baltimore Clipper always makes for a fun build! Looking forward to seeing this build.
-
Welcome!
-
Welcome!
-
Welcome!
-
Why give up? Your Speedy looks good and you’ve already done the hard part. If you don’t like the copper, remove it. An alternate paint scheme is to paint the bottom a dingy white color (the old leaded paint that was used in the 17th and 18th centuries). Conversely, metallic copper paint also looks good on the bottom of a wood vessel, I’ve used it for a couple of models. I used copper tape for my Victory and my Prince de Neufchatel. It worked beautifully. Please feel free to check out my build logs on how I did it. The build log for the Prince de Neufchatel is probably more helpful, because I had figured it out by then.
-
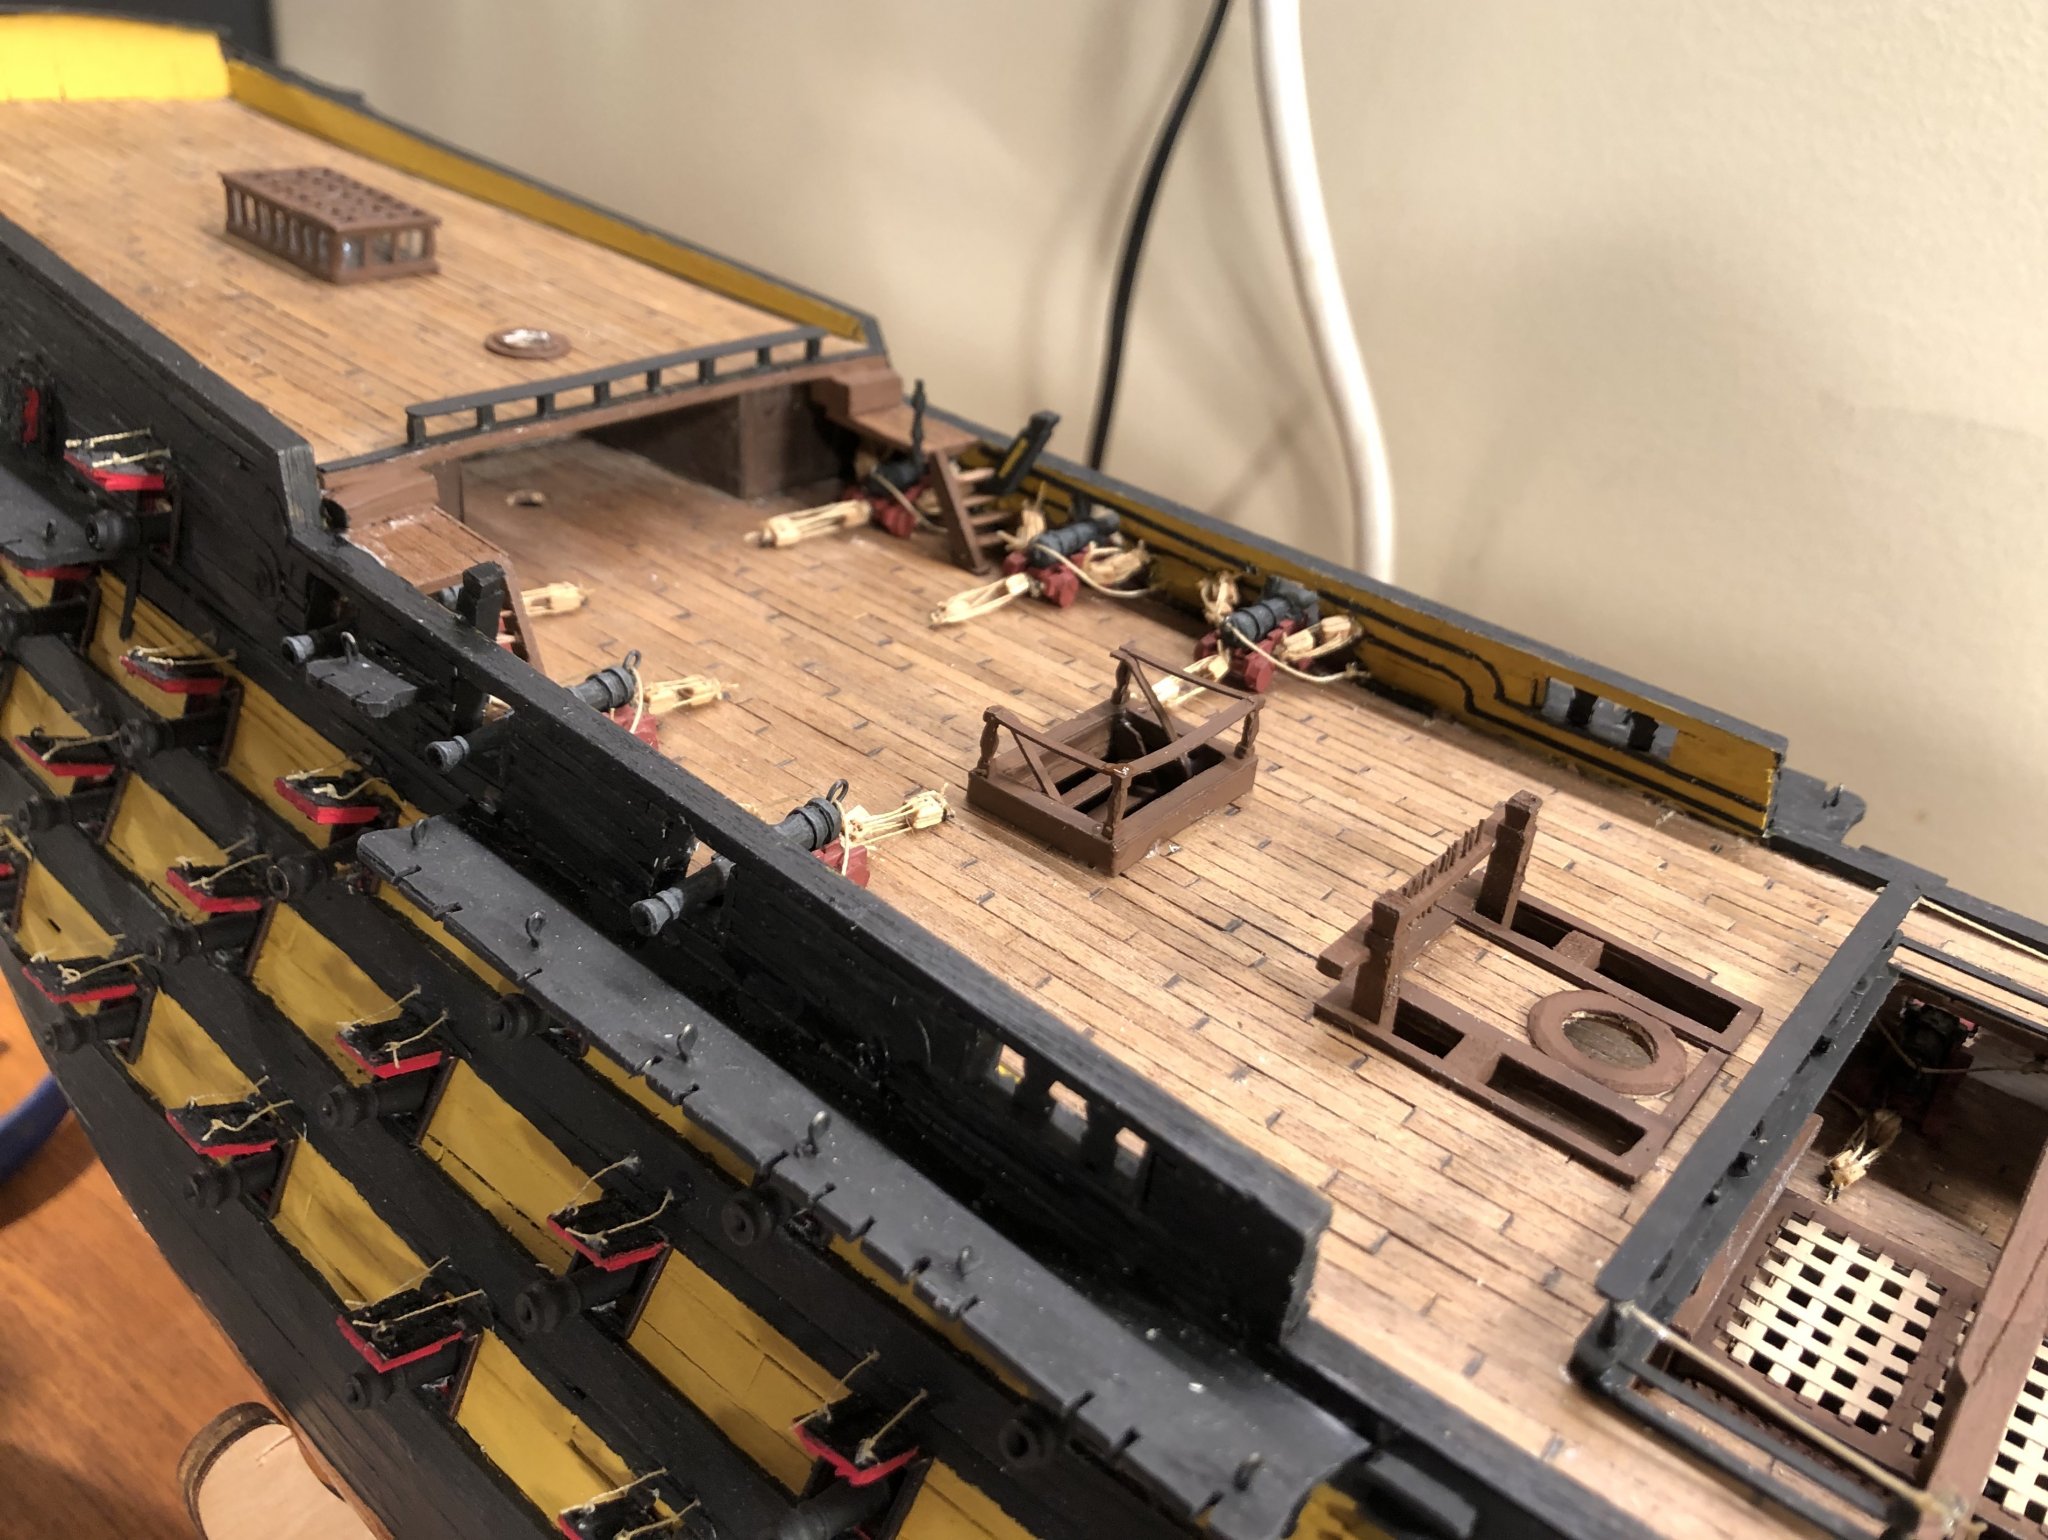
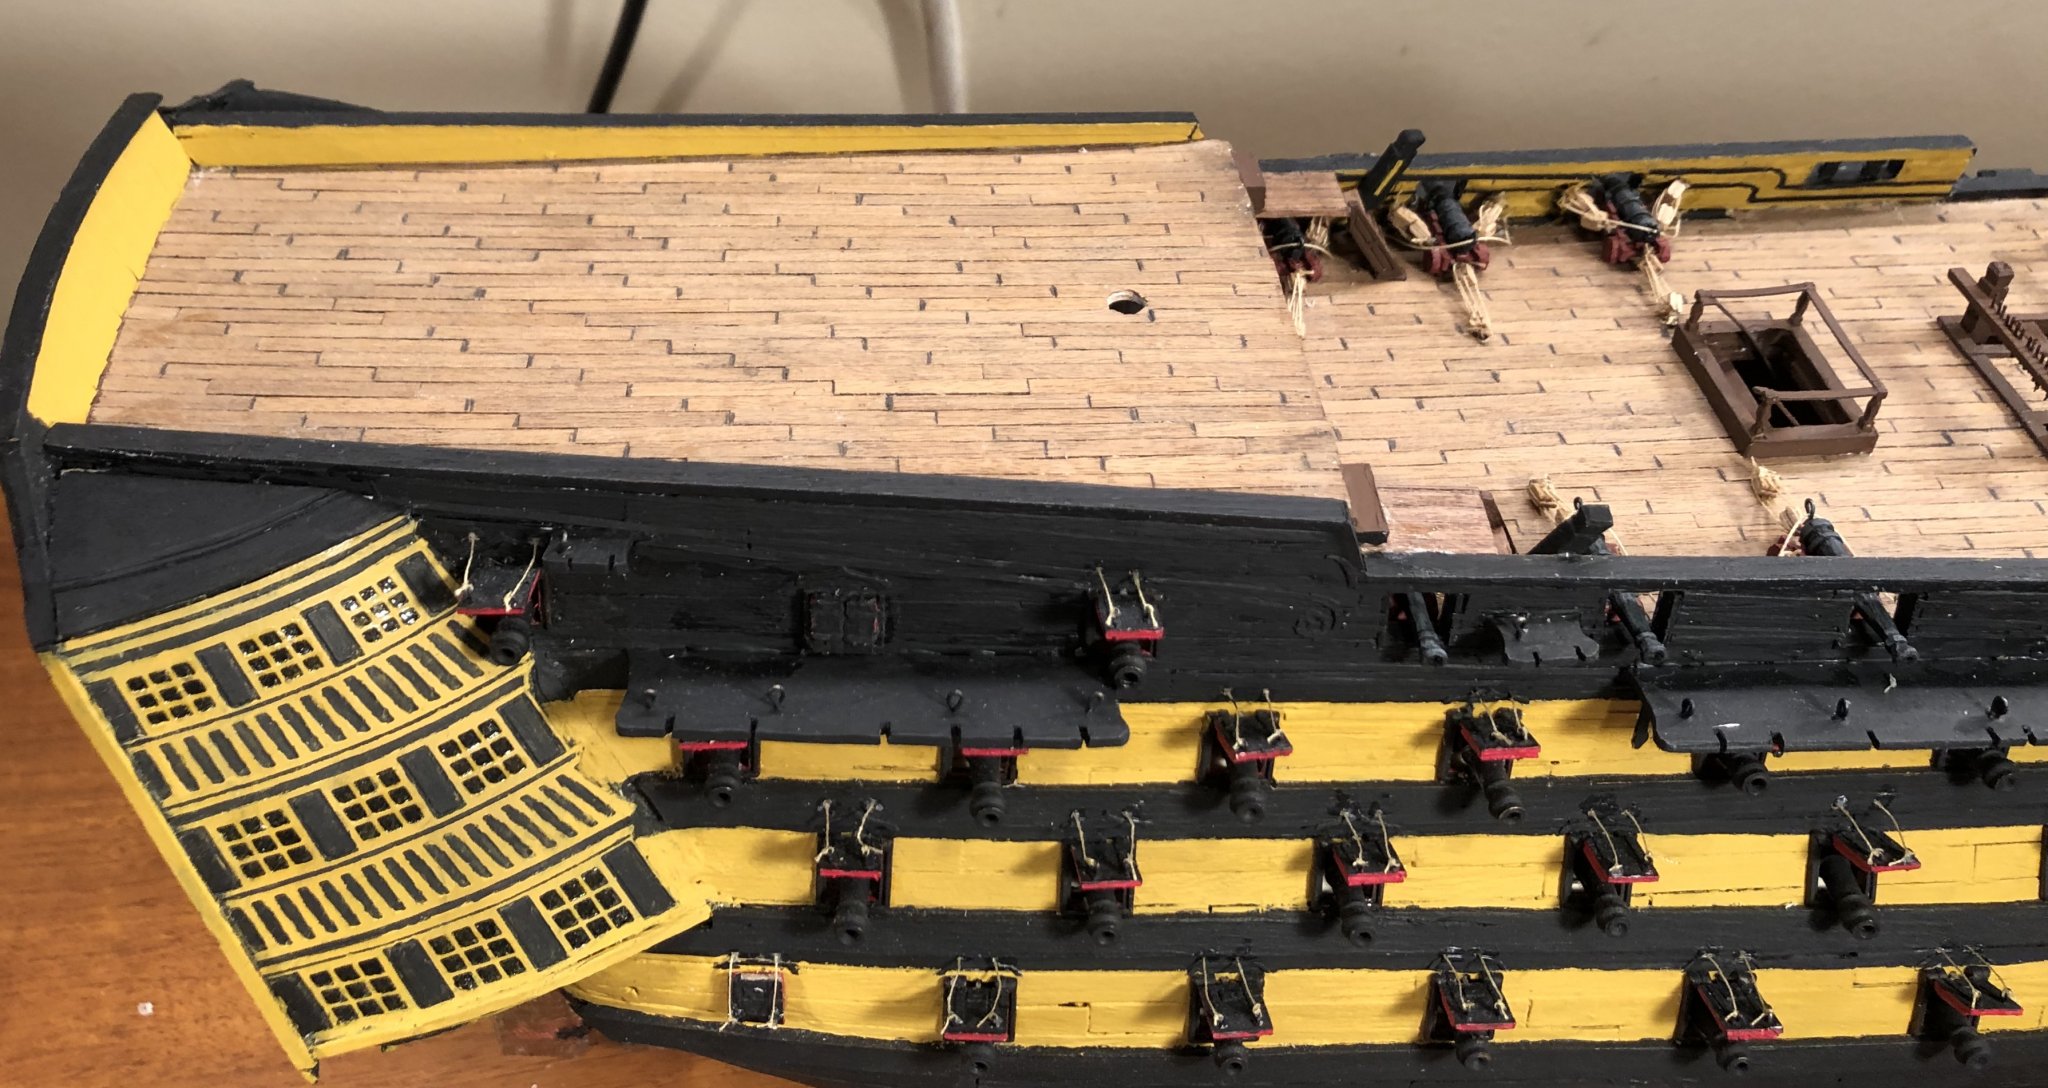
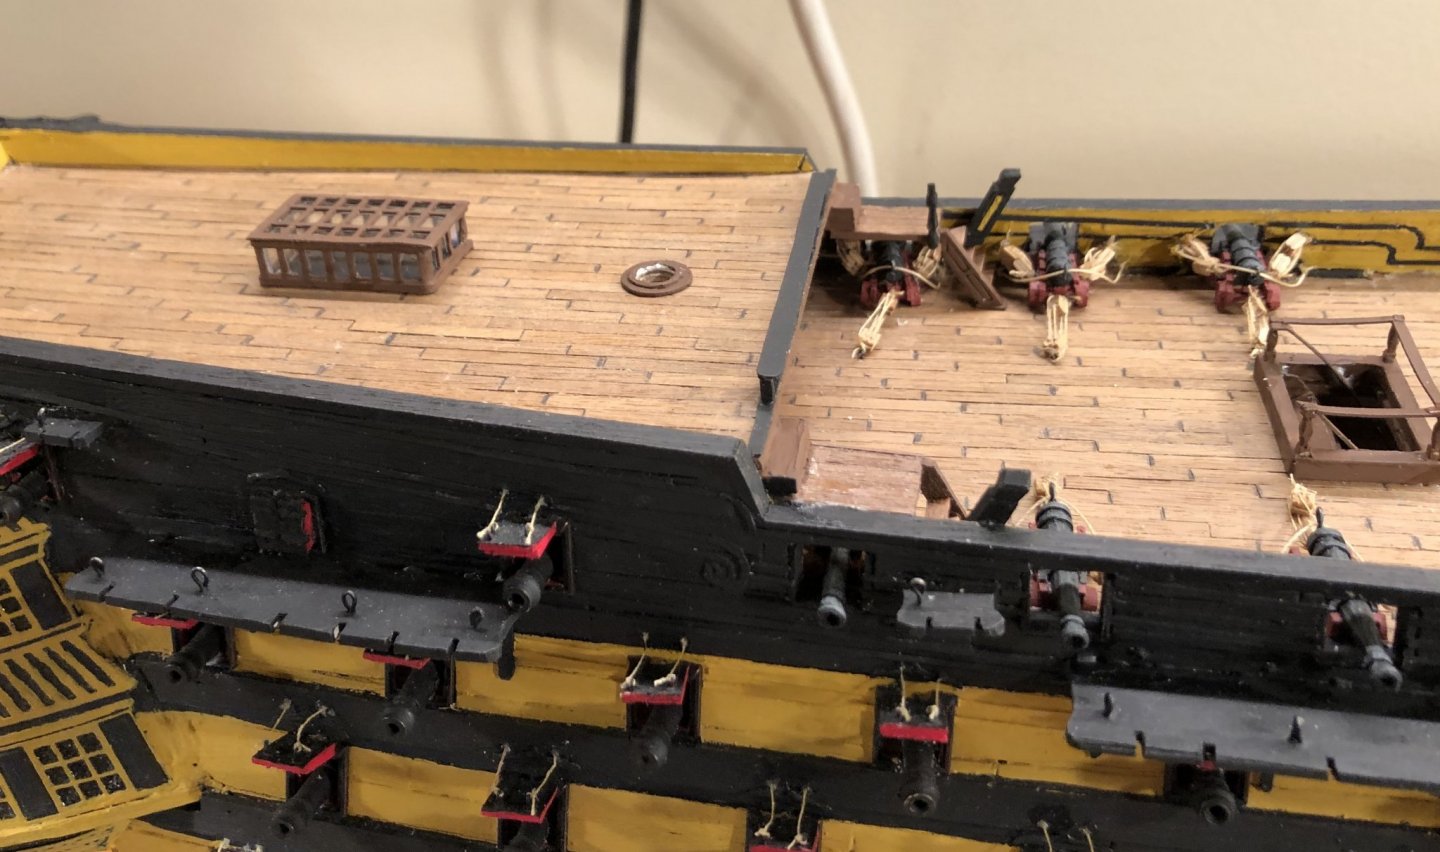
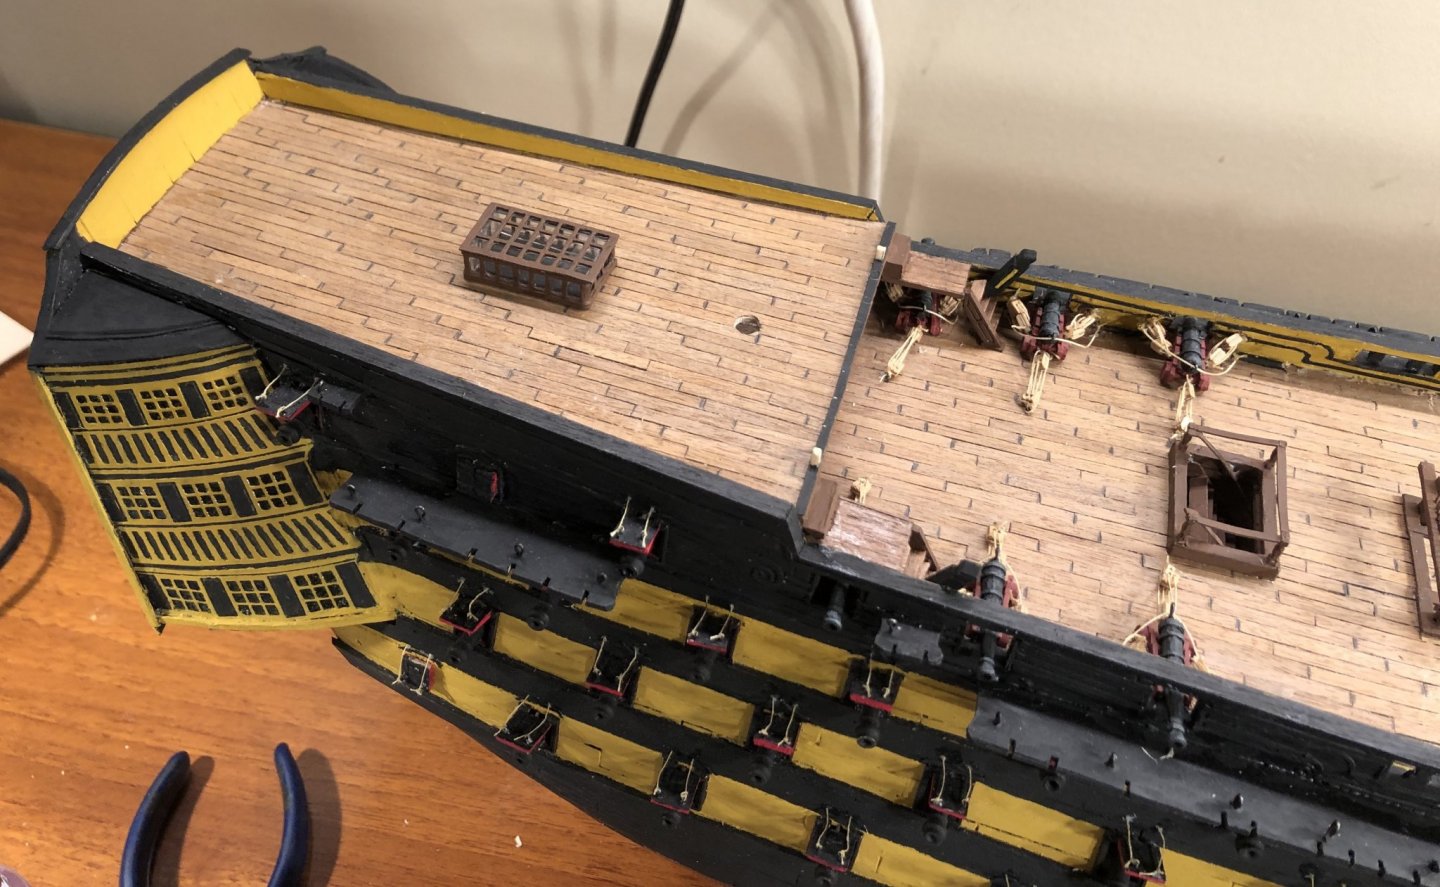
Thank you very much! The railing on the poop deck is made. The mizzen mast coat is done and installed. The remaining stanchions for the ladders are awaiting paint. They broke during carving and had to be glued back together. The pattern for the mizzen mast bitts are glued to the wood. The horns for the staghorns and the patterns for the giant cleats on the poop deck are glued down. I discovered from pictures taken by a member of this forum, and posted on YT’s build, that the flag lockers are removable cabinets that are not permanently installed. I will make them after I make the knees on the transom (which are on my to do list).


-
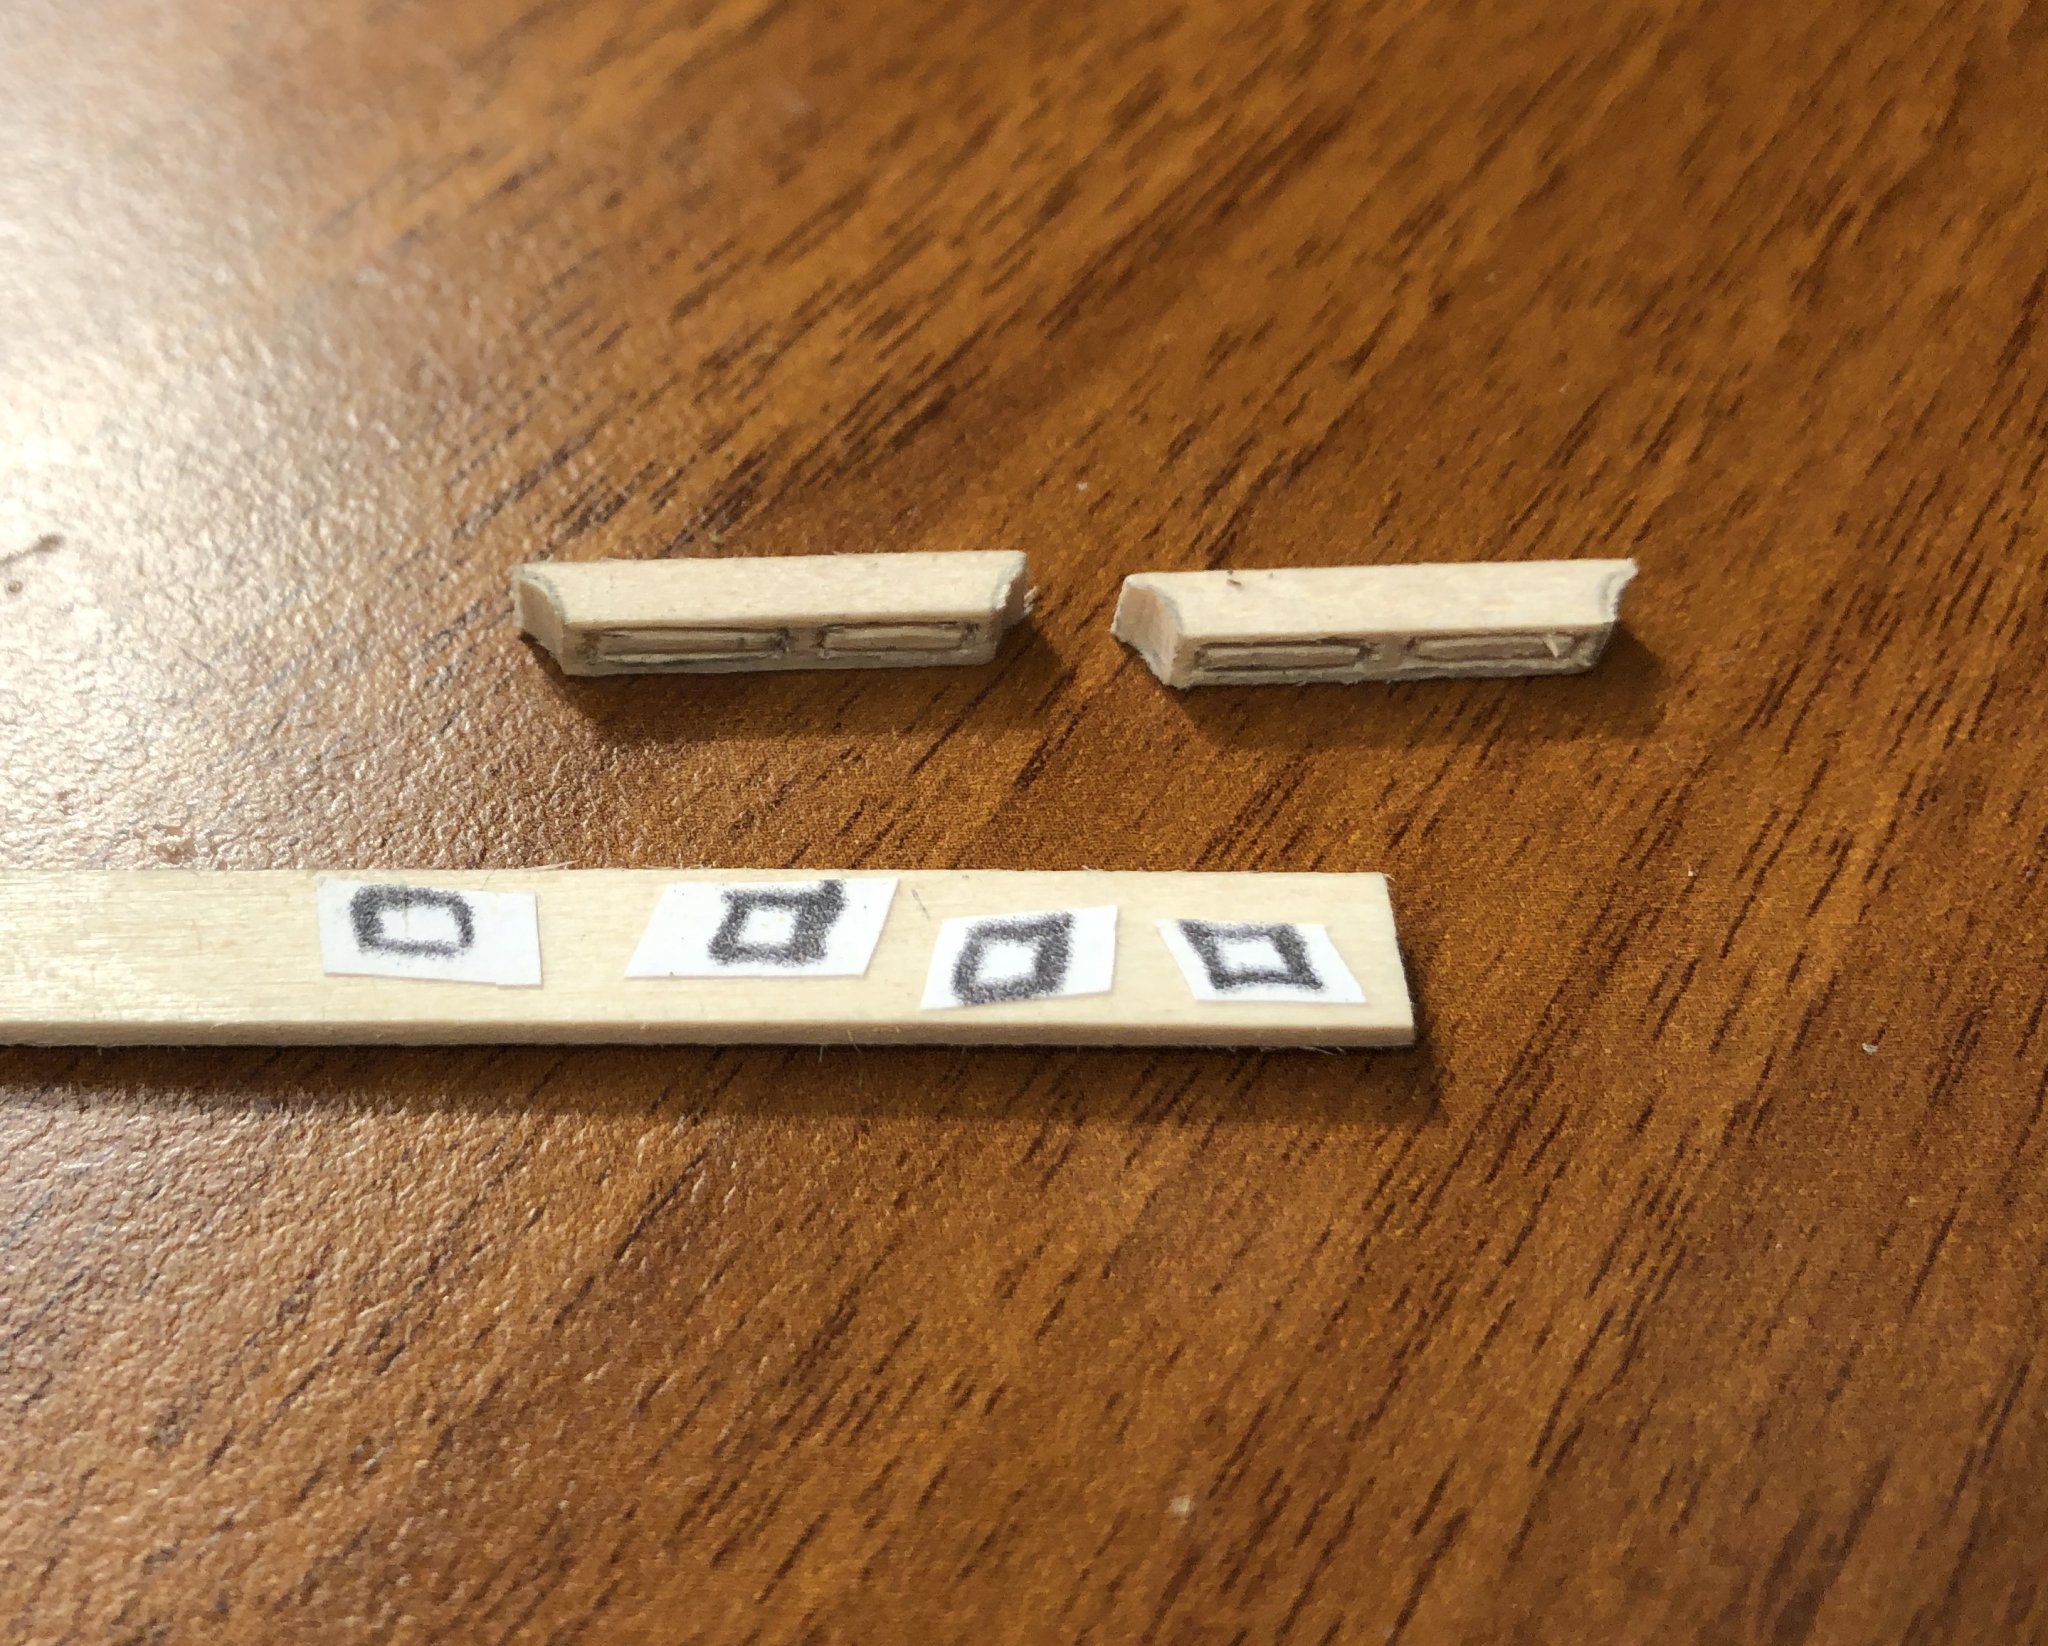
I use card very heavily. It is a very versatile and useful material. The poop deck is no longer empty:
-
The interior is painted and windows are being installed. I found a sheet of acrylic at a thrift store a couple months ago and grabbed it for model windows.

-
Welcome!
-
Welcome!
-
Welcome!
-
Welcome!
-
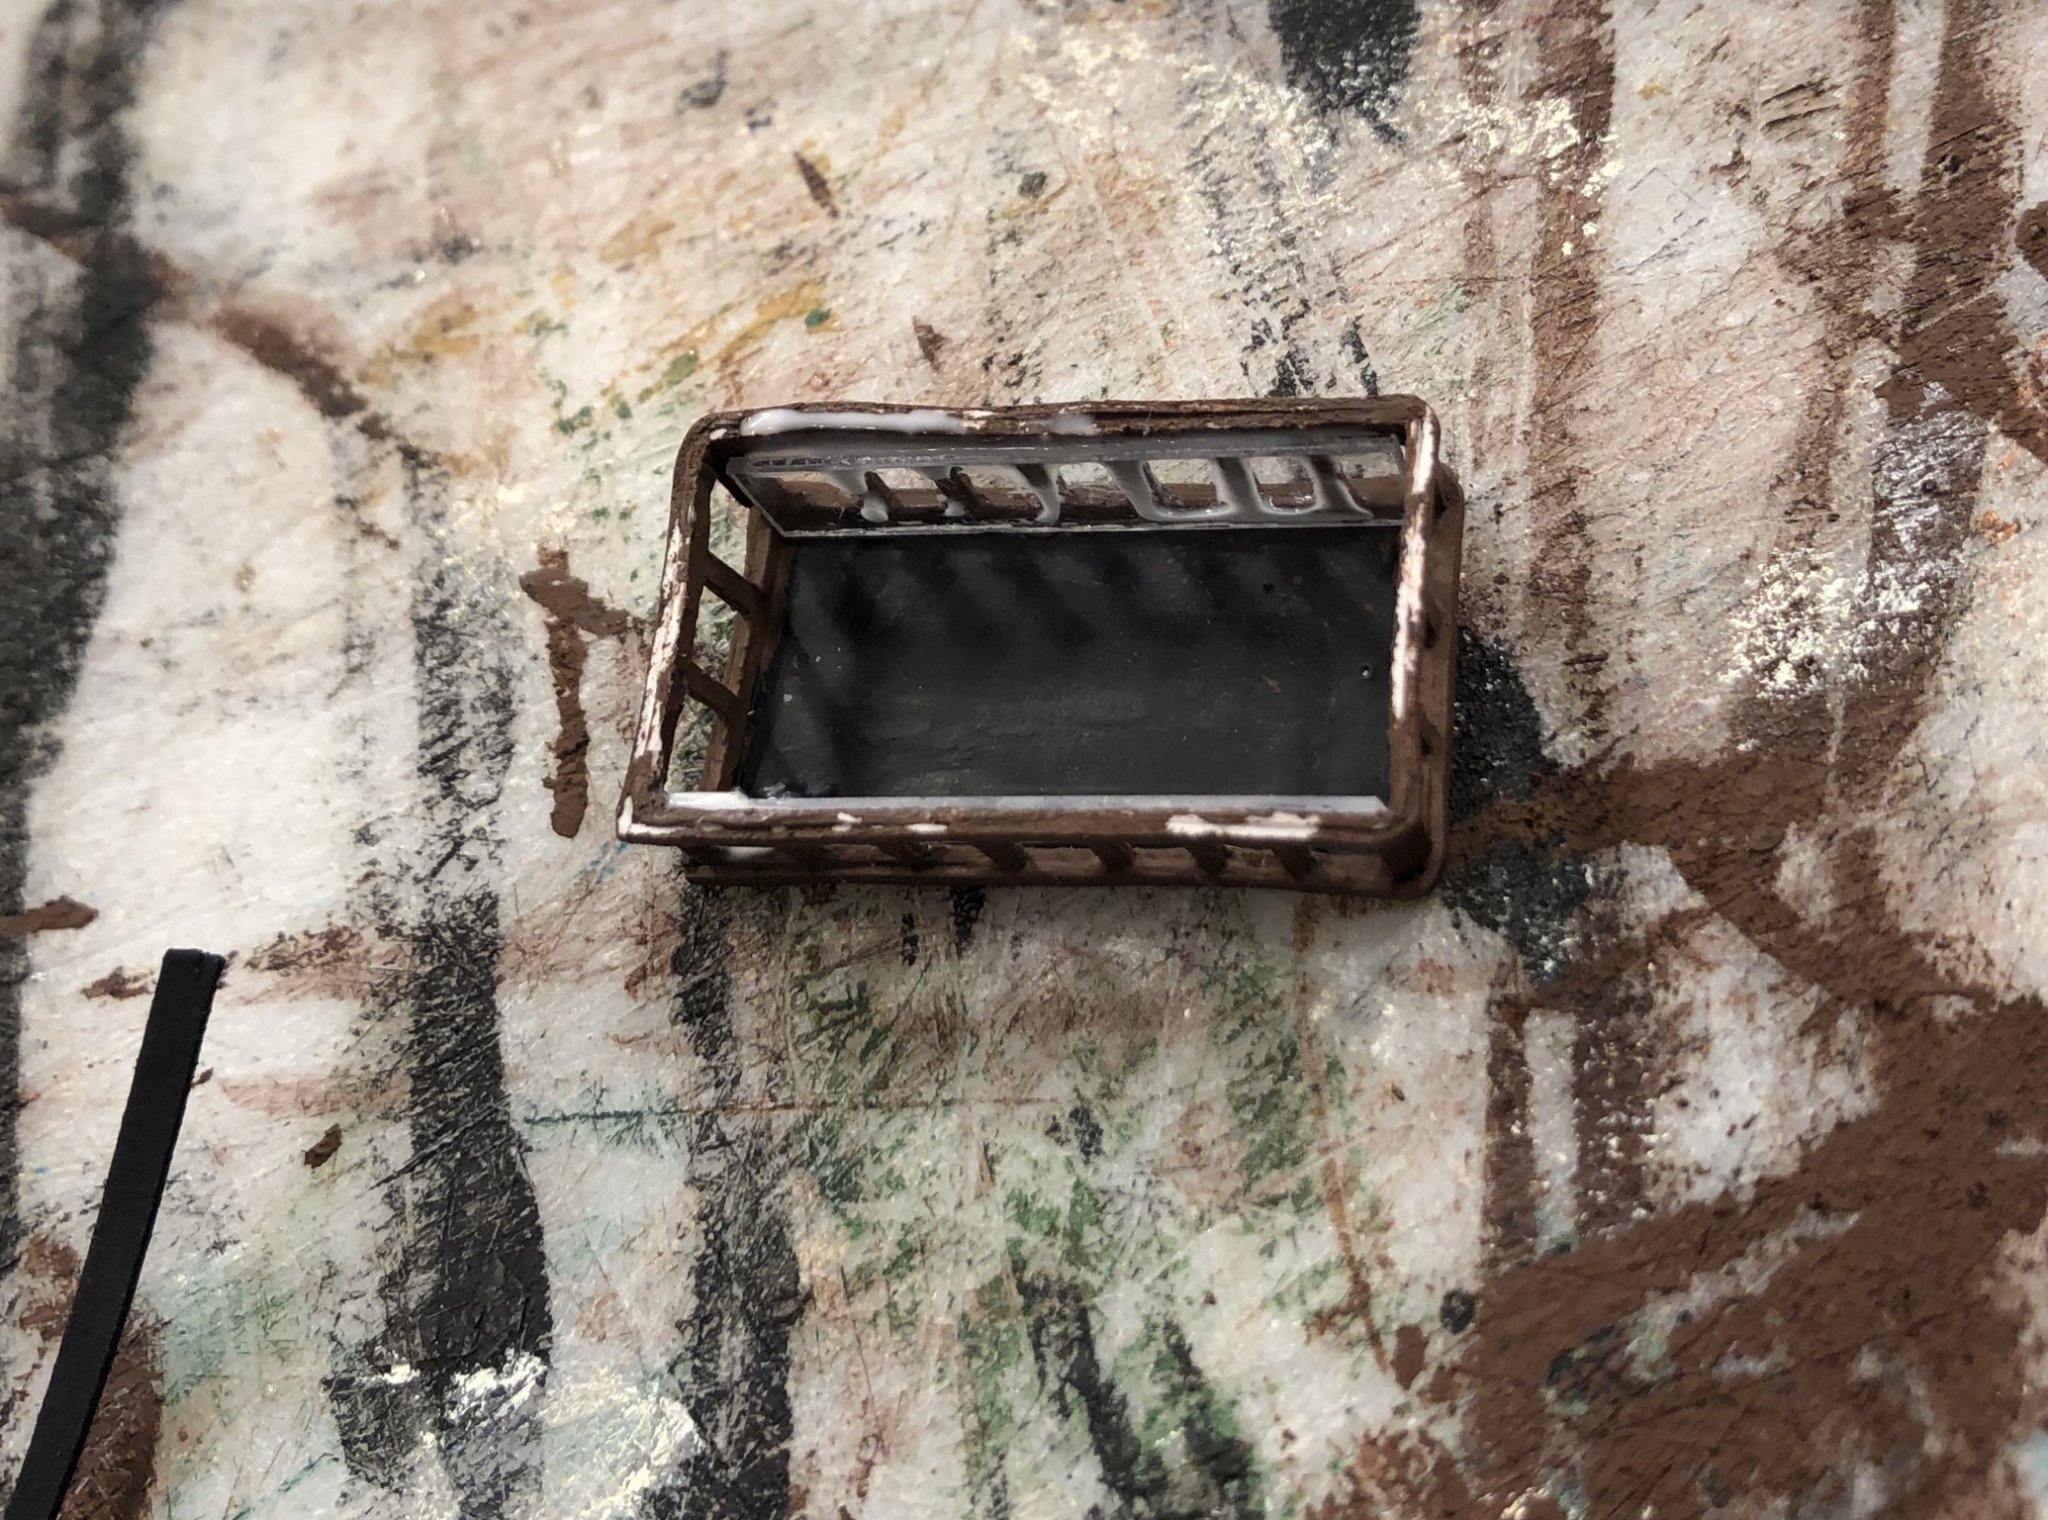
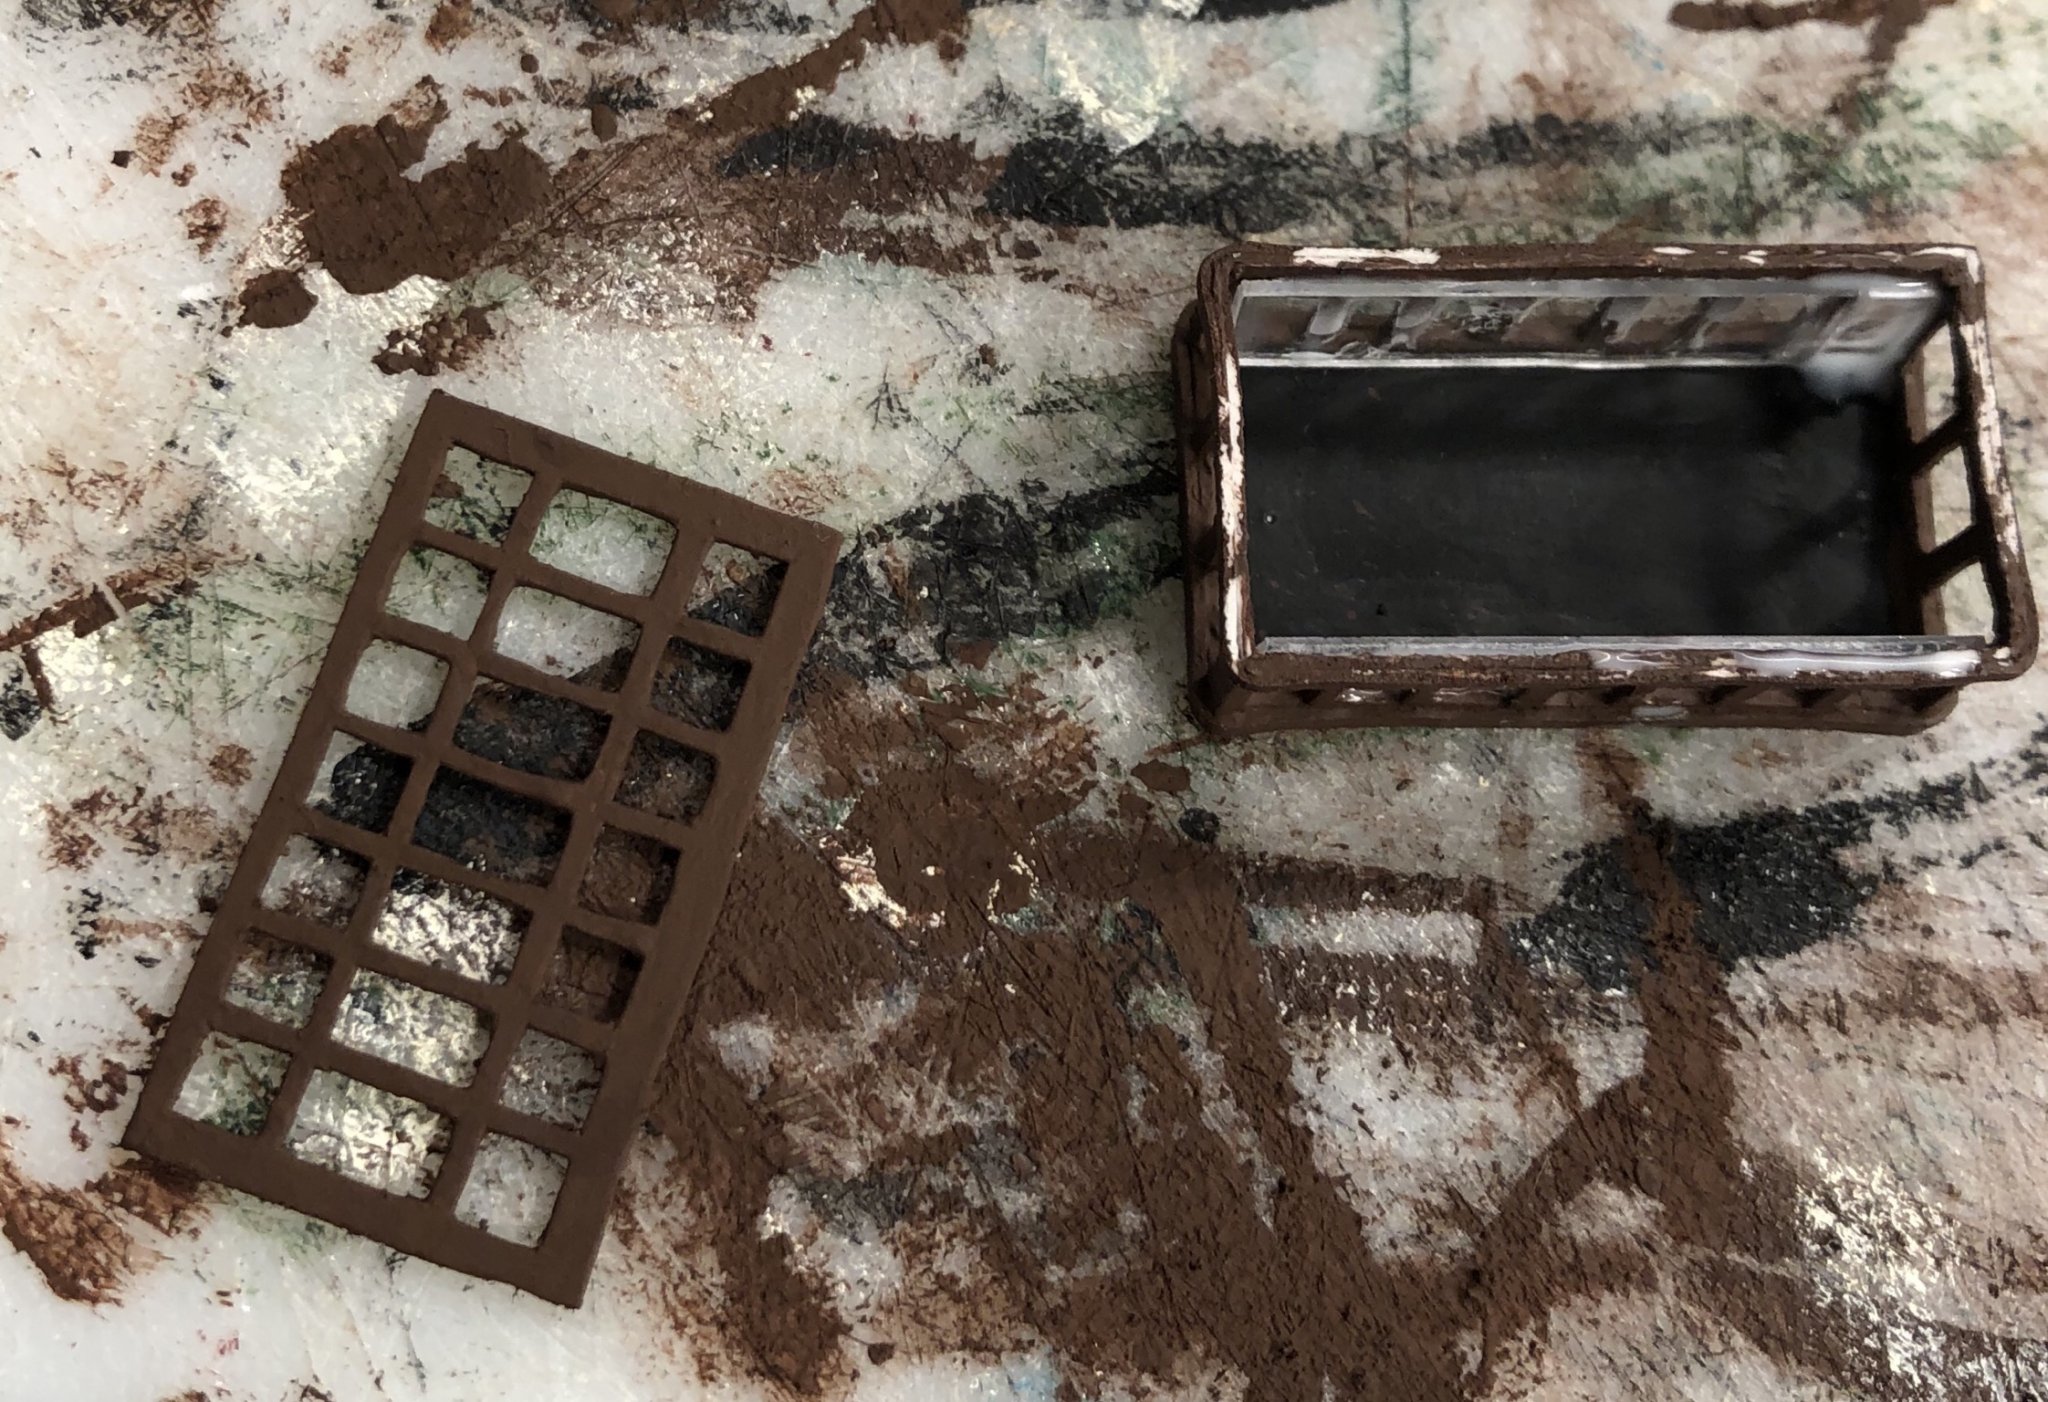
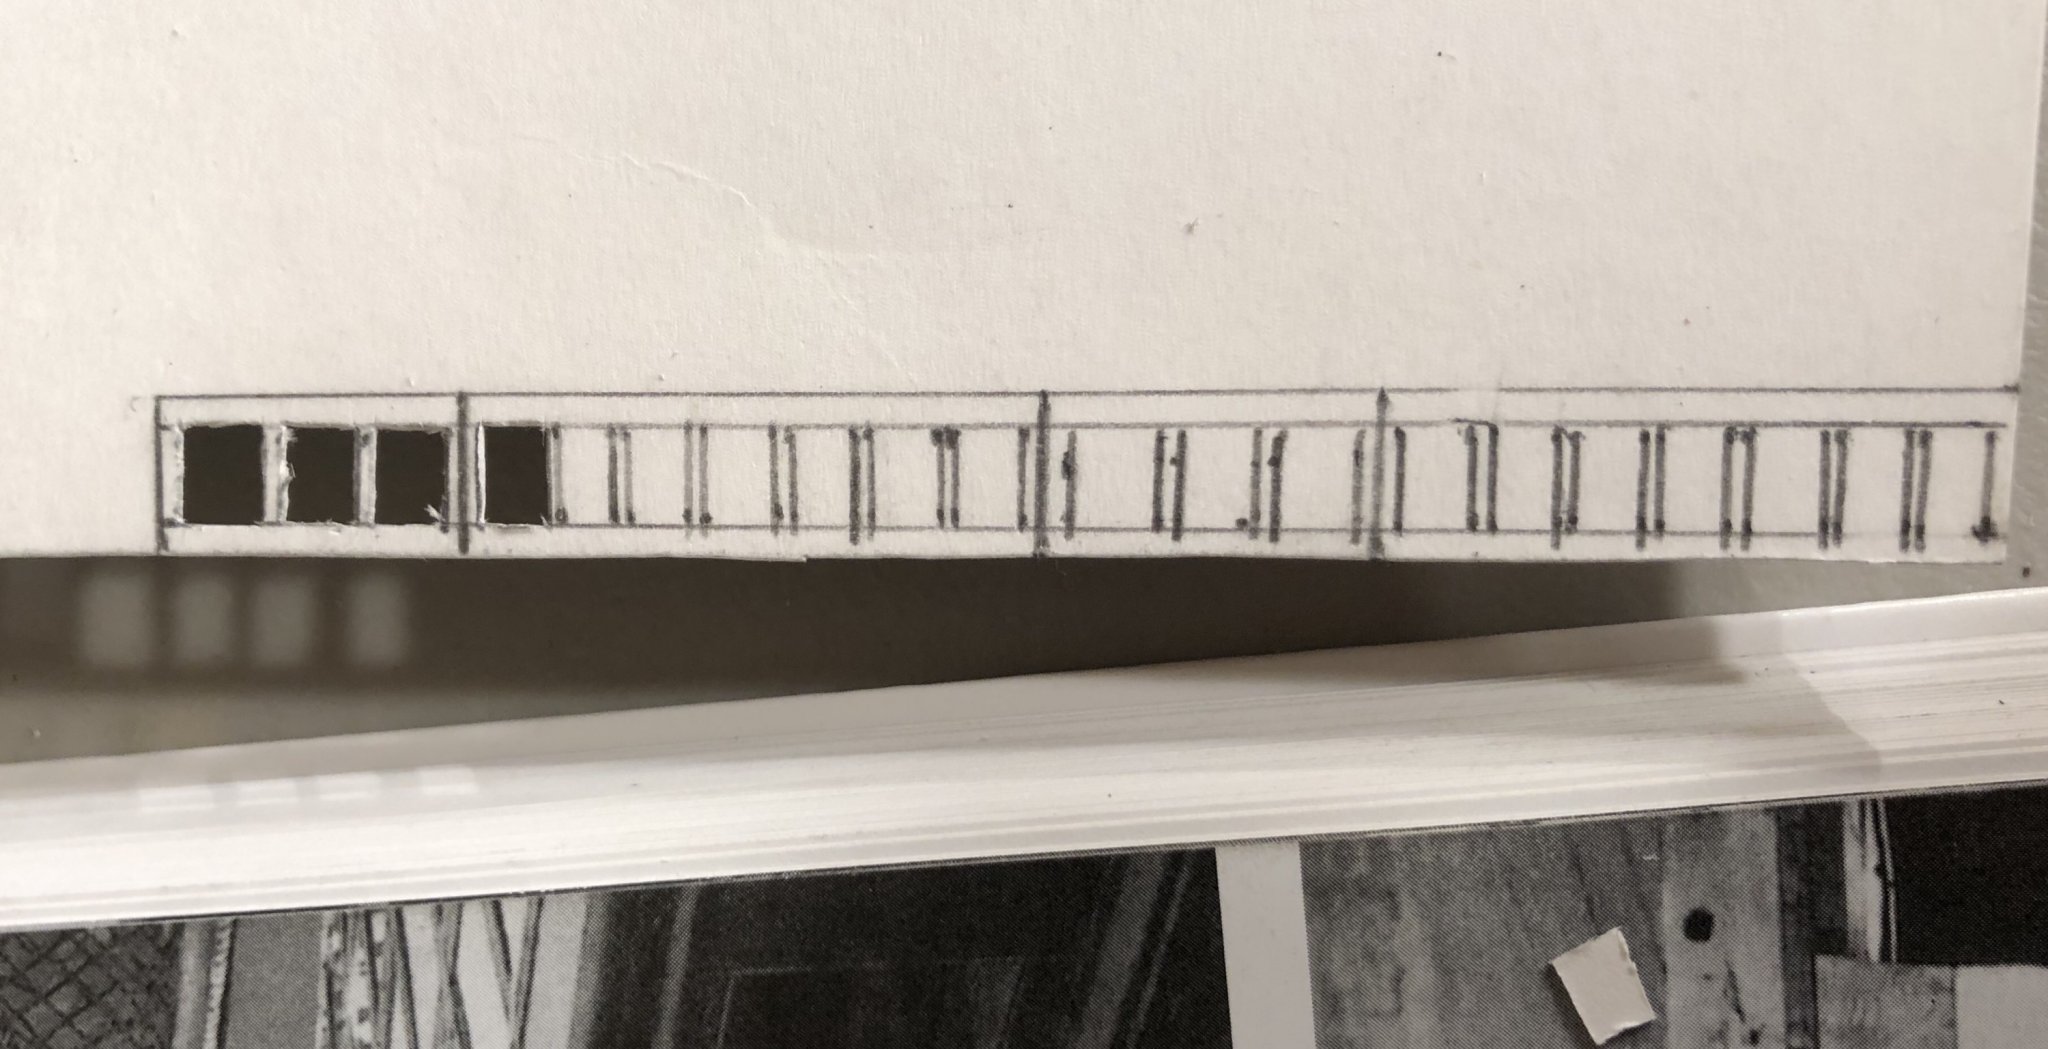
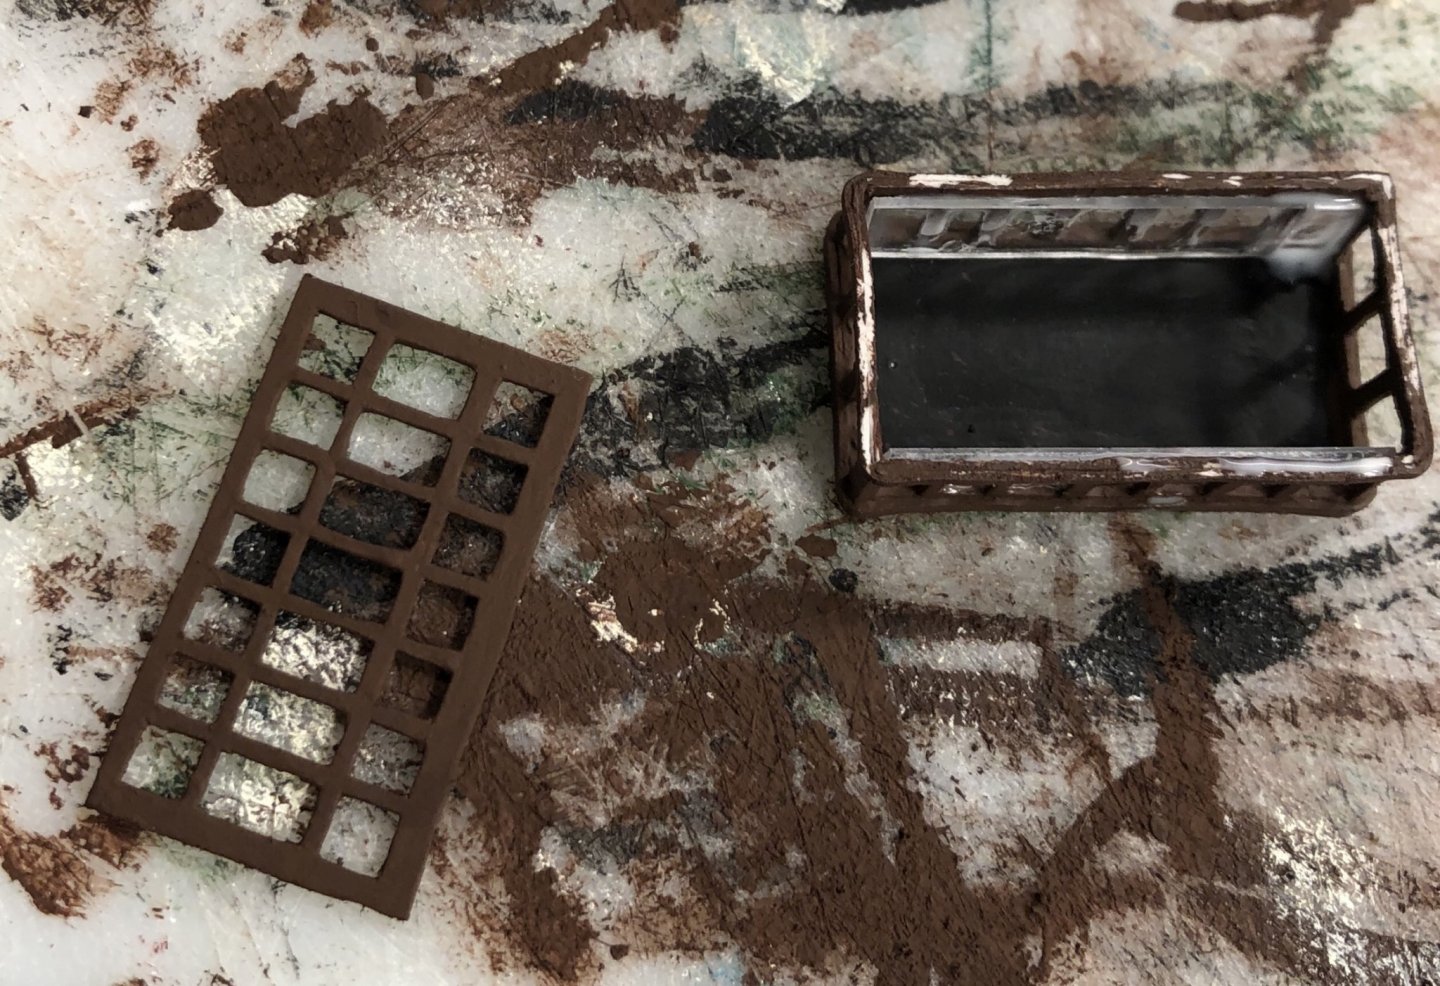
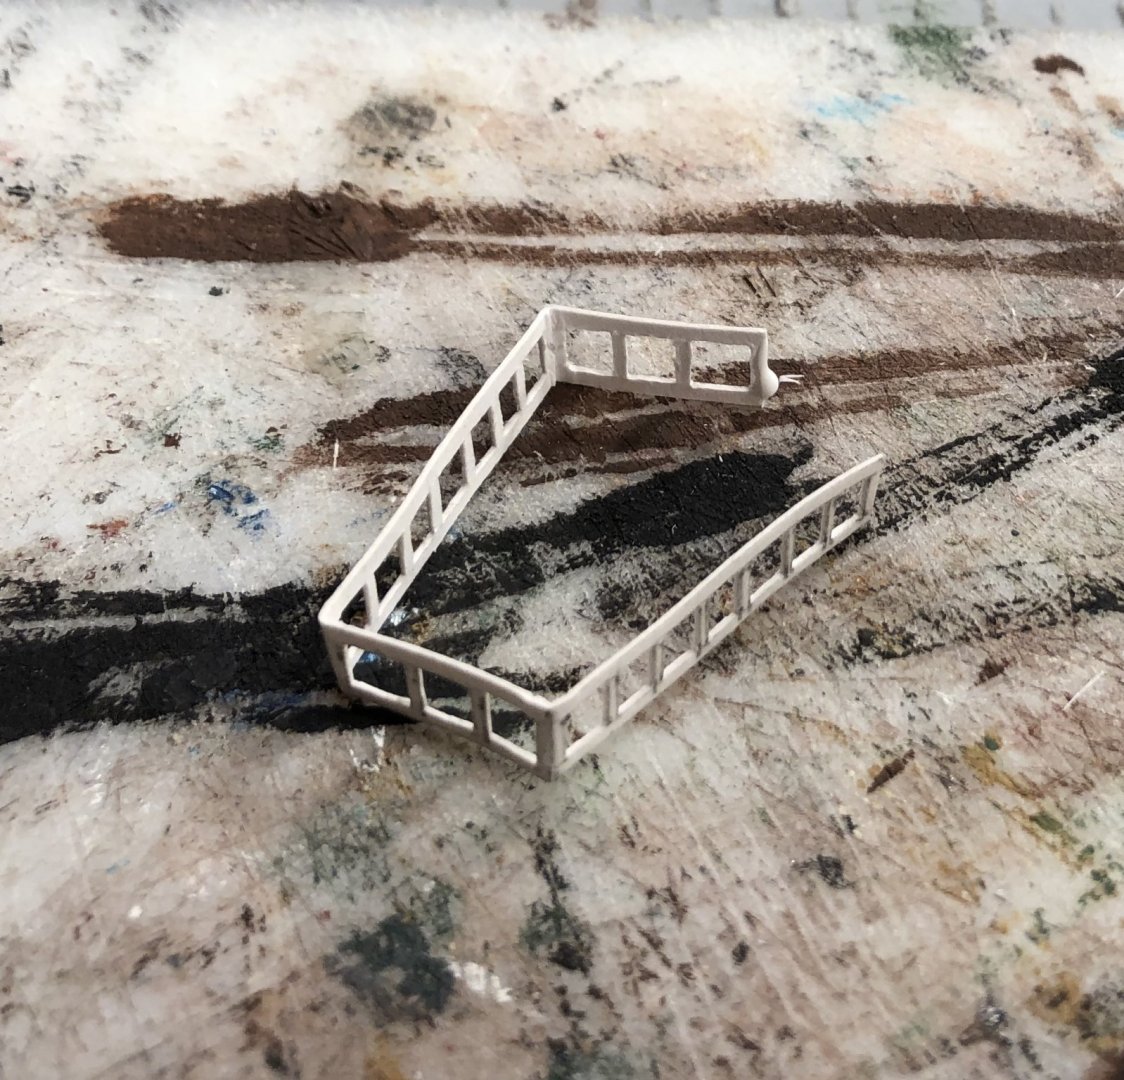
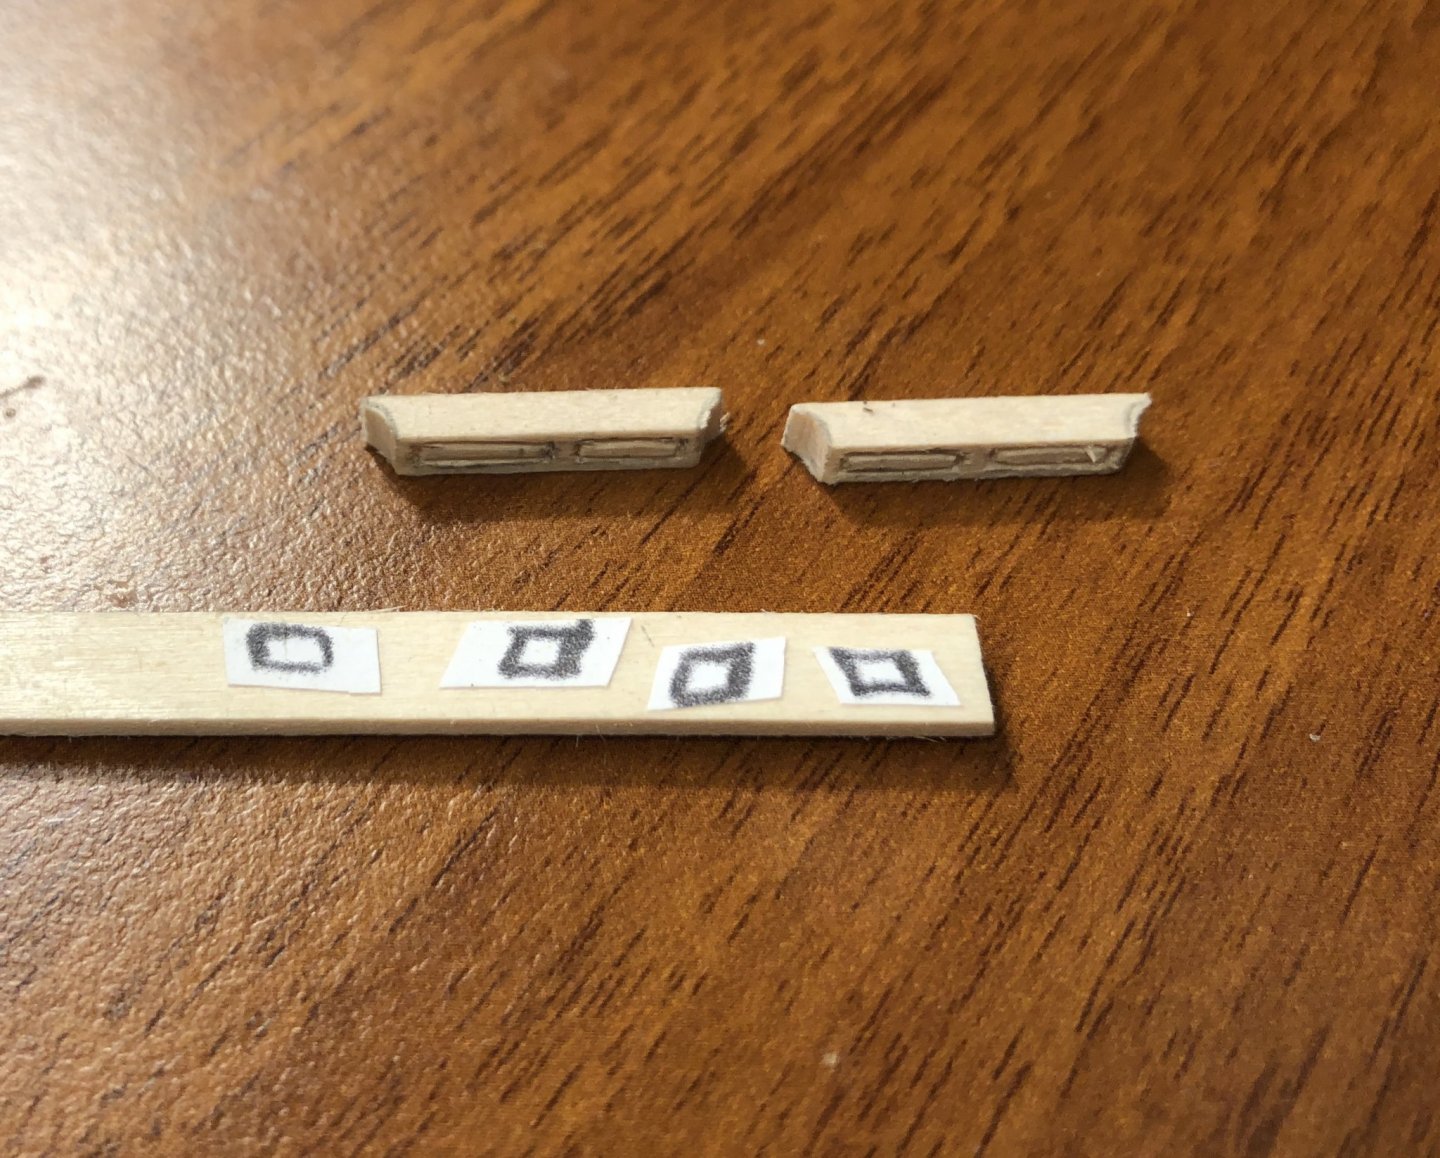
The lower part of the skylight: Here’s how I made the structure, in case someone else wanted to make one from card. I did the same thing for the deckhouses for the Prince de Neufchatel.

-
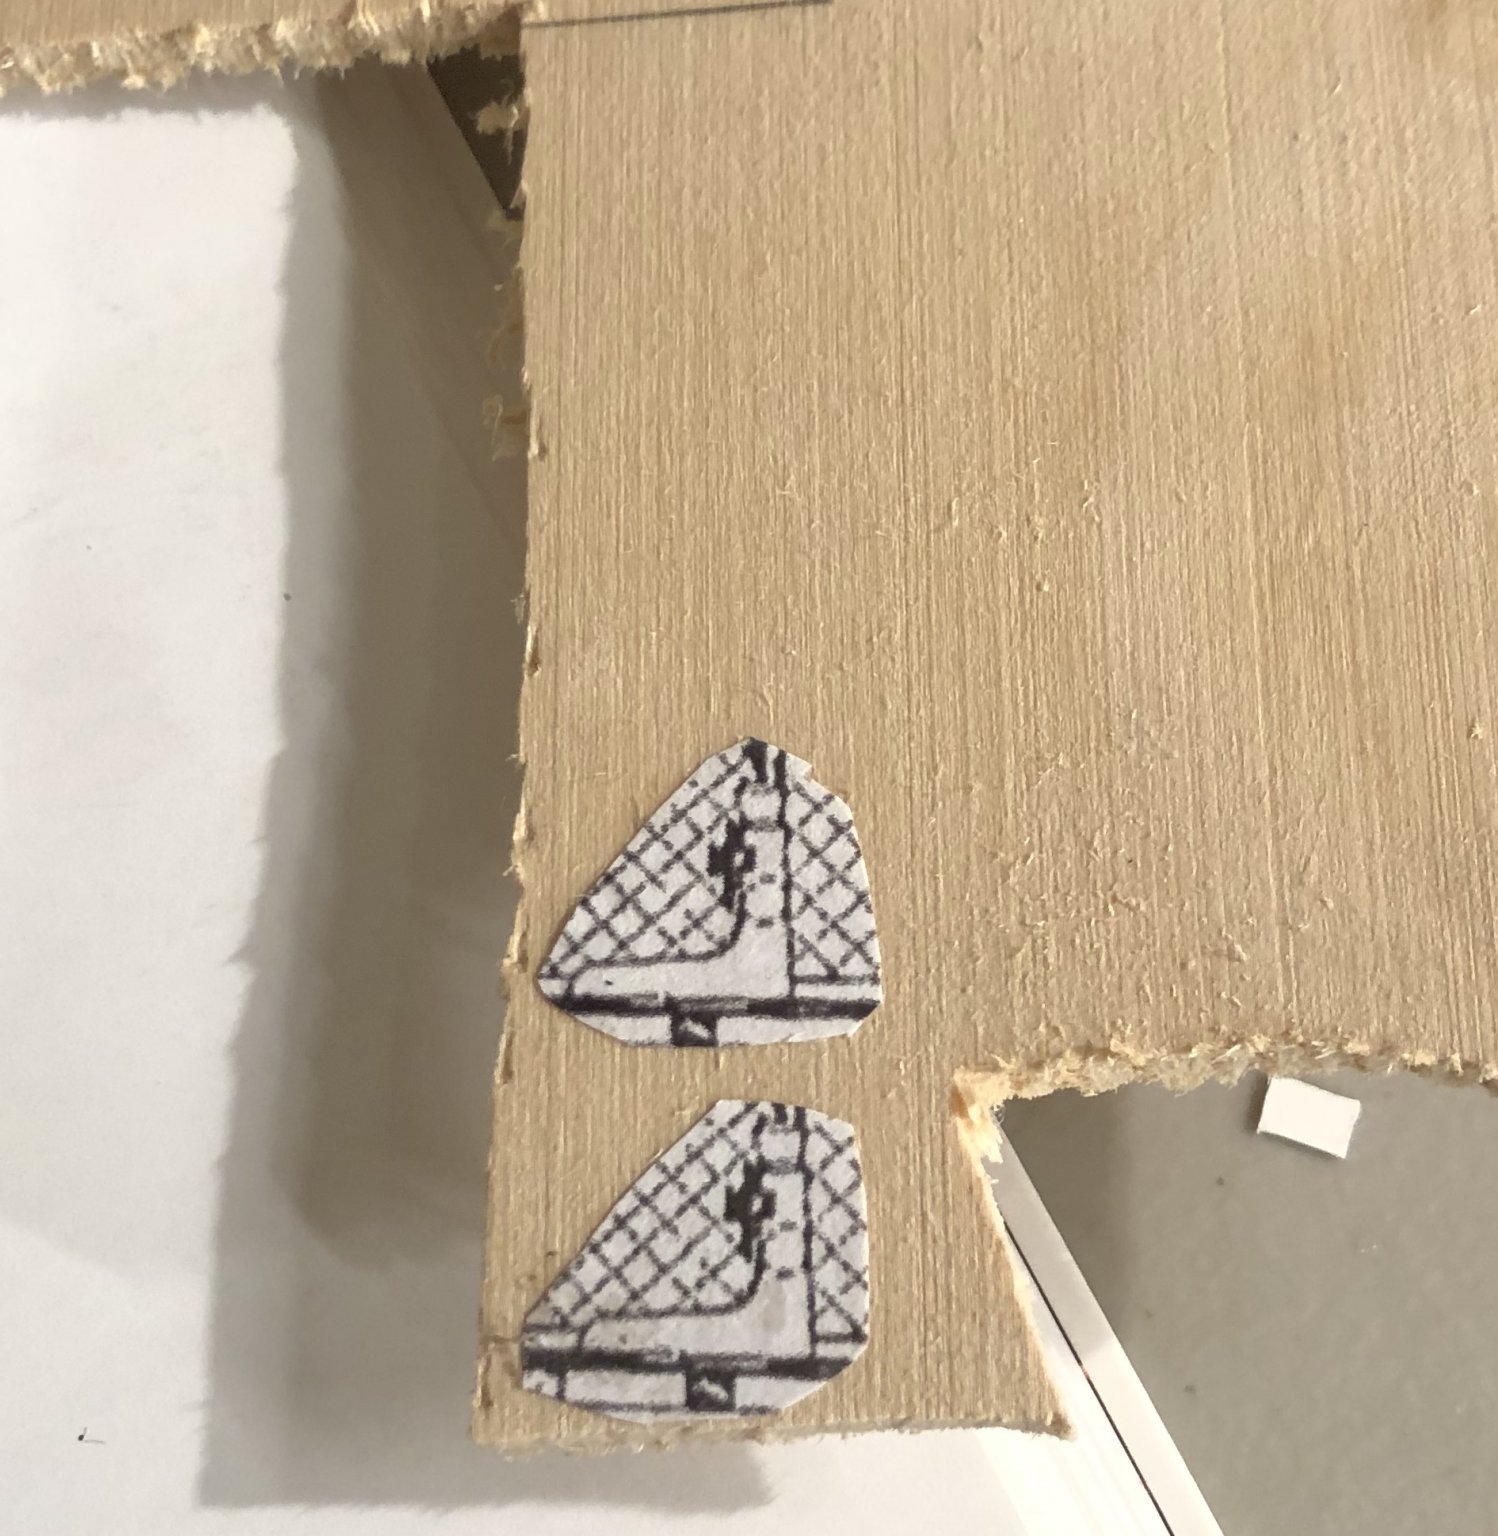
Yes, soon. I am thinking about how to make the cubbyholes.
-
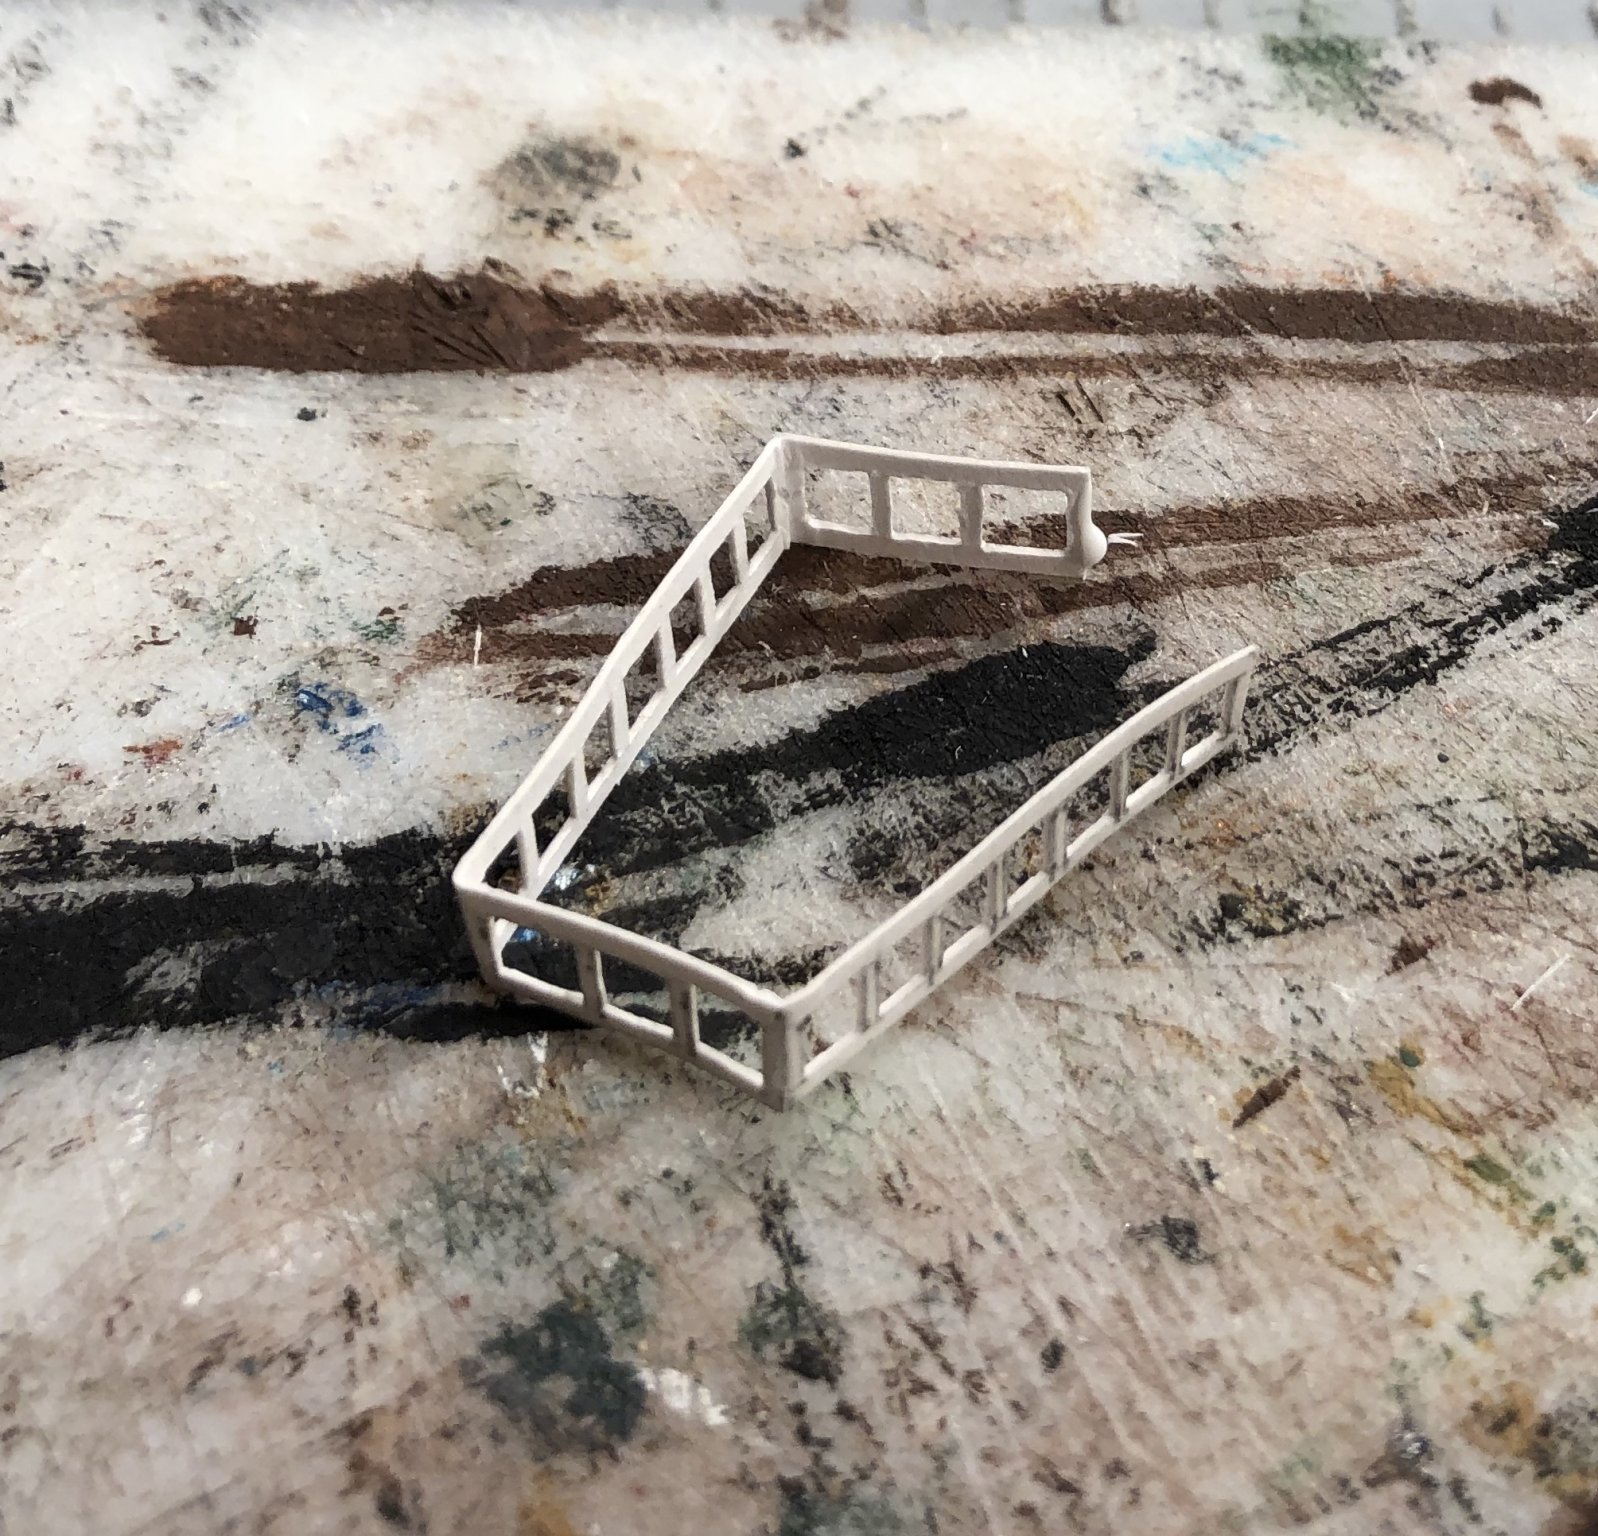
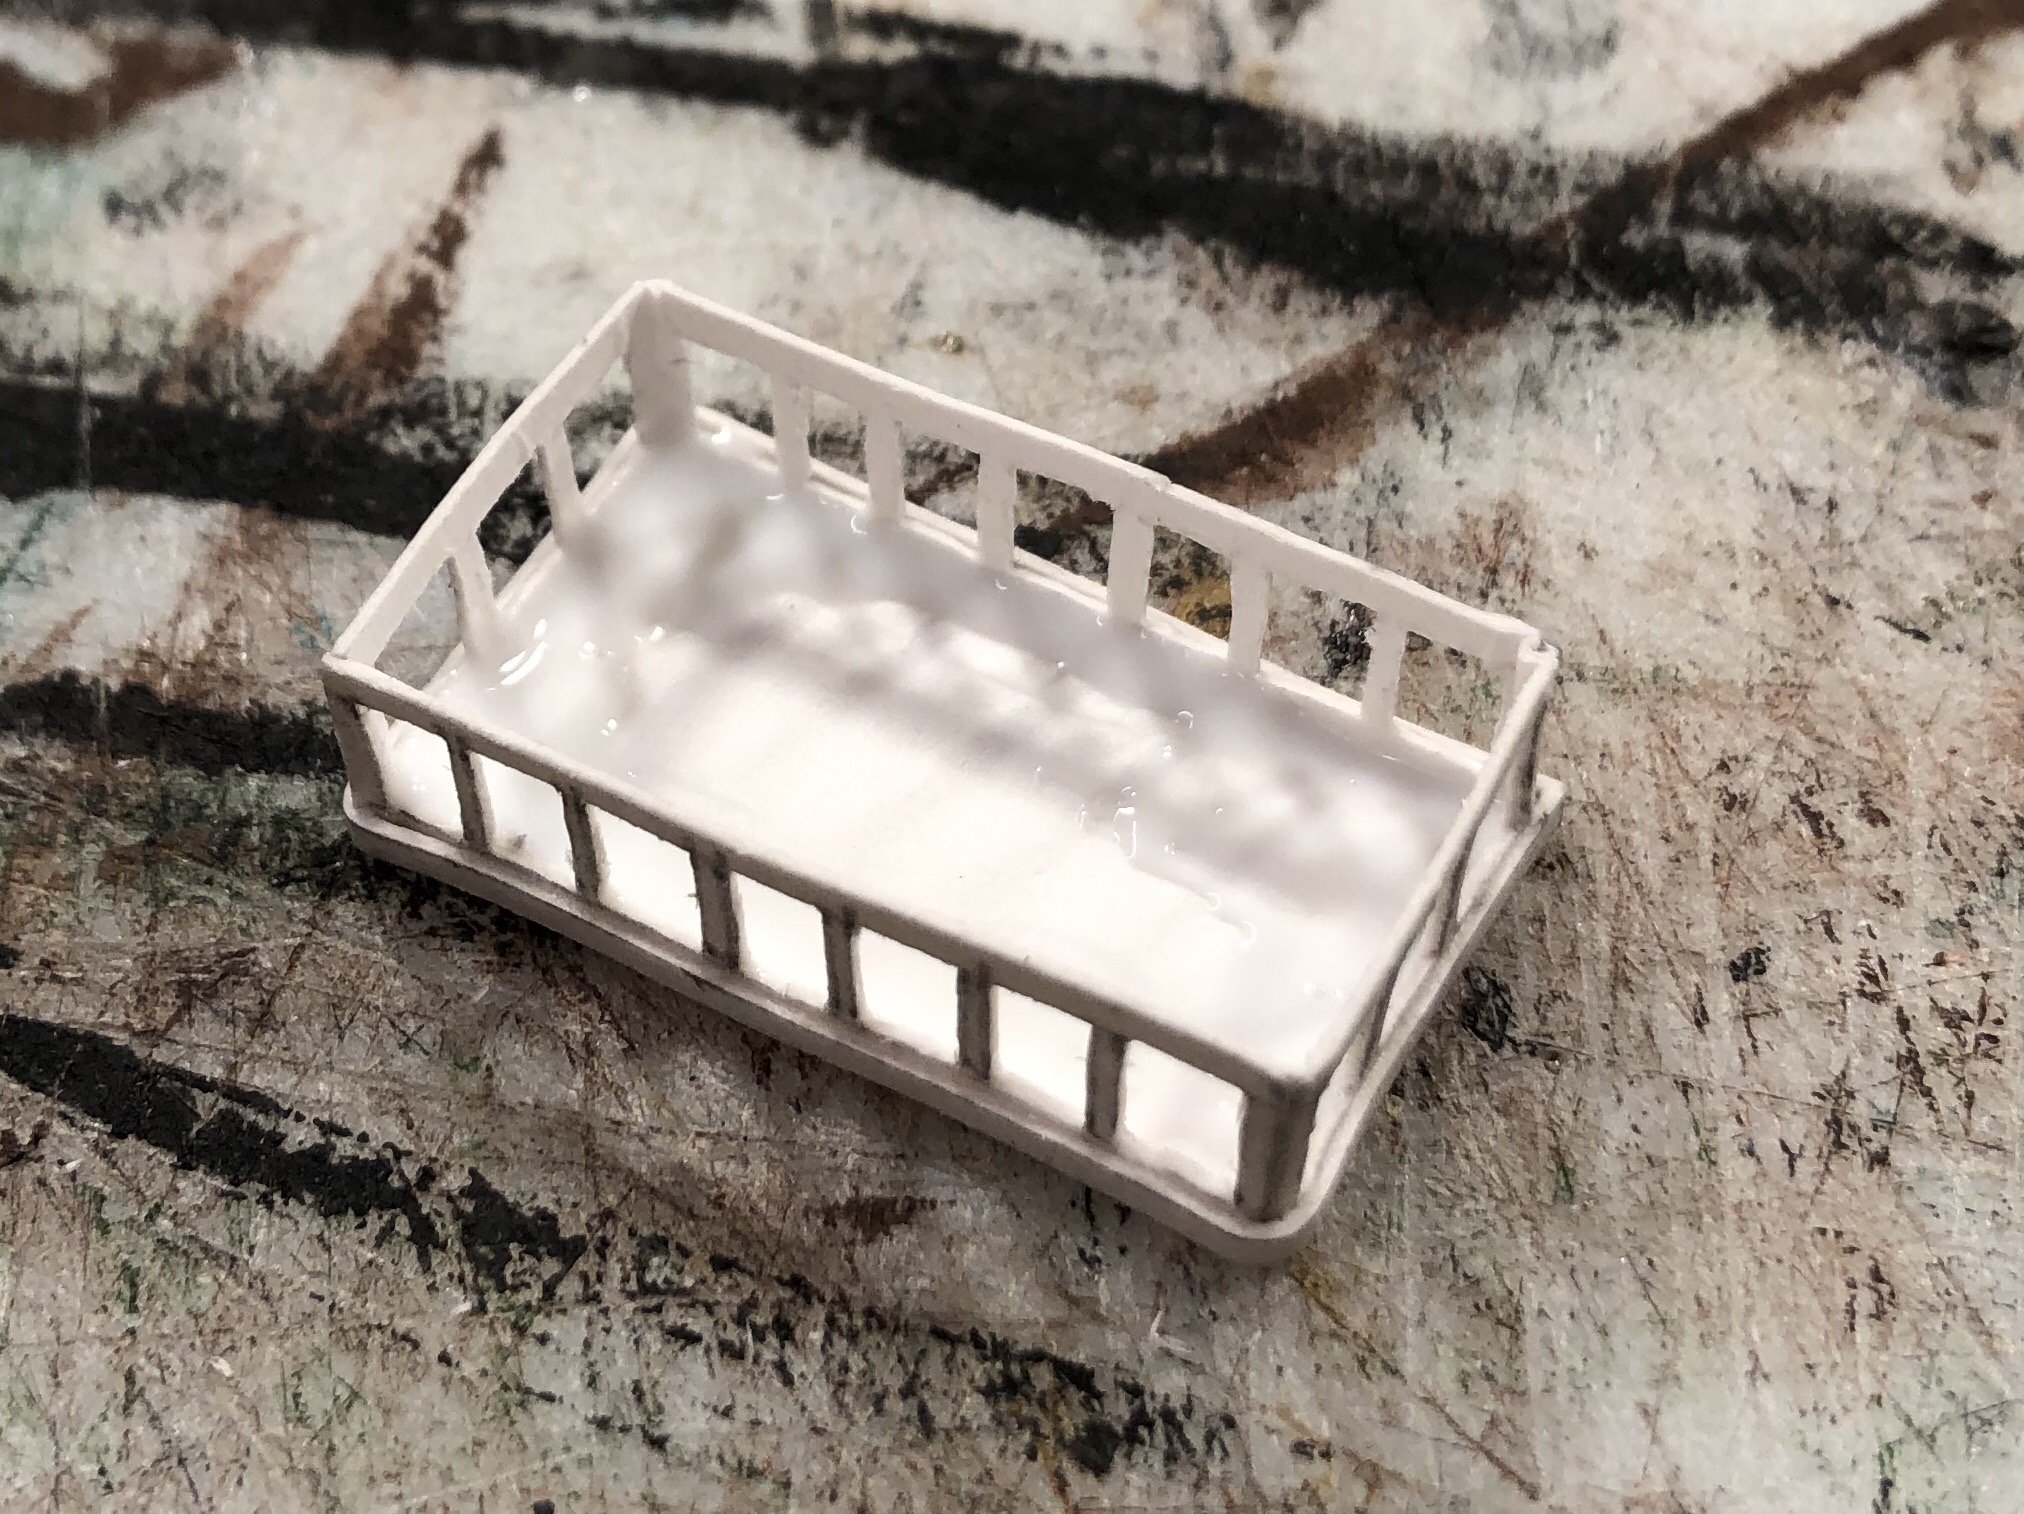
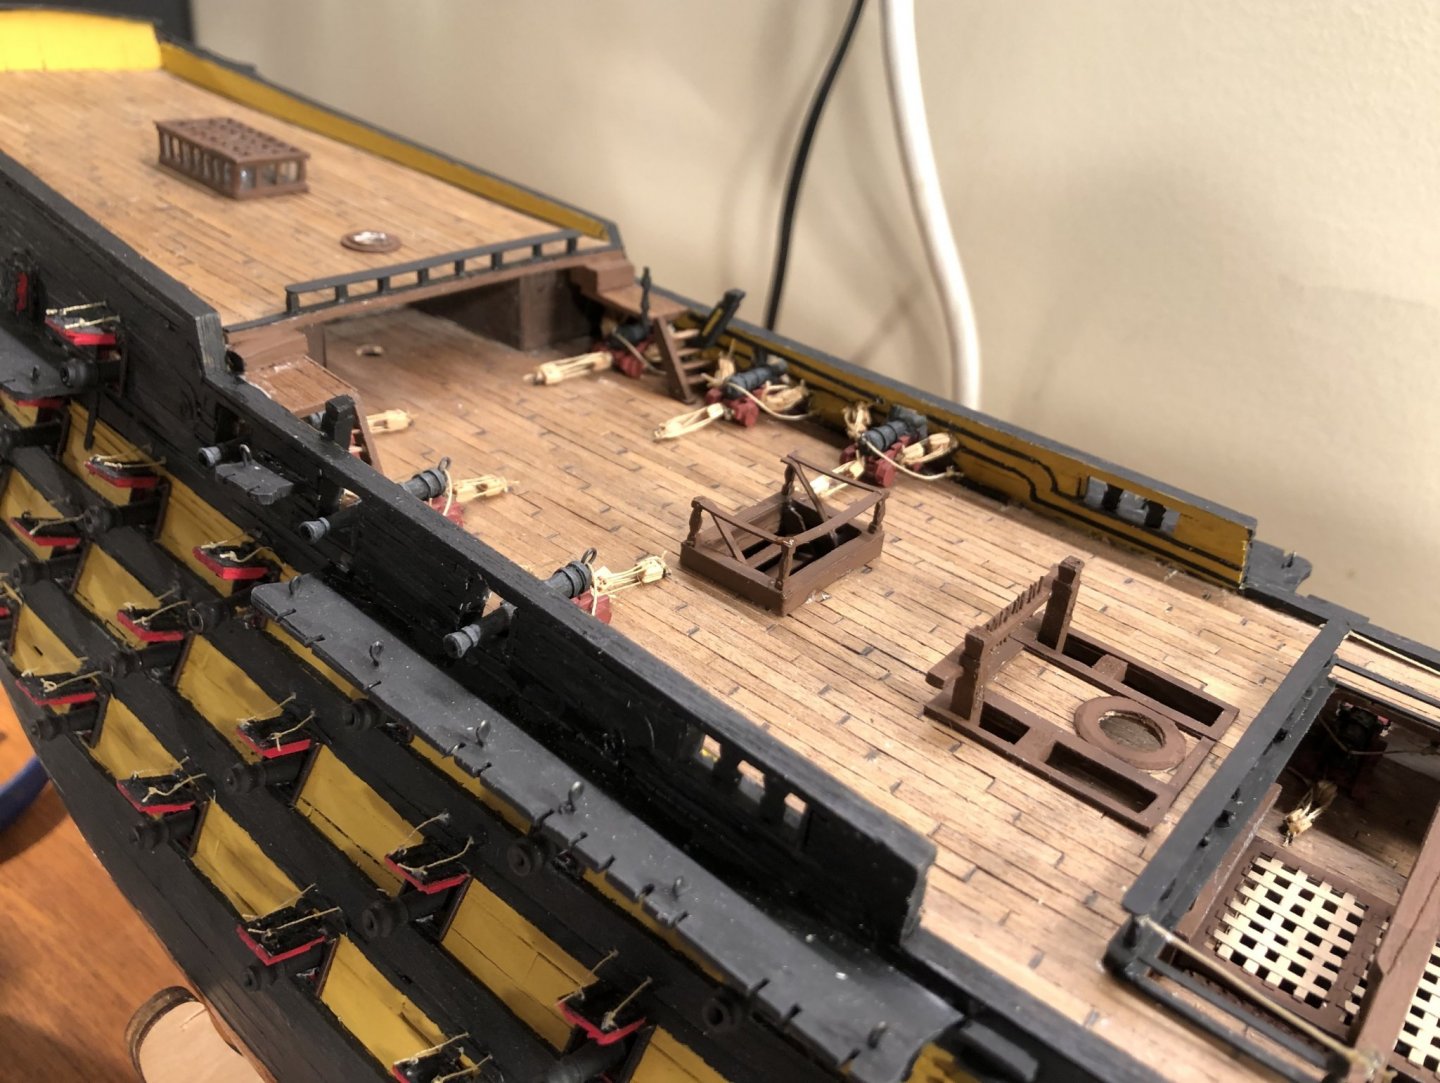
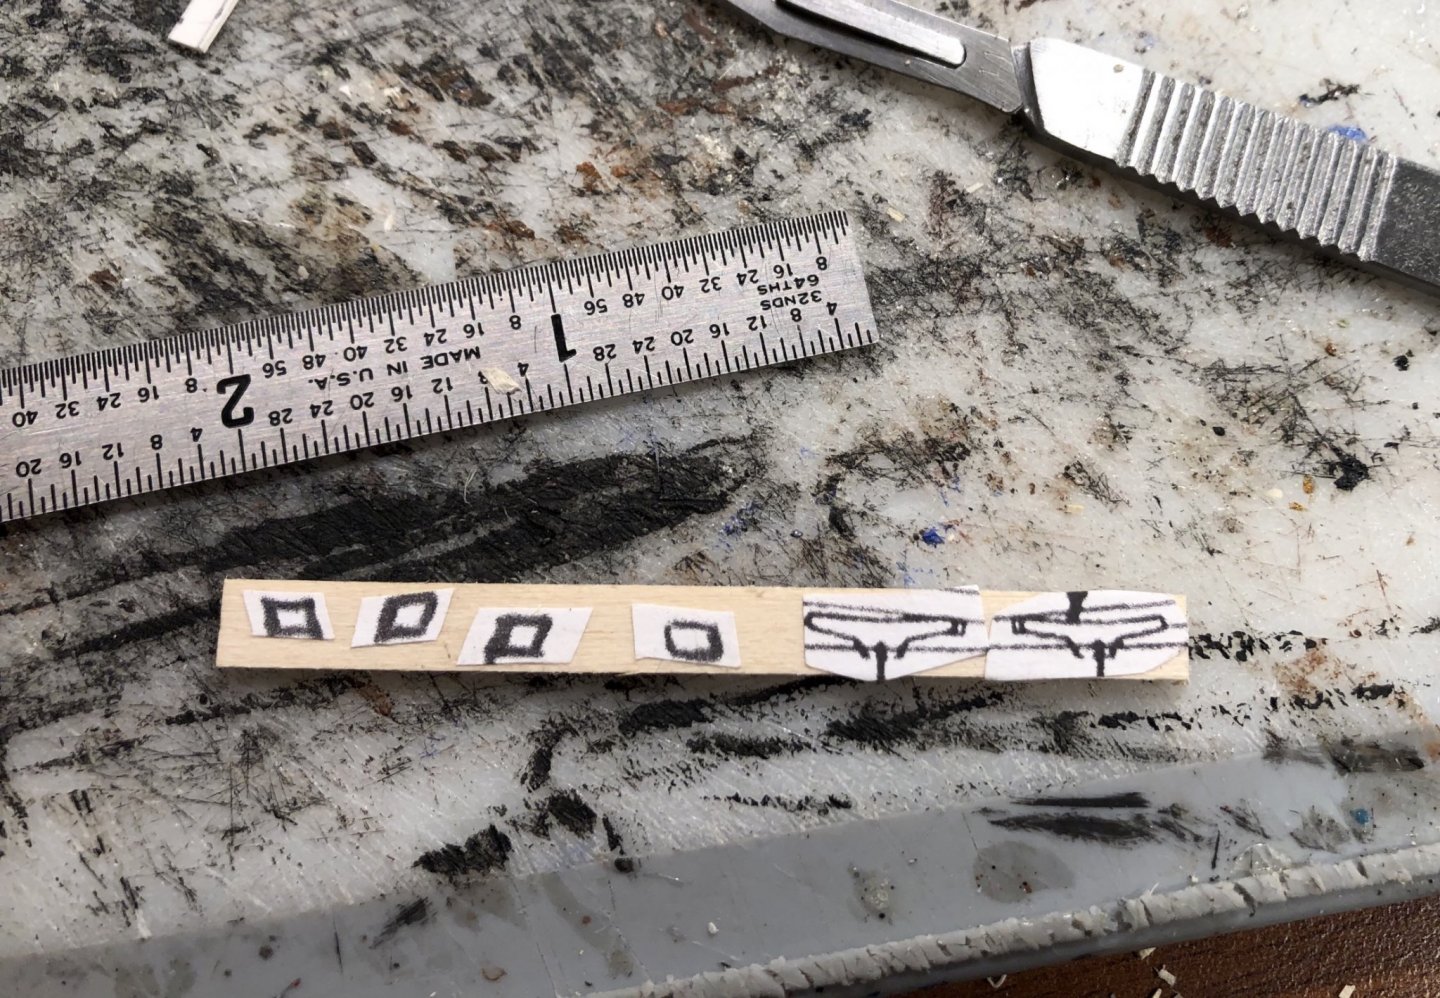
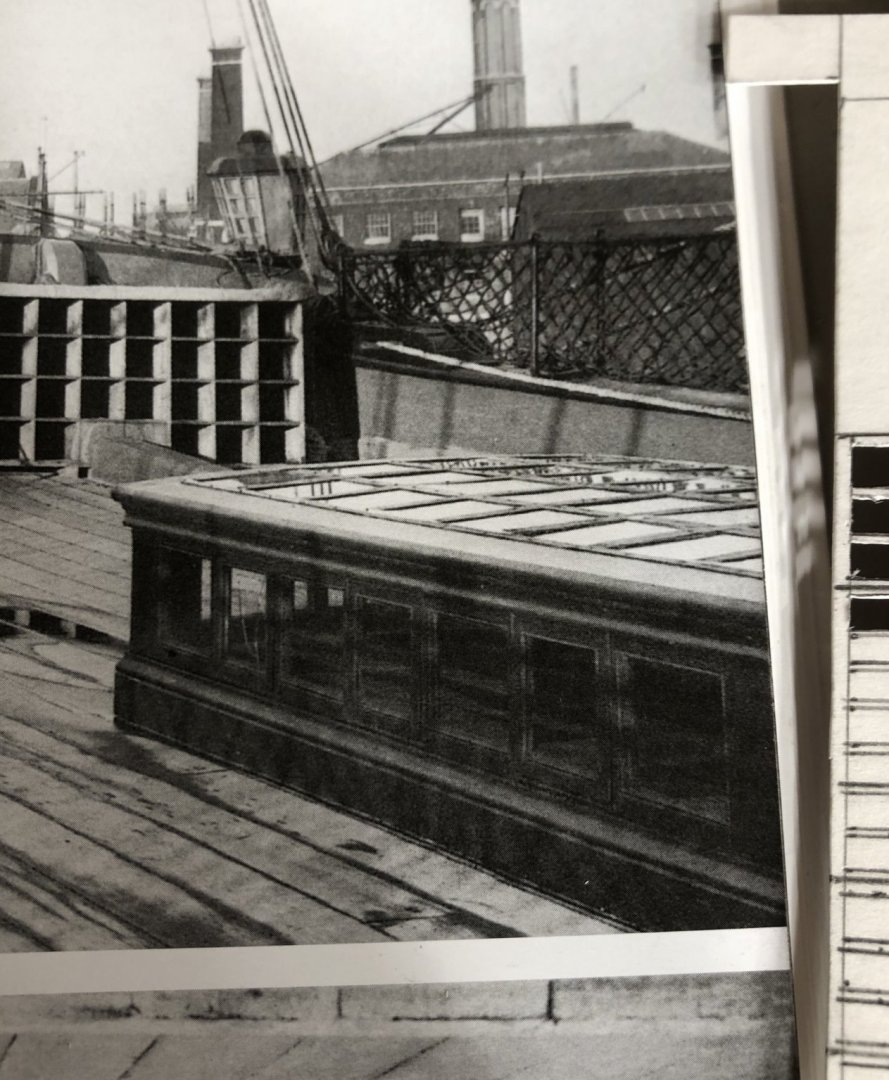
The large rigging fittings are the staghorns. I will work more on those later. I am currently working on the poop deck fittings because the poop deck is completely empty and that is annoying me. Here is the start of the skylight: It should look more or less like this when done:


-
Welcome!
-
I just used a dry cloth and very lightly wiped it down.
-
The oils in your fingerprints will prevent the oxygen from reaching the copper and that part will not age. The more the copper oxidizes, the more the markings will be apparent. Sealing the copper (after wiping down), will prevent those marks from forming and prevent more fingerprints from being deposited directly on the copper. I sealed both copper hulls that I made. One was done last year and the other two years ago. Both have a nice patina.