GrandpaPhil
-
Posts
6,011 -
Joined
-
Last visited
Content Type
Profiles
Forums
Gallery
Events
Everything posted by GrandpaPhil
-
I would use the PVA for glueing wood to wood.
-
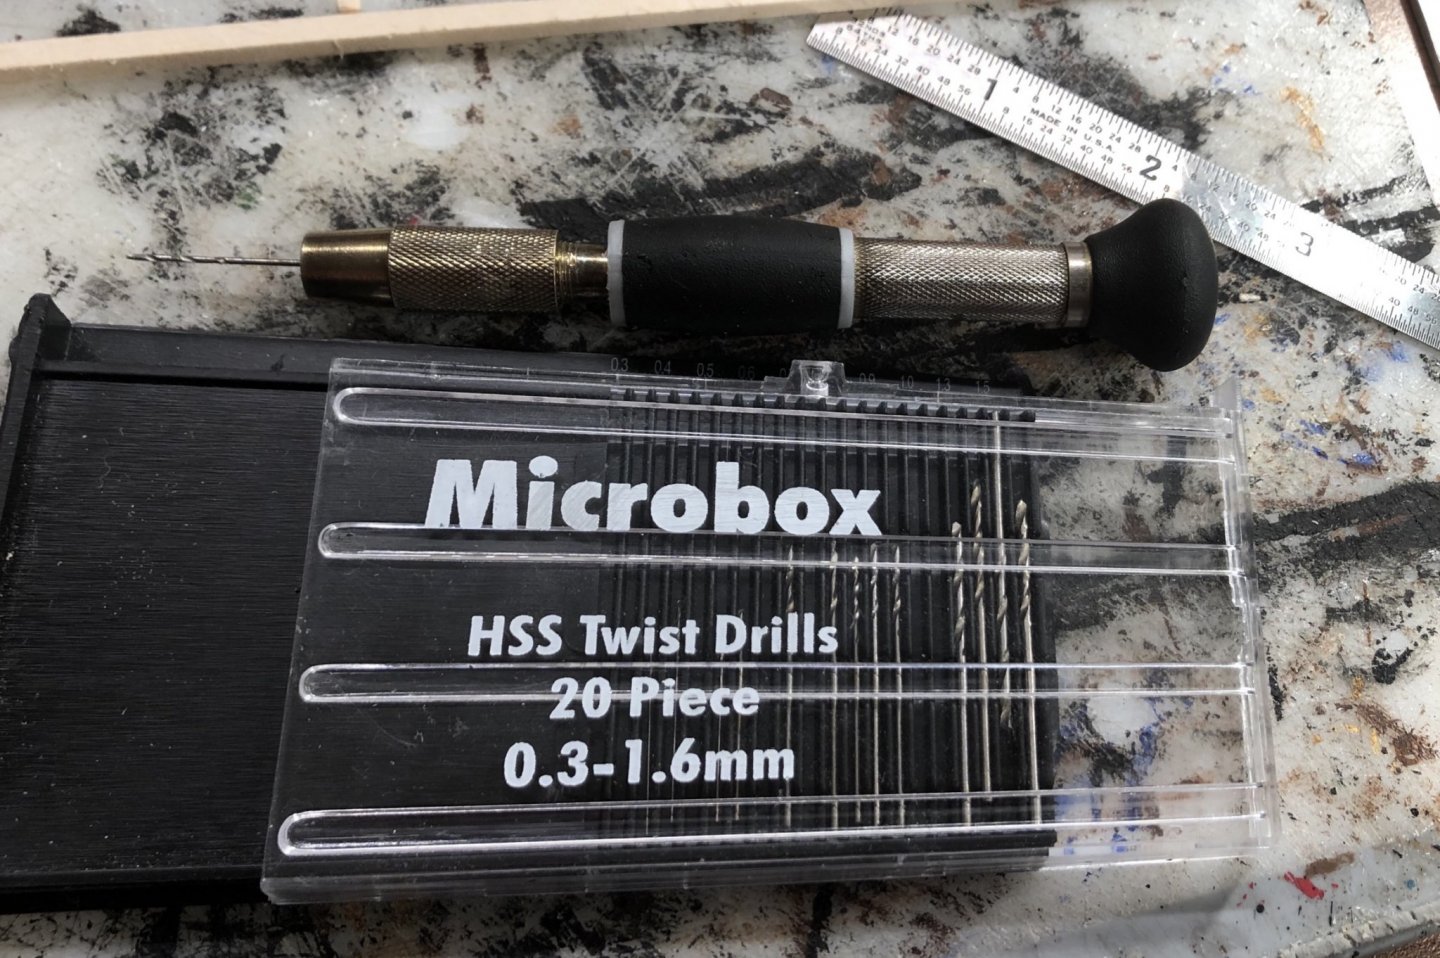
I try to predrill small parts. Here is my pinvise and drill bit set: The trick is not put any pressure on the bit. As you can see from the gaps in my bit set, I have also lost many drill bits.
-
Congratulations! Well done!
-
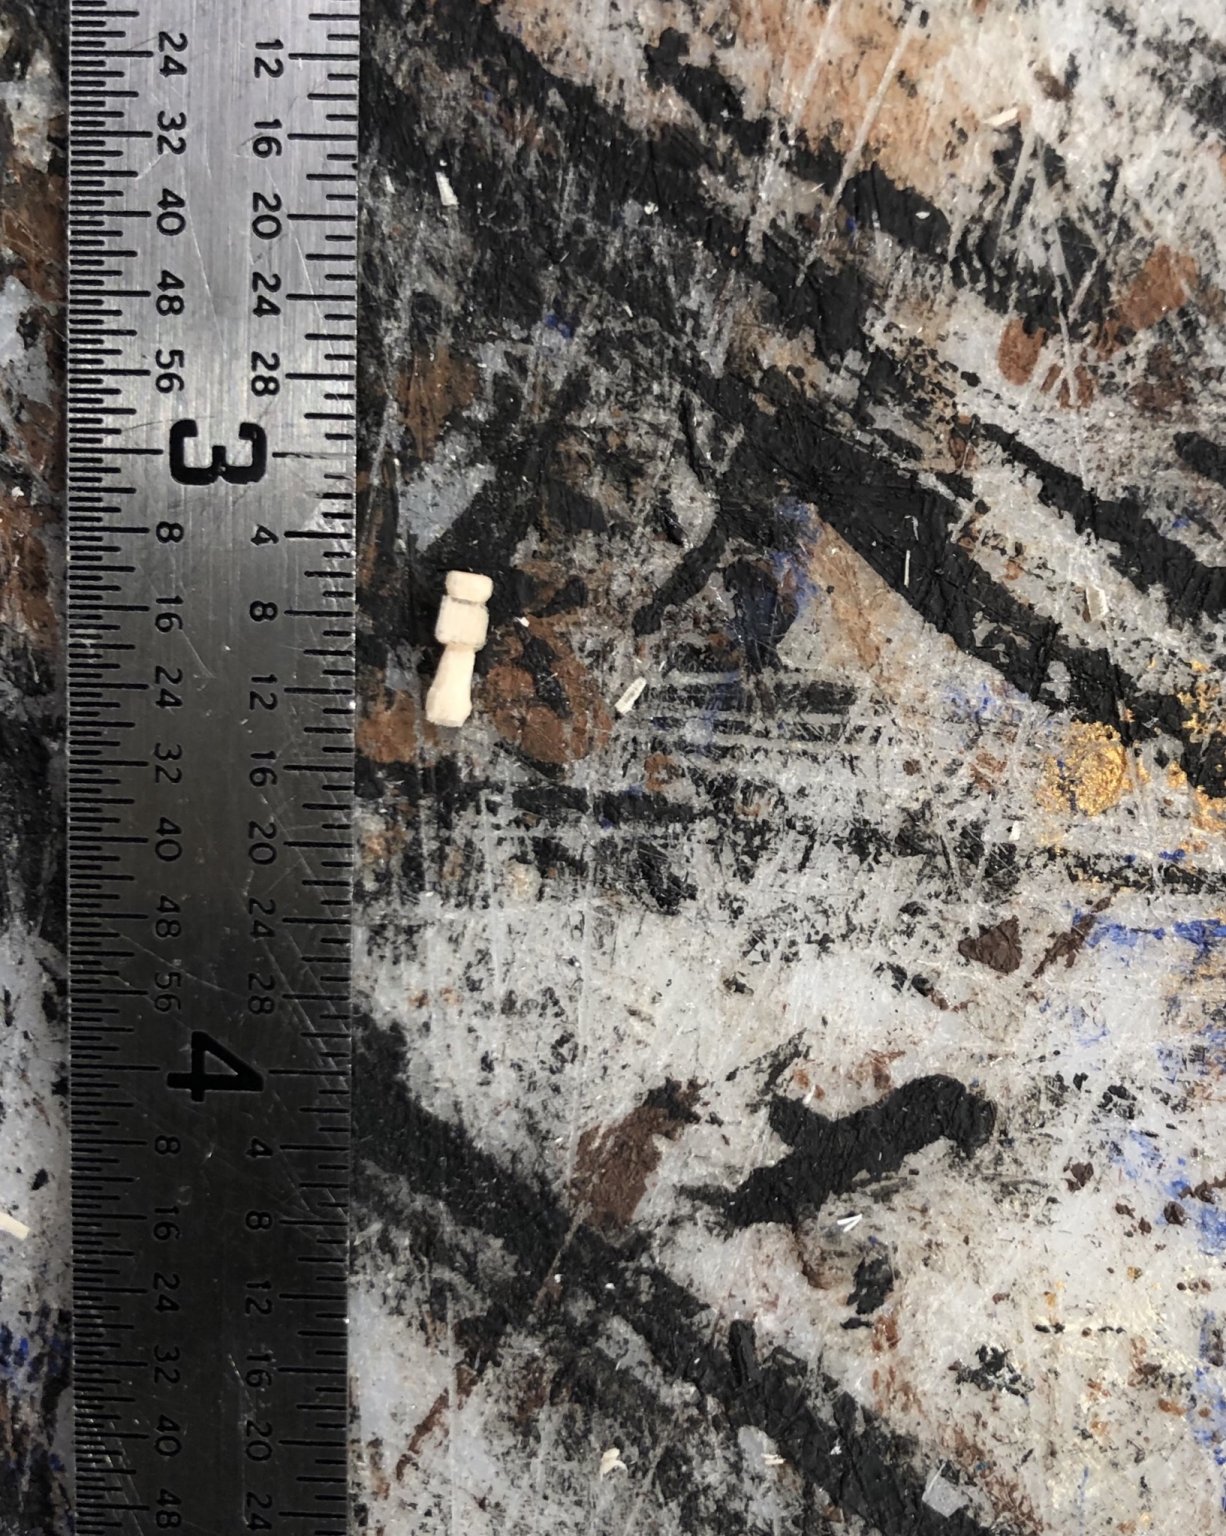
One tiny stanchion:

-
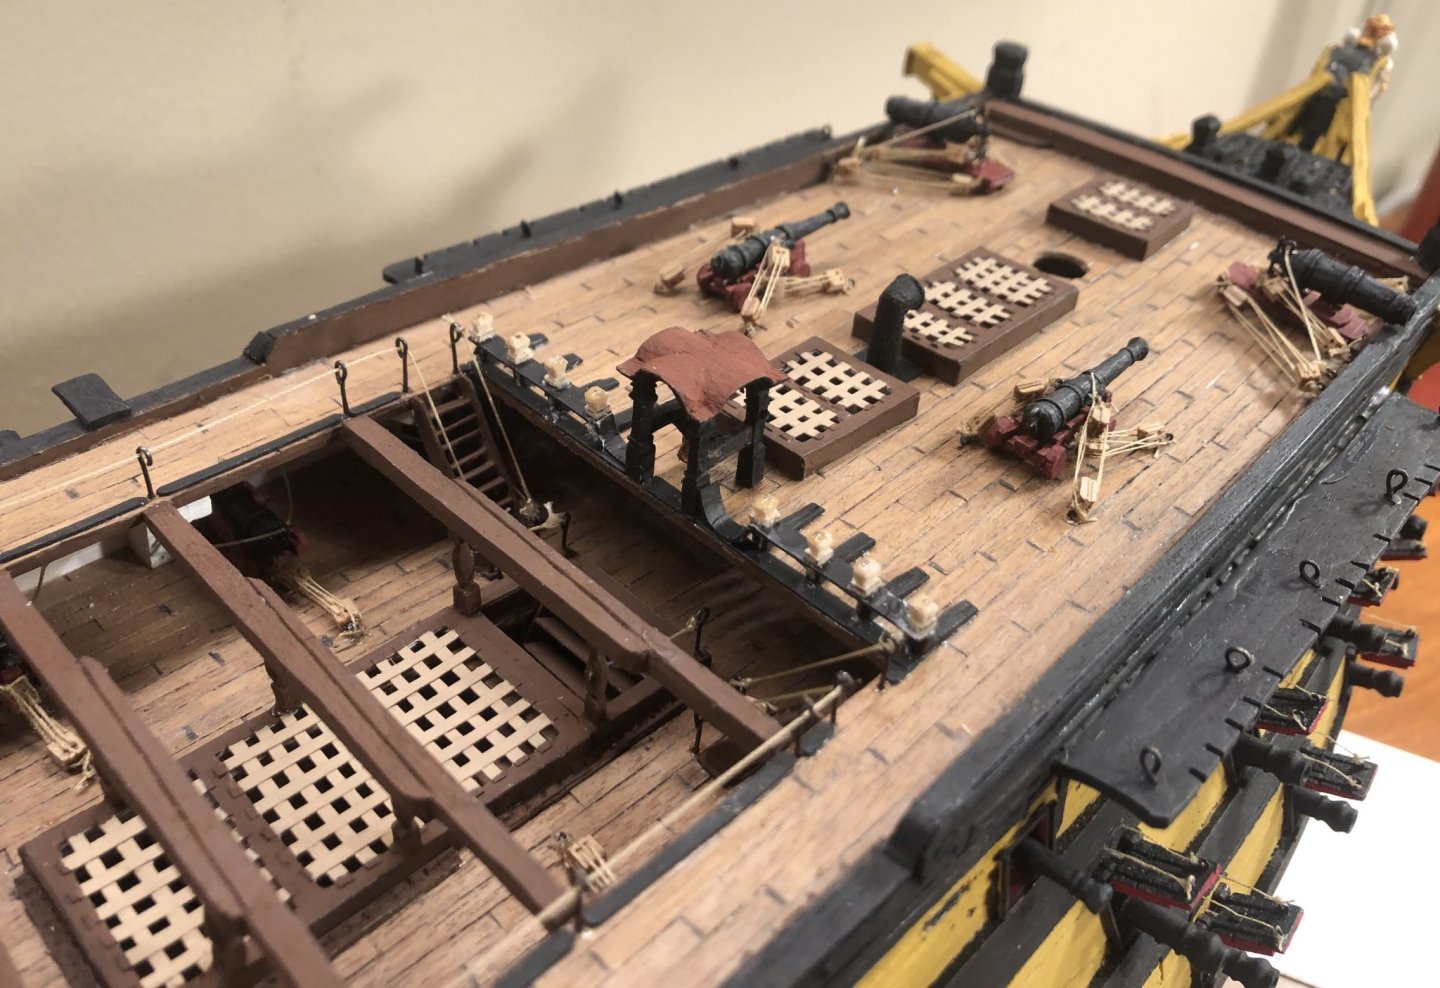
Thank you very much OC, Richard, Rob and Keith! Thank you very much everyone for stopping by and all the likes! The stanchions for the forward rail are finished: Following Keith’s recommendation, the tops of them are pinned into the lower parts of the stanchions (which I should have done anyways because the railings are poster board, which has a nasty habit of delaminating).
-
I used a piece of steel wire for my last build and it worked beautifully.
-
Welcome!
-
Welcome!
-
I have the 1:98 Mantua Victory, you are better off making your own gunport lids. The metal ones are awful. I made mine following the diagrams in Zu Monfeld’s Historic Ship Models.
-
Welcome!
-
Very cool! Very well done!
-
Card is a great material. It is very versatile. I never really did well with card (I generally do not do well with card kits) until I built the Prince de Neufchatel following Ab Hoving’s tutorial. I made the railings from card: I am making the tops of the stanchions from 1/8” basswood strip stock left over from the Prince de Neufchatel.


-
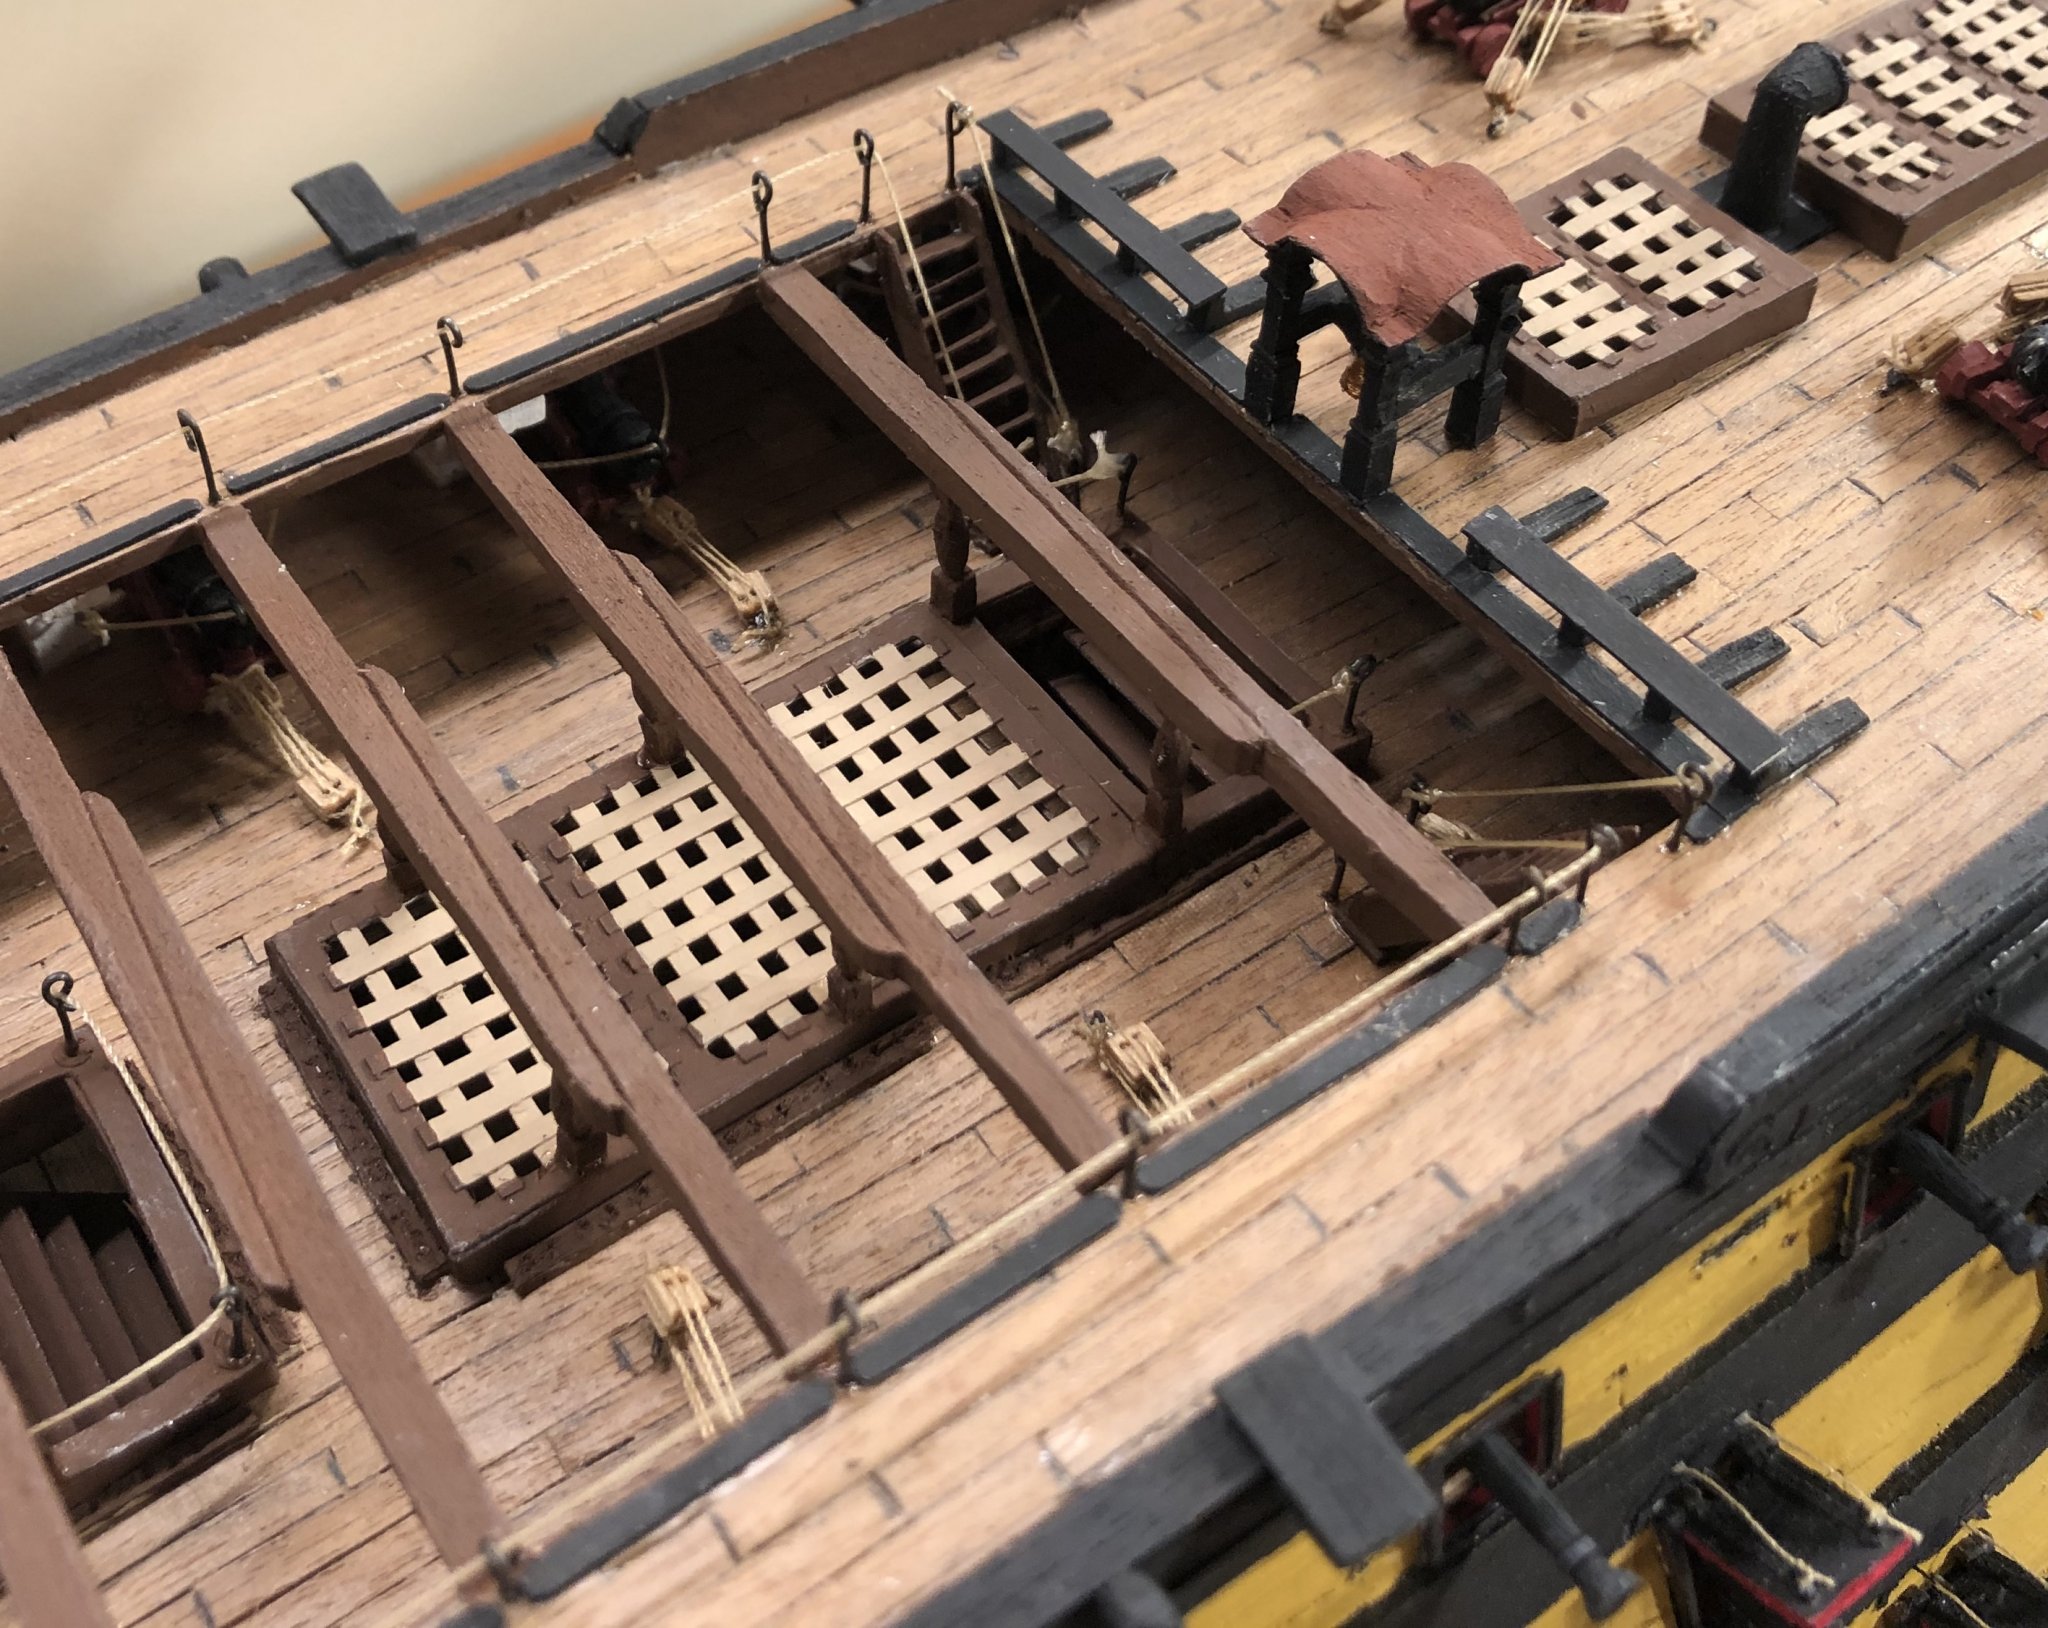
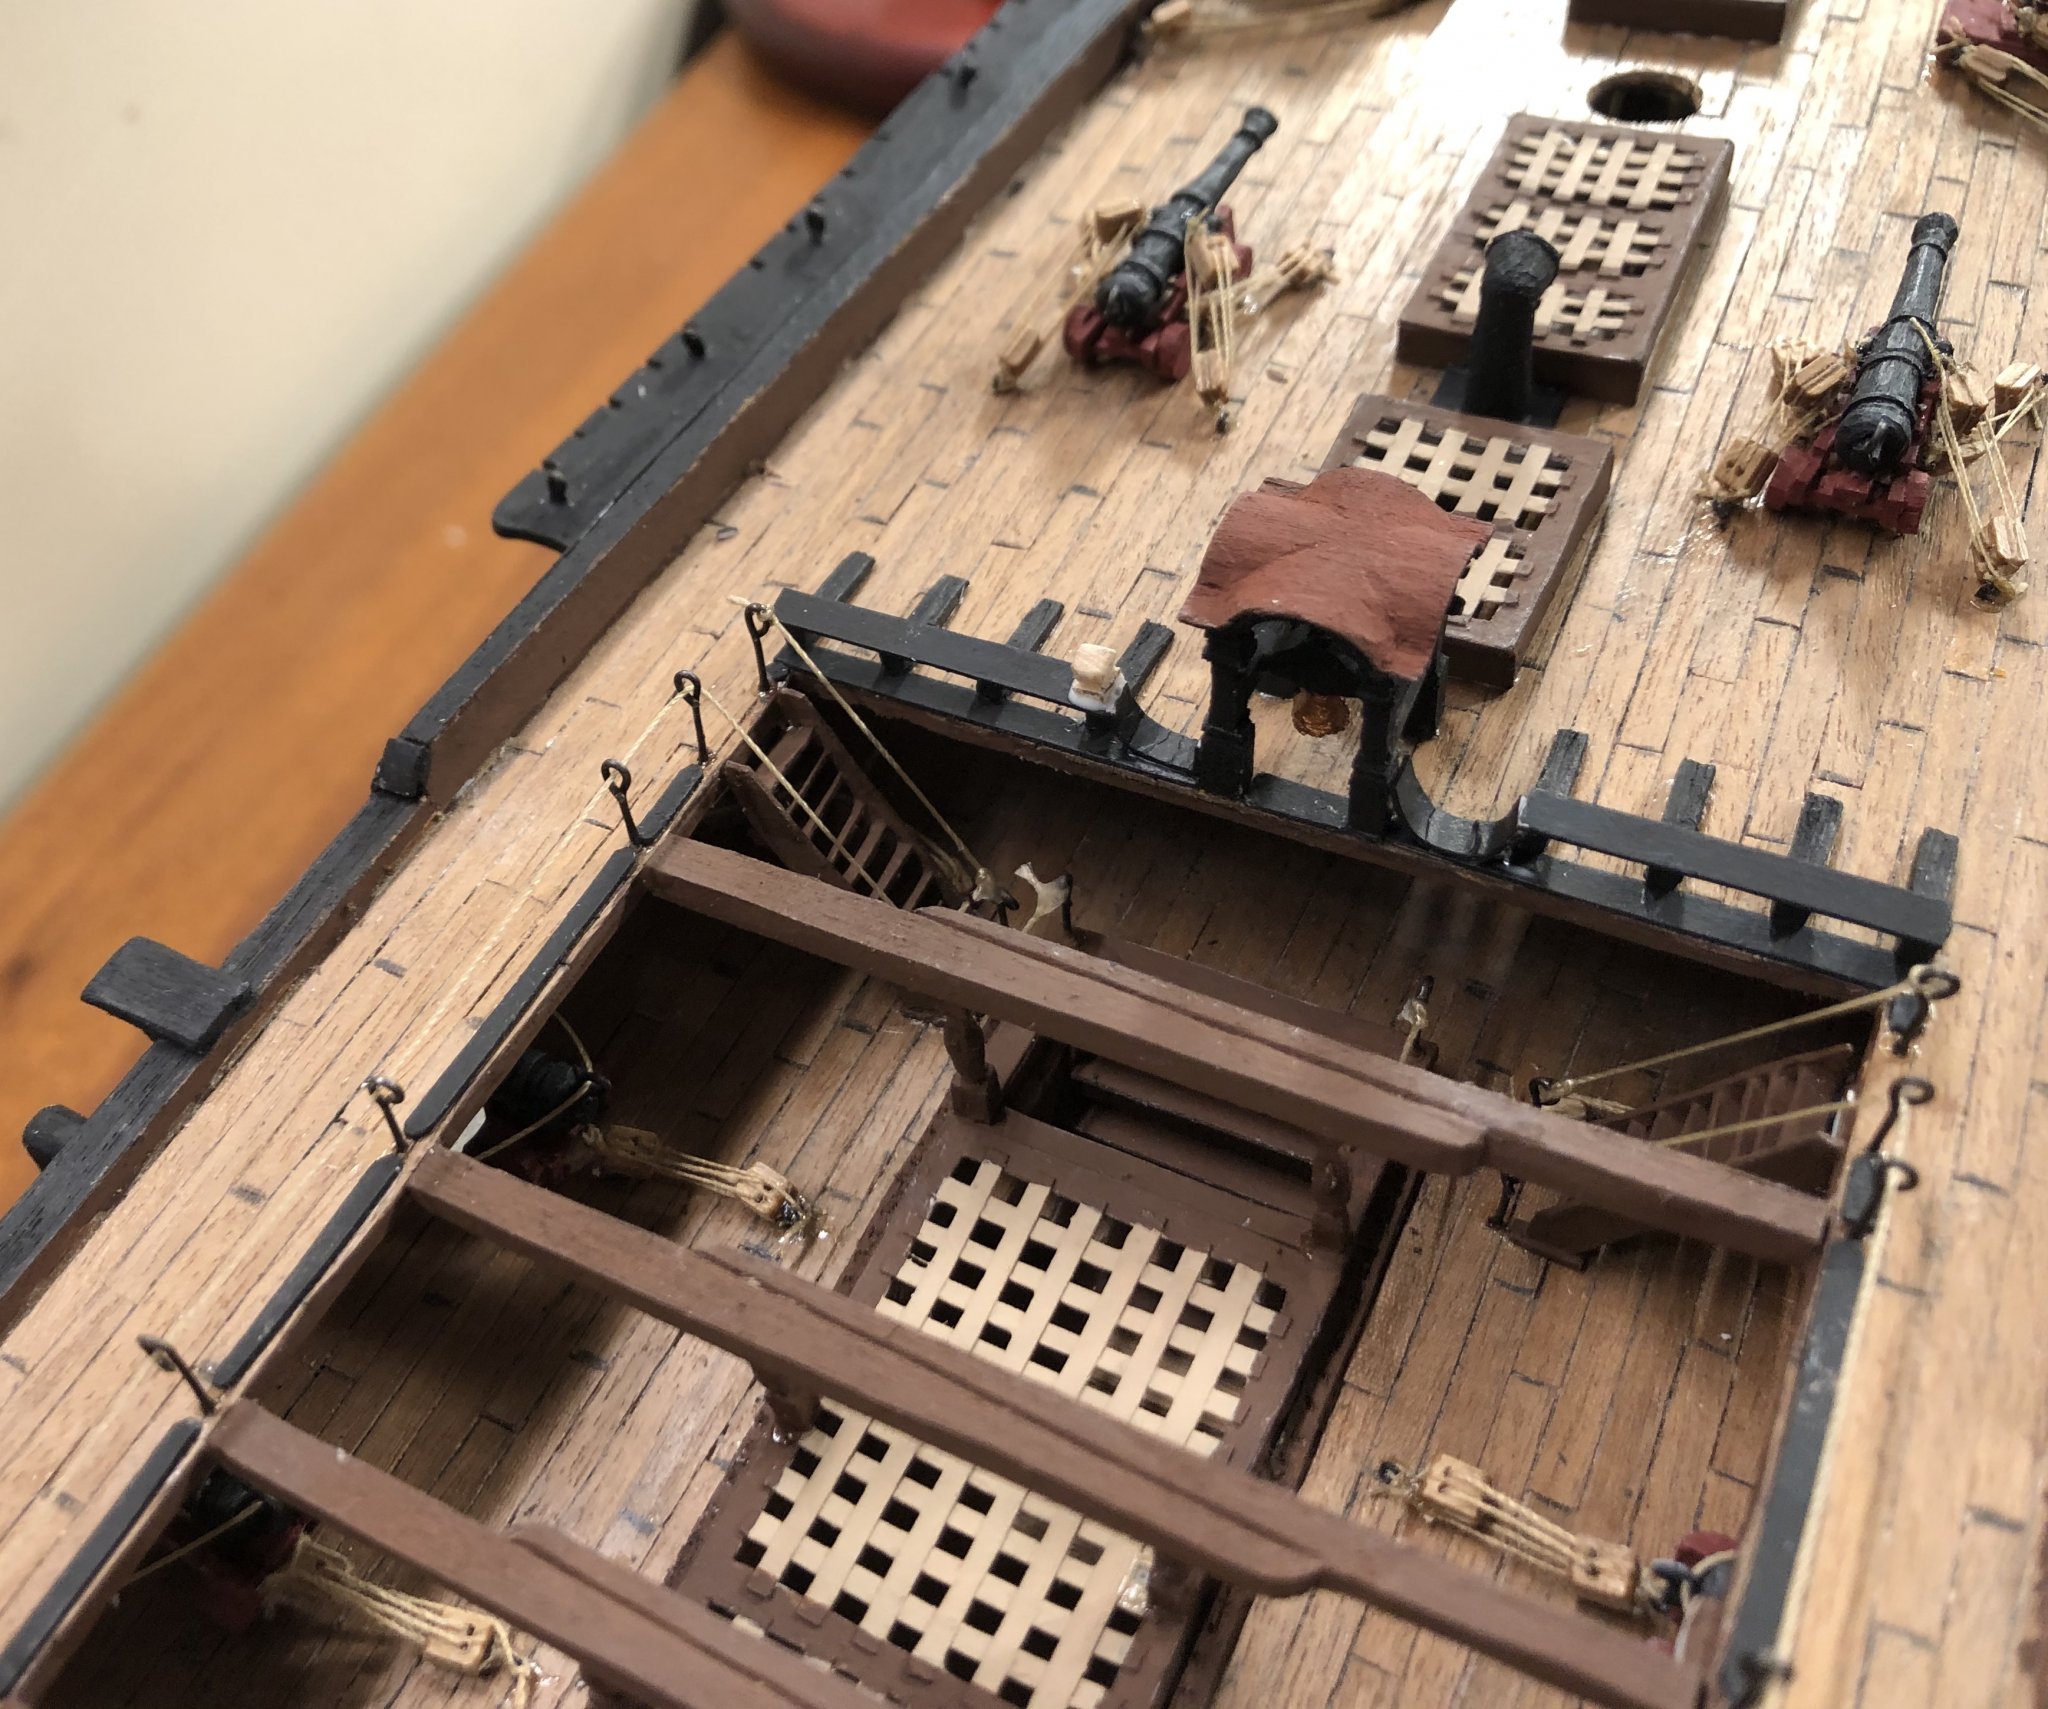
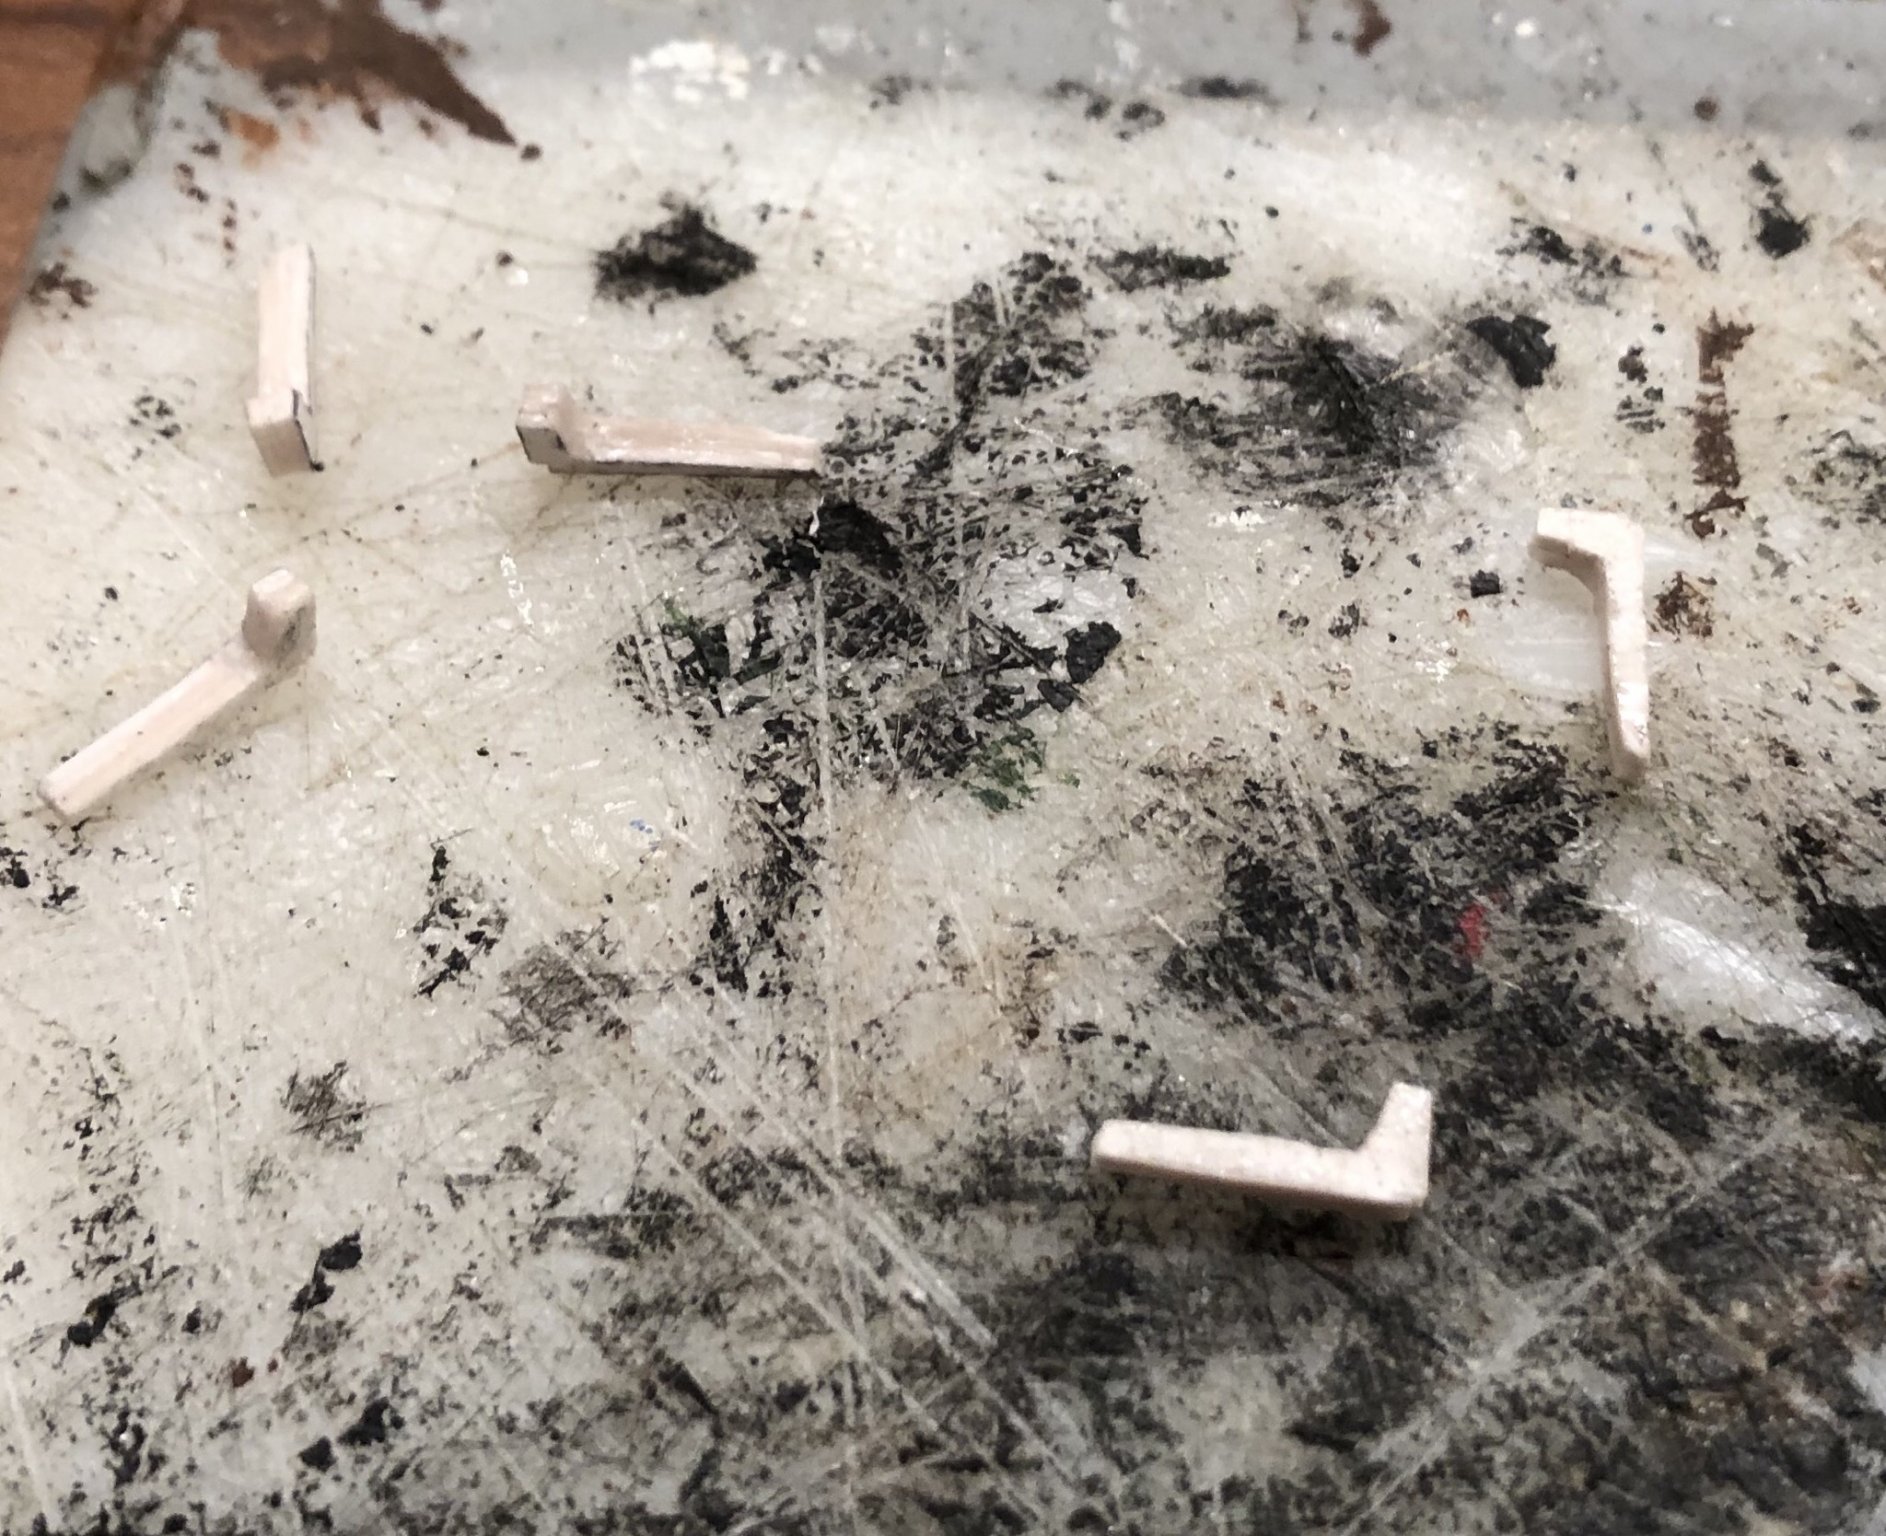
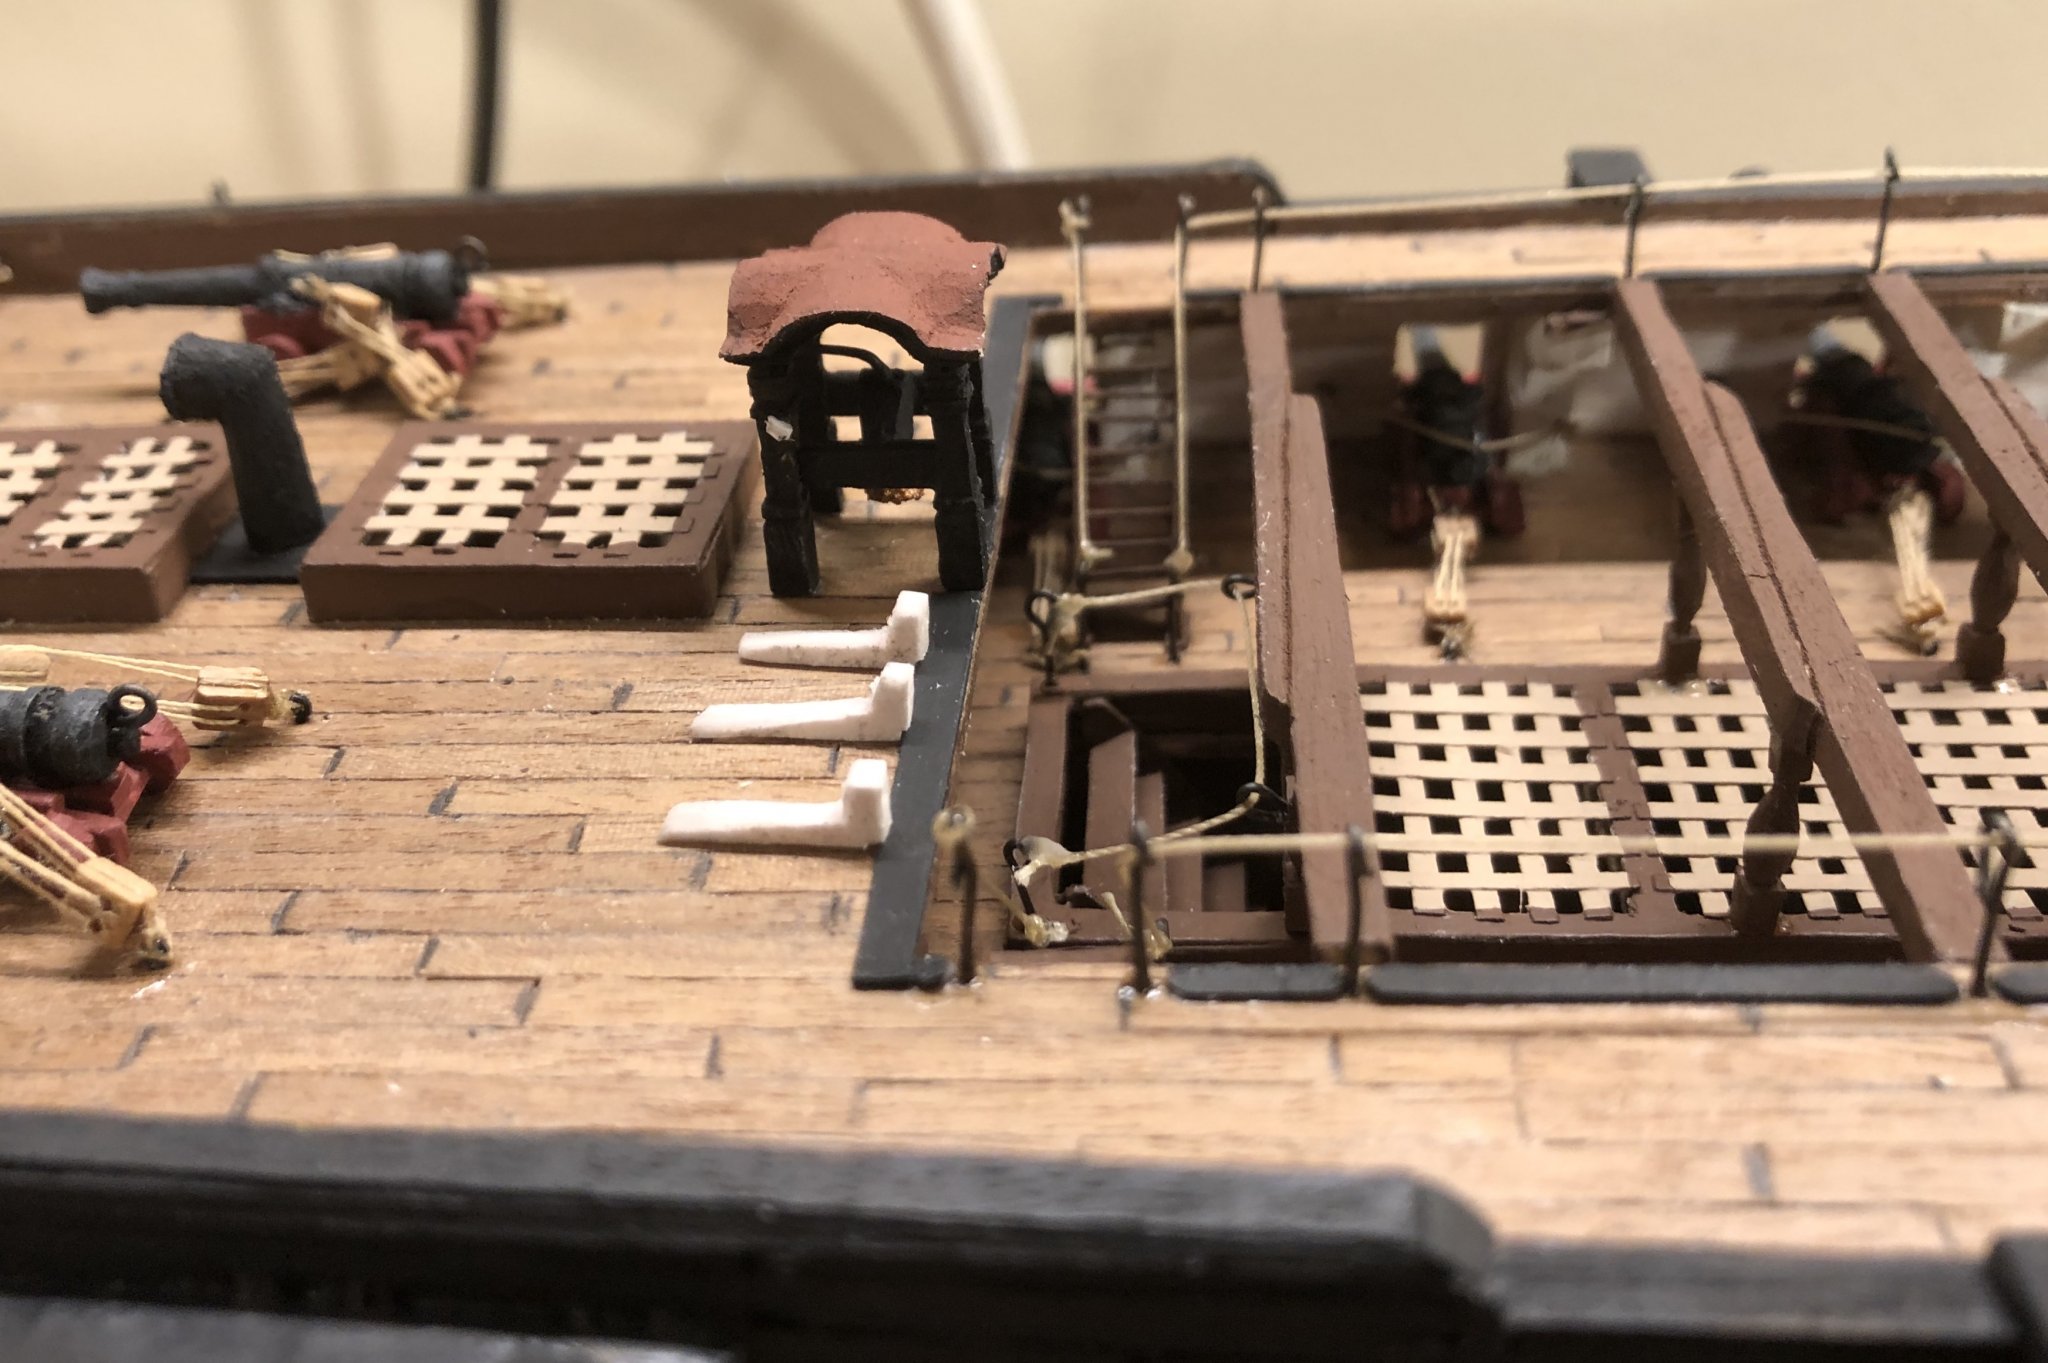
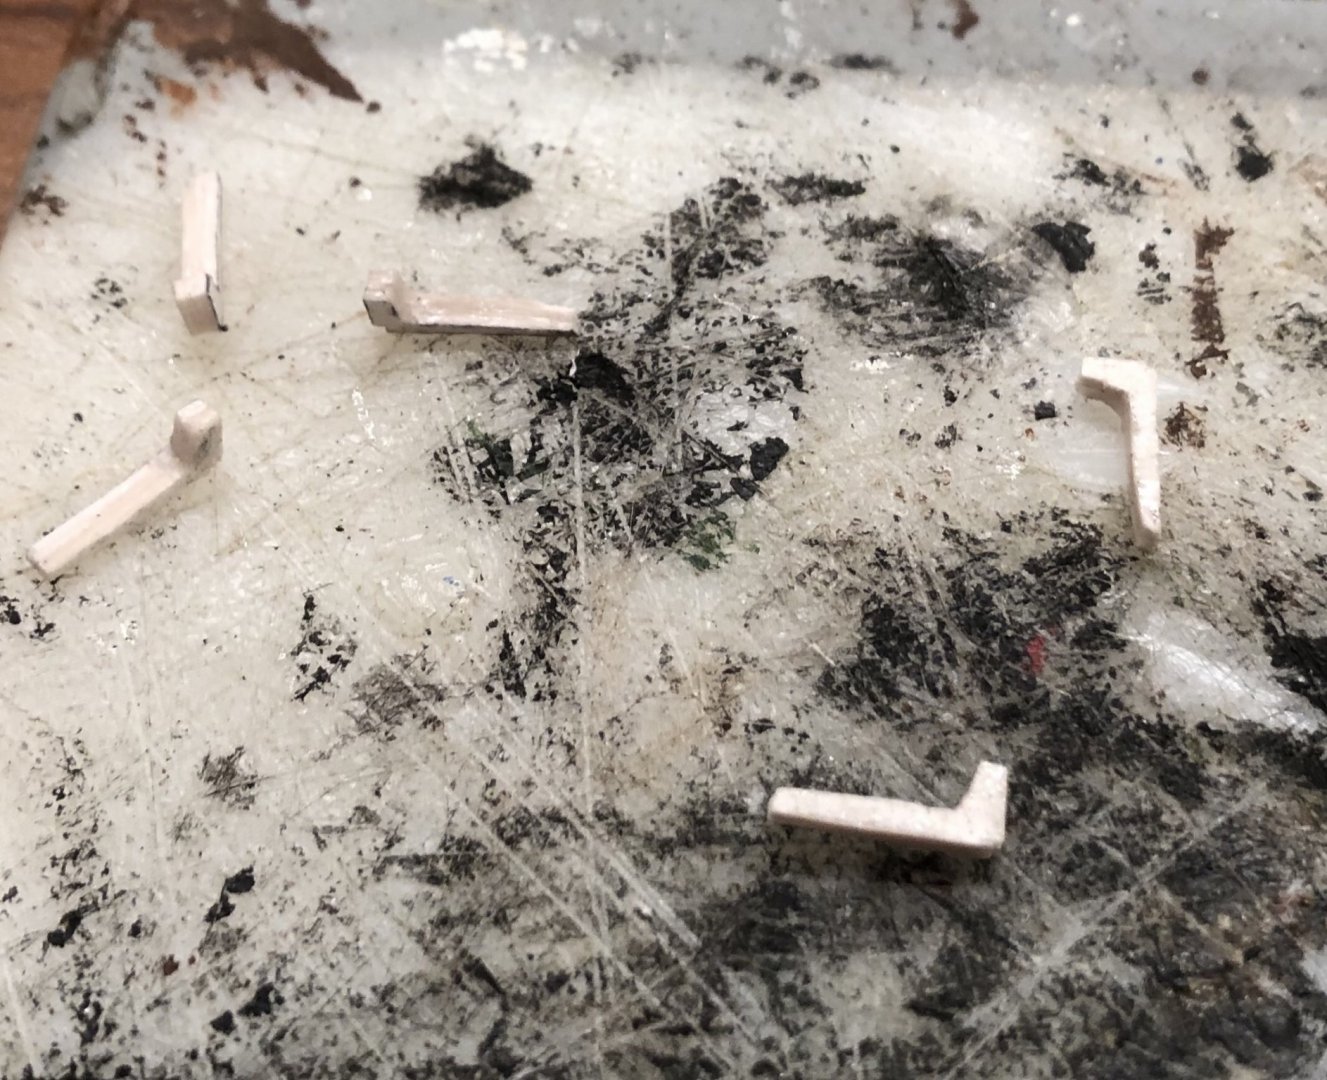
Thank you very much for the comments and the likes! The lower parts of the railings for the forward side of the hole going down to the Upper Gundeck are roughed out. I used posterboard that I layered up four layers and reinforced them with superglue. I got the idea to use the superglue reinforcing from Firdajan, here: I drilled two holes in each of them to simulate sheaves. I will put the rail on top of them and then carve tops for the stanchions from 1/8” basswood. Here they are test fitted: They are not perfect, but they will work well. This whole project has been a game of “Make it up as you go along”. It has been a lot of fun.

-
Welcome!
-
Welcome!
-
Welcome!
-
Well done!
-
For me, always paint