GrandpaPhil
-
Posts
6,157 -
Joined
-
Last visited
Content Type
Profiles
Forums
Gallery
Events
Everything posted by GrandpaPhil
-
Build whatever makes you happy. Also, regarding references for the post-Mary Rose era, the Revenge might be a useful example. Peter Kirsch’s “The Galleon” has been very useful for me, too.
- 279 replies
-
- 1
-

-
- Spanish Galleon
- Imai
- (and 1 more)
-
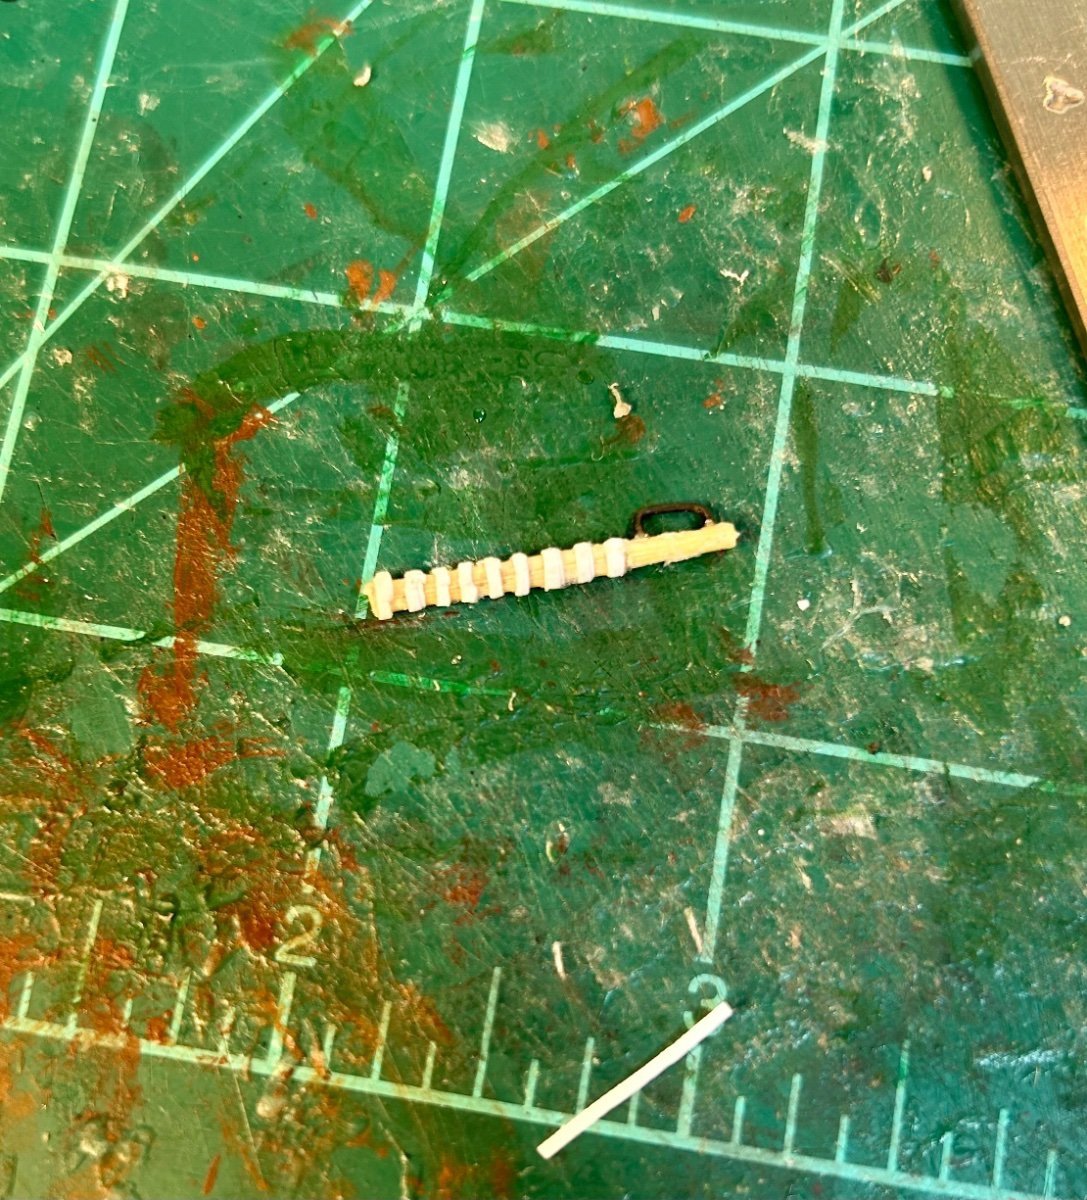
This is a very cool build! The breech loaders aren’t too difficult to make. I made mine from toothpicks, with the banding done in thin strips of normal printer paper. I made the handle for the breech out of thin annealed wire bought from a Habitat For Humanity Re-Store.

- 45 replies
-
- 4
-

-
-
- Great Henry
- Henry Grace a Dieu
- (and 1 more)
-
And now it is time to make another round of parts: I really wanted my keel in place prior to installing the wales. I am going to install the lower wales prior to installing the second planking. And, I was printing on paper anyway….so I decided to trace more pieces just to get them made and not waste the paper. This methodology of making parts and assemblies in advance has been working really well for me so far.
-
The inner planking and shaping is done now: I will clean it up a little bit, later on today, with a paint brush. Then I will seal the model. But first, I need to repair some of the upper beams, because I accidentally crushed them while sanding. That is no big deal, I will add CA to the separated pieces of card to reinforce, and then keep rolling. I have the most difficult part of my model done now.
-
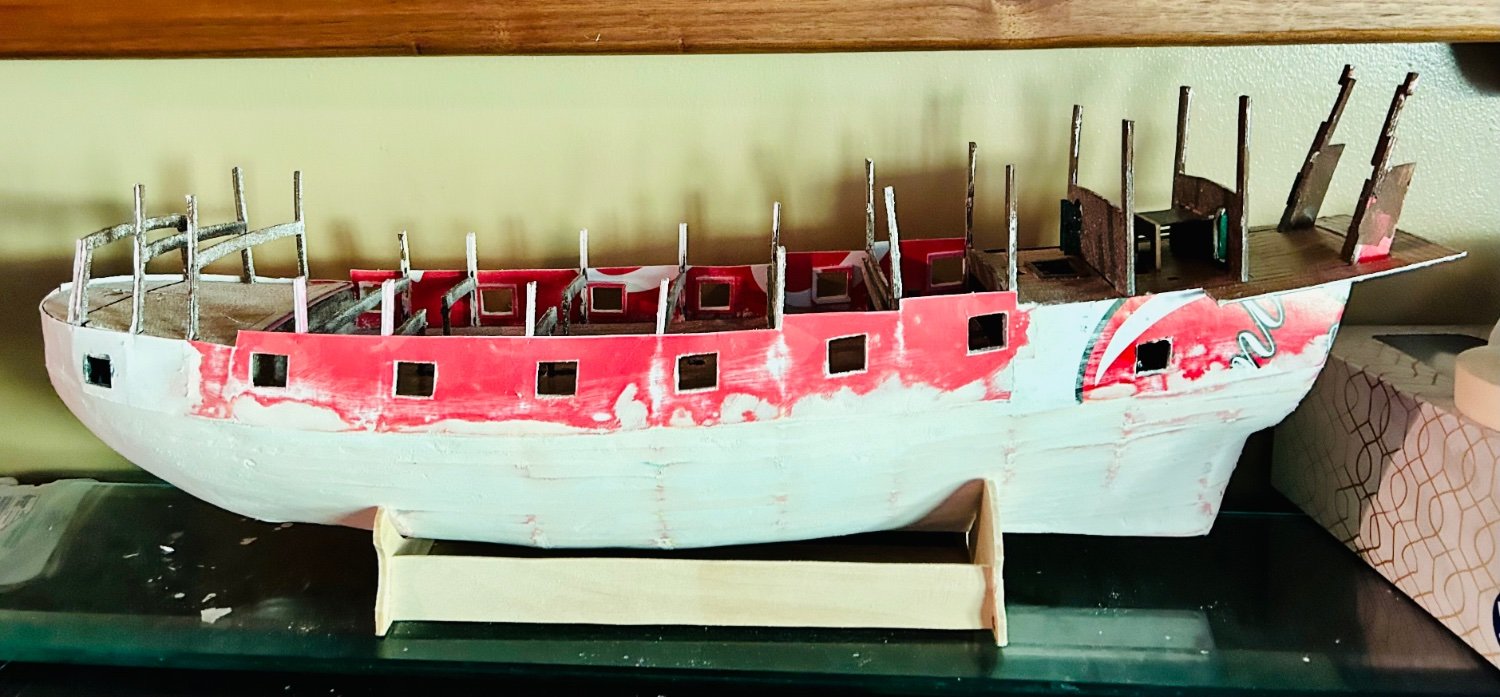
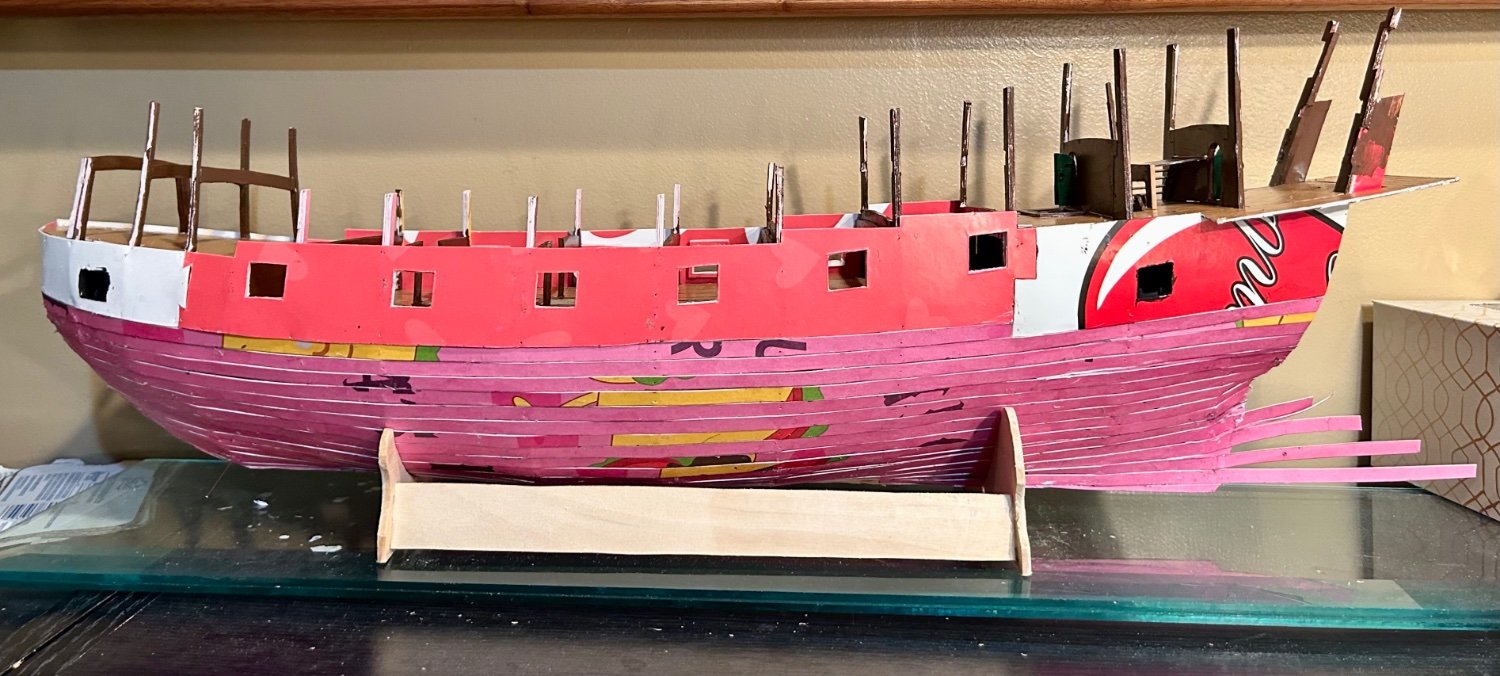
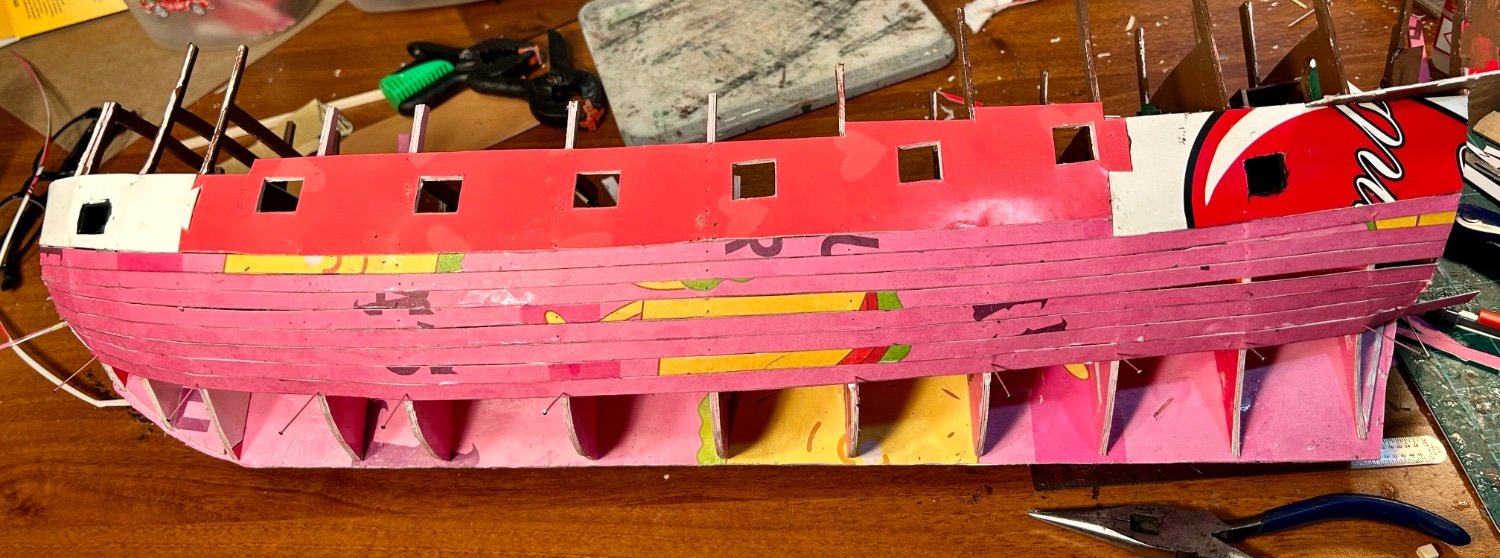
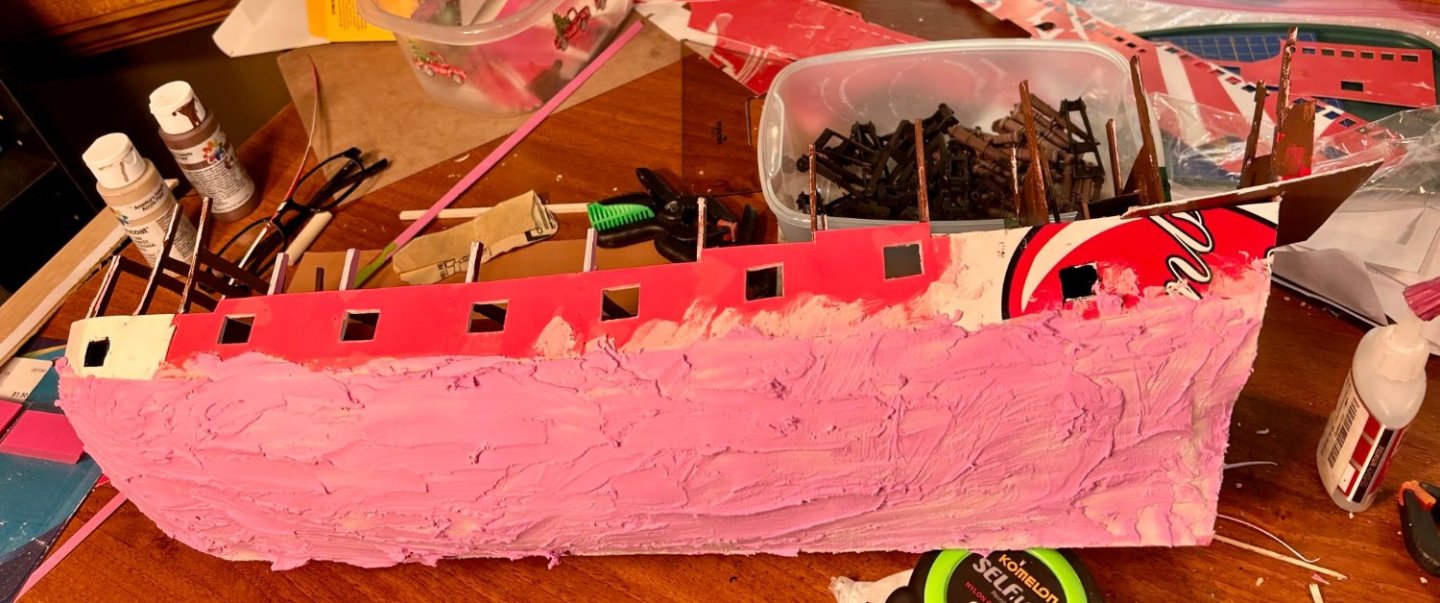
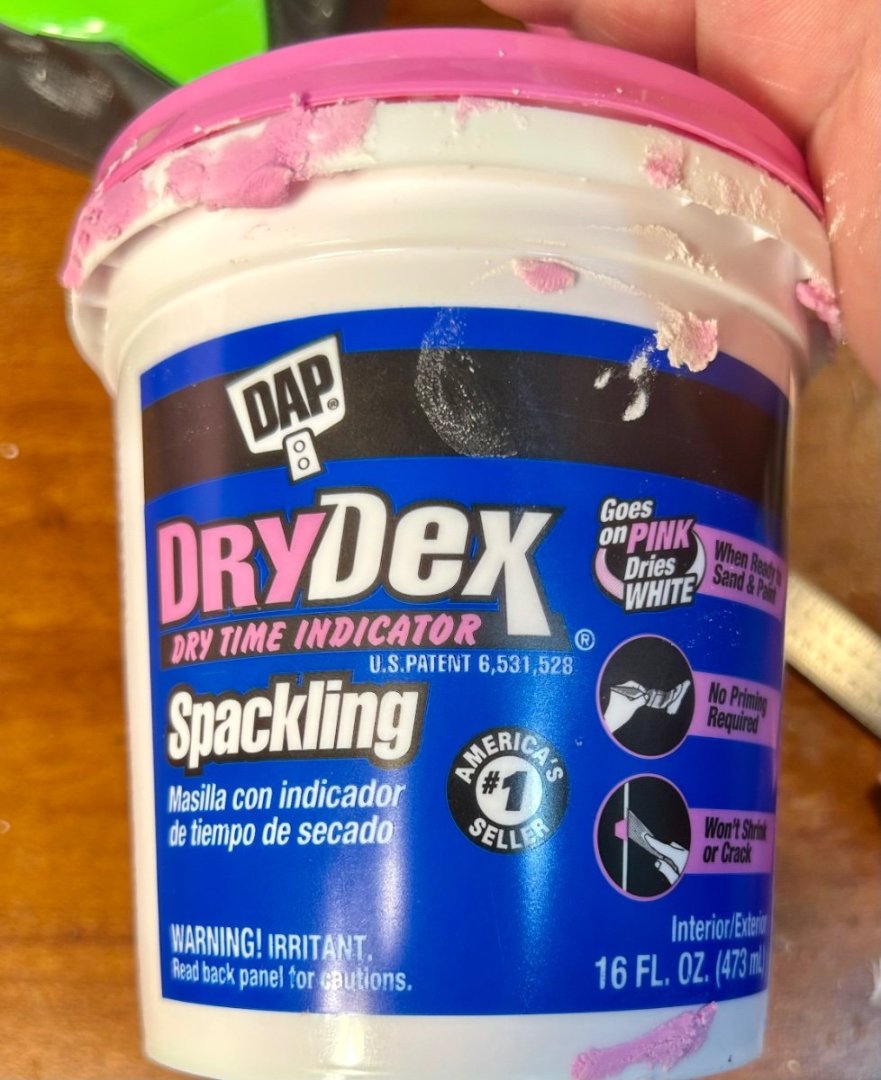
The port side is puttied with spackle: I used the color changing type and have it sitting under halogen lamps to force dry it. I use this type from Lowe’s: Drywall spackle works great for card ships. It will sand with the card and makes for a smooth surface that you can seal and then adhere the second layer to. This one will be different than my last two. Those, I just added the contact paper to the first layer, and then painted. This one, because of the intent behind the design of the plans, I am utilizing a full second planking.
-
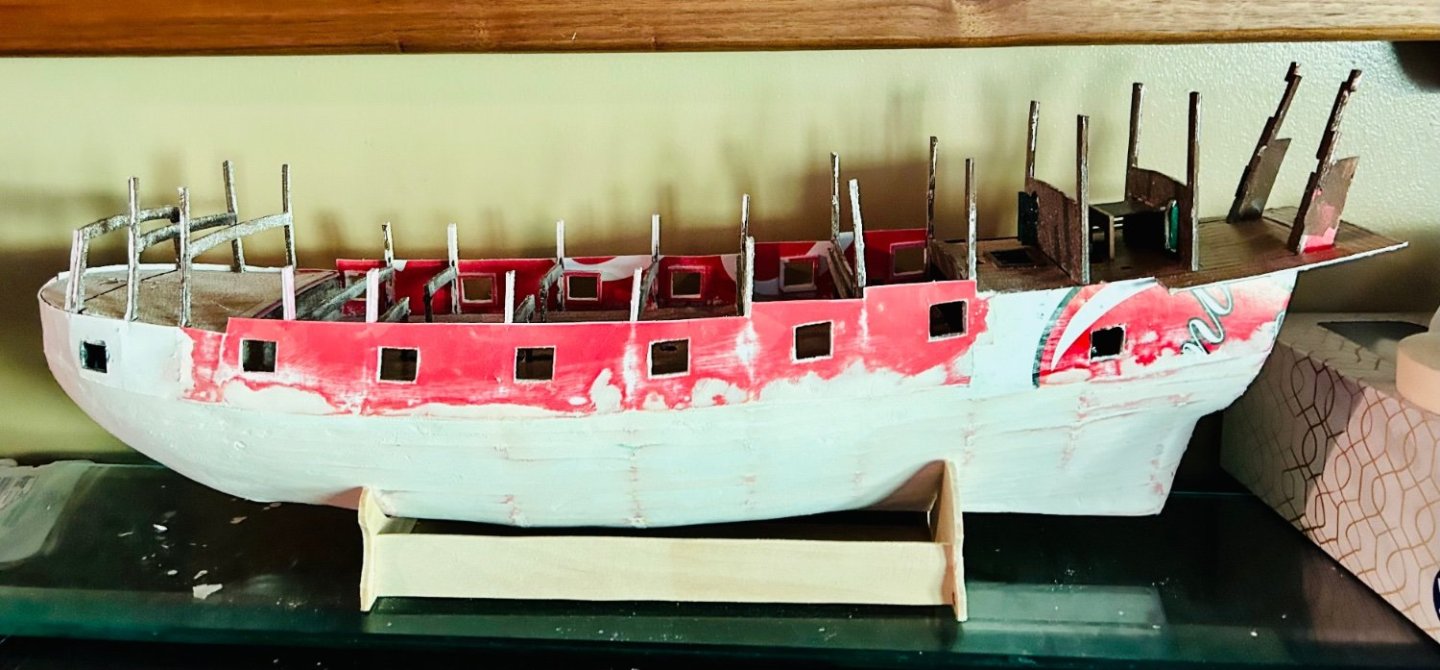
The model is looking great. That is the windlass and the things that go clink are called the pawls.
-
The first planking is done:

-
I got my Soleil Royal plans today. It will be built much like this model. I now have 17 ship models in my stash, with 2 more in Ordinary. I think I should stop adding to my stash now, at least until after I complete a couple more models, lol.
-
Welcome!
-
Anyone out there working on a card model?
GrandpaPhil replied to gagliano1770's topic in Card and Paper Models
Google translate works well for me. You can scan the passage directly into the input box. That’s how I translate most of mine. -
What plastic ship kits have you done?
GrandpaPhil replied to Broadsides's topic in Plastic model kits
My plastic builds include the Heller La Reale, the Heller Amphitrite, the Encore Olympia, a 1/350 Arleigh Burke, a 1/144 Gato, a 1/350 Independence (the LCS) and a 1/720 Carl Vinson. When I was a teenager, I made a try at the Revell 1/96 Constitution and later tried it again while in college. I never finished either one. Maybe I’ll make a Constitution out of card one of these years. -
That’s cool!
- 1 reply
-
- 4
-
-
Jan, Your models are very impressive. I have learned a lot from them. I will add a second layer of planking. Once the first layer is done, the model will be getting a lot of putty and then sanded smooth, before being sealed, to give the second layer a solid base to adhere to. The second layer will be 1mm card, with contact paper to give them a wood grain texture, cut into individual “planks”. That will then be painted.
-
Lol, yep. Those cards were a good find for me. I could not have resold them, so them being the right type and size of card for model making worked out really well. Plus, we got the pallet right before Valentine’s Day (they were the 2022 Valentine’s cards, not the 2023 ones), so the timing worked out for the card giving to the wife, too, lol. On a serious note, planking with card is much faster than planking with wood. Card works quicker and no heat or water is required. Vertical planking actually seems to work much better, but I wanted to try conventional planking just to see how it played out. I’ll give a full opinion after I see how it works out. I should have made full filler blocks for the bow, but it is too late now.
-
Welcome!
-
Welcome!
-
Welcome!
-
Making progress on the port side:

-
COVID is not any fun. I hope you feel better soon. The models look fantastic!
- 12 replies
-
- 3
-
-
-
- Muleta de Seixal
- Seahorse
- (and 1 more)
-
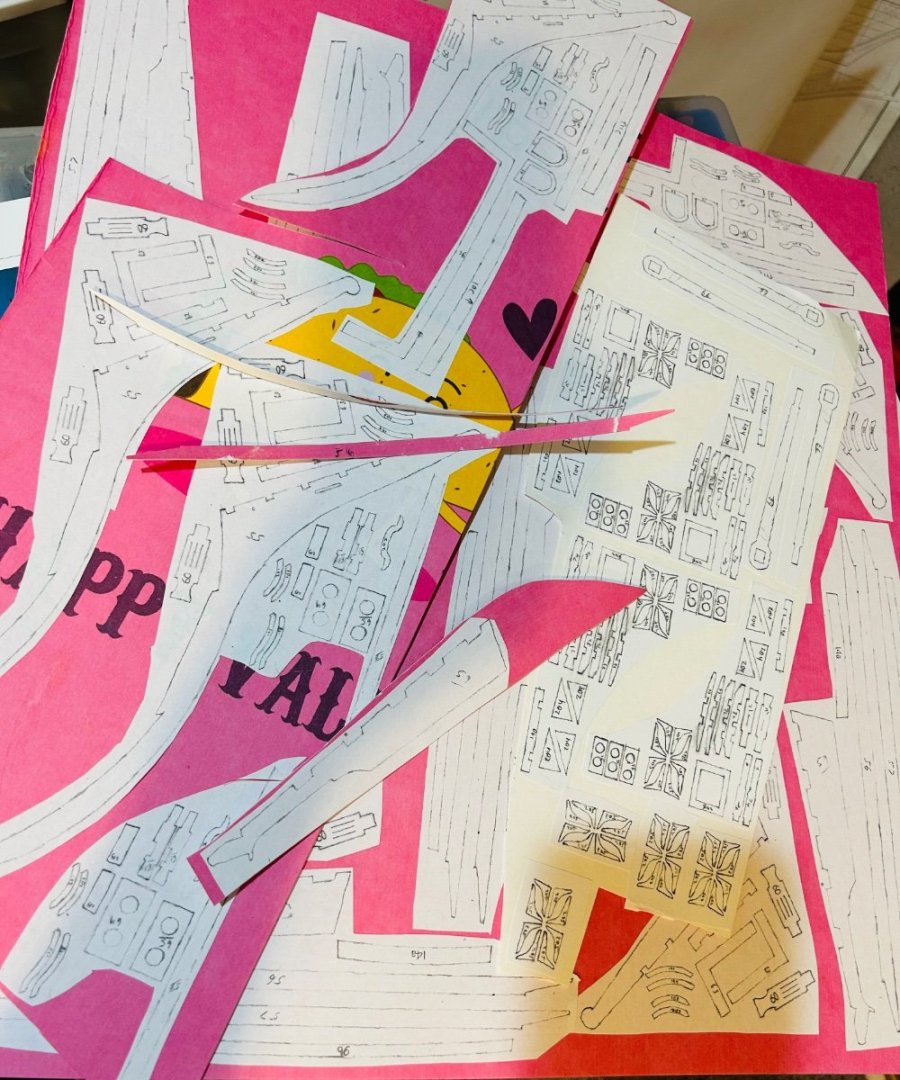
Thank you very much, Steven! This is the hardest part for me, so I am pleased to see it shaping up. Meriadoc, It is a taco and is part of an oversized Valentine’s card that says, “Let’s taco about us” I do resale on the side, and found a bunch of those obnoxiously oversized Valentine’s cards on a liquidation pallet. They were the perfect thickness (approximately 1 mm) and size (24” by 36”) for model making. Needless to say, I promptly gave one to my wife (which she also promptly gave back to me to use for model making as it was too large to keep) and then put the rest of them in my model making supplies.