GrandpaPhil
-
Posts
6,154 -
Joined
-
Last visited
Content Type
Profiles
Forums
Gallery
Events
Everything posted by GrandpaPhil
-
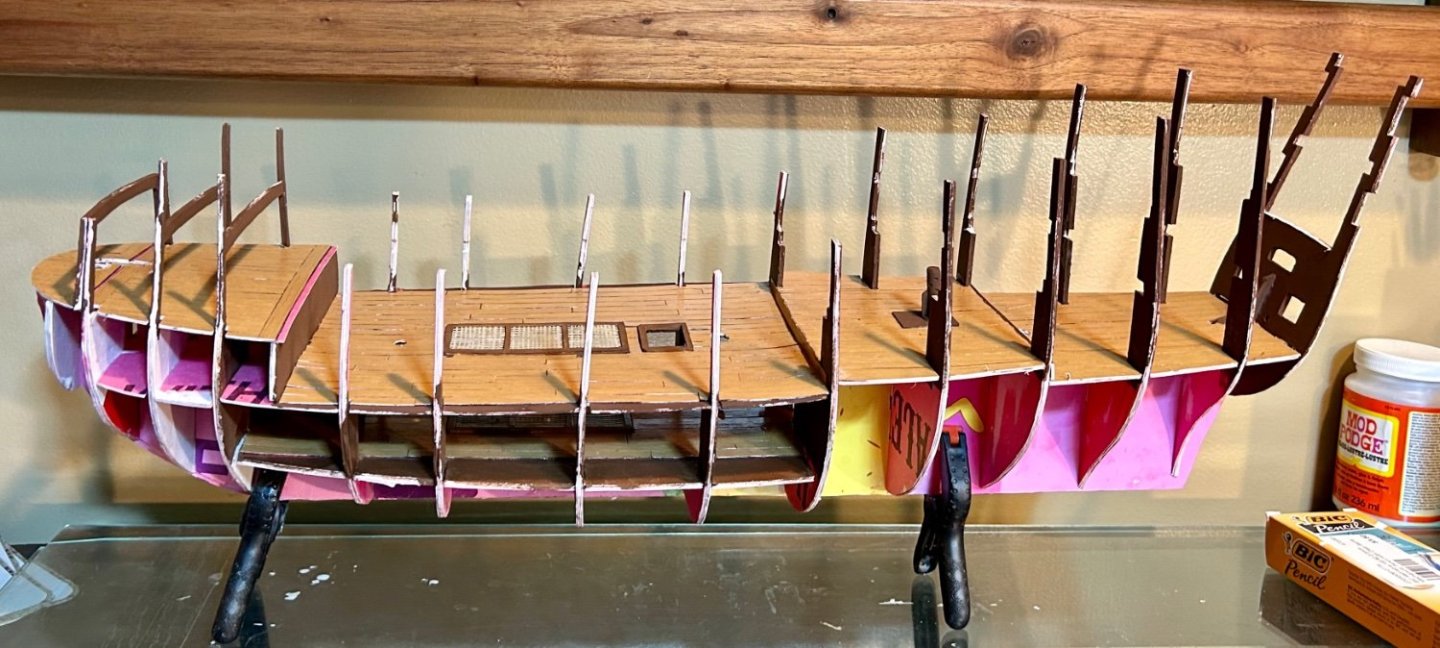
Build time has been limited due to life and weather, and I have not had time to take pictures this past week. However, I made a new batch of parts and have laid down the first stern castle deck: The sides are just pinned in place for locational purposes and will be removed shortly. I am still “planking” the port side.

-
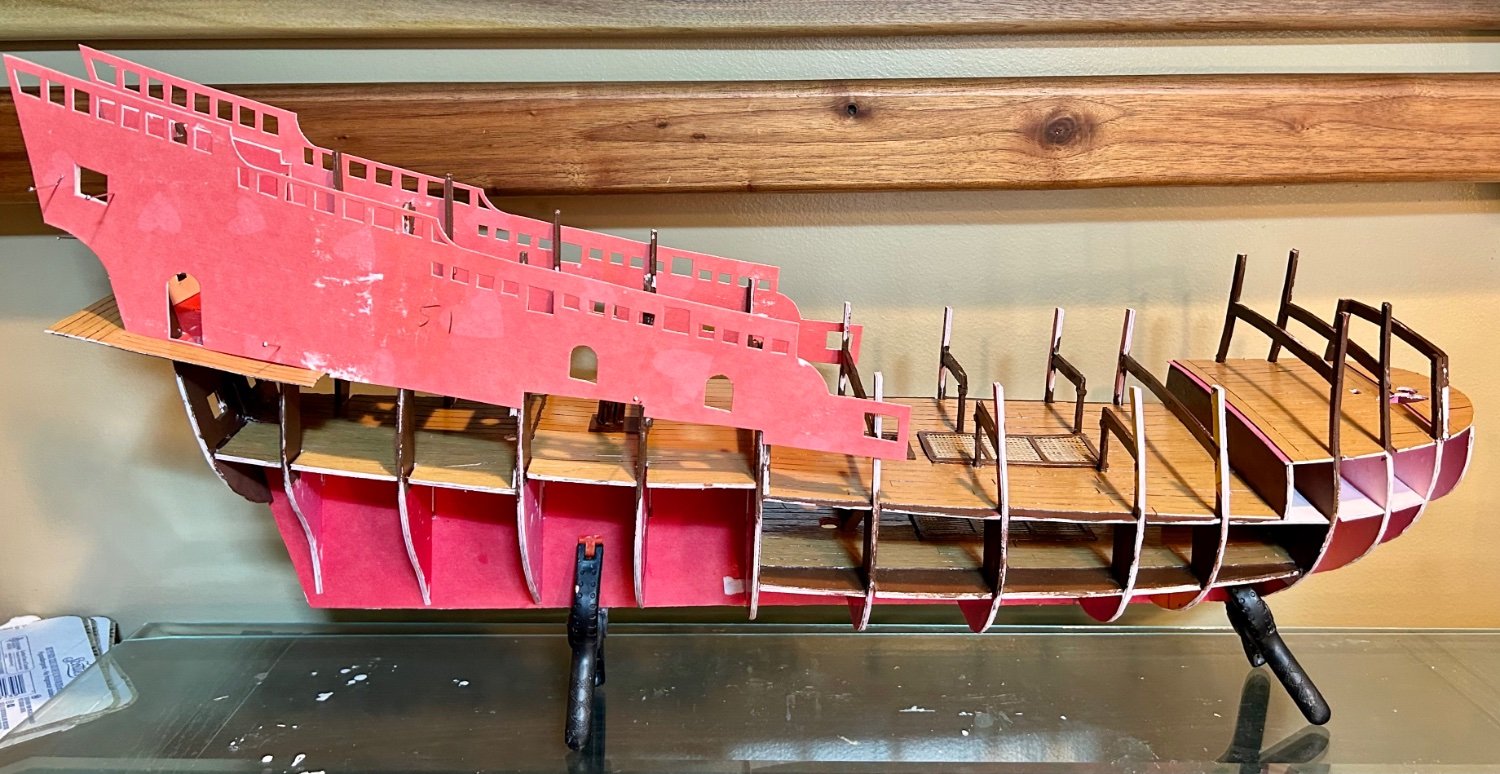
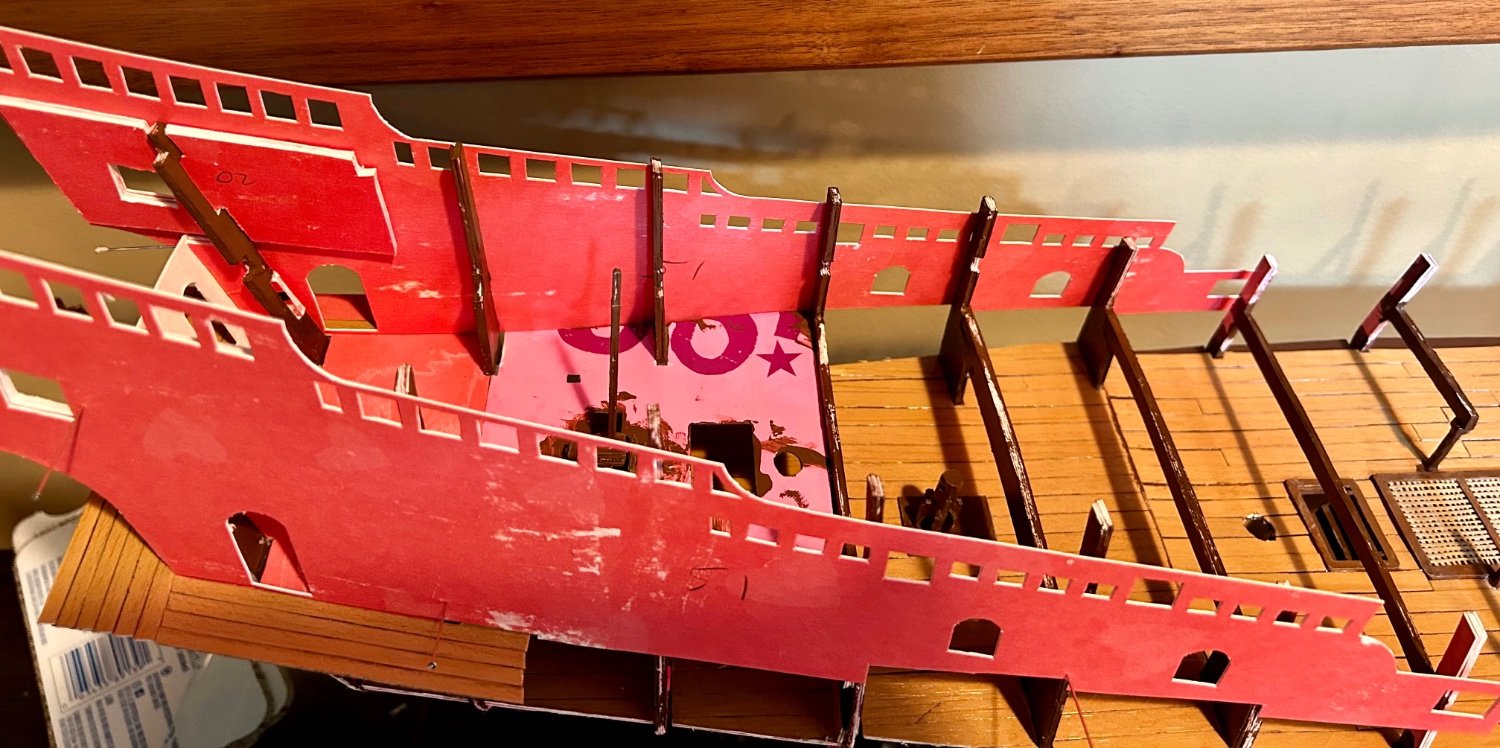
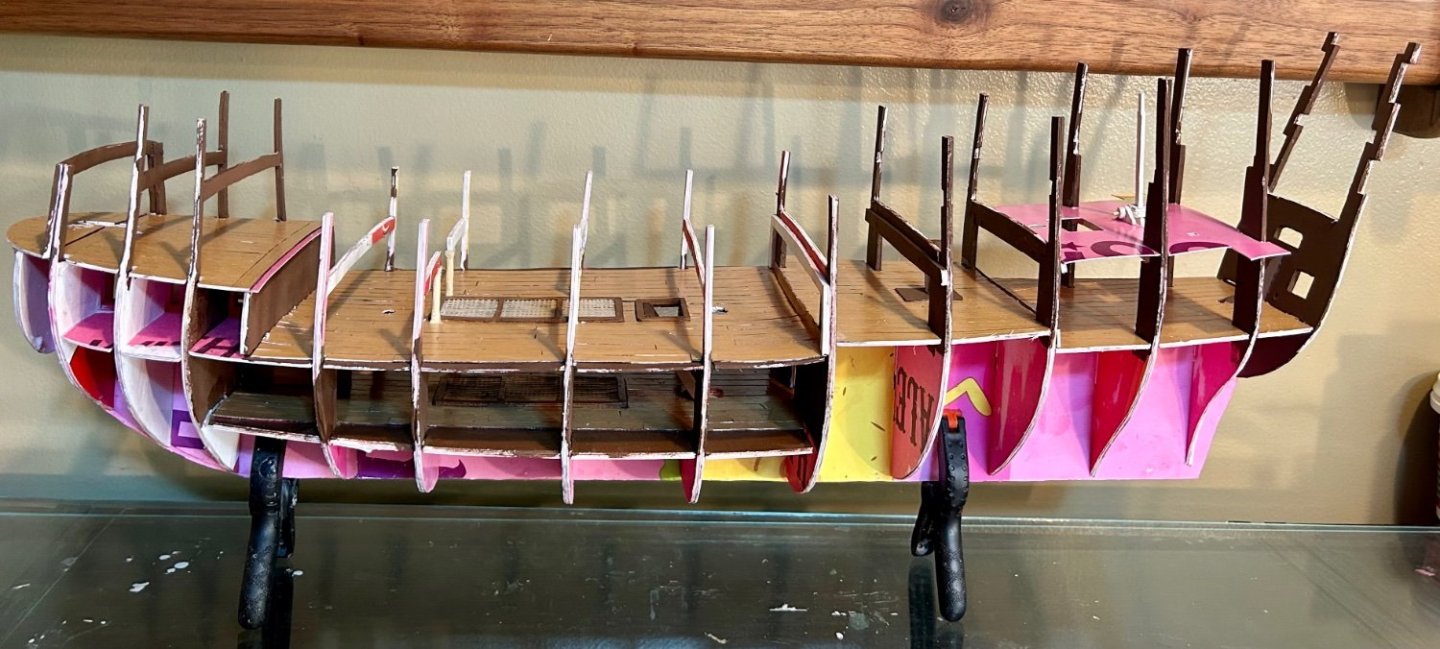
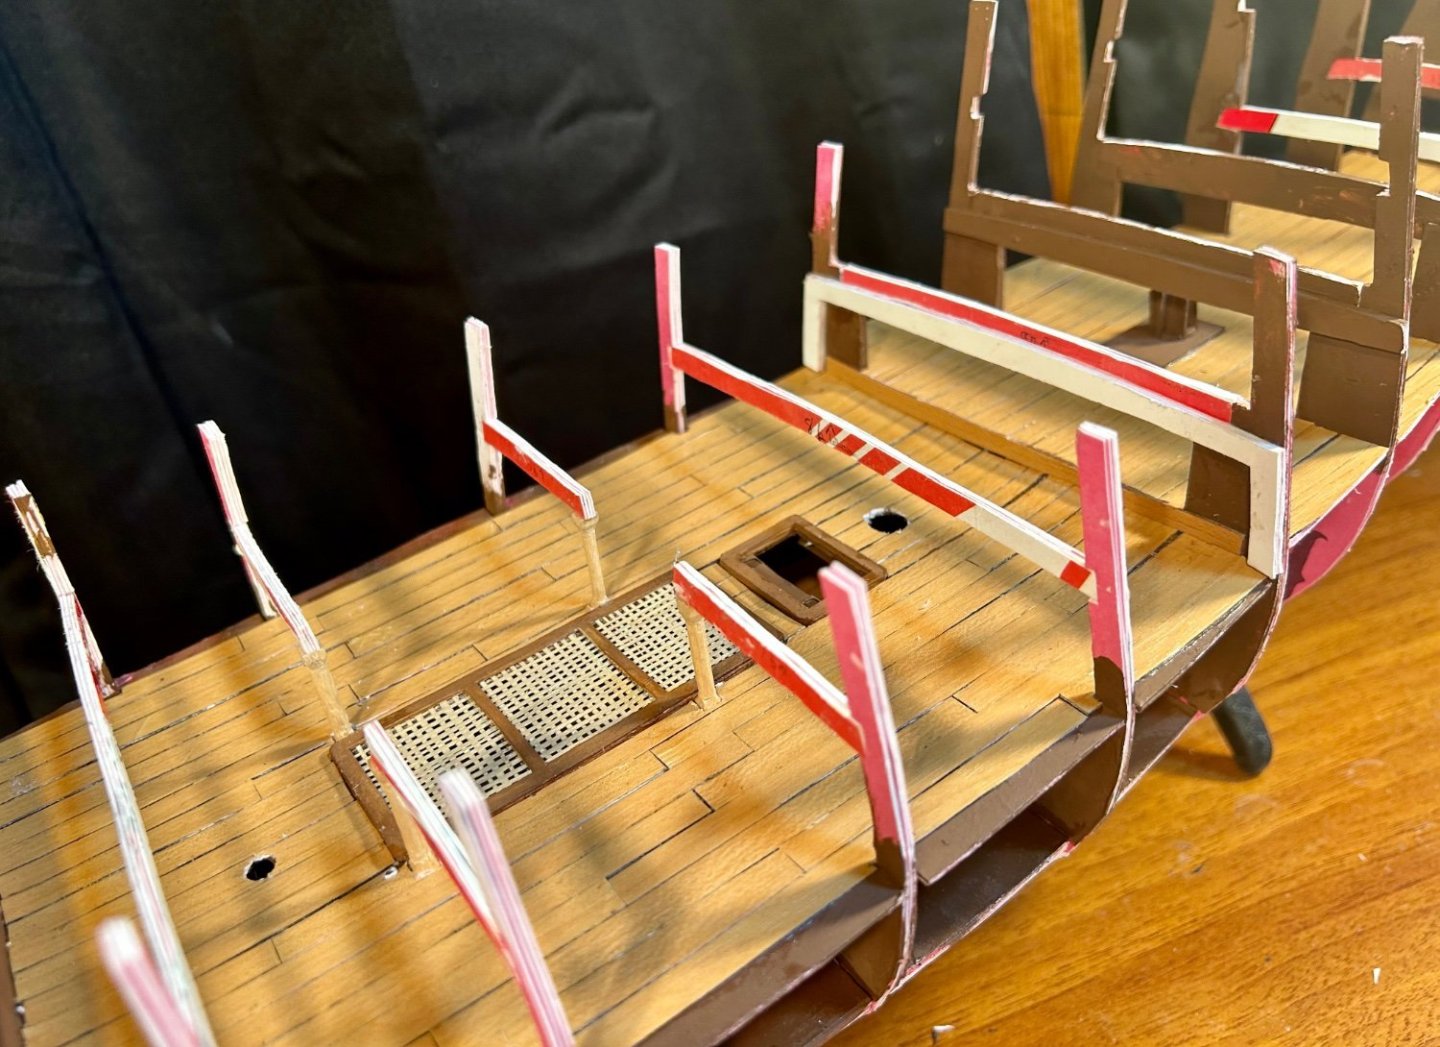
The gundeck is painted and sealed: I will be working on the stern castle for a bit.

-
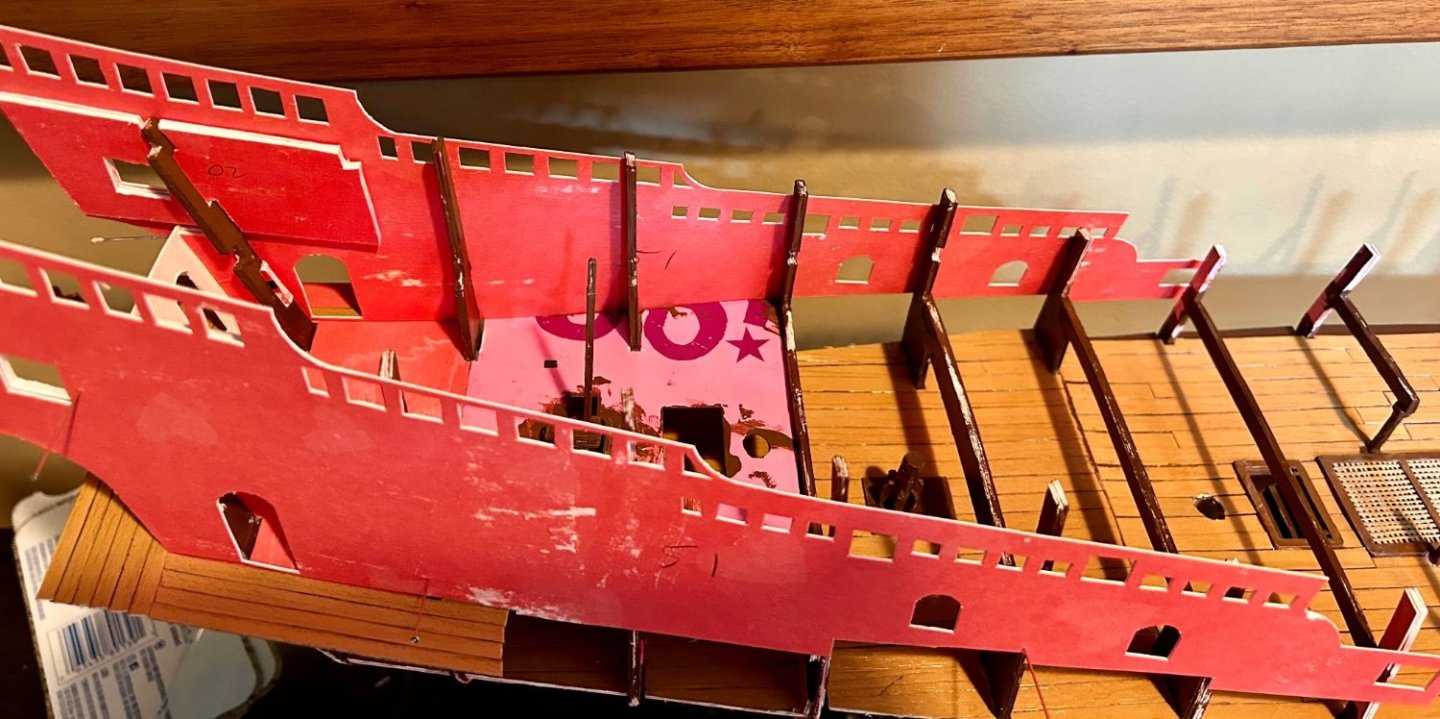
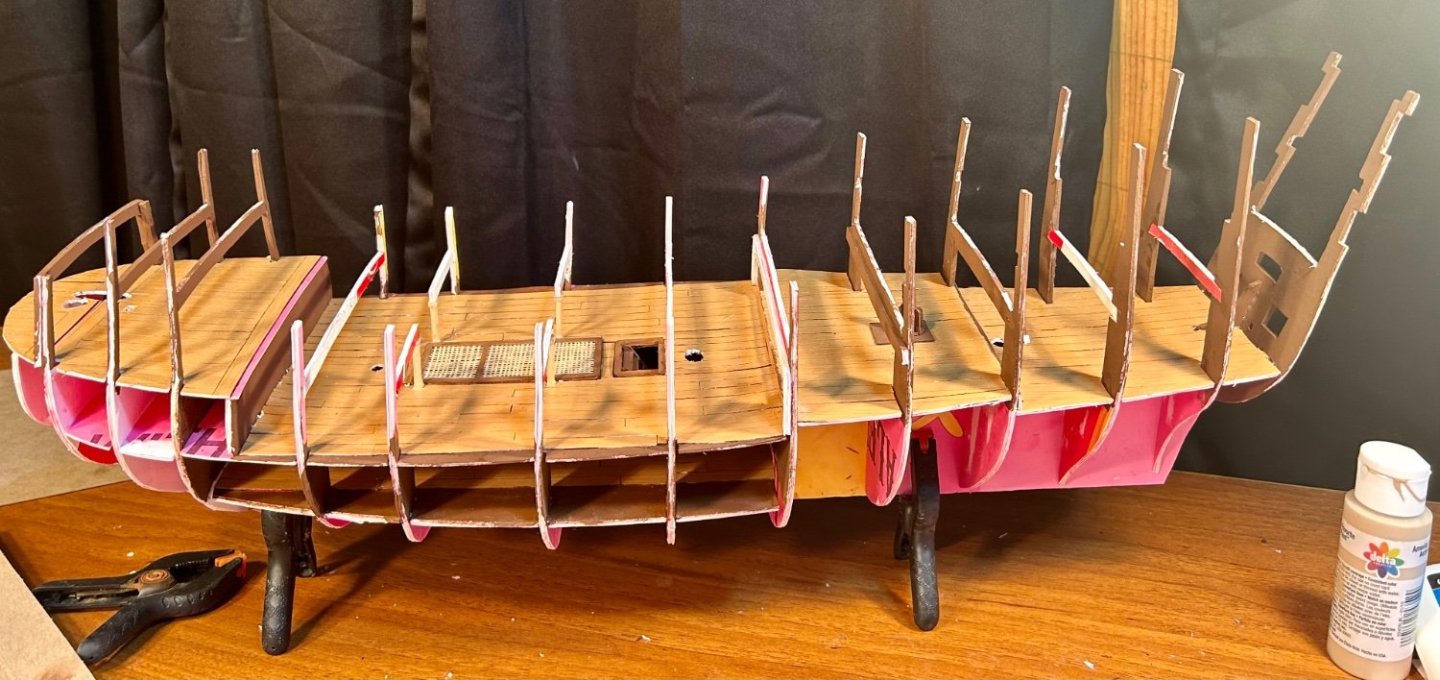
Stern gallery deck test fit: Overhead view: I have 3 more decks traced and drying now.
-
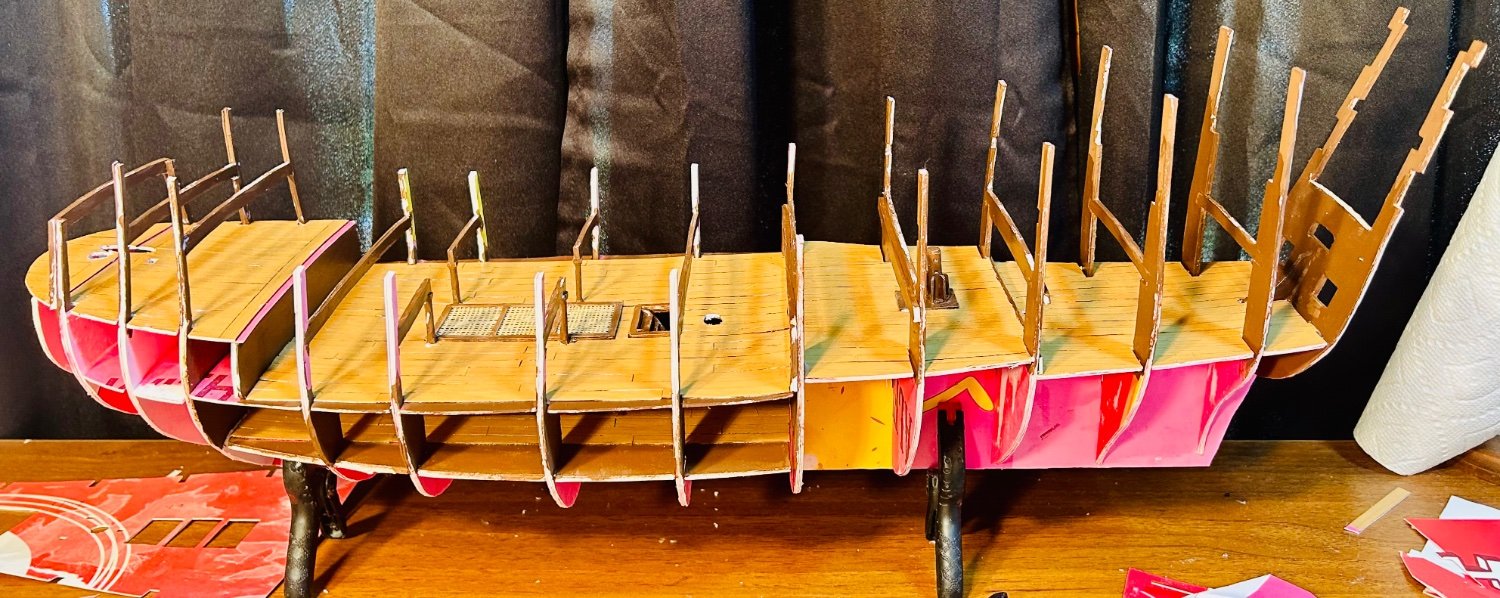
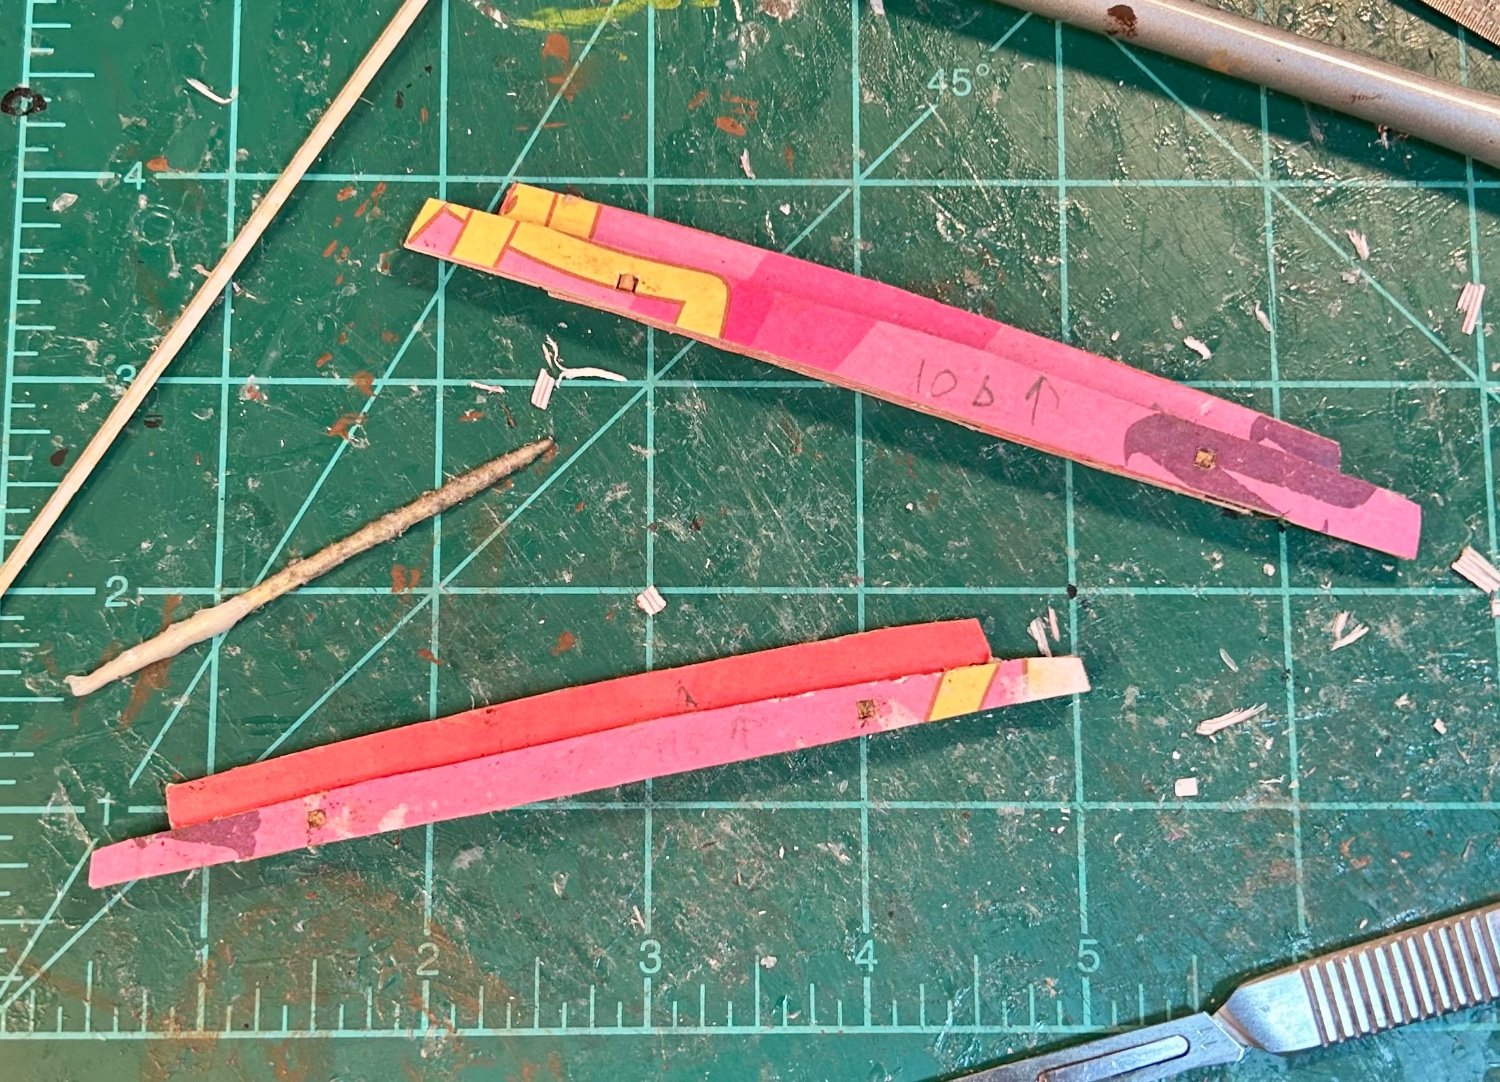
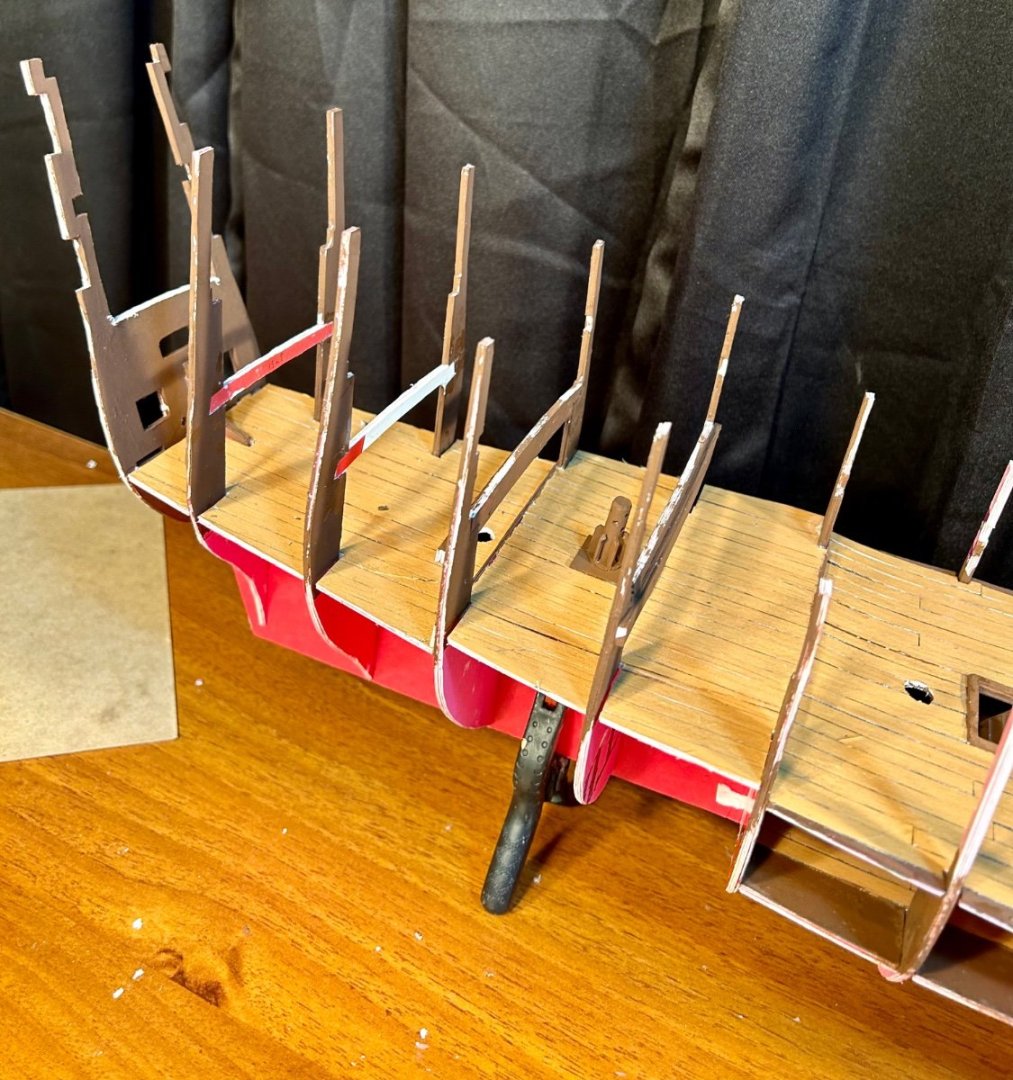
Thank you all very much for the comments, the likes, and the book recommendations! The first wooden parts are made and installed: The next set of deck beams are on and awaiting final cleanup and painting: The whipstaff is assembled and installed: The whipstaff is glued because this is a paper model and I do not care to have moving parts. Next up, it will be time to paint everything once the glue is dried!
-
Do you have a Wickes near you? It looks like the UK version of Lowes. https://www.wickes.co.uk/Wickes-Redwood-PSE-Timber---20-5-x-144-x-2400mm/p/9000263476 If so, check that out. That is about the size of a 1x6 and comes in 2 meter lengths. A four pack is 50£ Wickes looks like they have reasonable 2x6’s too. And, if you buy so many, apparently they deliver. Just make sure you pick your own boards. In the US, sometimes they are warped, so you have to check and make sure they are straight. One of my model building secrets is that I get the vast majority of my supplies from craft stores and hardware stores.
-
I would like to build a Venetian galleass too.
-
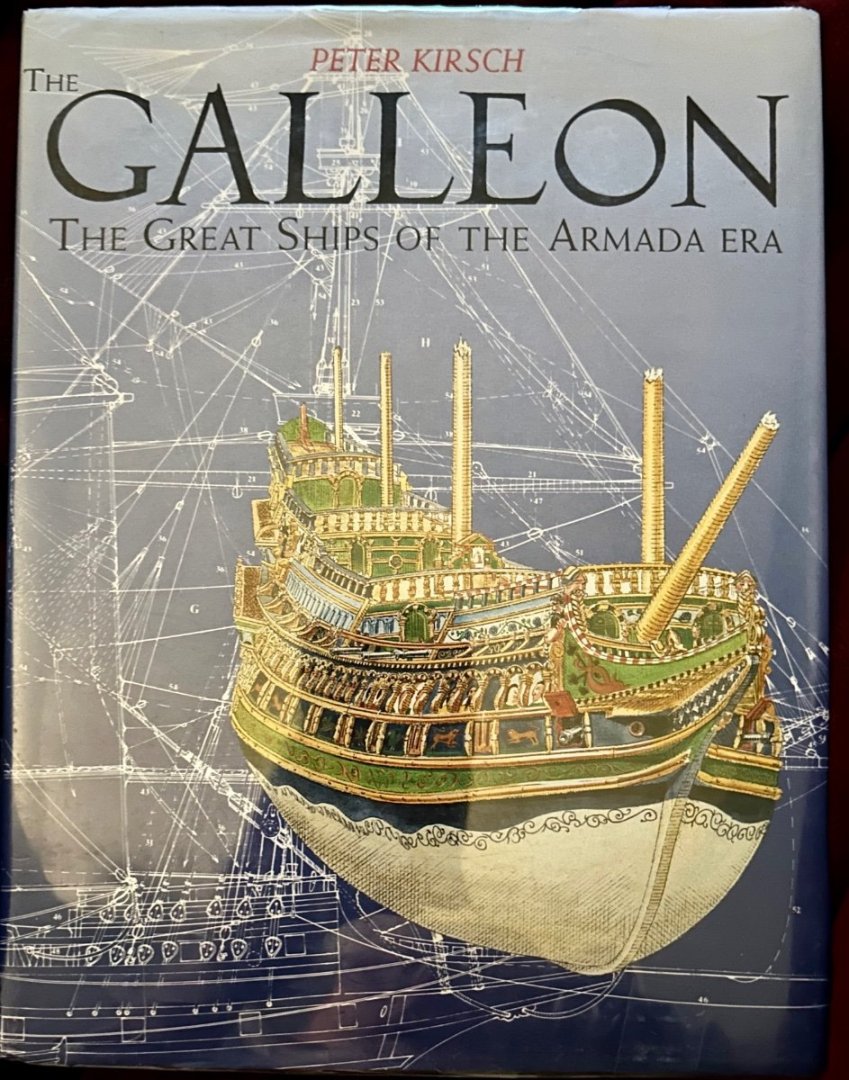
Another research book: These galleons are starting to grow on me. I have a feeling that I will end up with at least a couple of them. I still want some of the floating palaces of the Baroque era though. Those ships are downright beautiful!
-
https://vanguardmodels.co.uk/product/saucy-jack-barking-well-smack/ Chris Watton’s Vanguard Models have excellent instruction manuals and the owner of the company is on this forum. He made a bunch of fishing boat kits, like the link I started with, that would make a great beginners kit. Also, there are excellent planking tutorials on this forum too.
-
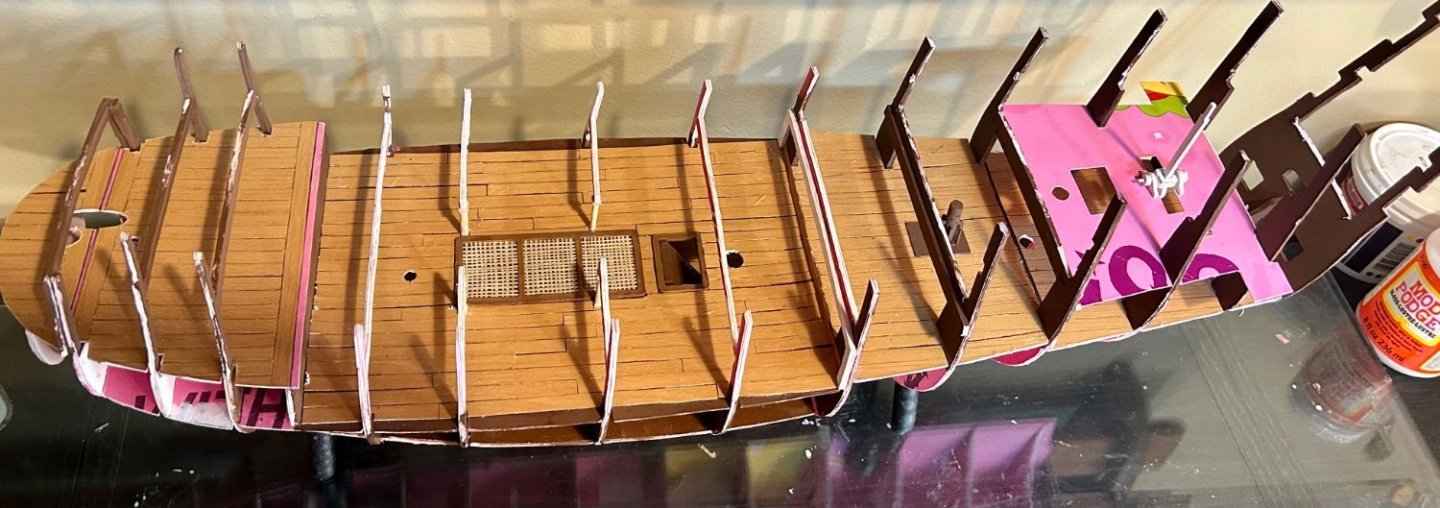
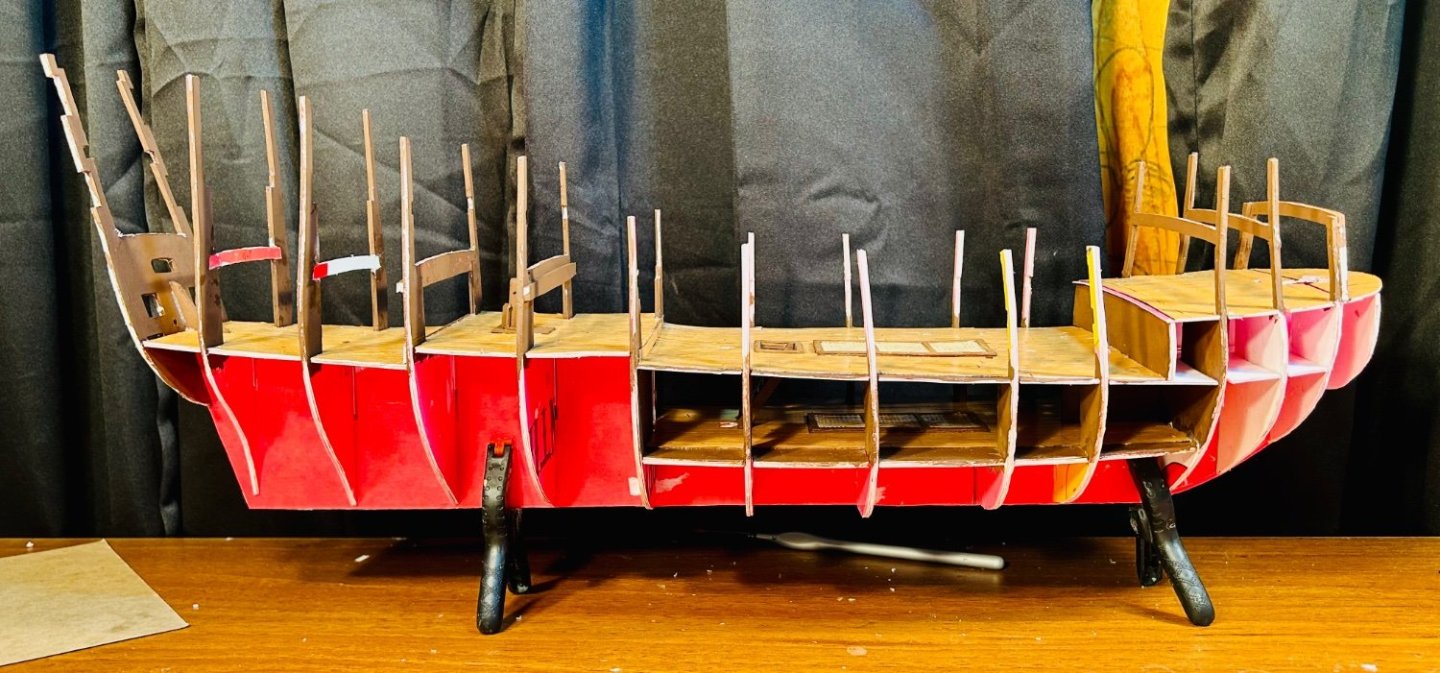
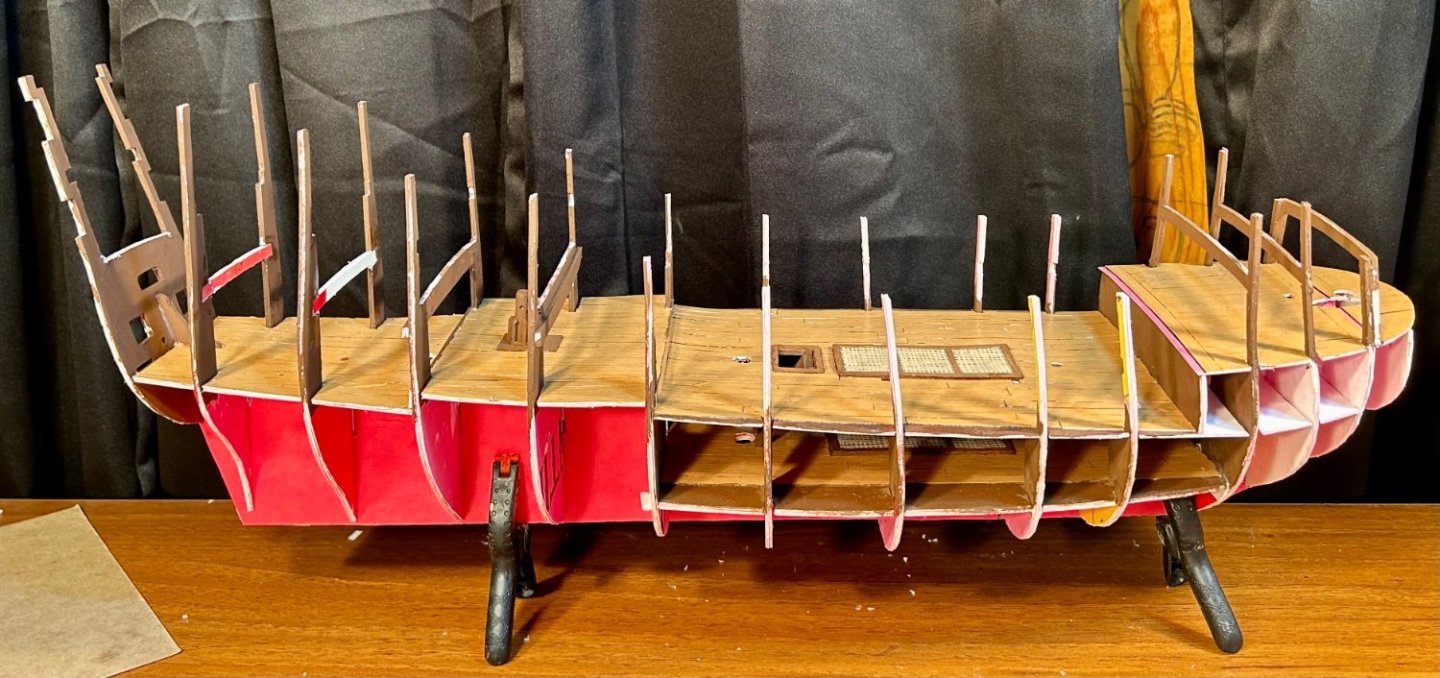
Added more deck beams: Here are side on shots: Making progress!
-
This is the best I’ve found:
-
I learned to paint, and got most of my modeling skills, painting wargaming and role playing game miniatures back in the 1990’s. I tend to use the same paint techniques for my ships or other models. I like to prime with black and then layer up my paint to create the illusion of depth and lighting.
-
Many acrylic primers, at least that are easily available in the States, will not adhere to non-polystyrene plastic models or brass detail parts.
-
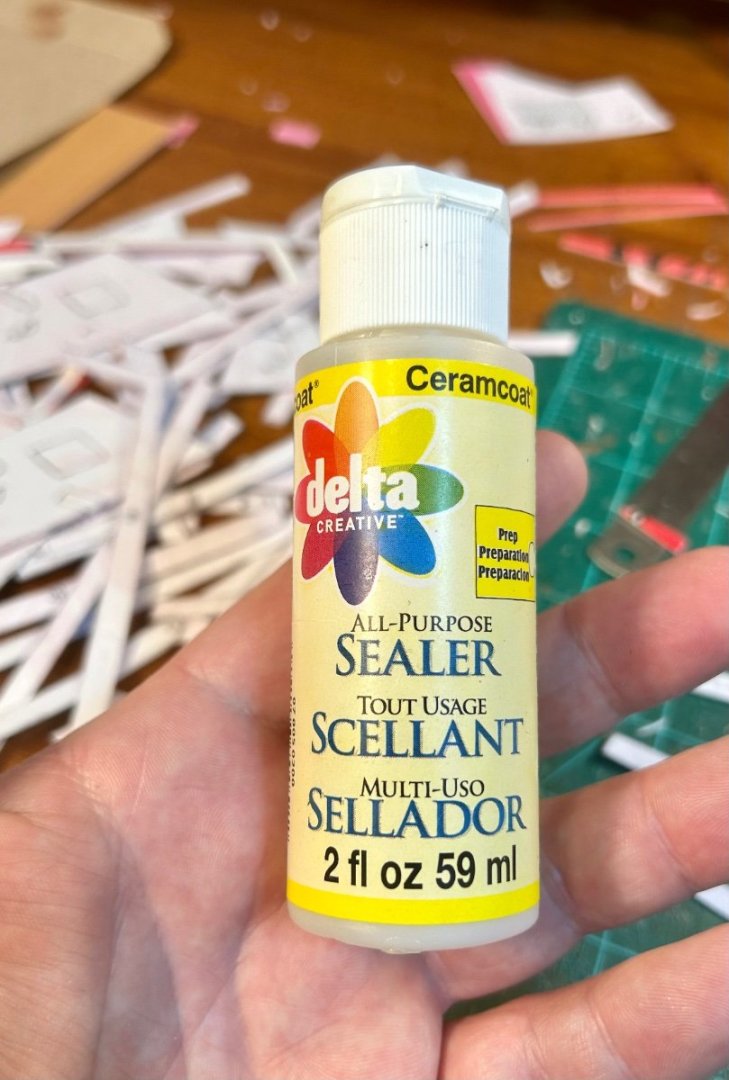
It is for acrylic paint and primer adhesion. Depending on the material, the paint will flake off, or just not stick in the first place, even if cleaned properly to remove oils or mold release agents prior to priming. Sealing with an acrylic sealant gives the primer something to adhere to.
-
Thank you very much!
-
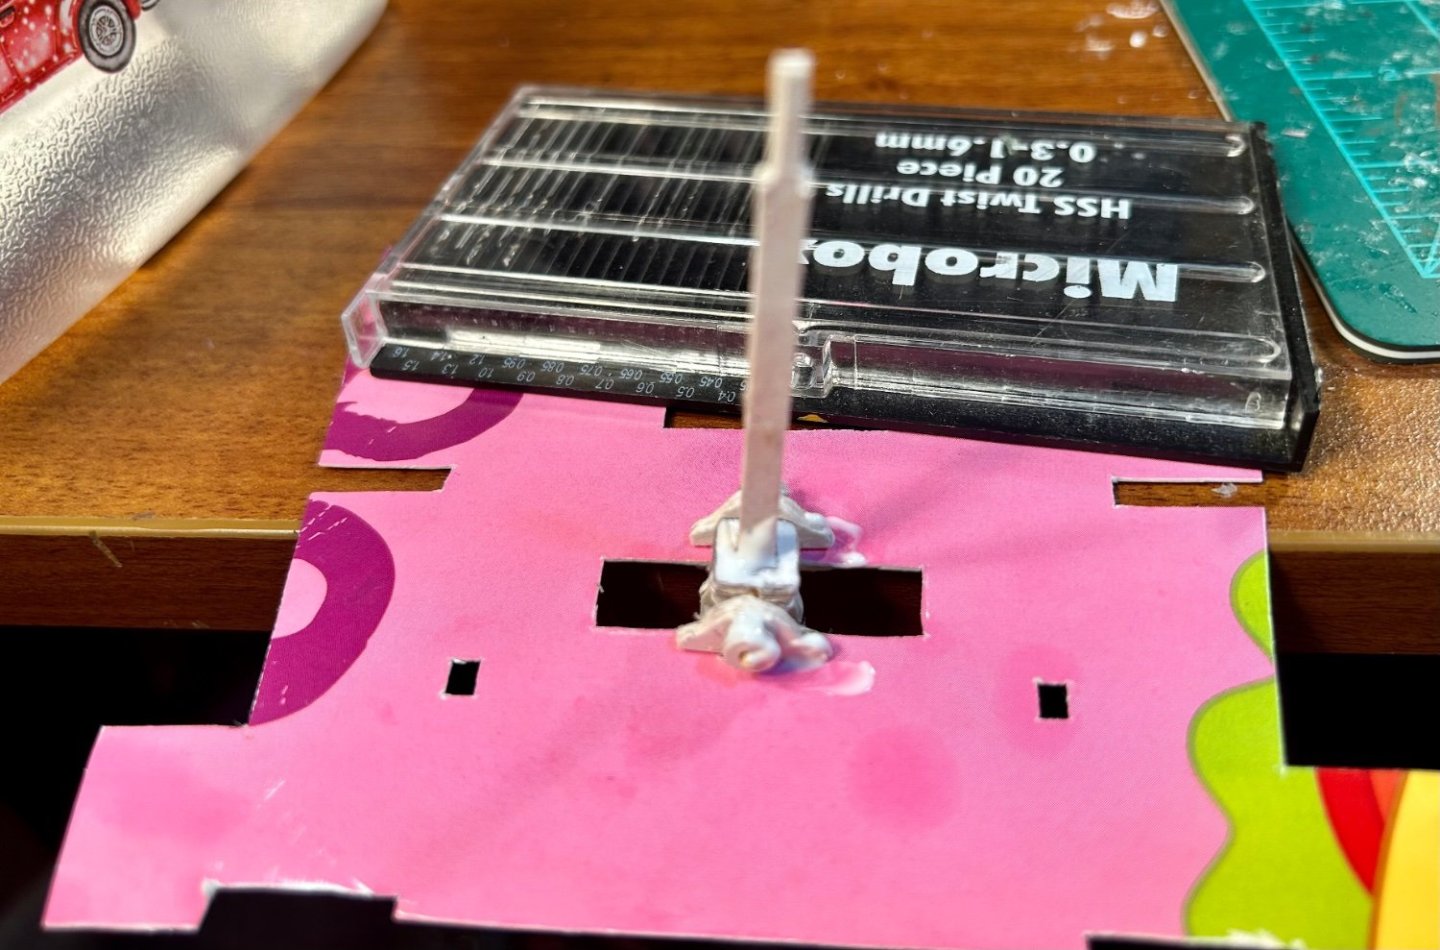
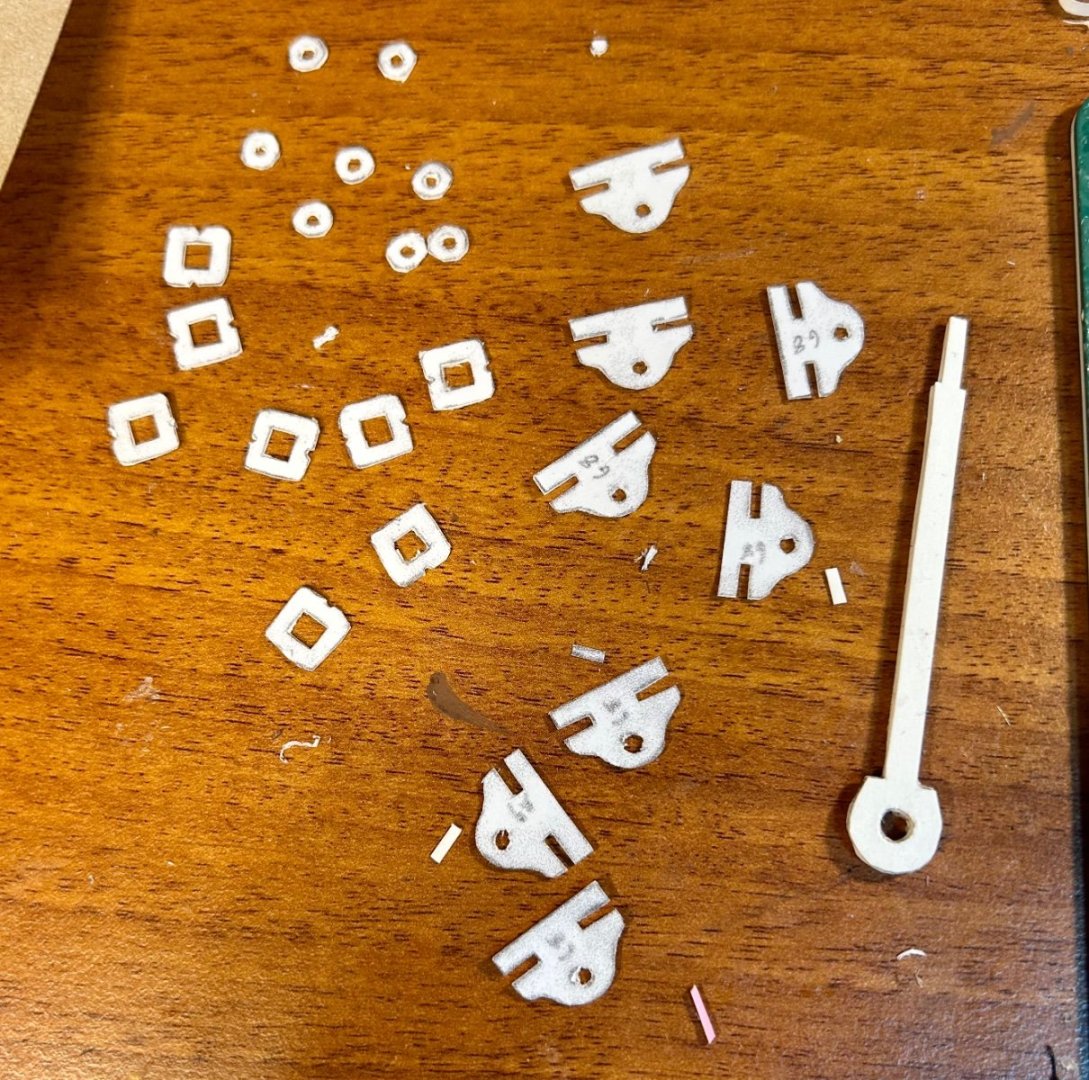
My whipstaff: And the platform: They were part of this group of pieces.

-
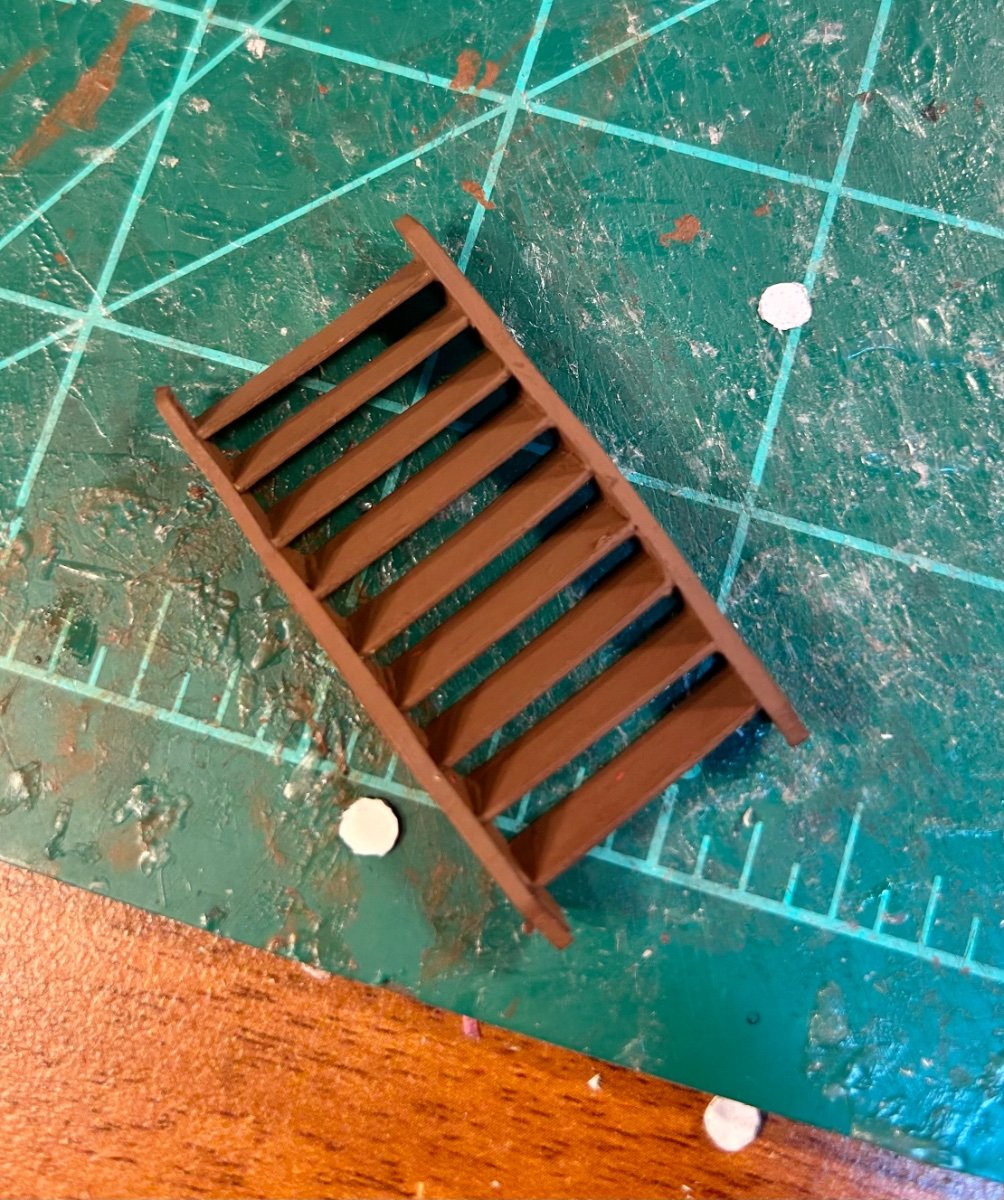
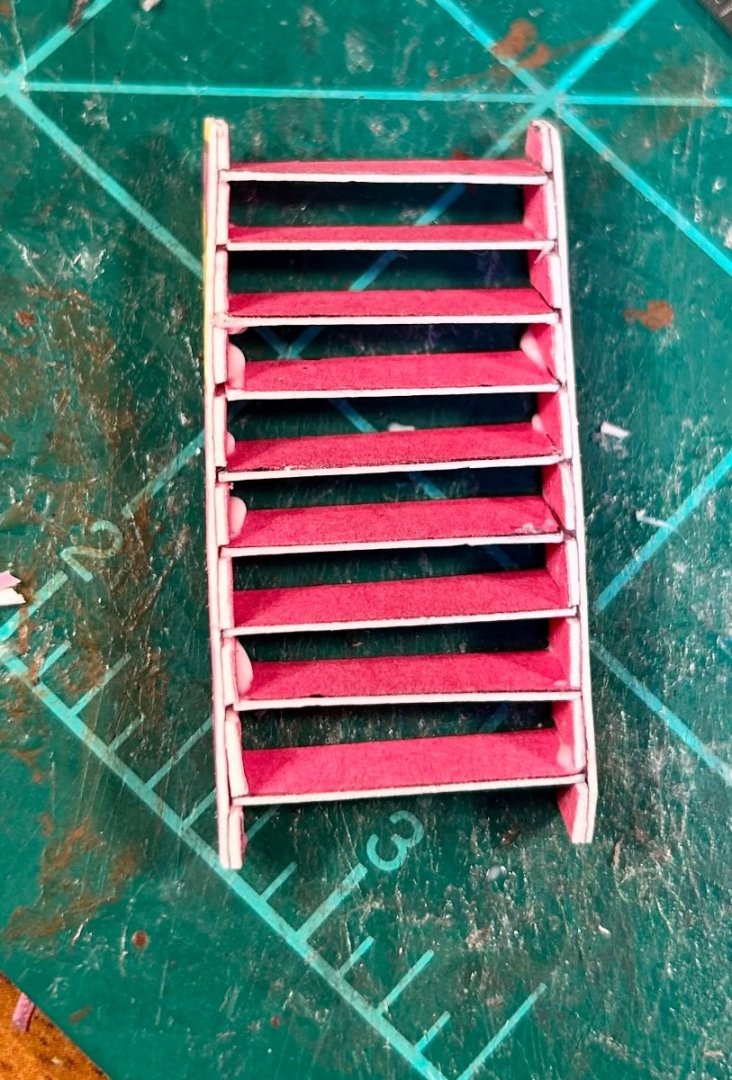
One finished ladder: Everyone has a fitting that is challenging to them. Ladders are that fitting for me. I am very pleased with how it turned out.

-
I seal metal and non-styrene plastic with acrylic sealant prior to priming and painting. Mod-Podge works very well for that too, but if you use Mod-Podge for anything with a lot of detail, thin it down.
-
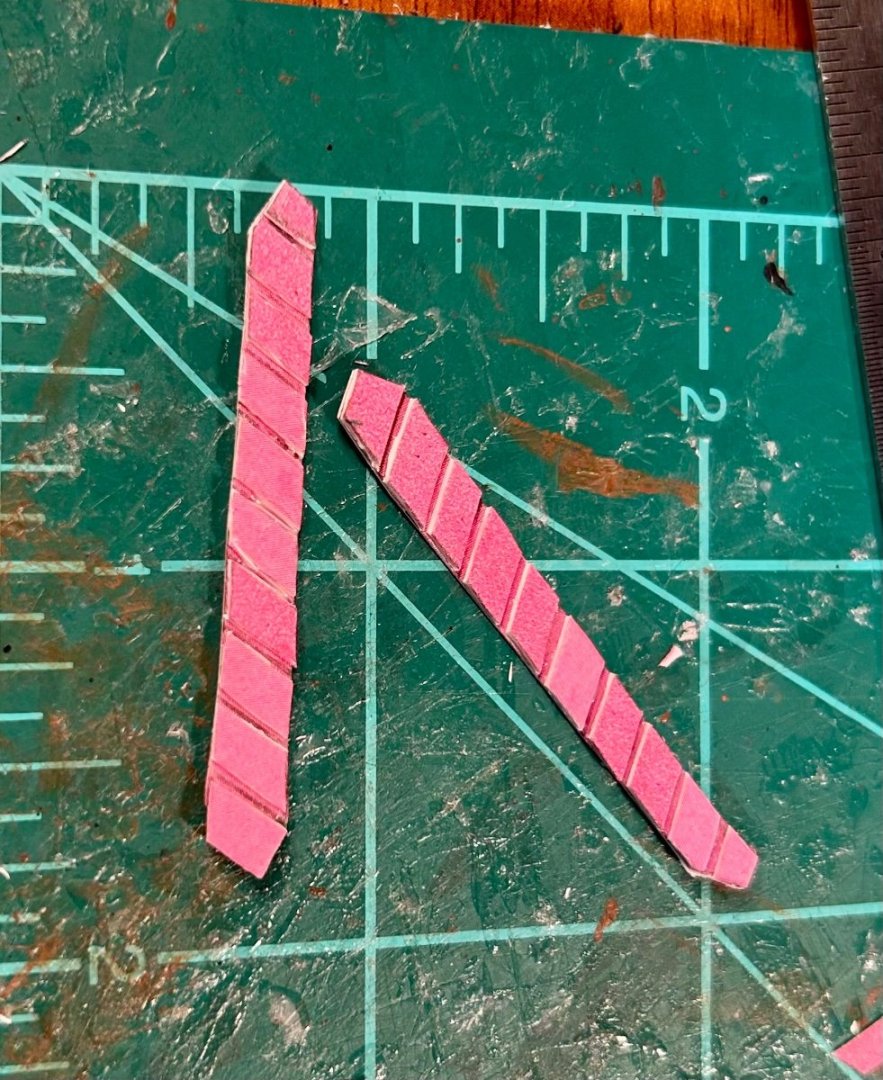
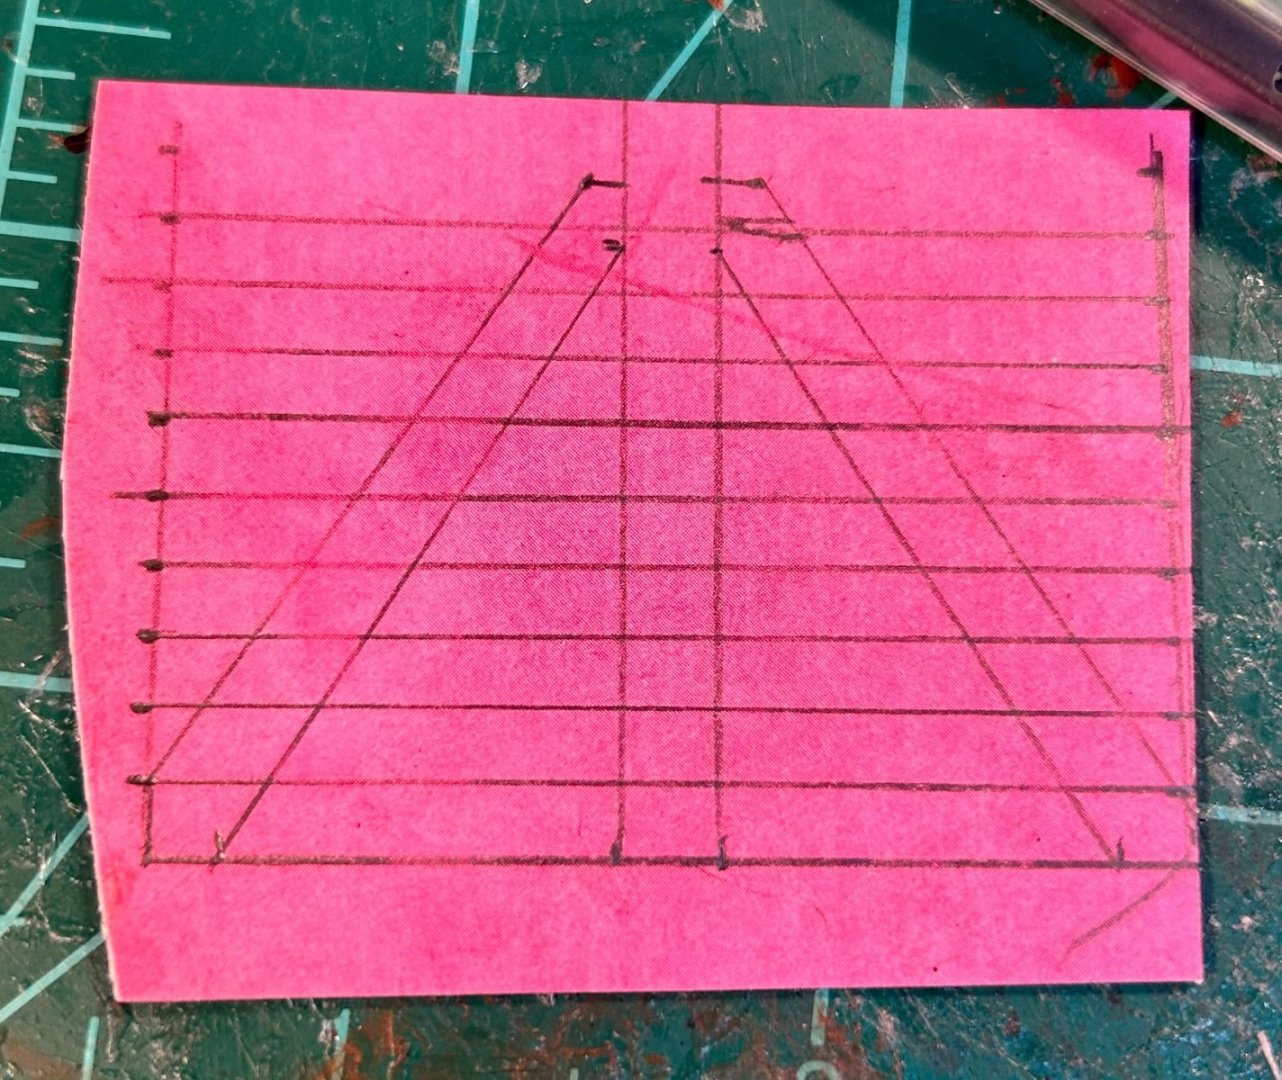
Test run: The setup is a little tricky, but no worse than making a jig. Assembly was super easy though. And the steps are to scale. I think I just found my new way of making ladders.

-
I want to try a slotted ladder. I am going to copy that and glue it down to some more card to make the doubler and see what happens.
-
The thumb is good! Thank you both very much! Here is where I am starting out: I still need to finish installing some deck beams: Here is my next round of parts:


-
The build booklet that came with my Victory Models plan set for the Revenge, which is the same that comes with the kit, is phenomenal.