GrandpaPhil
-
Posts
6,153 -
Joined
-
Last visited
Content Type
Profiles
Forums
Gallery
Events
Everything posted by GrandpaPhil
-
A similar tool to that rivet maker is what I use for the indents on the coppering for my models. It works supremely well.
- 488 replies
-
- 5
-

-
- Indefatigable
- Vanguard Models
- (and 1 more)
-
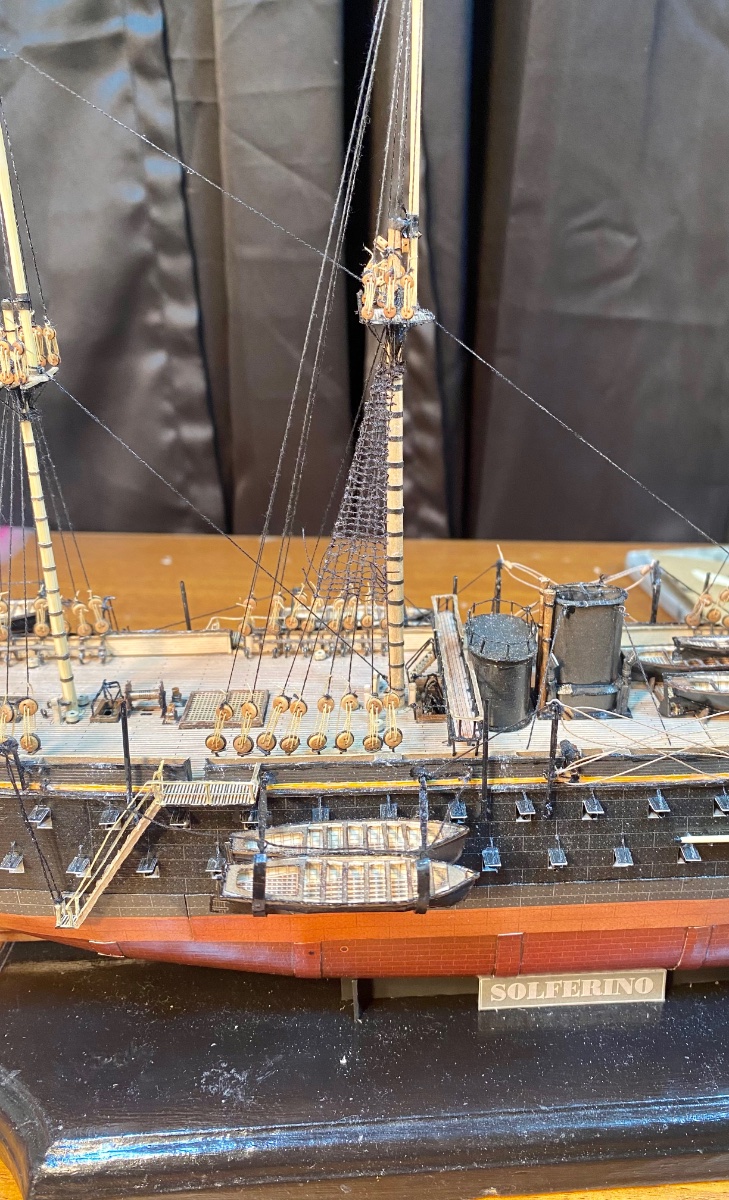
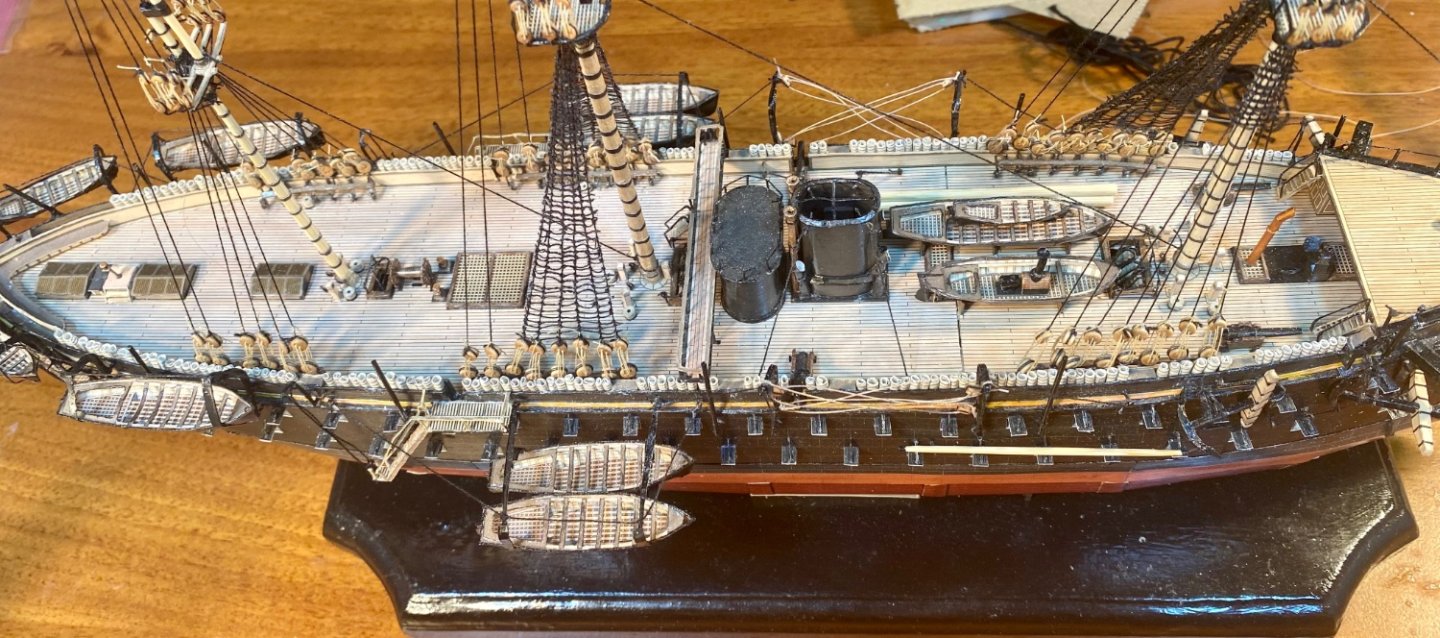
The hammocks/bedrolls were sitting in their container, just begging to be lost, so I added them to the model, now that the shrouds are run:
-
Hello from Southeast Michigan, USA
GrandpaPhil replied to DonBMichigan's topic in New member Introductions
Welcome! -
Welcome back!
-
I carve mine with a scalpel and sand smooth.
-
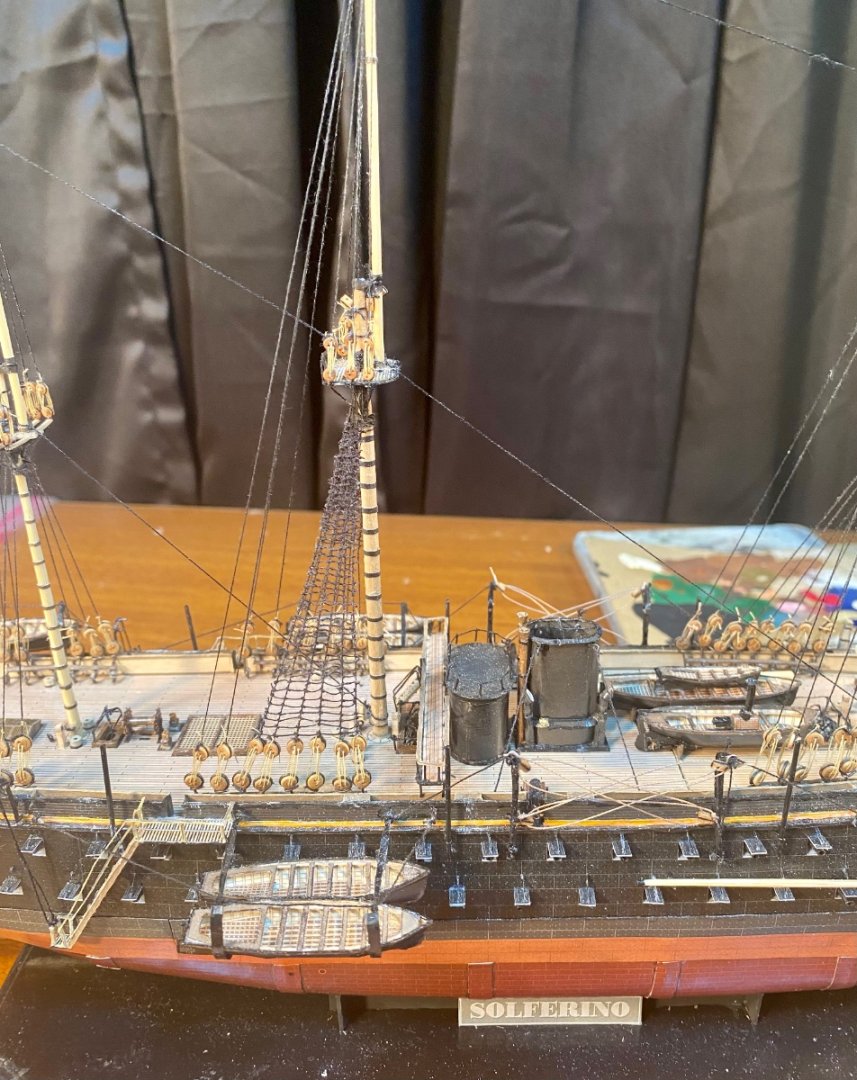
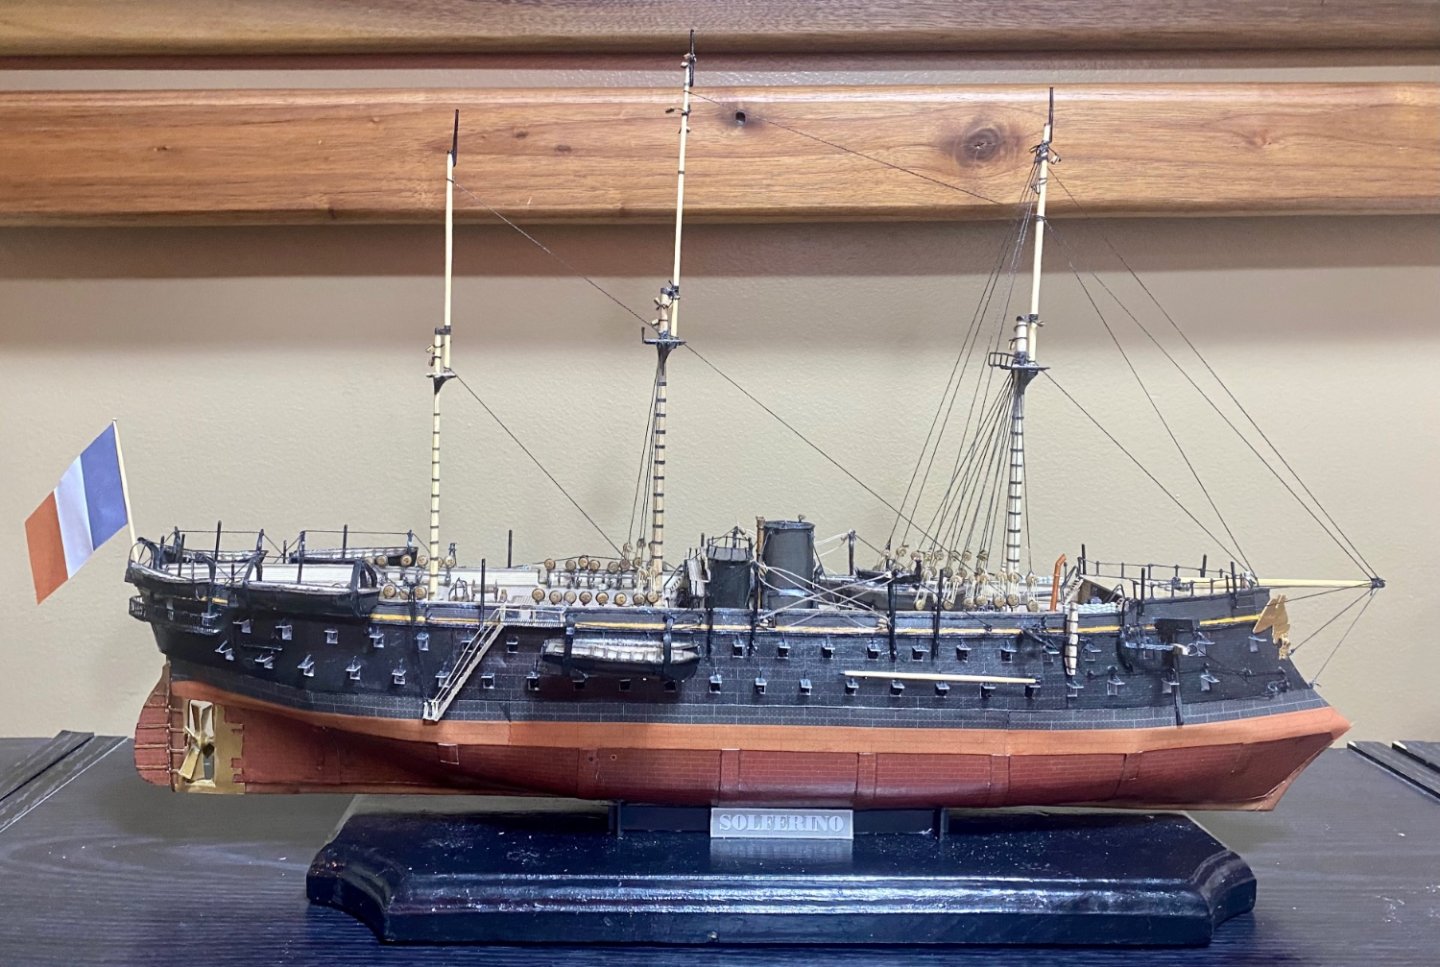
The most difficult and lengthy set, the lower Main Mast Ratlines are done: On to the Lower Foremast Ratlines and then I’ll do the Lower Mizzen Mast Ratlines.

-
Starboard Side Lower Main Mast Ratlines completed: Port Side Lower Main Mast Ratlines a little over half completed: They are time consuming, but so worth it. Also, once you get into a groove, they go better. It actually kind of reminds me of cross stitching. I think I guesstimated about 2200 knots for the ratlines on this model. I have been listening to classical music, and something called Coffee Shop Music, when I have been working on the ratlines.
-
Incredible finish! Absolutely stunning work! This is one of the best models that I have ever seen! Happy New Year! May 2023 usher in peace and prosperity for you and yours! Stay safe! We are all looking forward to seeing your next build!
-
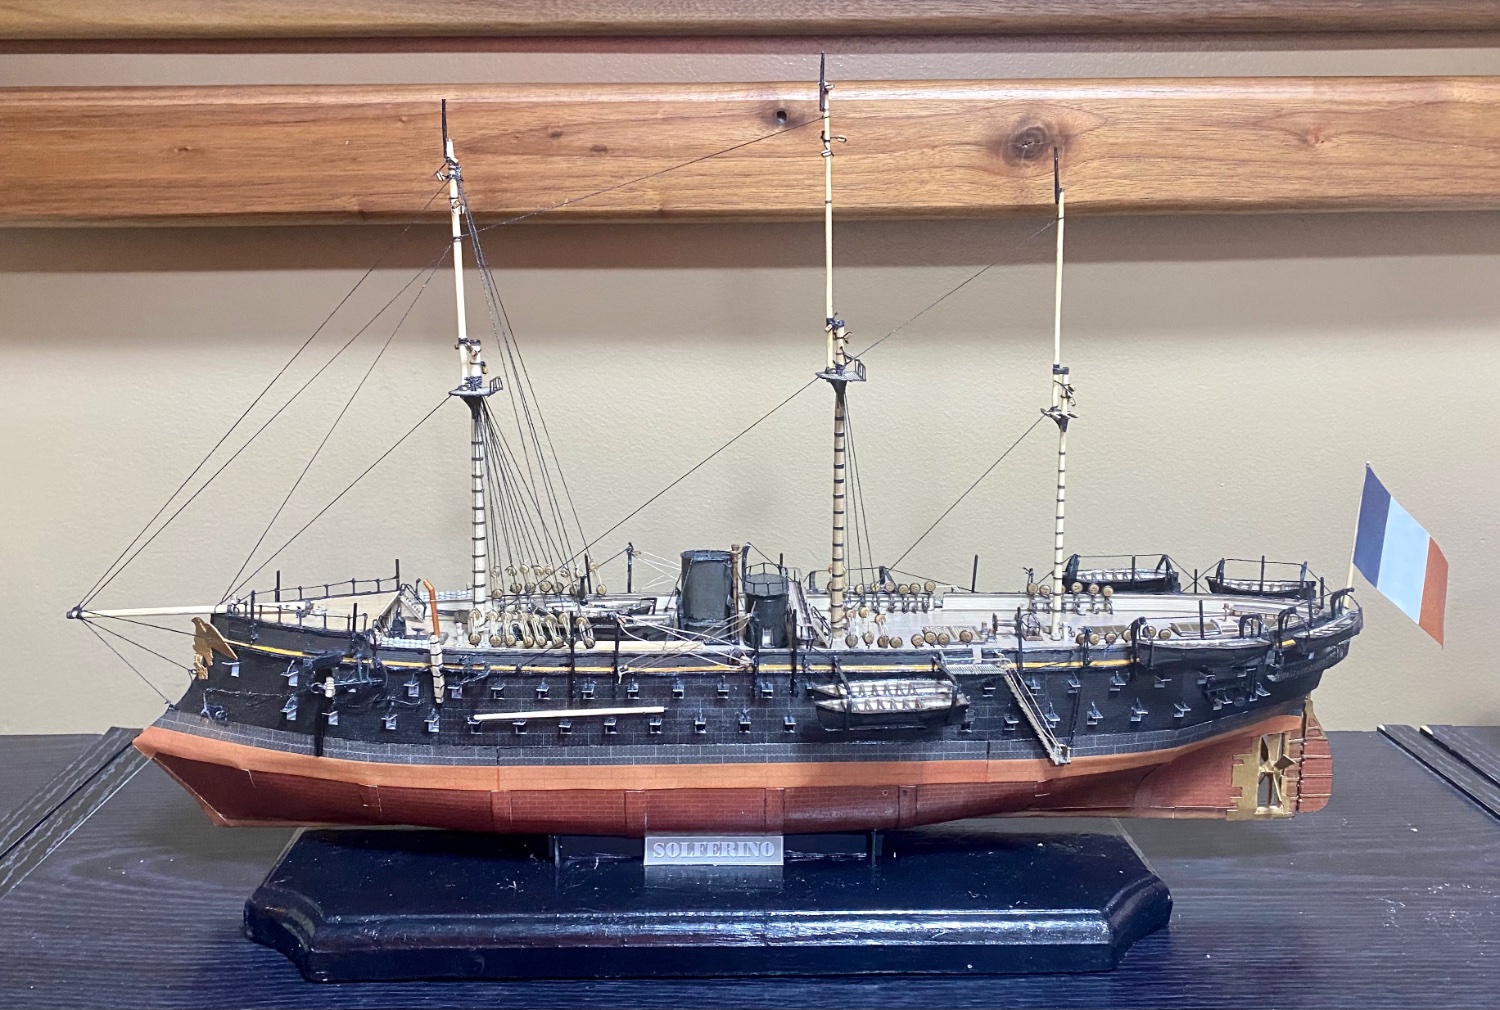
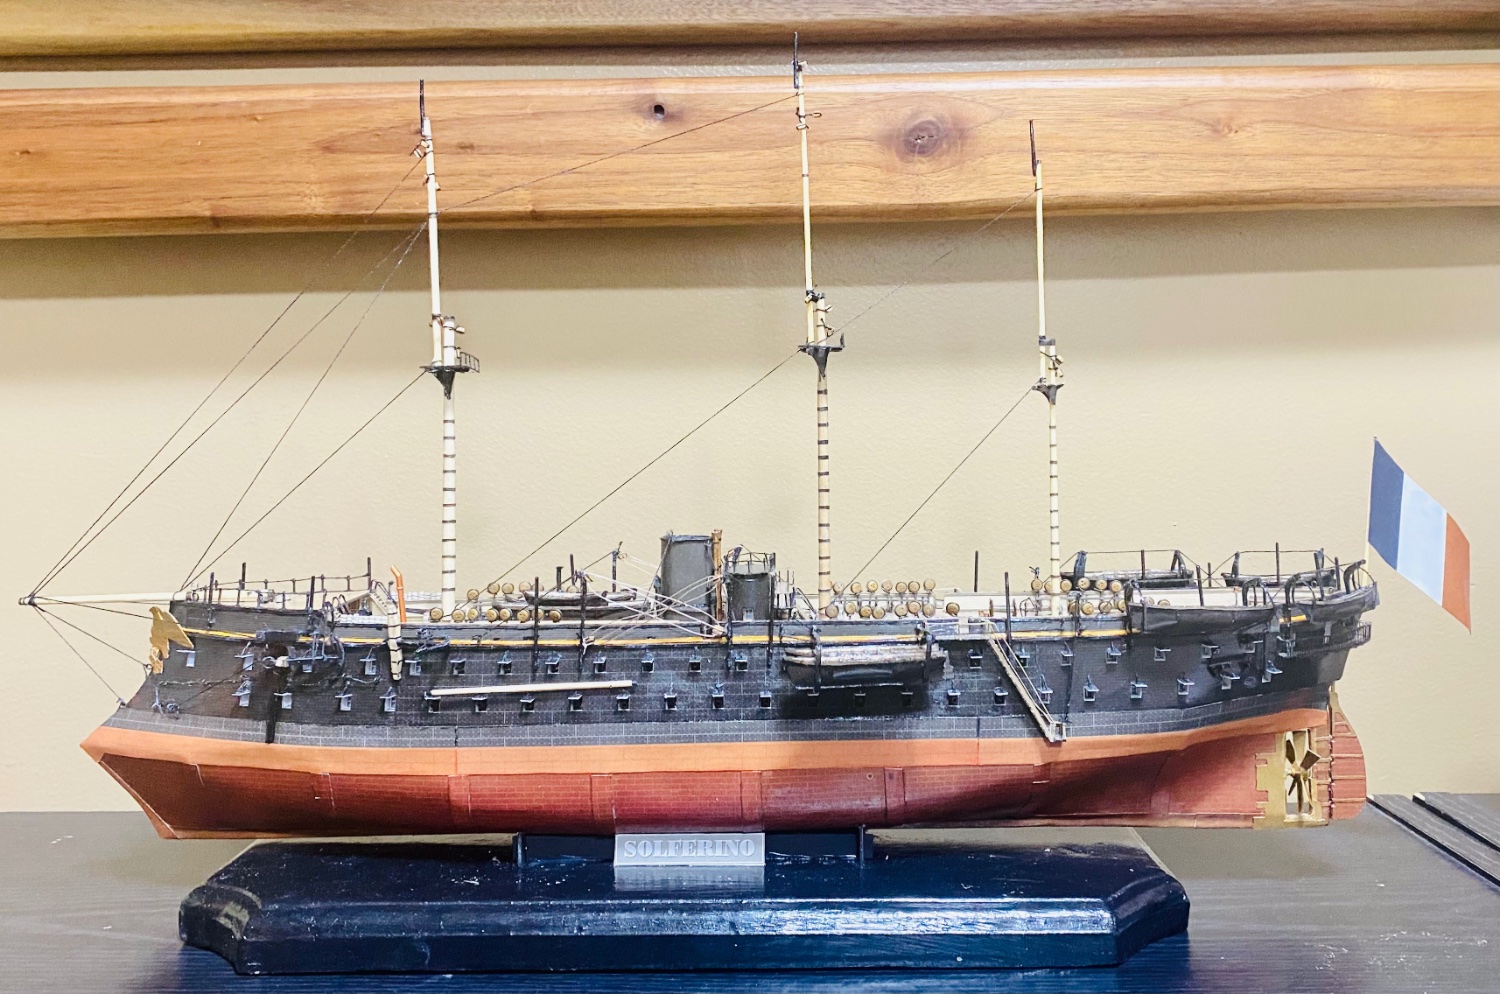
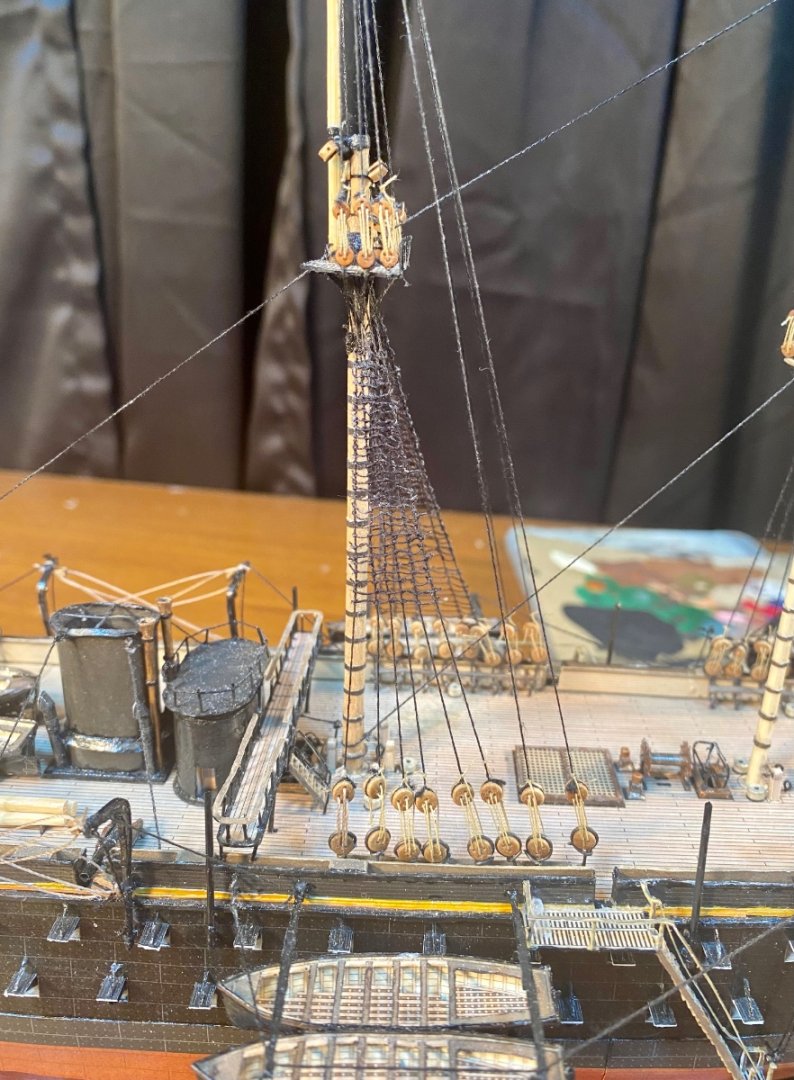
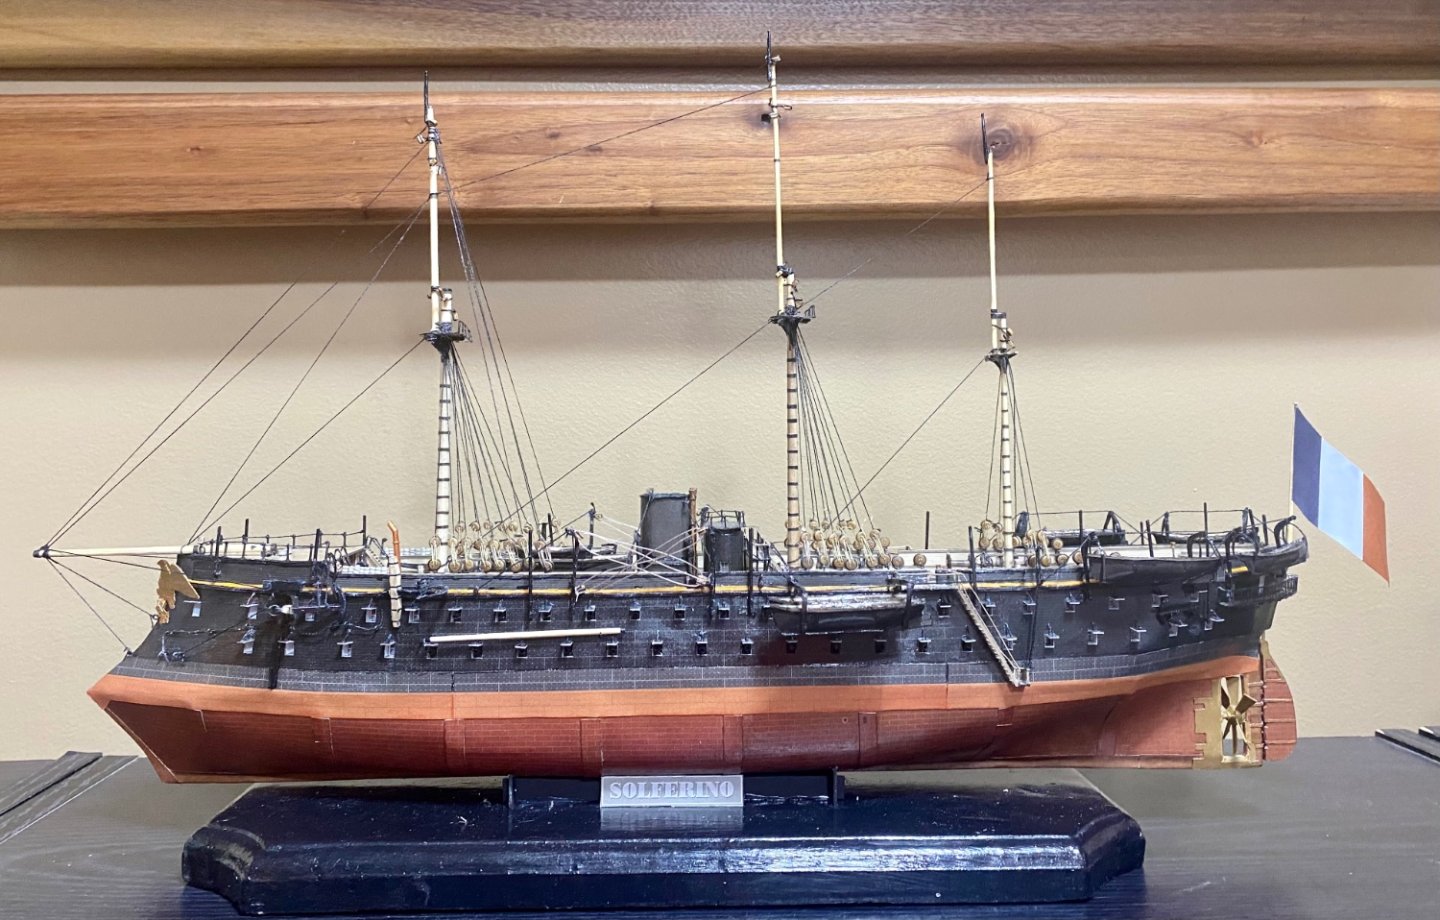
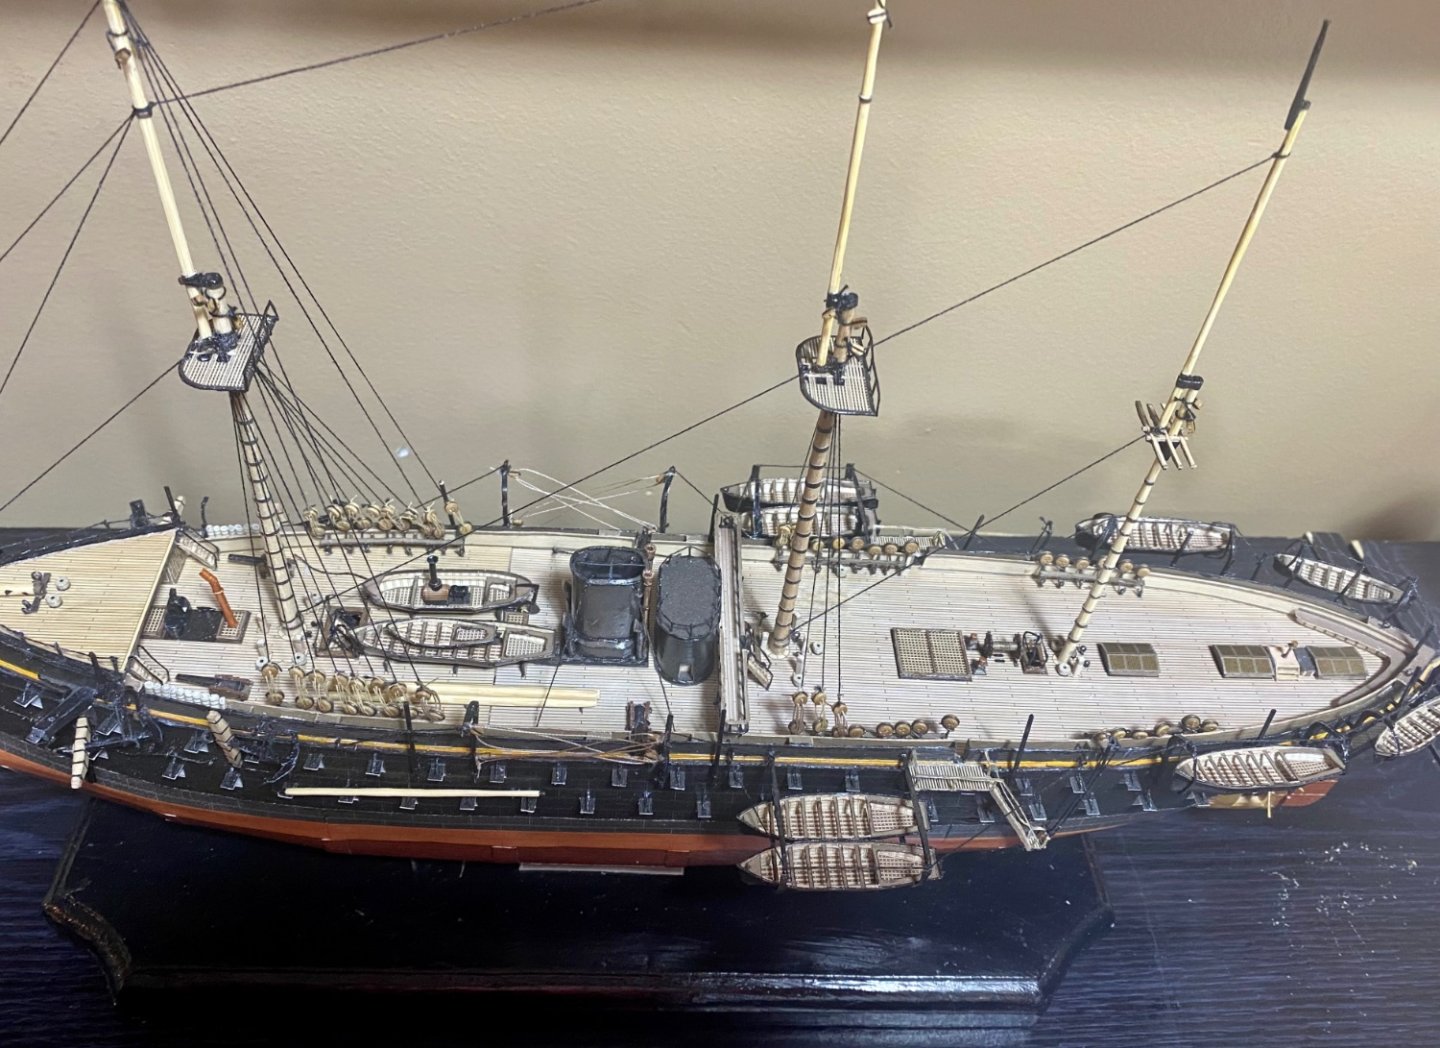
All shrouds are in place: That means the standing rigging is done except for the ratlines. Ratlines will commence shortly. This also means that I am mostly done with most of the leftover parts from this model and it is time to straighten up my work area before proceeding and just leave out the yards, gaffs and sails/flags. I will be using blocks originally purchased for the Victory 2 years ago.


- 278 replies
-
- 12
-
-

-
For small scale models, I use overhand knots with thinned down white glue applied periodically.
-
Top shroud deadeyes are in place: I am going to install the top shrouds and then rat all the shrouds down. I will start with the lower main mast because that will be the most difficult.

-
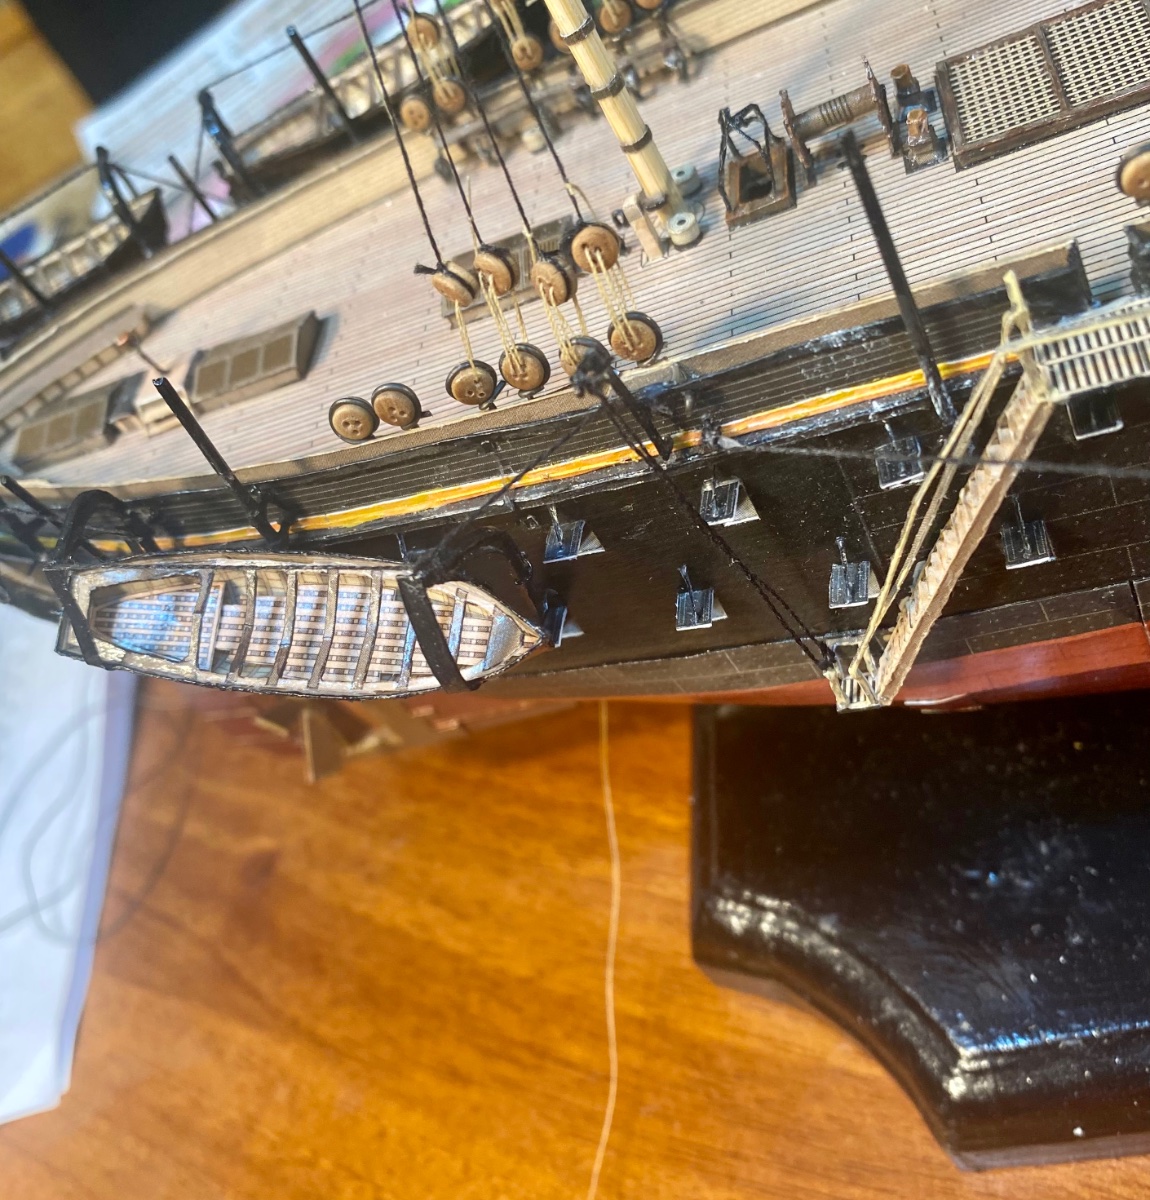
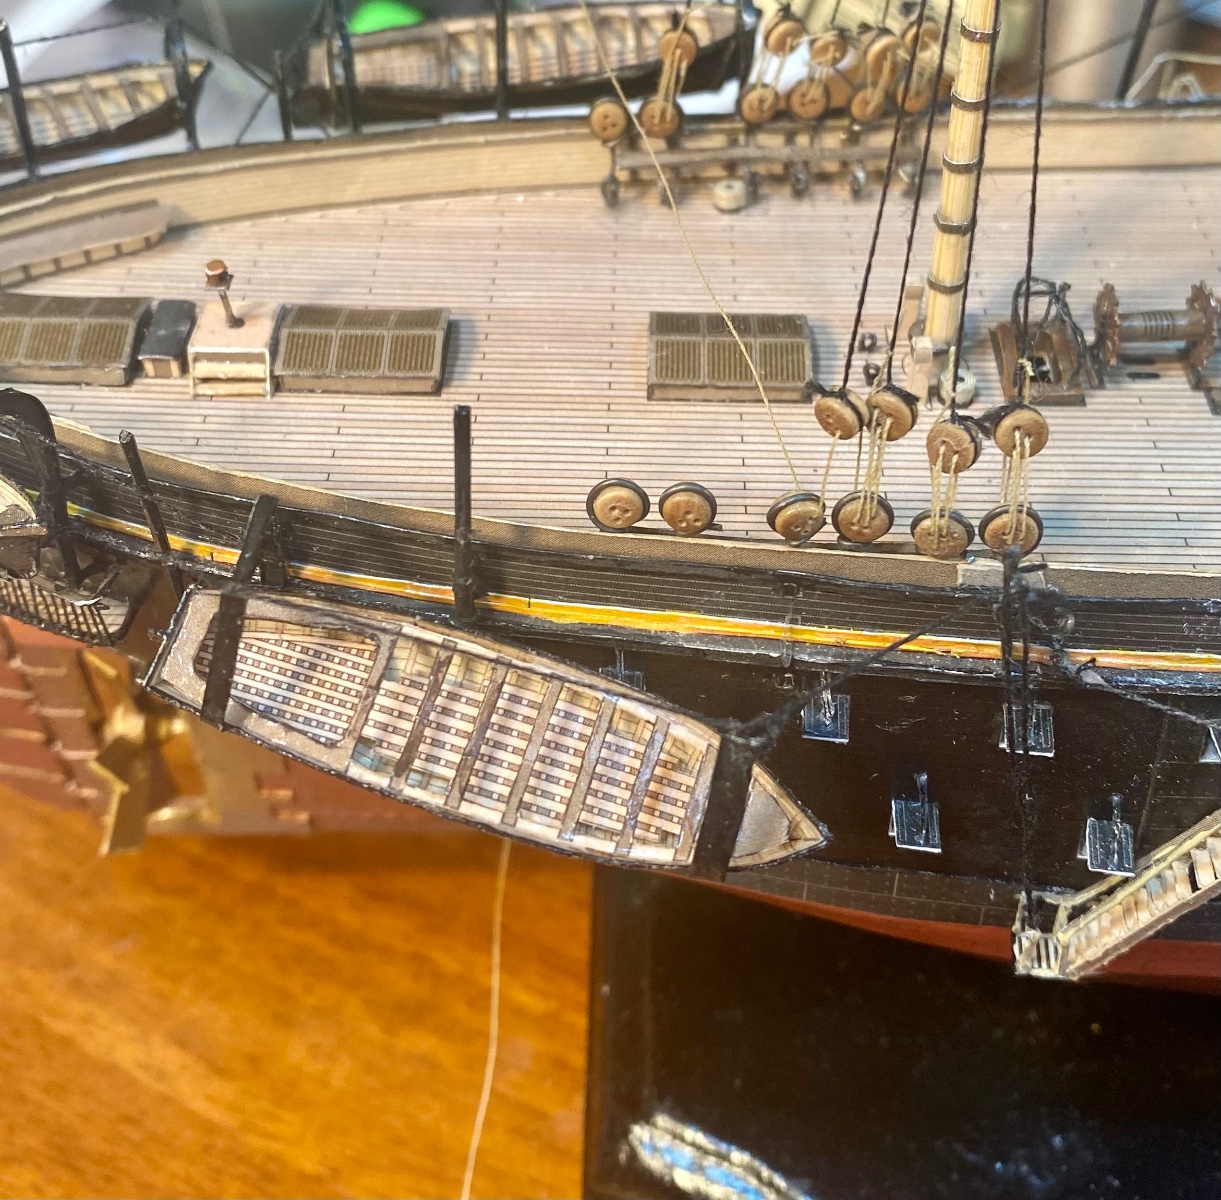
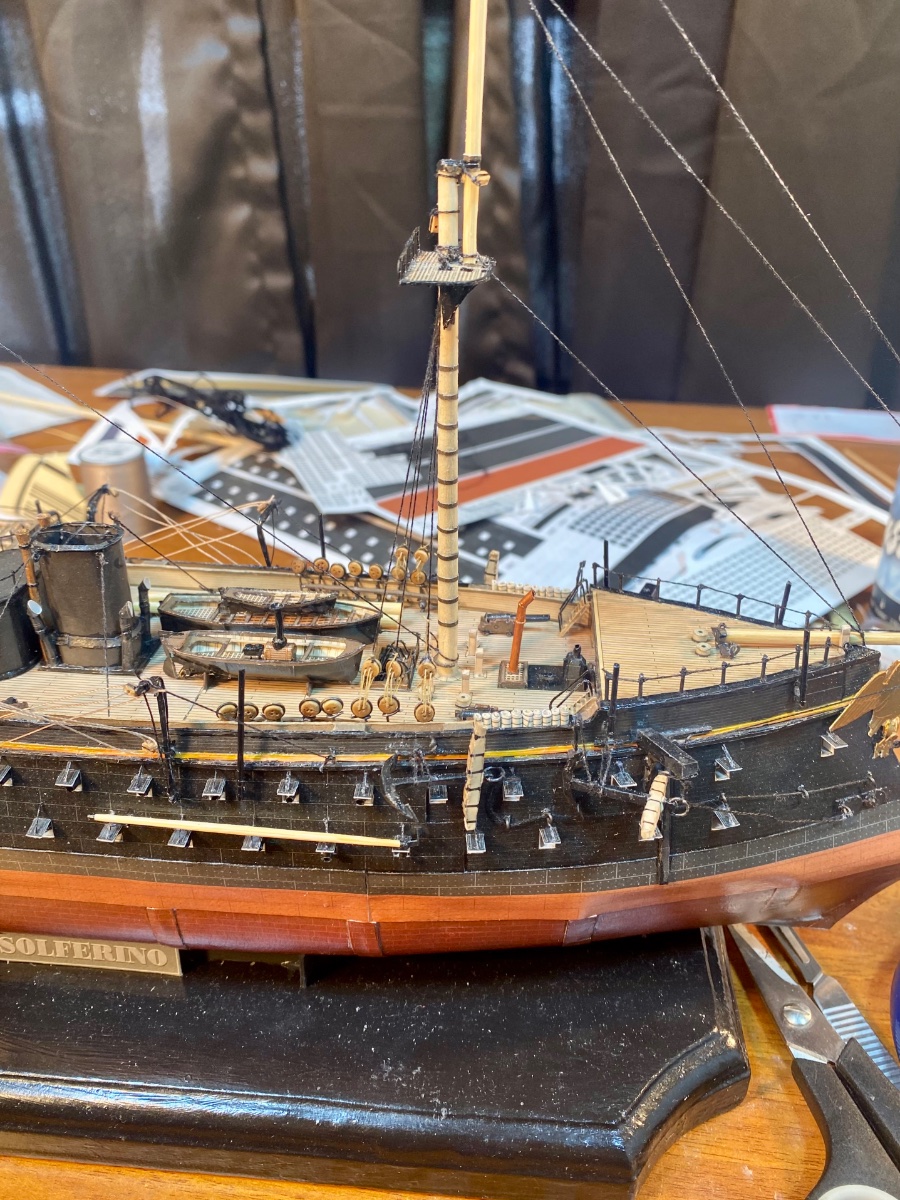
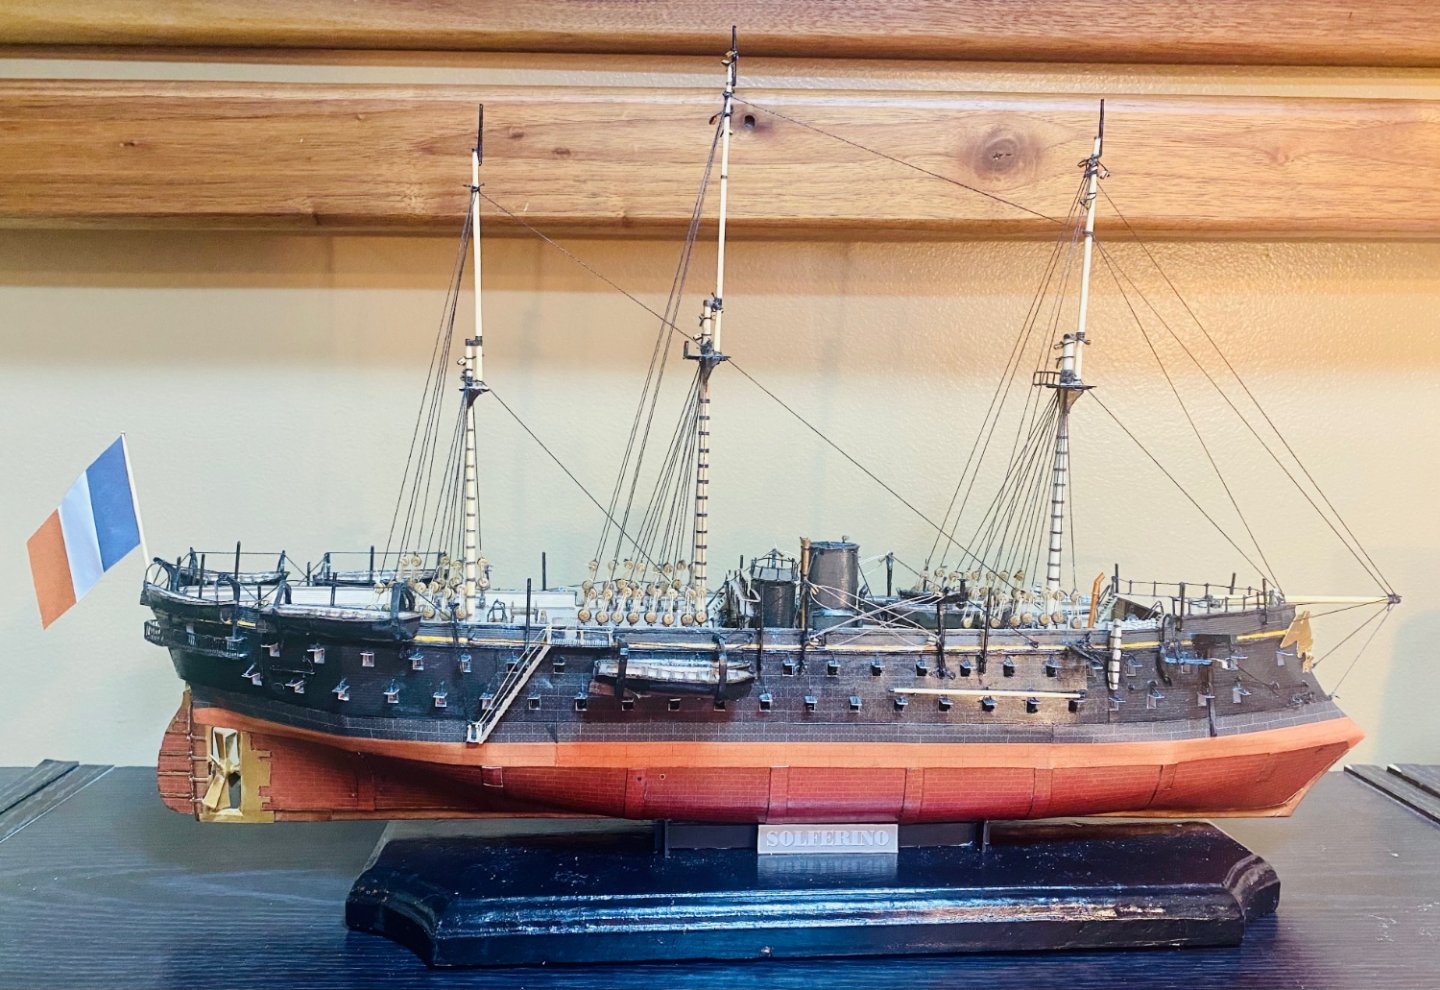
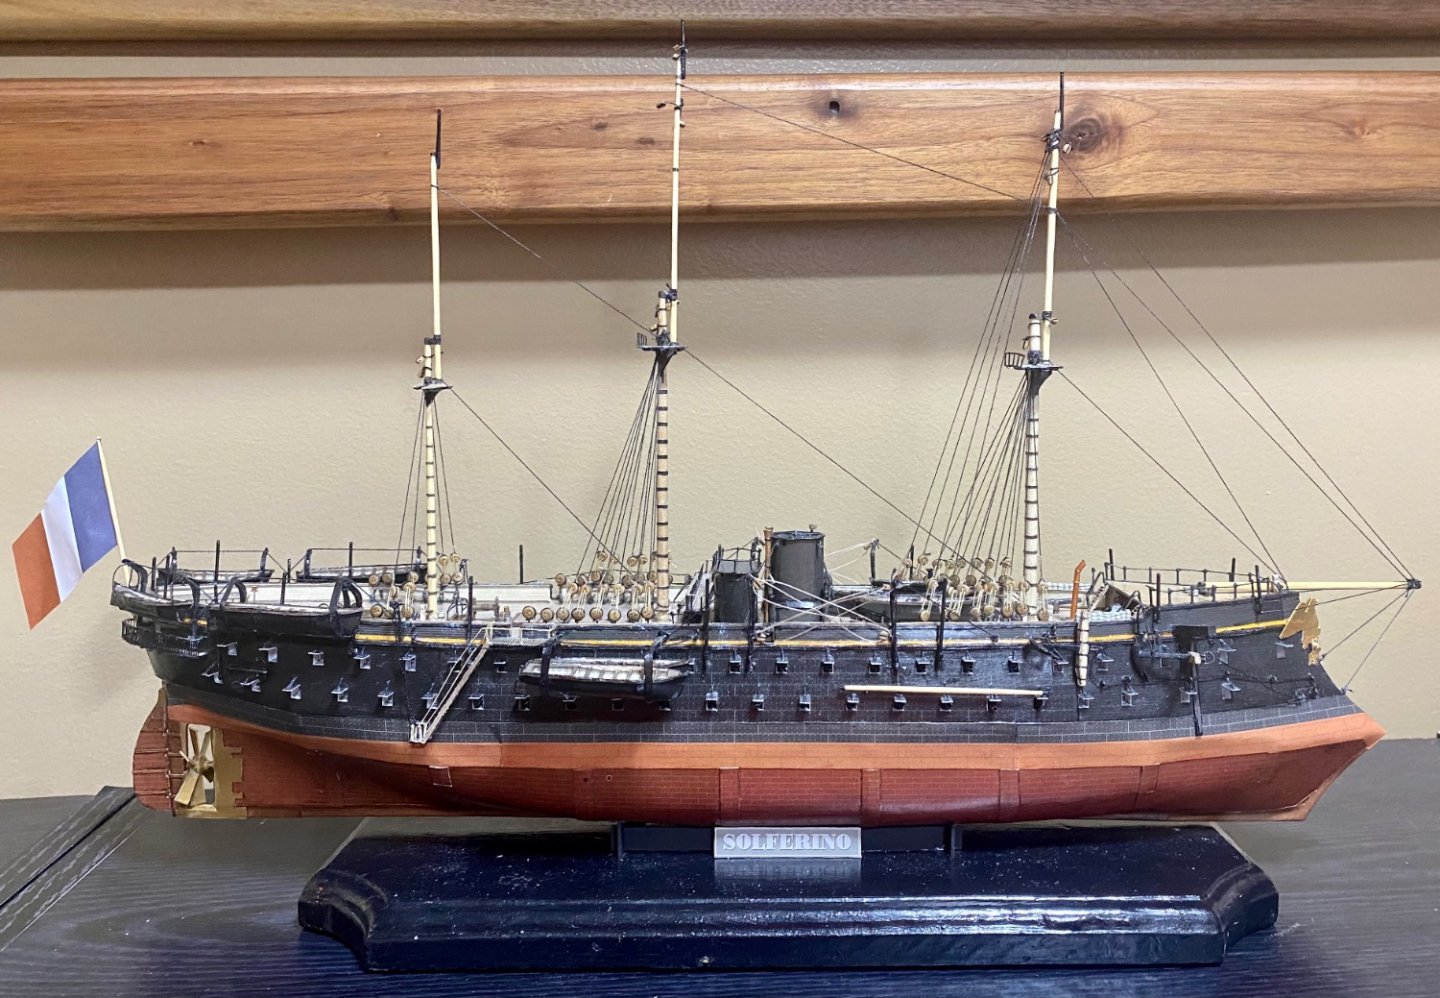
The lower shrouds and all backstays are installed: All broken davits are repaired. This definitely went better than the last time I rigged a barque (or any other variation of a square rigged vessel), 7 years ago. This process here took a couple weeks. I still have to install ratlines, but I am going to save that for after I install the top shrouds, and tie all of them at once.
- 278 replies
-
- 12
-
-
Oops: Ordinarily I would upset about this, however this was a very opportune break. I dropped something on it. The silver lining is that I can now get to those two deadeyes.


-
Intro to Card Models Pt. IV: Tools & Other Supplies
GrandpaPhil replied to ccoyle's topic in Card and Paper Models
I have been using Mont Marte glue that I bought off Amazon for gluing parts together. It works great and hasn’t been causing warpage. I have been using Elmer’s Glue Sticks for laminating card and wood together and gluing patterns or templates down to card or wood. Once it dries, it holds through cutting and doesn’t generally delaminate. Plus, it’s easy to remove the pattern from wood if you are not keeping it on the piece. -
Main Mast Lower Shrouds and half of the Mizzen Mast Lower Shrouds are on: I have been working in a sort of round robin pattern to give glue time to dry. I have been installing a port side main mast line, a port side mizzen mast line, and starboard side mizzen mast line and then finishing a round with a starboard side main mast line. I have 12 lines, out of 44, to go before lower shrouds and backstays are complete.
-
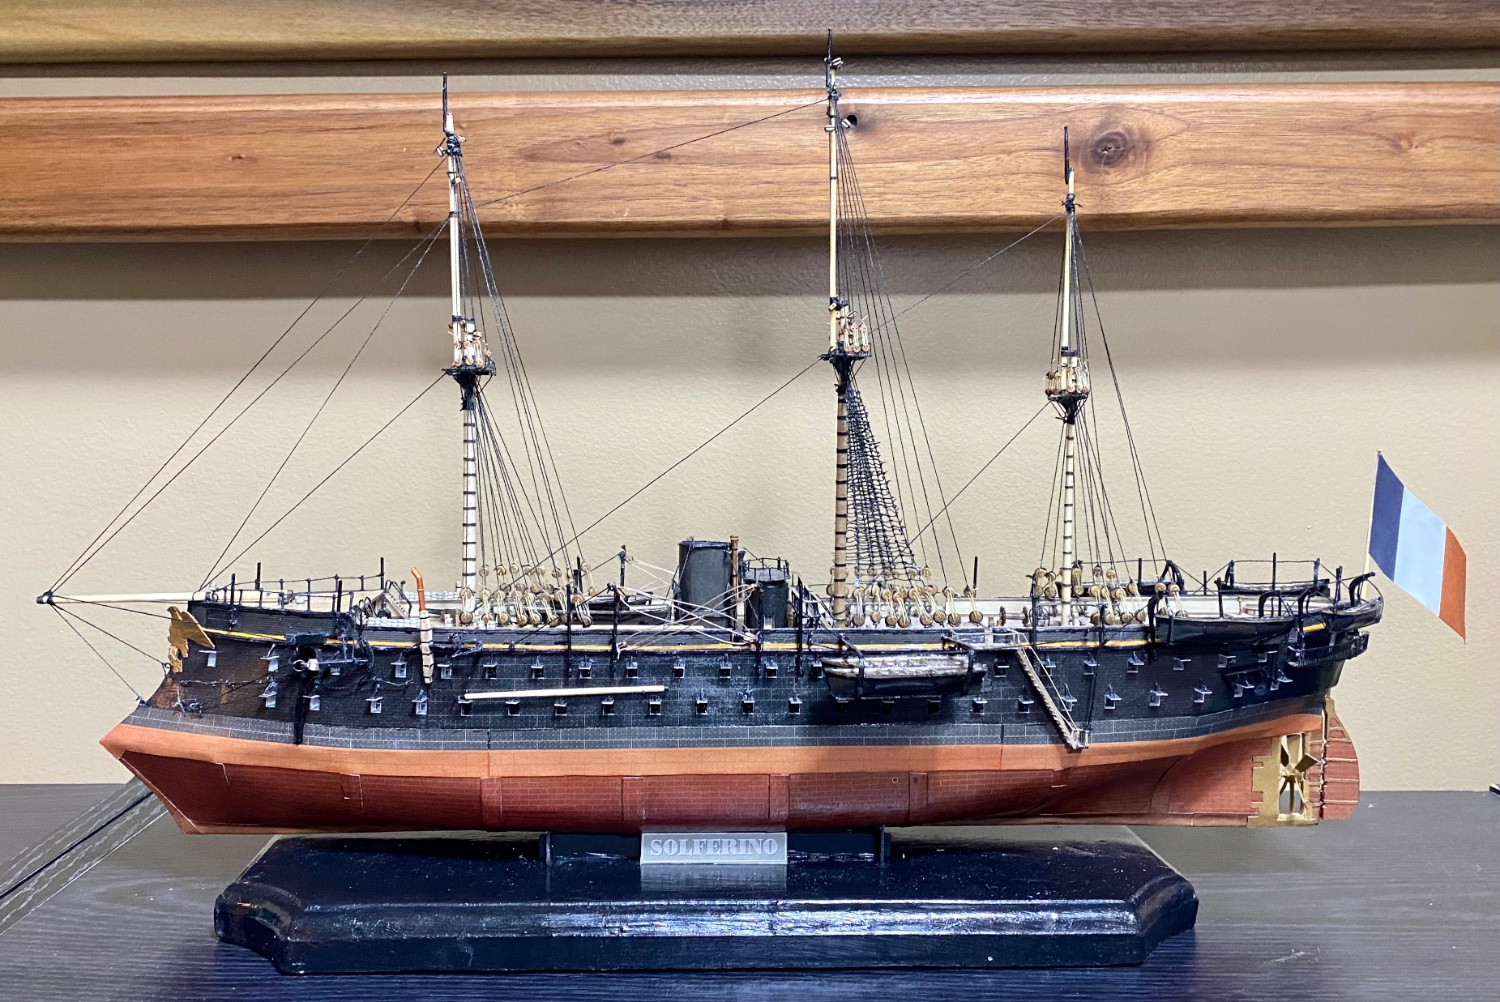
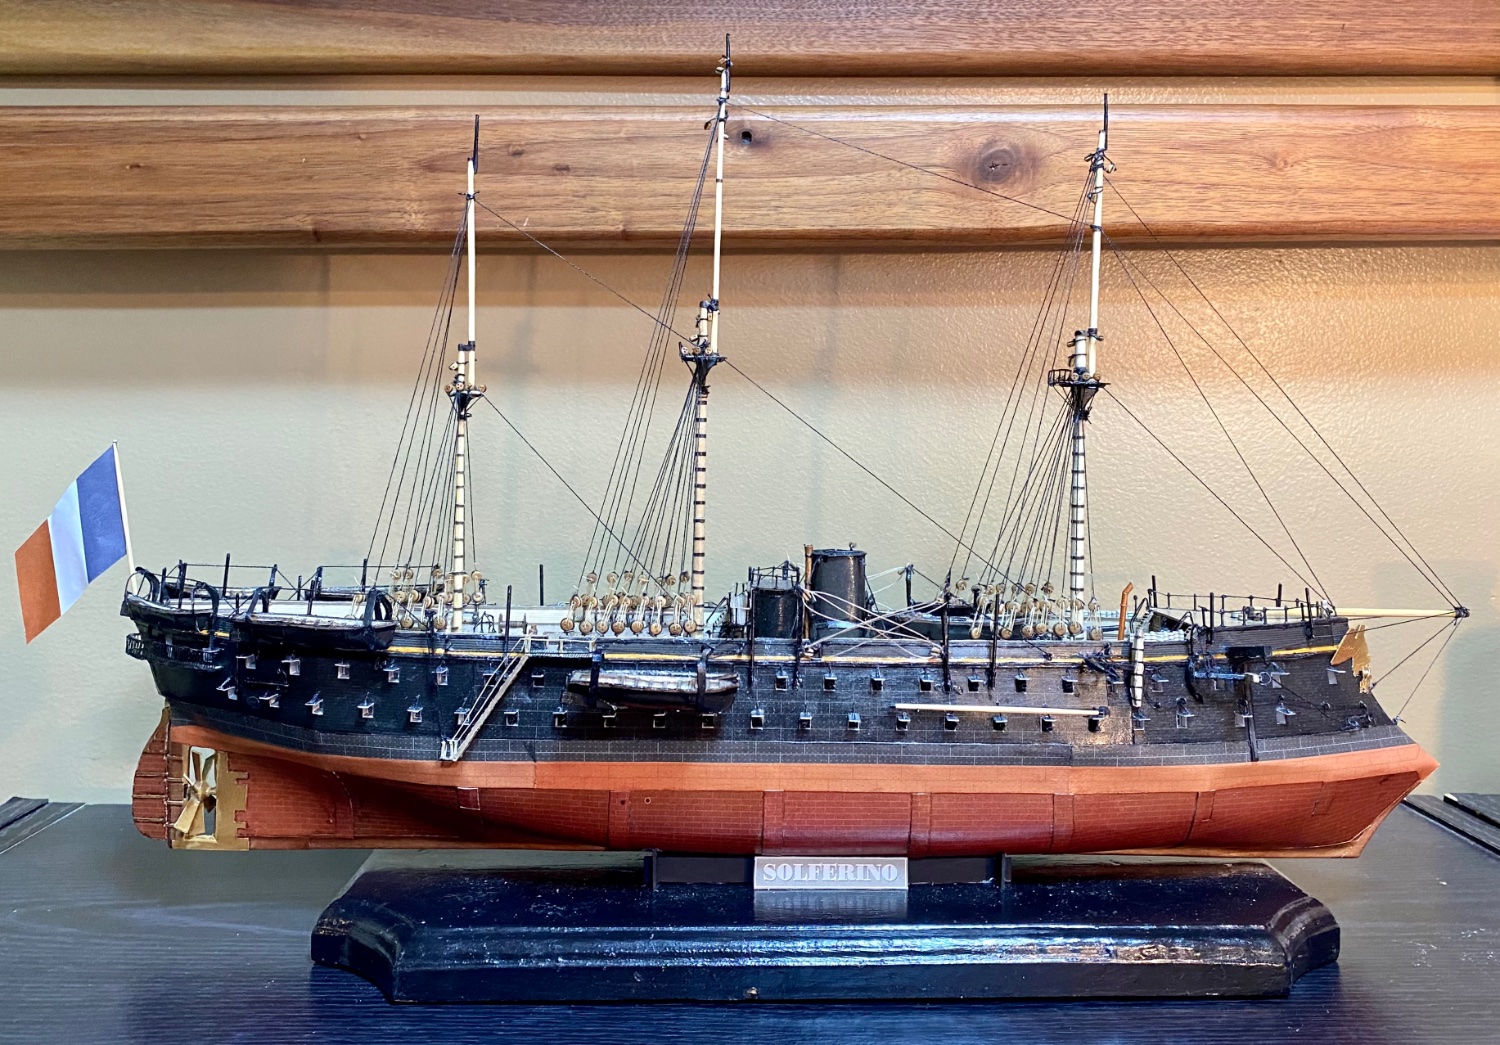
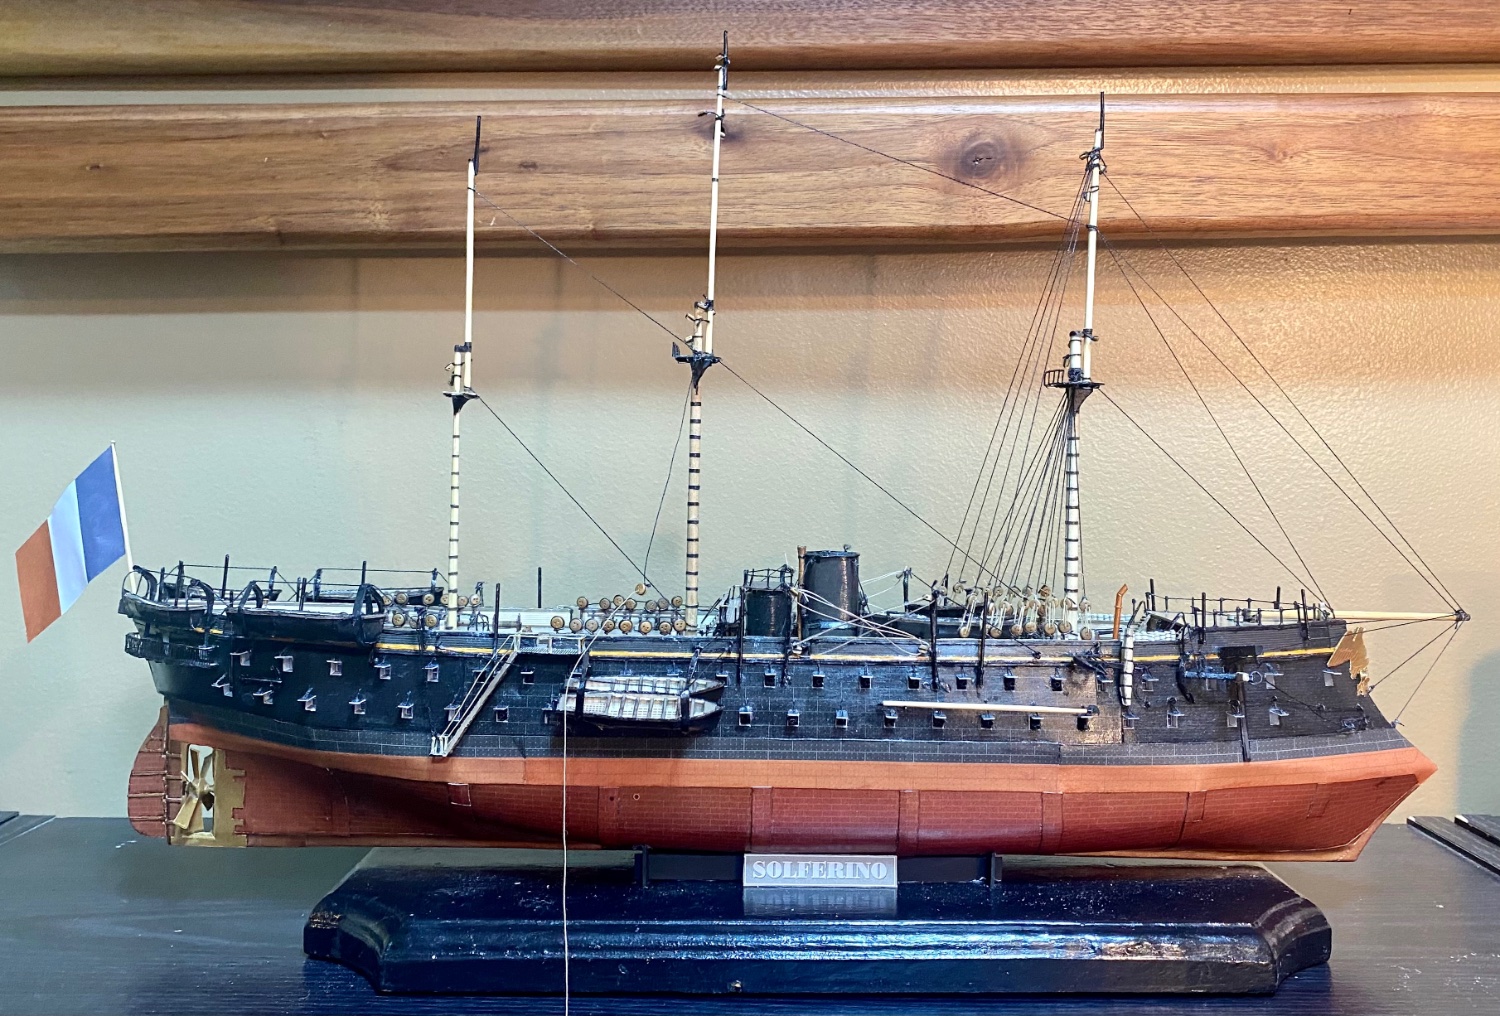
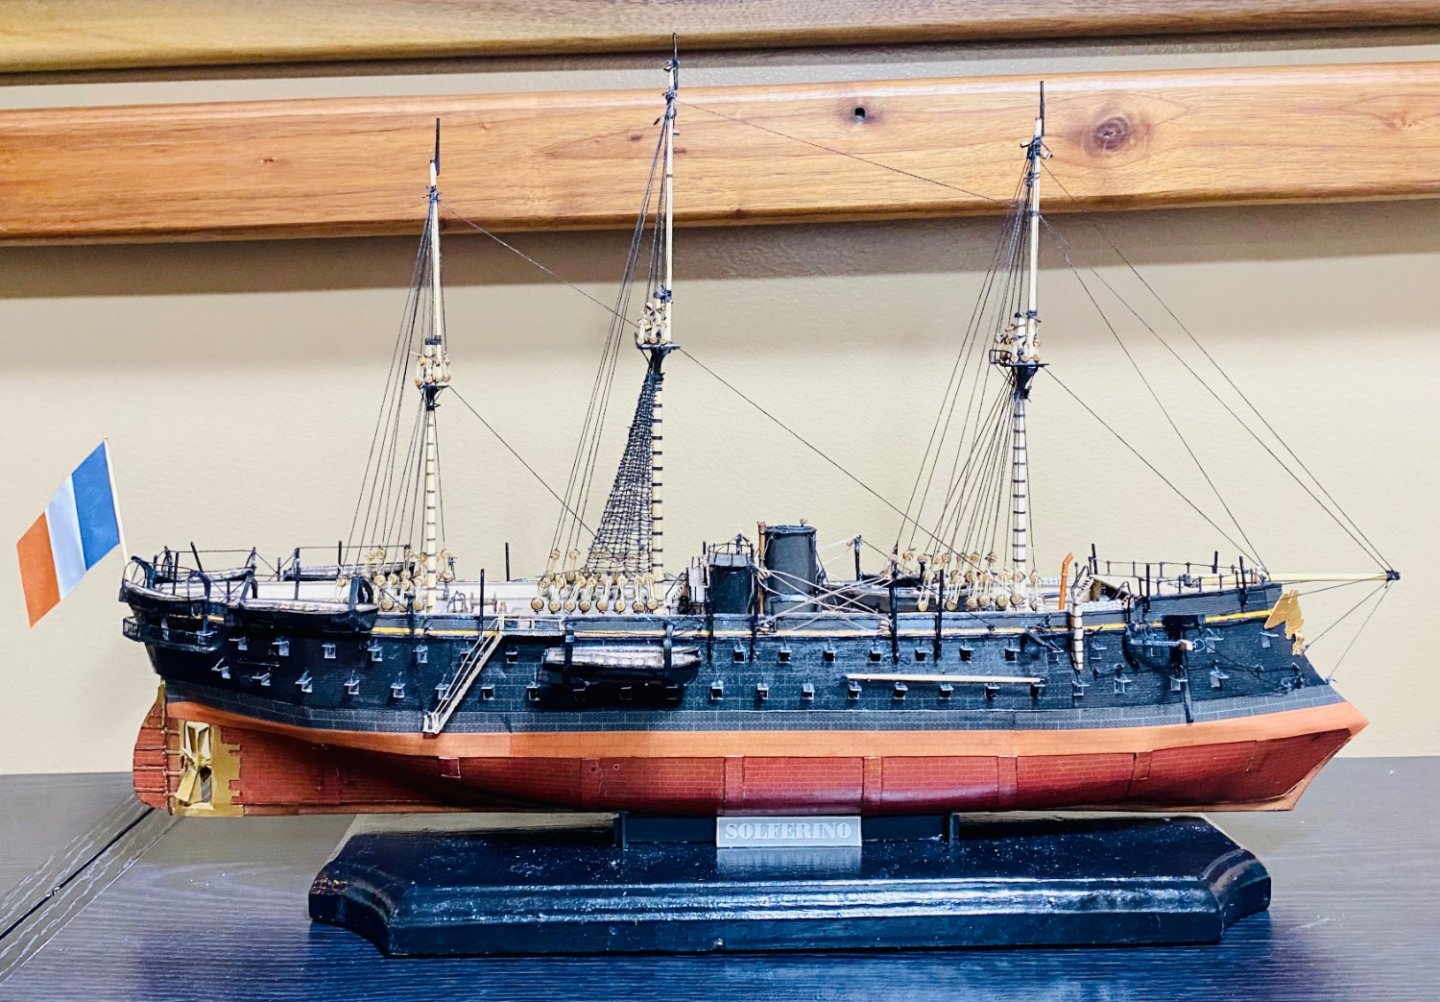
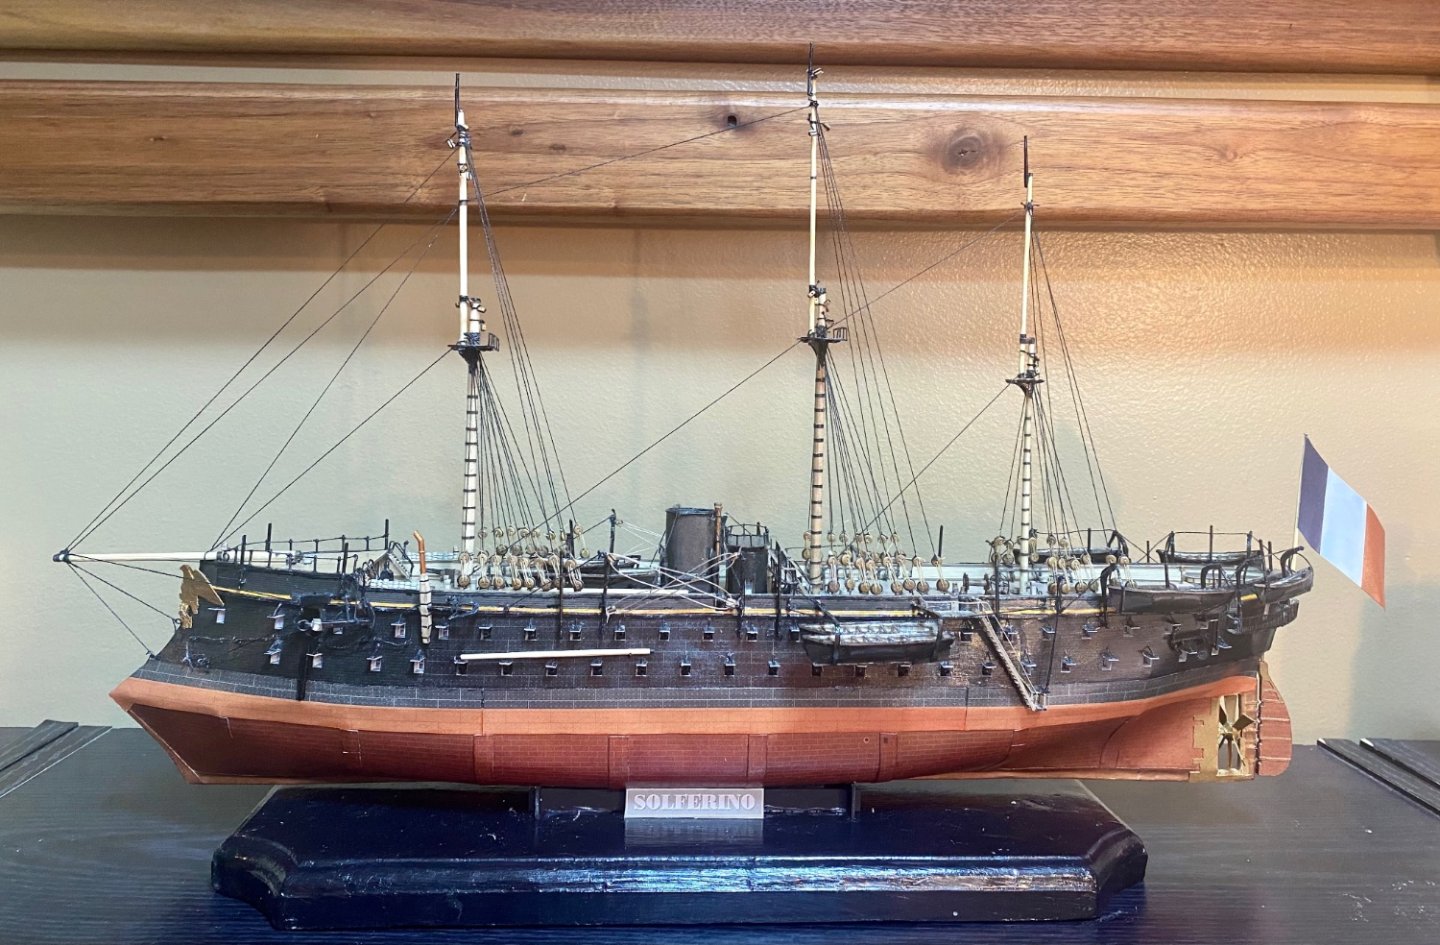
Thank you Keith. Fortunately, I am very stubborn. This model has been a learning experience and has already served its purpose for me. I only needed the hull to detail out the builder’s plans I got from the French Ministry of Defense’s Historical Office. I have learned a lot about mid-19th century ship construction and the fittings thereof. I had planned on terminating the build after the hull had been built, to serve the same purpose as a shipyard model would have served back in the day. Then my Admiral asked for this one for herself. She wanted it as a Christmas gift for her. It will be slightly late, but these models take time.
-
Yesterday was kind of a wash. My halogen stand lamp fell on my model, yesterday, inflicting massive damage to the jib lines. There was a LOT of rework. I replaced the damaged stays. The other rigging already in place saved the foremast and the bowsprit. I also corrected the sag on the starboard double ship’s boats davits. I did manage to run 6 new lines, 1 backstay and 5 shroud lines. The backstay and several of the shrouds went through several iterations.

-
Recommended pins for planking?
GrandpaPhil replied to Capella's topic in Modeling tools and Workshop Equipment
I use sewing pins. -
Foremast lower shrouds and the foremast backstays are in place: They are going very slowly. I have been having problems getting behind the davits and the vertical supports for a railing type piece of rigging that will go all the way around the ship. The small size of the deadeyes has been giving me some problems, too. Many of the shrouds and a couple of the backstays so far have been replaced a couple of times, too. However, as much of a difficulty as these are, real ratlines look infinitely better than ratlines made on a loom with fake deadeyes. This part of the model has been a lesson in Adapt and Overcome.