-
Posts
44 -
Joined
-
Last visited
Content Type
Profiles
Forums
Gallery
Events
Posts posted by Vicnelson
-
-
-
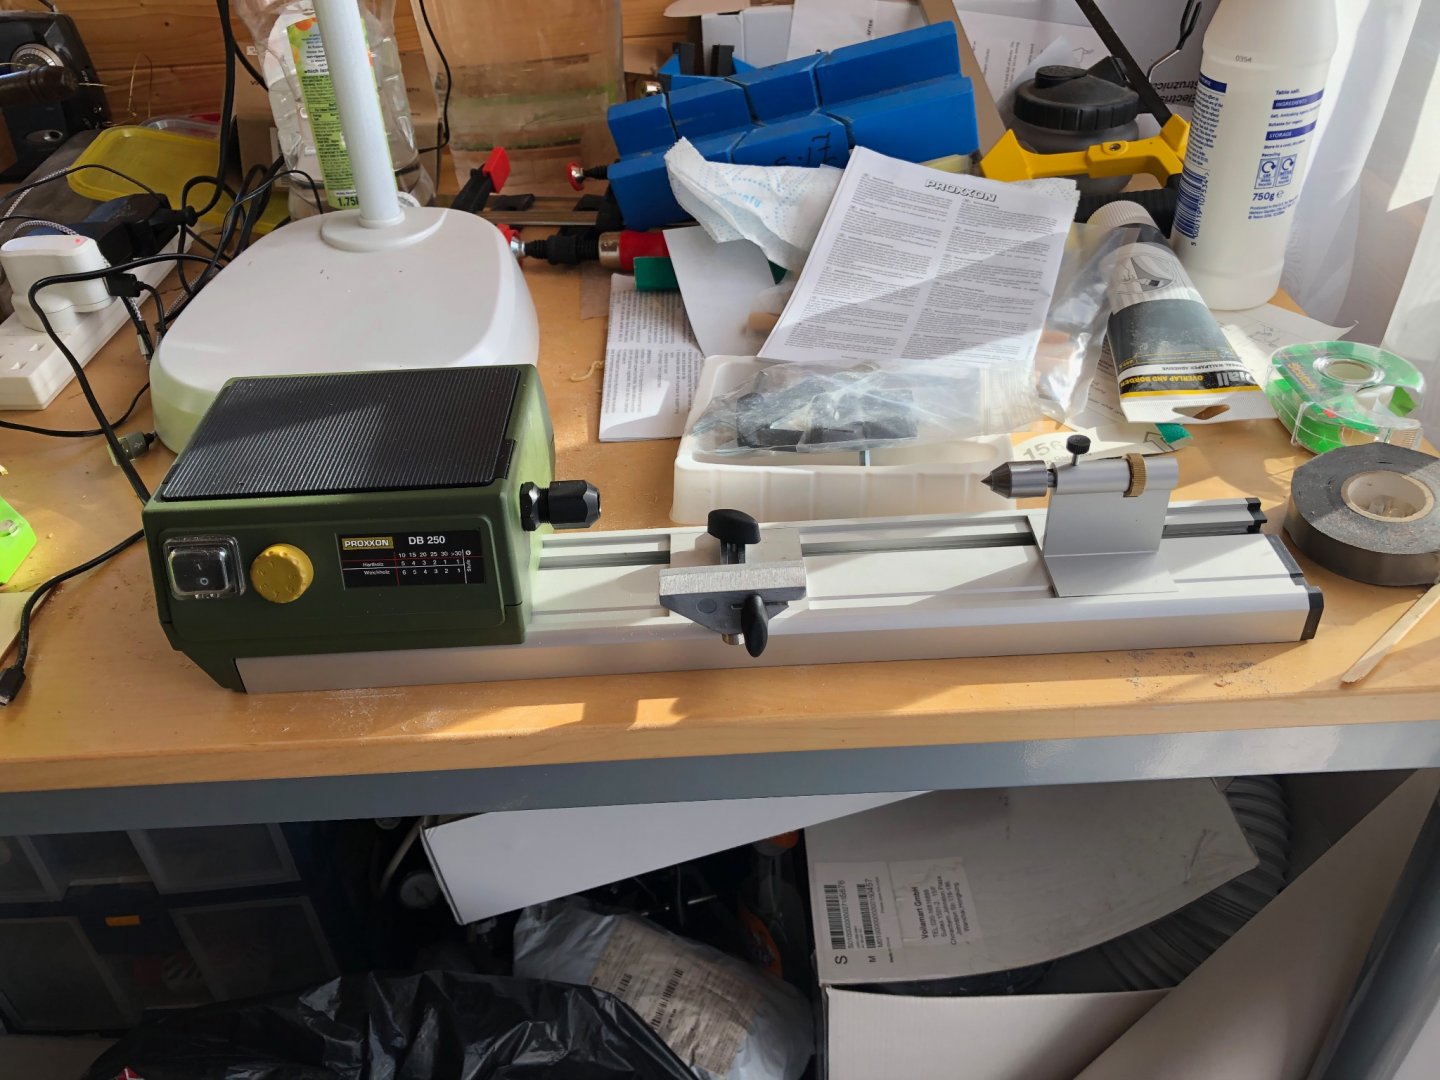
My Mantua mini lathe packed in. Replaced it with Proxxon DB250 as I saw that a few of you on the forum are using it. Wish I had got this 18 months ago when I purchased the Mantua. Never been really happy with it; too much vibration and 4 step controller was a bit rough. Given that the Proxxon and Mantua are about the same cost (when you factor in the Mantua transformer that is required) I'm much happier with my new acquisition. Hardly any vibration and control is much more refined. Used it in anger to paint rings on barrels. Very happy....saved hours of work with my unsteady painting technique. Only issue is the use of colletts as I can see me leaving the spanner in place after tightening a work piece and getting it in my face when I start the lathe so am going to invest in the optional chuck.
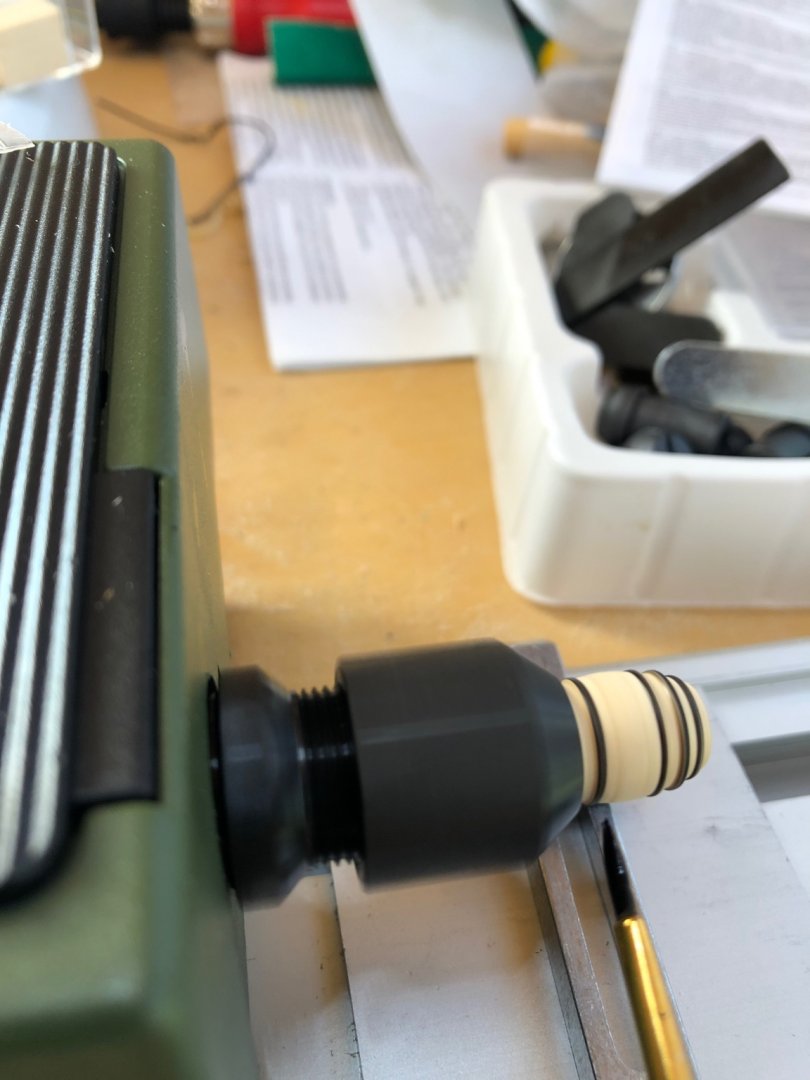
Painting the barrel rings, so much easier.
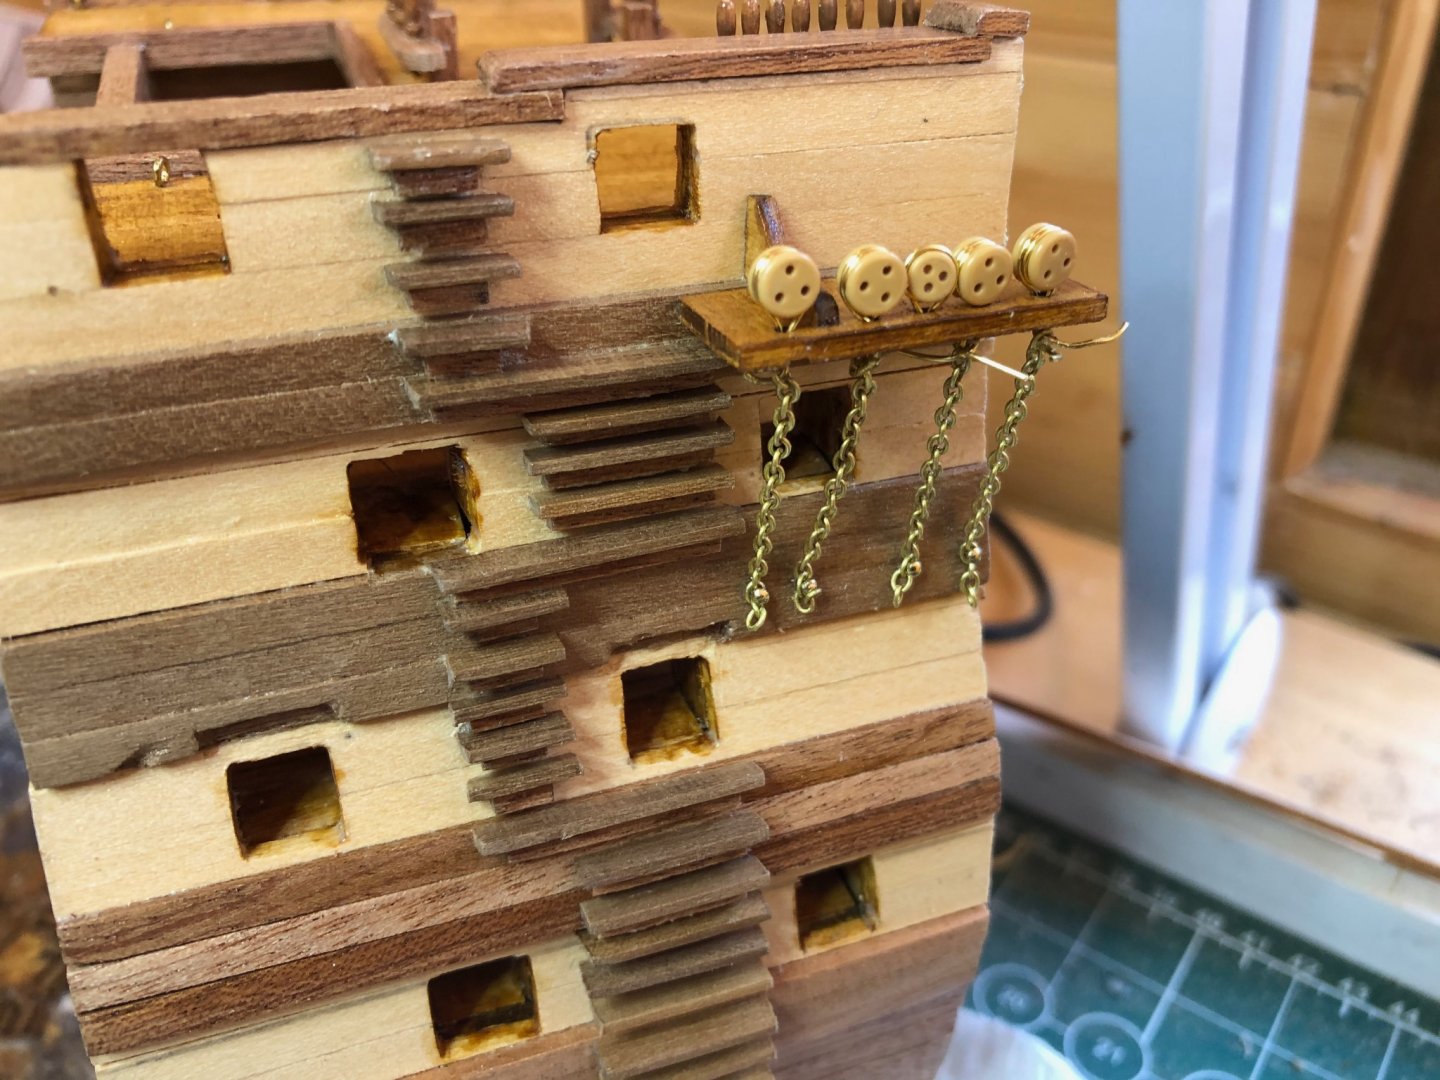
Getting the chains attached was much more of a fiddle than really required. Would have preferred use of deadeye strops rather than the brass wire supplied. Also the chain supplied is quite flimsy; kept breaking every time I looked at it the wrong way. Grrr! Also just noticed I should have installed the gun port surrounds first - ah well makes for an interesting project doing things the hard way...
-
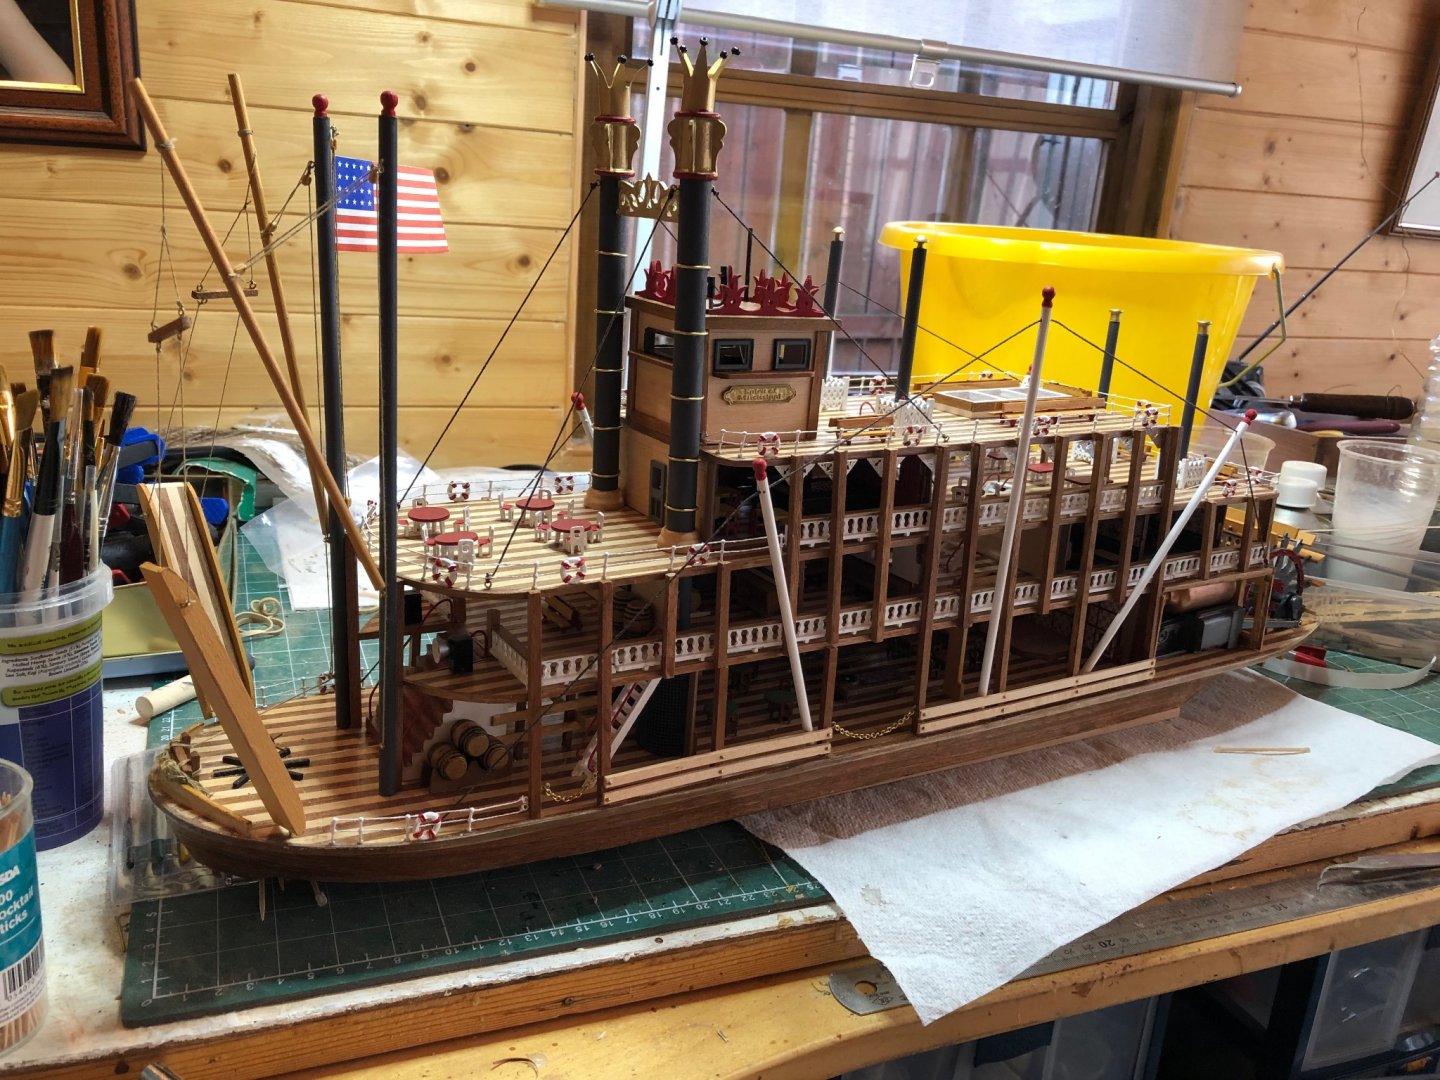
Wasn't quite finished as I was waiting on railing stantions to arrive. I think this looks much better than the pins supplied by the kit. However now complete and on display in my cabinet.
As stated before I'm going to display with interiors exposed. No point doing all that work to hide it.
All done onto next project.
- Henke, Haliburton, Ryland Craze and 3 others
-
 6
6
-
Hi folks
Mississippi finished and now started on the OcCre cross section of Santisima Trinidad. I've been looking at a few build logs especially Michael's bashed construction. Awed. I'm not that confident to reconstruct the kit so will be following the instructions but plan to 'embellish' as necessary based on my experience so far on the Agamemnon including using this kit to practice a bit on rigging, etc before returning to the Aggie.
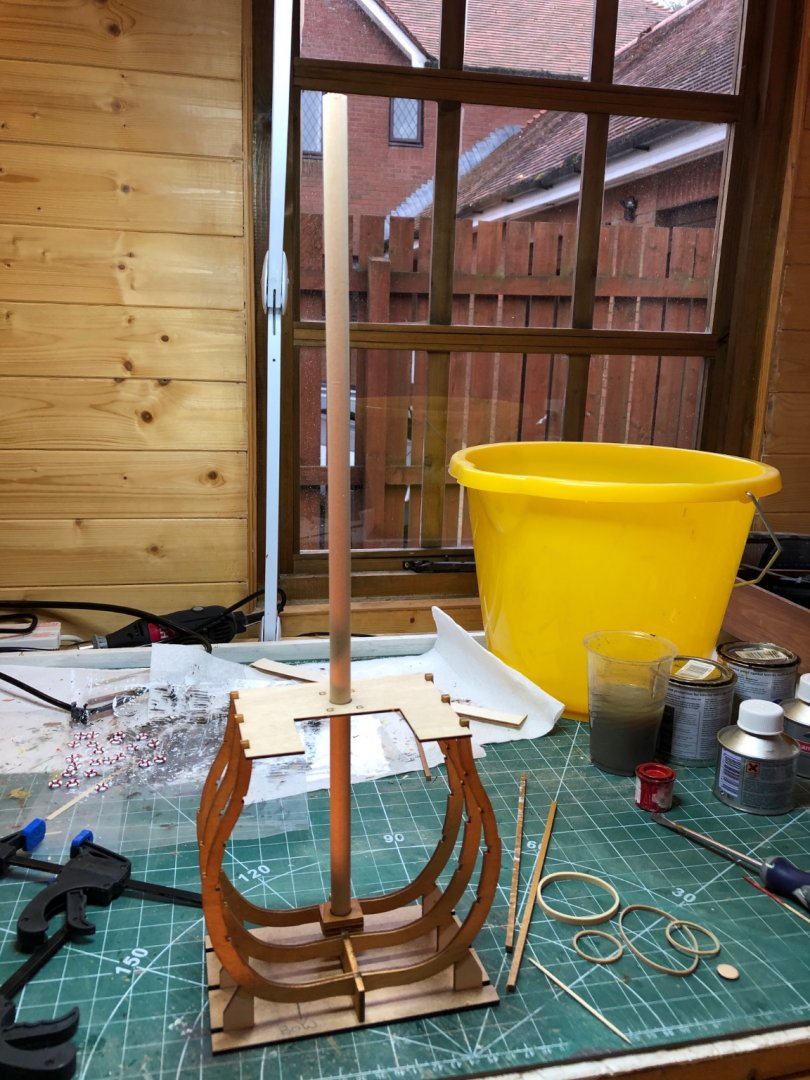
Starting off, only one frame slightly warped.
Coming along nicely. Like the initial kit's work stand as it has made working on the hull quite stable.
The yellow bucket is the latest in modelling tools! My man cave has developed a leak during storms from the East (fortunately quite rare where I live). So until I can get the man cave roof re-felted ( I may even get tiles/shingles put on) I'll have to live with it.
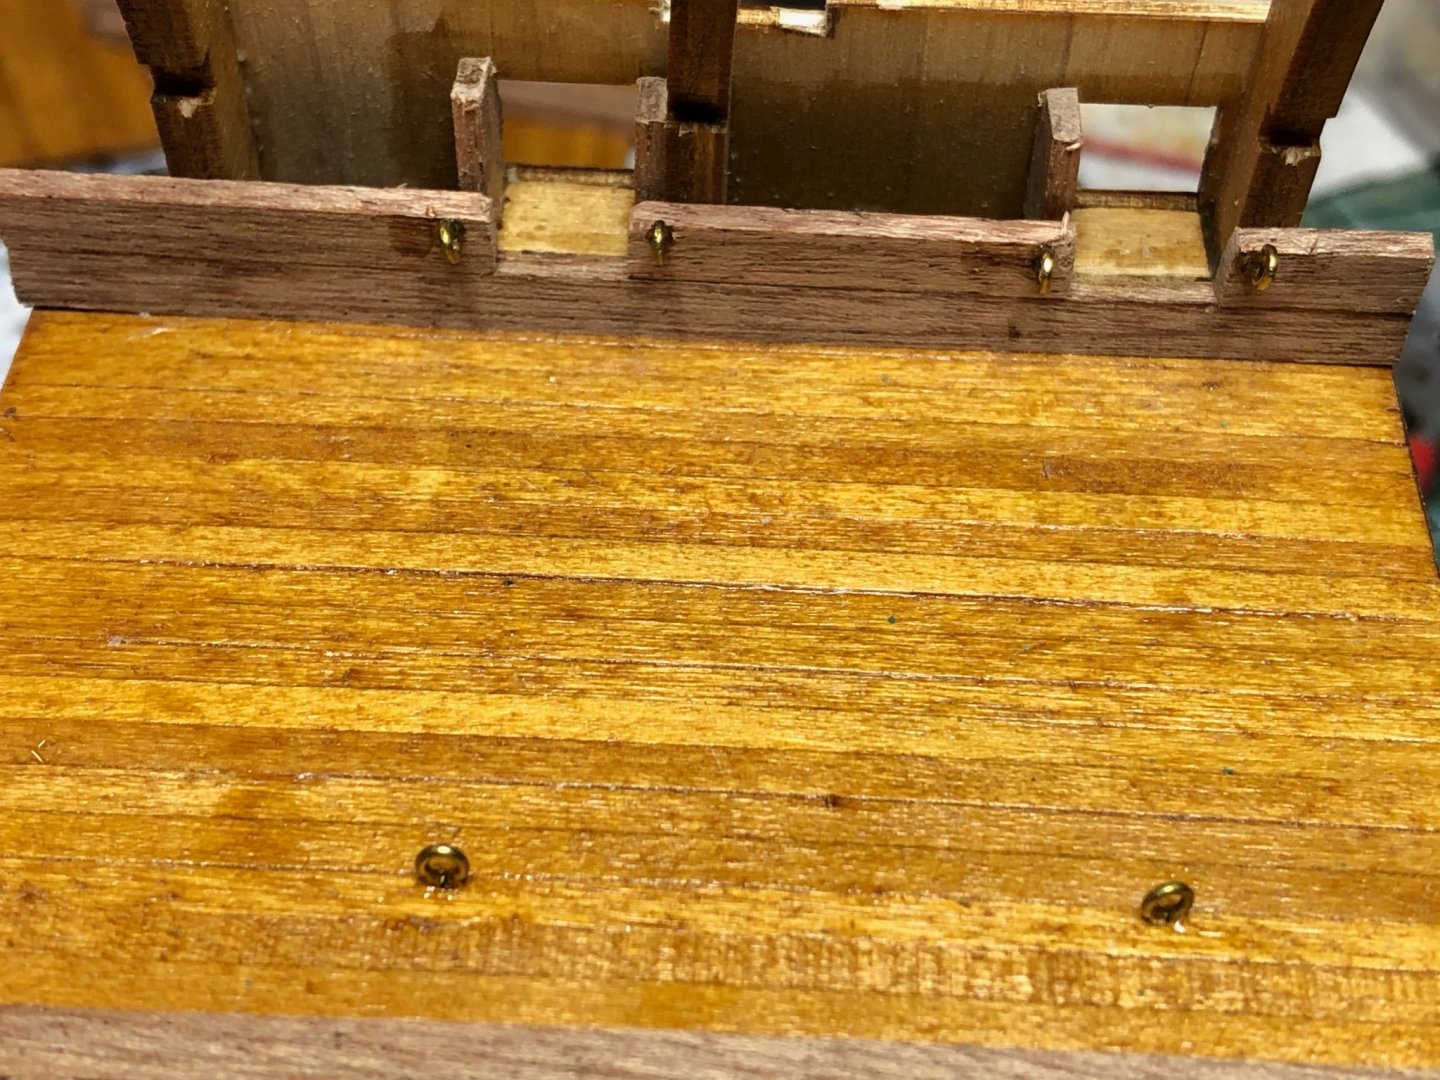
Adding eyebolts for cannon rigging. I plan to to fully rig the top deck cannons and put simplified rigging on lower decks.
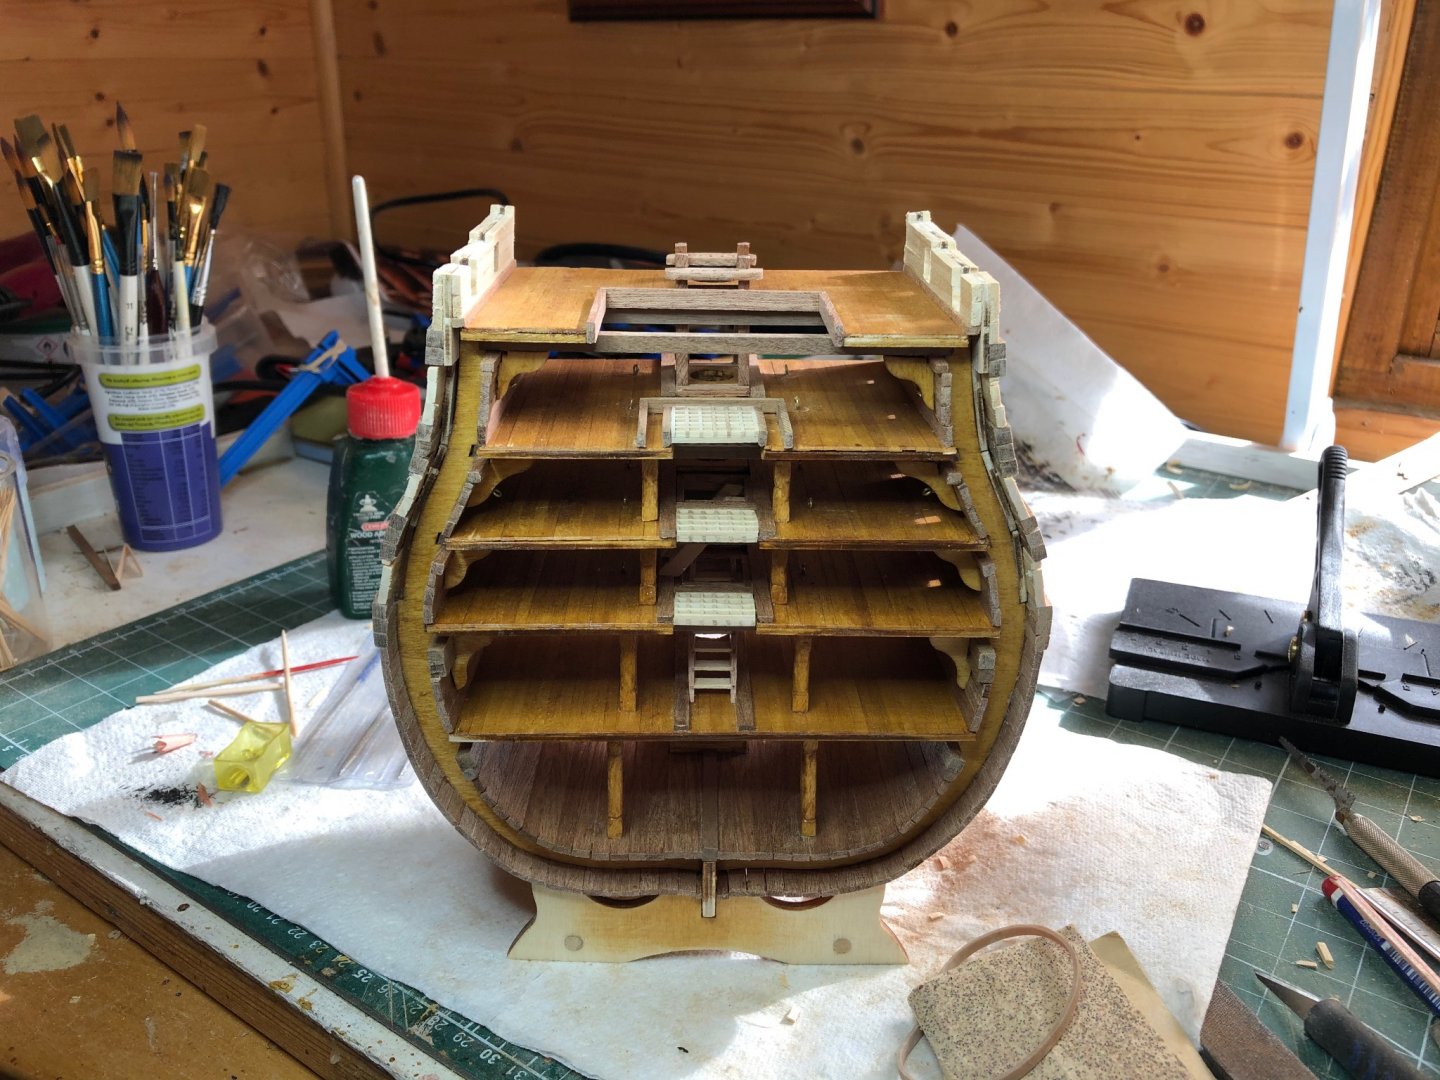
Hull nearly complete. Purchased the Amati 'master cutter', don't know why I didn't get one years ago...
-
Hi everyone
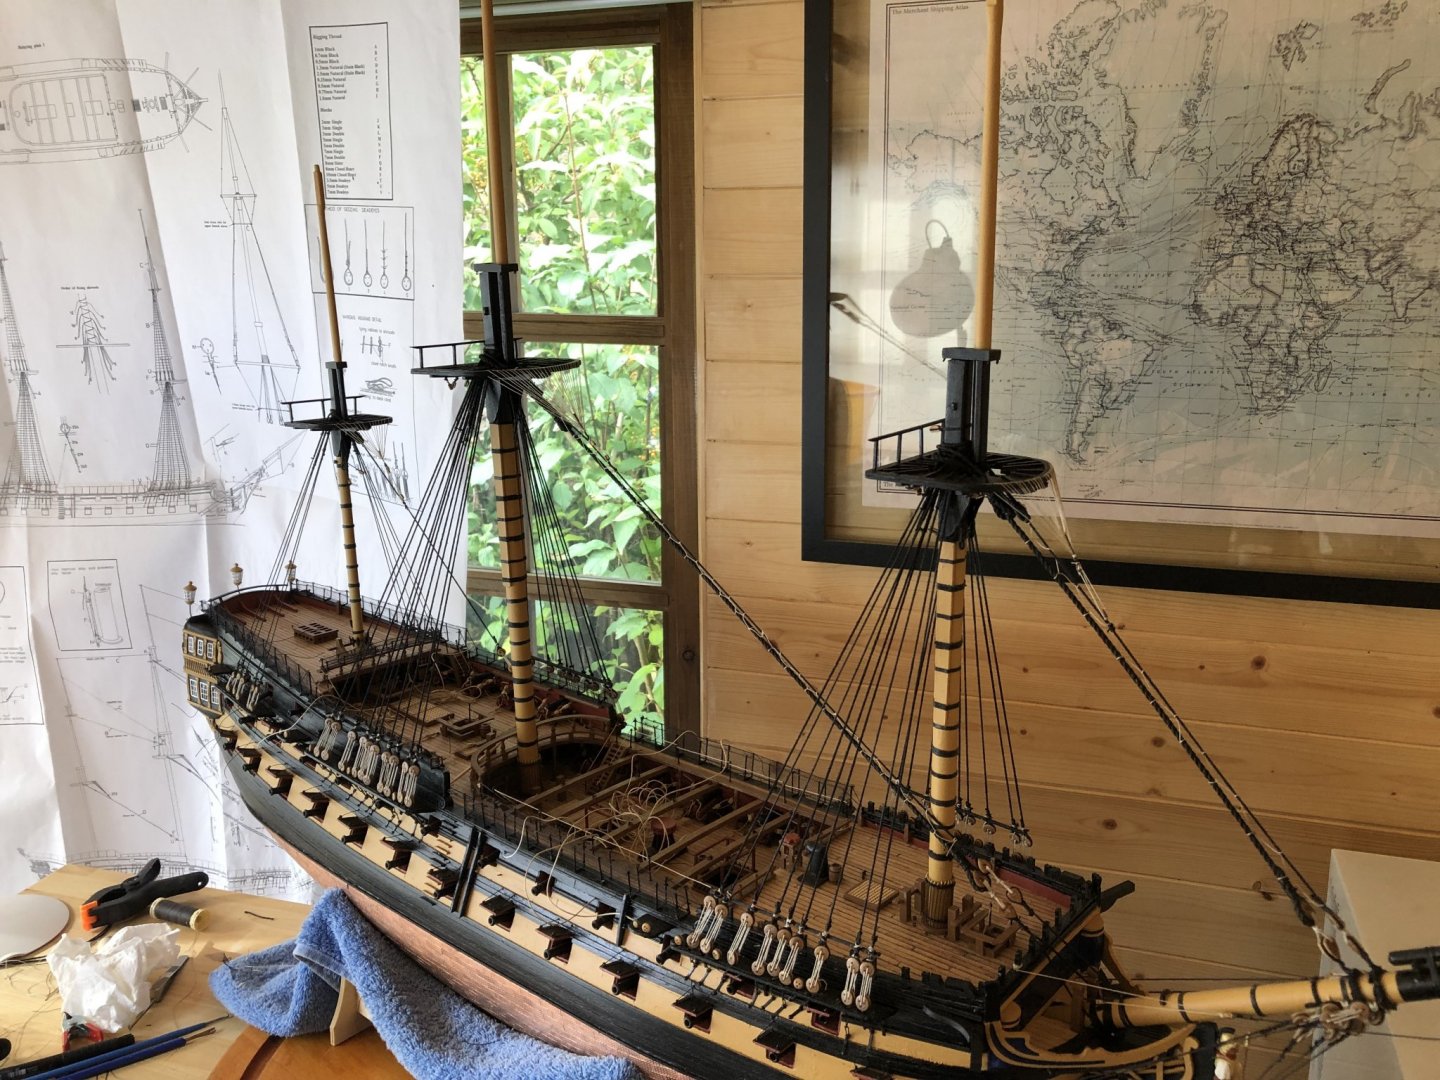
Been off forum for awhile as I hit a mental block with my Agamemnon build. Got to rigging stage and lost my get up and go. It will come back eventually.
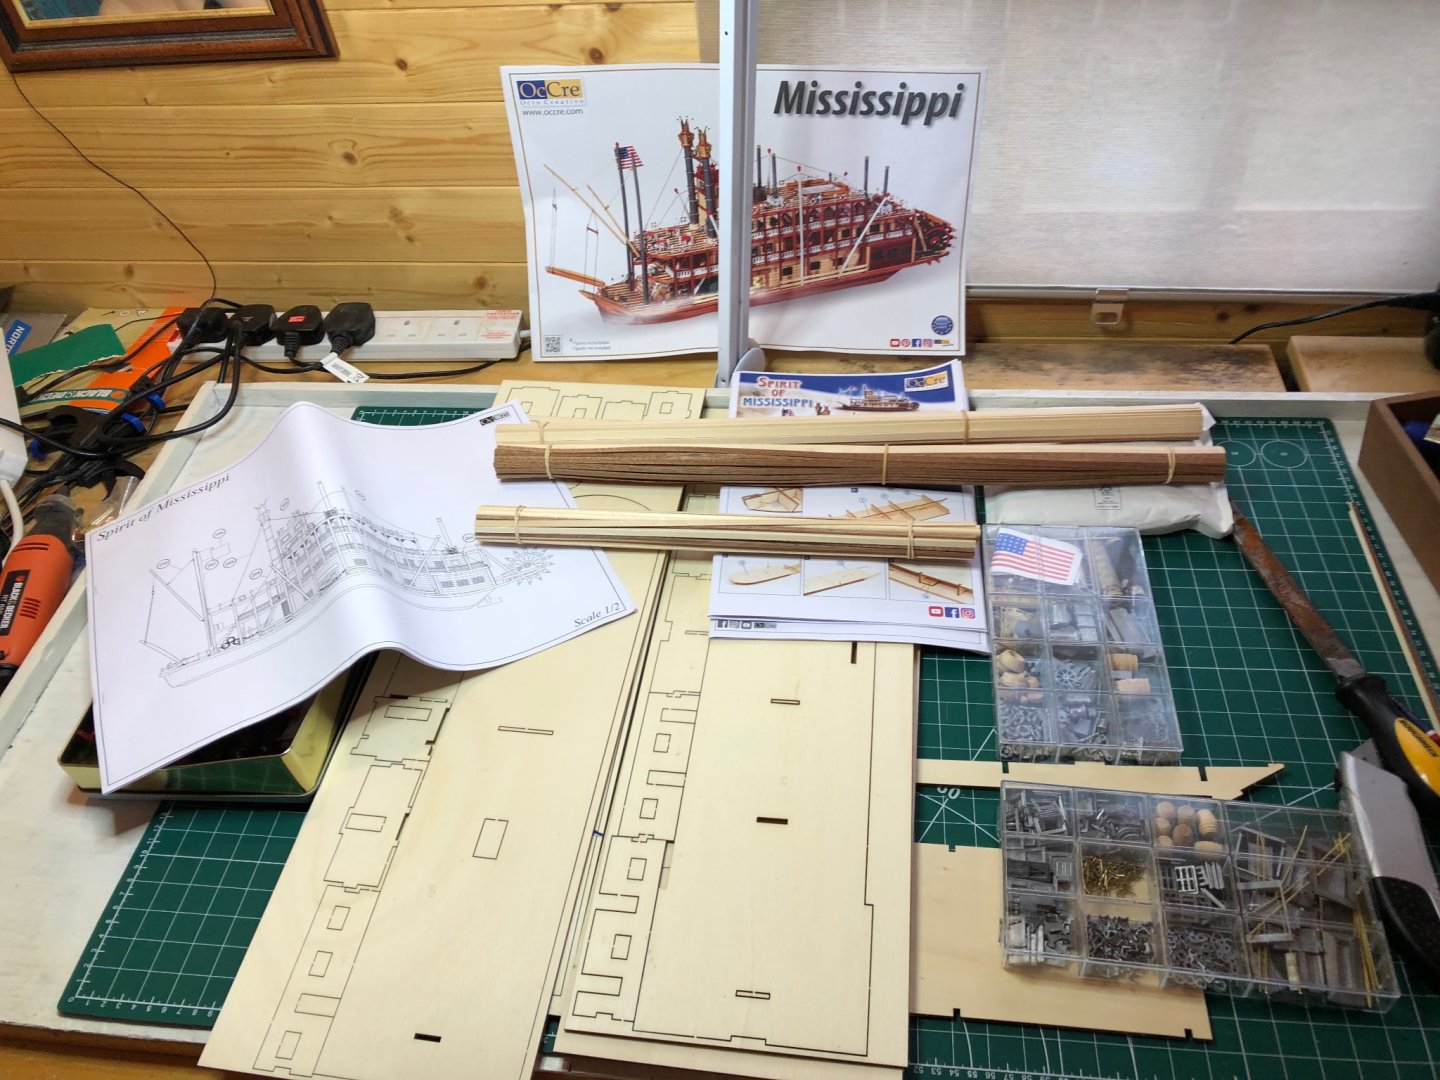
Meanwhile for a significant birthday (I can now get a bus pass) my family gave me vouchers for Cornwall Boats from which I bought the Occre Kit for the Spirit of Mississippi.
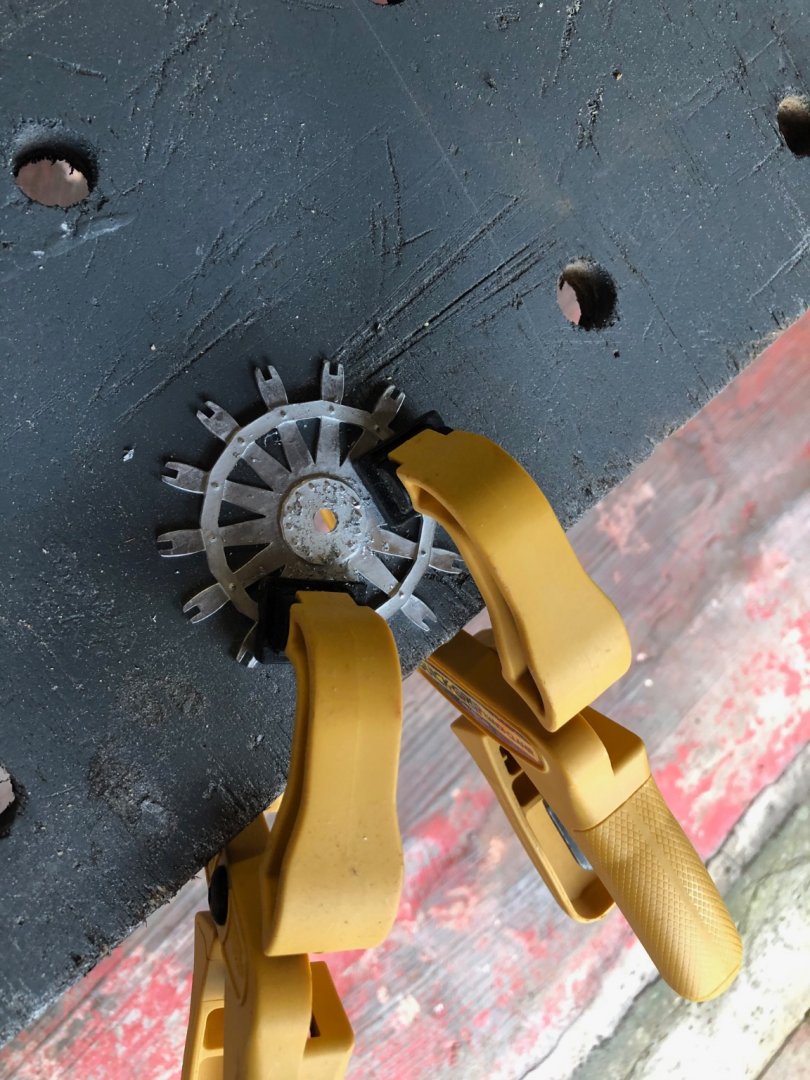
A nice kit but with a few issues. A lot of the supplied metal parts required some work to fit (or the wood parts to make fit) like the window frames. The paddle hubs in particular needed drilled out to 6mm (supplied 4.5mm!!) see photo. Annoying. I also didn't like the pins to be used for railing supports.
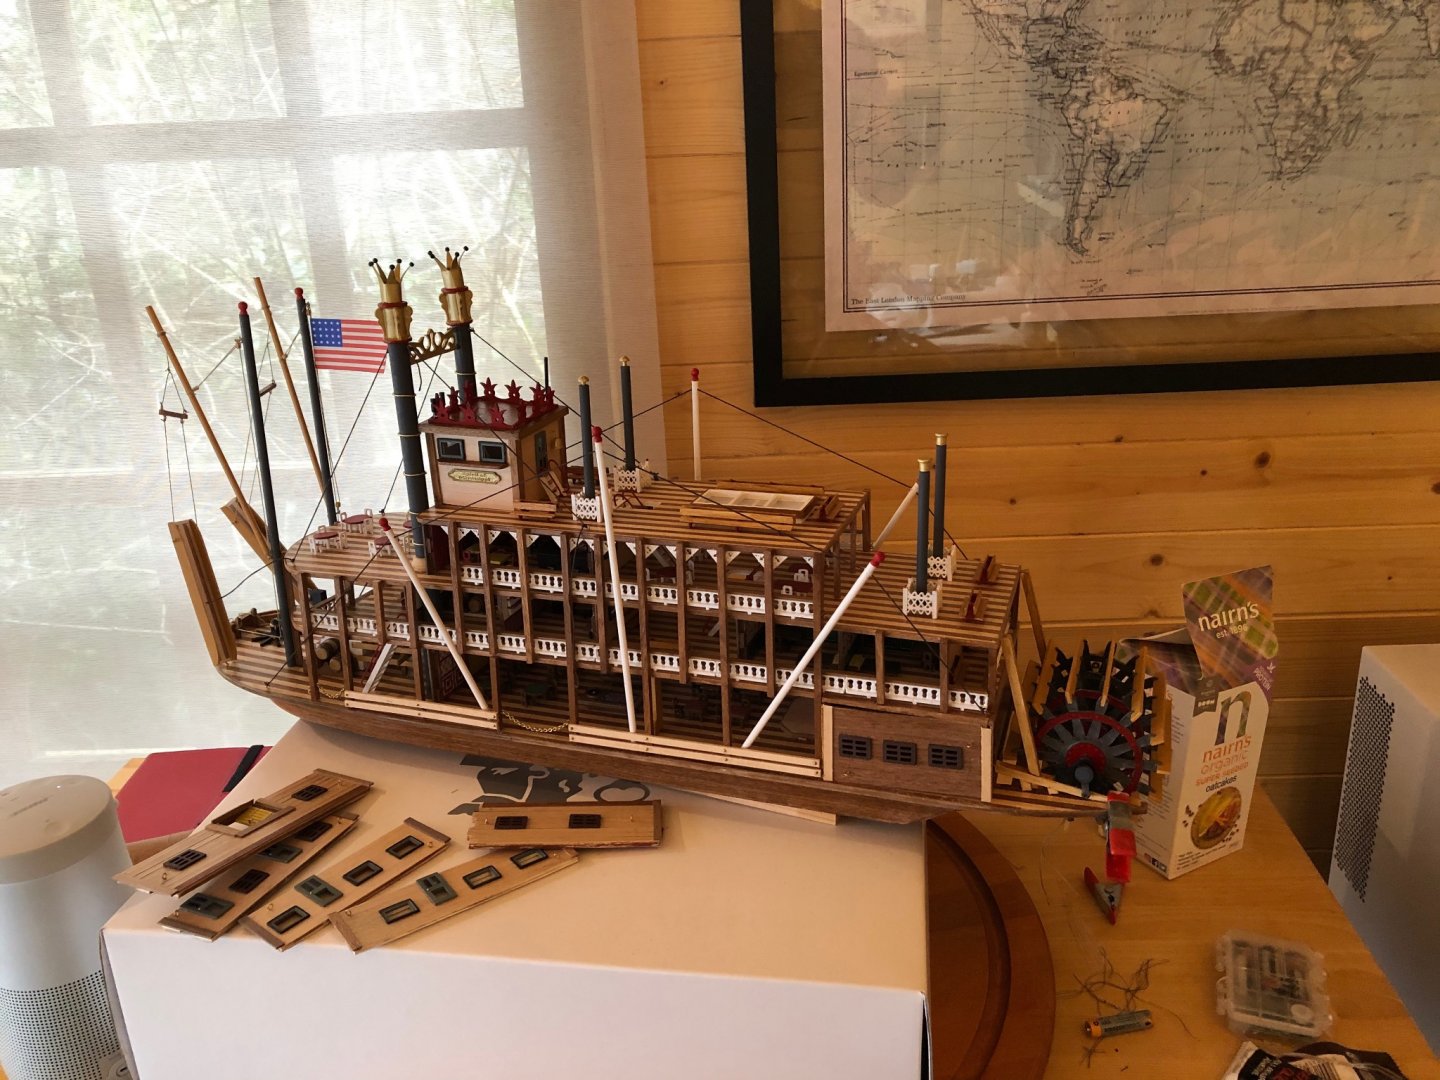
Hasn't taken too long to get to nearly complete (awaiting better looking rail supports).
A few errors made such as assuming the precut slots for structure and deck were accurate but they were off by a couple of mm so later on in the build the external stiffening ribbing on the port (display) side had to be finessed.
Enjoyable few weeks doing this and has resulted in getting some of my mojo back. Moving onto Occre cross section of Santimisa Trinidad next and then hopefully back to Aggie.
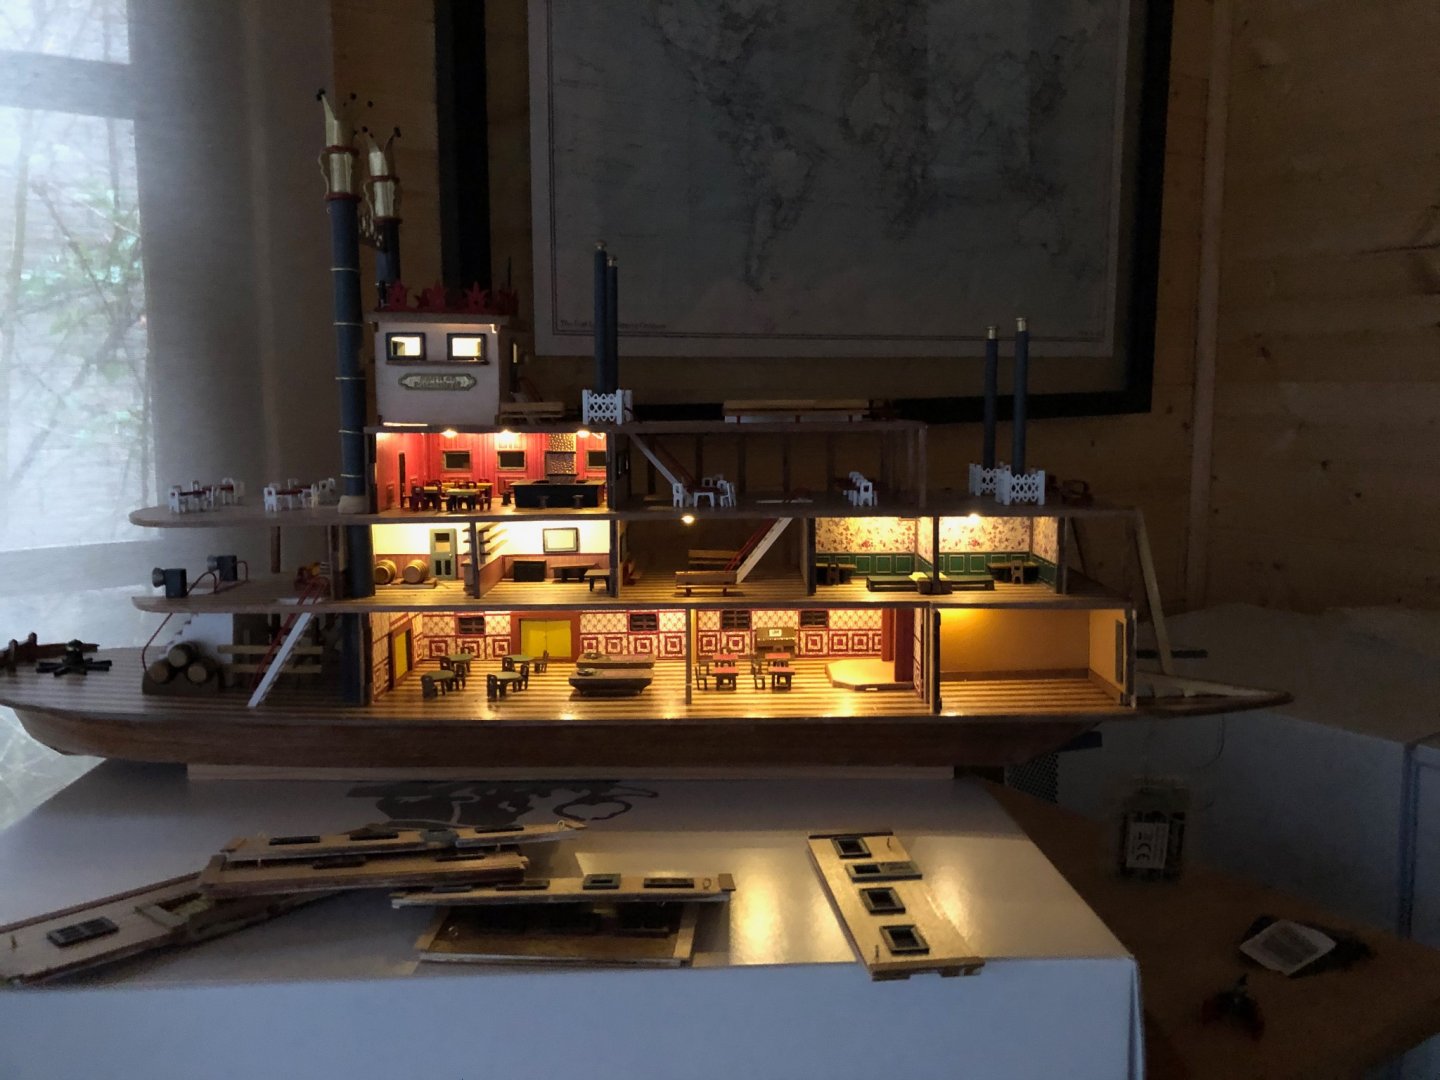
As said nice kit but not sure about the historical accuracy (if any) of the model. Perhaps the title "Spirit.." gives that away. I installed some left over Christmas lights to provide internal illumination. It should display well. More photos later once paddle wheel and rigging complete.
Day 1.
Moving along nicely.
Hull complete. Iplanked under the overhang deck rather than just painting it as given in the instructions.
Getting gtehre but didn't notice that upper decks were ever so slightly off to one side.
Built my own lower deck ladders as not enough metal parts provided. Also upper deck ladders finished with wood to covers the metal joins.
Nearly there. Christmas lights working well. I also used eyelets in removable sections to give me something to grip with but will probably display with the interior exposed all the time.
Very carefully drilling out paddle wheels to 6mm.
- ccoyle, Haliburton and Henke
-
 3
3
-
-
-
- egkb, GrandpaPhil, Henke and 4 others
-
 7
7
-
- Henke, chris watton, Tigersteve and 5 others
-
 8
8
-
-
Very neat work and looking good.
- mort stoll, Henke and FrankWouts
-
 3
3
-
Hi Henrik
Thanks for your very kind comments. Good luck with your Agamemnon; it's really a great kit to work with. As for skills I'm in awe of many of the other builders on this forum; I just keep plodding along. It's amazing how a lick of paint can cover up the occasional Oops!
Thanks for following the build log.
Ian (aka Vic)
-
- egkb, chris watton, channell and 3 others
-
 6
6
-
-
Quietly working away. Poop deck installed and top deck completed but I'm going to change the 'safety' rails around the top deck stairwells and use Sandecott's design instead. They look too flimsy to me.
Also I've stolen my wife's spare hairdryer (not shown) to keep the finished part of the model clean after sanding /fitting new parts. I hope she doesn't find out until I'm finished with it.
- Beef Wellington, GrandpaPhil, JpR62 and 6 others
-
 9
9
-
- mort stoll, ccoyle, Beef Wellington and 1 other
-
 4
4
-
- channell, egkb and Beef Wellington
-
 3
3
-
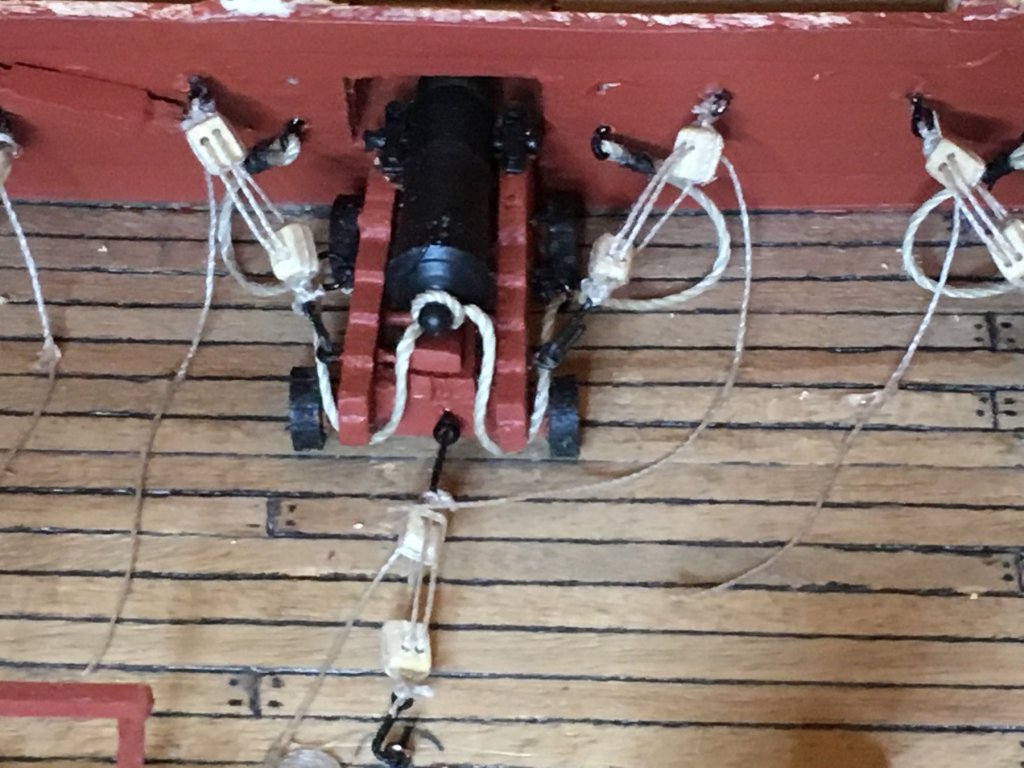
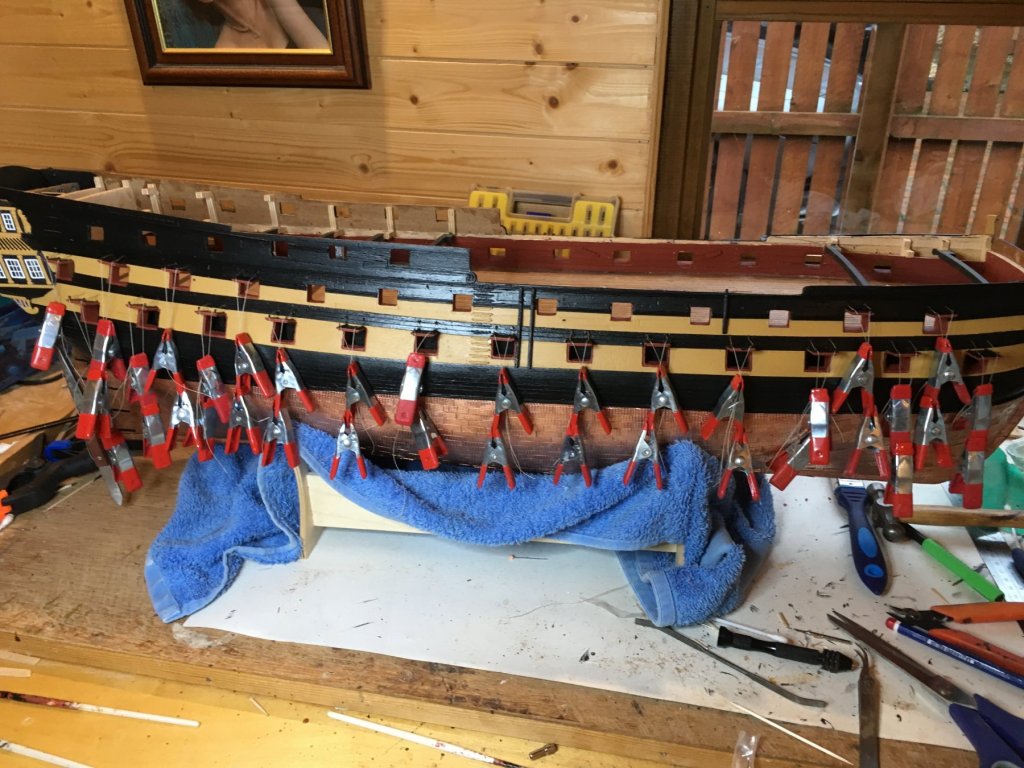
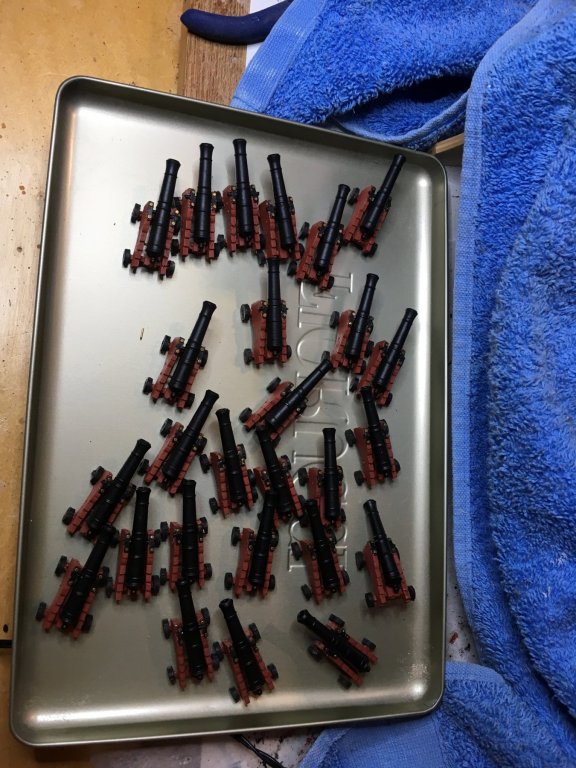
Finally the 18 pounders are finished; took me a lot longer than planned. Mainly due to having to widen the gun tackle anchor points as the blocks kept meeting before fully tensioned. You can see the original anchor points, now painted over. Perhaps smaller hooks and blocks next time.
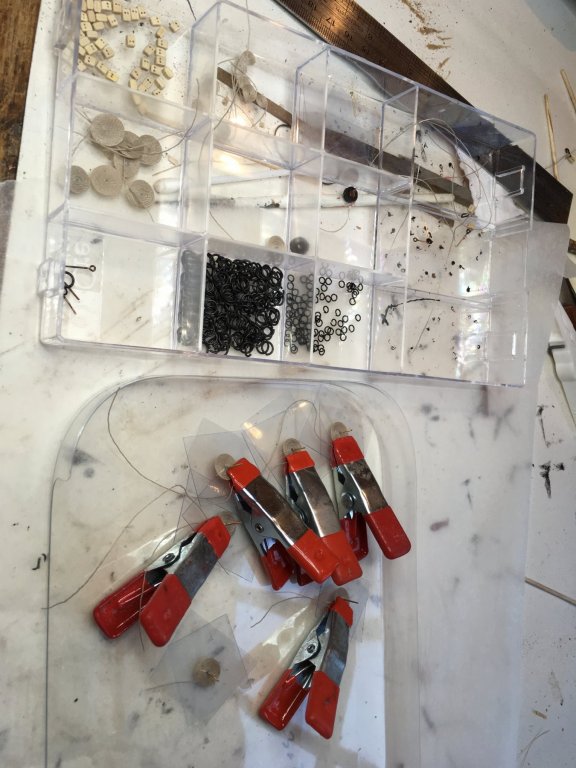
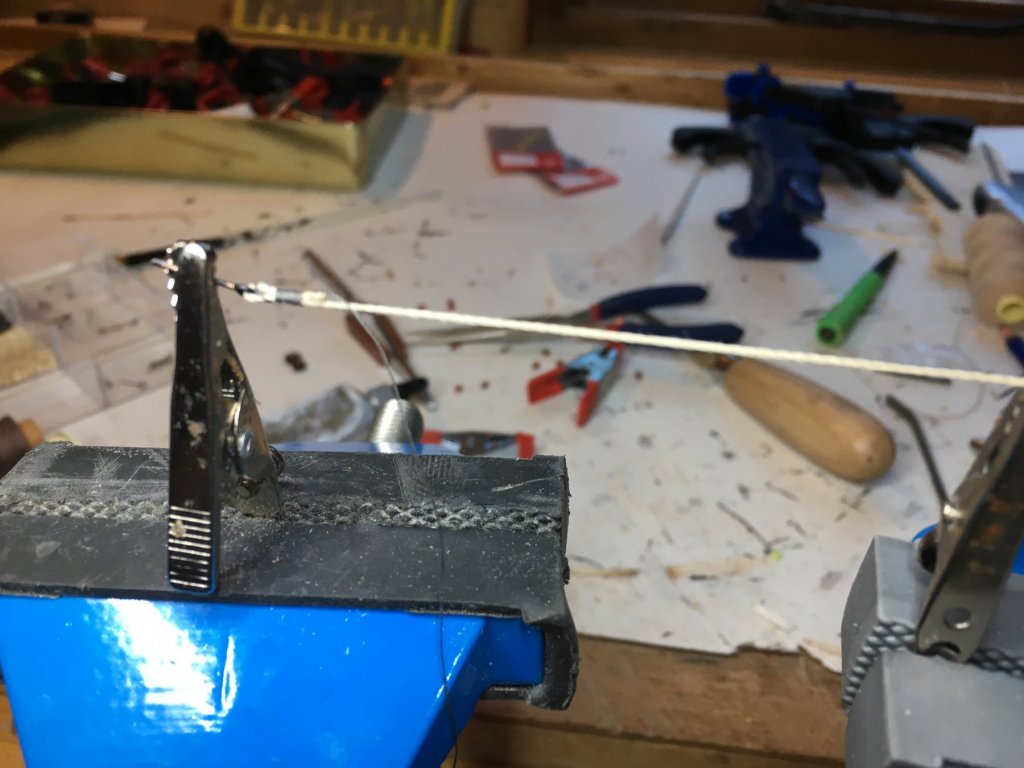
The rope coil factory at work...
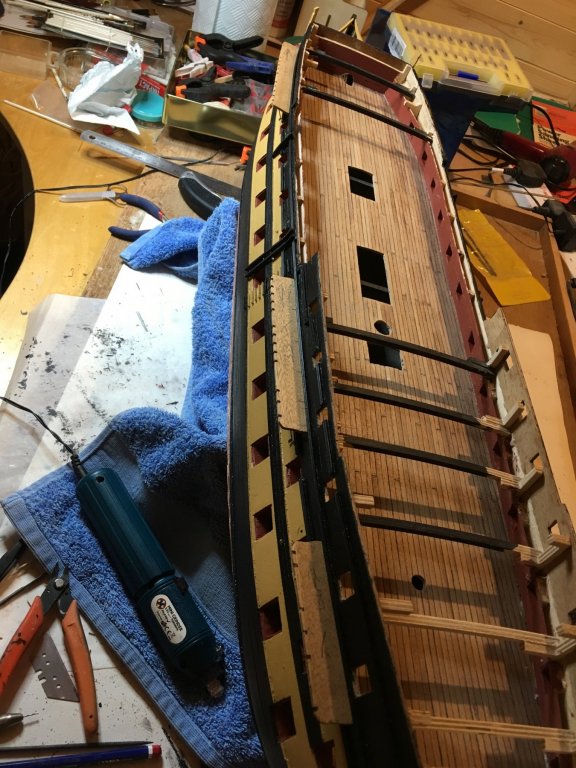
And top deck glued in place and setting with a few improvised weights. I've tied off some sheets and tacks early to avoid the tricky attachment to the gun deck cleats through the boat deck. Getting there....
-
Steven
Thanks for heads up.
I'll check with them before the visit.
Ian
-
-
Rob thanks for kind comments - please follow along.
-
I'm off to Portsmouth in early December to visit HMS Victory. Planning to take my 'good' camera to take a few snaps (if allowed) of bits and pieces to help with my Agamemnon build. If anyone has any requests while I'm there I'll do my best to take a photo and post it.
-
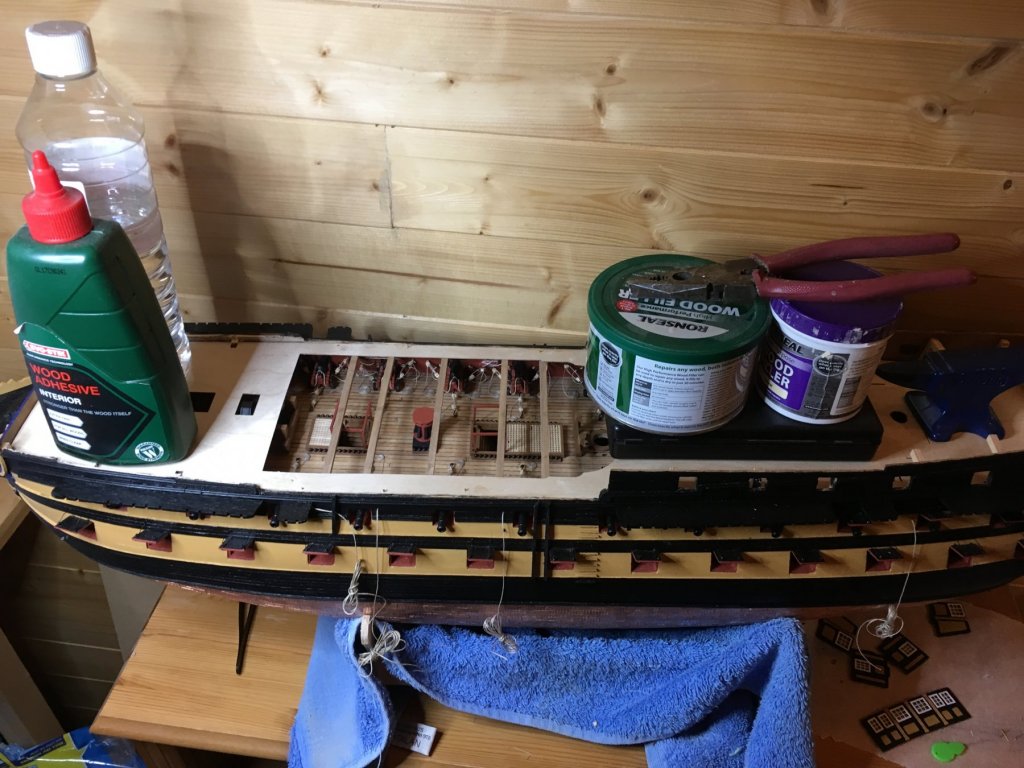
Hanging out the washing!! Some weight to keep gunport ropes taught while glue drys.
Prepping the breech ropes
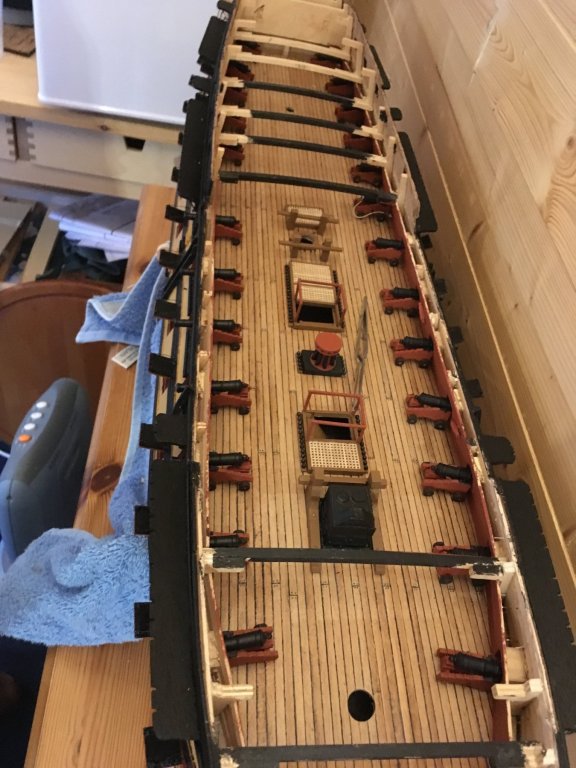
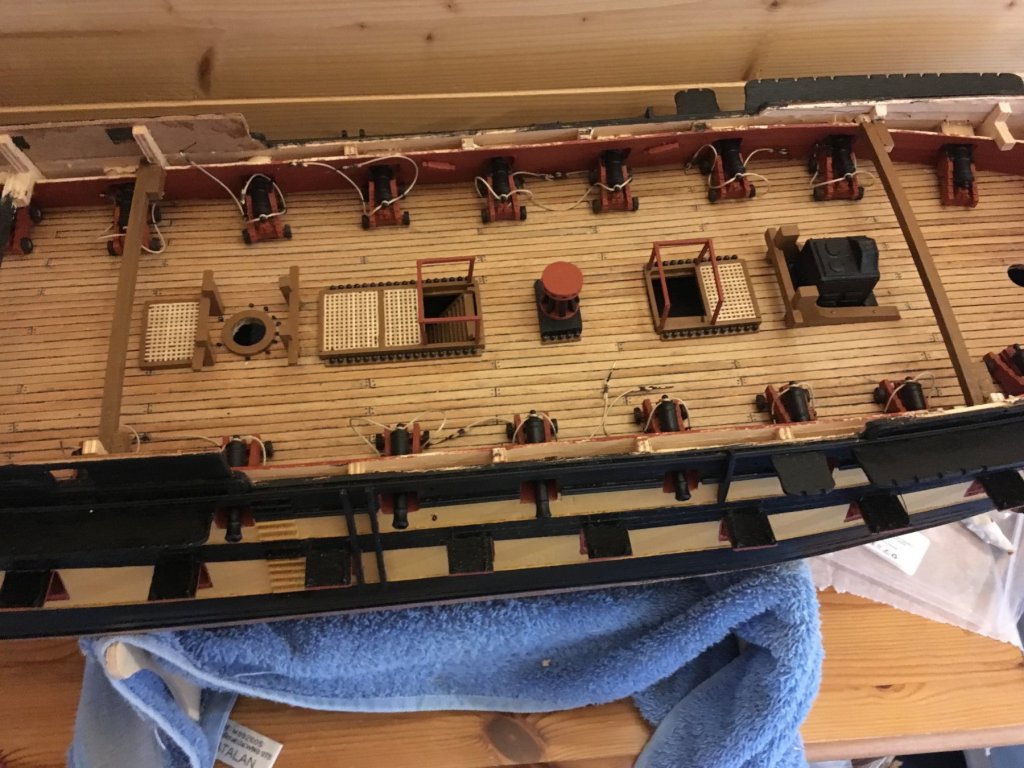
Laying out the 18lbs on the upper gun deck. Can anyone see my "fix" for a much earlier mistake?
That's right - gunports too low when compared to deck. Luckily only occurs under top deck. Had to lower cannon by removing wheels. Oops. And no, I'm not going back to redo ports....
Very wet weather the other day and my man cave/workshop developed a drip. Lucky not on anything vital. Hoping for a dry weekend to fix the roof.
Upper deck fitting attached and breeching ropes fixed to carriages but not to hull yet; gun tackle still too be started and finished. But I'm getting there I think! Need to be tidier on gratings.
- Louie da fly, egkb, Beef Wellington and 4 others
-
 7
7
-
18 pounders ready for running out tackle etc; awaiting some bits and bobs (blocks, rings and hooks for gun tackle) from Cornwall Boats.
Dry Fitting channels; I'll finish gun ports lids before getting the glue out for these.
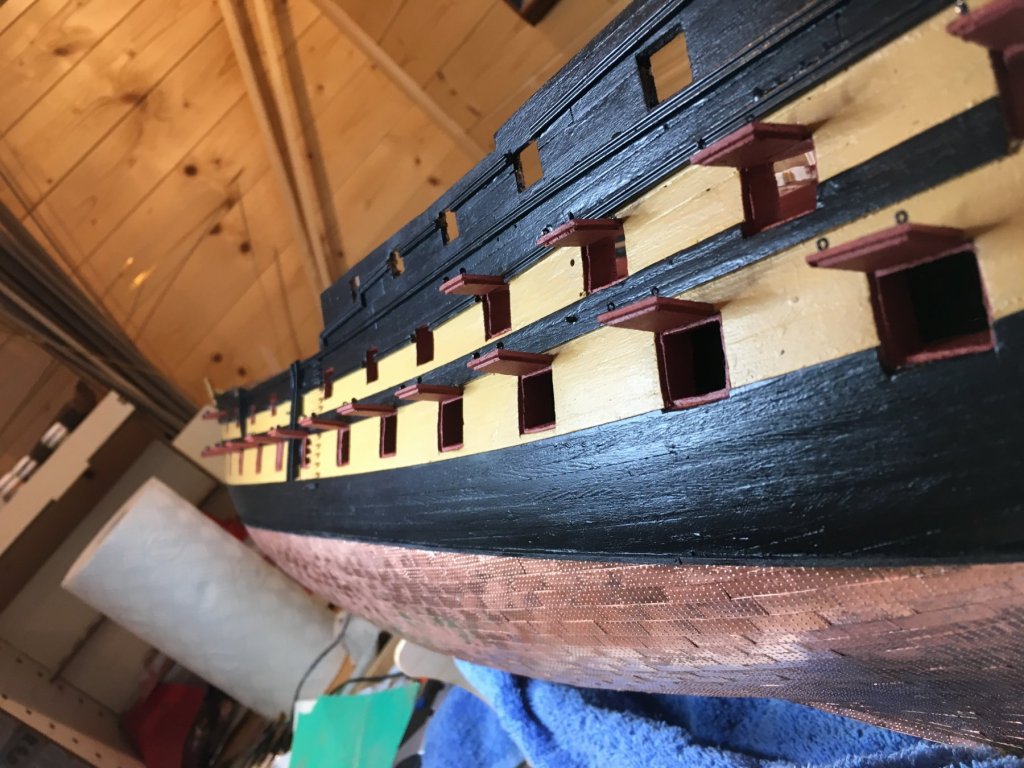
Gunport lids fitted to port side; just to fit gunport ropes and I can attach port side channels; then onto starboard side. Fitting out the upper gun deck beckons - might have that done by Christmas... if I get the tackle I've ordered Running about 6 weeks behind my initial build schedule.


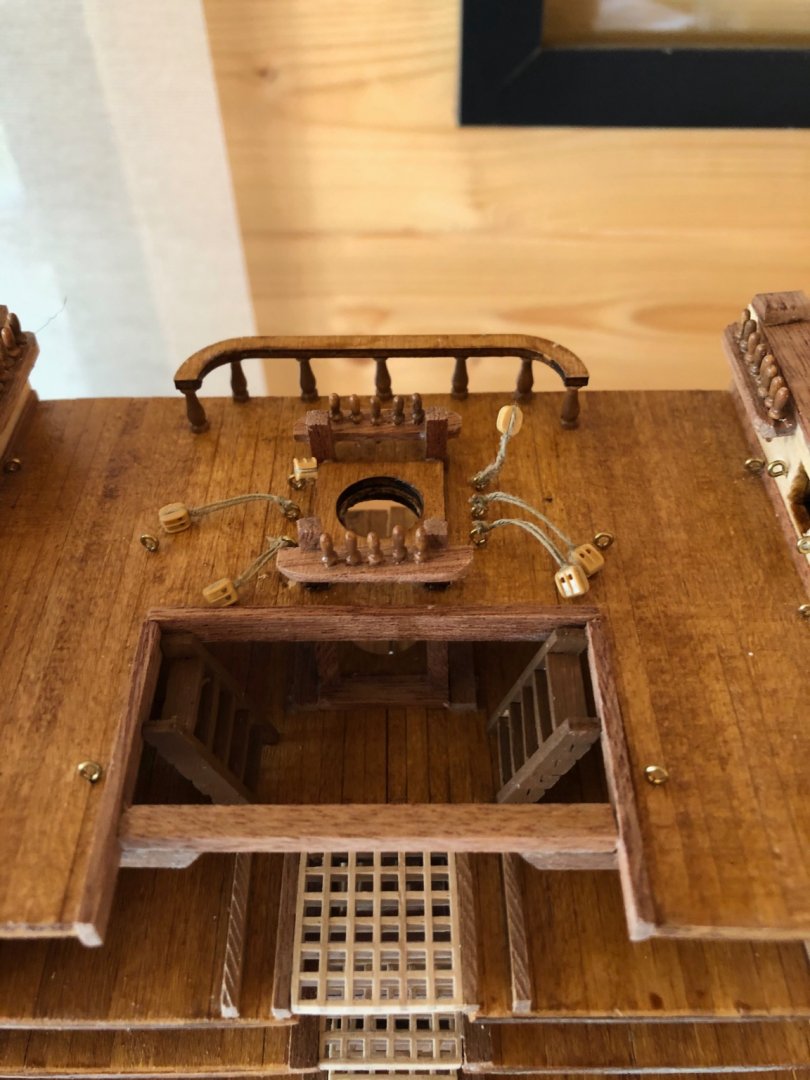
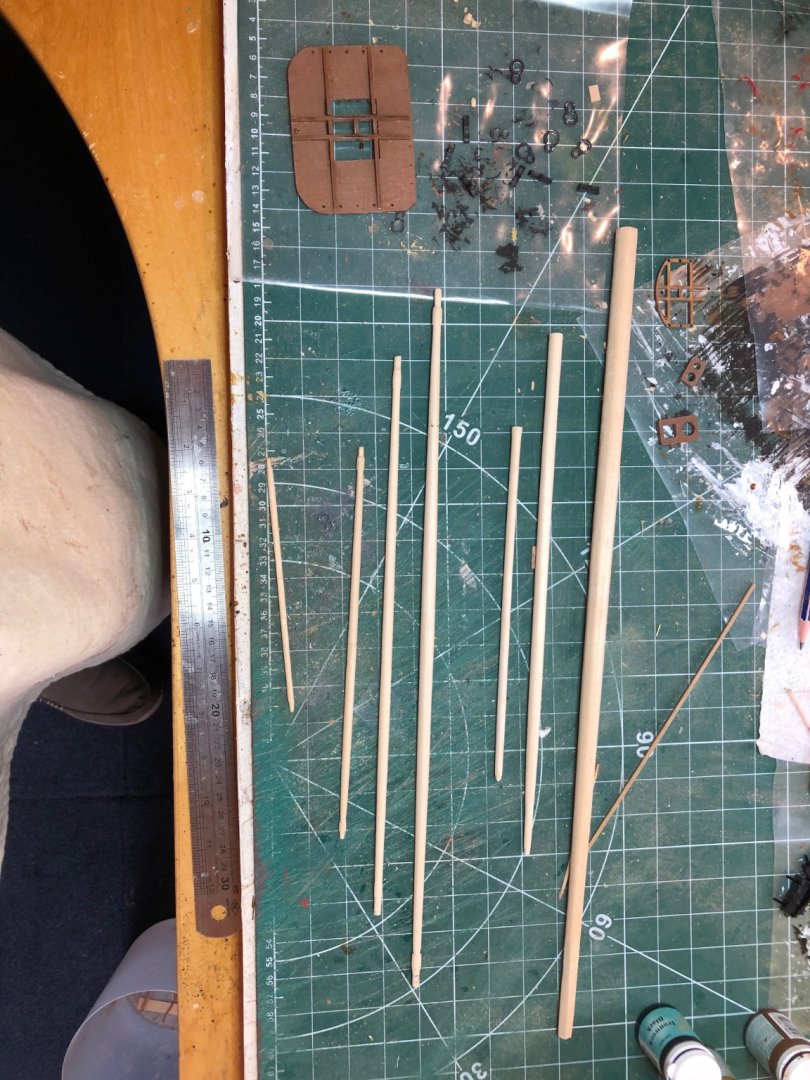
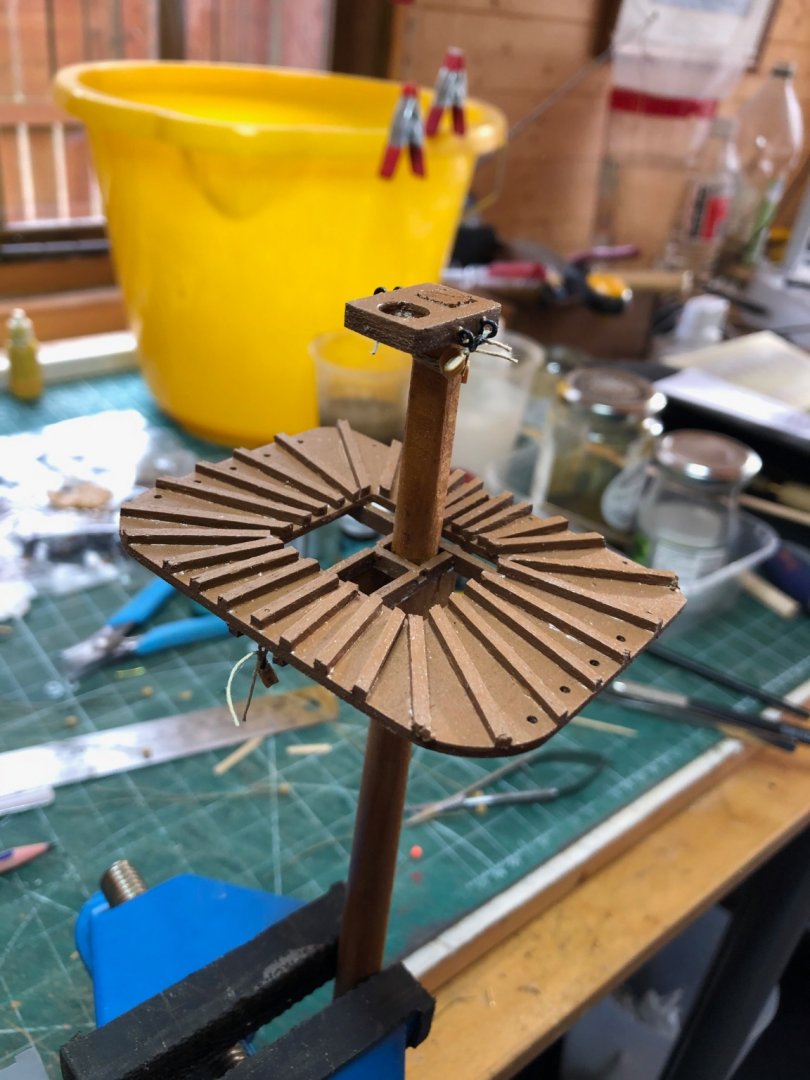
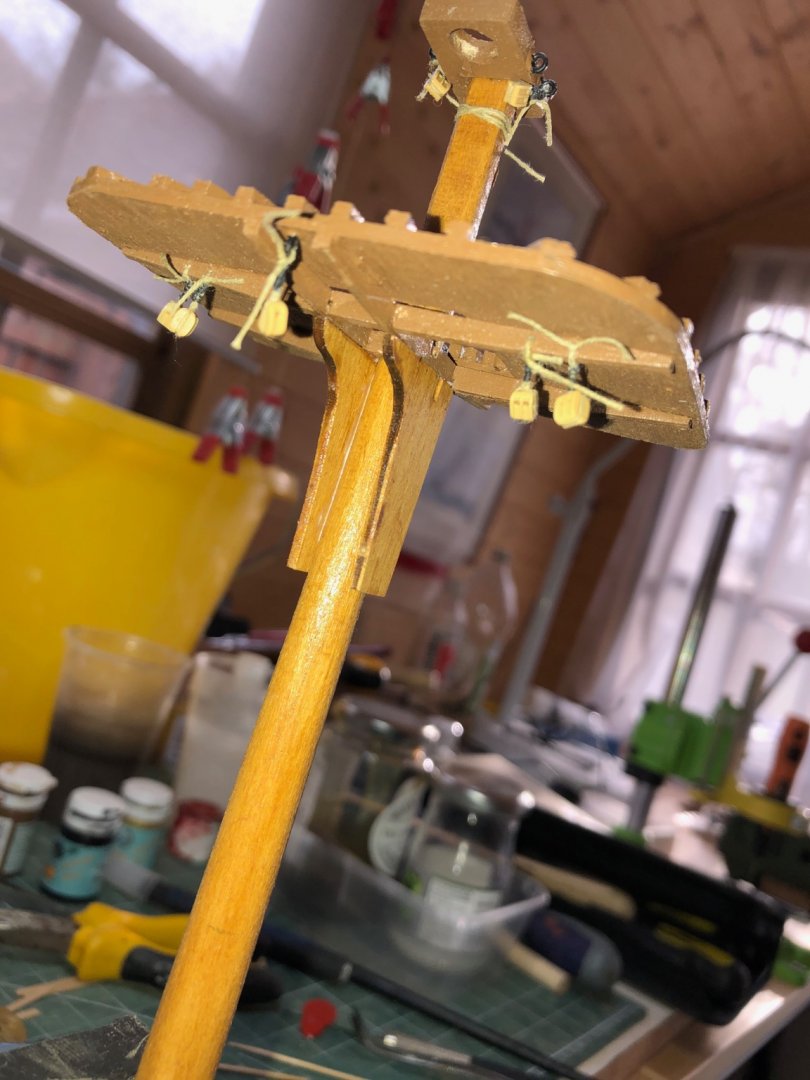
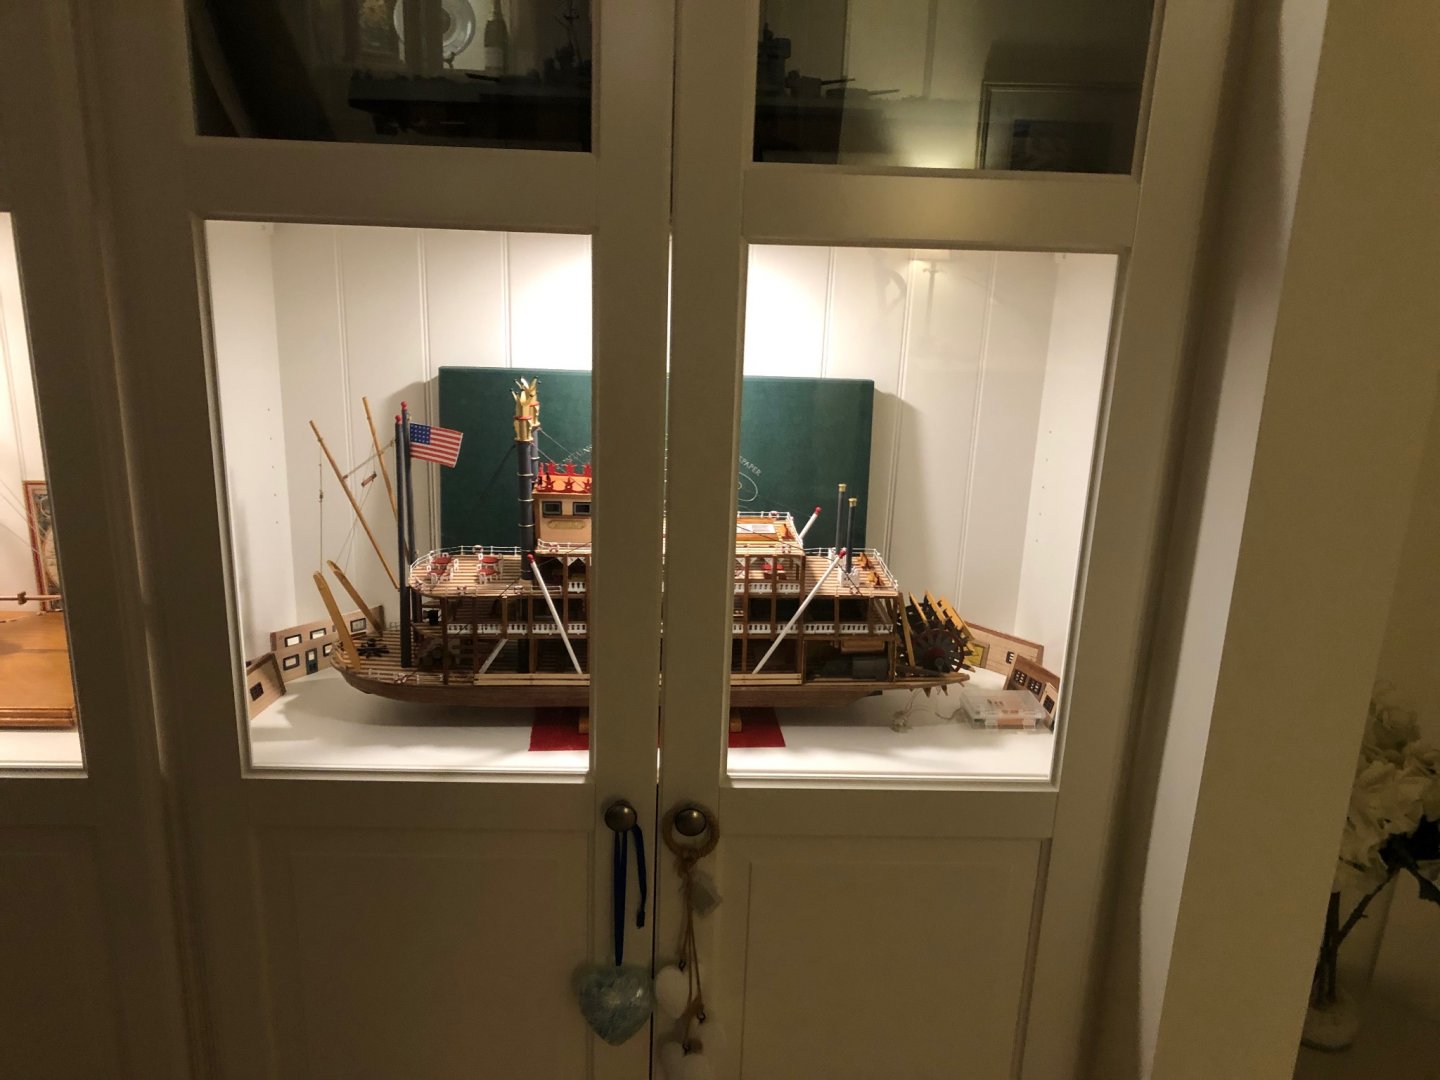
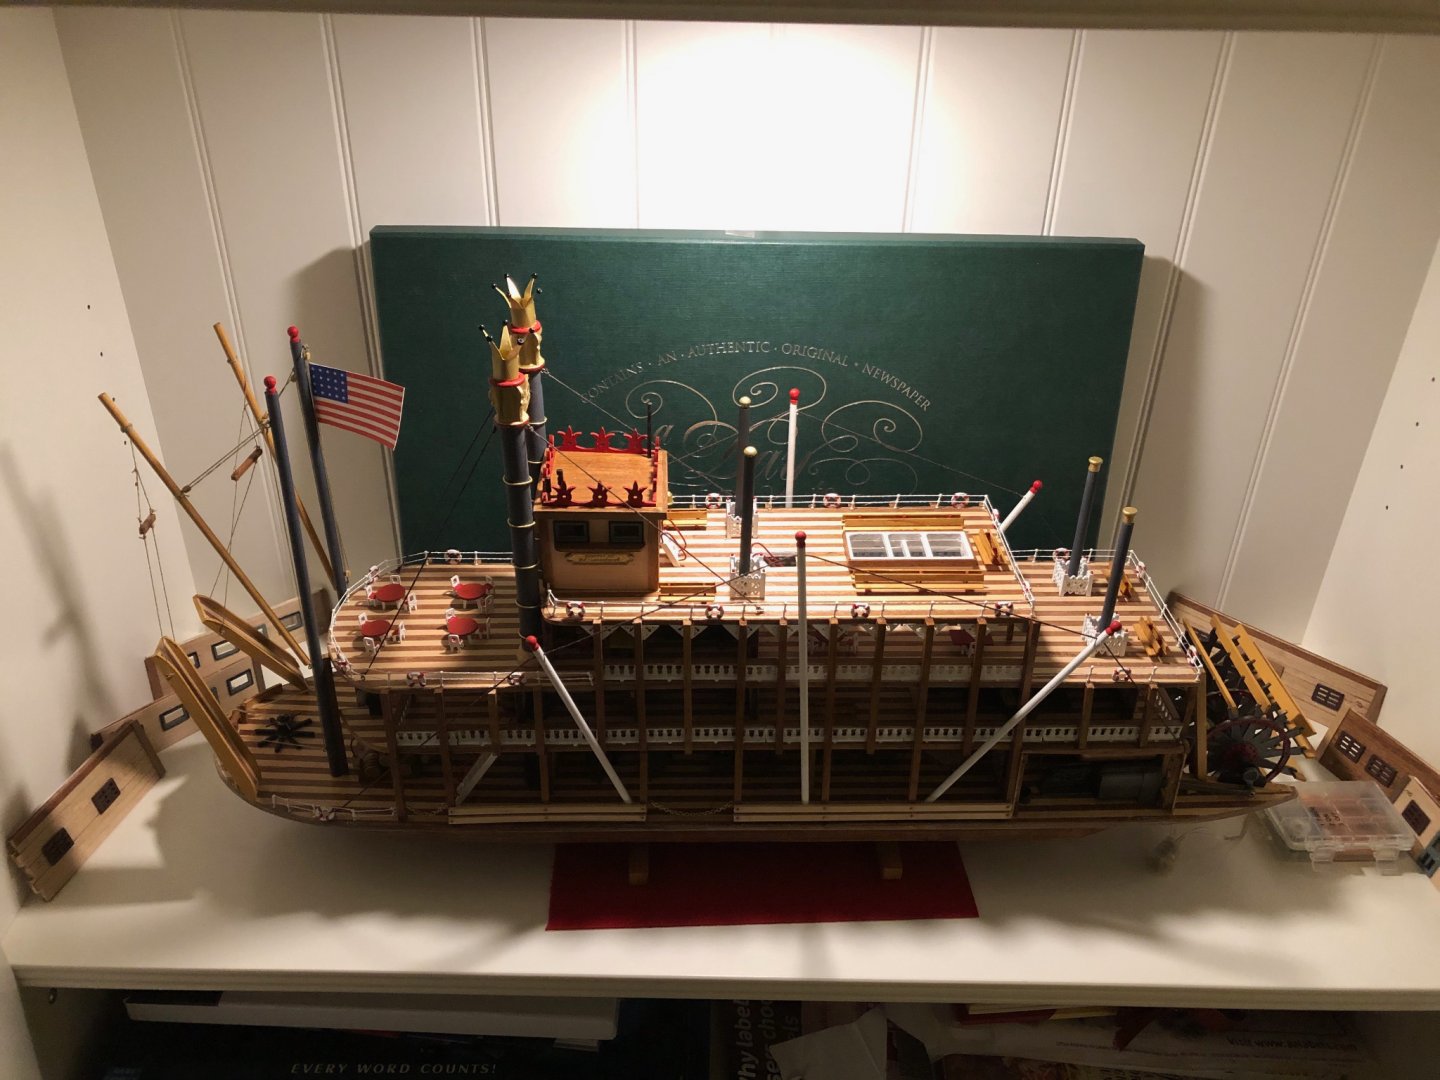
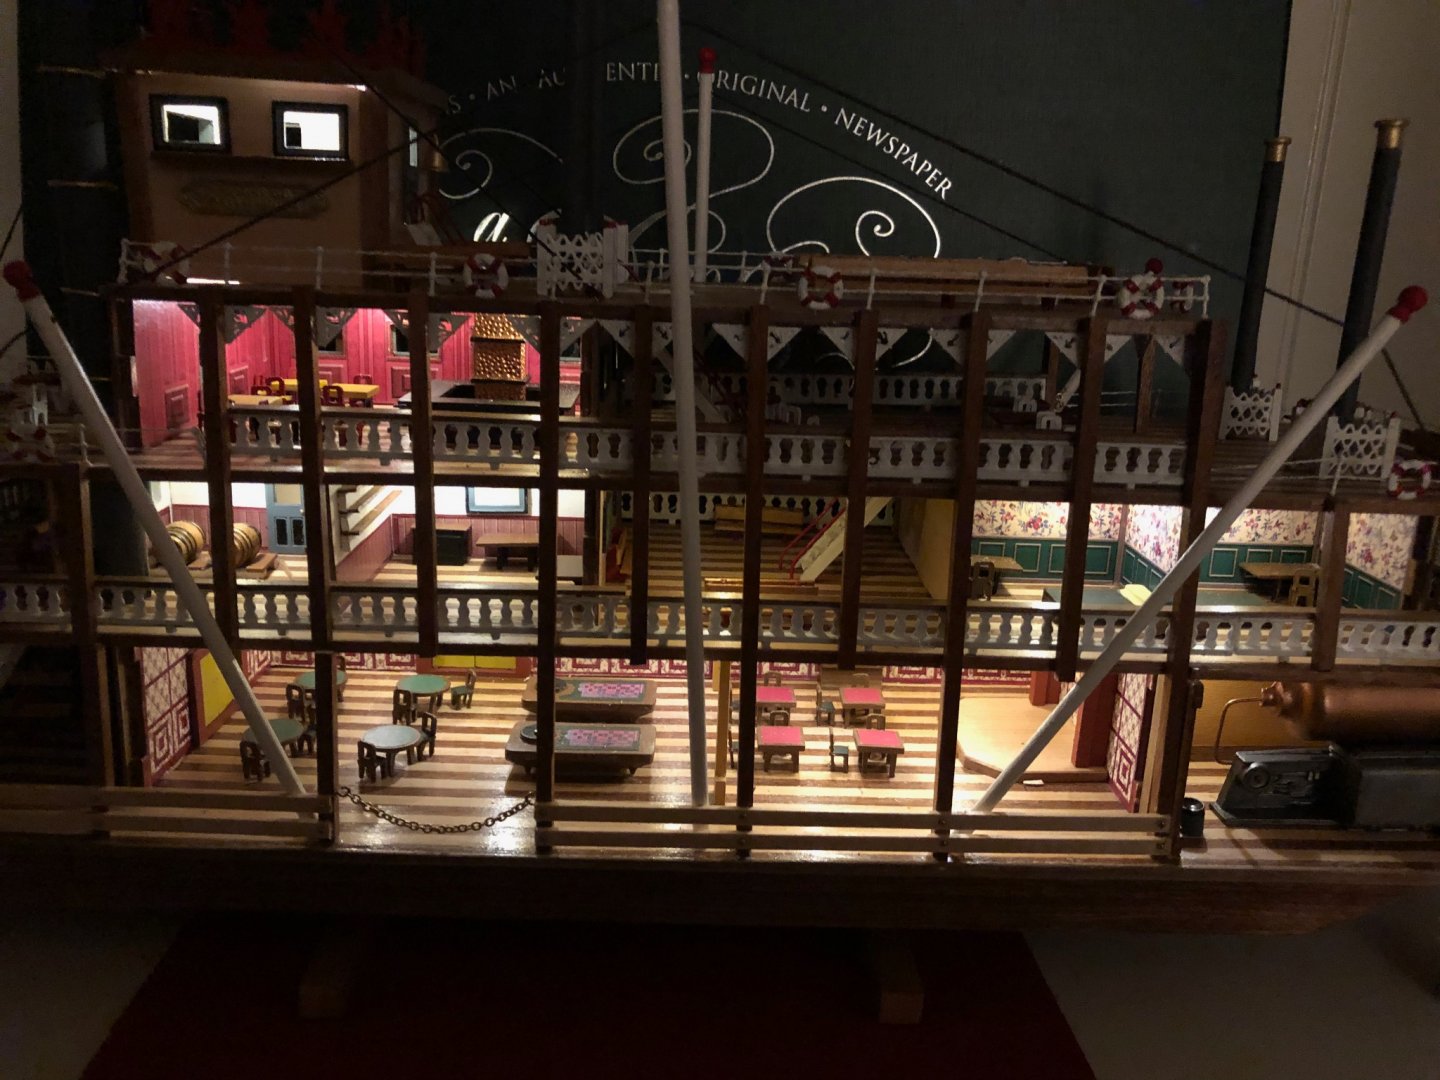
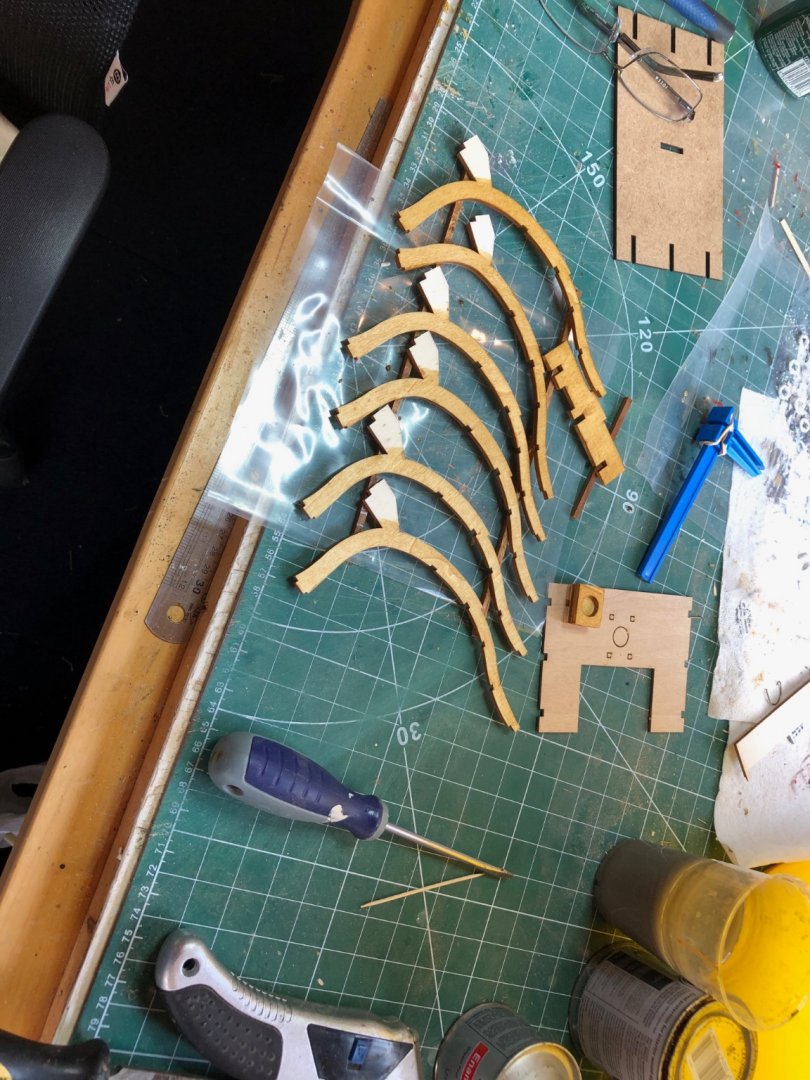
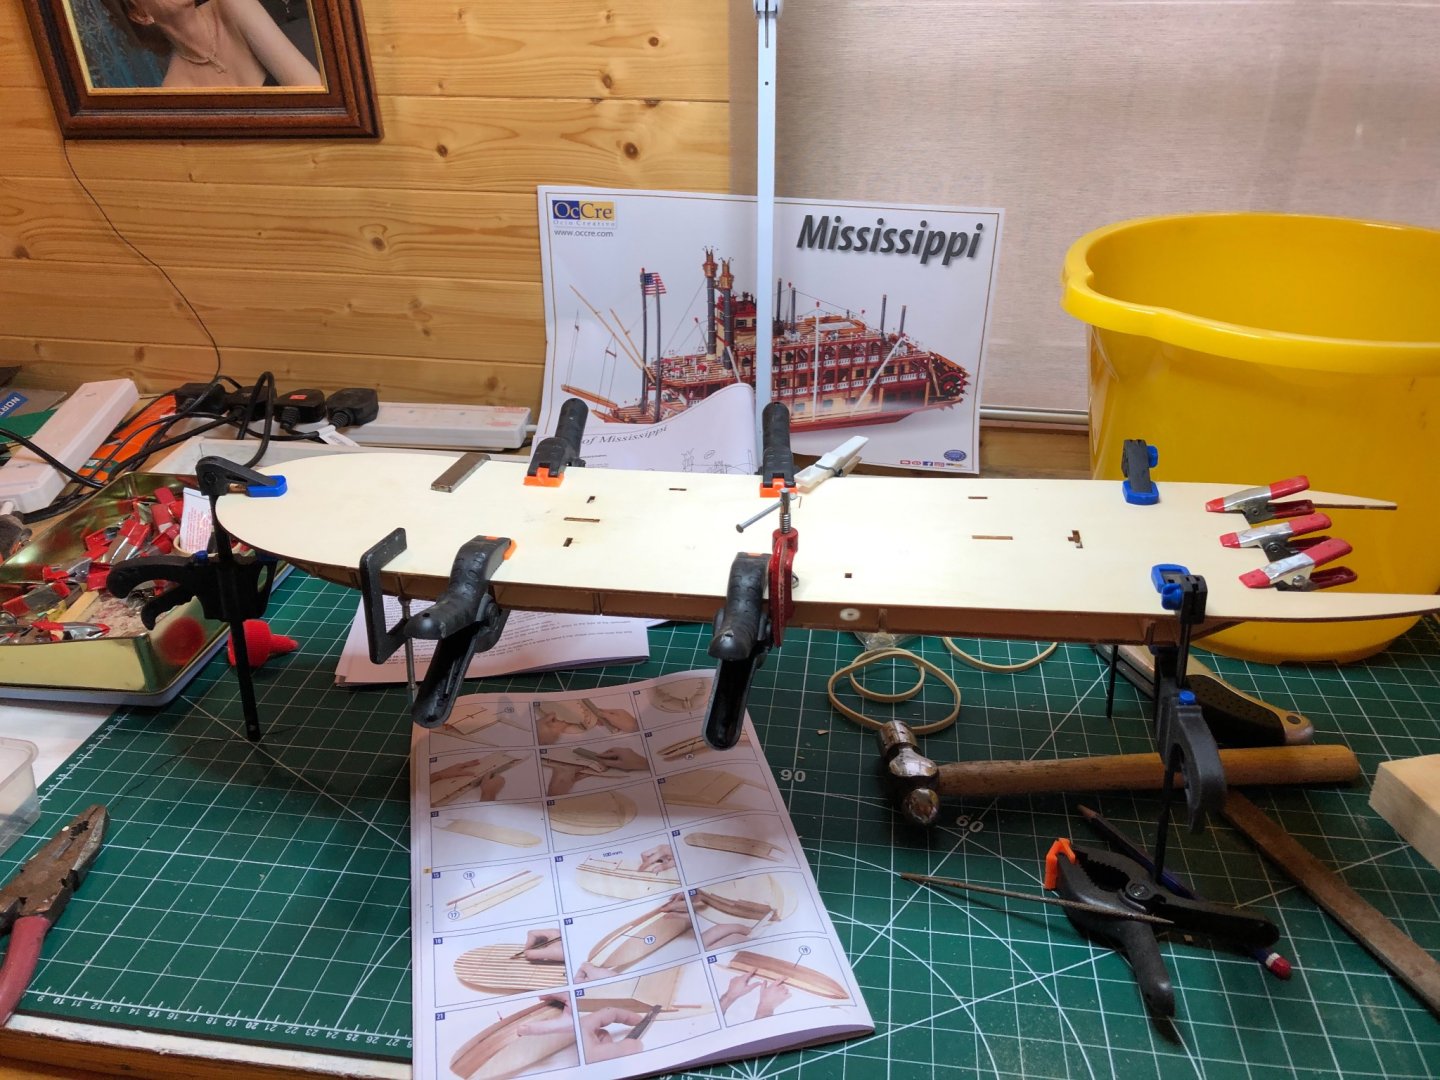
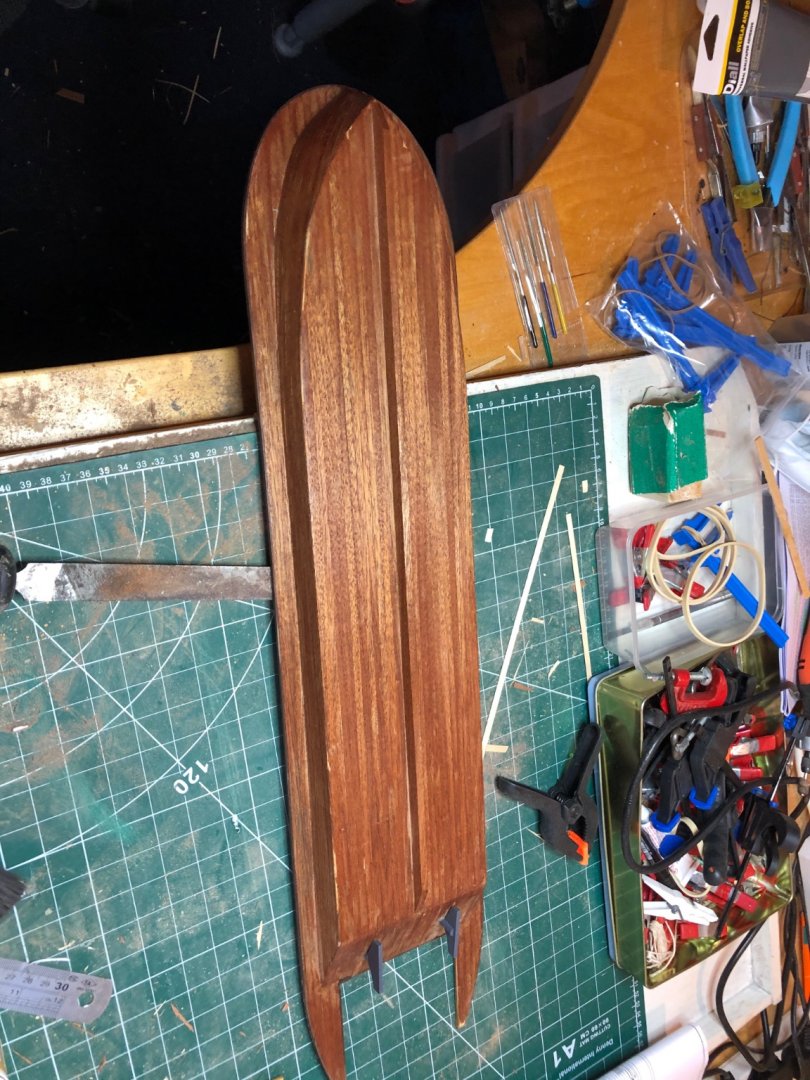
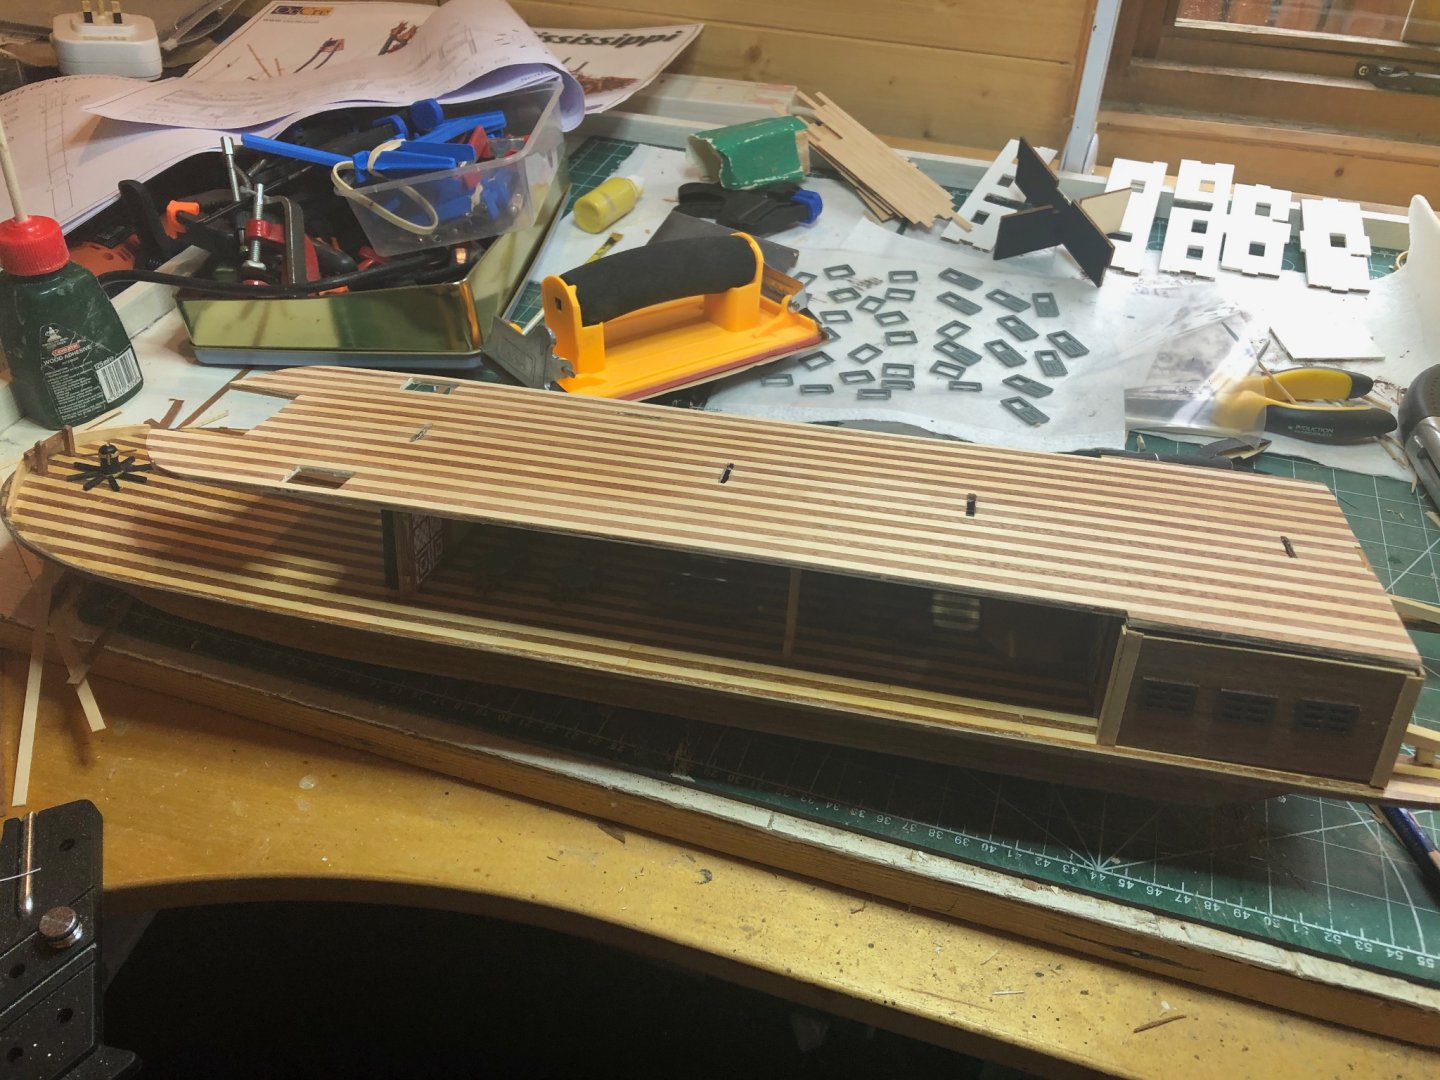
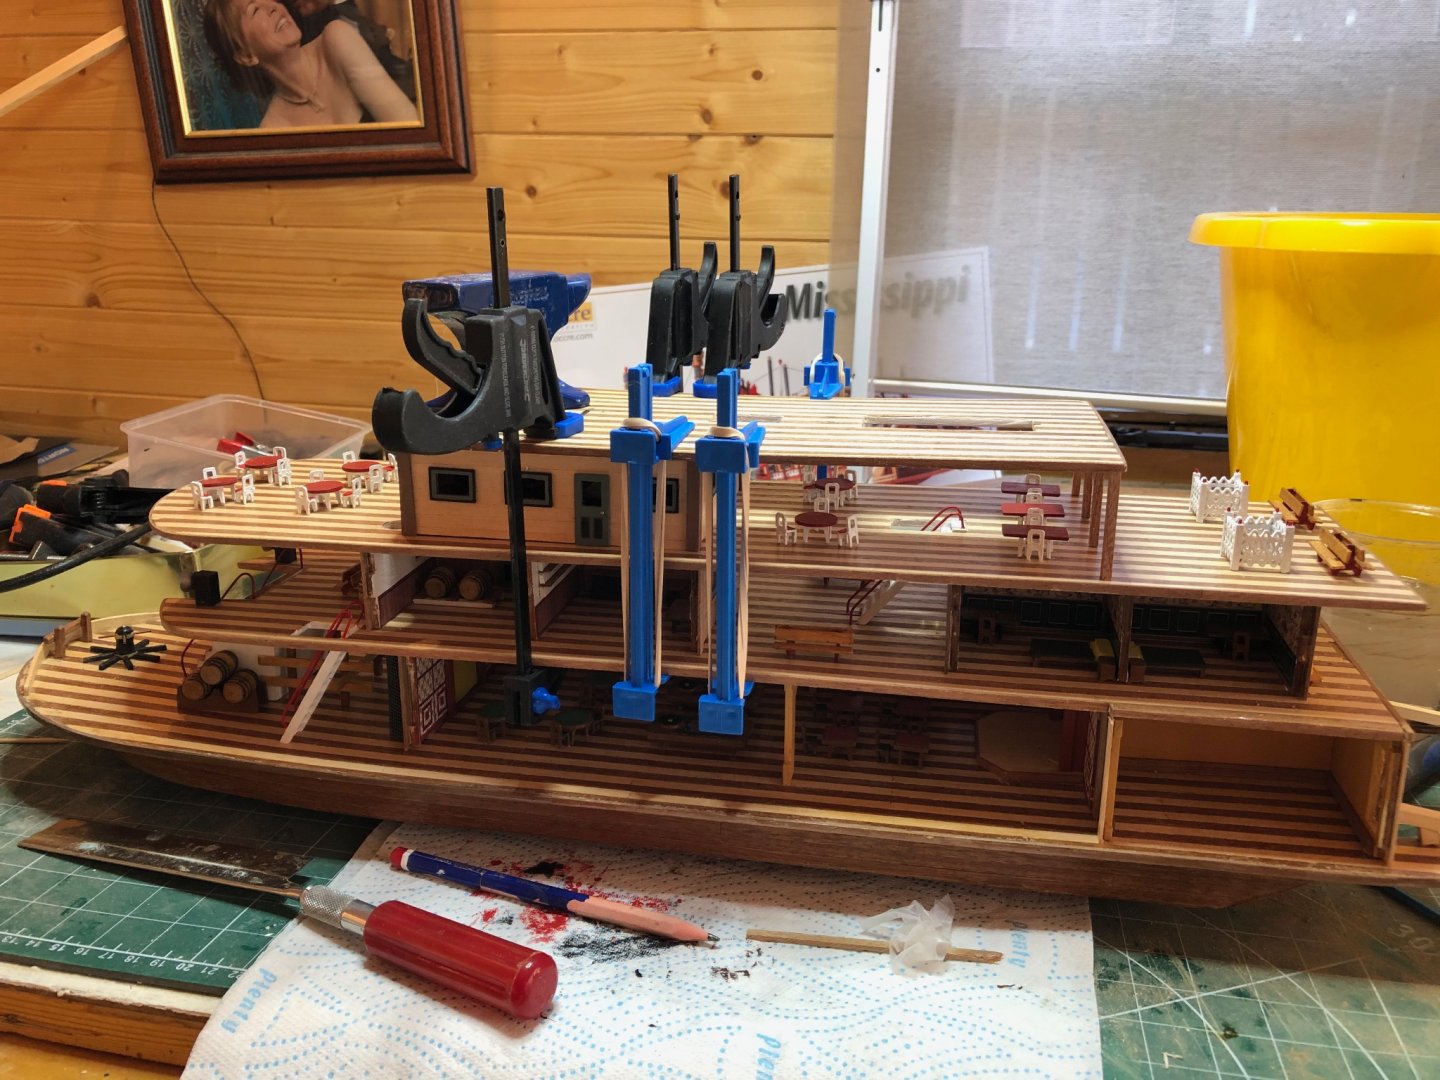
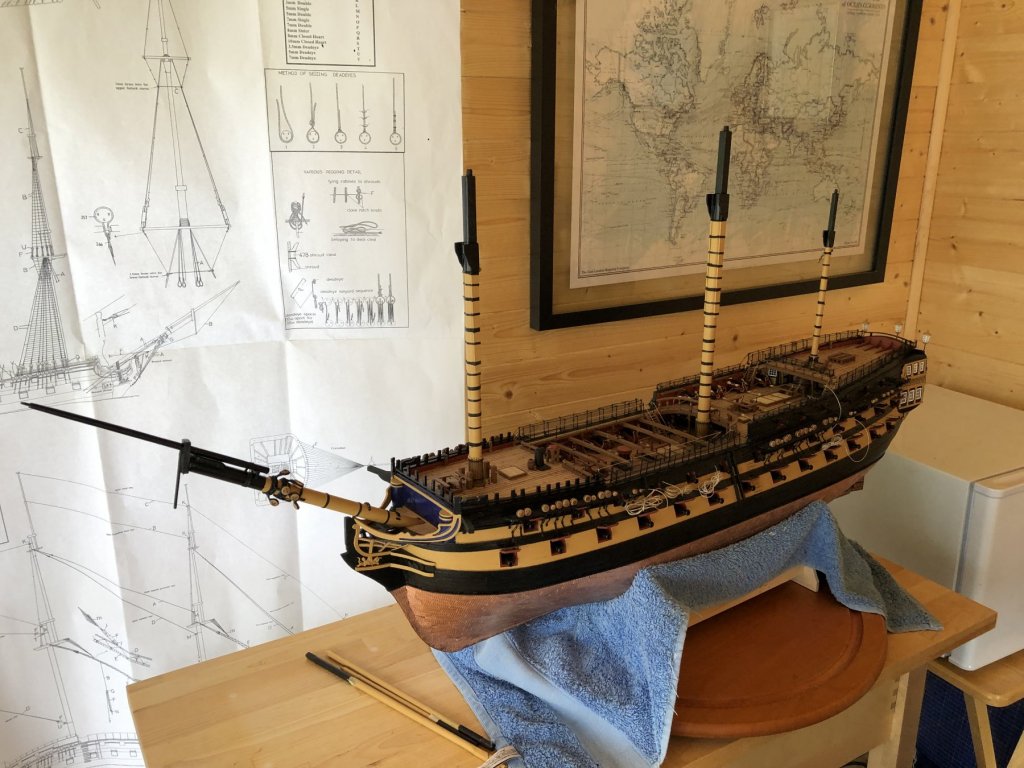
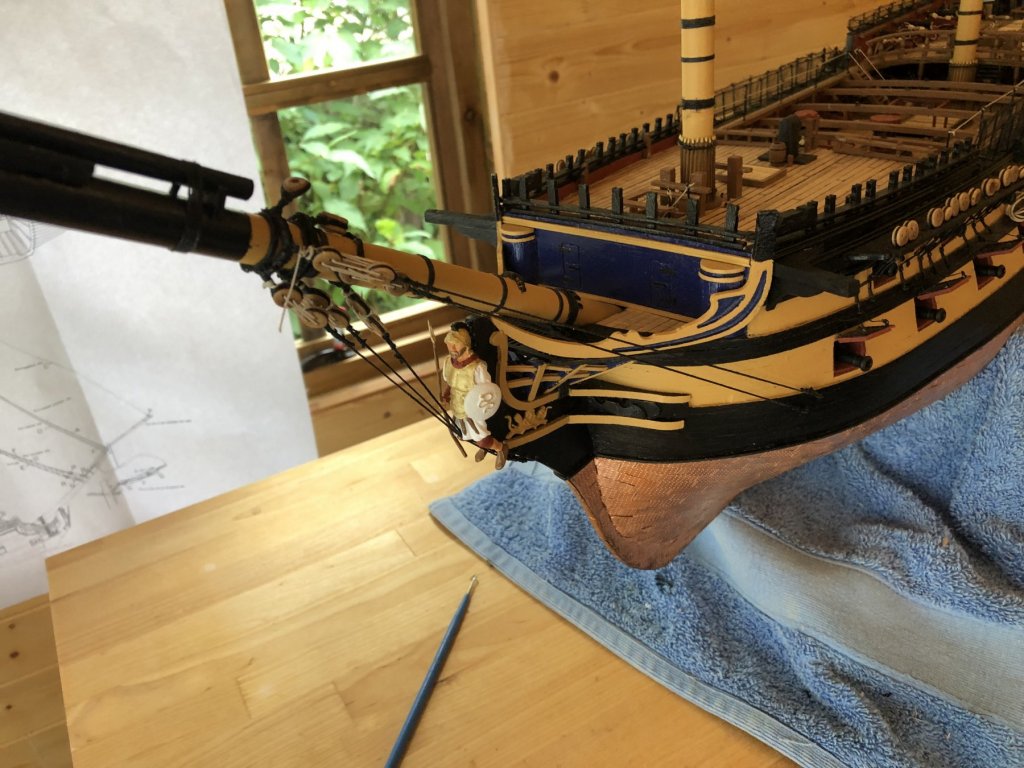
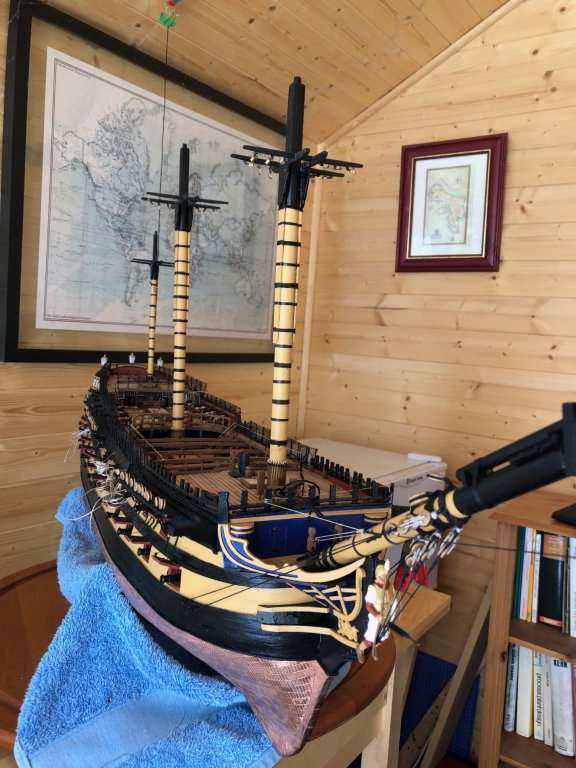
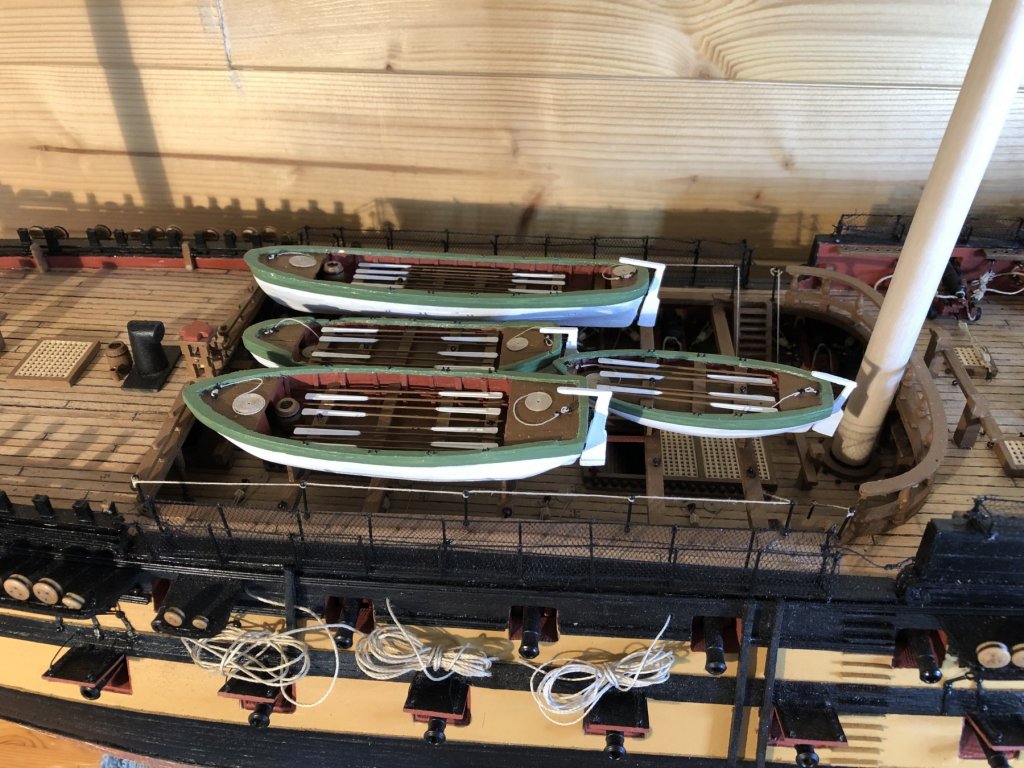
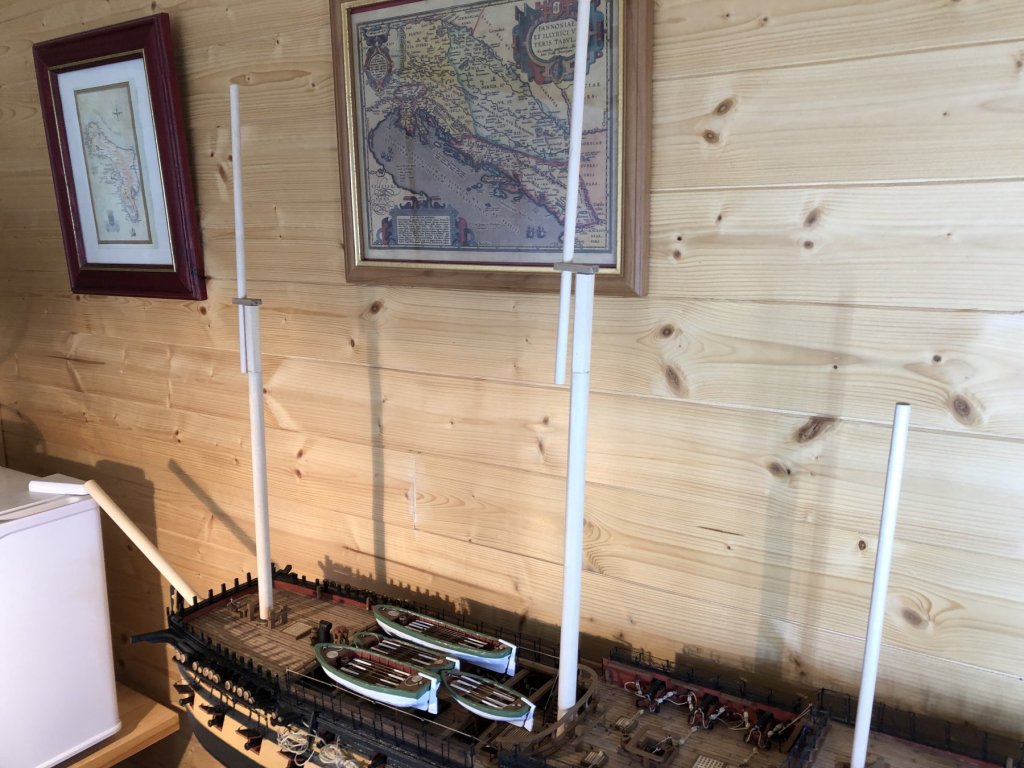
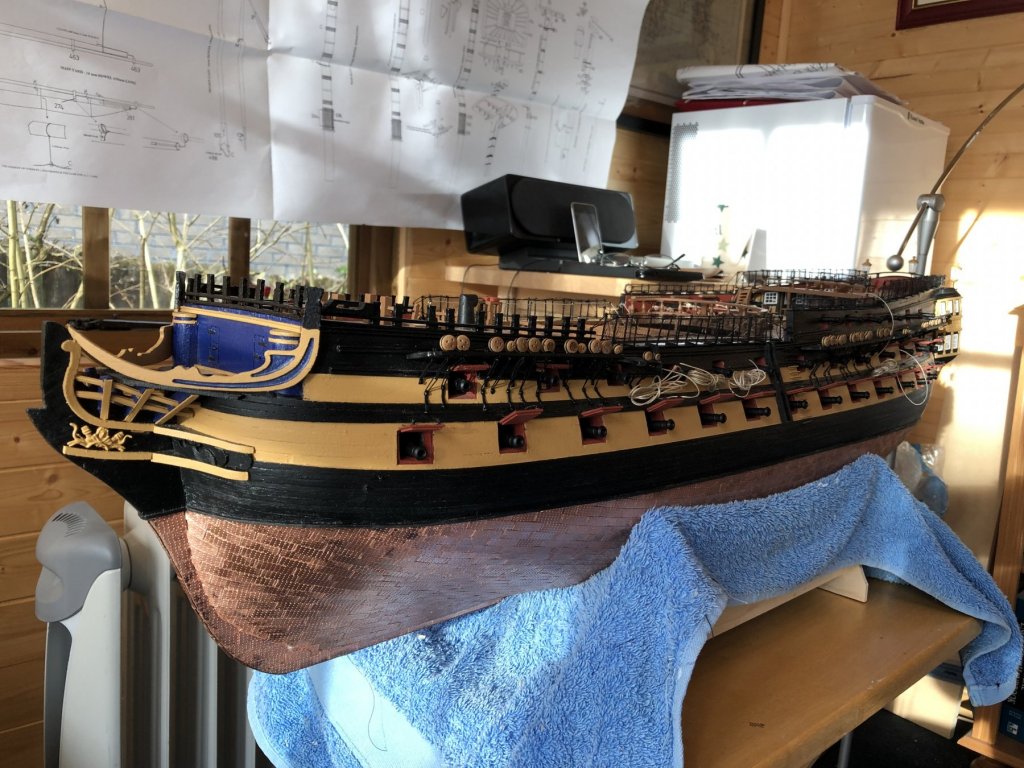
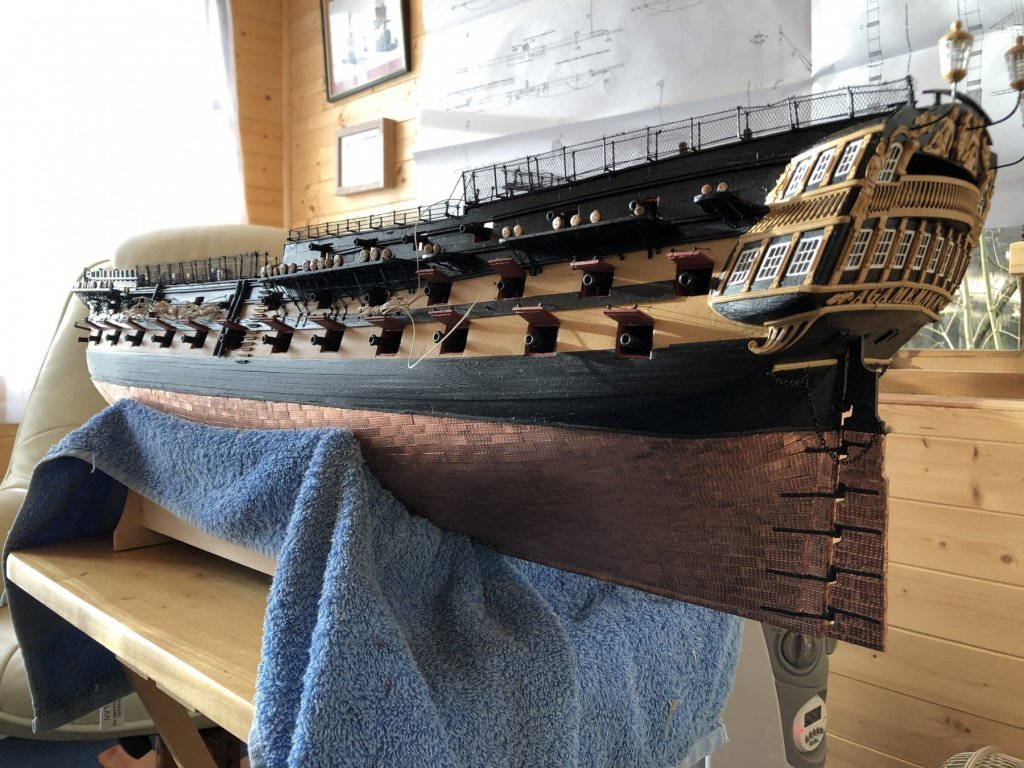
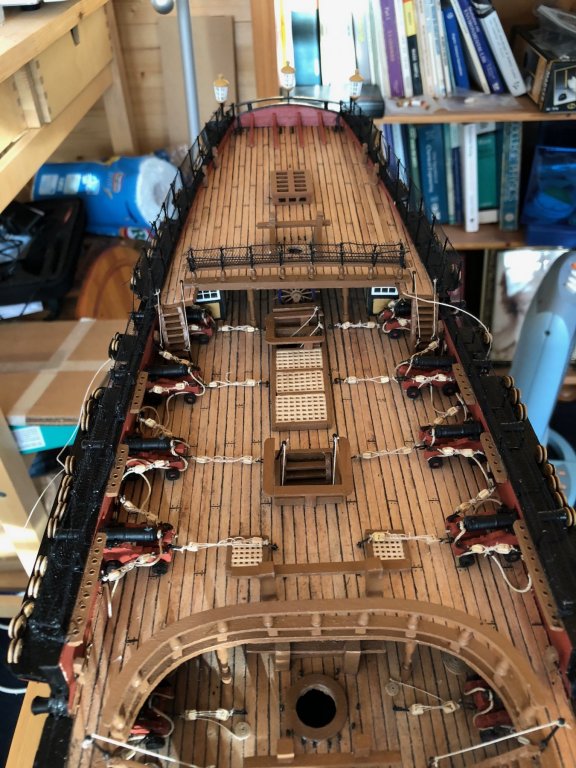
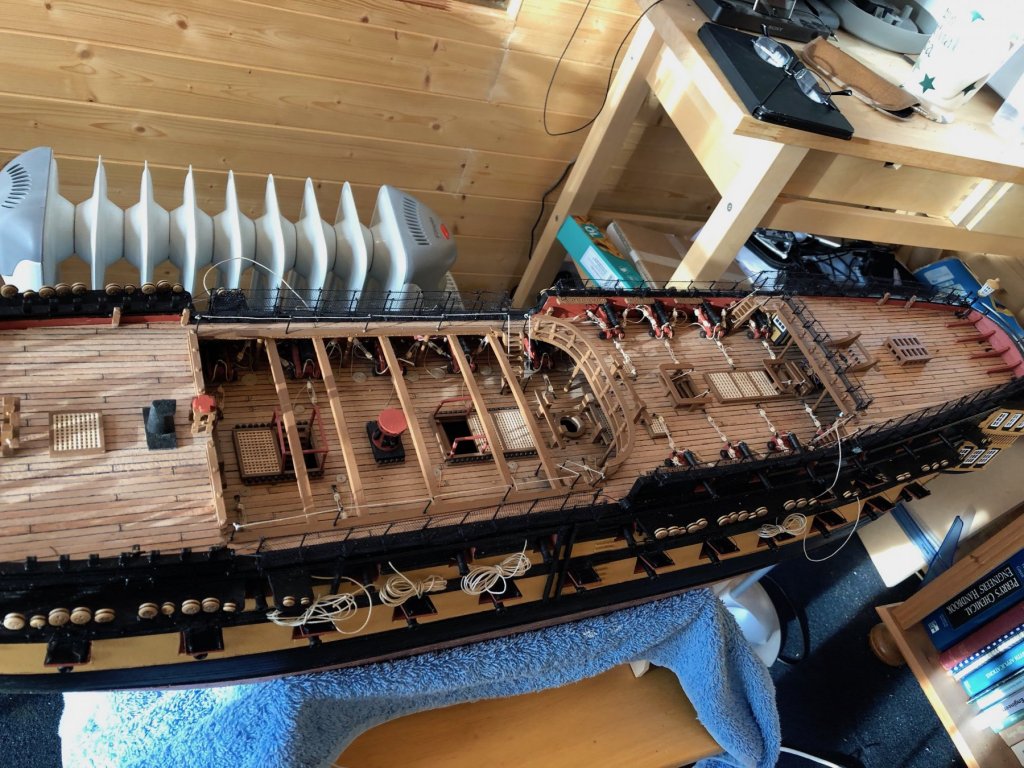
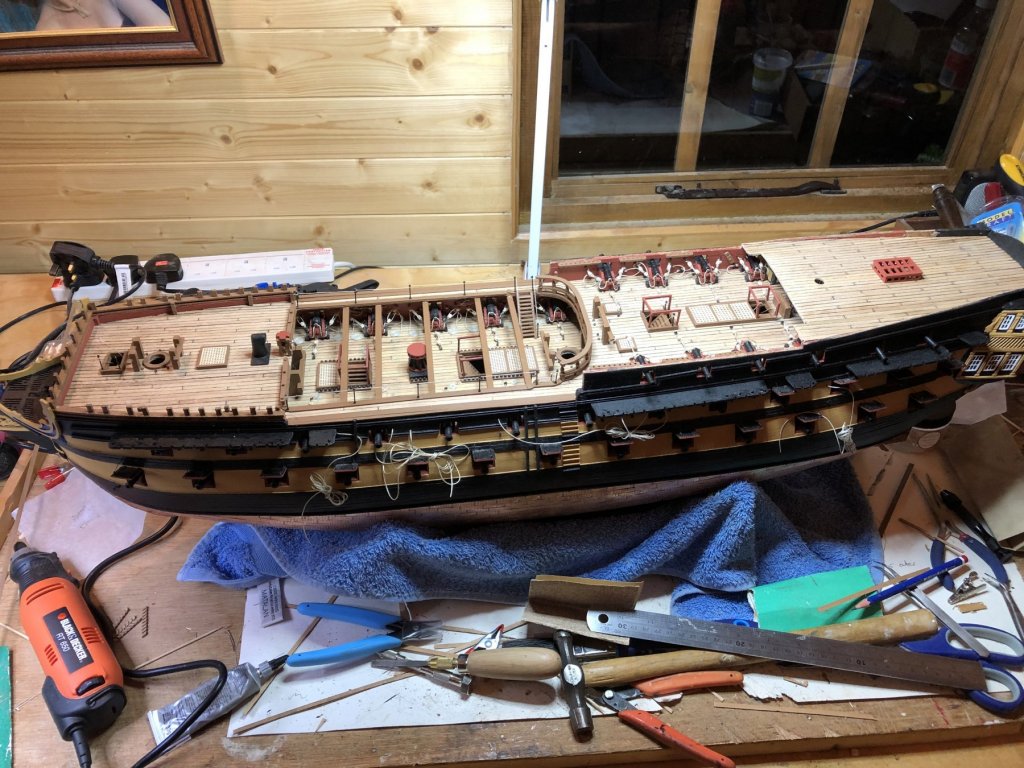
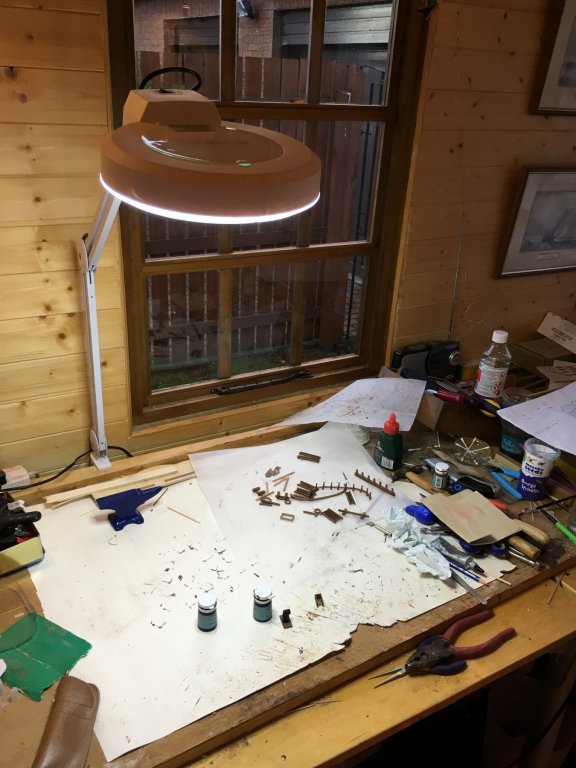
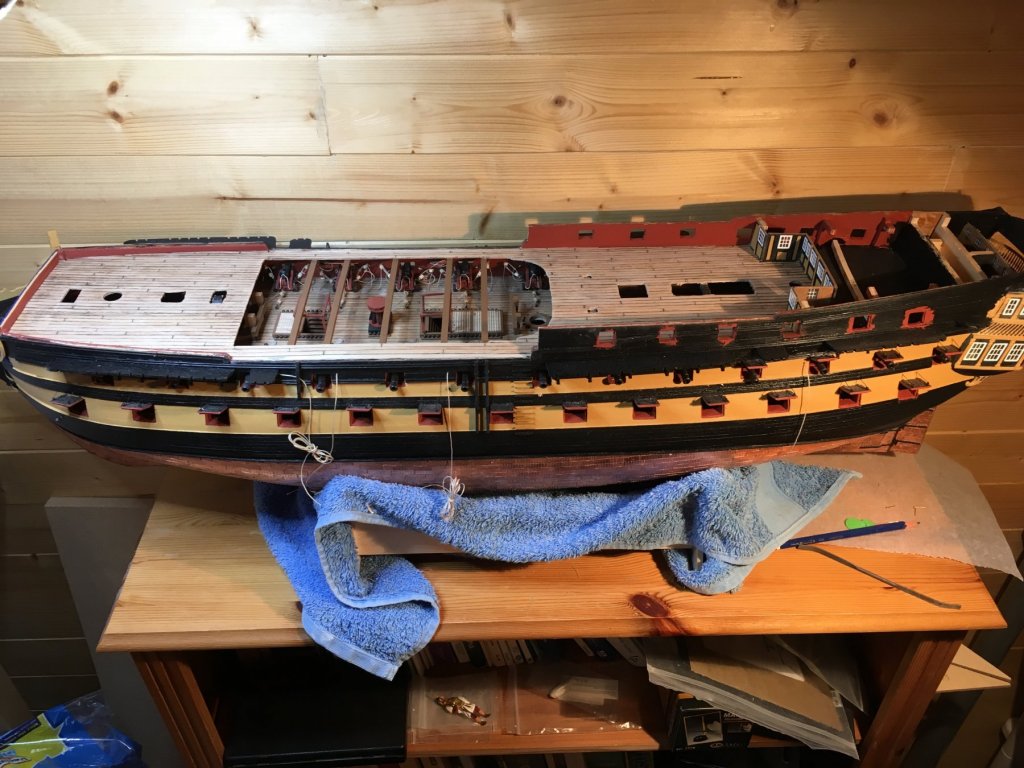
Mississippi by Vicnelson - FINISHED - OcCre - 1:80
in - Kit build logs for subjects built from 1851 - 1900
Posted
HI Reynard
Sorry for delay as I haven't been on in a while.
Yes slight dip which I took to be for natural curve of deck. The structural pieces for the "casino" went on with no glaring gaps: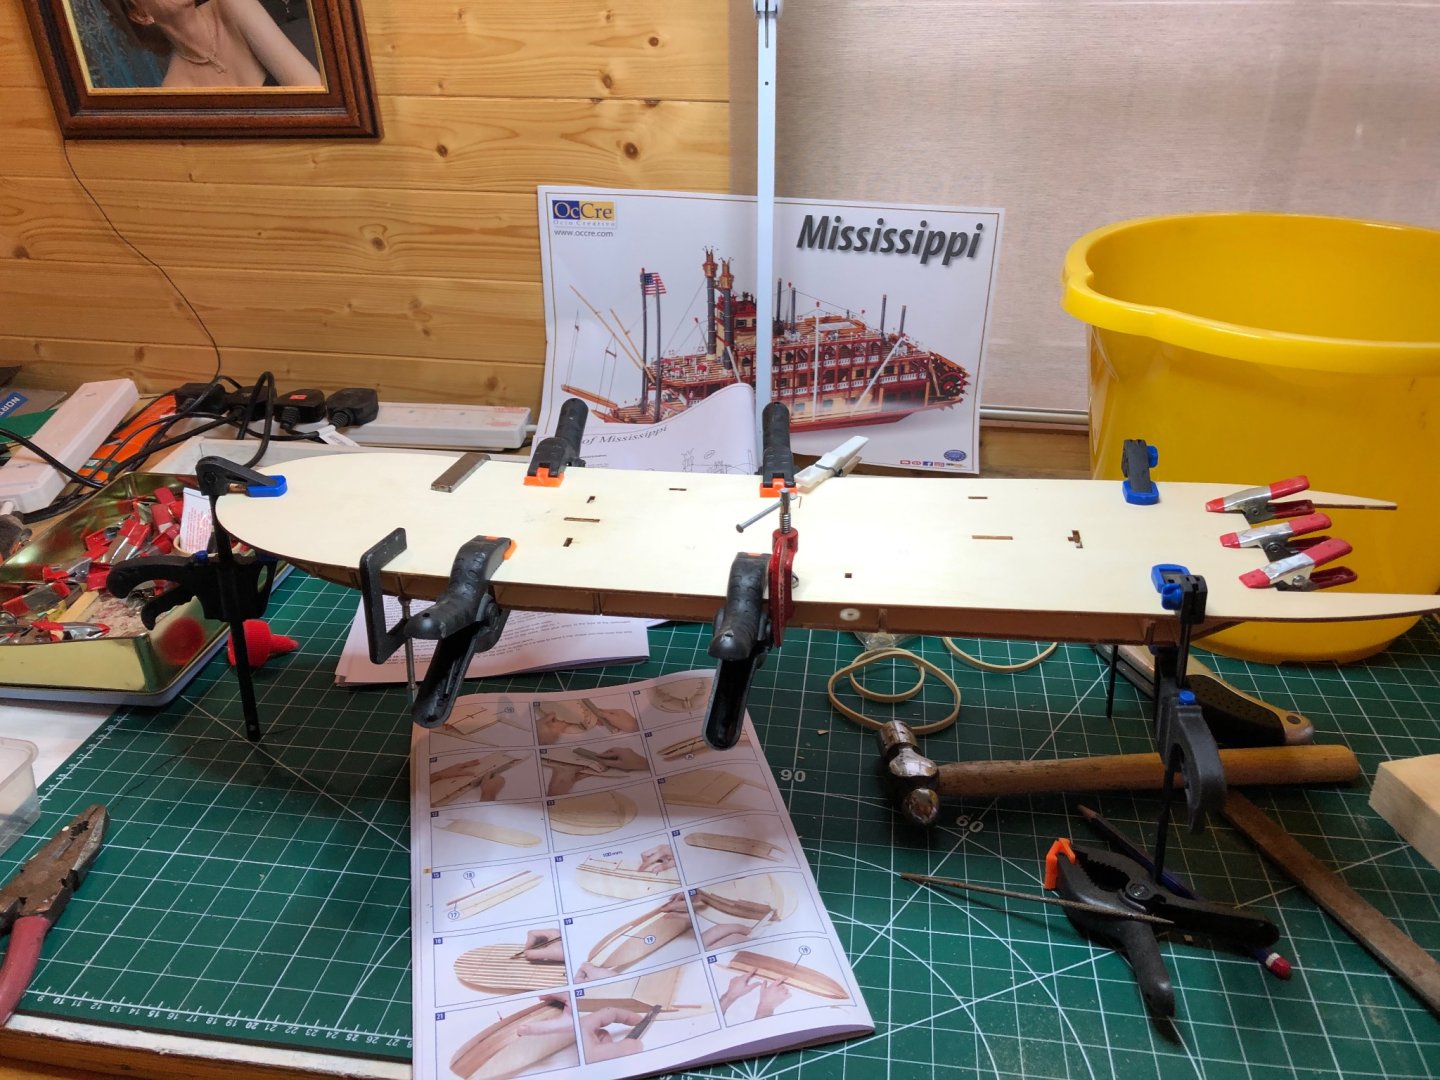
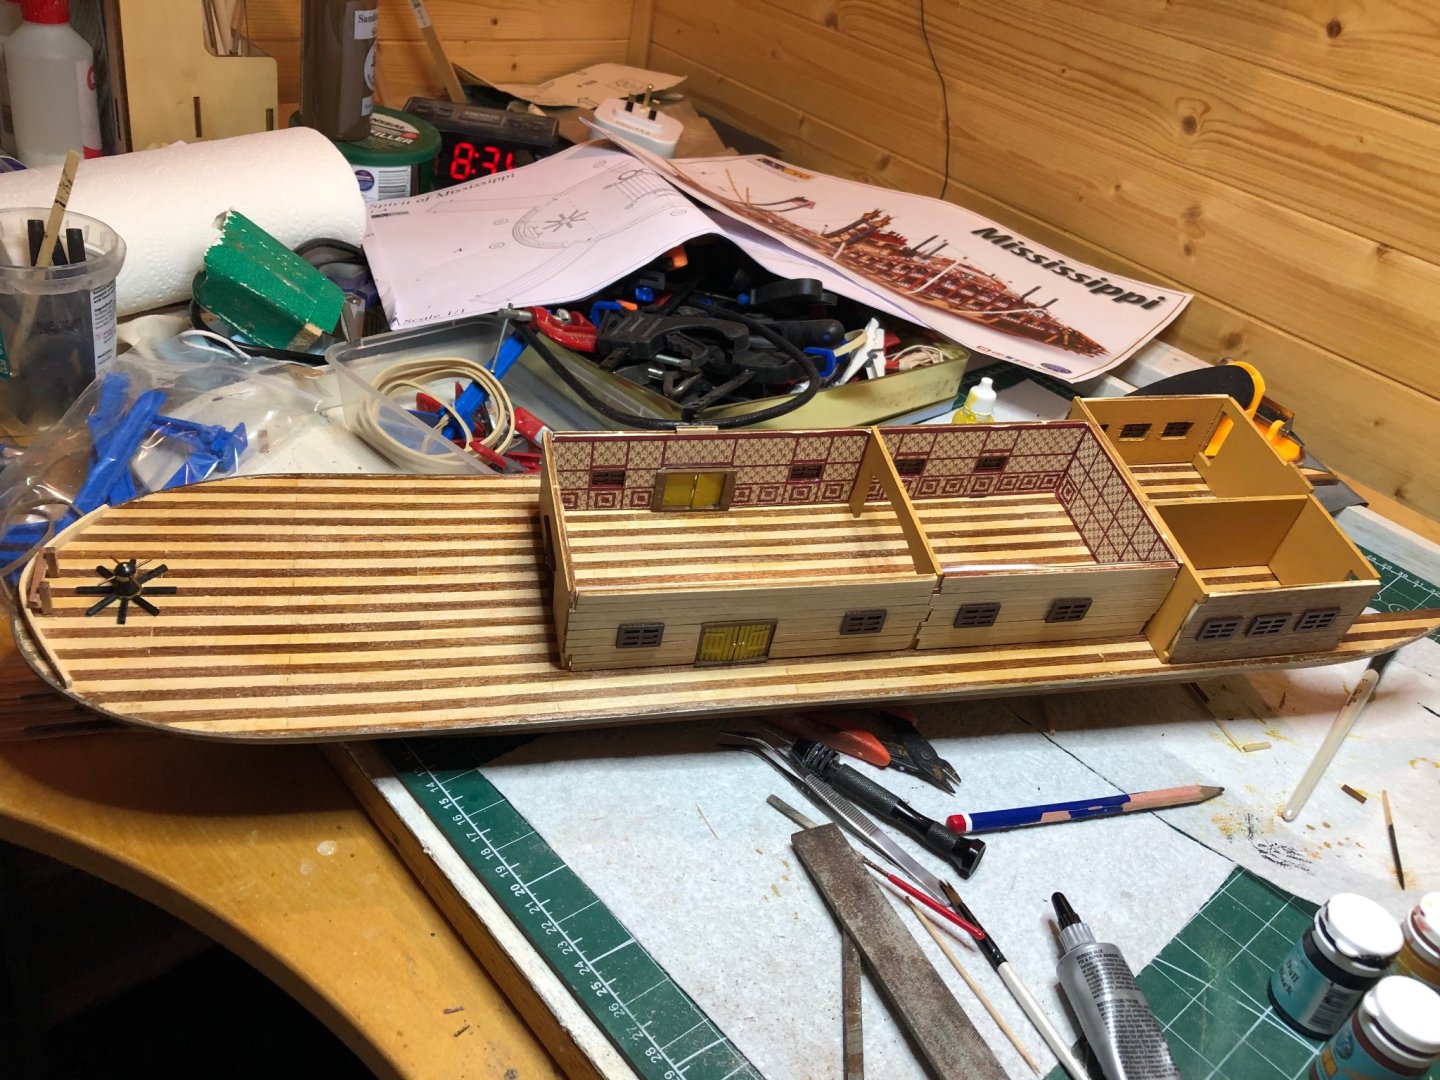 I just ensured that when I mounted the walls that I used plenty of clamps and elastic bands to make sure that I got closure with the deck.
The stanchions I got from Cornwall model boats. Link attached. Showing out of stock today but I imagine that they'll get more soon
https://www.cornwallmodelboats.co.uk/acatalog/Caldercraft-Model-Boat-Fittings-2-Hole-Brass-Rail-Stanchion-Ball-Type-10mm-C66210.html#SID=2482
Regards
Ian