


Richmond
-
Posts
383 -
Joined
-
Last visited
Content Type
Profiles
Forums
Gallery
Events
Posts posted by Richmond
-
-
For those interested here is a link with some photographs of a demo model of the forthcoming 1/200 Titanic from Trumpeter (approx 5th row of photos down) I believe it is about 1.35m in length.
http://www.ipmsdeutschland.de/Ausstellungen/Nuernberg2019/Bilder_VH/index.html
Freeze your budgets!
-
-
Looks great. It would be interesting to hear about your paint choices and weathering methods as you go through the build. Are you using pigments as well?
- mtaylor, Old Collingwood, Canute and 1 other
-
 4
4
-
-
-
Welcome from hot and humid Darwin
- mtaylor, pontiachedmark and VTHokiEE
-
3
-
-
Anna
Re Nautical terminology here are a few links I use
https://en.wikipedia.org/wiki/Glossary_of_nautical_terms
https://www.macmillandictionary.com/thesaurus-category/british/parts-of-boats-and-ships
Maybe if you utilise Google translate you could convert to Dutch.
An interesting page on how the English took a lot of their nautical terms from the Dutch language!
http://www.antimoon.com/forum/t1475.htm
Further an English to Dutch translator for nautical terms
https://www.4sailors.nl/en/dutch-sailing-terminology/
I am sure other members, specifically the Dutch contingent, will be able to help you more than I ever could.
Regards
Richmond
-
-
-
Welcome Anna -
You will find a great deal of help on the site - if you check the build log database you should be able to locate other build logs for the King of Mississippi to help you on your way.
In addition by posting your build log other members of the community will comment on your build and assist you by answering any questions you may have.
I am a member of a few model forums, https://www.scalemates.com and http://www.die-kartonmodellbauer.de -amongst them however I feel MSW is the best of them especially for ship building whether in wood, plastic or card.
Regards
Richmond
- mtaylor, popeye the sailor and Anna
-
3
-
Slog - thank you I will have a look - however with all things GPM I expect the PP to Australia will be extortionate!
Wefalck - the scale is 1/150 and the opening size, I would estimate, is a shade under 2mm - I plan to use them on the Revell Gorch Foch
Regards
Richmond
- mtaylor, pontiachedmark and Canute
-
3
-
Can anyone help with outlets for generic photo etch parts specifically, in this case, portholes?
I have located one outlet in Germany http://www.saemann-aetztechnik.de
They have a lots of ladders, stairs, railings winches and the like but they do not appear to have portholes.
Regards
Richmond
-
I agree with Etubino - this is a very detailed and interesting log, thank you Adrie.
2 hours ago, FingerSticker said:Hope we all survived the holidays as well as can be expected and I hear this year that last year Richmond didn't get a white Christmas ..... again! If it makes you feel better, Richmond, neither did I .... again! 😢
Even more worrying is that we didn't get any rain either!
-
Dan
Those tank tracks put my whinge about the difficulties of skinning of a hull into perspective
Nice work
Richmond
-
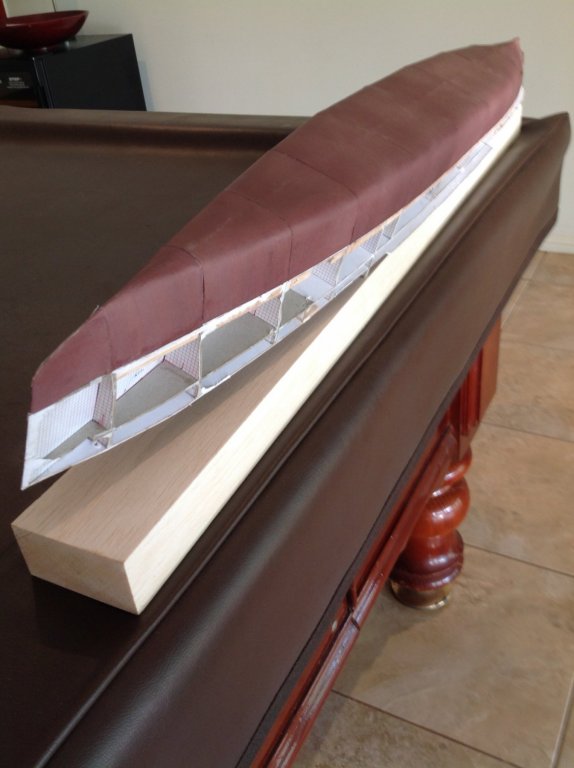
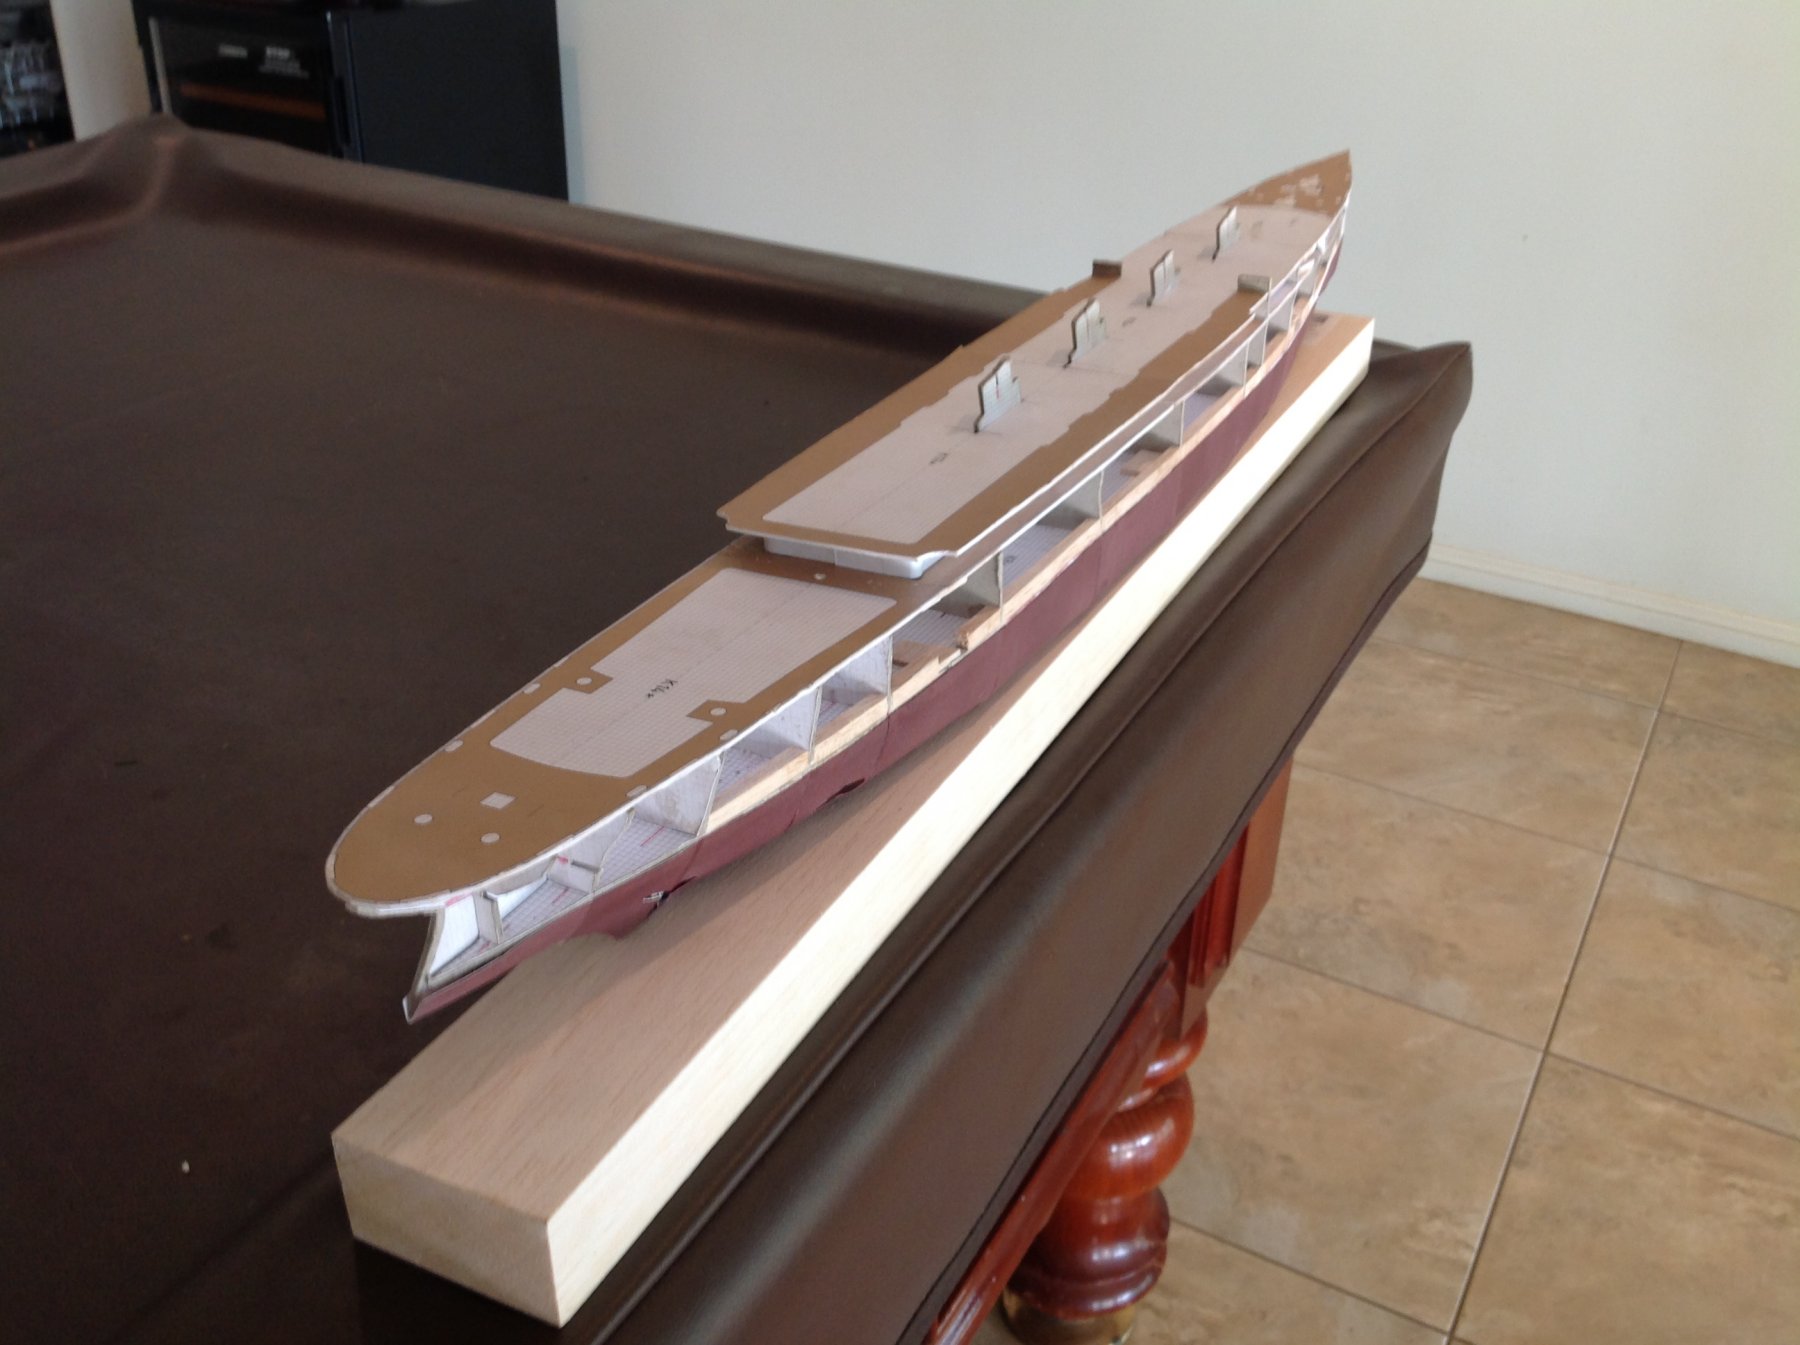
Firstly I must state that I am finding this model extremely difficult and it has required some rework however I have, at last, made some 'significant' progress.
So what has been achieved, well I have fitted the first layer of decks and I have completed the lower level skin.
I must say I found the skinning to be the greatest challenge so far - how they expect you to align and abut two skins on 1.5mm of bulkheads and decks manufactured in card I do not know.
Luckily I thought ahead and 'thickened' the bulkheads and decks with balsa - I know this is against the 'rules of card modelling' but it suited me at the time - the same effect could have been achieved in card but it would have been more difficult to sand.
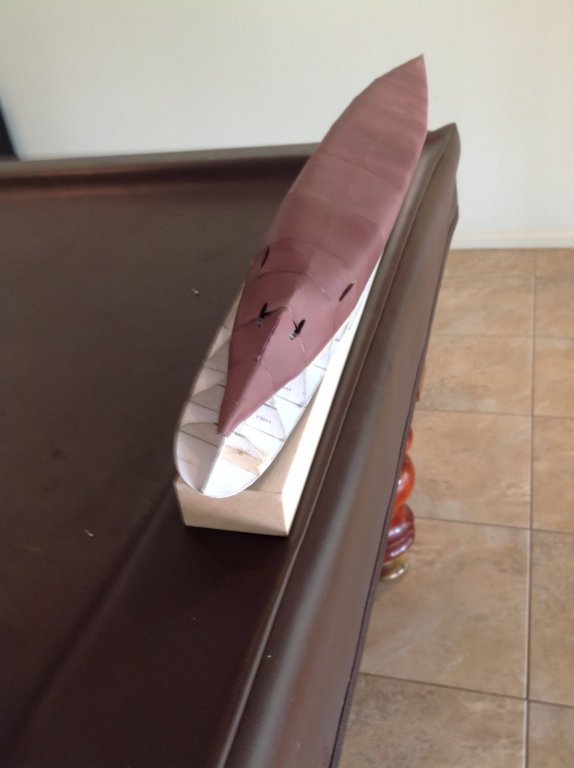
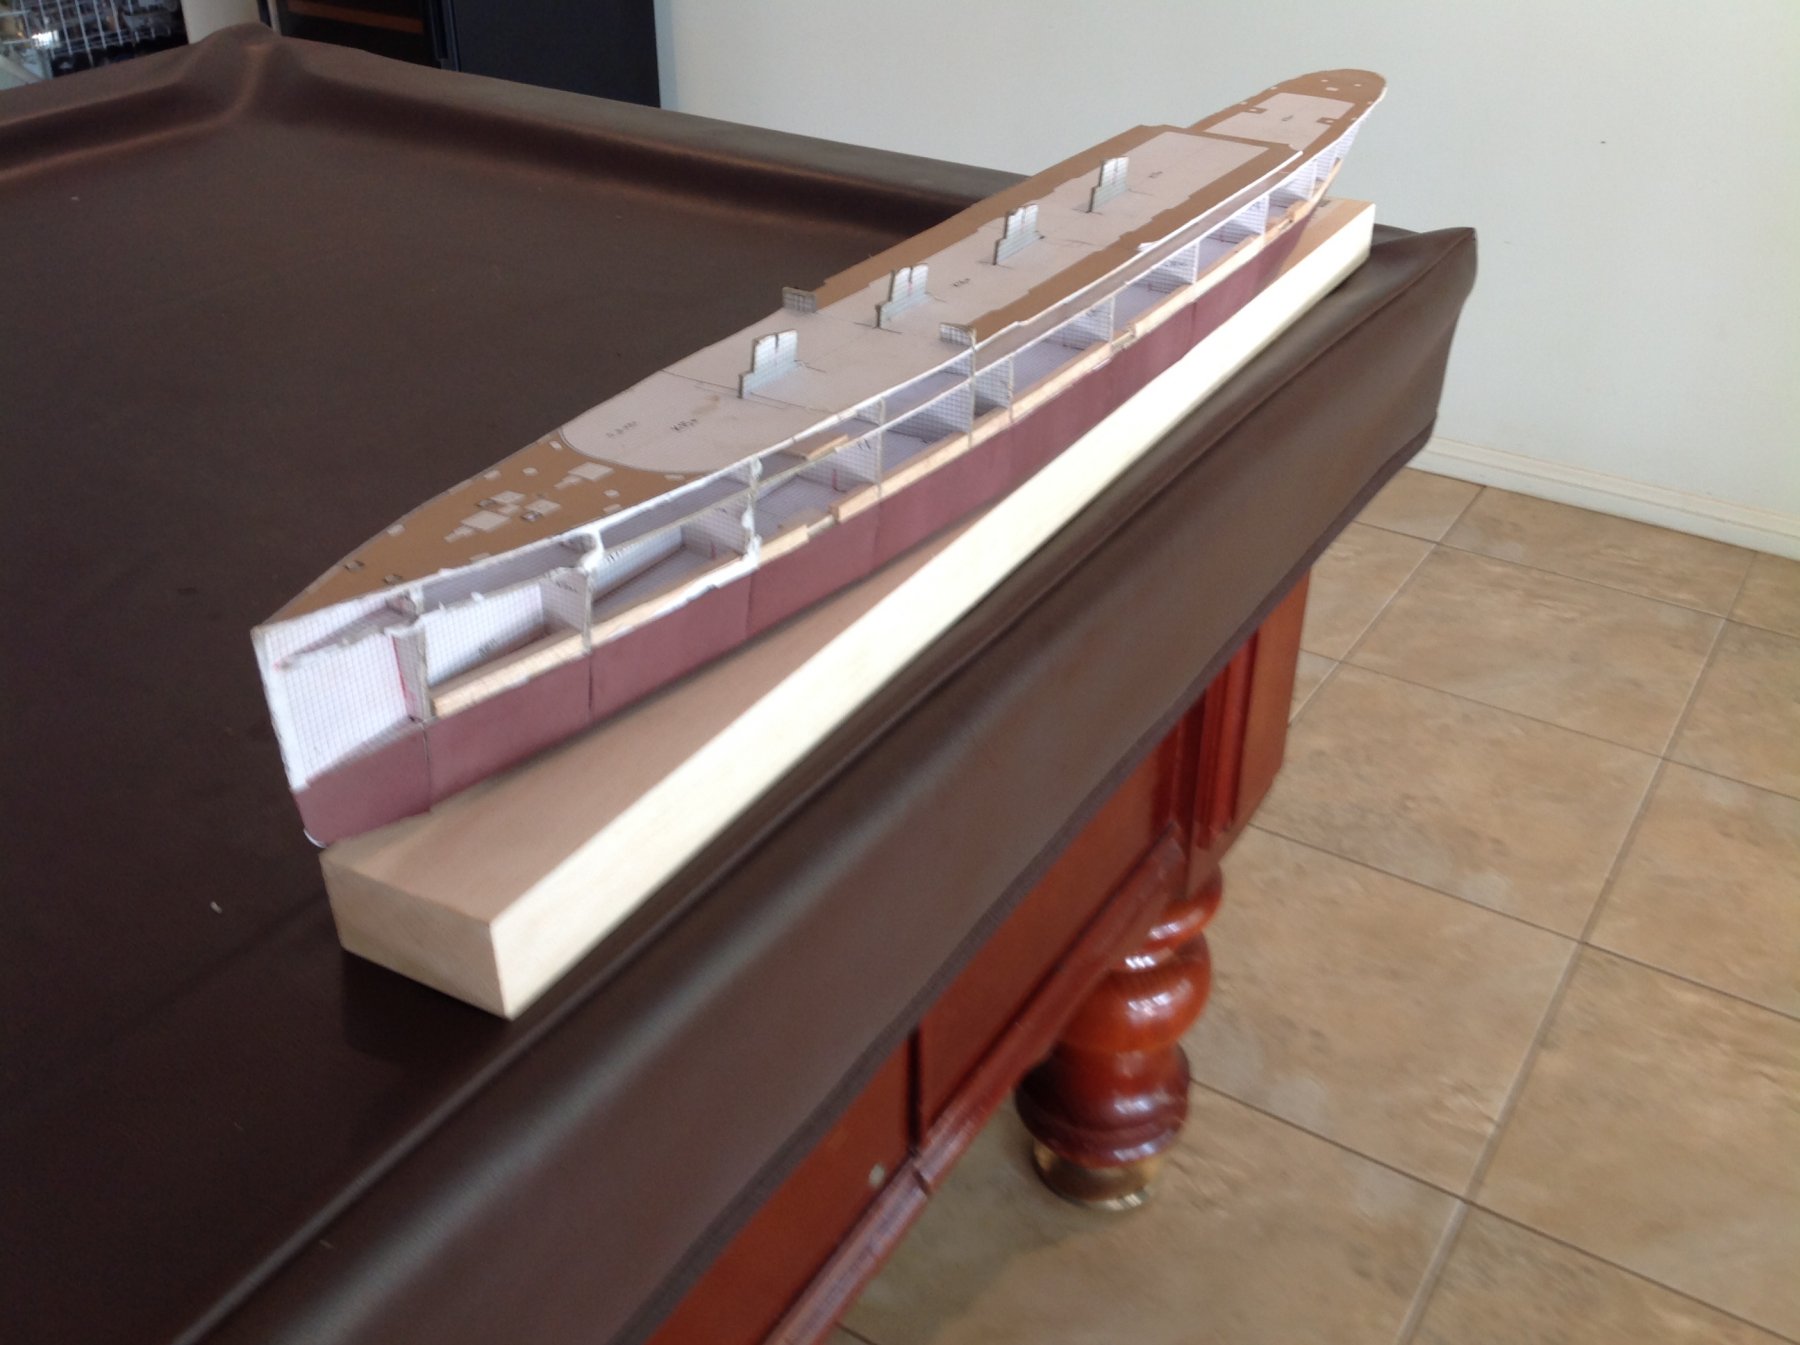
When gluing I switched halfway through from PVA to UHU multi purpose glue as I found I needed greater grab, however this is because I had got the basics incorrect!
I was gluing each skin in one go which leads to 'glue disasters' and dents as you try and hold the skin all together with your hands as you wrap it around the hull until grab is achieved.
However whilst work was in progress I received some great advice from Slog who recommended that each skin should be fitted in stages working from one side to the other.
Glue at the deck the top (or the bottom as the ship is upside down whilst you glue it!) , set along the glue line with a plastic spatula or such, let it dry and then move upwards slowly to the keel, then around and up again around to the opposite deck, always gluing gradually. This produced far better results as I didn't need to handle the whole skin just the part I was gluing.
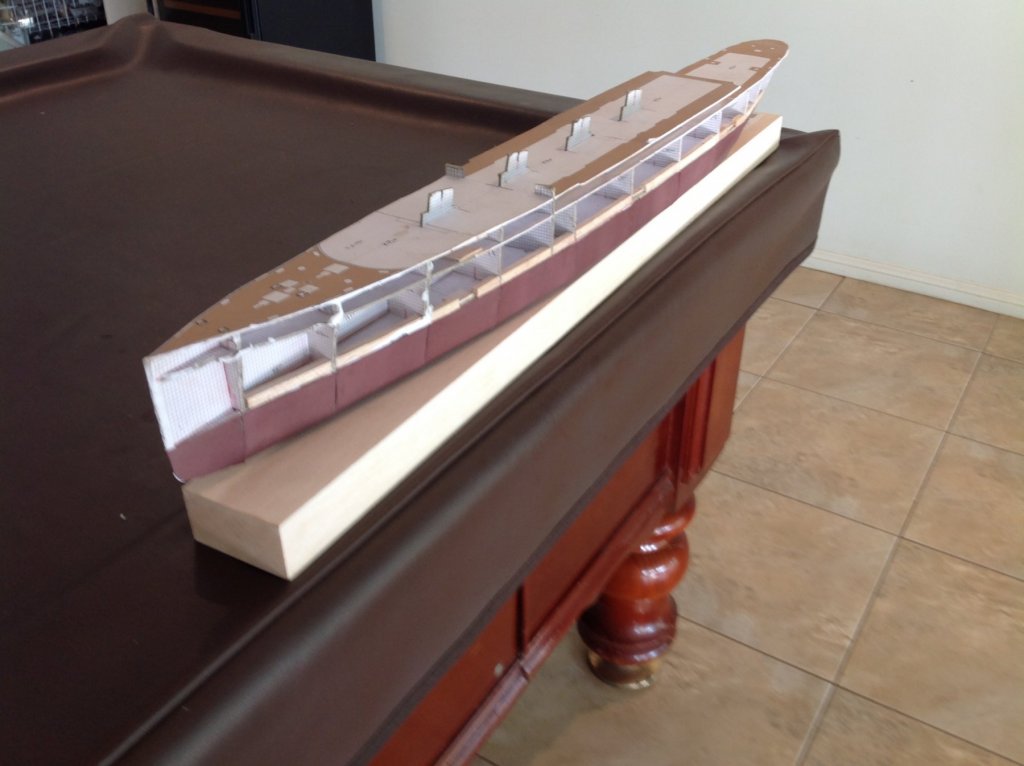
By the way I also adopted the edge colouring methods in water colours (refer the video I posted in the painting section) and this makes a massive difference to the visuals on abutting skins removing the white edges of the card.
Anyway after some rework the results, other than the glue marks which being UHU cannot be cleaned off, are, I believe, passable given this is my first ever card model.
I will replace some individual skins I am not entirely happy with and there will be some tidy up especially for those skins that end at the keel rather than wrap around and also for the few times I didn't get 'true' abutment between skins - maybe some GSI Creos Mr Surfacer and then paint.
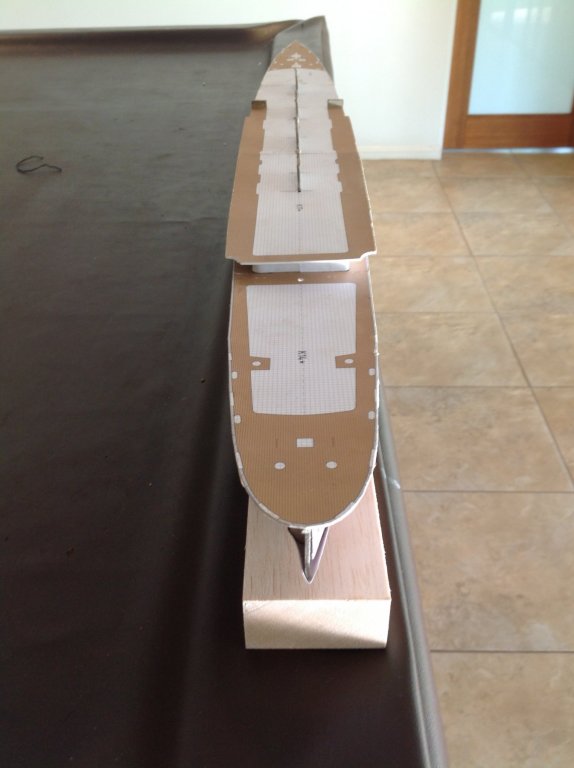
However I will leave it for you to decide from the photographs.
By the way I will edit this log later to change all the photographs to landscape (apologies just noticed how visually wrong this all looks)


- Dan Vadas, pontiachedmark, ccoyle and 5 others
-
8
-
Great update Slog such fiddly work with fine neat results. I really like the way you switch materials and designs to find the neatest solution - it works really well visually. I think the white works really well on the treads and more importantly our HSE colleagues would love it
")
I really like the effect with the sailor (assume its 1:200) as it gives a great visual perspective of the individual components - I wouldn't mind copying this on my build logs.
Anyway I have just set the timer for December 2019 to see deck install
- mtaylor, Captain Slog and Canute
-
3
-
-
-
-
Thank you Doris - Happy New Year
The links to your Czech forum work well now I know how to use Google Translate.
Richmond
- Piet, DORIS, popeye the sailor and 3 others
-
6
-
Doris
If I am not mistaken that Atlantic kit is over 50 years old and the Corsair is not exactly a new model, how difficult were these to find?
By the way your finished models look better than the ones printed on the boxes.
Richmond
- mtaylor, EJ_L, popeye the sailor and 2 others
-
5
-
Slog
Fantastic work .... everything looks magnificent ...... the work you have done is the few days you have been back in Perth puts my deliberations on the Mauritania skinning to shame.
Do the decks edges remain as are or will /do they get the edge treatment as well? I only ask as I am looking at my unpainted deck edges and wishing they had been given some form of edge treatment (black?) before I glued them in position.
Richmond
- mtaylor, Canute and Captain Slog
-
3
-
I look forward to see how you go with it.


Kyushu J7W1 Shinden Interceptor/Fighter by CDW - FINISHED - Zoukei-Mura - 1:32 - PLASTIC
in Non-ship/categorised builds
Posted
Interesting to see your mix proportions. I had been sticking to a 50/50 Tamiya / levelling thiner when painting the hull on my fishing trawler. However I was not happy with the results and actually reverted to a 40/60 with superior results albeit it takes time to get coverage. I find the levelling thinner to be superior to other products.