stuglo
-
Posts
707 -
Joined
-
Last visited
Content Type
Profiles
Forums
Gallery
Events
Everything posted by stuglo
-
Grip with a strip of folded sand paper (rough side towards wood)
-
If I was still intending to build kits, this would be the one.
-
Why not cut down a 5in?
-
British Pathe film: Model Boat Building, 1956.
stuglo replied to uss frolick's topic in Nautical/Naval History
Just skill and not a Proxxon in site -
Israel, but have company that tranships from Florida
-
Interested in purchase . (the company is closed at present)
-
I'm visiting Berlin in 2 weeks time. I would welcome suggestions for tool/ model shops to visit and anywhere to purchase wood. I will be in the area of Museum Island, but the wife is accommodating.
- 1 reply
-
- 1
-

-
I personally can't and avoid painting models. If I could approach the skill of Kevin, I might change my mind.
-
From time to time you show some new tools that you acquired when visiting NYC. As some of my family will be visiting there next month, could you suggest some useful stores to explore so that I can choose my presents. Thanks.
-
thank you
-
You've reawakened my interest in this tool. What would you suggest as the basic burrs and accessories based on your experience ?
-
2 essentials for any modeler: --you can source EXPERIENCE on this website, but I am still searching for PATIENCE
-
Welcome. We have a local Israeli model boat building club. We would be most happy for you to join us. The next meeting is this Friday. Looking forward to hearing from you.
-
"am working on the handrails. It's all done with 0.2 mm black monofilament line," Was it easy to fit the CONTAINMENT rails after handrails, or better to do these first? Your build is an excellent one. My painting with spray cans was OK for the hull but excessive for the deck fittings. Probably my inexperience and lack of patience.
-
I also remade it. Some much of this kit is brilliant, that I wonder if some of the simple stuff (mainly wood) was designed by someone else!
-
I must have missed it, but how did you make the "glass" in the windows?
-
In fairness, I must update these comments, because as I proceed with the build, the PE and plastic parts are really compensating for the initial frustration. The amount of work and expertise that must have gone into the planning details is phenomenal. The issue with the wood should be easily rectified; then the kit will be perfect.
-
I'm spending more time correcting the wooden parts than I would have if I made them from scratch. The design is really good, the the fun in the project drains away with the frustration and annoyance. The old kits I built were far less inaccurate. ? Imperfect or inappropriate use of modern technology + lack of consideration for the purchaser/builder?
-
worthwhile. something different and fun to build.
-
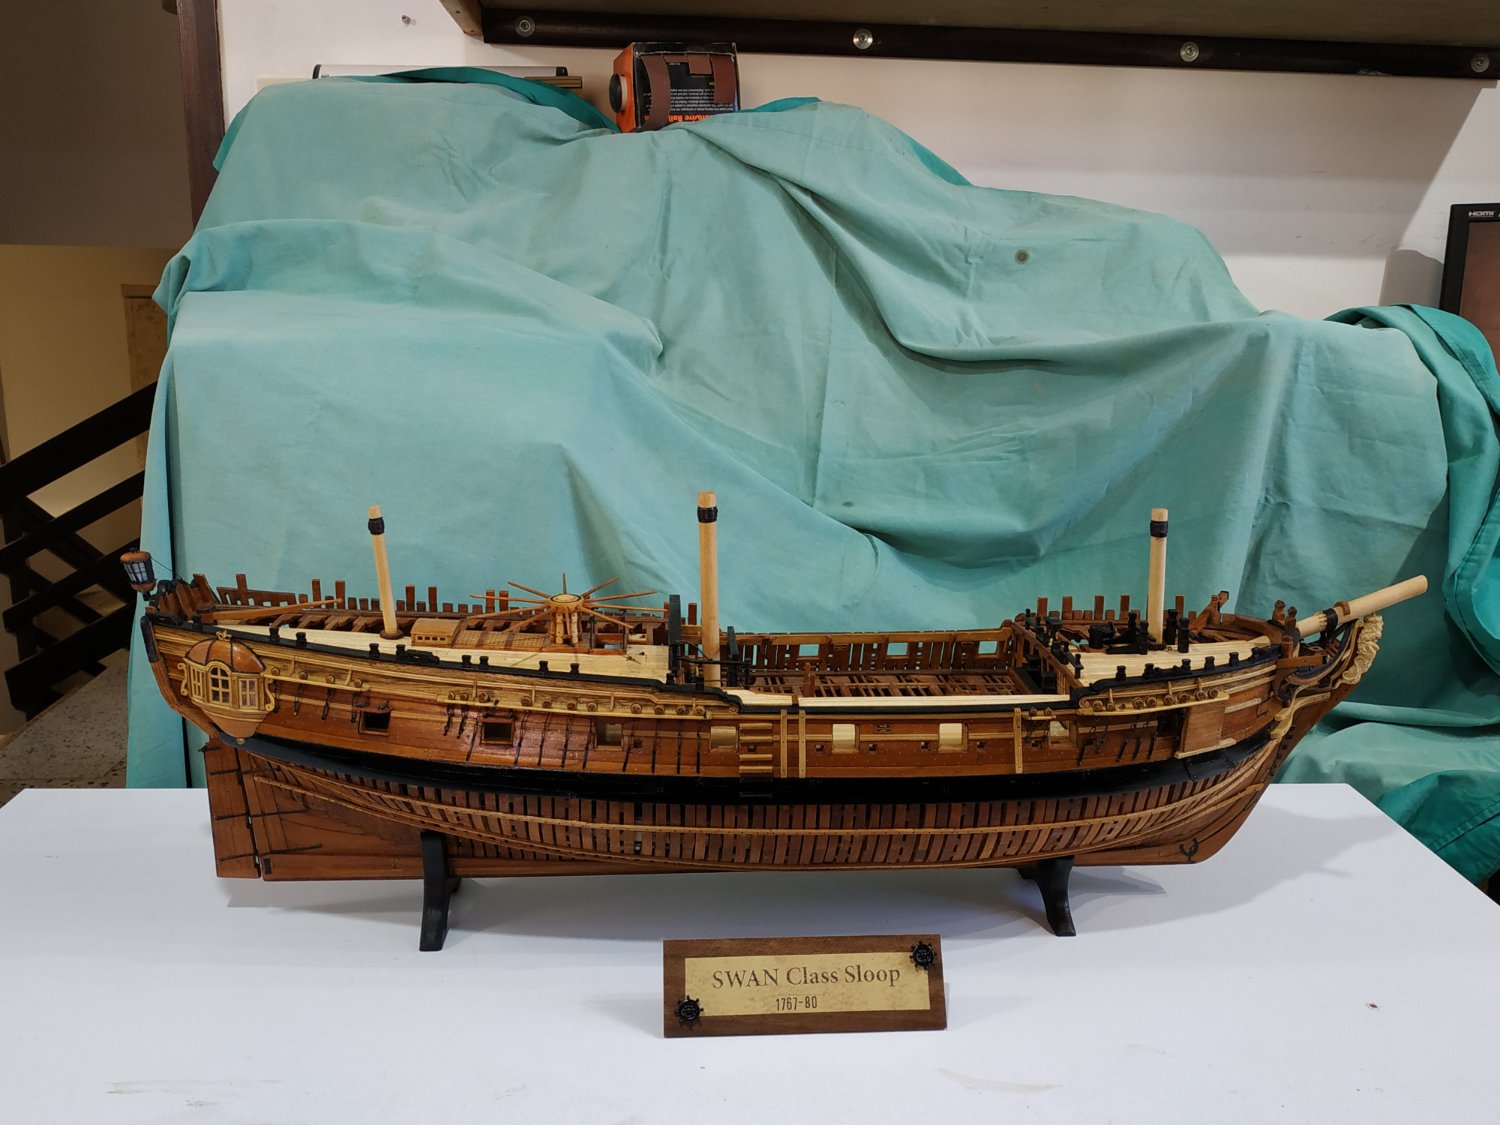
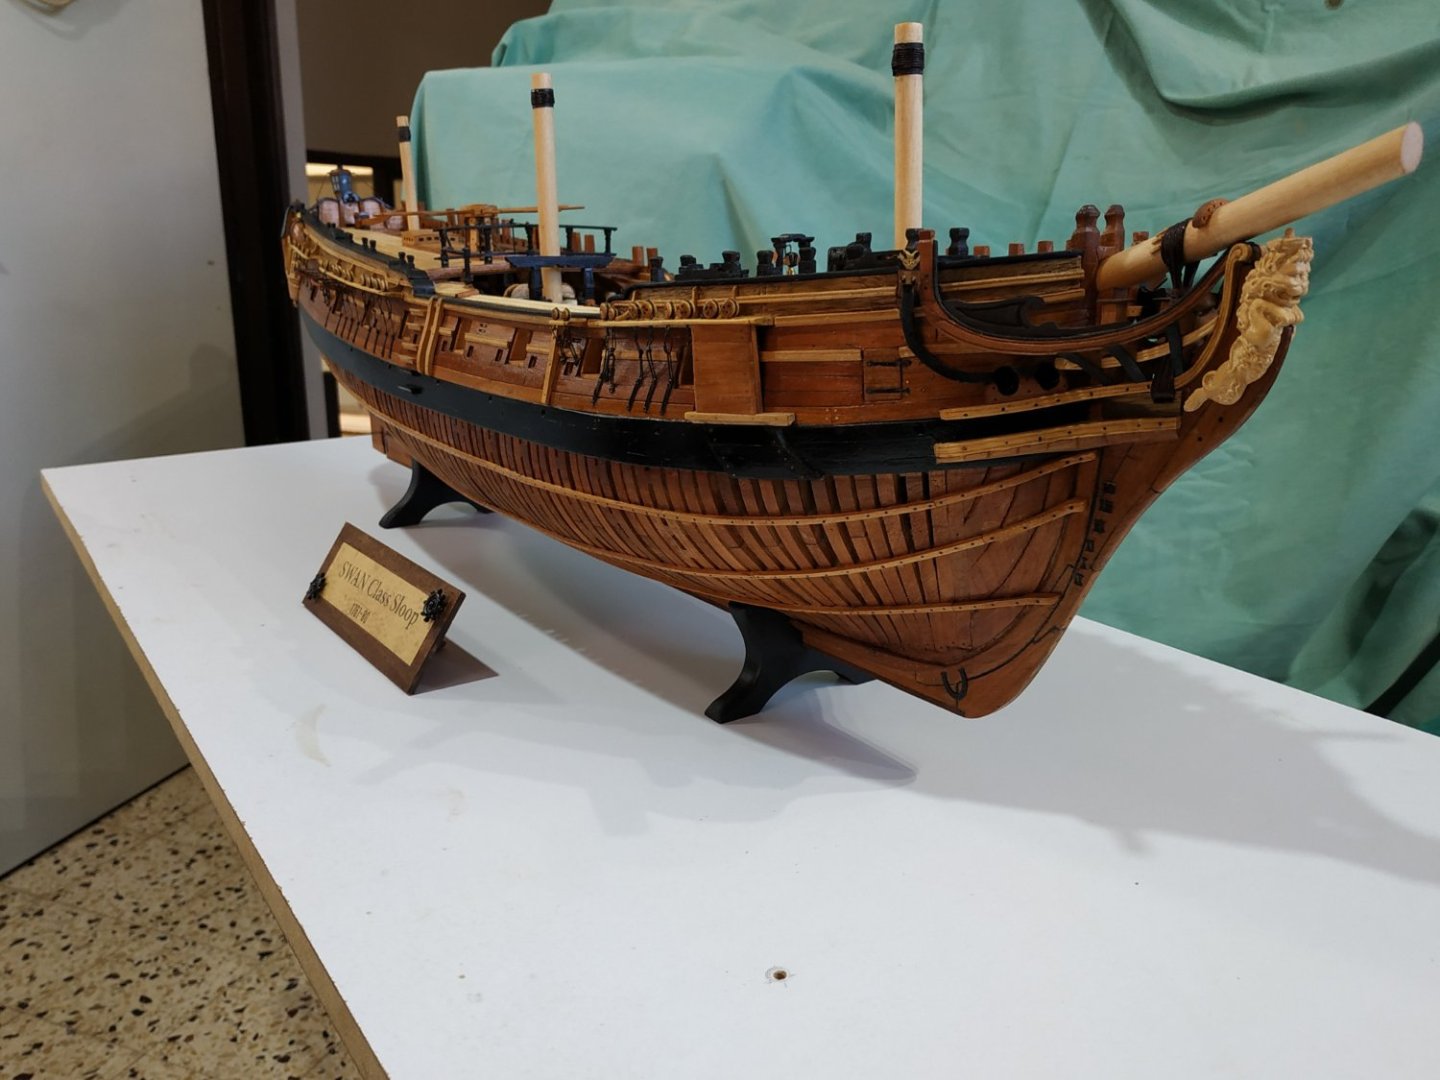
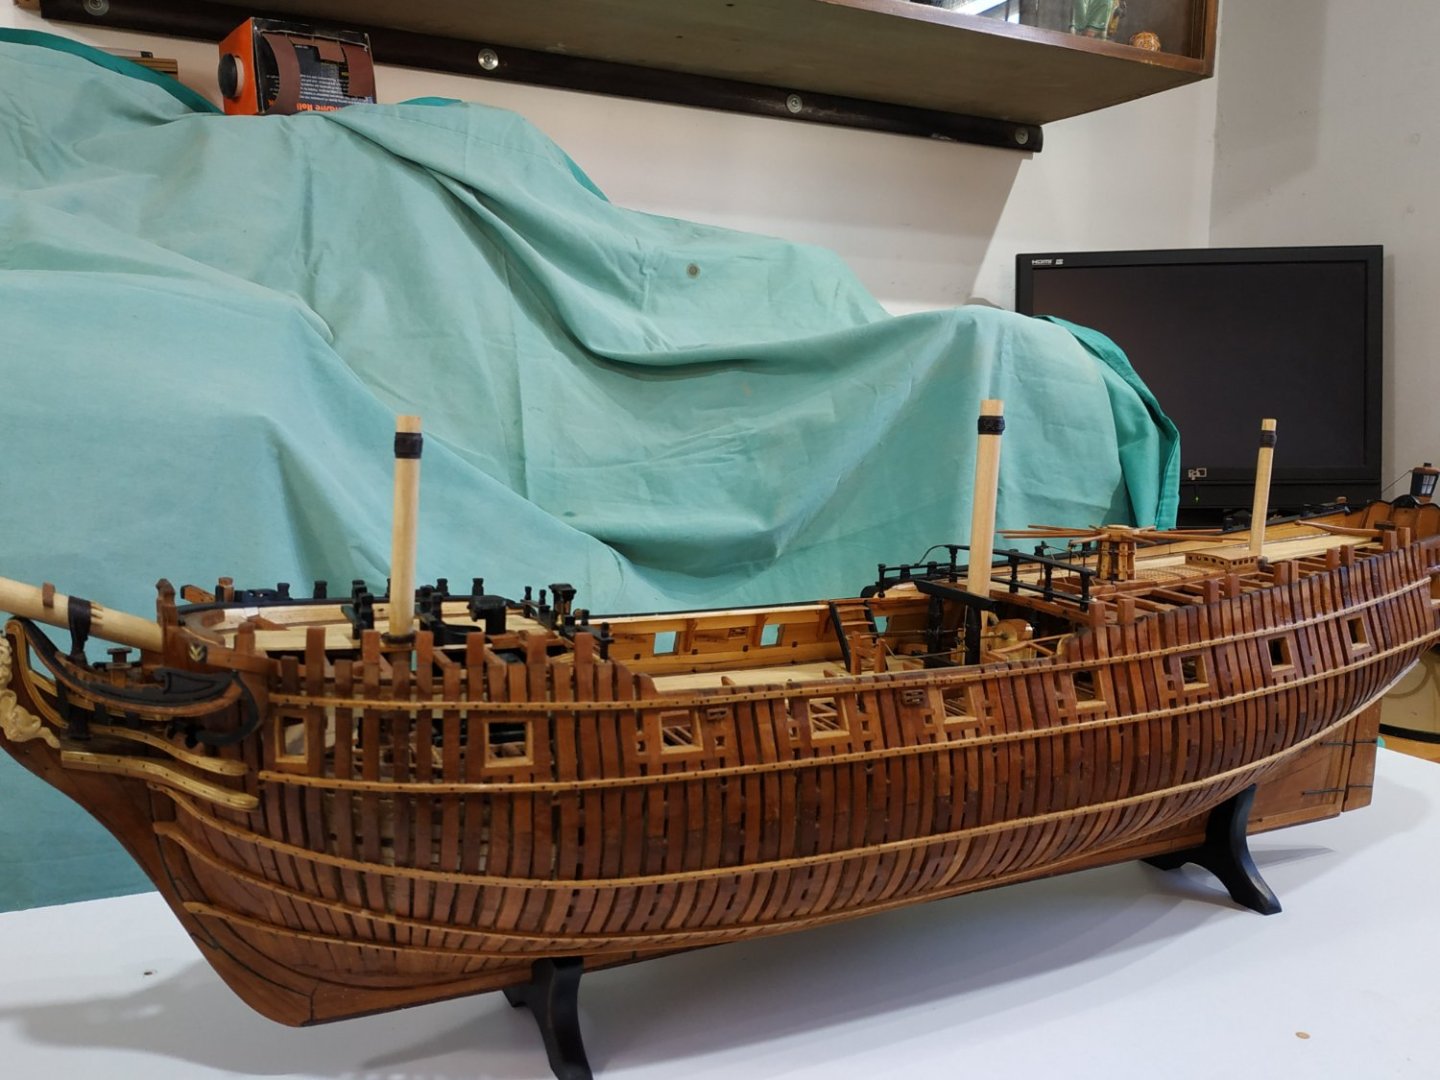
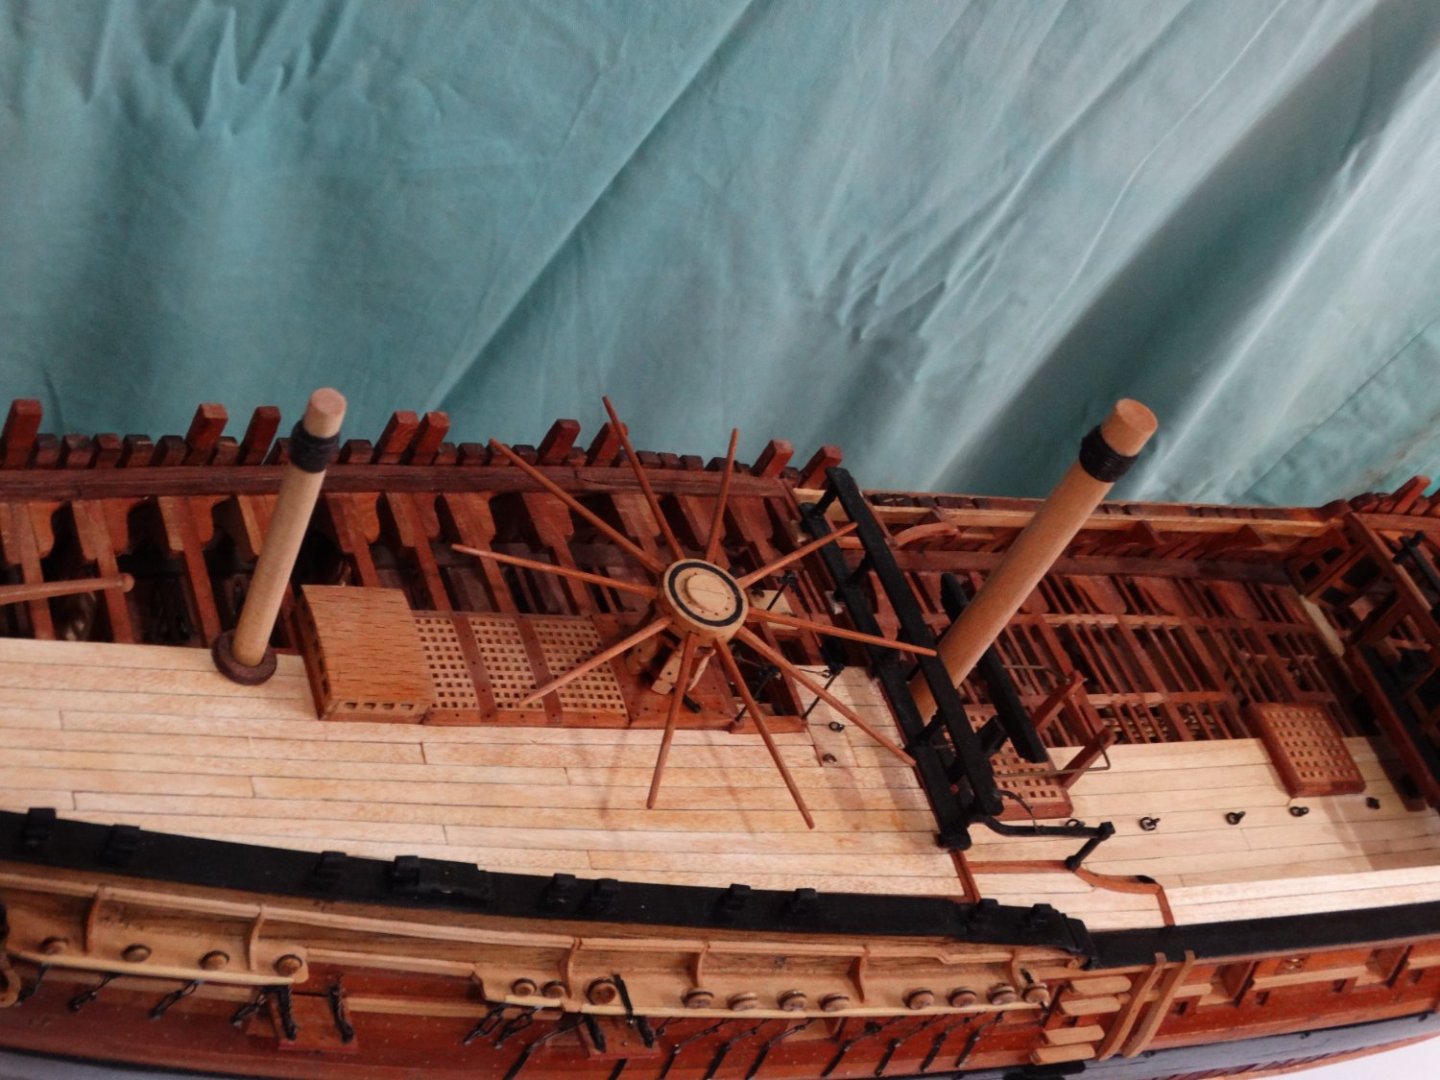
Swan-Class Sloop by Stuglo - FINISHED - 1:48
stuglo replied to stuglo's topic in - Build logs for subjects built 1751 - 1800
No lining, just a block on the side of the hull not planked. Main problem is angle for drilling. An angled blank for direction and a big prayer. -
I see you have fixed the 1st planking before the decks. Is this in the plans because mine says to complete the planking after the decks are fitted? Your way seems easier and better.
-
Swan-Class Sloop by Stuglo - FINISHED - 1:48
stuglo replied to stuglo's topic in - Build logs for subjects built 1751 - 1800
Thank you. -
Swan-Class Sloop by Stuglo - FINISHED - 1:48
stuglo replied to stuglo's topic in - Build logs for subjects built 1751 - 1800
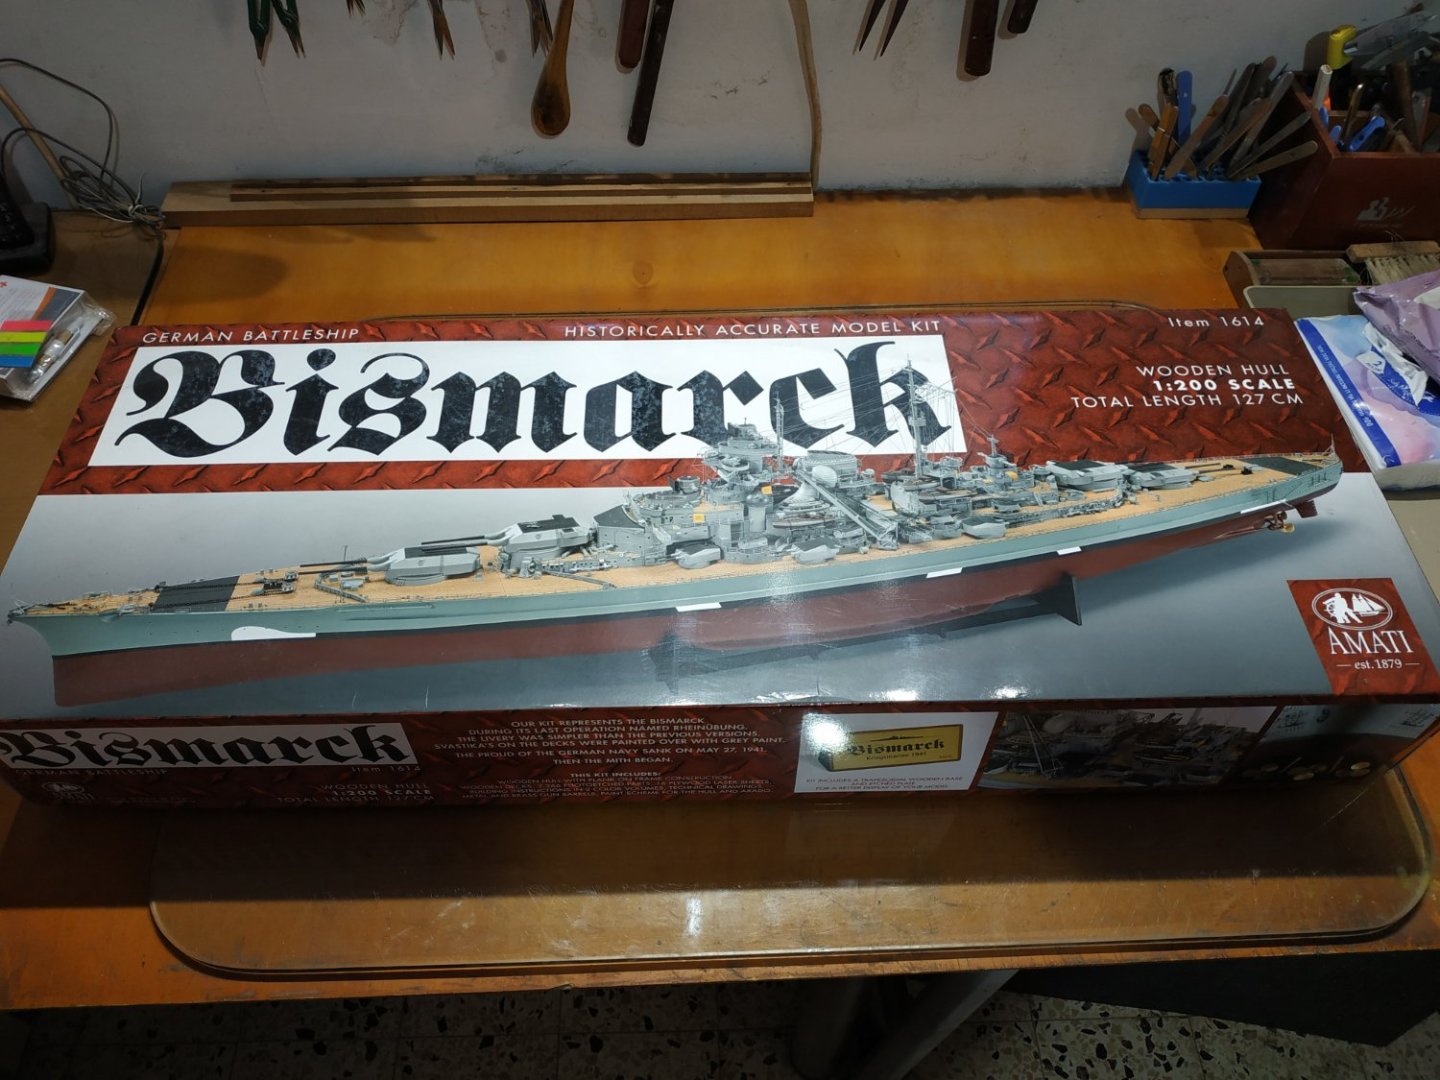
Finishing my Swan Class Sloop Mast Wedges, stubs for the masting, and a figure head. I purchased the Lion figure (boxwood?) online from PRC. Required some adaptation for fitting. Not one of the class as listed, but I read somewhere that a generic lion figure was sometimes used even when the ship’s name was something else. Well, 30 months, about 3000 hours, 500+ postings. What a voyage of discovery. There were times, particularly at the beginning, that I wondered if I’d even depart the harbour. Of course, without the practicum TFFM books , Dan Vardas blogs and Kevin’s Videos, I would have been sunk many times. Thank you all. Thanks to the Bosun (wife) for tolerating my taking a spare bedroom (and sometimes a second one), disappearing for hours, making noise in the early hours of the morning, and turning a blind eye to the expense of the new tools that I acquired. My grandchildren, perhaps hoping to inherit the ship, are even more attentive than usual. Like a good book that you regret when finishing, so is this project. I have more on the shelf, but will return to a Swan, perhaps with reduced innards, but fully planked and rigged. I have volume 4 TFFM and enough cherrywood stock. And now for something completely different (Monty Python)---- The BISMARK - Amarti kit.

- 475 replies
-
- 18
-

-