cog
-
Posts
8,764 -
Joined
Content Type
Profiles
Forums
Gallery
Events
Everything posted by cog
-
 There is hardly chivalry in war, when it concerns the taking of life.
 -
It would be written in full "Kennscht mich noch" Translation would be: Do you still know me I would say it would imply you've got away with your life the the previous time, and he's there to finish the job ... I find the ribs on the HobbyCraft's wings a bit to pronounced, when I look at the 1/72's I built from Eudard and Revel, there is a softer wave patern on the wing which makes it more realistic You have made some nice progress spinnach man, good recovery from the decal disaster
-
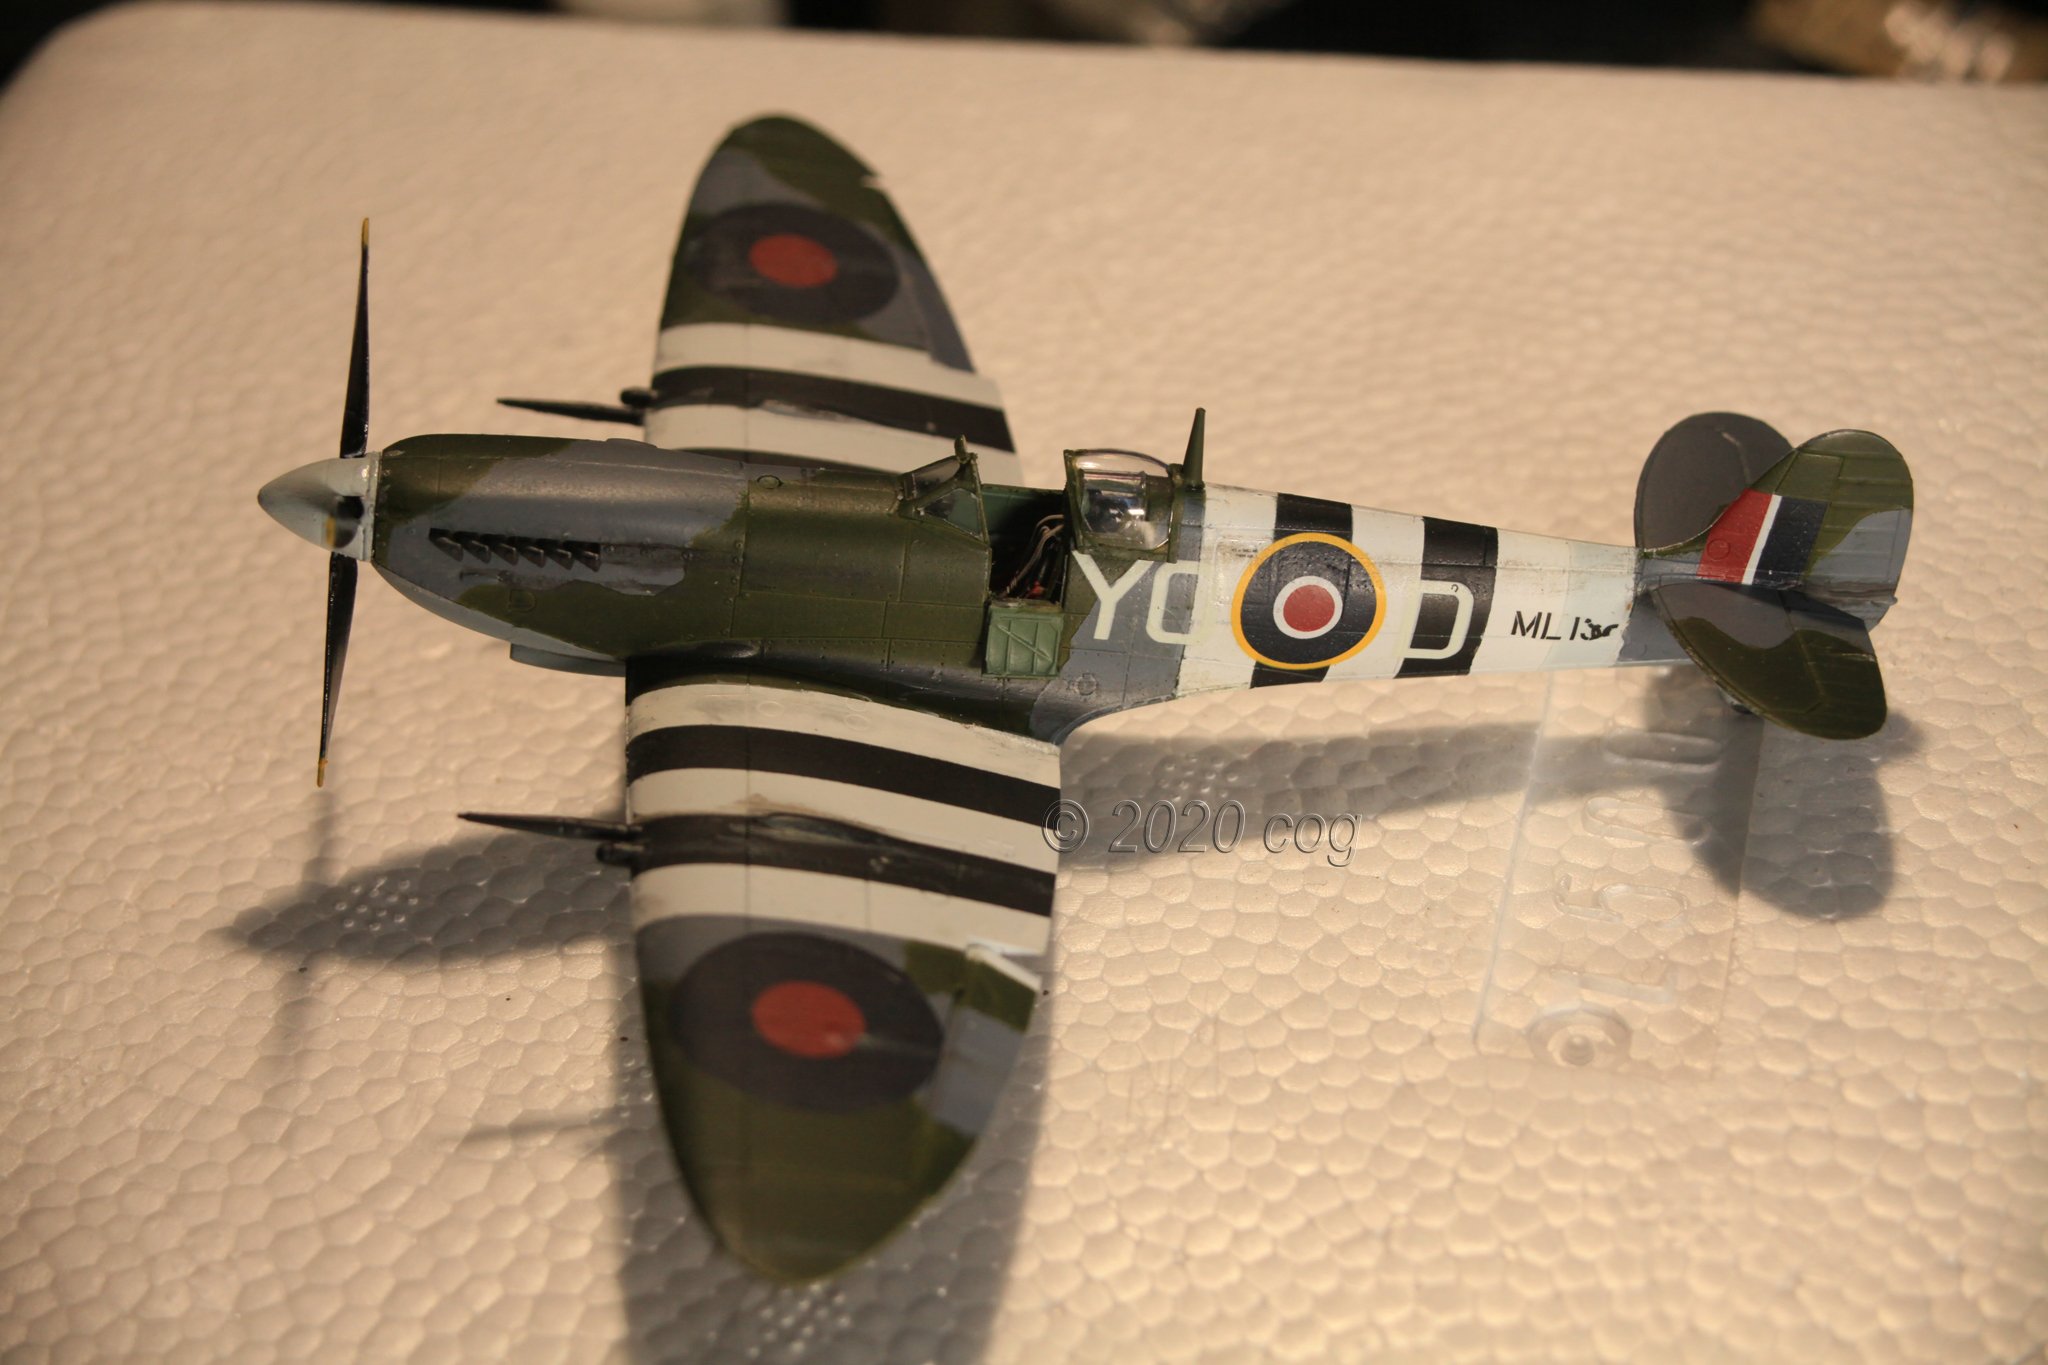
Spitfire Mk IXc - FINISHED - by cog - Eduard - 1/72 - PE & PLASTIC
cog replied to cog's topic in Non-ship/categorised builds
Thank all for joining me, the stimulating likes, and comments. You are a great audience! Thanks Denis, not so sweet when it's on your tail I reccon And yet again, you are to kind Lou! -
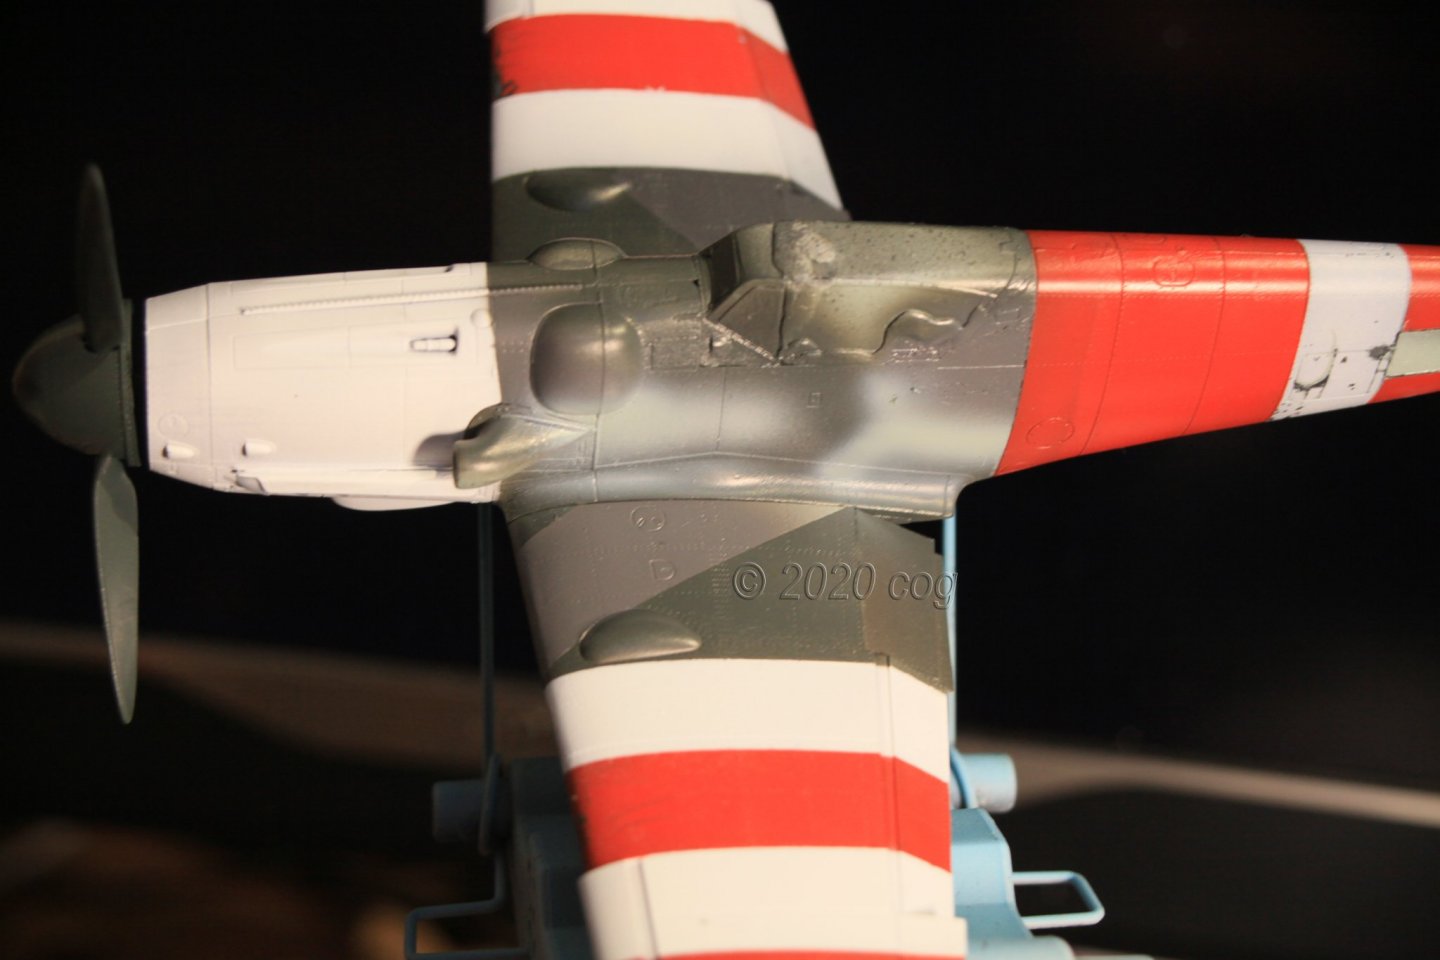
Messerschmitt bf 109G-6 by cog - Eduard - 1/48 - PLASTIC
cog replied to cog's topic in Non-ship/categorised builds
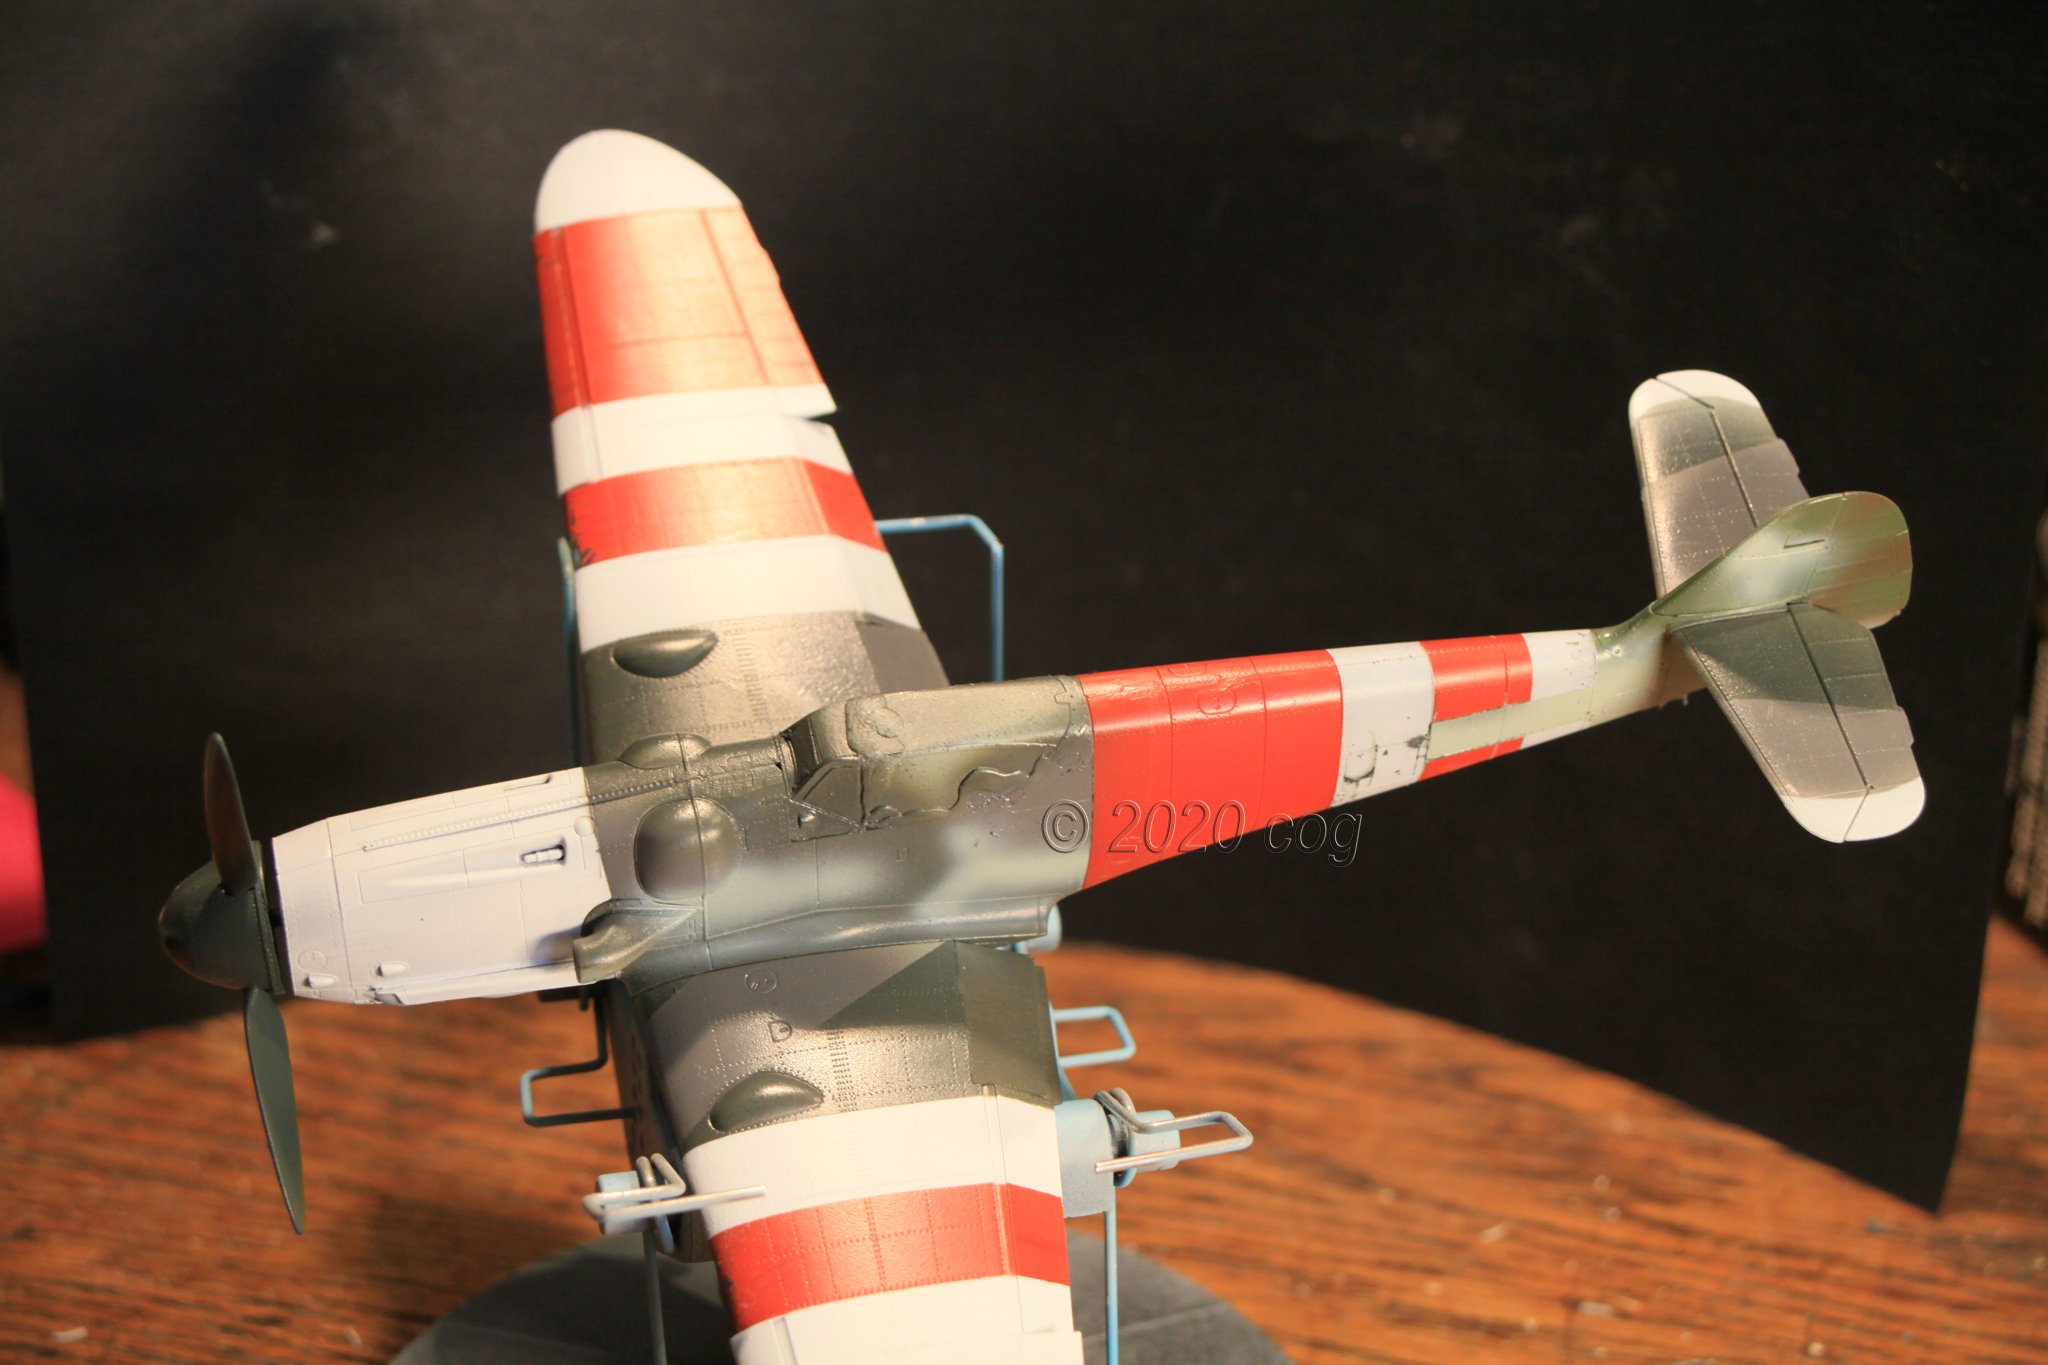
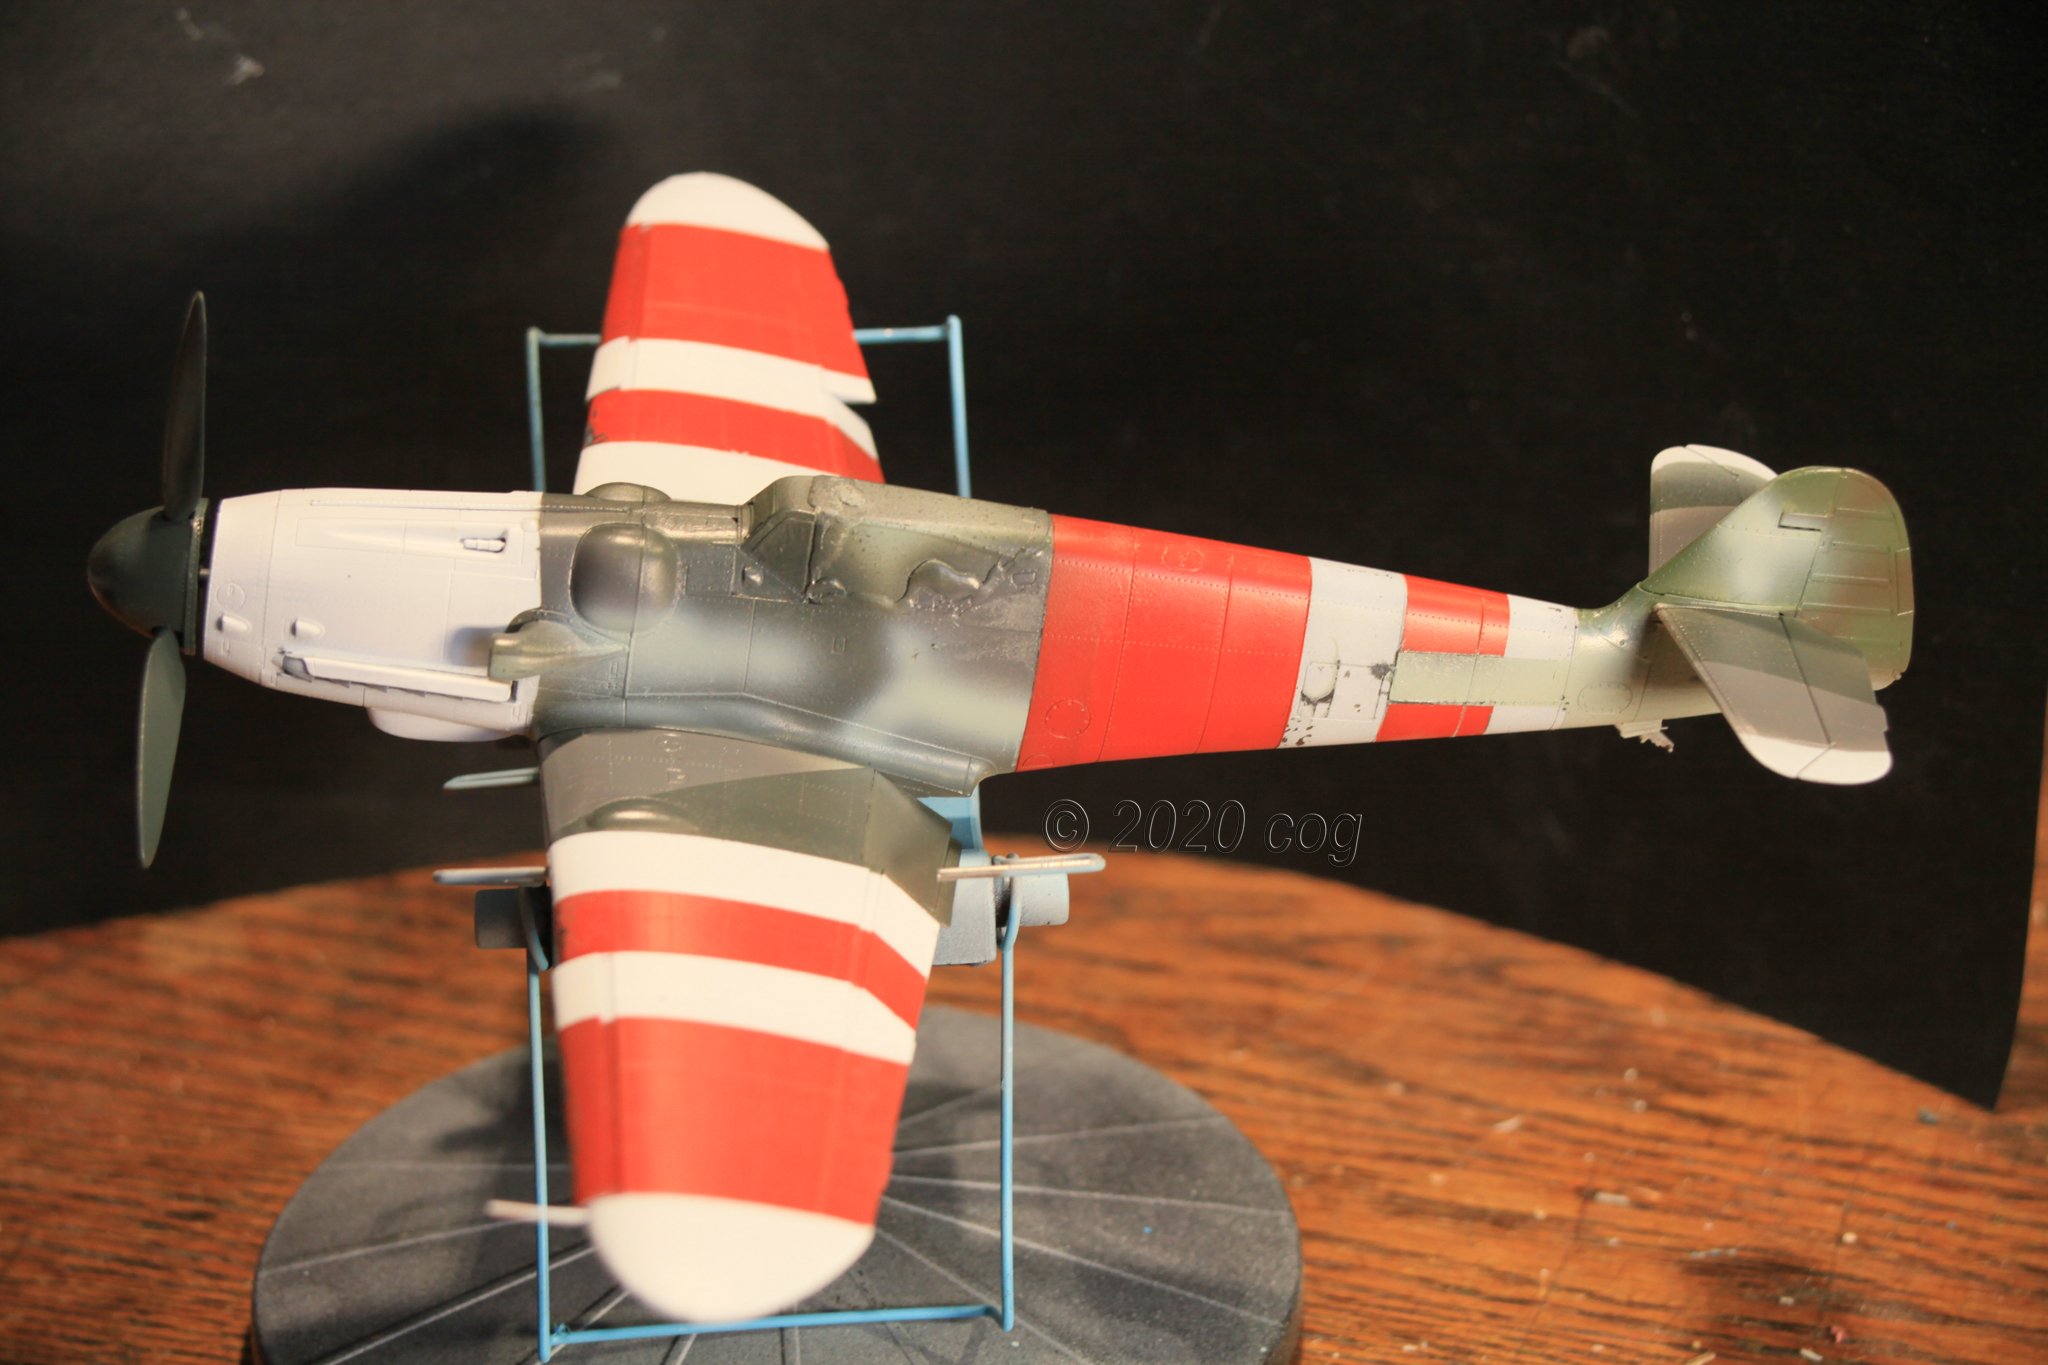
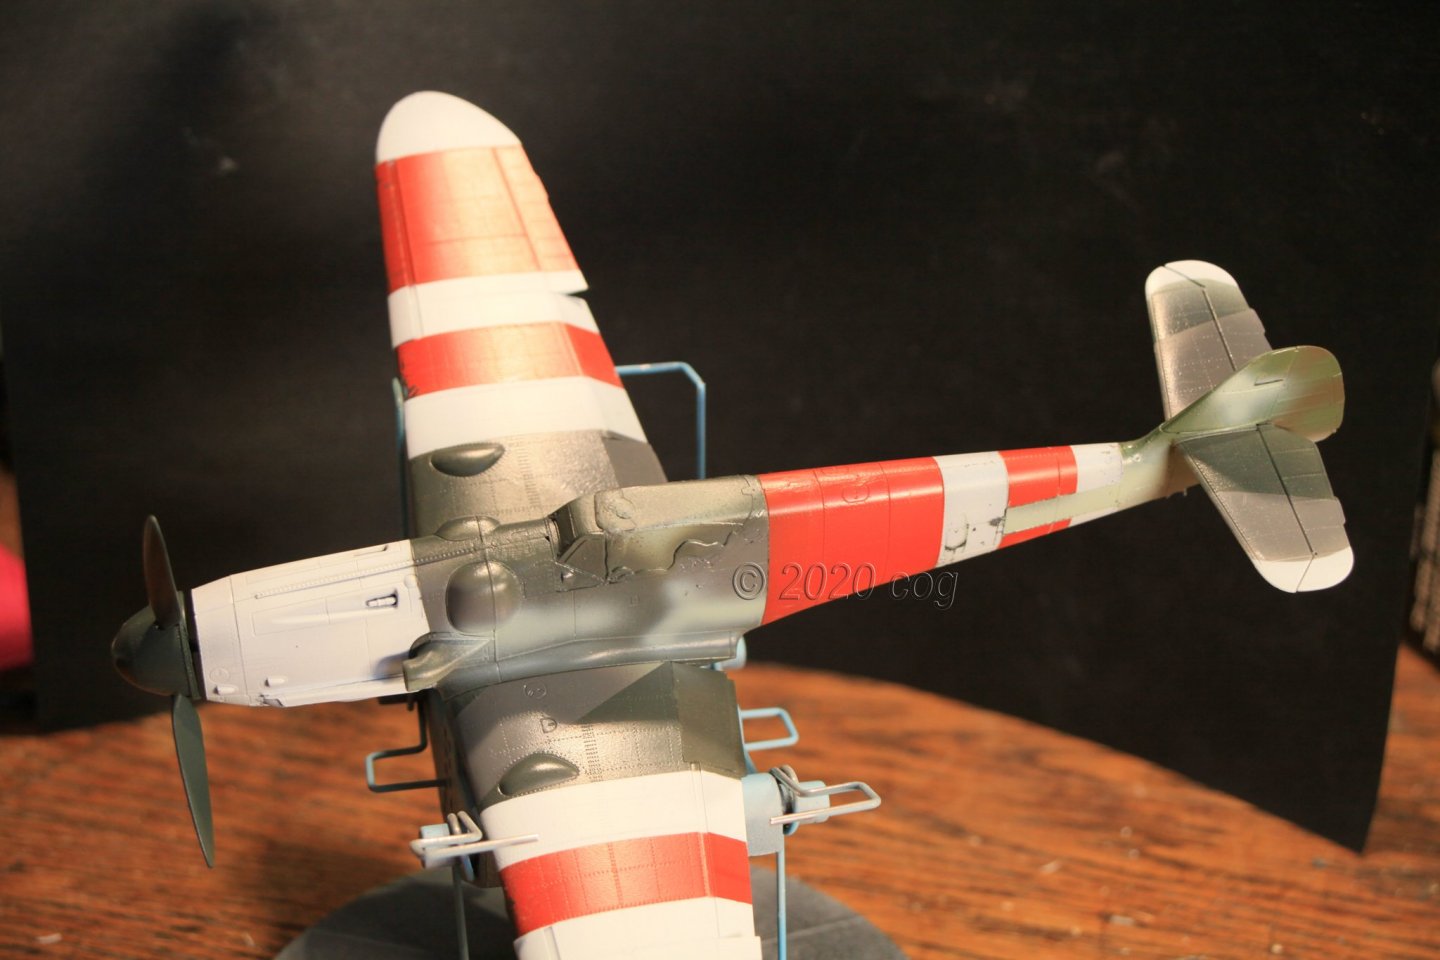
Pannel lines accentueated, weathered, and "smoked" by it's exhaust. Remains the arrival of some more decals, replacing the cockpit glass, adding rear wheely-thingy. Looks nice an (ab)used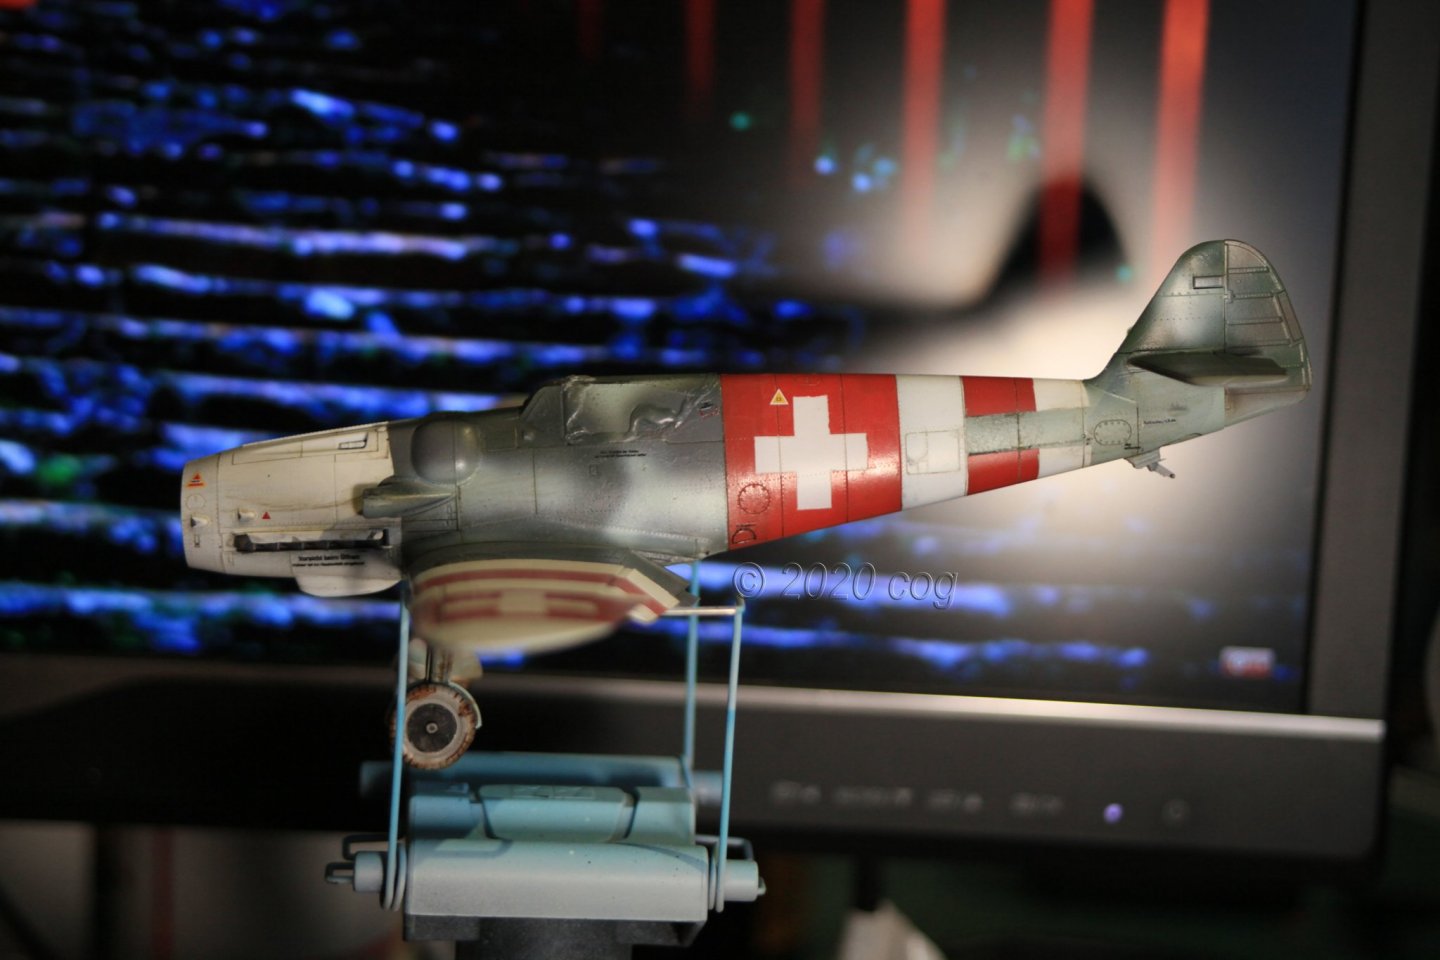
- 62 replies
-
- 11
-

-
Messerschmitt bf 109G-6 by cog - Eduard - 1/48 - PLASTIC
cog replied to cog's topic in Non-ship/categorised builds
It does, EG. Postage is a mere € 3.49. Added the site to my model bookmarks -
Messerschmitt bf 109G-6 by cog - Eduard - 1/48 - PLASTIC
cog replied to cog's topic in Non-ship/categorised builds
Thanks Egilman, I didn't see that one. Often ".com" is USA and not really of interest as shipping and handling make it hardly worth while to get cheaper items to Europe. Price increases from three to six times what's it worth -
Messerschmitt bf 109G-6 by cog - Eduard - 1/48 - PLASTIC
cog replied to cog's topic in Non-ship/categorised builds
No not really, but thanks anyway Lou -
Messerschmitt bf 109G-6 by cog - Eduard - 1/48 - PLASTIC
cog replied to cog's topic in Non-ship/categorised builds
Looks a lot a like, but it's an Messerschmitt Bf-109E-3 instead of a 109G-6. However, it doesn't seem to be available anymore, it's a model from 2006. Can't seem to find the decal sheets either -
Messerschmitt bf 109G-6 by cog - Eduard - 1/48 - PLASTIC
cog replied to cog's topic in Non-ship/categorised builds
Nope they don't, but I found some usable ones on the decal sheet in the box. And some I can "adjust" to the required format, so I think I'll manage. Don't forget, this scheme is not "out of the box", or should I say "in the box" -
Messerschmitt bf 109G-6 by cog - Eduard - 1/48 - PLASTIC
cog replied to cog's topic in Non-ship/categorised builds
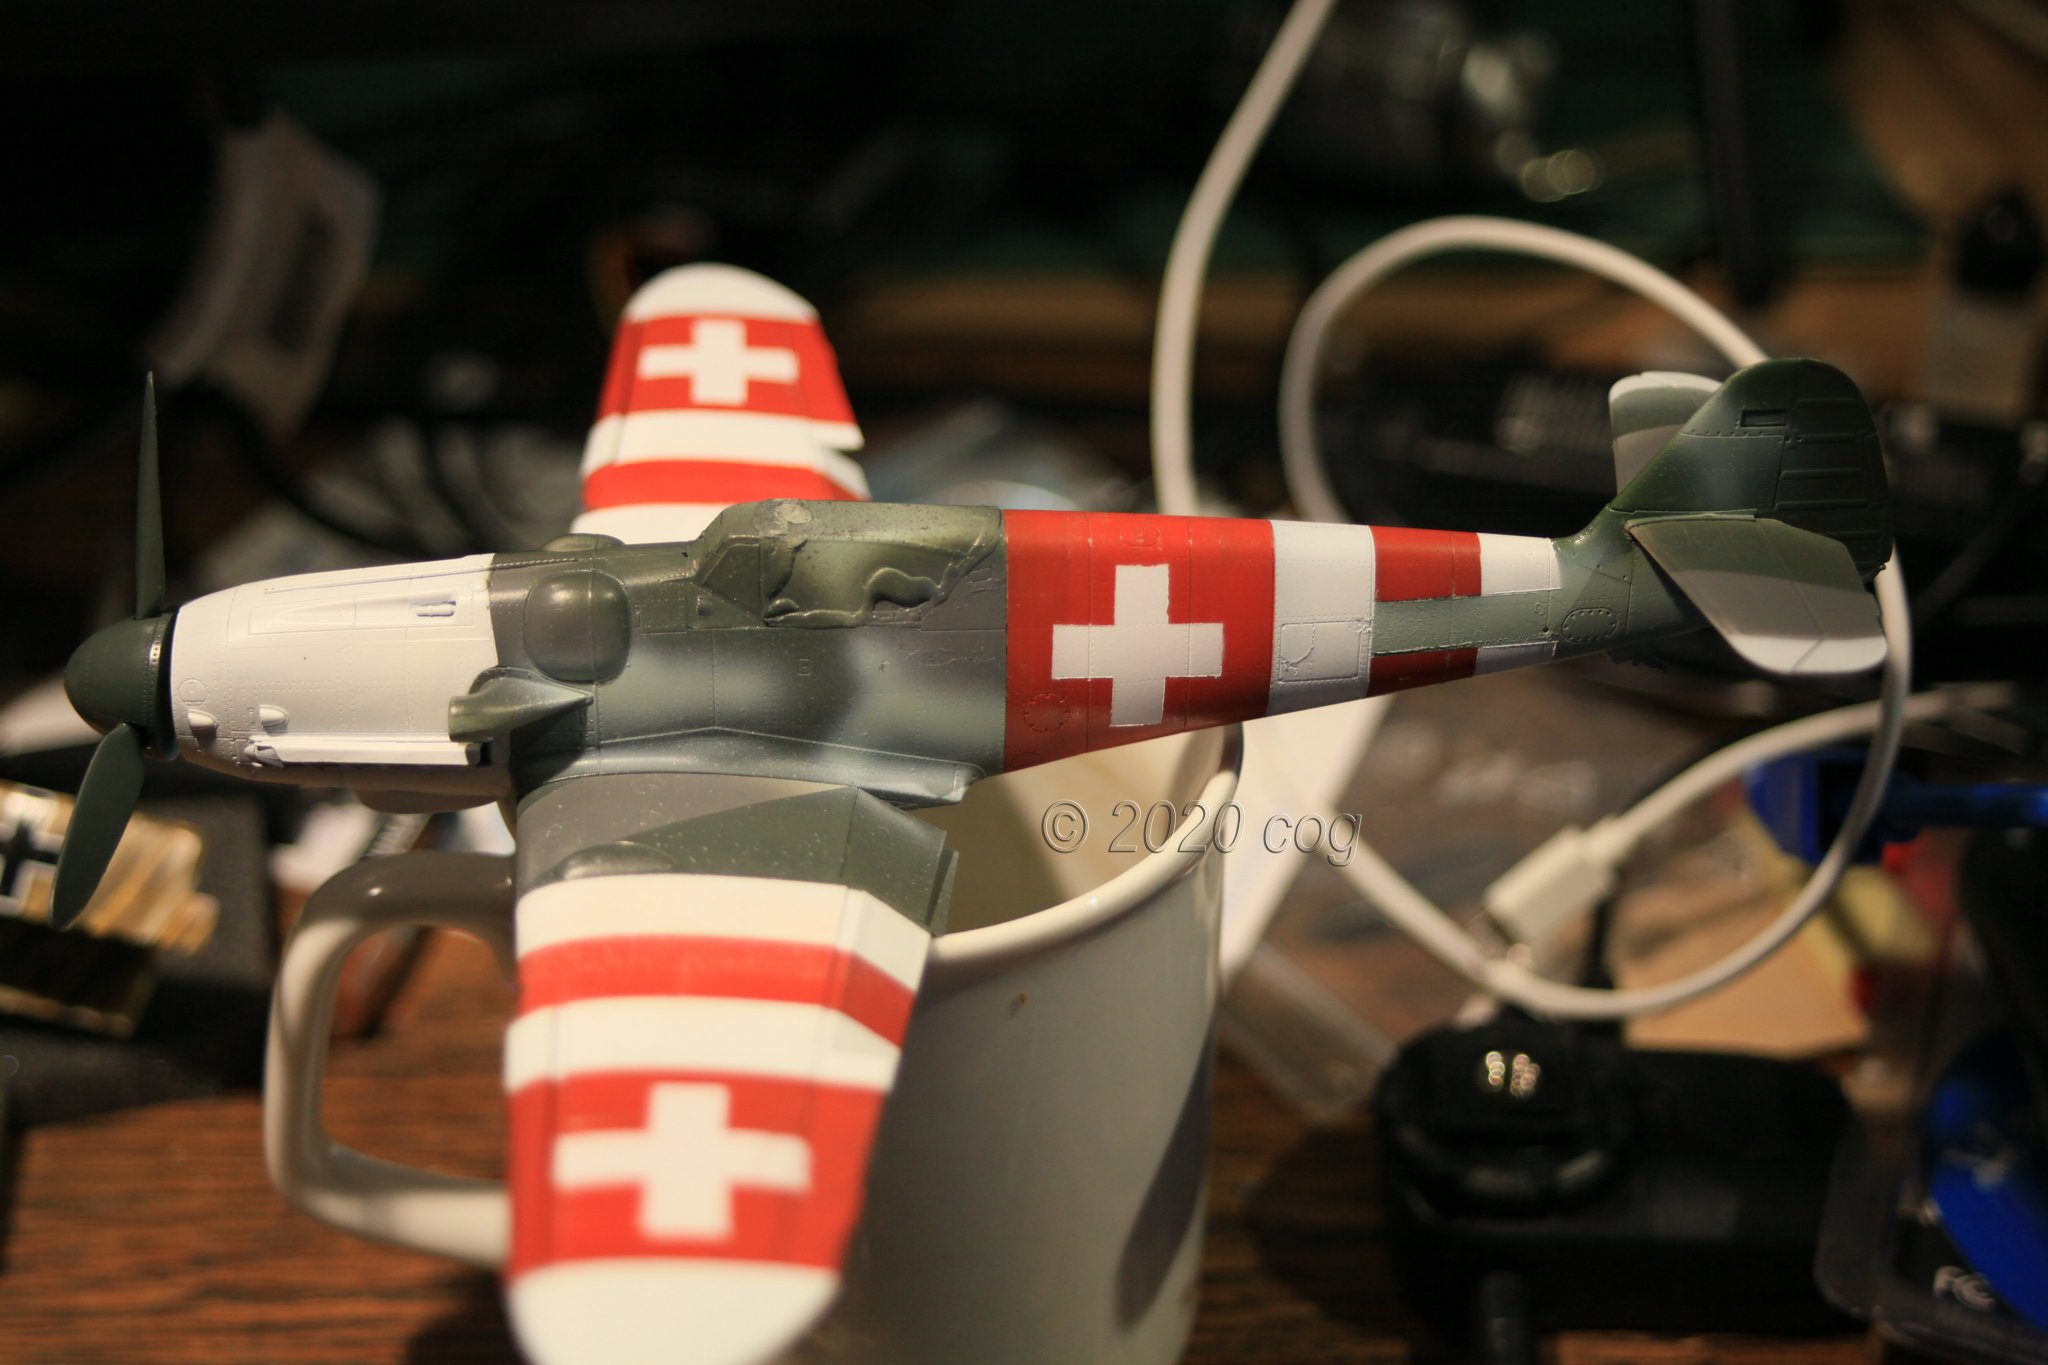
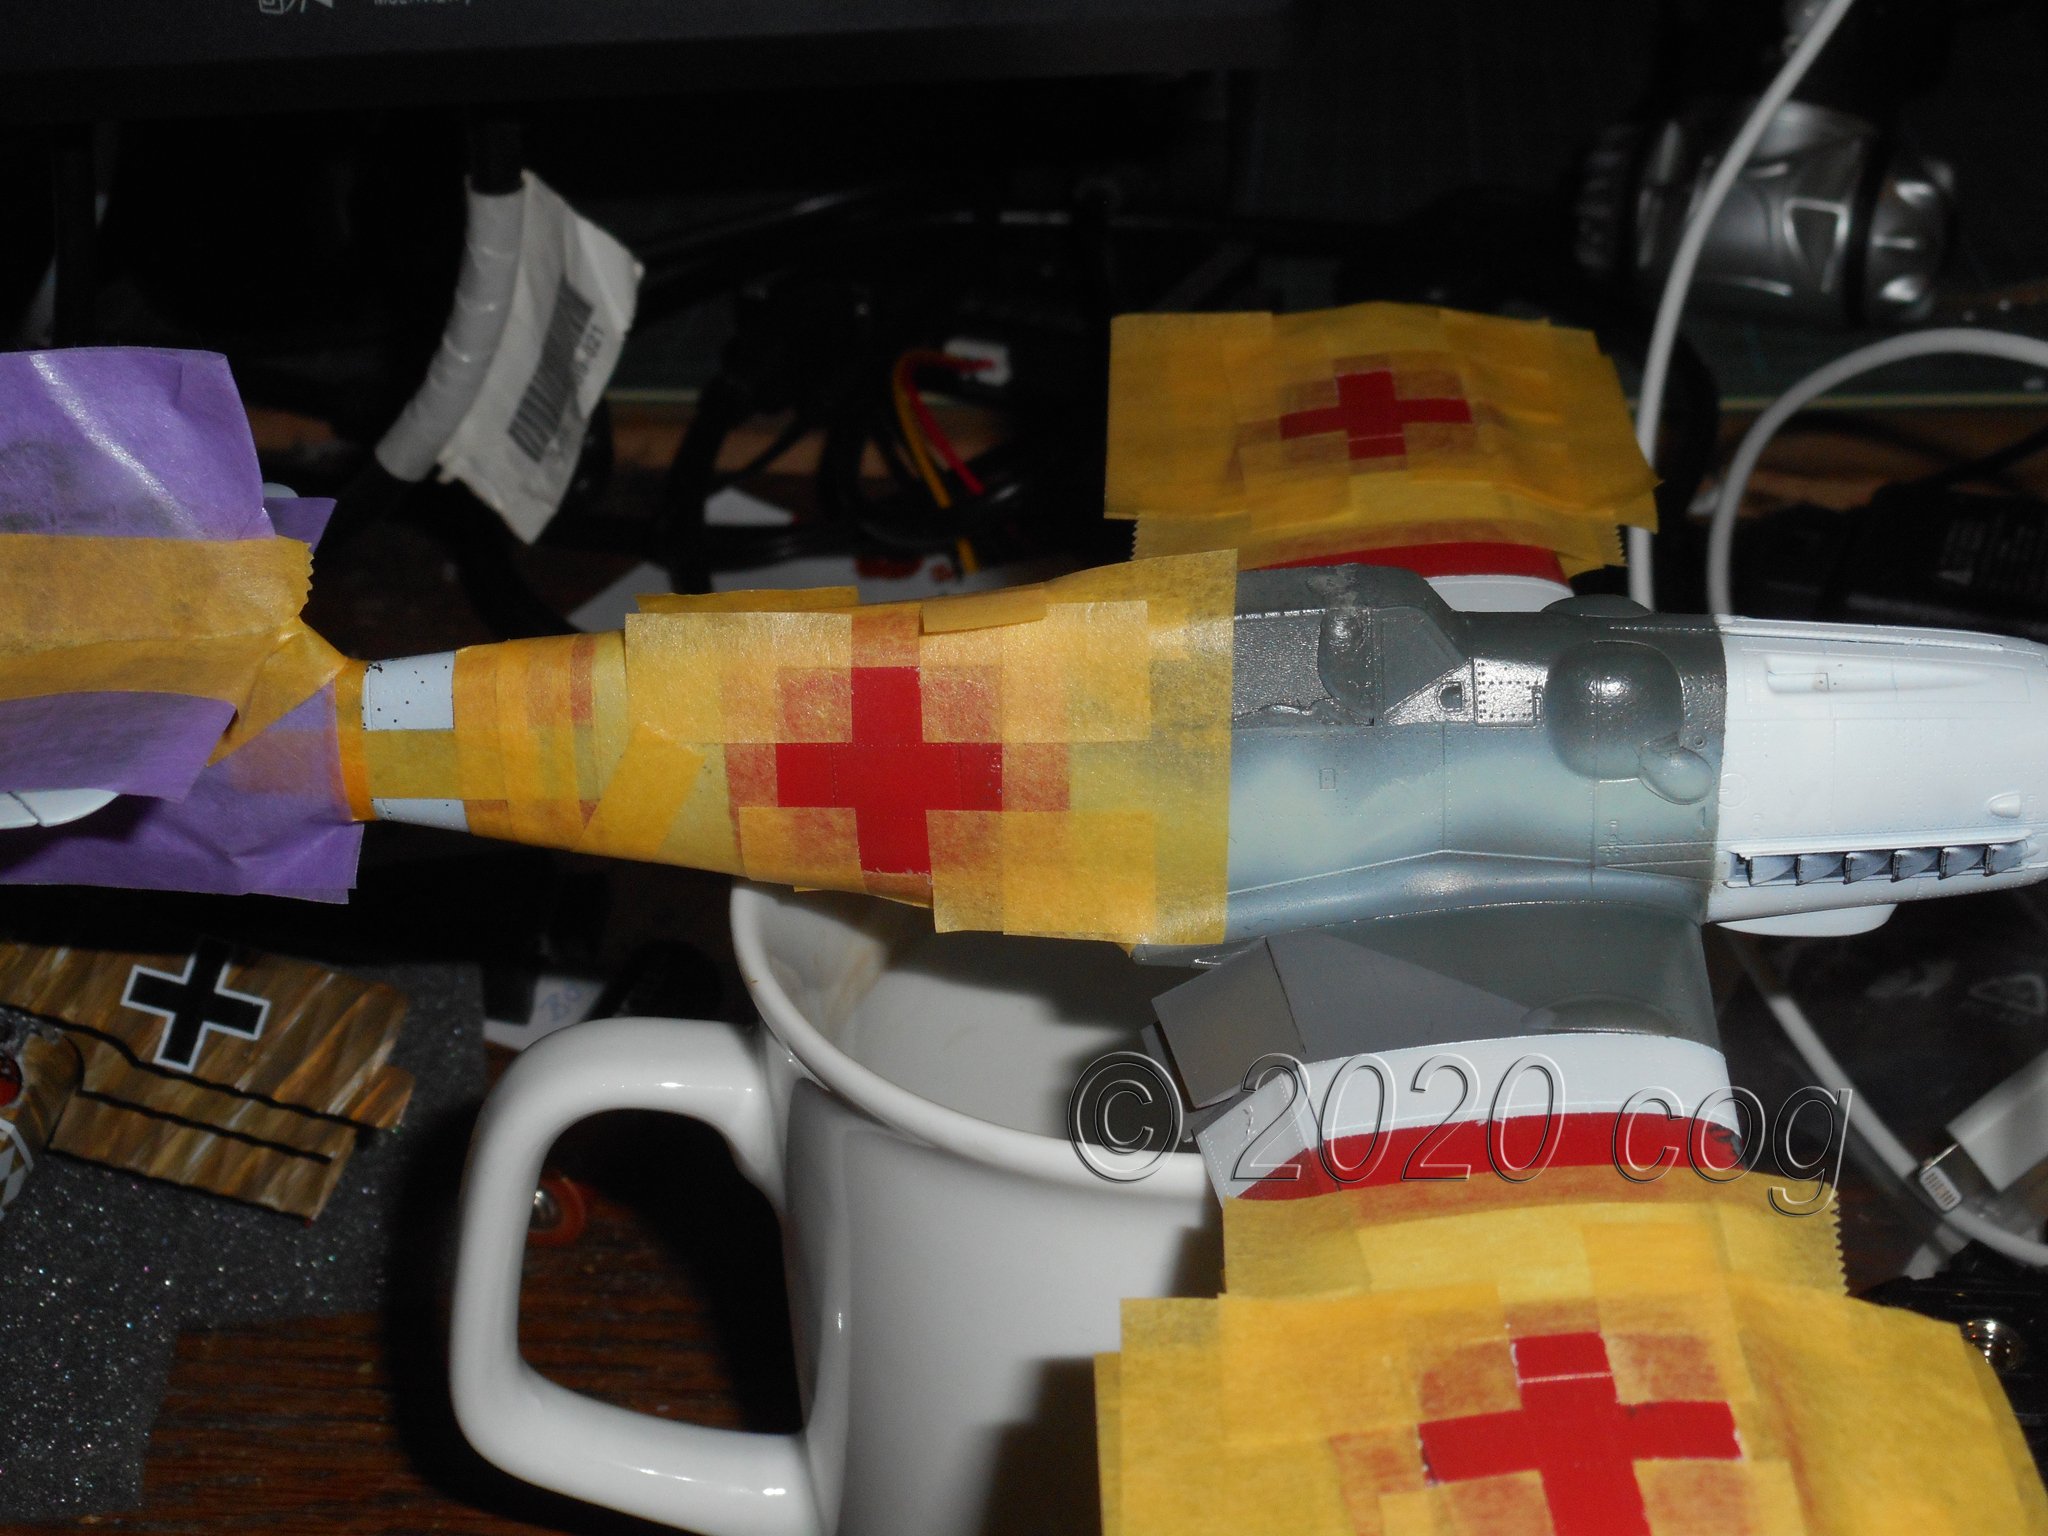
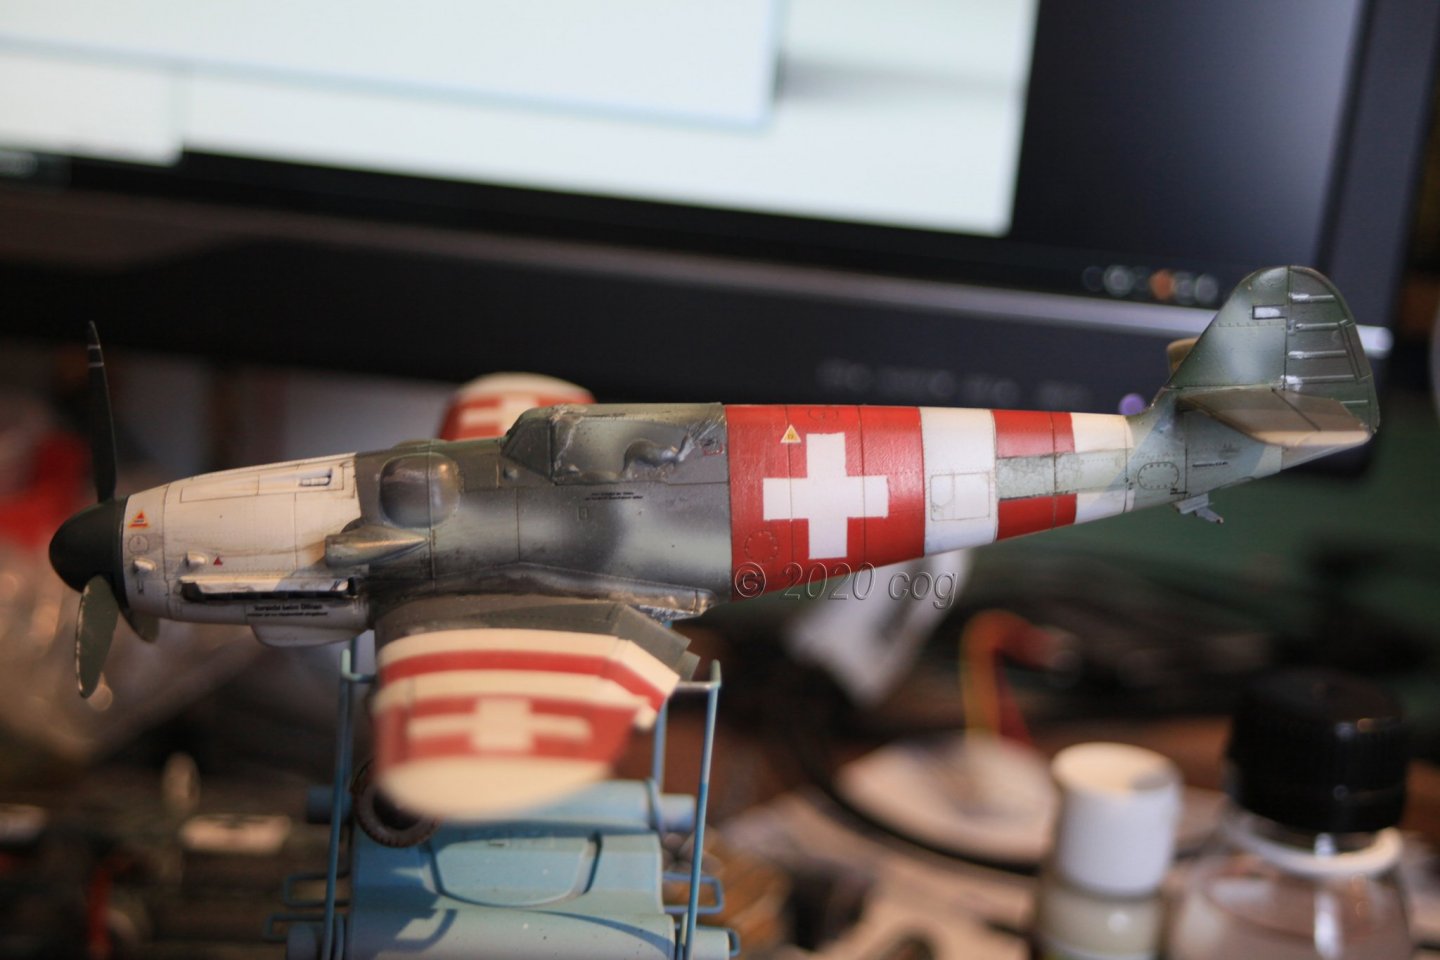
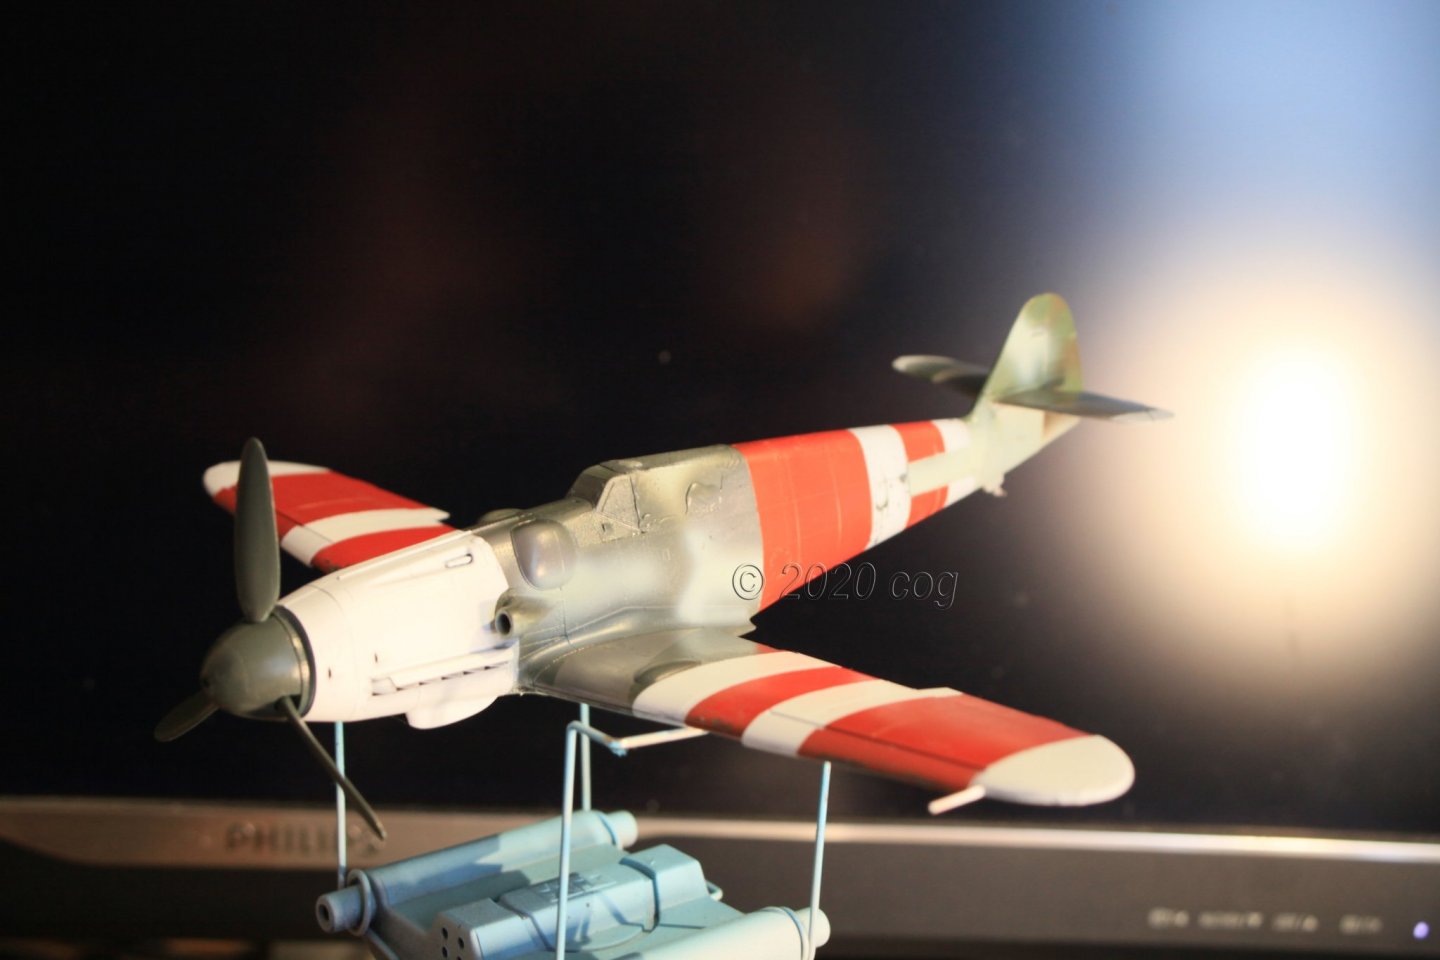
Received panel liner today, which means I'll be weathering "dieser Schweizer". No decals this time as I do not have any for this particular scheme ... or do I have some left from my previous build ... -
Mike, Scribe the lines from doors and windows, even the roof in this case. Deepen them, and use either a dark grey, or - which I would prefer, a very darkened version of the colour the adjoining panel is in. Always use the panel which turns bottom inward for shade and top outward for brightness, as shade naturally drops down the panel beneath the protruding part should be in the shade whilst the edge just above often has a light streak to it ... you can lightenen the top edge or use a whitish wash to make it look like light is bouncing off. It is much the same as weathering, you just use different colours. When I apply rust it should start at the edge of a panel, or it must have been dented ... keep in mind the natural order of things. If you have enough leeway, you can even use an opaque colour and solidify it by layering whilst moving towards the light, and the edge/ridge causing the shade. When painting, normally one starts with the dark shapes and on top of that the colour is layered as opaque sheets. A bit like airbrushing. You work with a solid base colour and then with a transparent colour towards a solid one. The smaller the object the fewer the layers which you can add as not to loose structure/detail. Building a gradient on a 4" heigh surface is far easier than on one with a mere 0.04" height. Greg (RGL) does the same with his hull plating
-
There are some car modellers whom do weather, and have some very nice results. You could use the same techniques as used on army vehicles. The reason most cars are spotless, derives from athe fact that men feel the need to polish them to perfection ... their baby. However, there are some genuine rust tubs driving around, although, less and less as the materials tend to change to plastic ... Love choice of car Mike, I would mix the red with a bit of white, red always discolours ver fast or she comes straight from the factory
-
Messerschmitt bf 109G-6 by cog - Eduard - 1/48 - PLASTIC
cog replied to cog's topic in Non-ship/categorised builds
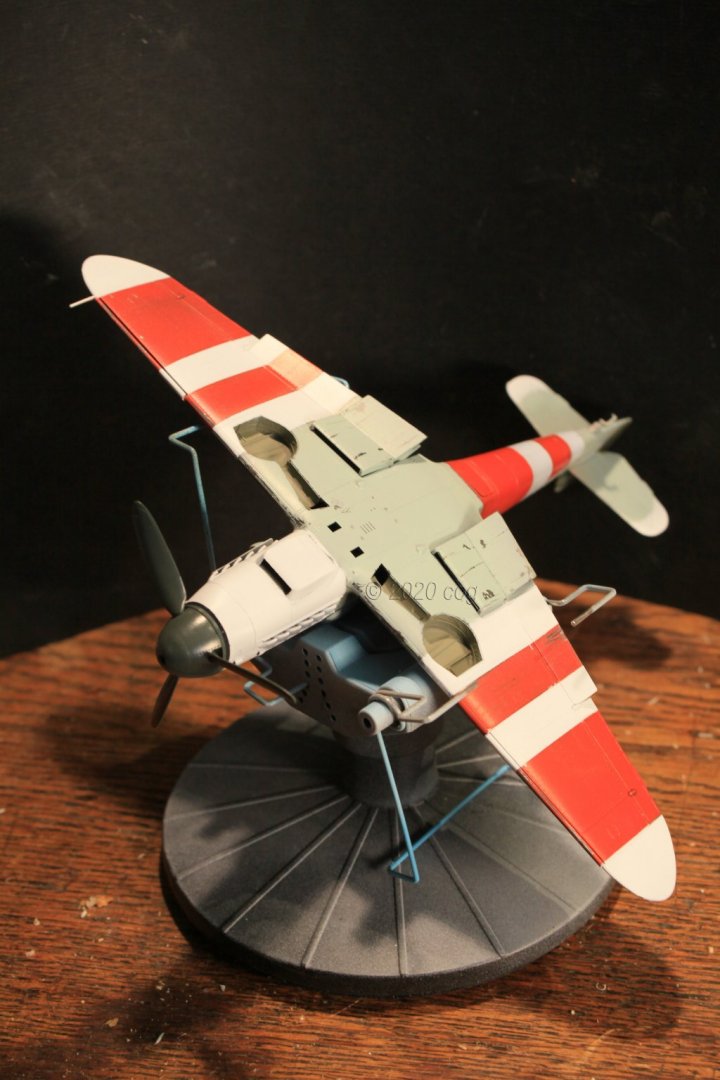
Thanks, Lou. I think so too. Although, presently it more or less represents a "mug diver" instead of a dive bomber -
Spitfire Mk IXc - FINISHED - by cog - Eduard - 1/72 - PE & PLASTIC
cog replied to cog's topic in Non-ship/categorised builds
You are to kind Lou! -
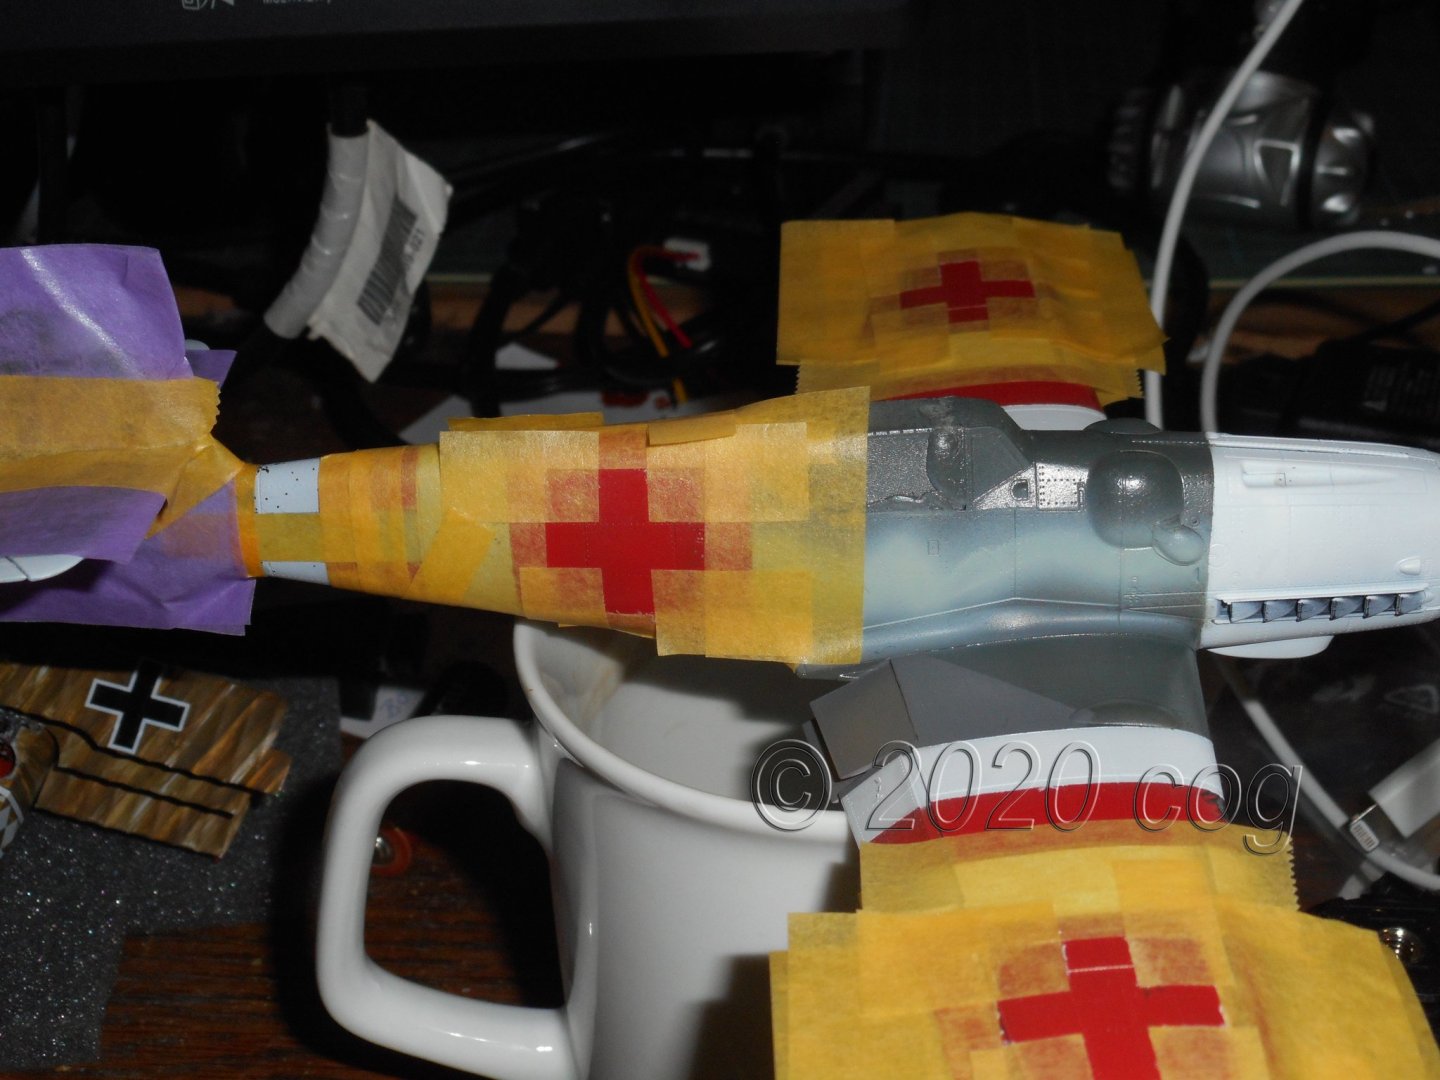
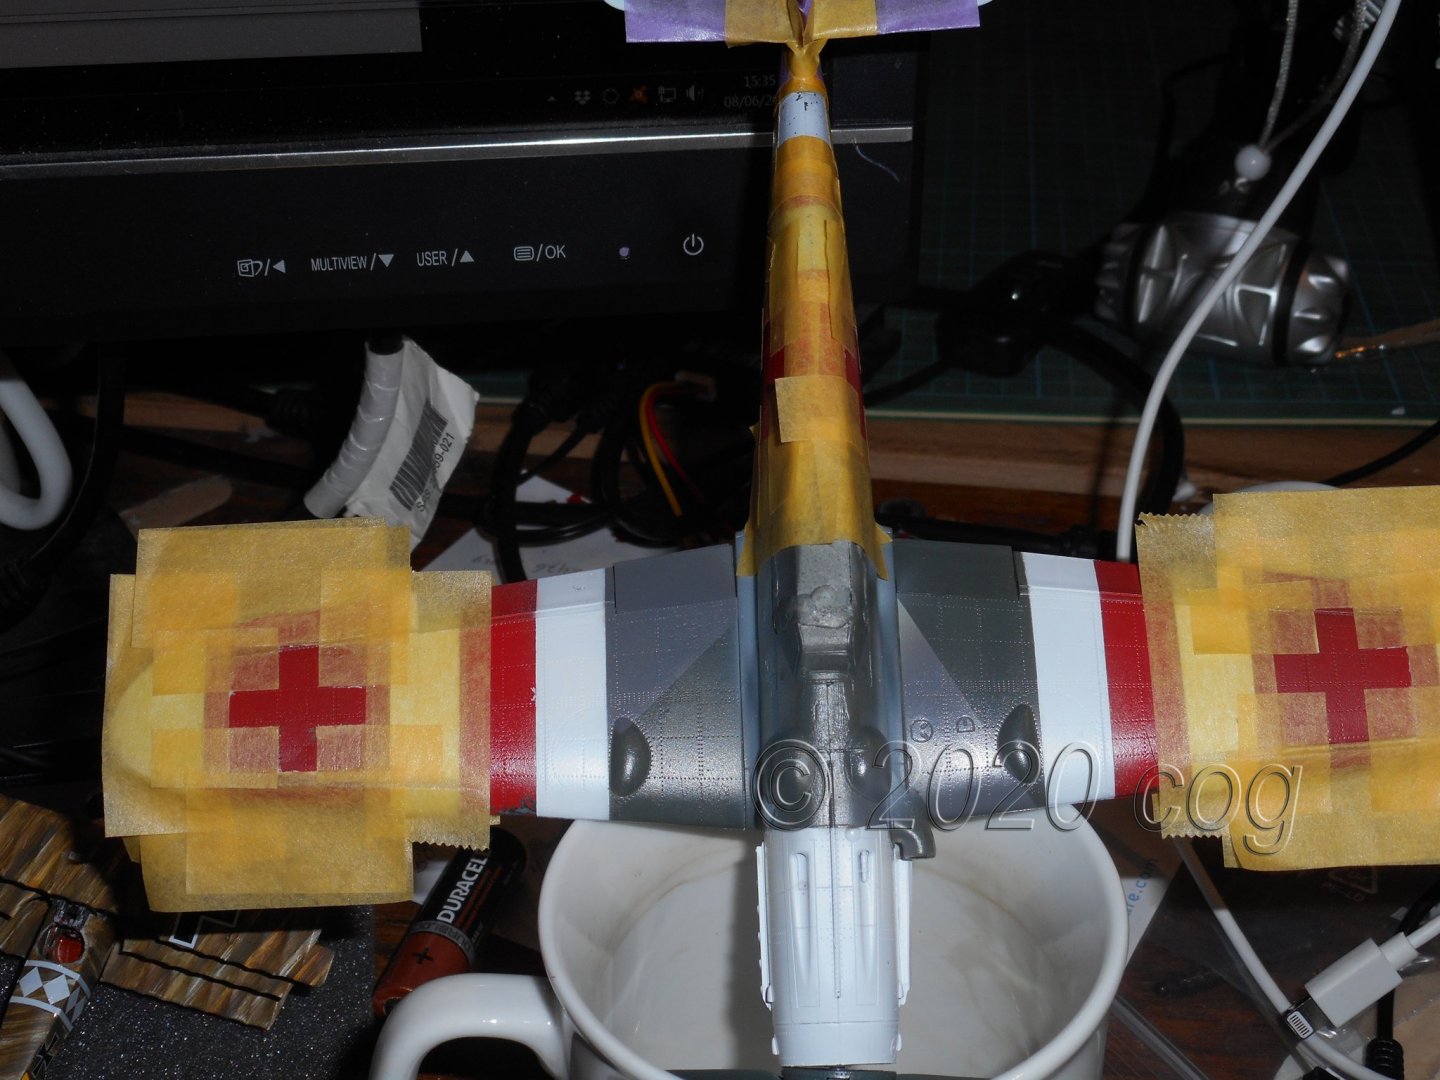
Messerschmitt bf 109G-6 by cog - Eduard - 1/48 - PLASTIC
cog replied to cog's topic in Non-ship/categorised builds
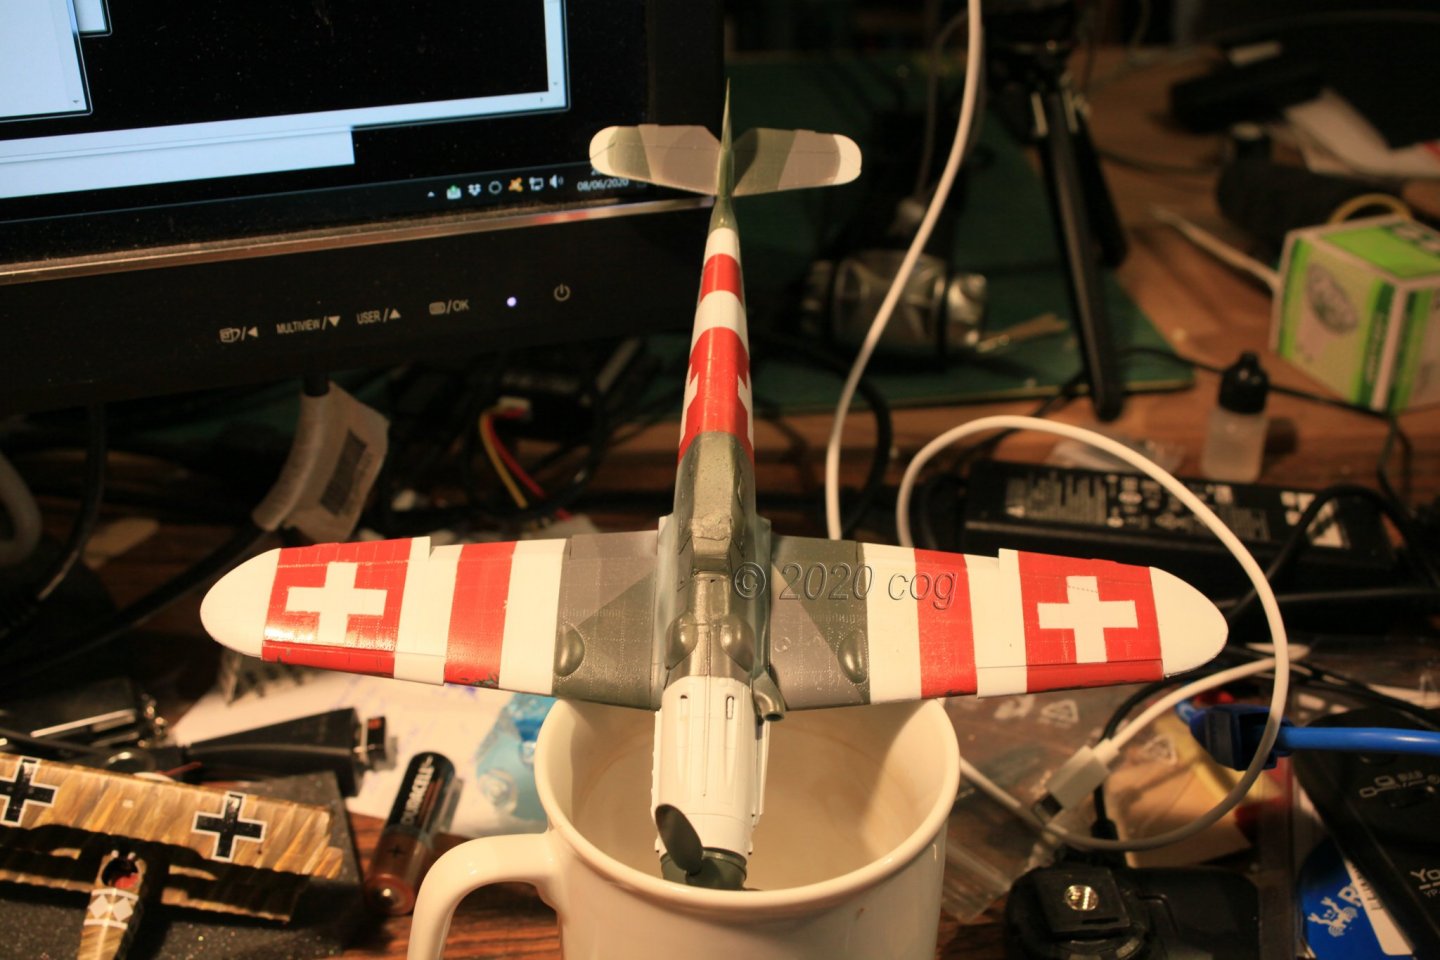
Hand masked the crosses ... it does take time .. and patience ... and airbrushed them
- 62 replies
-
- 11
-
-
Messerschmitt bf 109G-6 by cog - Eduard - 1/48 - PLASTIC
cog replied to cog's topic in Non-ship/categorised builds
Thanks for the likes and the comments. Mark, maybe I can have it make a corckscrew ... now that would be nice ... Mike, there is dessert camouflage (whipped cream, lemon icing, the usual ) in the planning, still have another one of these birdies in the box -
Spitfire Mk IXc - FINISHED - by cog - Eduard - 1/72 - PE & PLASTIC
cog replied to cog's topic in Non-ship/categorised builds
Thanks for the likes and your appreciation gents -
Lovely work, Johann
-
Spitfire Mk IXc - FINISHED - by cog - Eduard - 1/72 - PE & PLASTIC
cog replied to cog's topic in Non-ship/categorised builds
Thanks Harley, a bit steep on the praise... -
Some things you just cannot put on before hand, e.g. stairs coming down to a wooden deck you glue on after painting
-
Messerschmitt bf 109G-6 by cog - Eduard - 1/48 - PLASTIC
cog replied to cog's topic in Non-ship/categorised builds
Getting somewhere ...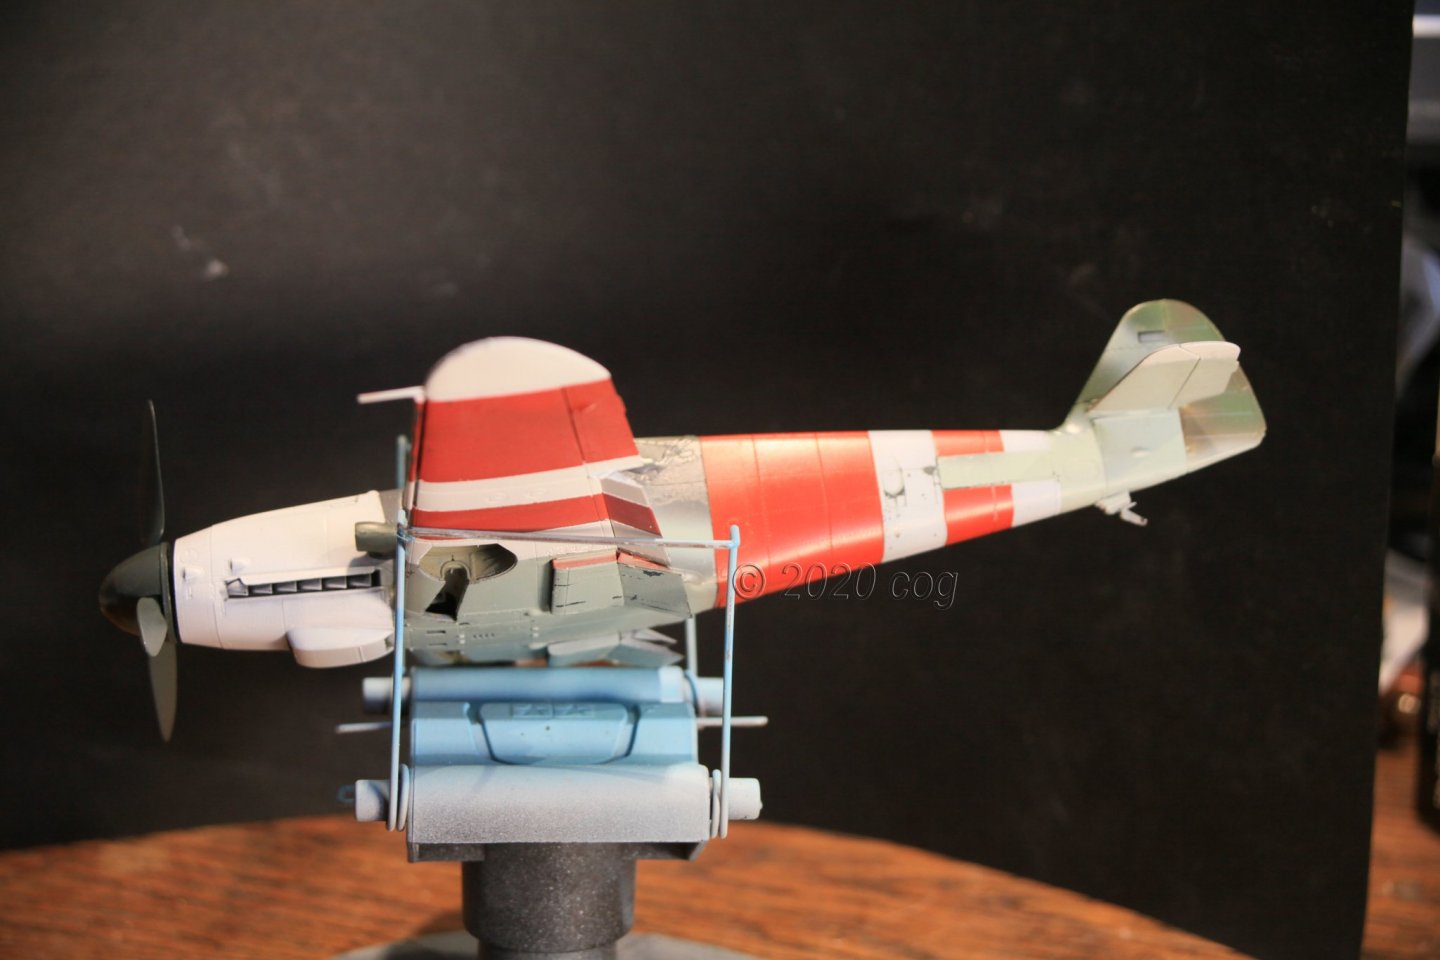

- 62 replies
-
- 10
-
-
Spitfire Mk IXc - FINISHED - by cog - Eduard - 1/72 - PE & PLASTIC
cog replied to cog's topic in Non-ship/categorised builds
I've got one in my stash, Kevin. Invcluding engine, and cockpit detailup sets, or in Eudard terms BRASSIN sets. Now over to a 1/48 BF 109G-6 I am working on -
Spitfire Mk IXc - FINISHED - by cog - Eduard - 1/72 - PE & PLASTIC
cog replied to cog's topic in Non-ship/categorised builds
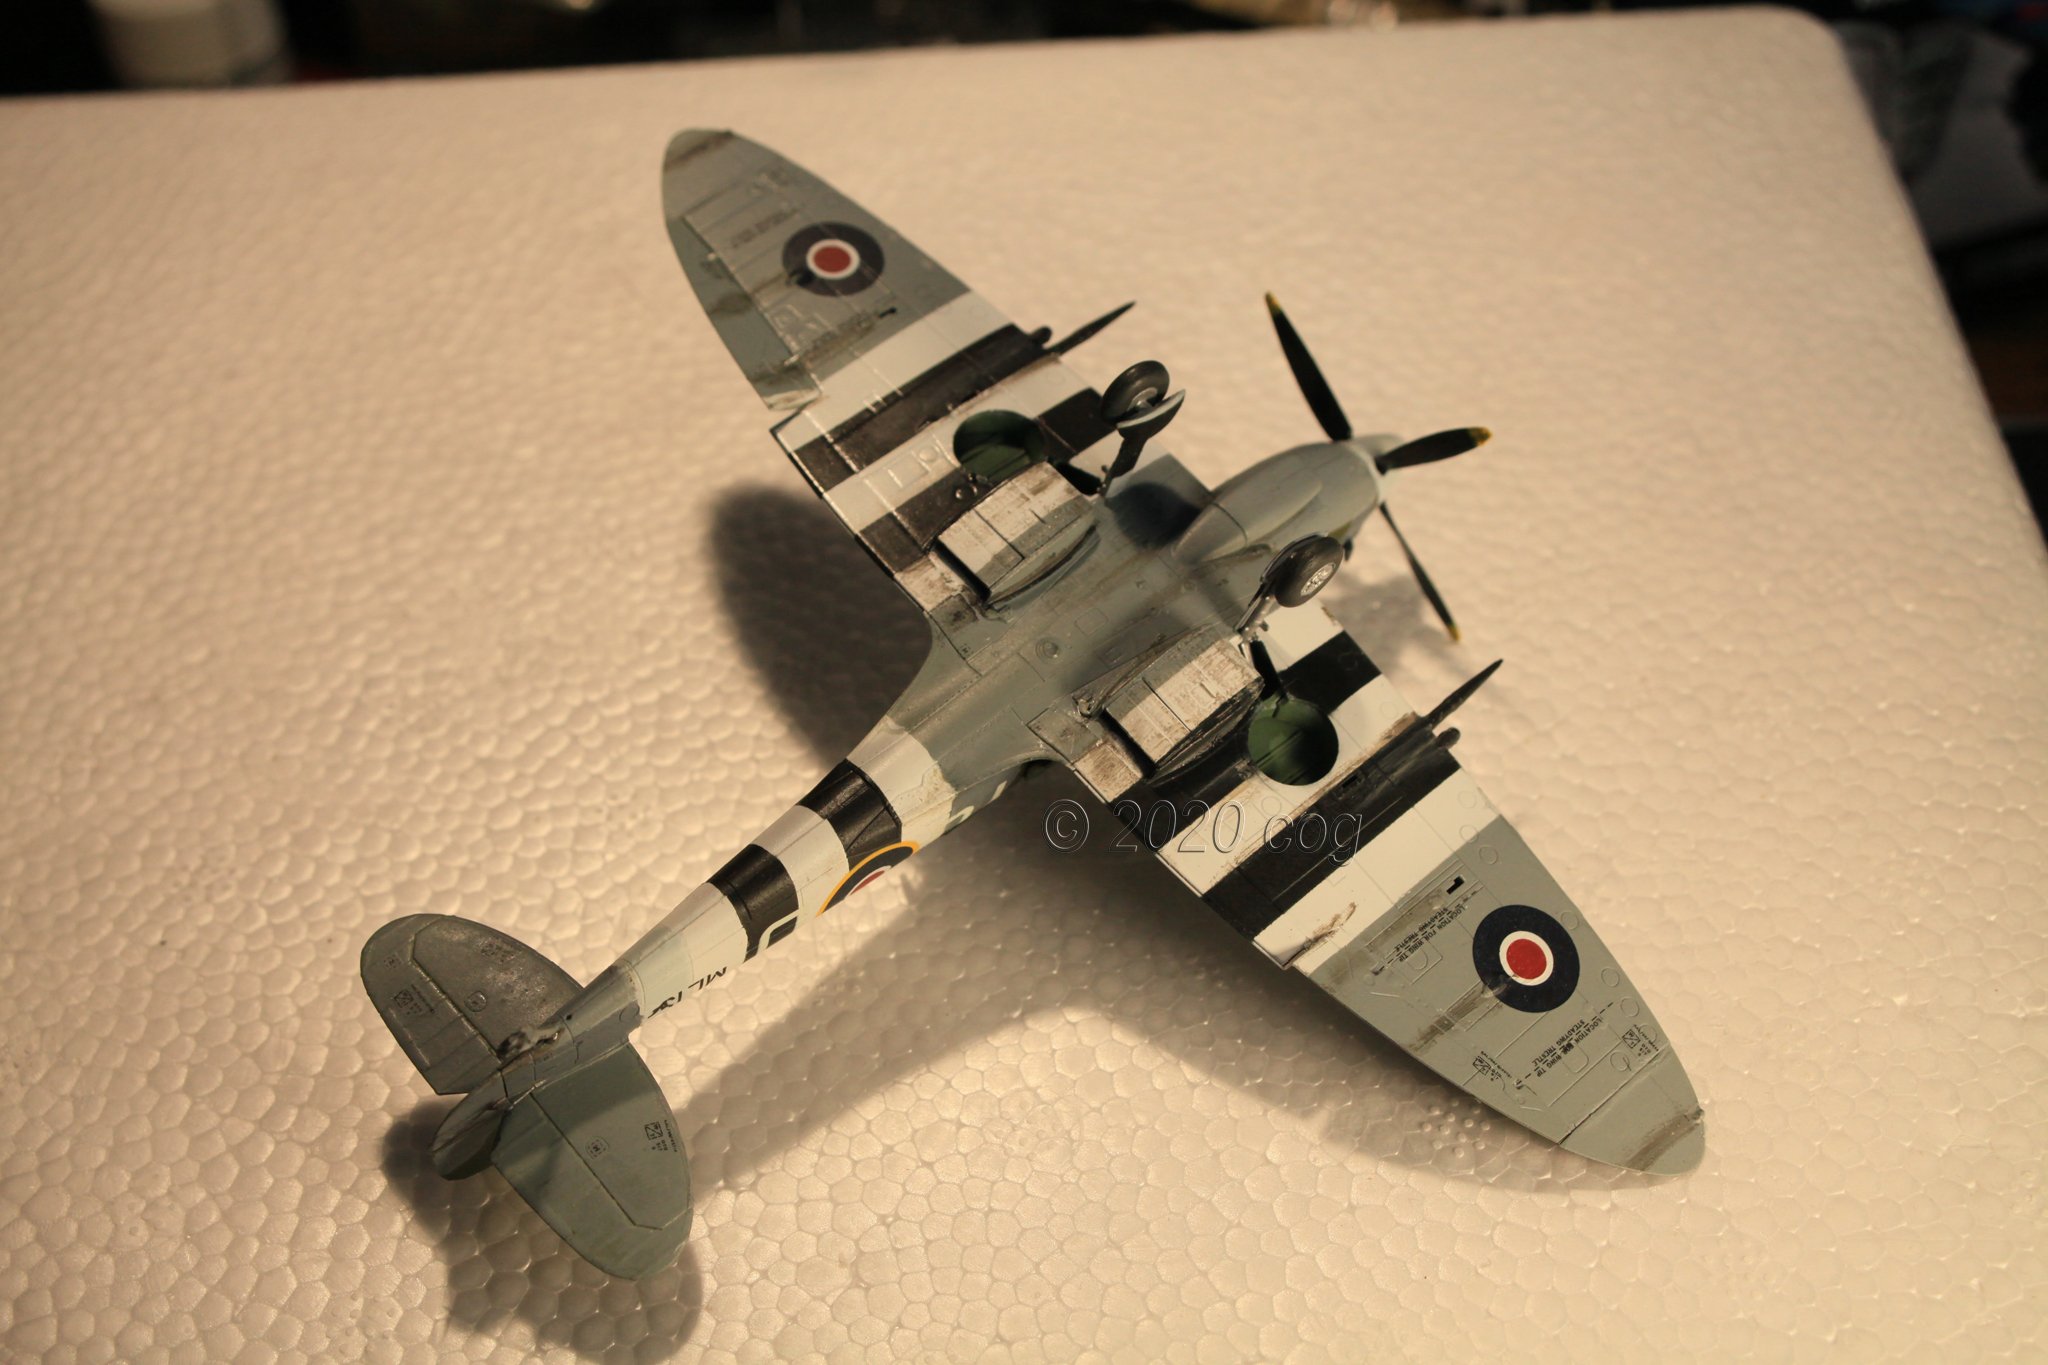
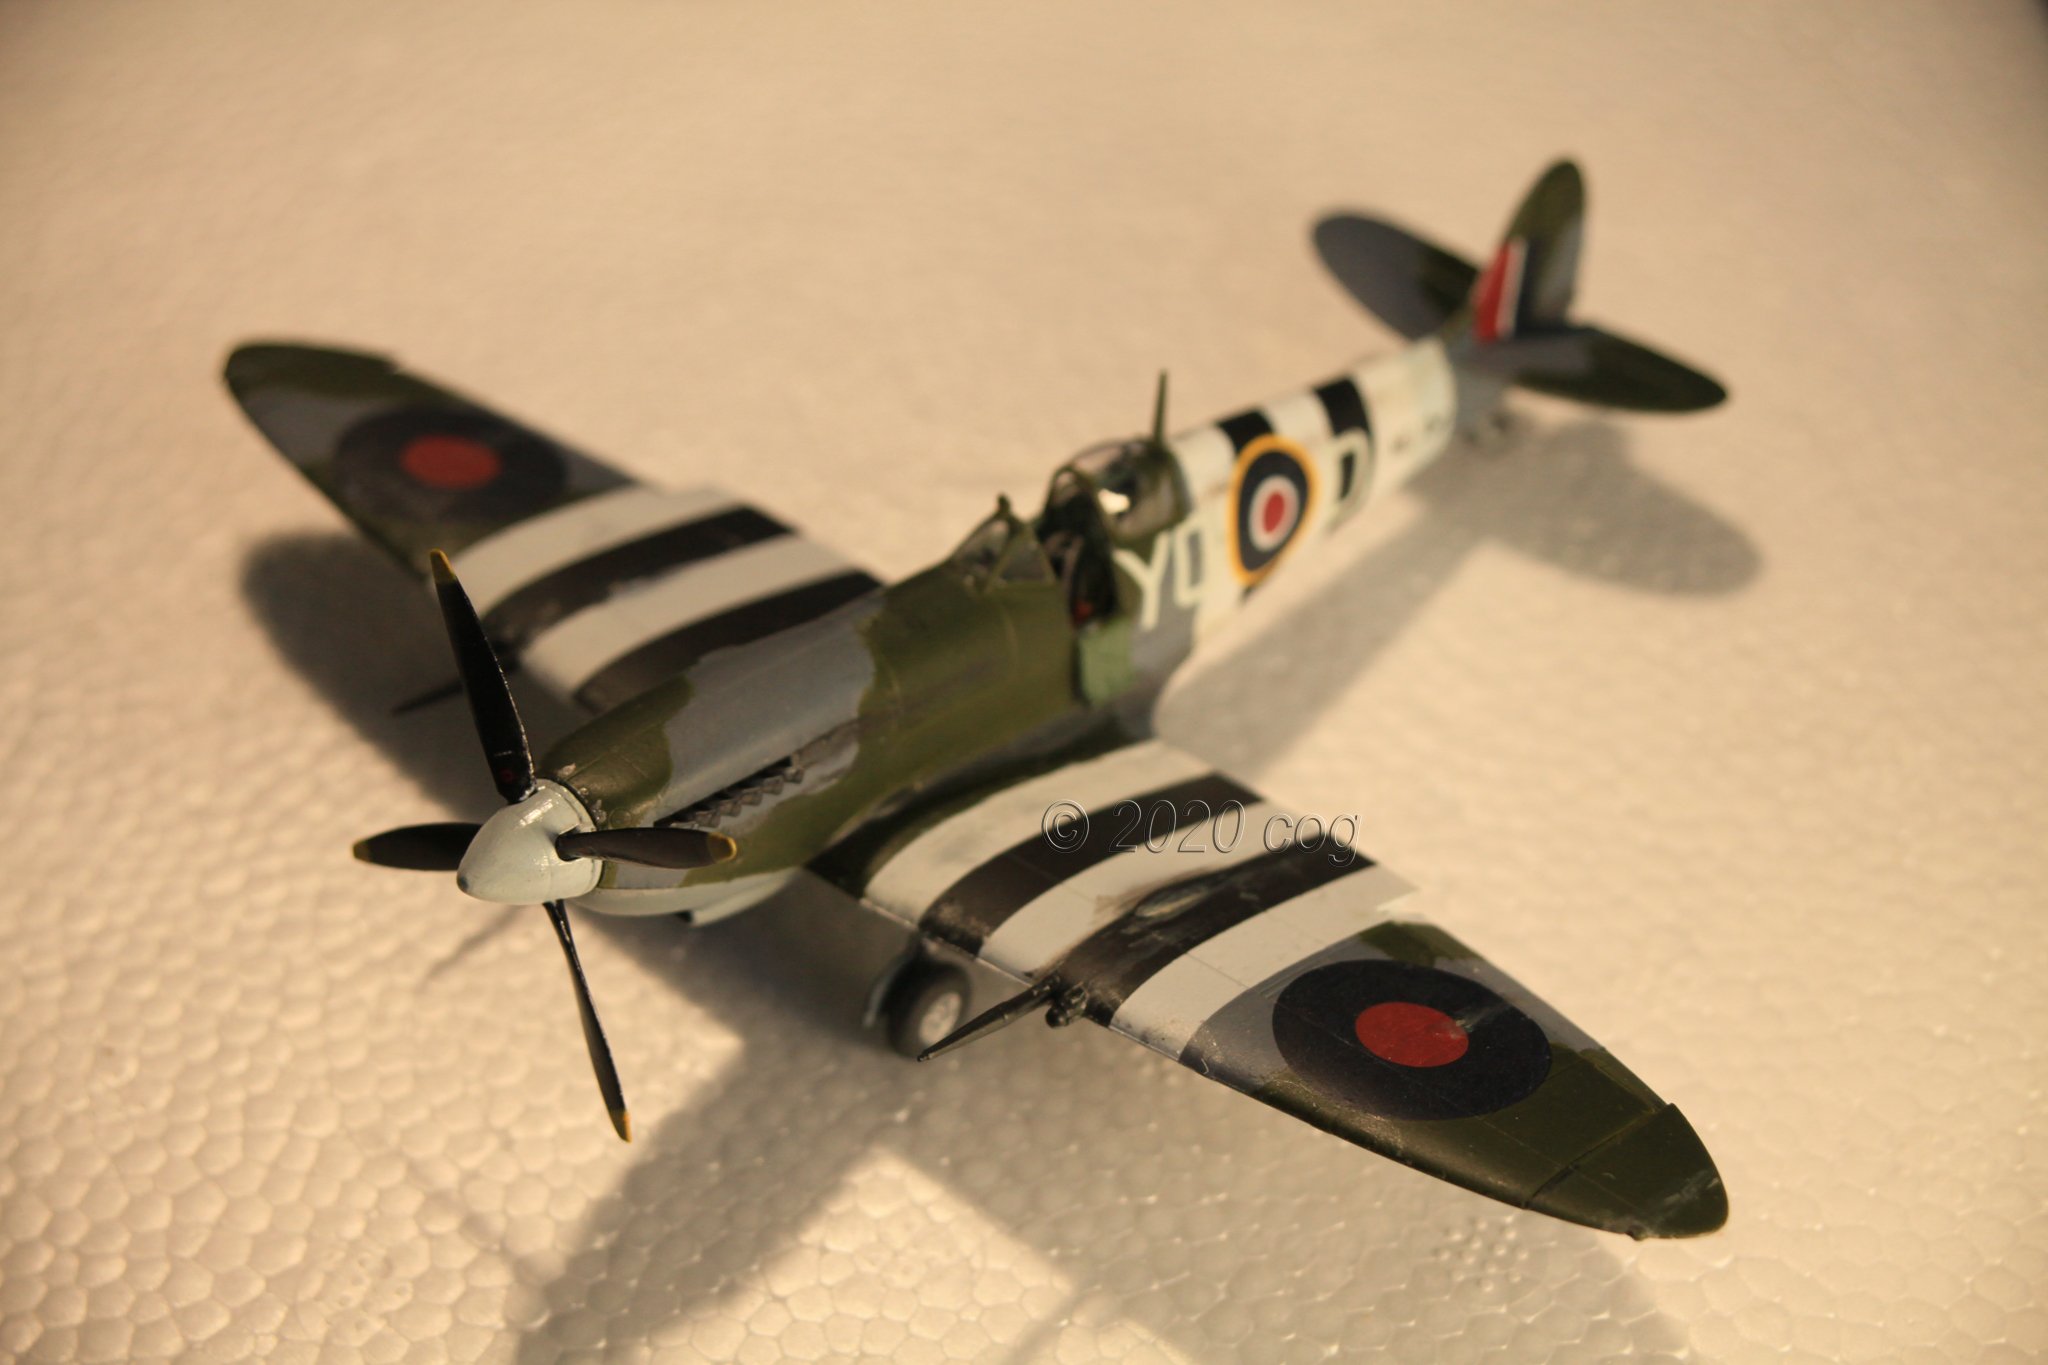
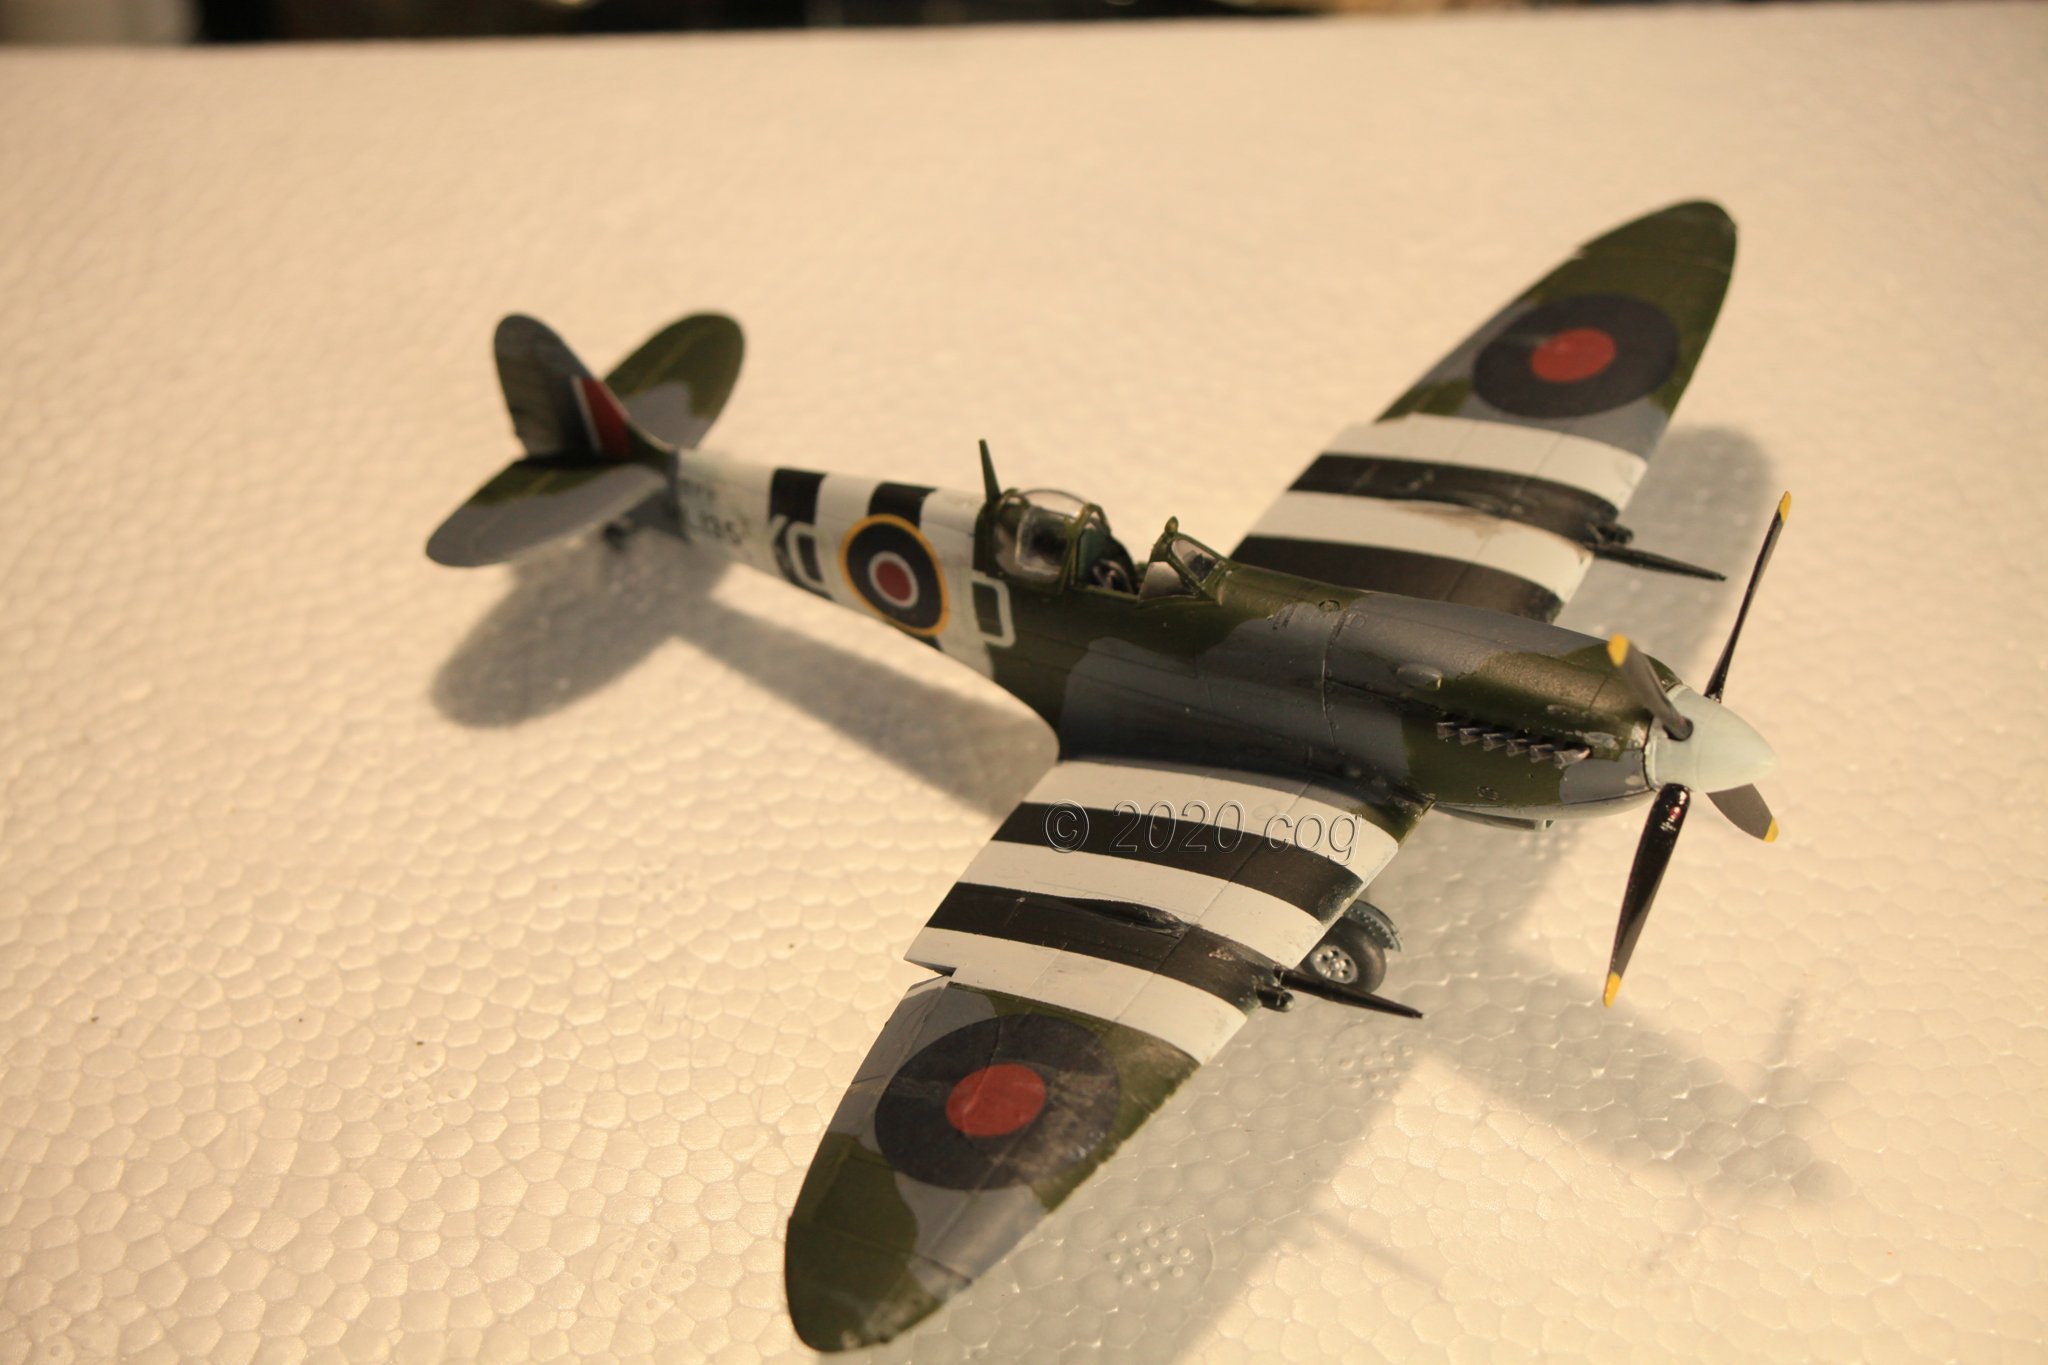
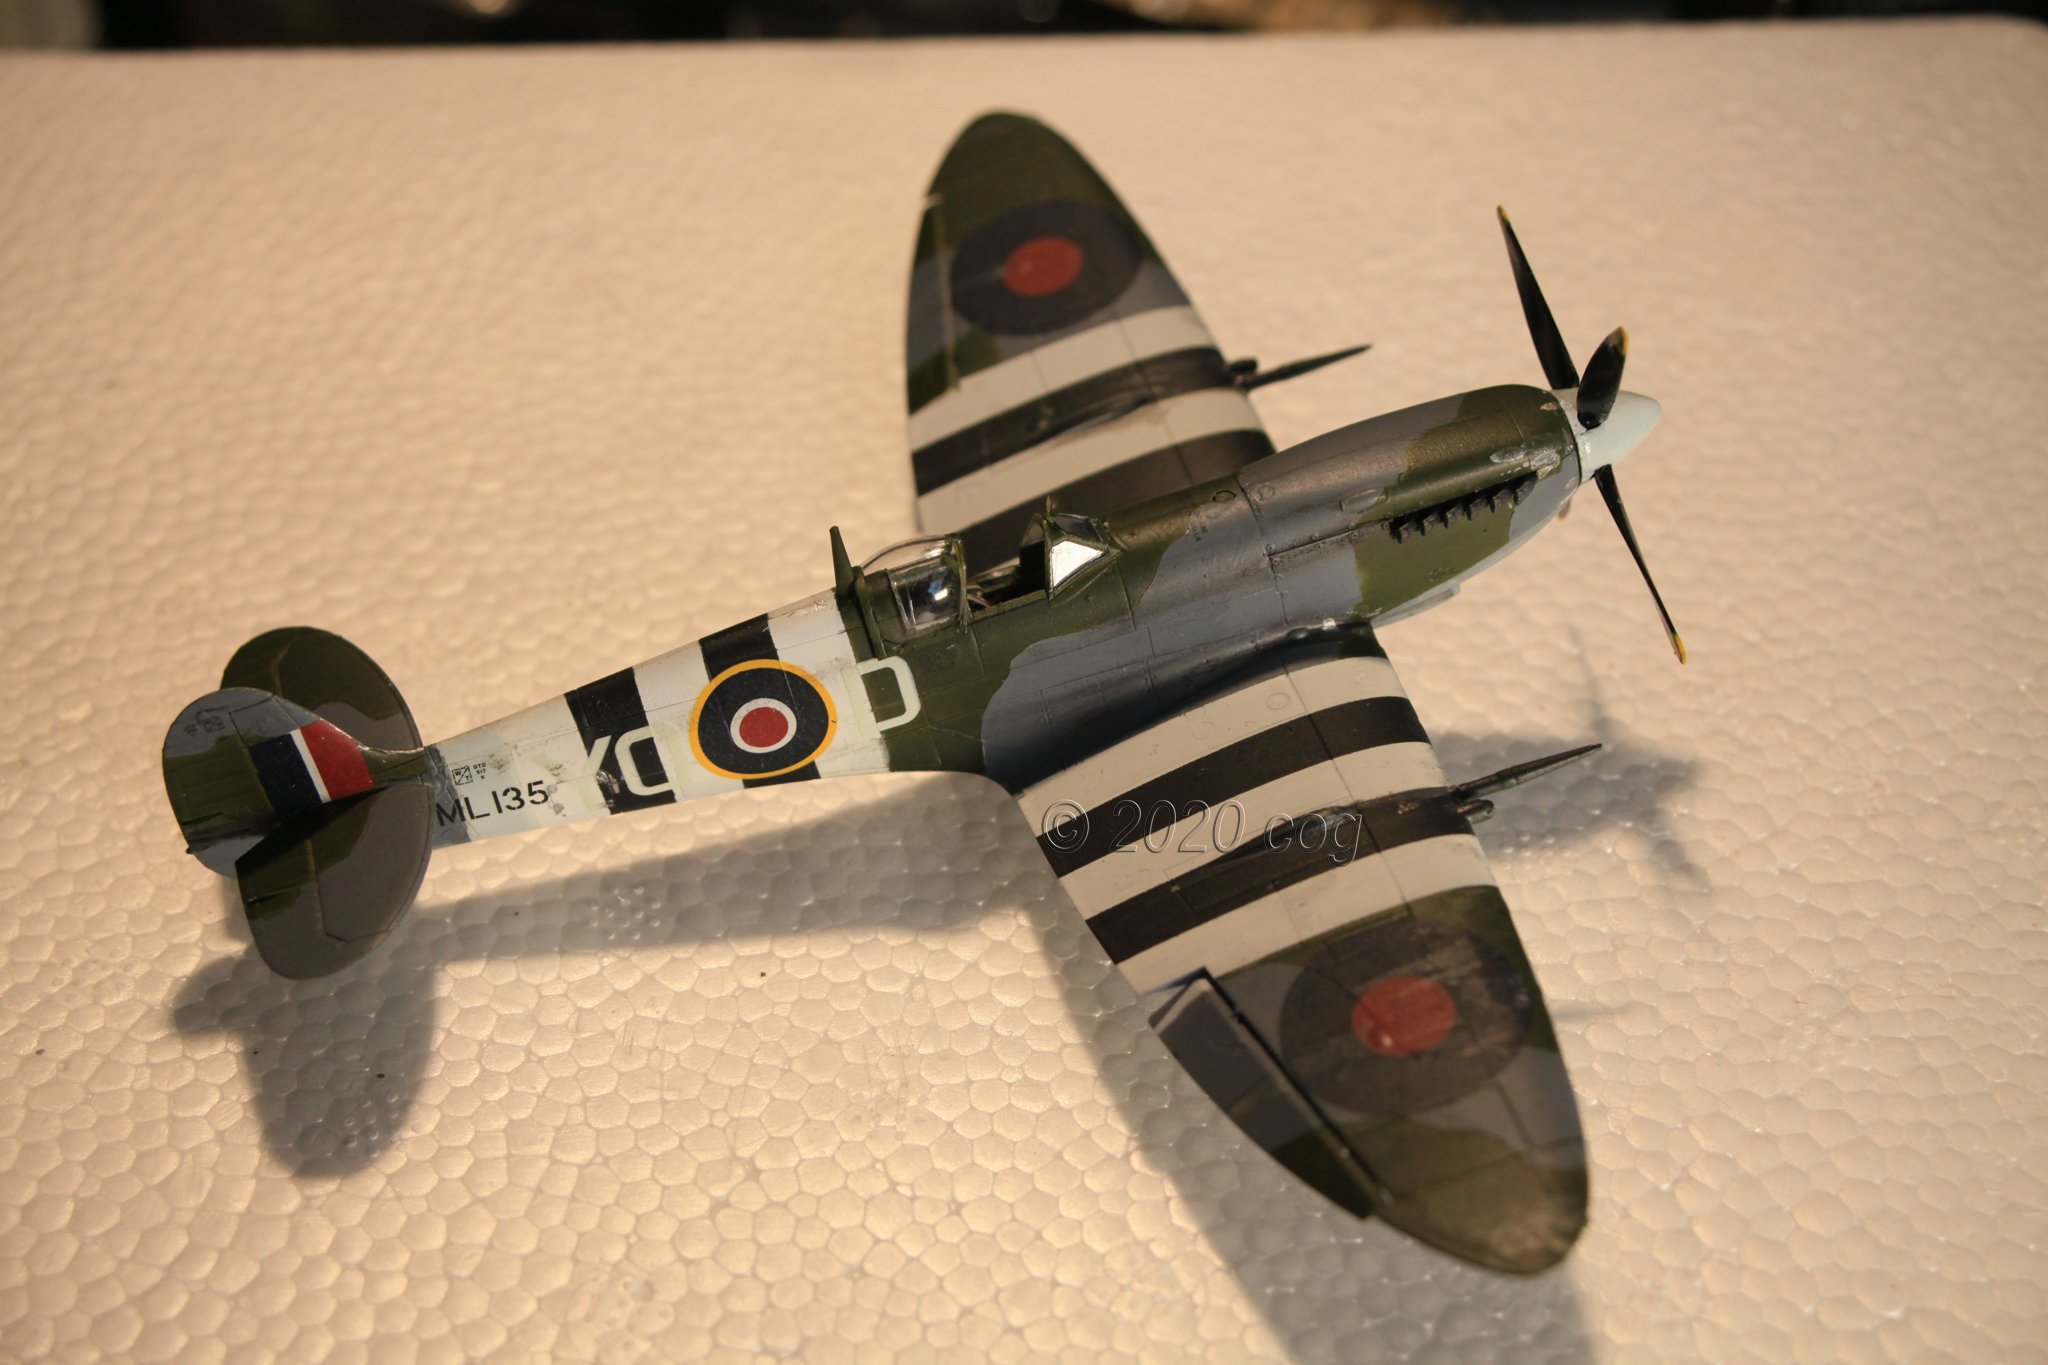
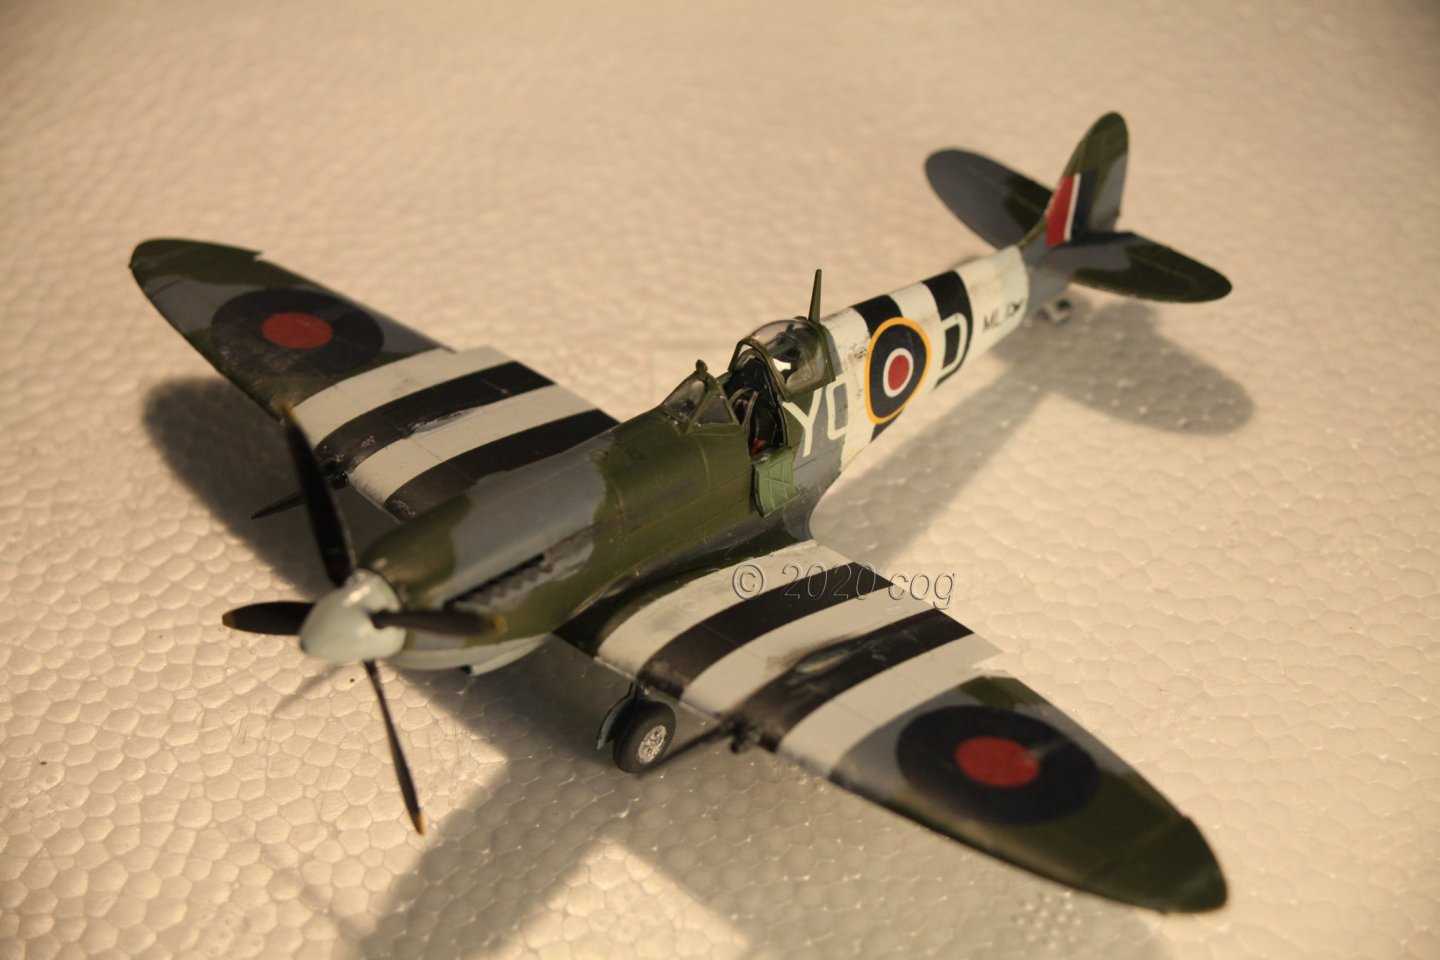
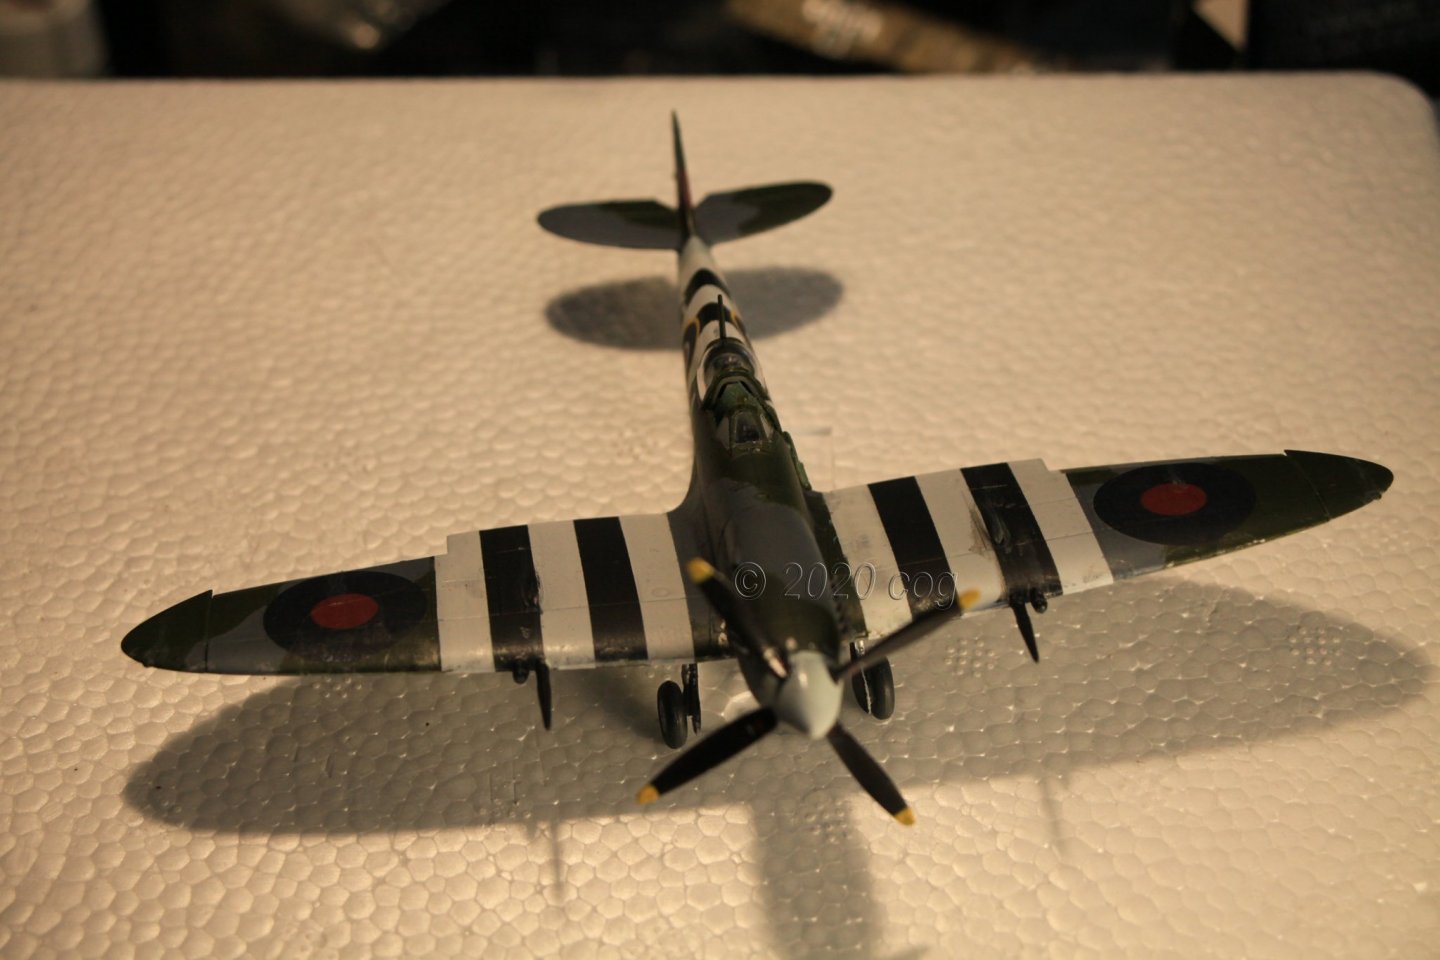
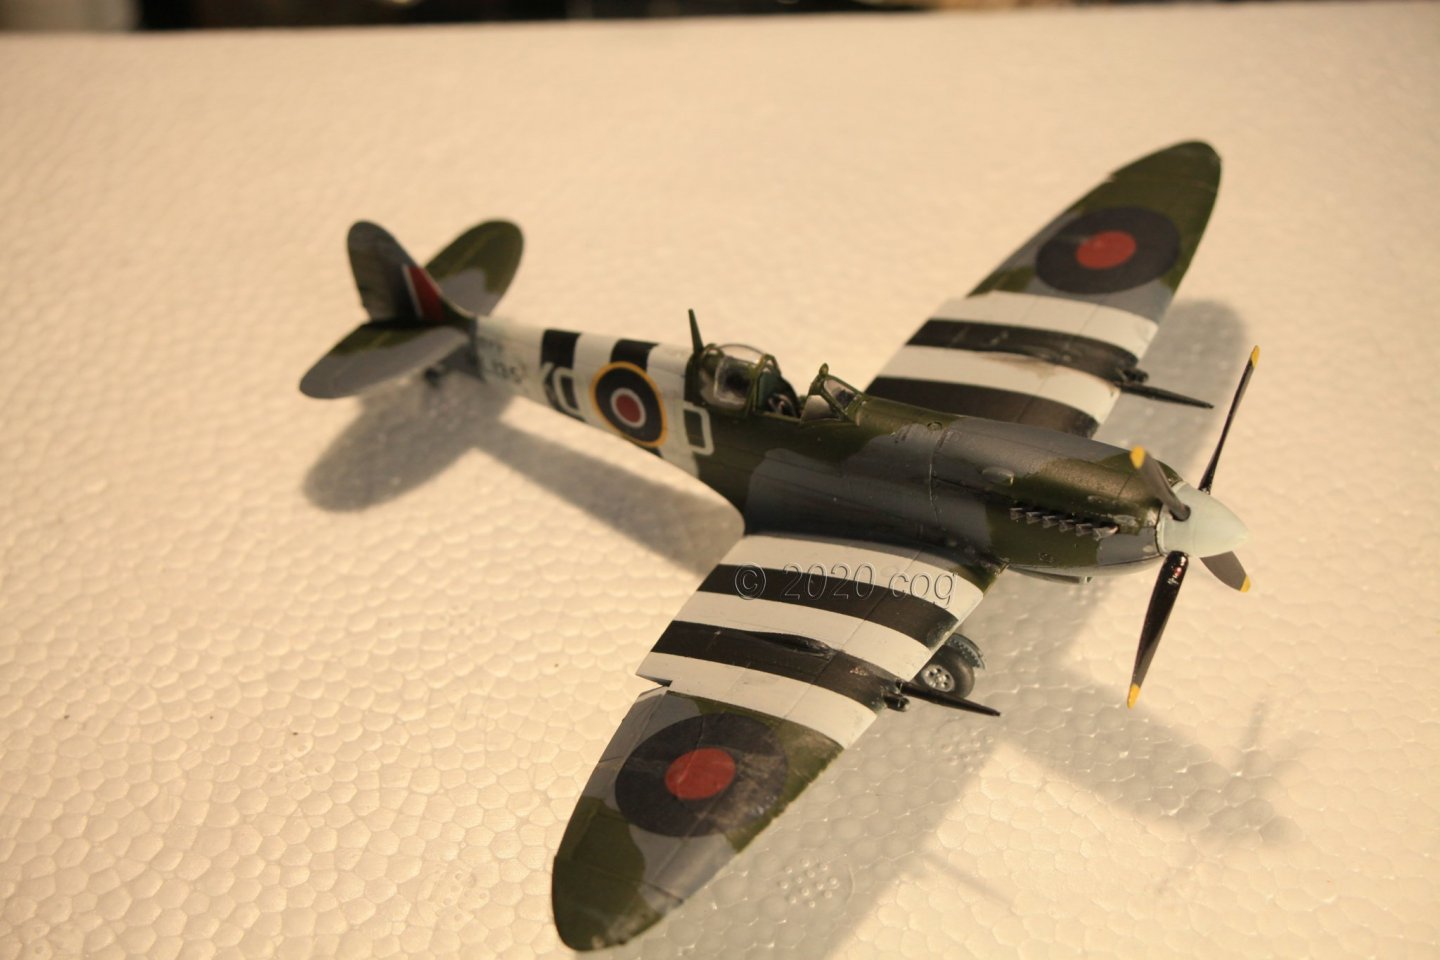
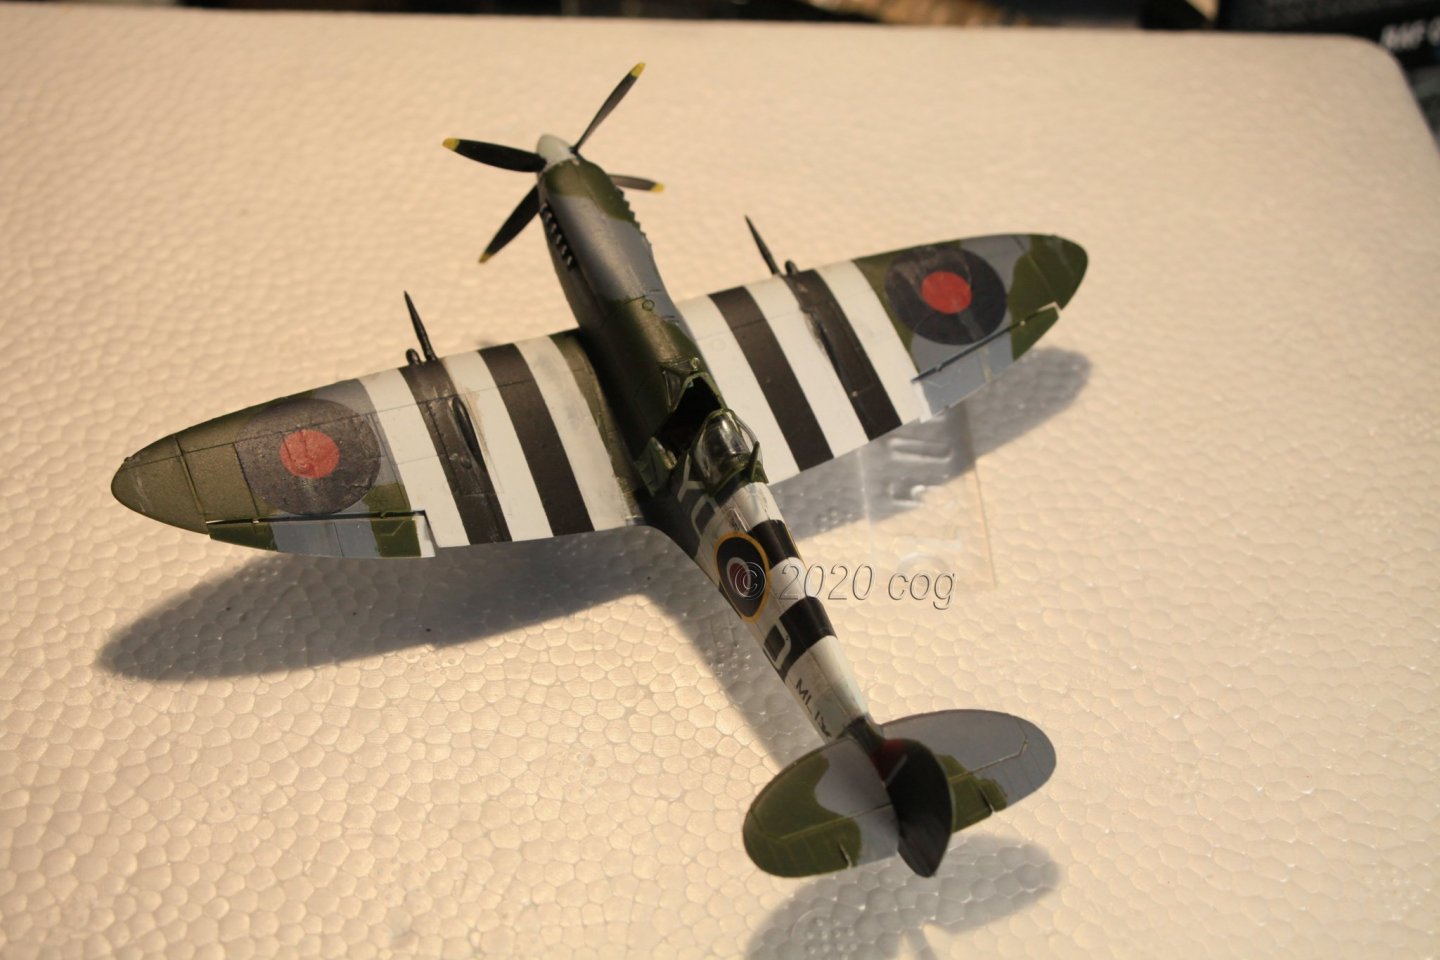
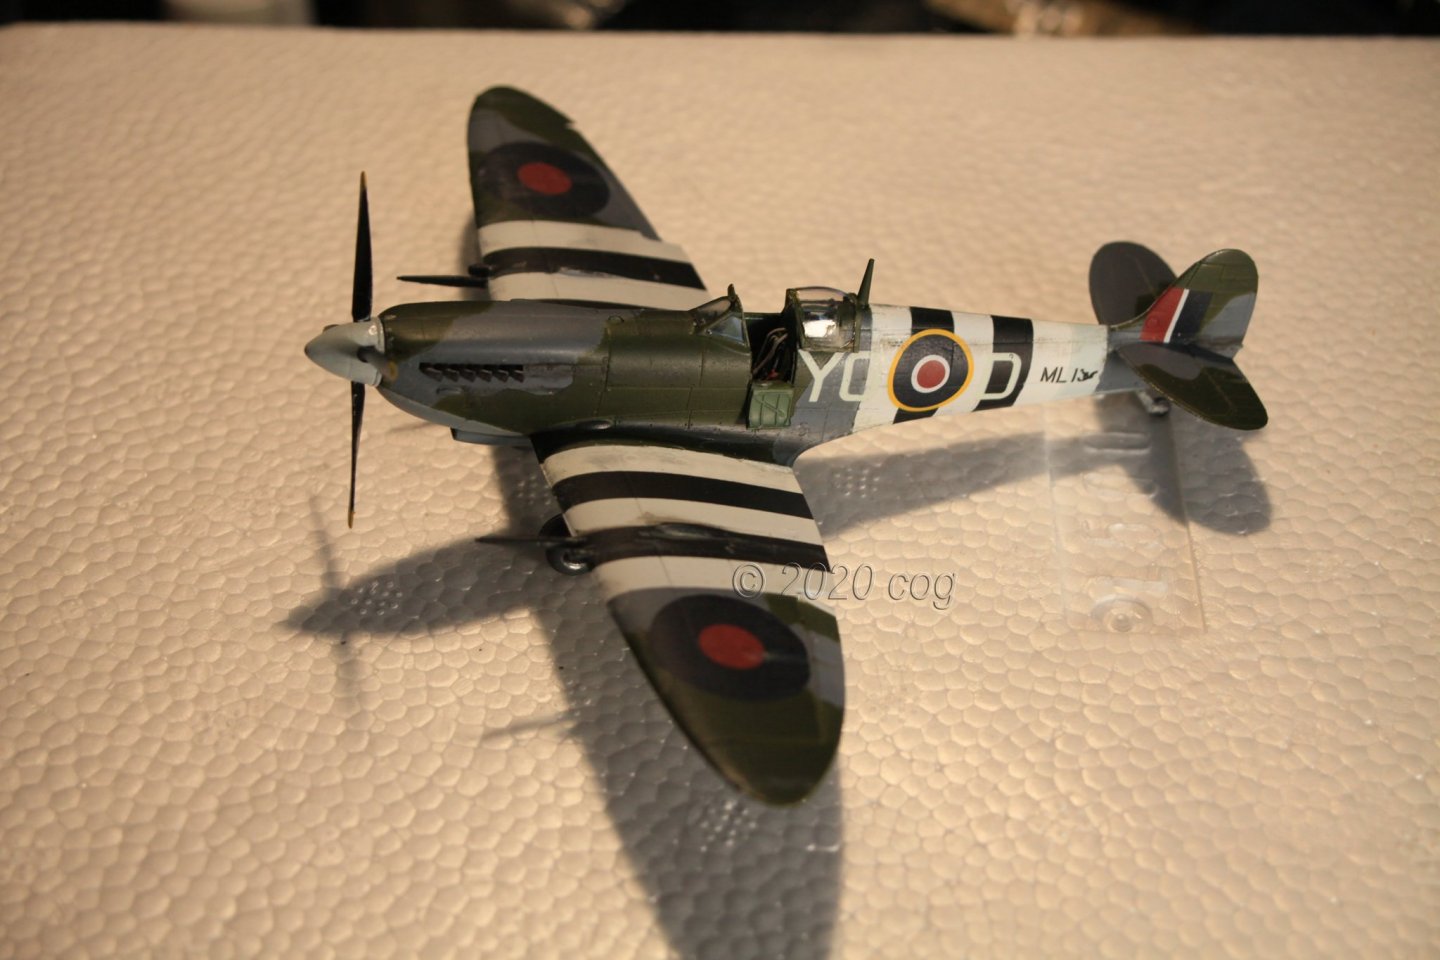
Thank you all for all the likes and comments during the build it has been greatly appreciated! Now for the last leg ... Weathered, afther that, sprayed a layer of satin varnish, unfortunately it looks more like matt, added some last clear parts ... Nearly forgot: The kit is meant to be built with a stationary prop, which I changed to a rotating version Next one ... finish the Bf 109G-6 in Swiss colours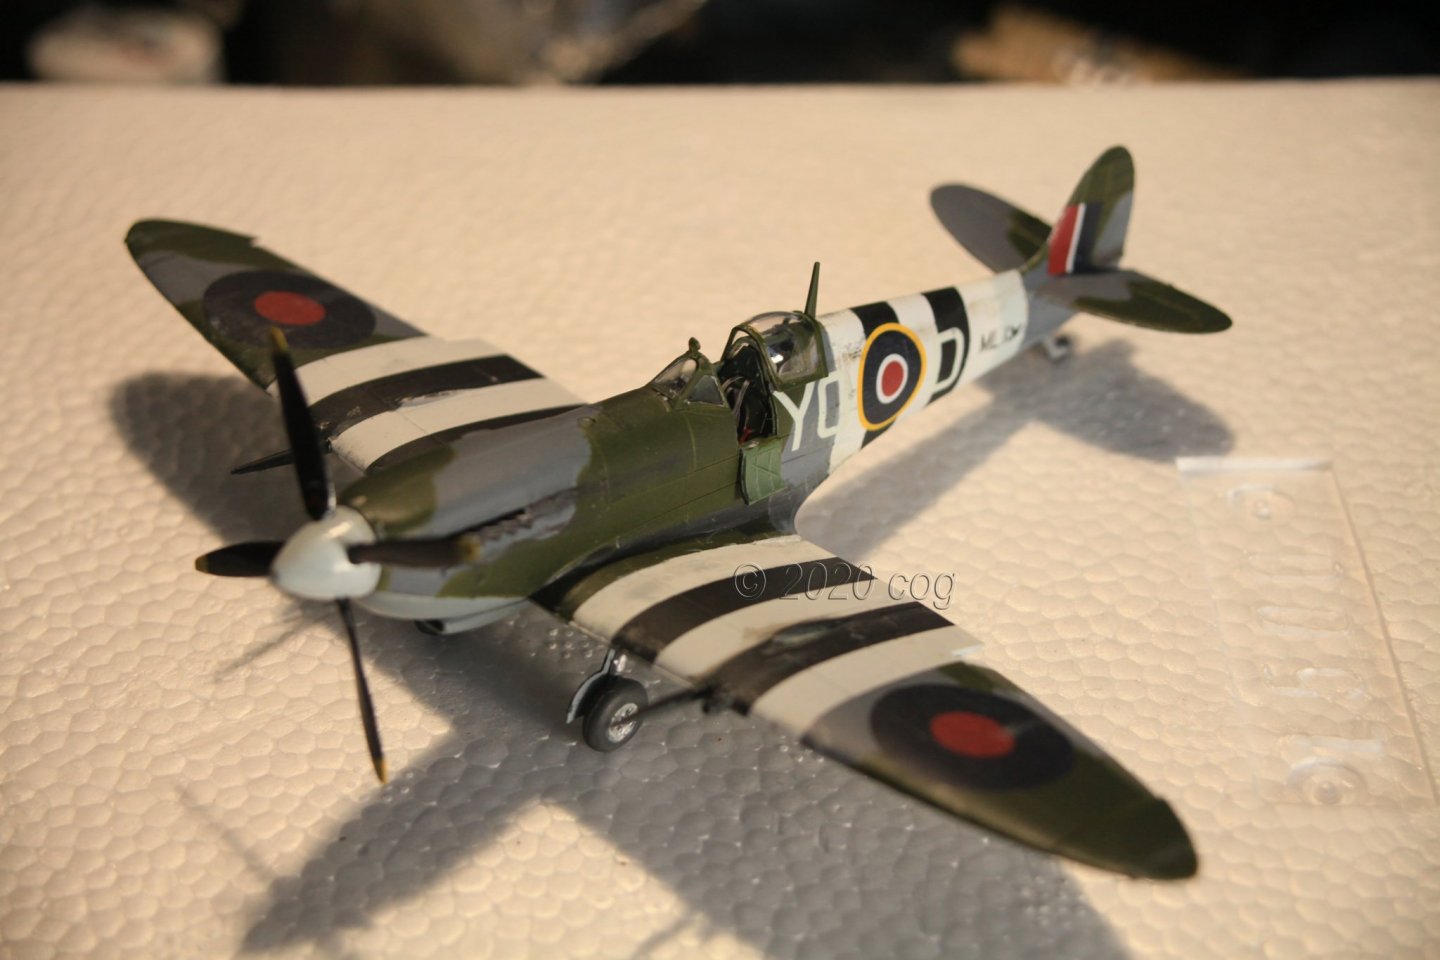


- 46 replies
-
- 13
-
-
OC I use a stick up it's nose with a lot of bluetack to hold the plane, in that way I can twist and turn the body and wings any which way I want