cog
-
Posts
8,764 -
Joined
Content Type
Profiles
Forums
Gallery
Events
Everything posted by cog
-

Spitfire Mk IXc - FINISHED - by cog - Eduard - 1/72 - PE & PLASTIC
cog replied to cog's topic in Non-ship/categorised builds
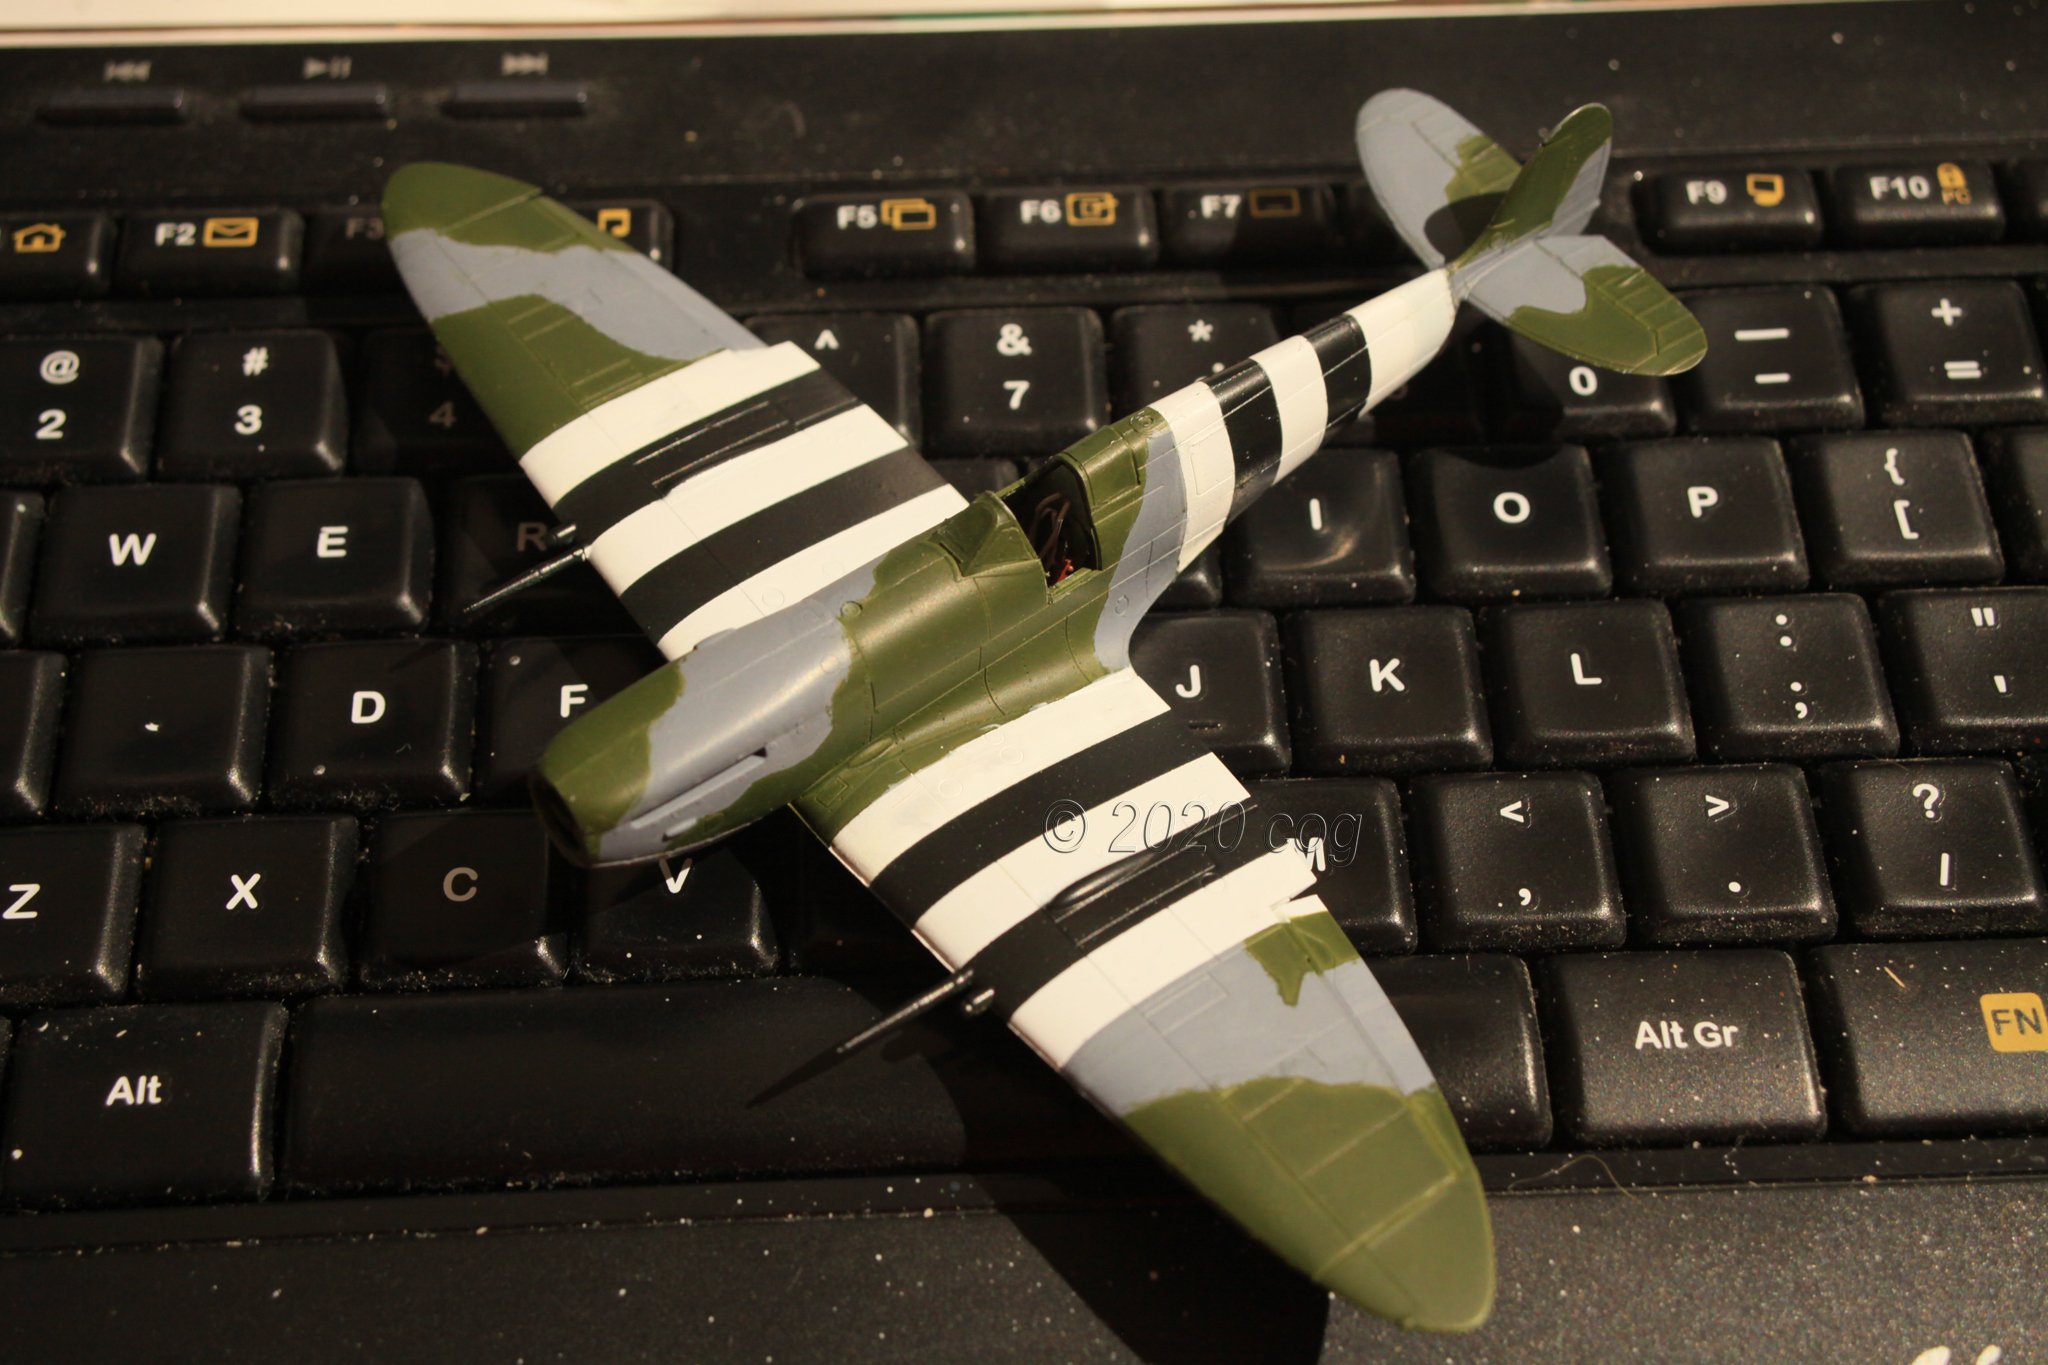
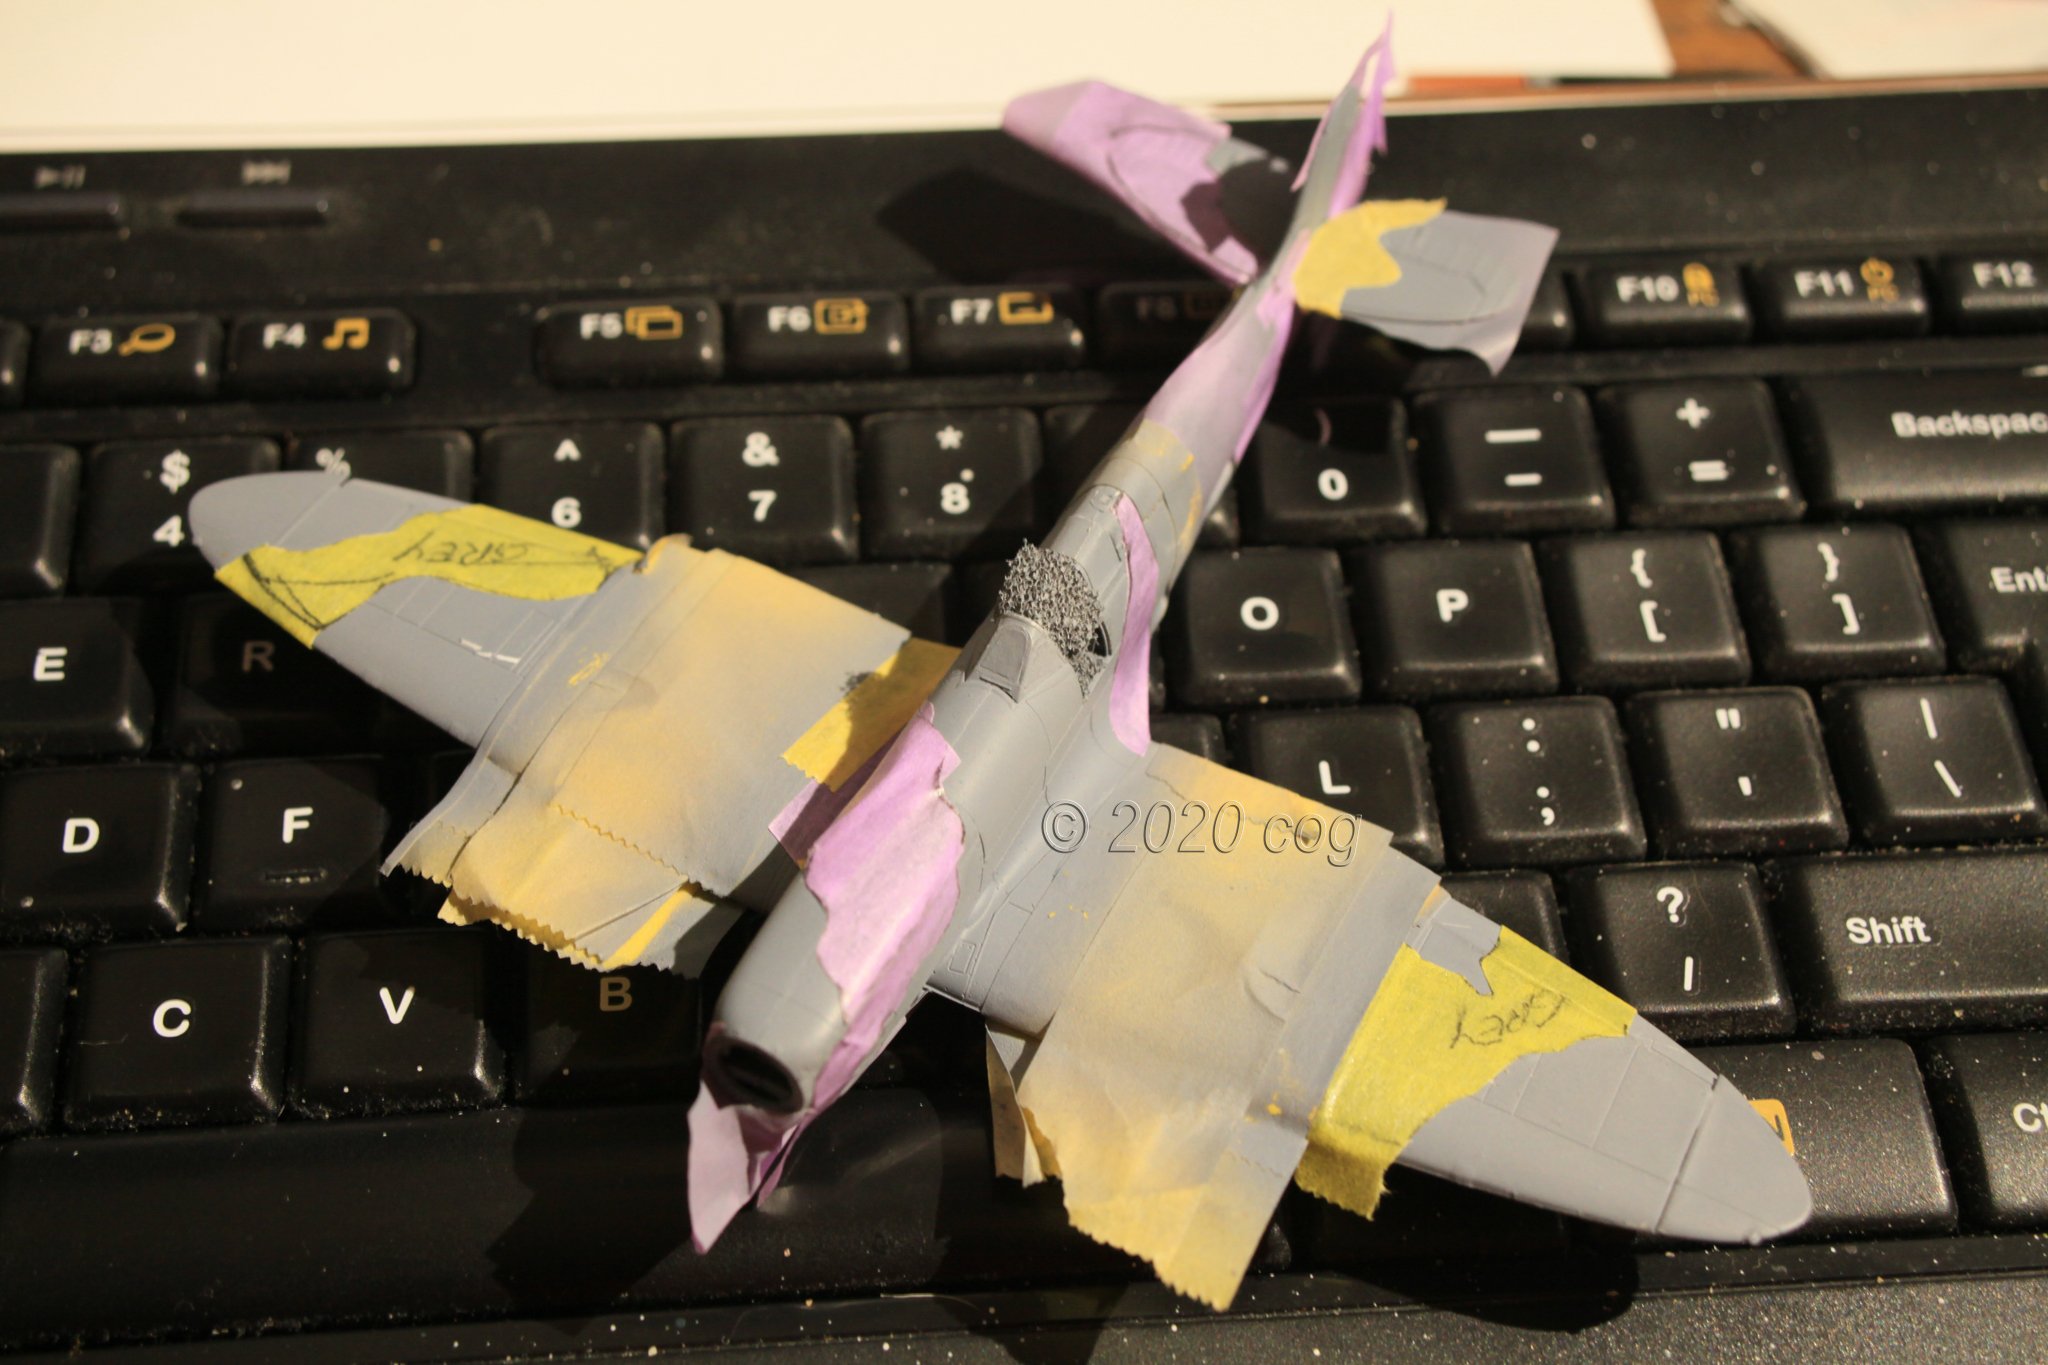
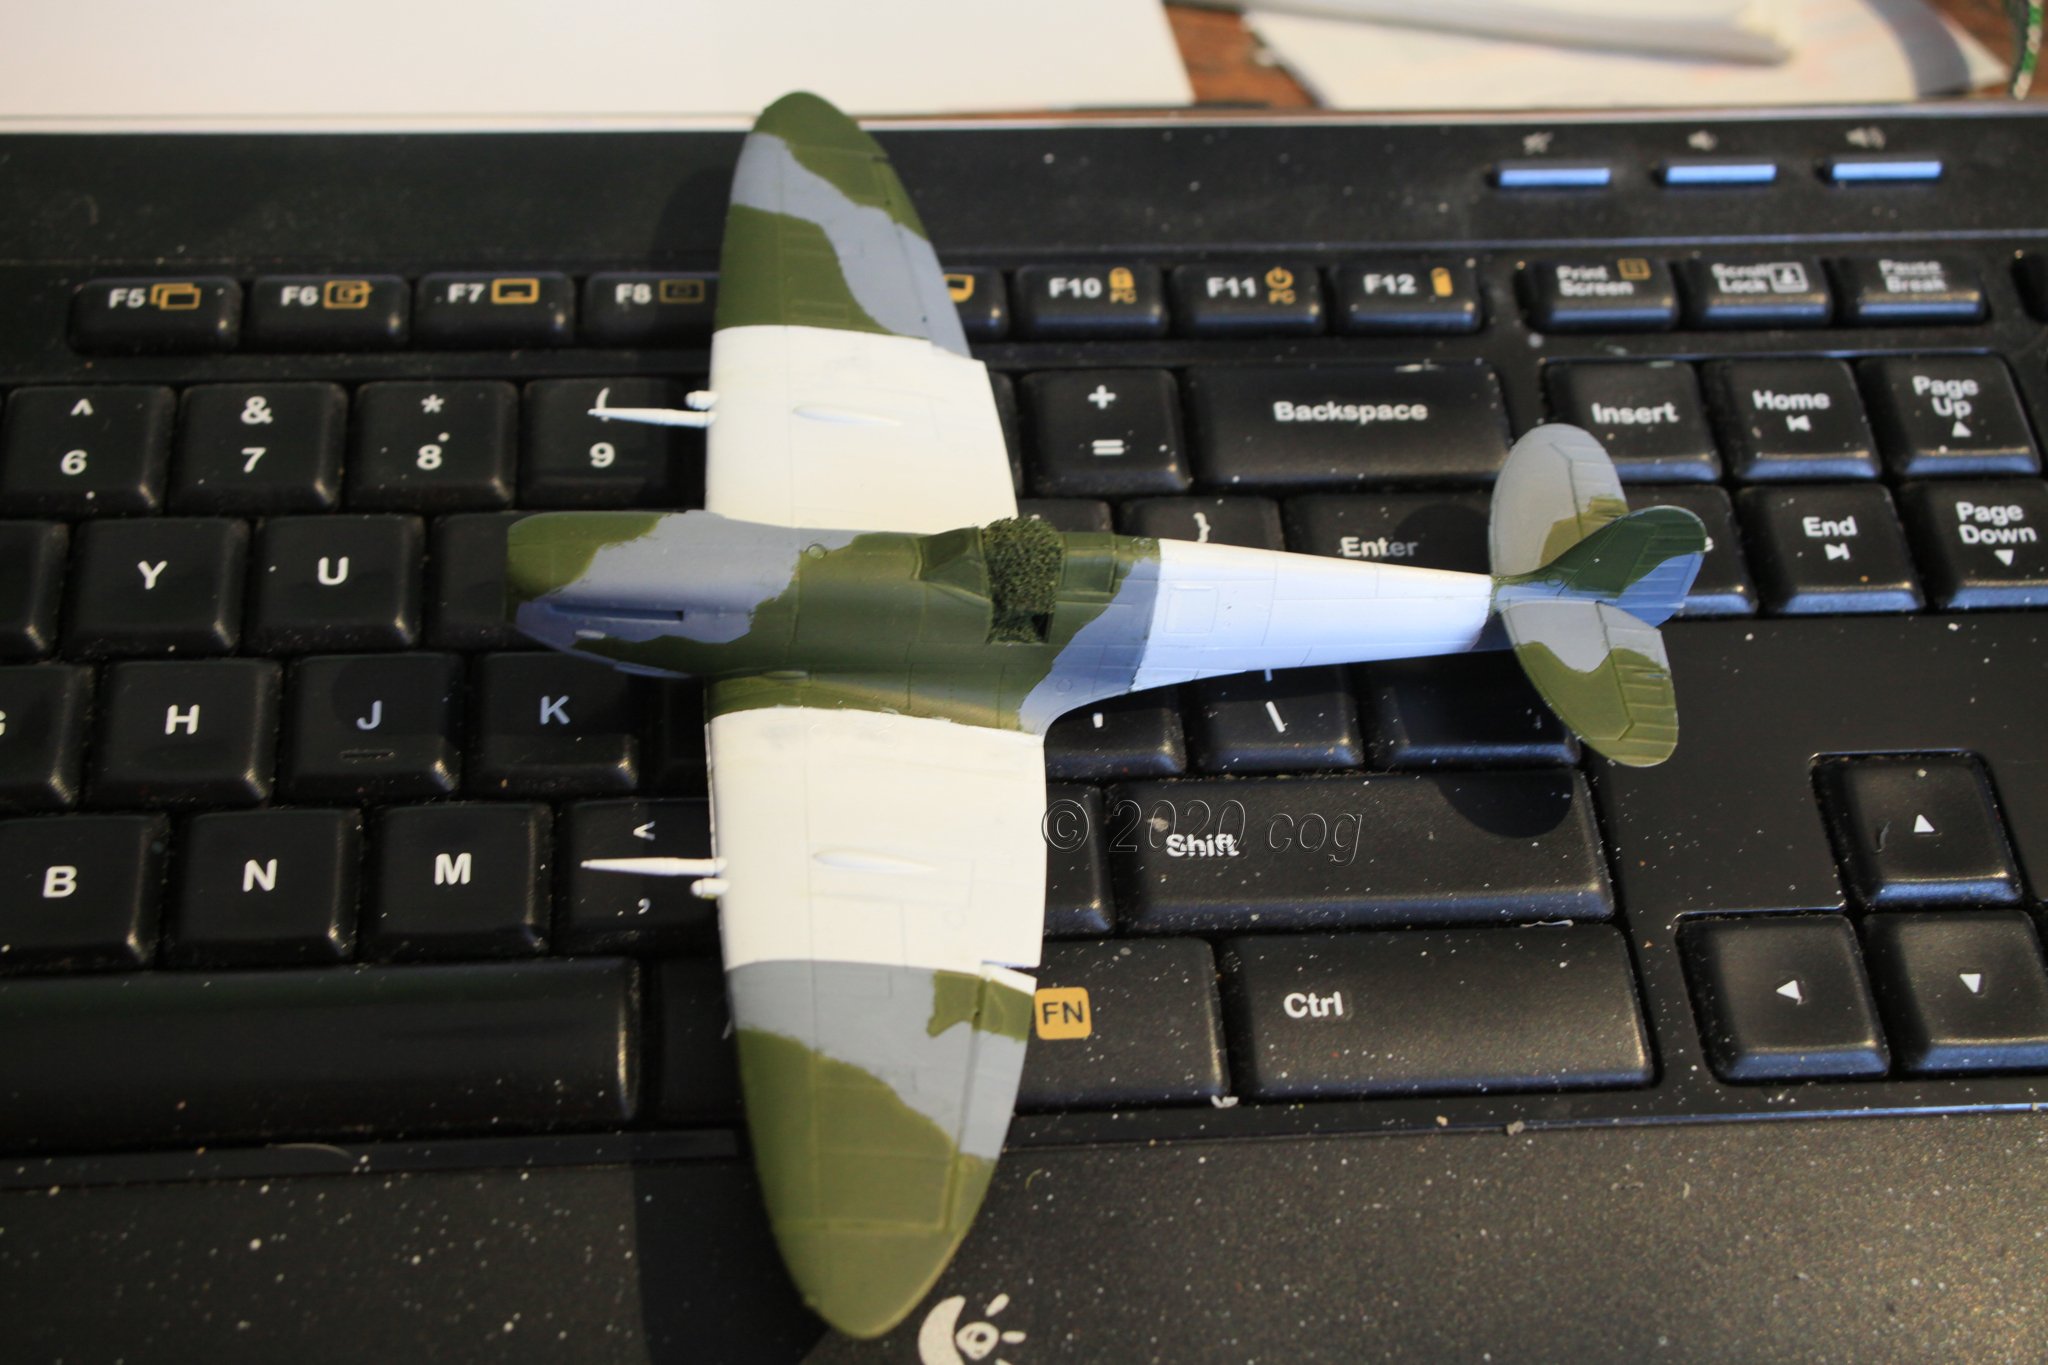
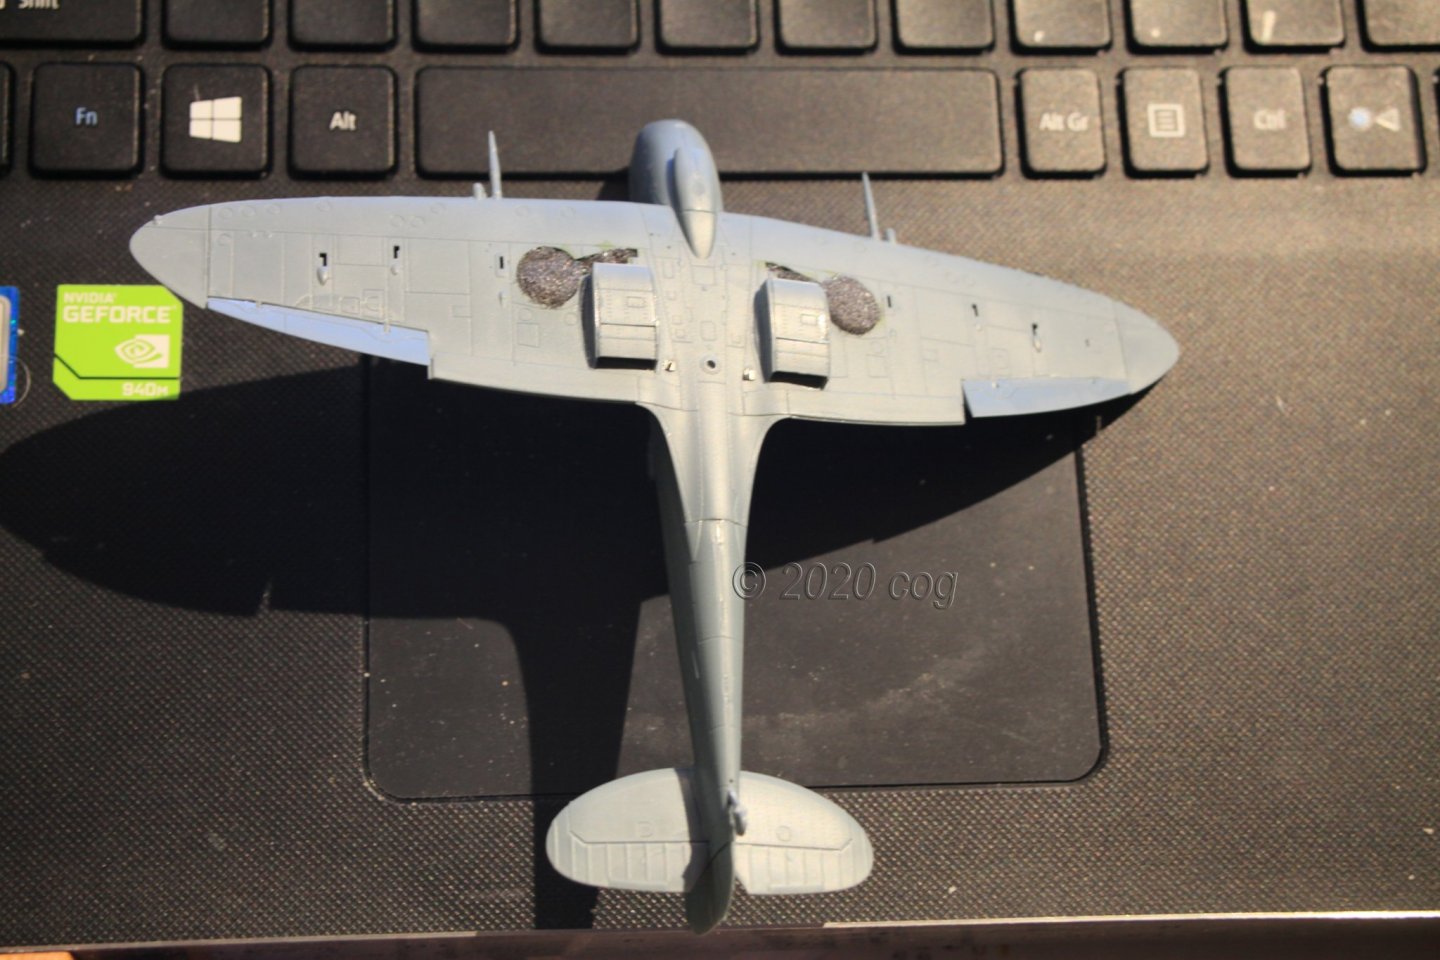
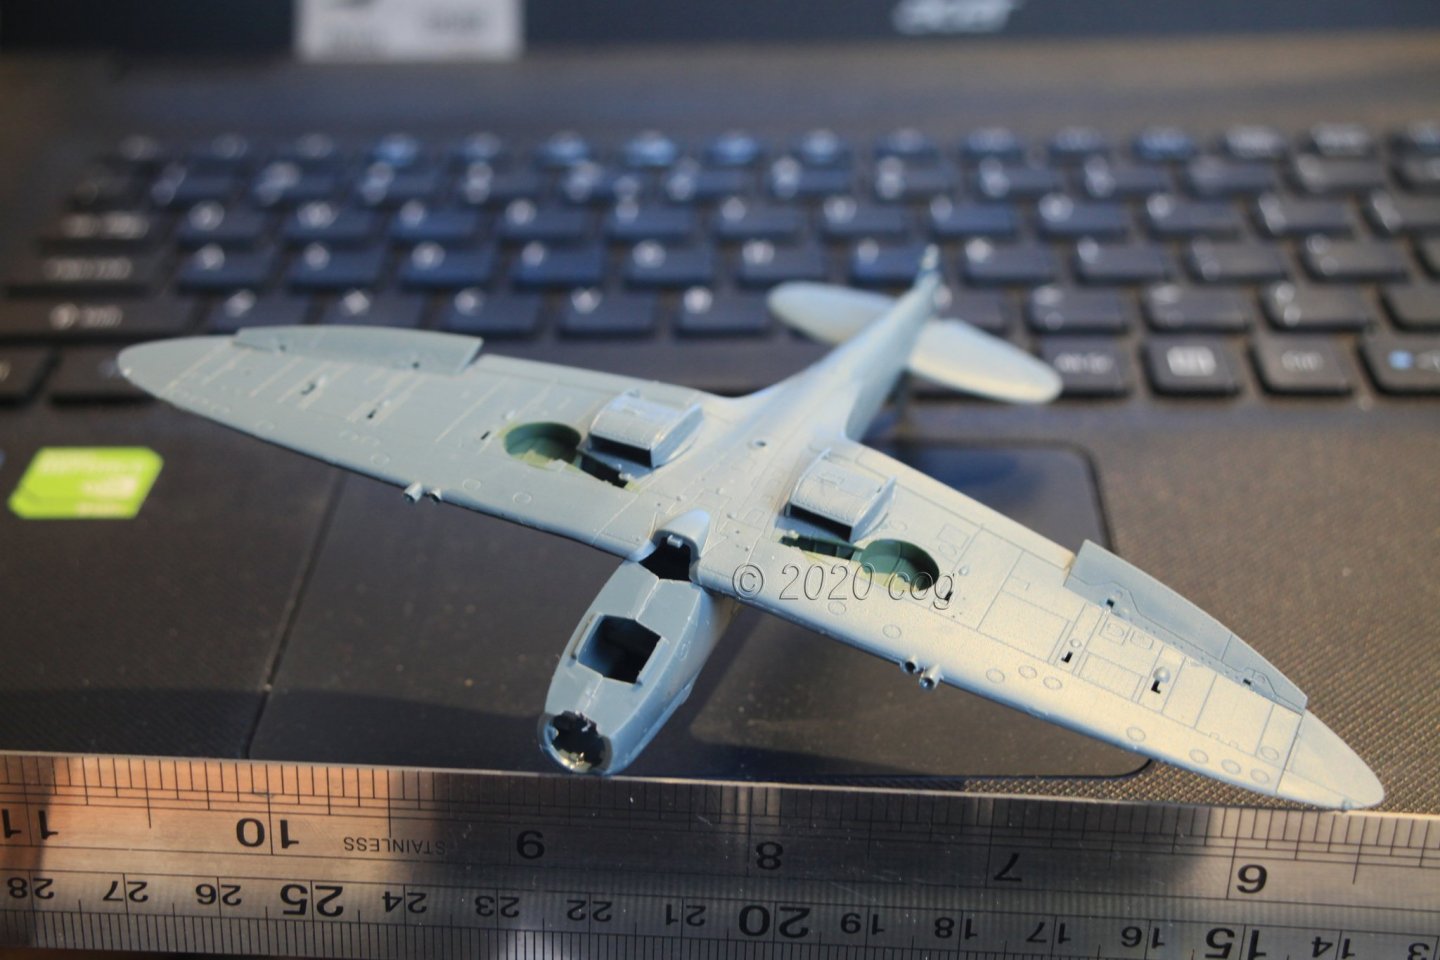
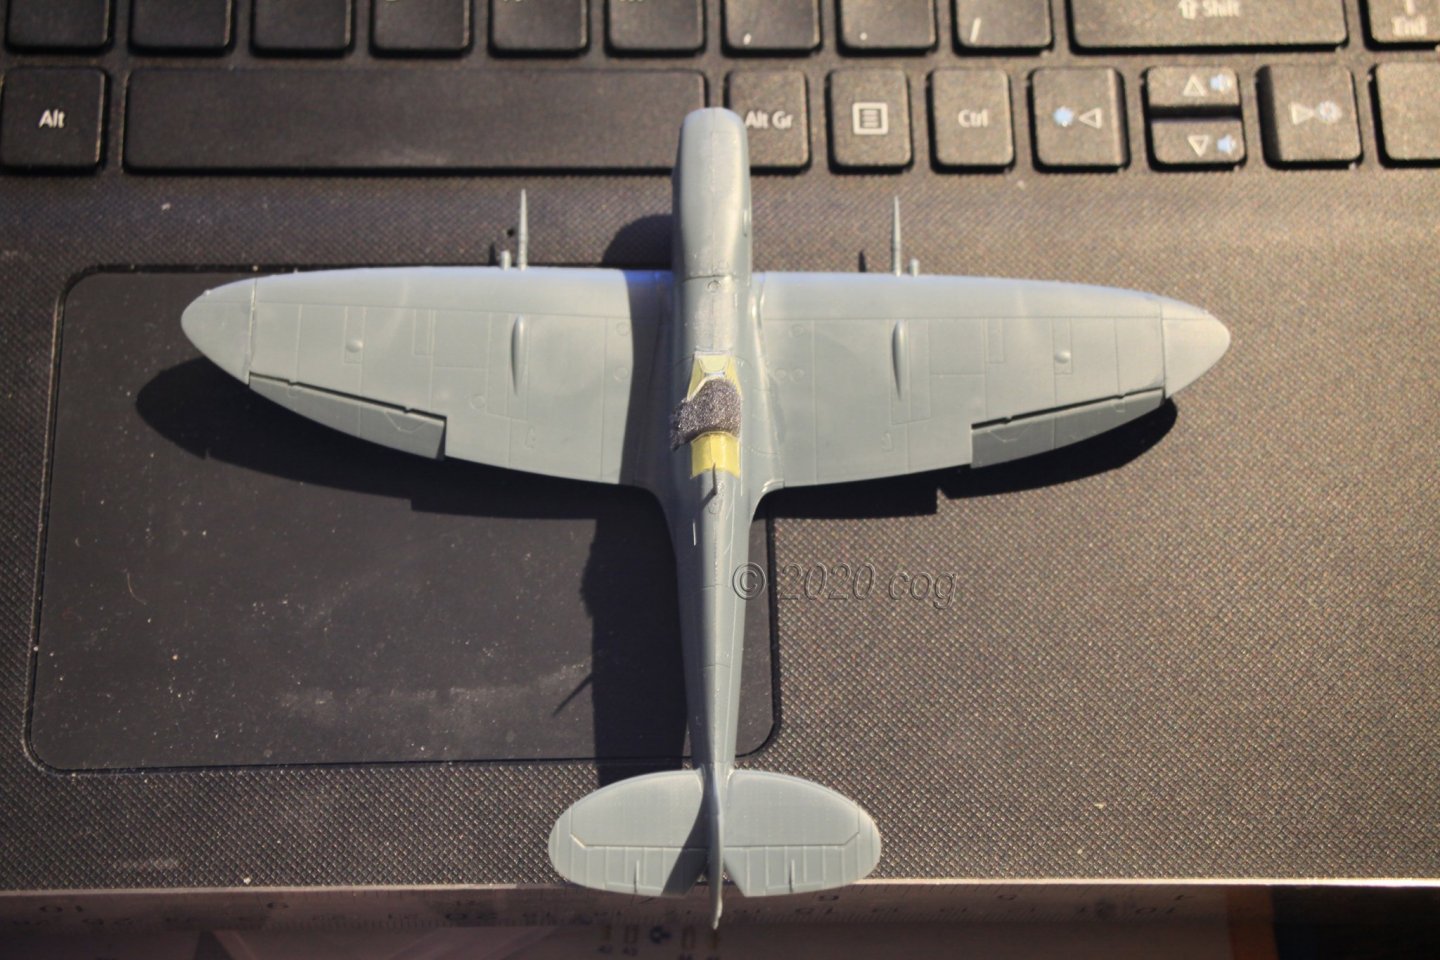
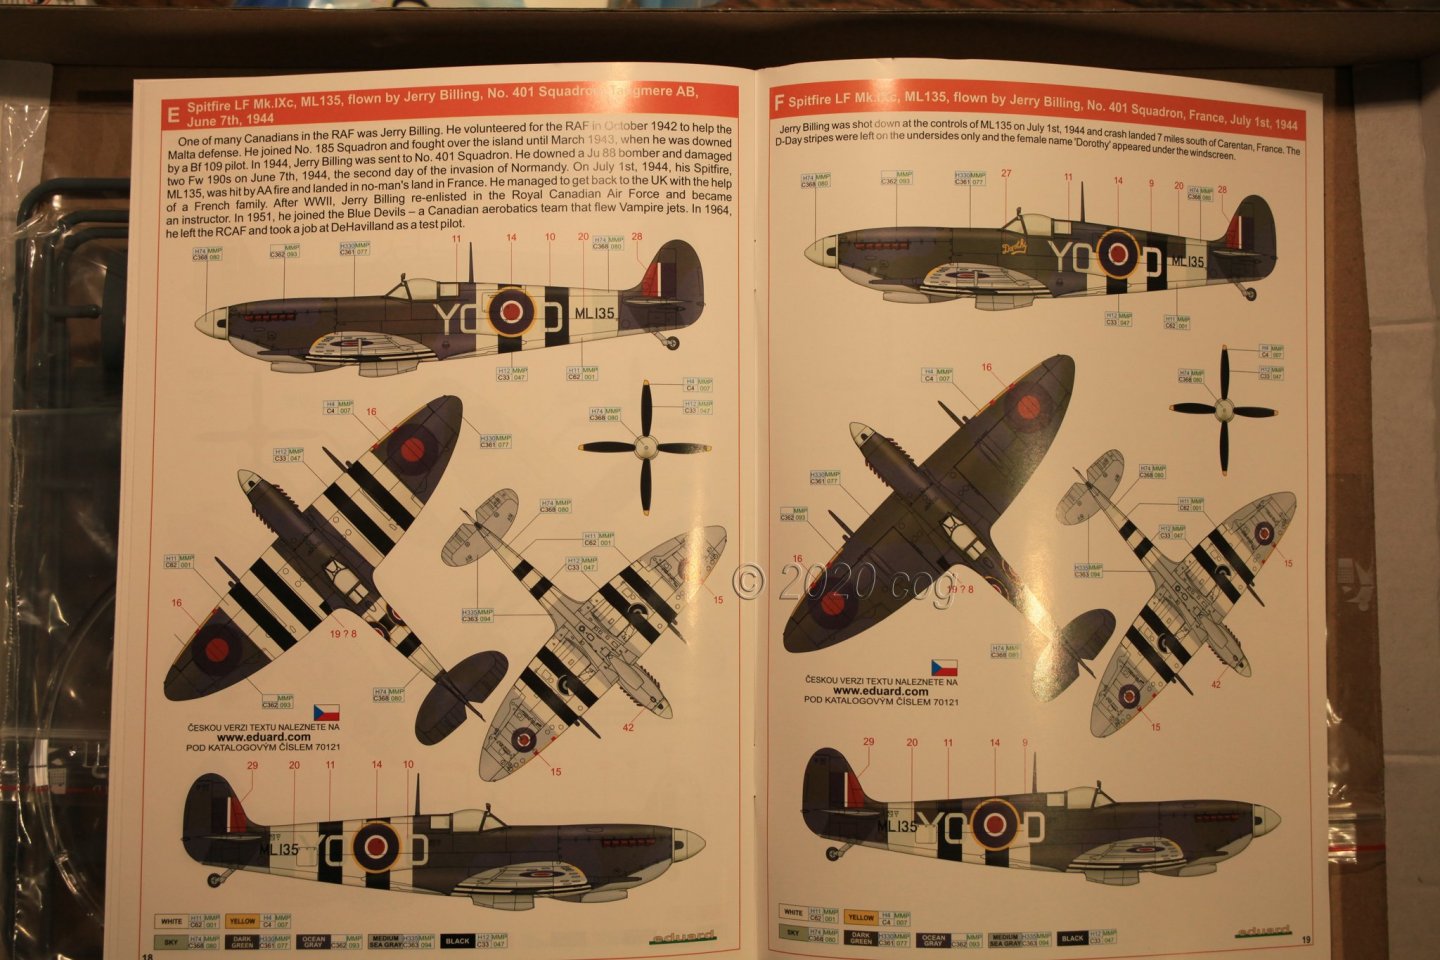
Thanks for the likes and the comment gents Mike, OC I am getting used to 1/72 soon I can't work at 1/48 anymore At least it keeps me sharp for the 1/350 in ships Another spray job done ... preparation ... Finished painting on the wings and fuselage ... Next: landing gear, and prop; gloss varnish (no hair dryer!); decals, and finallly another coat of varnish to finish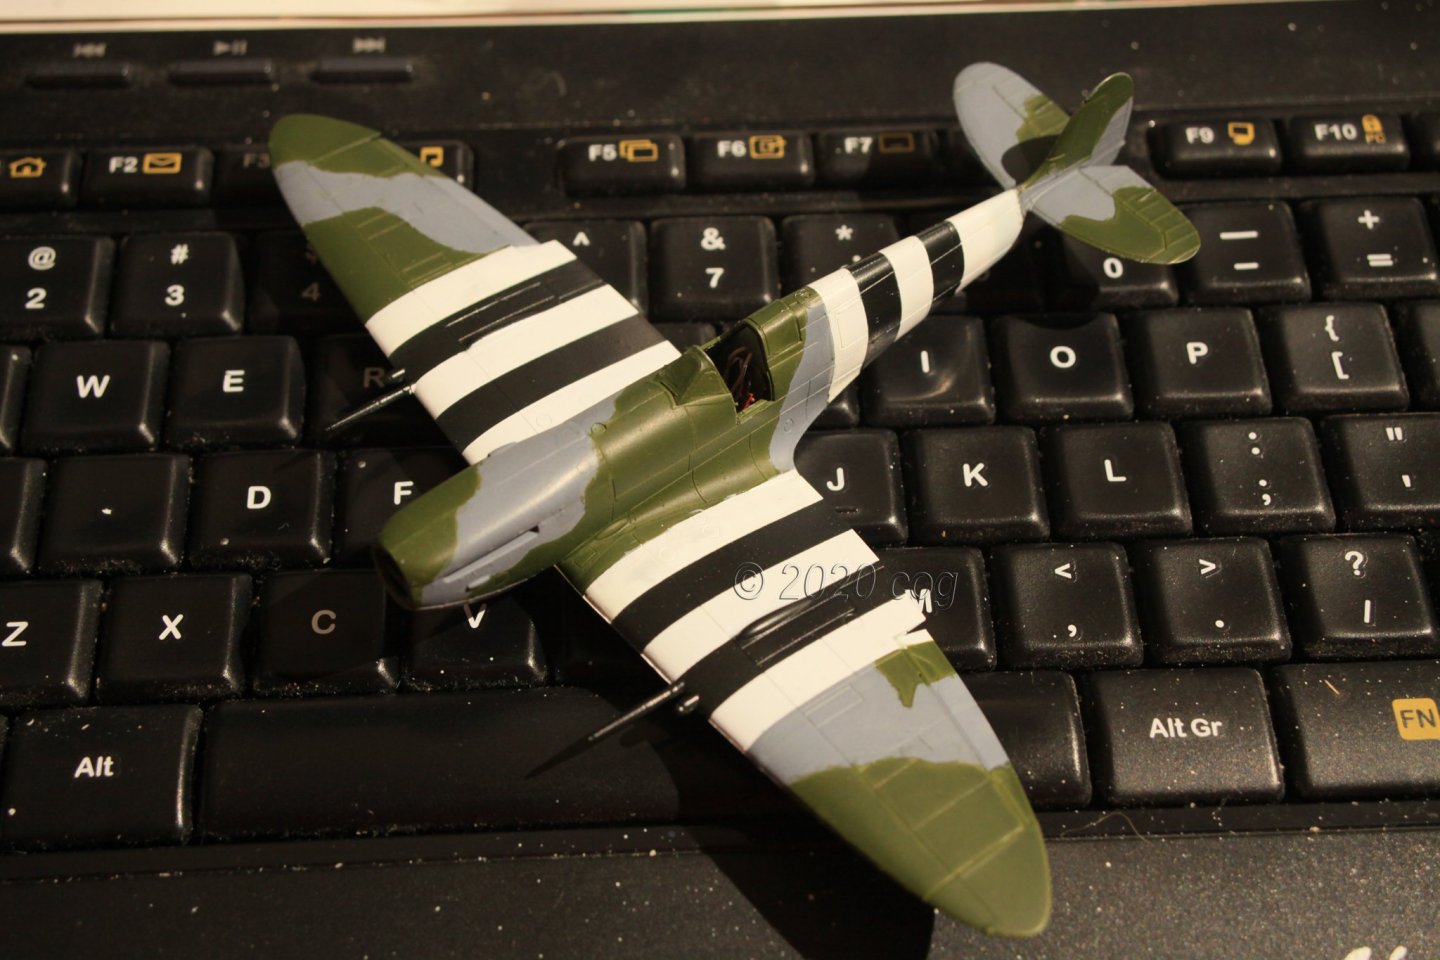


- 46 replies
-
- 12
-

-
Spitfire Mk IXc - FINISHED - by cog - Eduard - 1/72 - PE & PLASTIC
cog replied to cog's topic in Non-ship/categorised builds
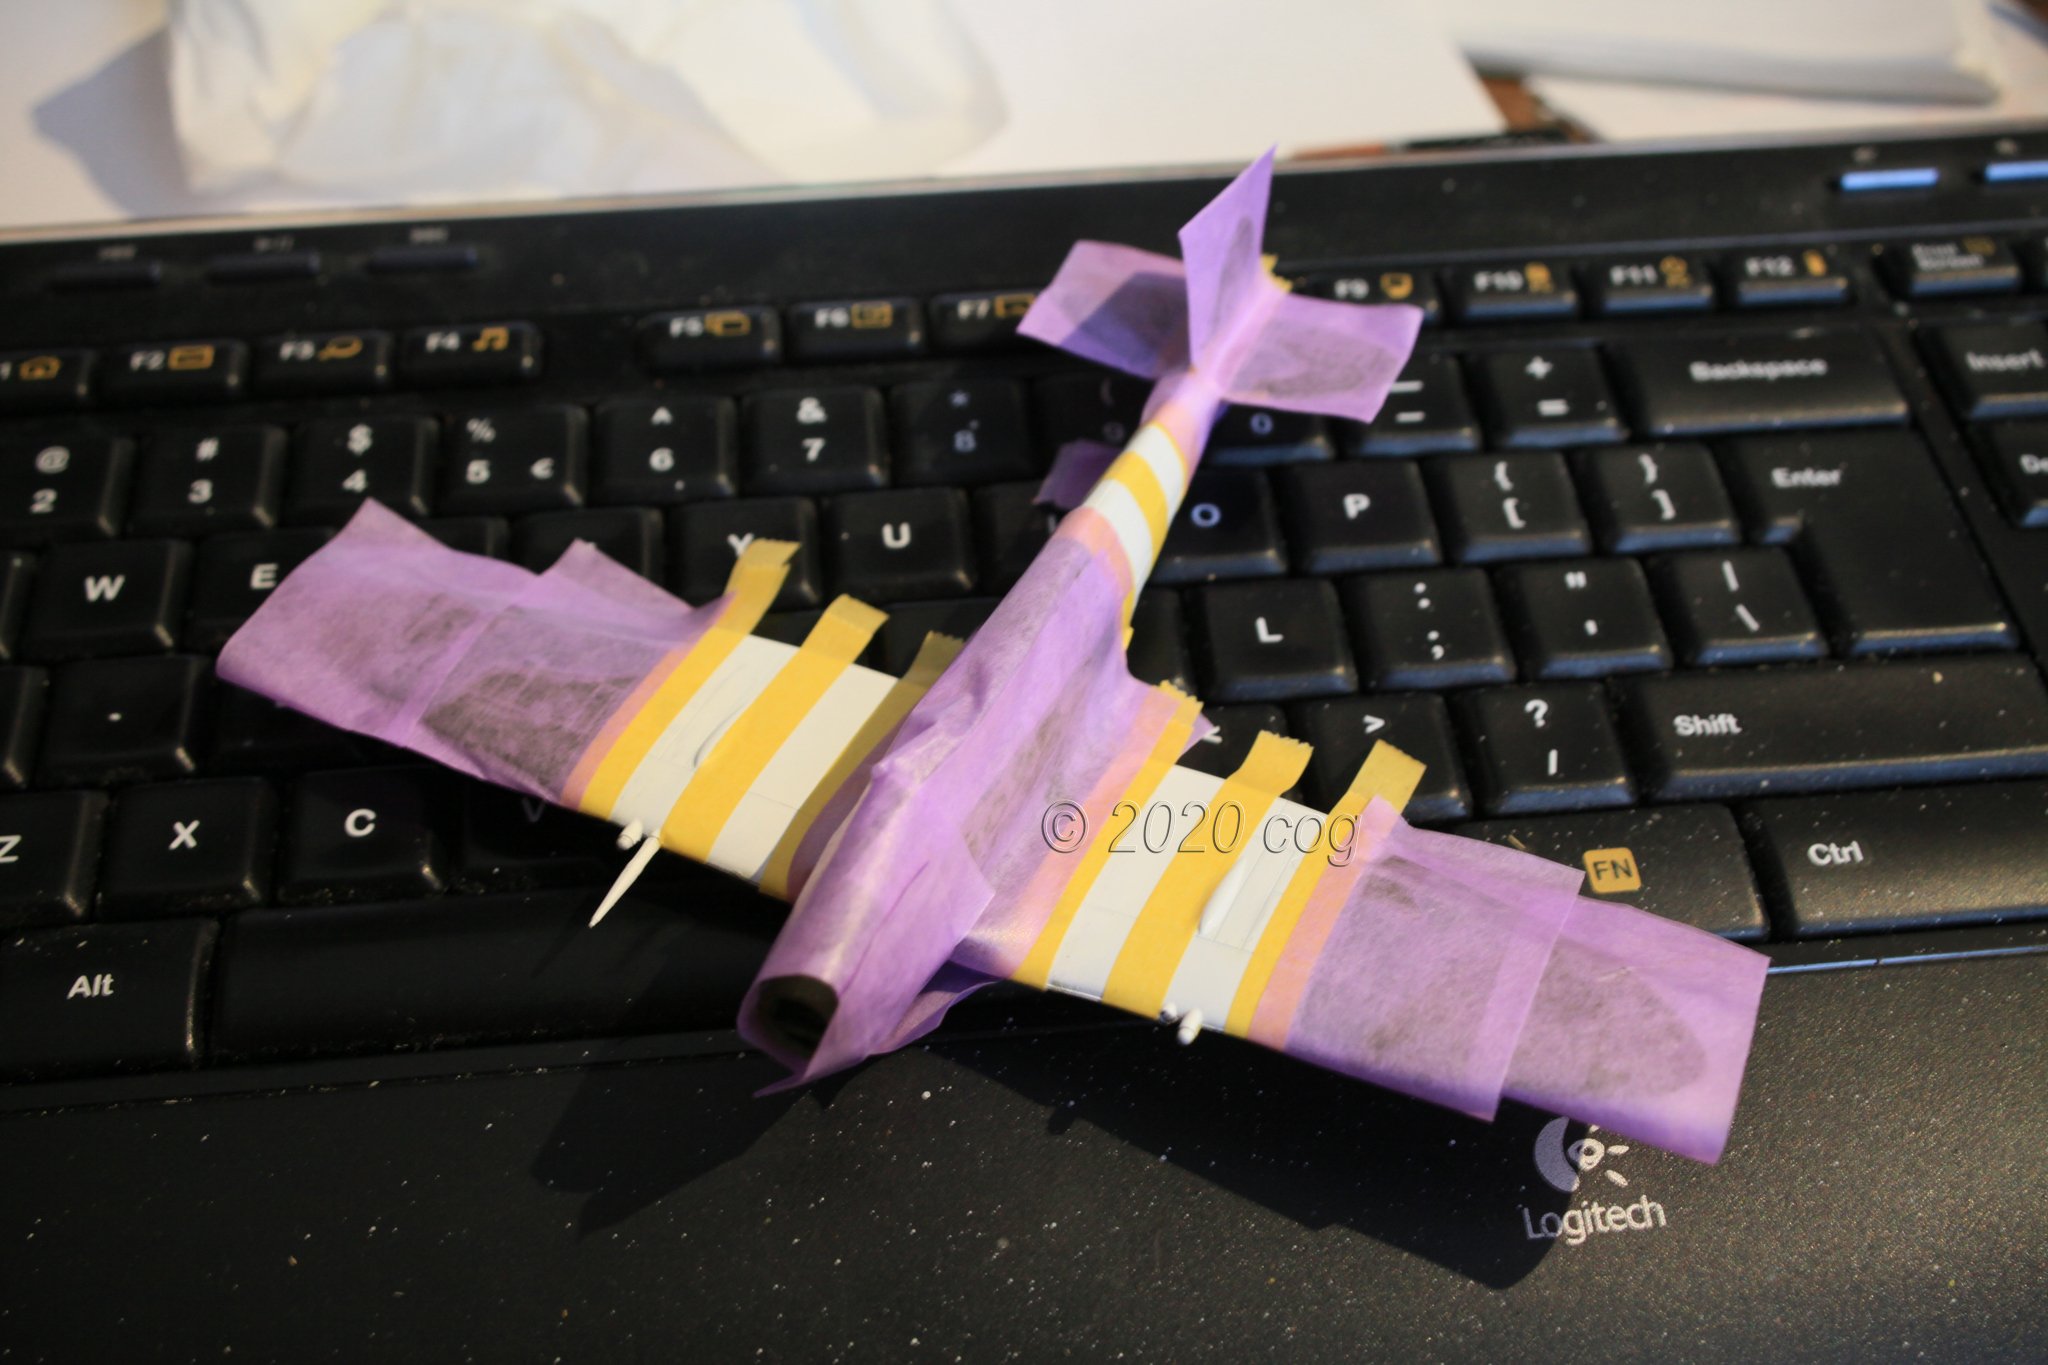
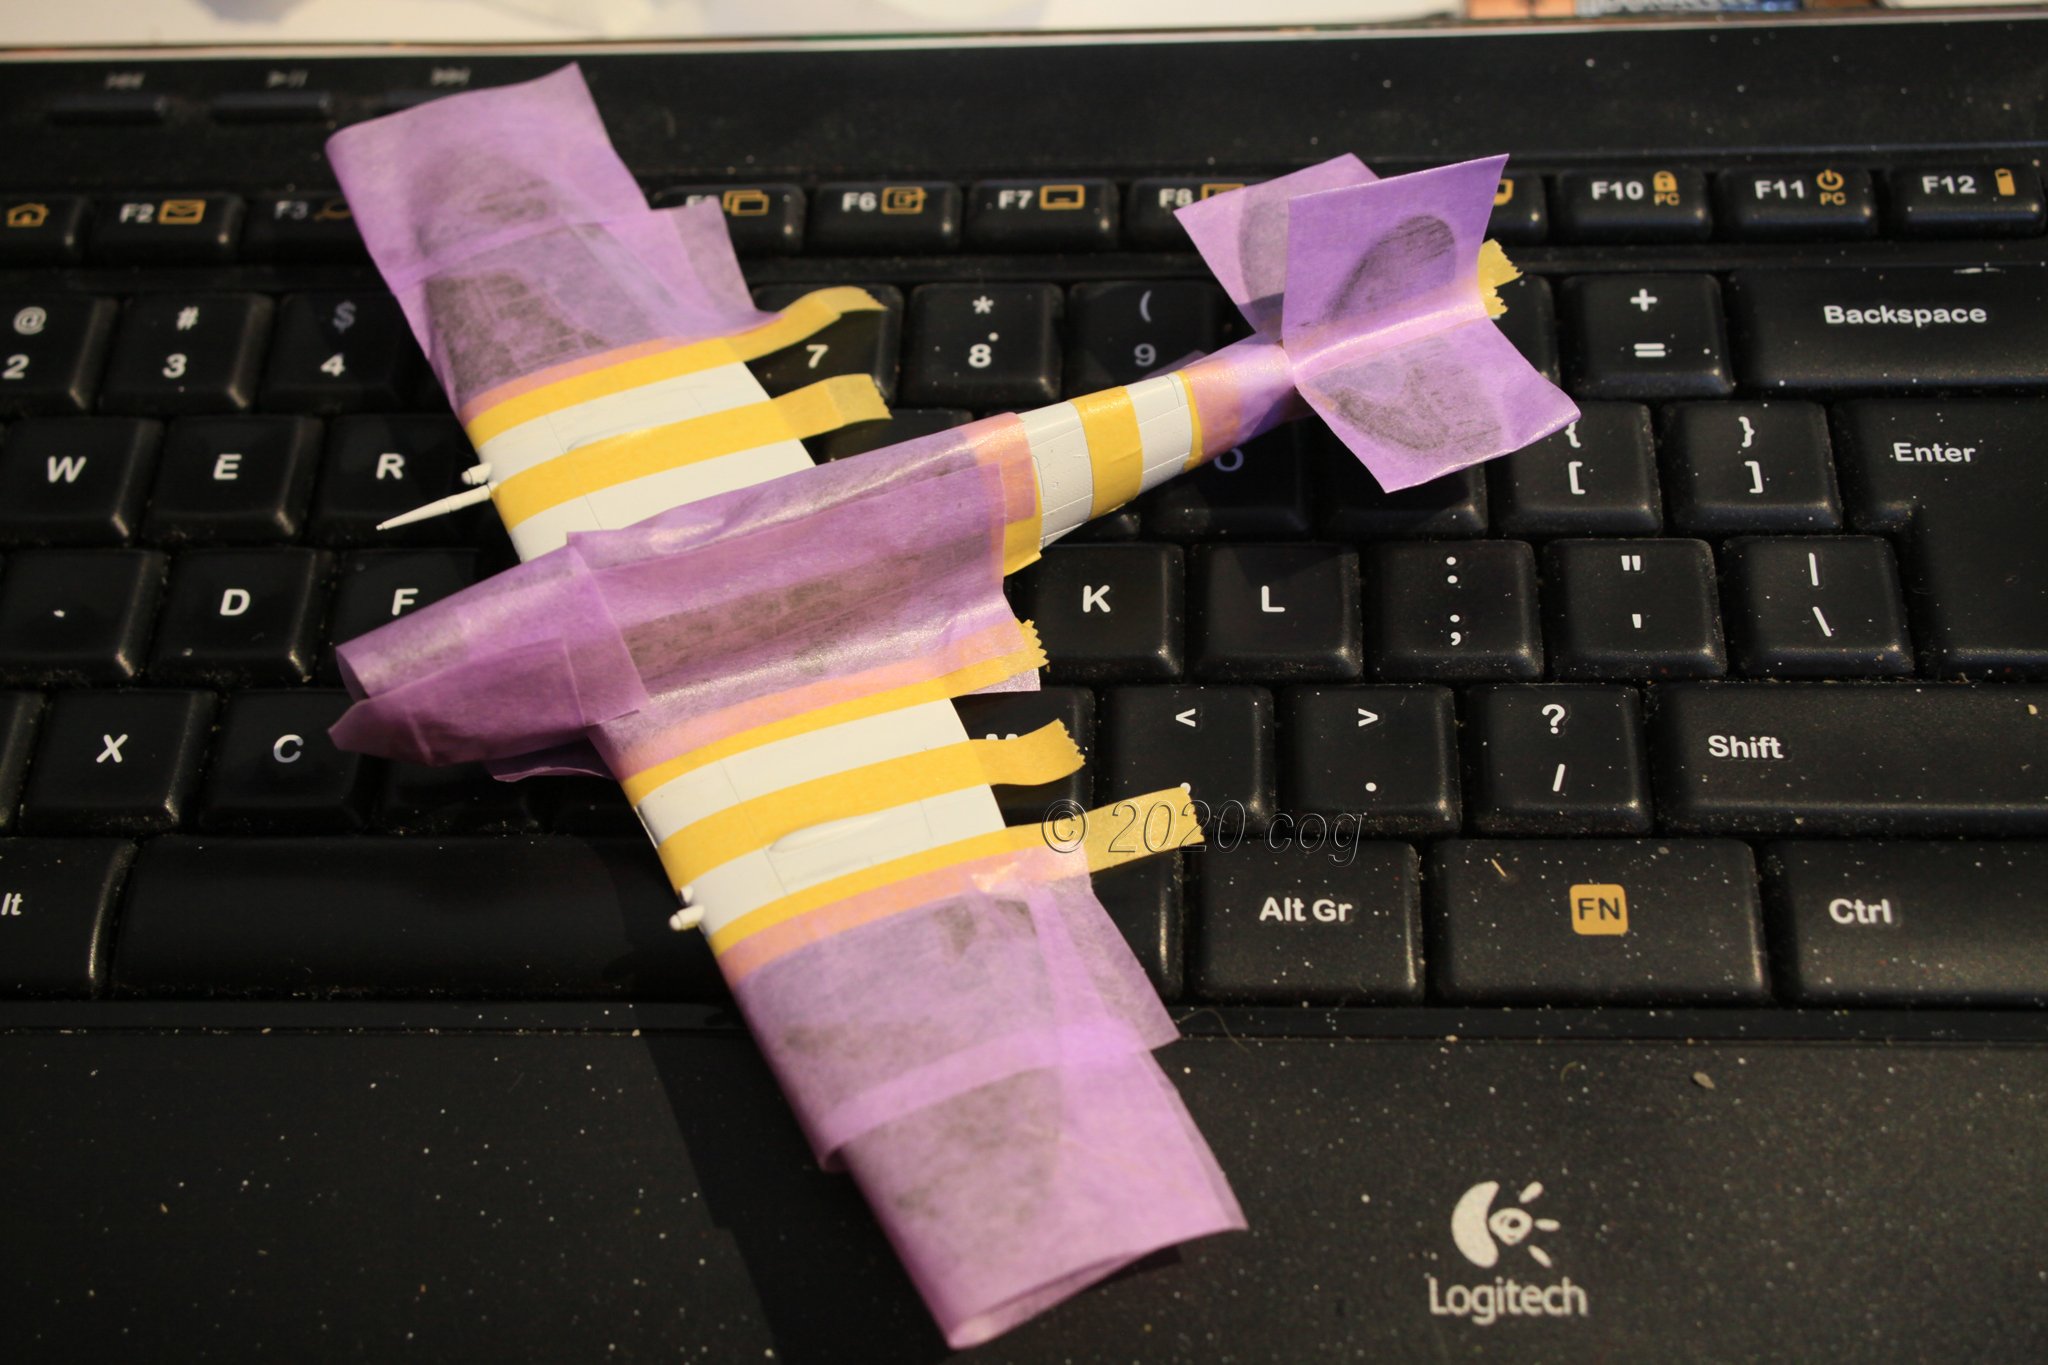
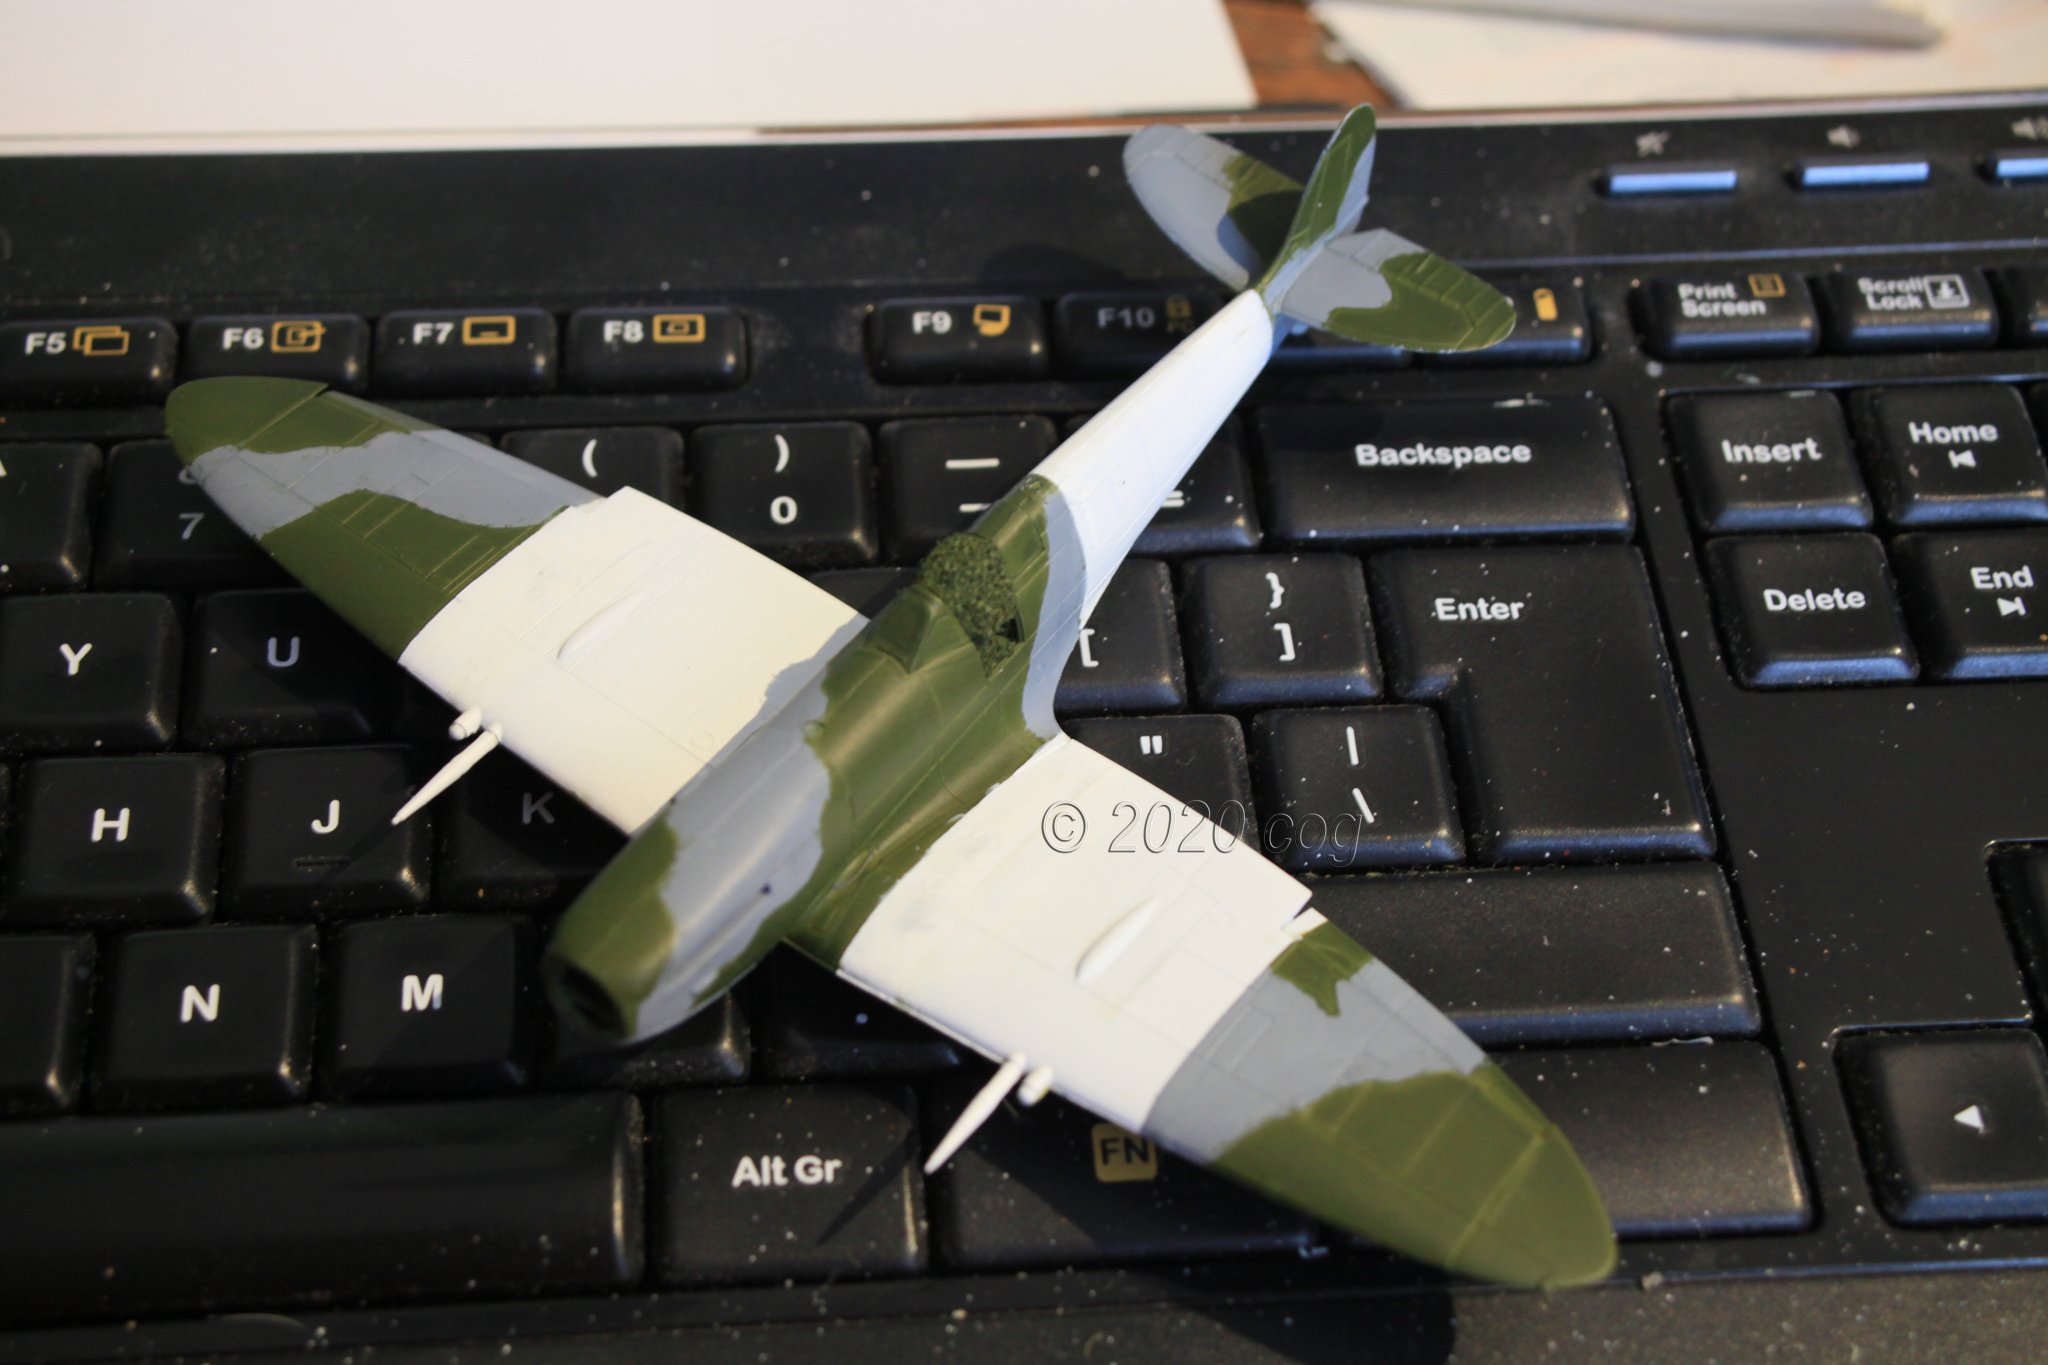
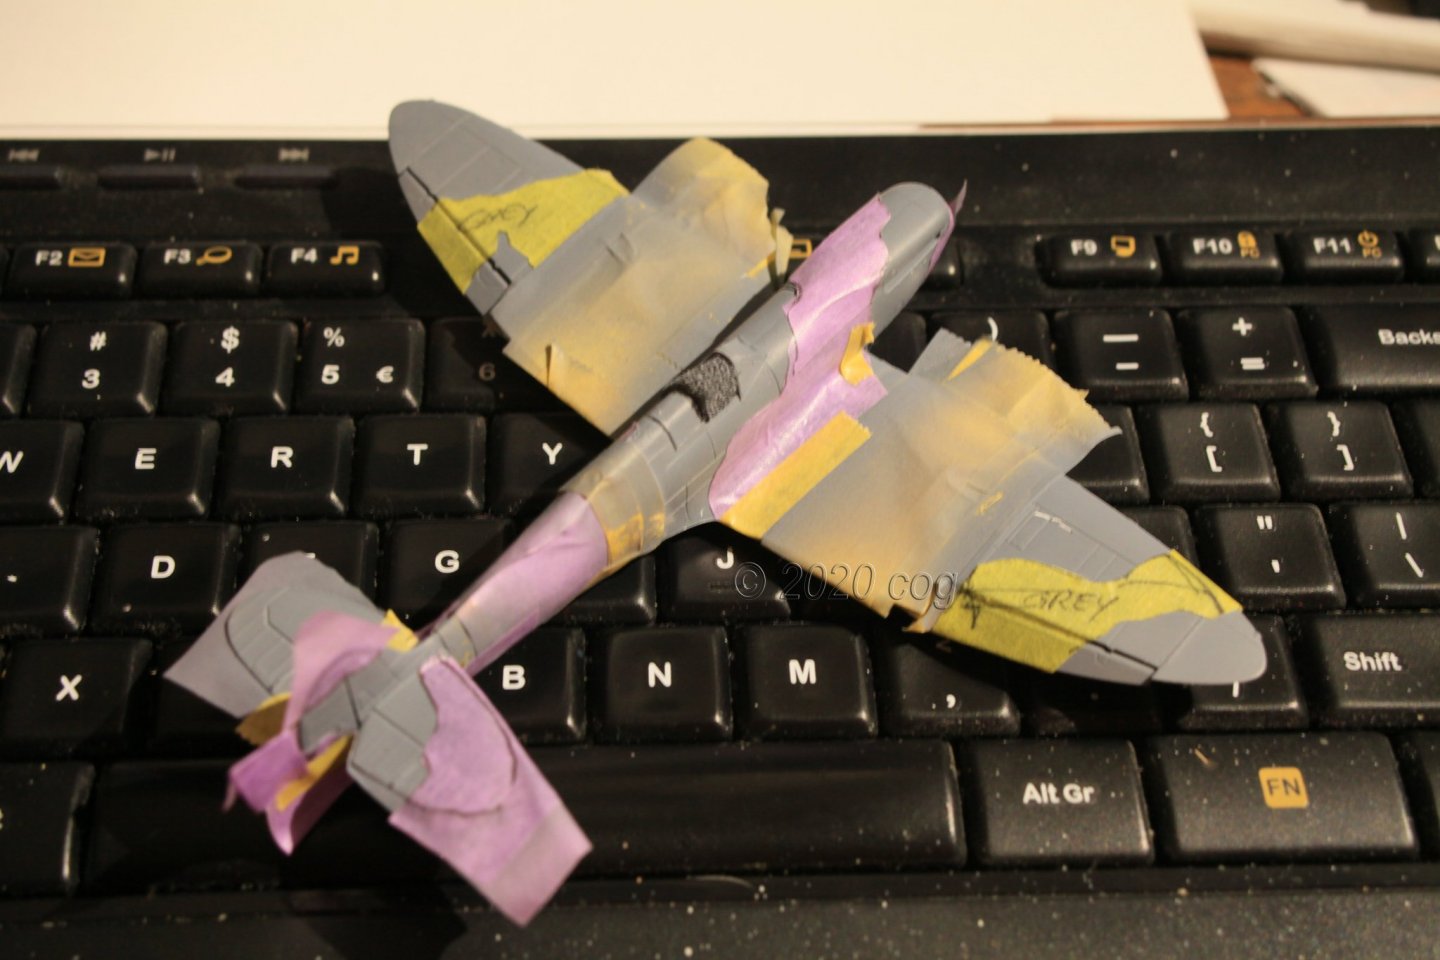
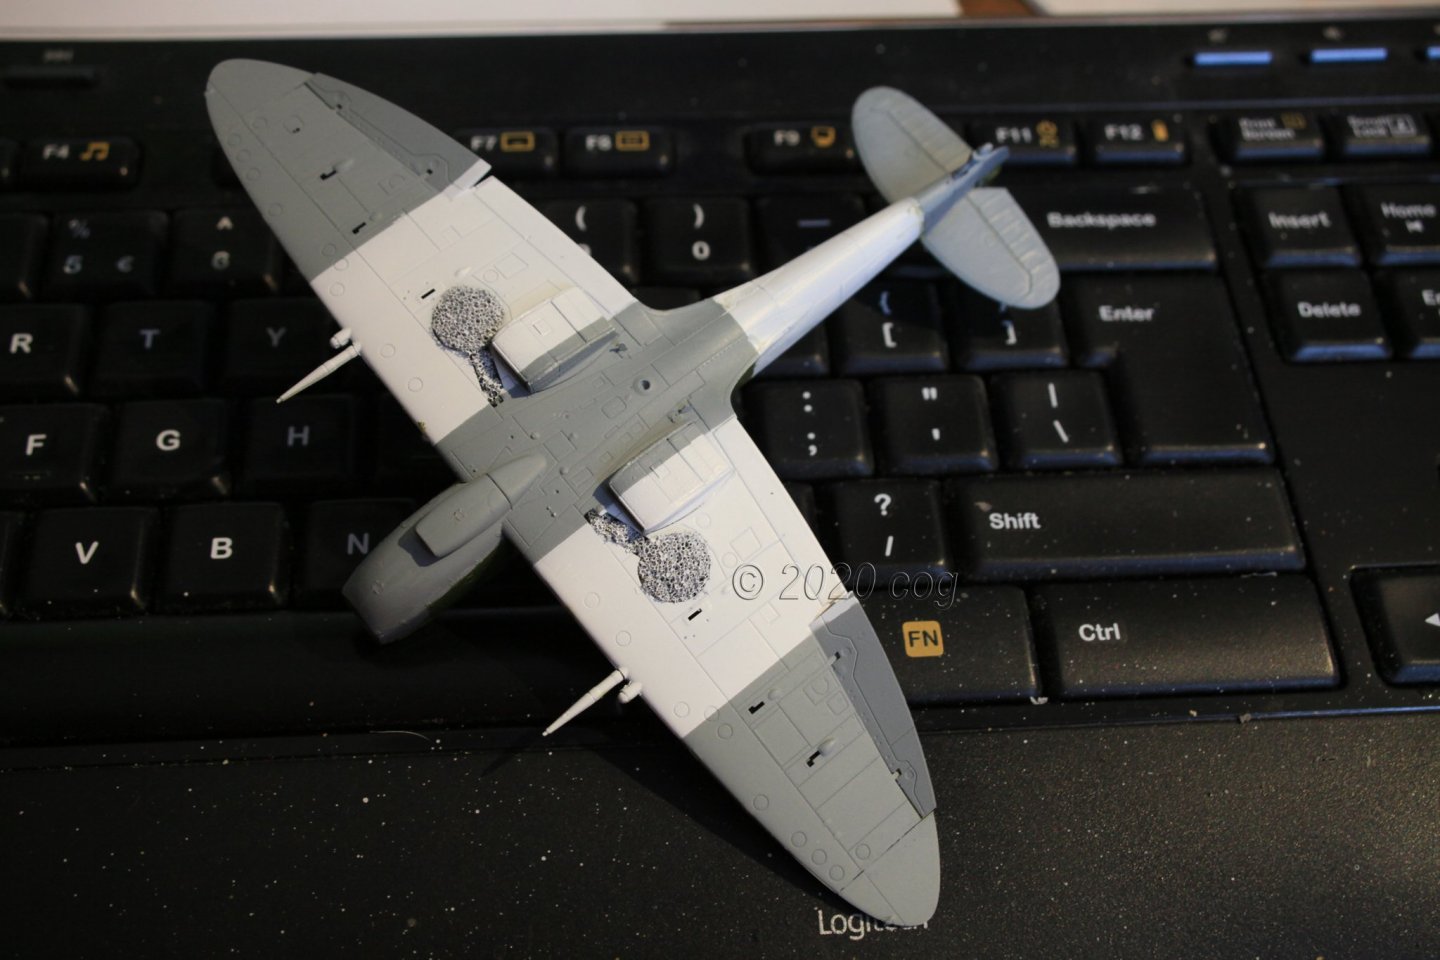
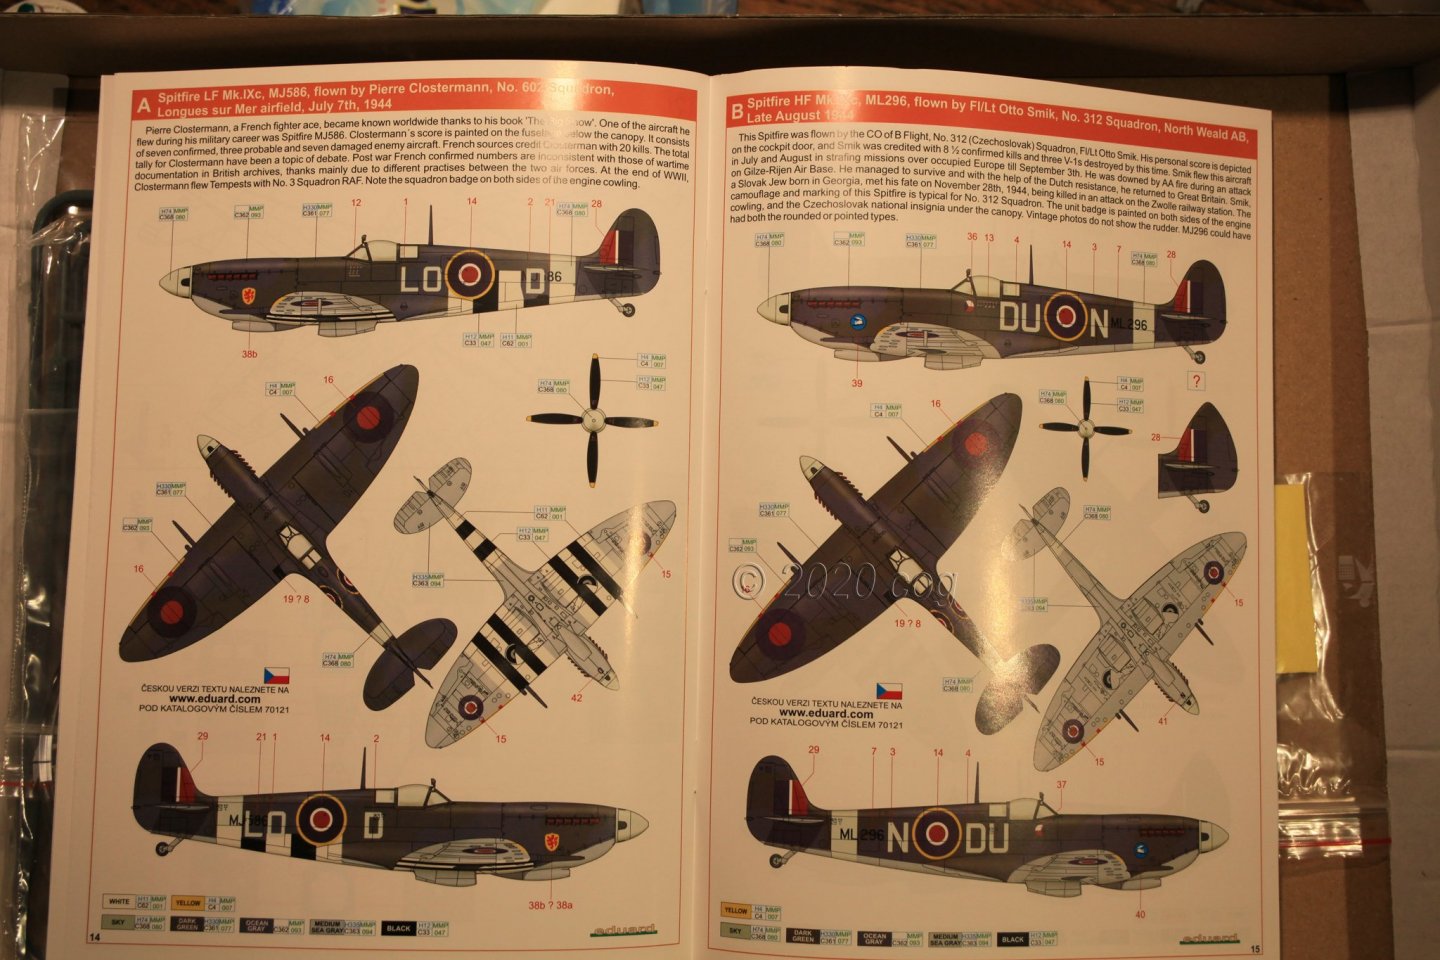
Preparing for camouflage Belly and camouflage. black striping on wings and fuselage, and a sky blue stripe on the fuselage just in front of the tail remain to be done. After that it's sliding decals on Had to do some damage control as I diluted the Vallejo to much, and the dark green ran under the masking tape (a.o. wings near fuselage)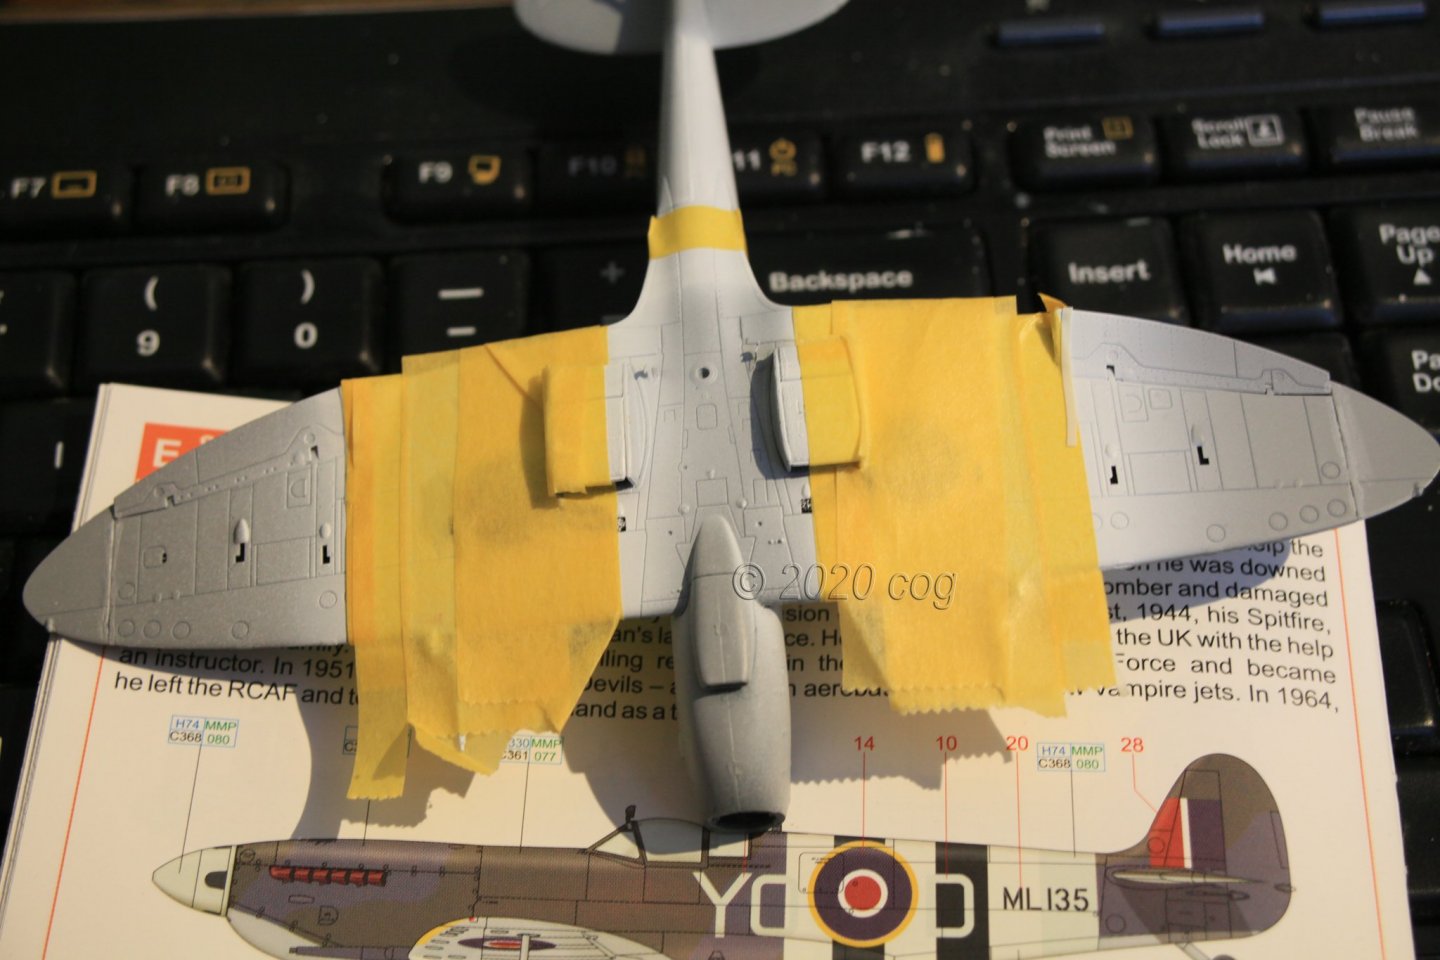


-
Fokker Dr.I triplane by cog - multiple - 1:72 - PLASTIC
cog replied to cog's topic in Non-ship/categorised builds
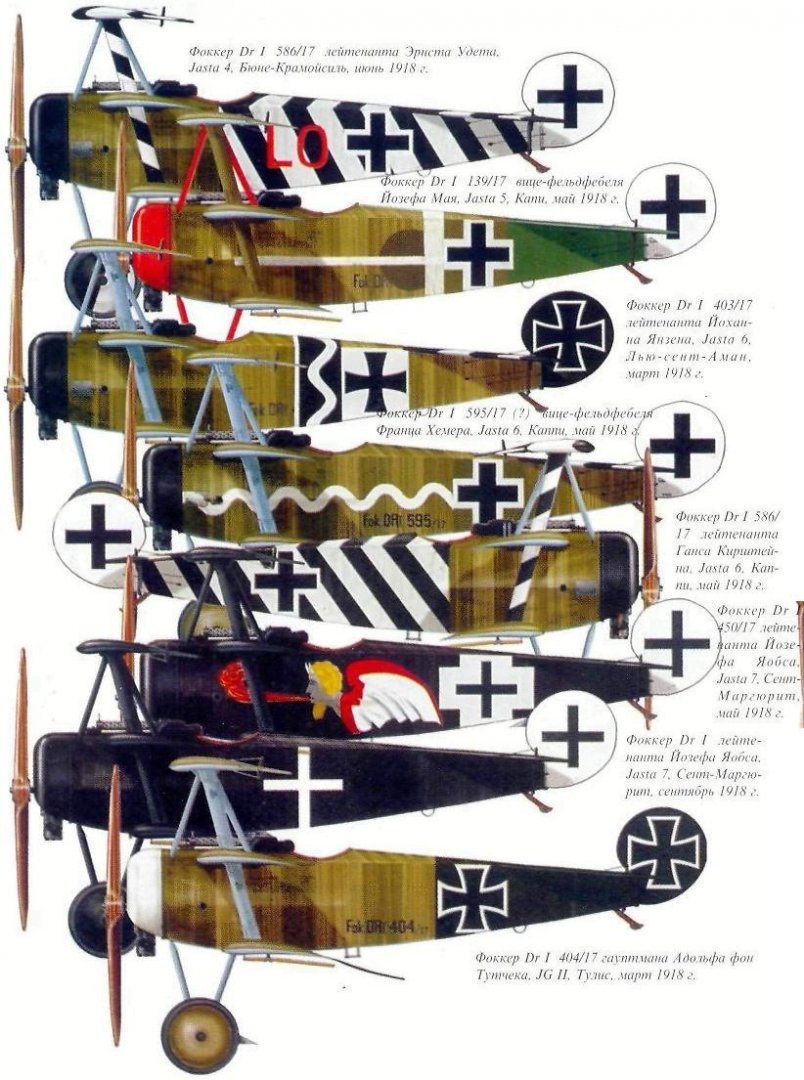
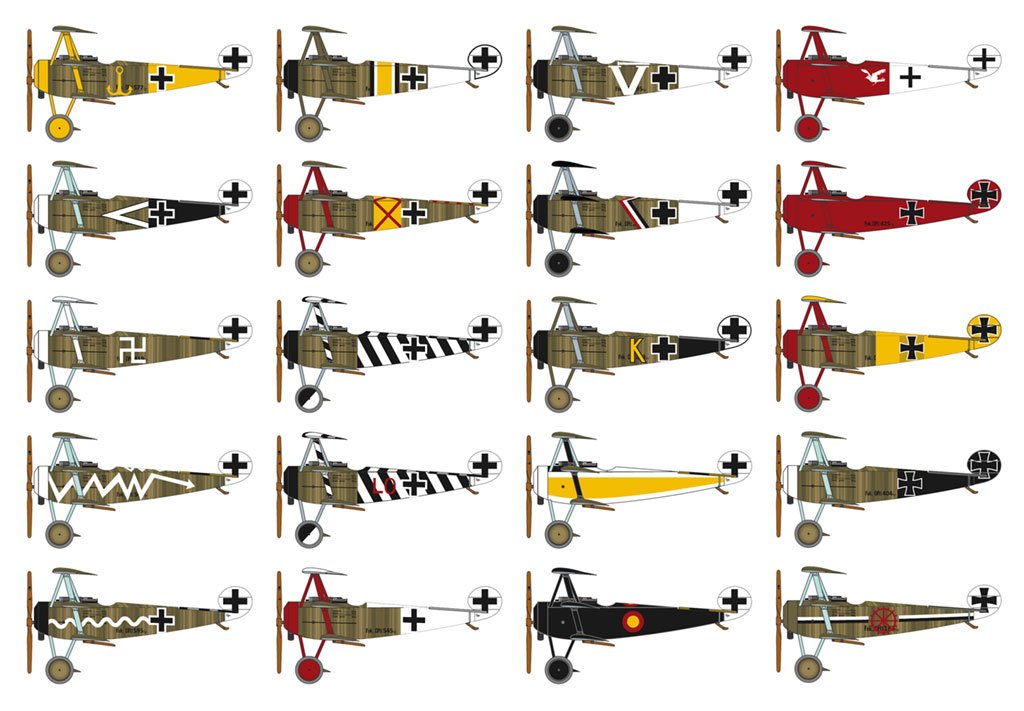
Thank you, vaddoc, the strip down was my first - and will probably be my last - of such models at that scale. Headaches and cramped hands from holding tweezers. These little planes are fun to build to get your head empty for the important things like ship modelling. Since the Germans had (?) the tendency to paint their planes in all sorts of different "camouflage" schemes, you can actually build the same plane over and over again, without getting bored. Painting is often a challene on it's own, and to look for a specific paint scheme is quite fun, considering the choices one has. I can still do another odd twenty variants for some I've already built. Display will be the decisive factor now ... Thought about your workshop wall and ceiling yet? -
Spitfire Mk IXc - FINISHED - by cog - Eduard - 1/72 - PE & PLASTIC
cog replied to cog's topic in Non-ship/categorised builds
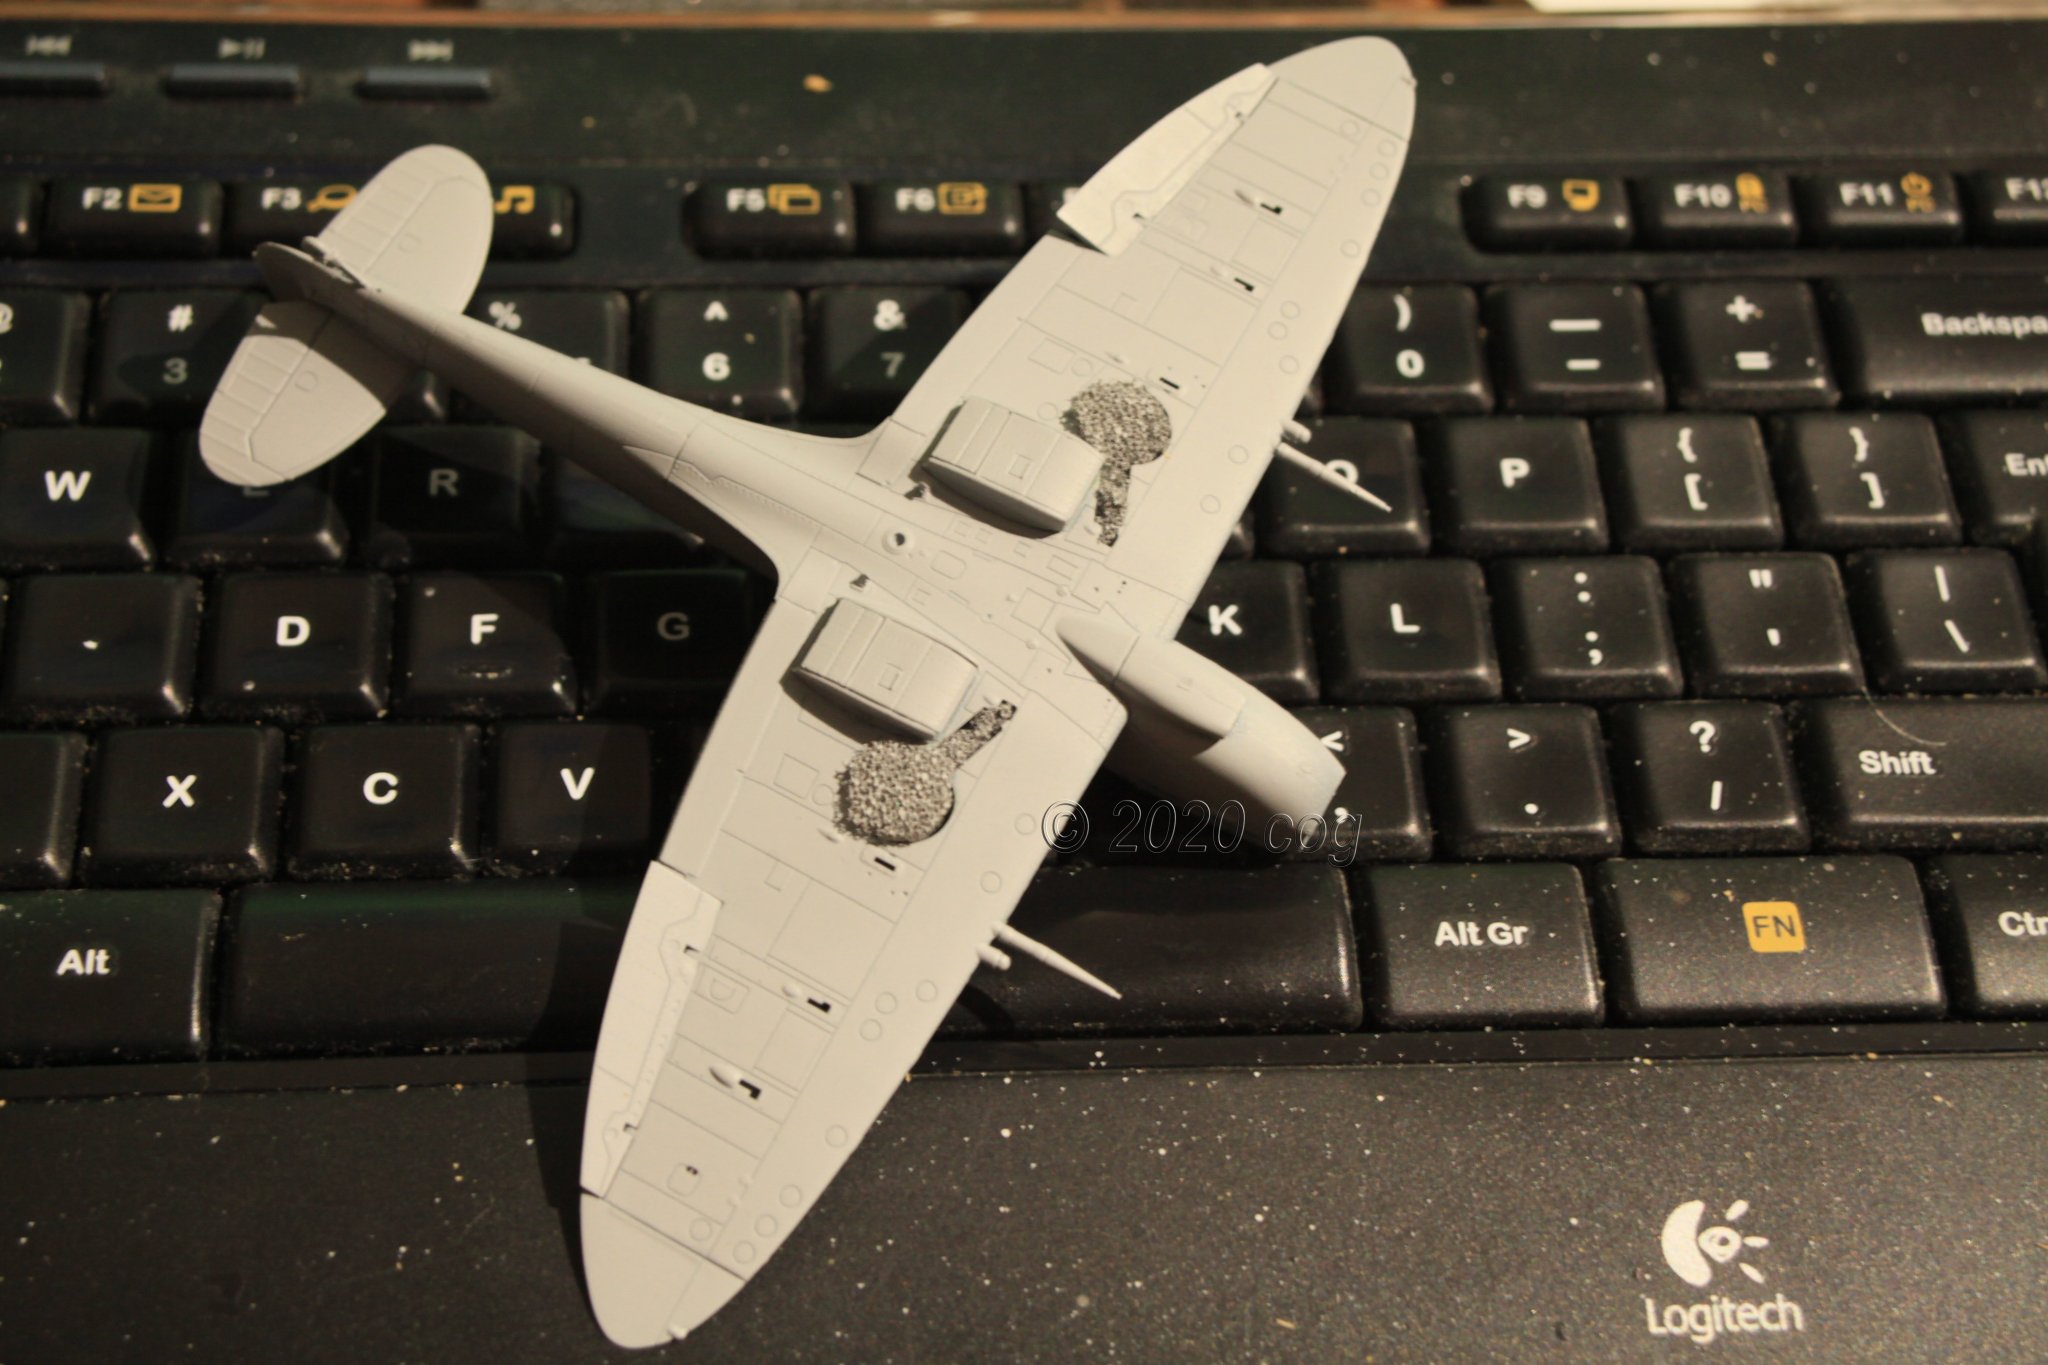
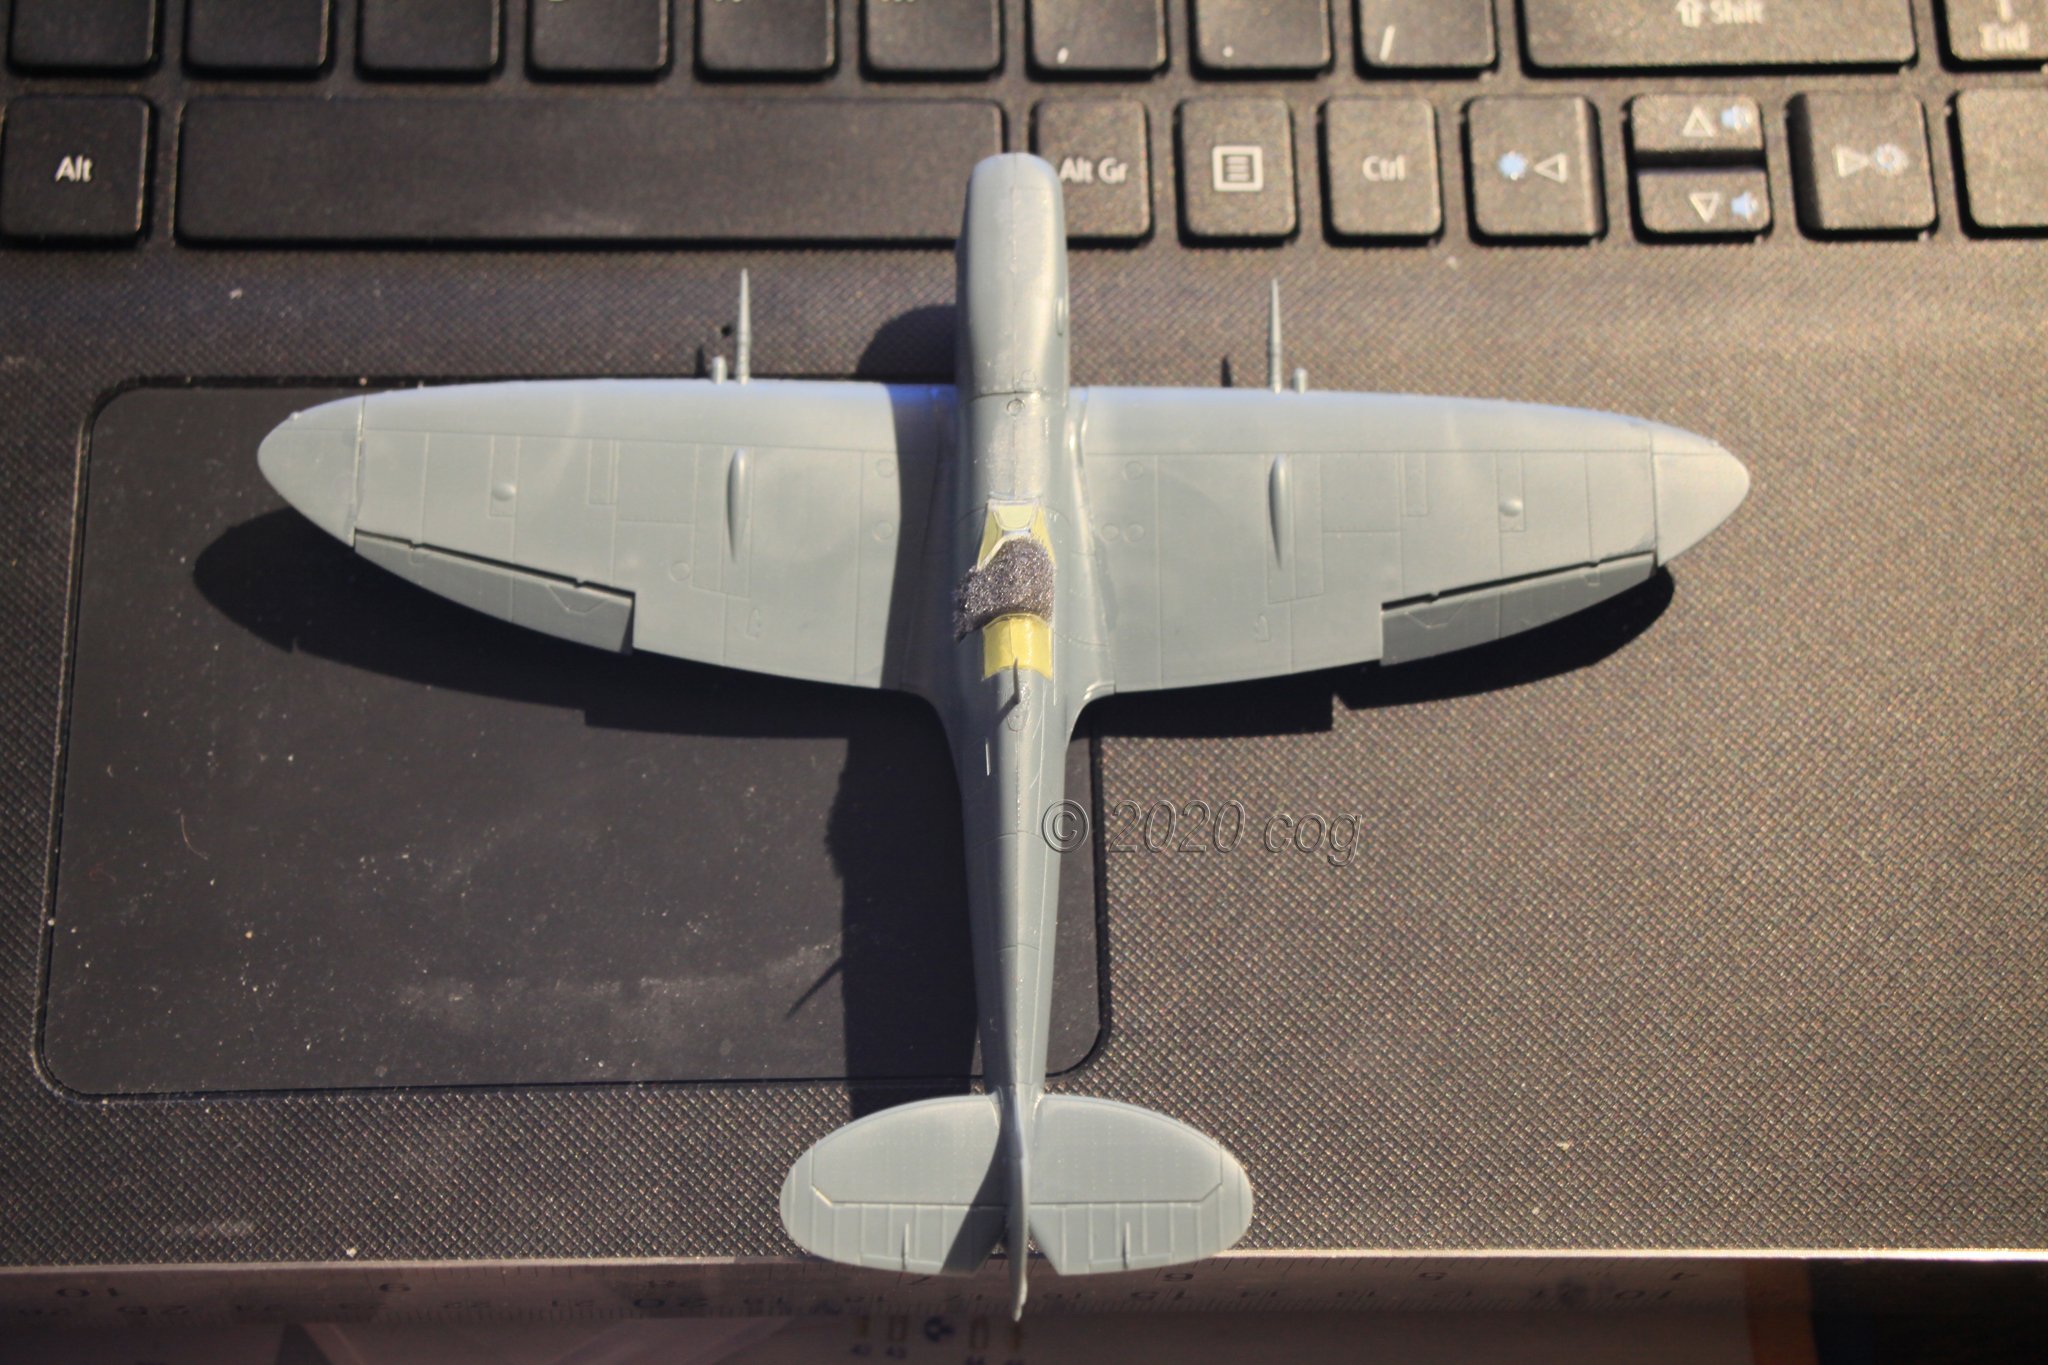
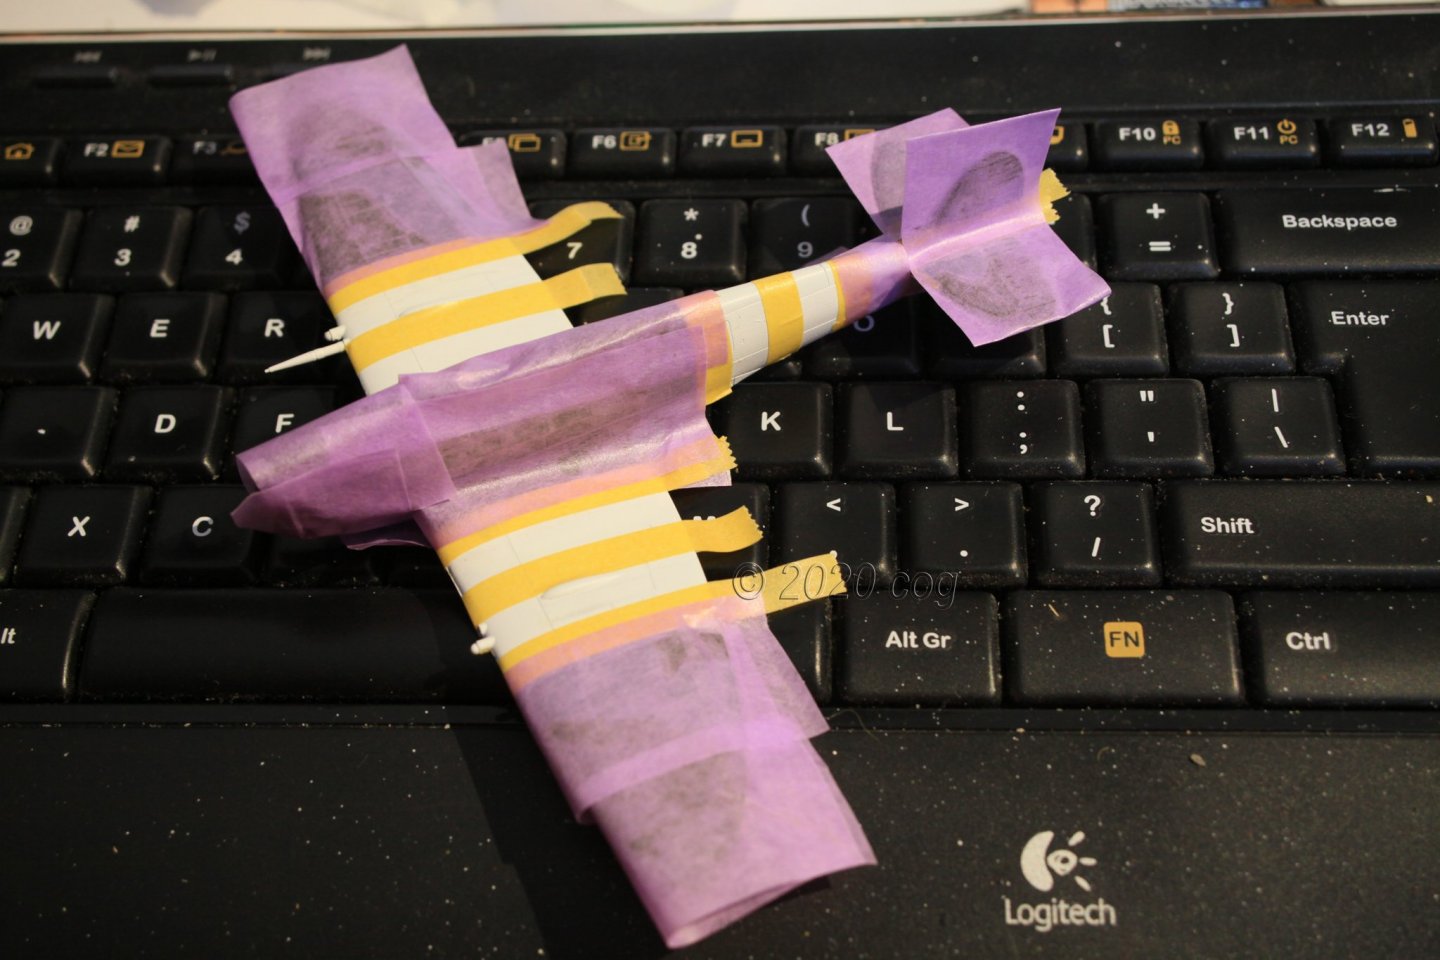
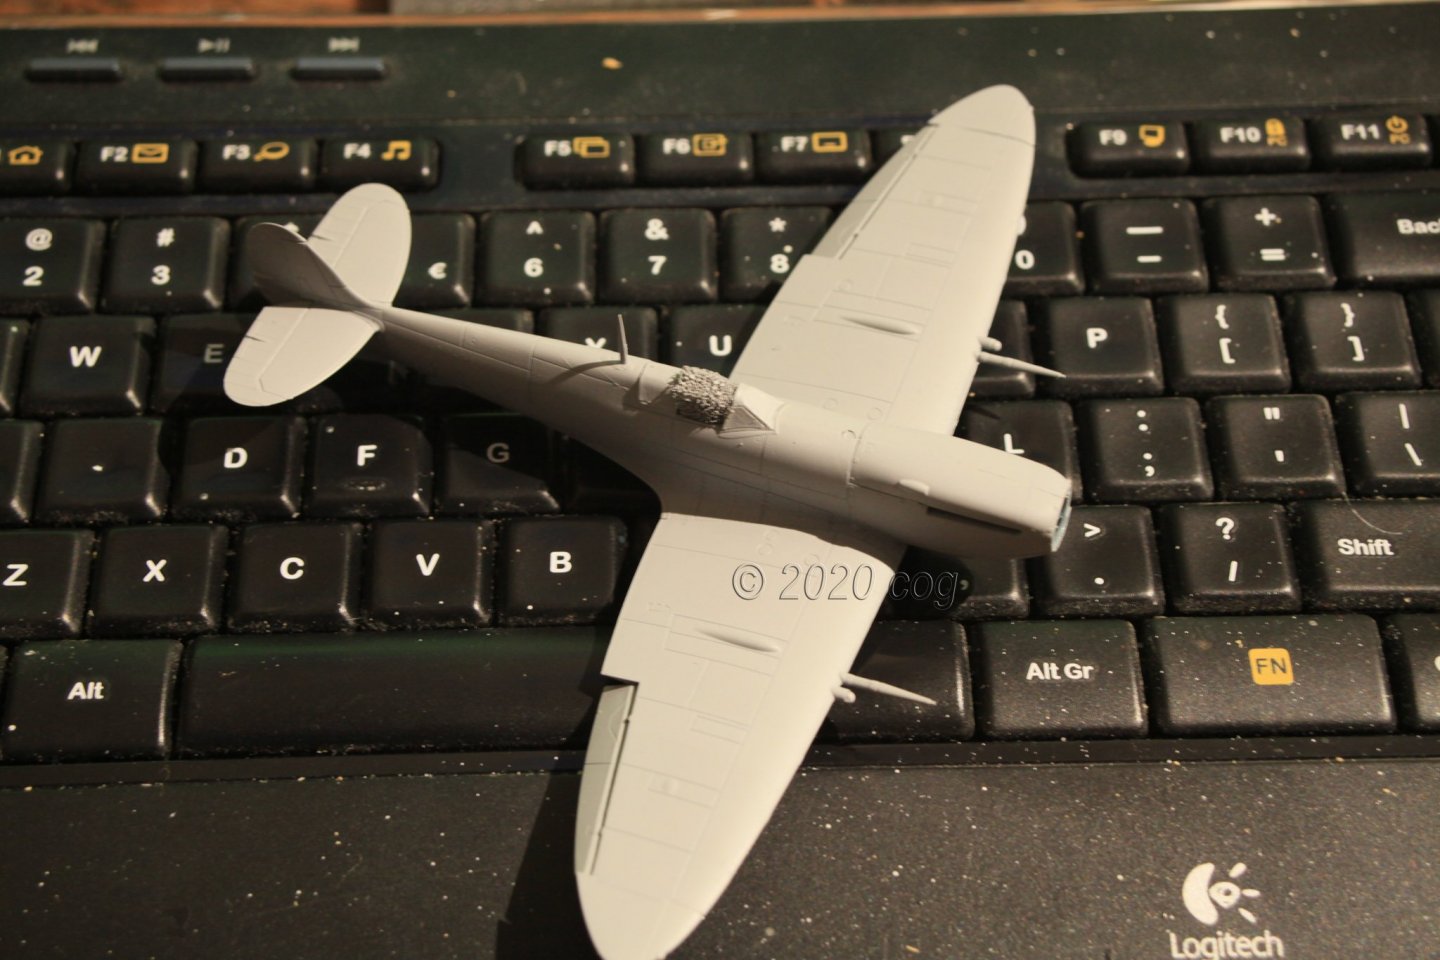
Received the missing clours. First windbrushing ... Primed and first paint. White for B&W striping on the wings and fuselage behind the cockpit. Ready for masking and to get the camouflage and under colour on. After that the black striping.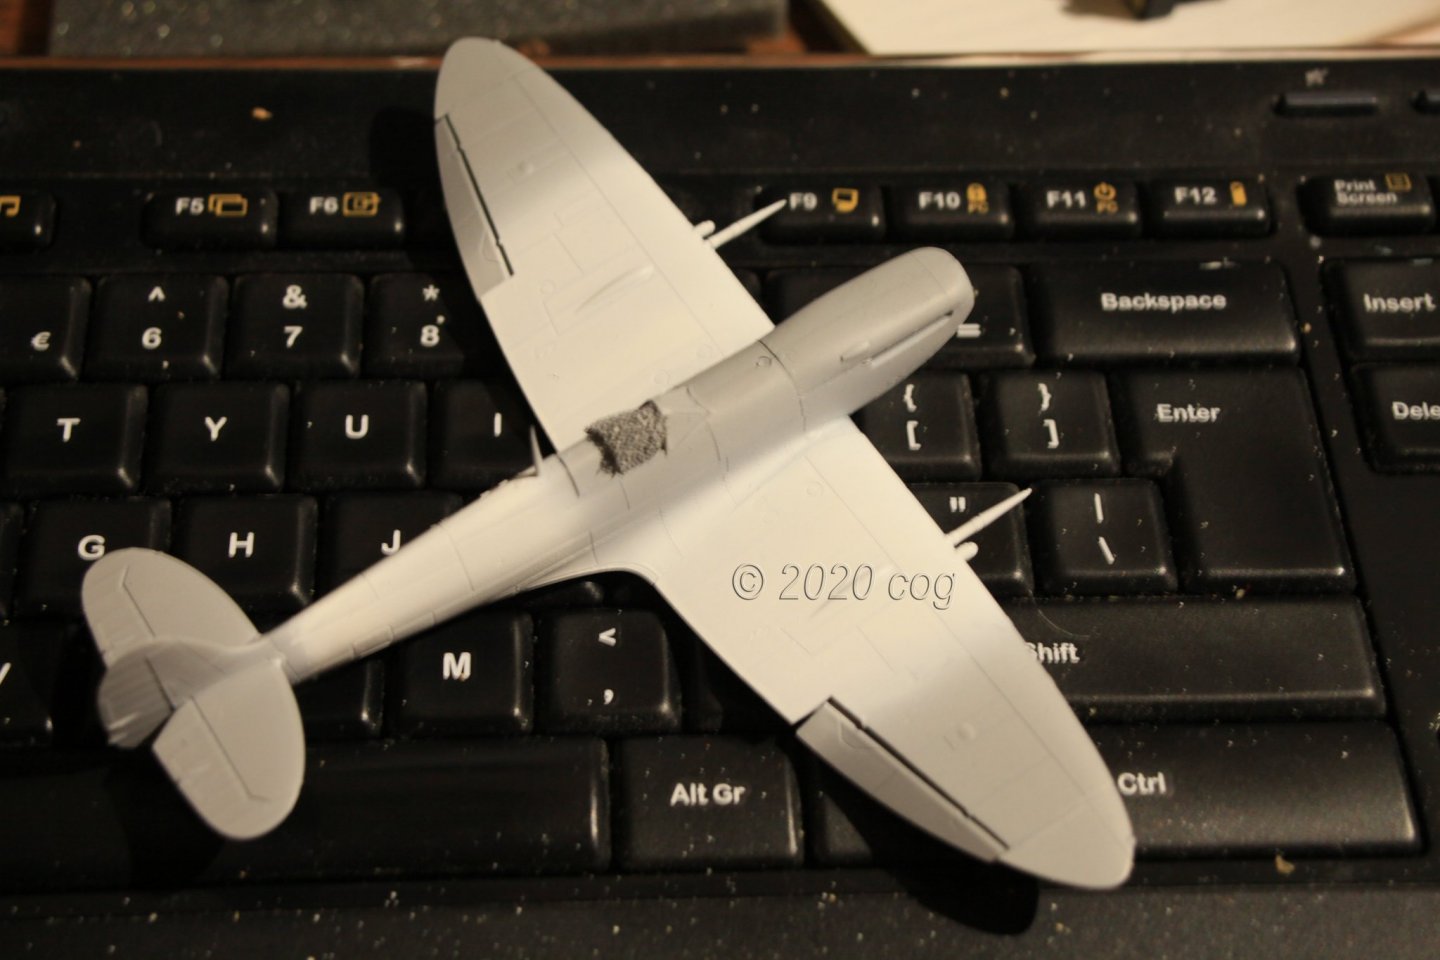

-
She looks like a beauty. Some marvelous details, especially the brass. Soon the only way we can see it is a model is the wall behind her and the table with tools, so life size like!
-
Shaping up, Mark. Glad you can make some dust, and exercise simulateously!
-
Looks good, some loose ends to tie up, but it does have a tight fit I might add. No sloppy lines hanging around
- 800 replies
-
- 1
-
-
- snake
- caldercraft
- (and 1 more)
-
Spitfire Mk IXc - FINISHED - by cog - Eduard - 1/72 - PE & PLASTIC
cog replied to cog's topic in Non-ship/categorised builds
Thaks for the likes gents, and of course the comments These are quickies, Denis ... if you have all the required paints and things. Shouldn't take you much more than a couple of hours - untill you have to do acomplete PE/Resin/Plastic cockpit - it is rather straight for'ard -
Fokker Dr.I triplane by cog - multiple - 1:72 - PLASTIC
cog replied to cog's topic in Non-ship/categorised builds
Probably due to desinterest Nowadays there are some laser/inktjet printers which can deal with it ... but you'll have the same price dilemma -
Nieuport Ni-17 by cog - Eduard - 1/72 - PLASTIC and PE
cog replied to cog's topic in Non-ship/categorised builds
Welcome Javlin, glad to have been of service. Denis, it seems I am ... it would be a waste not to build the second one, since it is in the box ... challenges, challenges ... I know your predicaments from close up now ... -
Stucco: in the Northern part of France is off white - greyish. The more Southern you go the more it goes to ivory - sand colour (no not black sand!) In Belgium it is often light grey - grey. Dammage usually shows as tears and rents, or pieces of plaster falling off which either shows the bricks/stones, or an underlaying layer of plaster
-
You could glue plaster board (e.g. Knauff) to the wall, which is quite easy and quick It would be practical above the workbench ... I used the method in my kitchen to get an even wall
-
So flyers are Weasels, Canute? They'd appreciate that! I've seen on YouTube a video where the sandbags were made of Milliput. First given the general form, than it's final shape, and made more realistic by pressing some metrial with a distinct weave softly on it. Did look rather convincing.
-
I wouldn't be to certain of that, they might just kick the living daylights out of you , although, you will have ample time to escape considering the difference in scale, or hide behind the new rock wall
-
Fokker Dr.I triplane by cog - multiple - 1:72 - PLASTIC
cog replied to cog's topic in Non-ship/categorised builds
Thanks for all likes & comments Mike, I'm just glad decals were invented, for some things those really come in necessary like the white bird and the small crosses. Appreciated Tony. Well you can find them all over the net, but I used these amongst others after I made a choice, I searched for the additional information as crosses and wing top colours. I also used a decal sheet from Pheon decals they have some nice WWI decals in several scales. You could print the decals yourself on decal paper, but the biggest problem is the white. You need either to modify your printer's cartridge setup, or buy a printer which can deal with the additional white toner cartridge. Which would cost me in the range from € 1.200 to € 10.000 + I don't think I can make a living from printing all colours and black and white, which could justify the purchase ...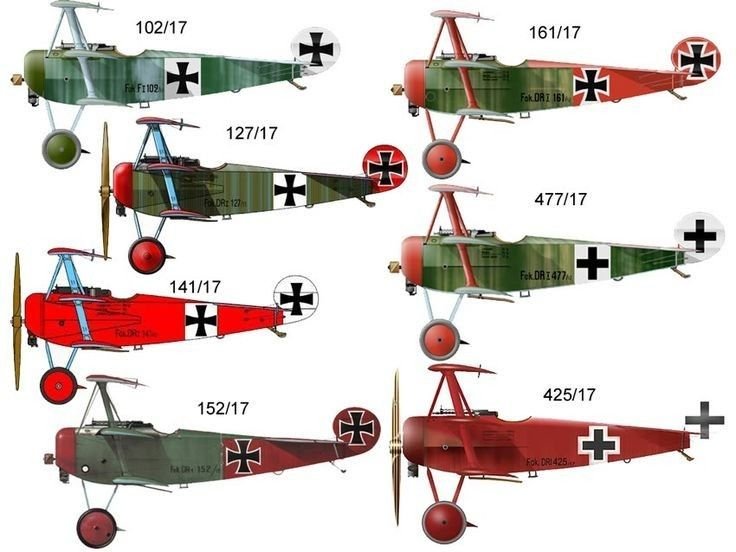
-
Spitfire Mk IXc - FINISHED - by cog - Eduard - 1/72 - PE & PLASTIC
cog replied to cog's topic in Non-ship/categorised builds
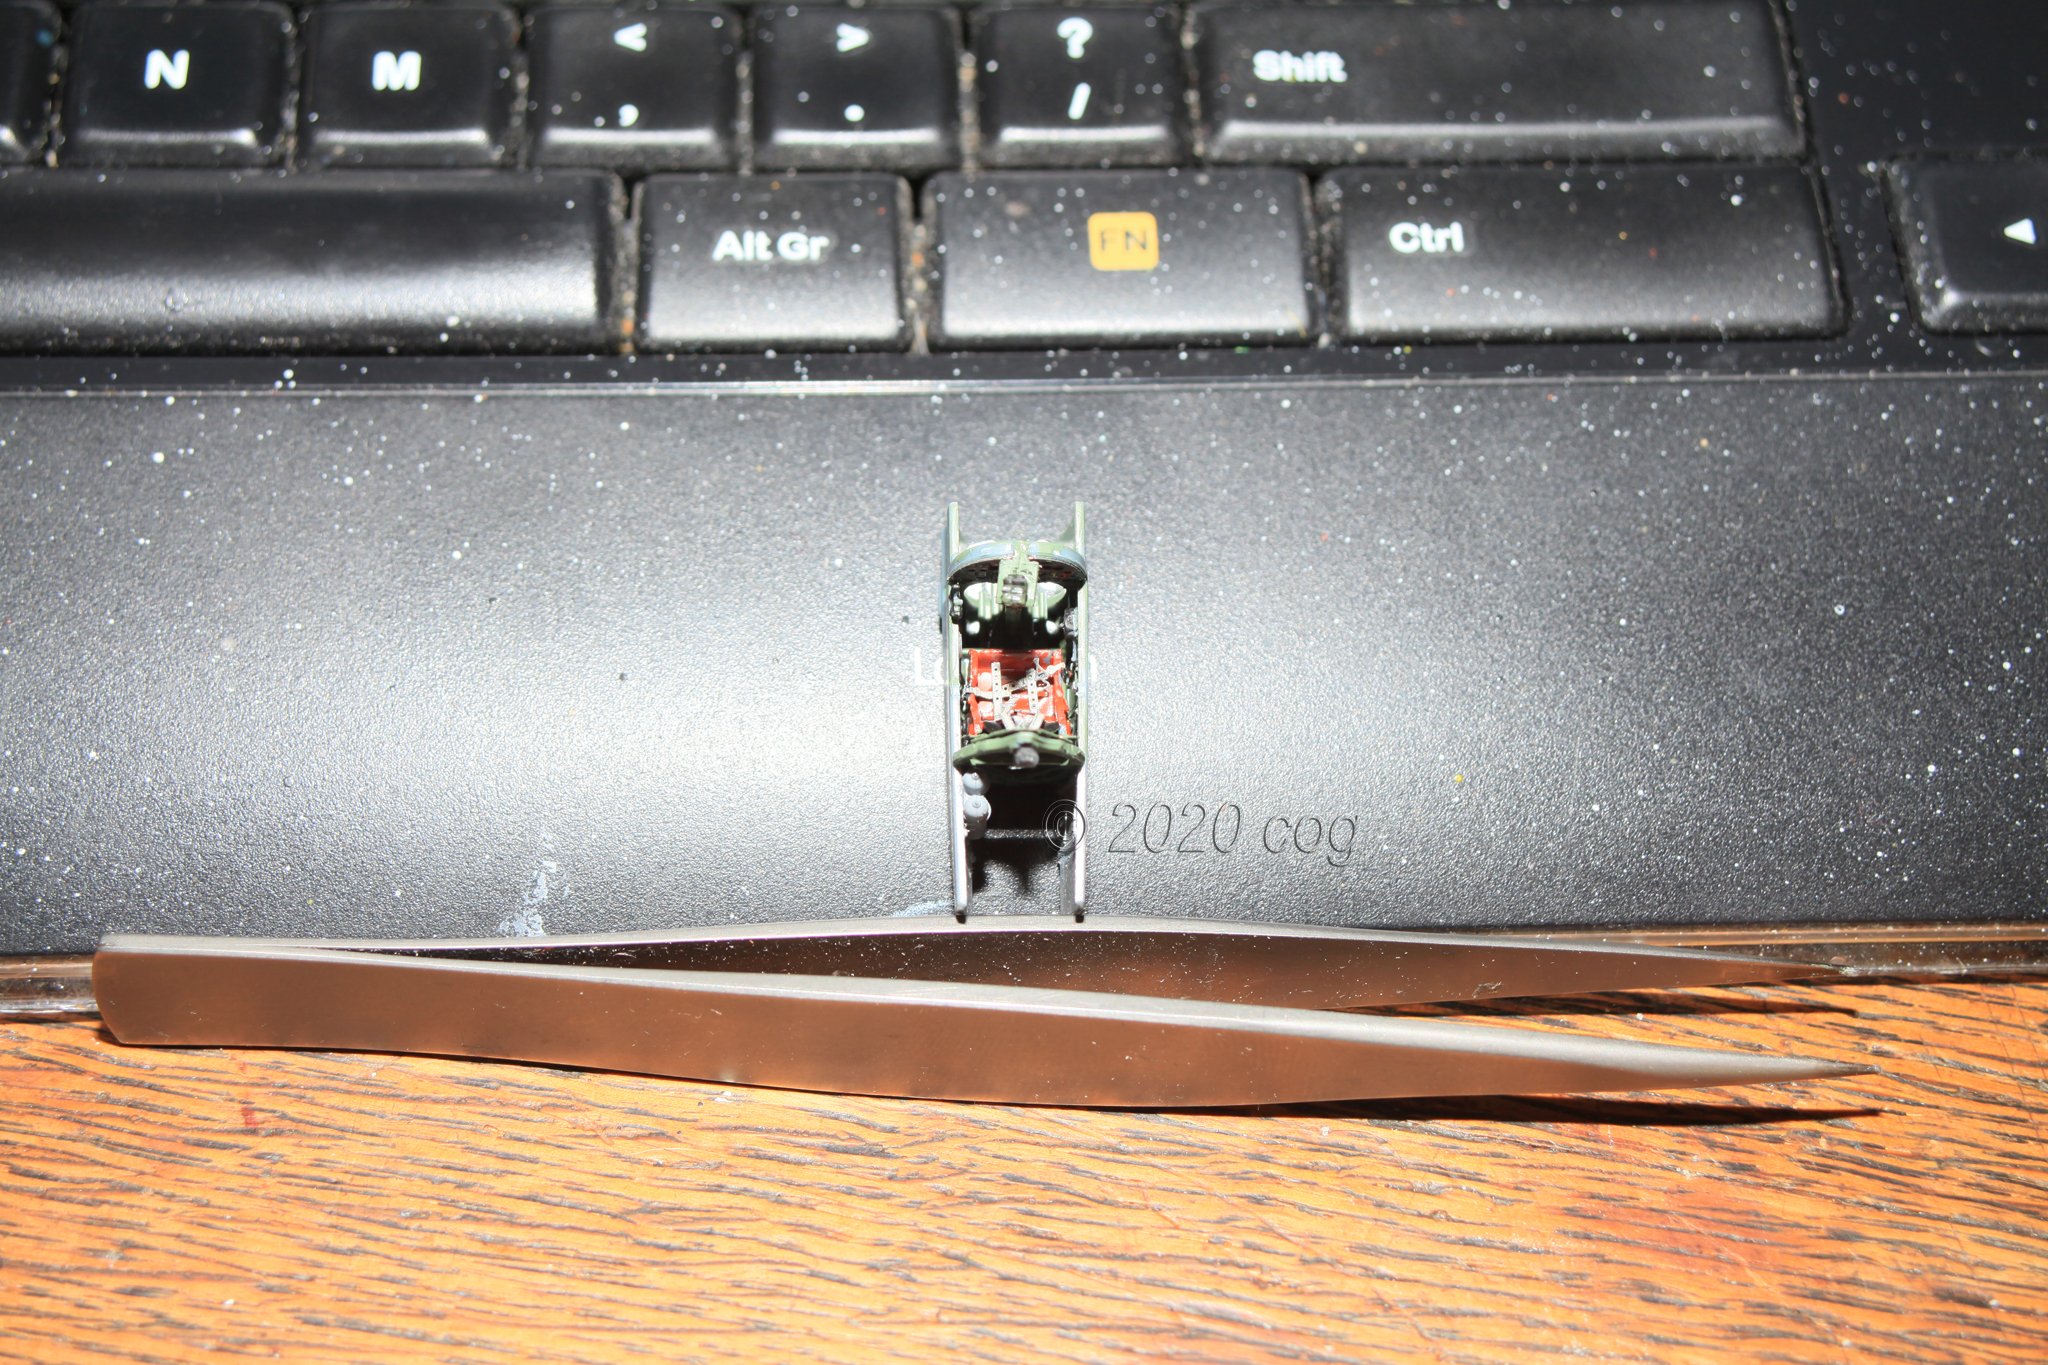
Built up, not much fiddly bits. Prepped for paintin'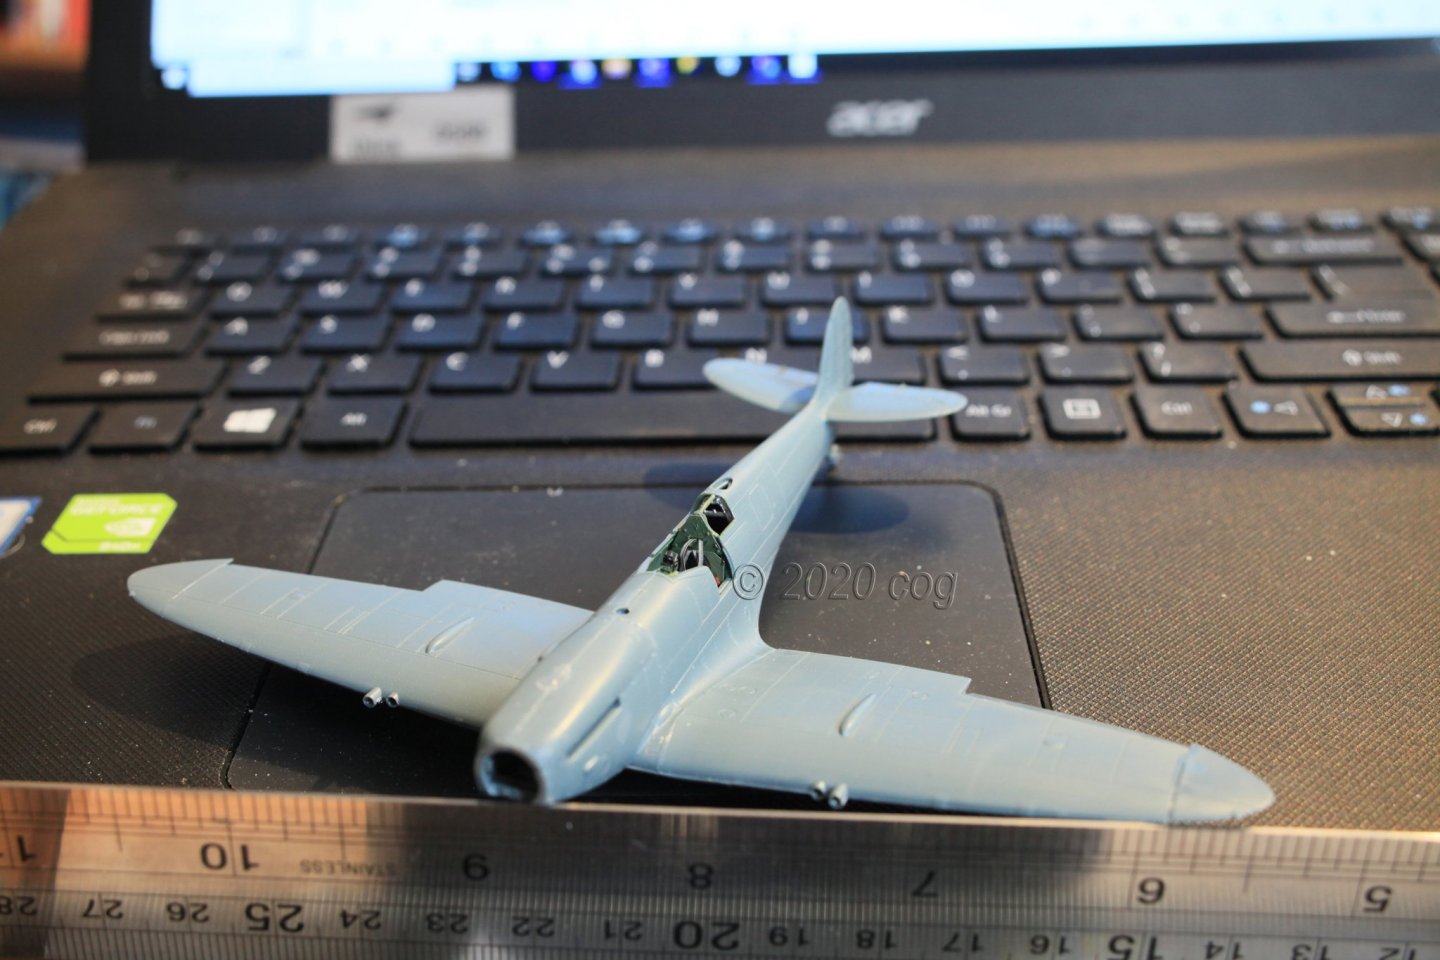
-
A pair of arms would do some good, considering the act they should perform ... Nice save though Steven. These chaps will certainly not like you for first cutting their legs off, and now have them row without their arms!
-
Nieuport Ni-17 by cog - Eduard - 1/72 - PLASTIC and PE
cog replied to cog's topic in Non-ship/categorised builds
thanks hook, welcome to the build log. There will be one to follow, with some more work detail. I hope to get me camera over my desk and film my fiddly work on this 1/72 -
Spitfire Mk IXc - FINISHED - by cog - Eduard - 1/72 - PE & PLASTIC
cog replied to cog's topic in Non-ship/categorised builds
Lou, at one of my other builds. It just poped up. Thanks Mark, it's a bit hard to realise on my current screen. Nowadays I just grab a rattle can, but thaks for the idea -
Nieuport Ni-17 by cog - Eduard - 1/72 - PLASTIC and PE
cog replied to cog's topic in Non-ship/categorised builds
Thanks OC, There are already quite some discontinued kits unfortunately. For some there are only overtrees (only sprues, no PE, and/or decals) left, which is fine when you build a jasta like I did, but not if you want to build a specific version where you need decals which are hard to "hand" paint. However, they still seem to be extending their choice, recently they added a Fokker D IIV, a MIG, accessories like sidewinders. They do have a nice selection. (I am in no way affiliated or receive commision from Eduard in whatever way) -
Spitfire Mk IXc - FINISHED - by cog - Eduard - 1/72 - PE & PLASTIC
cog replied to cog's topic in Non-ship/categorised builds
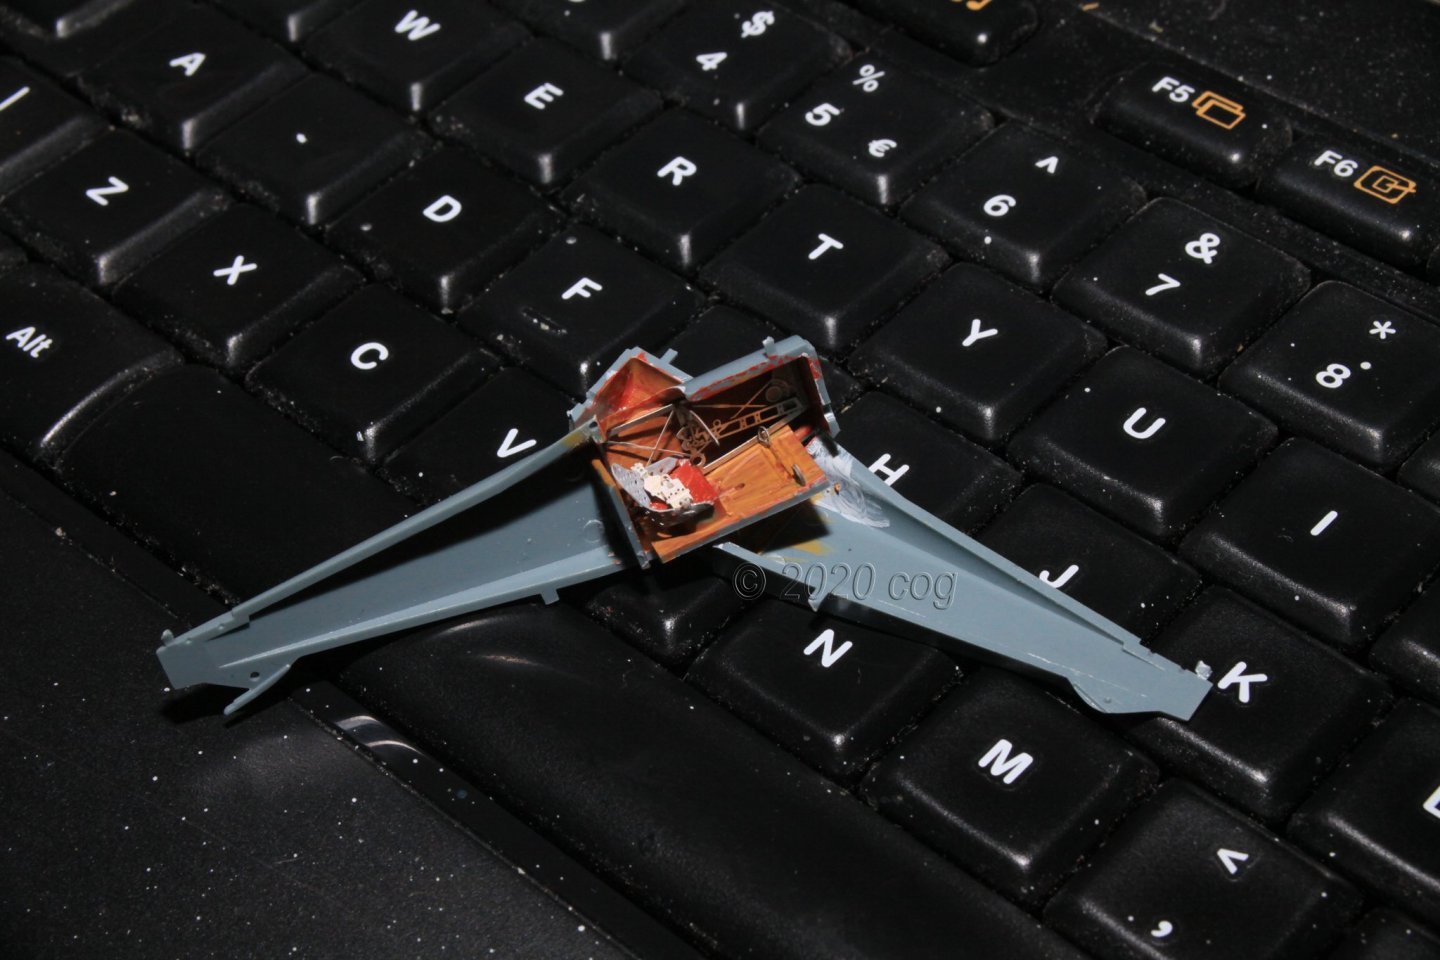
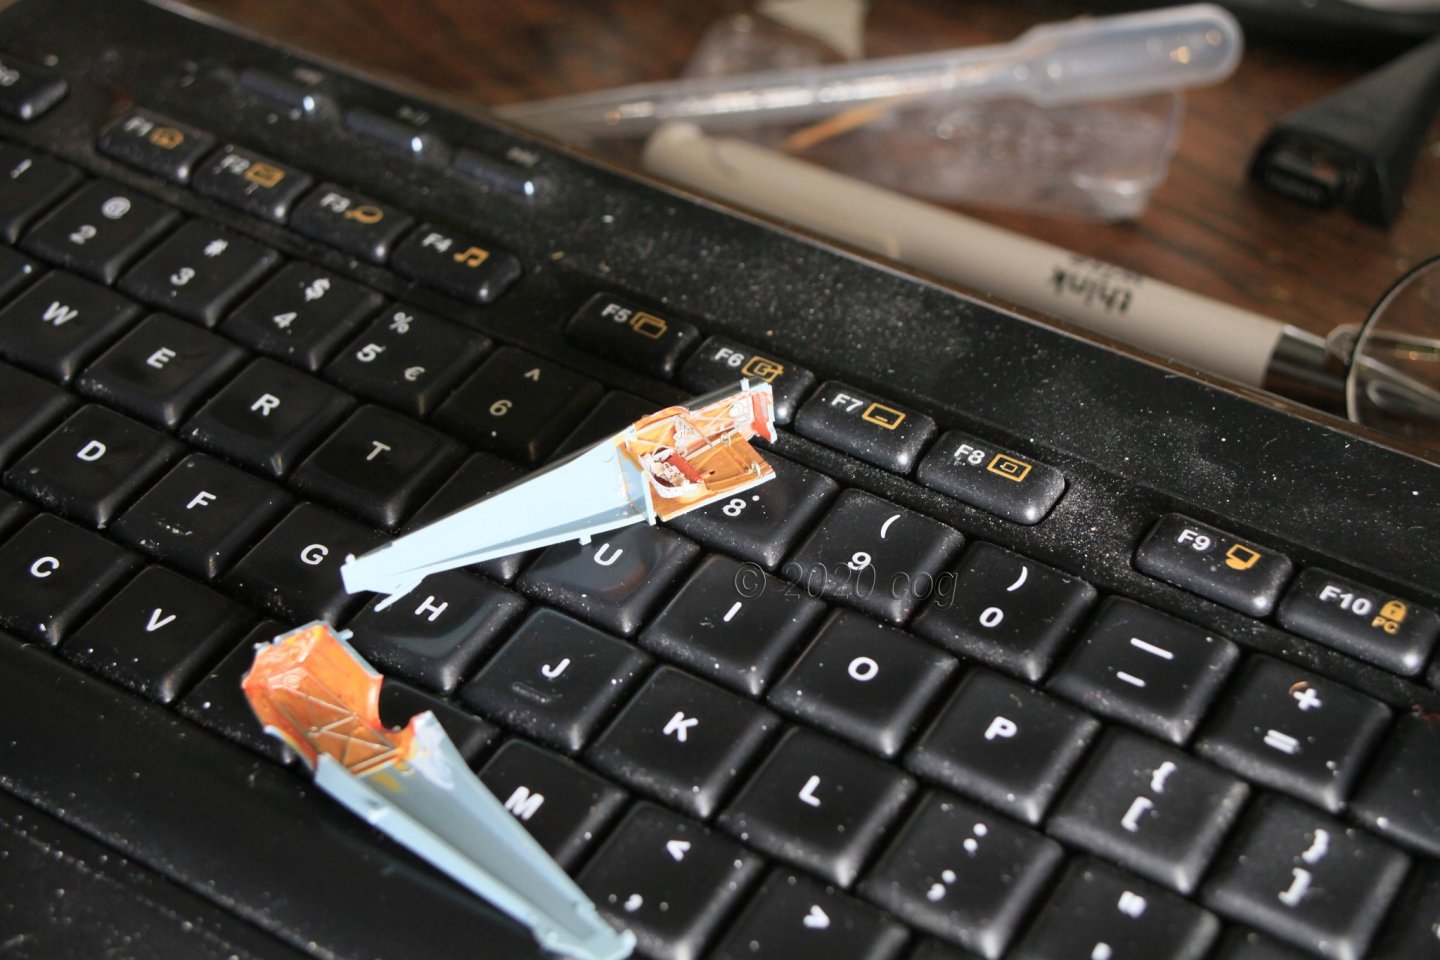
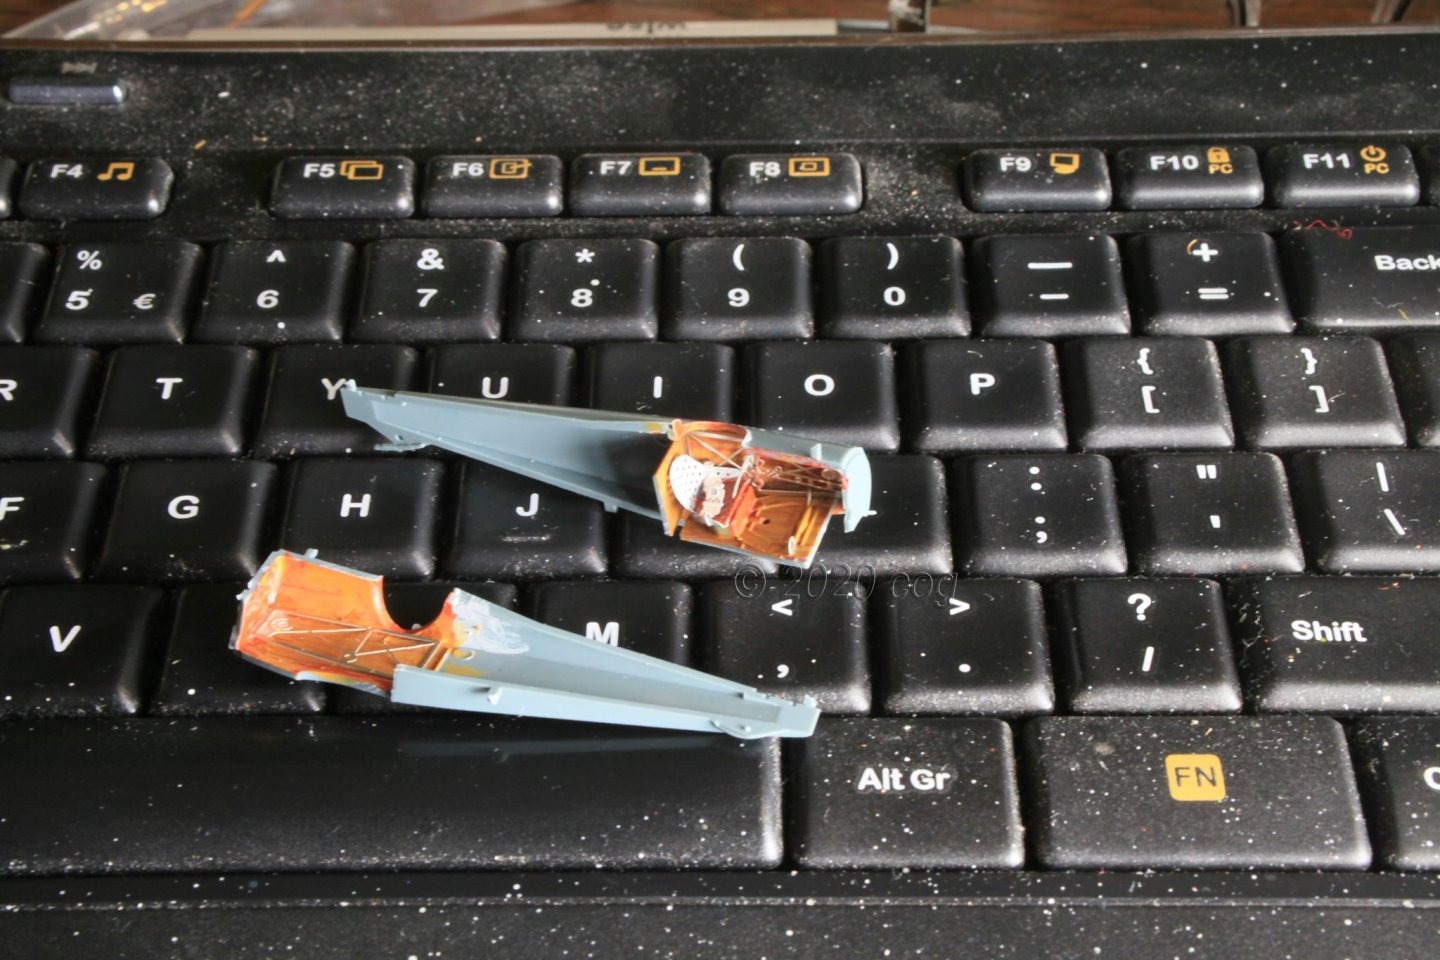
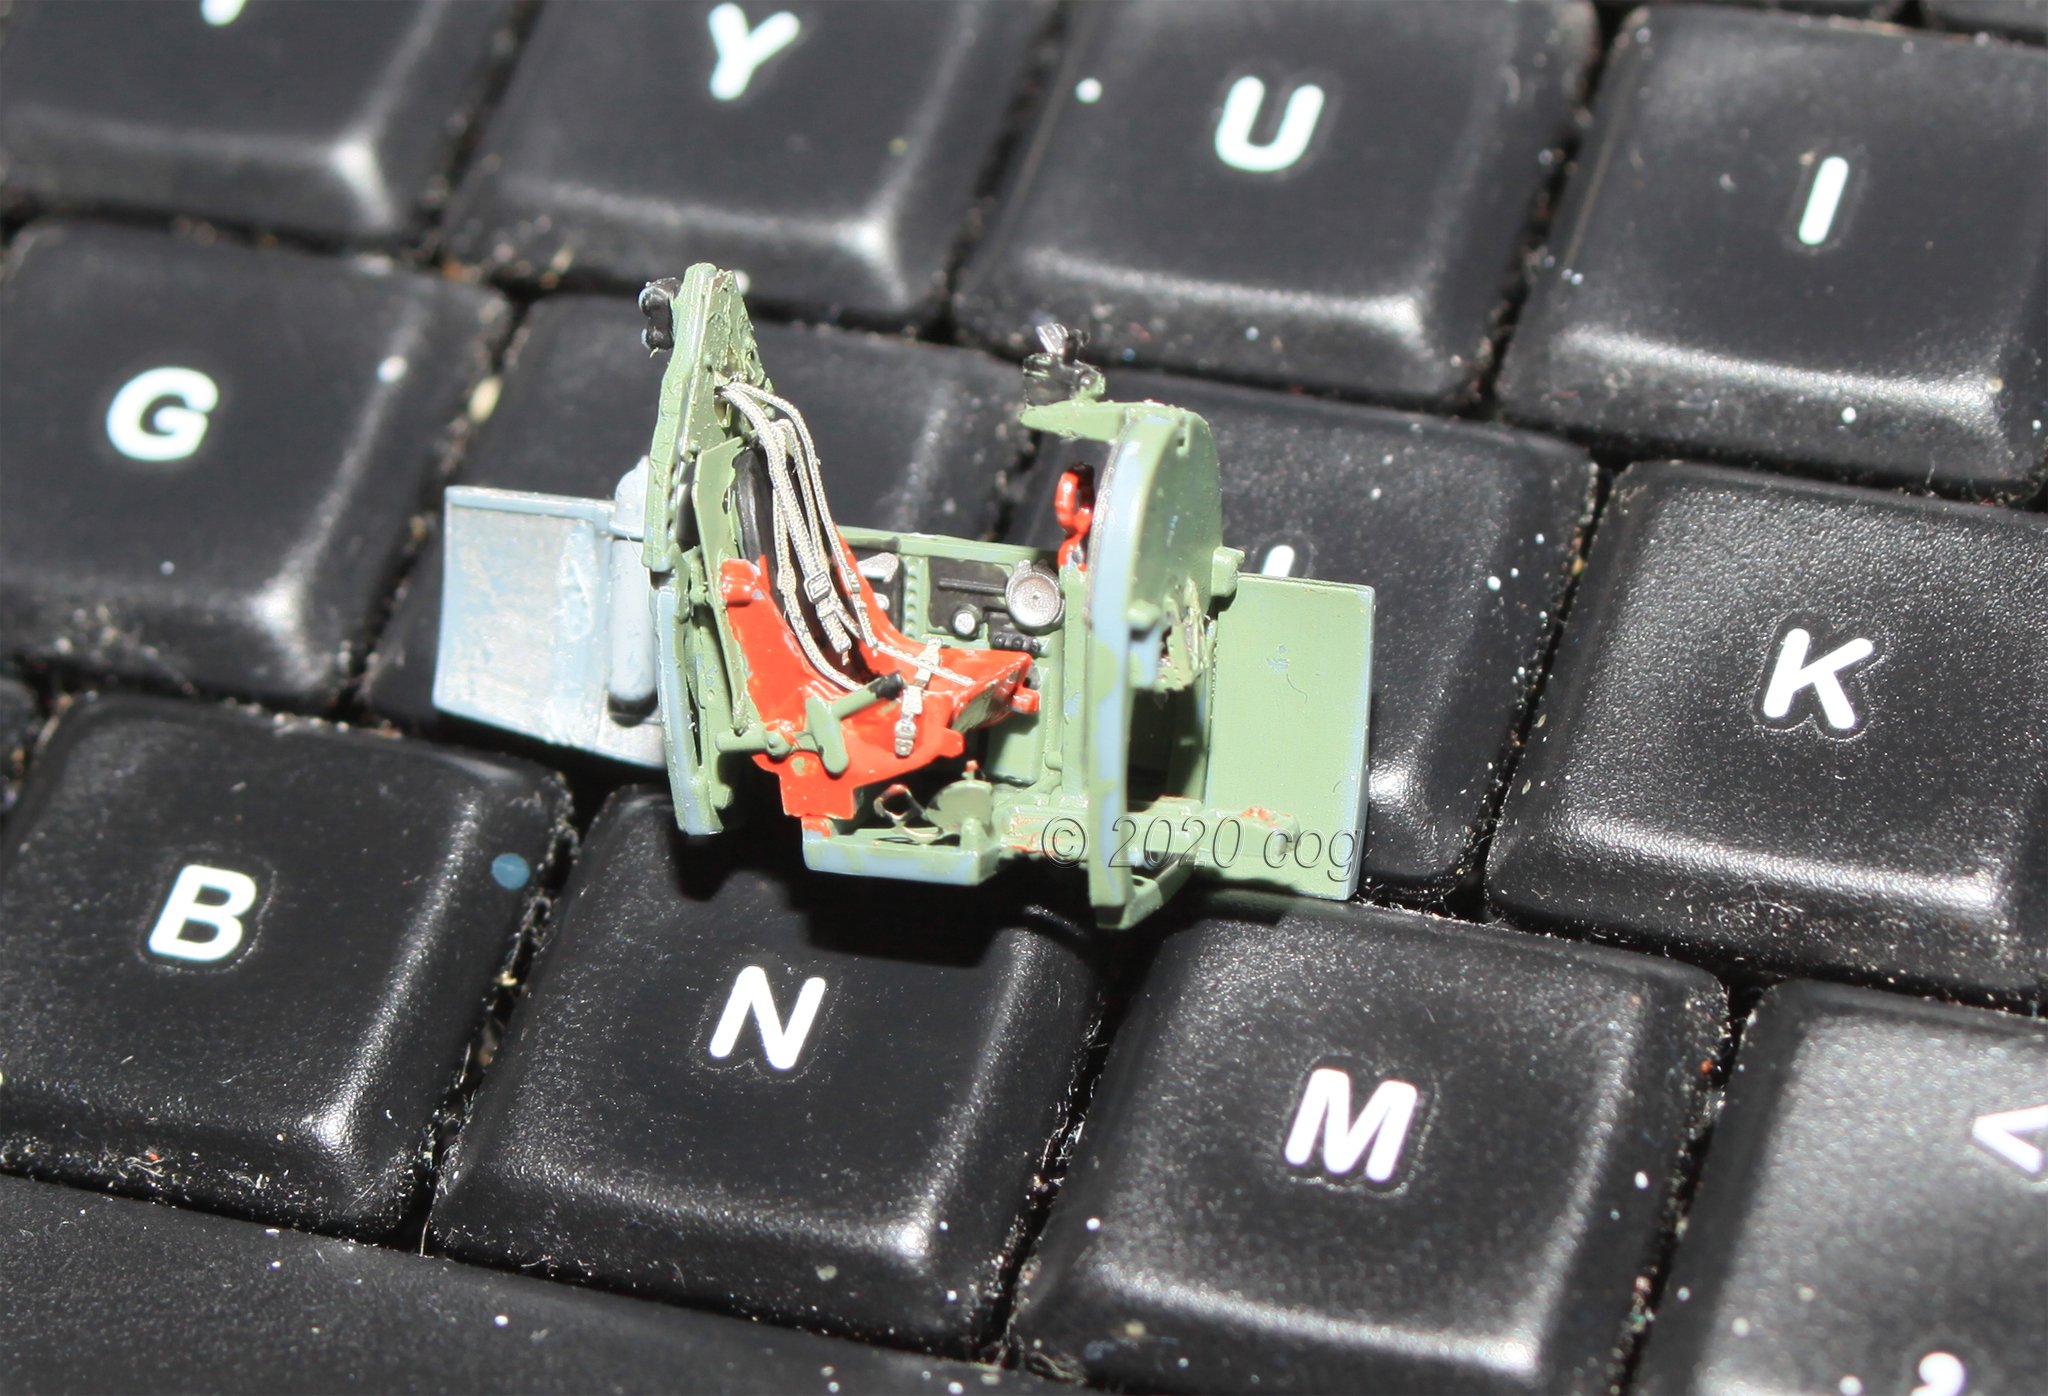
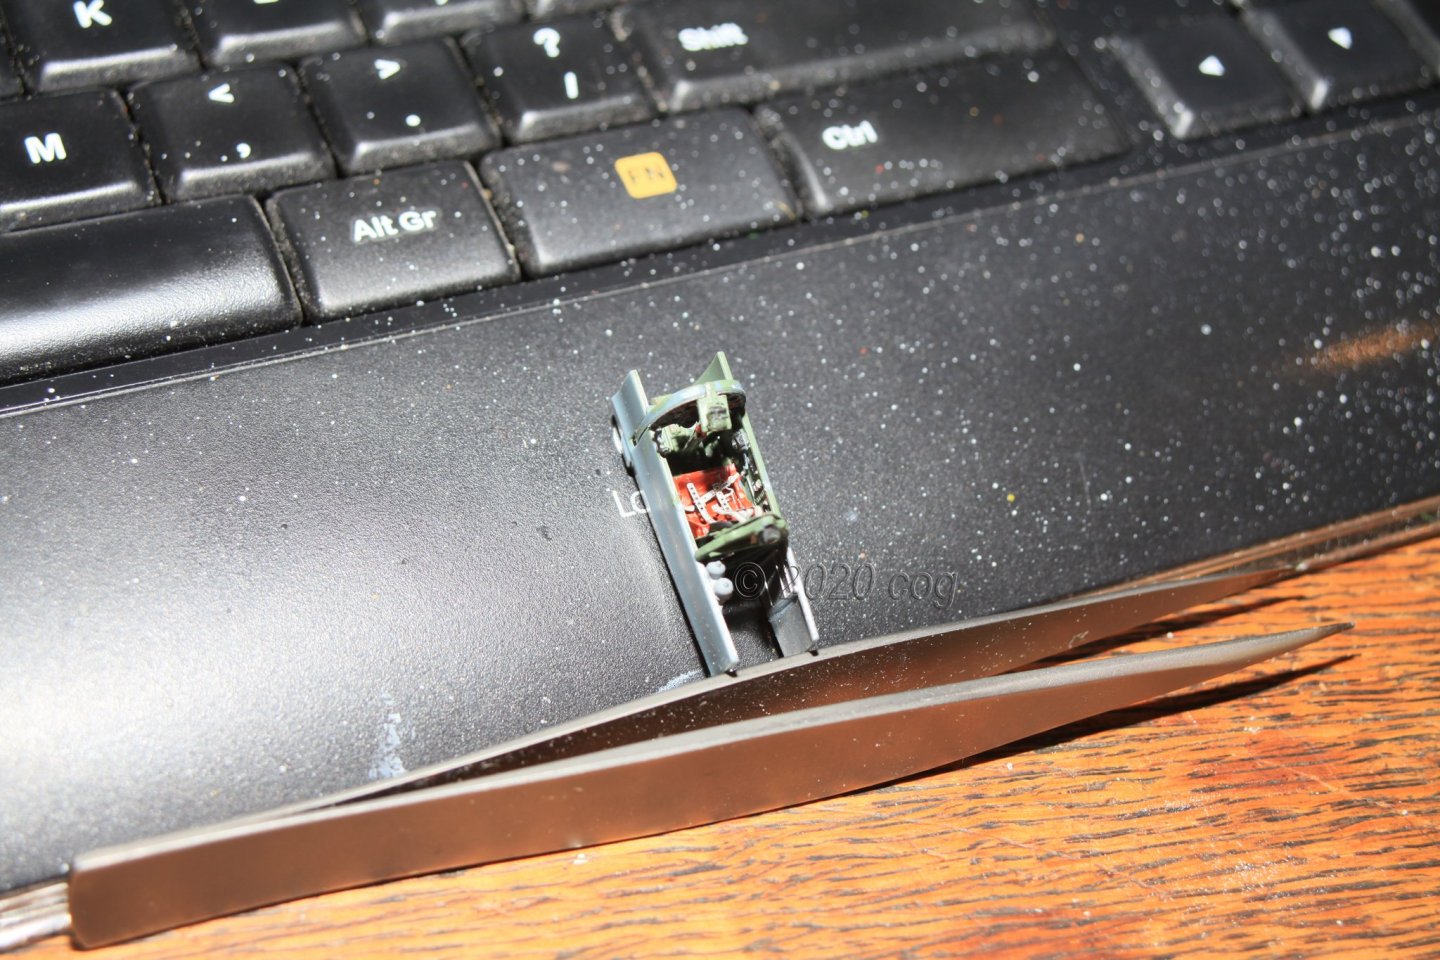
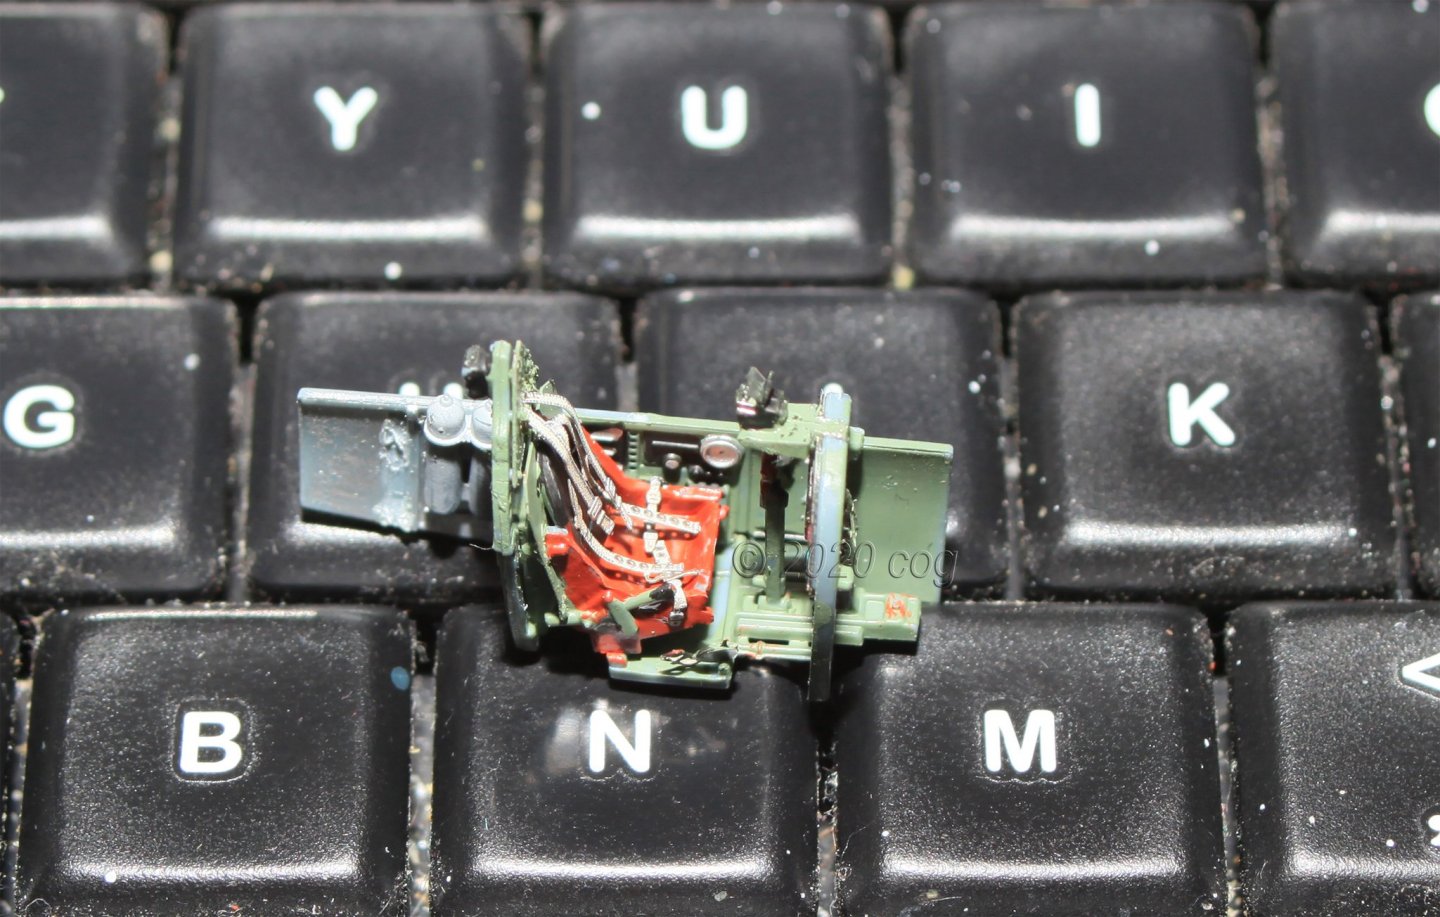
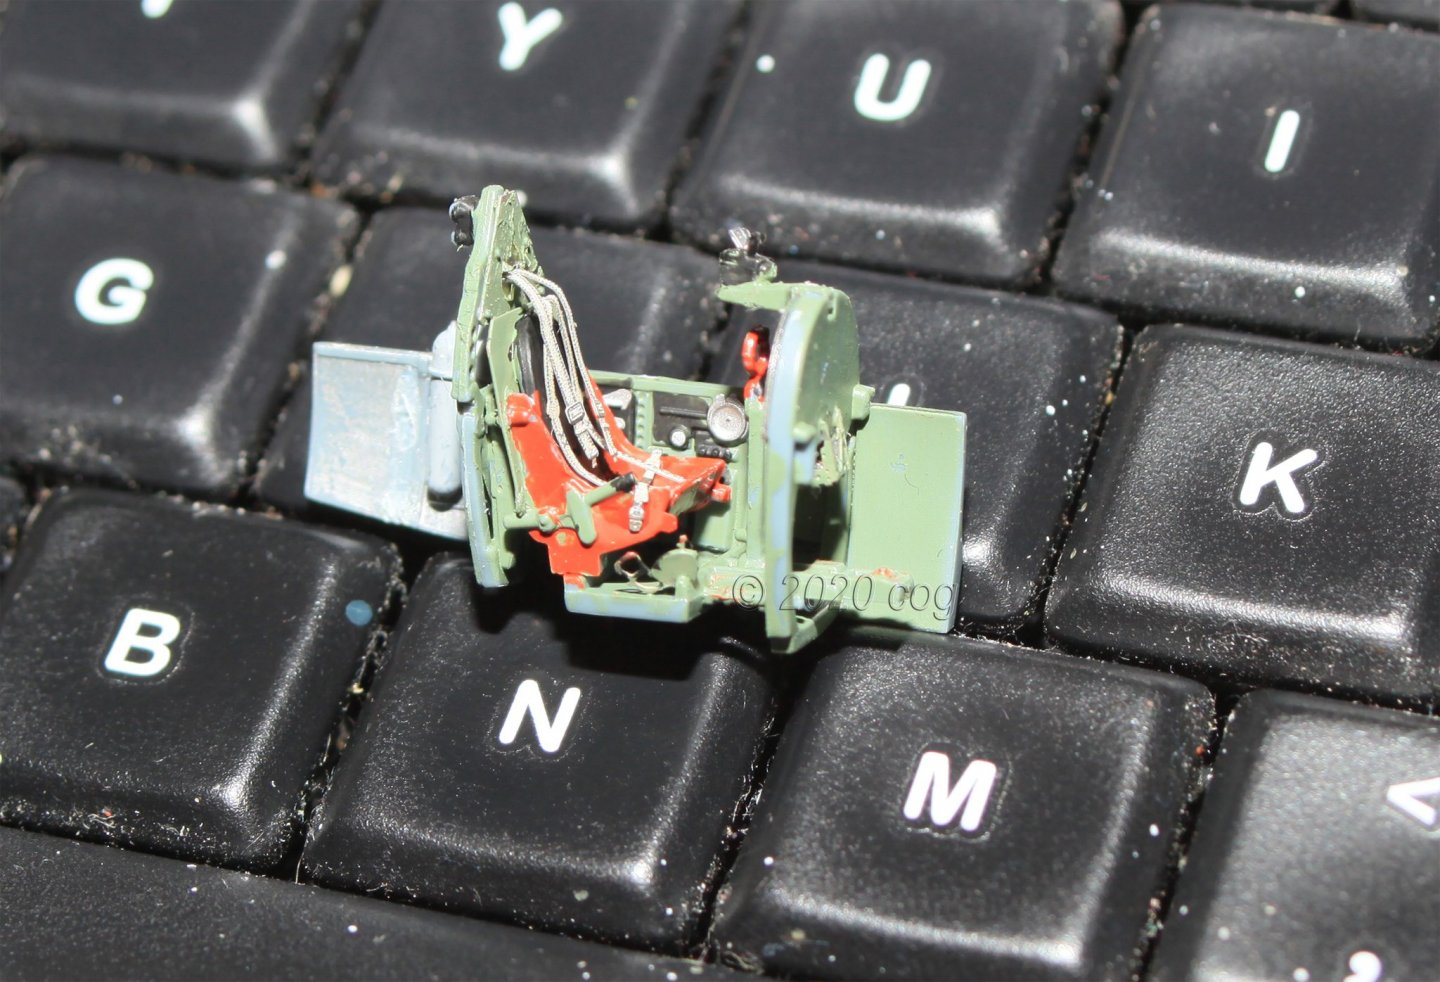
Cockpit does take a little while to get decorated, especially at 1/72. It is however doable, although, you might and up with a slight headache using your eagle eyes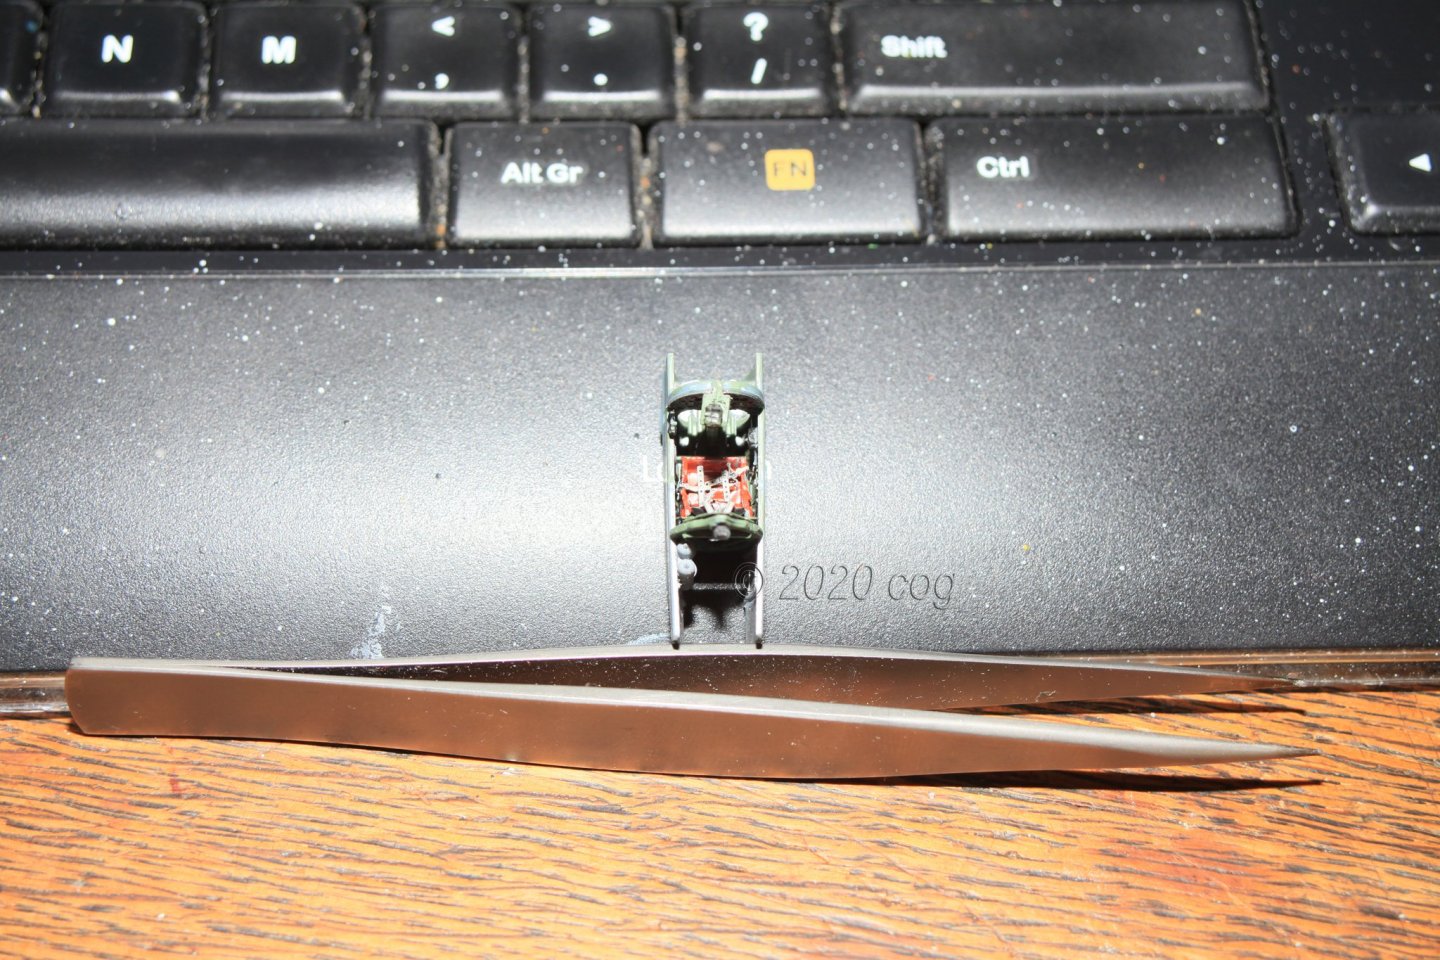

-
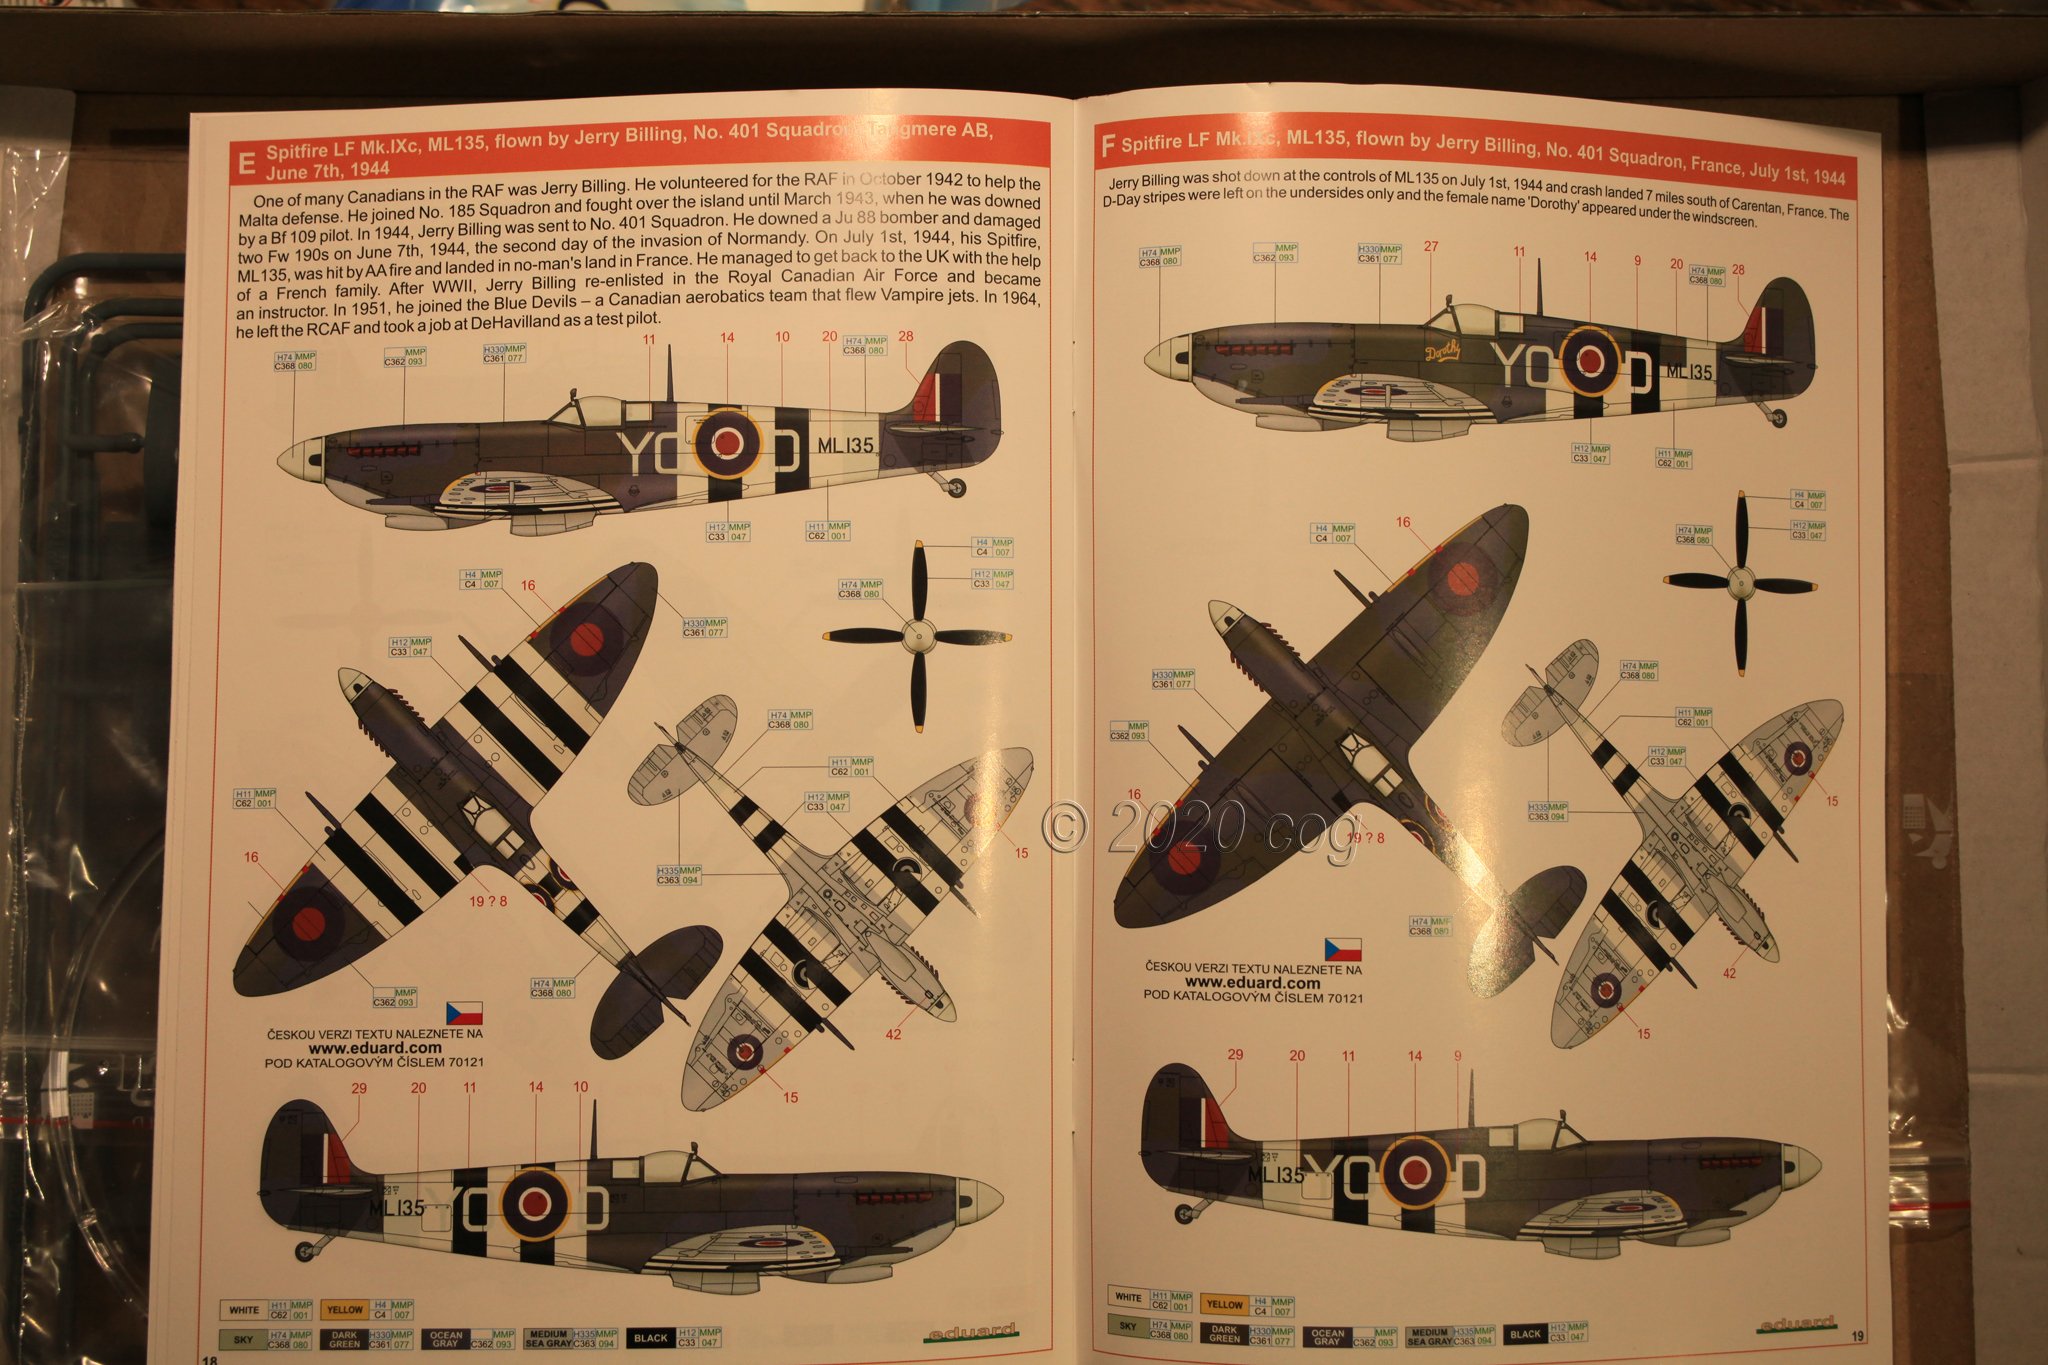
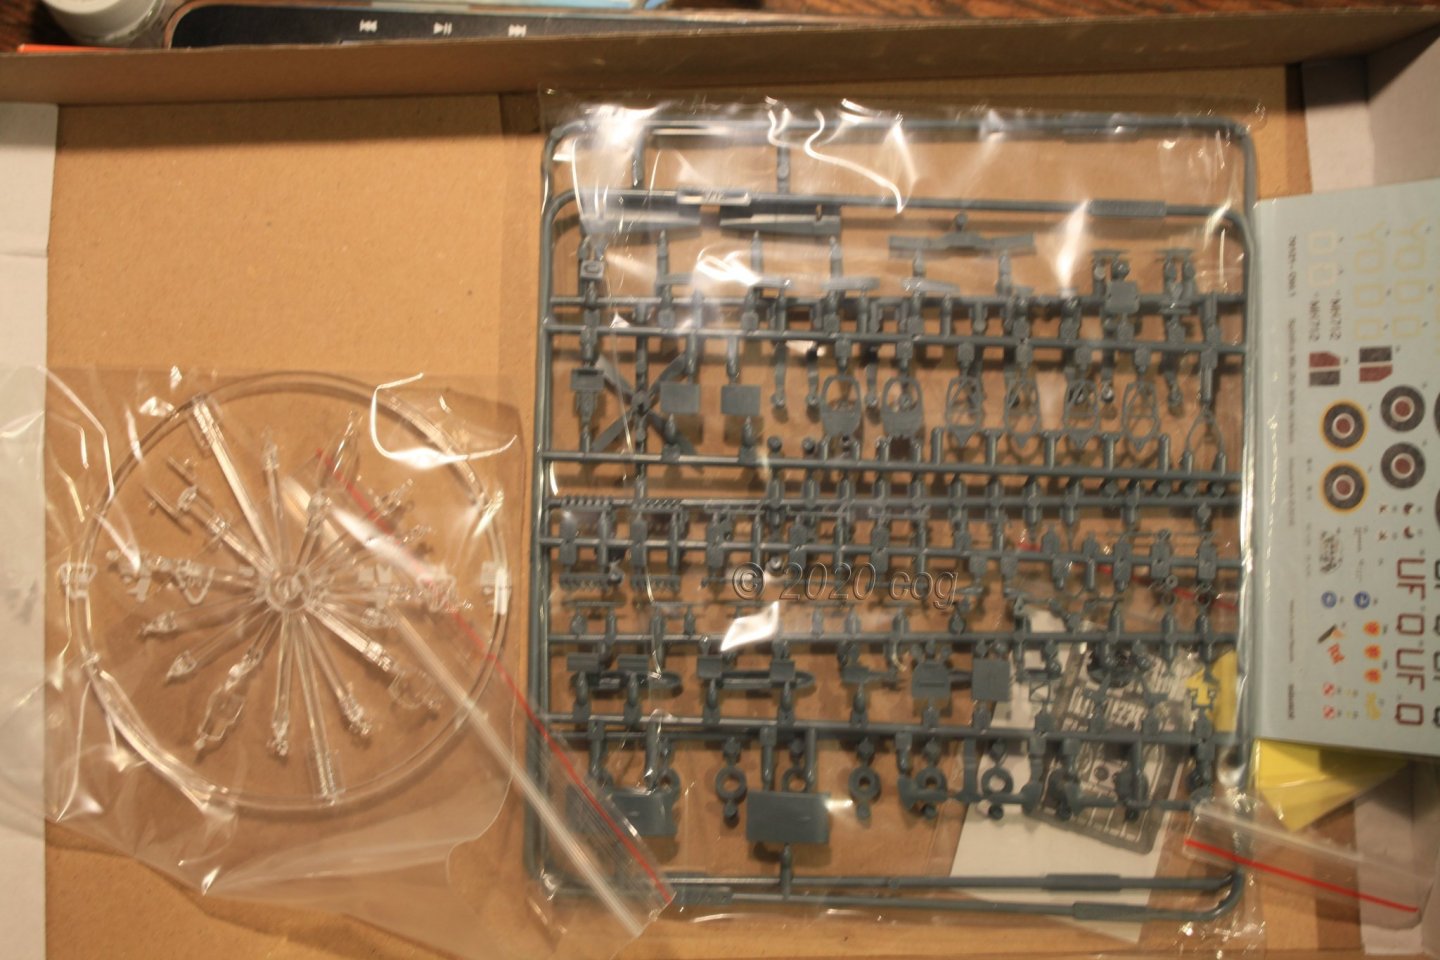
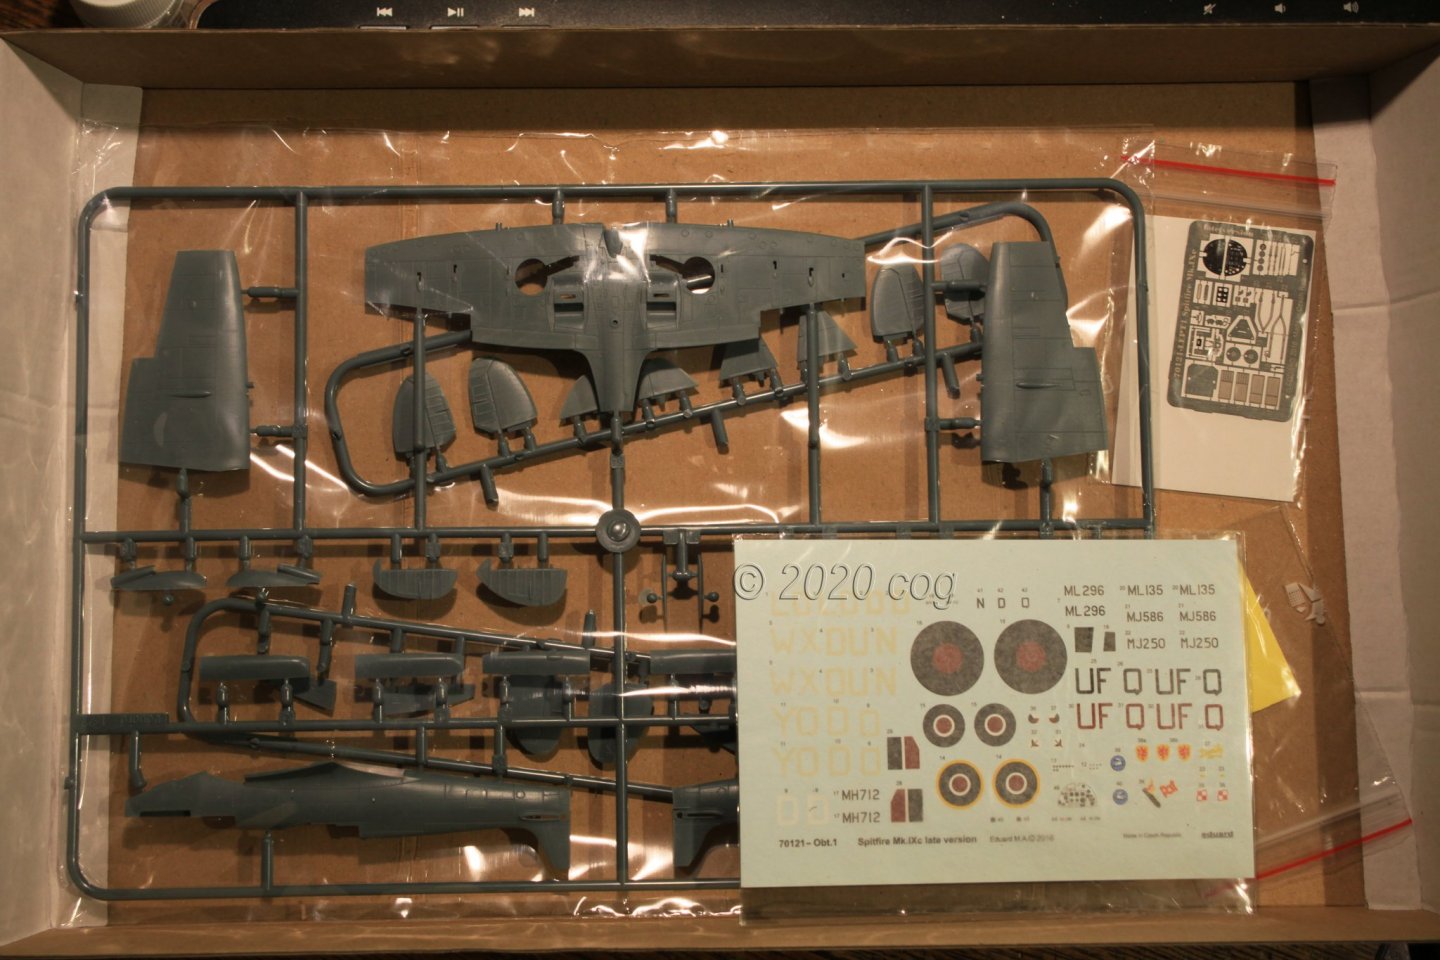
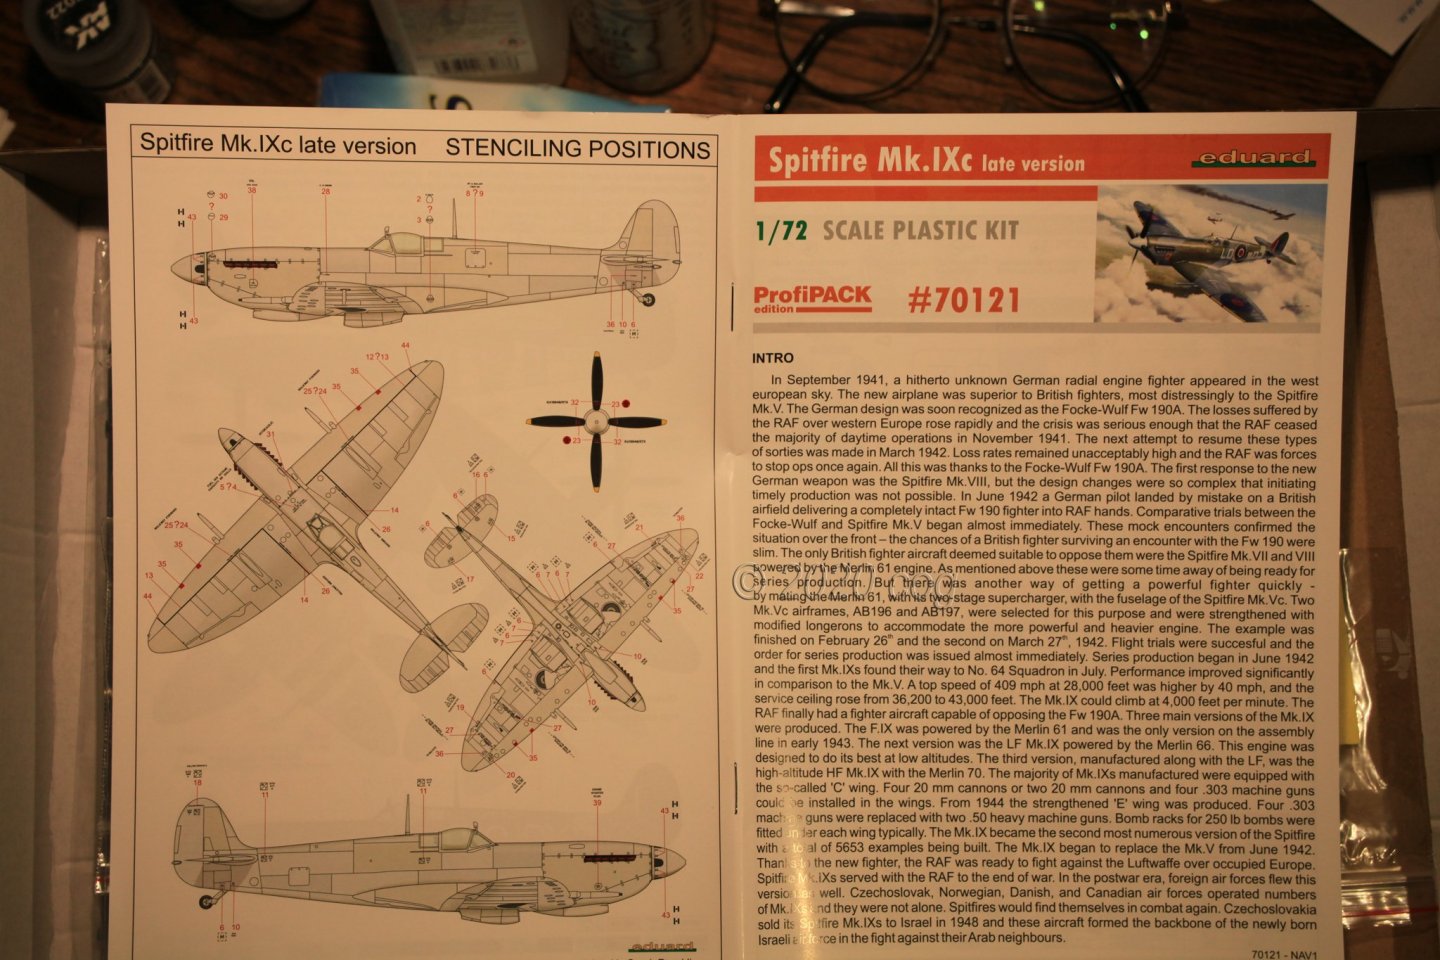
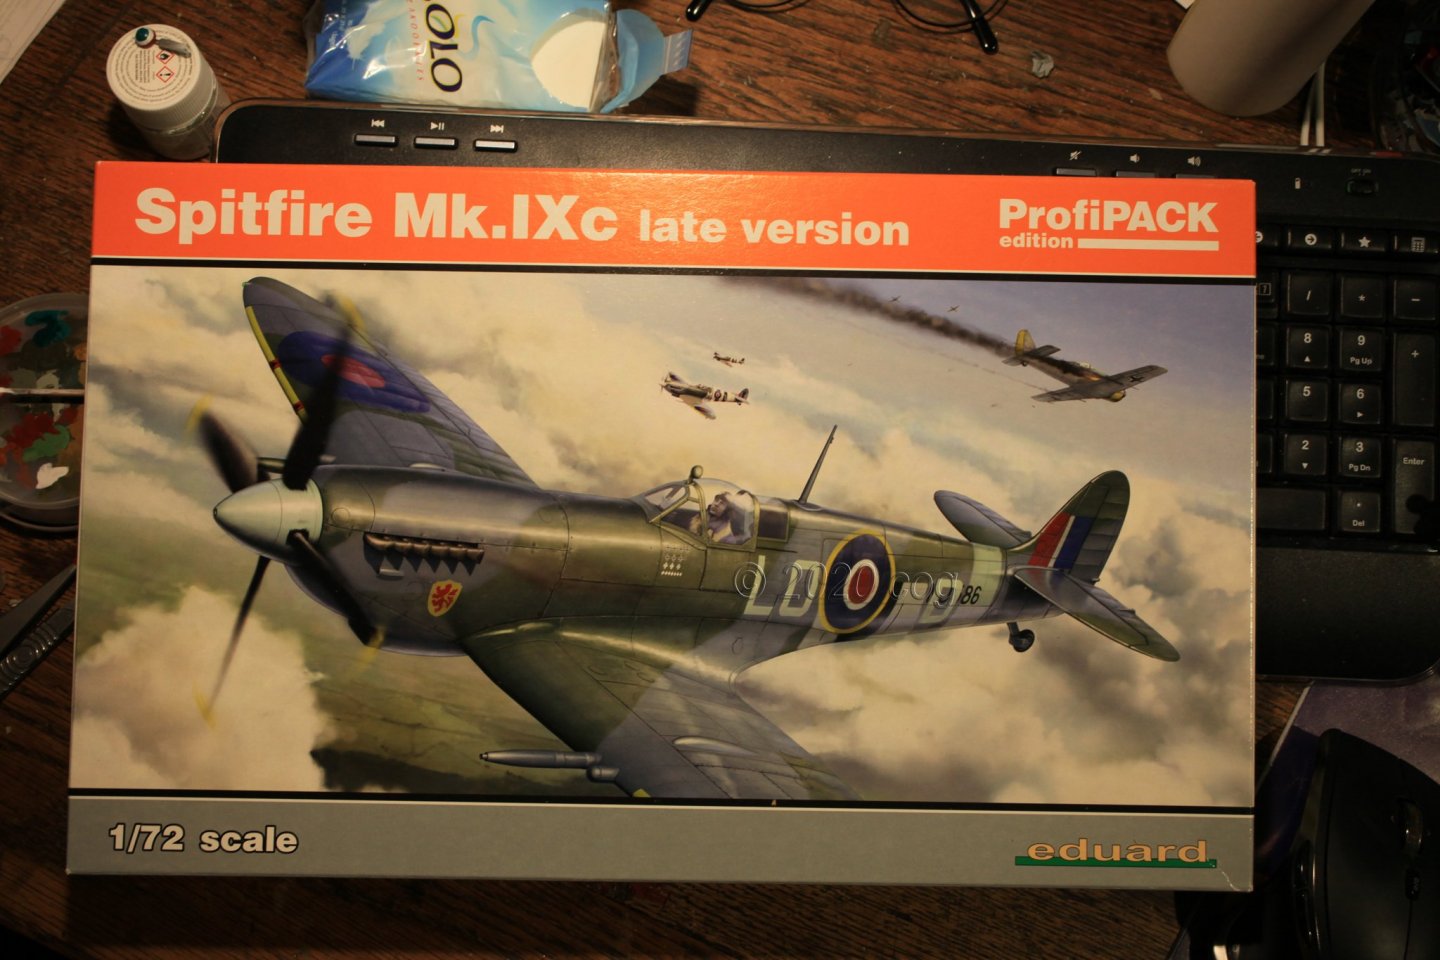
Another nice small model kit from Eduard. With this kit you can build six different version of the Mk IXc. The sprues have all necessary parts to build them. The supplied PE is mainly cockpit, and some vents. The cockpit is wll detailed and one could wonder if it is worth the effort on this scale. That's up to the builder, but it garantees some additional building pleasure. Parts look clean - not much cleaning up to do. On the web site from Eduard you can download digital building instructions if you rather work from a screen or like bigger size instructions Well the mandatory box "art"
-
Nieuport Ni-17 by cog - Eduard - 1/72 - PLASTIC and PE
cog replied to cog's topic in Non-ship/categorised builds
Not yet mate. A one post build can beat me So I've heard ... must keep a sharp lookout(!) Hopefully his wingman shows up rather sooner than later -
Nieuport Ni-17 by cog - Eduard - 1/72 - PLASTIC and PE
cog replied to cog's topic in Non-ship/categorised builds
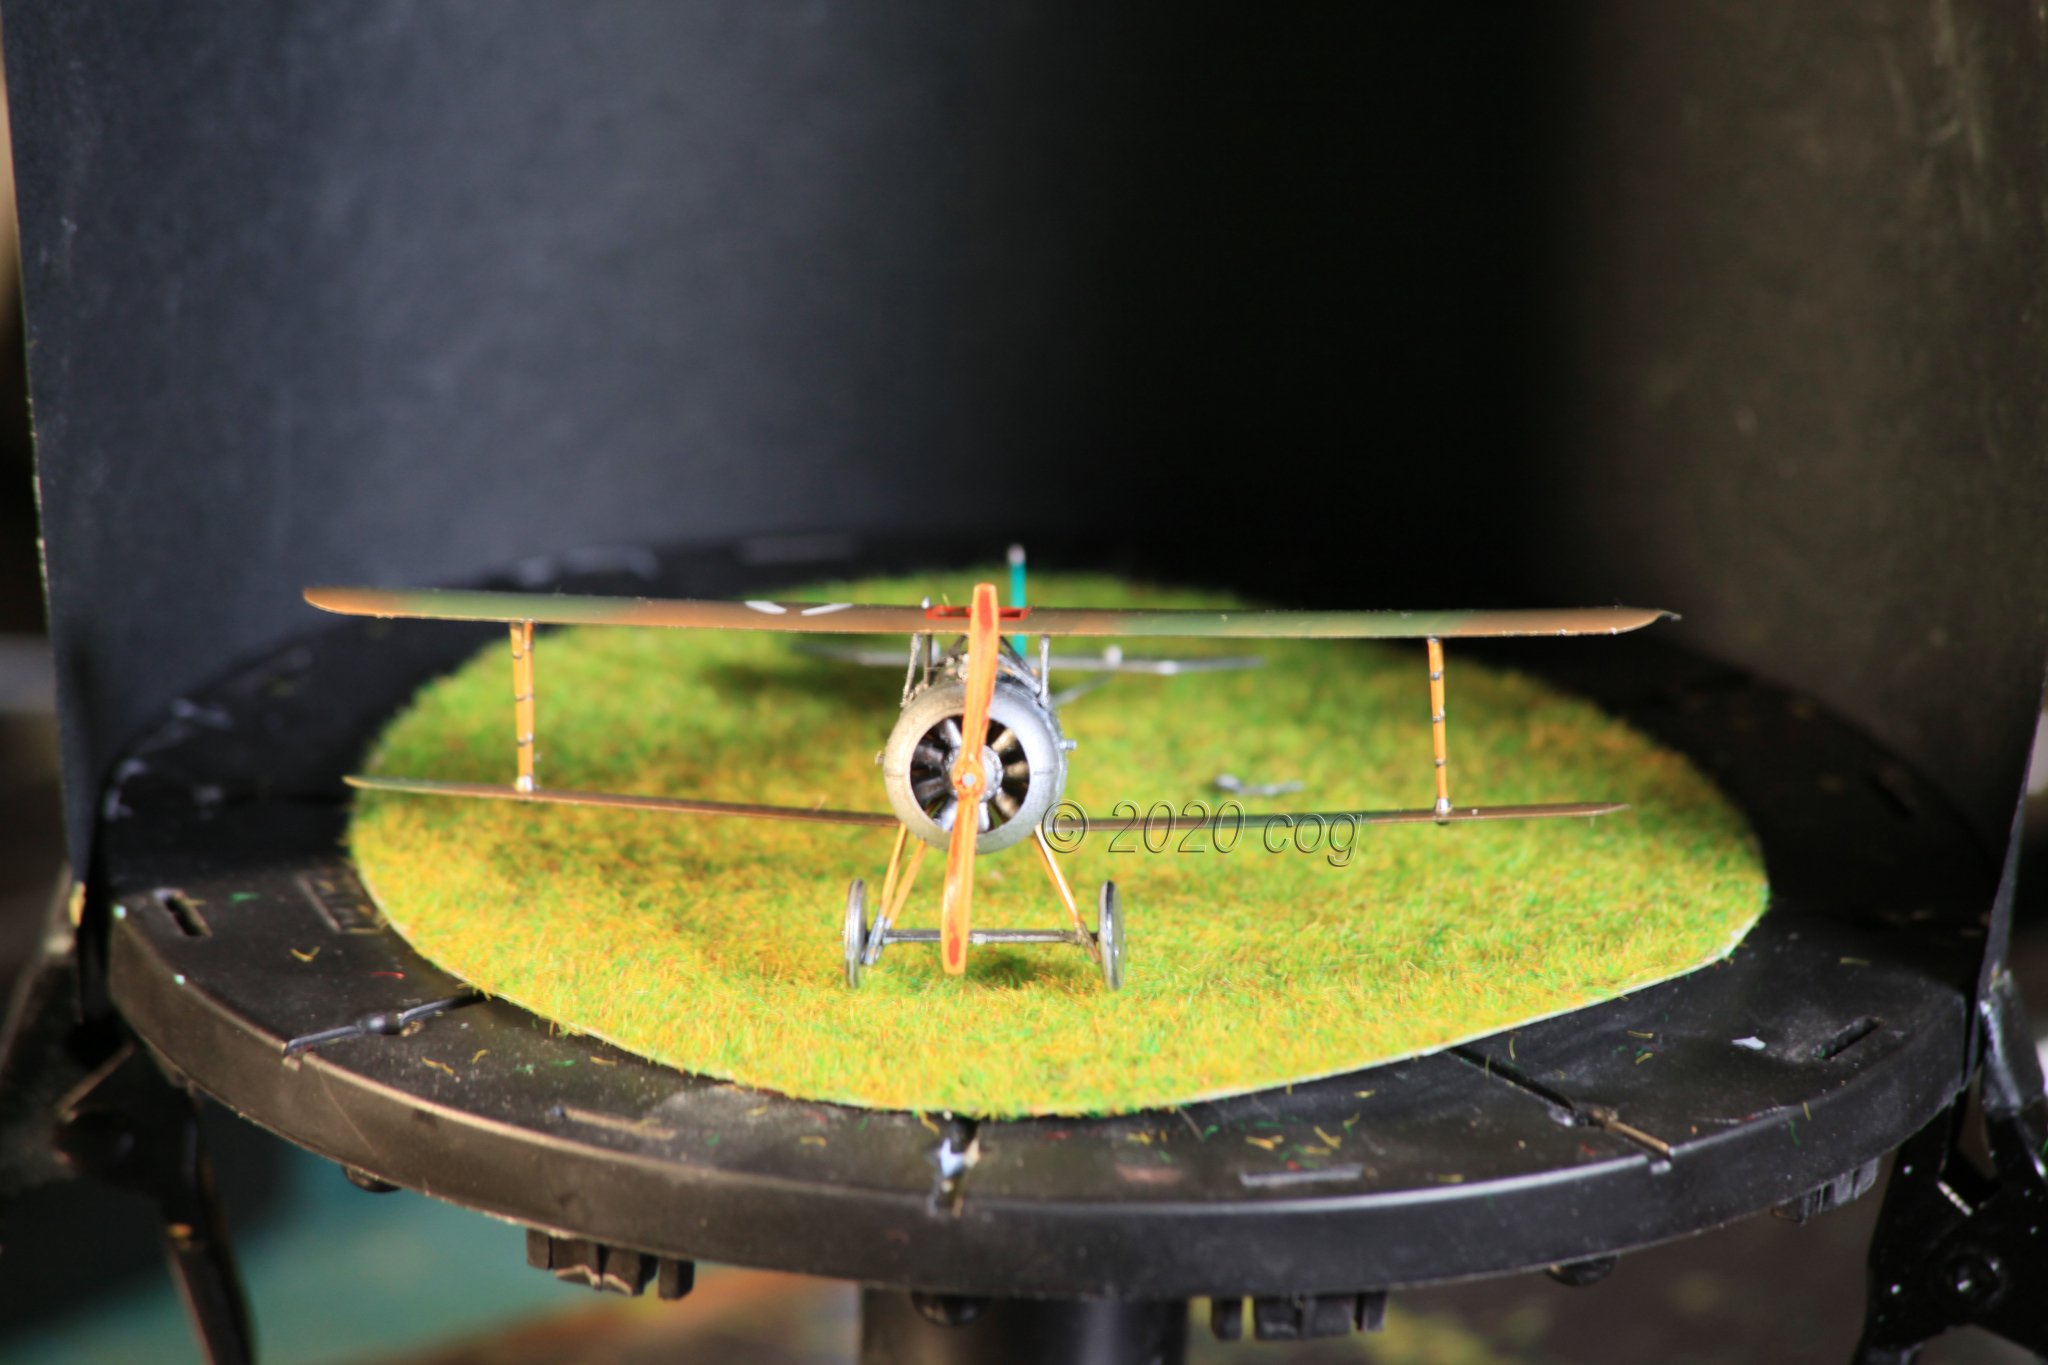
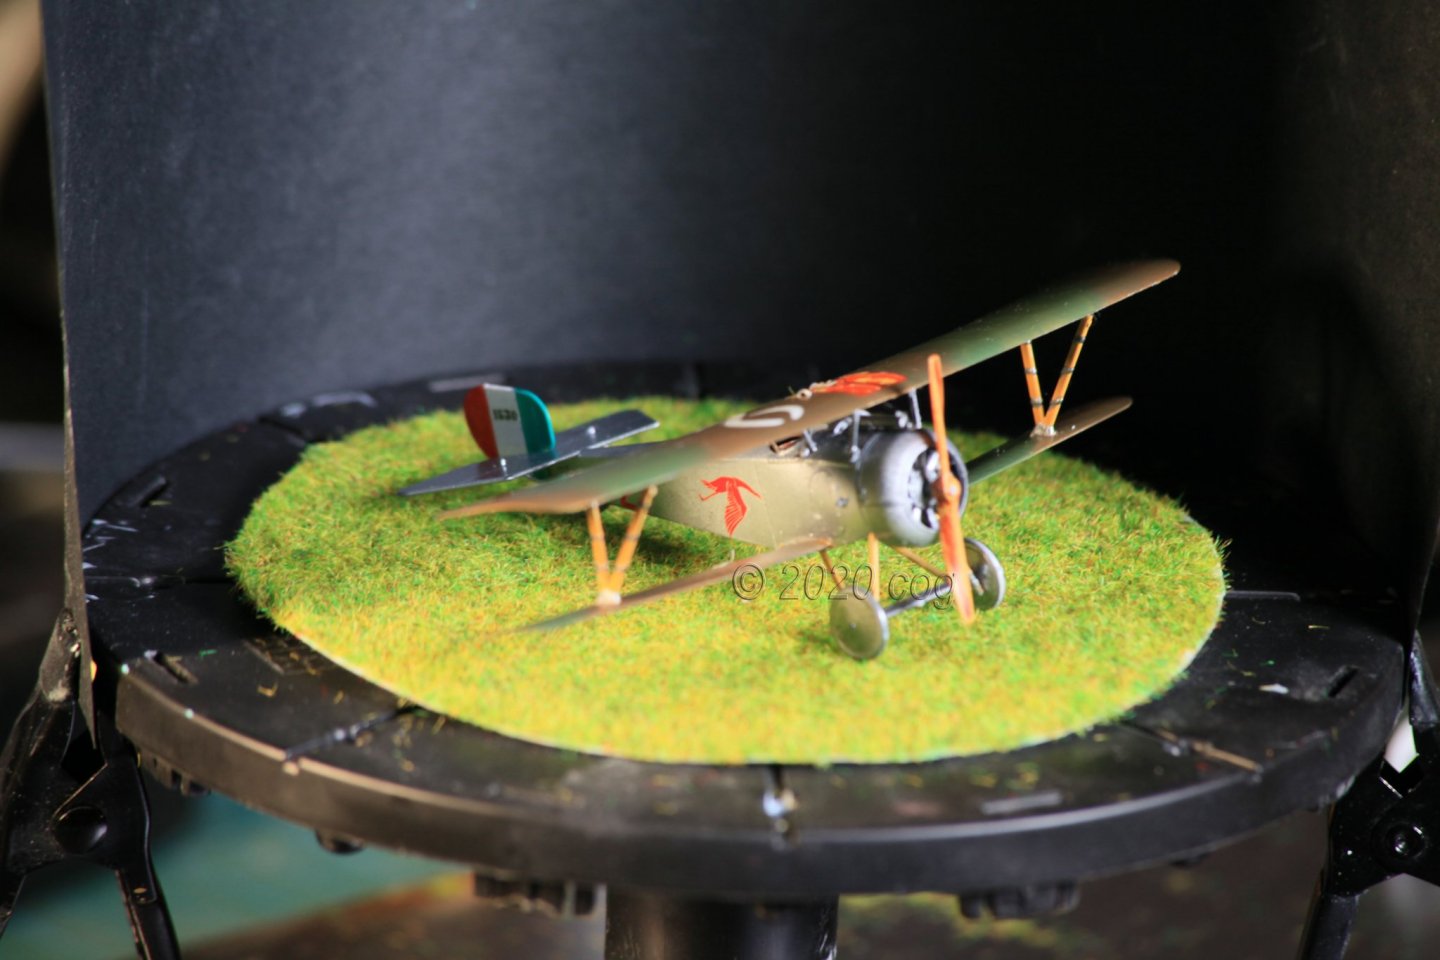
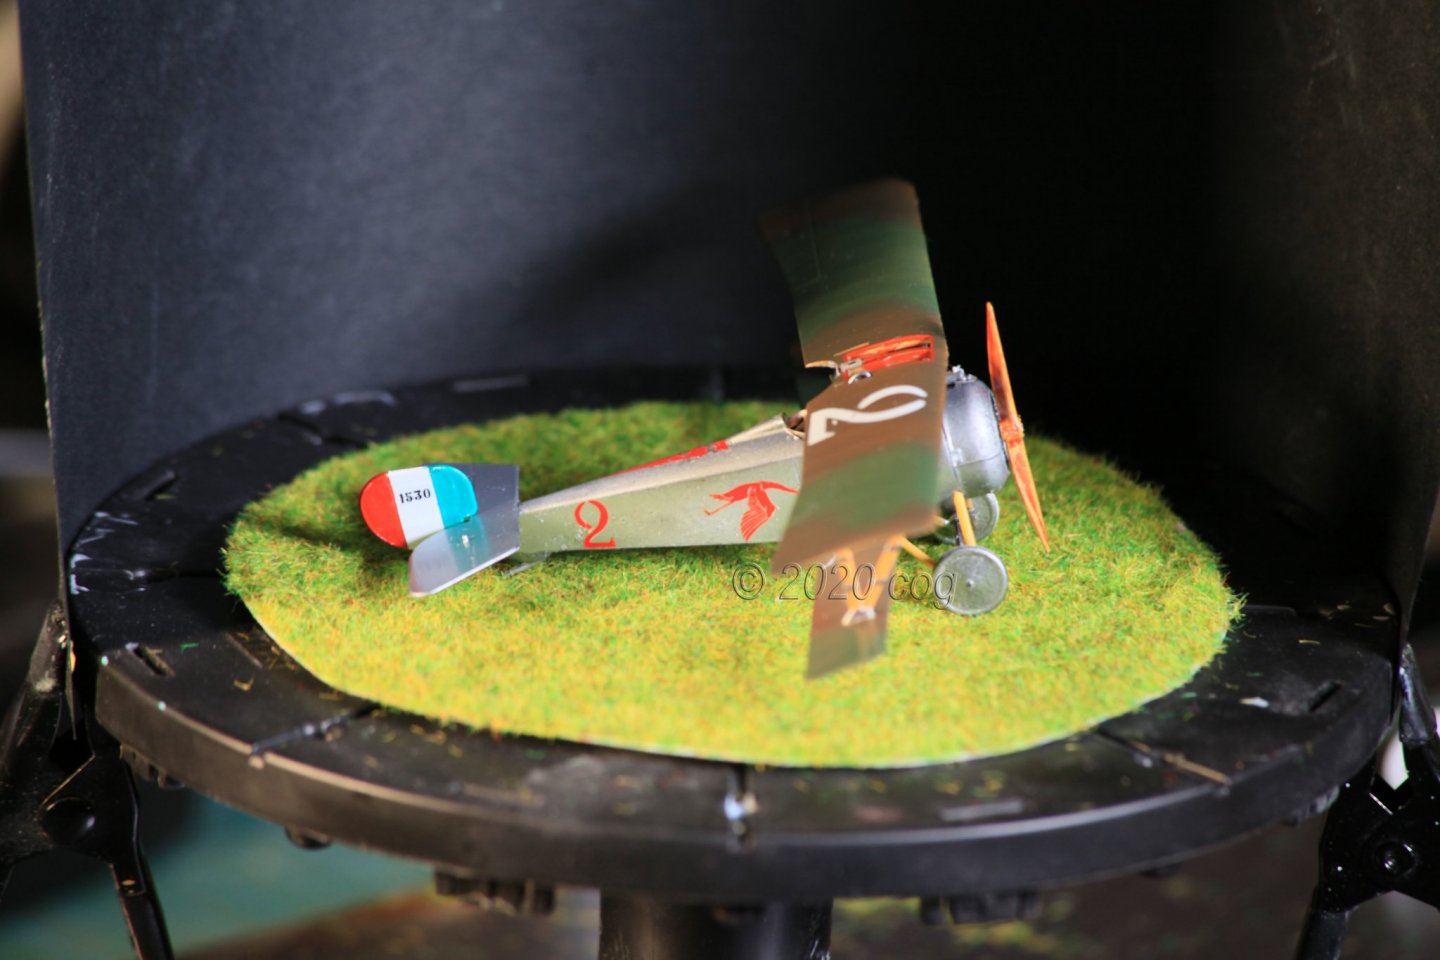
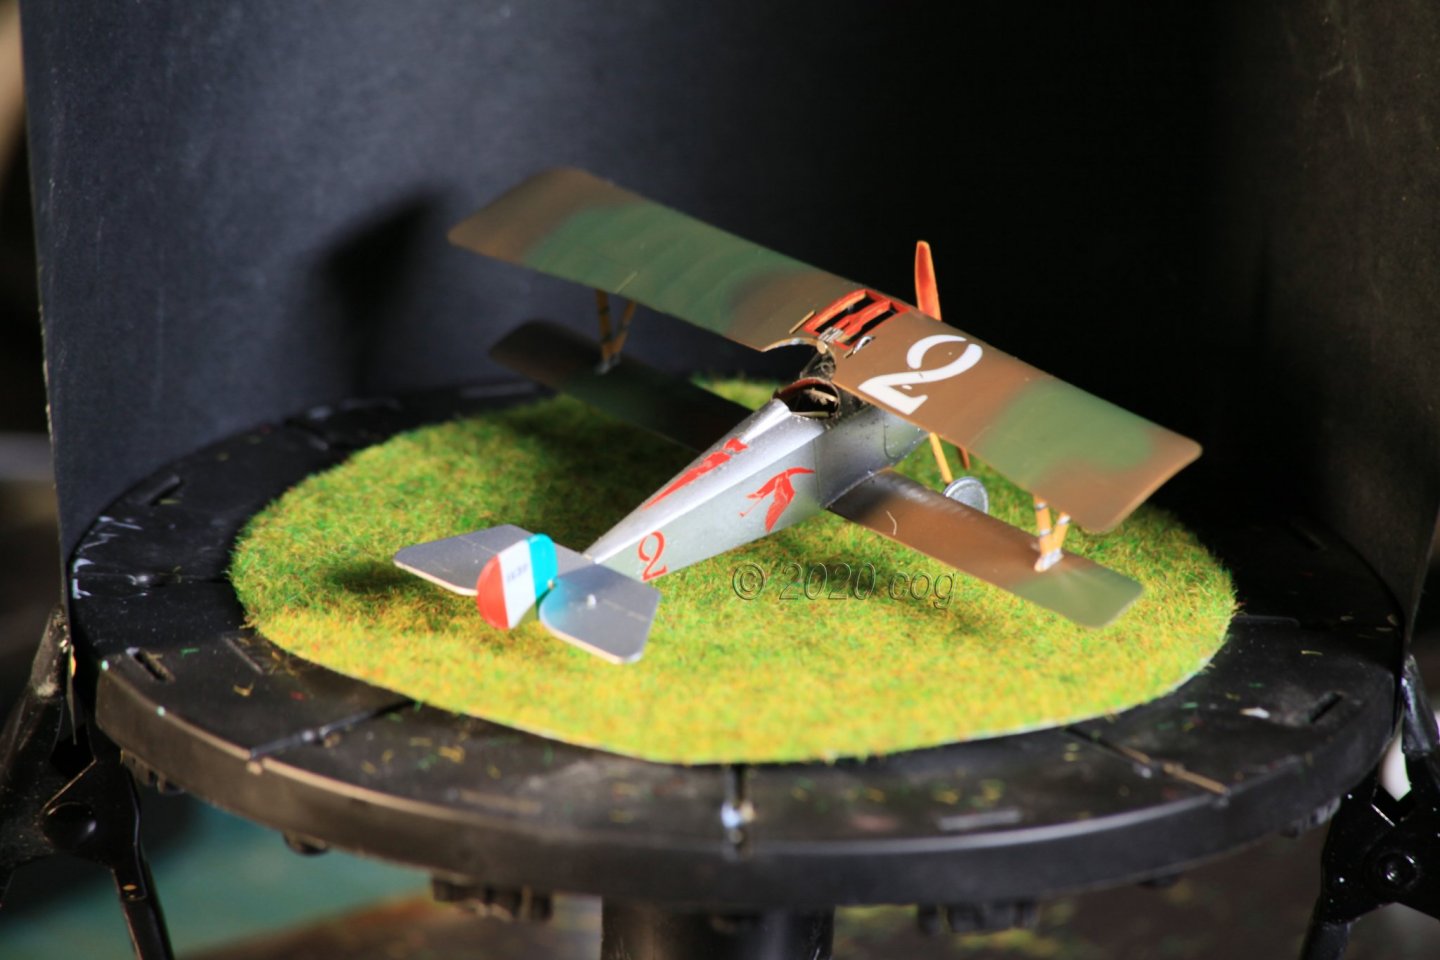
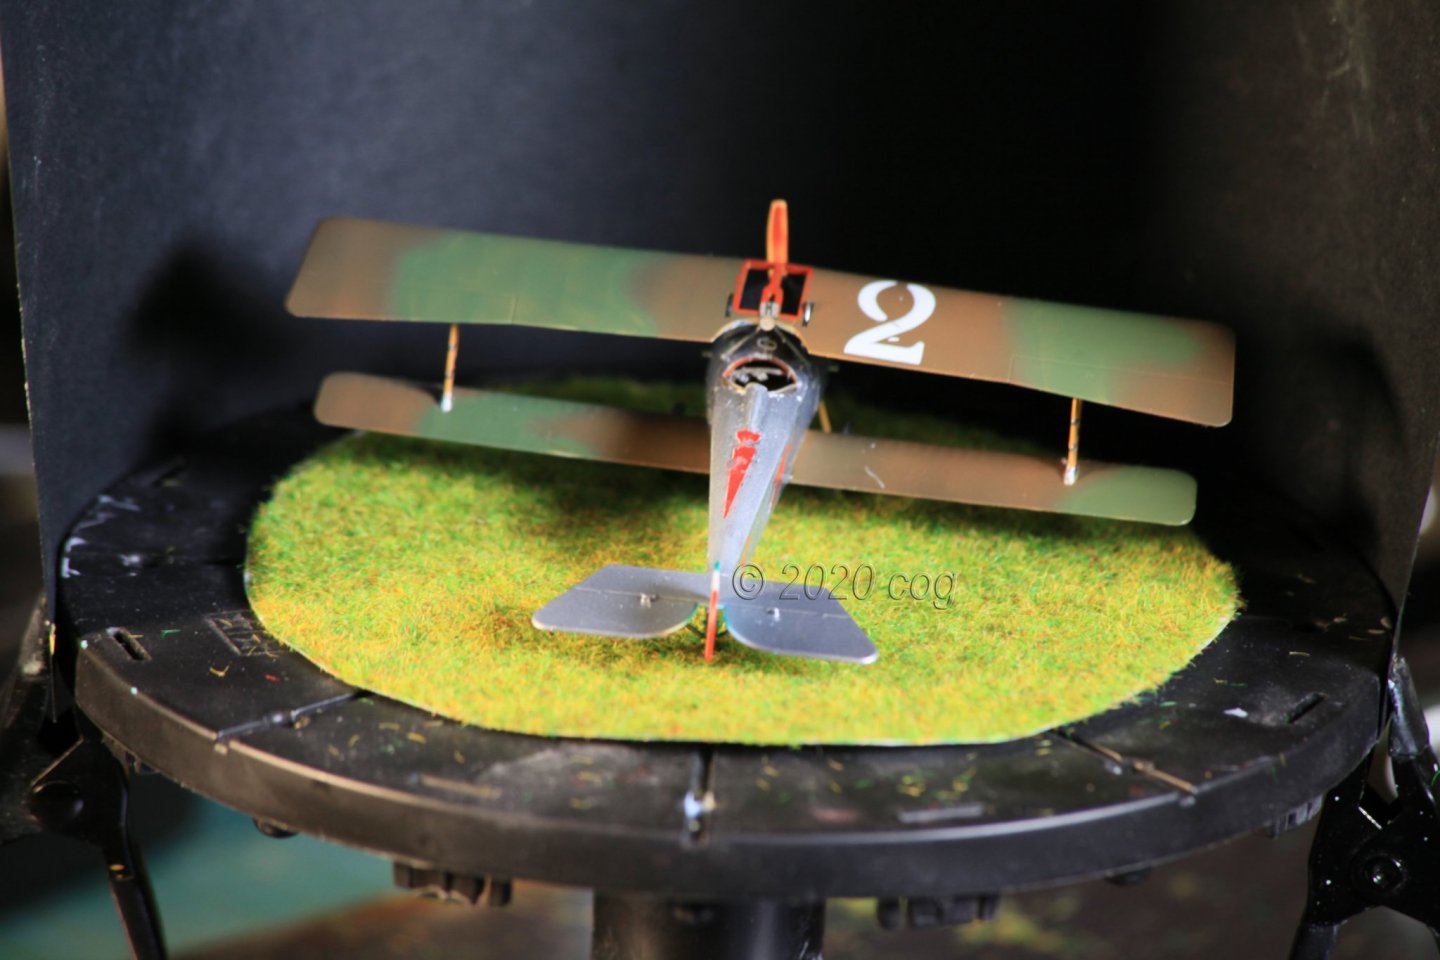
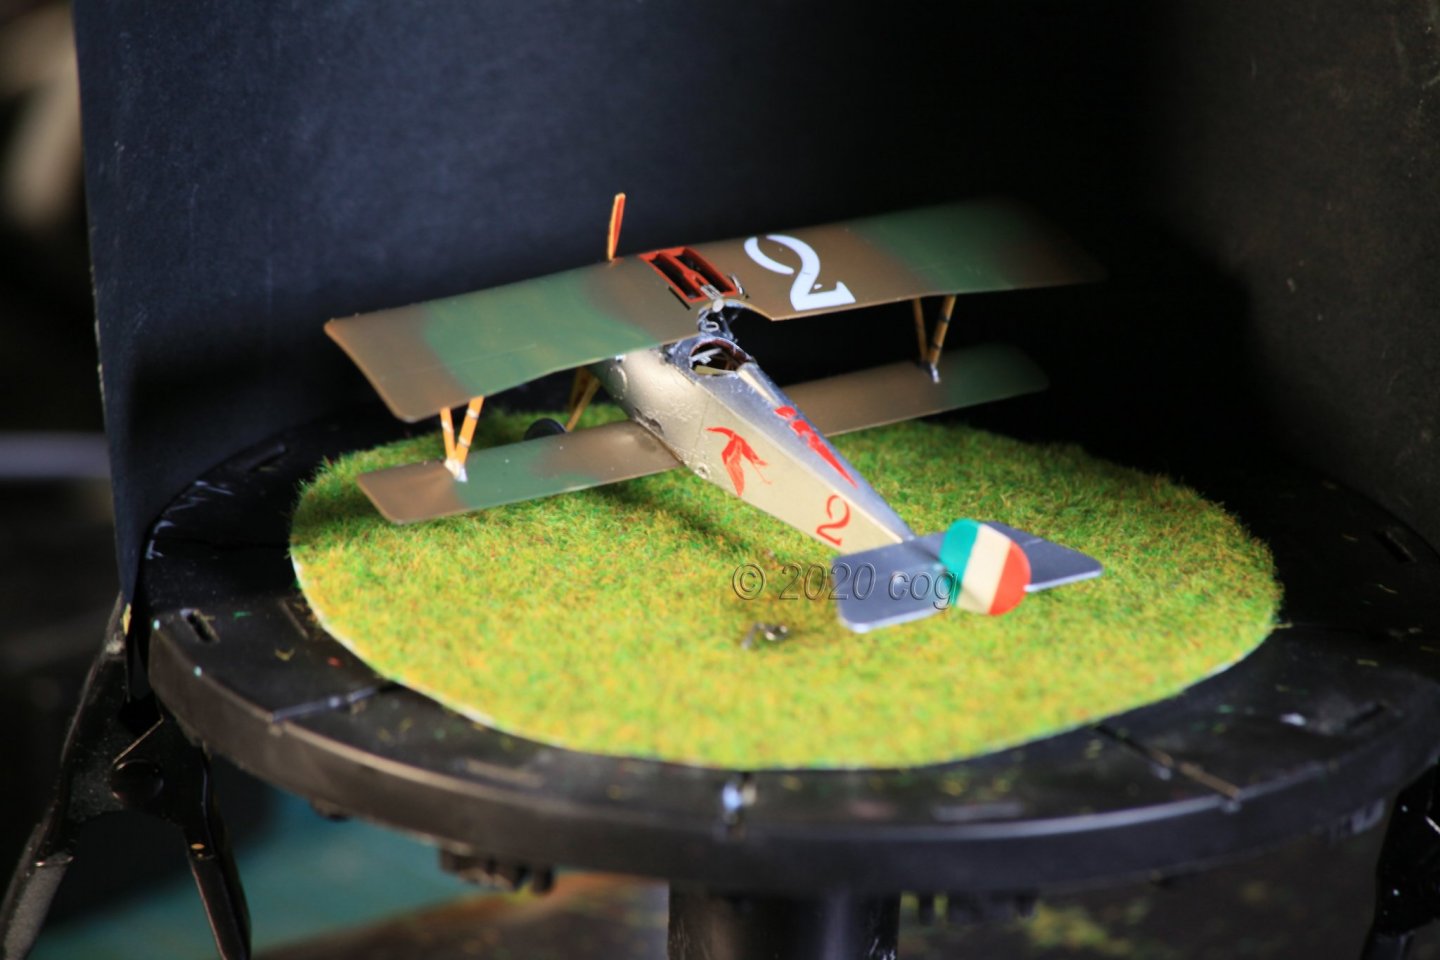
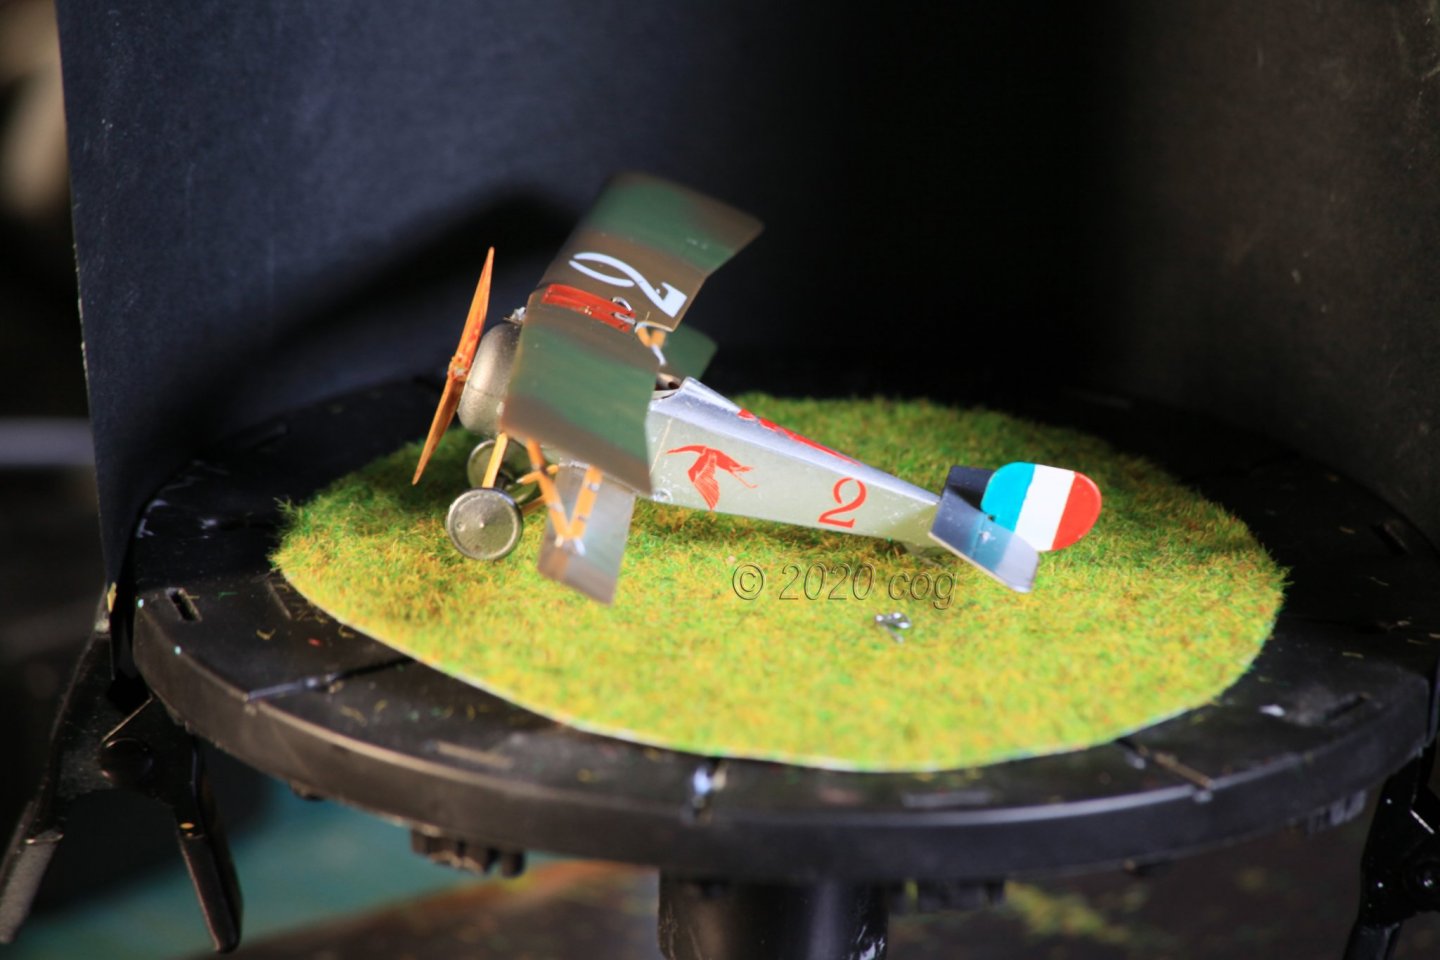
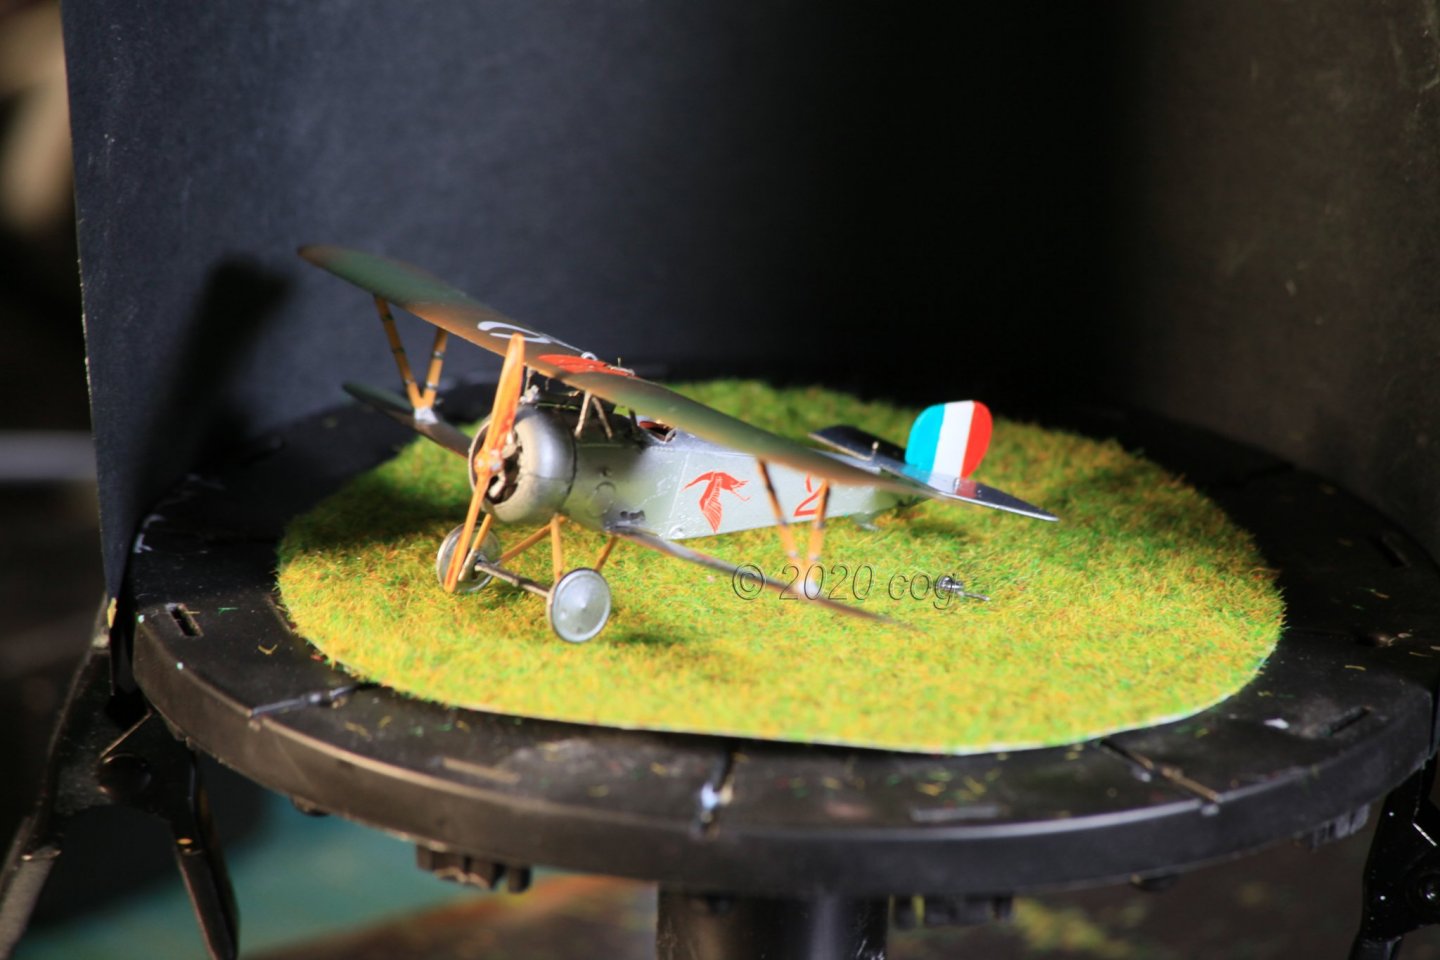
Glueing it together is not an issue, mostly making the glue points clean so it will stick was my issue! Final result
- 24 replies
-
- 12
-
-
Nieuport Ni-17 by cog - Eduard - 1/72 - PLASTIC and PE
cog replied to cog's topic in Non-ship/categorised builds
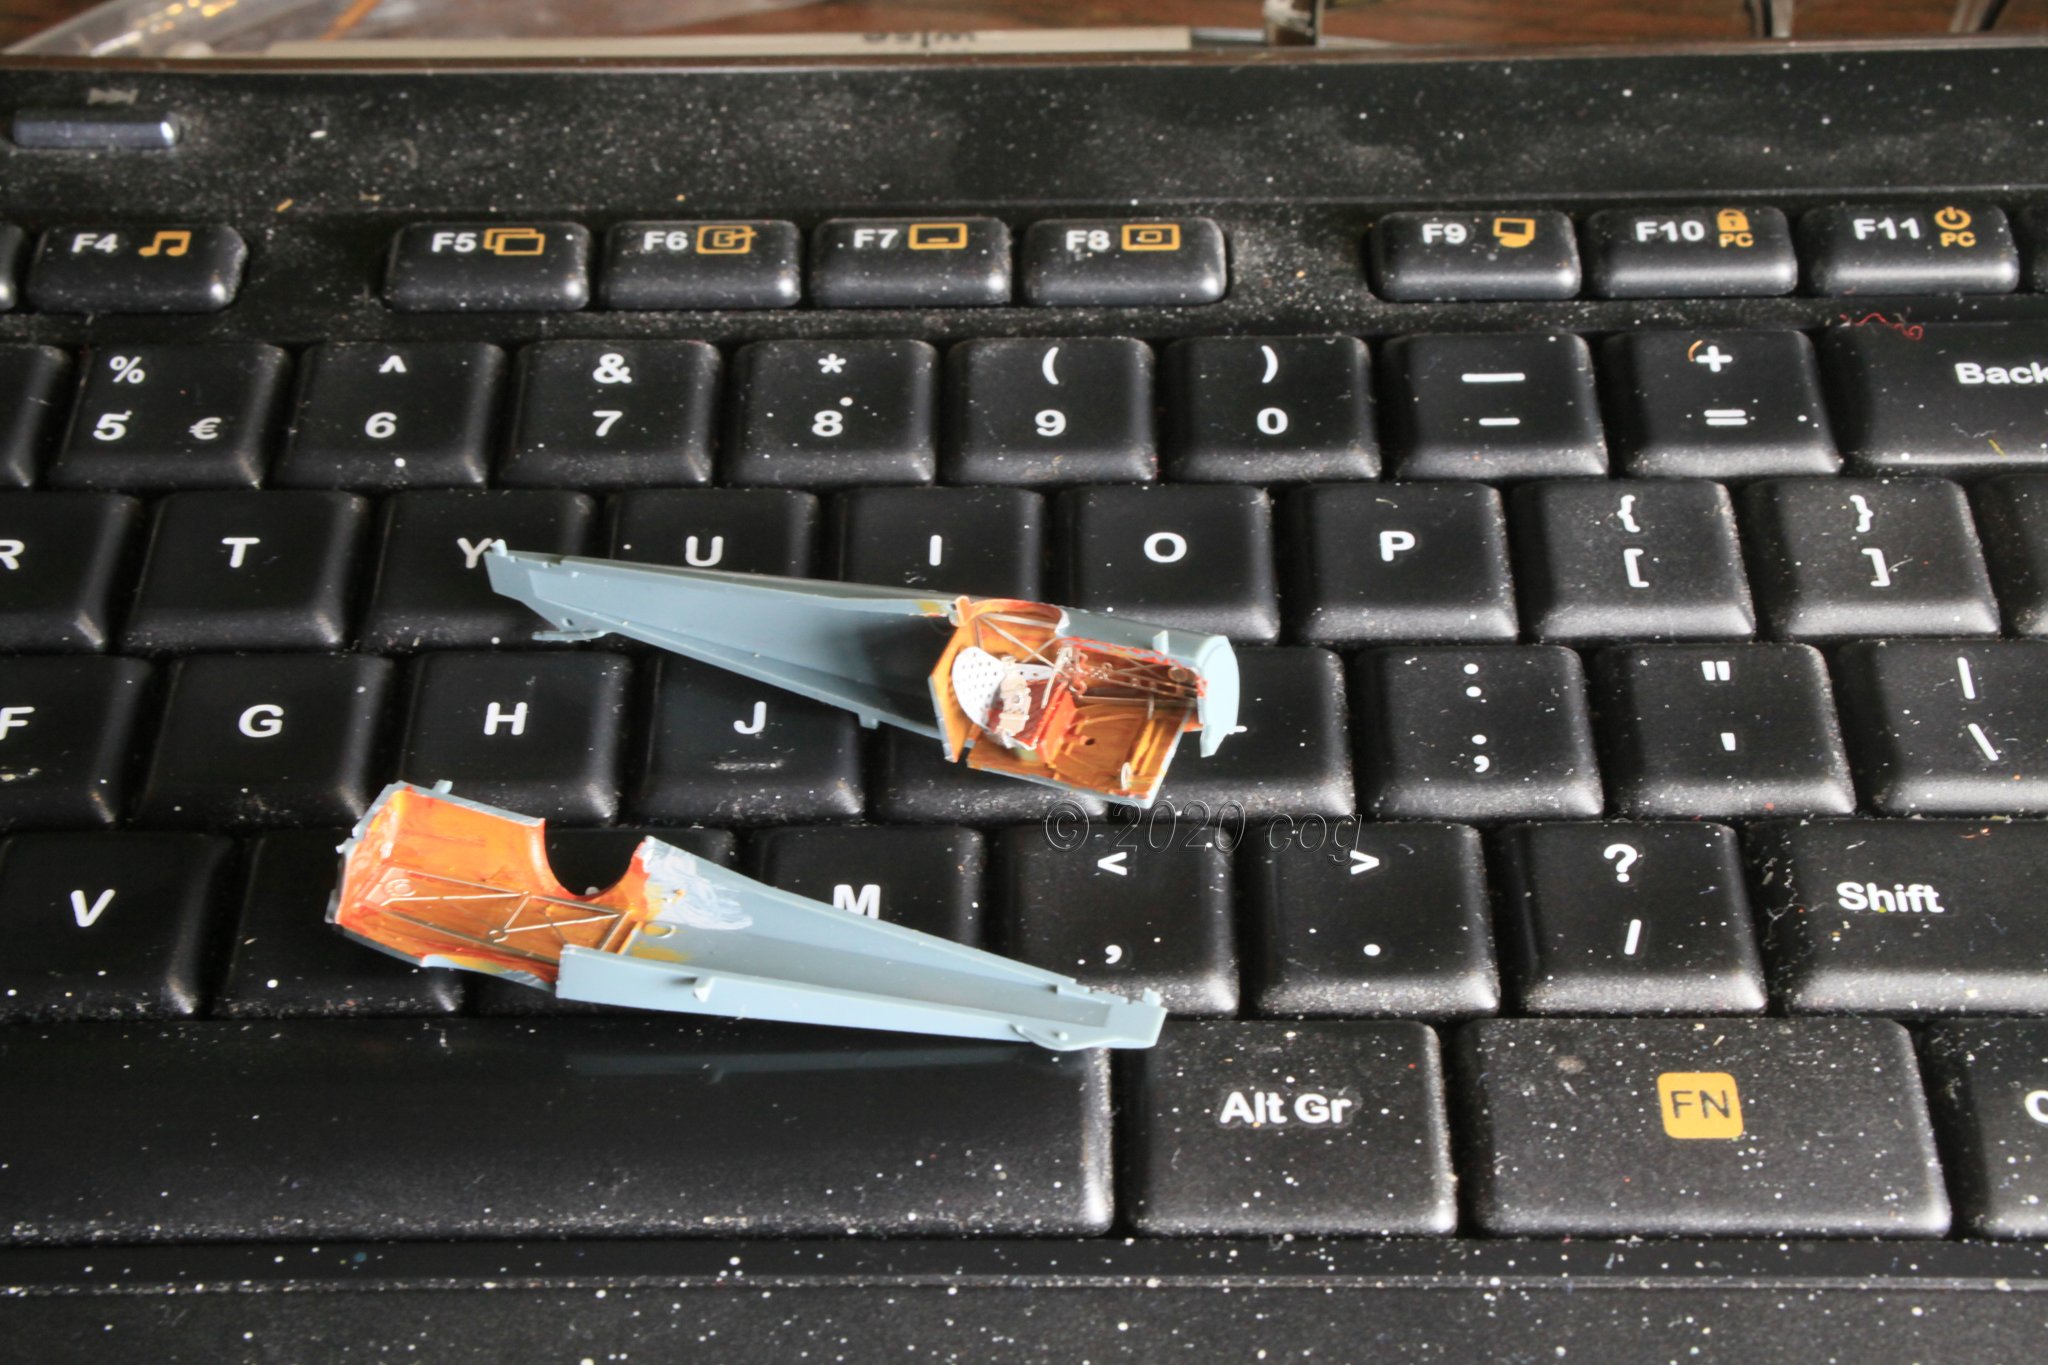
Cockpit. Yes it has very fine details. Even got some PE thrown in to amuse the builder, or try his vocabulary ... once you get the hang of PE, the size doesn't really matter, how to keep it stick is another point. SOmetimes it is easier to have it glued to your tweesers than the model(! ) didn't even forget the safty belts