Mahuna
-
Posts
1,504 -
Joined
-
Last visited
Content Type
Profiles
Forums
Gallery
Events
Everything posted by Mahuna
-
 Wonderful work, Ed. Thanks for the explanations. Your drawings are extremely detailed - your draftsmanship is on par with your modeling. You've set a very high bar for the rest of us to try to reach in the New Year. Best wishes to all for a healthy, happy, and safe New Year.
- 3,618 replies
-
- 7
-

-
- young america
- clipper
- (and 1 more)
-
Thanks Ed. The next model will include lots of things I haven't tackled before, so I'm trying to get some of those nailed down before I actually start the build. Your YA book will be a great help, even though the Skipjack is a lot more basic than your clipper.
- 649 replies
-
- 6
-
-
- dunbrody
- famine ship
- (and 2 more)
-
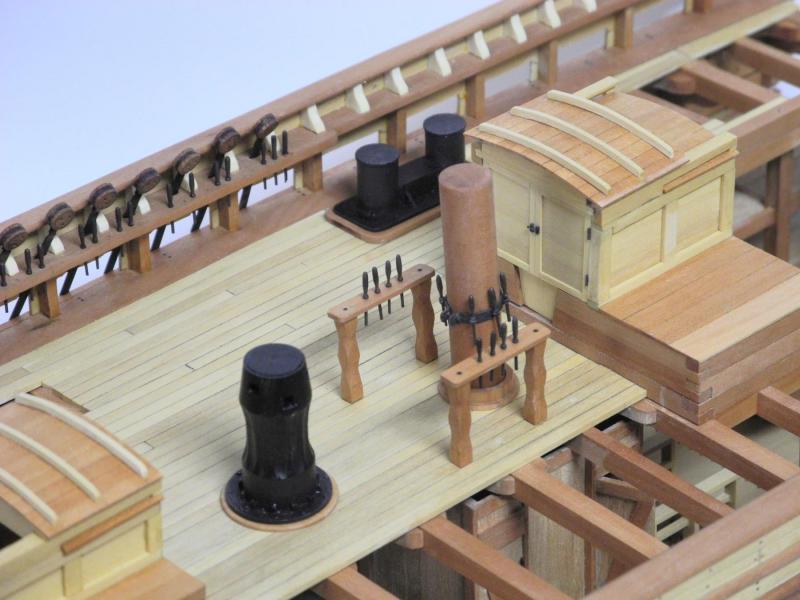
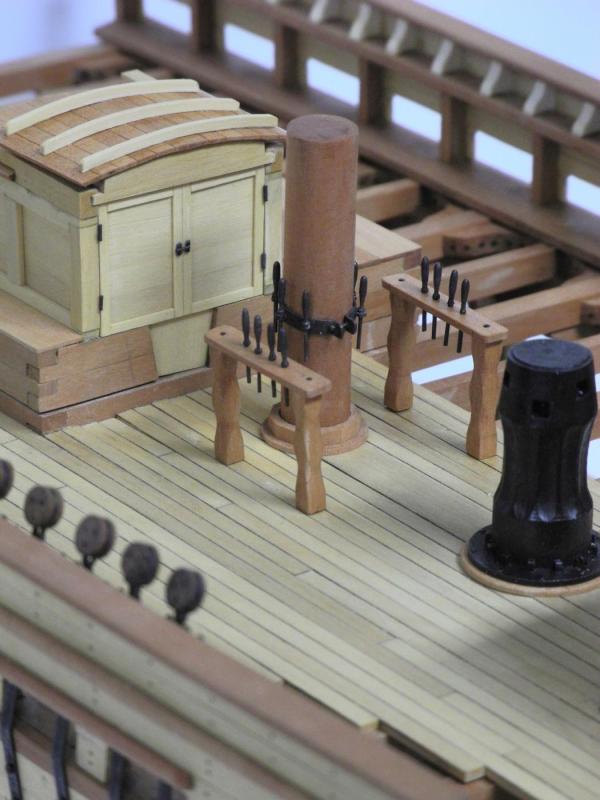
Rub'n'Buff ivory black, applied over a flat black, will look like cast iron. I used it on the cast iron capstan of my Dunbrody, and was happy with the results. It's thick and waxy out of the tube, and should be thinned using mineral spirits before applying. While it's still wet I rub it with a clean soft cloth until I get the finish I want.
-
Hi Ed: I've tried CA and diluted PVA, but my favorite is Liquitex Acrylic Matte Medium. It holds well, dries invisibly, and does not cause the rigging to get brittle.
-
Great work, Ed. The complexity of the mast top gives a great preview to the amount of rigging ahead of you - that will be a major project in itself! One question - how did you convert the holes in the rim to slots? Did you use a small round file? Best wishes for the holidays.
- 3,618 replies
-
- 4
-
-
- young america
- clipper
- (and 1 more)
-
byrnes vs preac thickness sander
Mahuna replied to davec's topic in Modeling tools and Workshop Equipment
I use my Byrnes thickness sander all the time, and have had no trouble reducing a stack of wood billets by over 1/16" in a matter of minutes. Besides the strength of the motor, a big advantage to the Byrnes unit is being able to use two different grits on the machine. I use the rough grit for most of the wood removal, then use the smooth grit for finishing the billet. I wouldn't consider having any other thickness sander. -
I agree, Tom. I love the simplicity and function of the Skipjacks. Great, Patrick. I'll save you a seat. Me too, Popeye. LOL!! Yes, Druxey - a bow and a stern, and a push boat, and a full rig! I don't think I'll be able to make scale oyster shells, though.
- 649 replies
-
- 9
-
-
- dunbrody
- famine ship
- (and 2 more)
-
Your iron work continues to be excellent. There certainly was a lot of it on the clippers.
- 3,618 replies
-
- 6
-
-
- young america
- clipper
- (and 1 more)
-
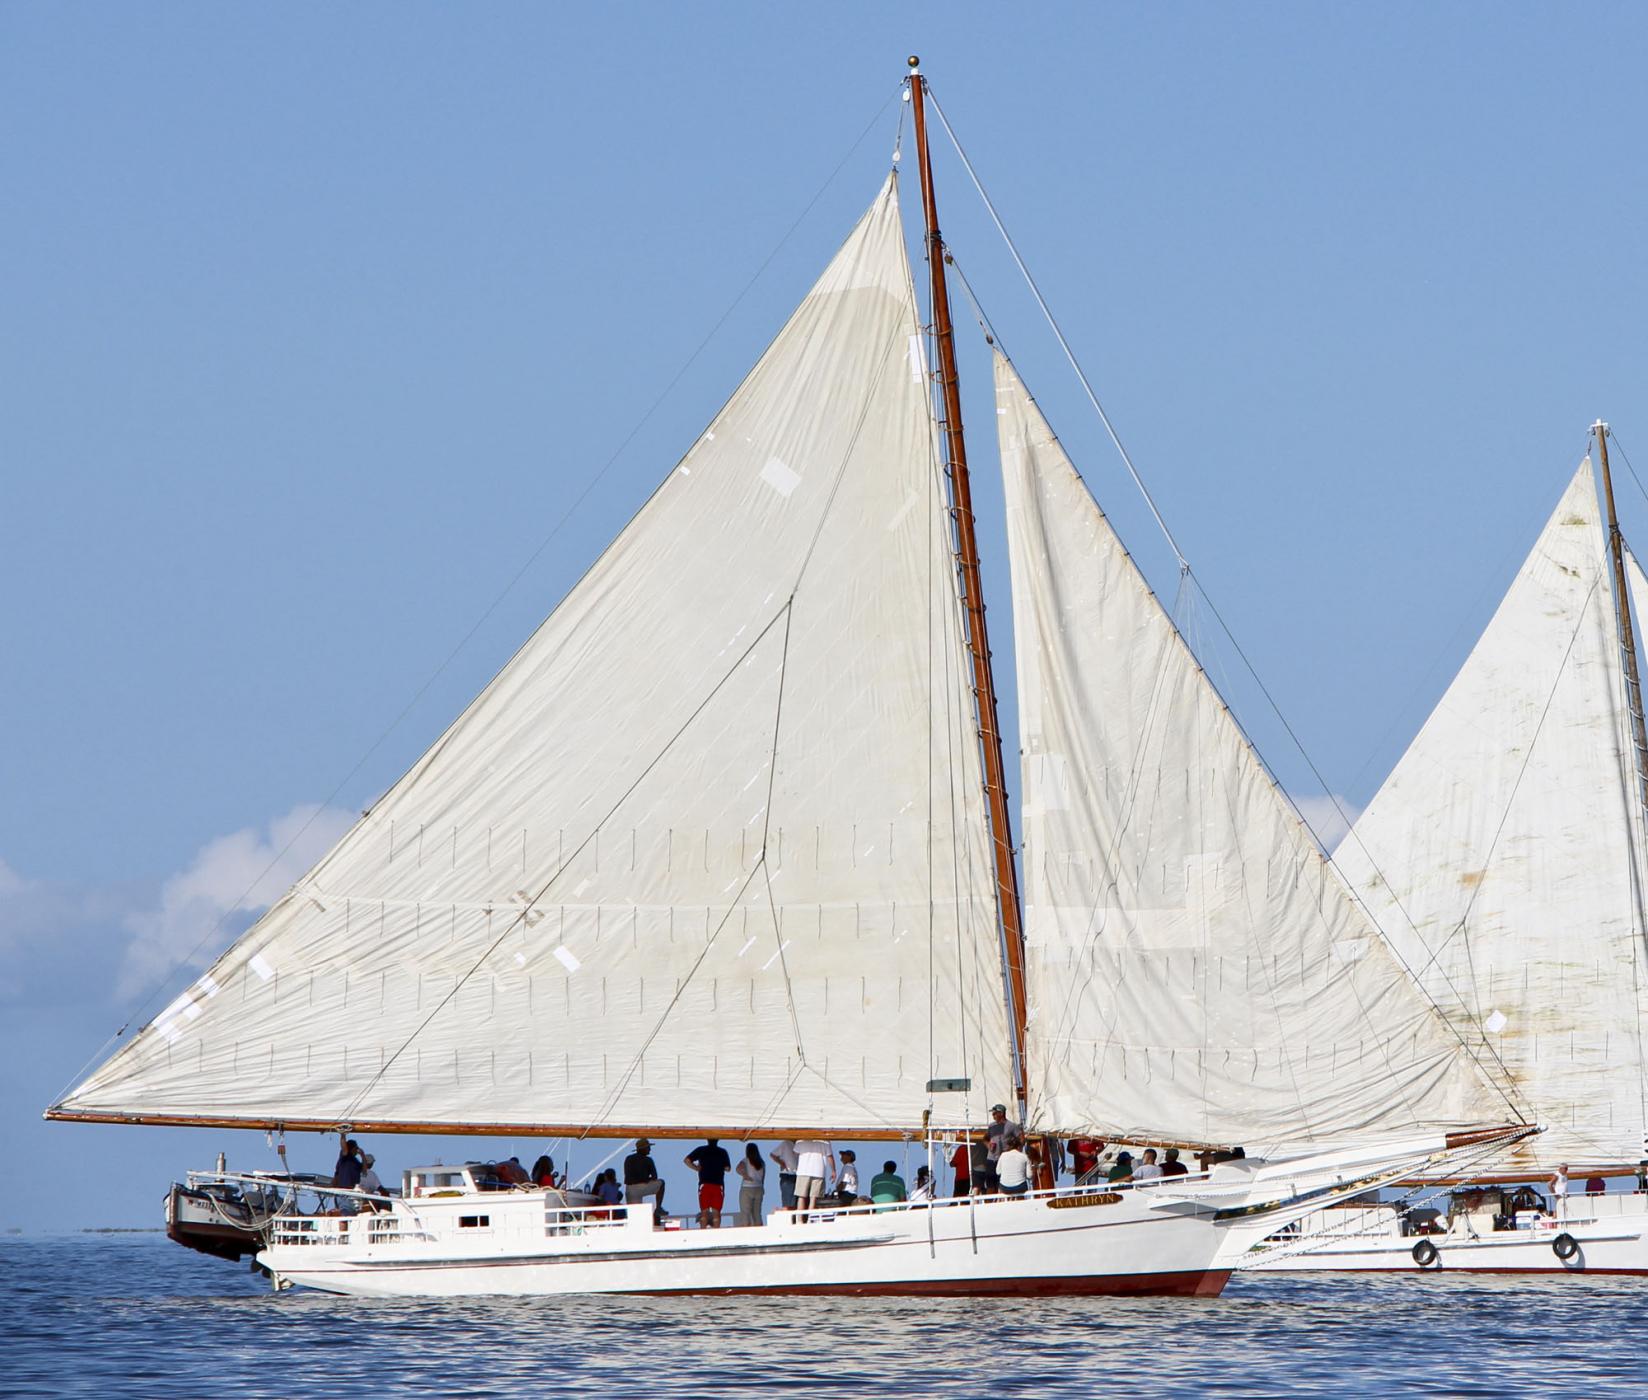
Hi Patrick. I hadn't said yet what my next project would be - but my plan is to build the Skipjack Kathryn, based on the HAER drawings. I'm in the planning stage now, and won't be ready to cut any wood for a few weeks. Kathryn has been designated as a National Historic Landmark, and is unique in its design. I plan to include all of the interior construction as shown in the HAER drawings. She's the oldest of the true skipjacks, built for the oyster trade.

- 649 replies
-
- 13
-
-
- dunbrody
- famine ship
- (and 2 more)
-
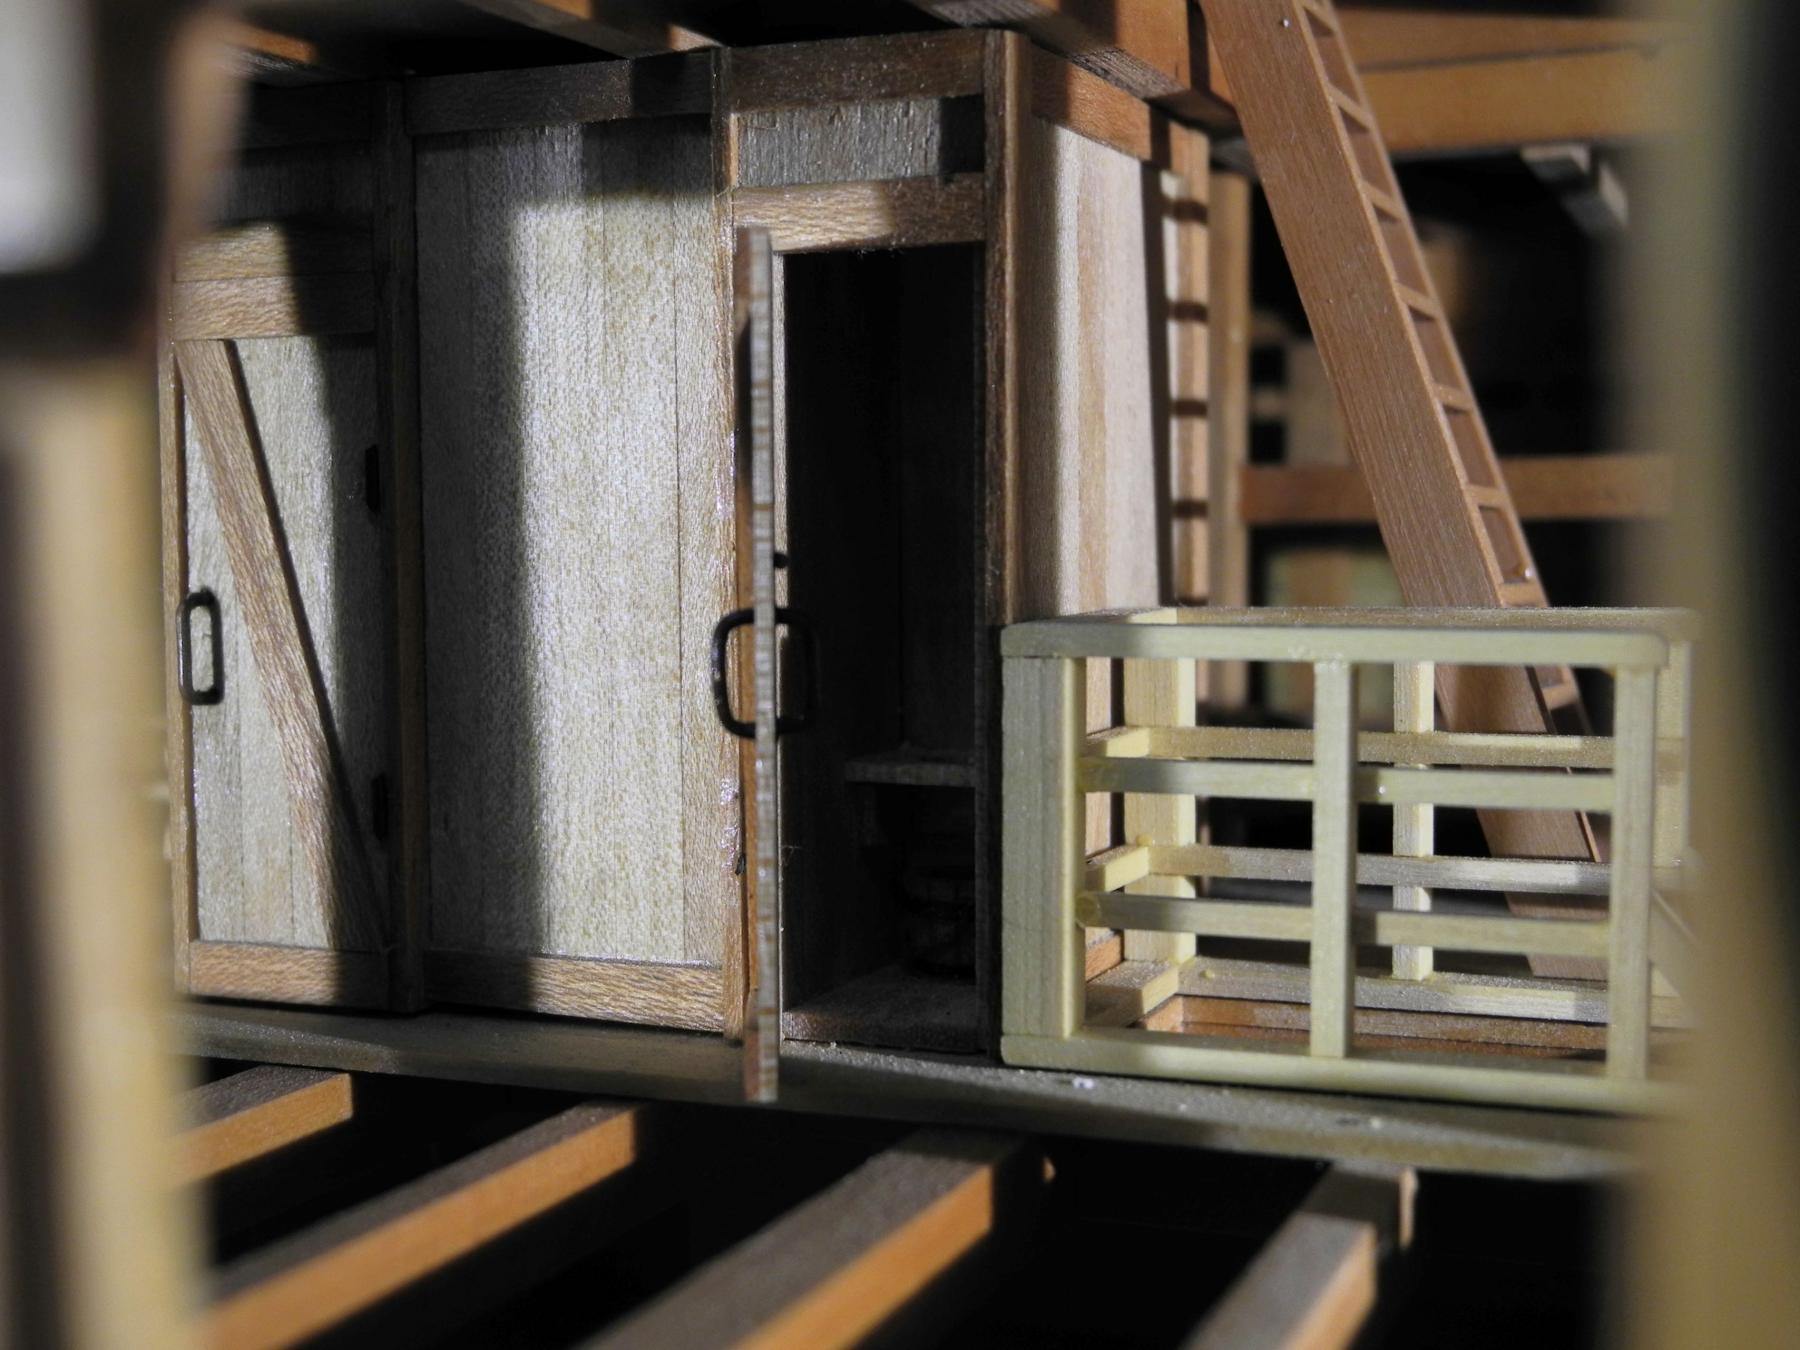
Thanks Bob. I've known about the Irish potato famine for quite a while, but being on the Dunbrody really brought it home to me - so building the model was special for me. Thanks Rich - looking forward to showing to you when we meet in January. Thanks Mike. I was able to put a lot of work into the model in a short time. The next project will be somewhat different, but I'm looking forward to it. Thanks Popeye! Thanks Brian. The time you and I spent looking at the companion on the Star helped me figure it out. Now we all want to see you get some more work in on your current modeling projects! See you in January.
- 649 replies
-
- 6
-
-
- dunbrody
- famine ship
- (and 2 more)
-
Thanks Albert. Thanks Dan. It feels good to be finished - now on to the next one! See you soon.
- 649 replies
-
- 3
-
-
- dunbrody
- famine ship
- (and 2 more)
-
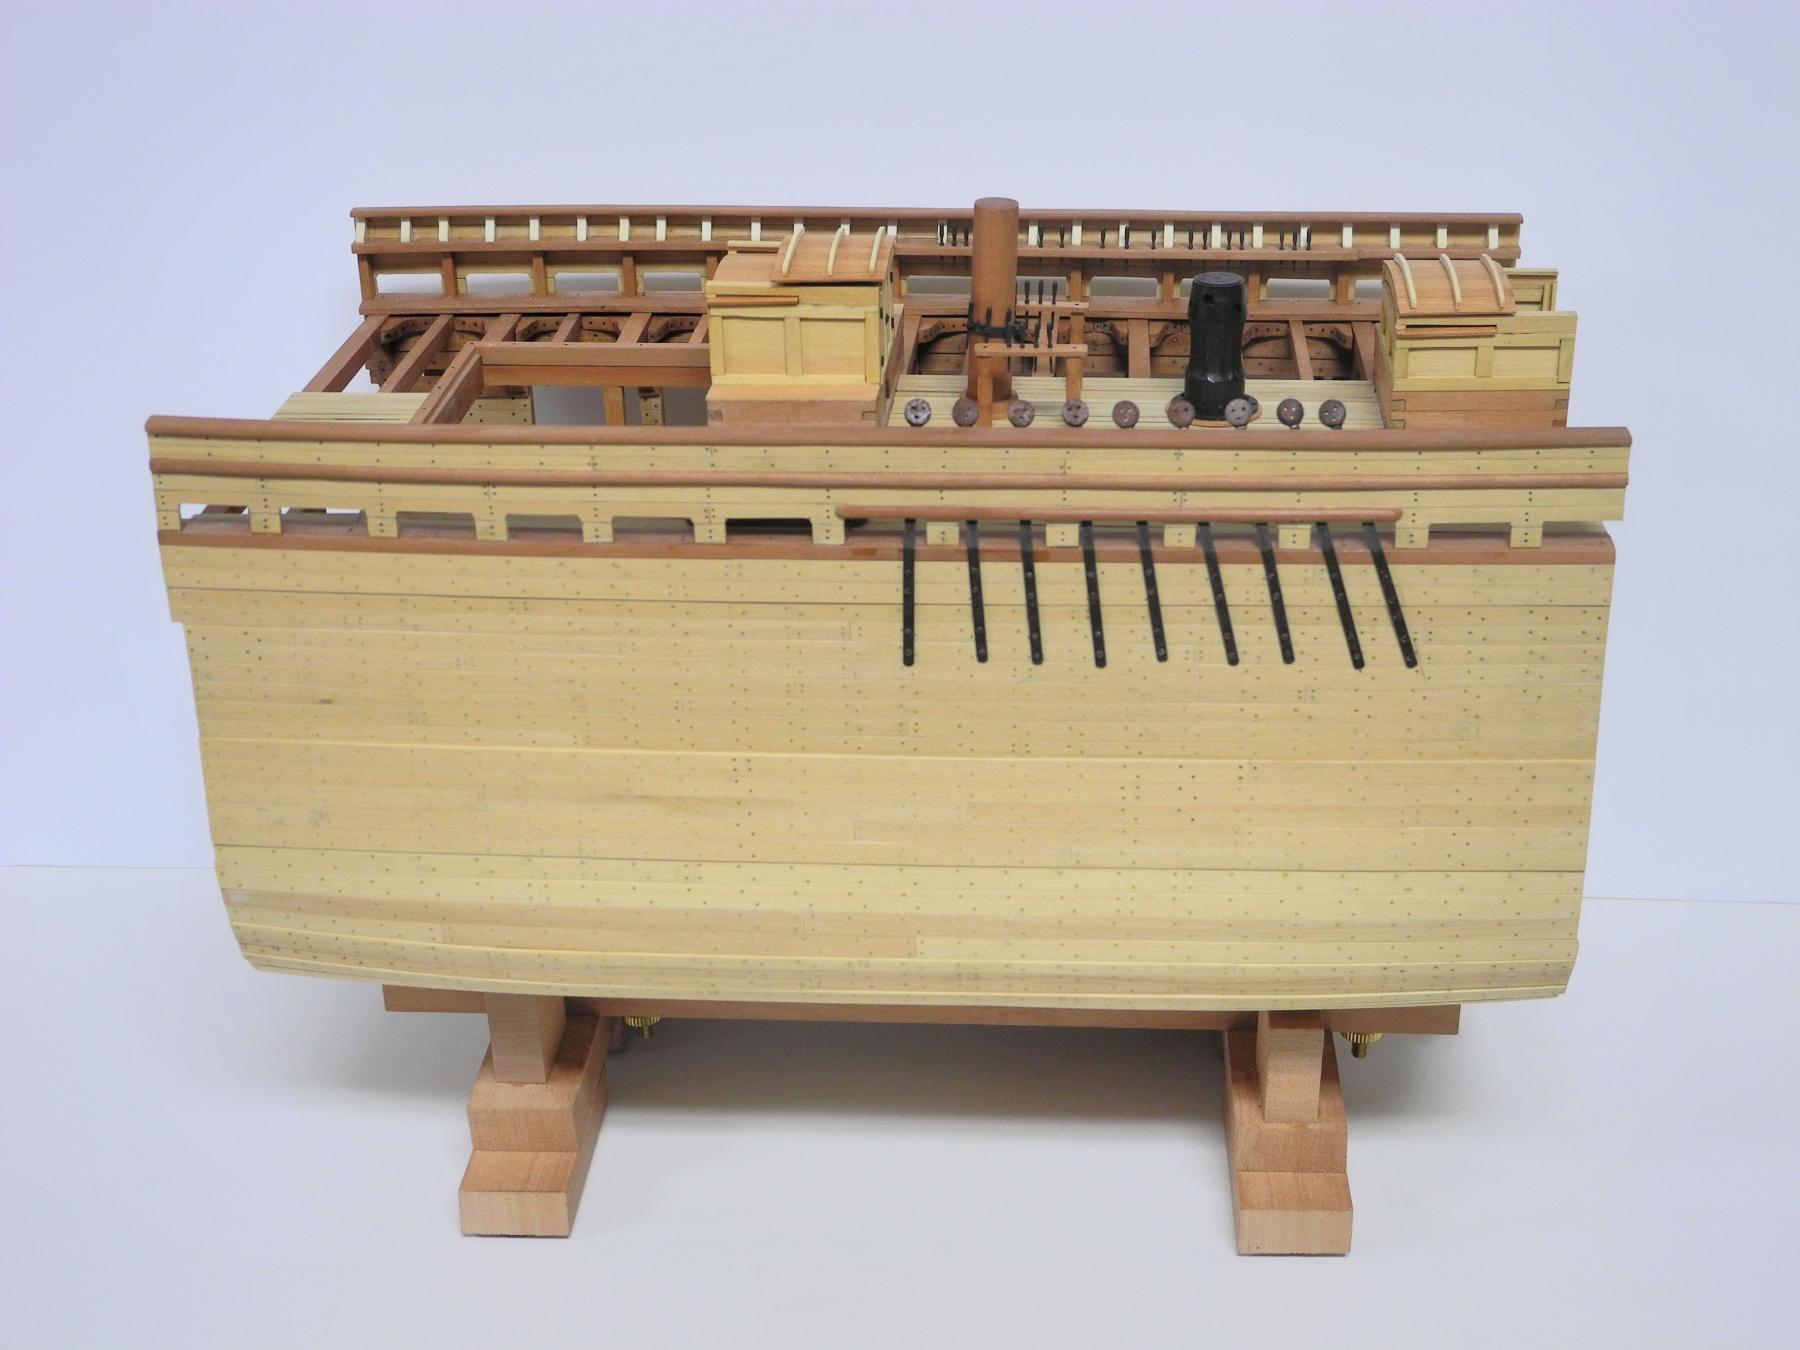
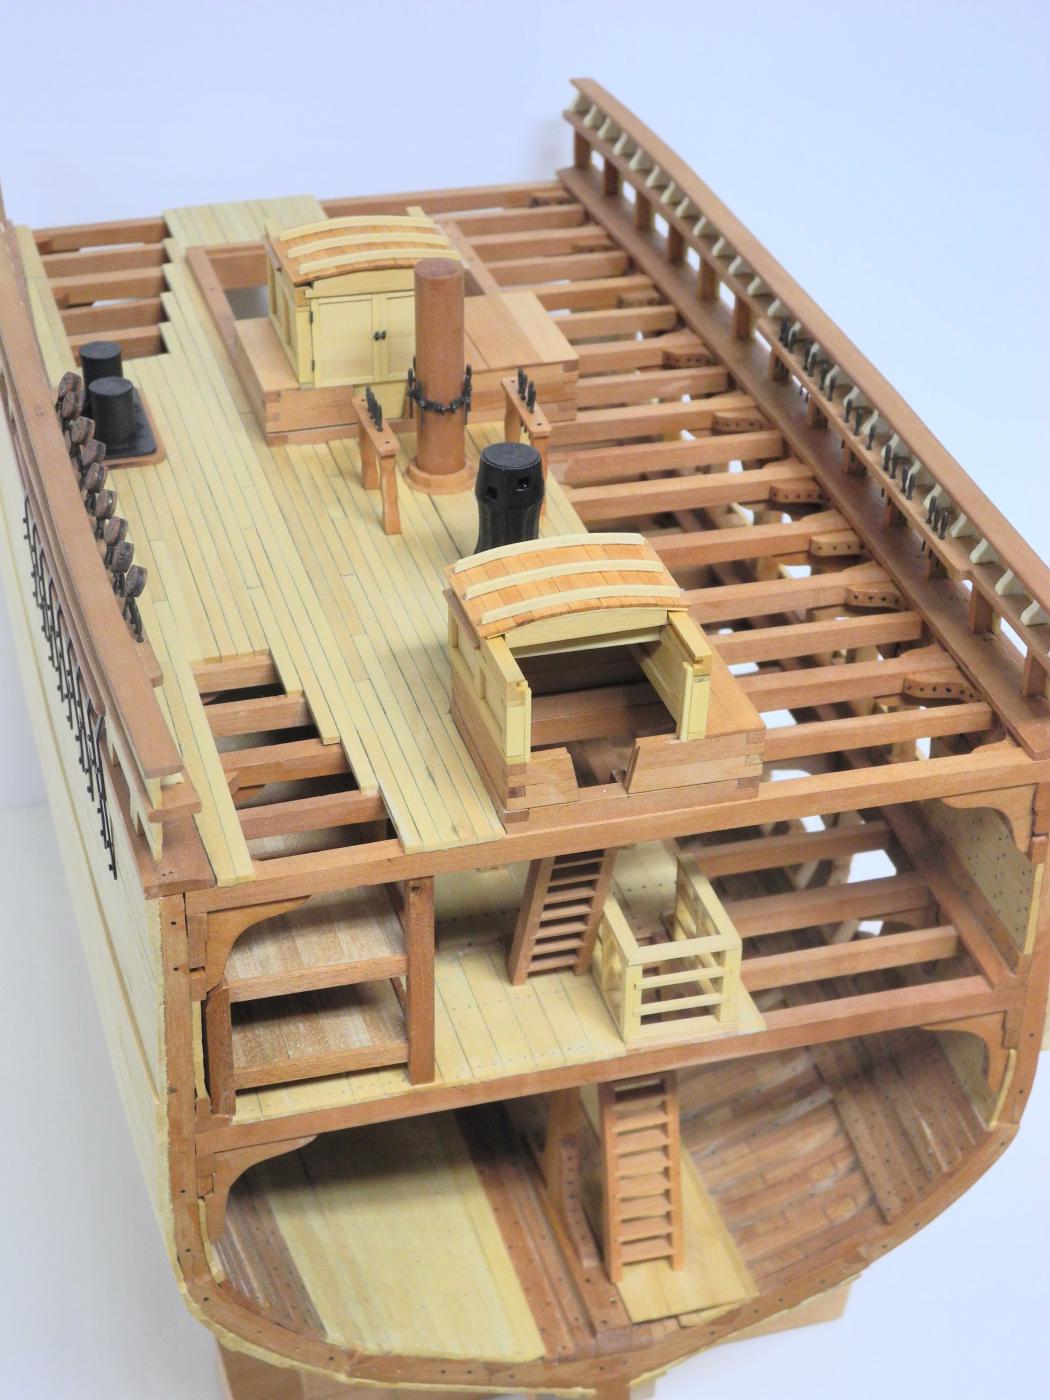
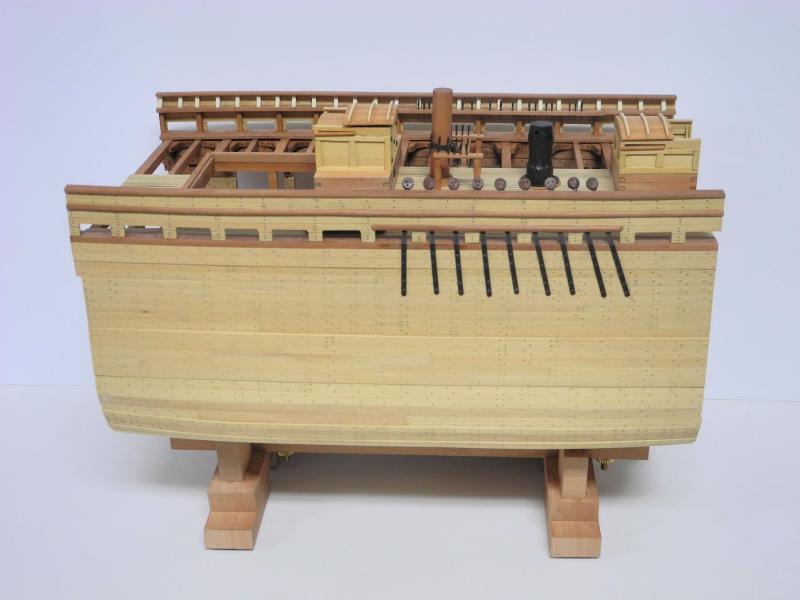
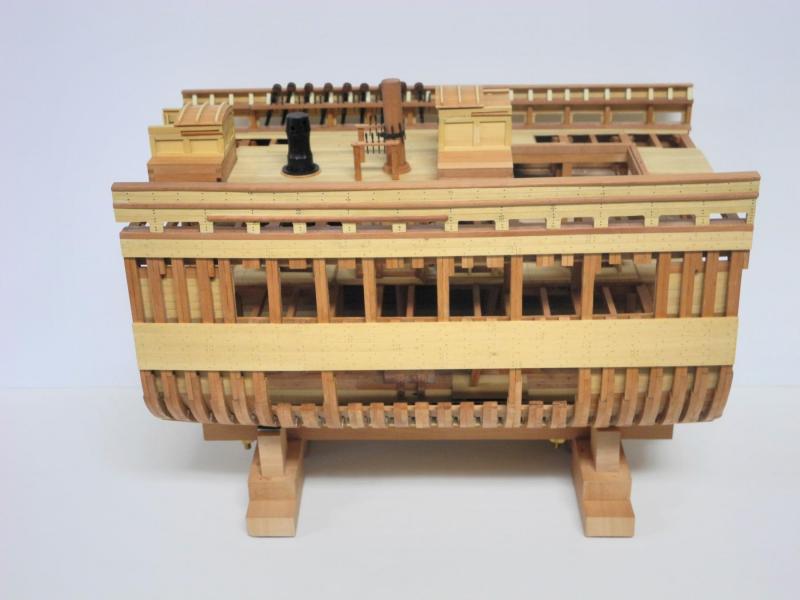
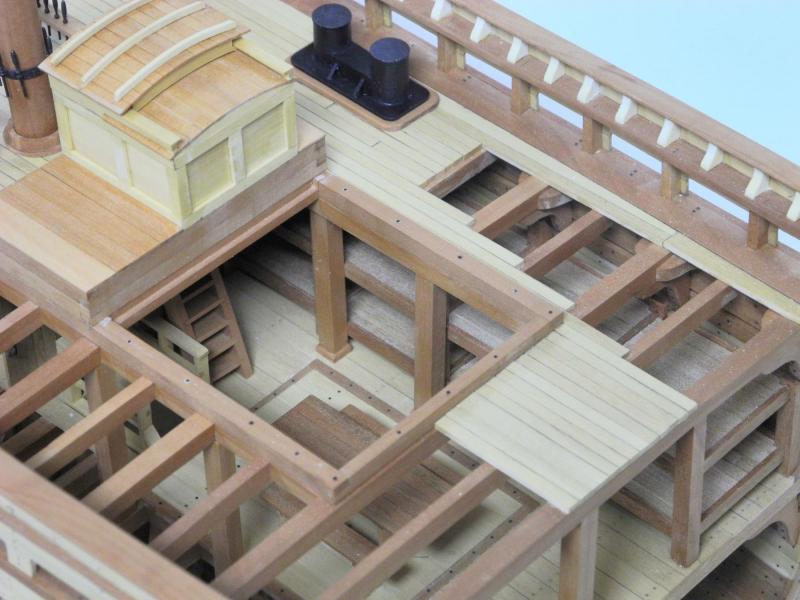
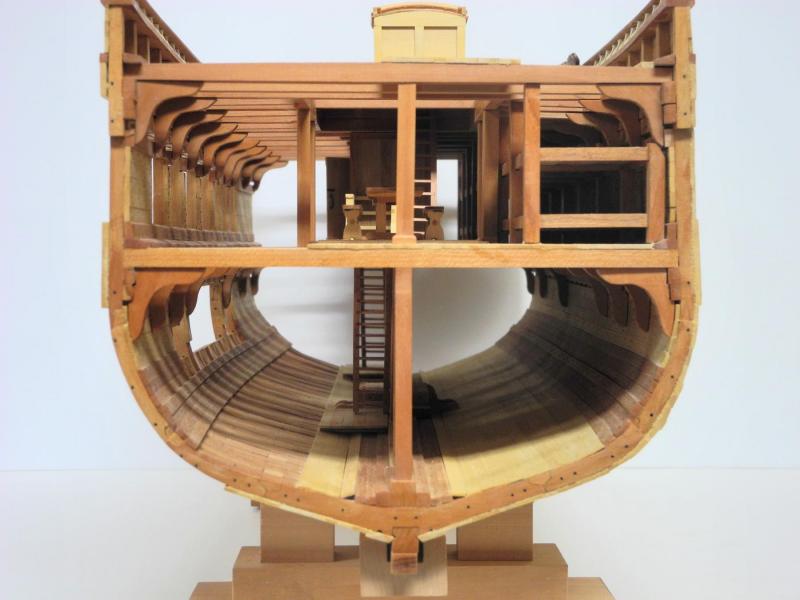
Hi Druxey - yes, finally finished. I plan to start a new build log during January. In the meantime, here are some photos of my completed Dunbrody model.


- 649 replies
-
- 34
-
-
- dunbrody
- famine ship
- (and 2 more)
-
Thanks, Glenn. Good thing I didn't describe all of my mistakes - it would have tripled the size of the build log!
- 649 replies
-
- 5
-
-
- dunbrody
- famine ship
- (and 2 more)
-
Great work, Ed (as usual). I love the detail on the masts.
- 3,618 replies
-
- 4
-
-
- young america
- clipper
- (and 1 more)
-
Great work, Glenn! Heroine is really looking good. I'd be interested to know how you got consistent bends in the uprights.
-
Thanks Druxey. Yup, it was a pretty long process, but I'm happy with the results.
- 649 replies
-
- 3
-
-
- dunbrody
- famine ship
- (and 2 more)
-
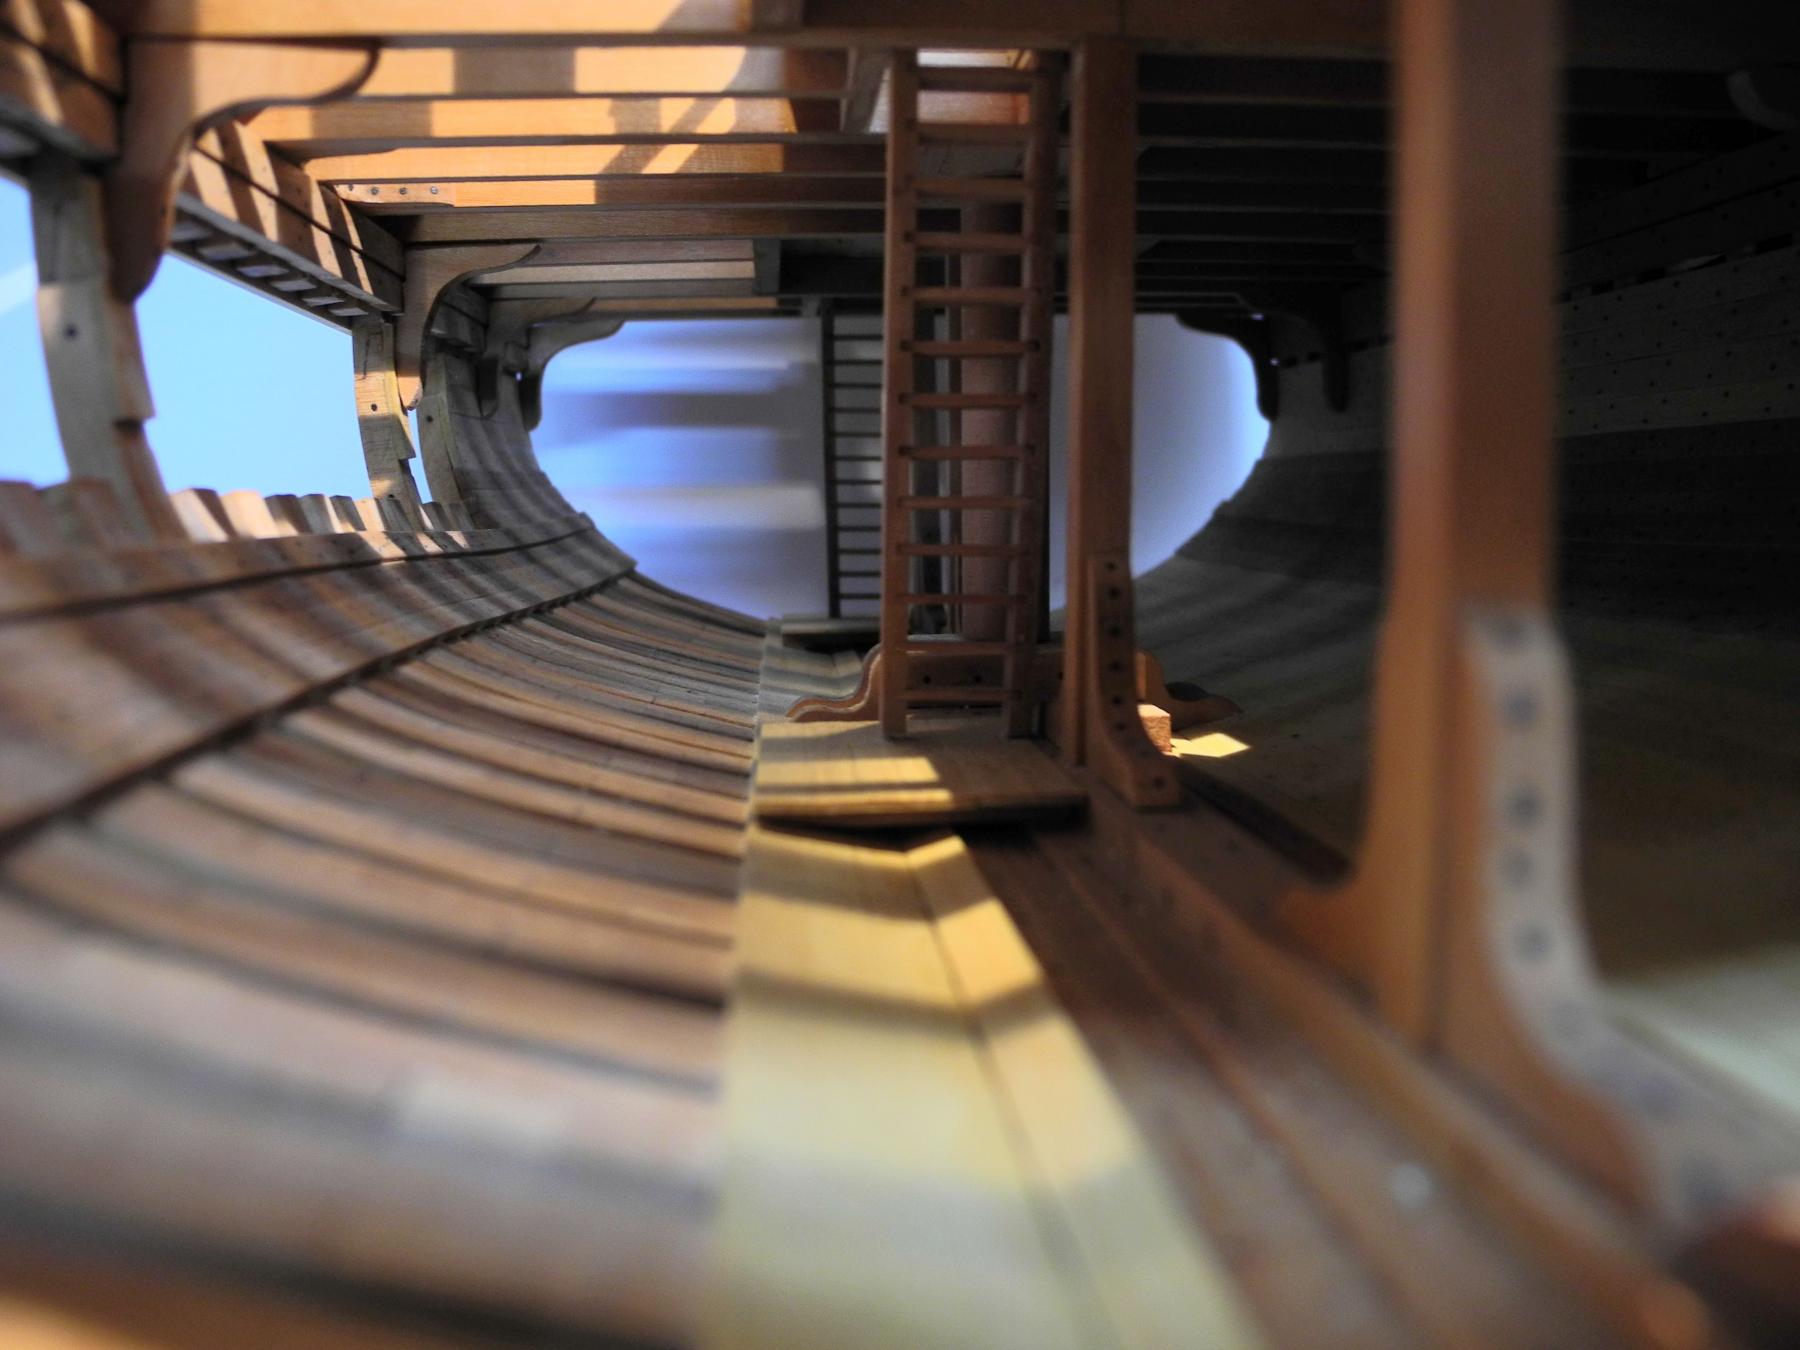
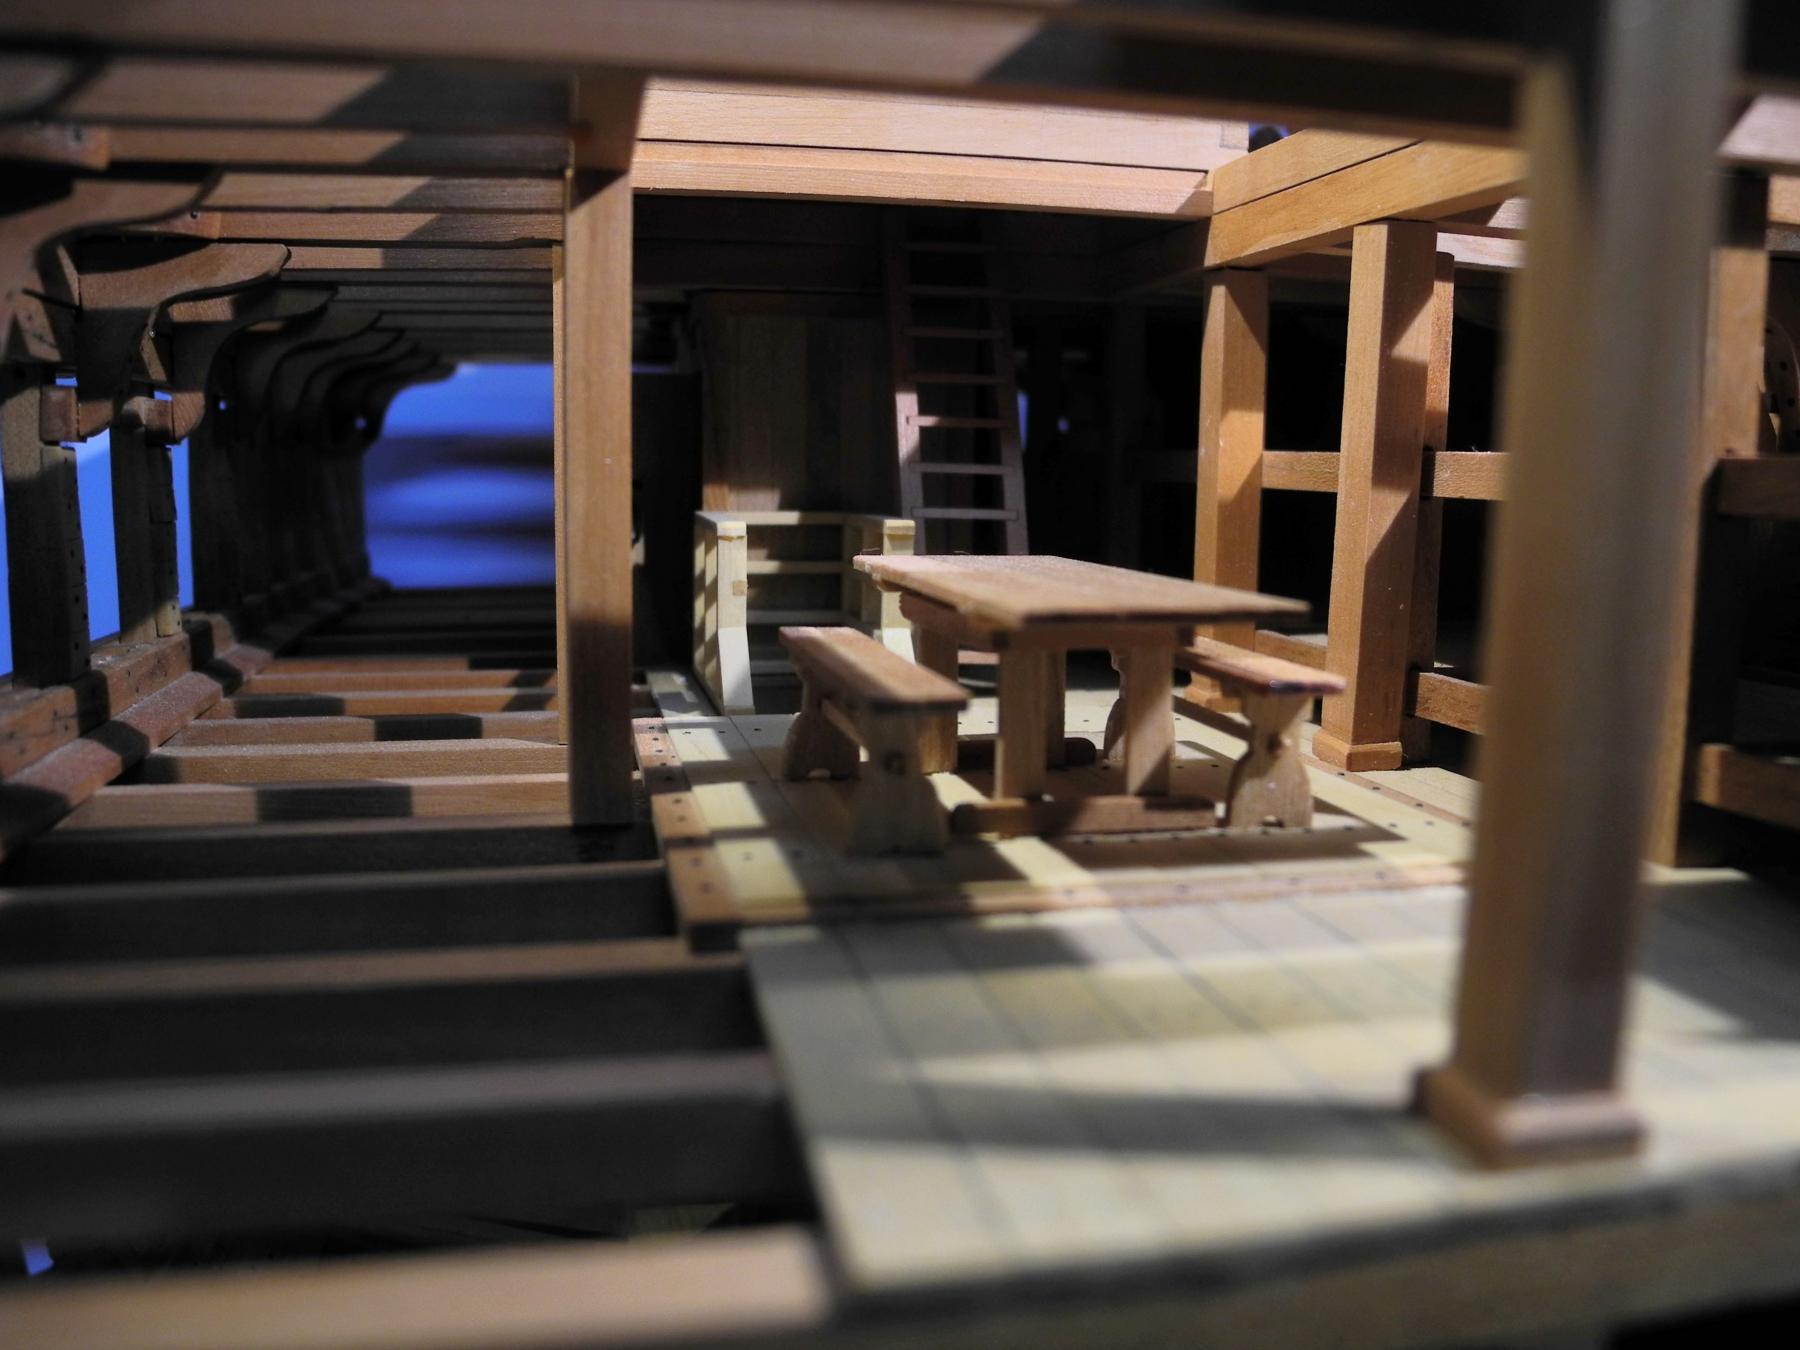
Thanks Michael. I don't run out of kindling for the fire pit - that's for sure! Thanks Patrick. This was a very interesting and enjoyable project. I learned a lot about how these ships were constructed, and also learned a great deal about modeling. Thanks Ed. The capstan looks simple, but the construction sequence became quite complex.
- 649 replies
-
- 4
-
-
- dunbrody
- famine ship
- (and 2 more)
-
Thanks Ron - very good video!
-
Thanks, Gary. Your work on the salmon wherry is superb, and I'm glad you enjoyed the log for the Dunbrody build.
- 649 replies
-
- 4
-
-
- dunbrody
- famine ship
- (and 2 more)