HOLIDAY DONATION DRIVE - SUPPORT MSW - DO YOUR PART TO KEEP THIS GREAT FORUM GOING! (Only 13 donations so far - C'mon guys!)
×

.jpg.1f80adf1a9b14a937cfcf2ca6af0f0d4.jpg)
WalrusGuy
-
Posts
1,007 -
Joined
-
Last visited
Content Type
Profiles
Forums
Gallery
Events
Everything posted by WalrusGuy
-
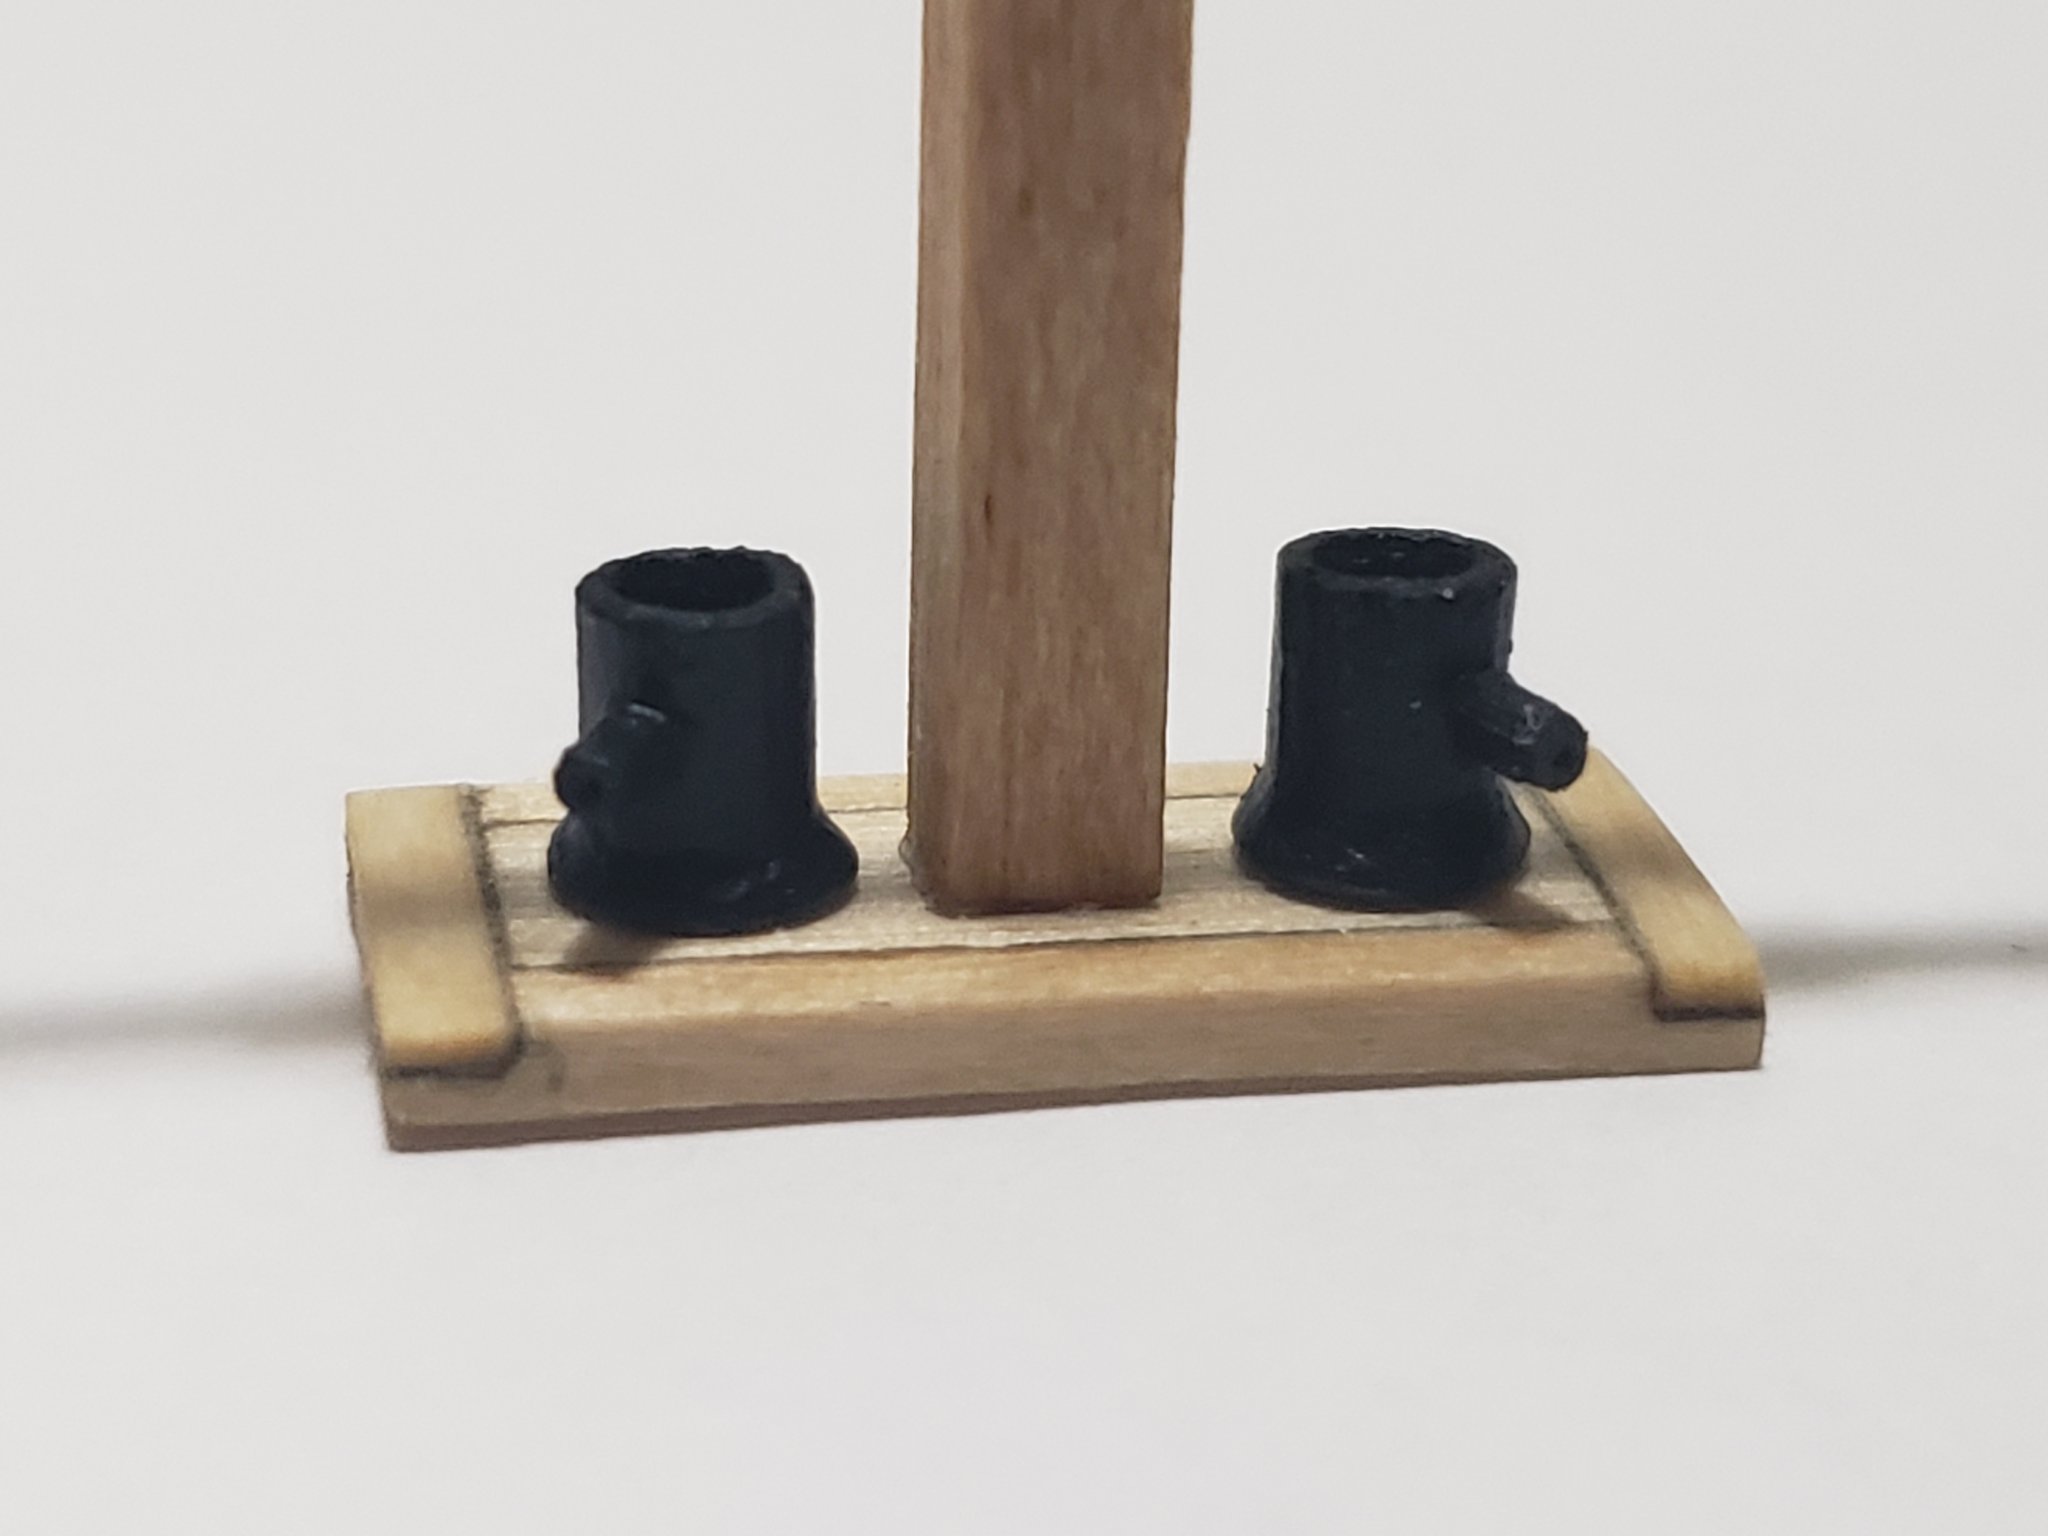
.thumb.jpg.62d1d69fed1f32364417cb1f9cdeb009.jpg) Thanks so much for the compliments Thomas and Justin Thomas, I took inspiration from your pump to include the handles. I really like how it looks!! Justin, I think it is just a matter of practice. When I began the deck details I had to redo so some items to be satisfied with it. Number of trial runs decreased as I progressed through the details since I think I got used to it. The spouts for the pump were still so small and hard a hard time cutting them out, so had to cut a few before selecting the best of the bunch. Holes for the handles also took a couple of trials because of how bad basswood is for small tasks 😅. Overall I am finding the deck details the most fun and satisfying chapter so far!! Mostly because the deck is starting to look alive 😁
Thanks so much for the compliments Thomas and Justin Thomas, I took inspiration from your pump to include the handles. I really like how it looks!! Justin, I think it is just a matter of practice. When I began the deck details I had to redo so some items to be satisfied with it. Number of trial runs decreased as I progressed through the details since I think I got used to it. The spouts for the pump were still so small and hard a hard time cutting them out, so had to cut a few before selecting the best of the bunch. Holes for the handles also took a couple of trials because of how bad basswood is for small tasks 😅. Overall I am finding the deck details the most fun and satisfying chapter so far!! Mostly because the deck is starting to look alive 😁 -
From what I found on this forum, it is best to thin down the paint to a runny stage (but still a bit more viscous than water) and apply many many coats for an even finish. For the first coat, you should be able to see a bit of the bare wood. After each coat is dry, sand it with a fine sandpaper very lightly, clean the area with a damp tissue/cloth and apply next coat. Once the color starts deepening (about 3 coats in), switch from using sandpaper to a lint-free cloth to smoothen things out. Gives a very nice smooth even finish!
-
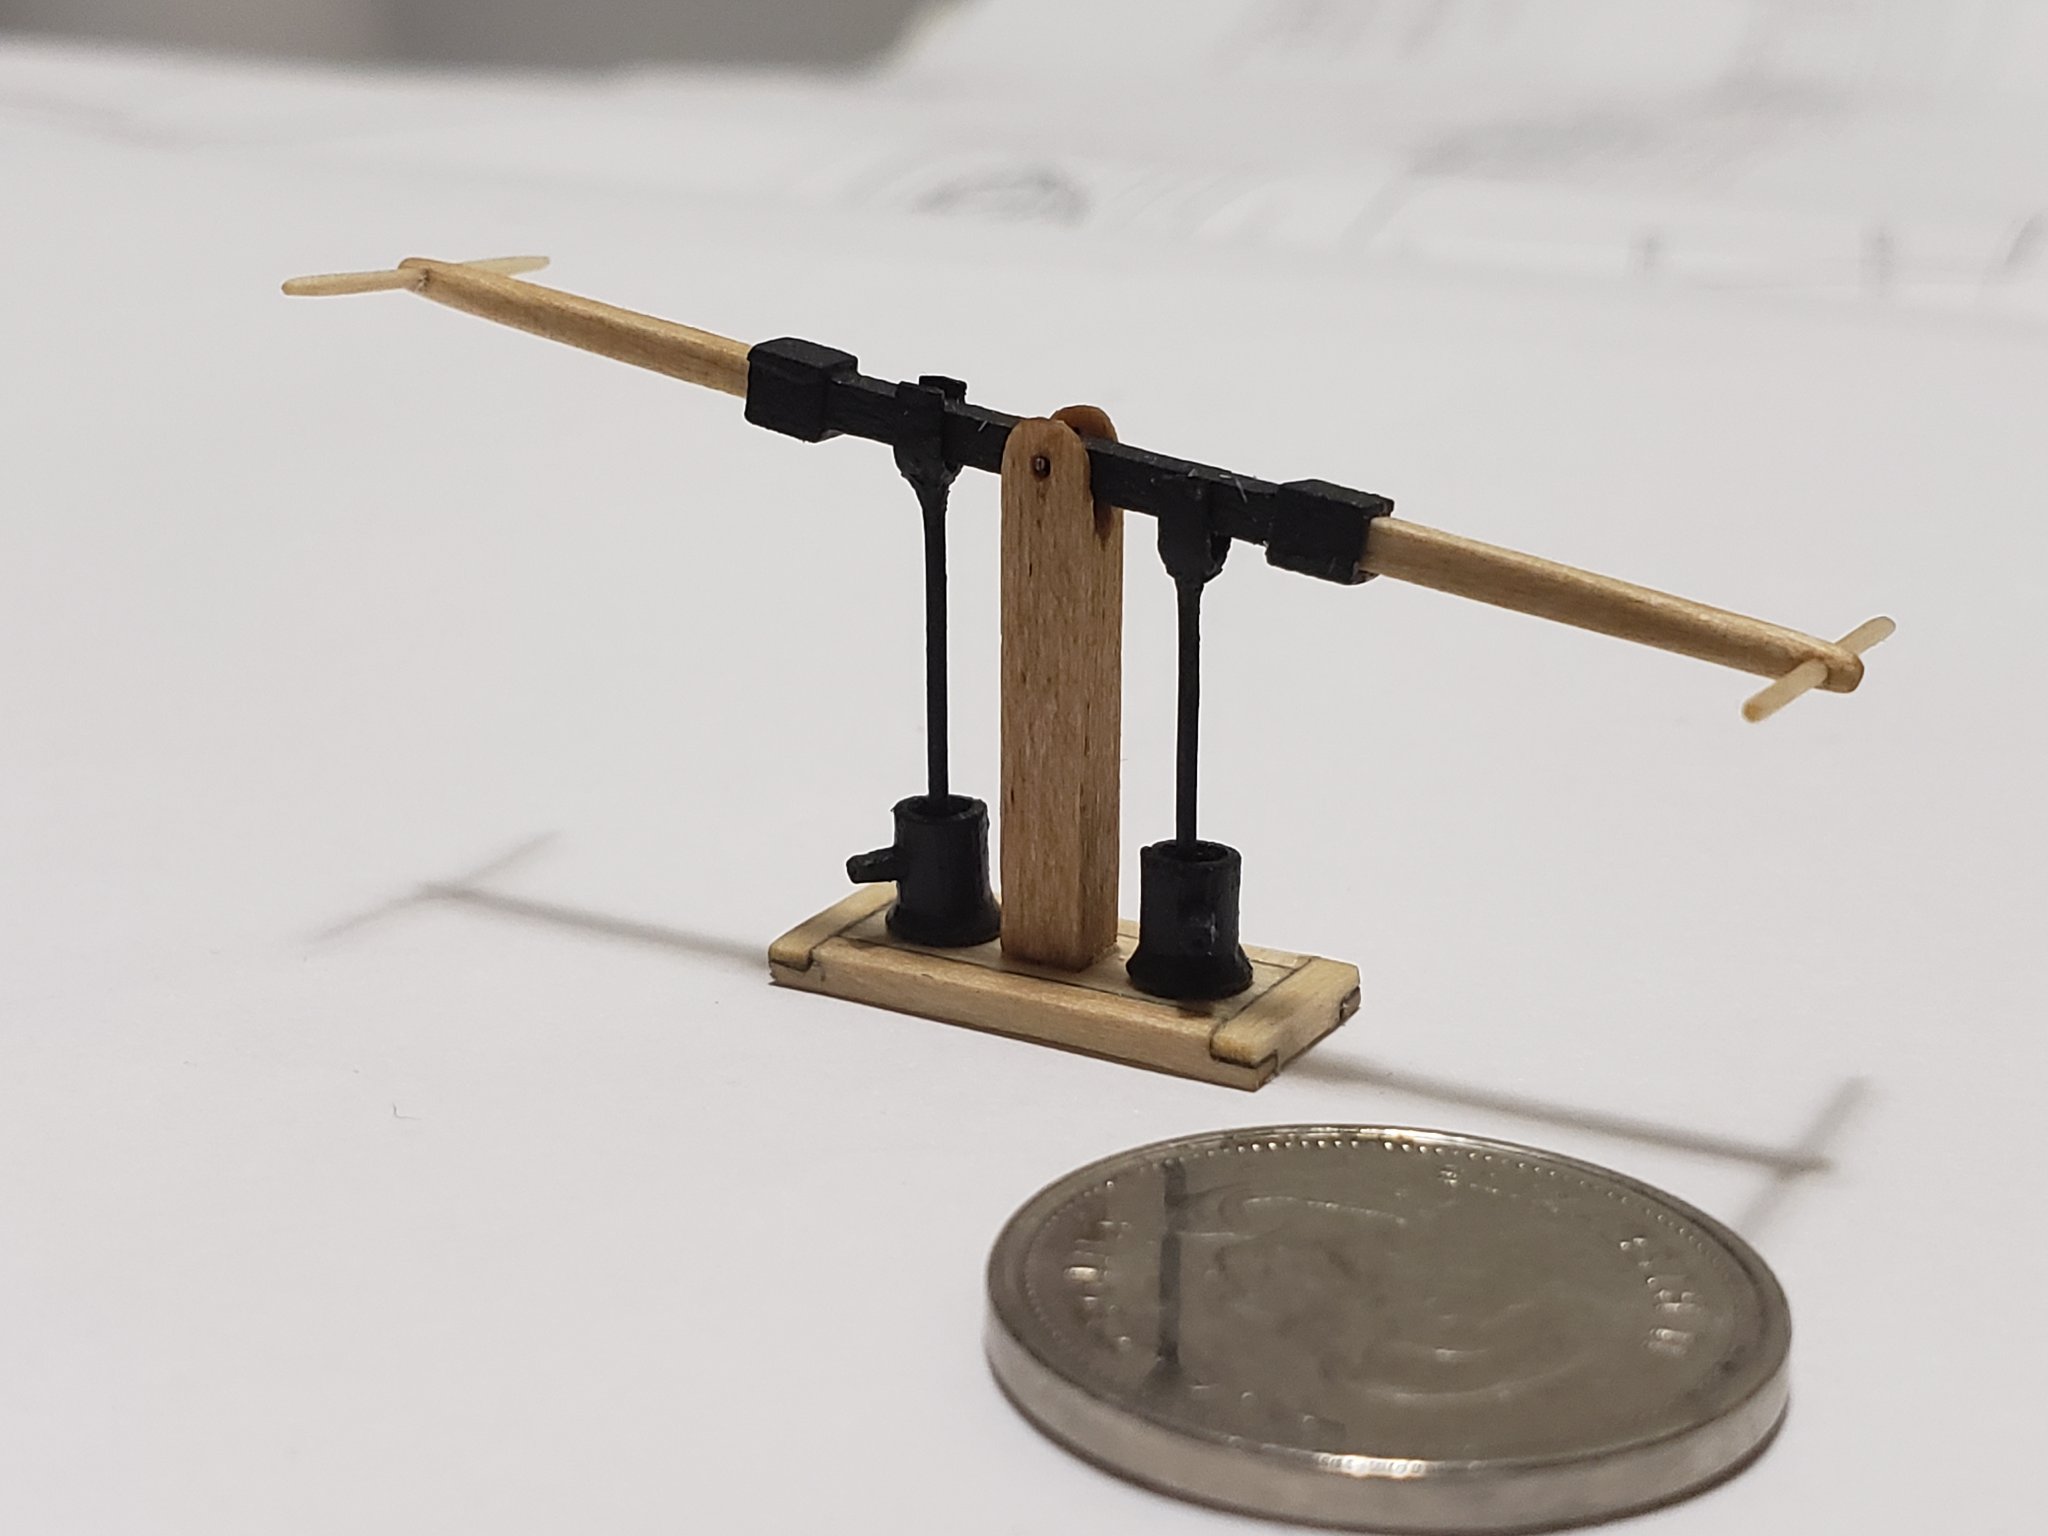
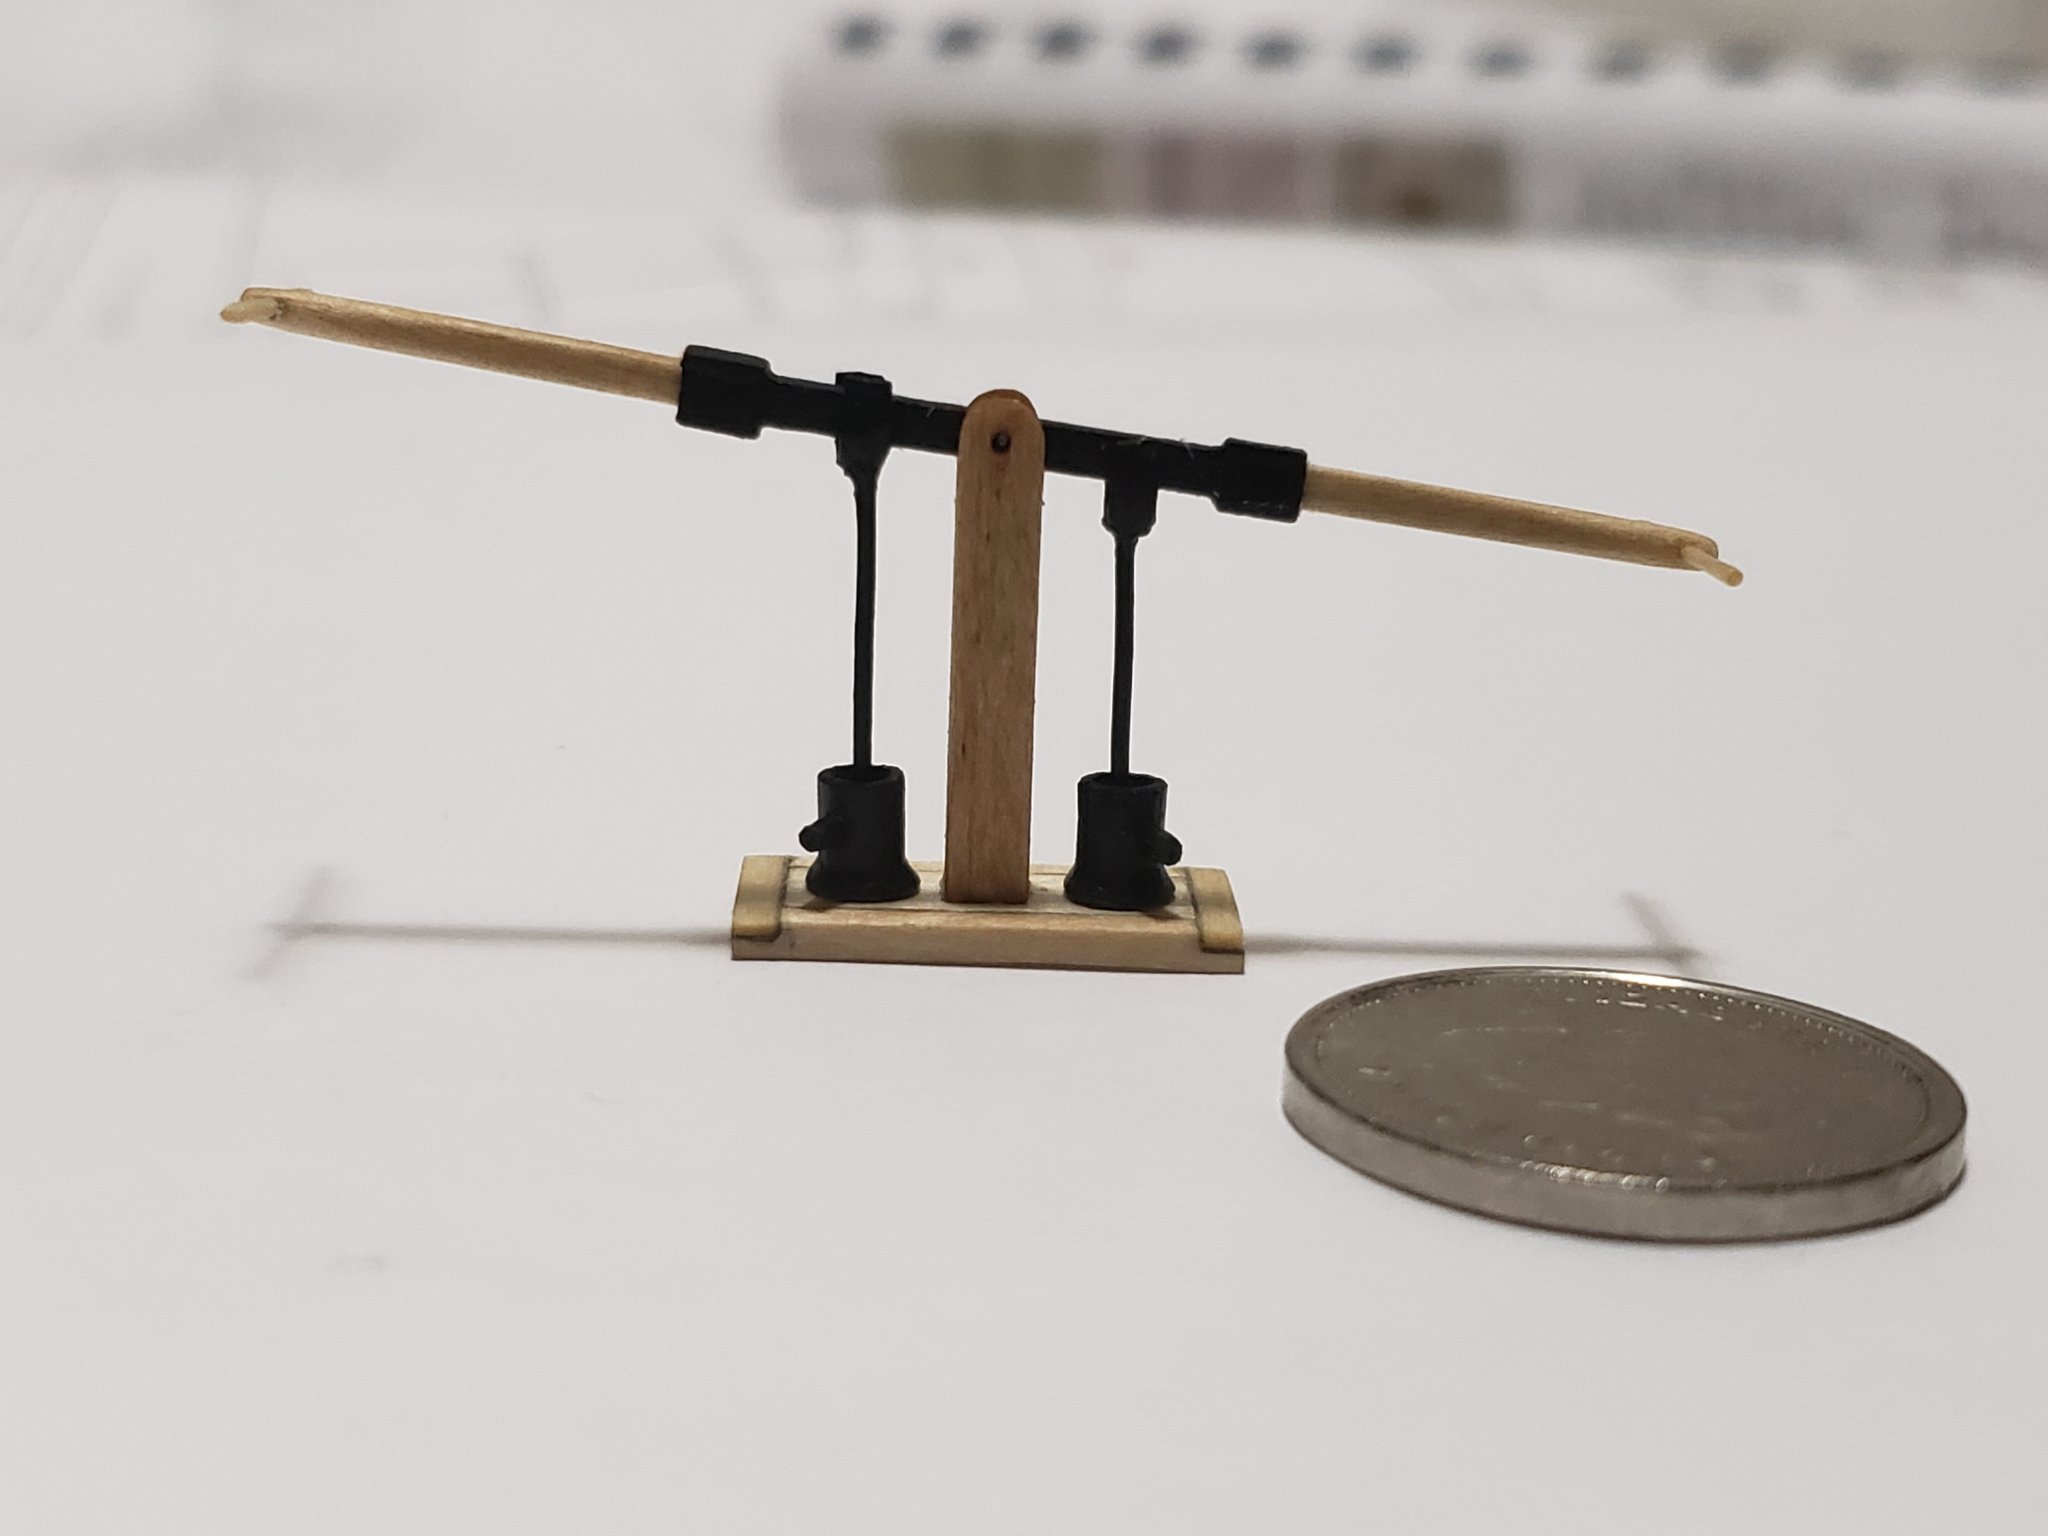
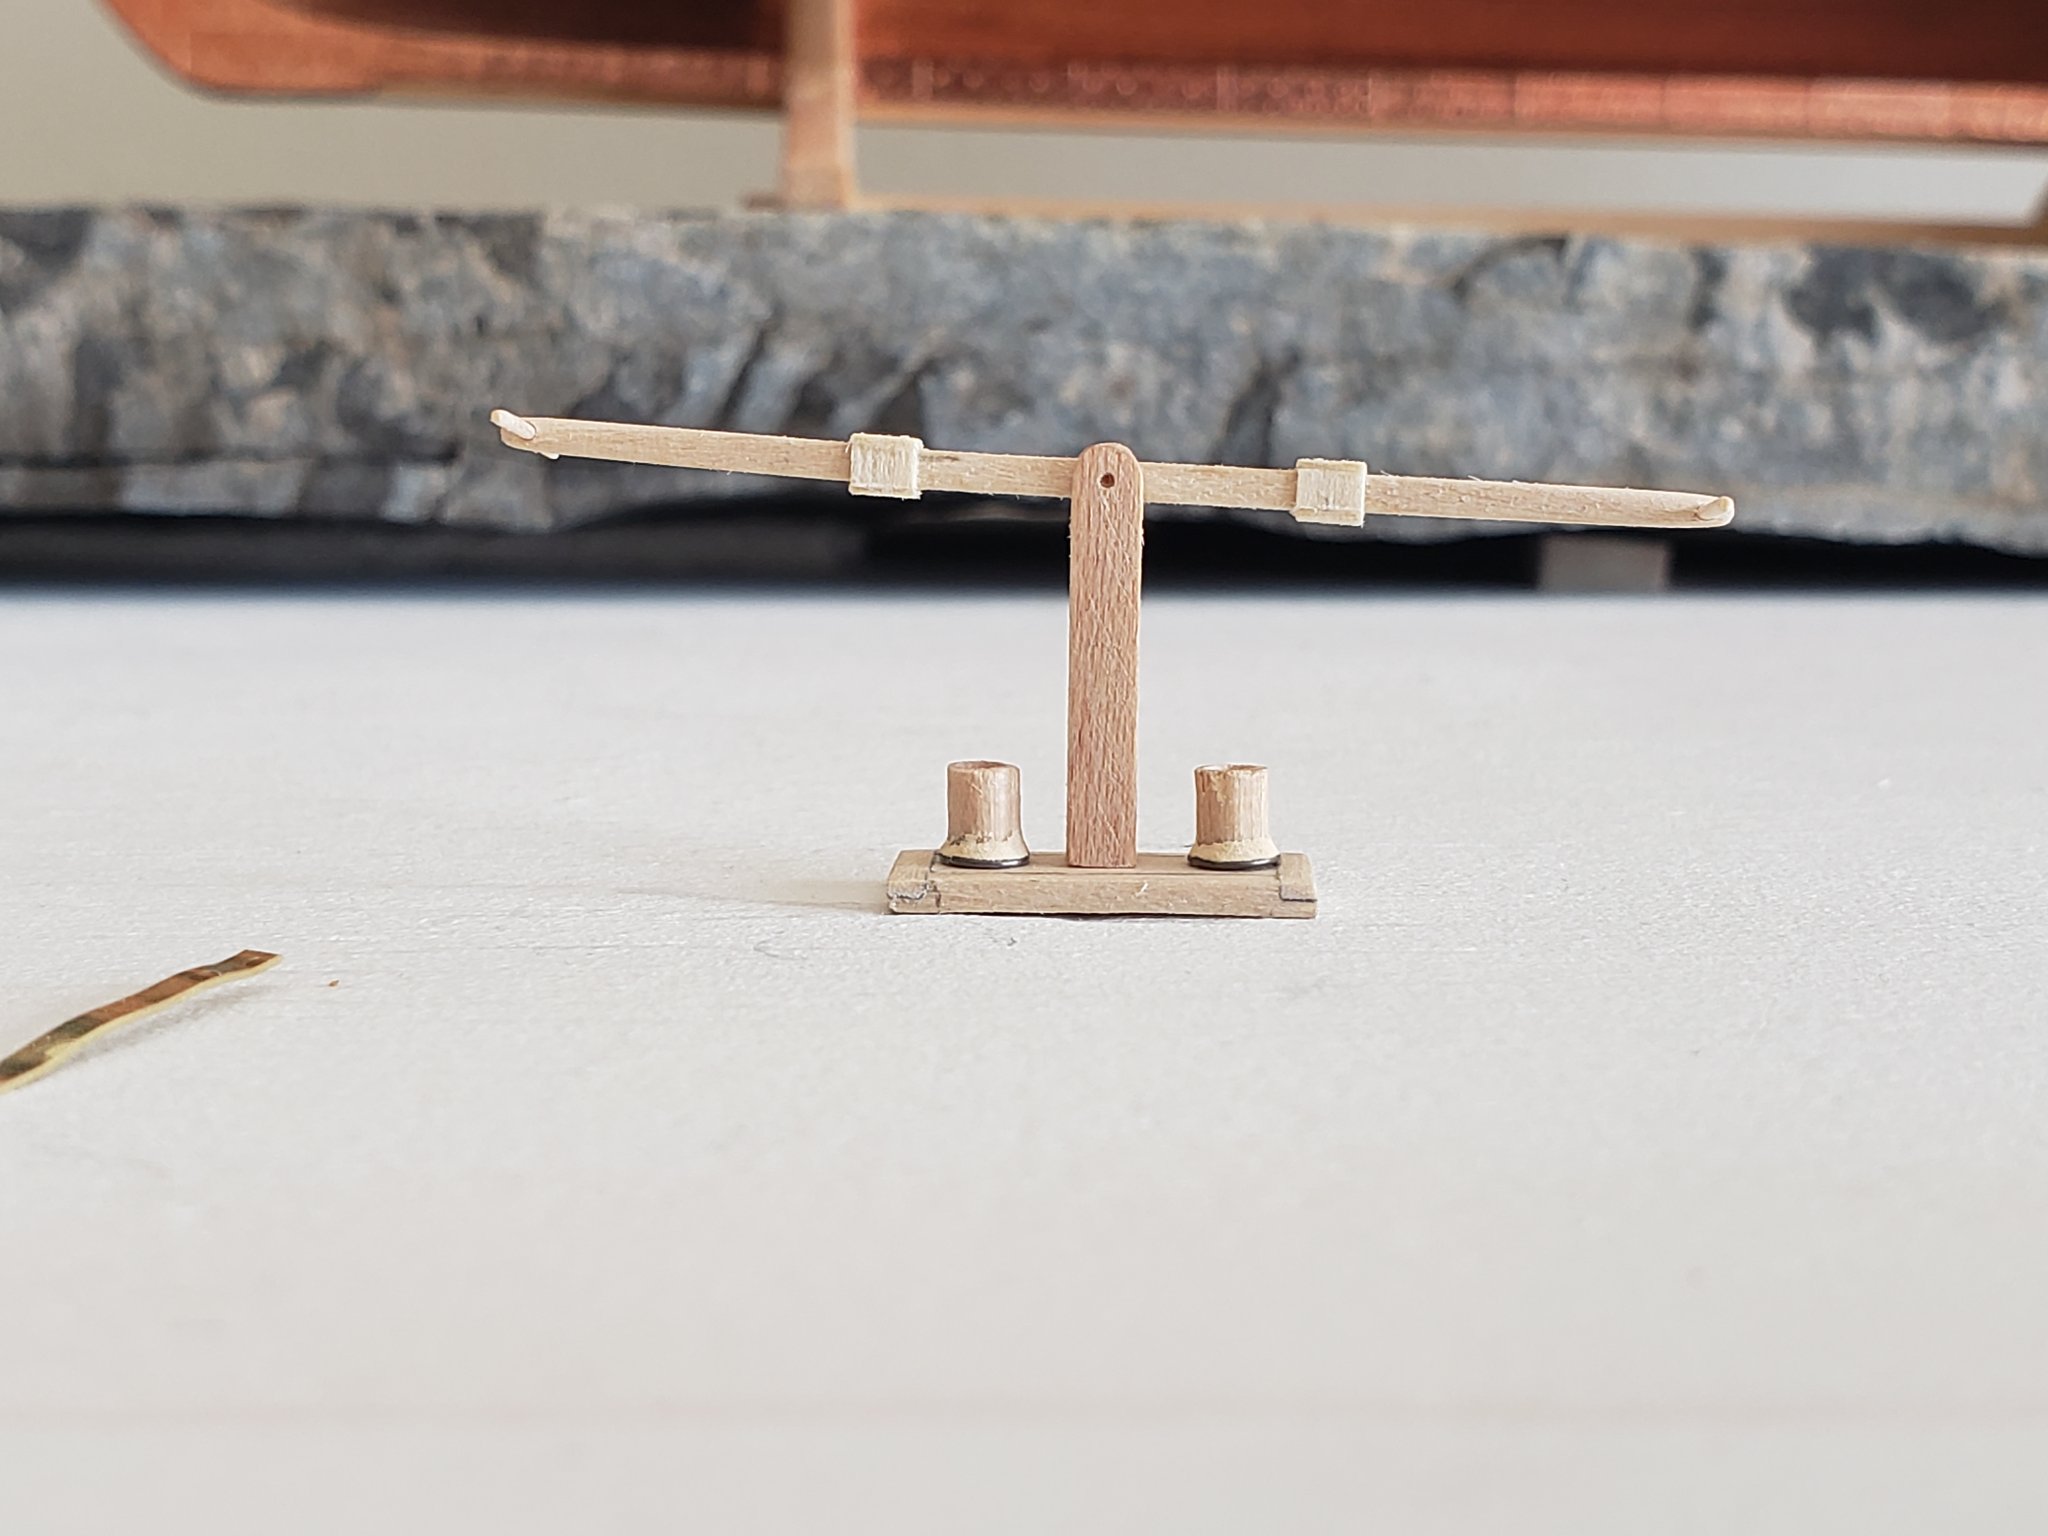
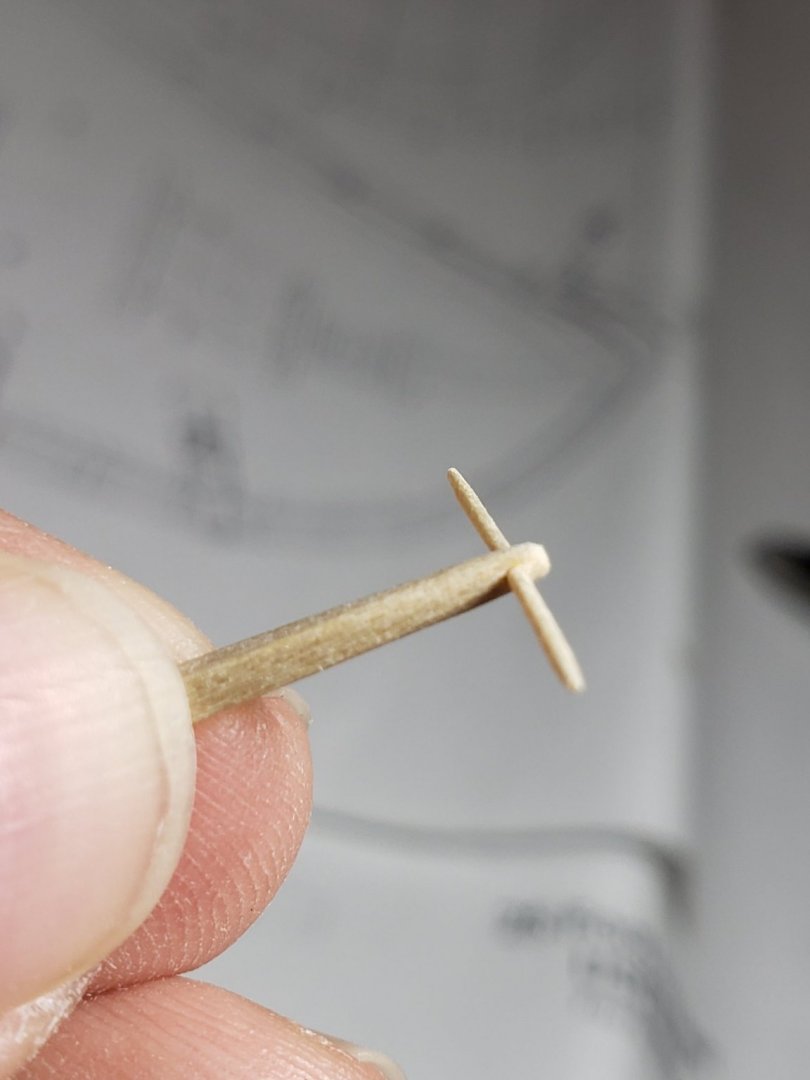
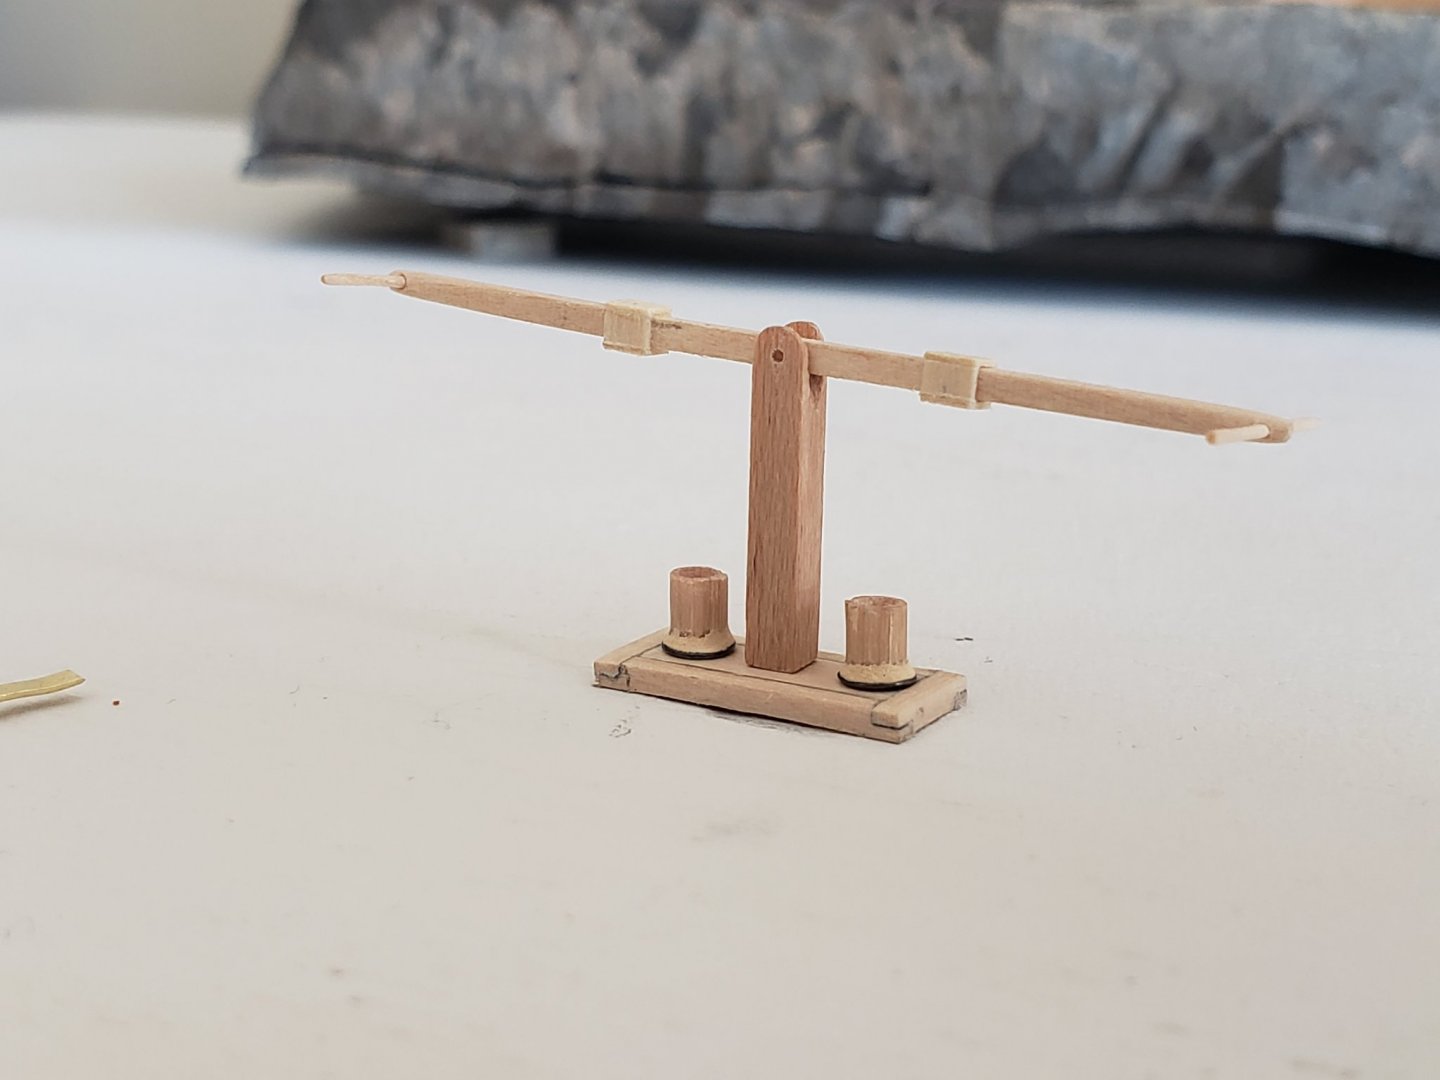
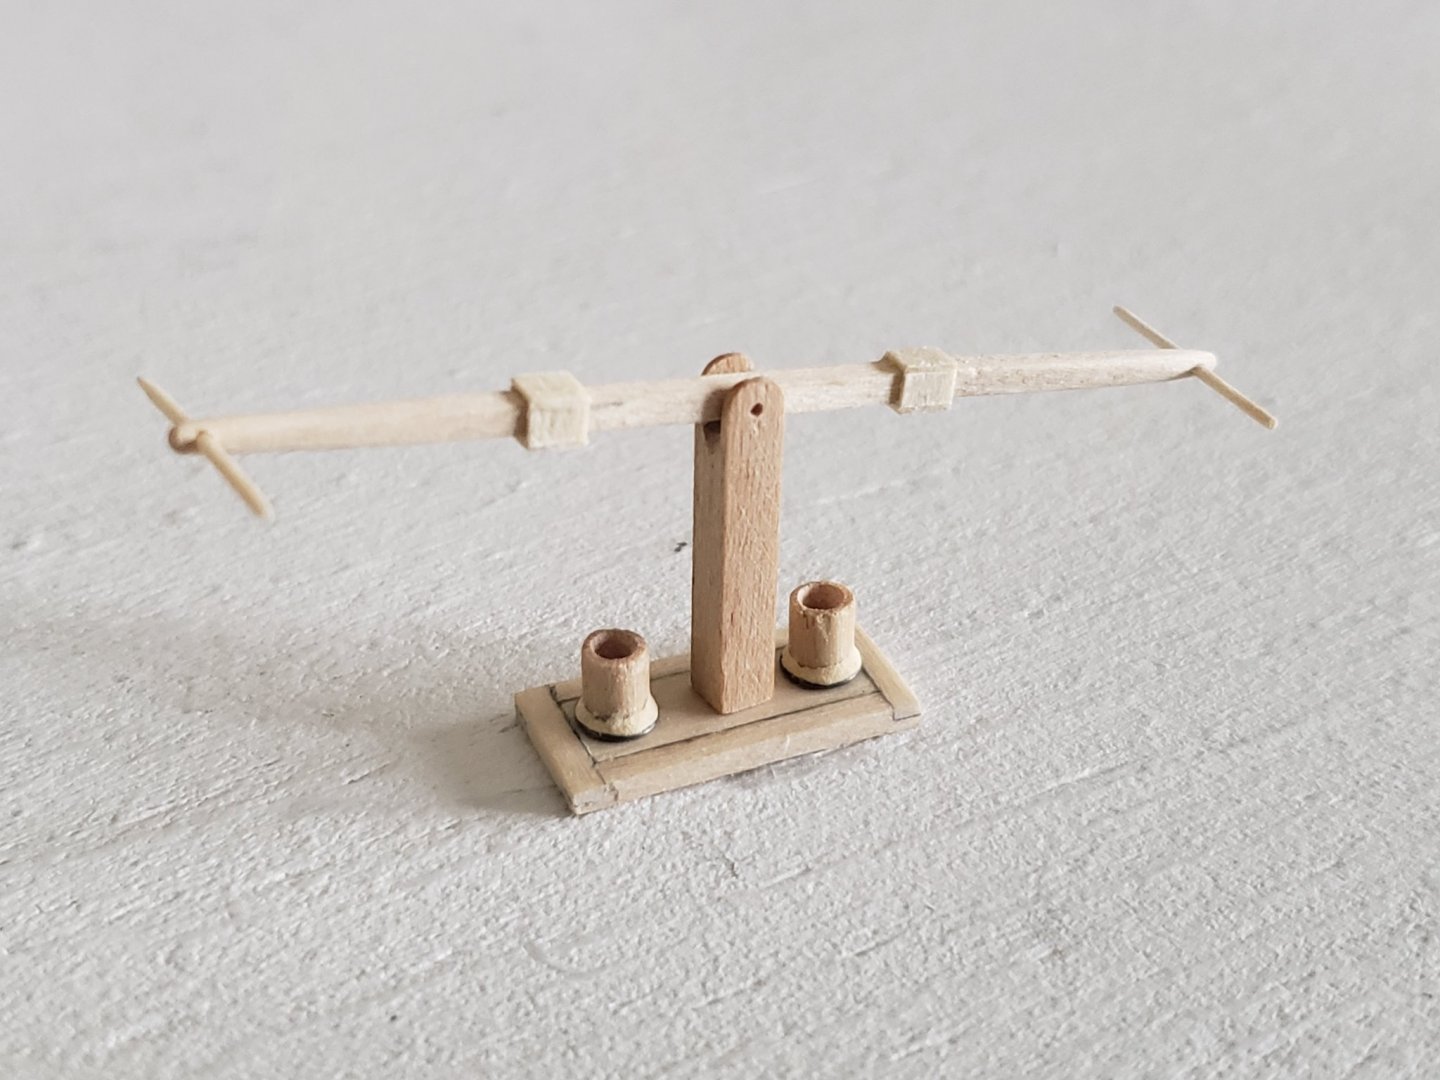
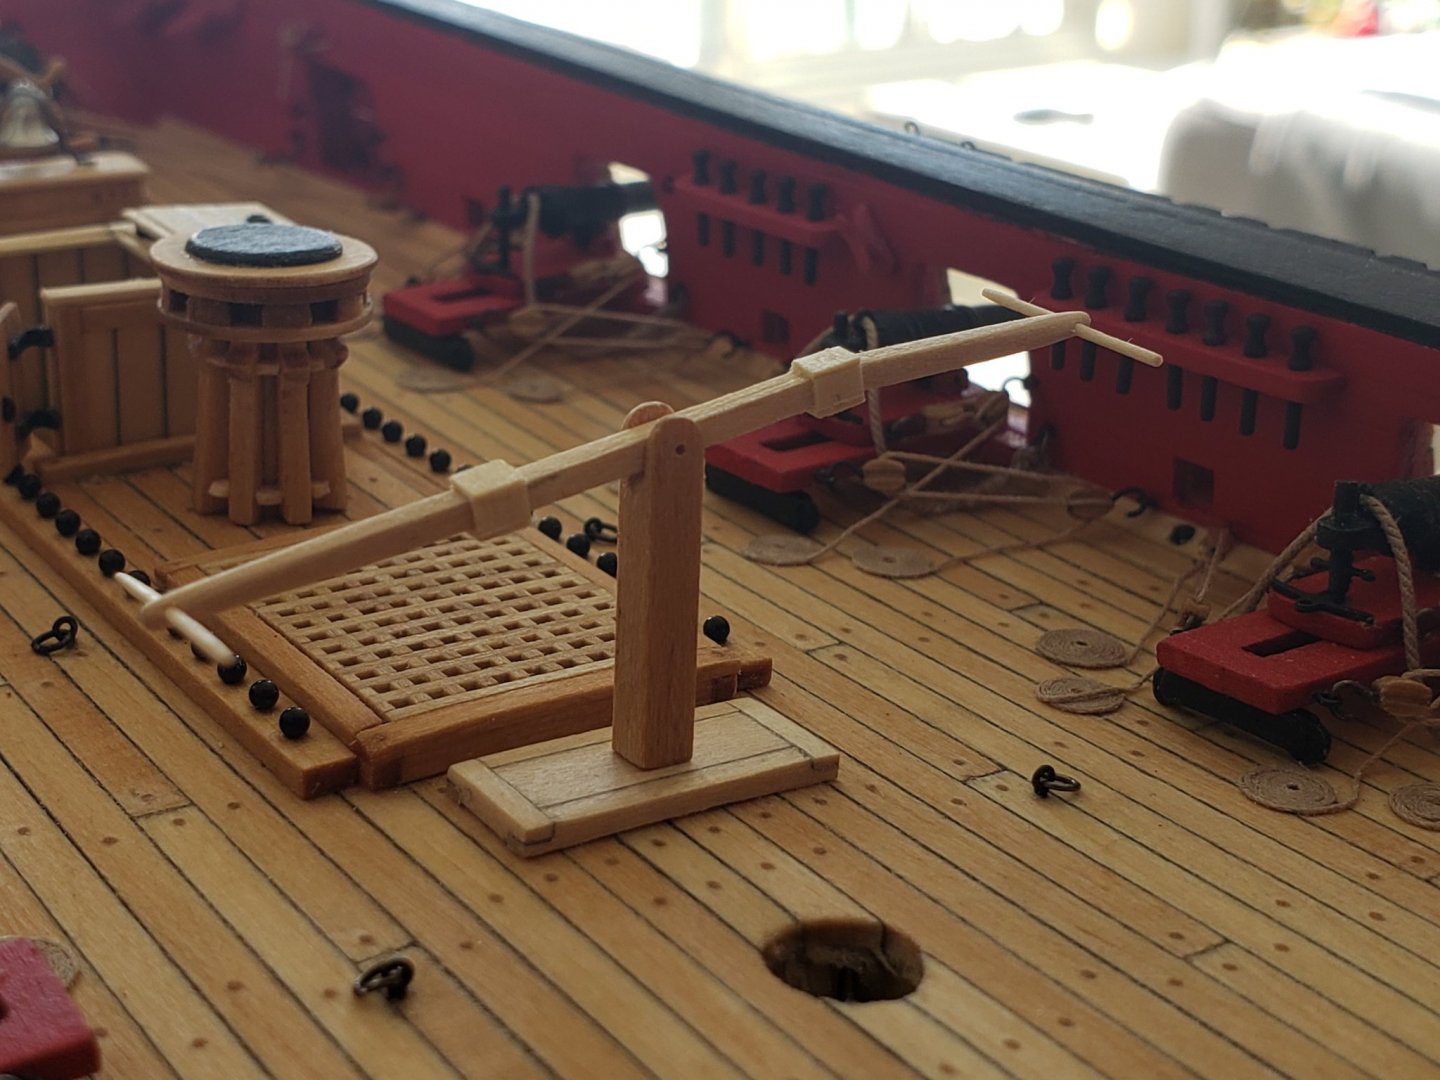
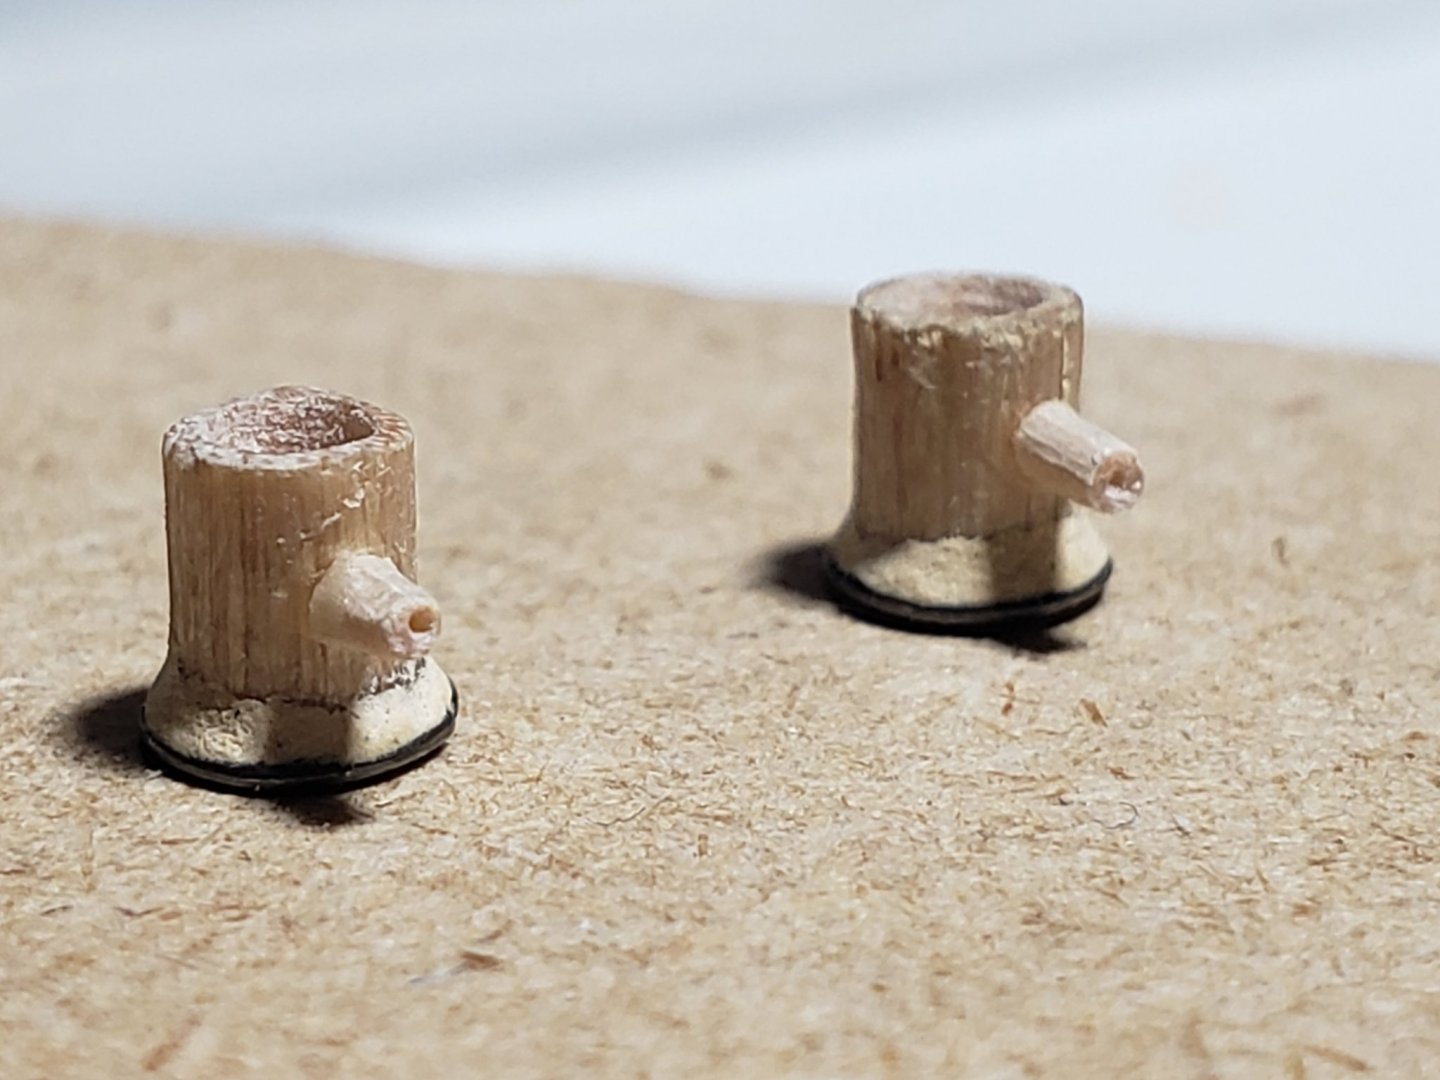
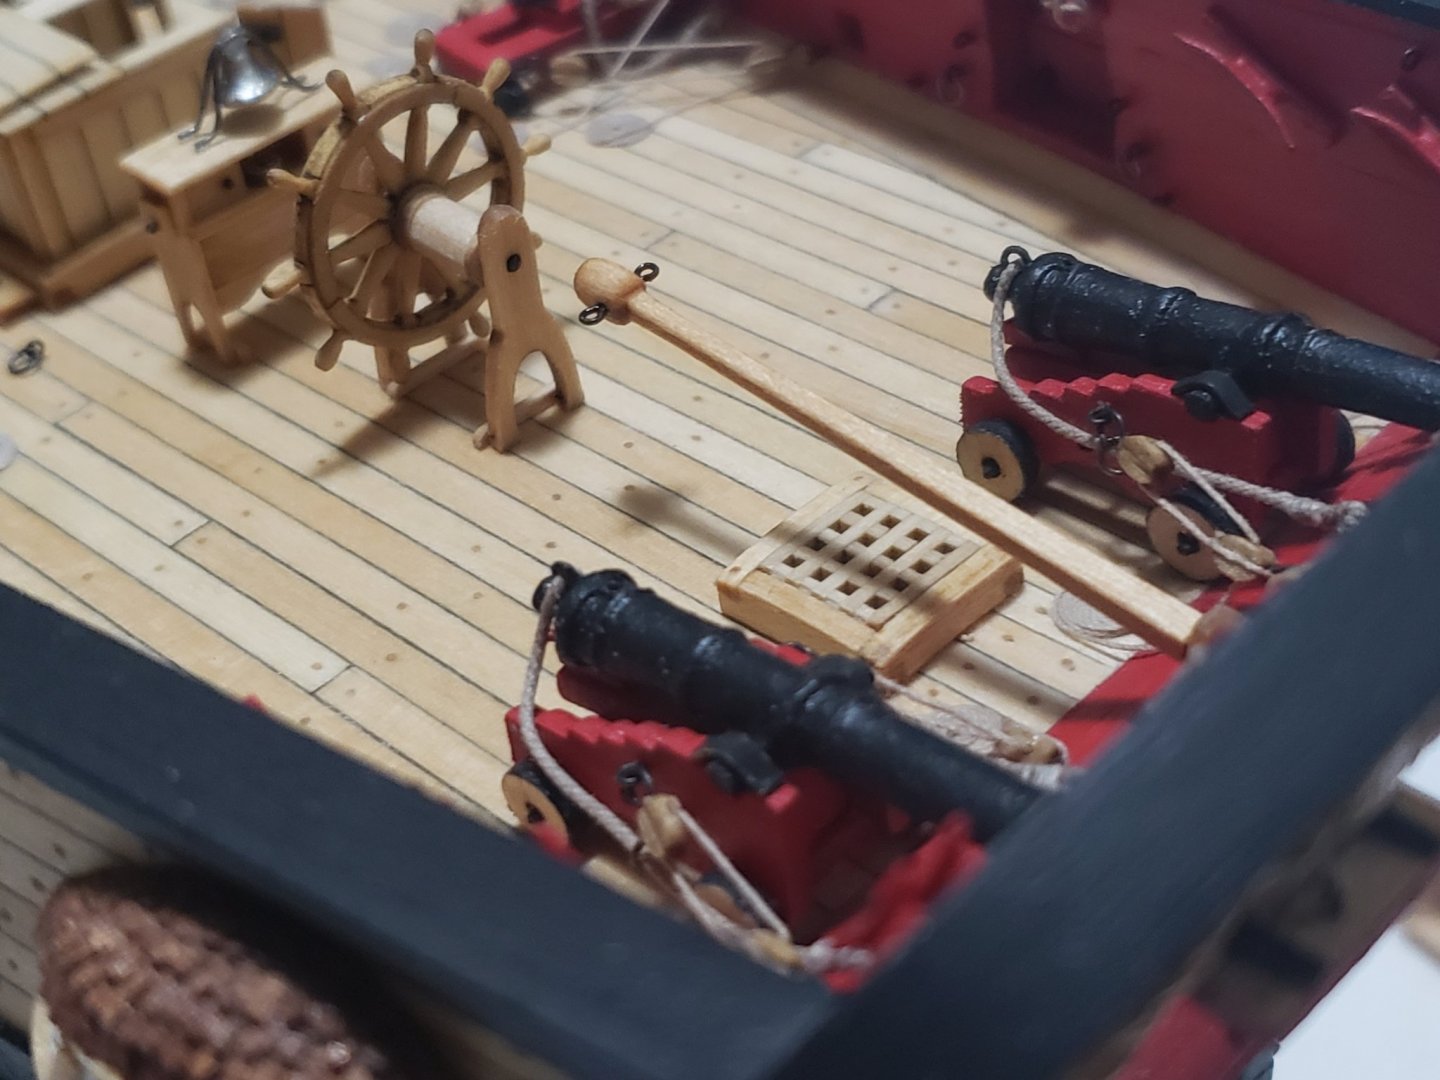
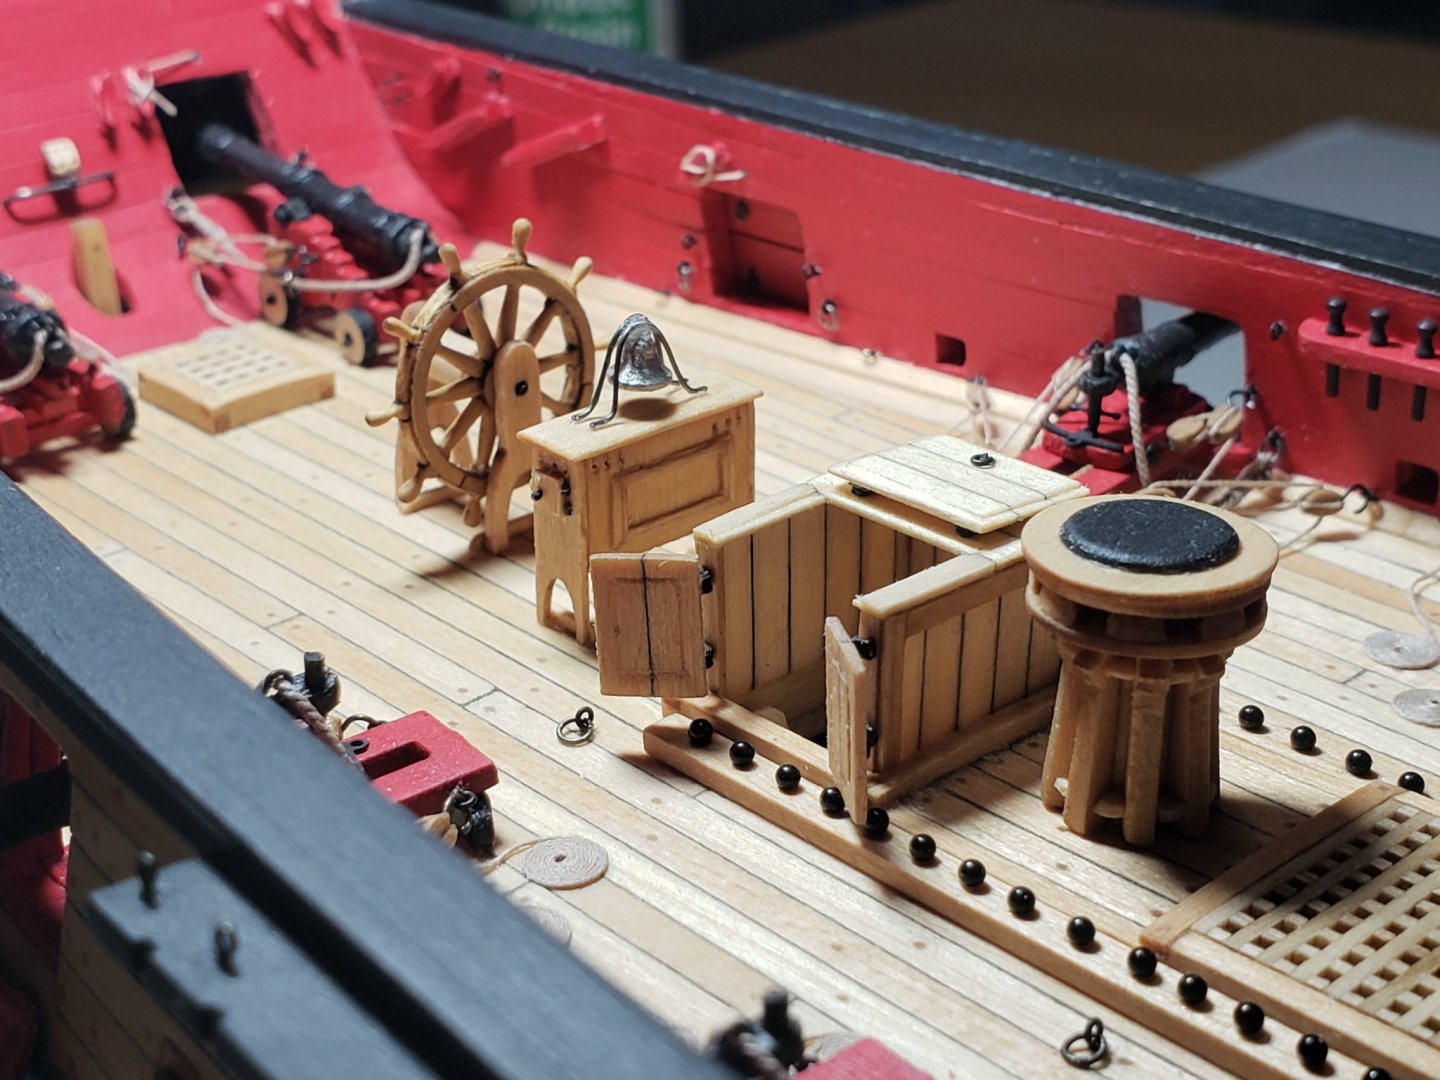
Pump is done!! I decided to have the crossbar at an angle instead of horizontal since I like that look better 😁 The pin in the crossbar fitted snuggly so I decided not to glue it in place. The pump rods are also not glued in the drums since it all fits well.


- 950 replies
-
- 17
-

-
- syren
- model shipways
- (and 1 more)
-
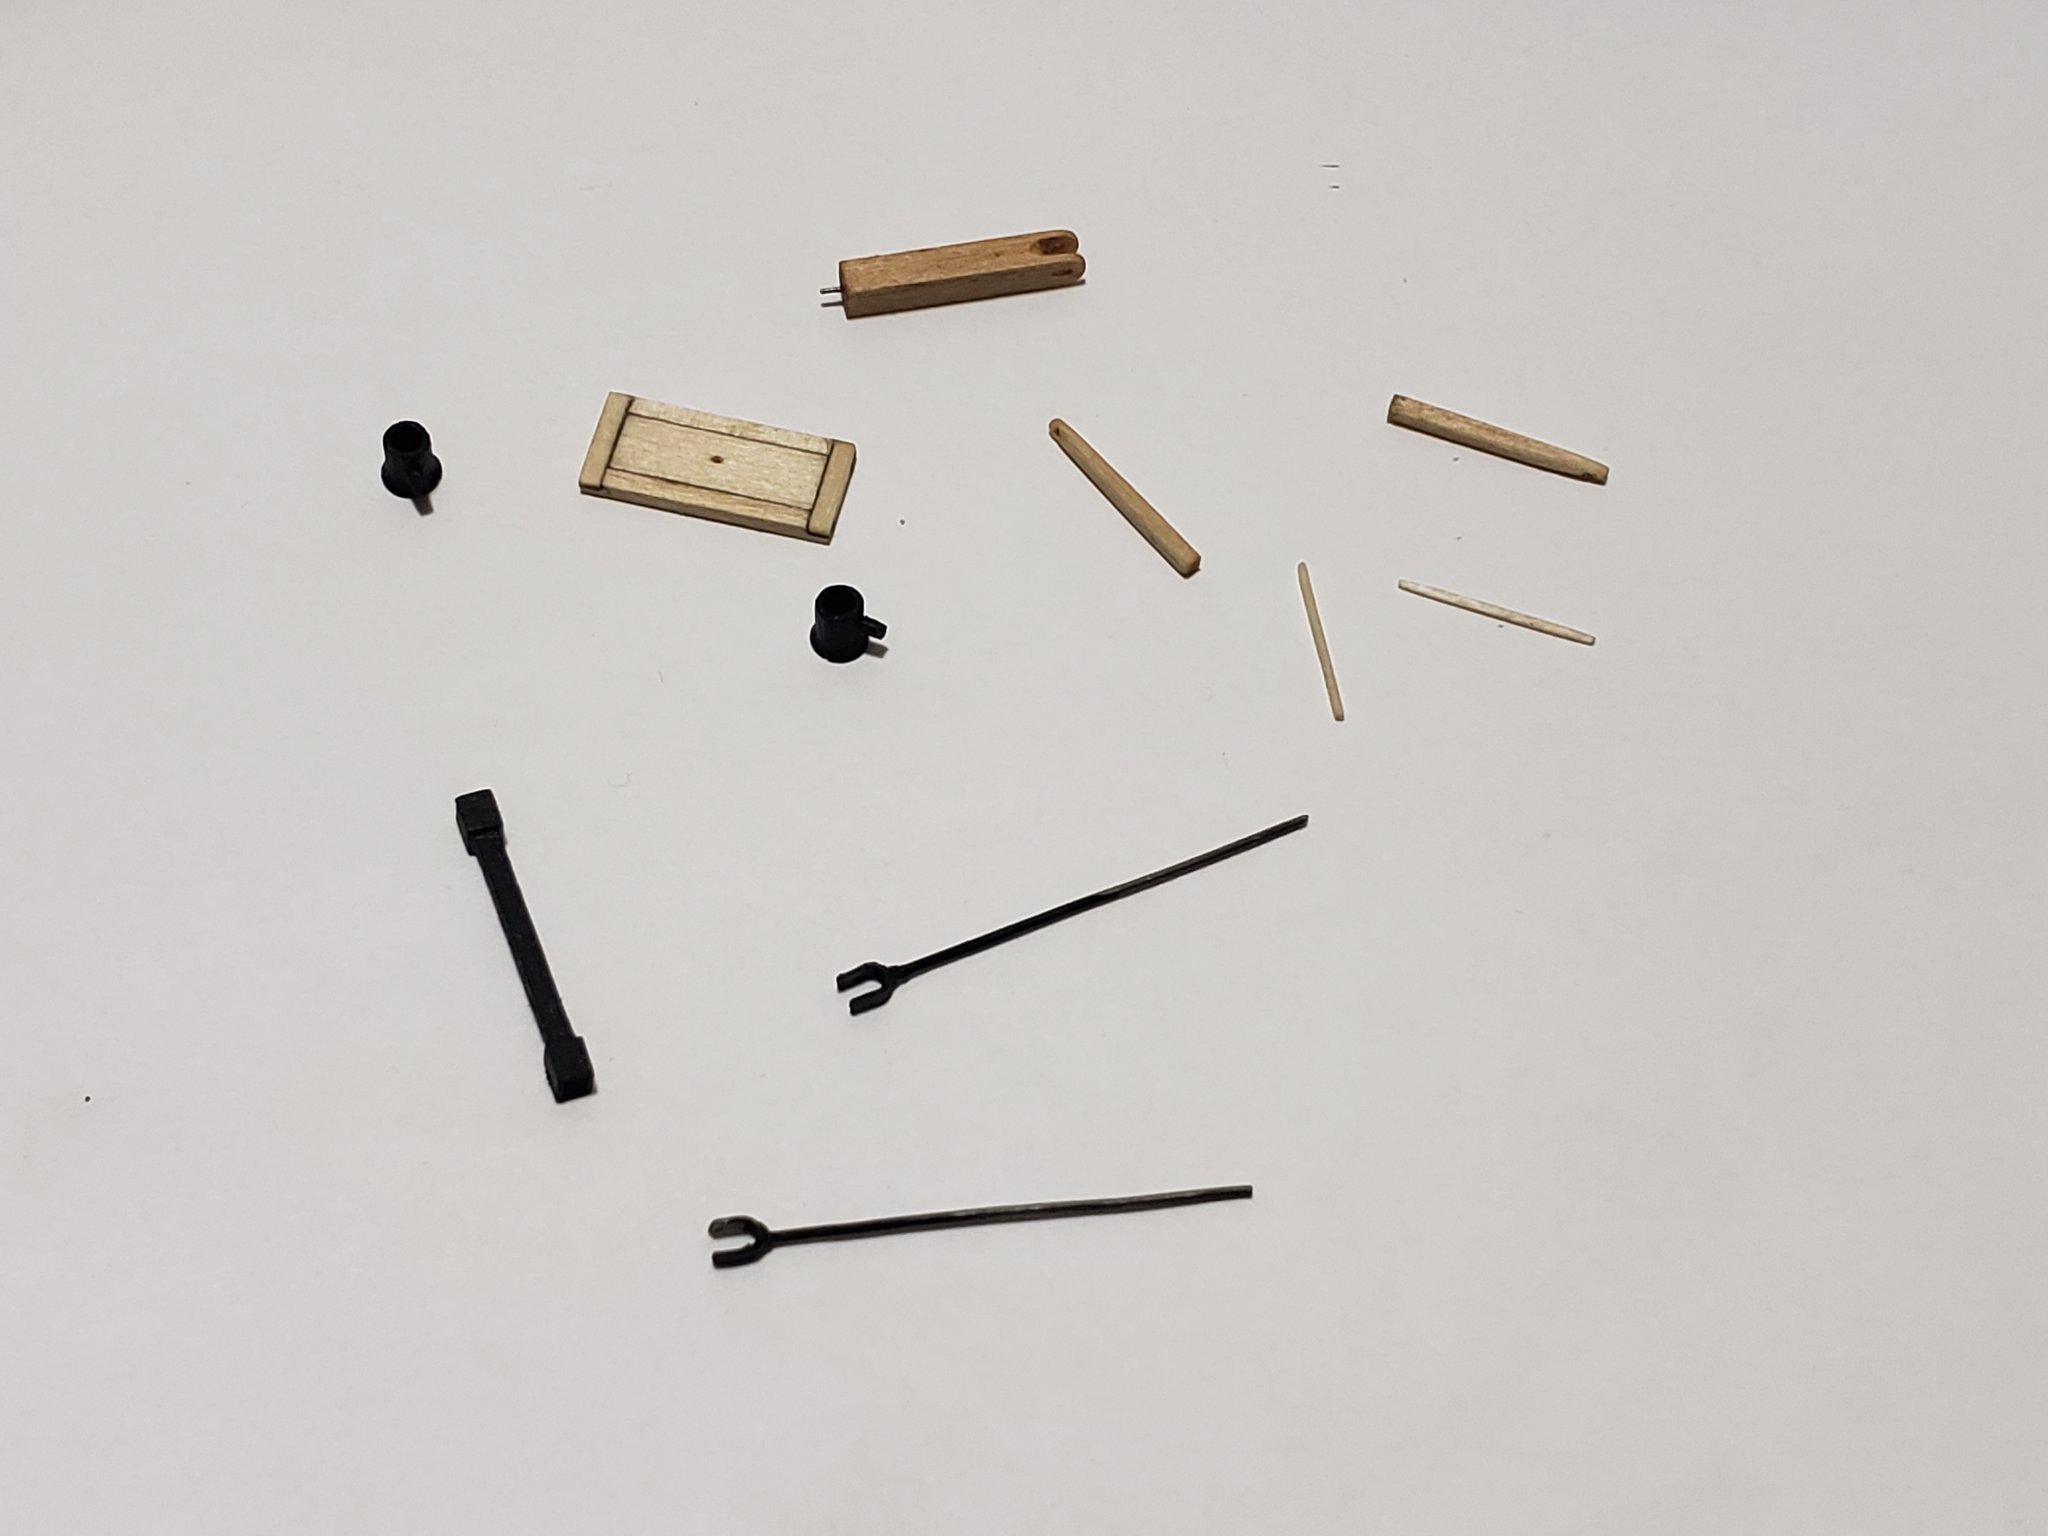
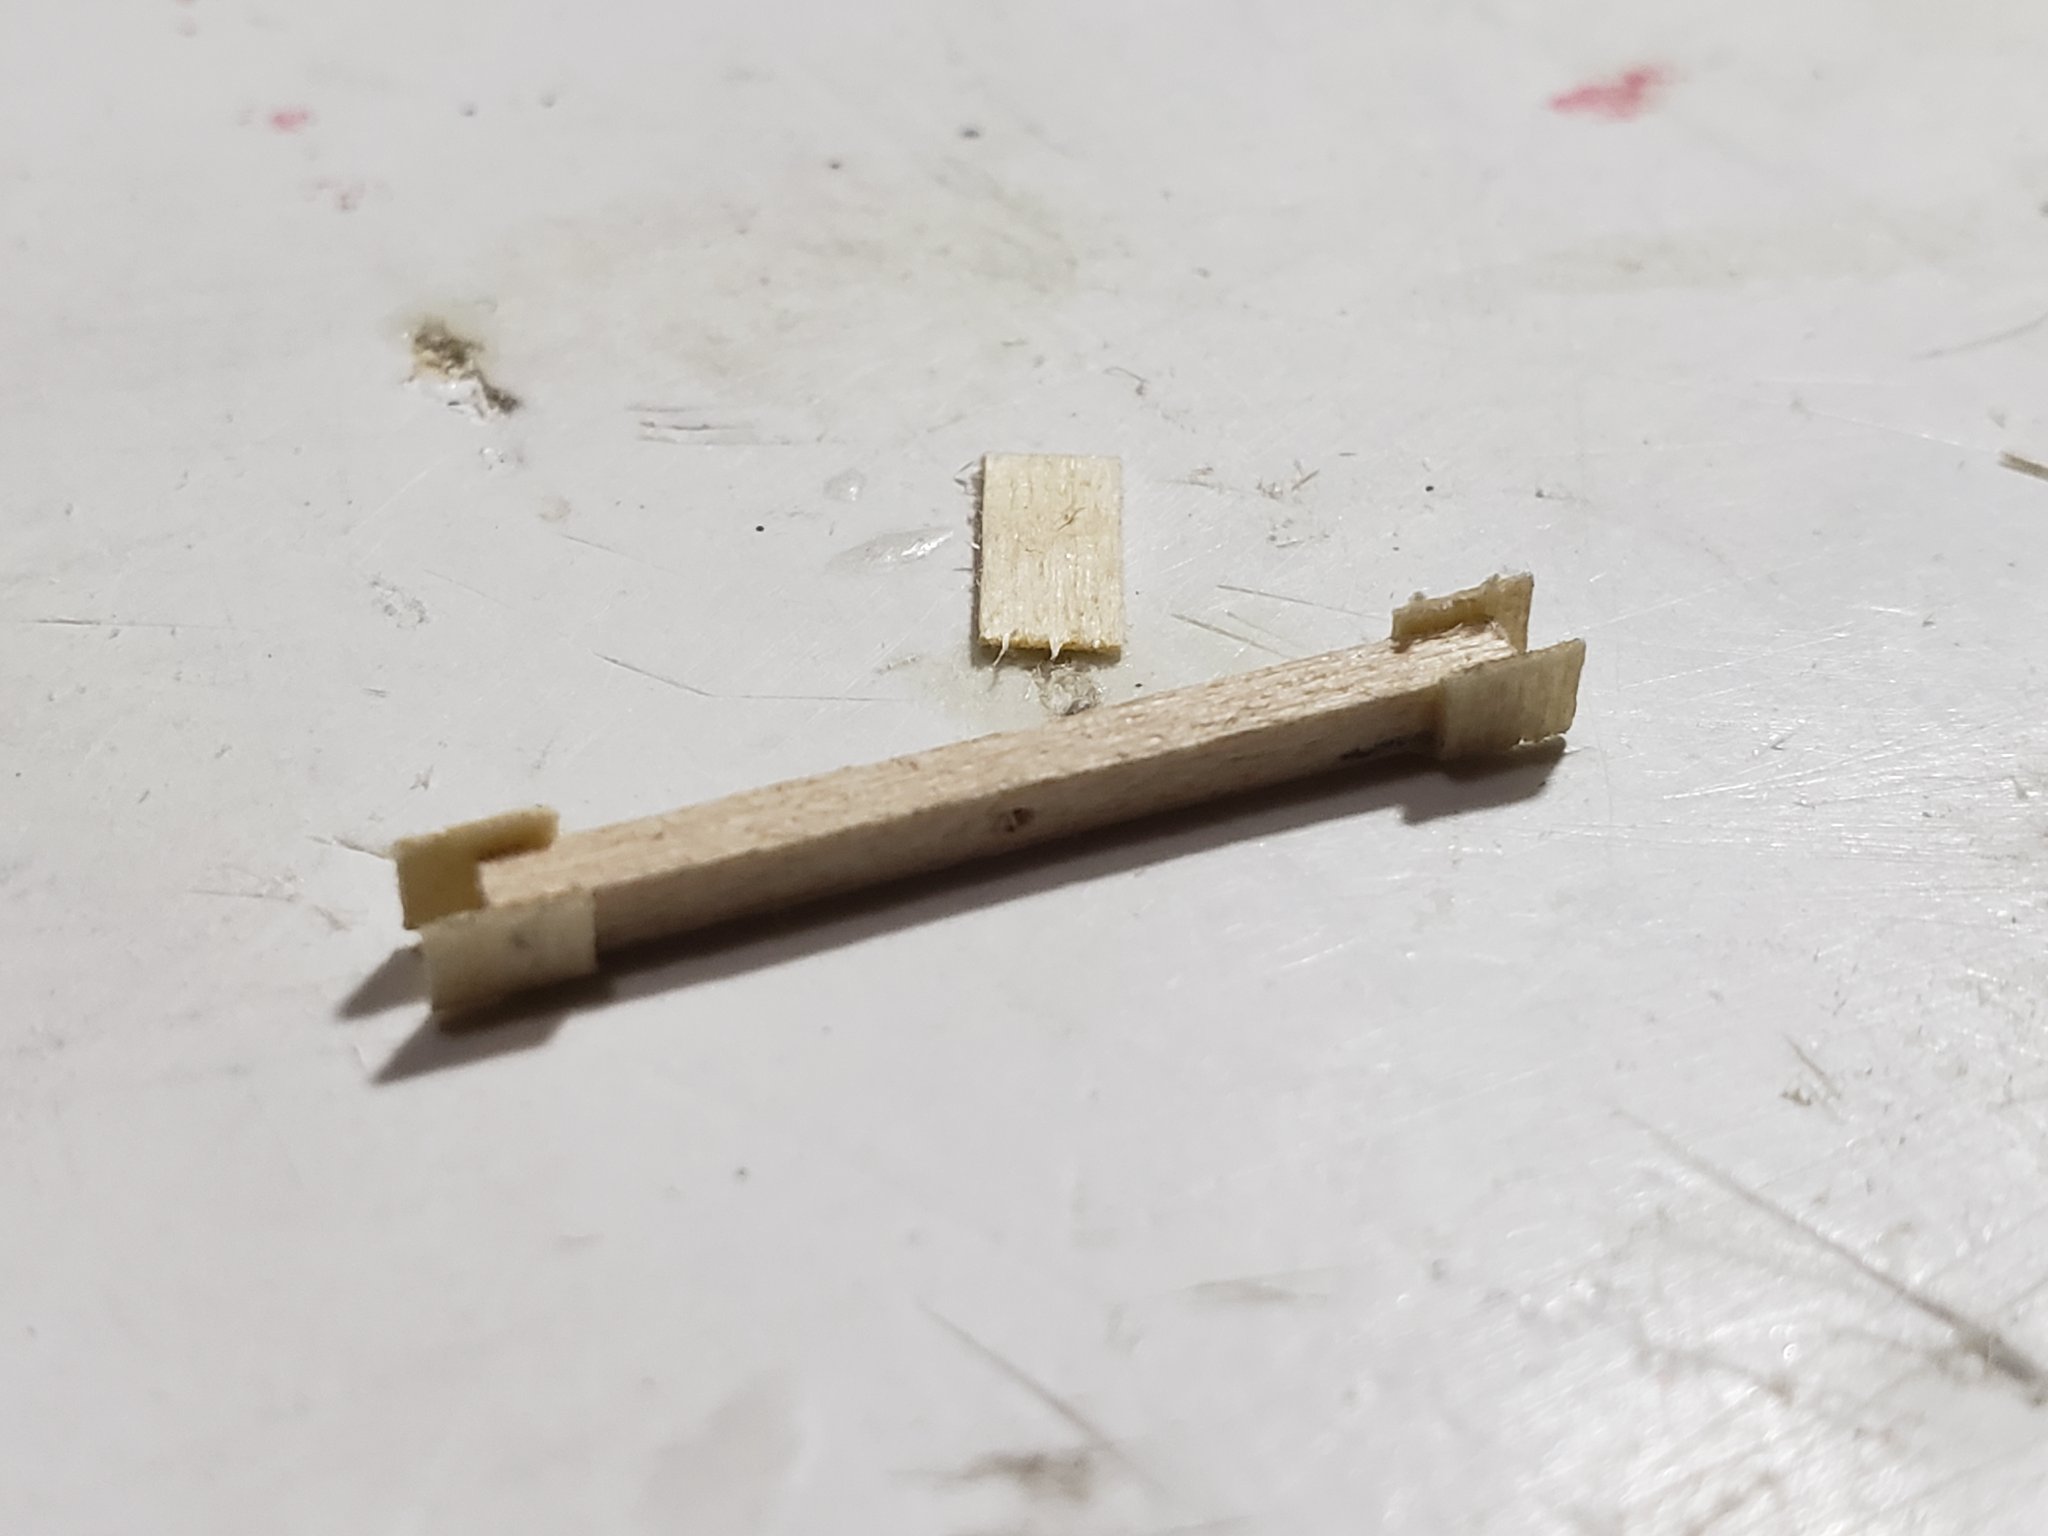
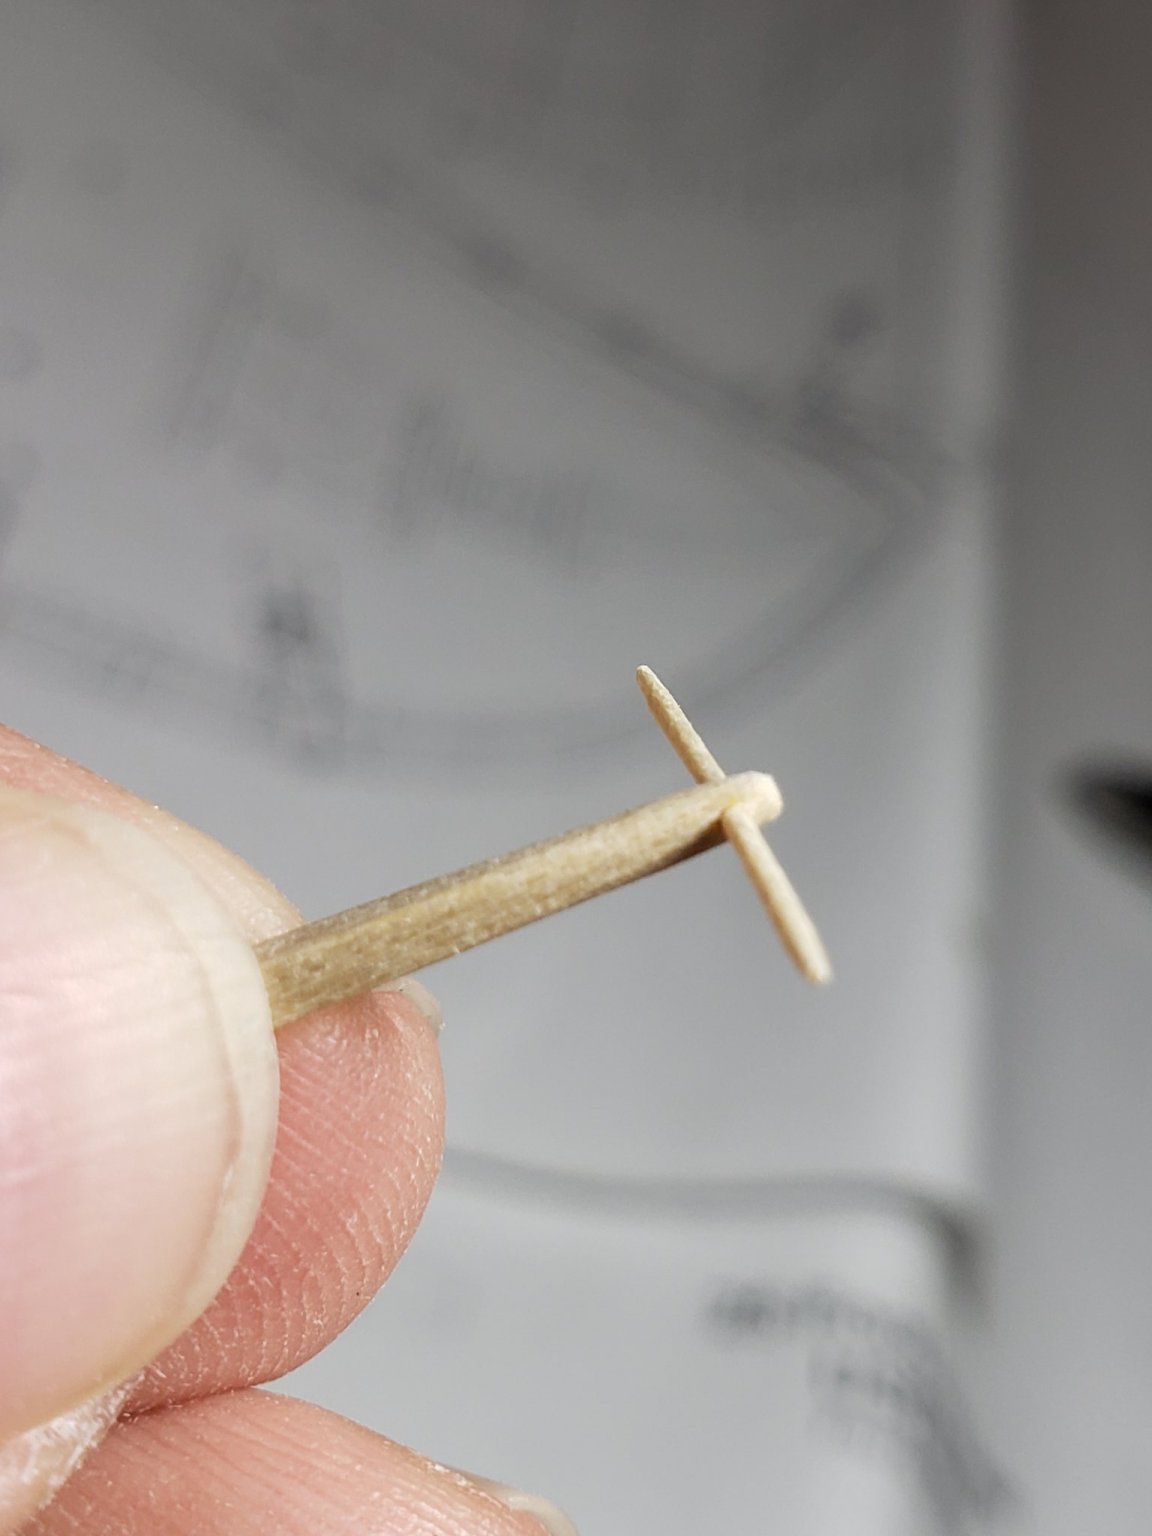
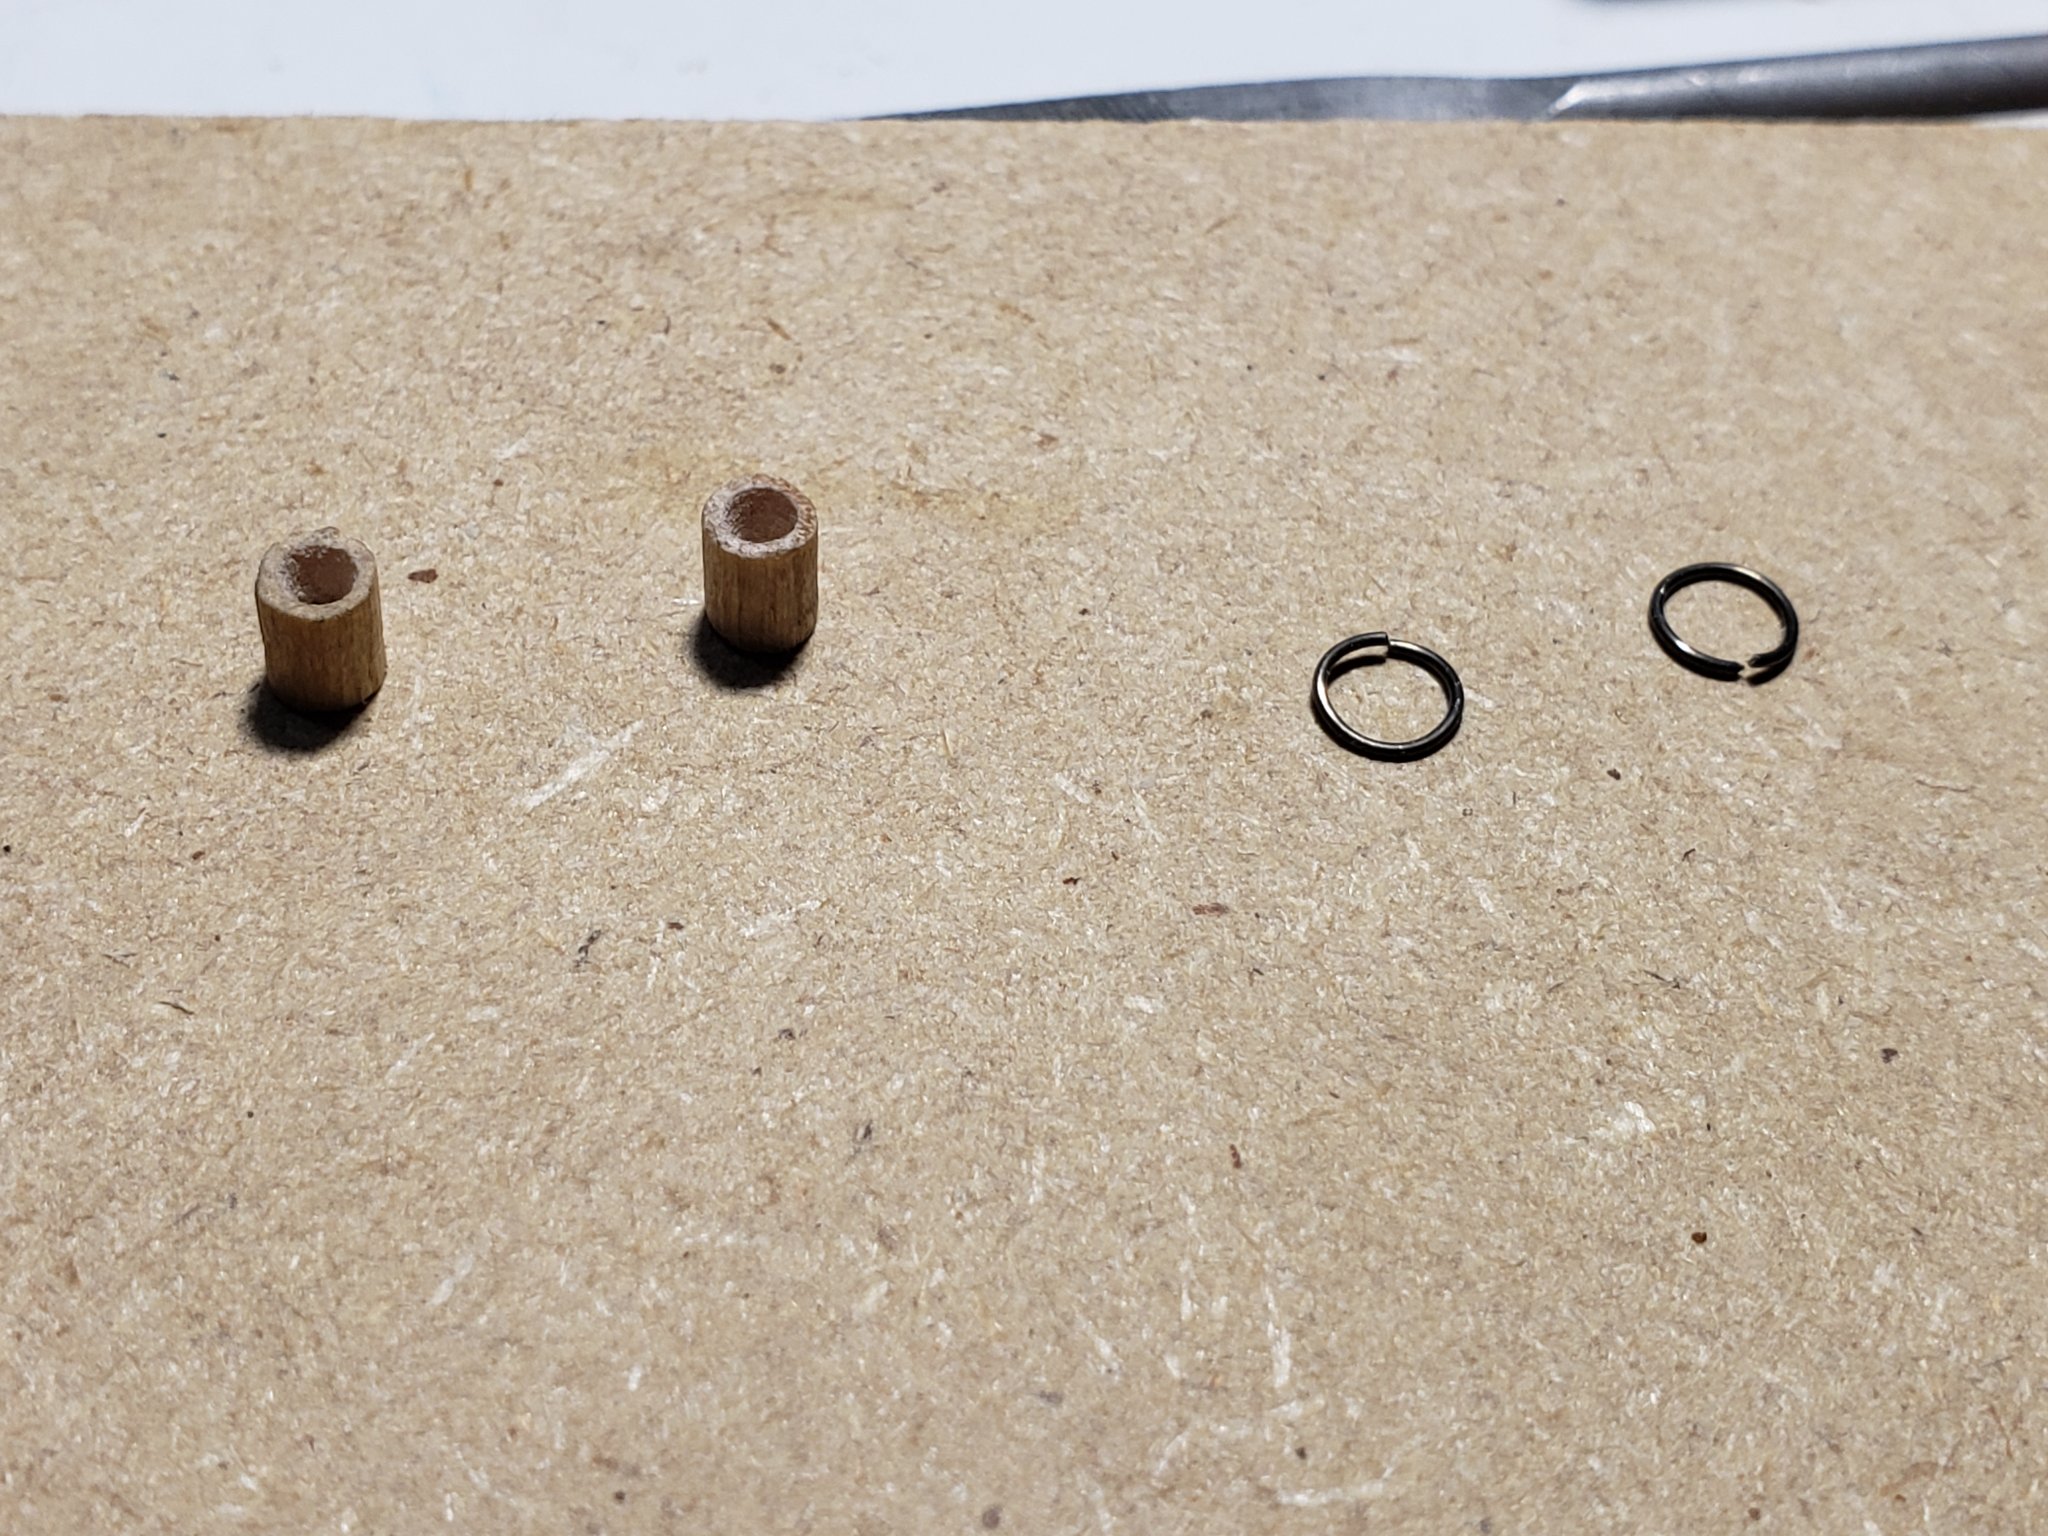
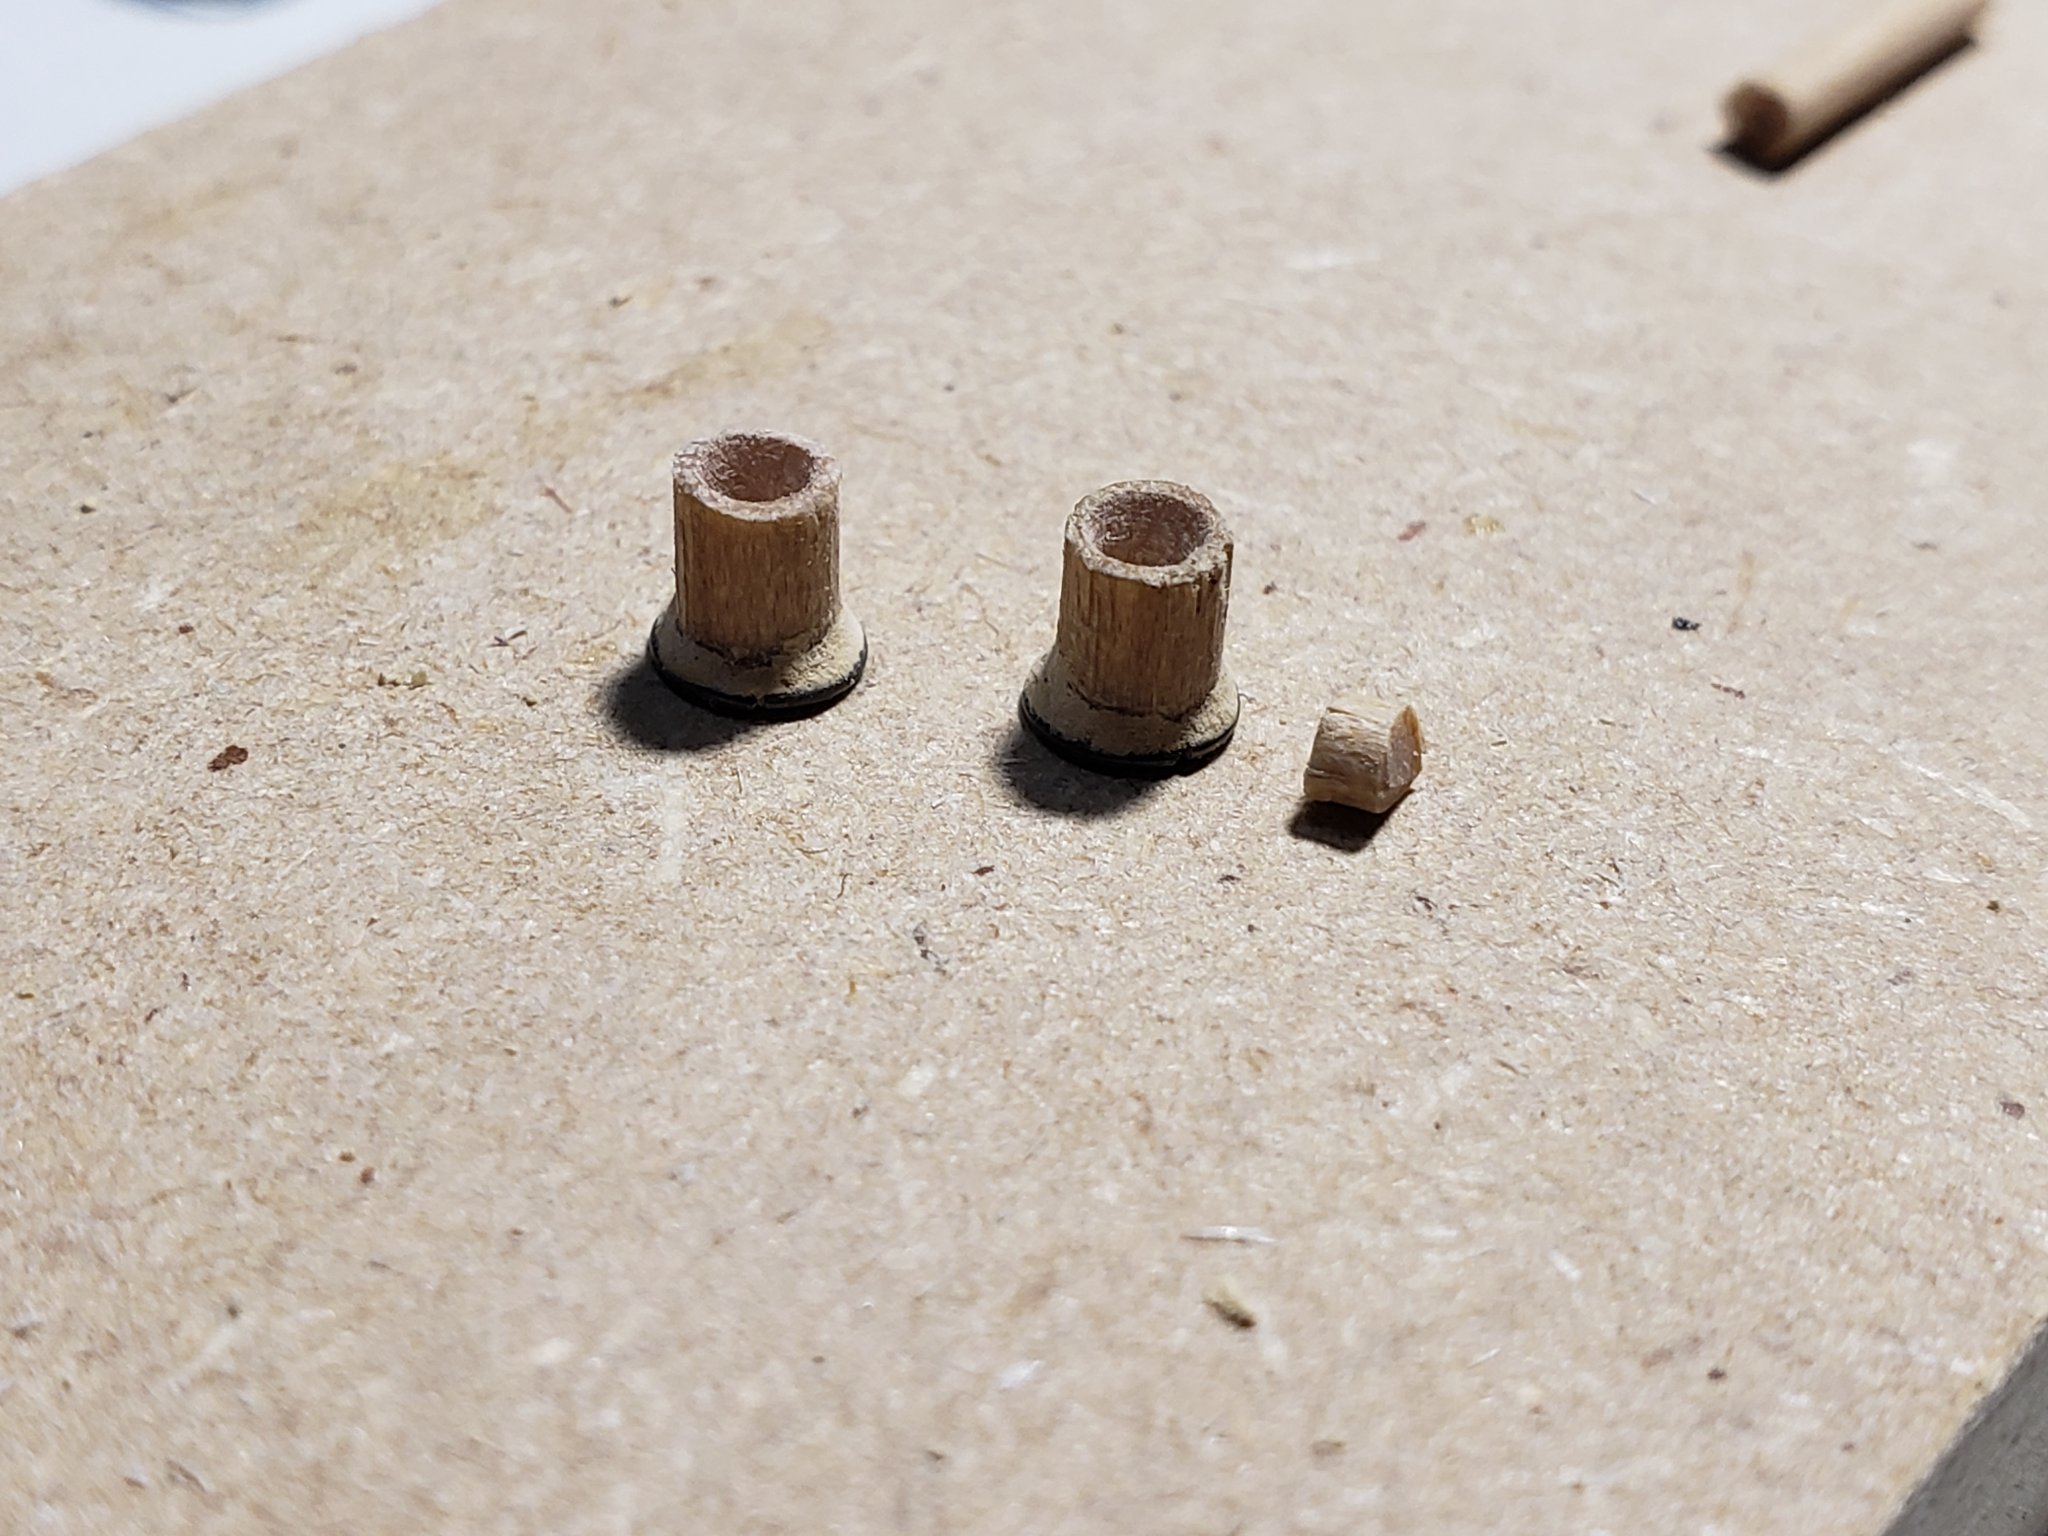
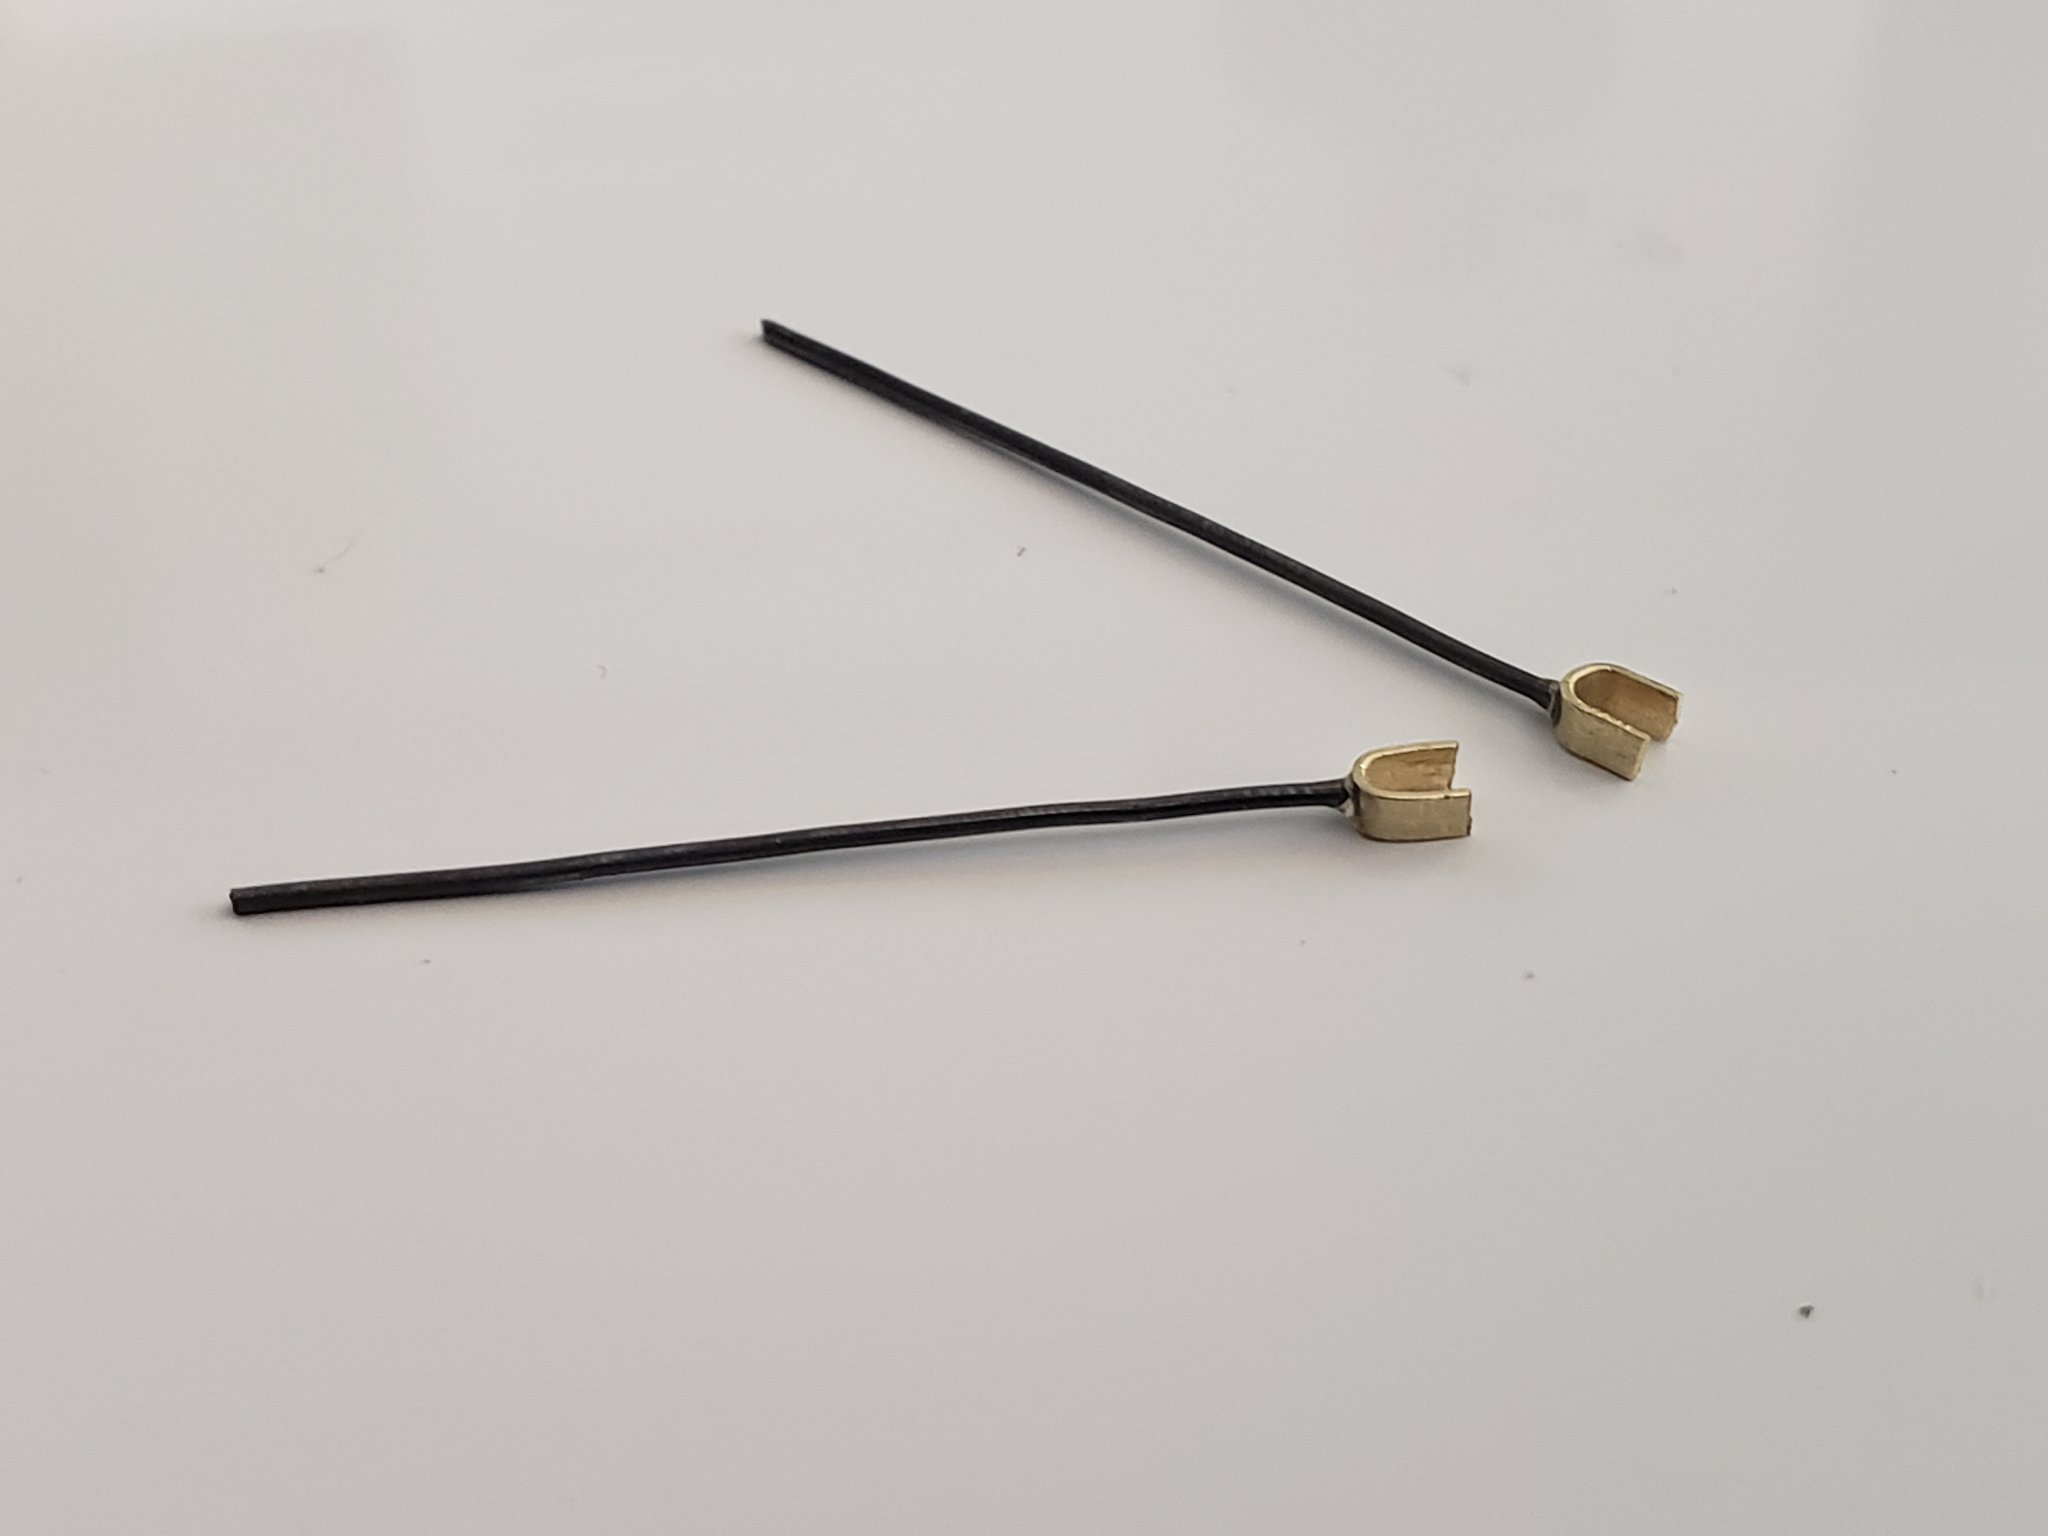
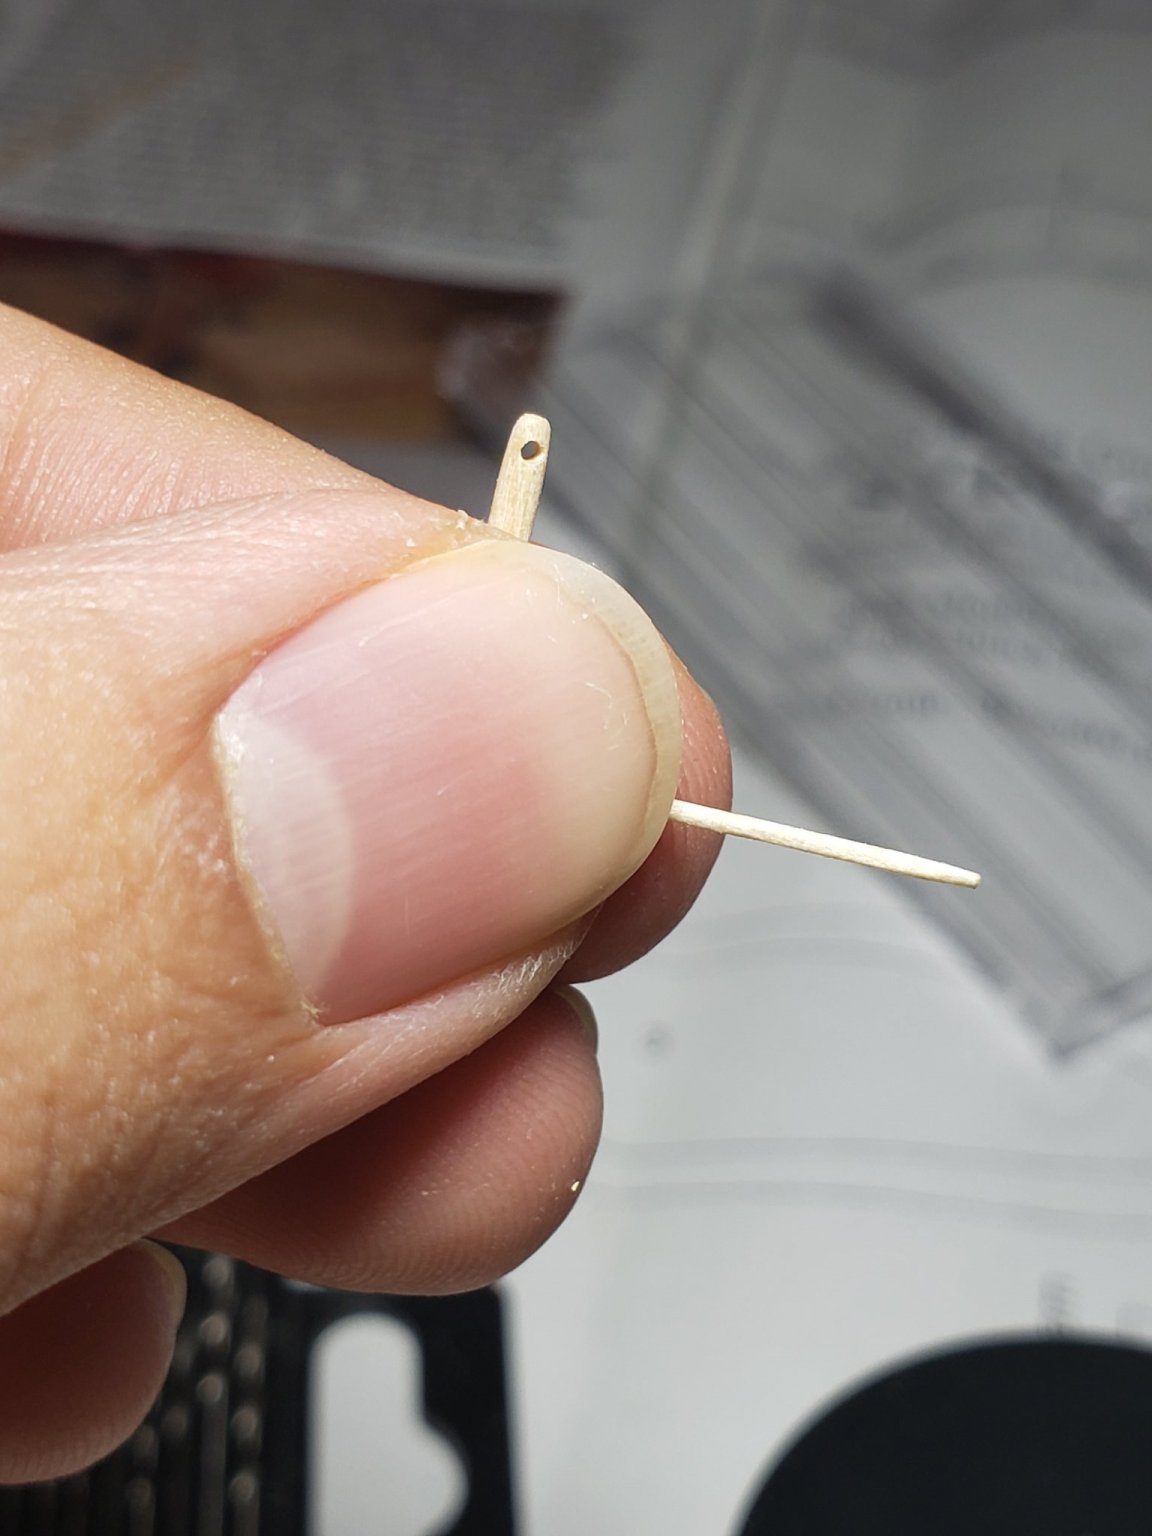
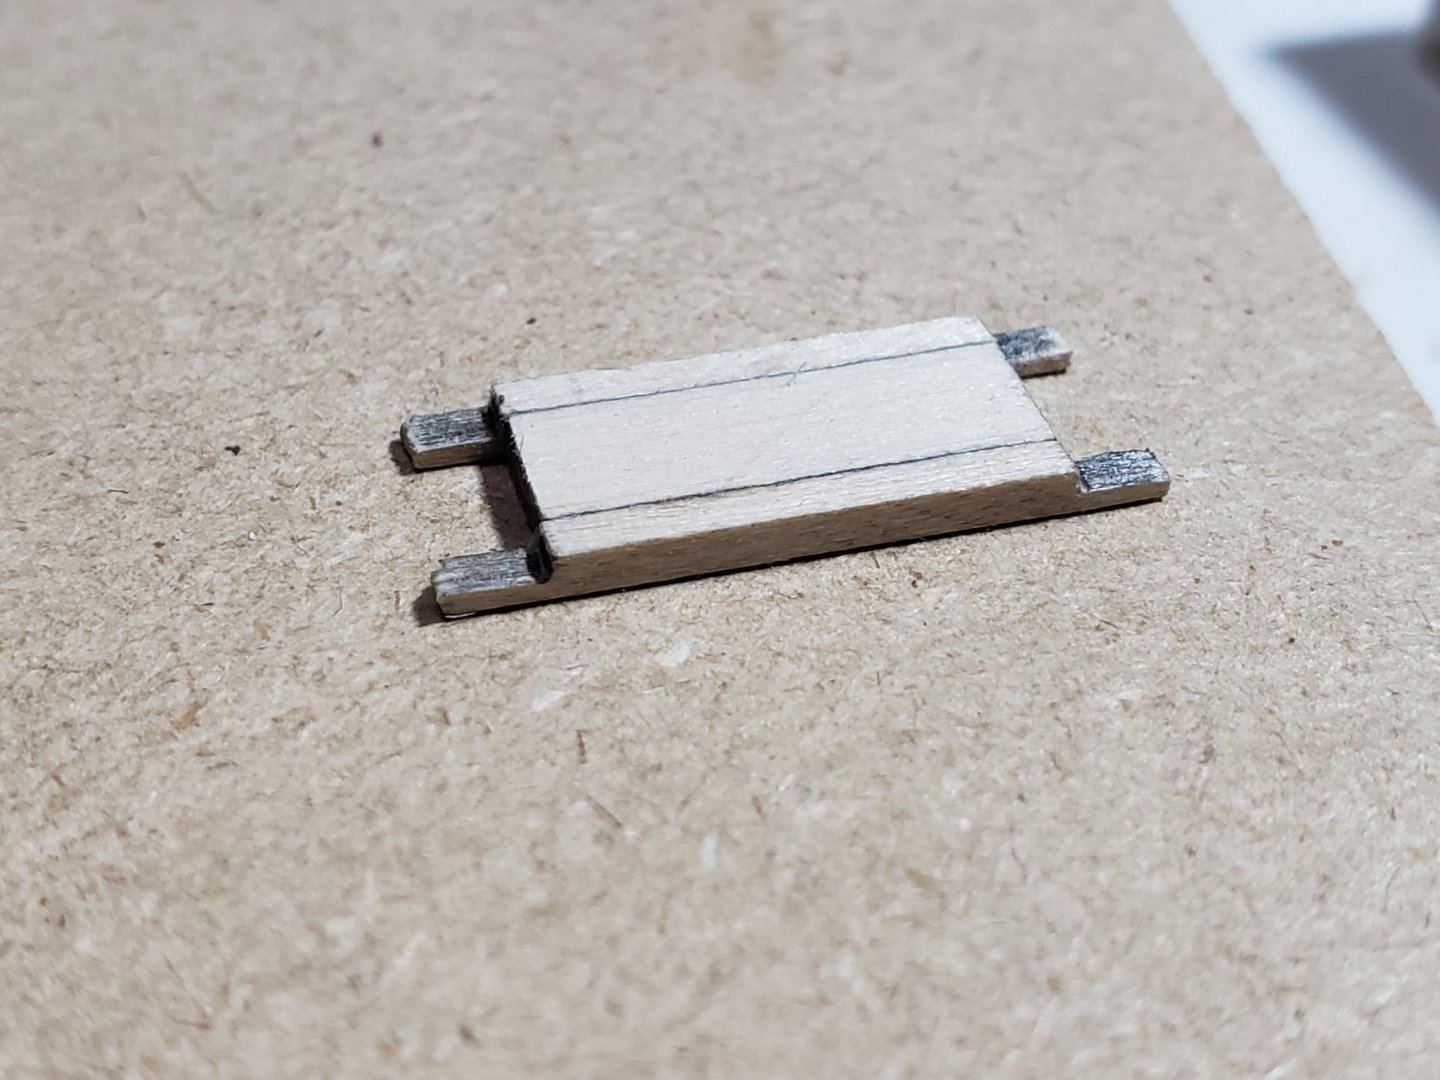
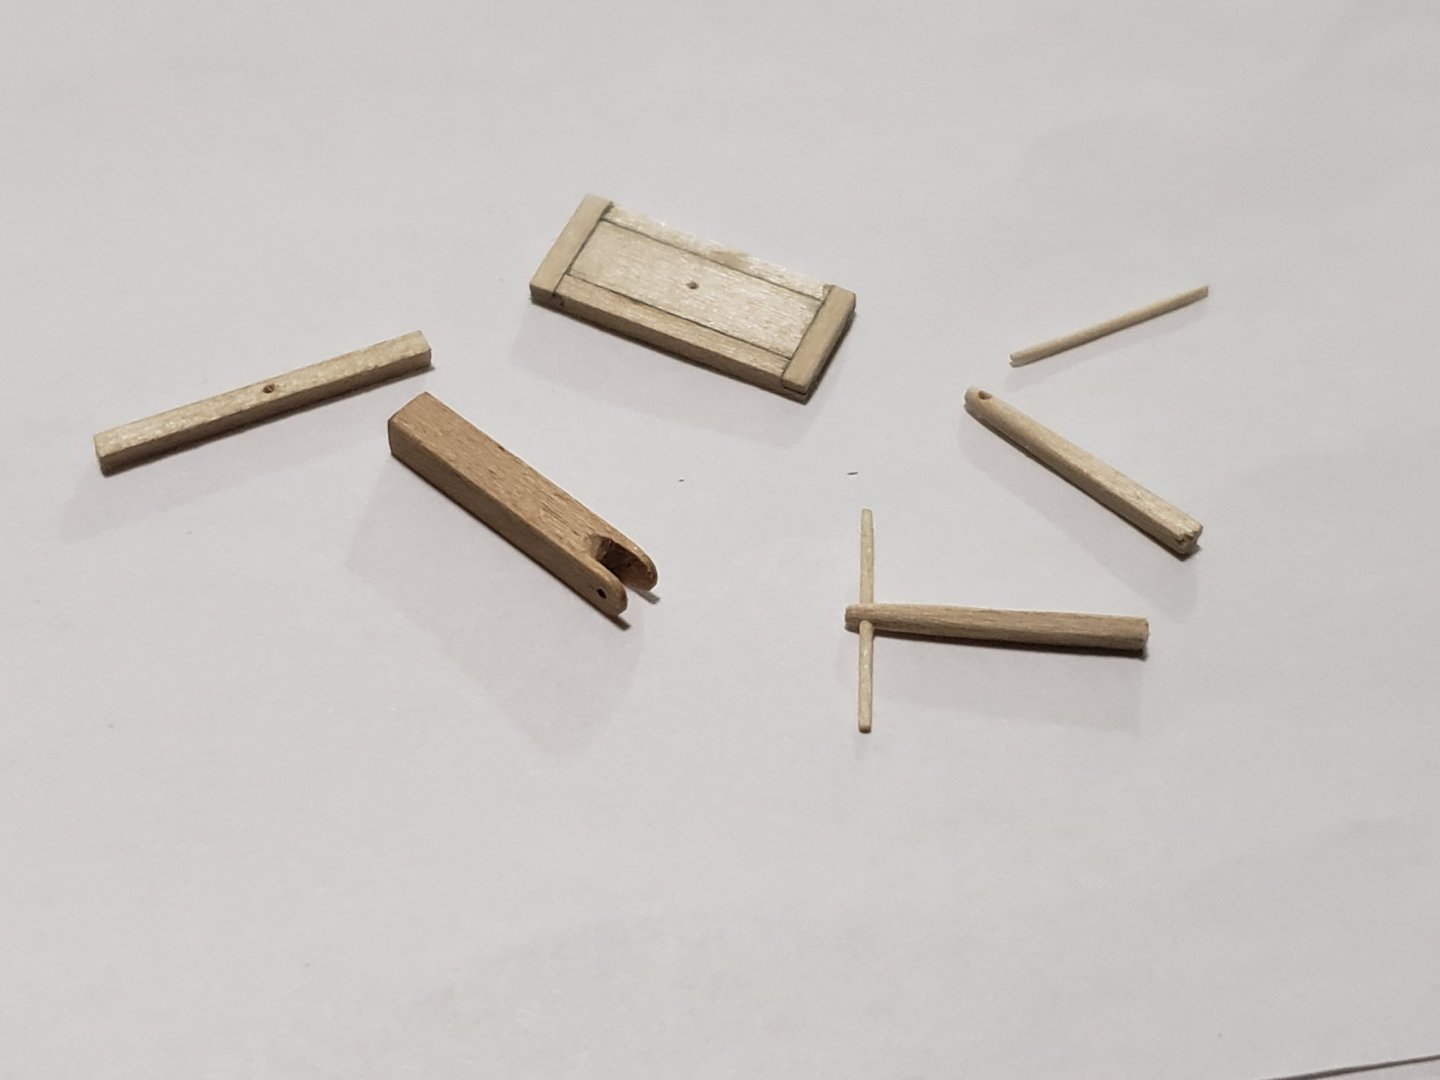
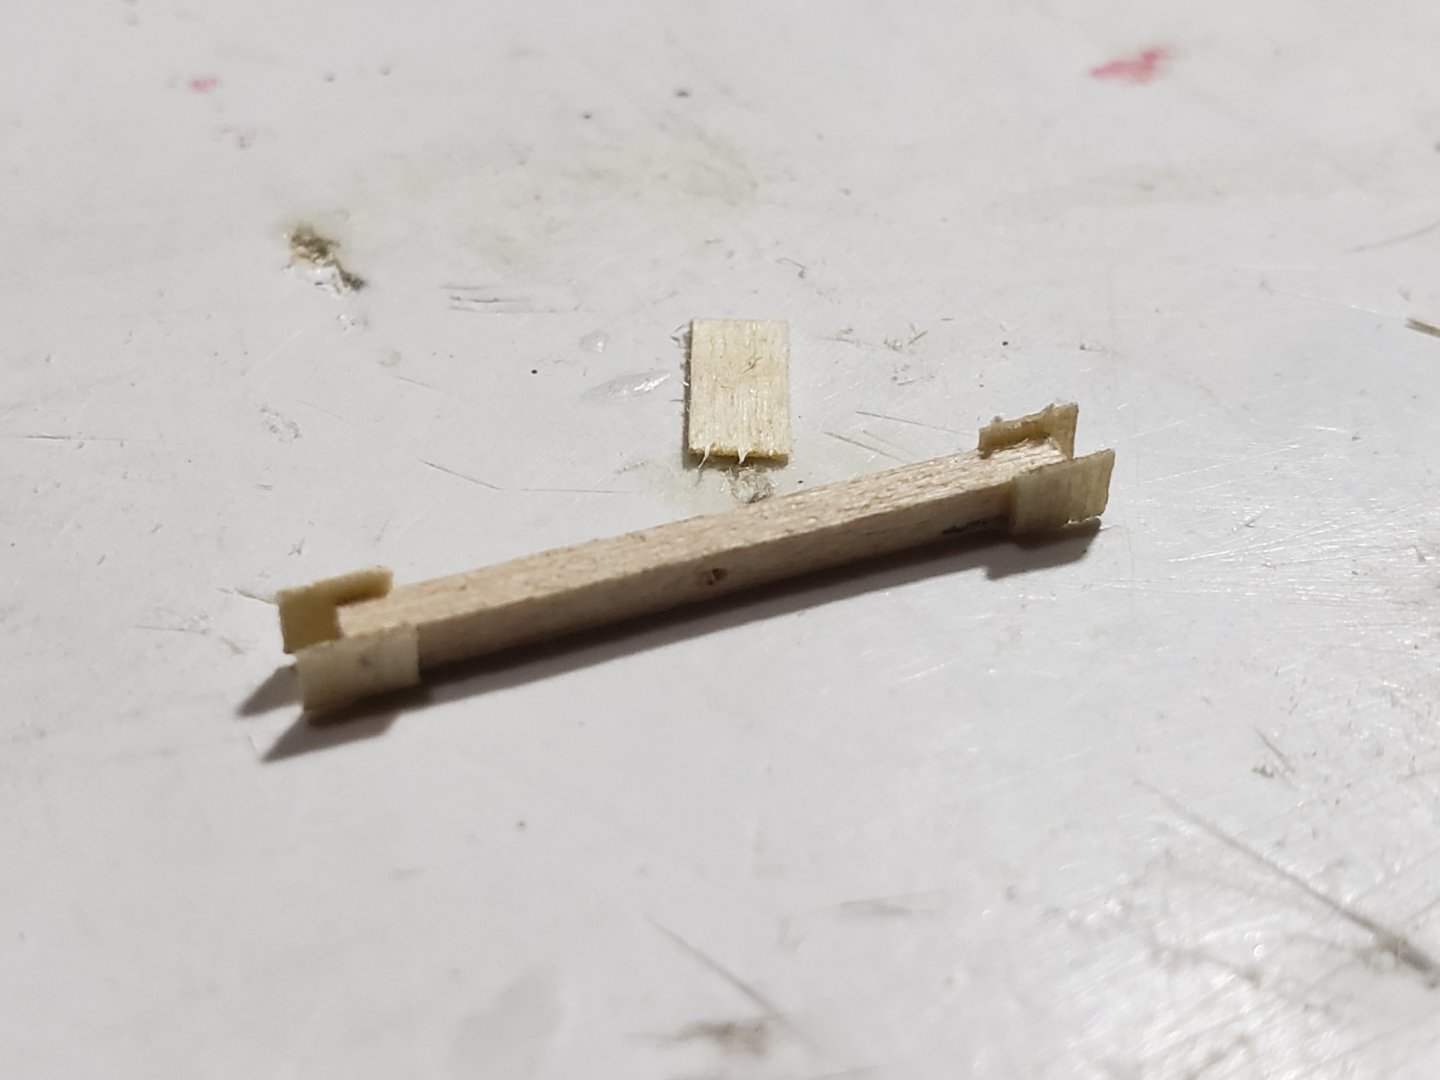
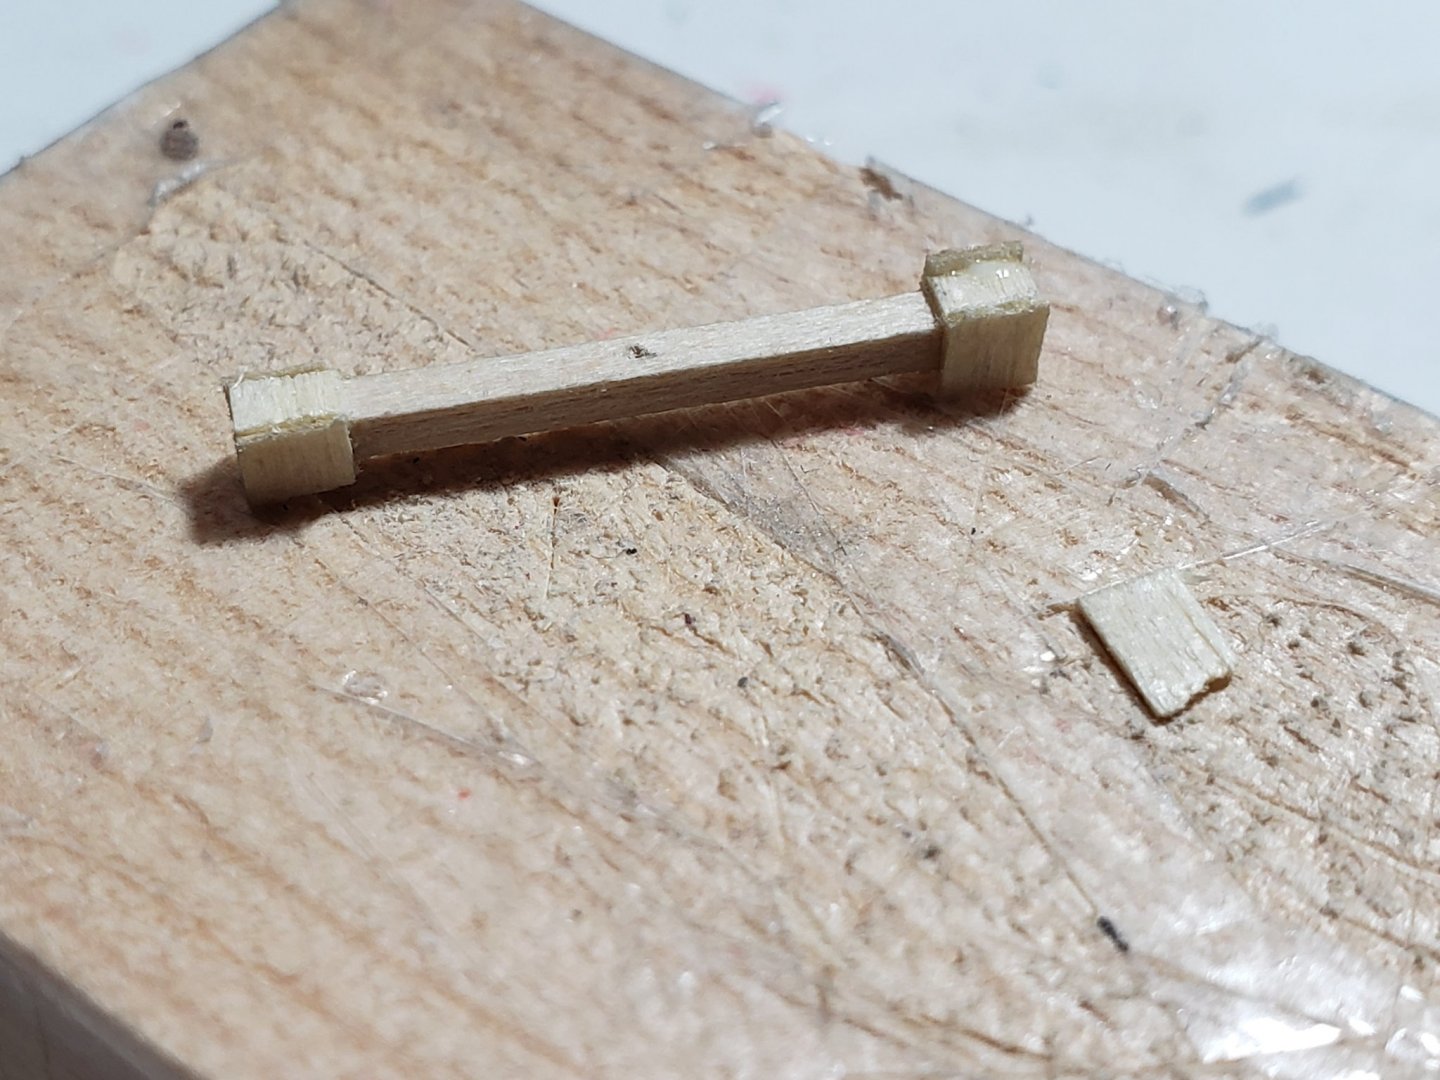
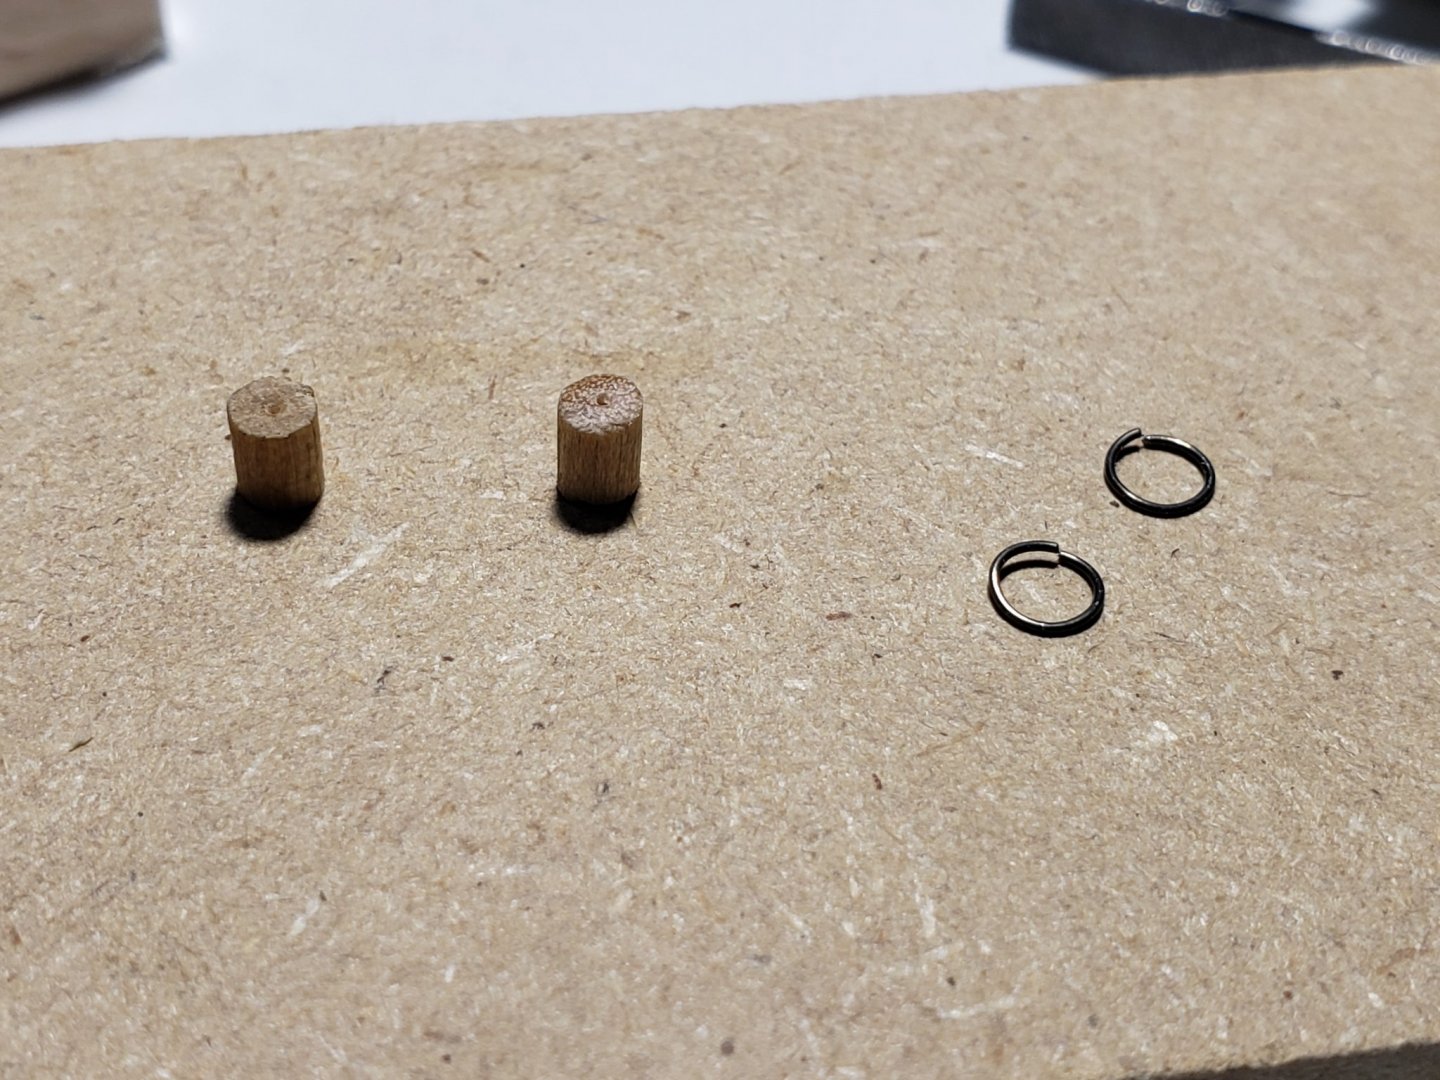
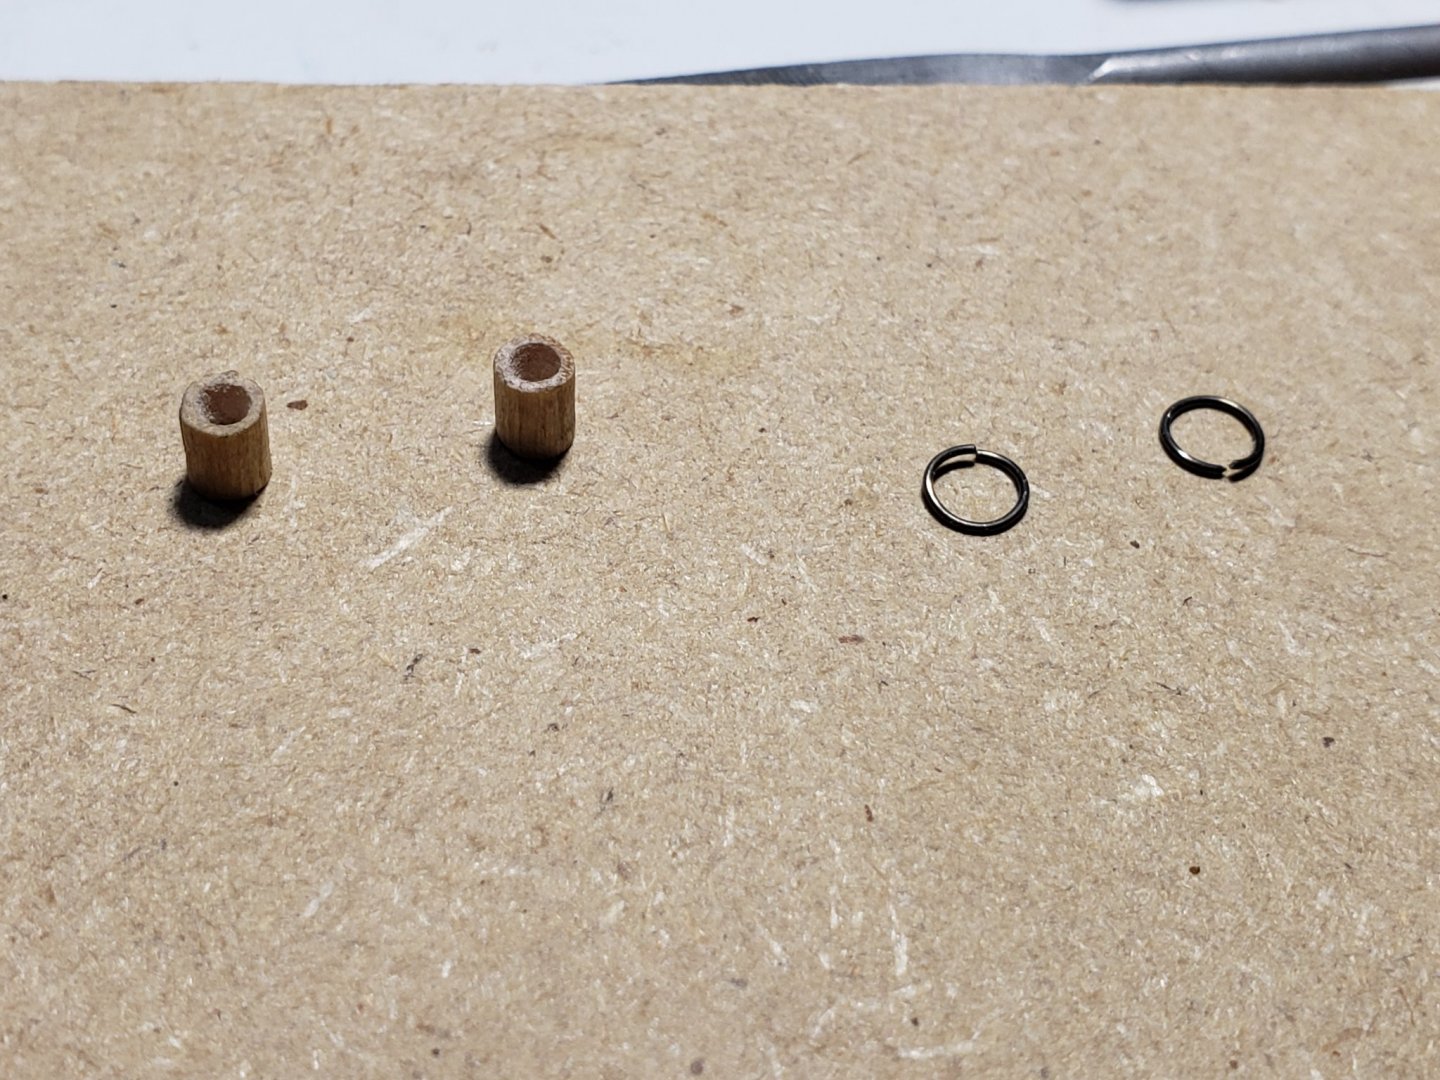
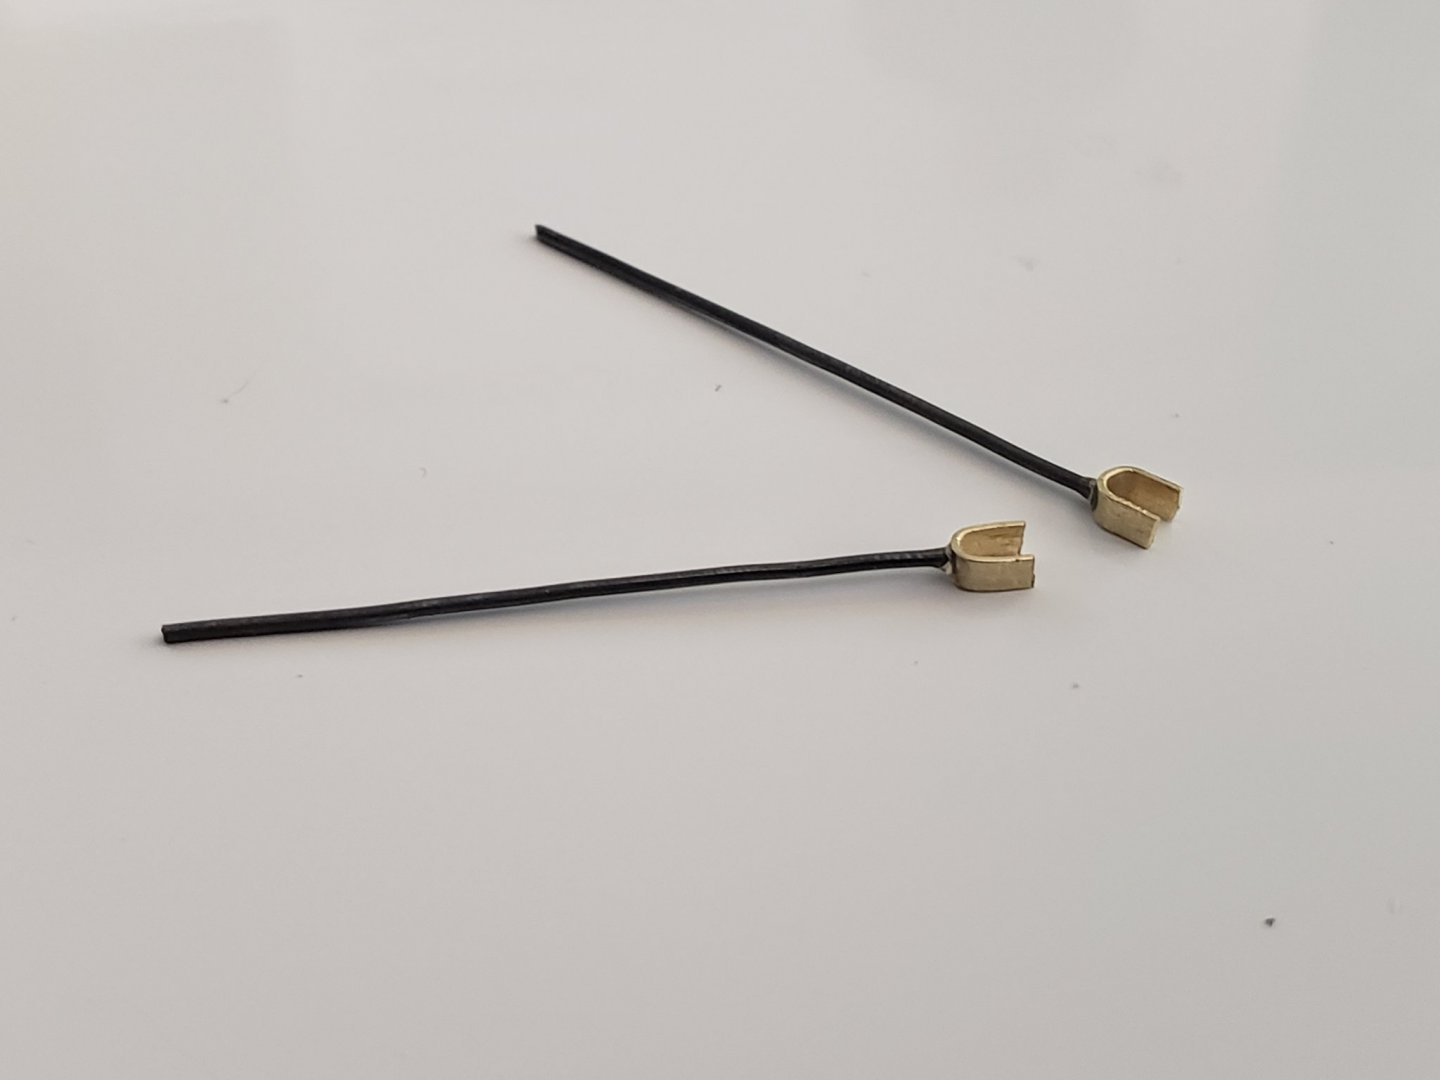
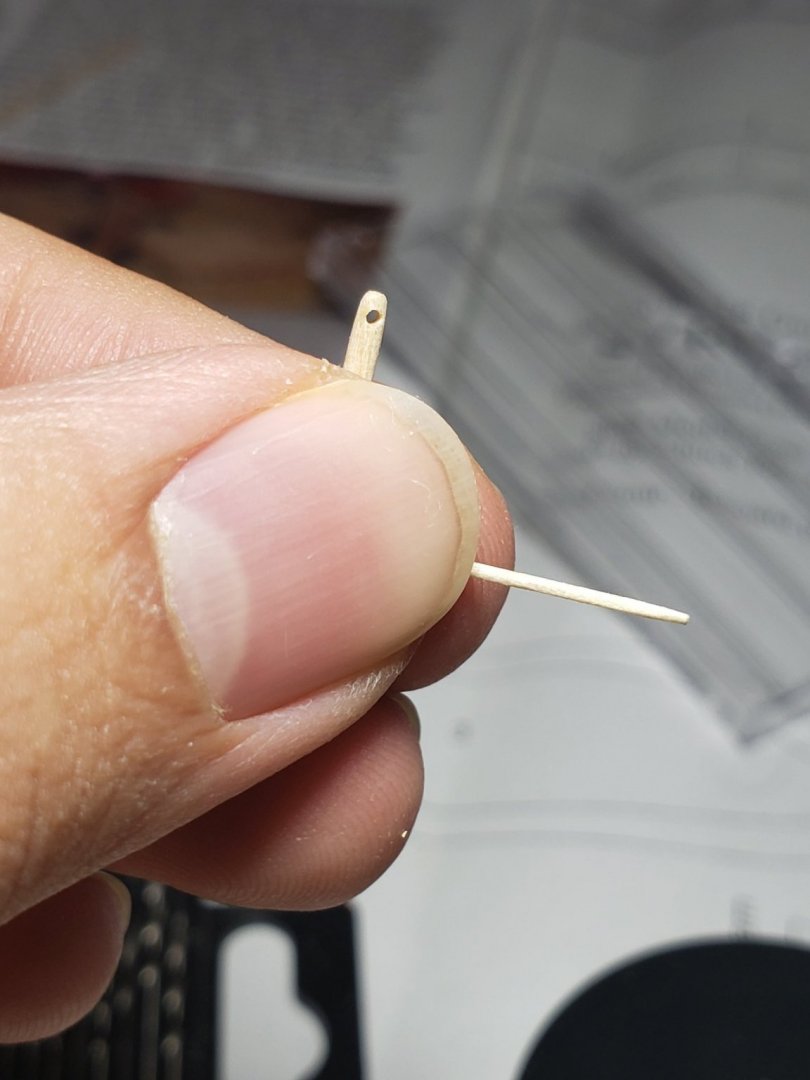
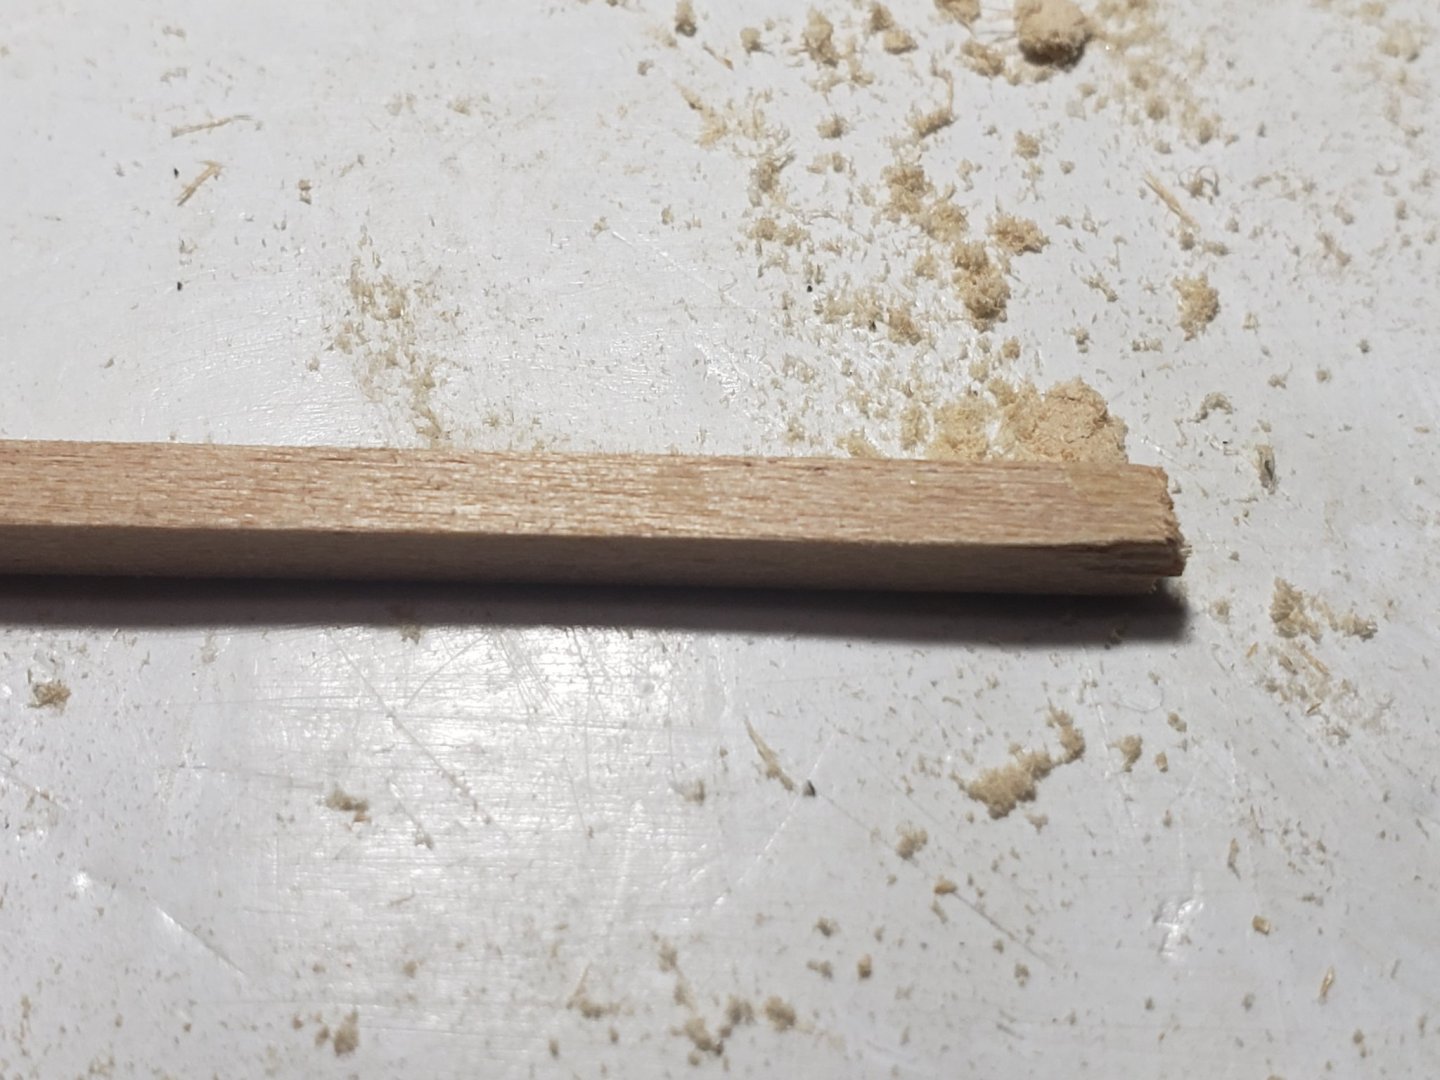
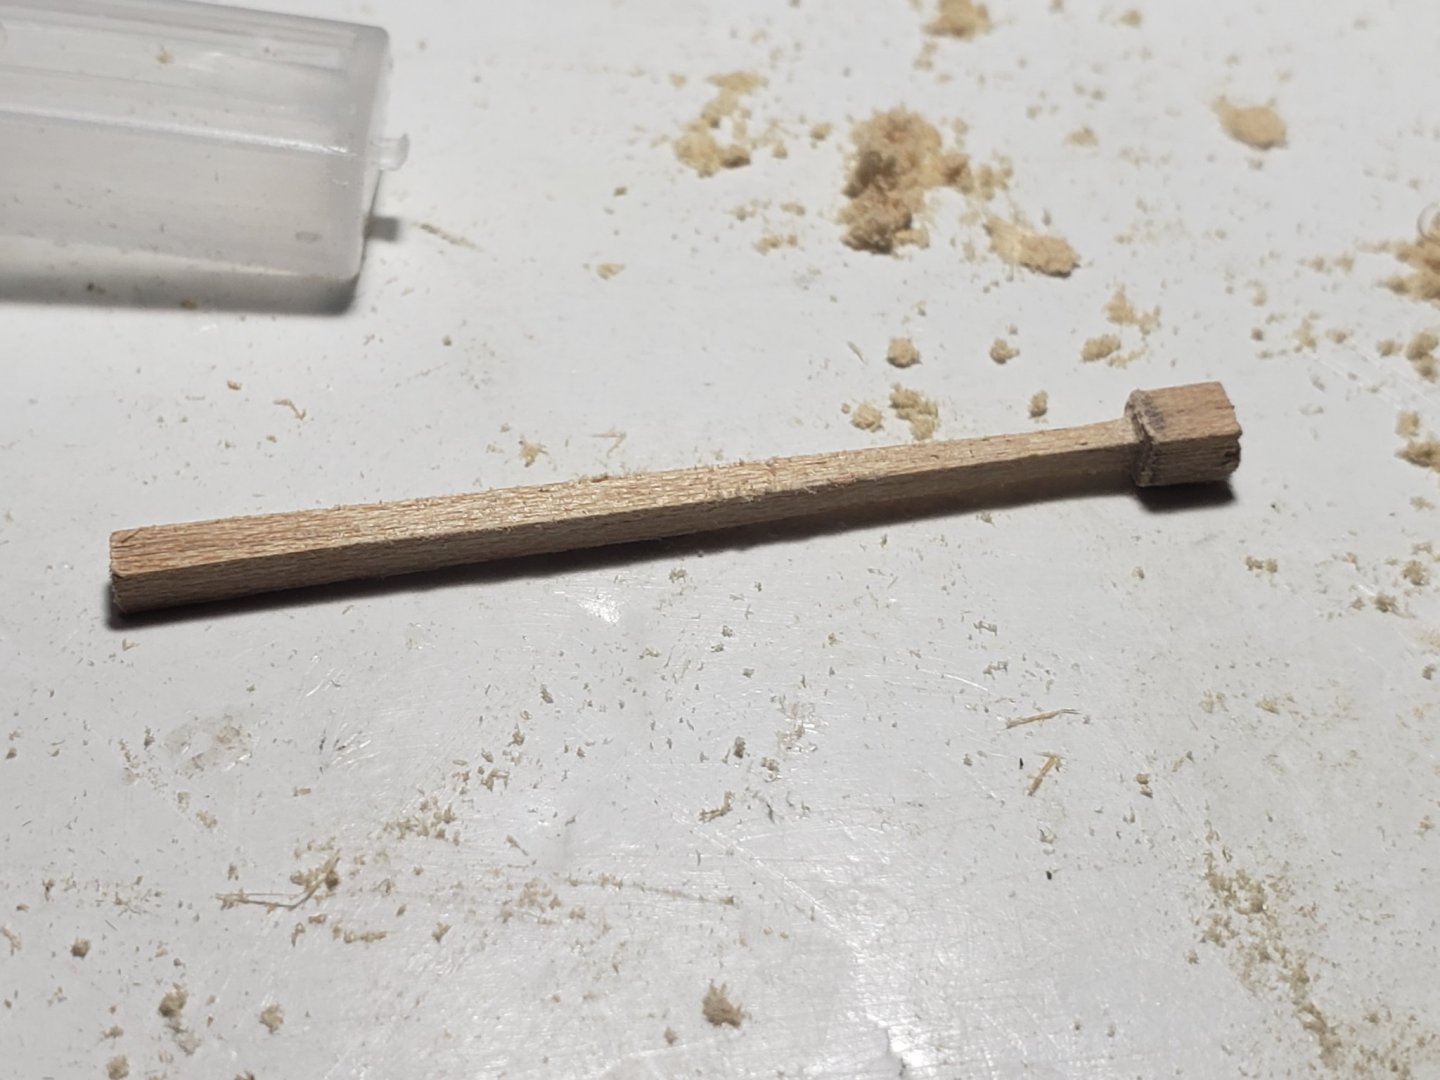
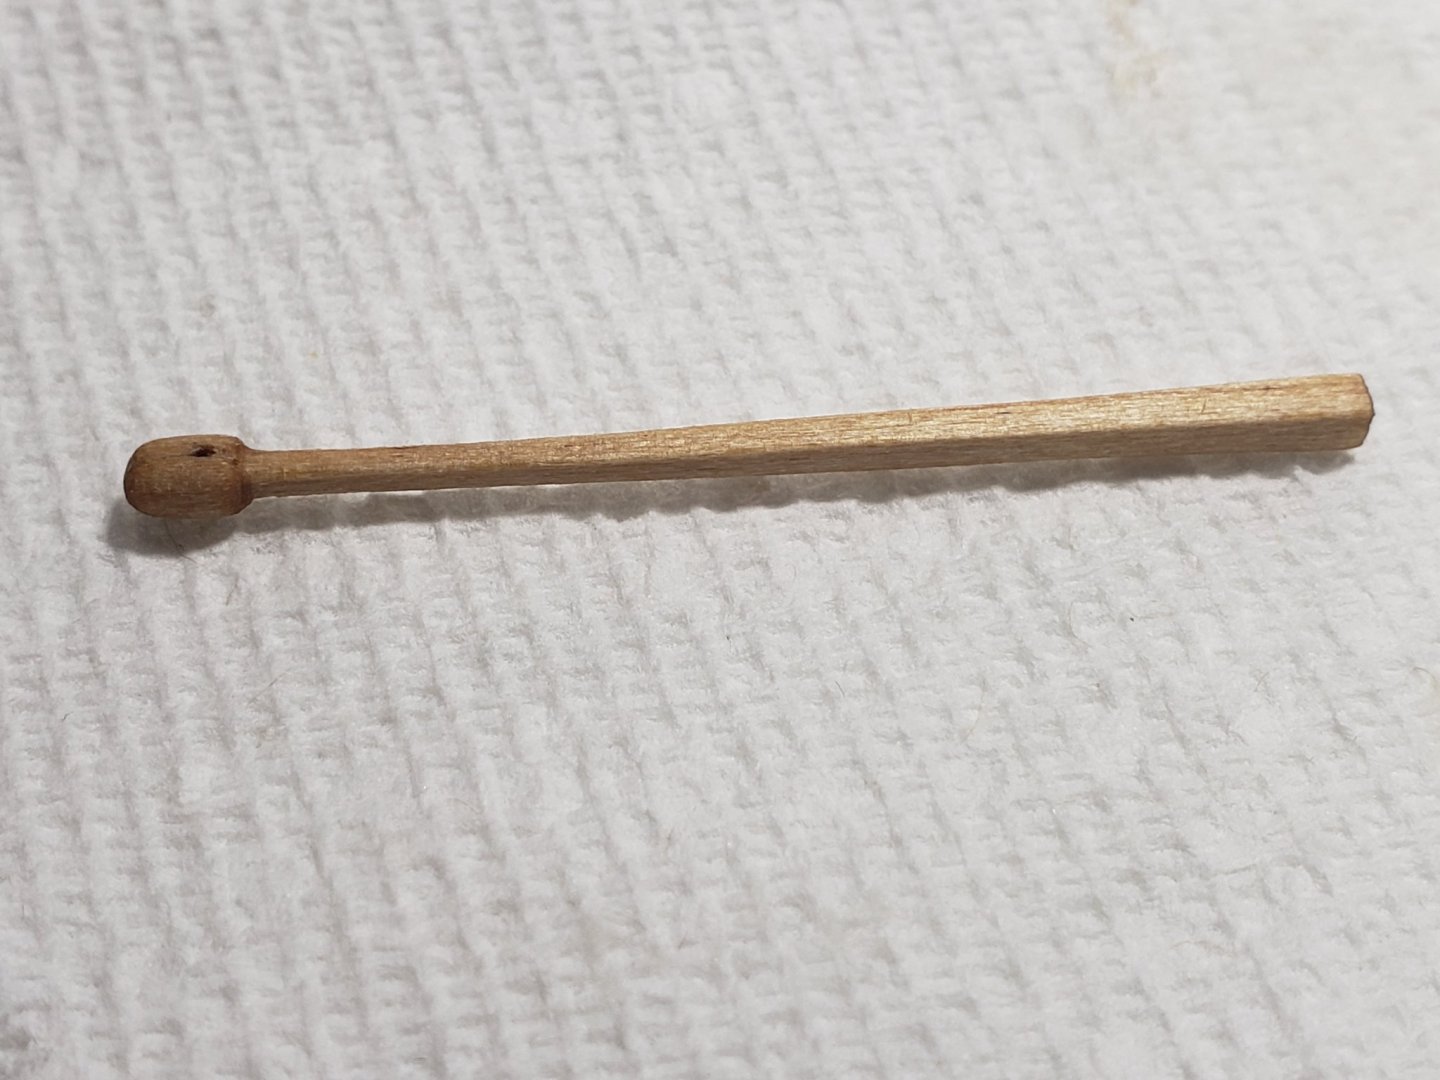
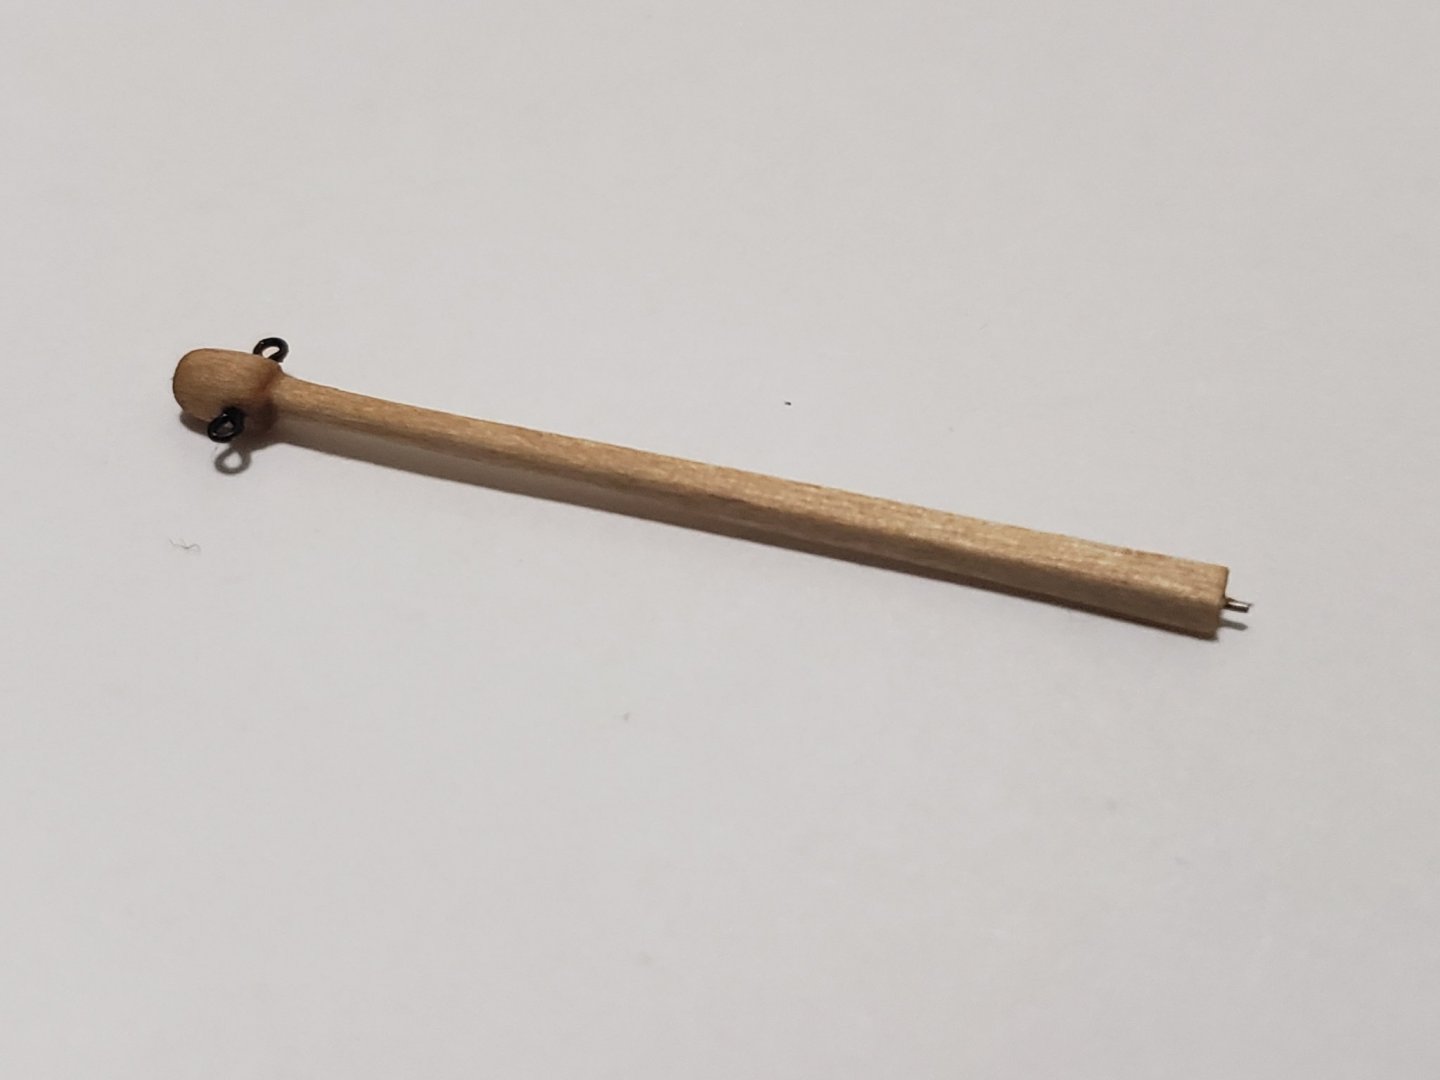
Thanks guys!!!! 😁 Started working on the pump. I'm planning to also include the handles. Here are some progress pics: For handles I used toothpicks which were sanded down to almost nothing 😄 Used applewood strips (leftover wood from previous kit) for the brackets holding the handles I used the 1/16"x1/16" strip for the extension. A hole was drilled before shaping it to prevent splits in the wood Here's everything dryfitted I was not able to drill a hole in the brass strip so I attached the wire with CA instead For the tiny spout I used end of a toothpick with the pointy bit cut out and dented a hole on the end with a compass to simulate that its hollow Next will be painting and applying tung oil then assembling the lot


- 950 replies
-
- 8
-
-
- syren
- model shipways
- (and 1 more)
-
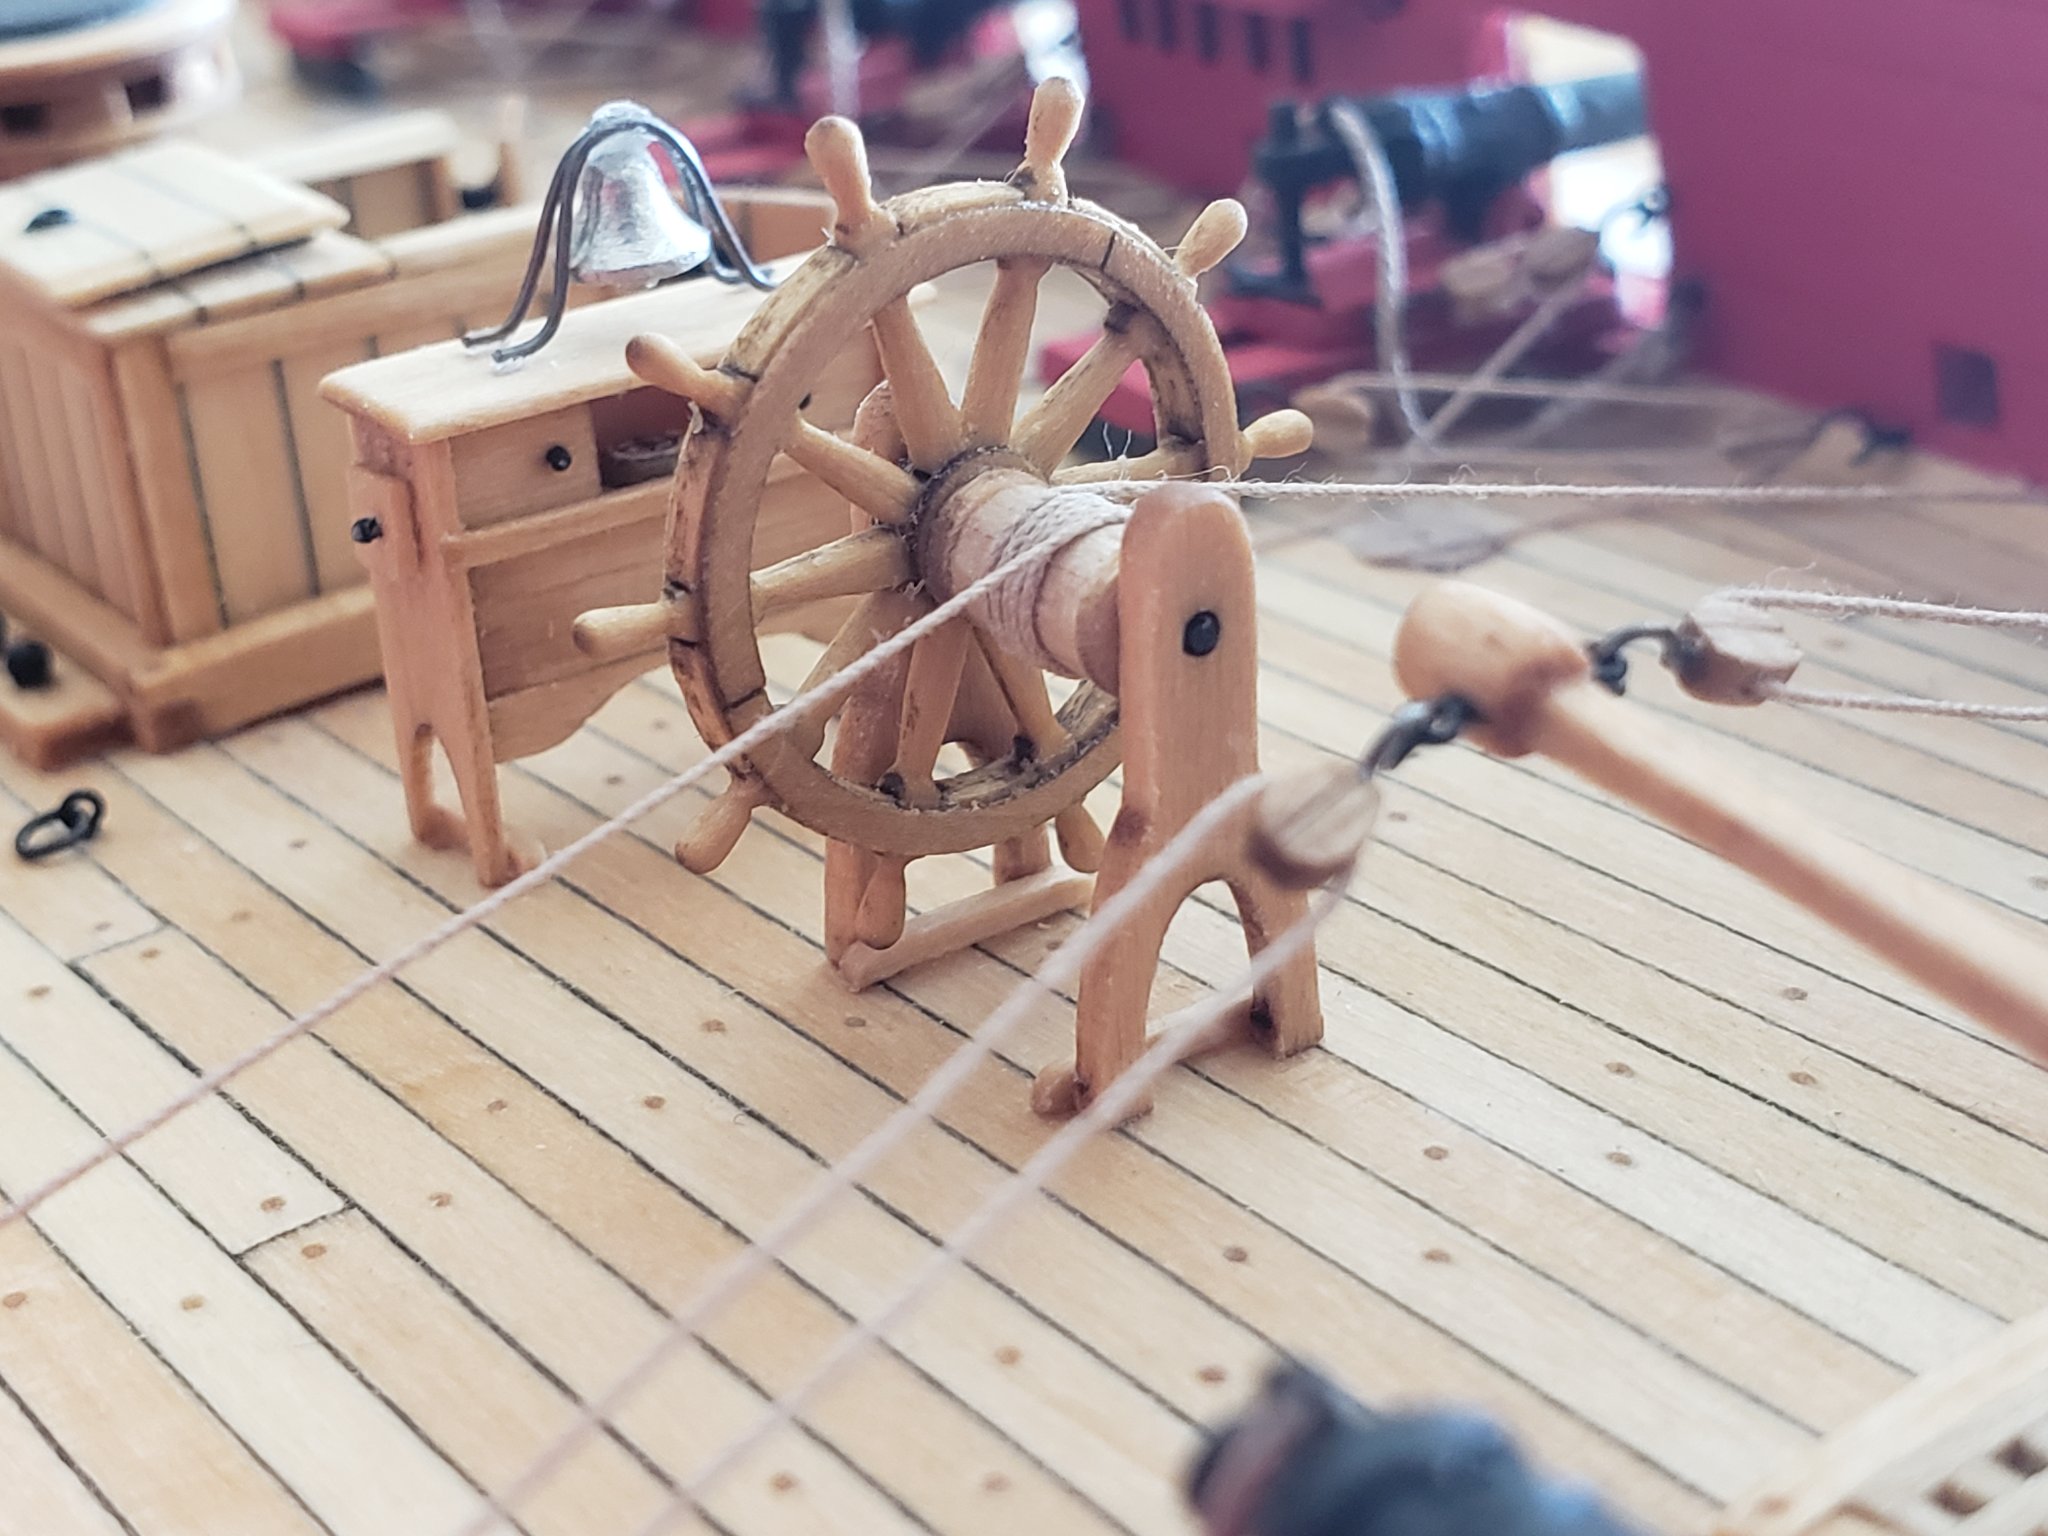
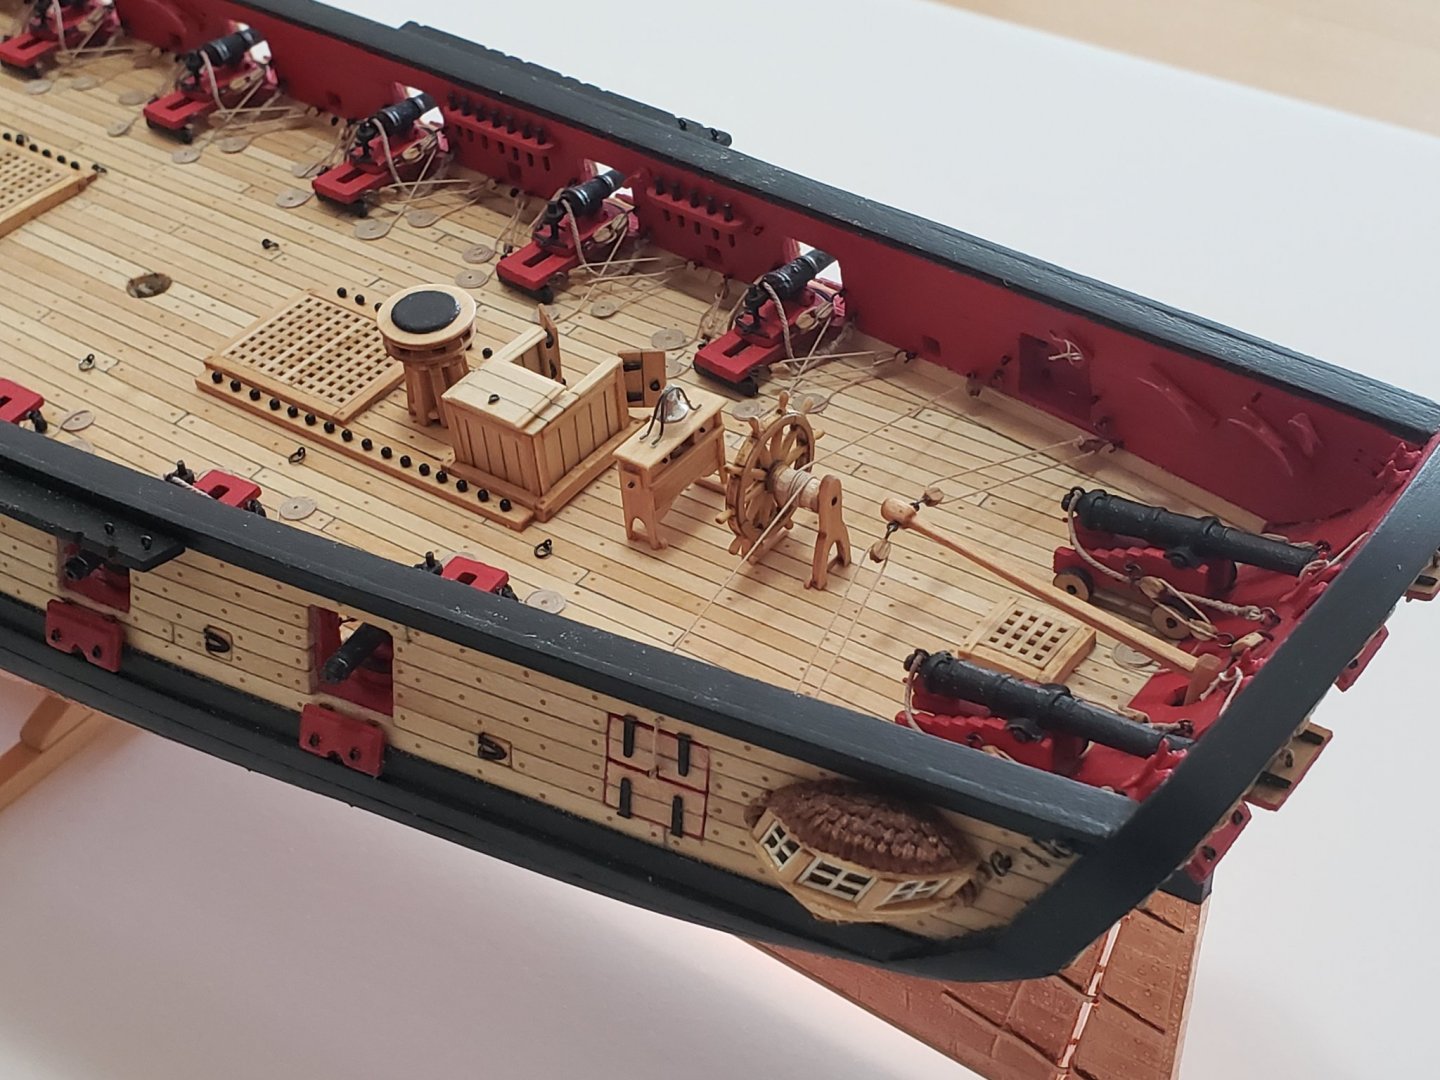
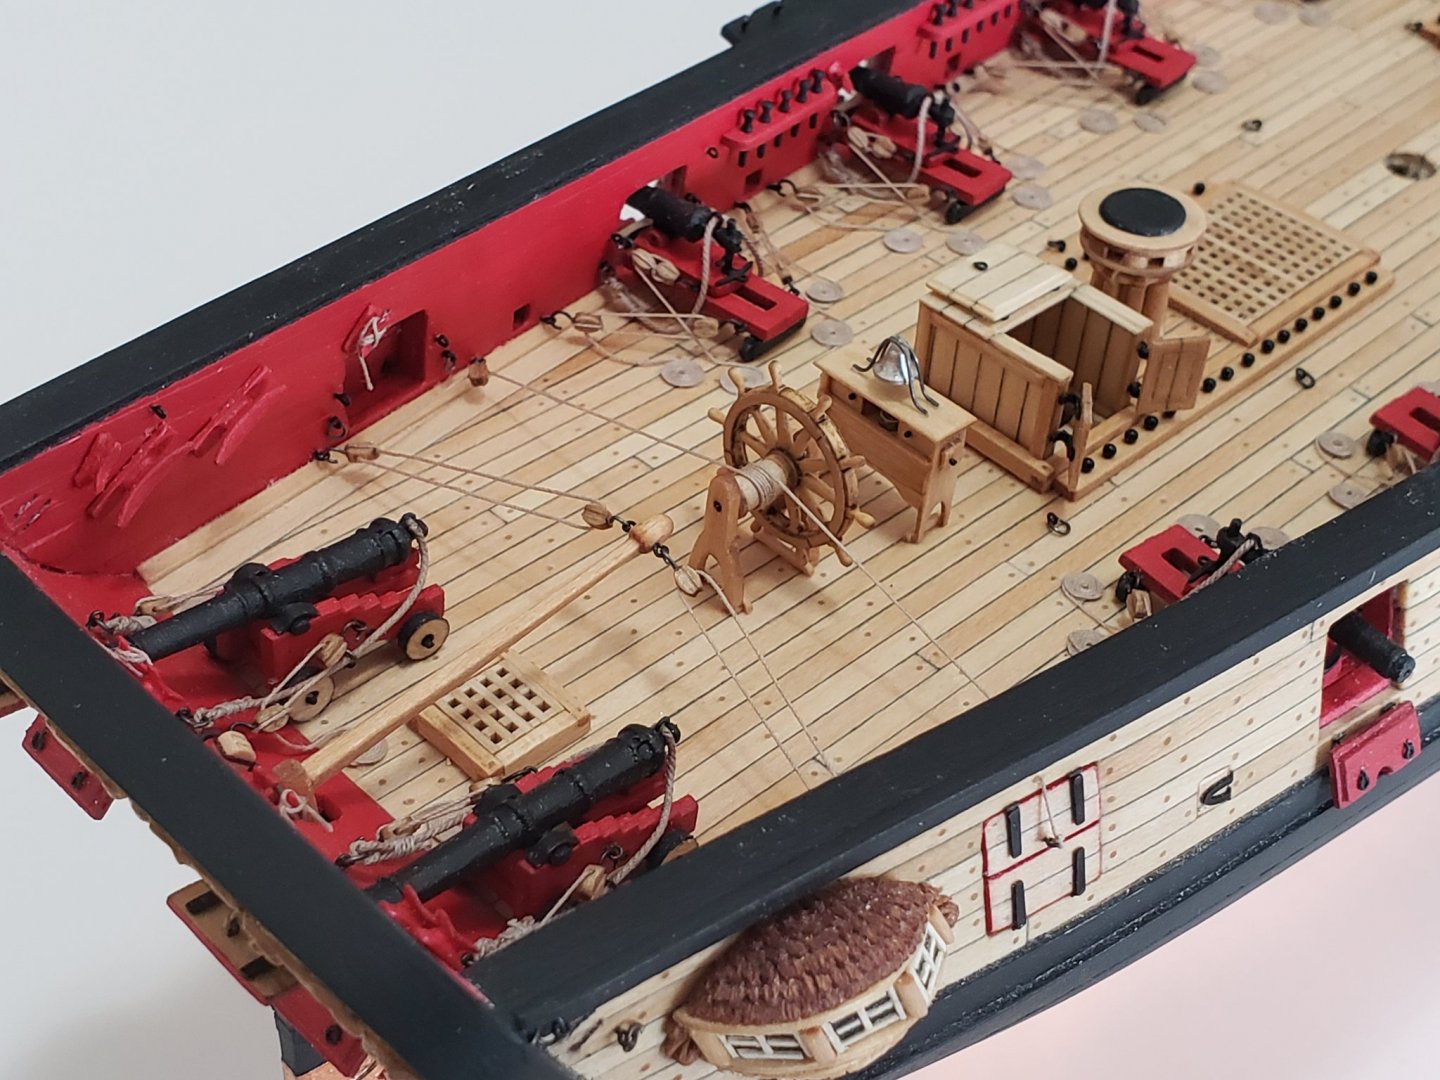
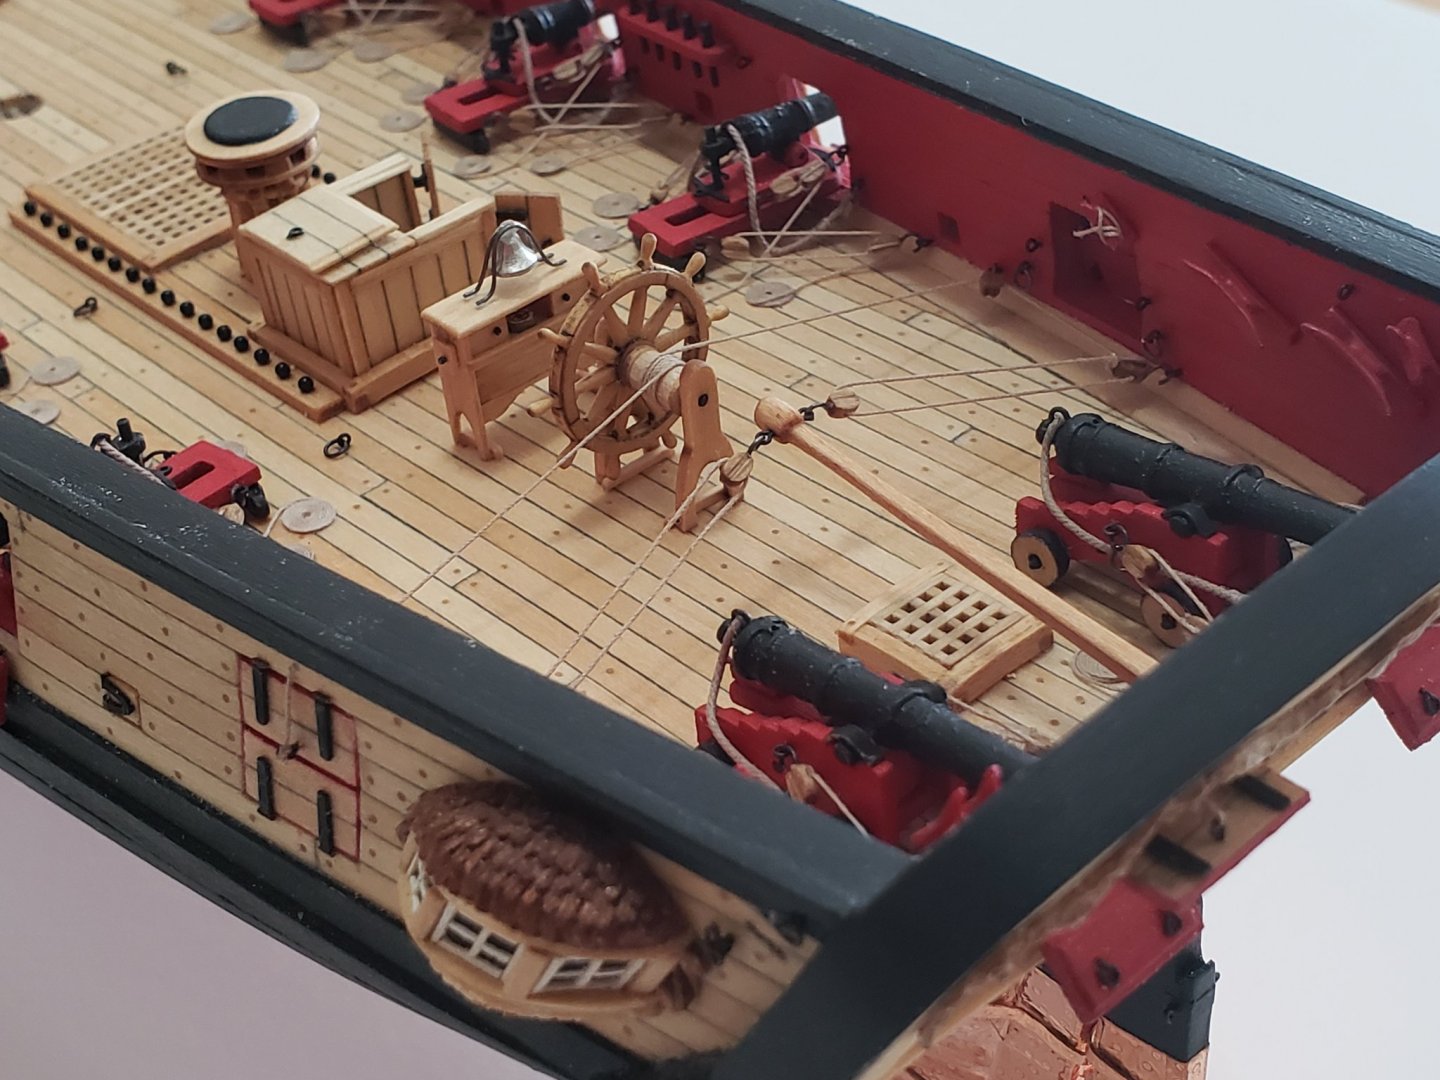
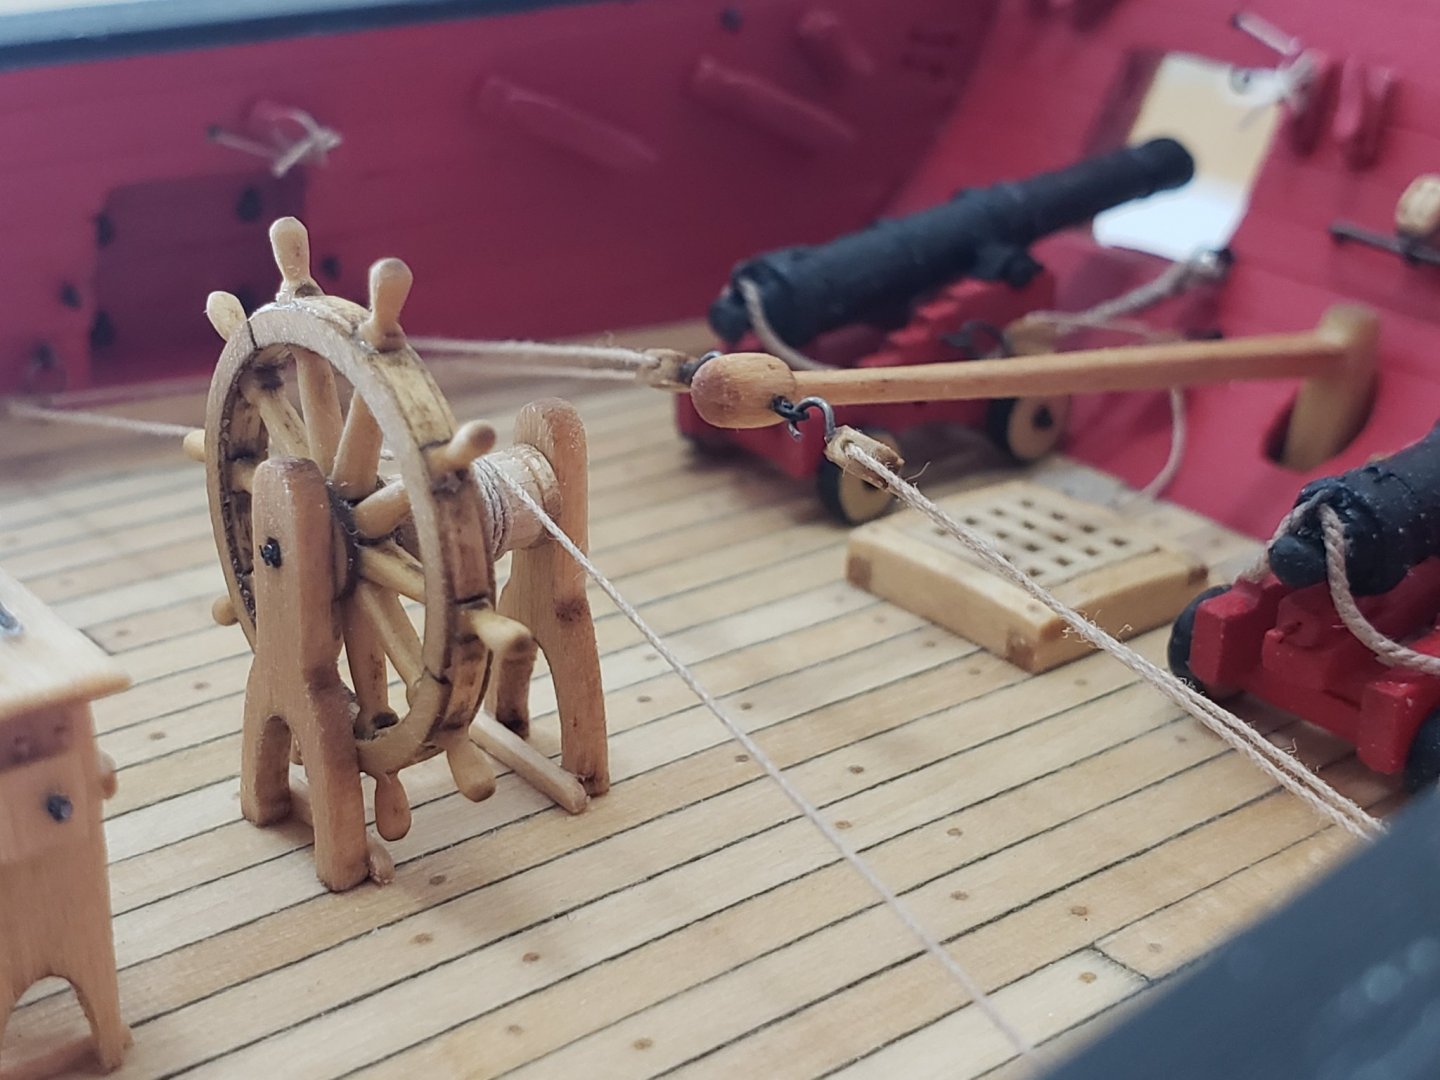
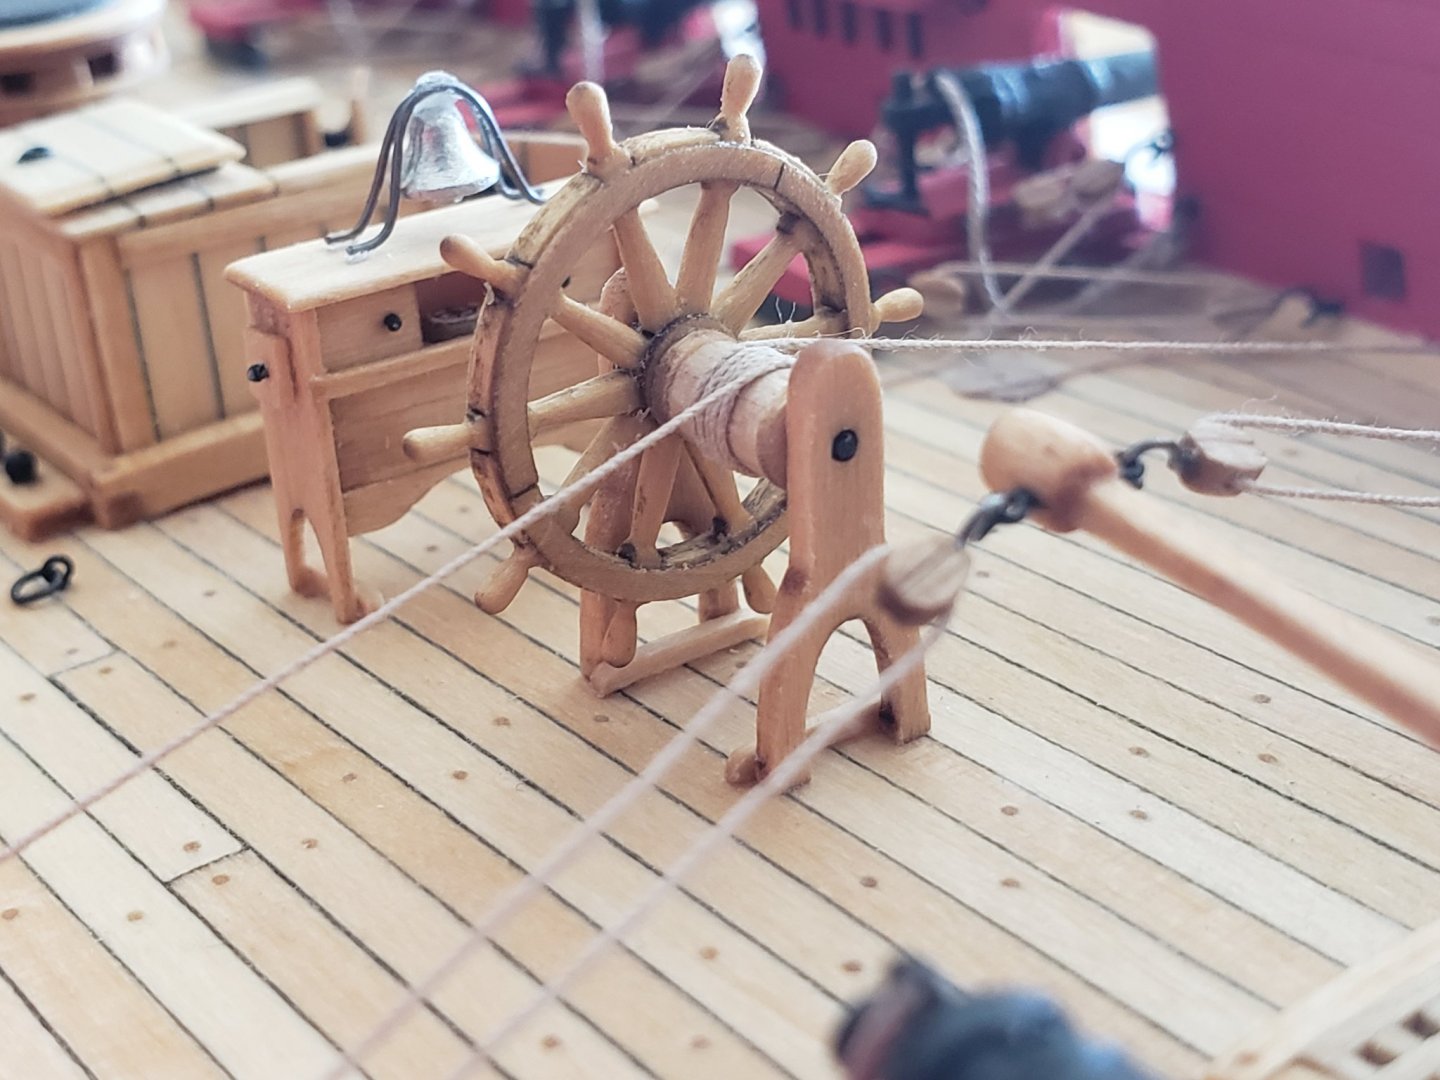
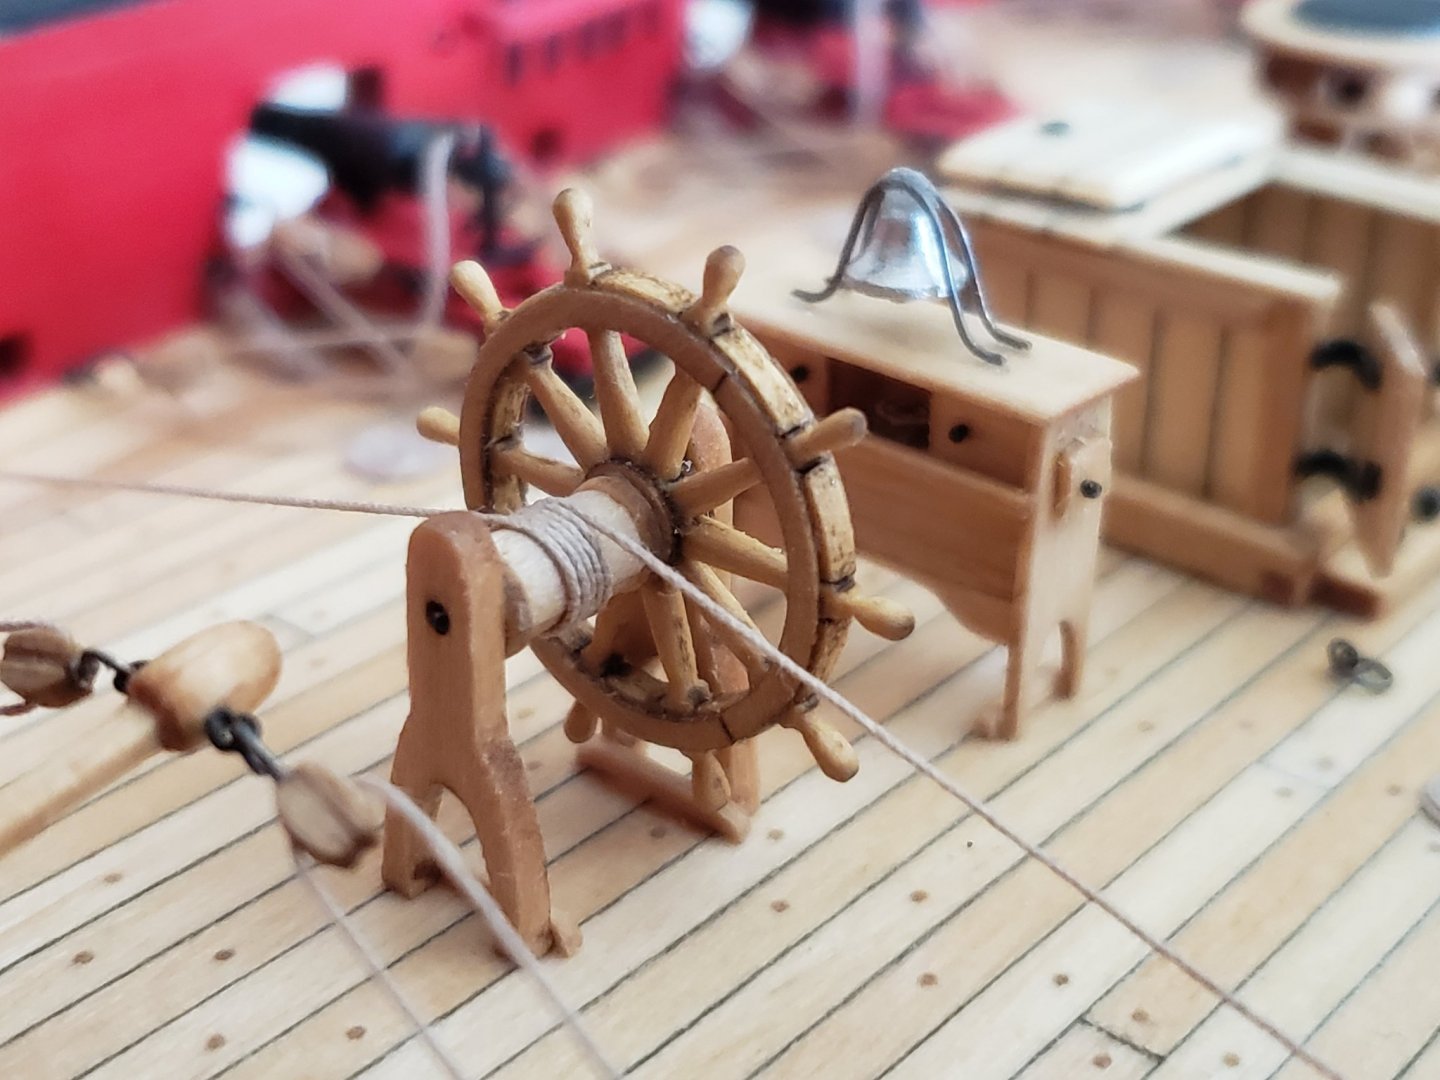
Many thanks Will and Justin!! Finished rigging the wheel and tiller. I opted to go the harder route with a single rope tying the entire thing together. Ending the line on the block was a bit of a challenge and it does not look as good as the other side where I started the line. But I think it'll do 😁 Also, while rigging, had to secure the rudder so that it does not swing. To do this I just put some wooden blocks on either side of the rudder. Then just before I ending the line, I put CA glue on each of the blocks to keep tension in the rope. Here are a bunch of pics: And some more 😁 K I think that's more than enough pics! Got carried away with a bit of excitement having finished this tricky part 😅 Next on the list is working on the pump then ladders..


- 950 replies
-
- 15
-
-
- syren
- model shipways
- (and 1 more)
-
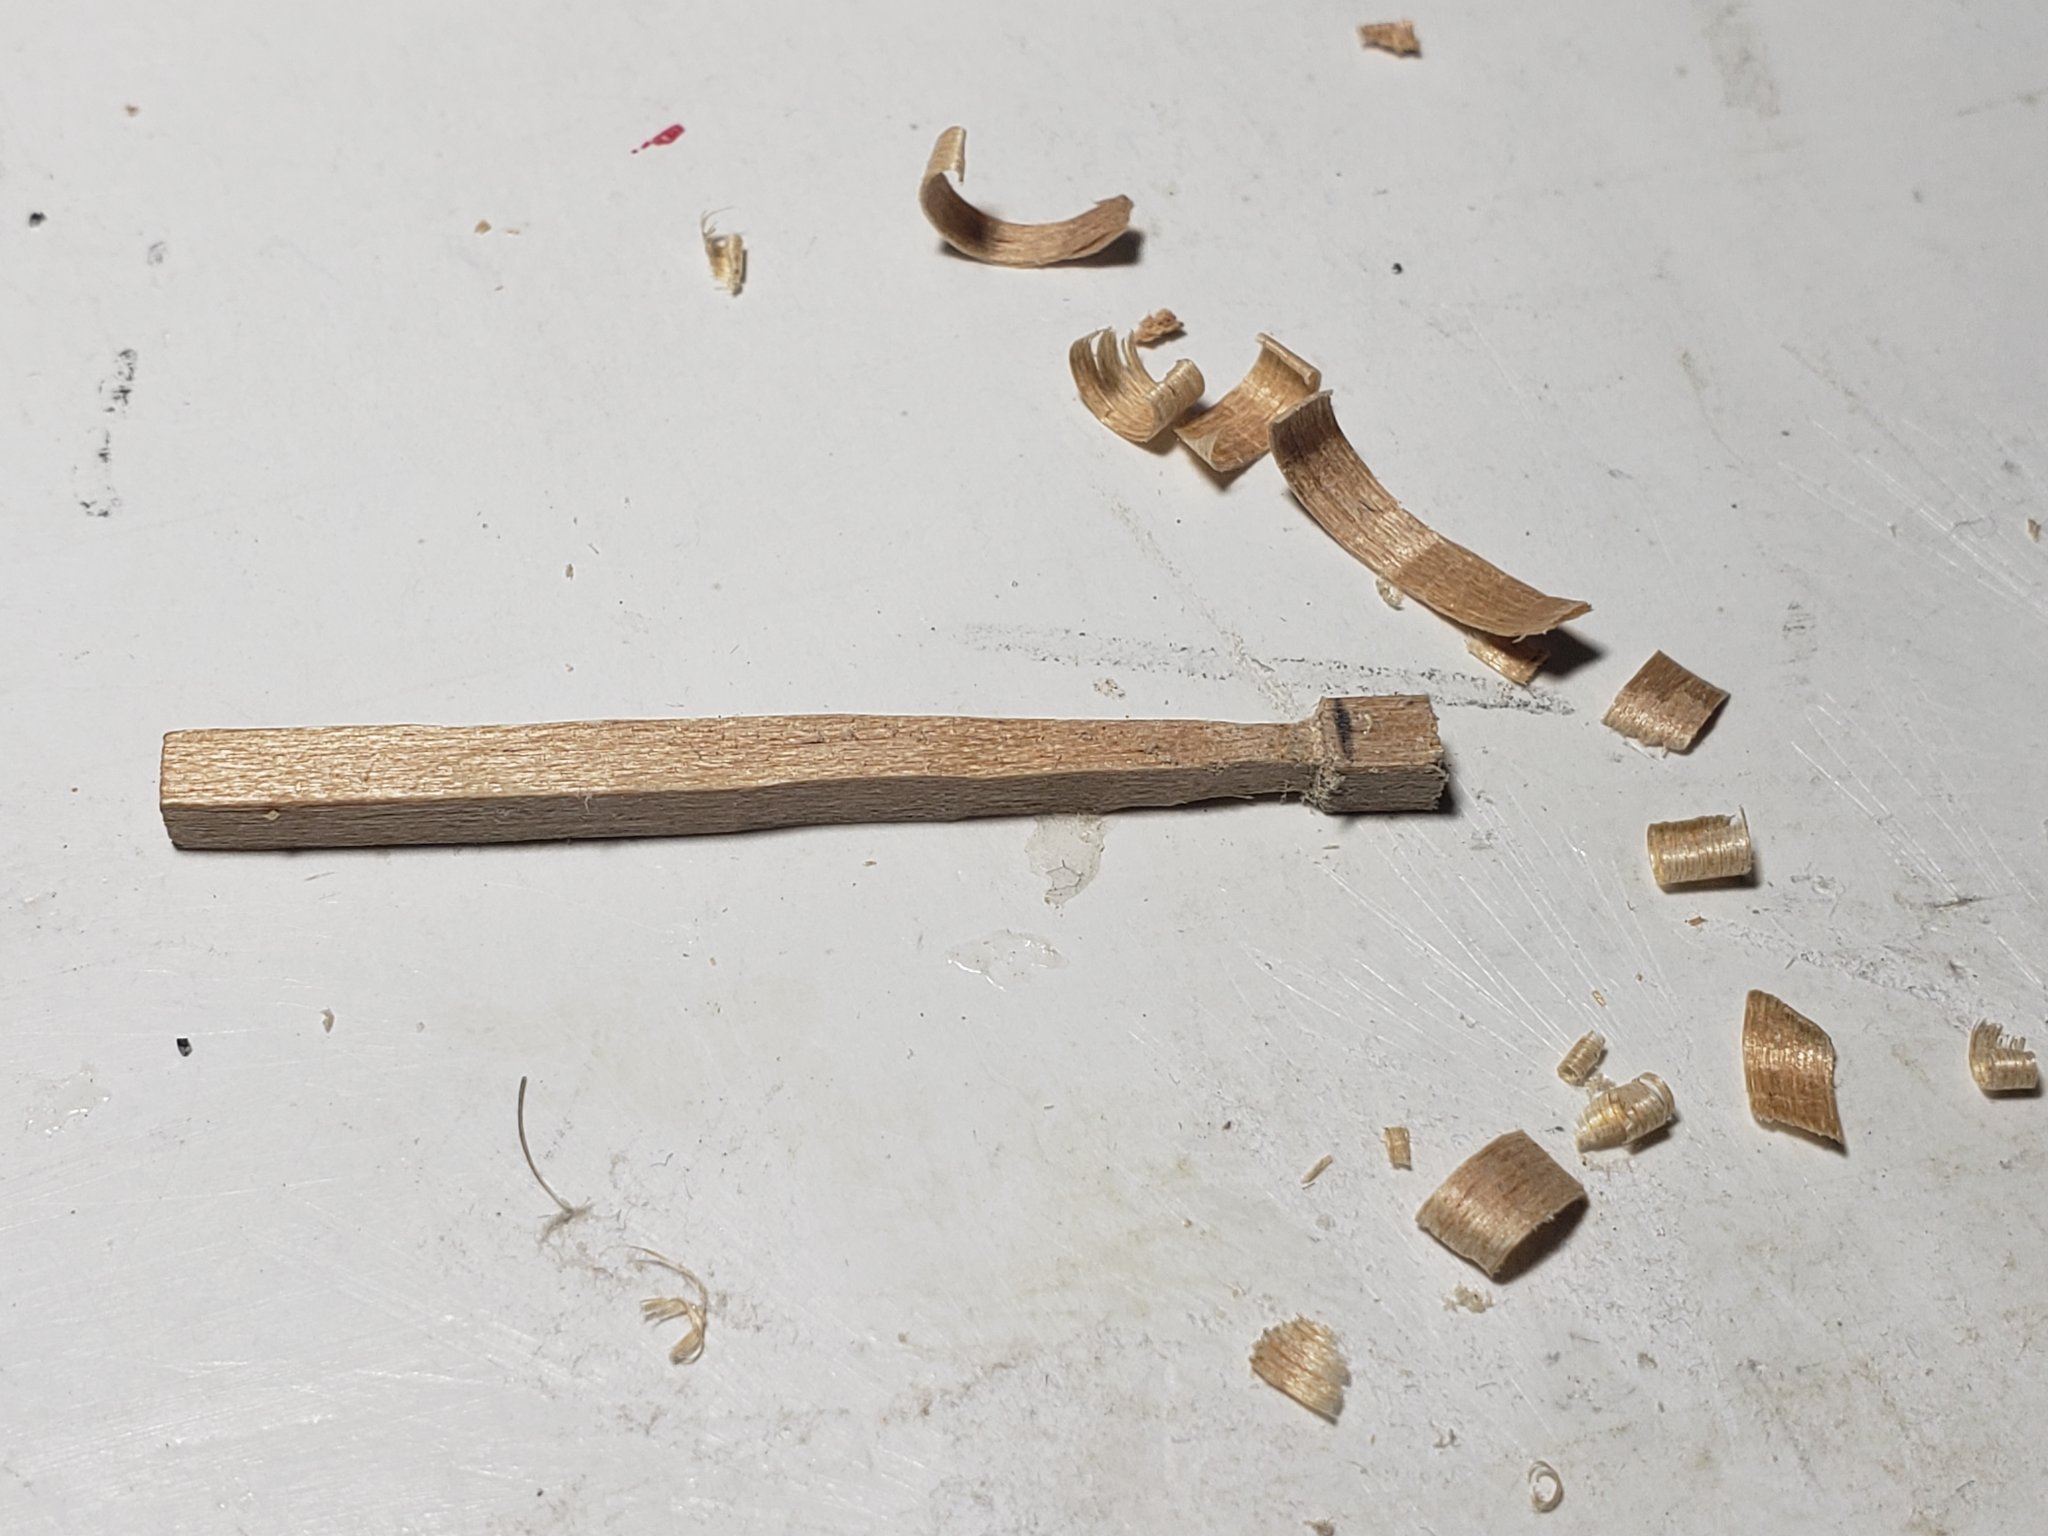
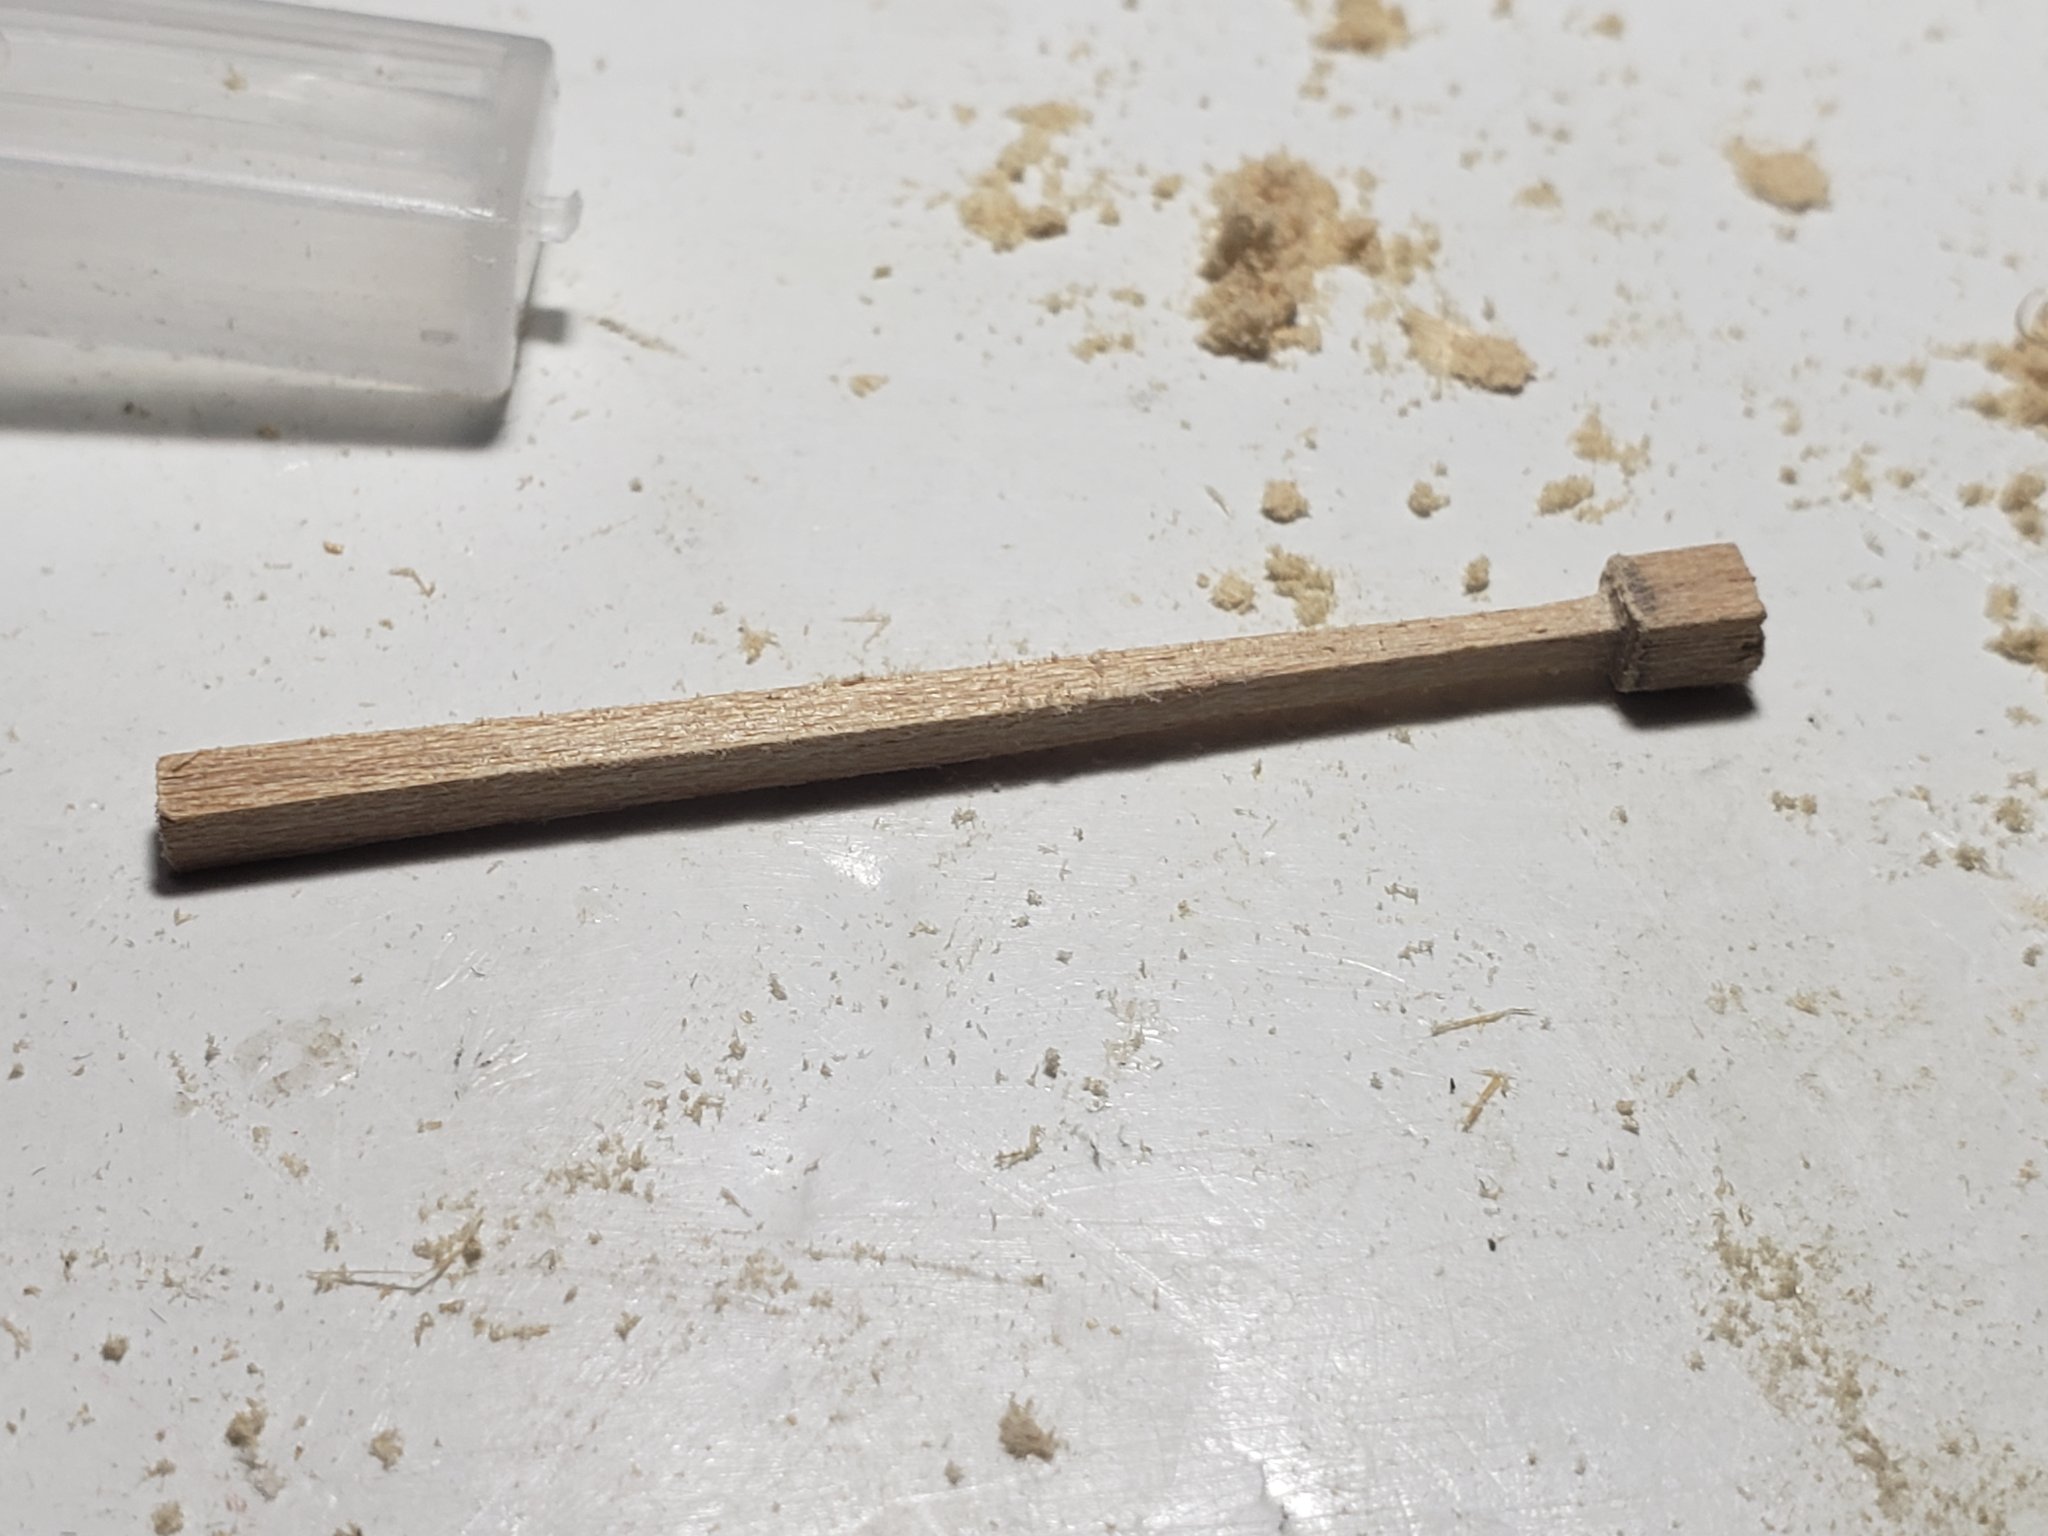
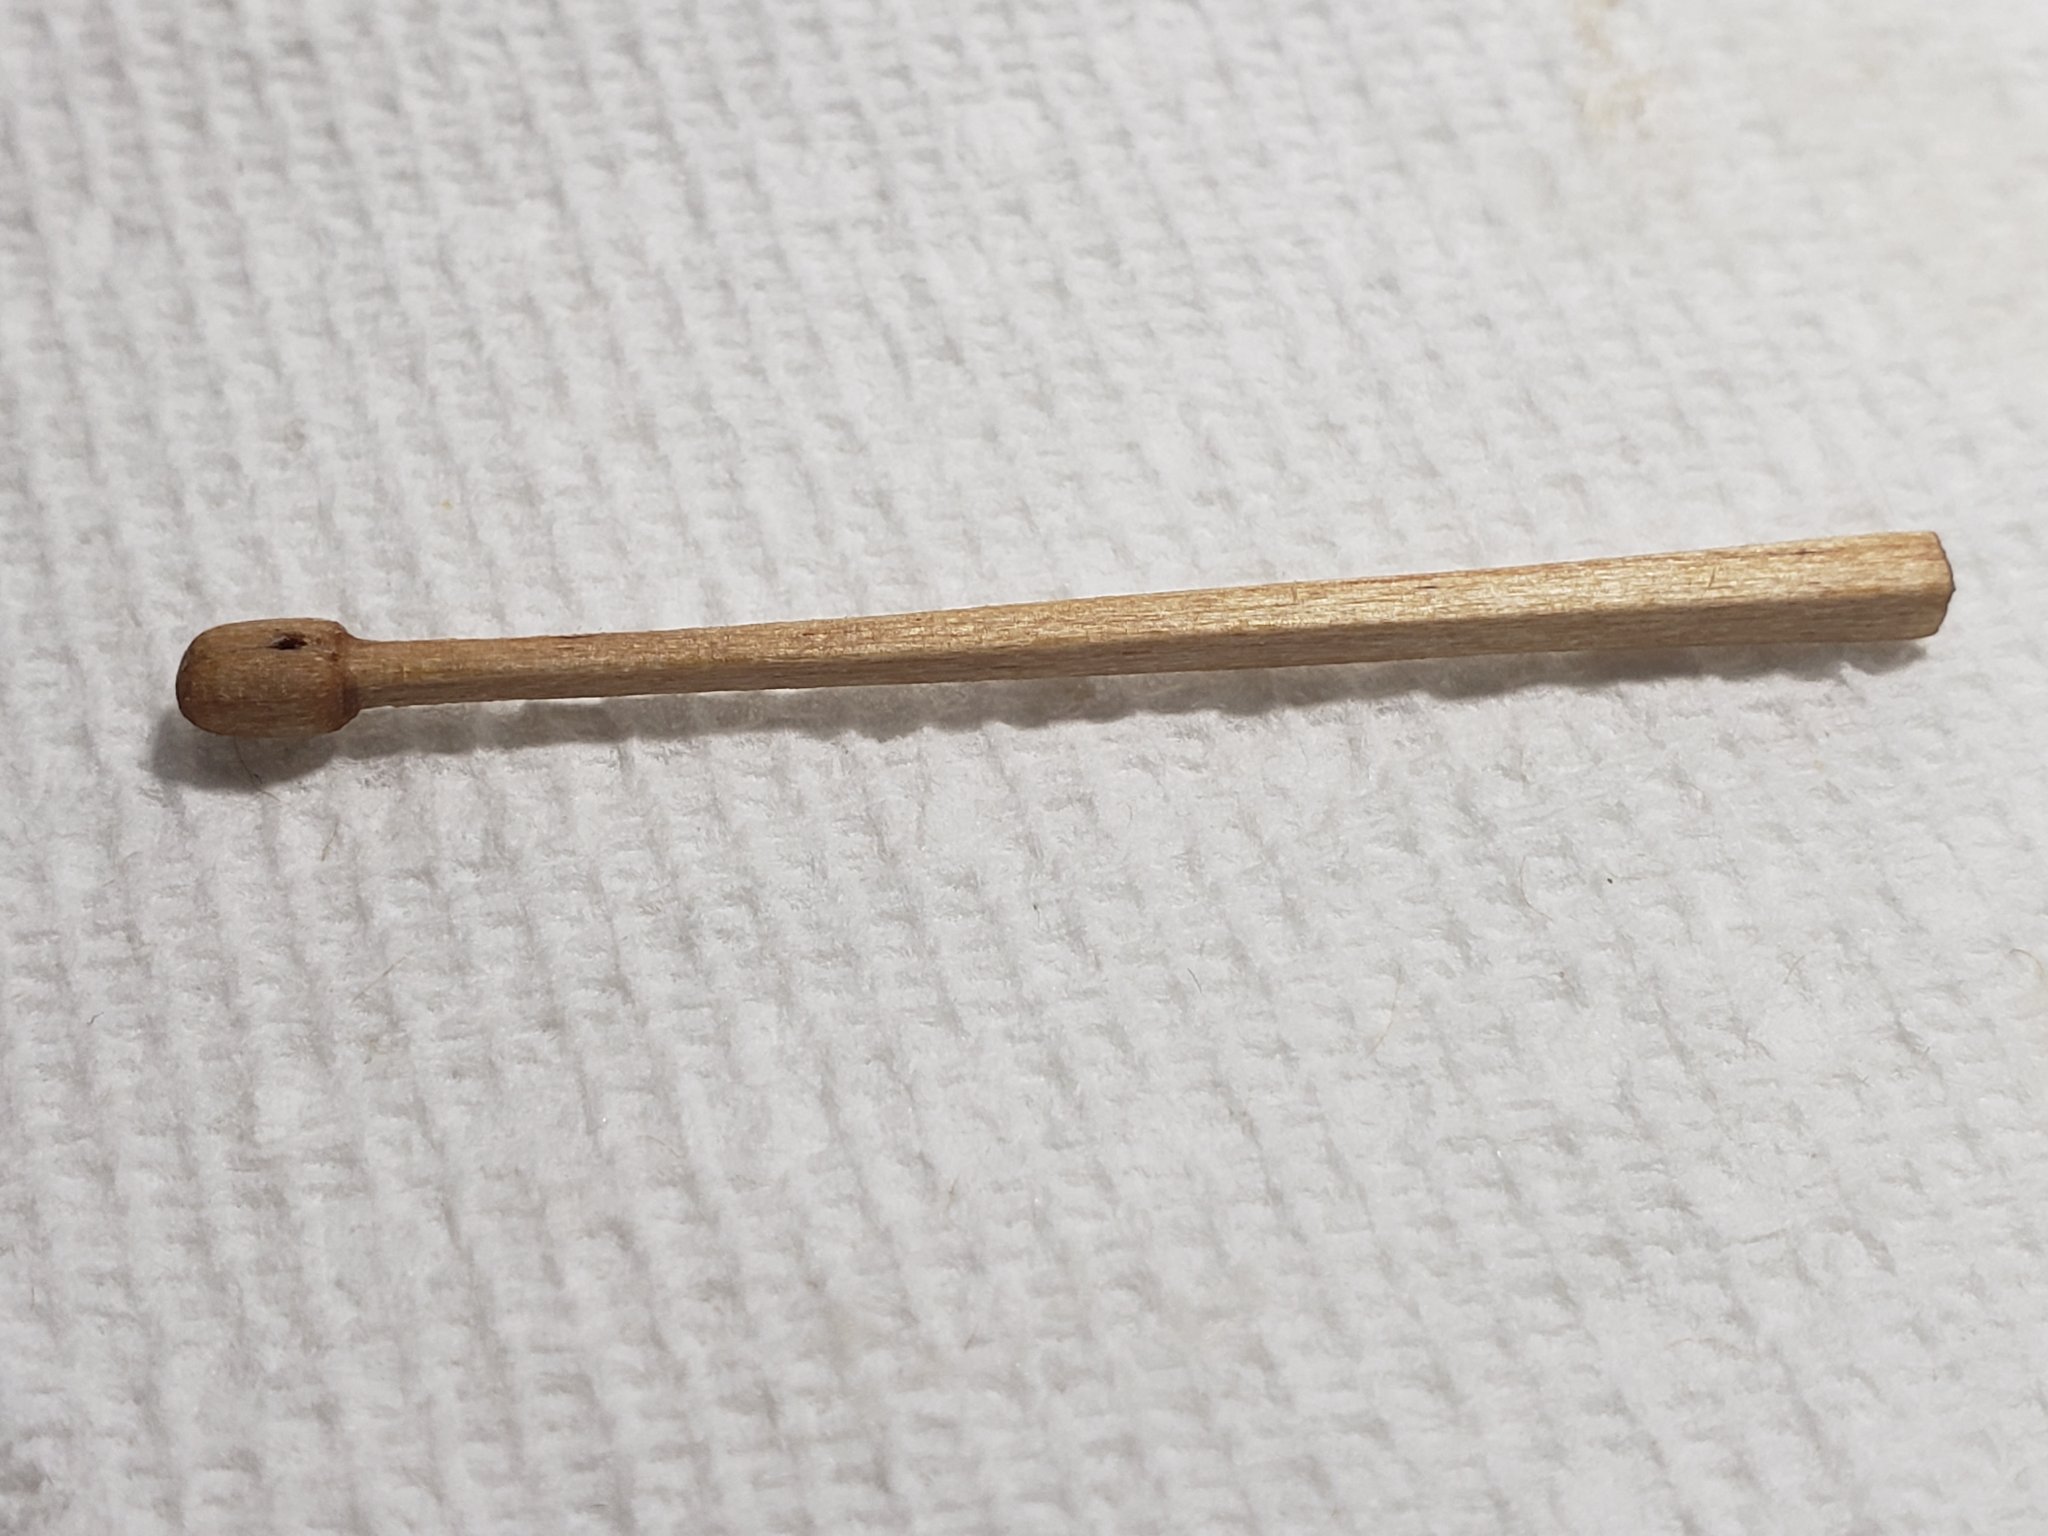
Finished working on the tiller. Found it fun carving and sanding it 😁 I put it in my drill (poor man's lathe 😂) and sanded the front side of it to be round and smooth. Here are some progress pics Here it is dry fitted. Before sticking it I need to fix one of the belayed ropes at the stern where I bumped the cleat clumsily and the rope got untied 😅. Hoping there's enough room to fix it....


- 950 replies
-
- 8
-
-
- syren
- model shipways
- (and 1 more)
-
Ahh yeah a lot of this stuff is optical illusion. There are some points in my build where I thought planks were not symmetric/same lengths etc and after triple checking measurements, it all came down to being tricked by optical illusion 😁
-
Thank you Will, Captain_Hook and Thomas for the nice comments 😀 Will, that makes a lot of sense, wish Model Shipways did that with their laser cut parts...
-
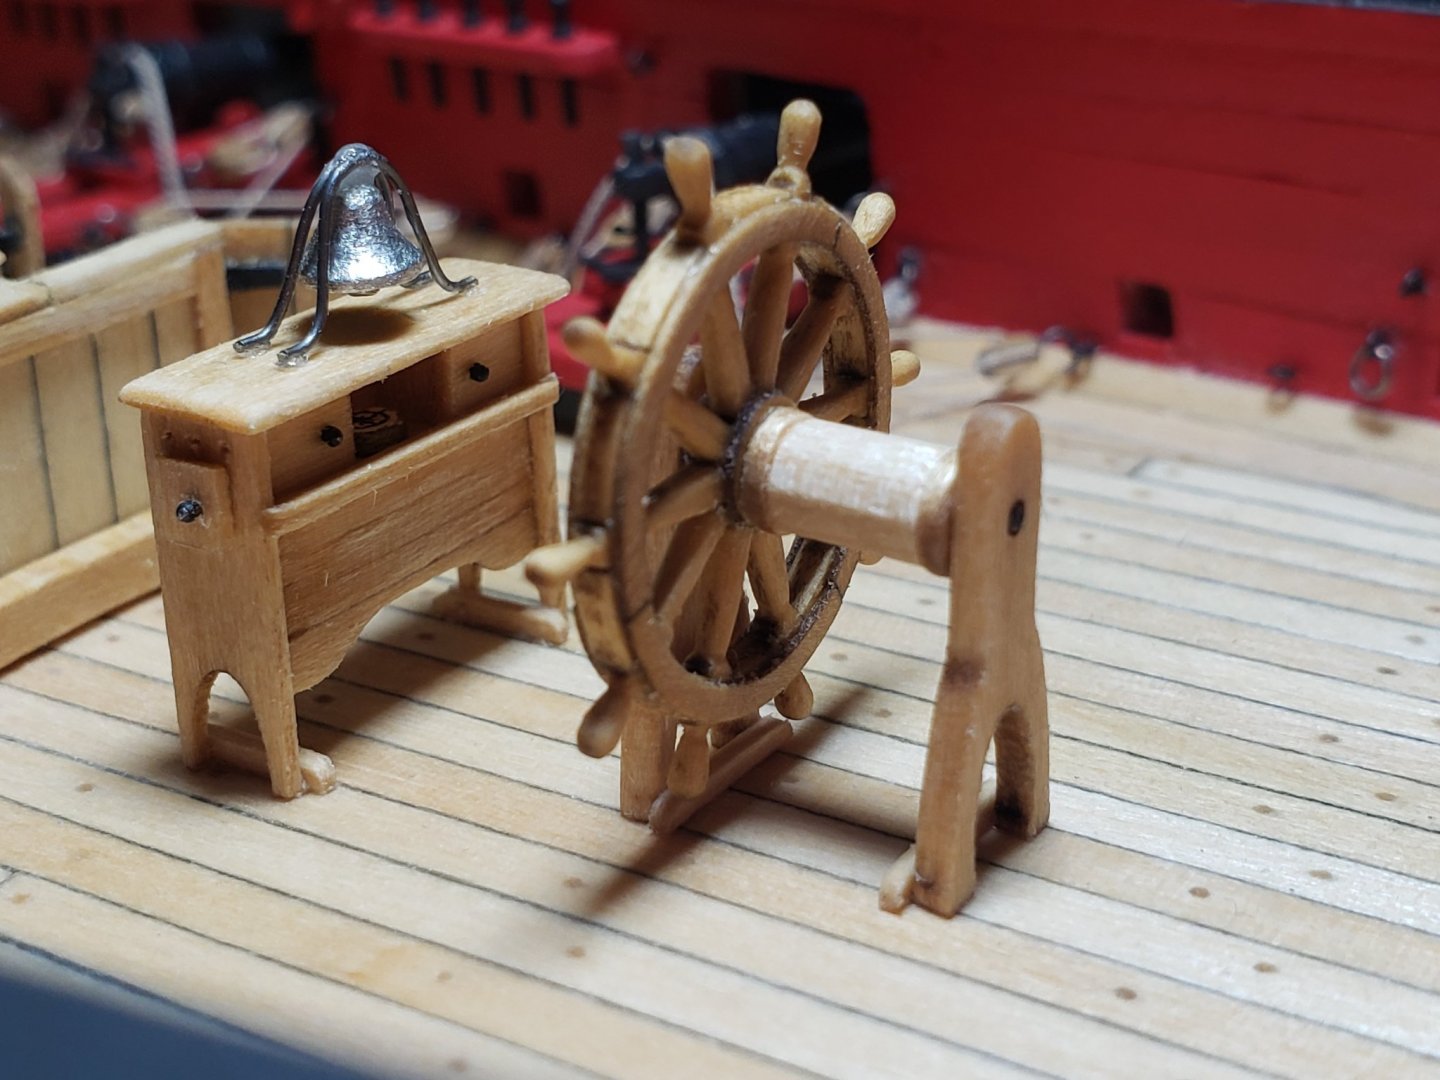
The binnacle is looking great!! Did you solder the wires together that holds the bell? Also just wondering if you found that part as tricky as I did 😅
-
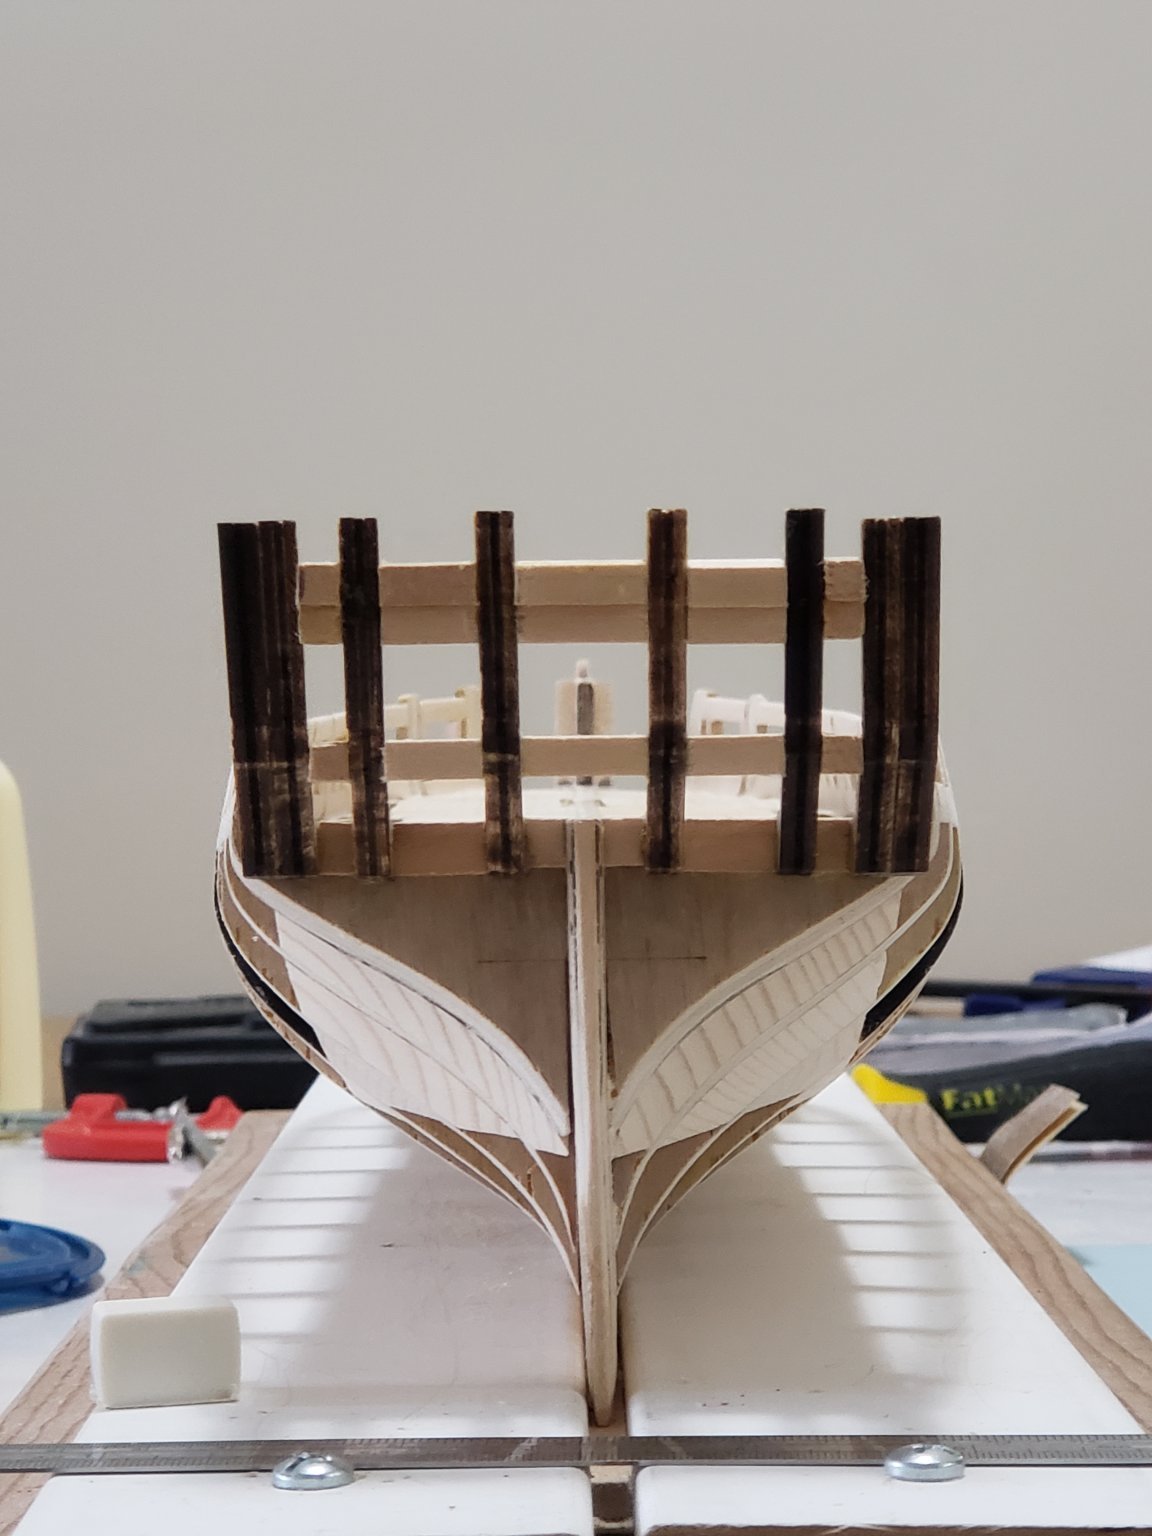
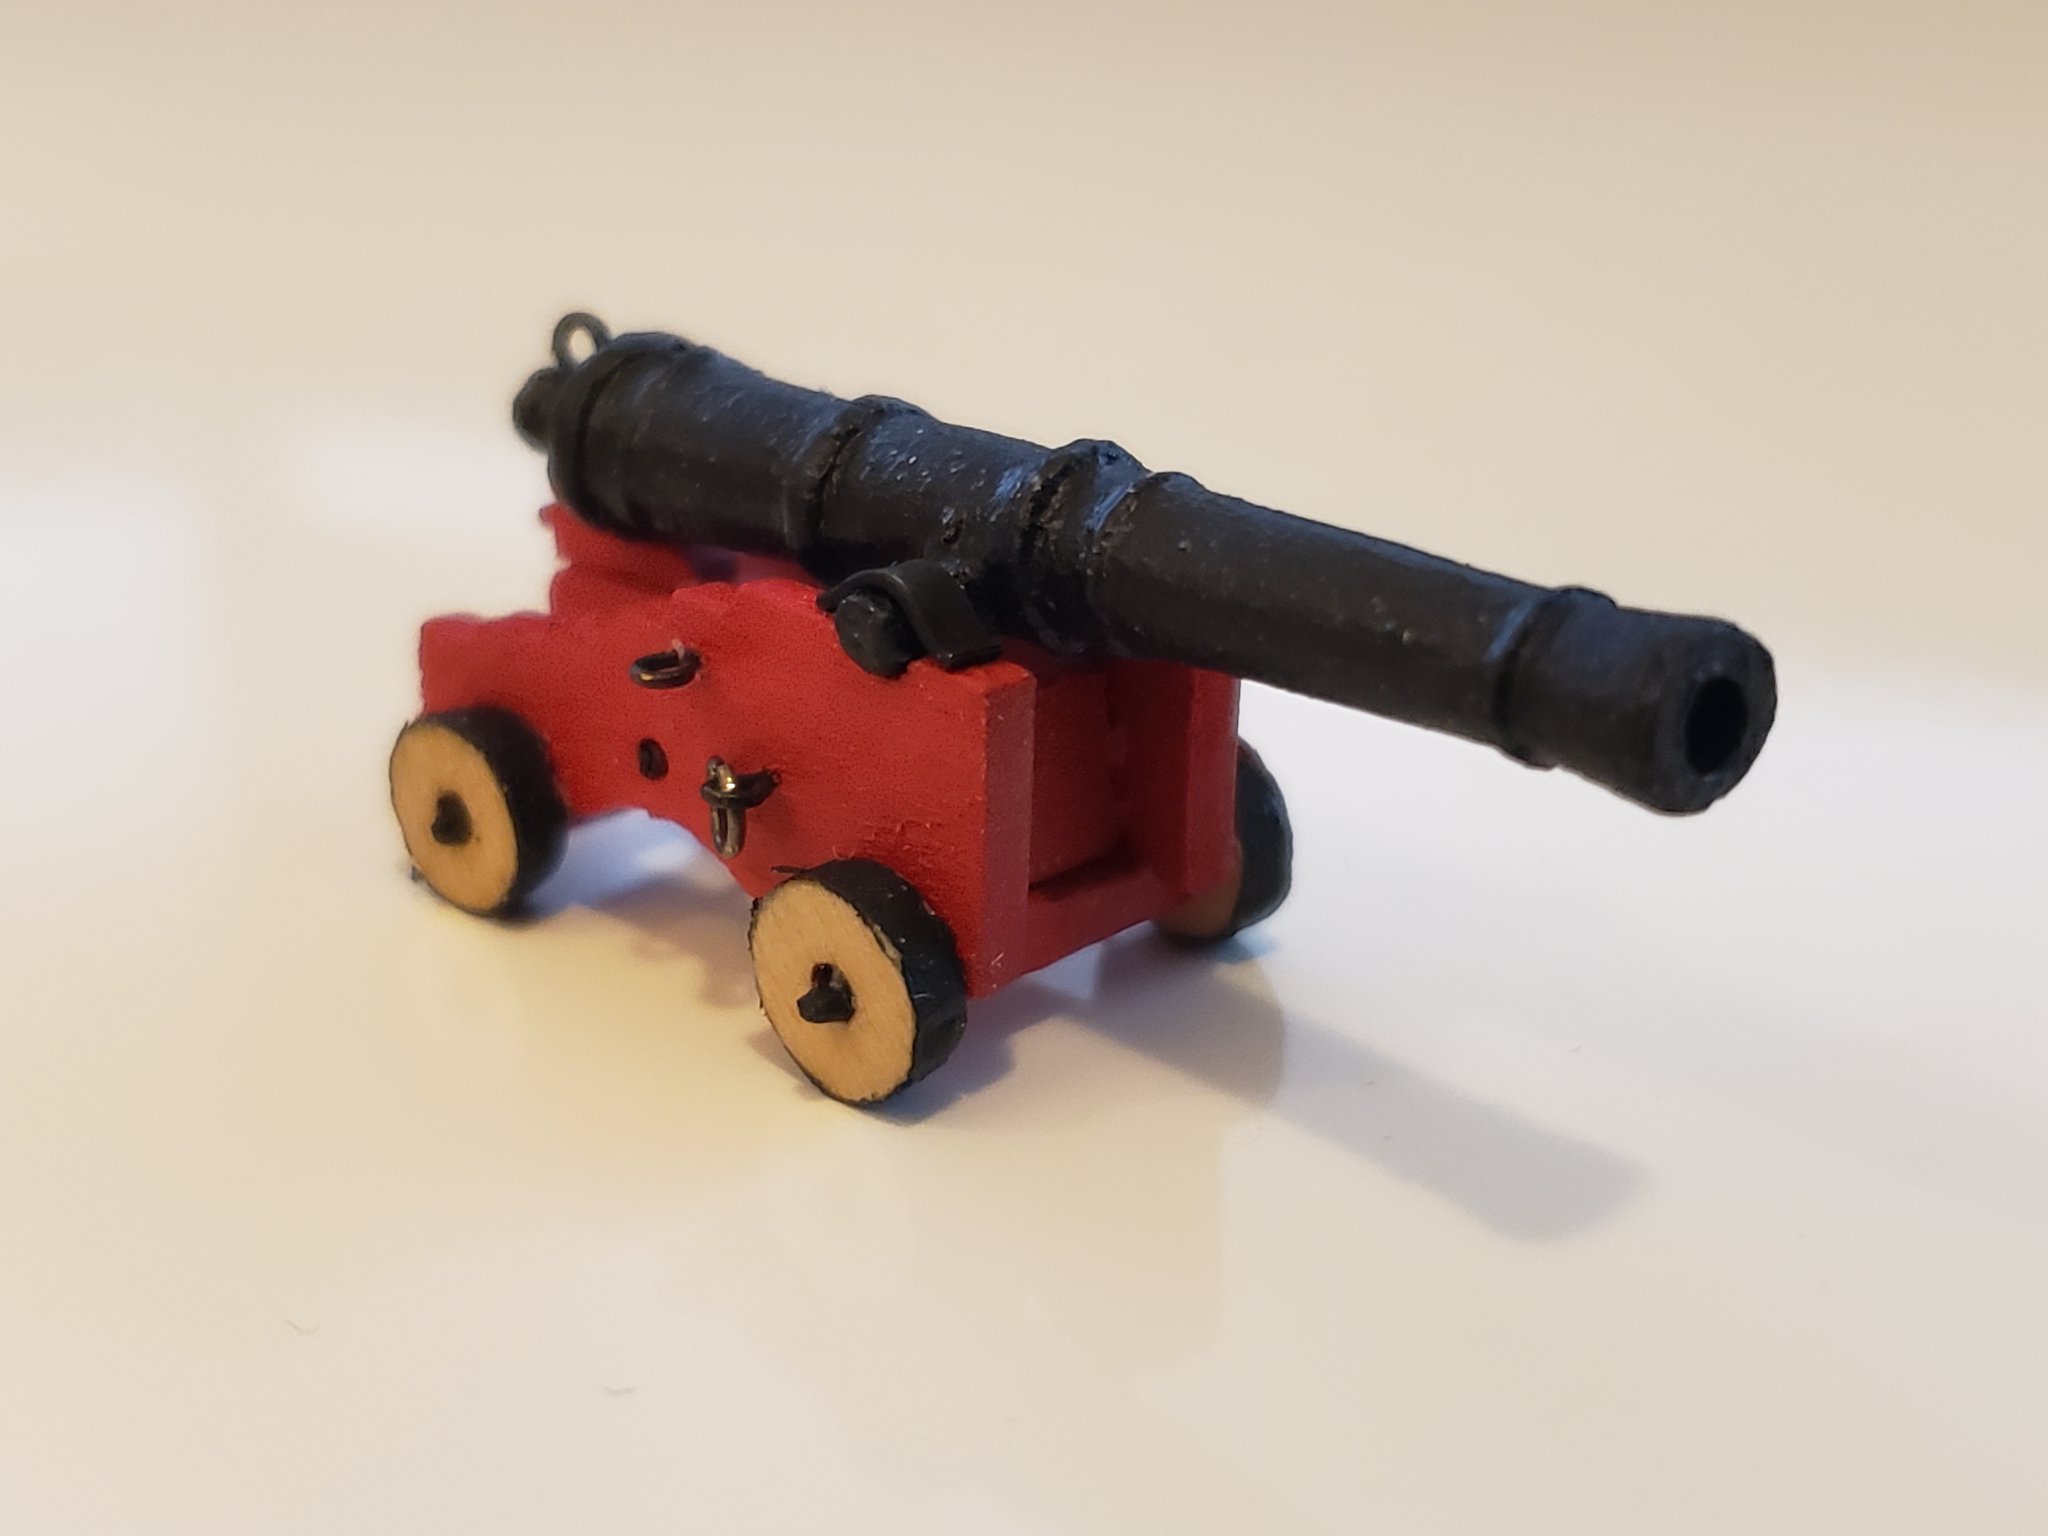
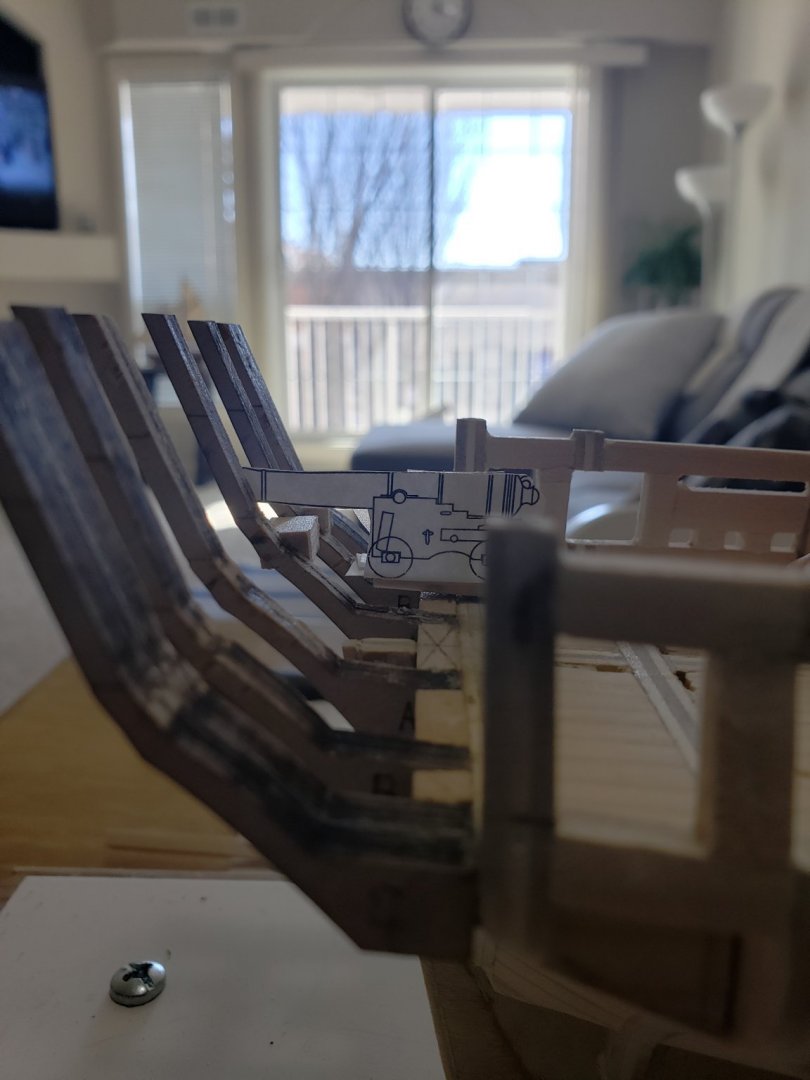
Good thing you spotted this earlier than when it is planked, would have been much harder to fix it then 😬 Double check if the distance between the sills and deck level are the same for both sides. From the photos they seem a bit off from that pov as well. I am thinking the best option would be to remove the gun port framings and start again, making sure it is completely horizontal. Also don't forget to double check the height of the gun port using the picture of the long gun taped on a 1/16" plank. The muzzle should somewhat be in the middle of the gunports. Here is mine for reference:

- 436 replies
-
- 3
-
-
- Syren
- Model Shipways
- (and 1 more)
-
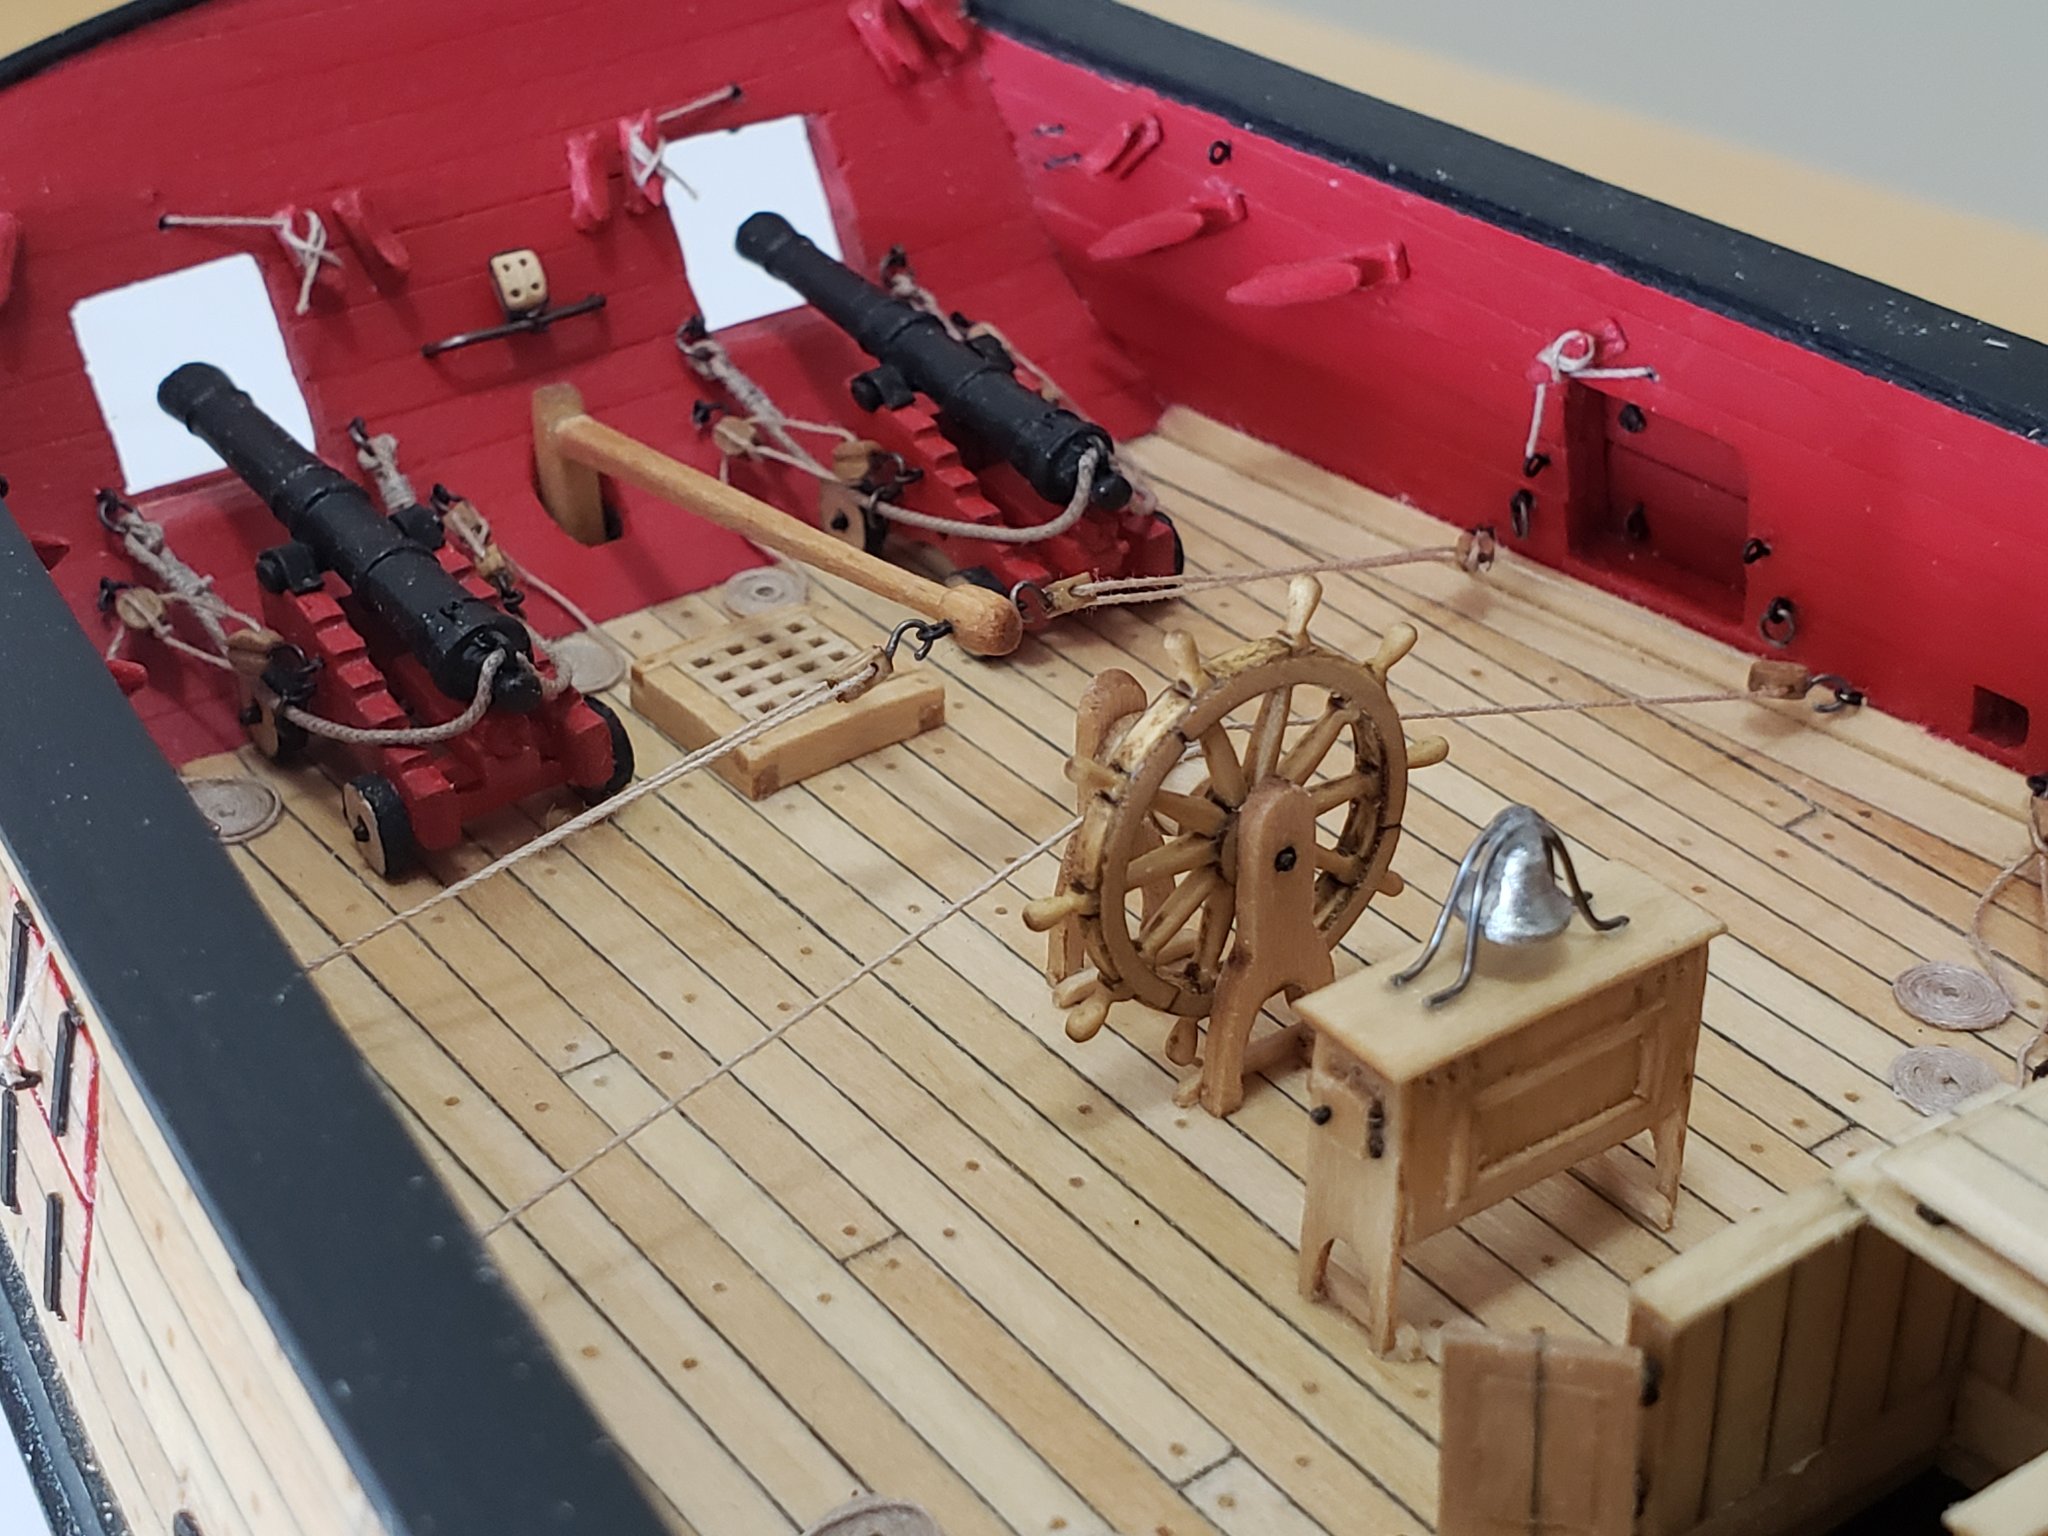
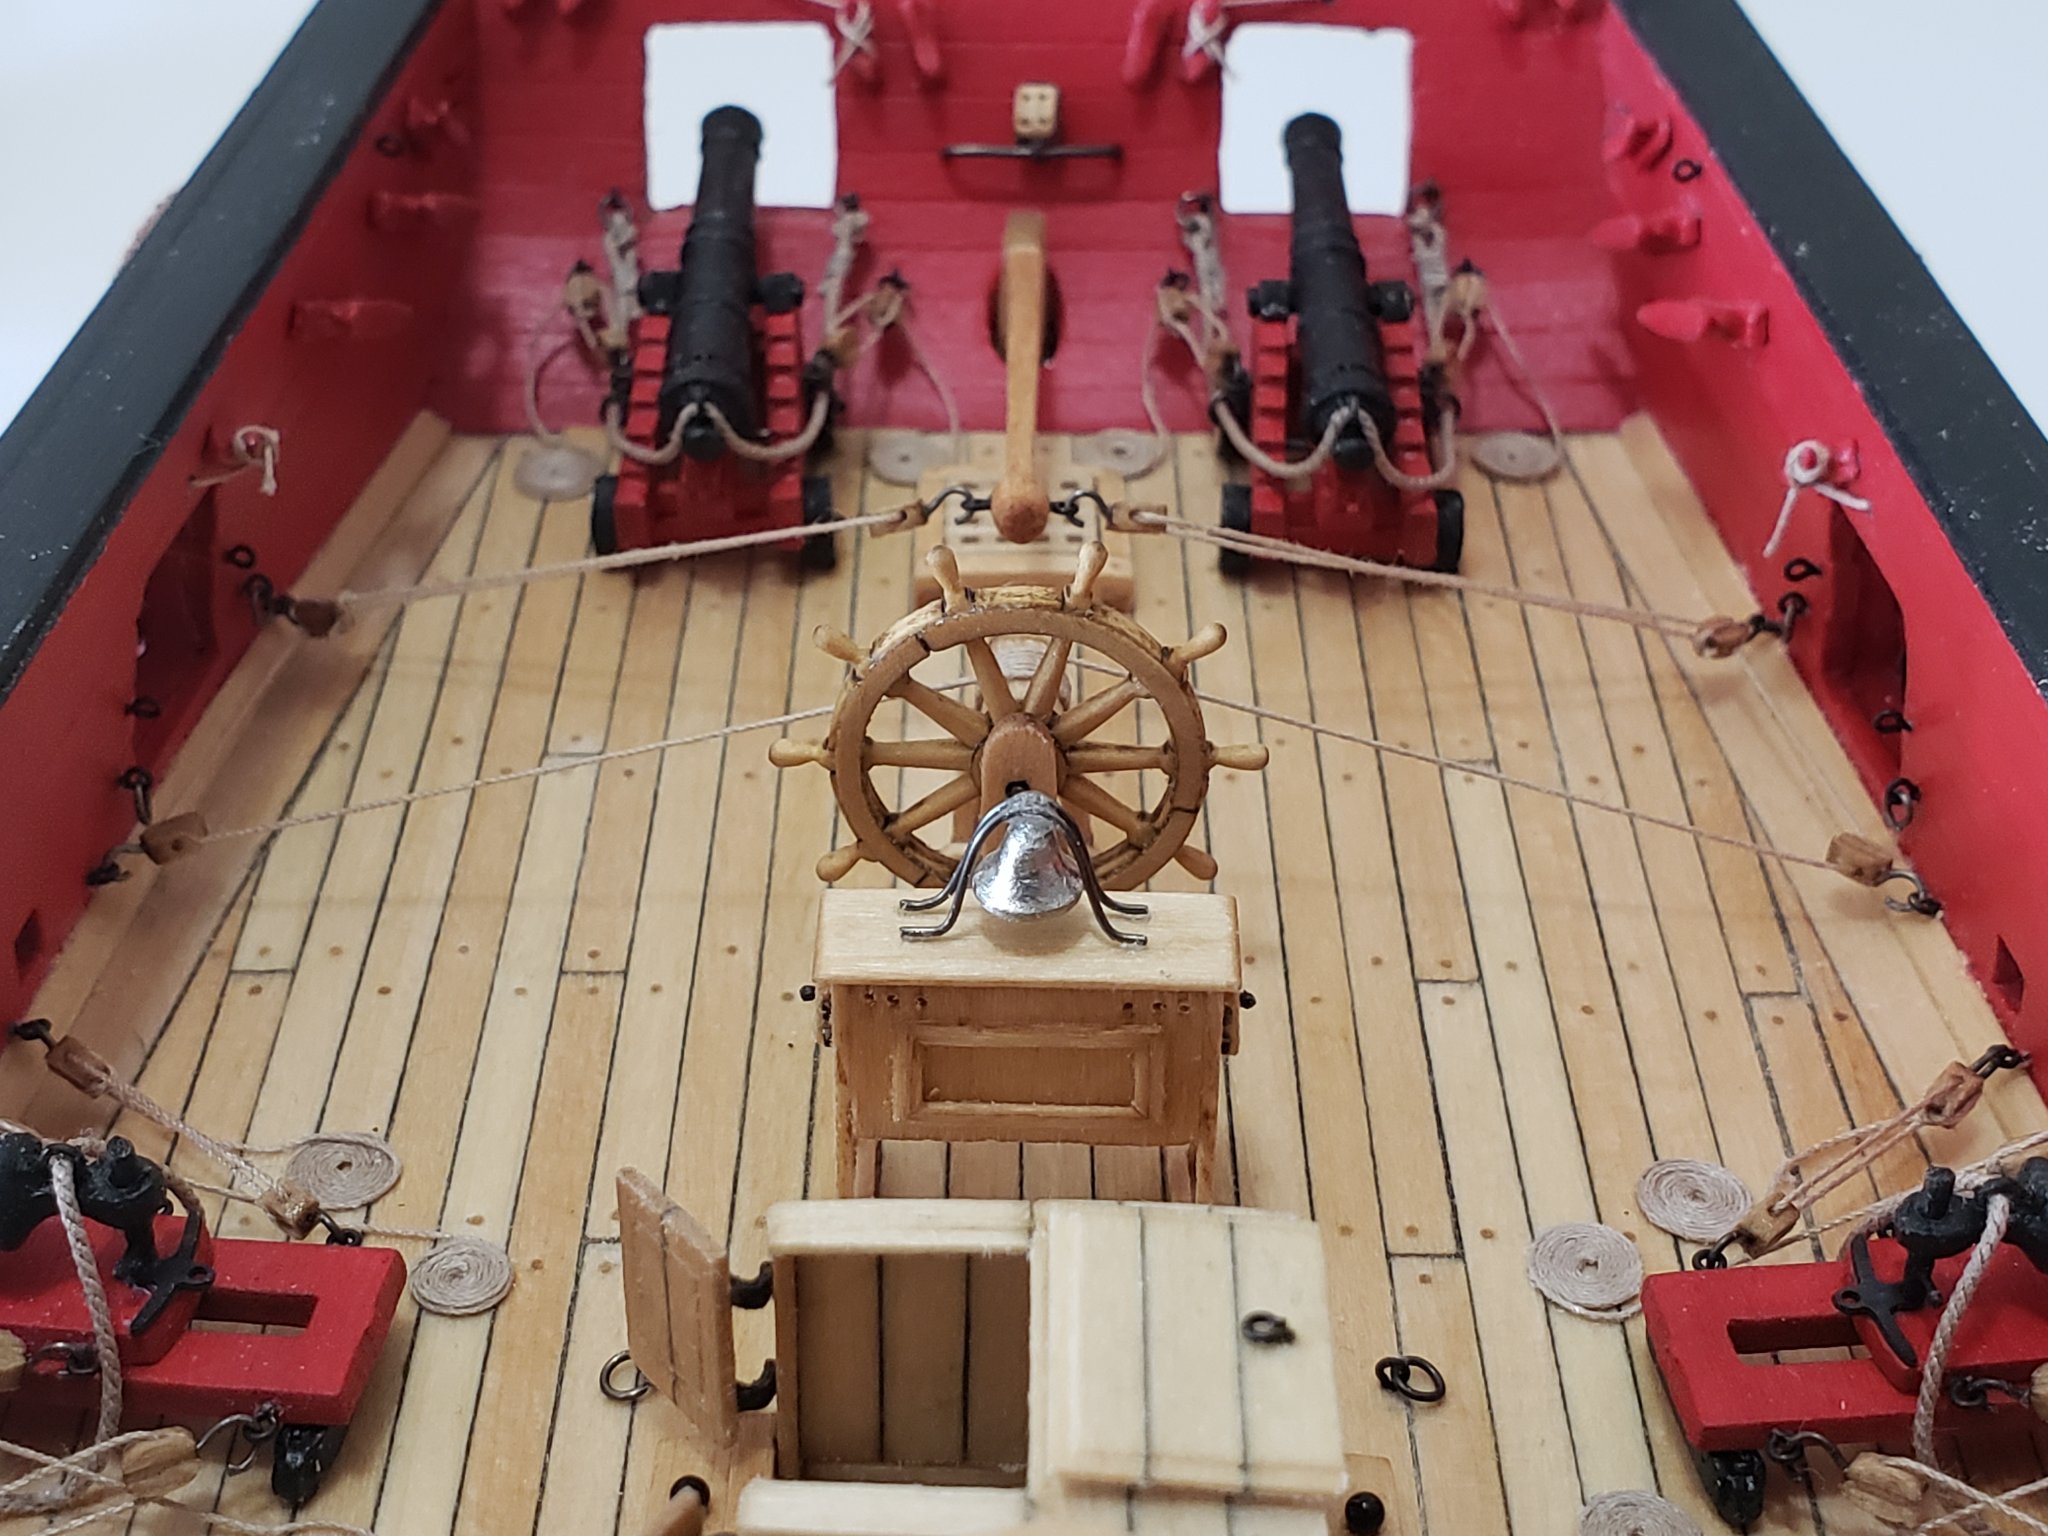
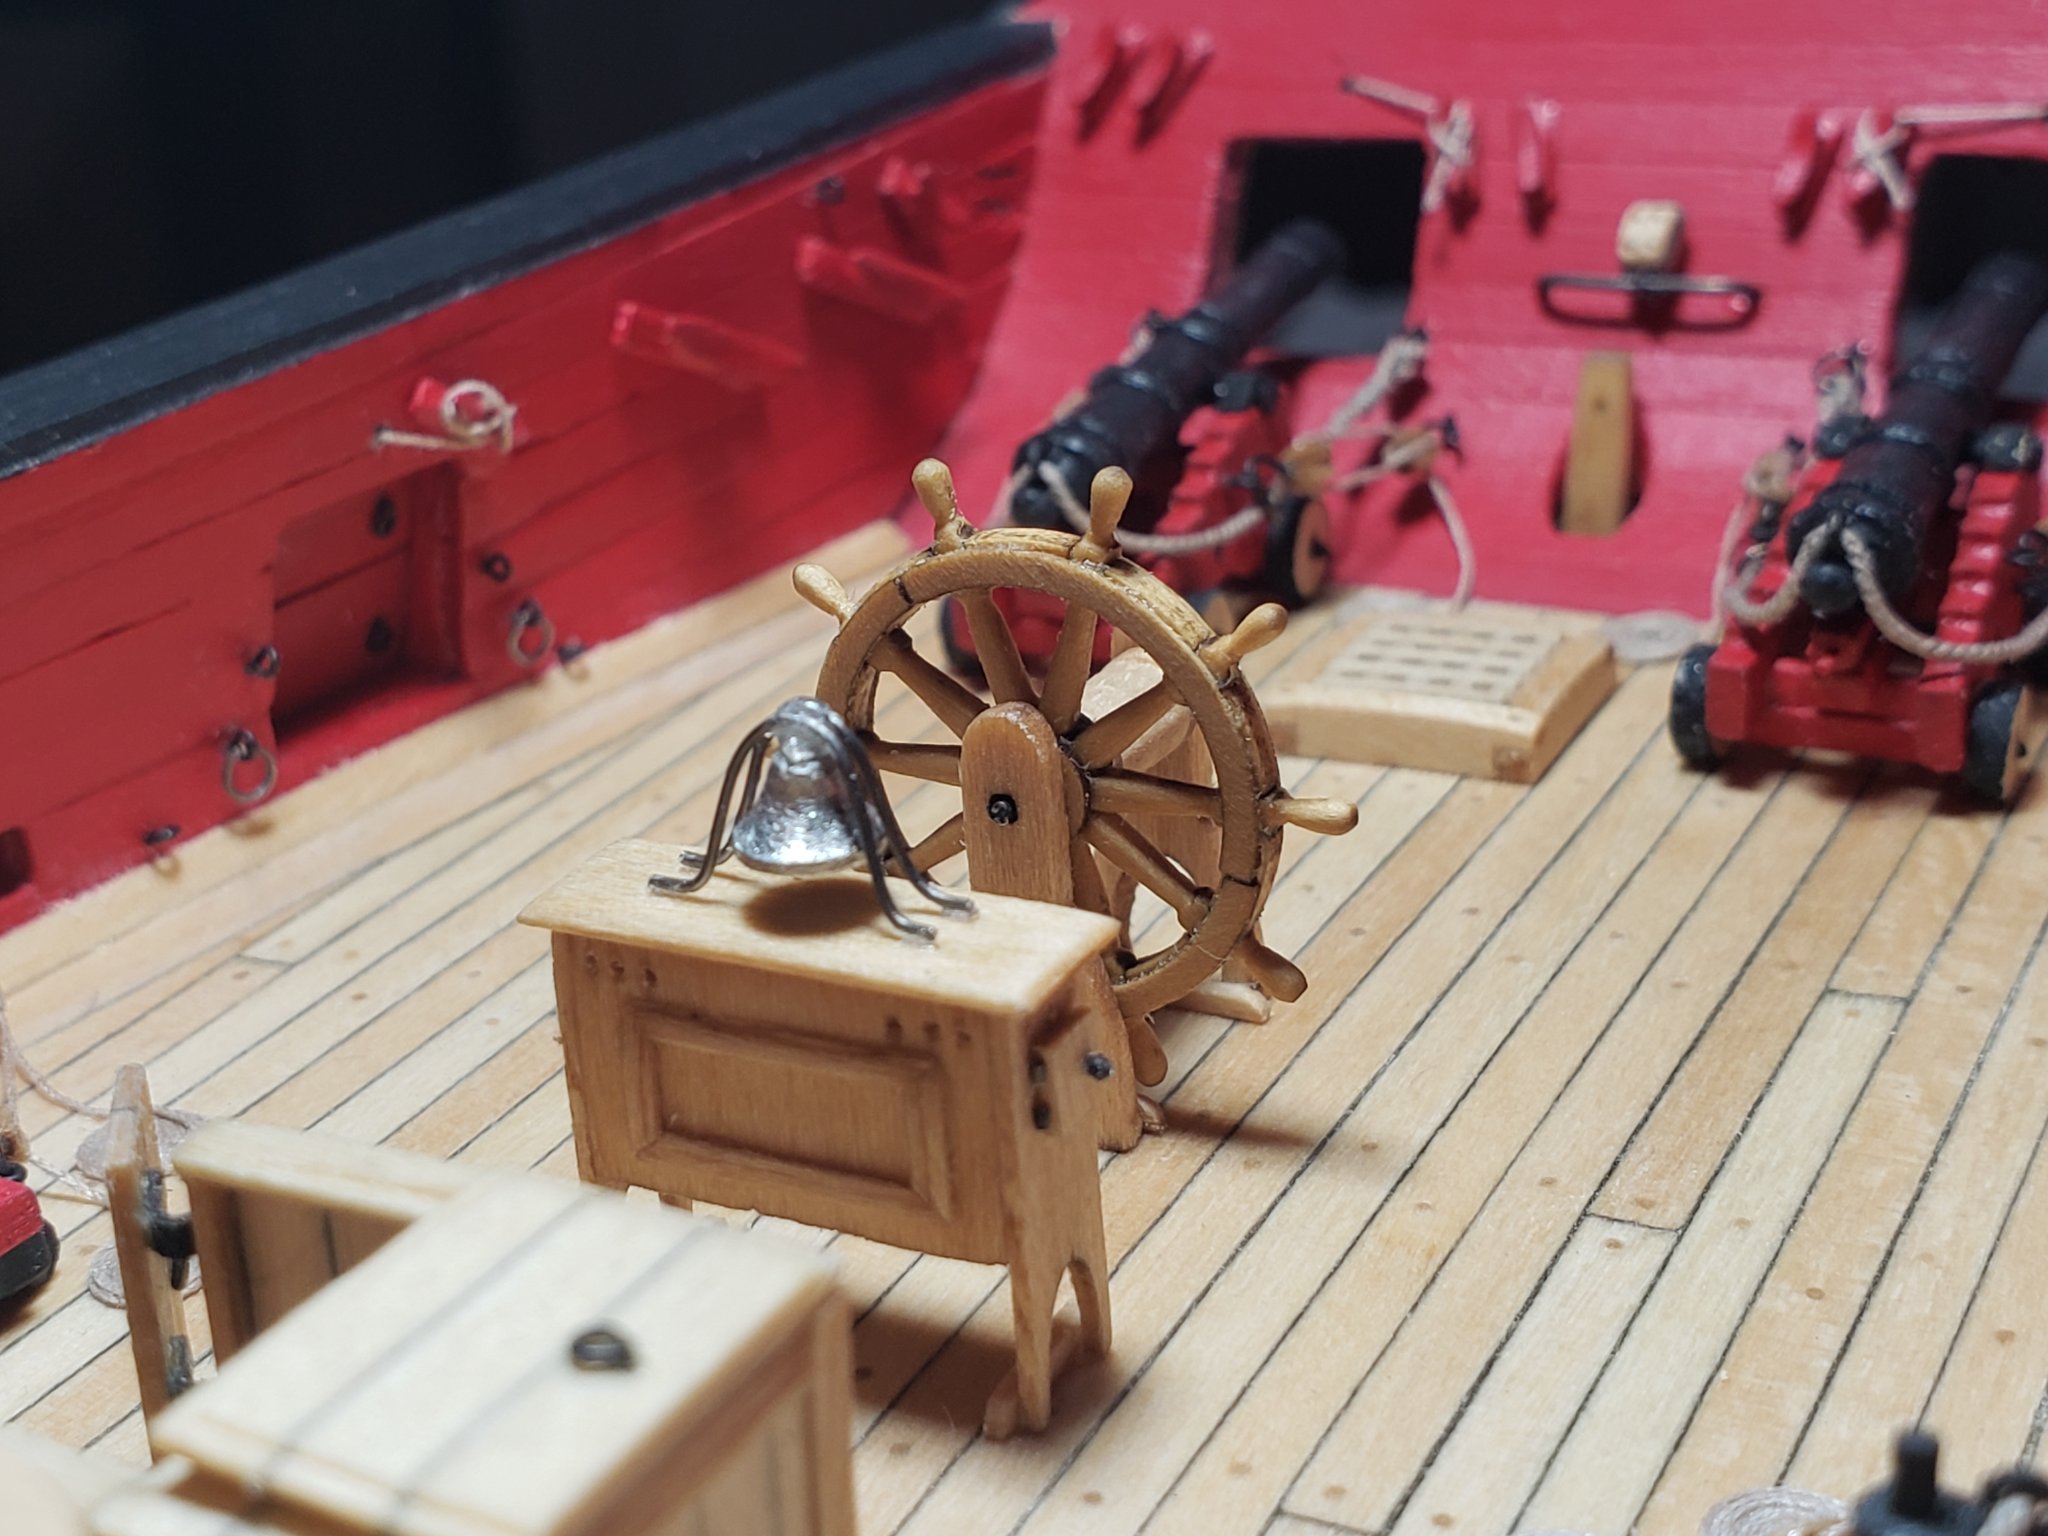
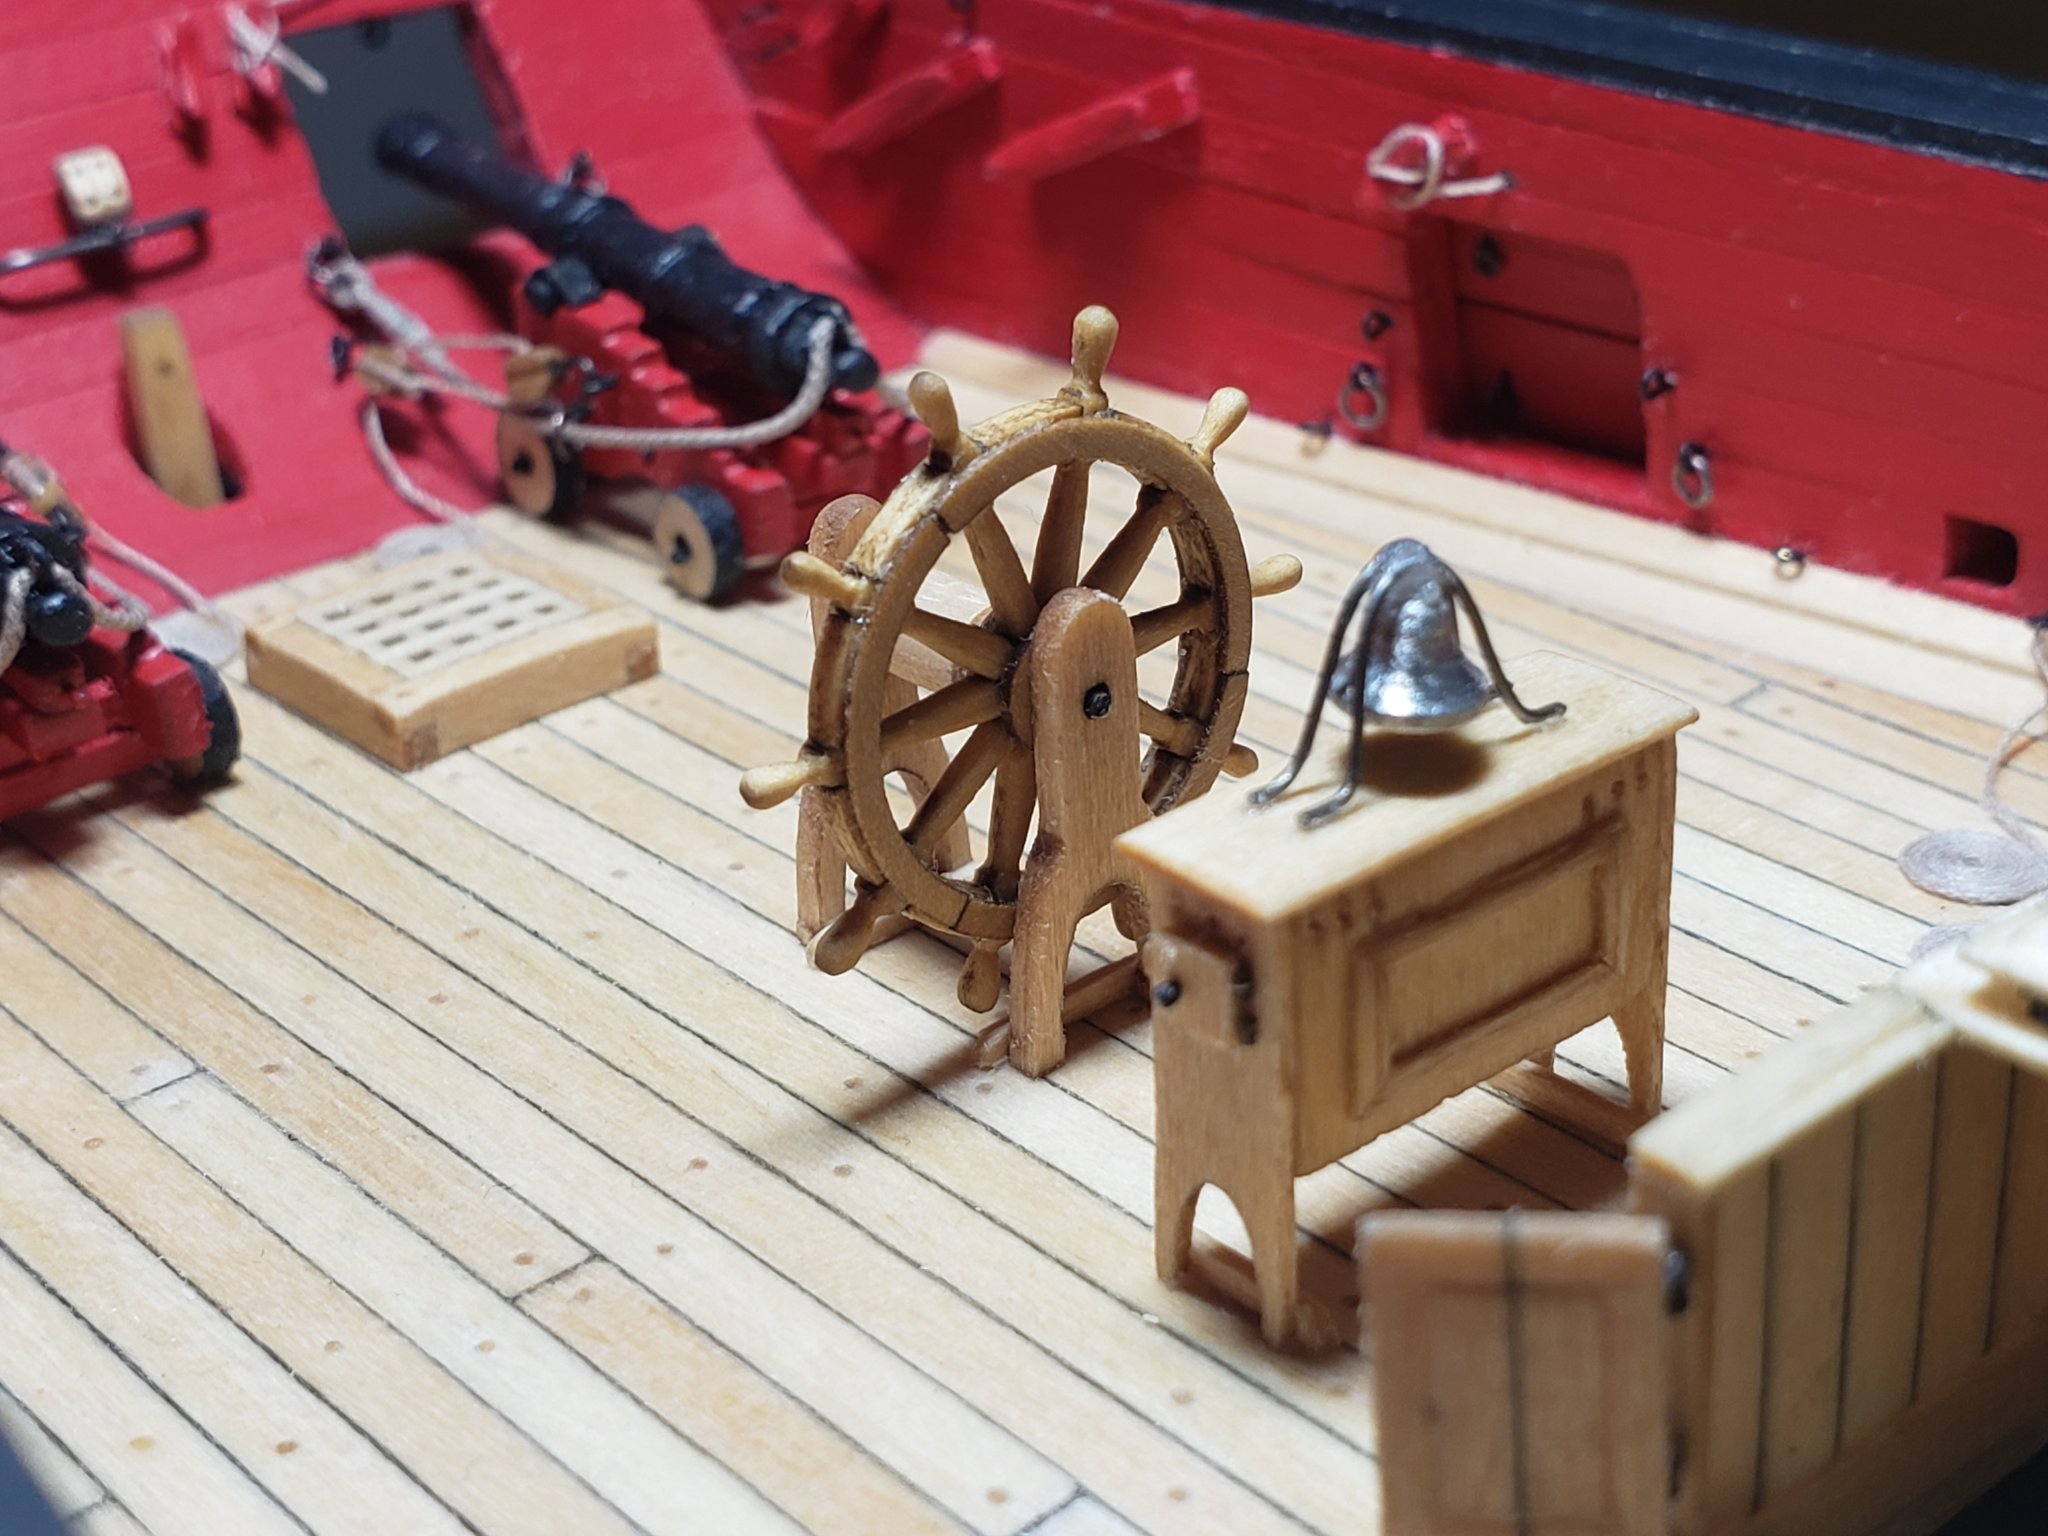
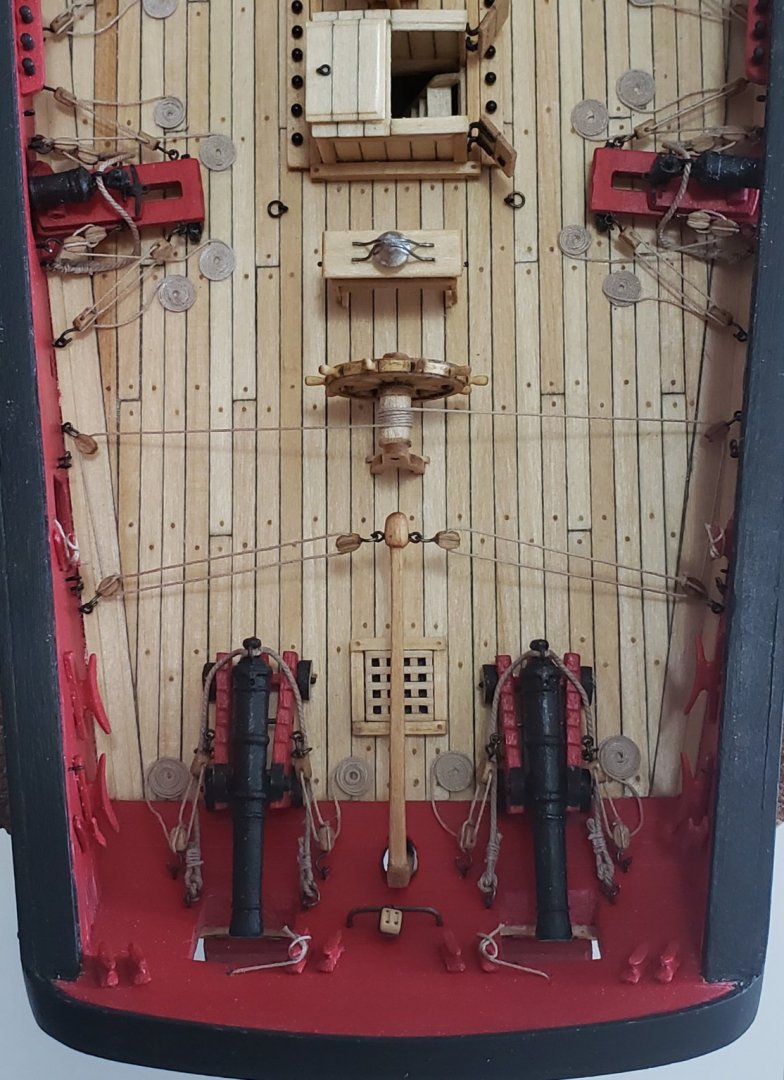
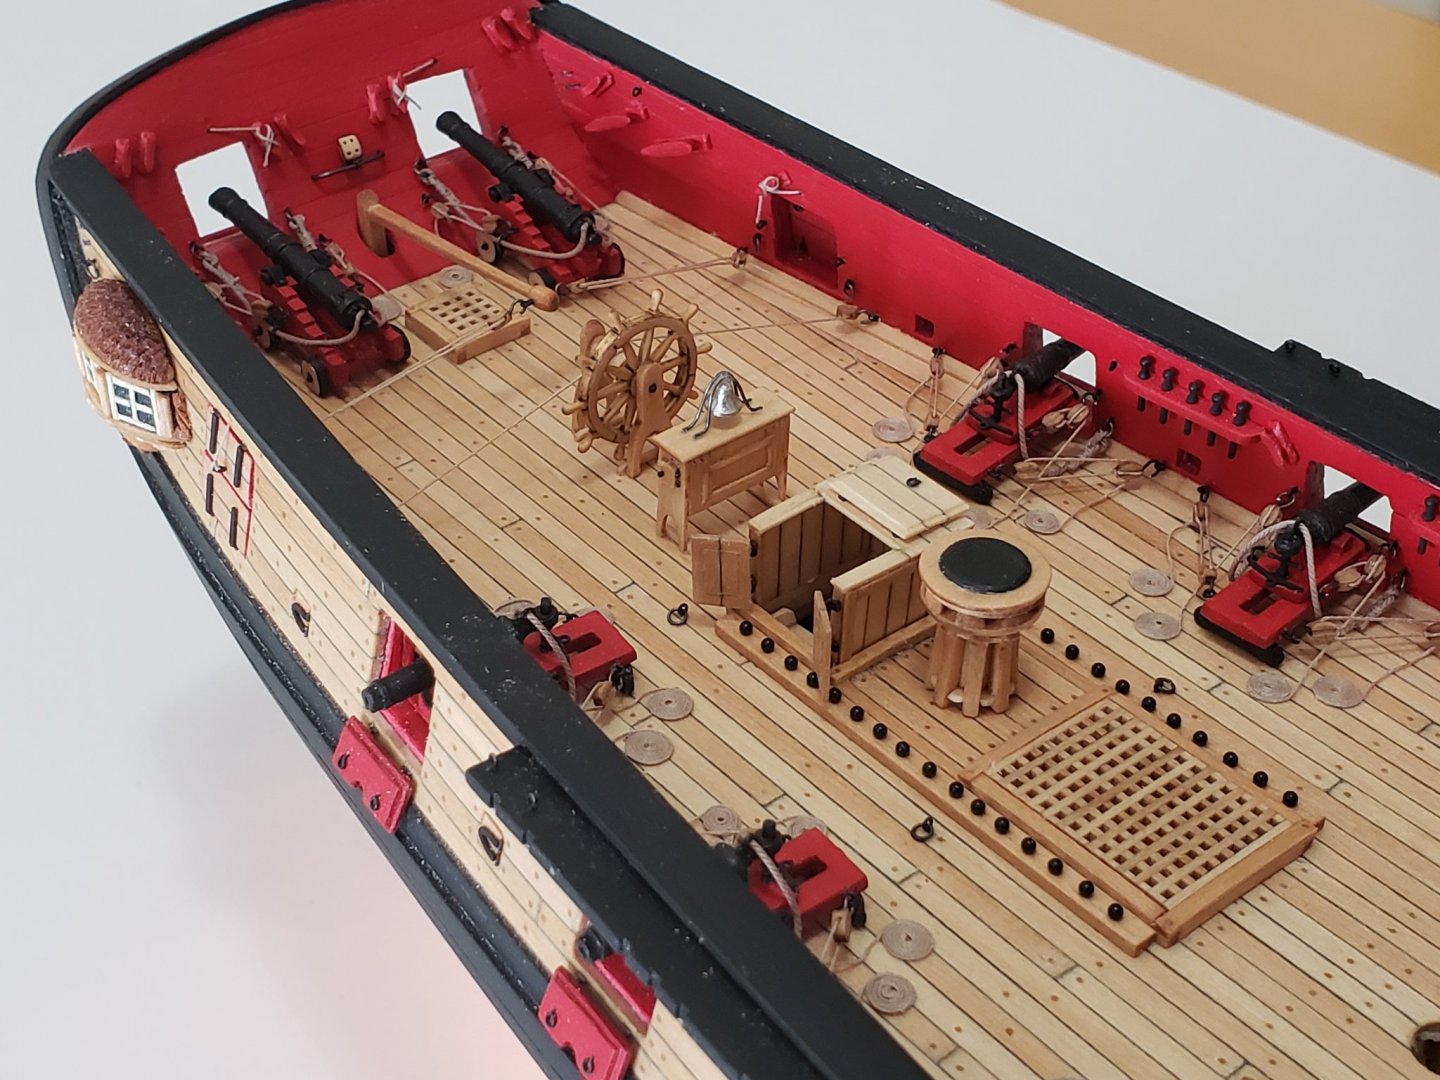
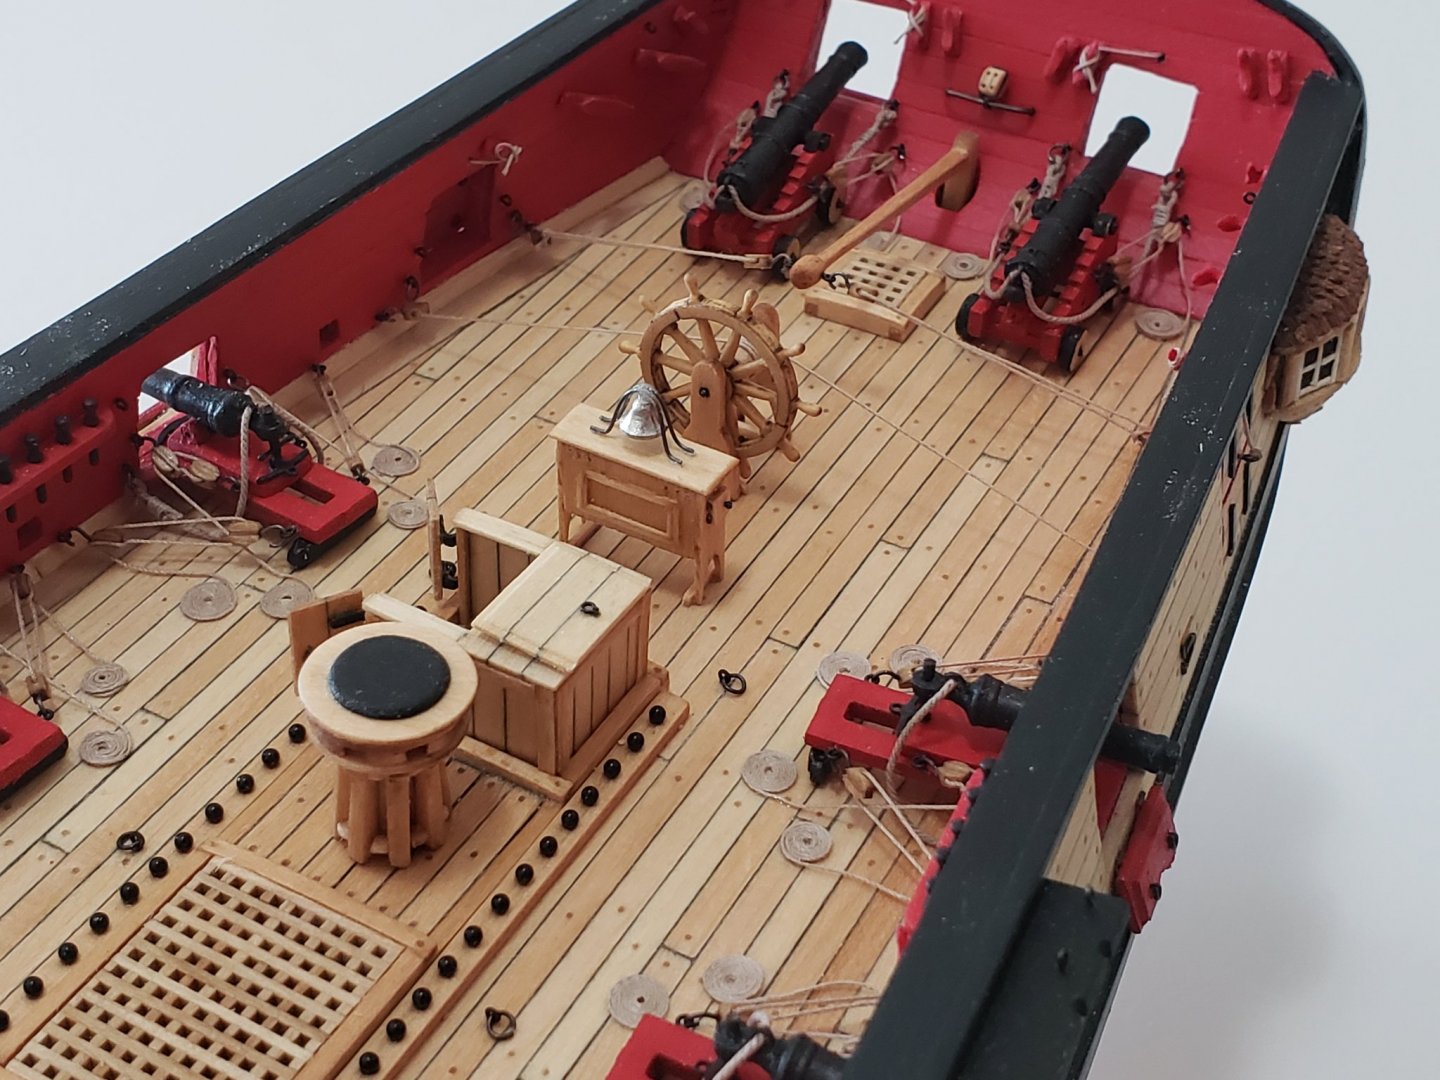
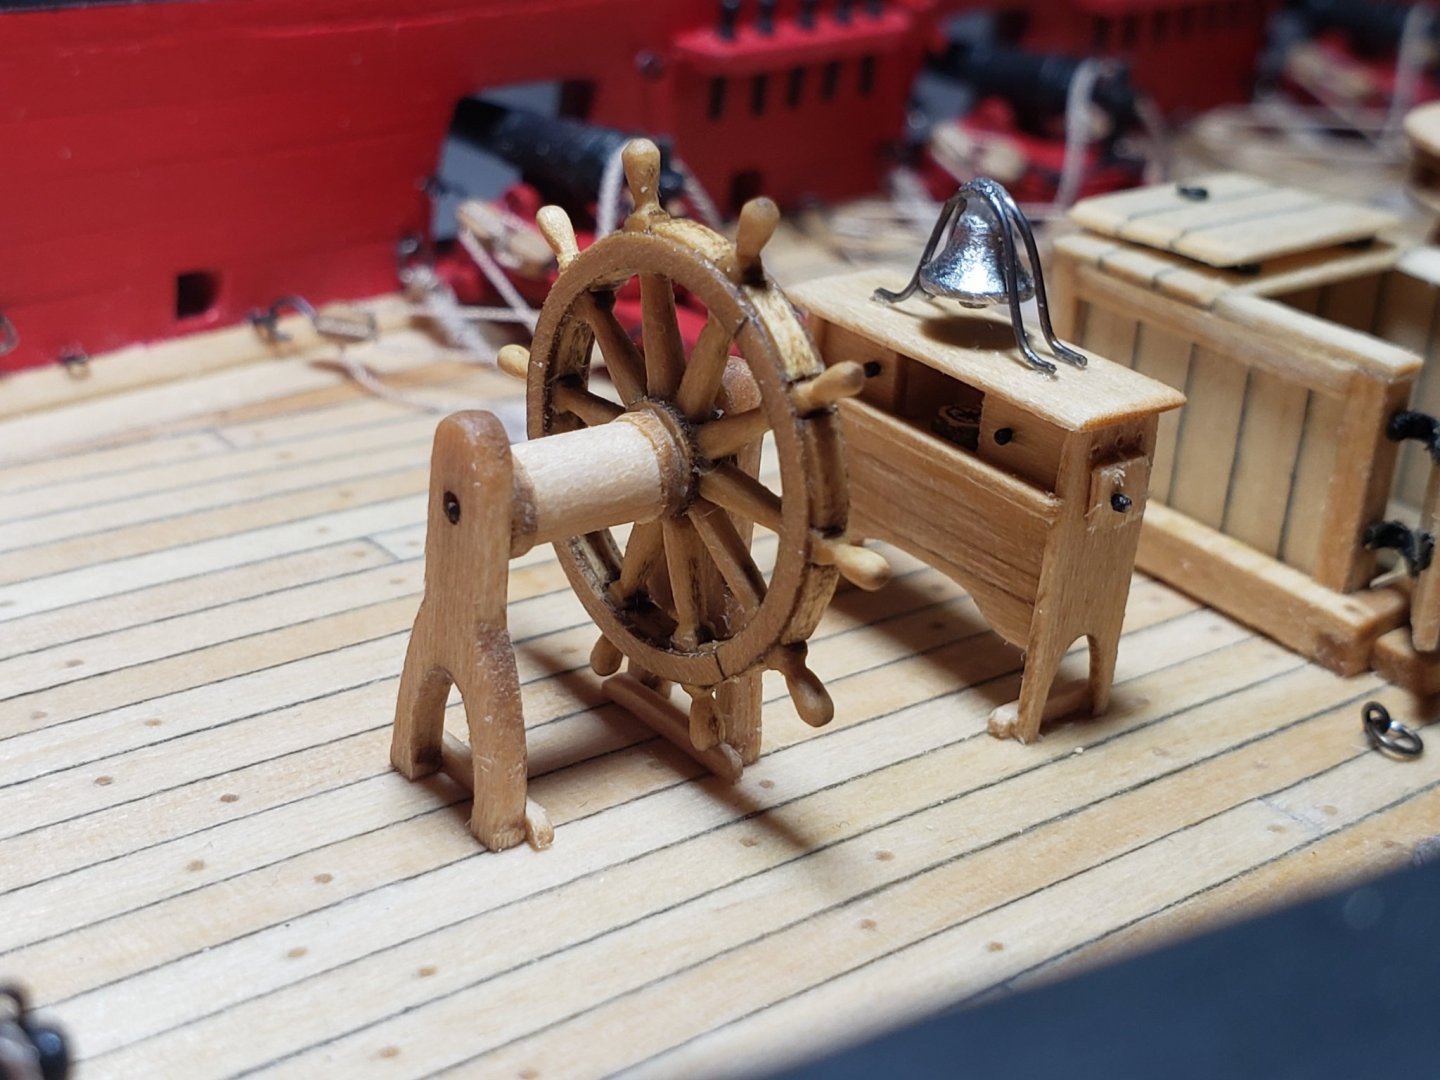
The assembly has been glued to the deck. Before doing so, I realized the eyebolts used to rig the wheel to tiller were in the wrong positions, so had to remove them, put filler in existing holes and paint it red again. I should've double checked the plans before installing them... Anyways, some pics!!


- 950 replies
-
- 12
-
-
- syren
- model shipways
- (and 1 more)
-
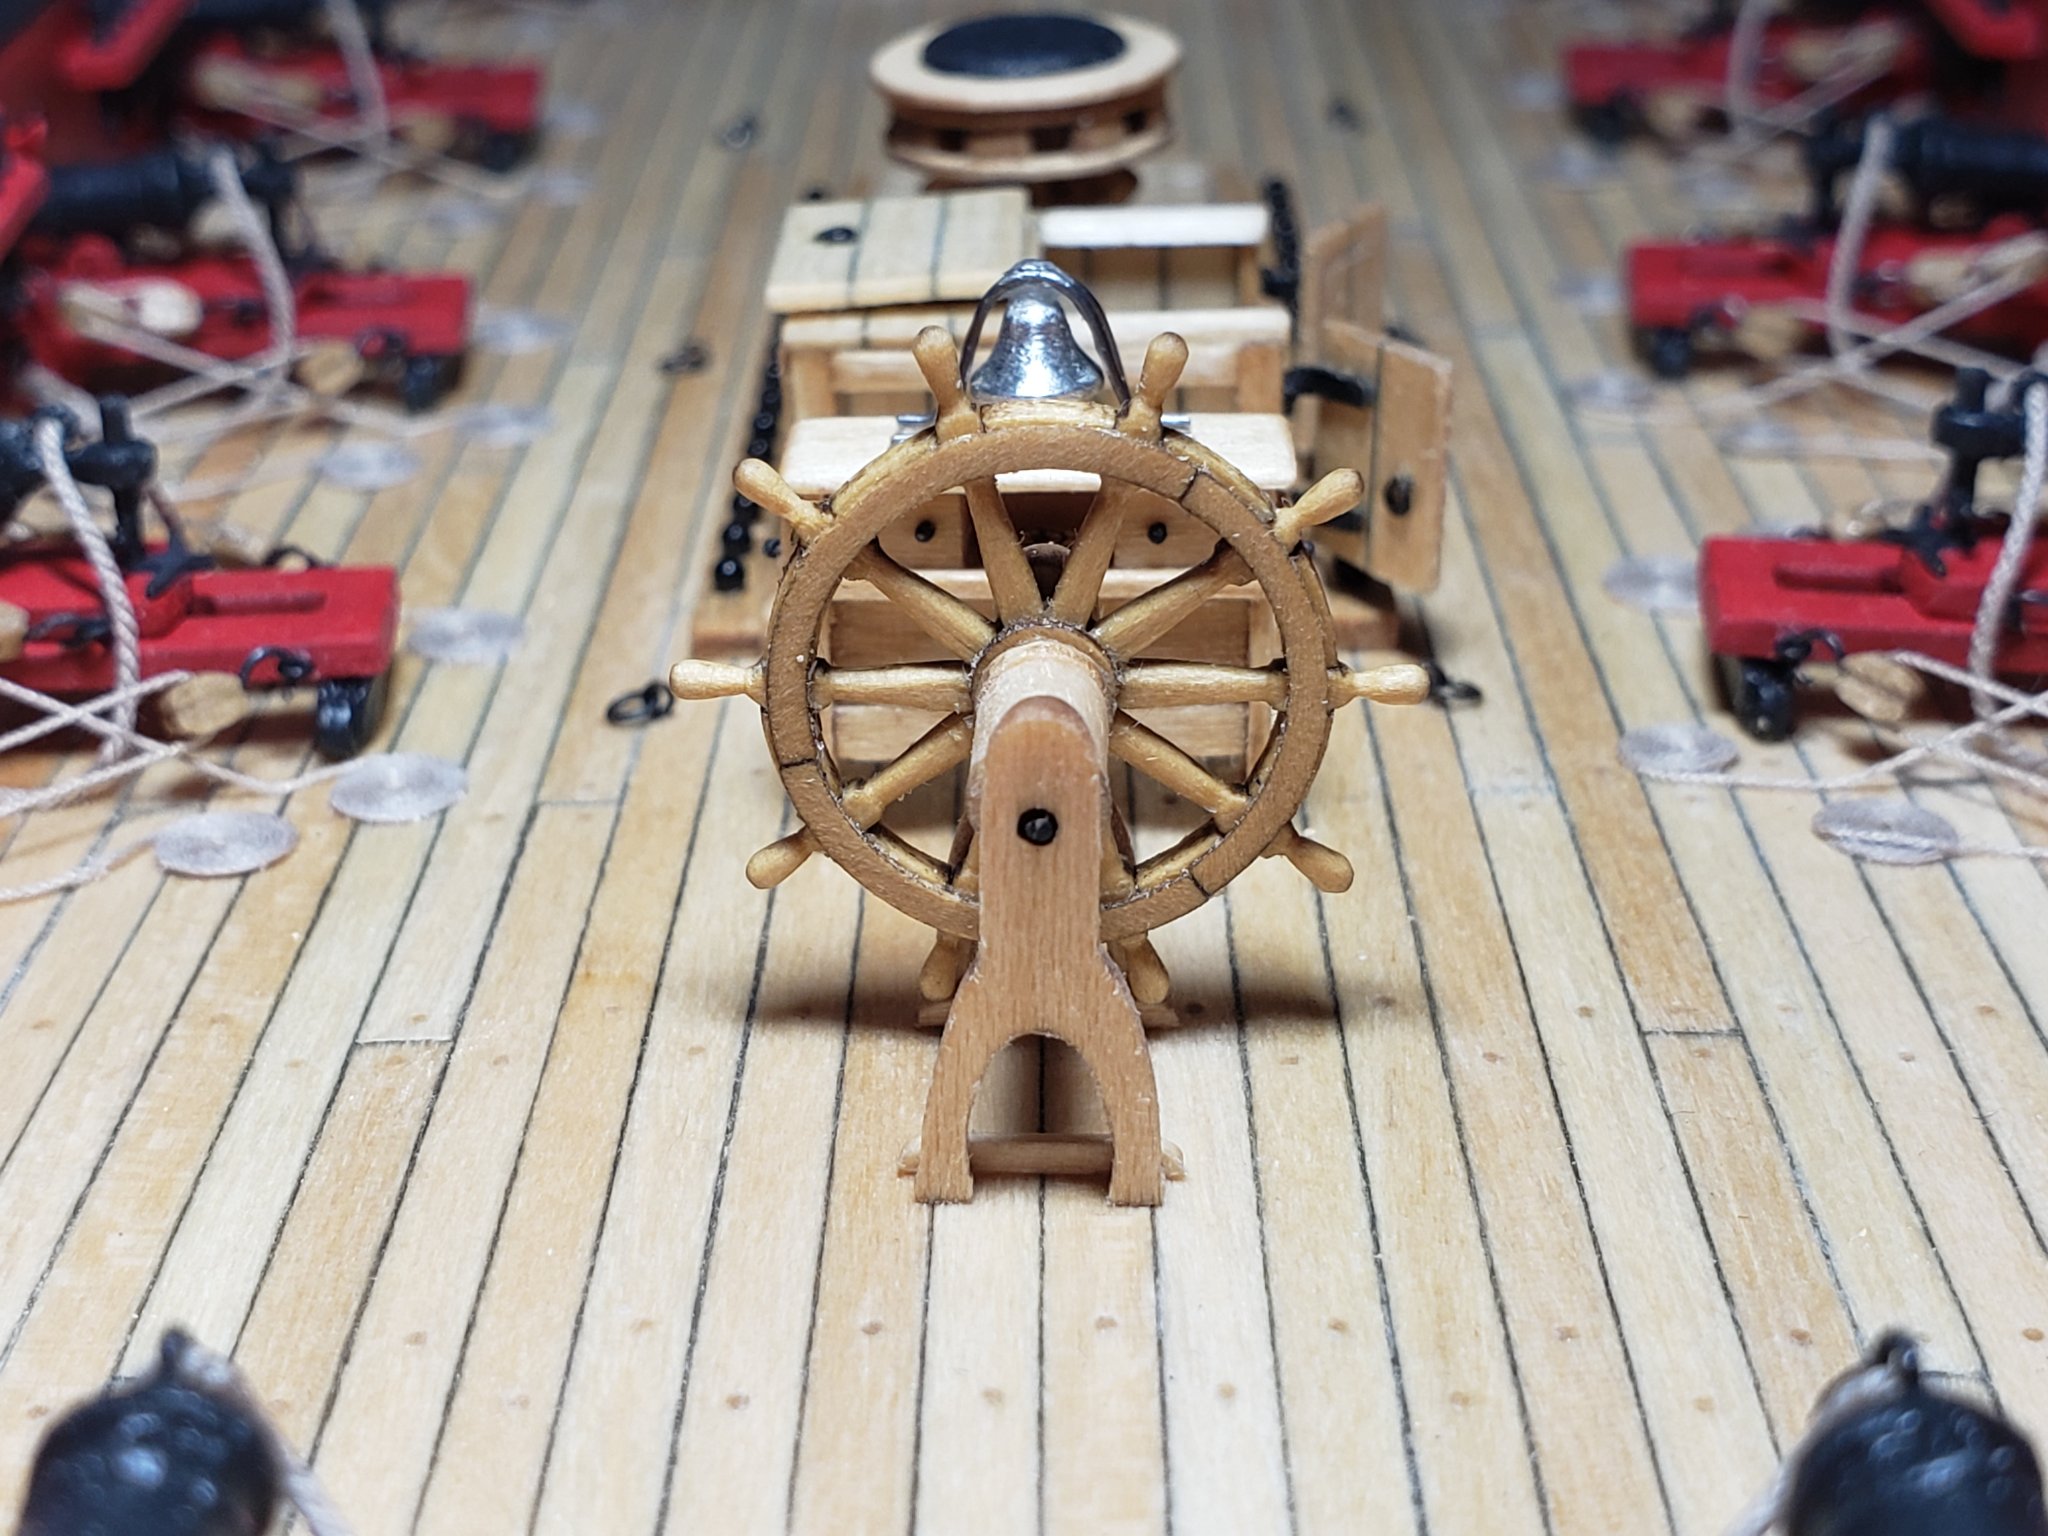
Finished assembling the support posts and wheel. Had to glue everything up to make it easy to assemble

- 950 replies
-
- 6
-
-
- syren
- model shipways
- (and 1 more)
-
Framing gunports and single planking Victory Model's Pegasus
WalrusGuy replied to WalrusGuy's topic in Wood ship model kits
Thanks Mark! -
I am already thinking of my next big build after I finish the Syren (still long ways to go but better to be prepared 😁). For this, I am considering Amati's Pegasus. I really like the Swan class's hull lines and overall looks. For my Syren, I really enjoyed framing the gun and sweep ports, and single planking above the wales (these steps made the build feel authentic). So just wondering if this at all possible with the Pegasus kit? Or will it cause hiccups down the road since I am still a very novice builder?
-
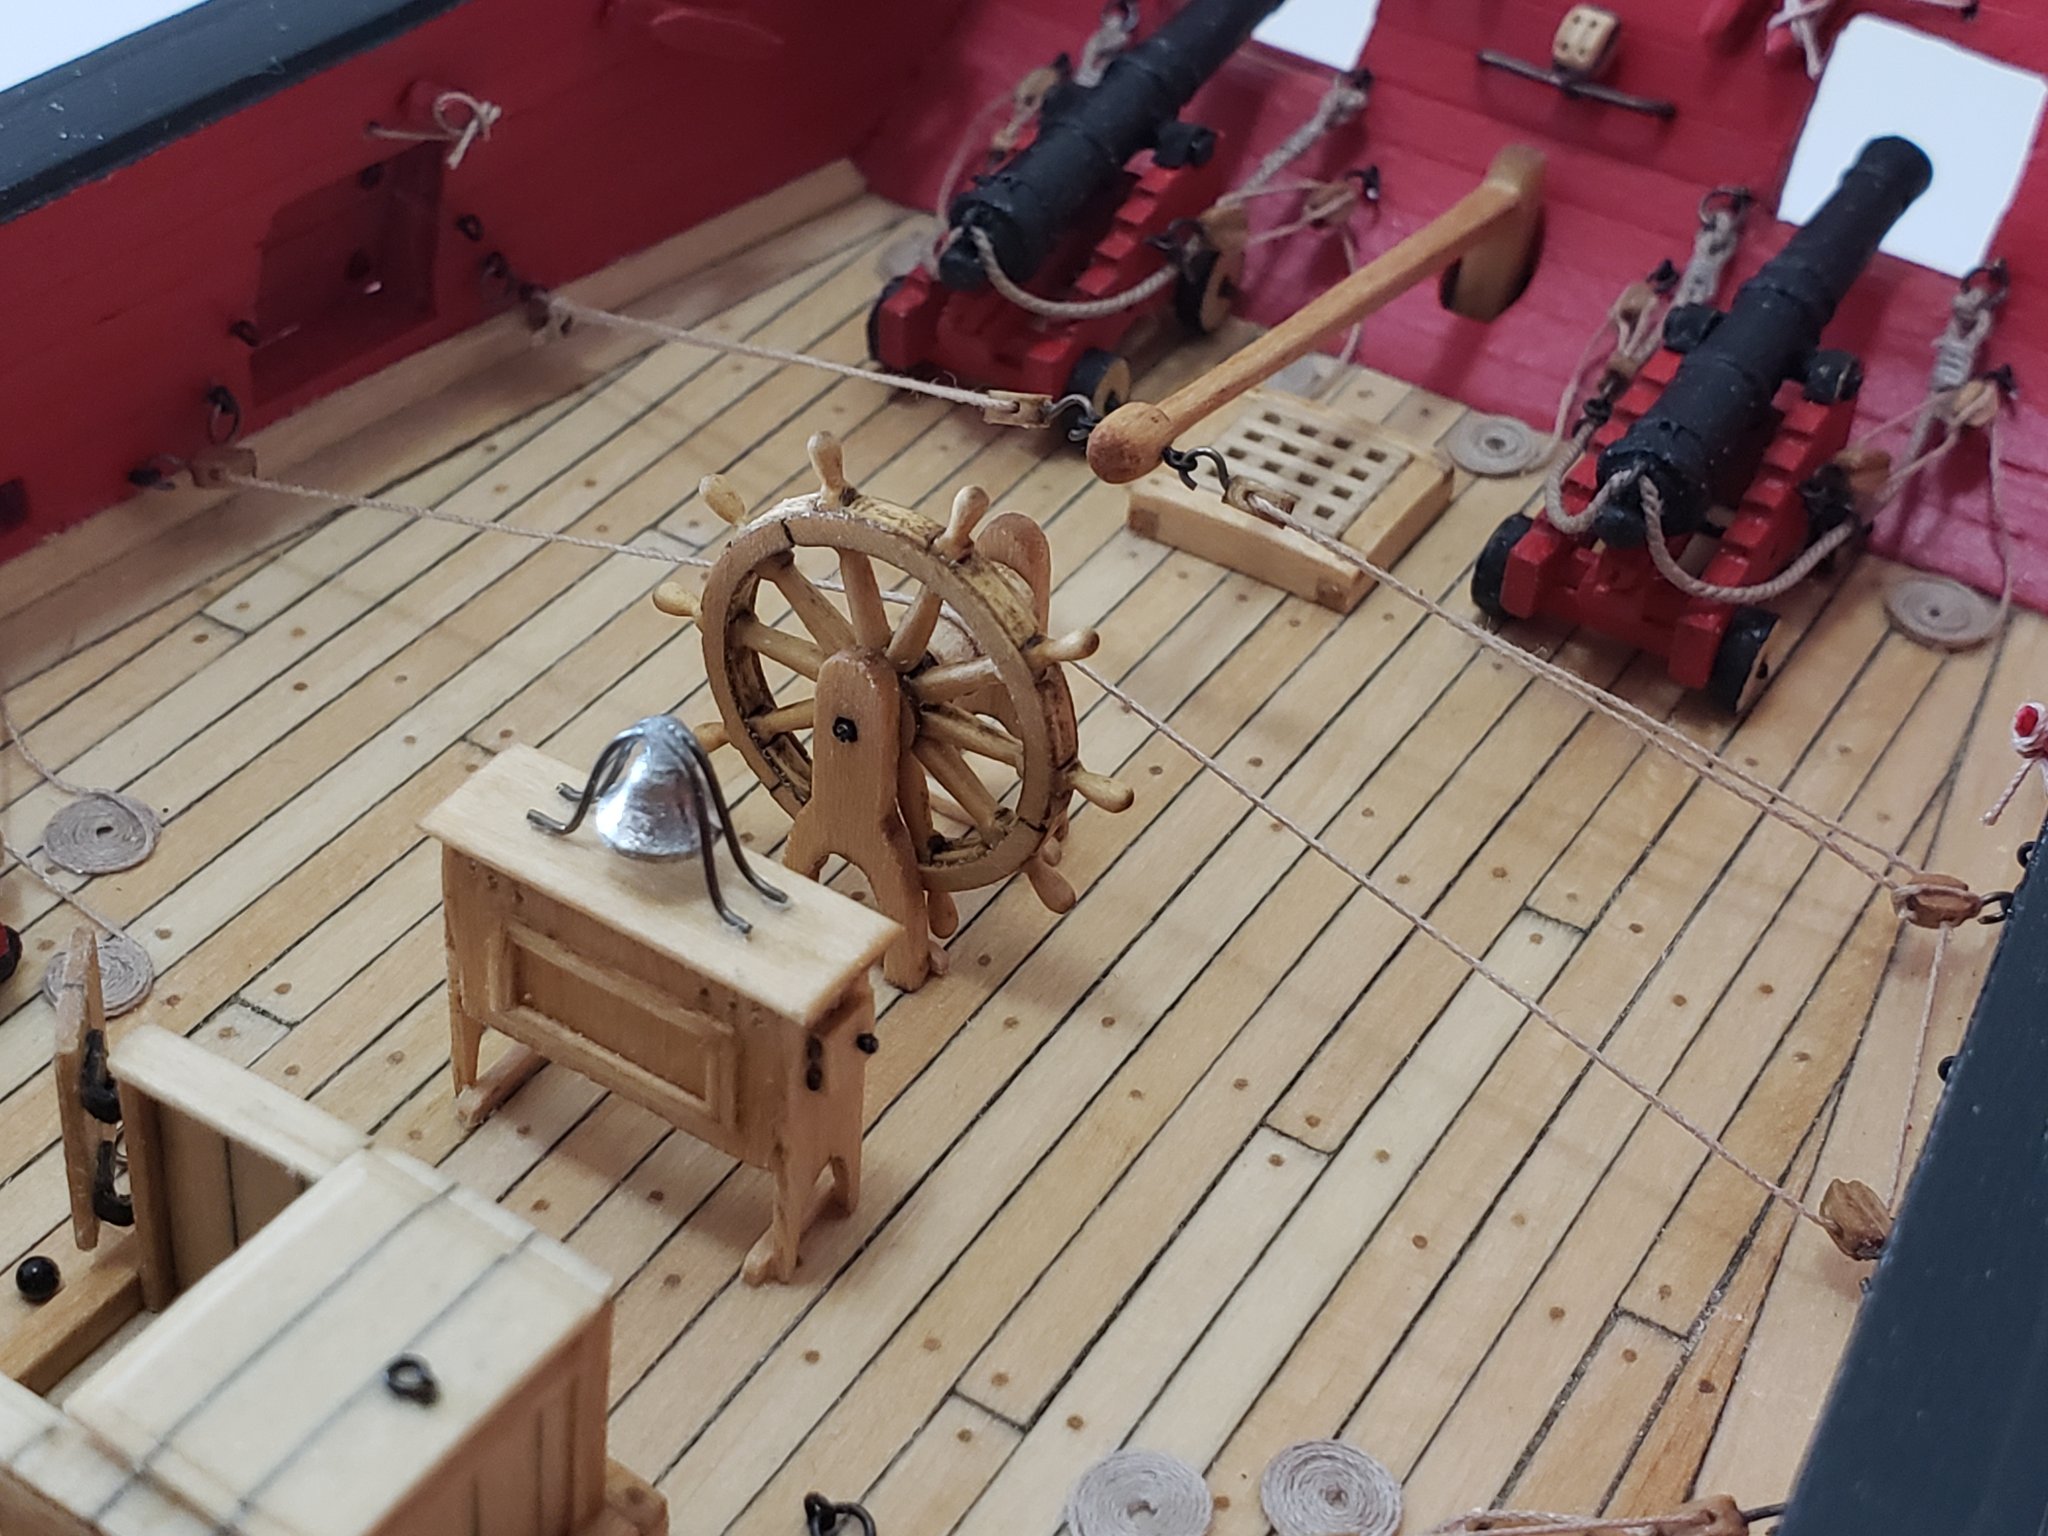
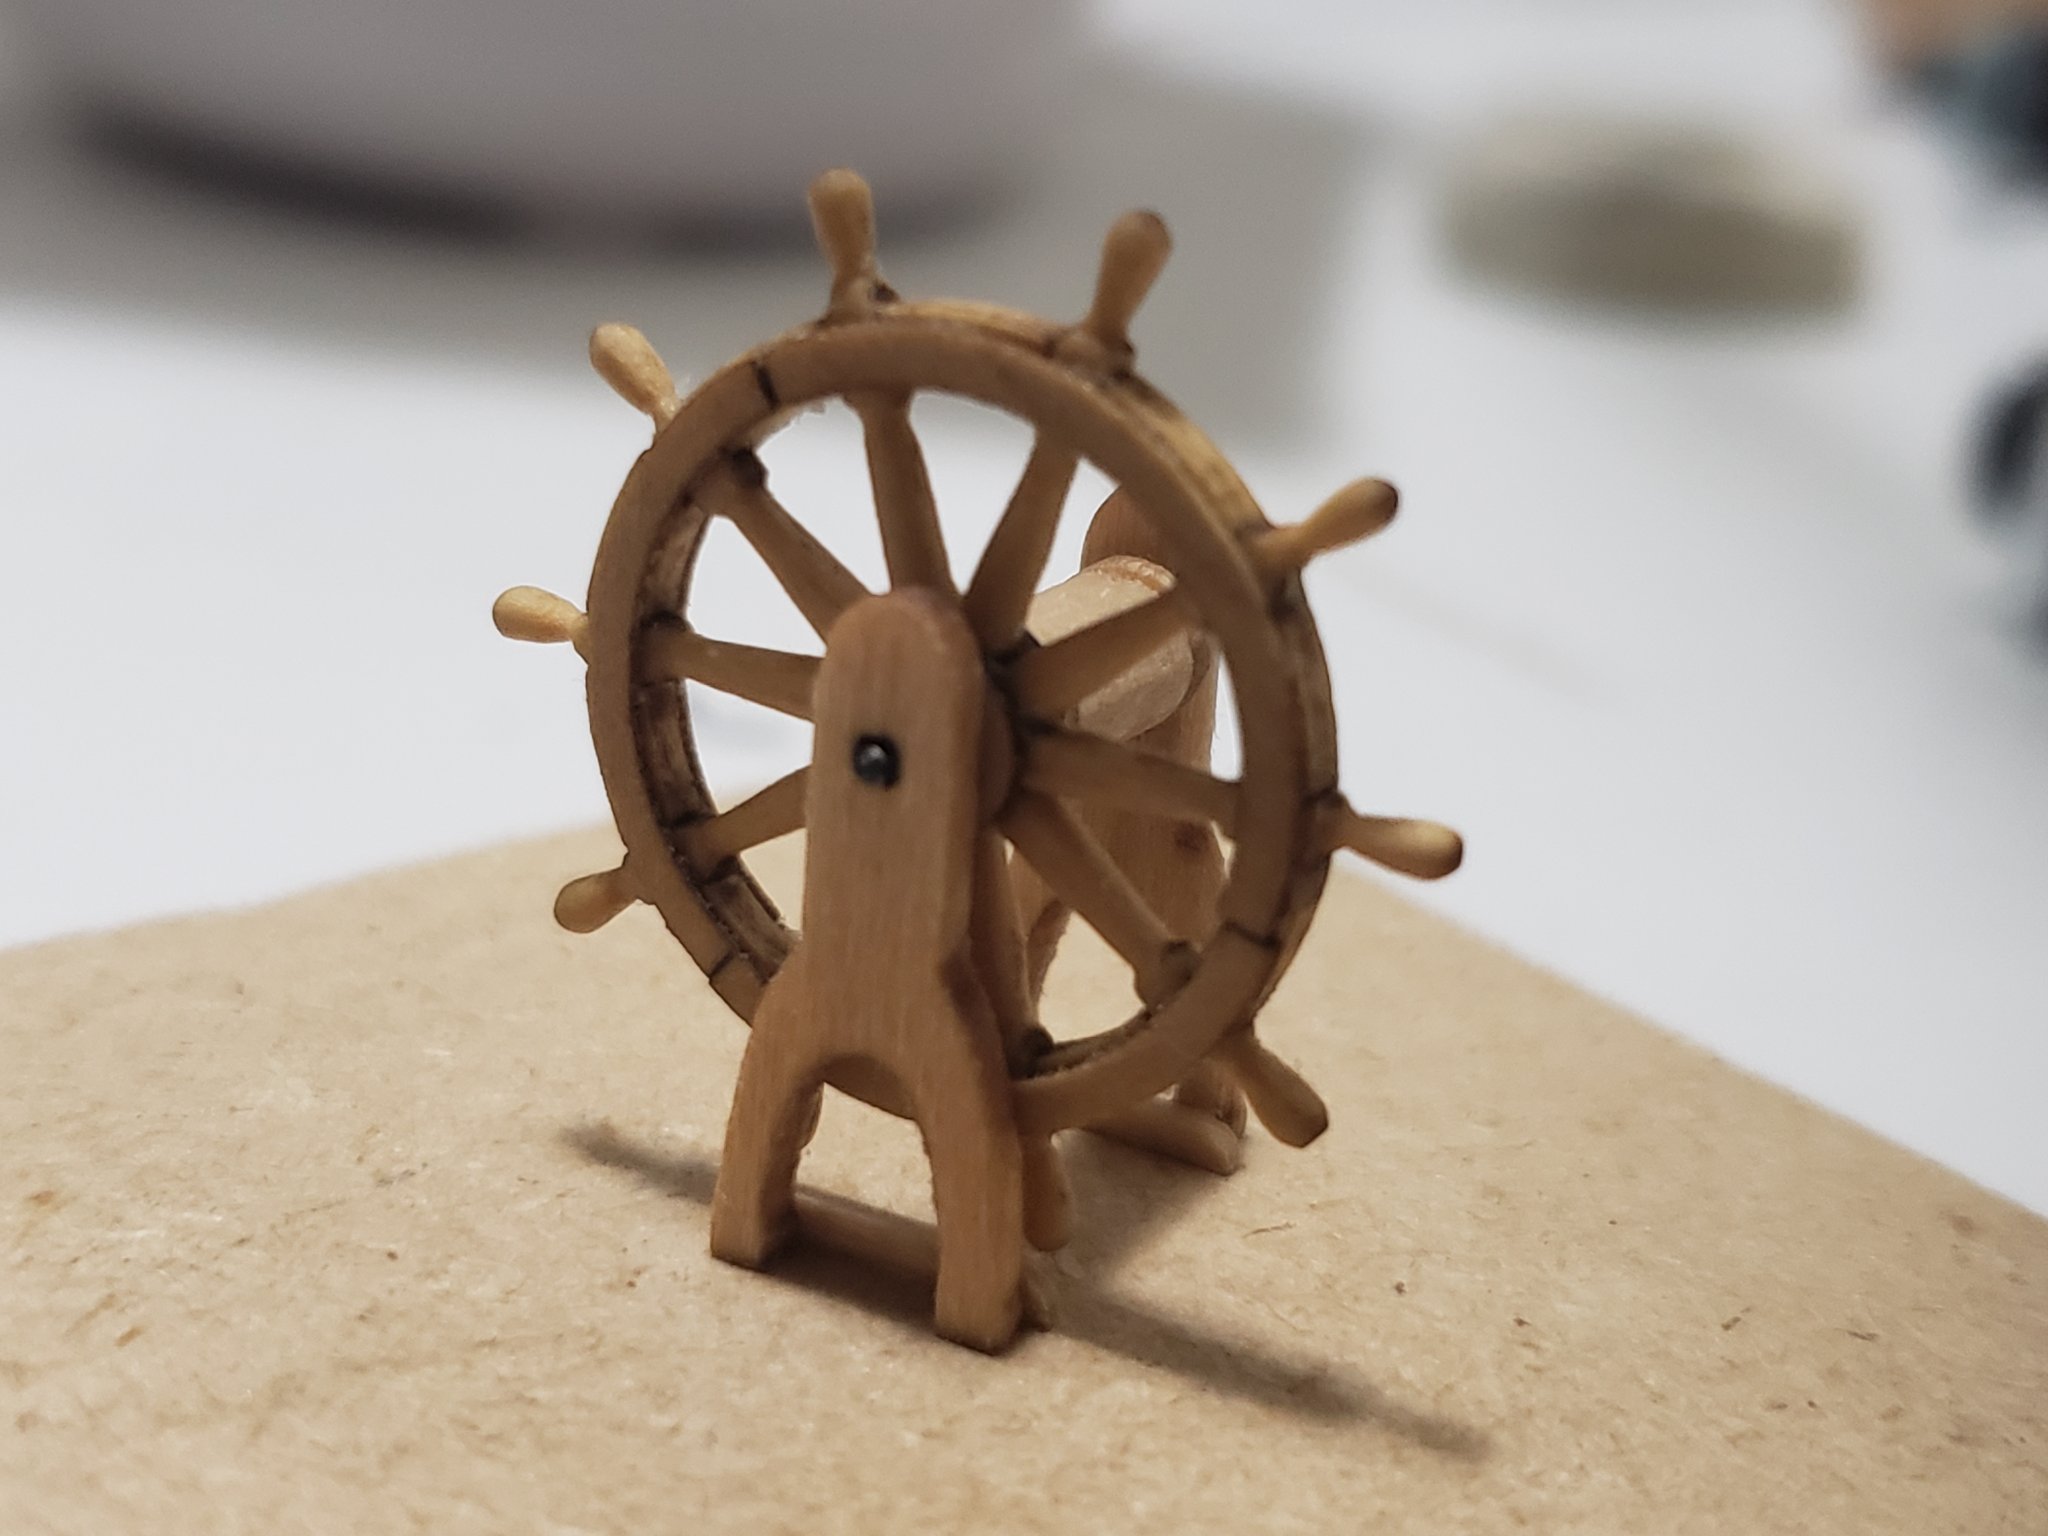
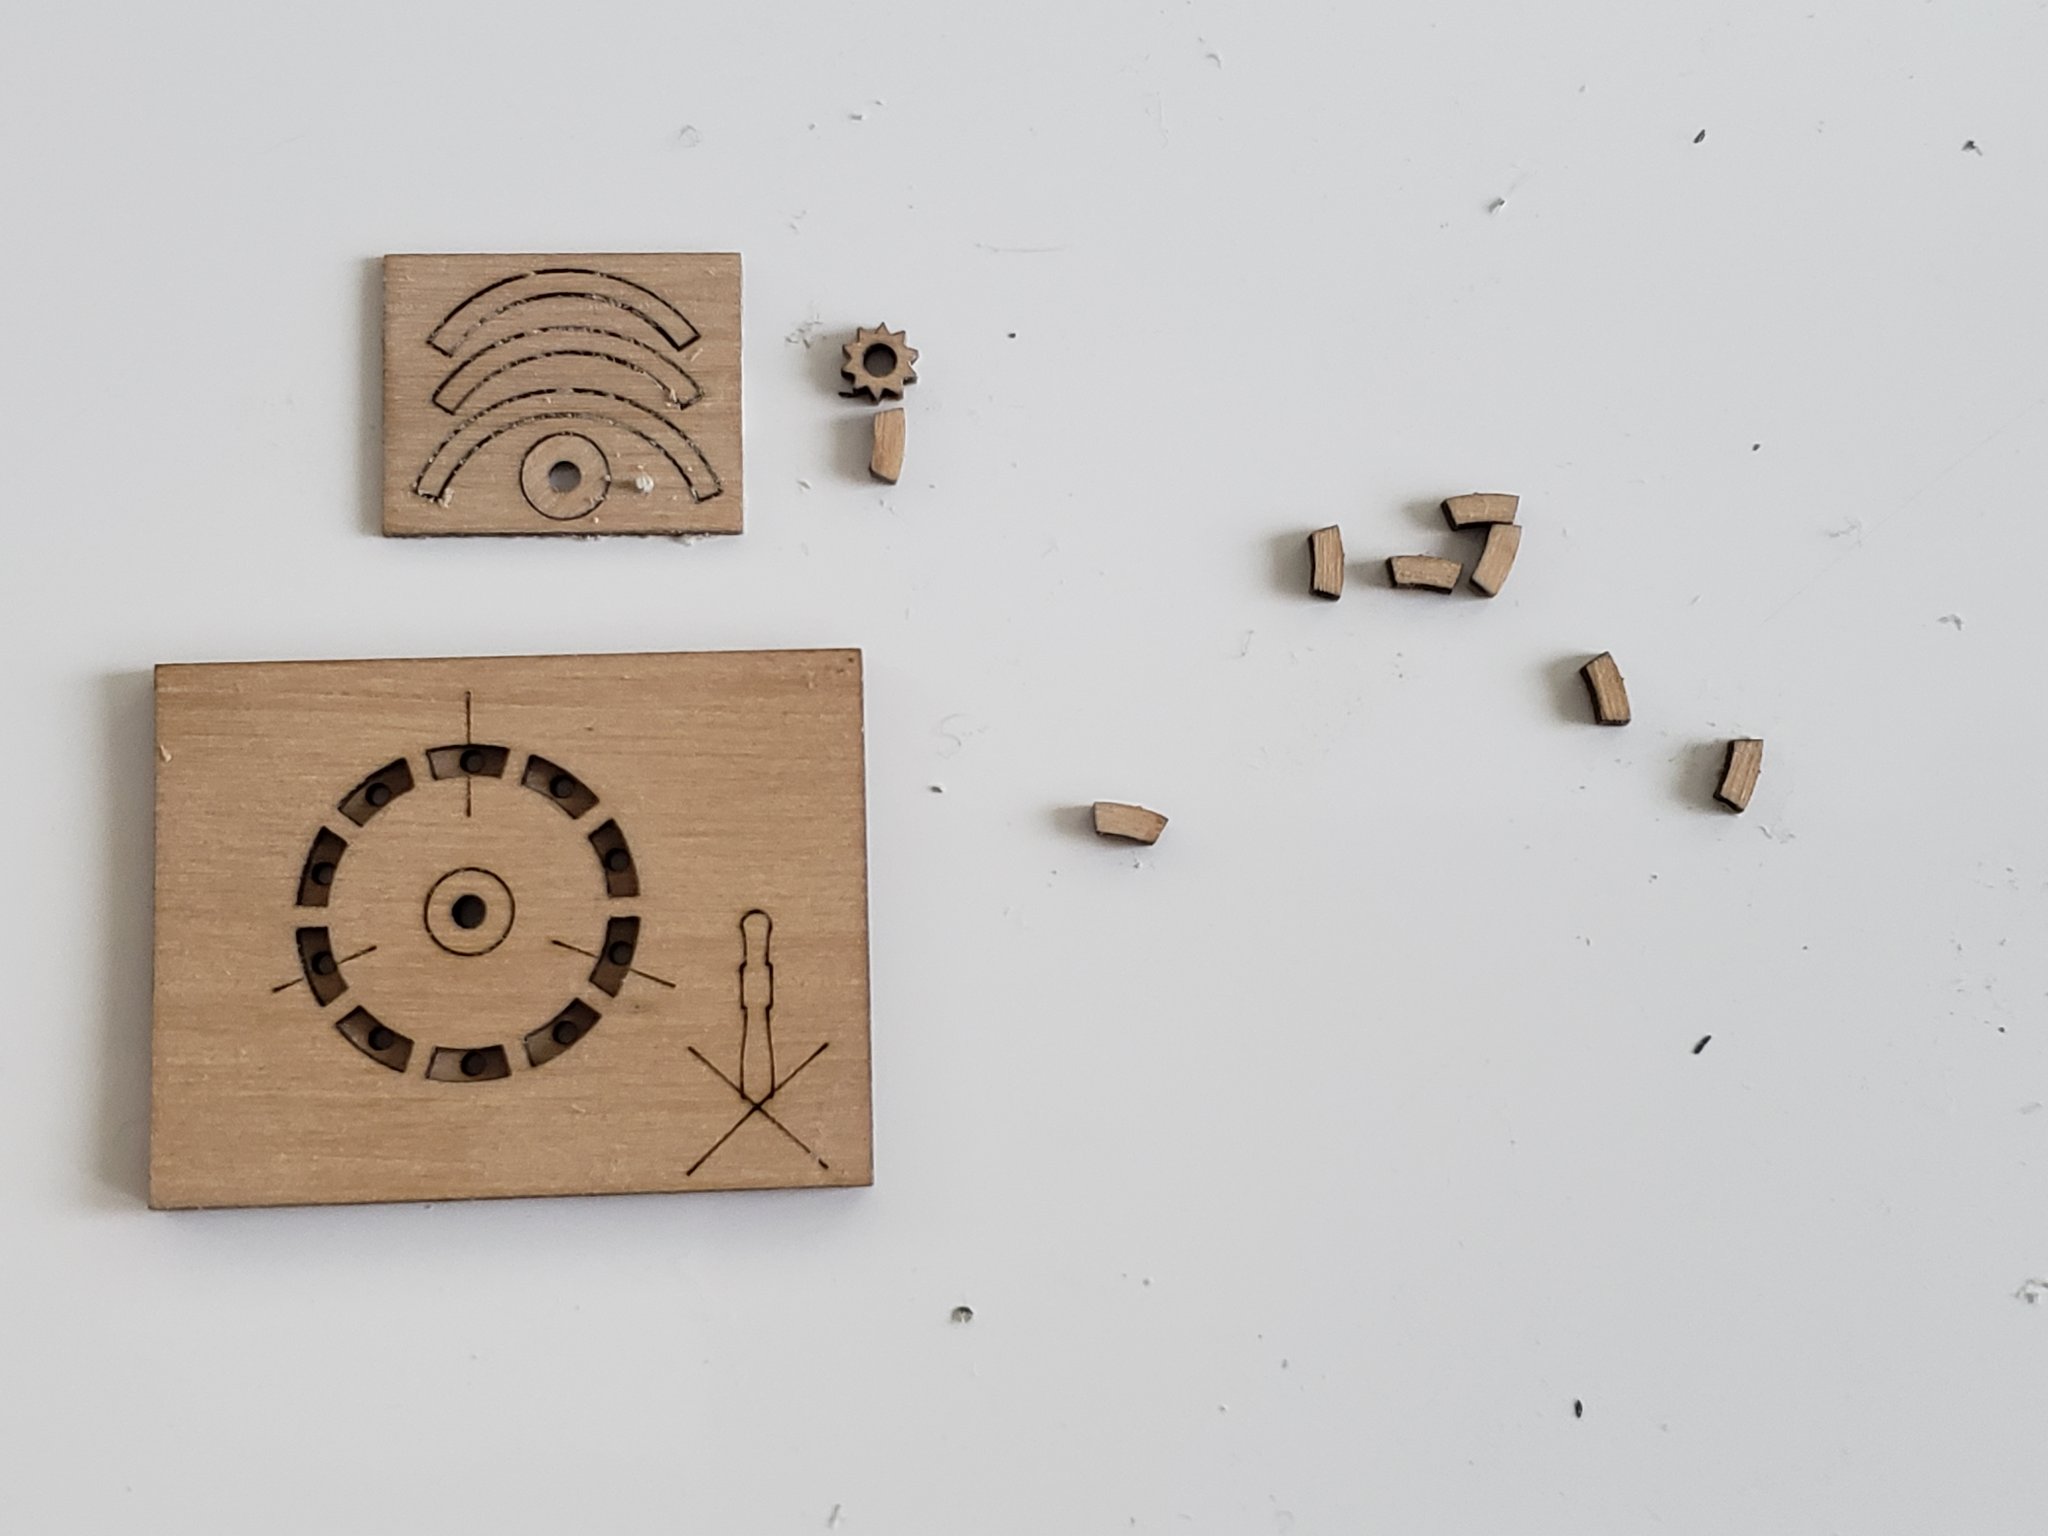
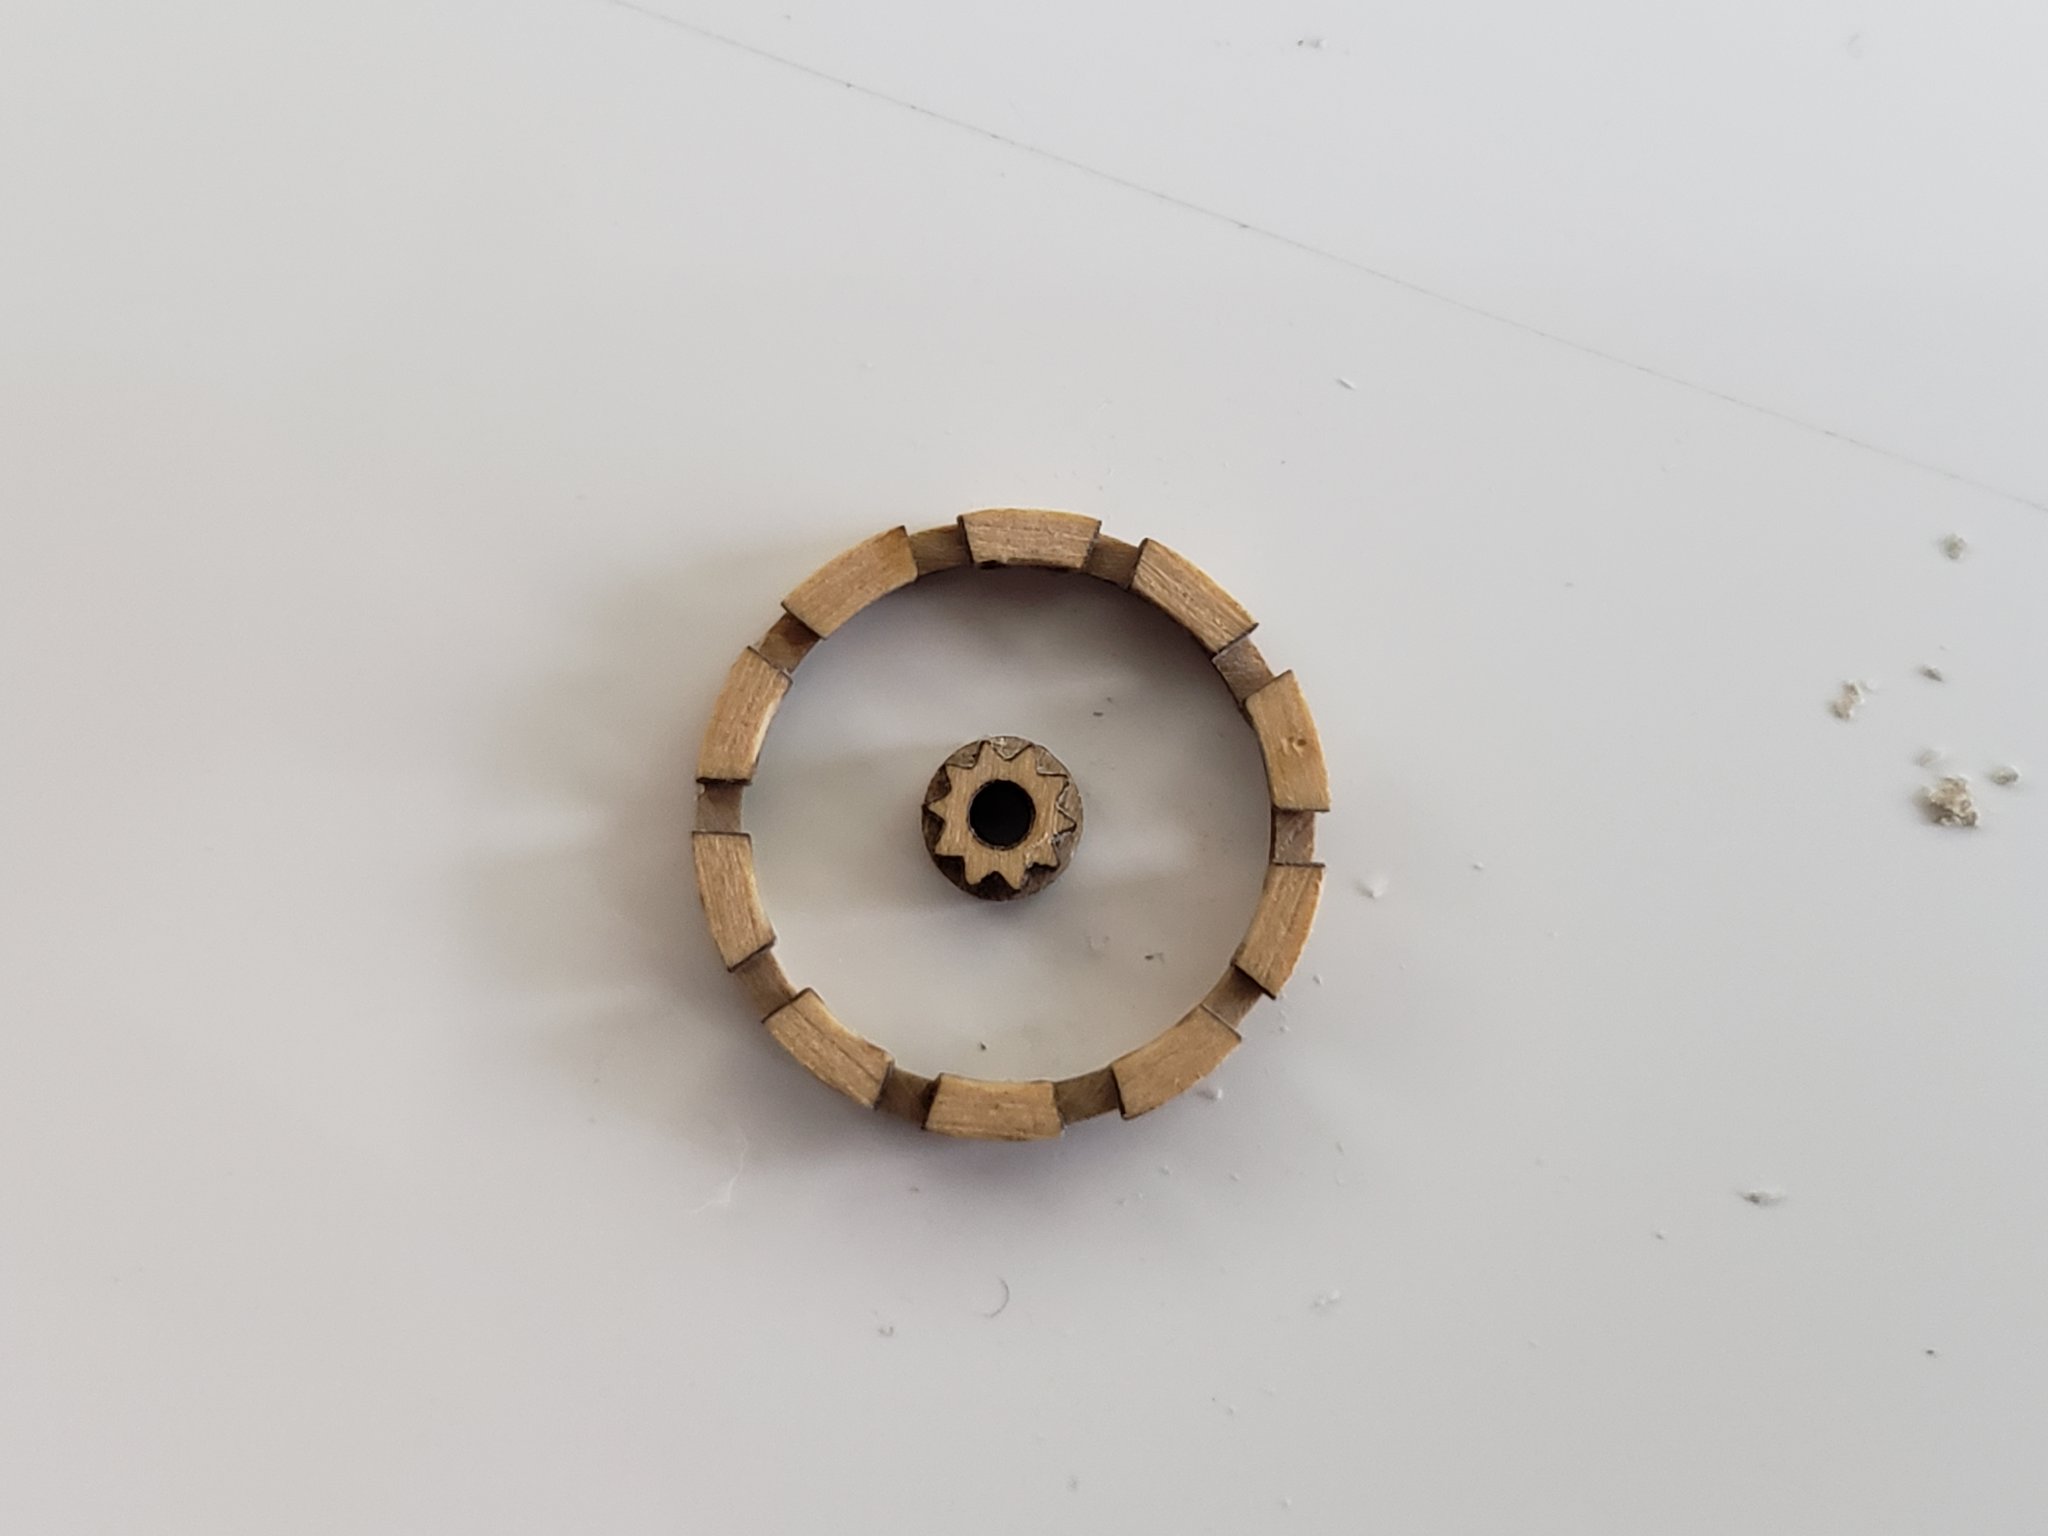
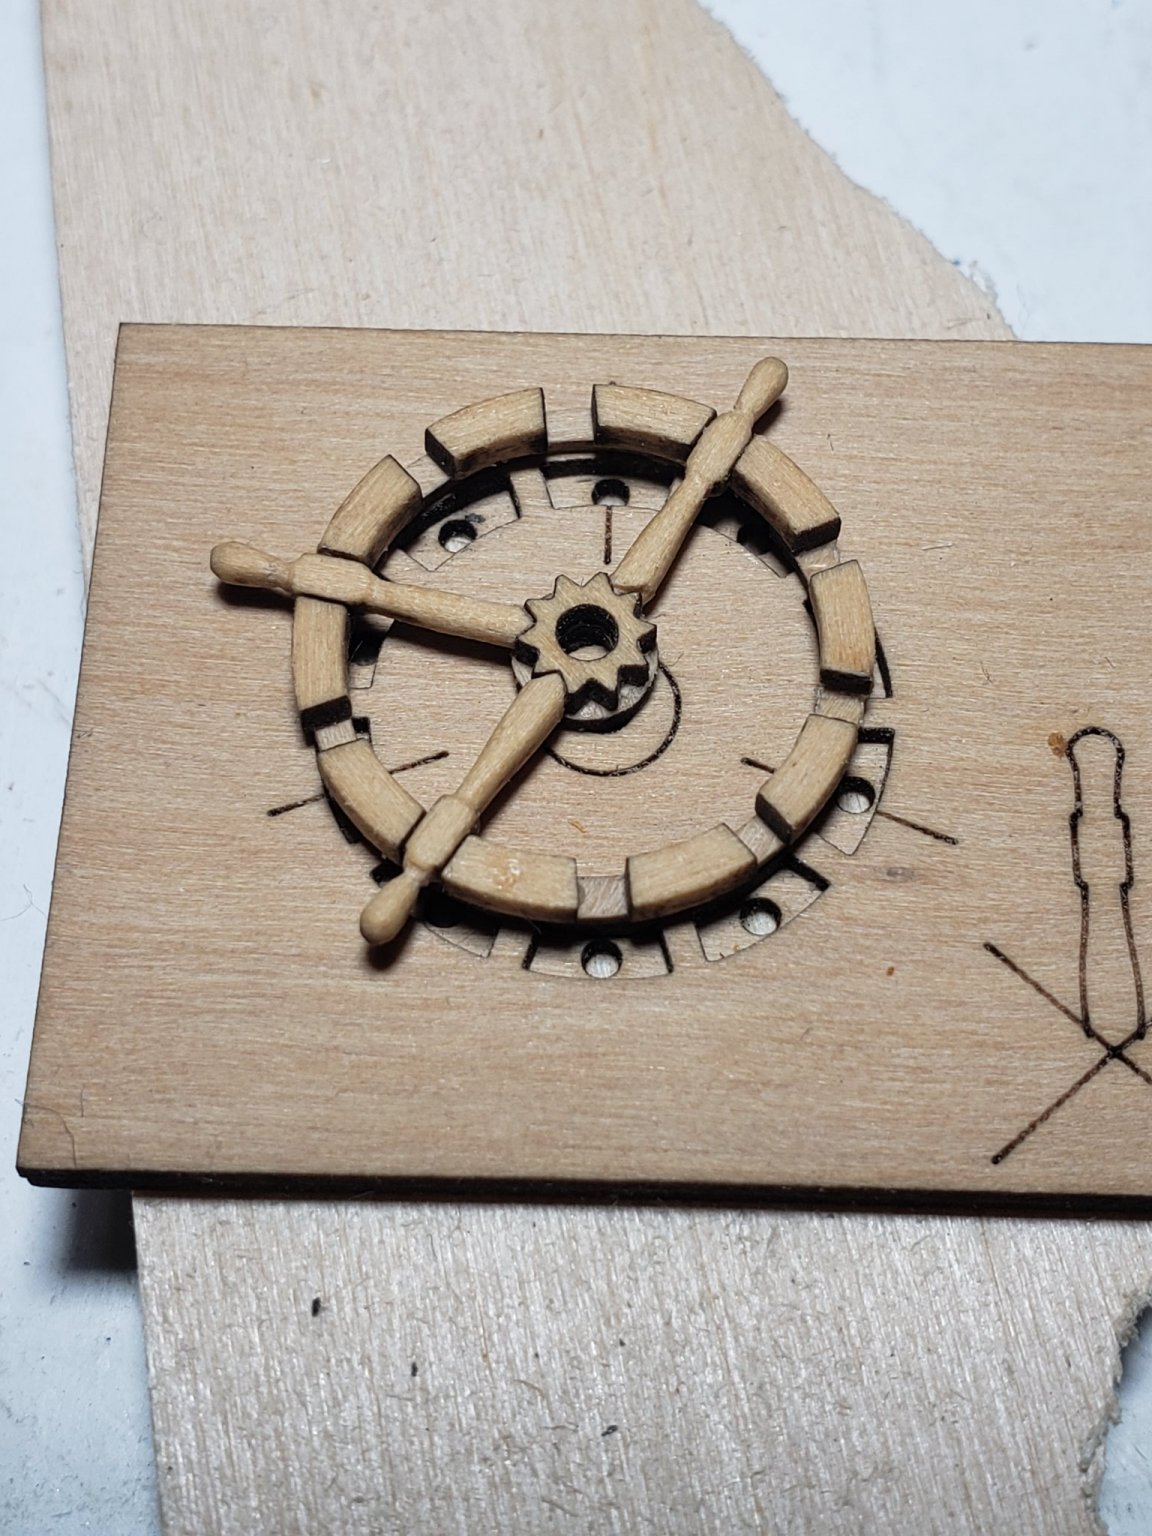
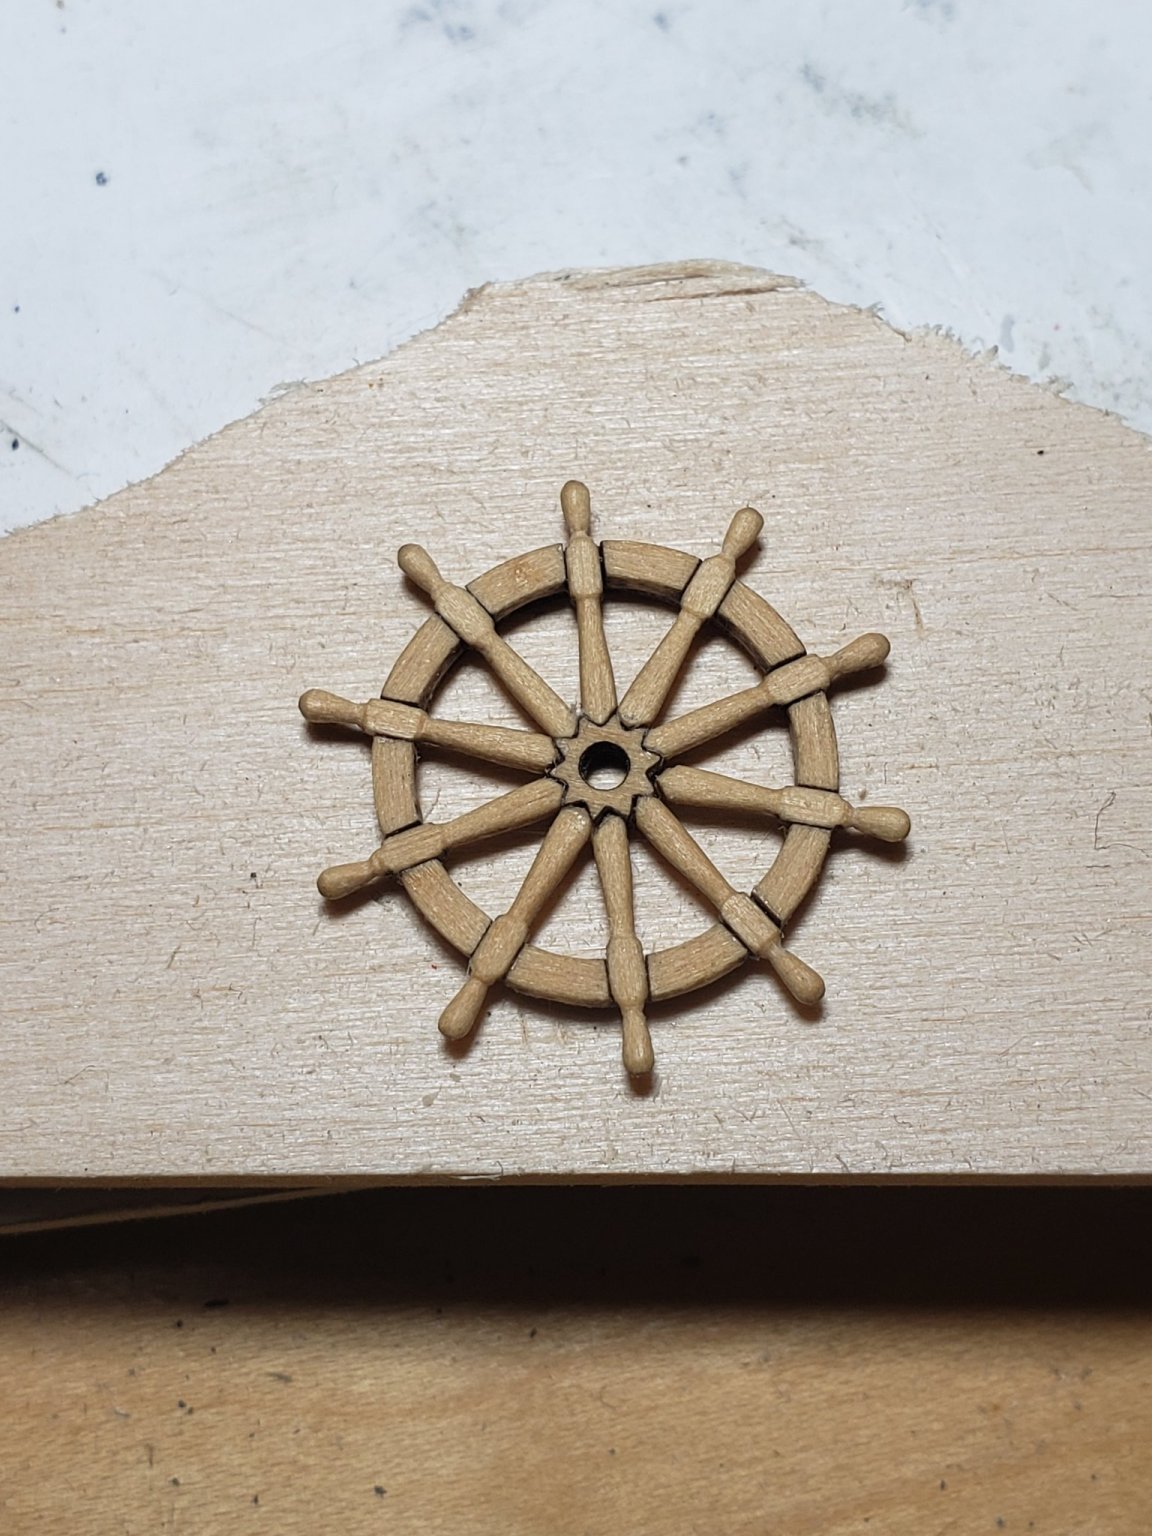
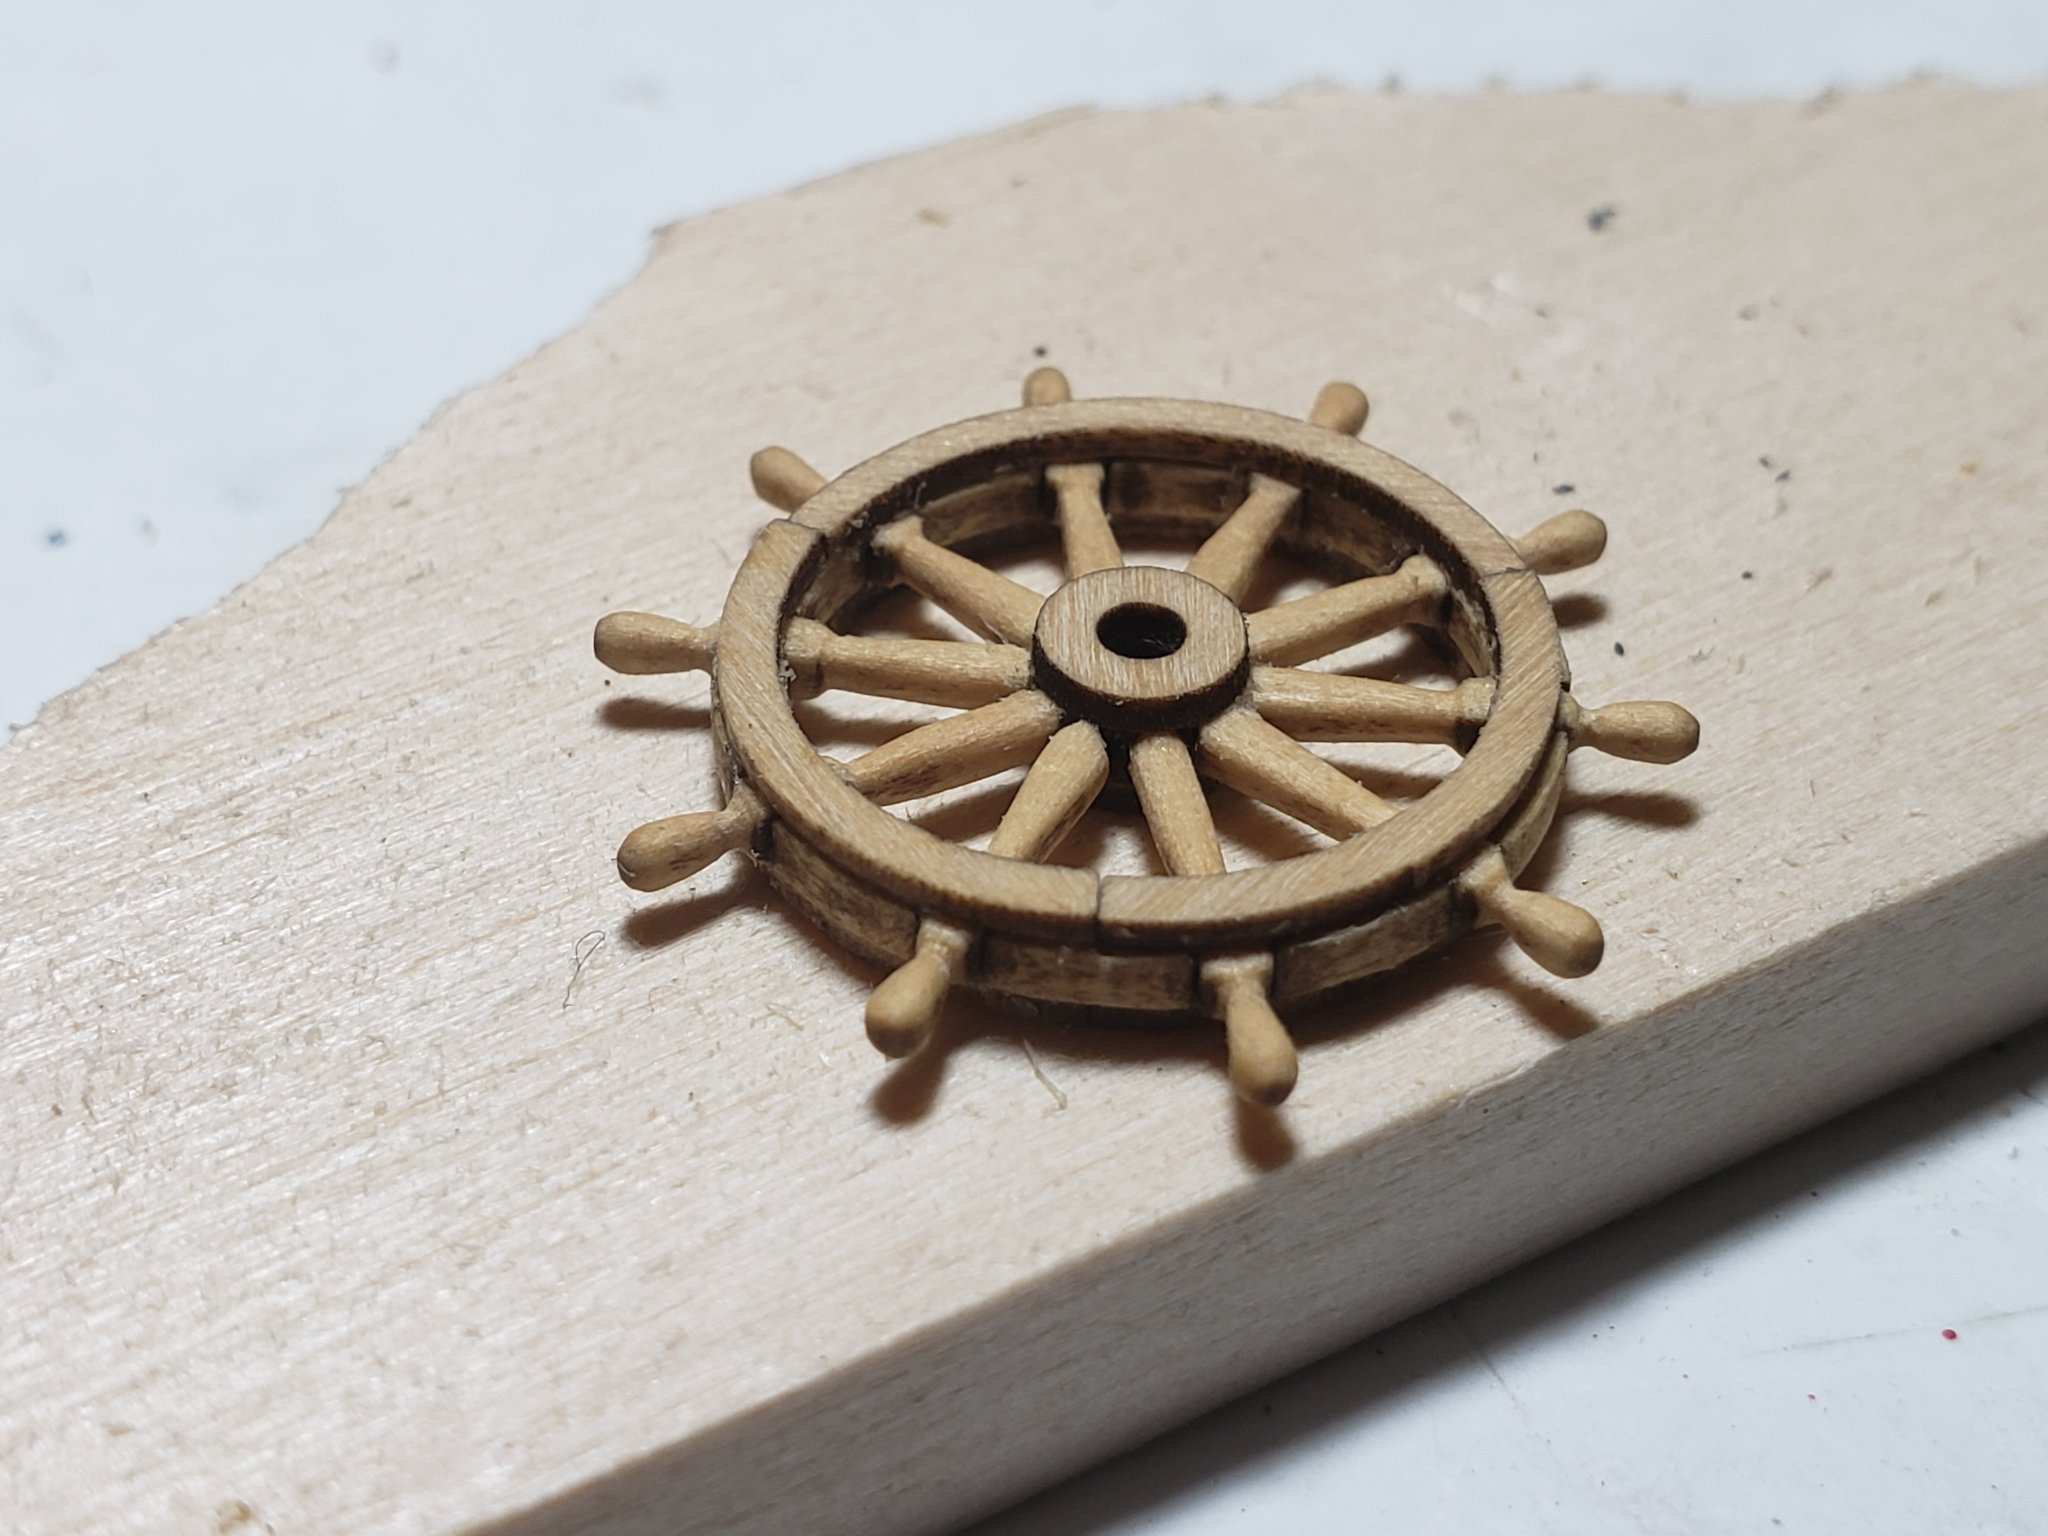
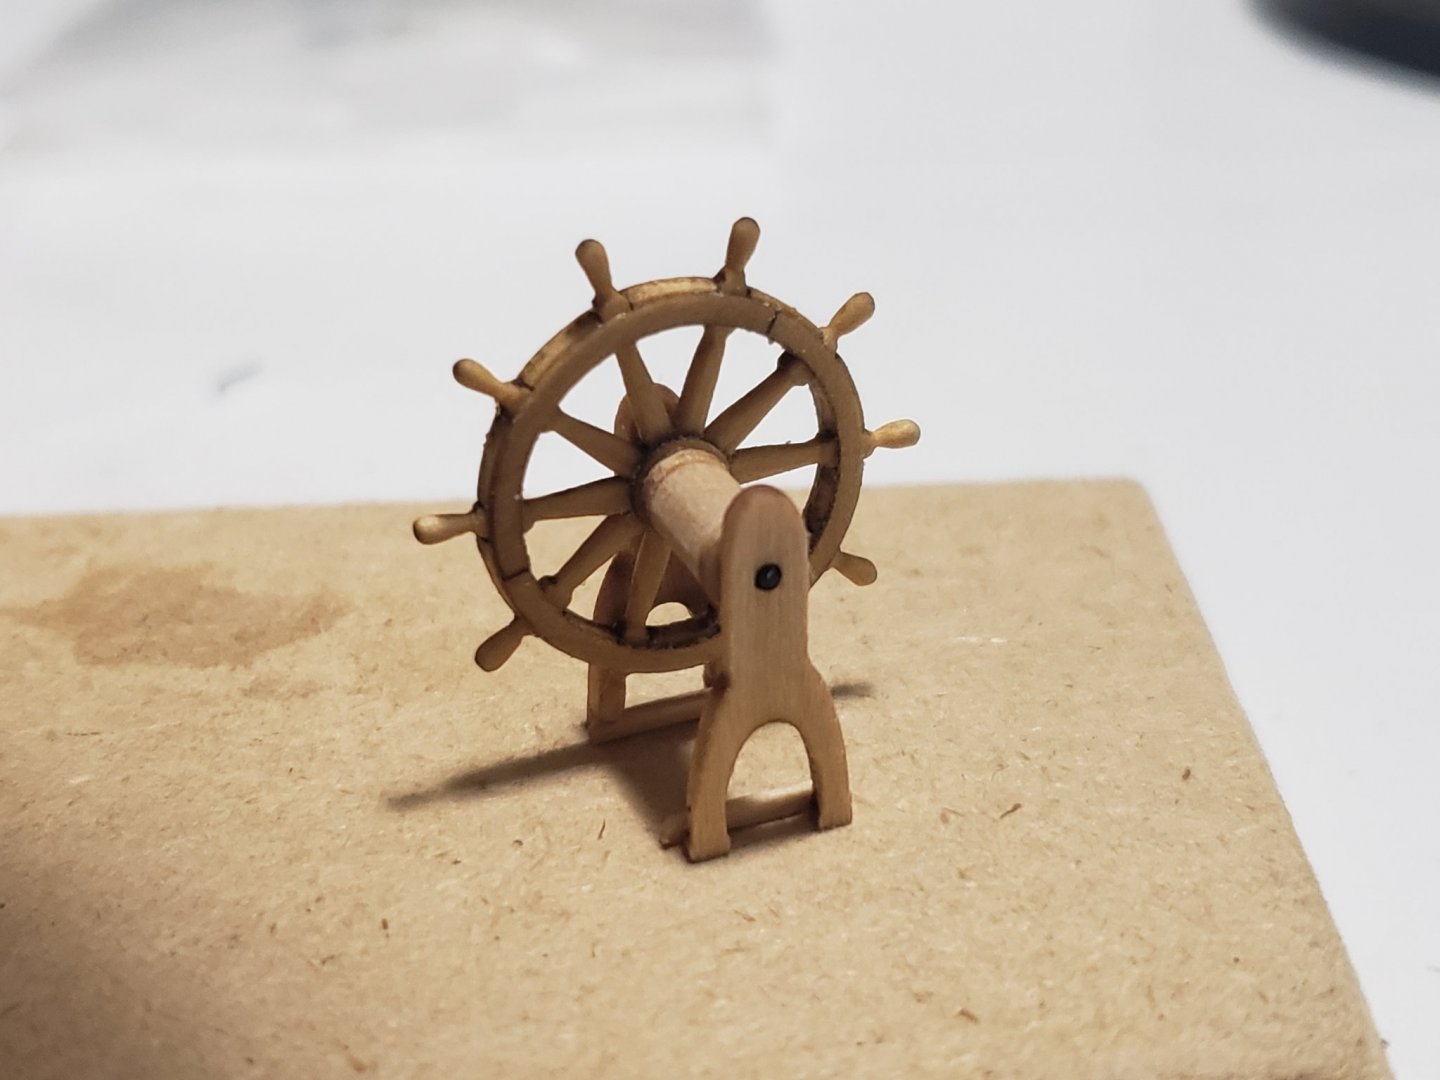
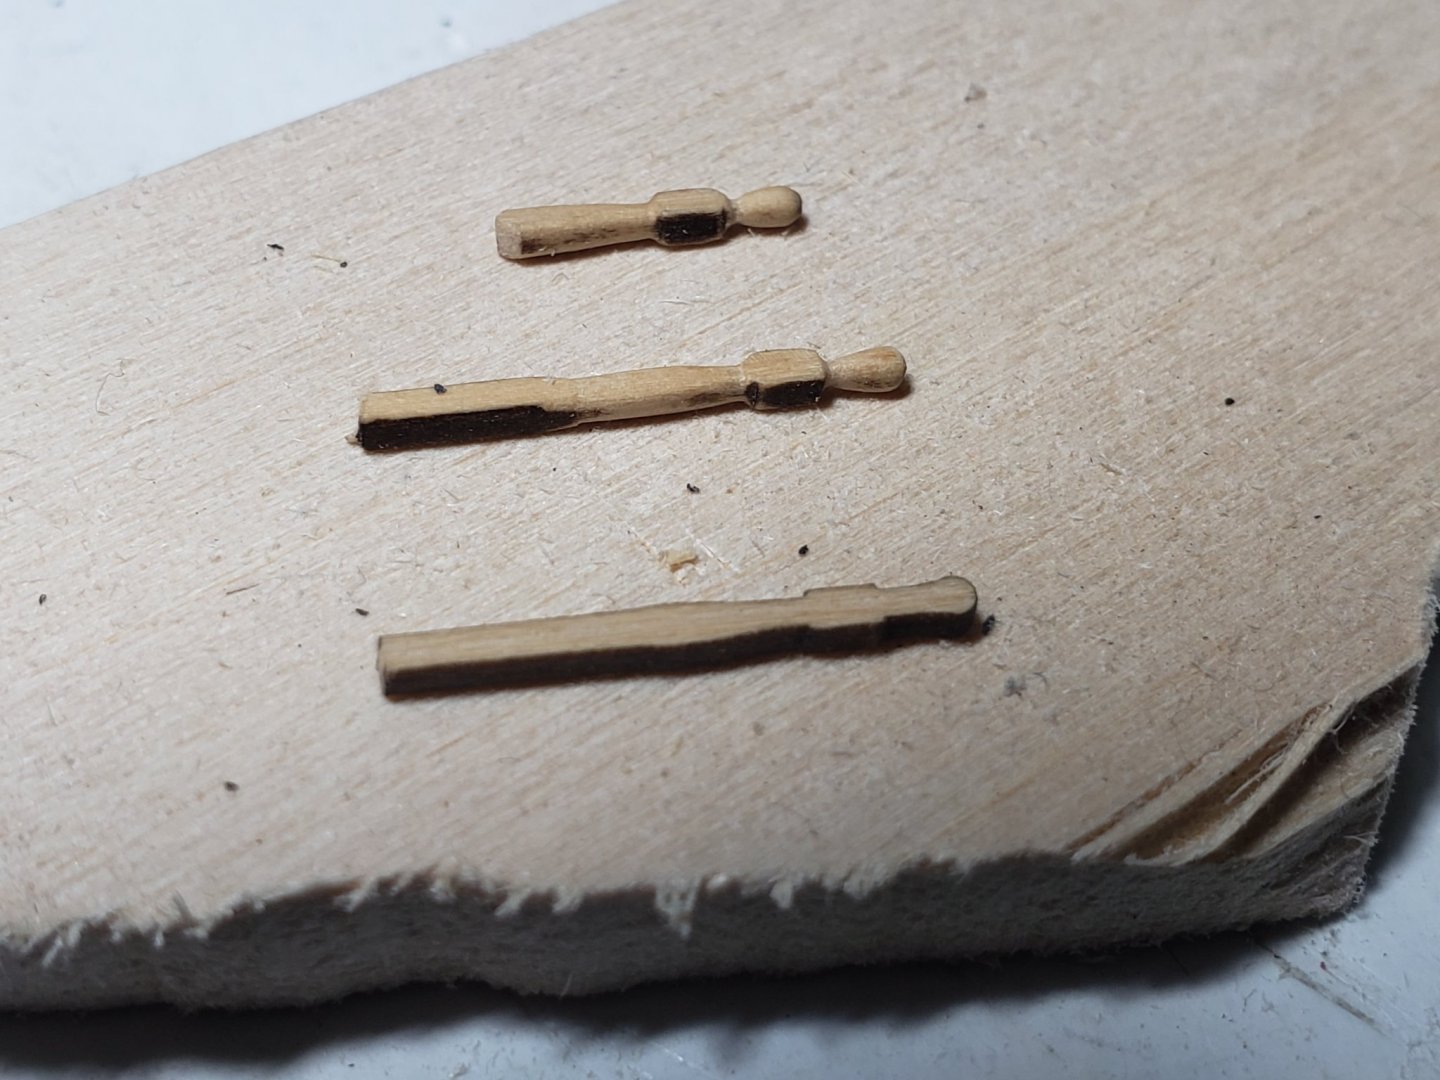
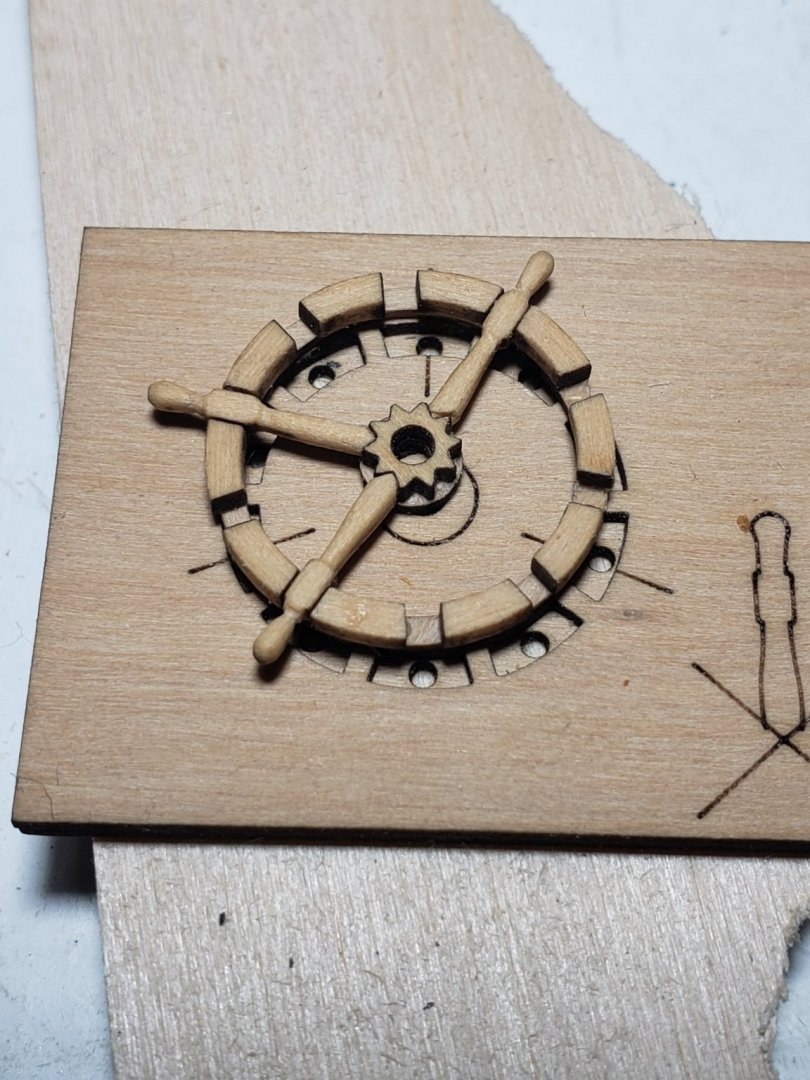
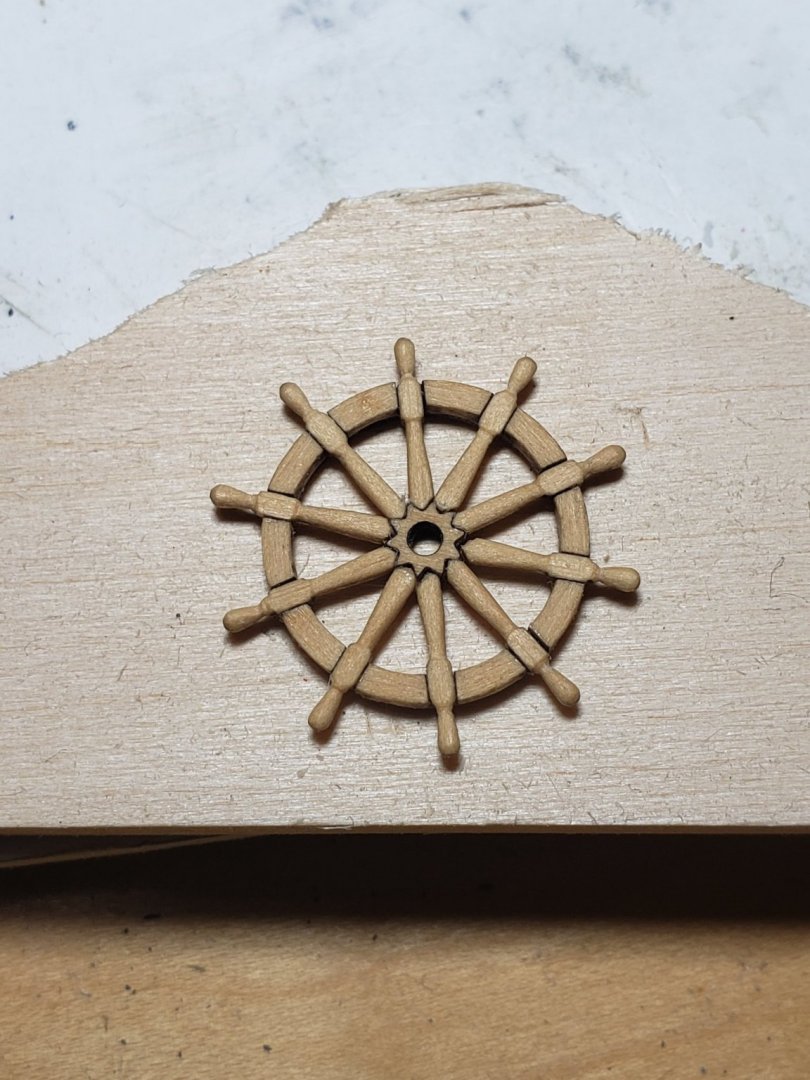
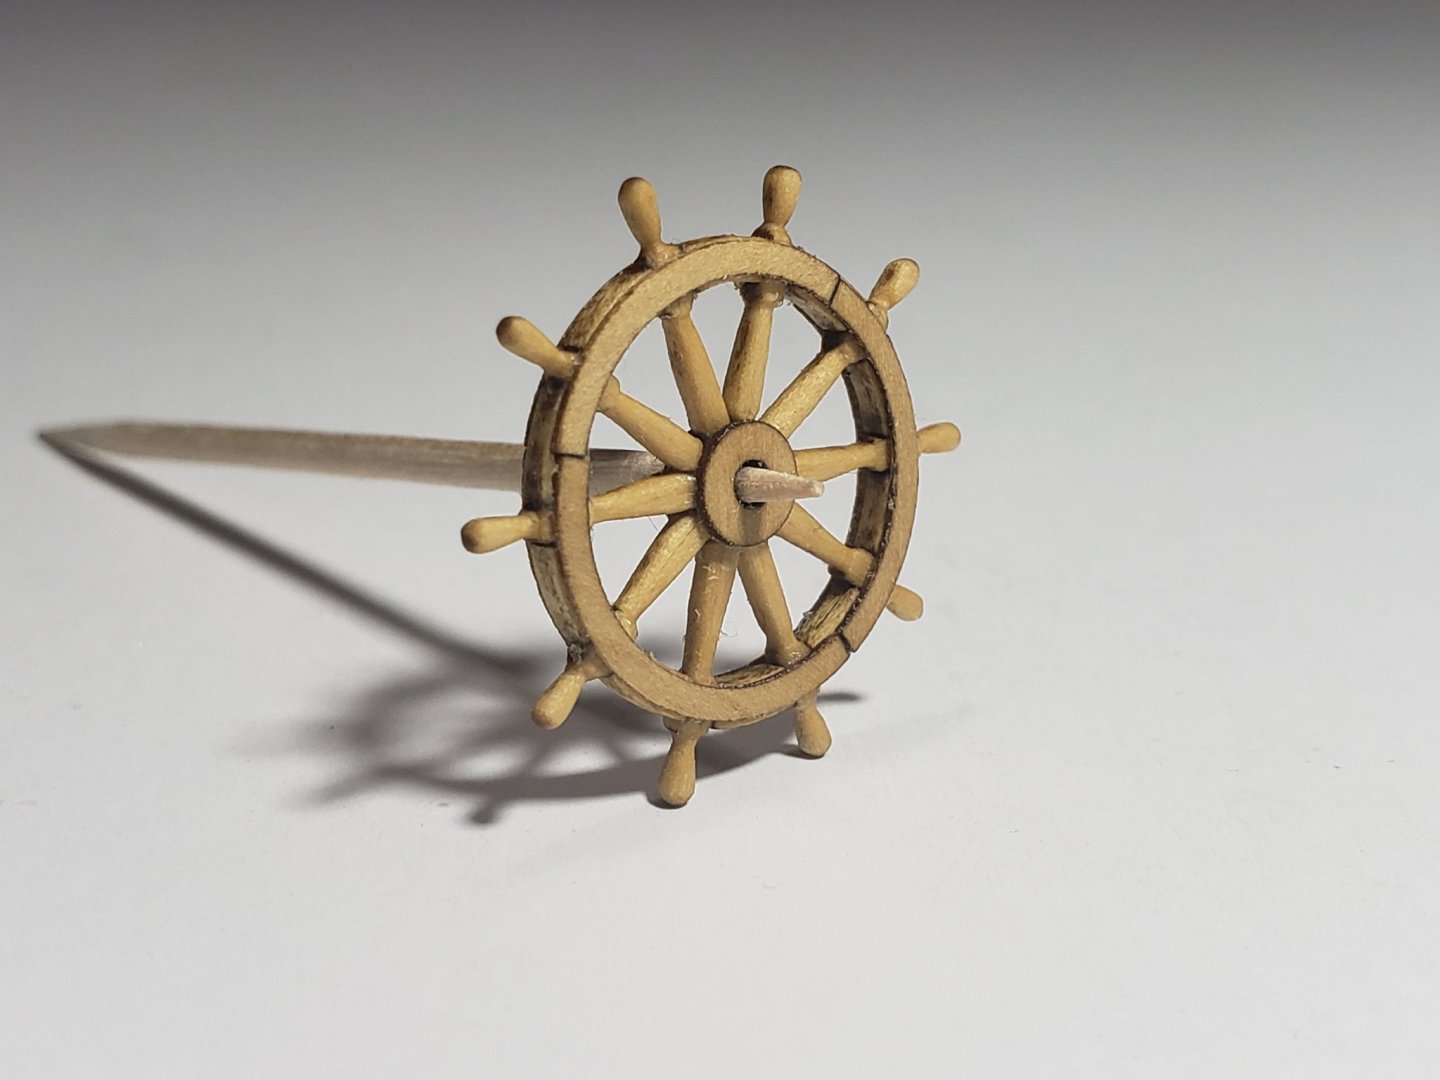
Thanks Steven! I think the issue is the basswood which creates the uneven edges when being laser cut. For example, the wheel mini kit from Syren Model Ship Company had almost no issues with that since it was boxwood. Speaking of the wheel, I finished assembling it! It was a really fun mini kit 😁. Here are some pics of the progress: Finally I applied tung oil to the assembly: This was my first time working with boxwood and I got to say, it's amazing. No chips in wood at this scale, no rough edges. It's perfect for modeling. Wish kit manufacturers had an upgrade kit available with this stuff...


- 950 replies
-
- 12
-
-
- syren
- model shipways
- (and 1 more)
-
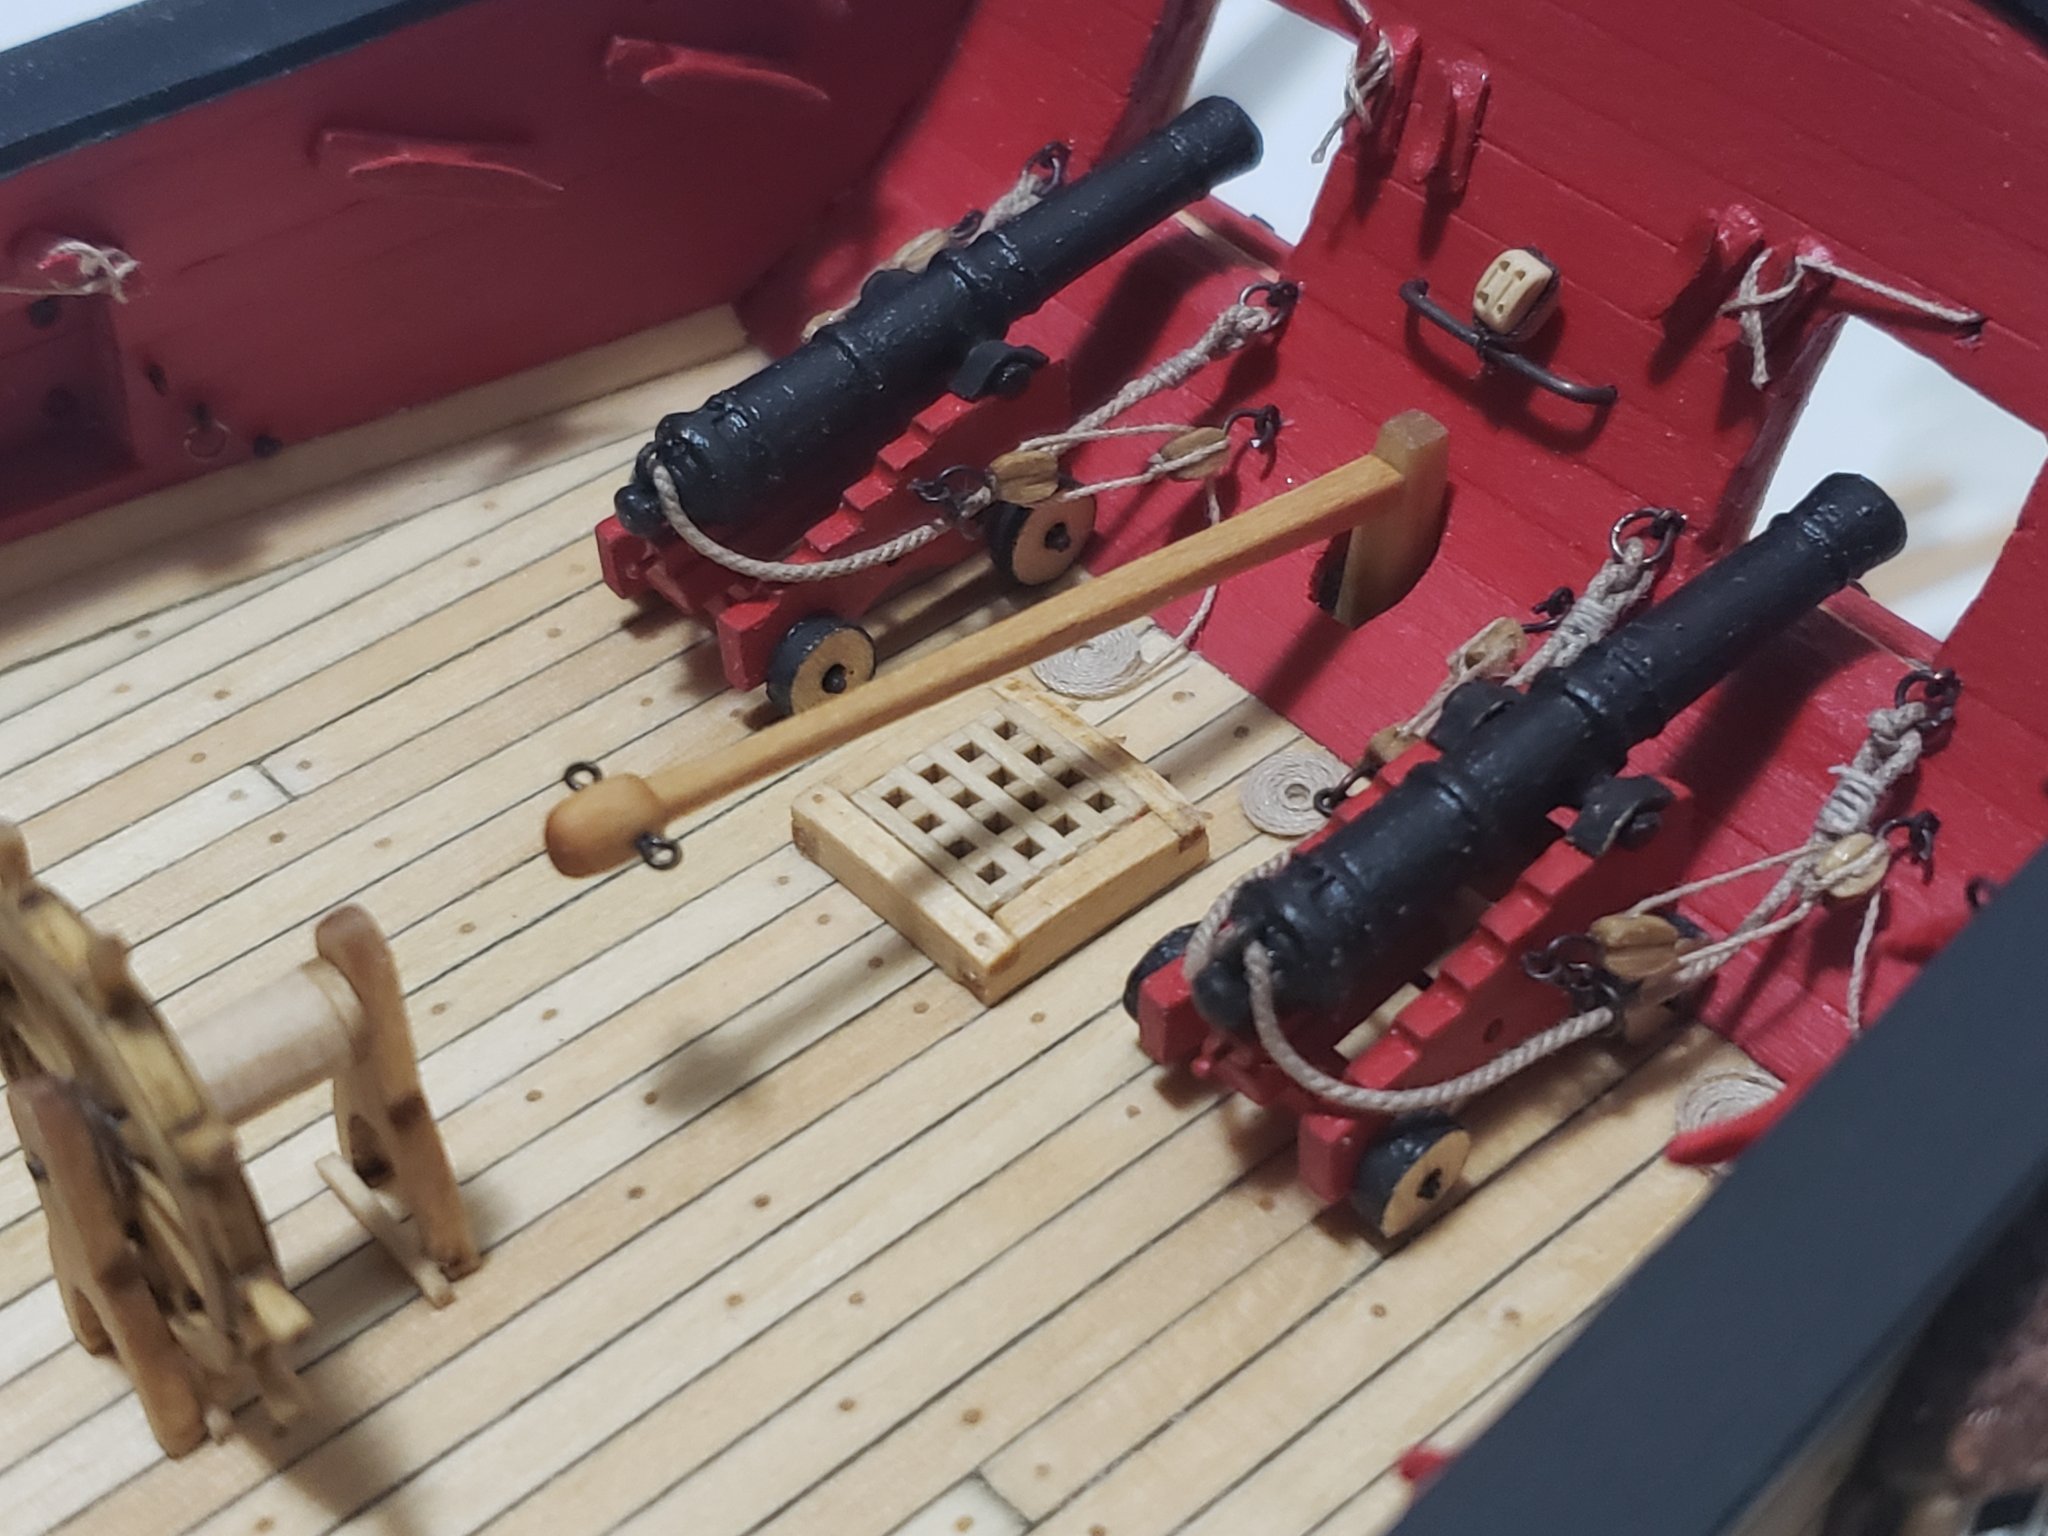
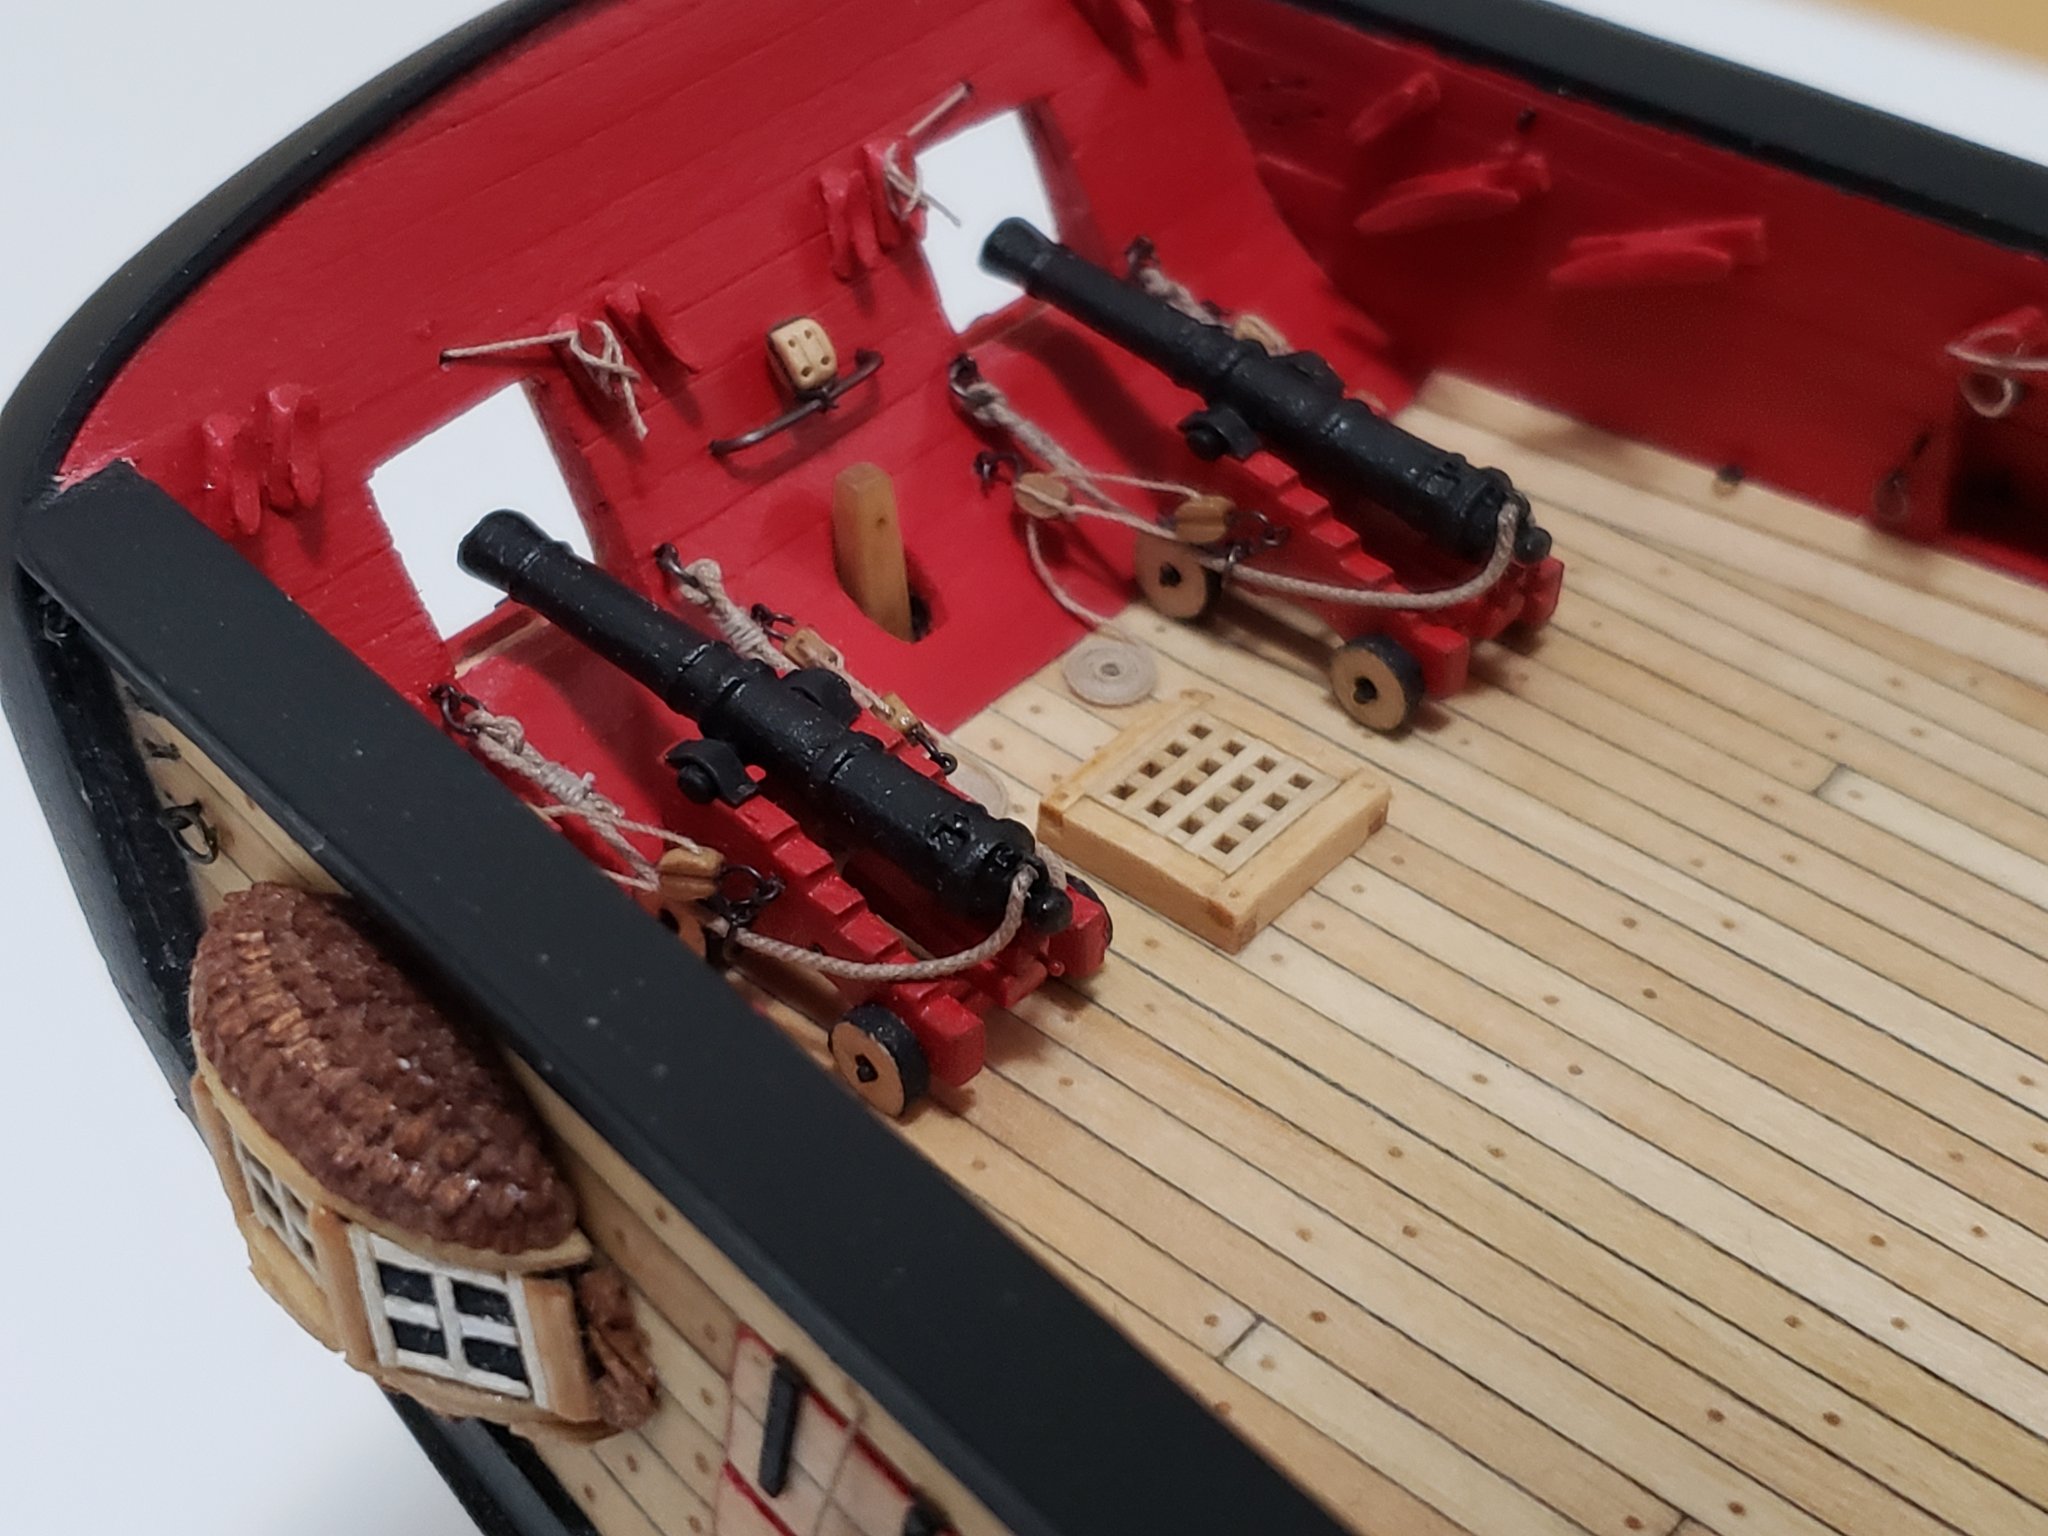
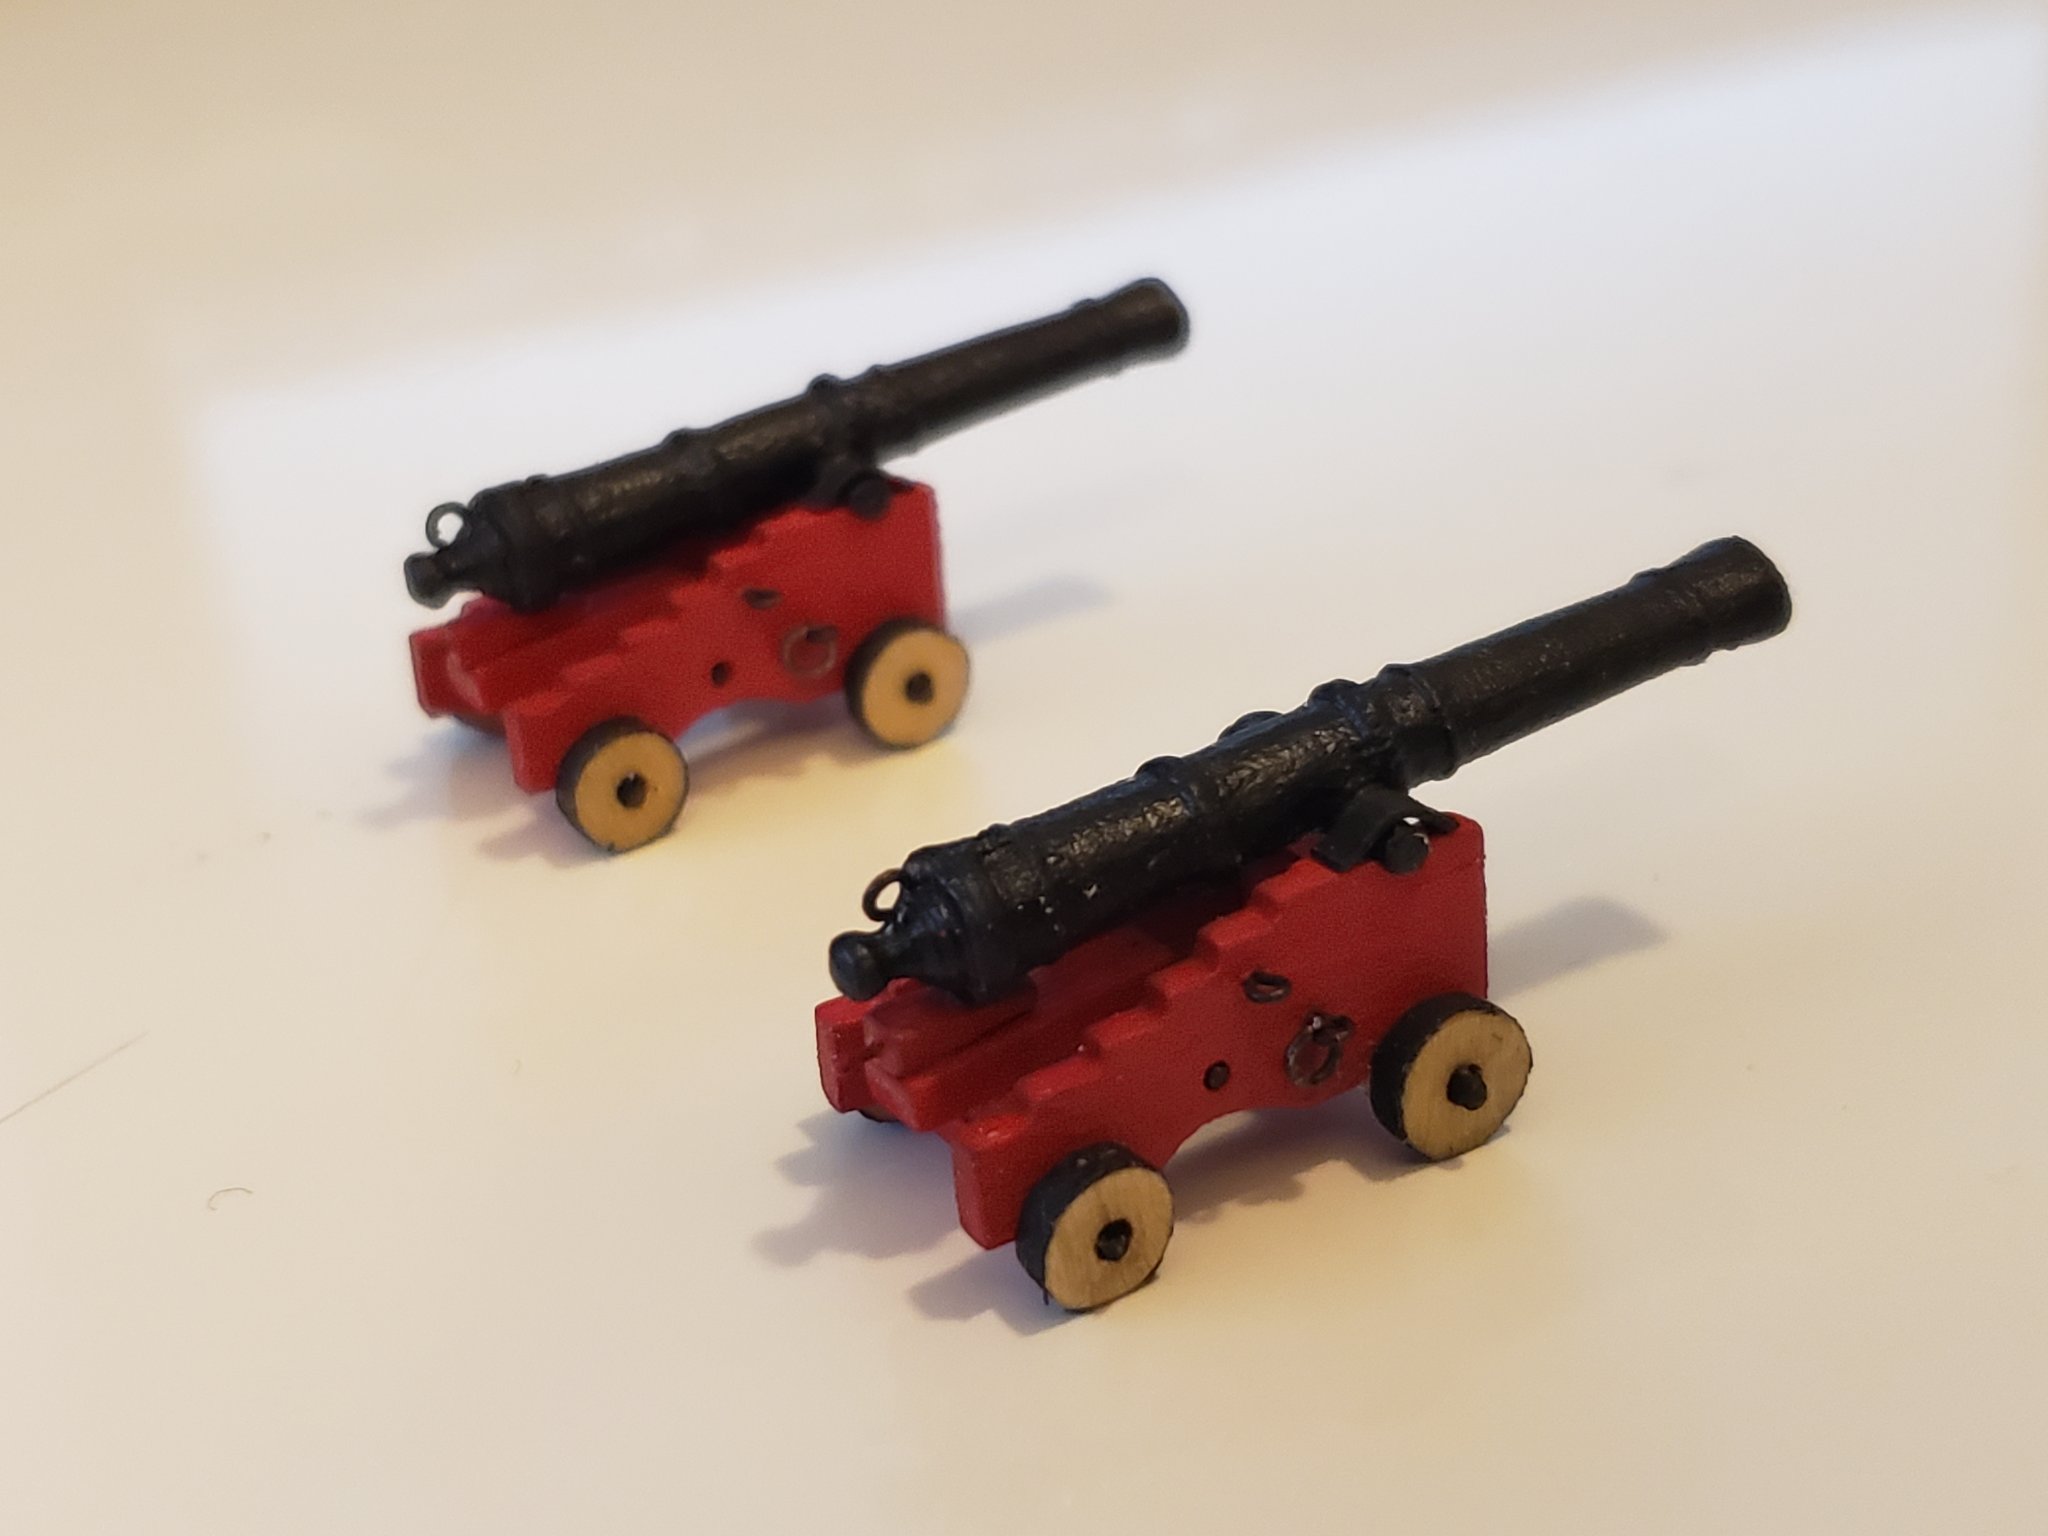
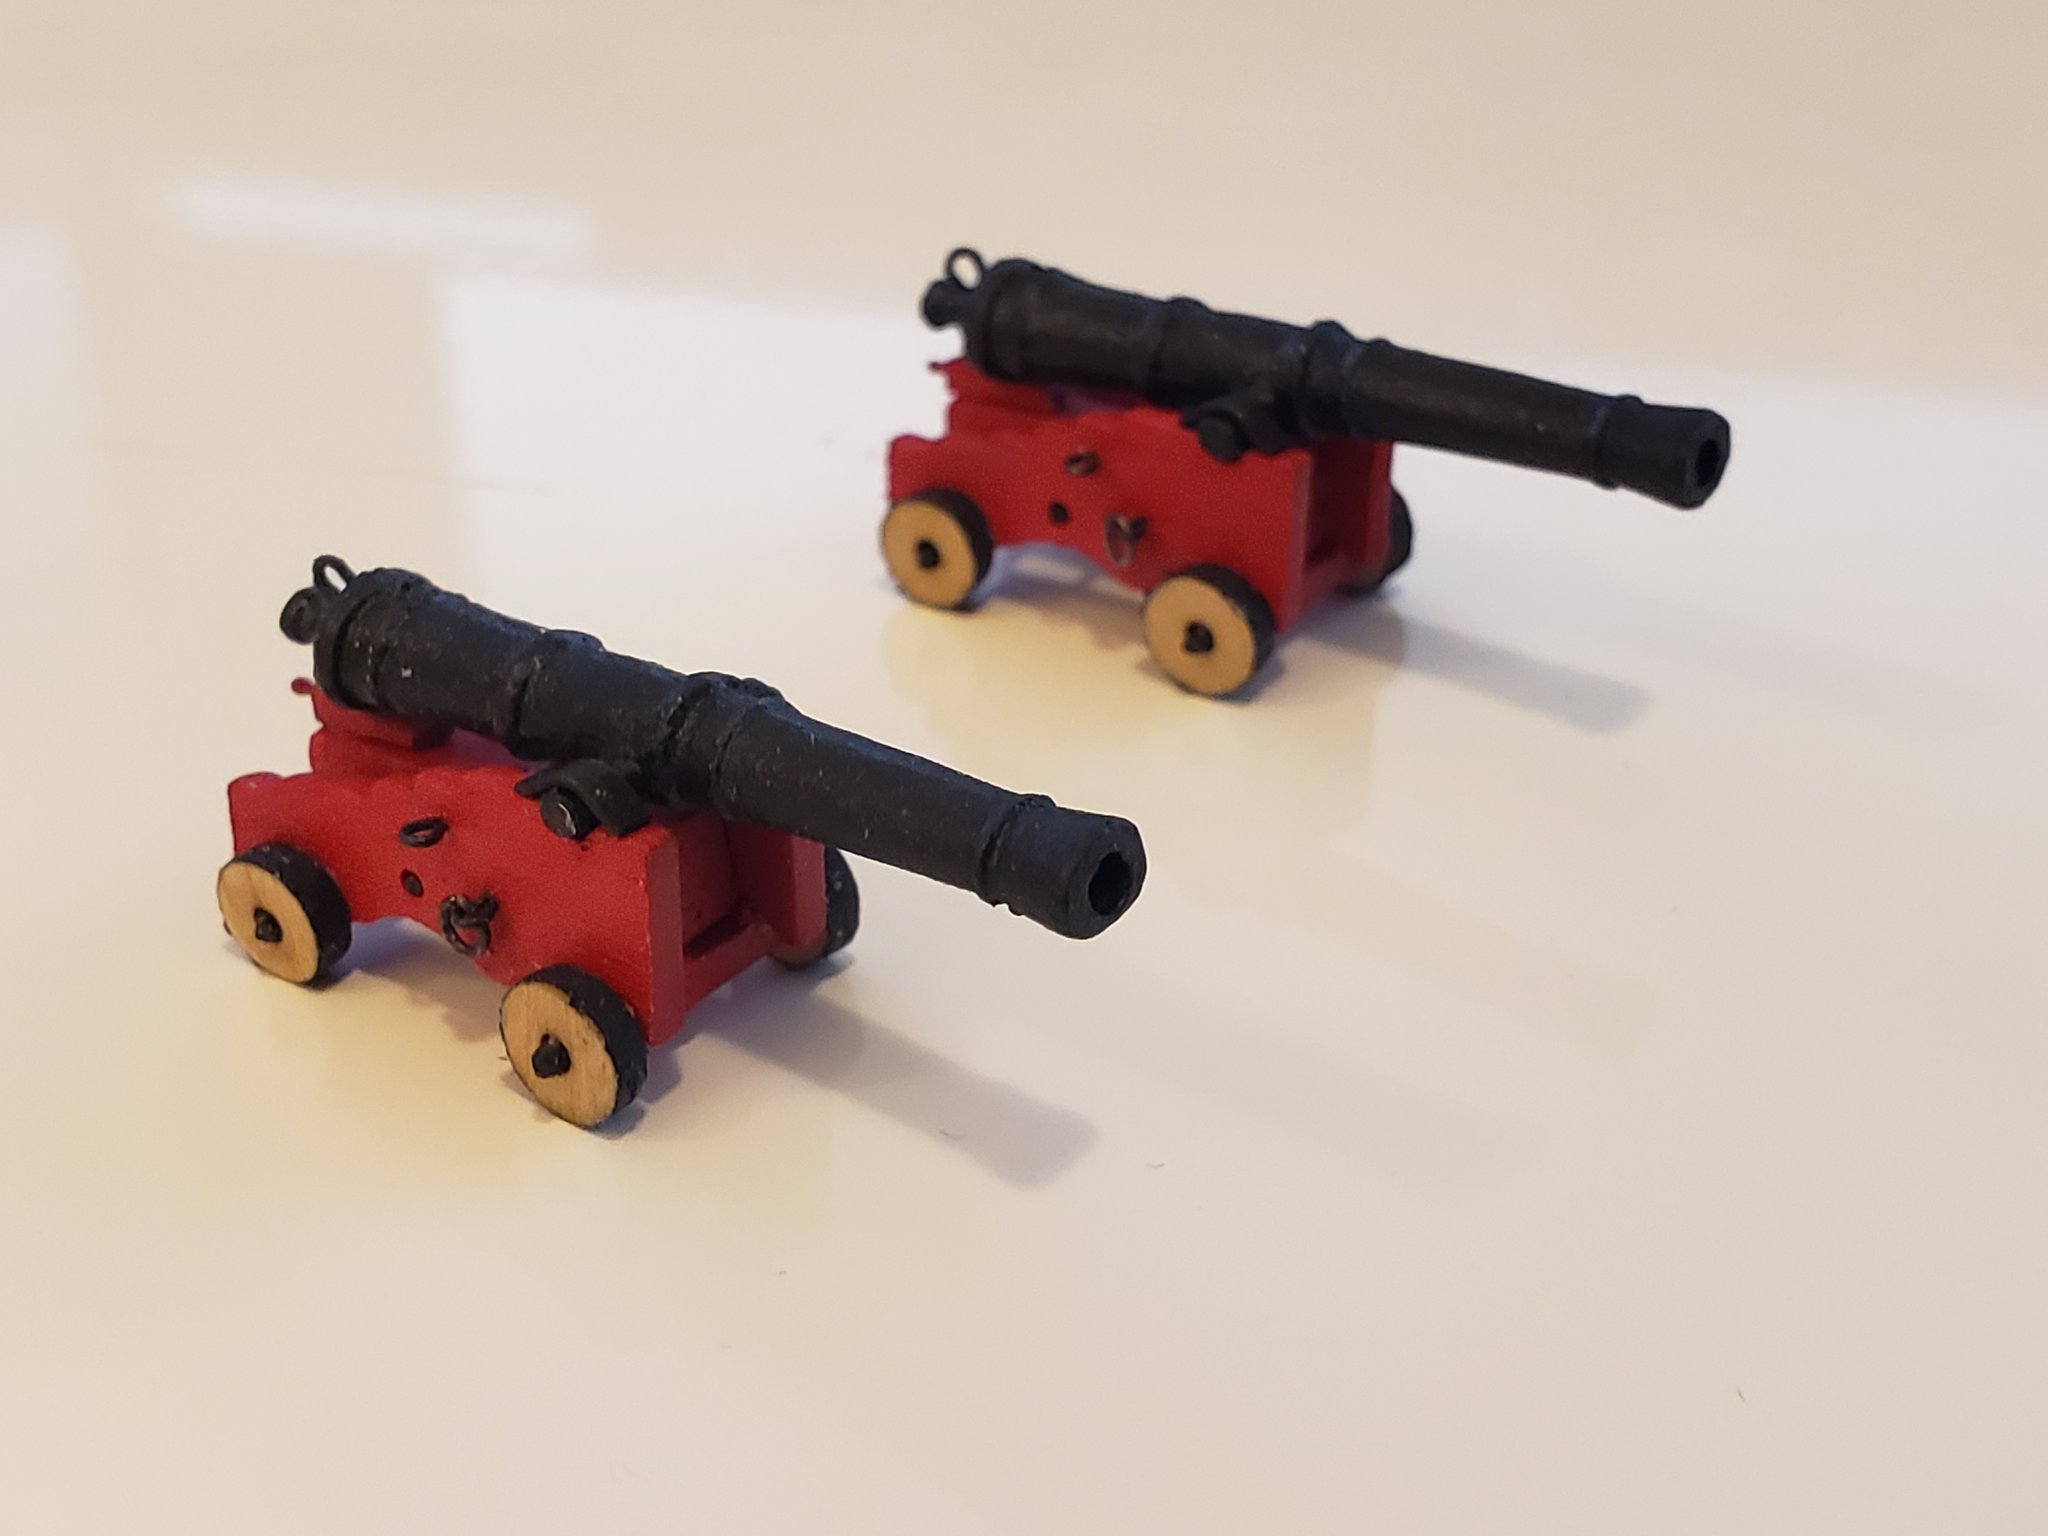
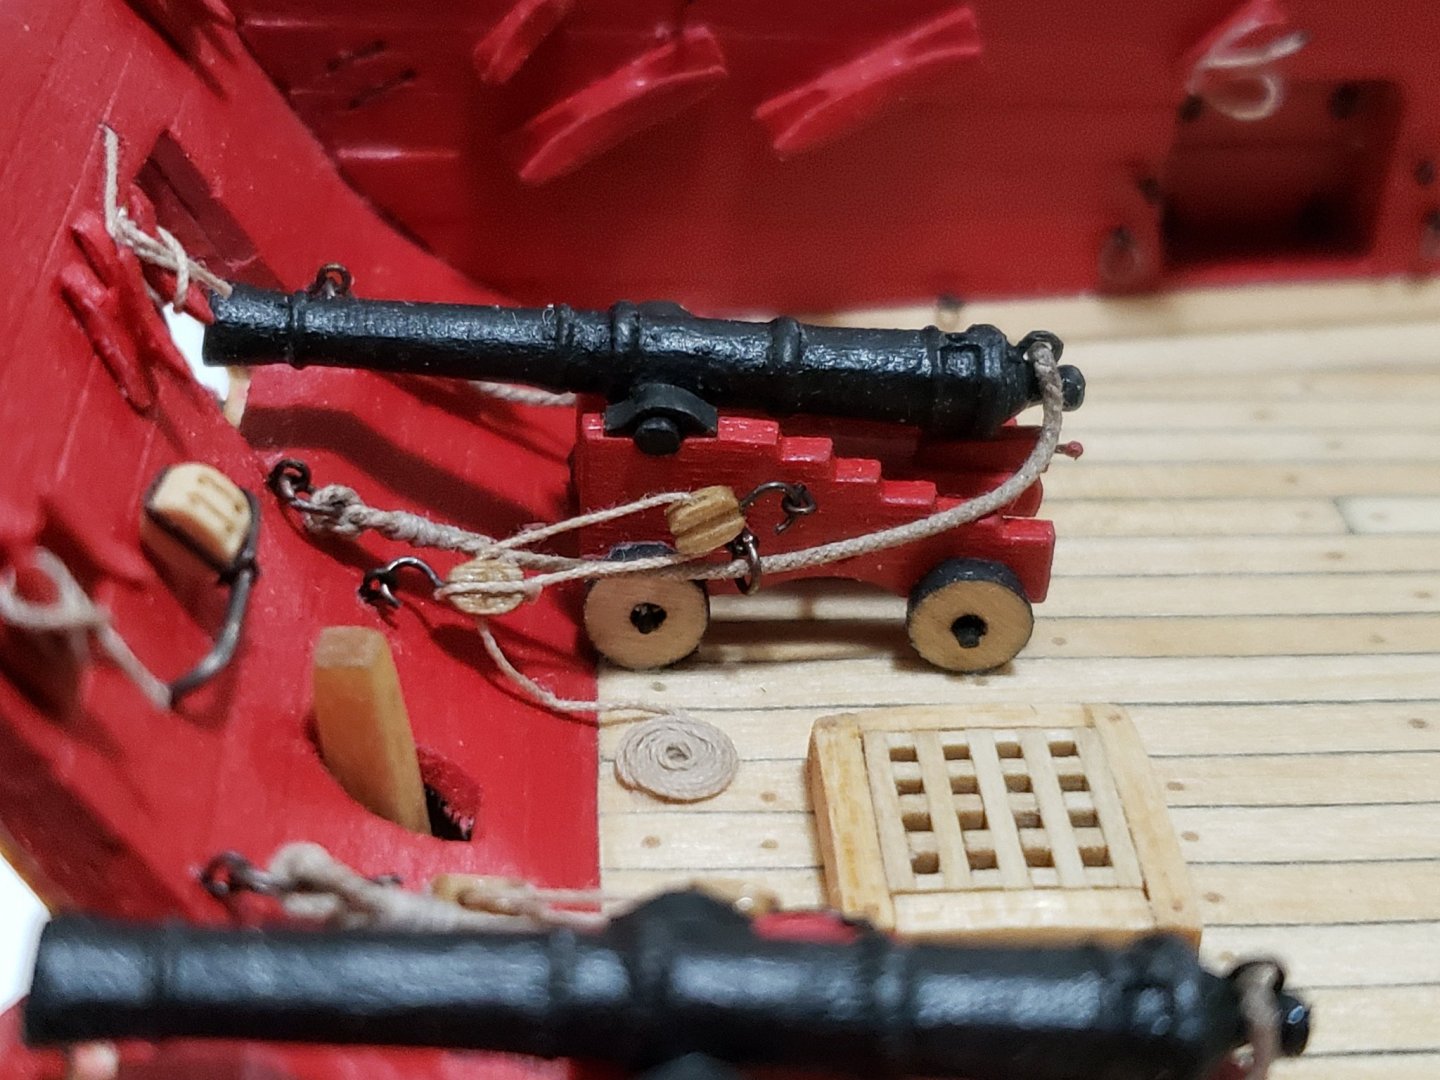
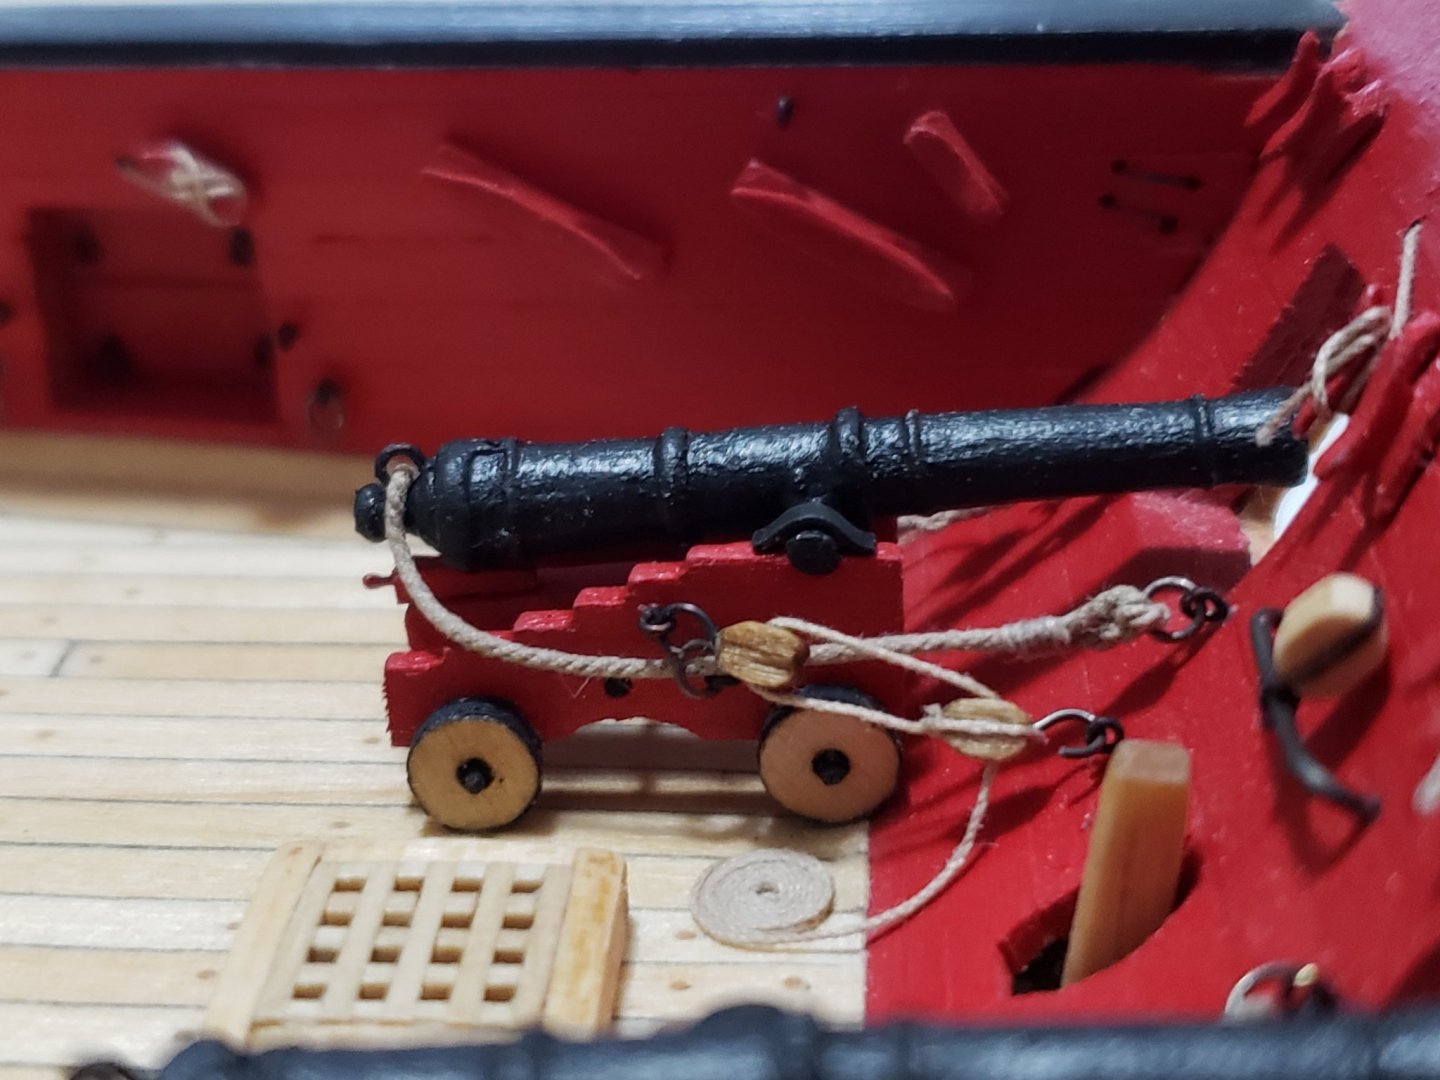
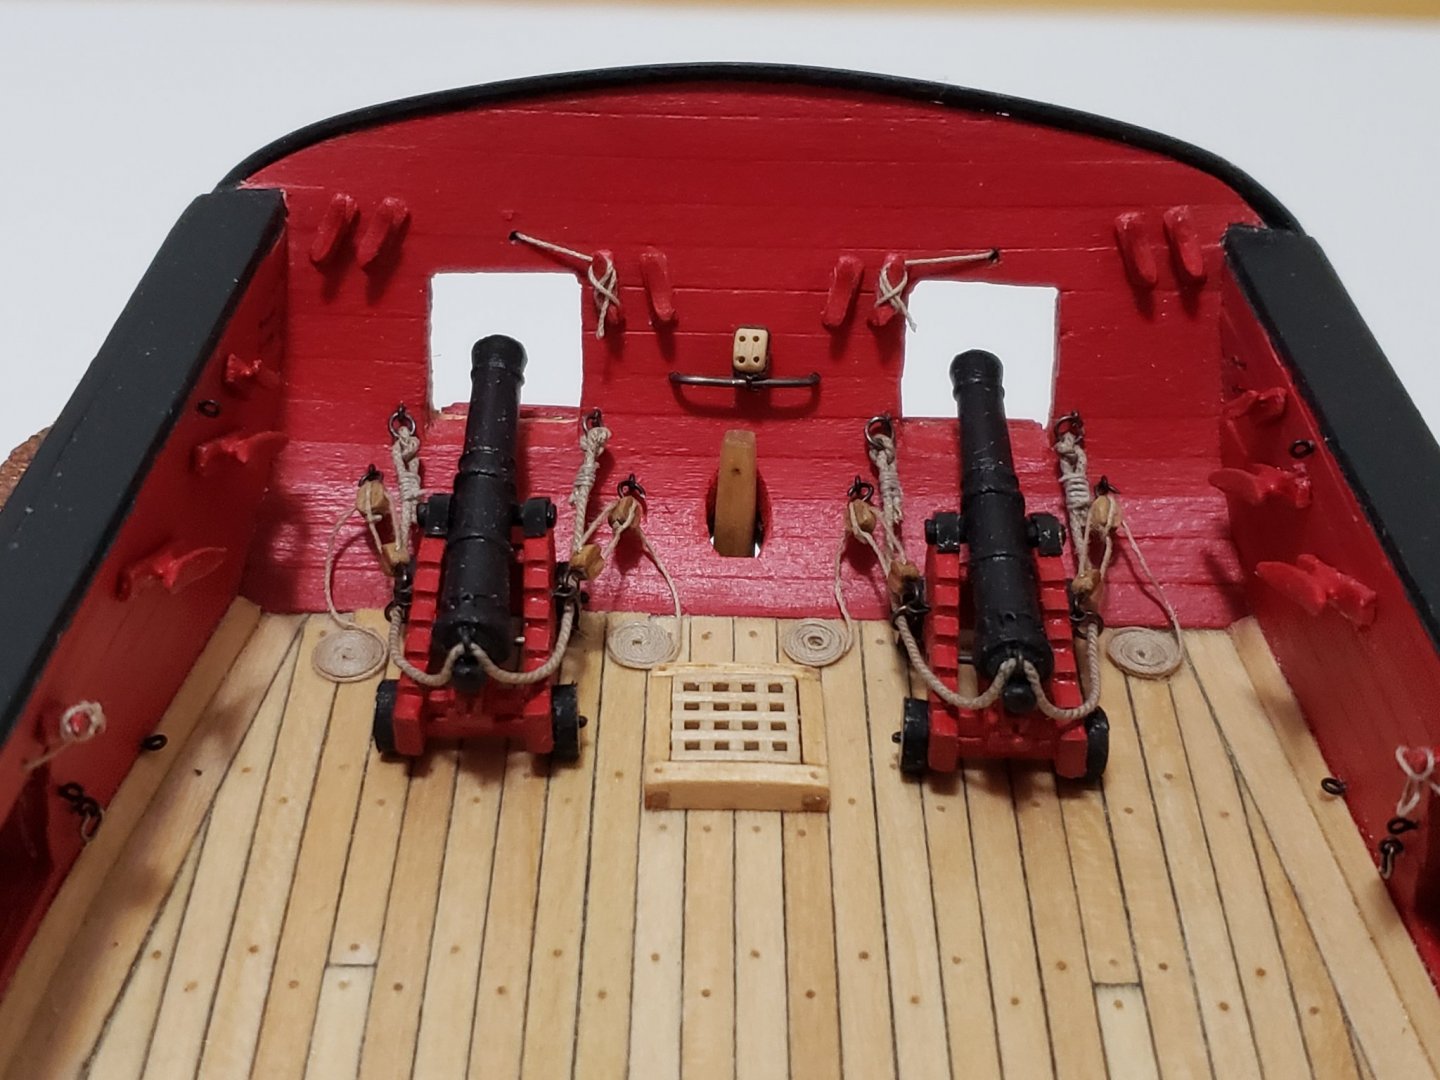
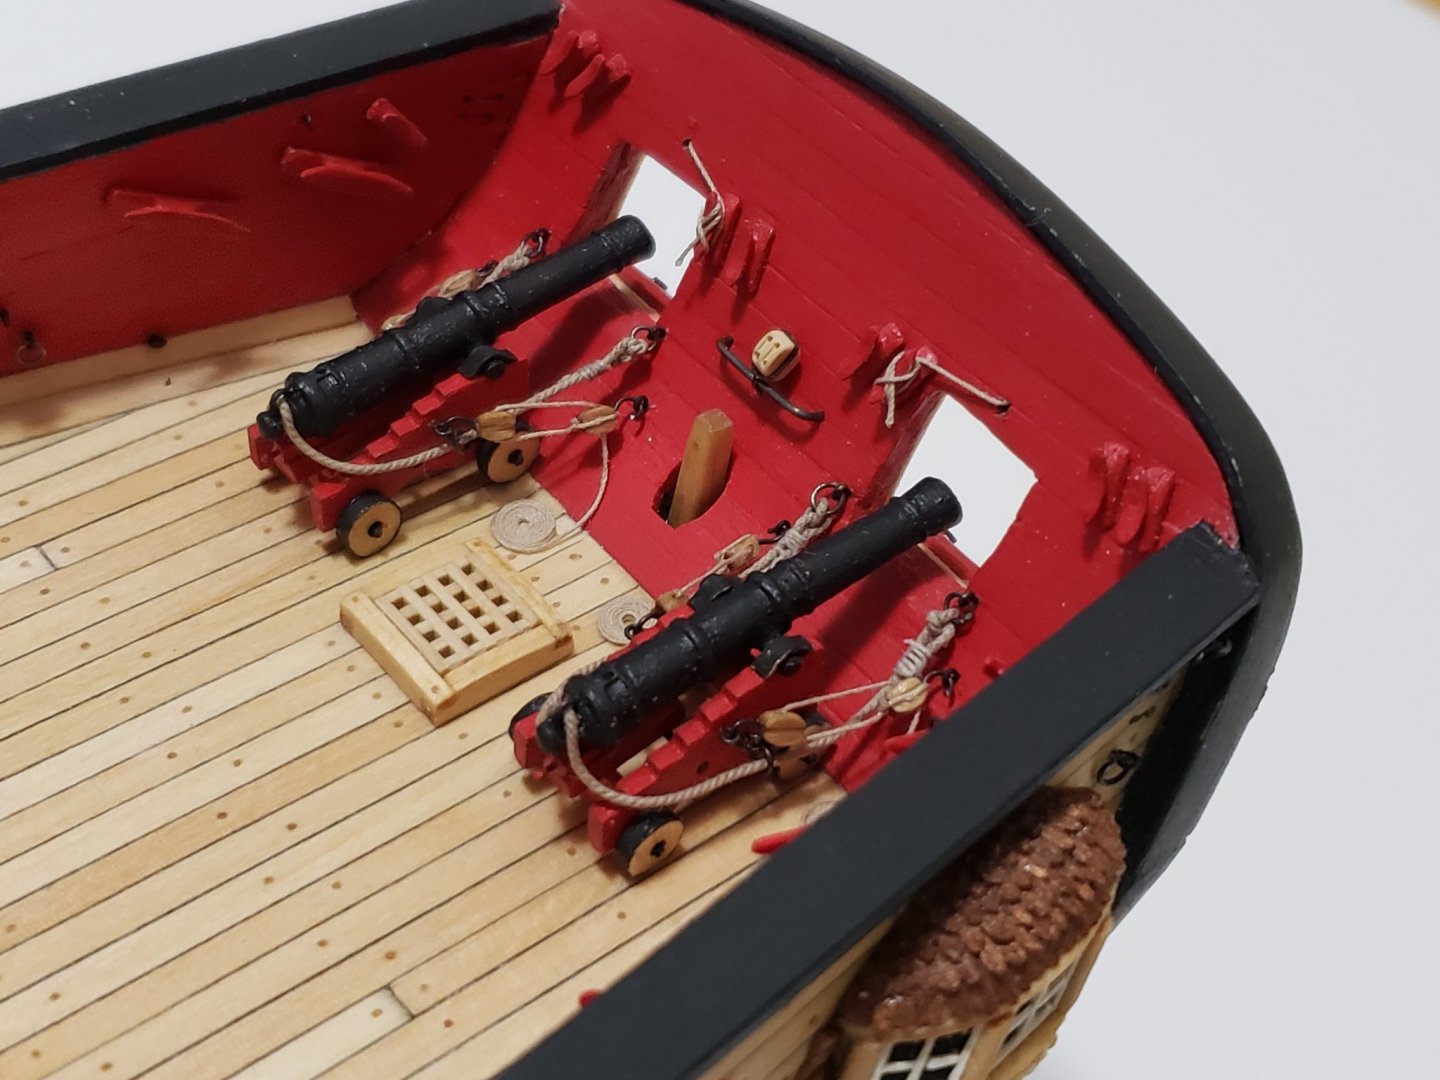
Long guns have been glued and rigged. I put a touch of CA glue where the breech lines touch the back of the guns to make them appear less floaty and to look heavier I also installed the eye bolts and split rings on the deck


- 950 replies
-
- 10
-
-
- syren
- model shipways
- (and 1 more)
-
Thanks Bradley!!
-
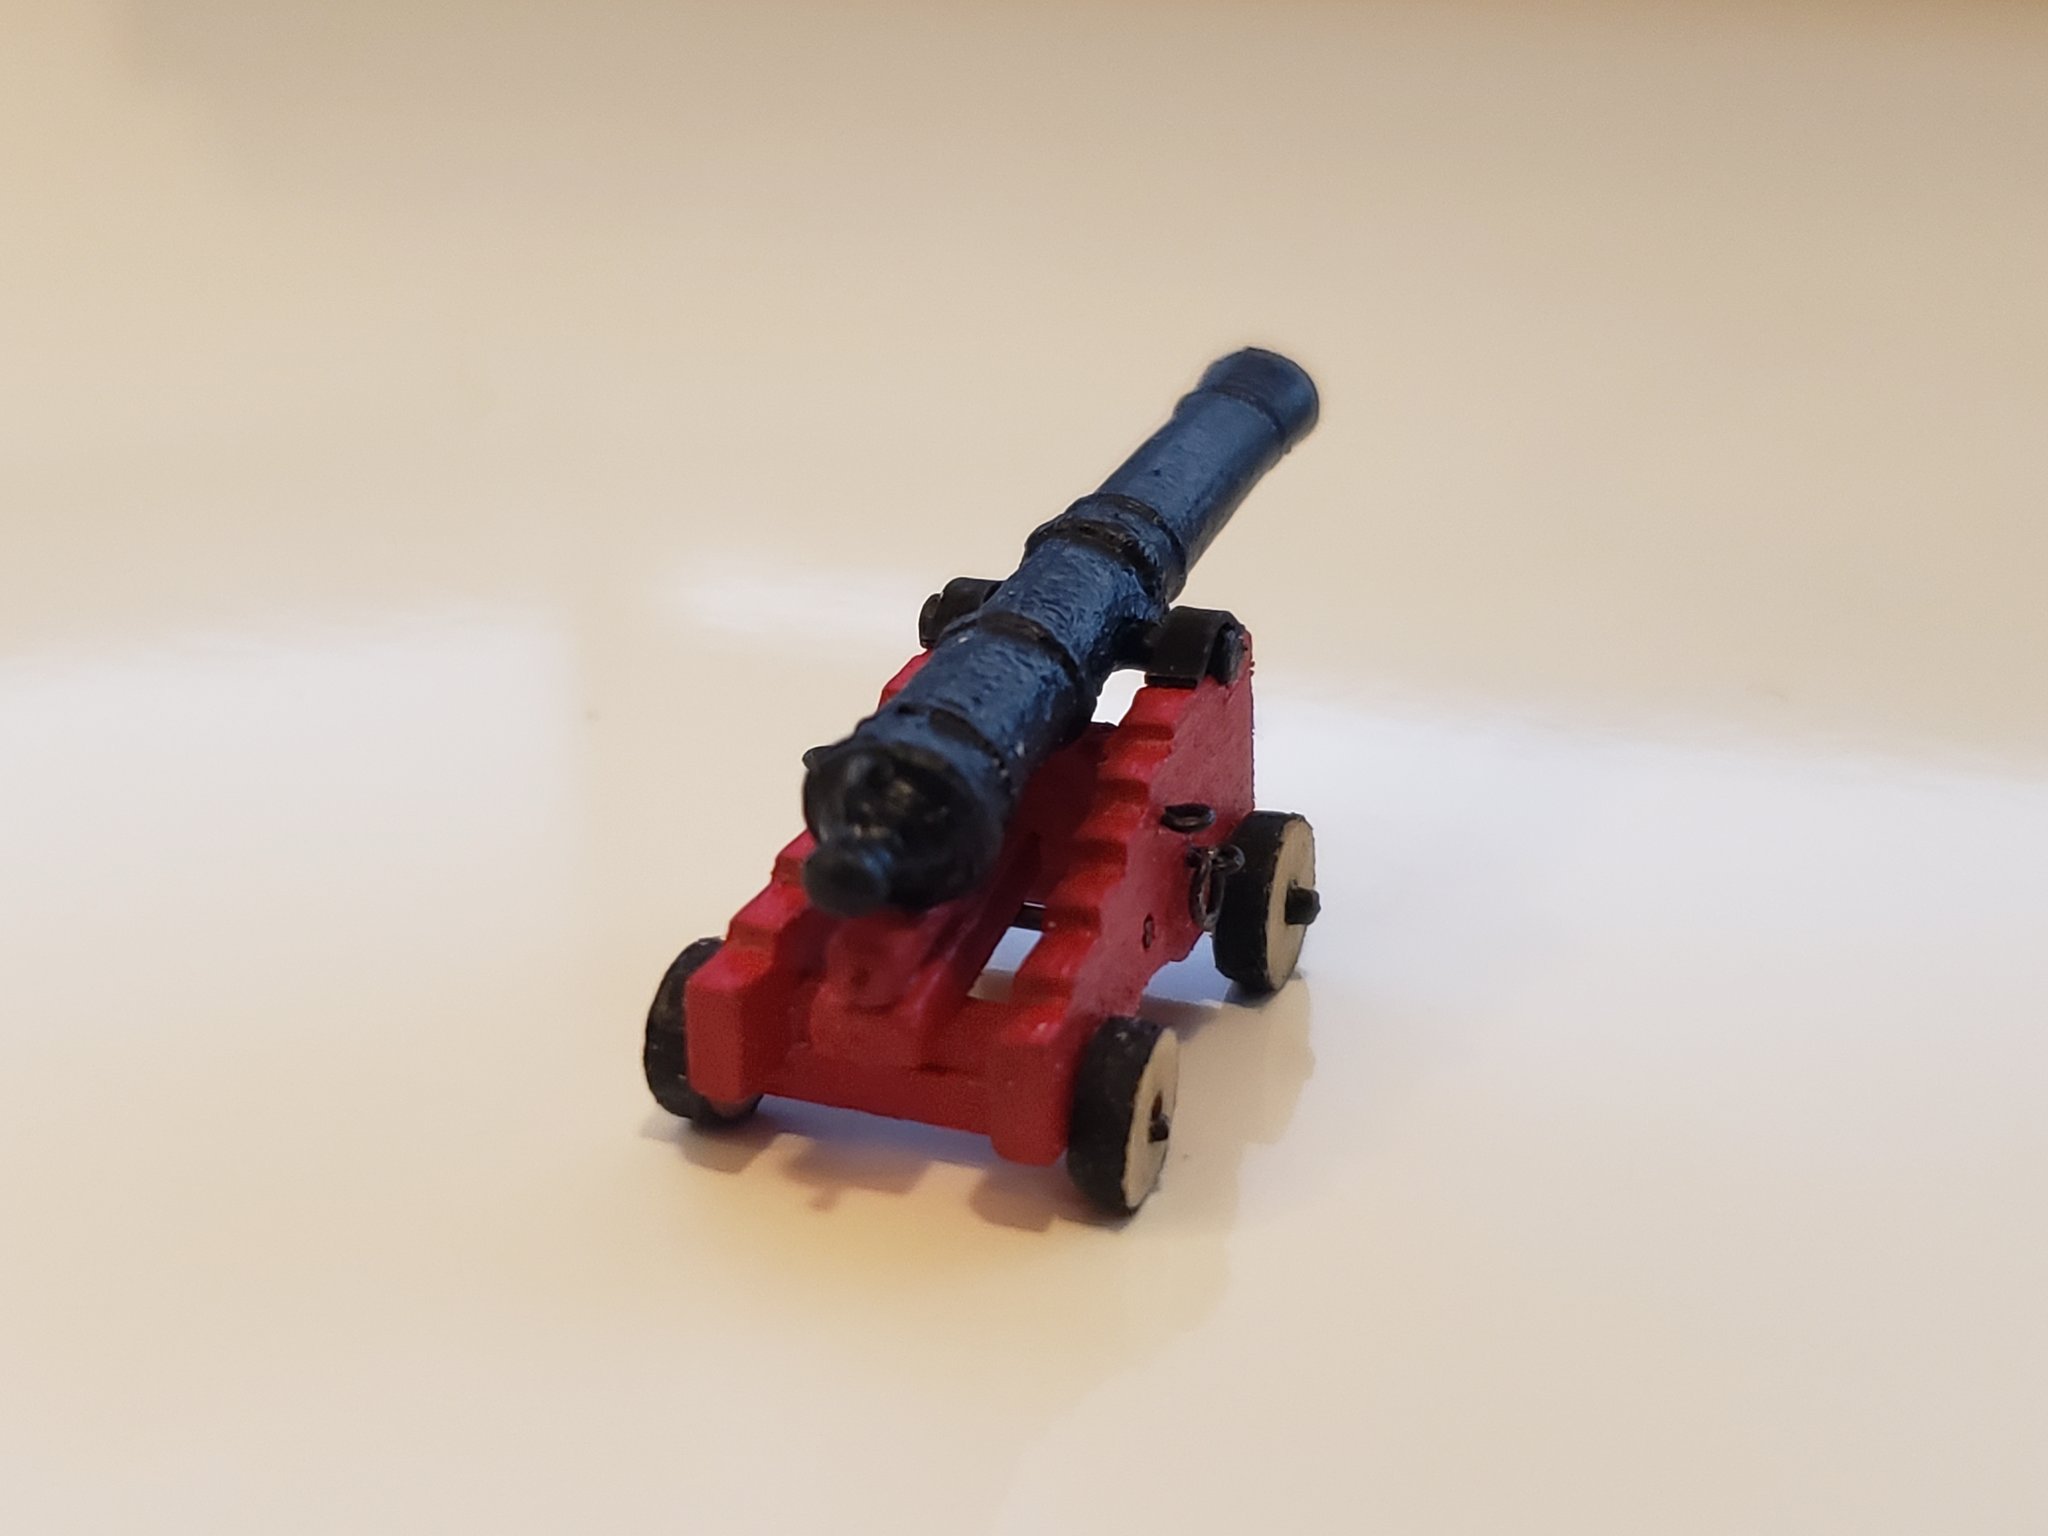
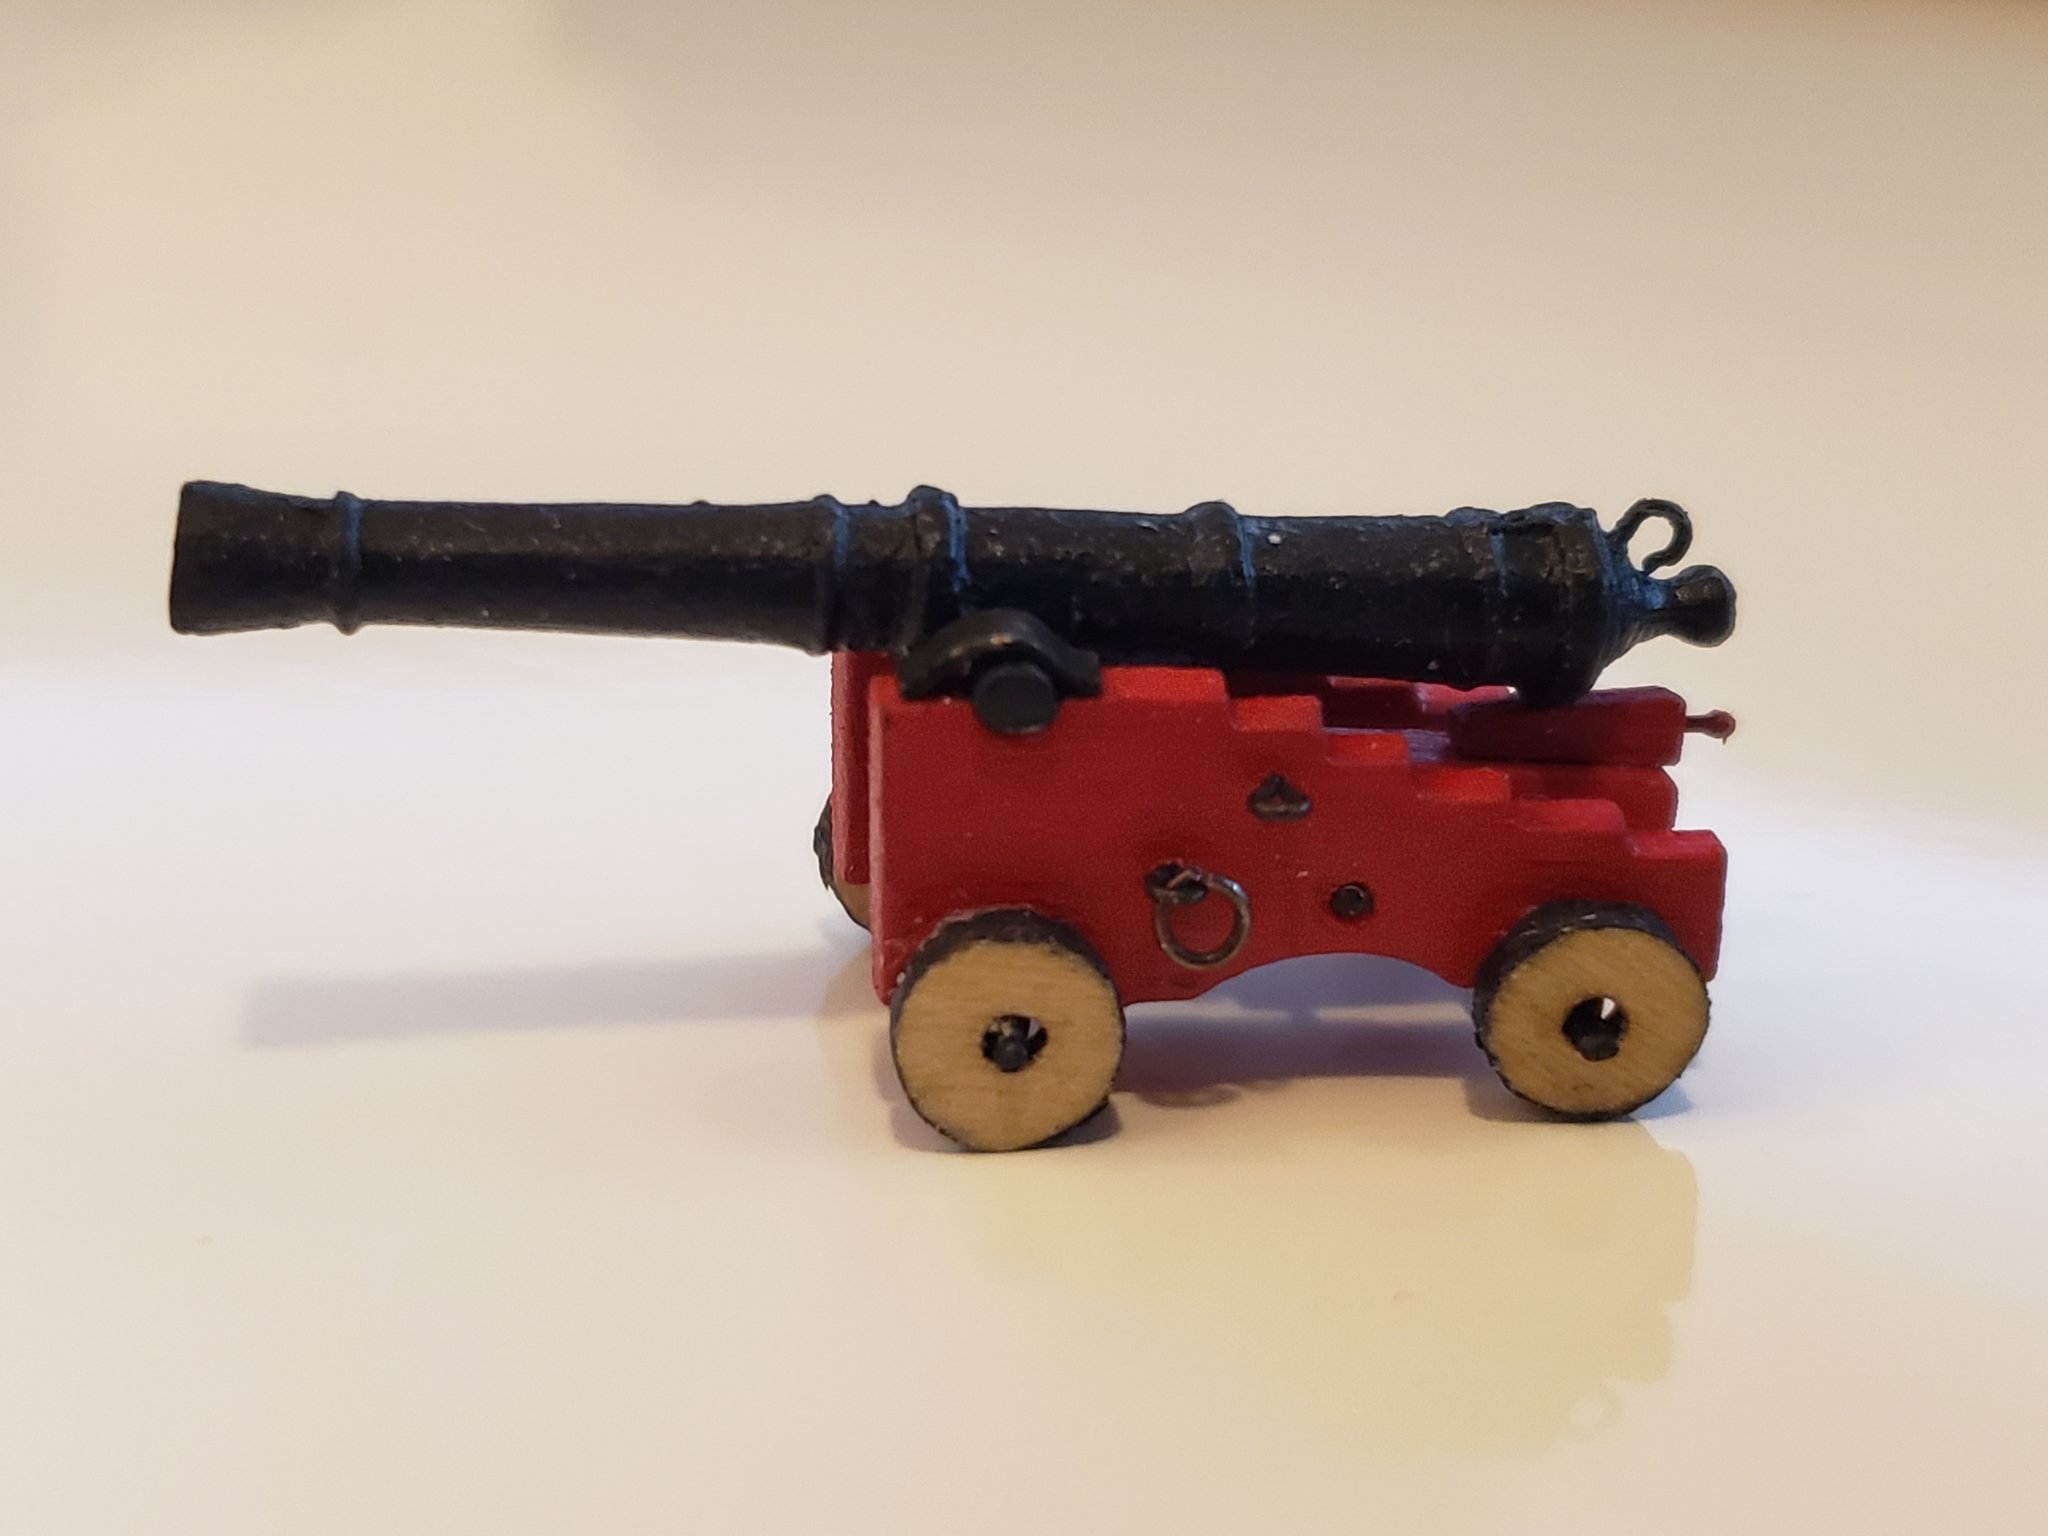
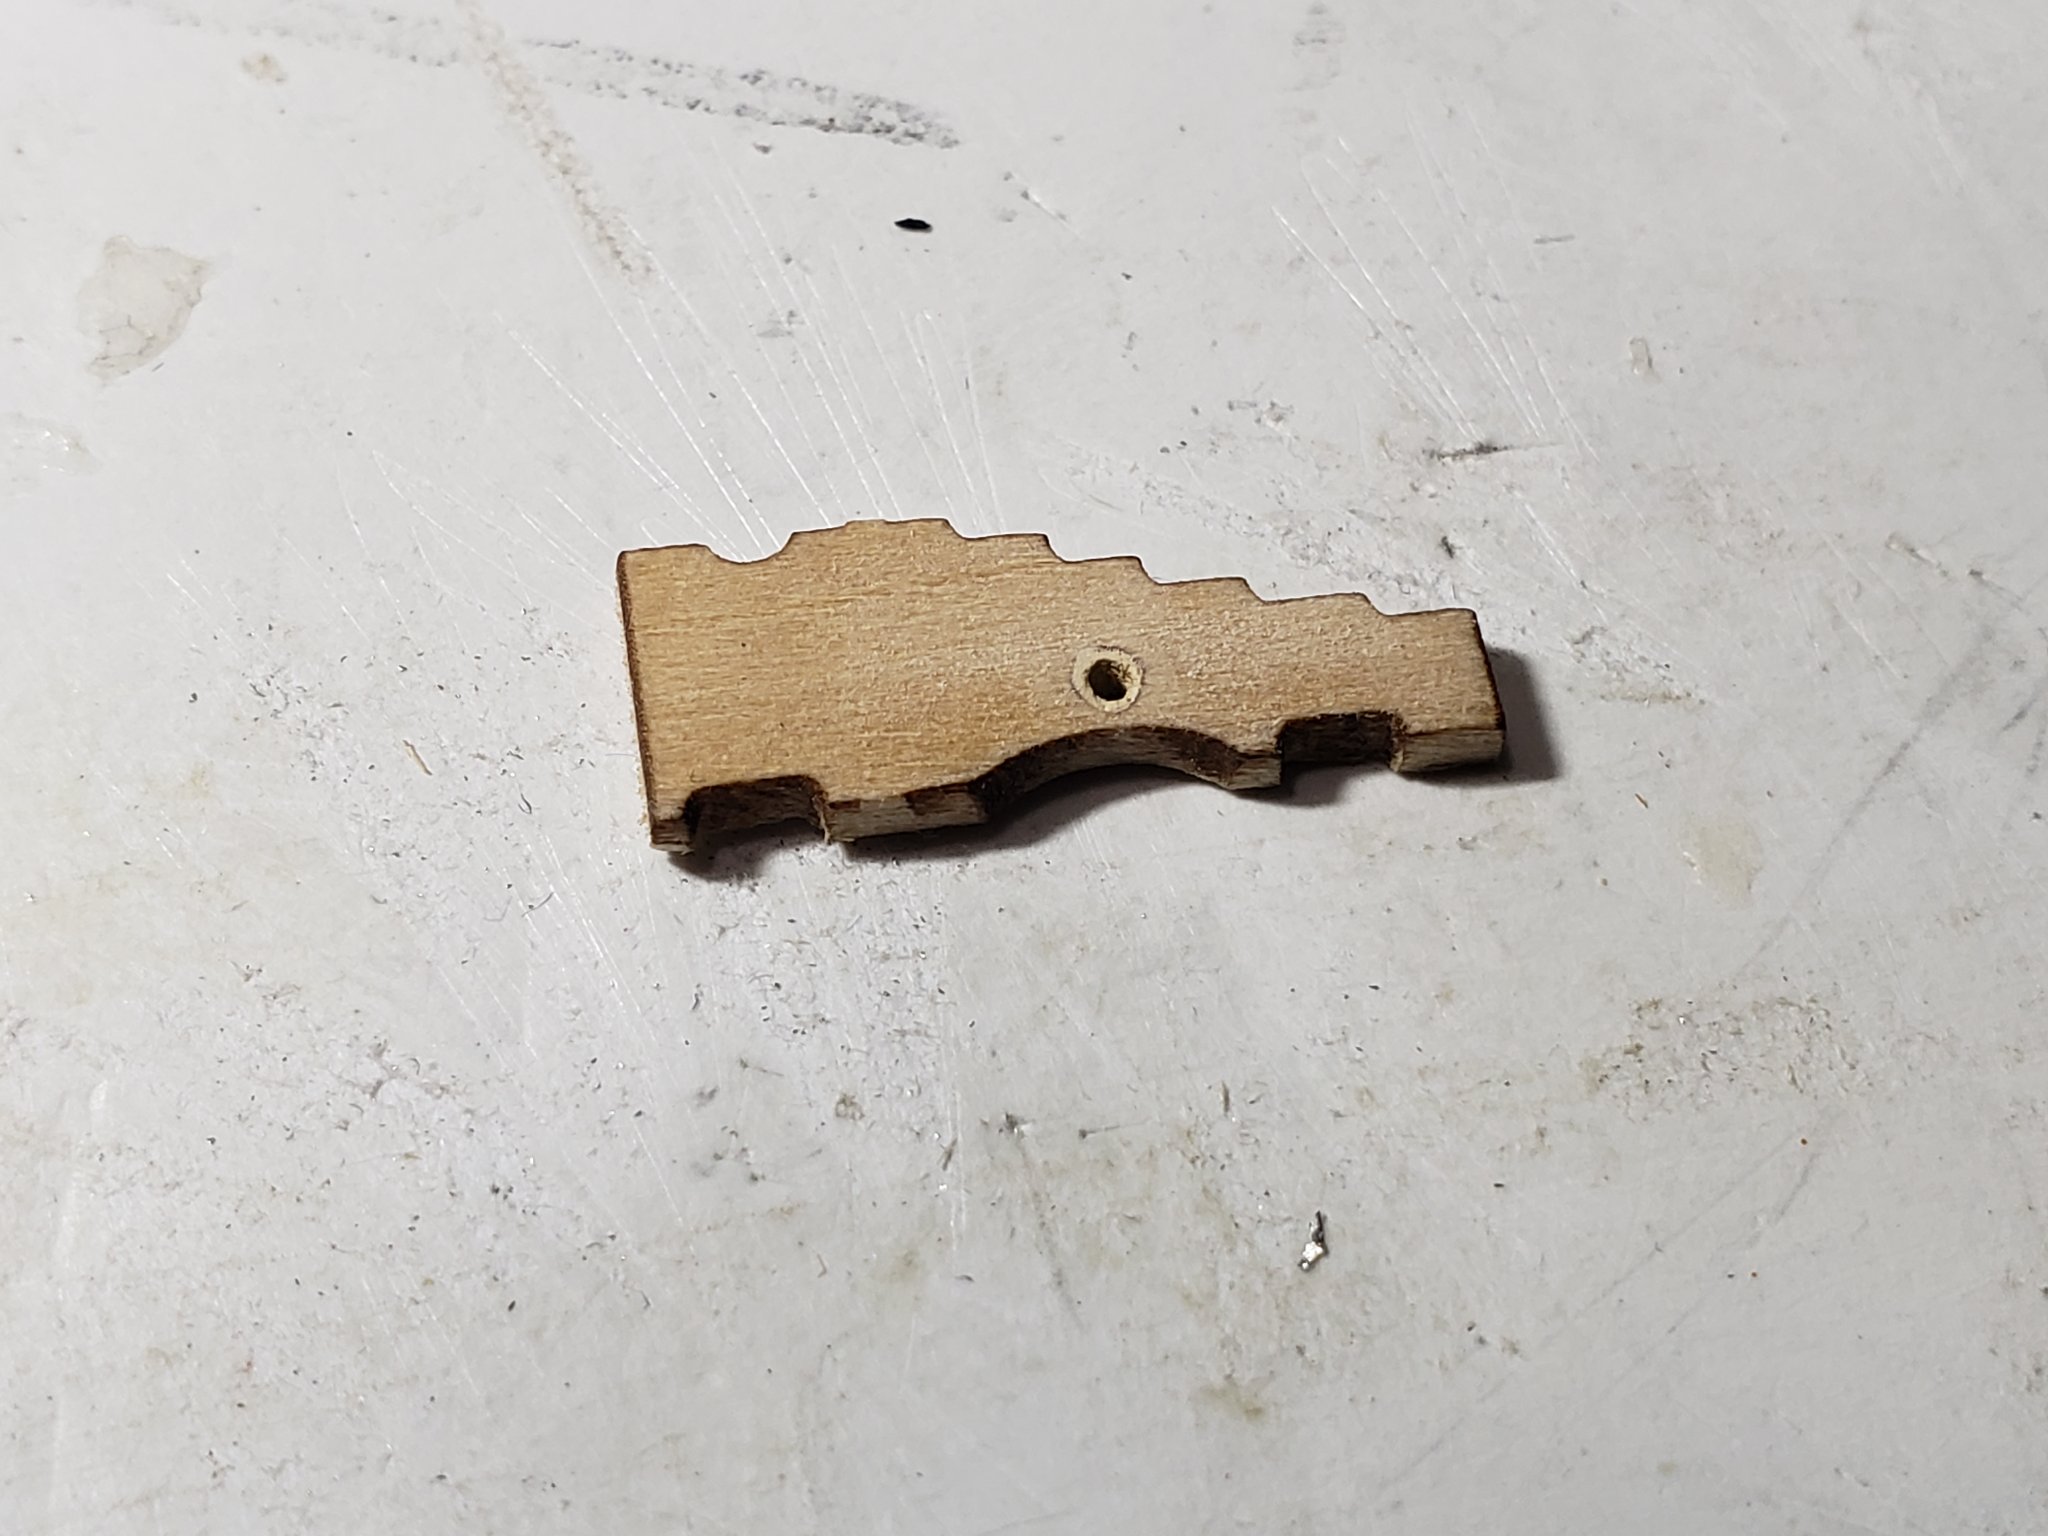
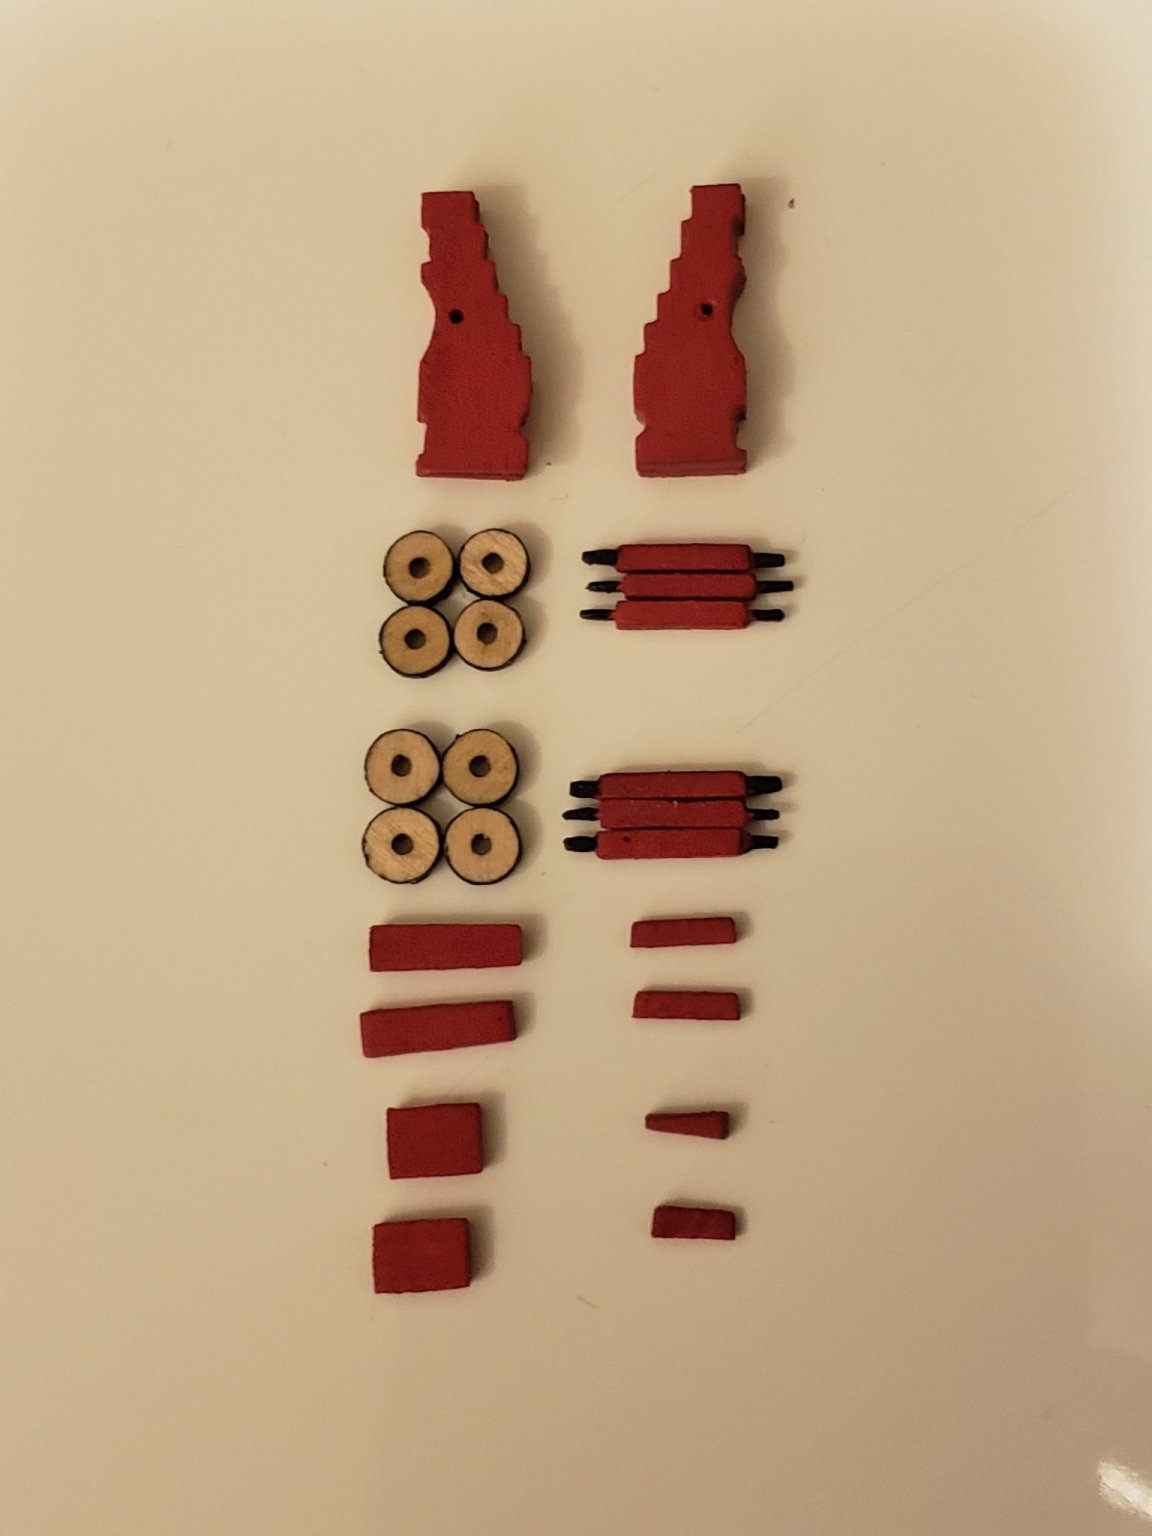
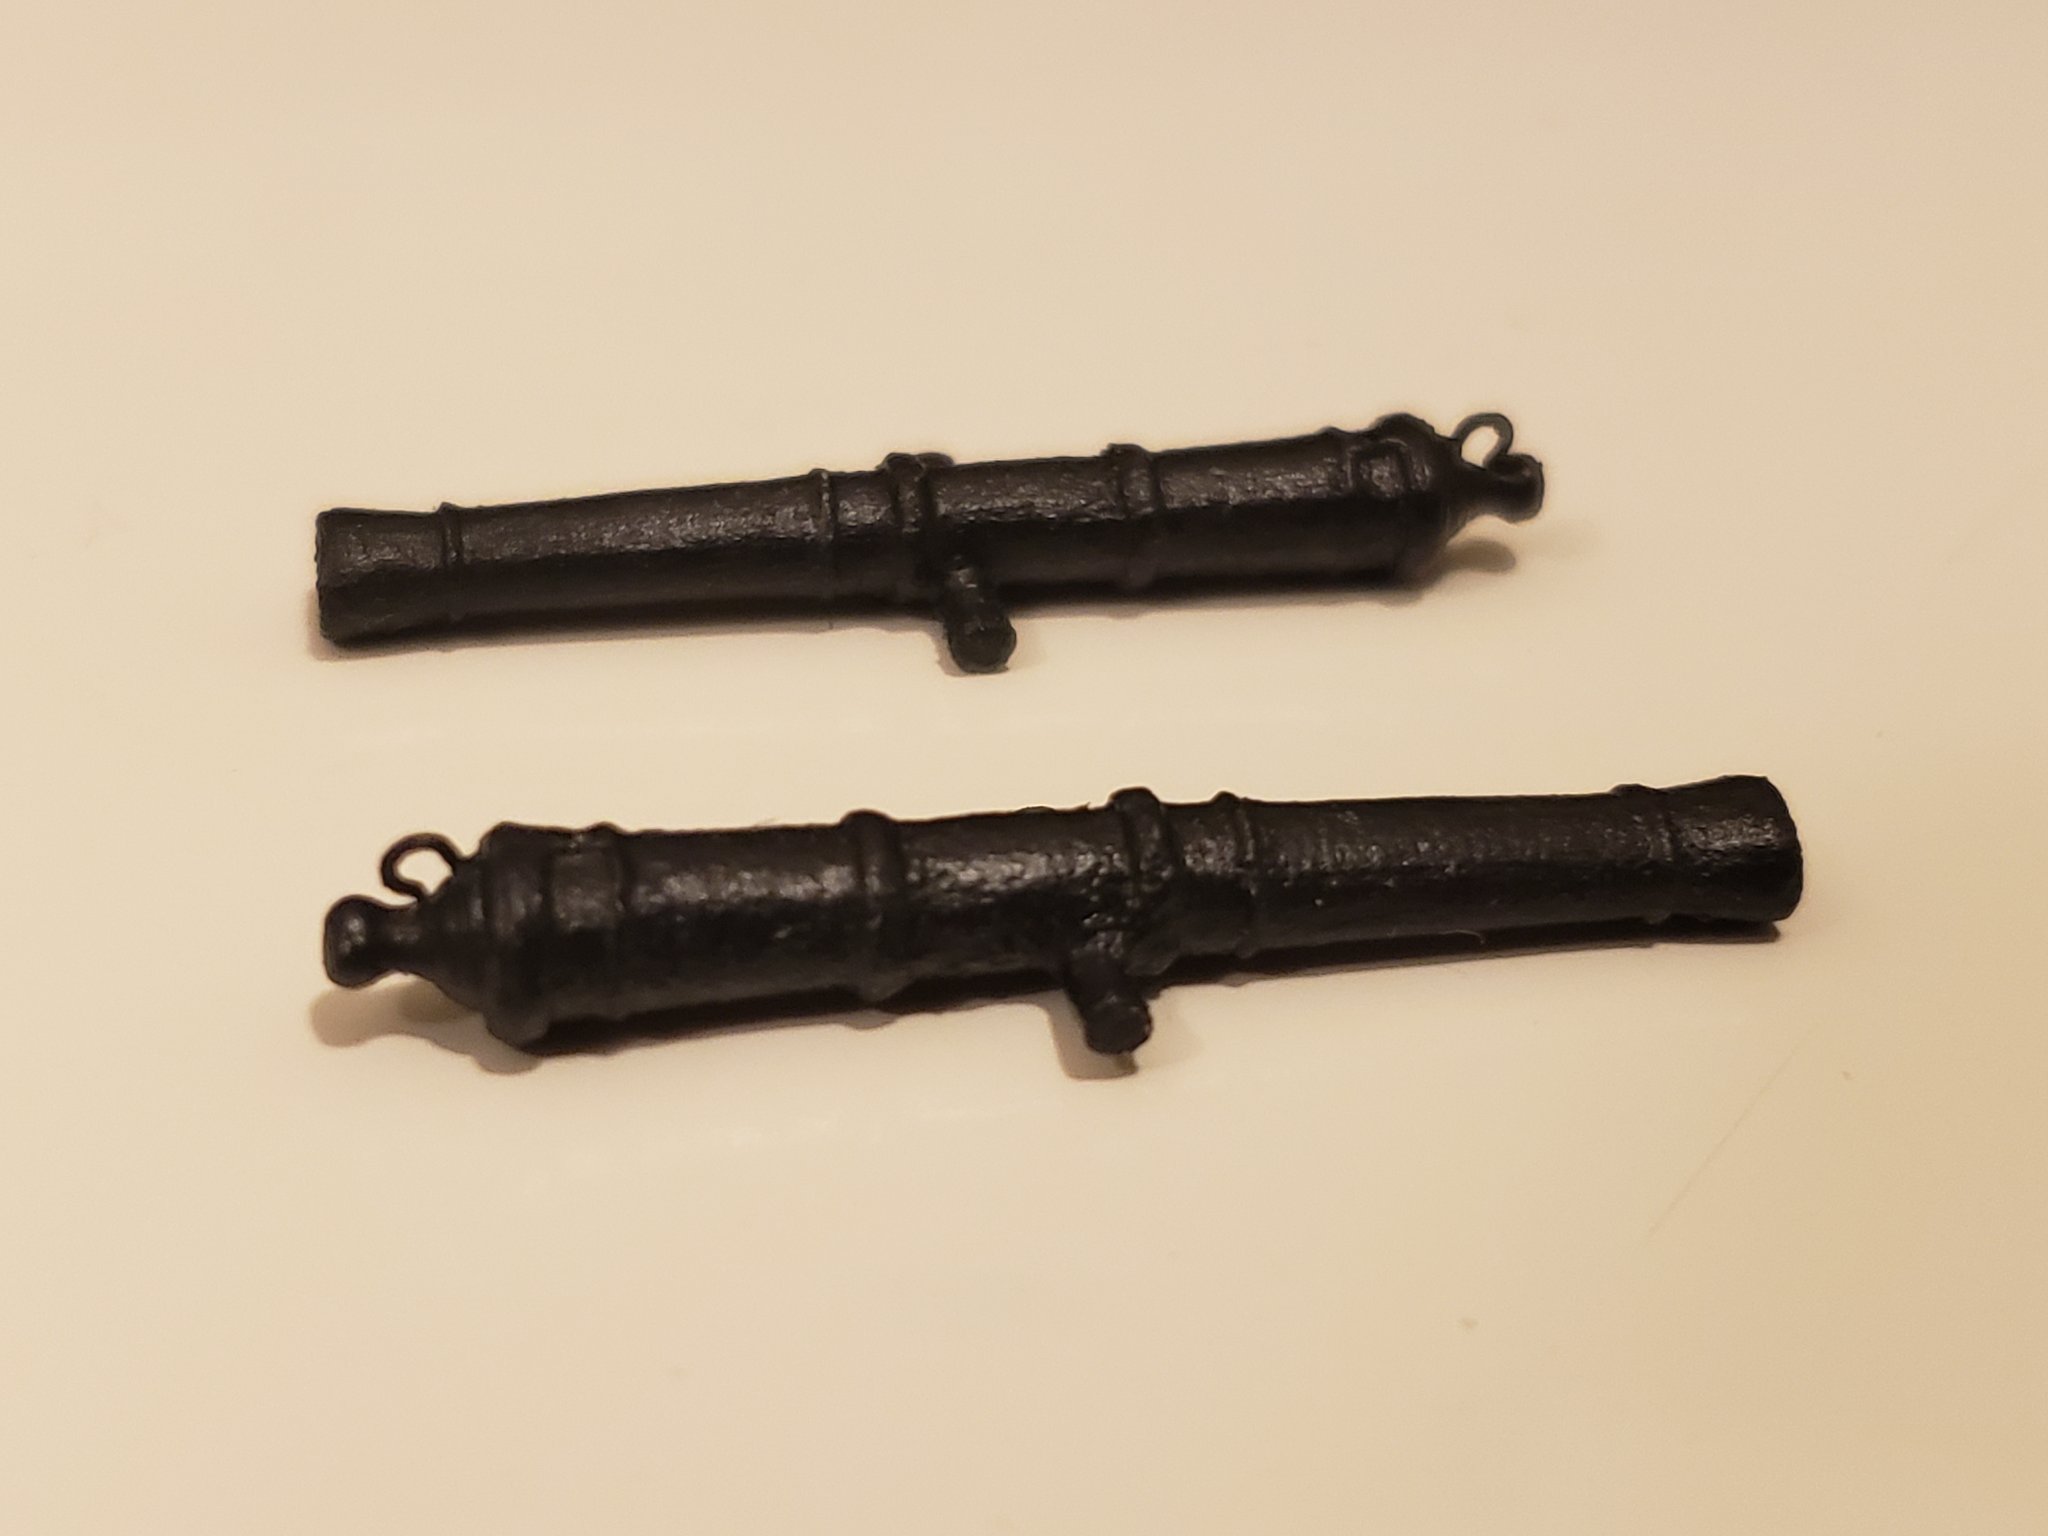
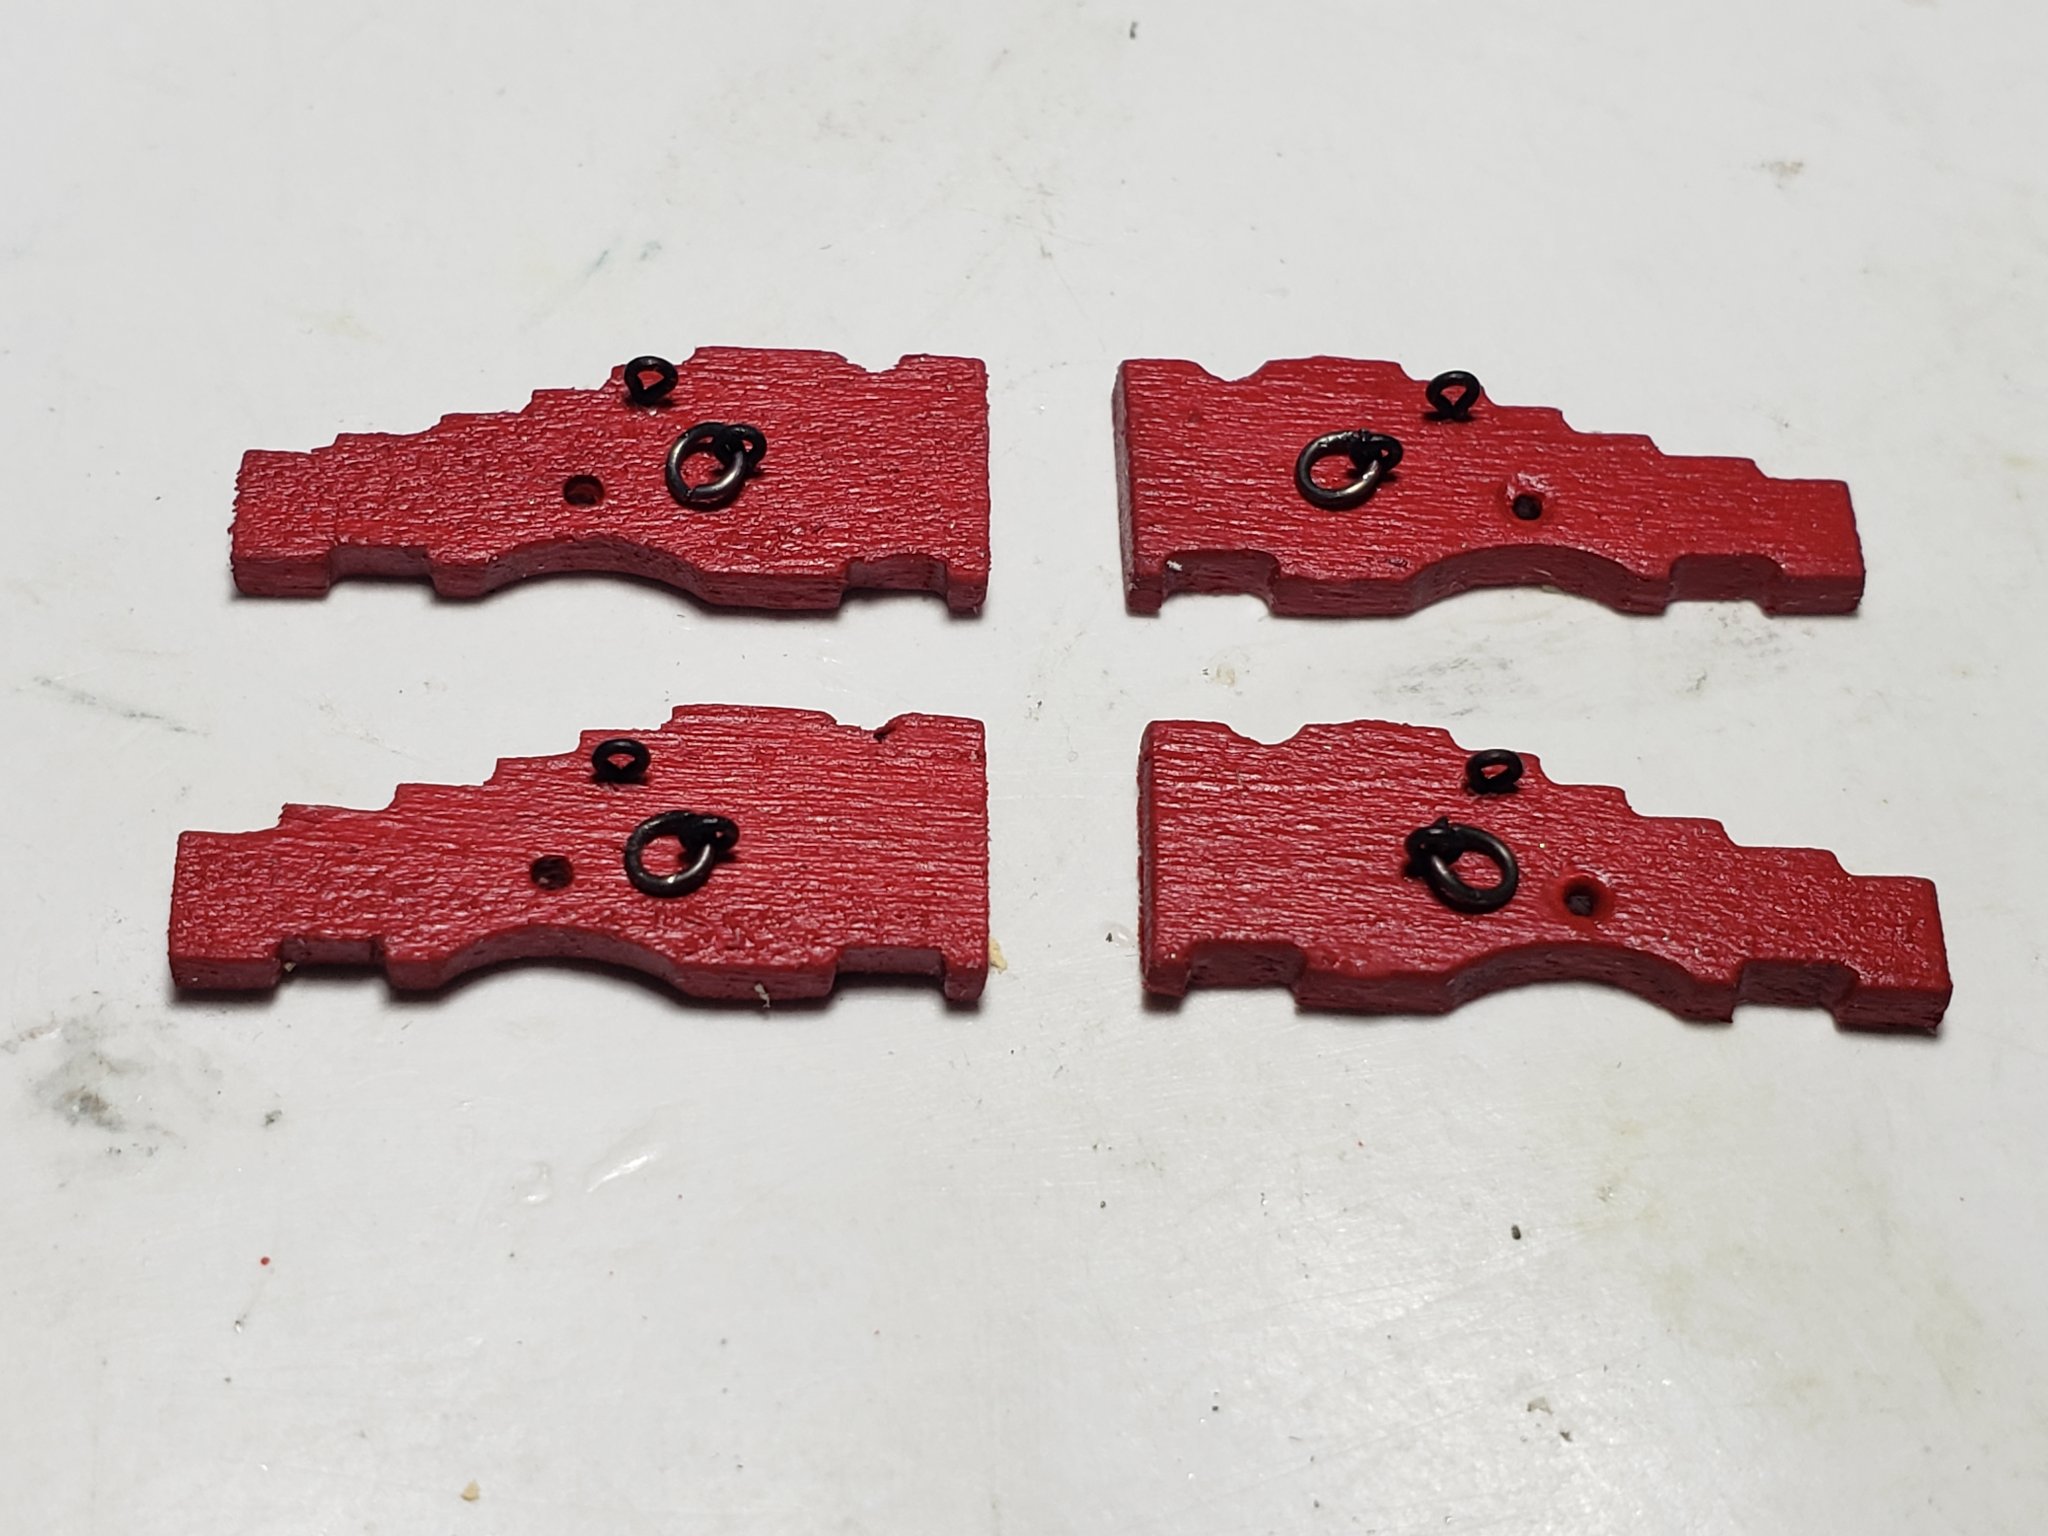
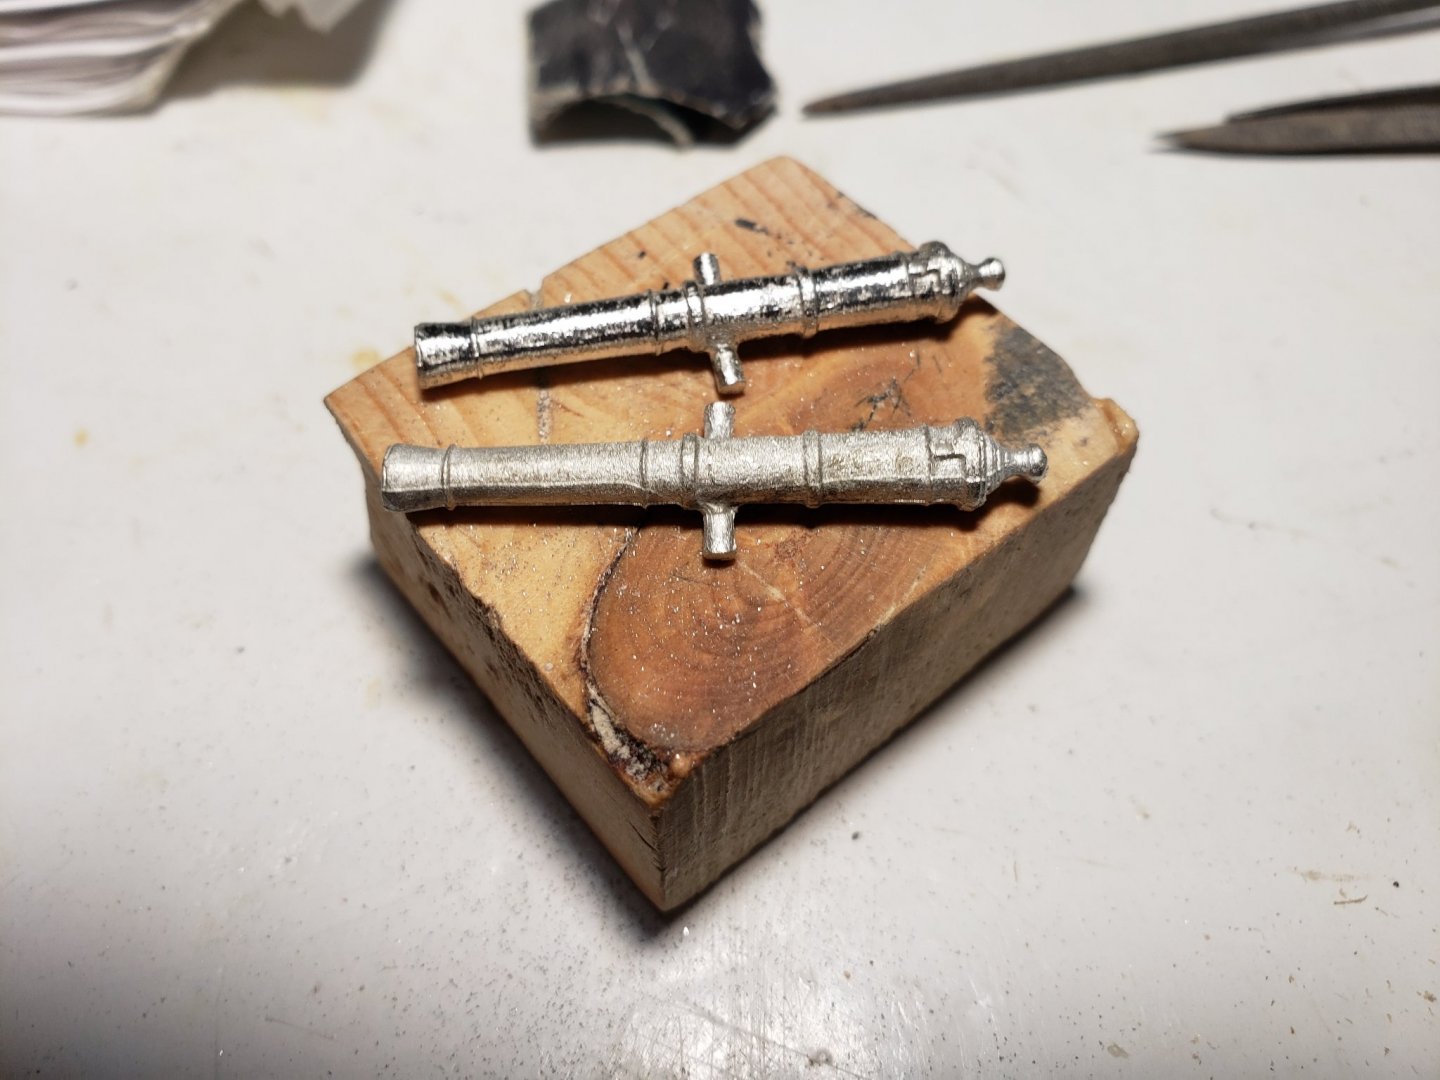
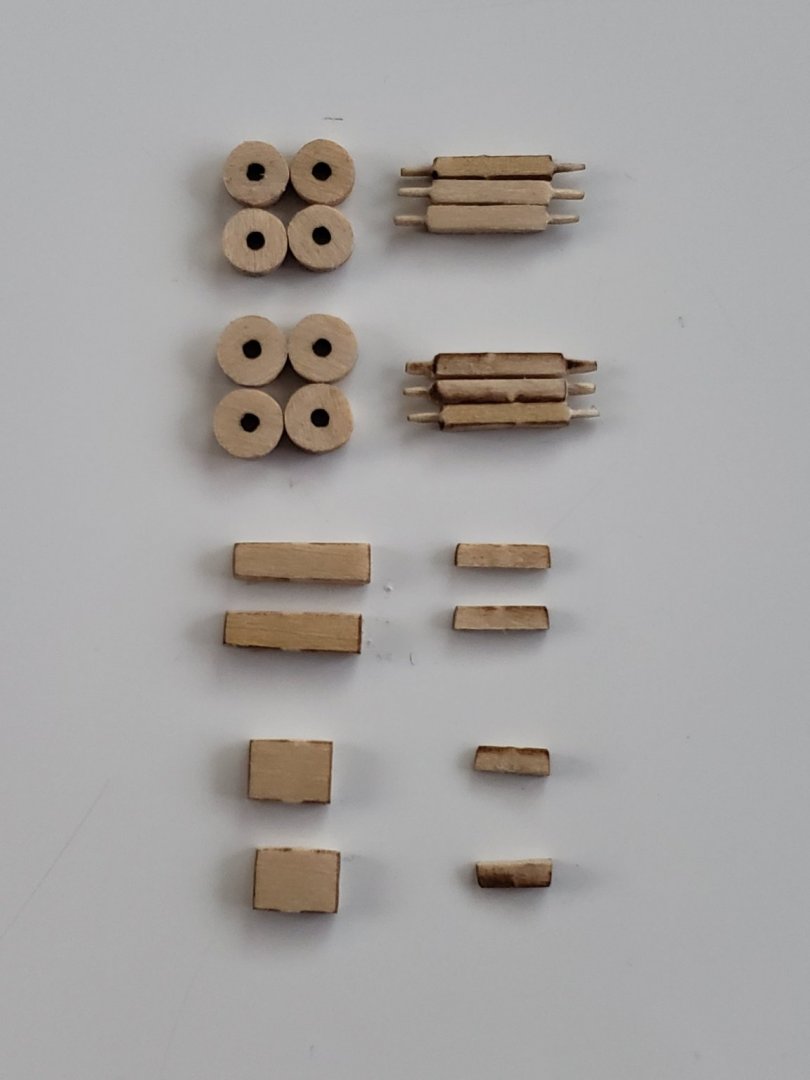
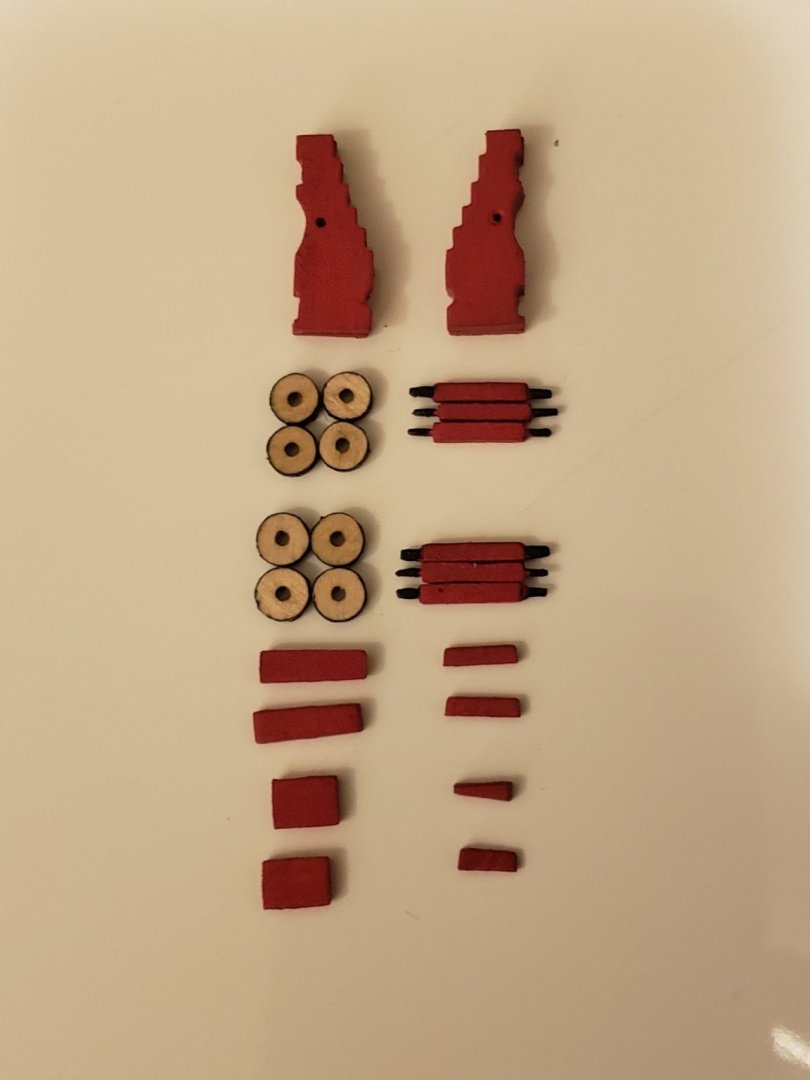
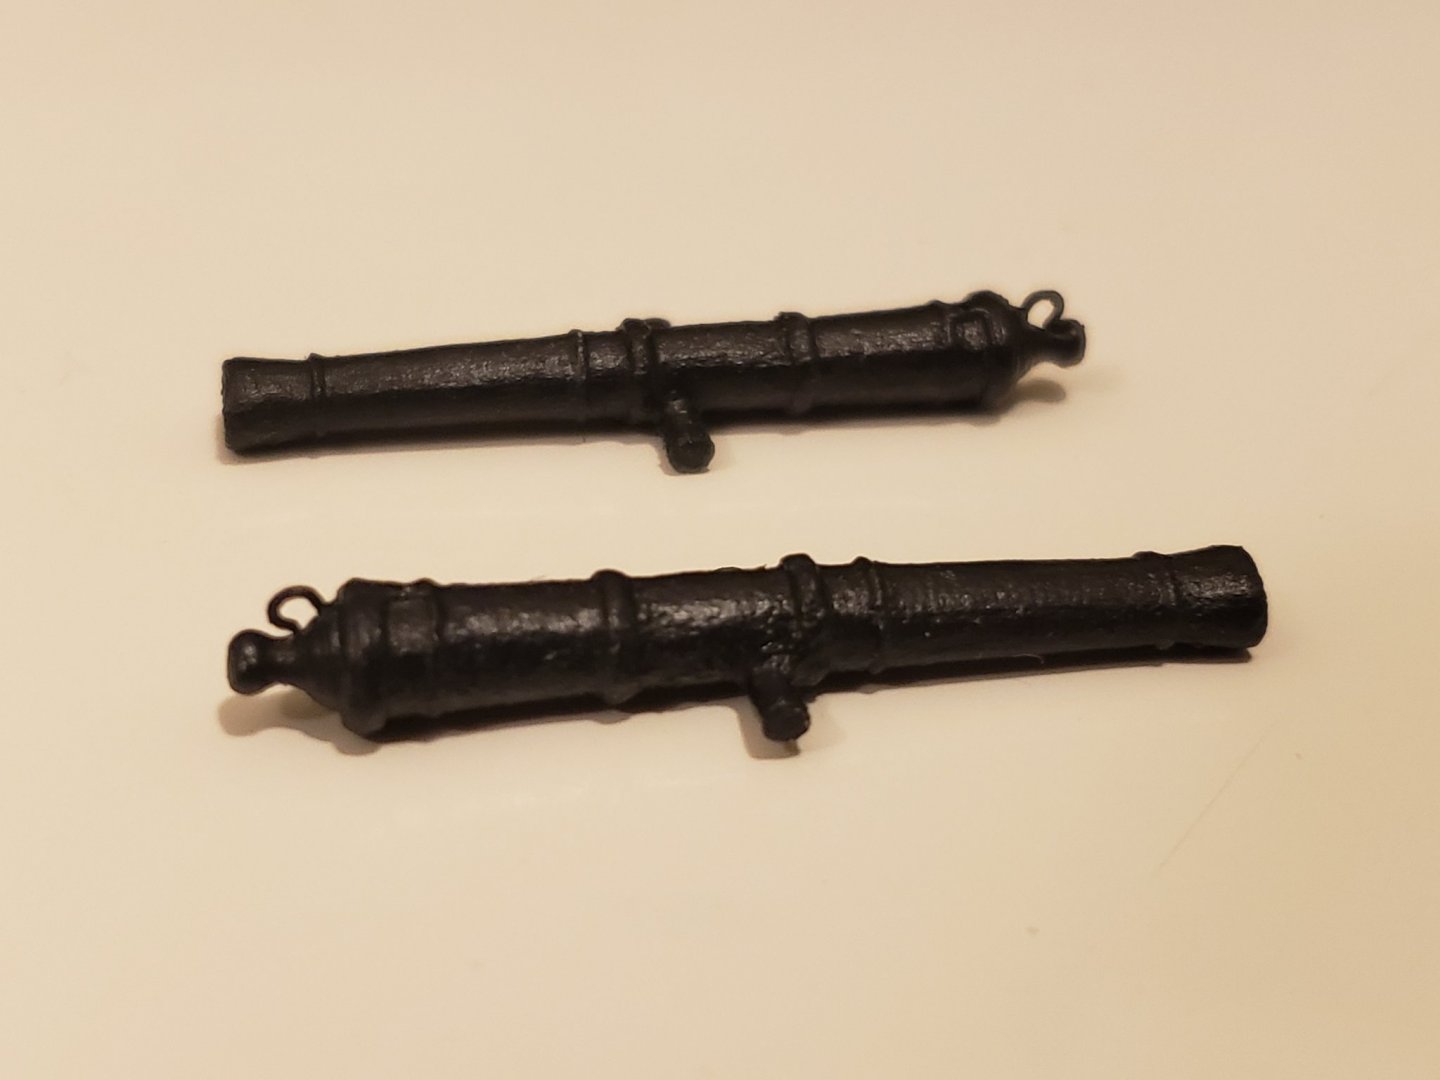
Finished prepping up all parts of the long guns and carriages. First the guns were filed to remove some of the weird metal lines. Here's the back one filed to be nice and shiny 😁 The laser cut pieces have this issue where one side everything seems to be bigger than the other, I had to put filler in one of the holes of the carriage brackets and ran a wire through it before it sets so both sides have the same hole diameter. Next, all the other laser cut pieces were filed and sanded. The issue of one side being bigger carried on for all the pieces, so when looking at them straight on they looked angled. So they were sanded to be level. Next, all the pieces were painted: Guns were drilled and eye bolts were inserted into them. The entire assembly was then painted black after applying primer: Eyebolts also inserted into the carriages brackets (from this image the size issue is slightly evident, the left ones show the good sized hole and the right ones have the larger holes which were somewhat fixed with the filler): Lastly, a drop of CA glue was put on a wire and inserted into a hole in the quoin. They will be painted once they dry up After painting the quoin handles, the guns carriages can finally be assembled!


- 950 replies
-
- 6
-
-
- syren
- model shipways
- (and 1 more)
-
The deep red paint looks really good! Makes her already look very deadly 😁
- 436 replies
-
- 3
-
-
- Syren
- Model Shipways
- (and 1 more)
-
The planking looks really good. Very symmetric!!
-
Hey Pat, it's all basswood. I ended up scratching the top, back and drawers since the laser cut ones kept cracking when drilling the holes
- 950 replies
-
- 1
-
-
- syren
- model shipways
- (and 1 more)
-
Hi Robin, pls pardon my lack of nautical understanding 😅, but what does this mean? Are you planning to put the jolly boat on the longboat? Do you have any reference pictures of this?