HOLIDAY DONATION DRIVE - SUPPORT MSW - DO YOUR PART TO KEEP THIS GREAT FORUM GOING! (Only 72 donations so far out of 49,000 members - Can we at least get 100? C'mon guys!)
×

.jpg.1f80adf1a9b14a937cfcf2ca6af0f0d4.jpg)
WalrusGuy
-
Posts
1,007 -
Joined
-
Last visited
Content Type
Profiles
Forums
Gallery
Events
Everything posted by WalrusGuy
-
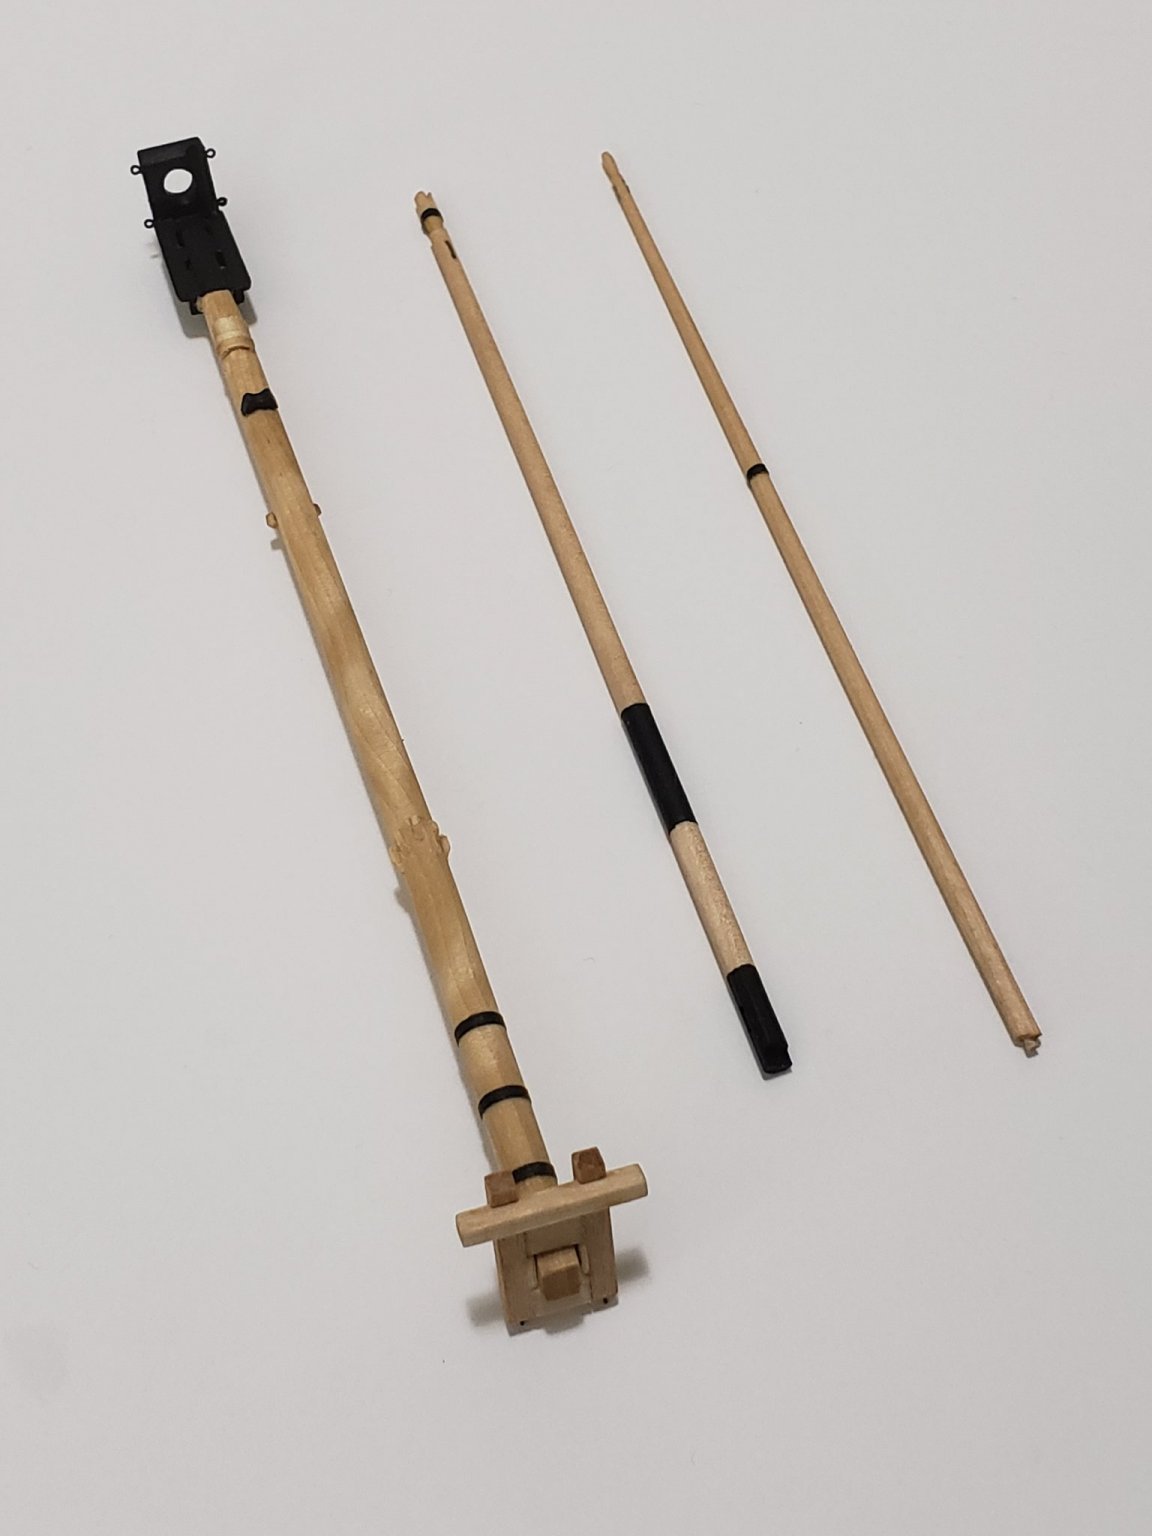
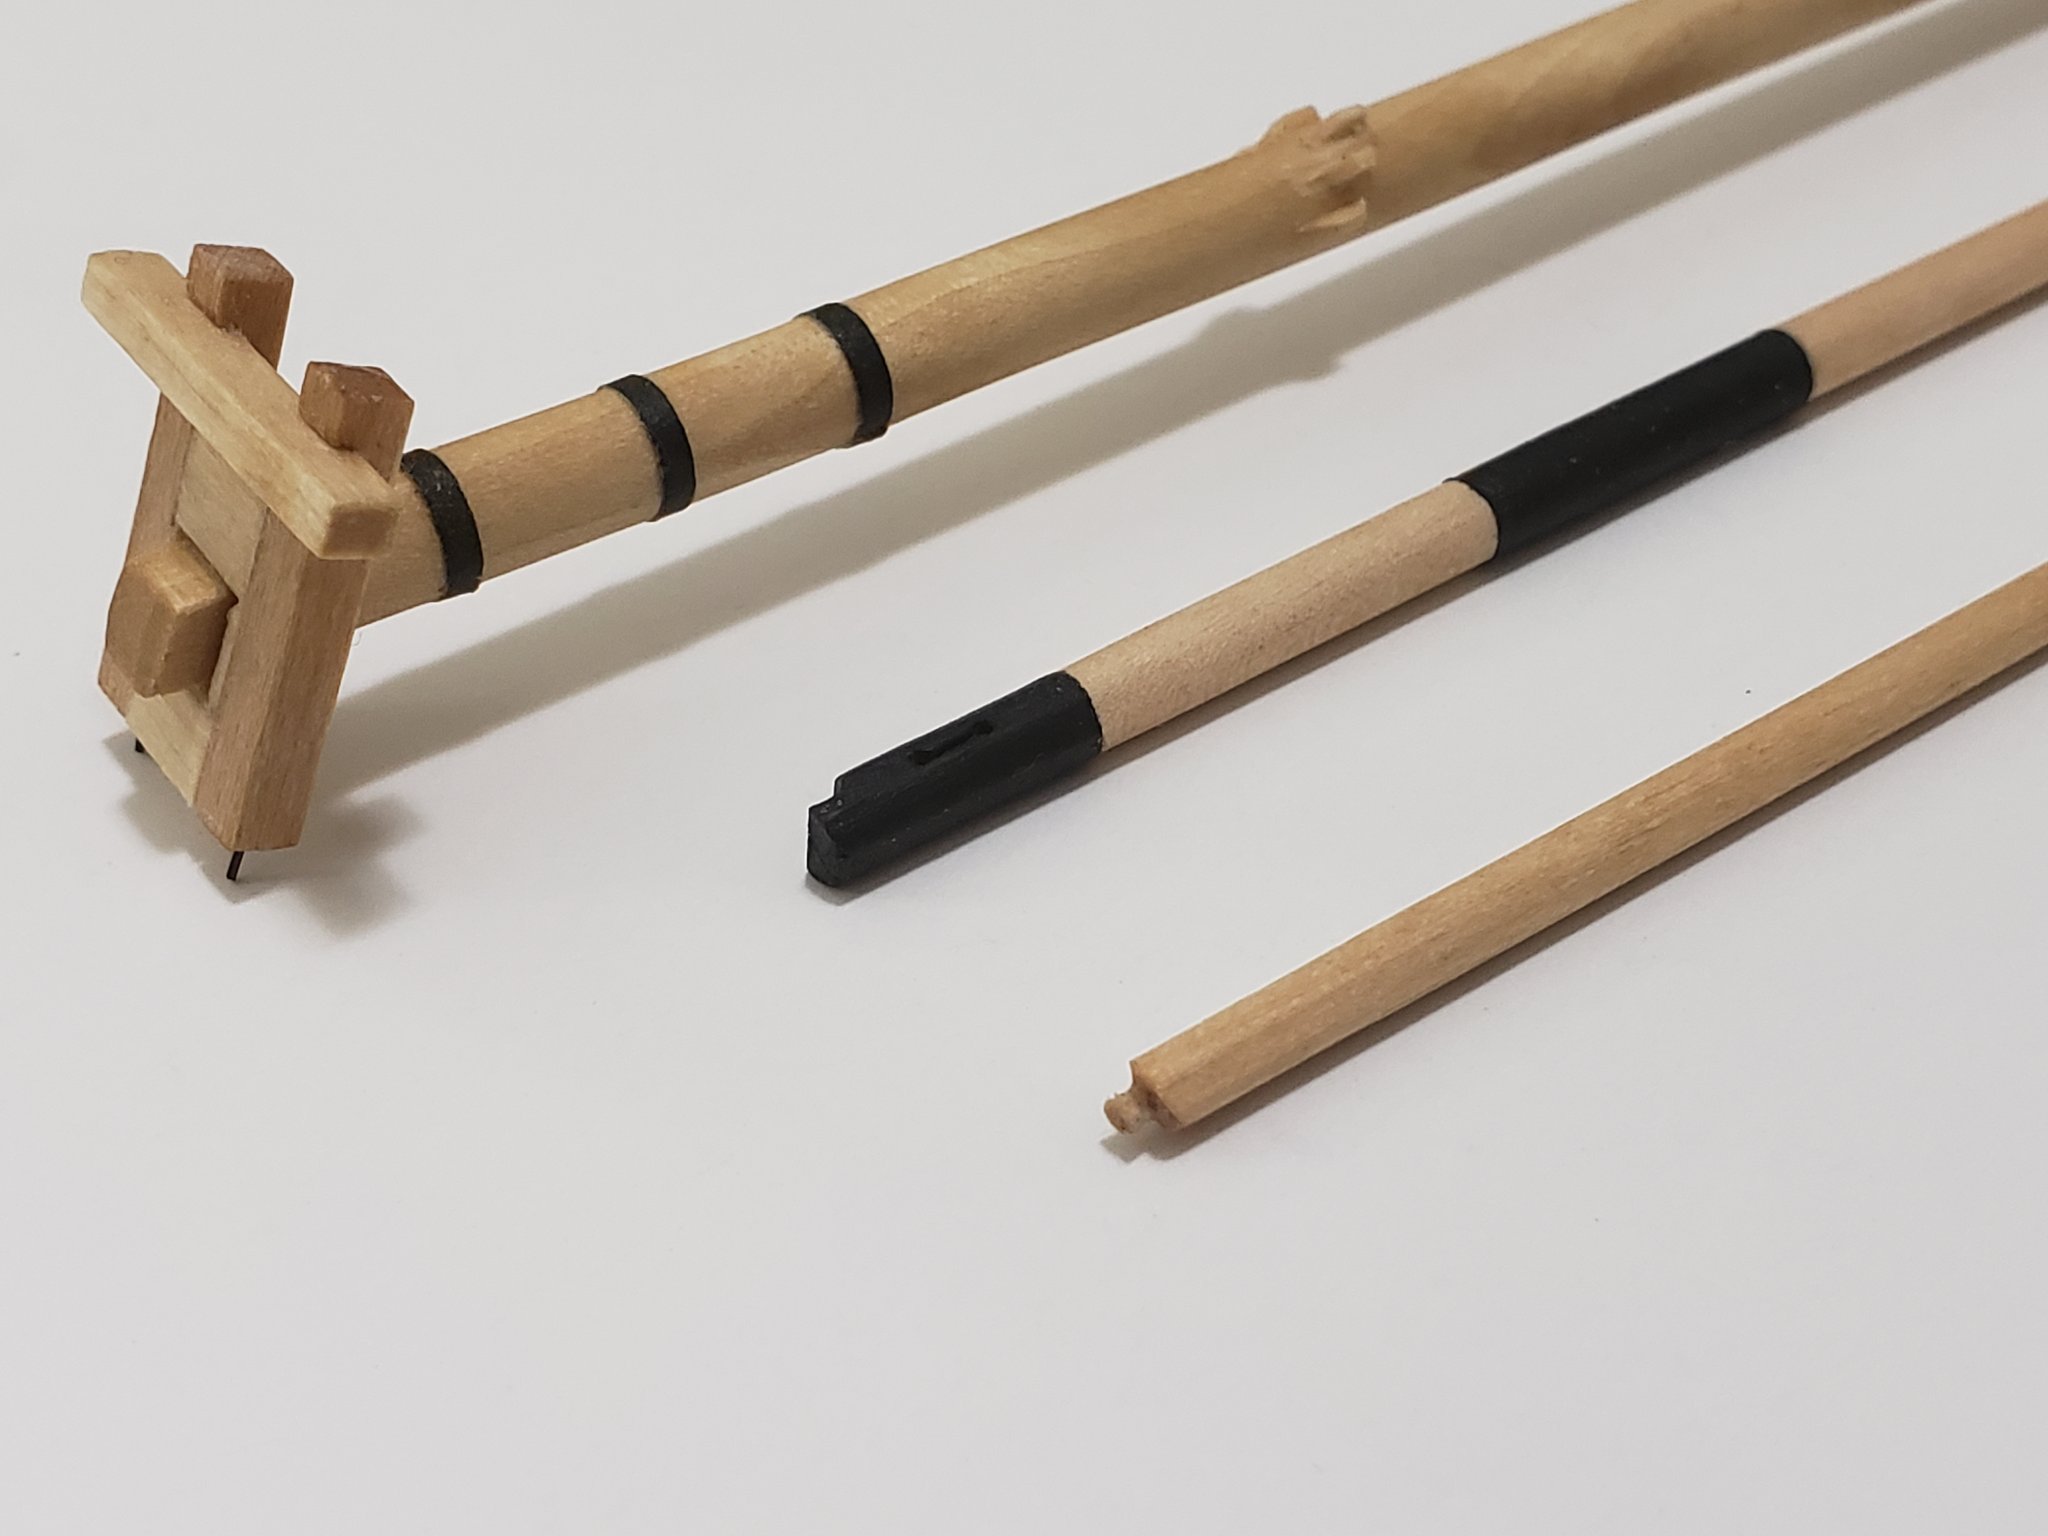
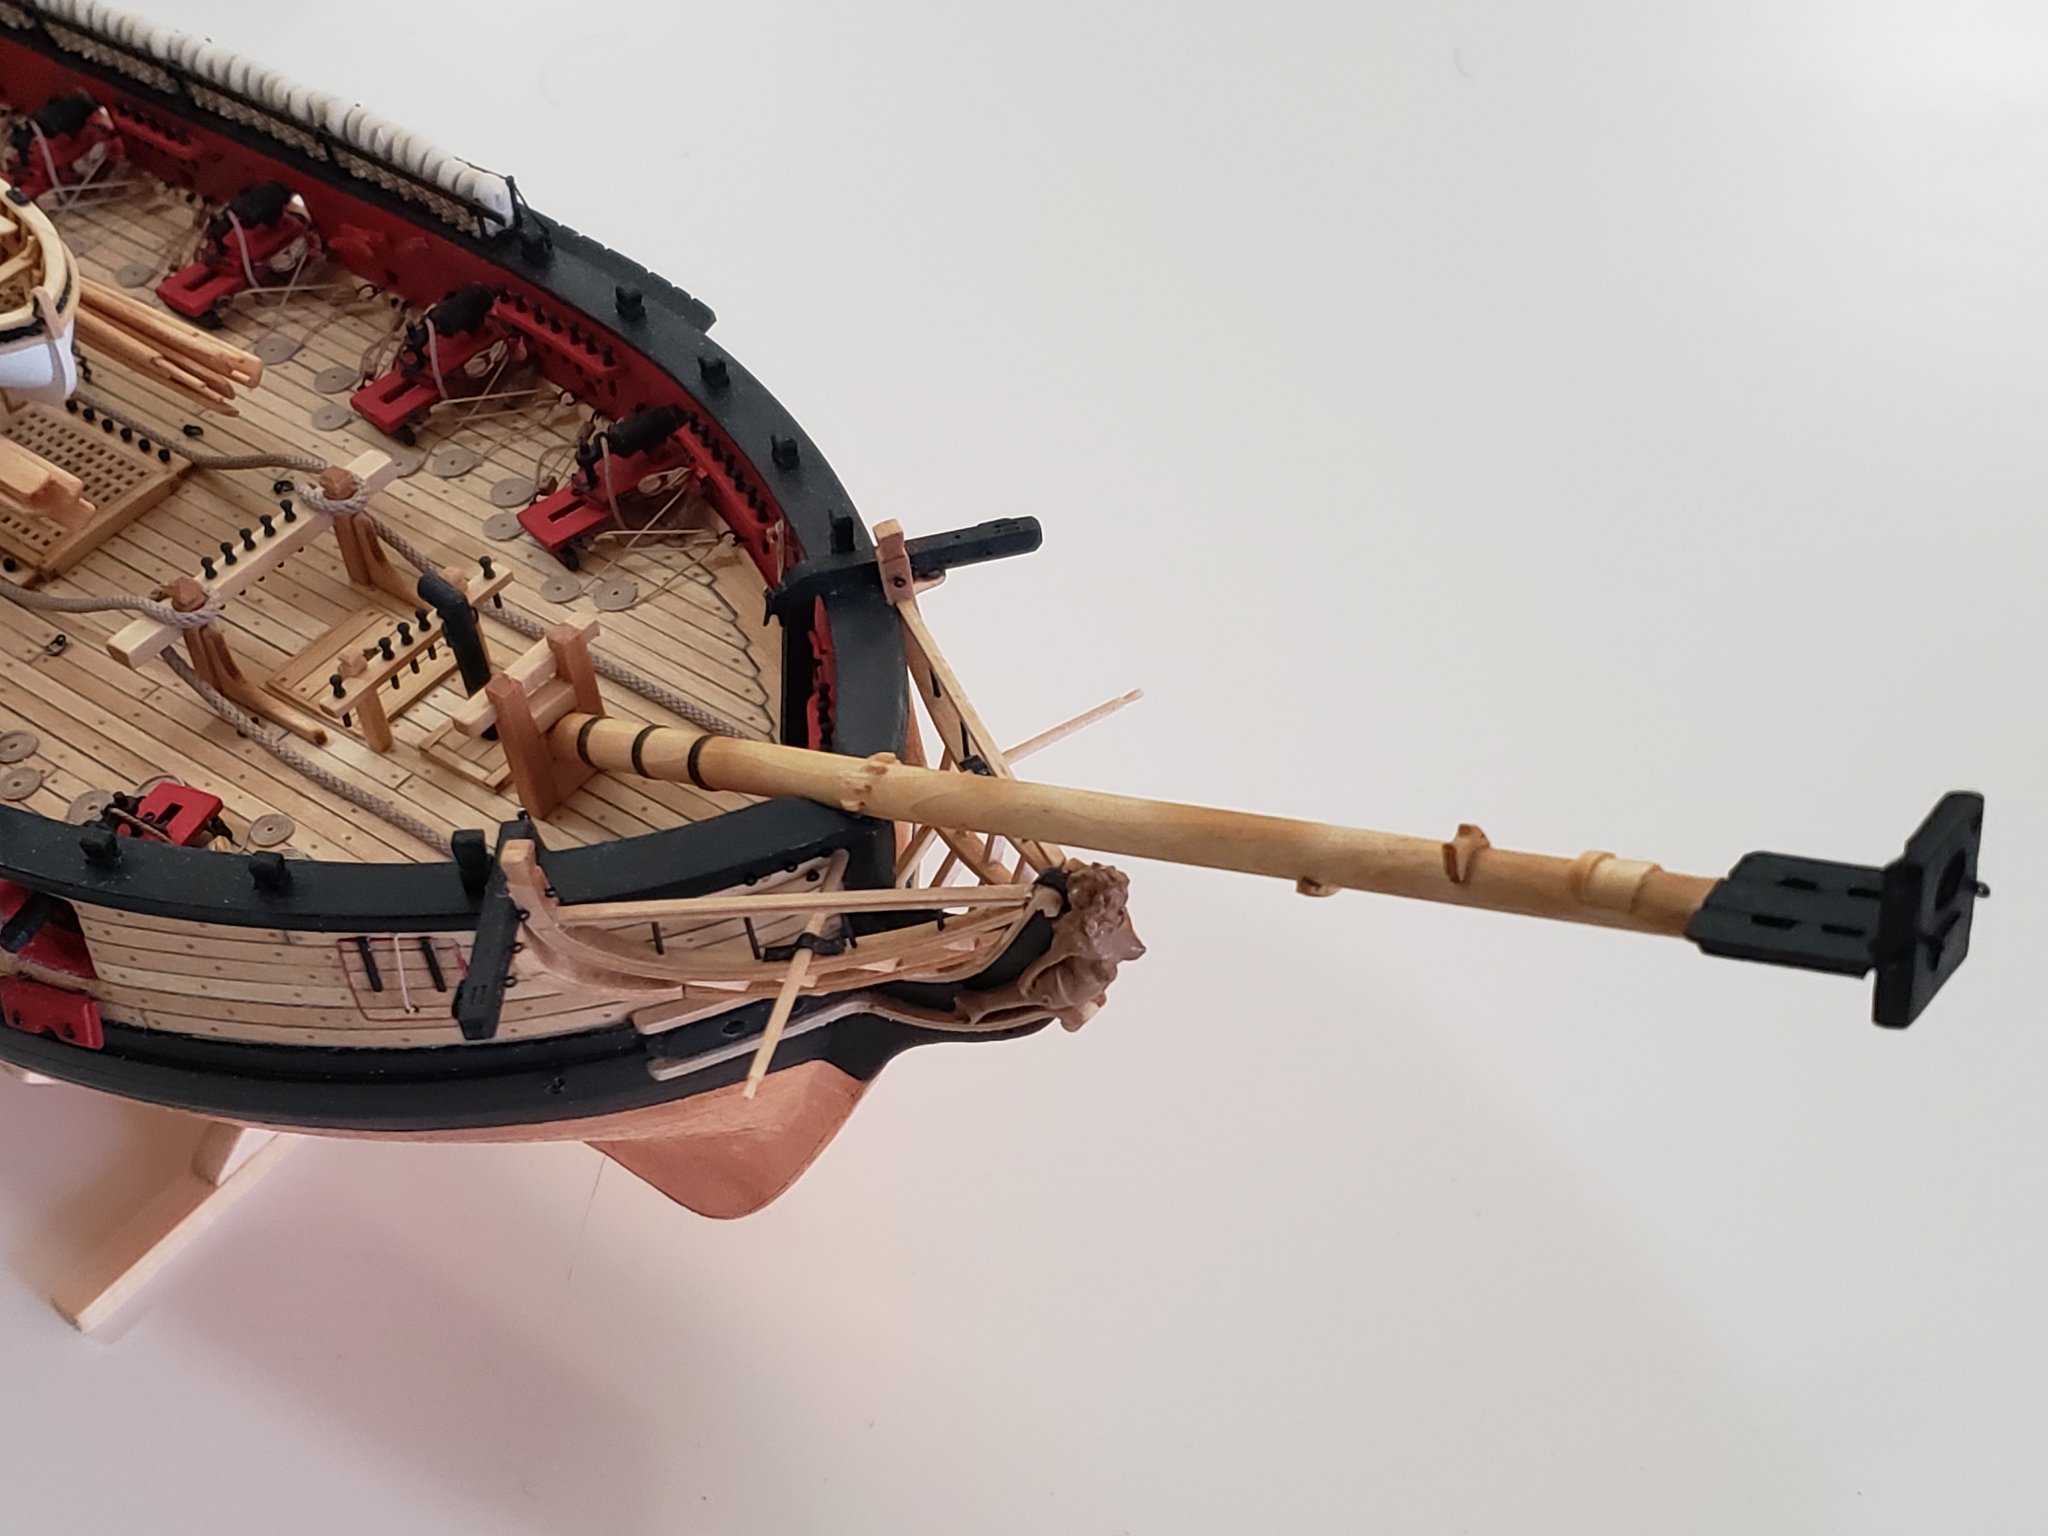
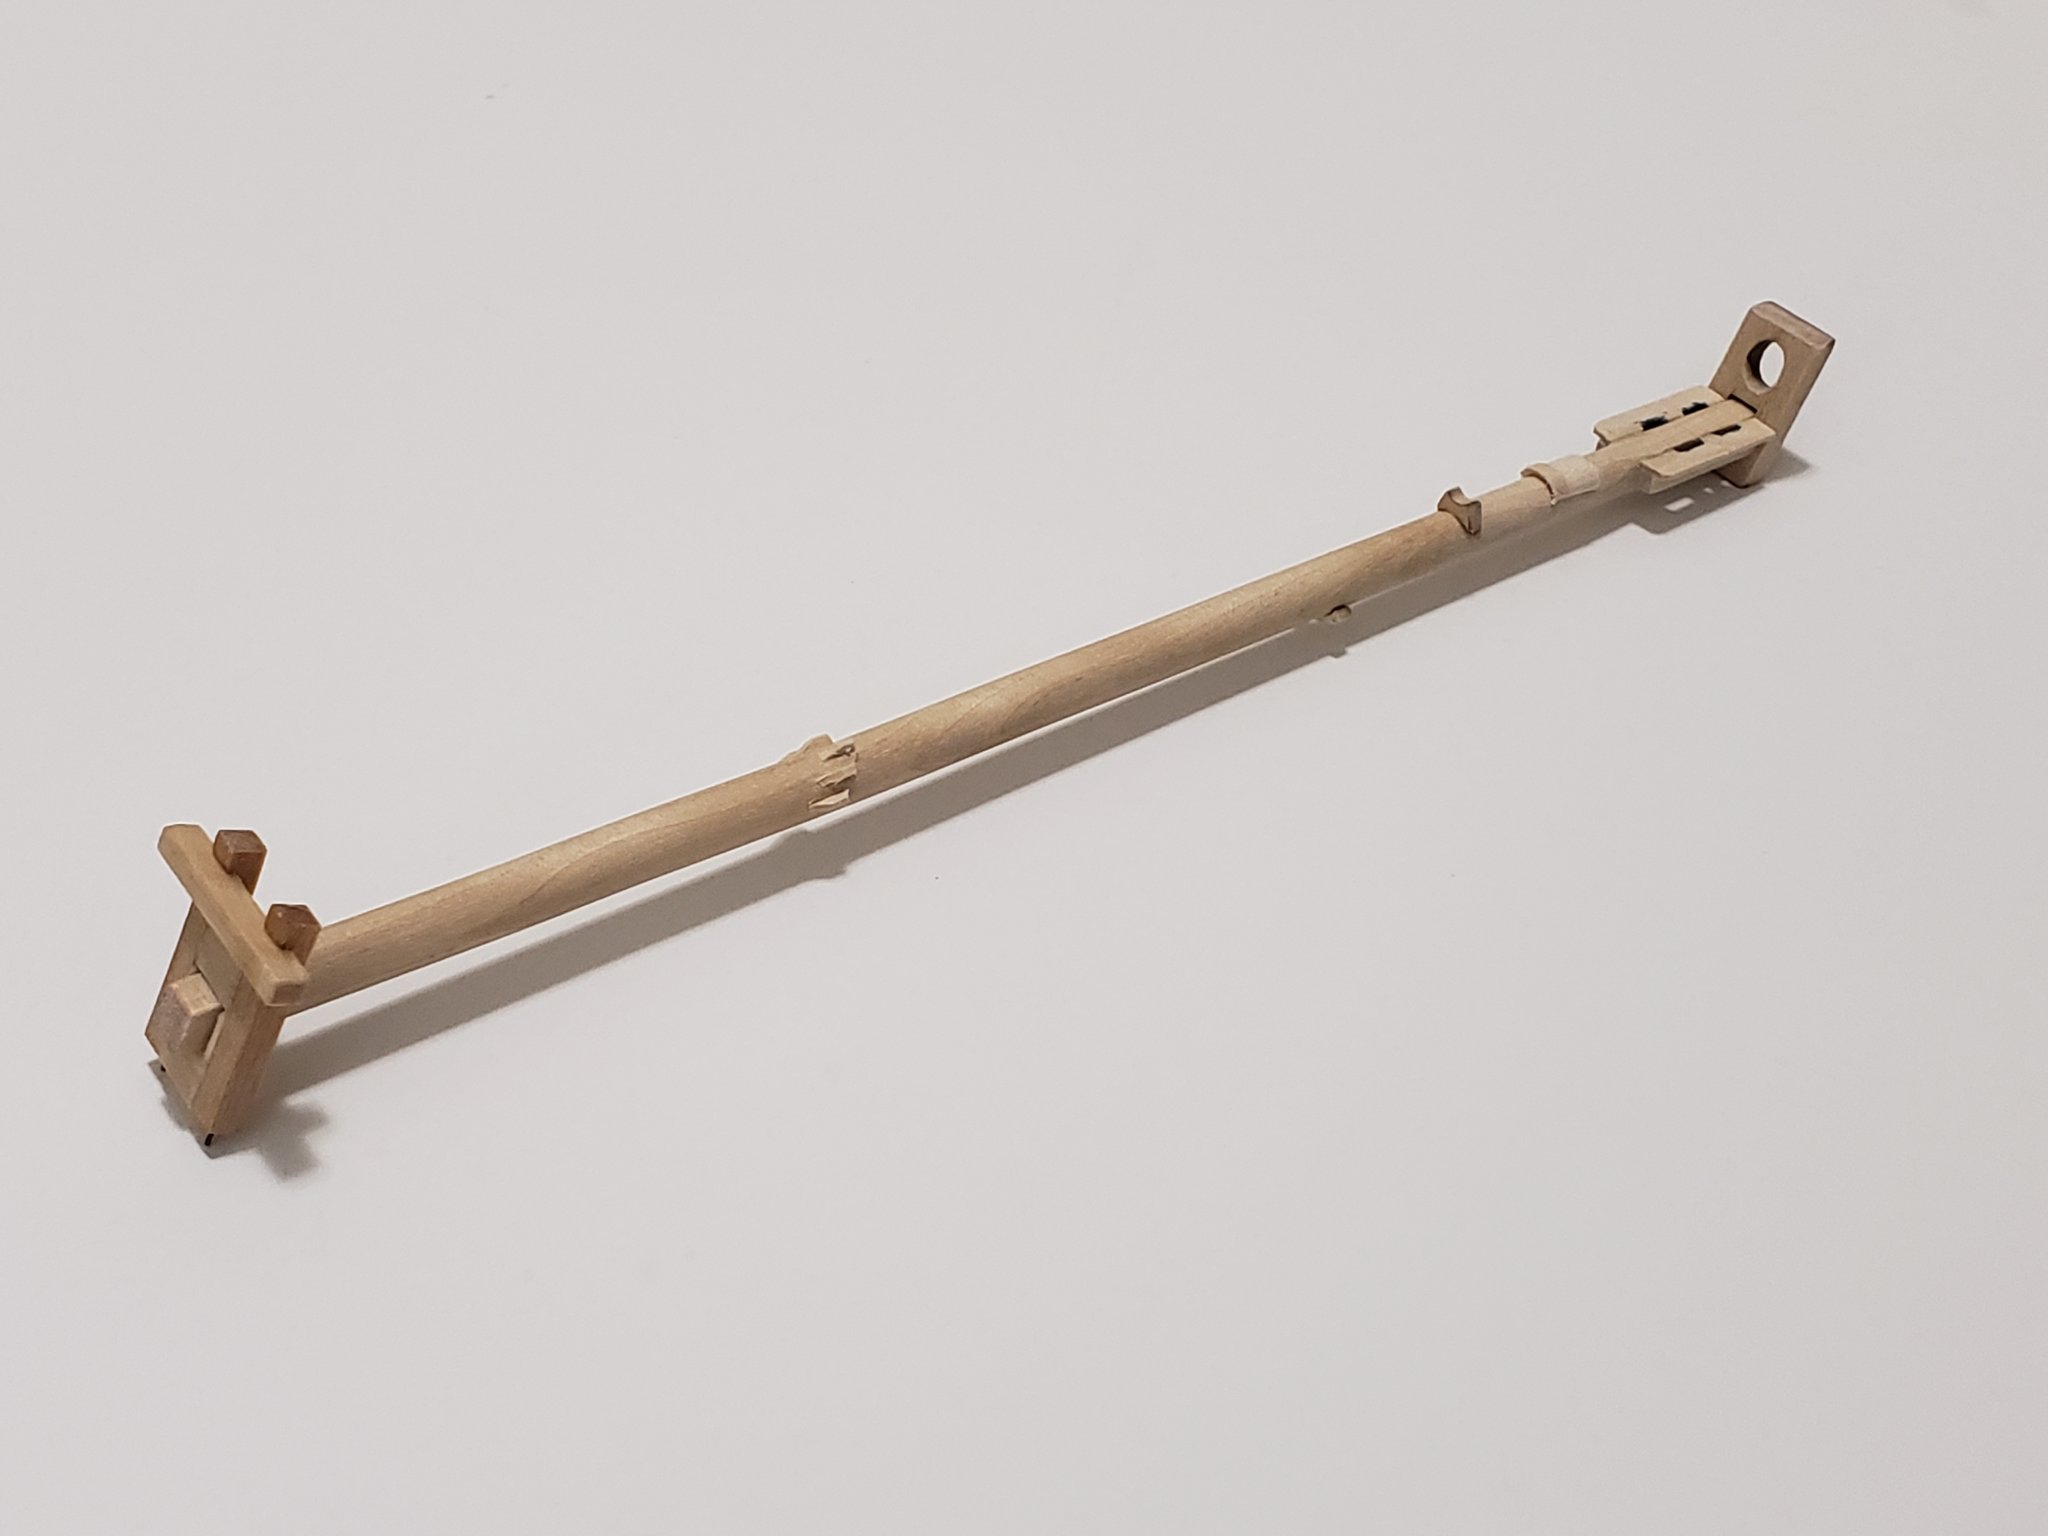
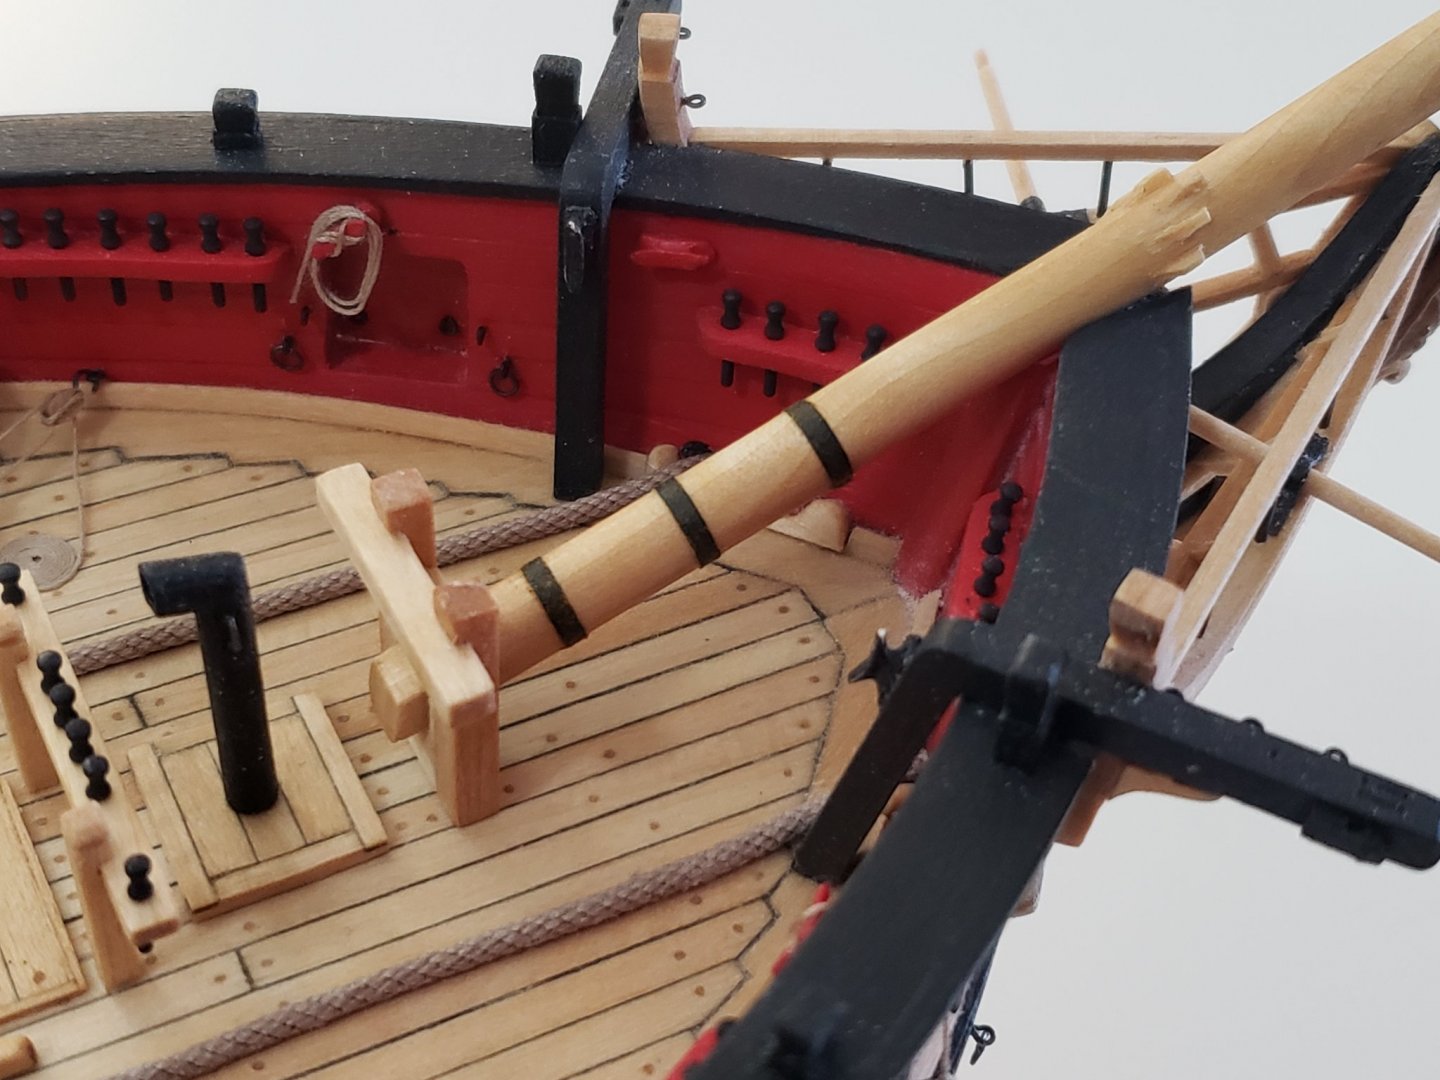
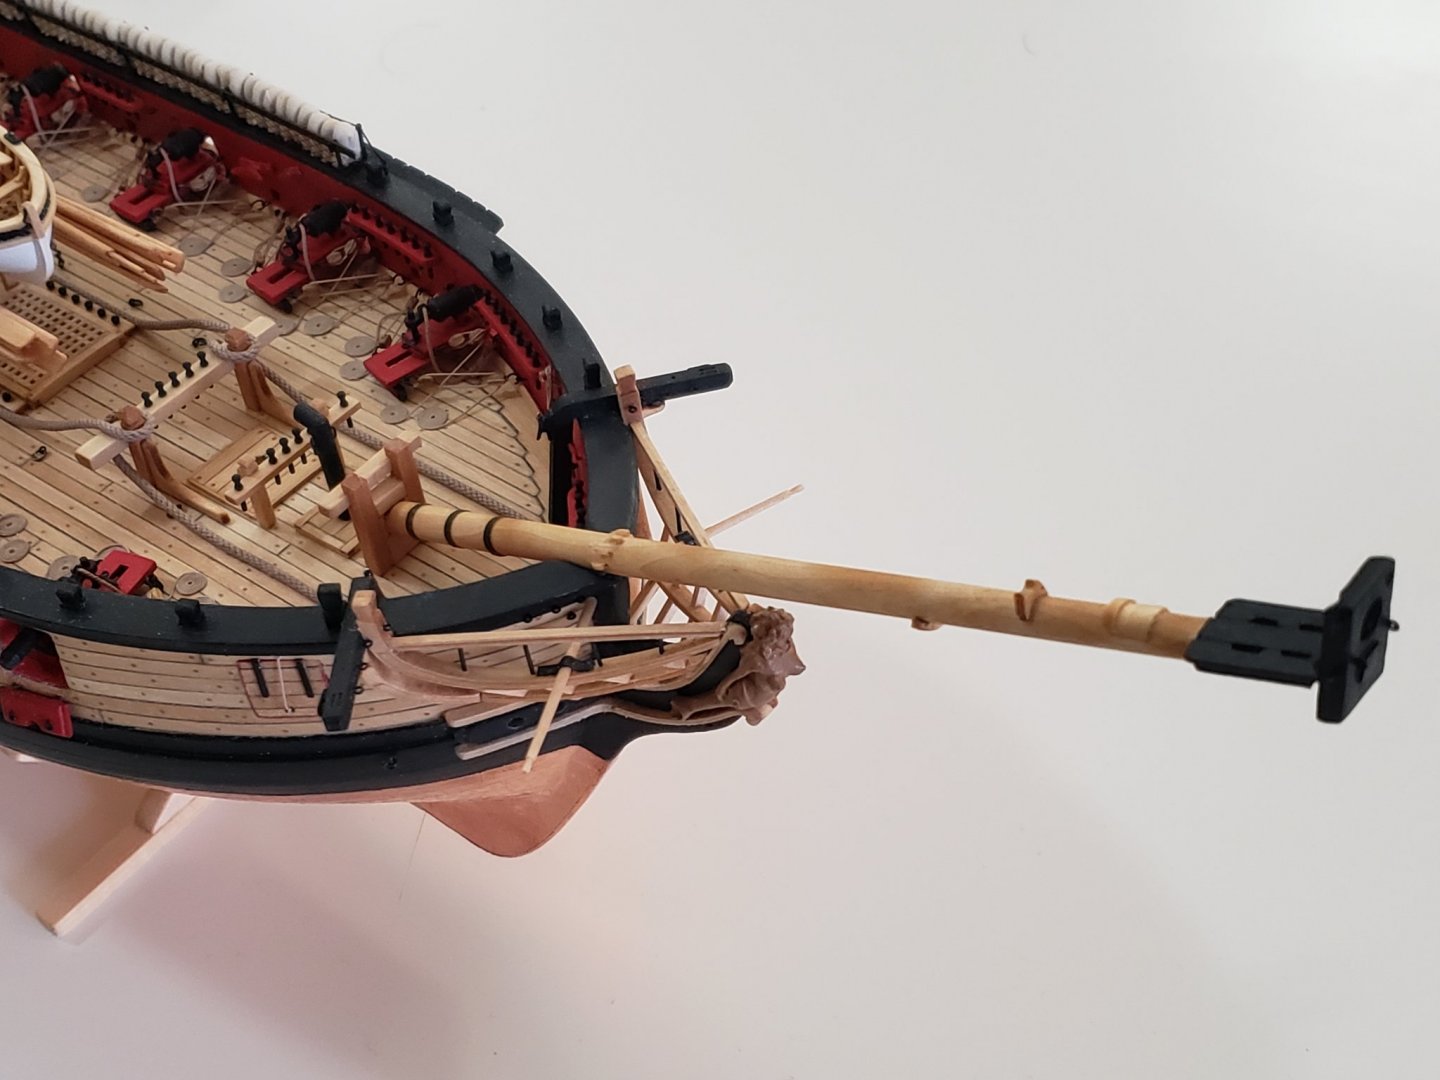
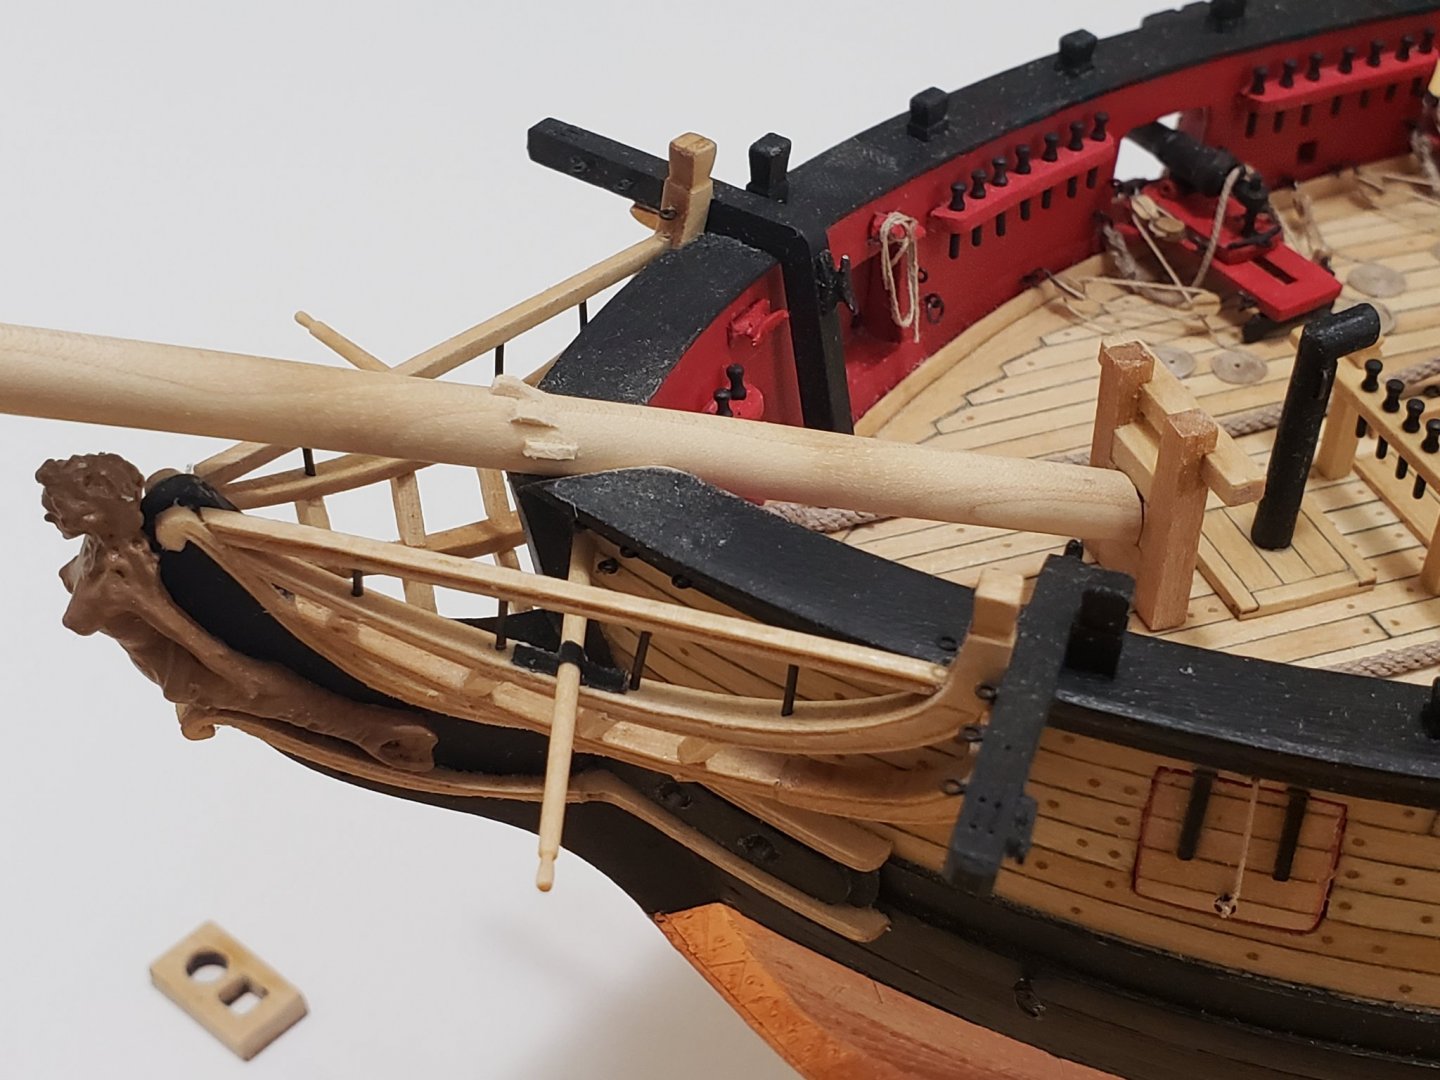
.thumb.jpg.62d1d69fed1f32364417cb1f9cdeb009.jpg) Jibboom and flying jibboom have been shaped and painted. Now to assemble the whole lot 😁
Jibboom and flying jibboom have been shaped and painted. Now to assemble the whole lot 😁


- 950 replies
-
- 7
-

-
- syren
- model shipways
- (and 1 more)
-
Thanks for the tips! I'm afraid I'm not too confident with weathering and am scared of messing things up 😅 I do plan on having at least one project where I can try more weathering, but not sure if I'll be able to pull it off. I feel like it's an art on its own. Thanks again for the comment!
- 950 replies
-
- 2
-
-
- syren
- model shipways
- (and 1 more)
-
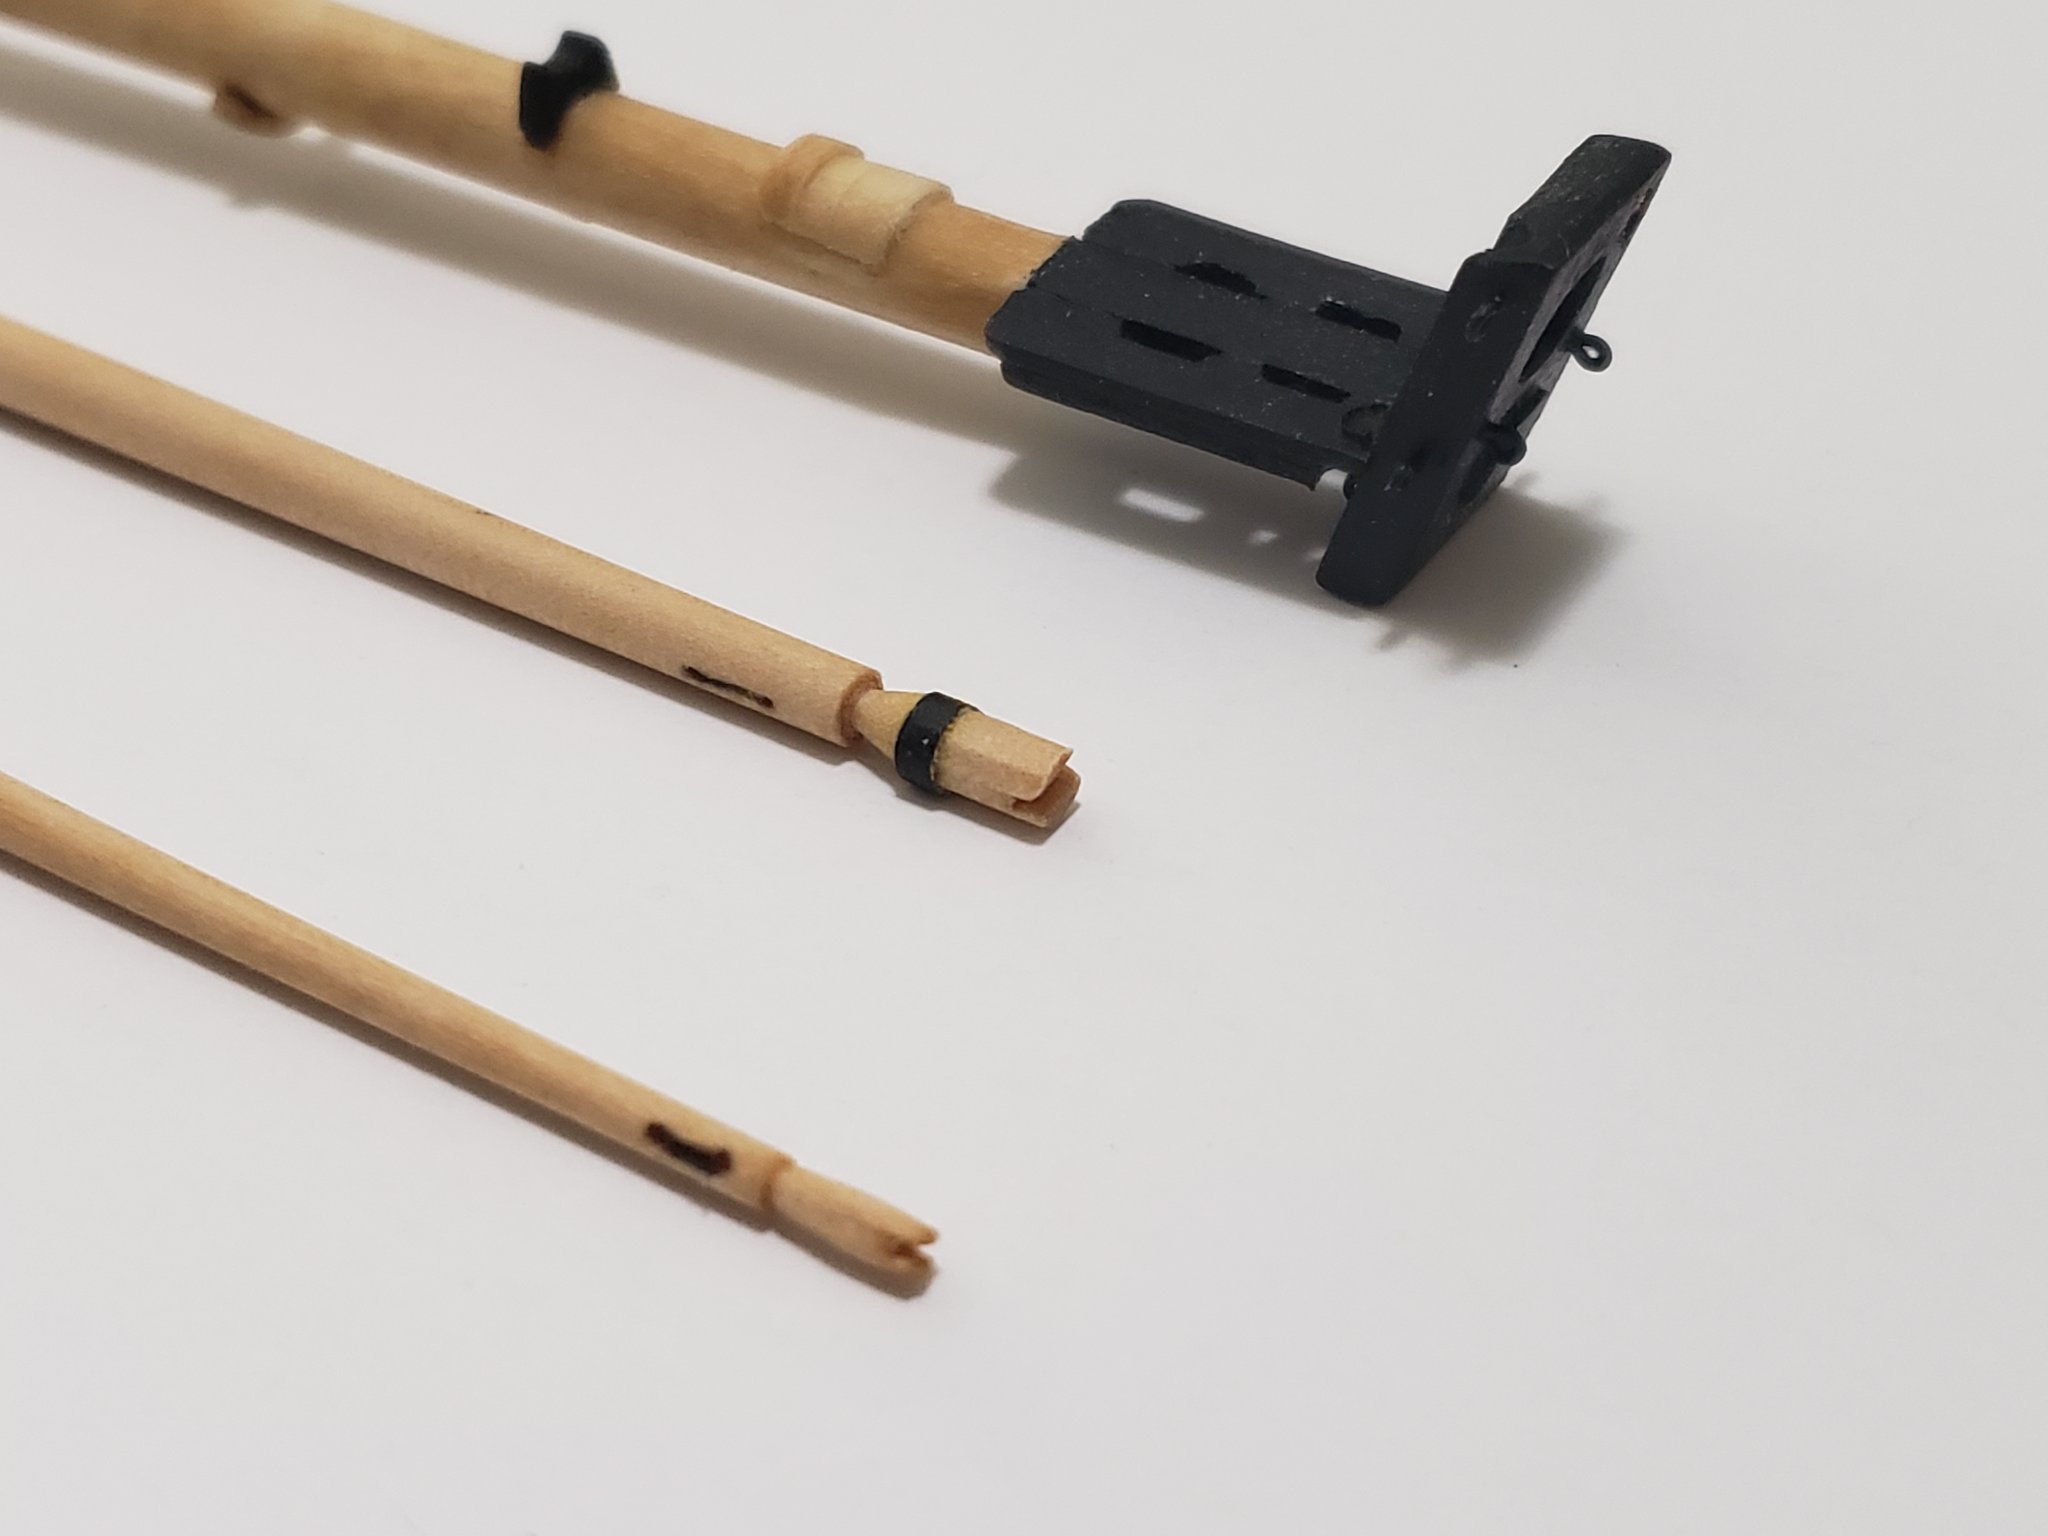
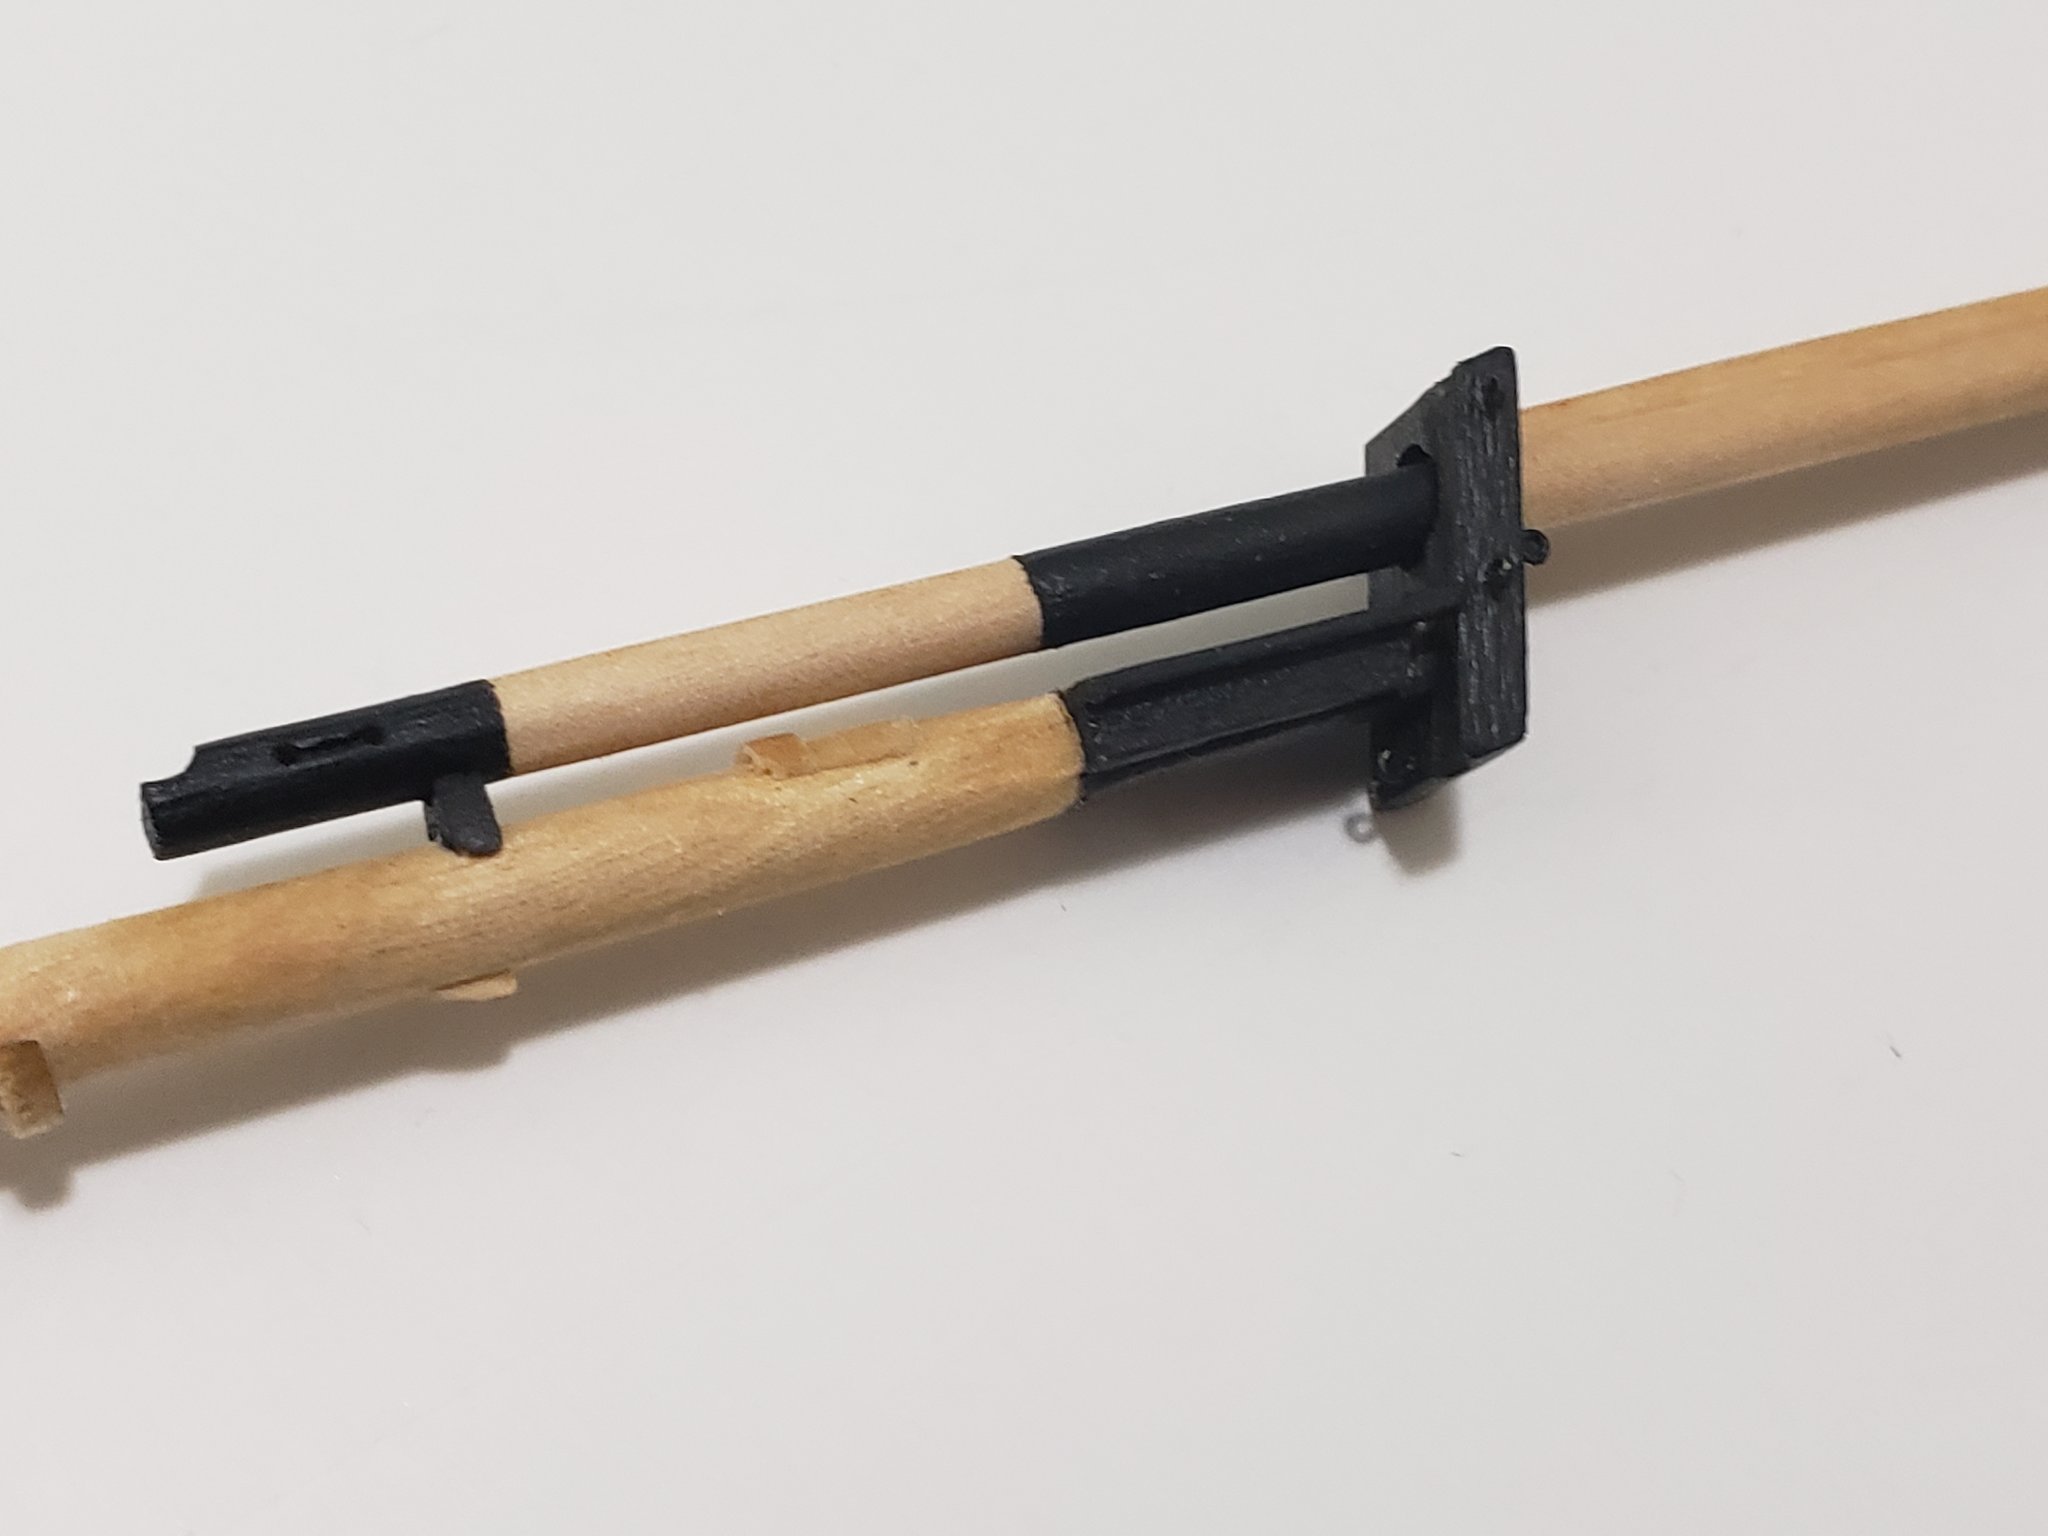
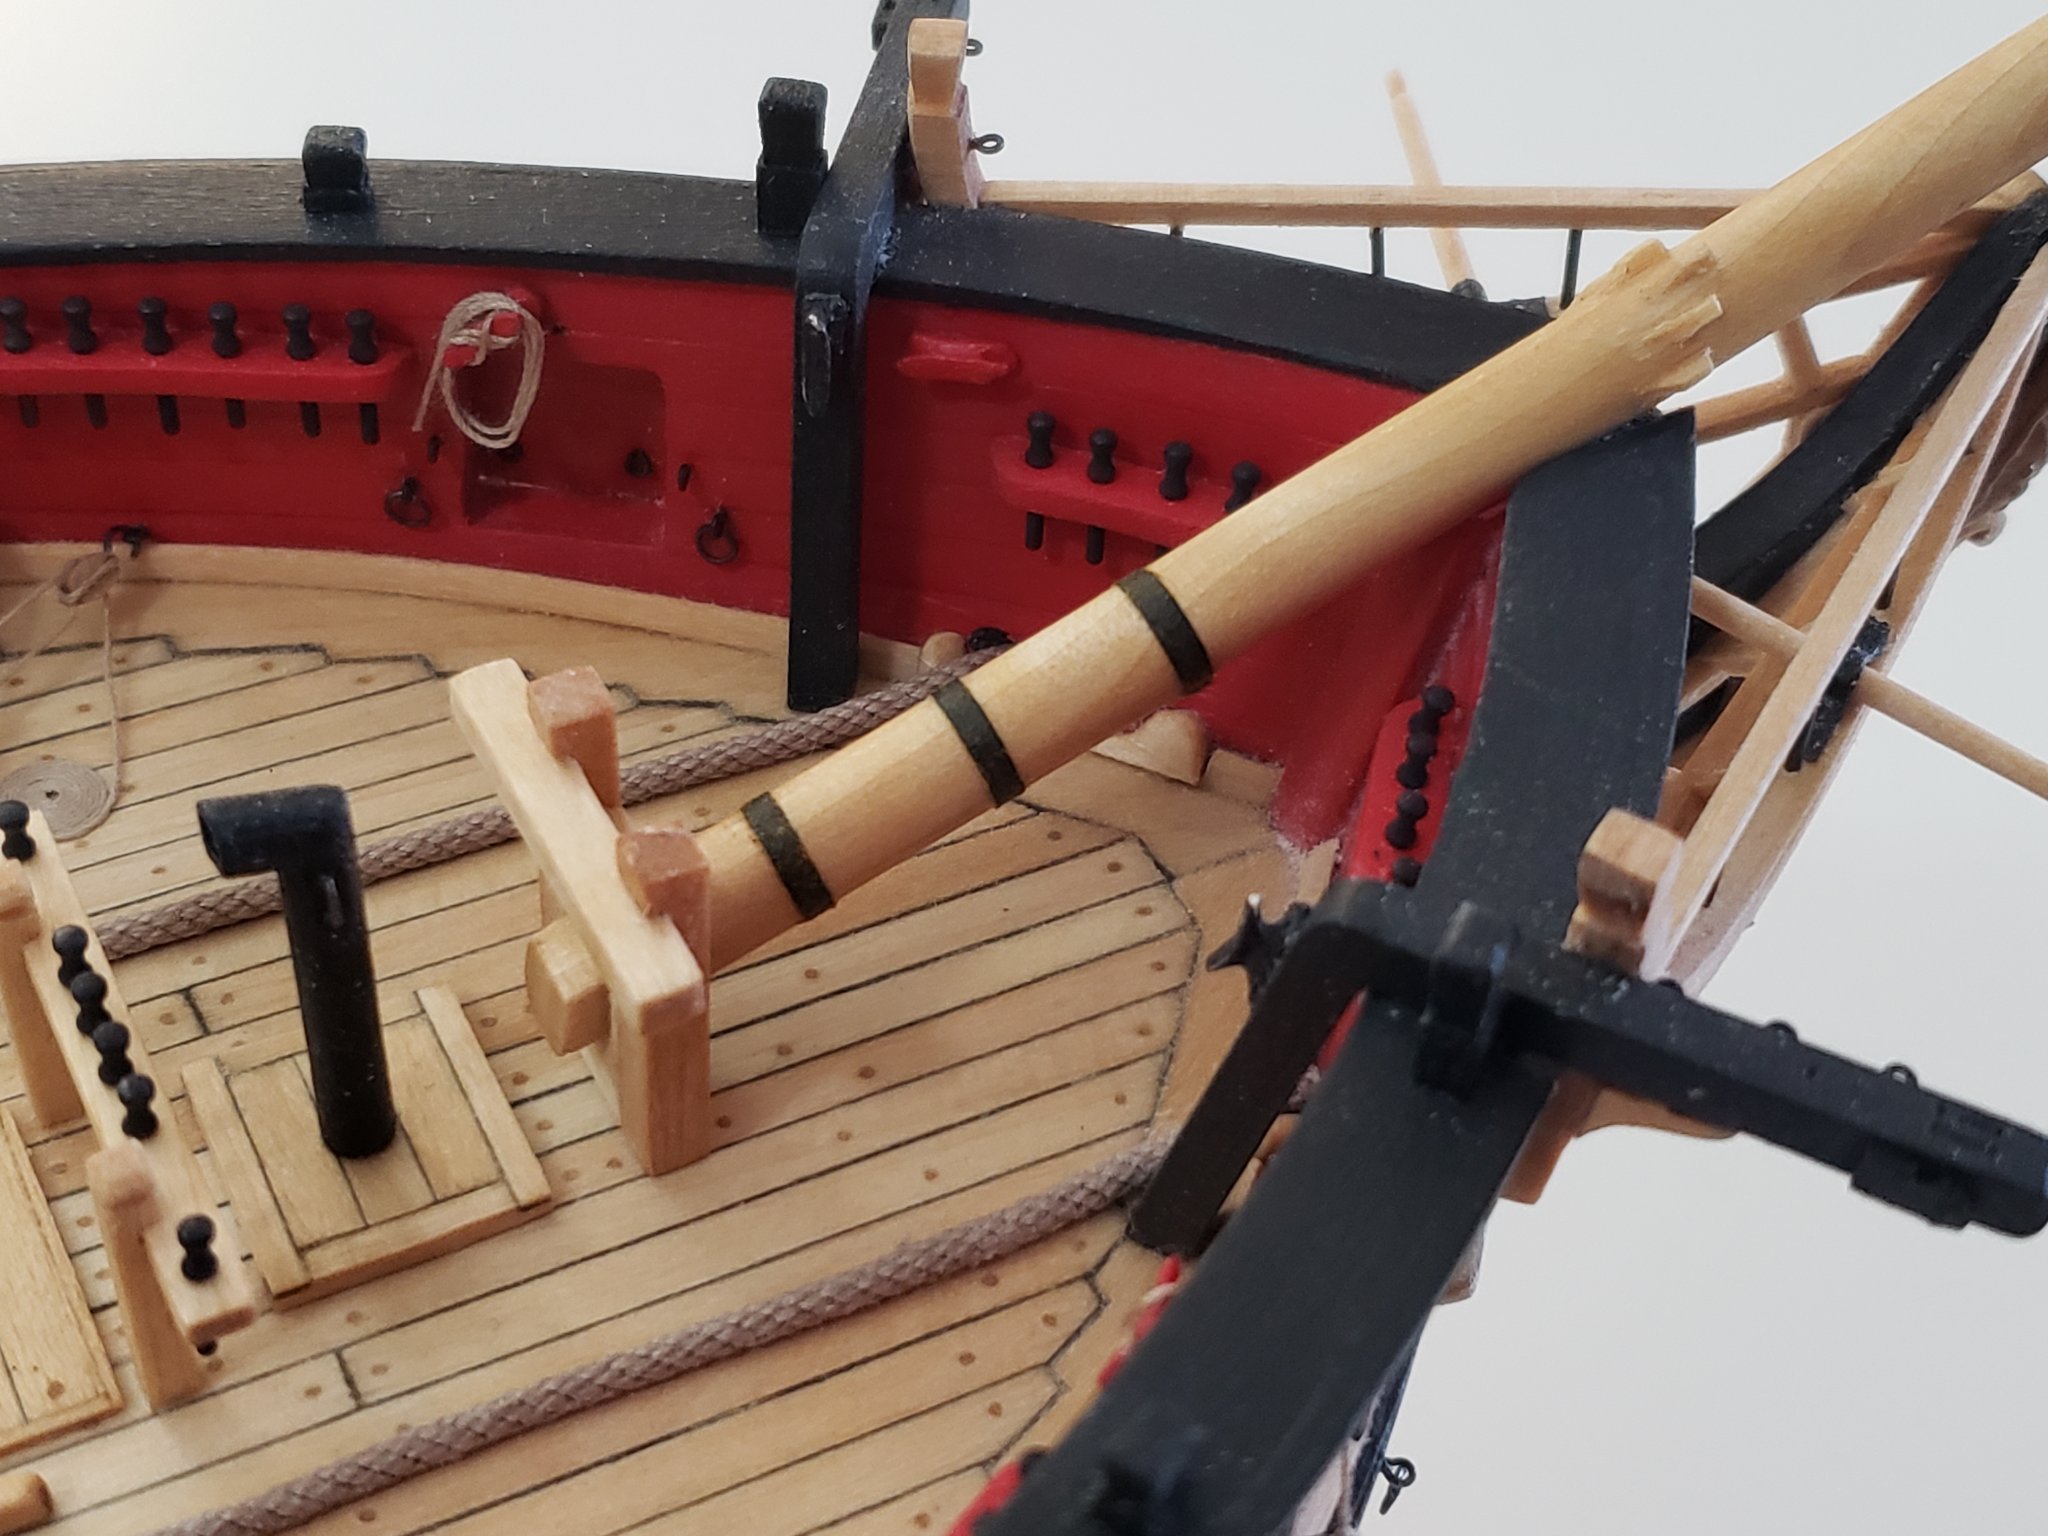
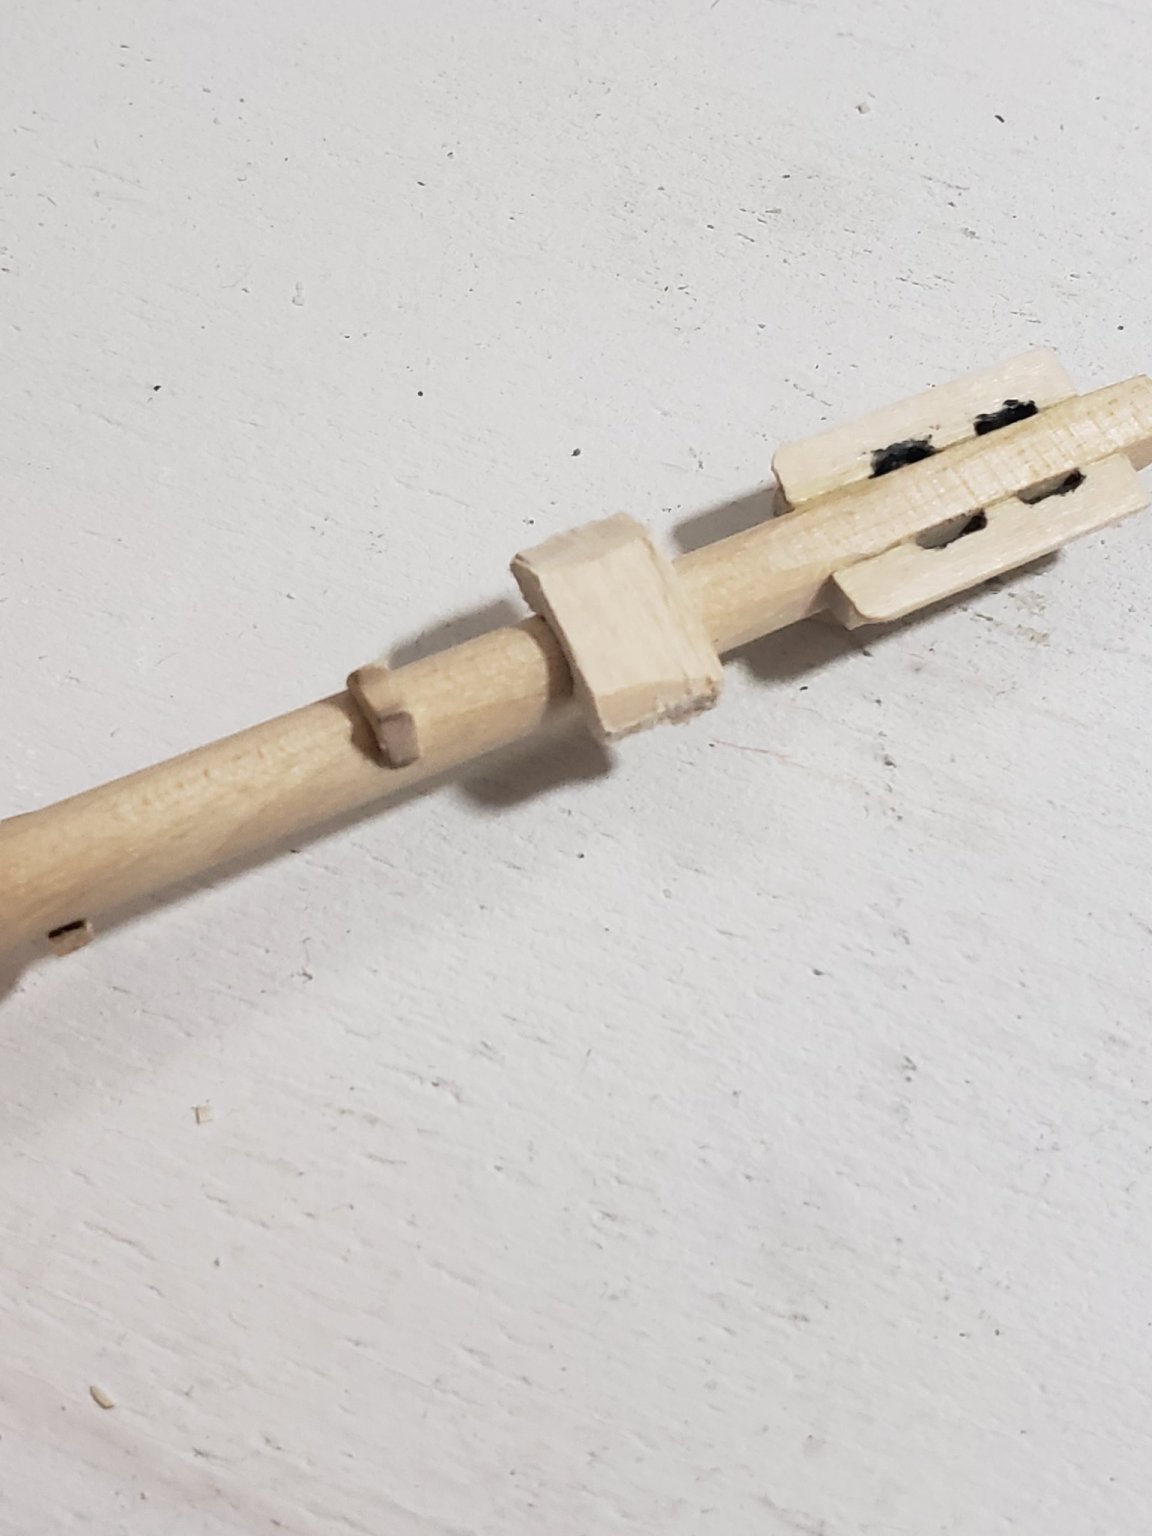
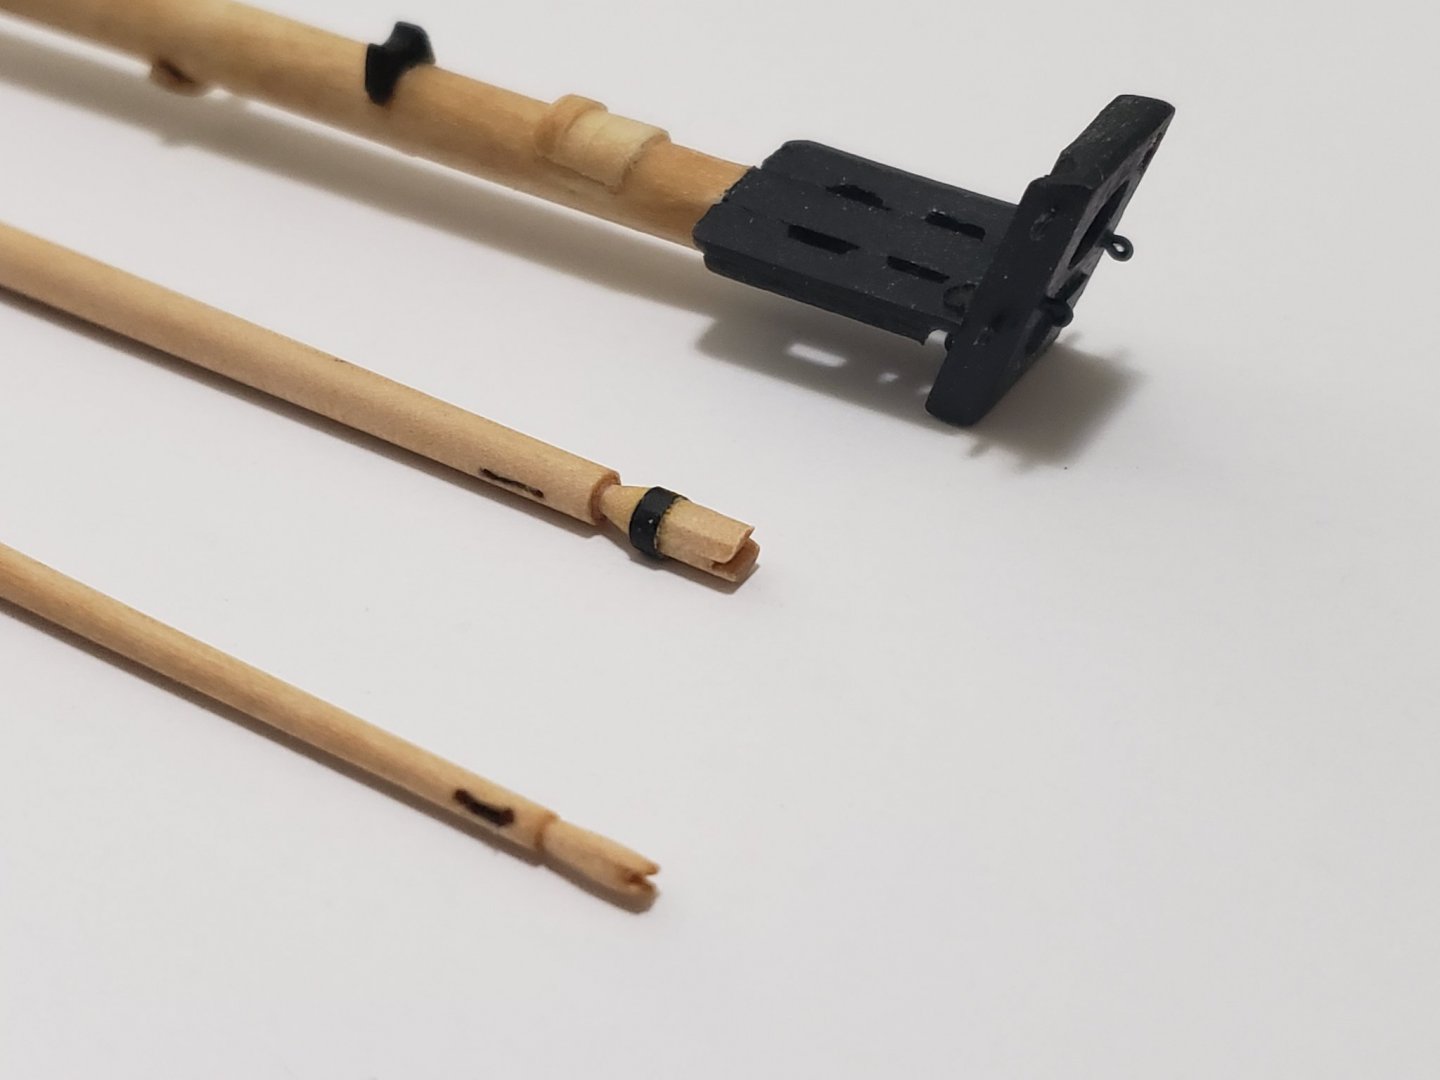
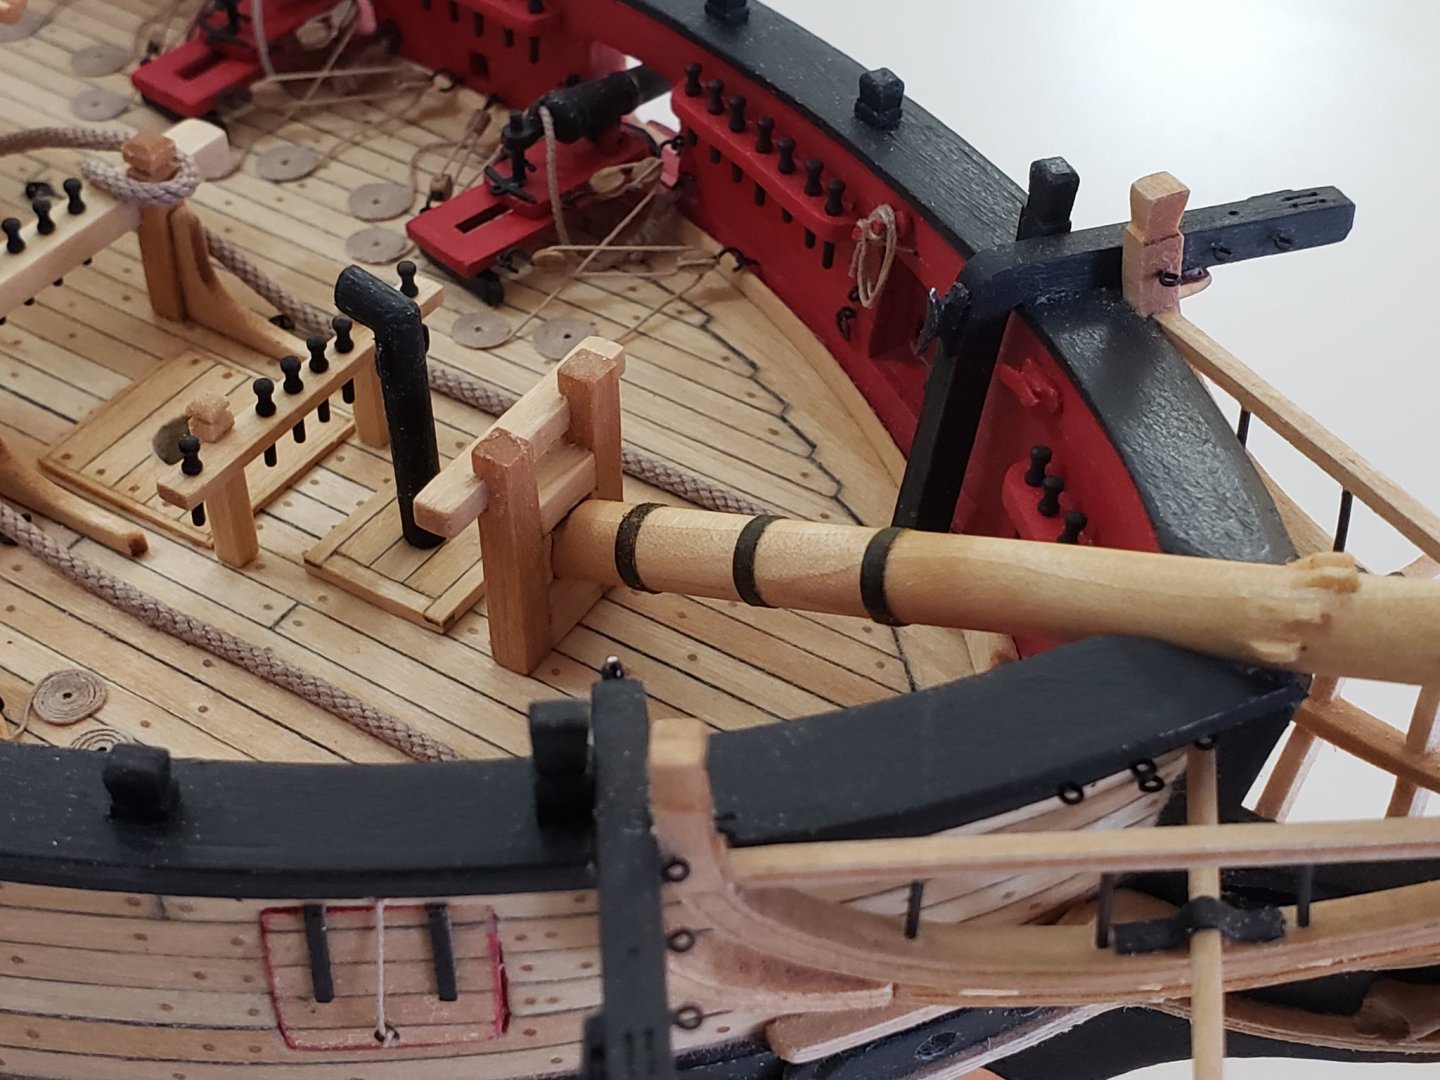
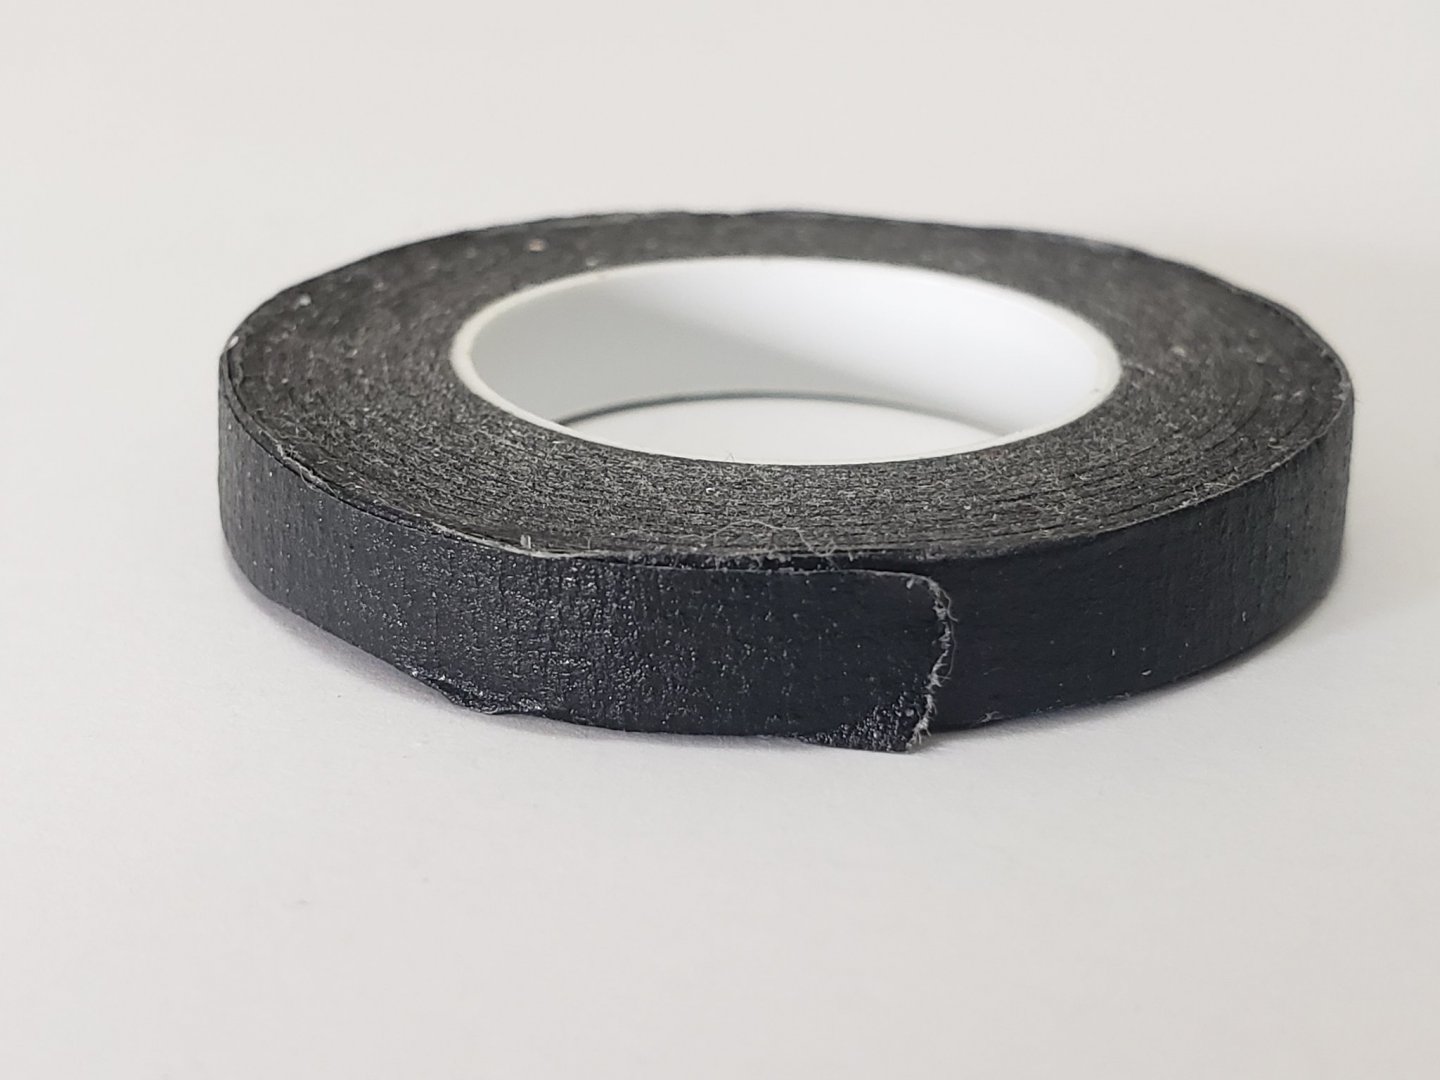
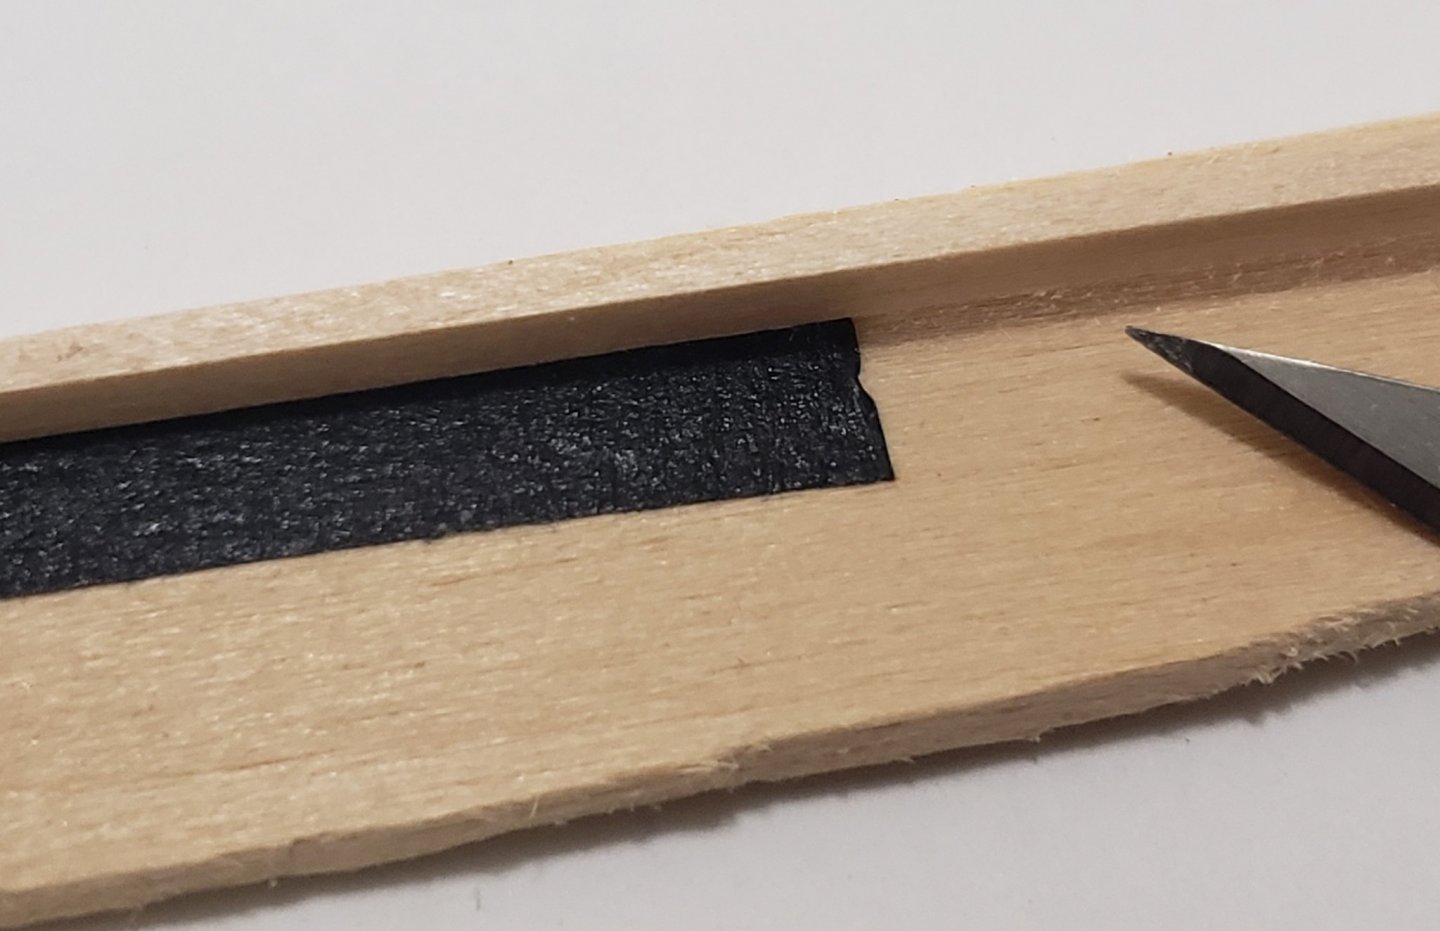
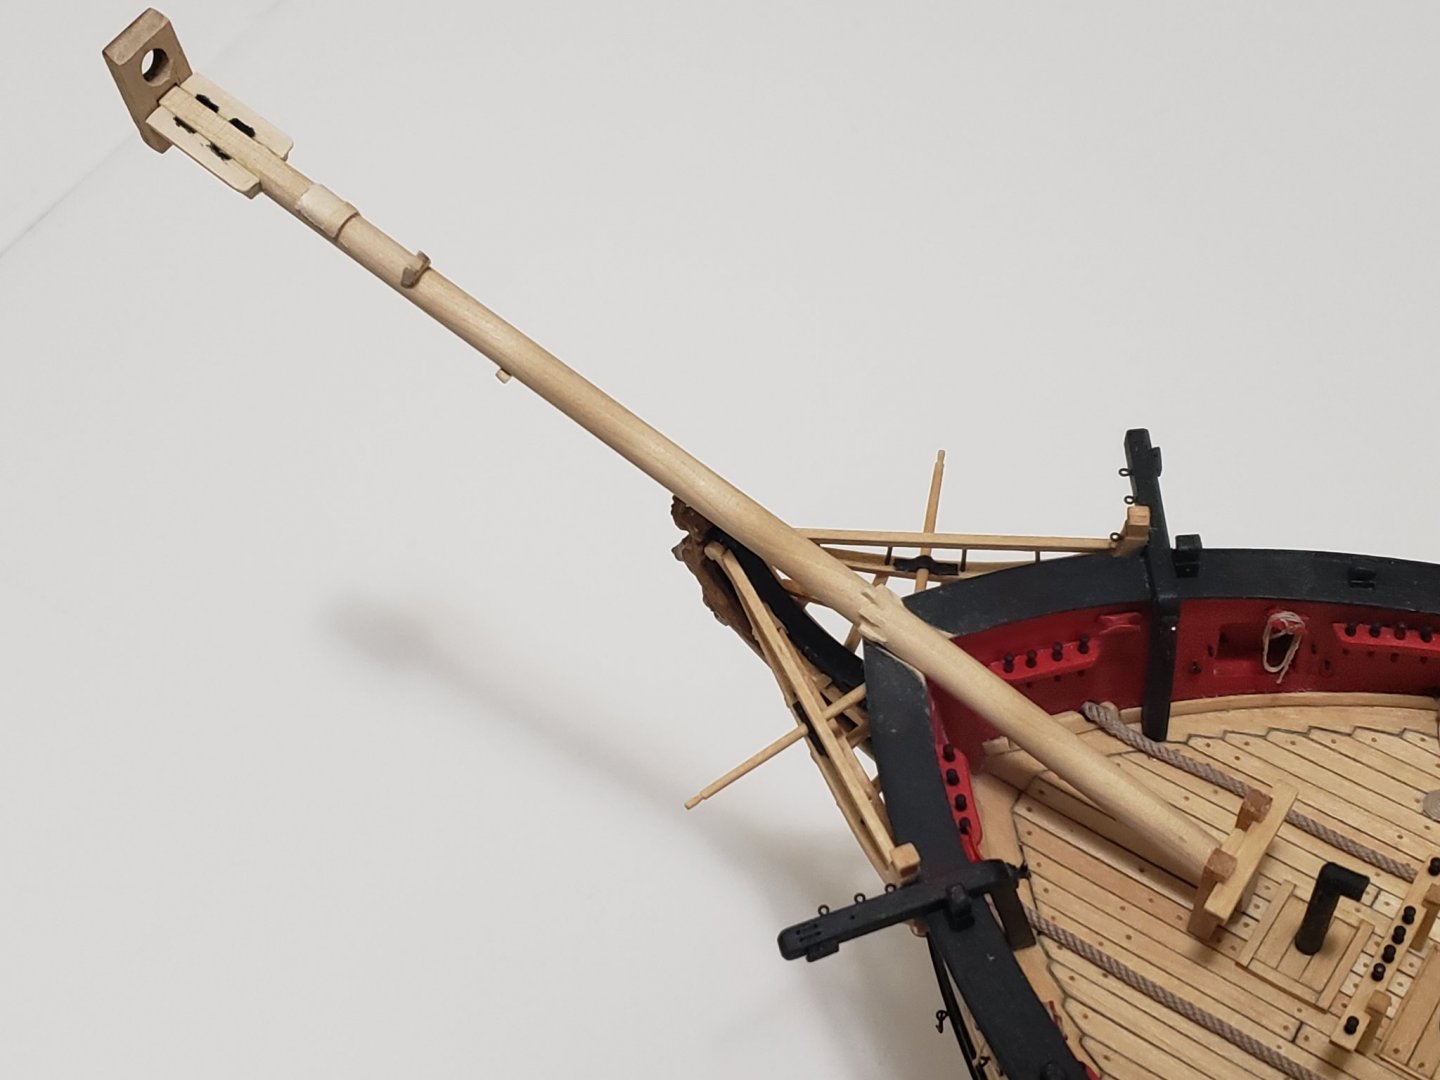
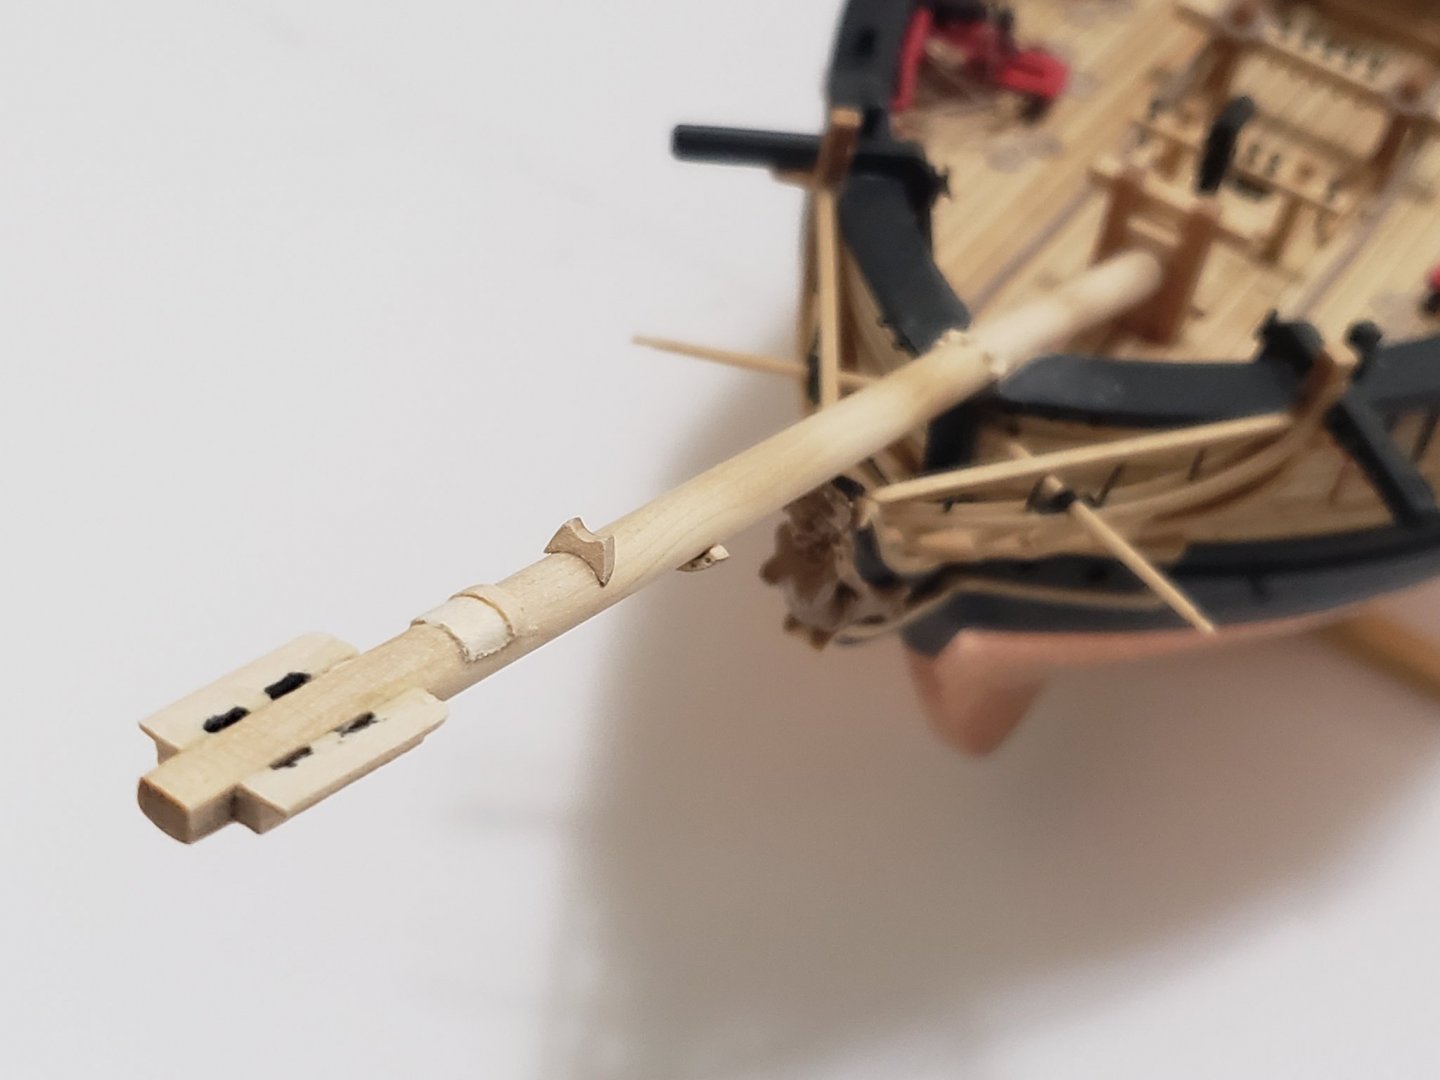
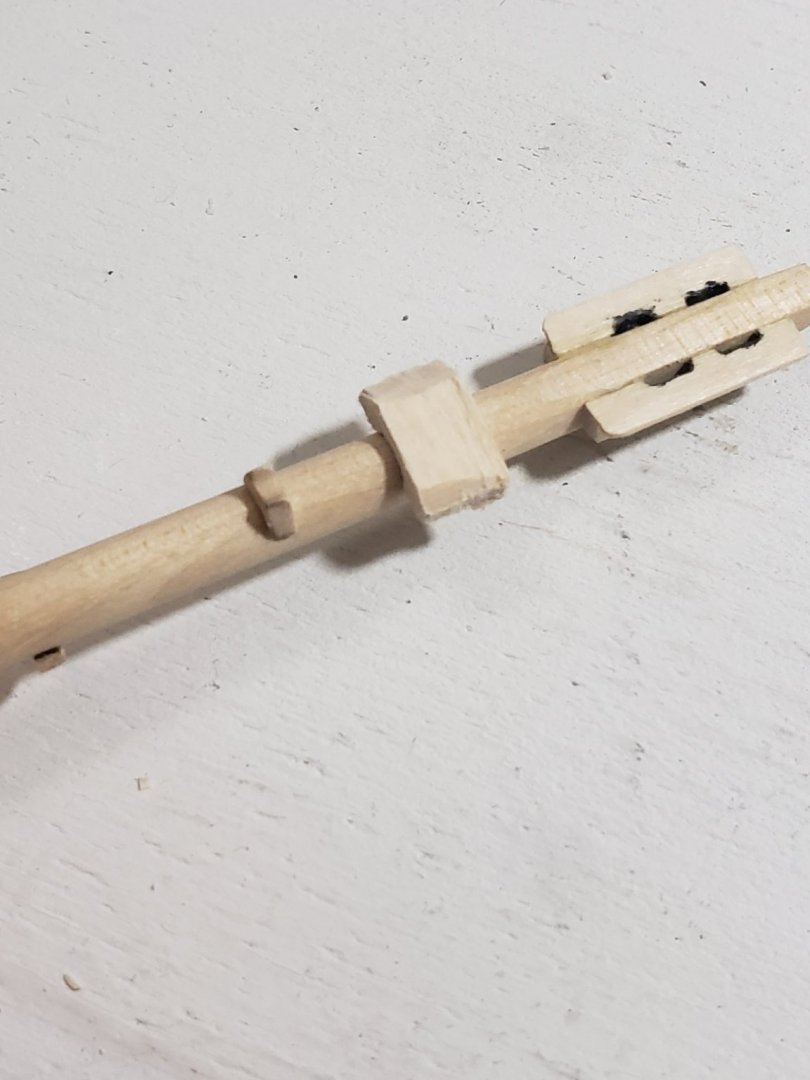
Finished working on the bowsprit. Here are some pics of the cap: The notch was made with a round needle file For the iron bands, I used a cut a black tape using a 1/16" wide strip as a guide: I put stuck the strip with some white glue and CA at the termination. I also wanted to make it look a bit rusty (like actual iron), and got inspired by Ryland's bands shown here: So I crafted up some homemade rust powder (a mixture of a little bit of cinnamon, turmeric, and chili powder) and applied generously to the tape. Then removed the excess. Some powder remained on the tape giving a subtle effect of rust. I also taped up the surrounding wood to make sure the powder does not stain it. Here is how the bowsprit looks right now: Any thoughts or suggestions on how the iron bands look (or anything else) would be very much appreciated! It's my first time trying something like this.


- 950 replies
-
- 9
-
-
- syren
- model shipways
- (and 1 more)
-
Very crisp start!
-
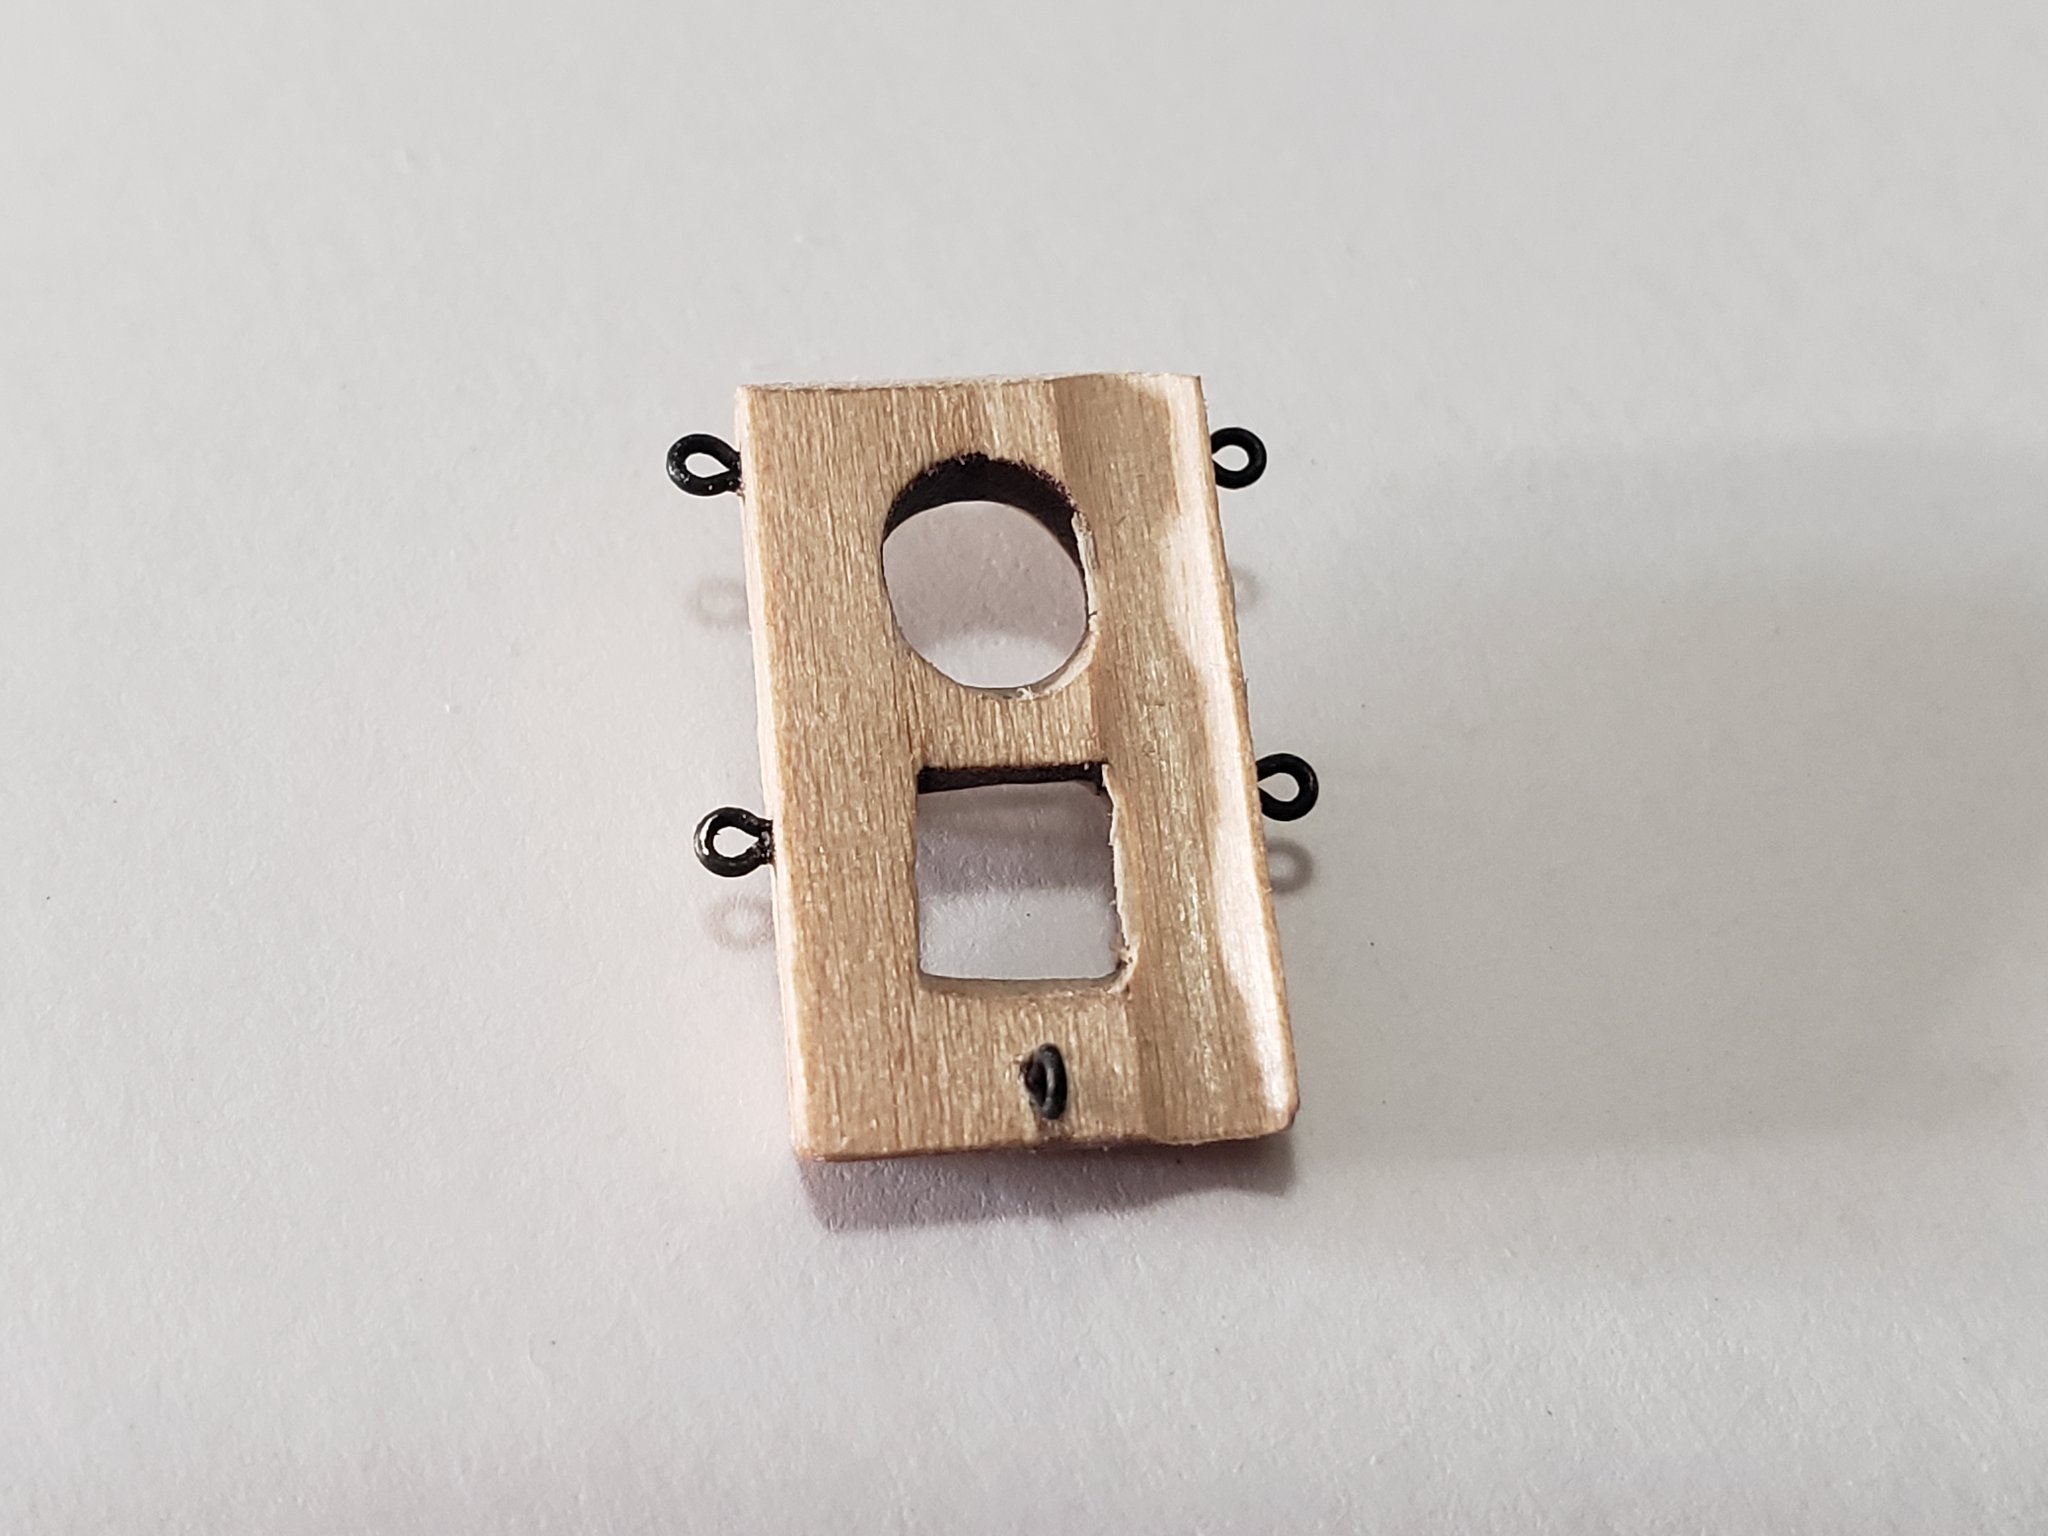
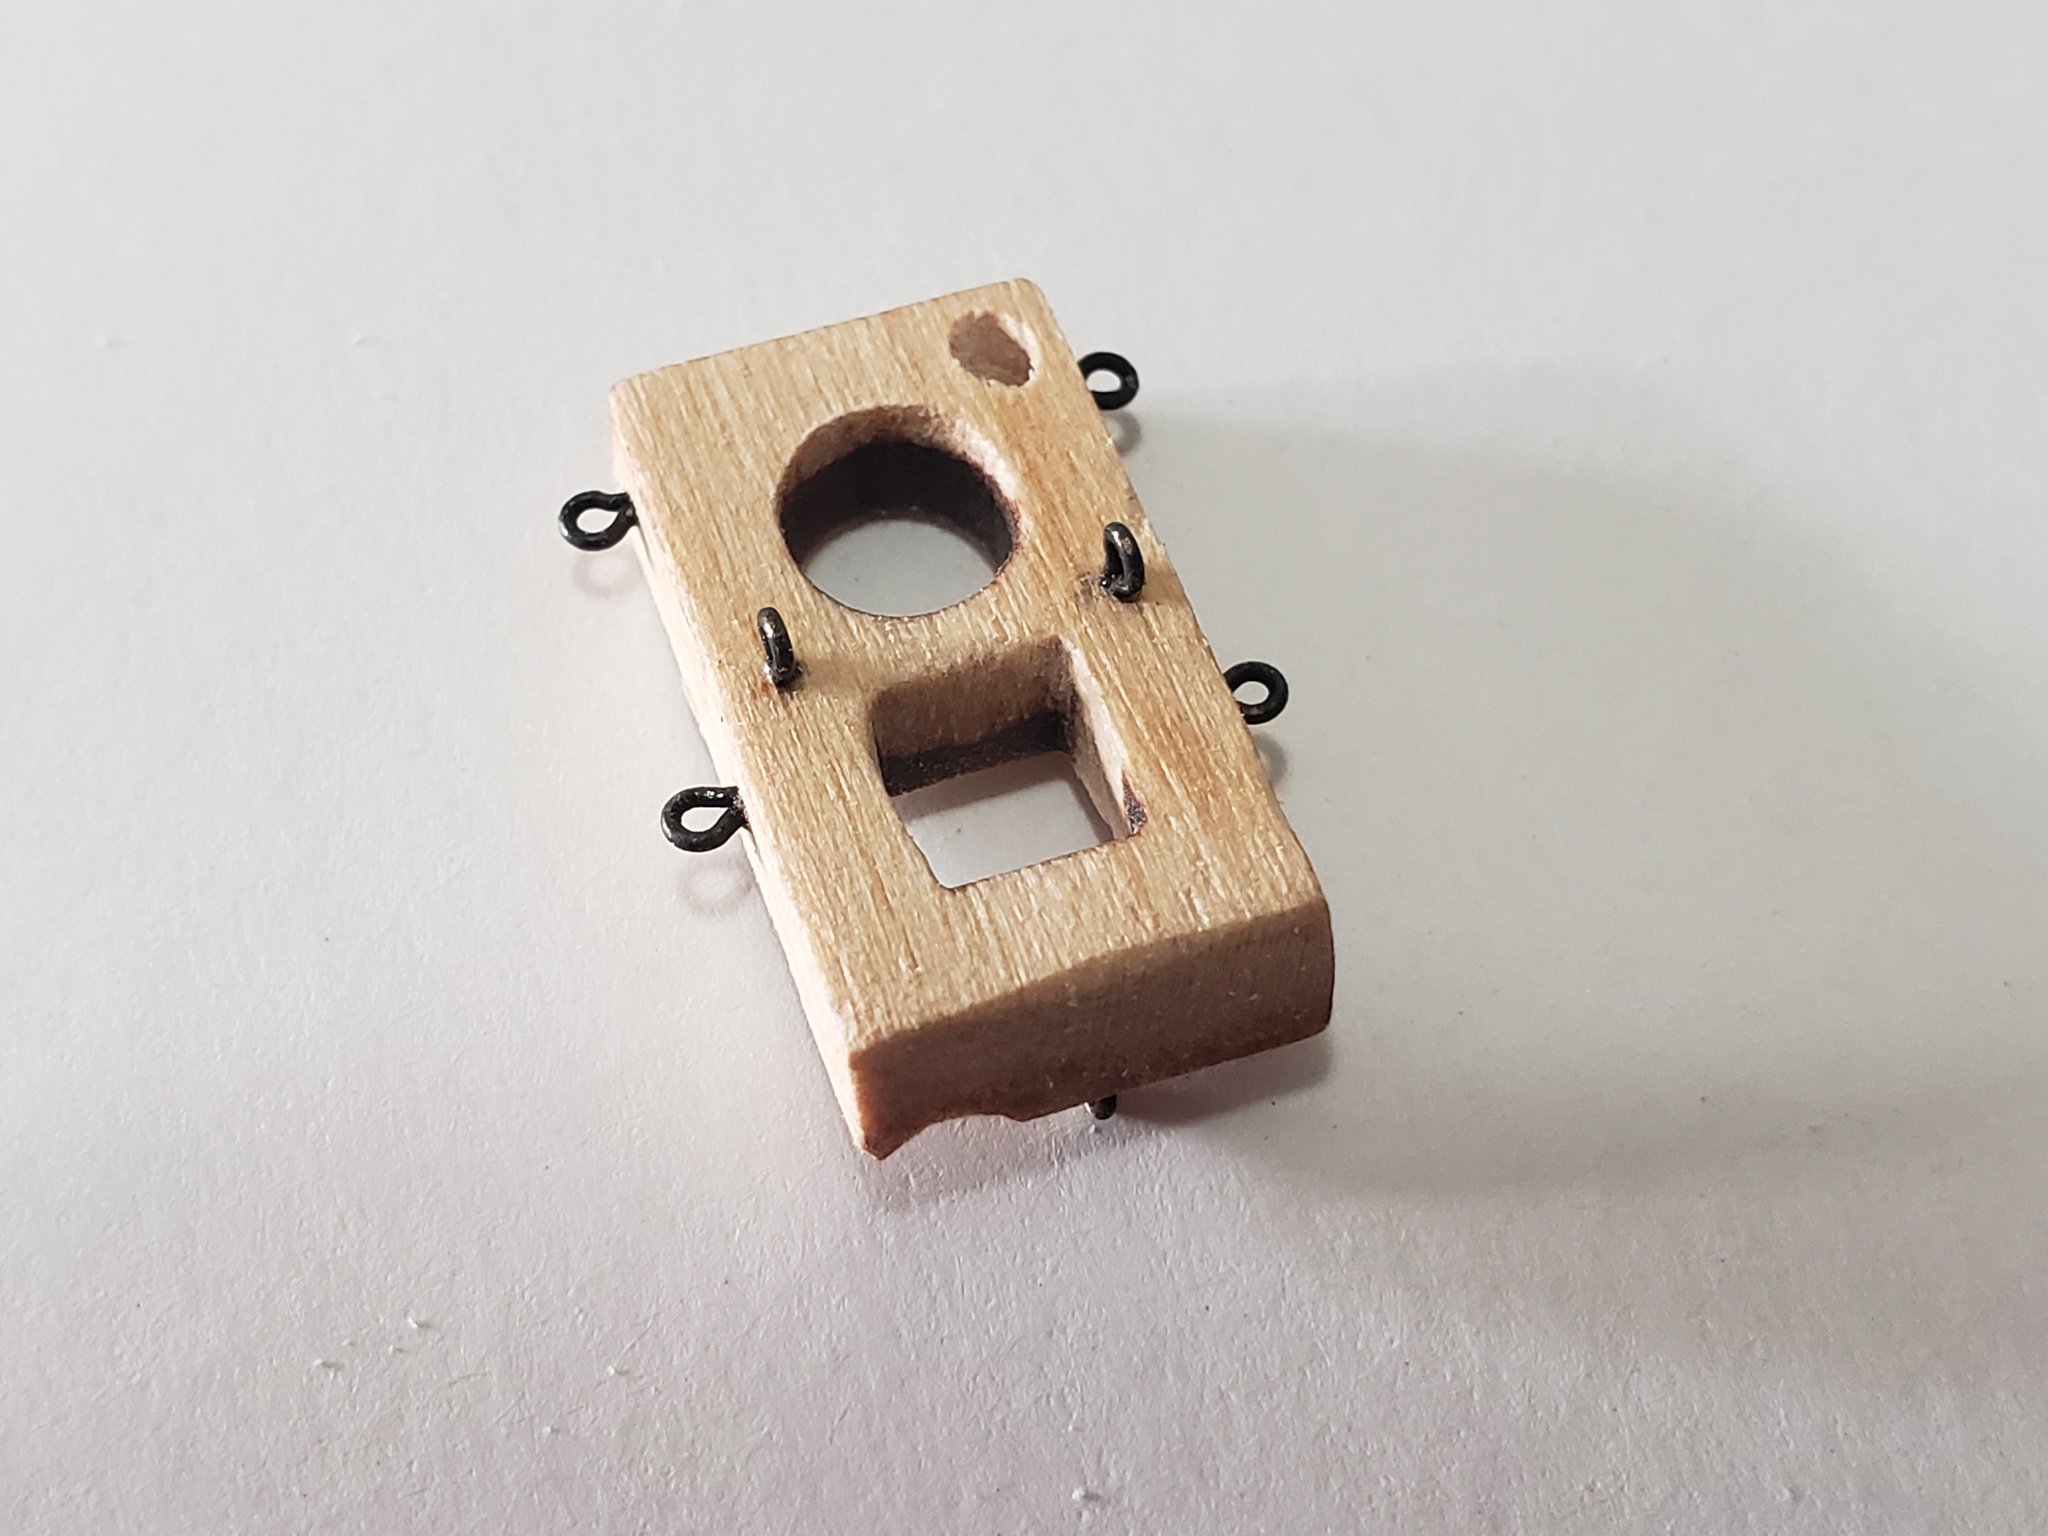
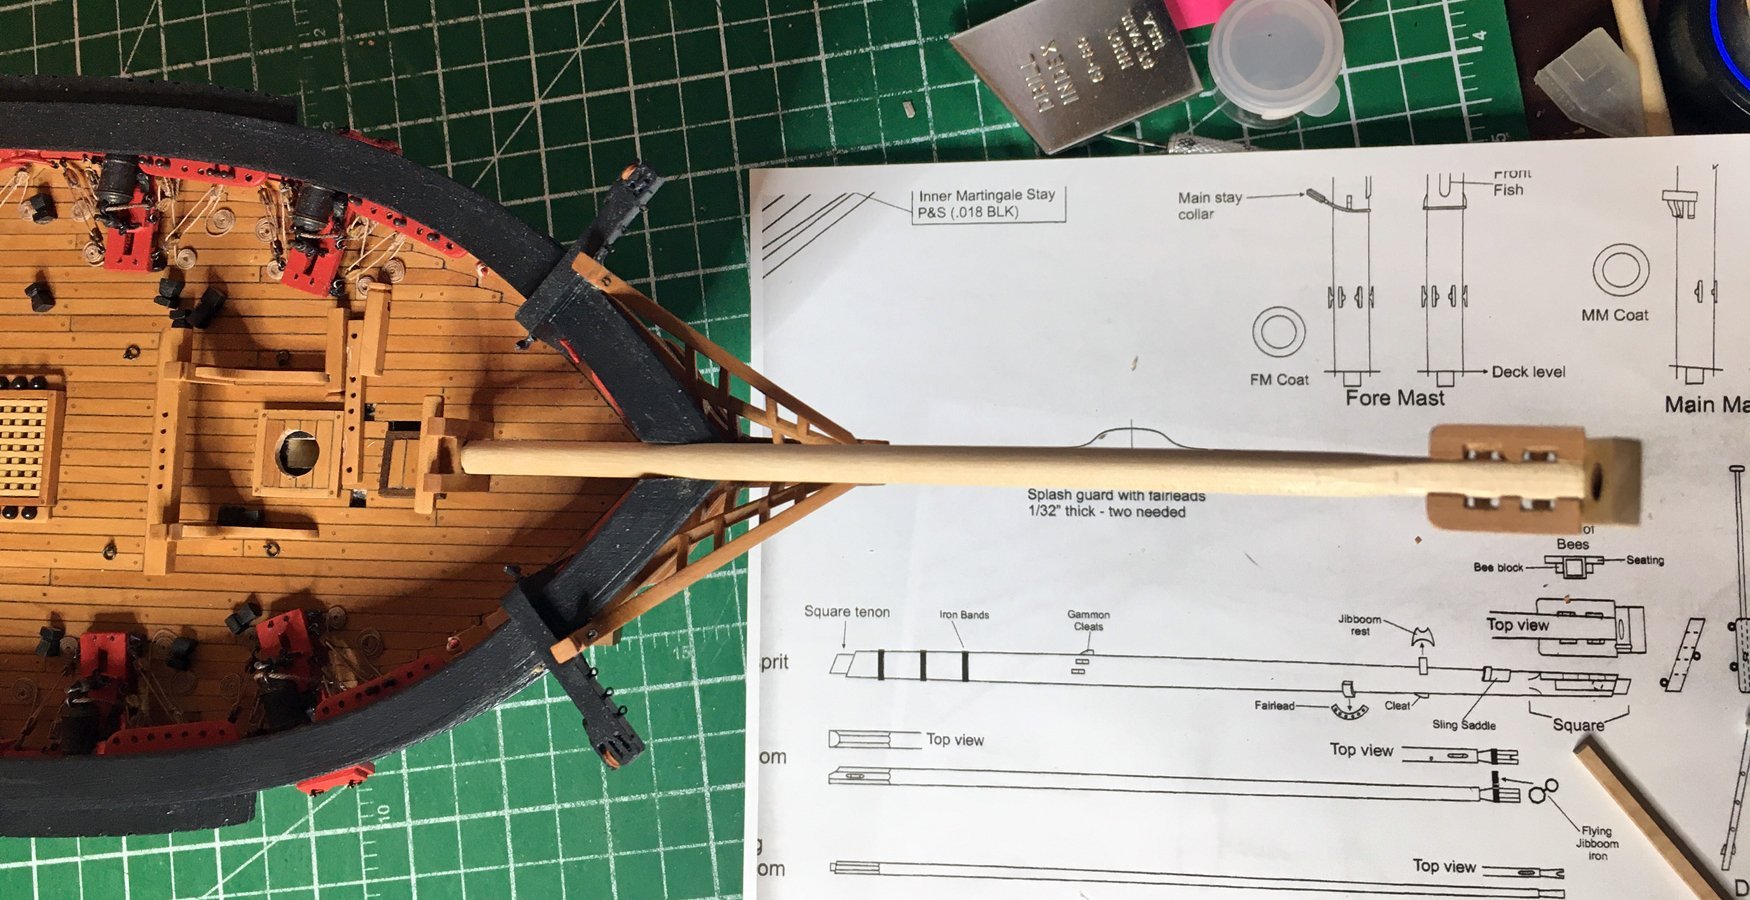
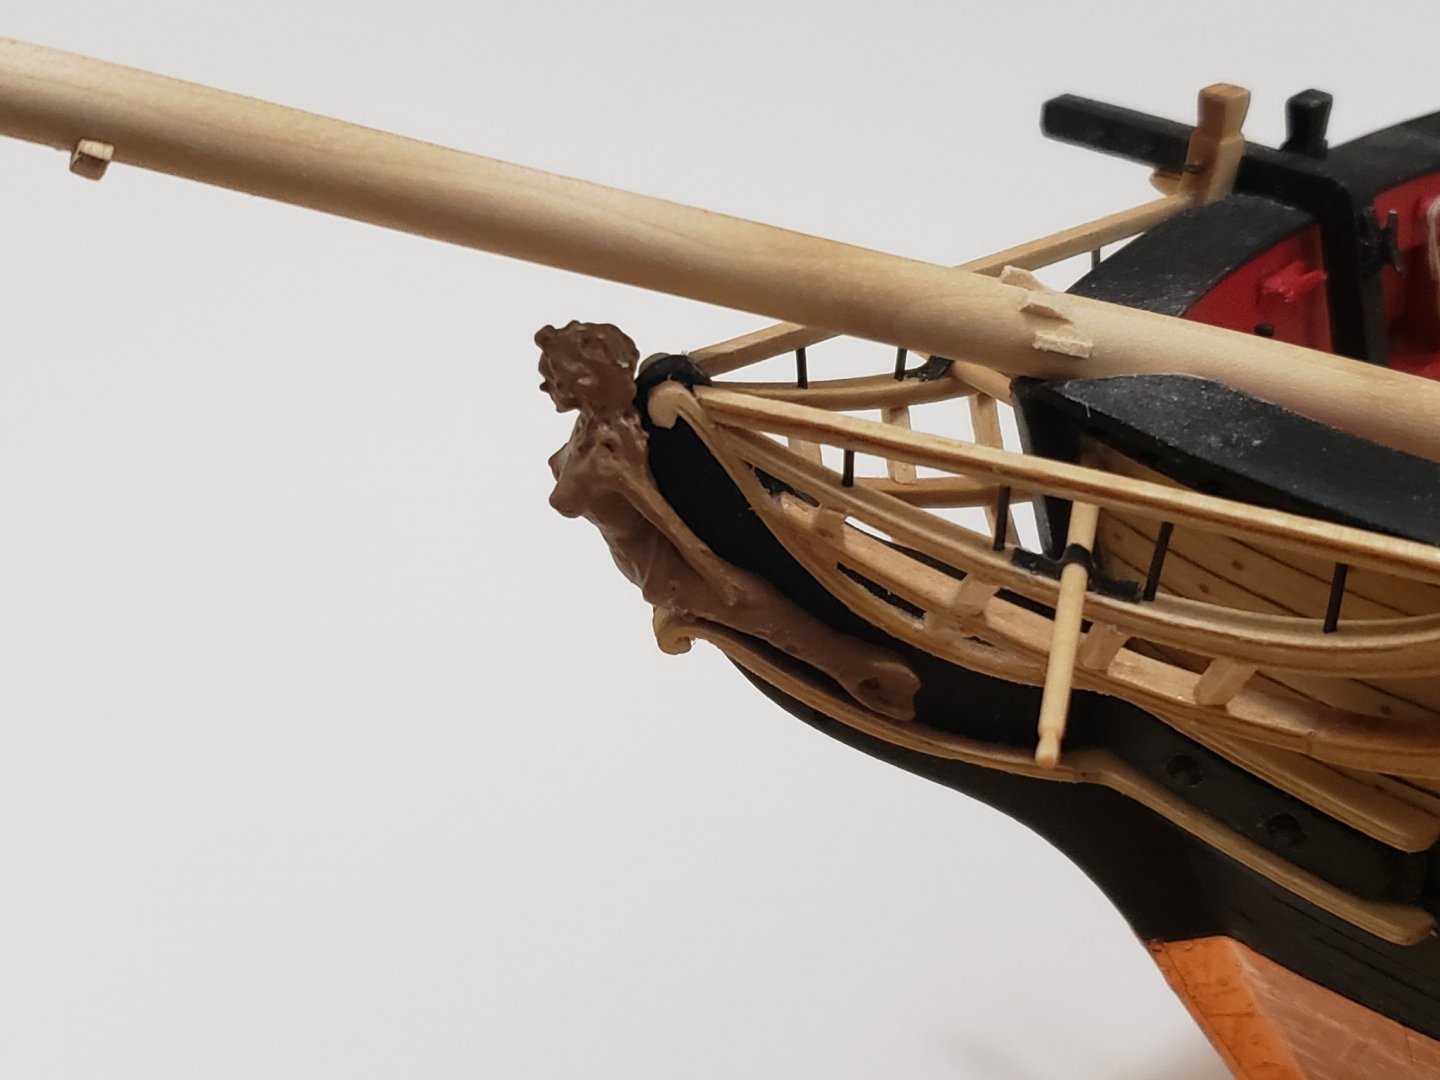
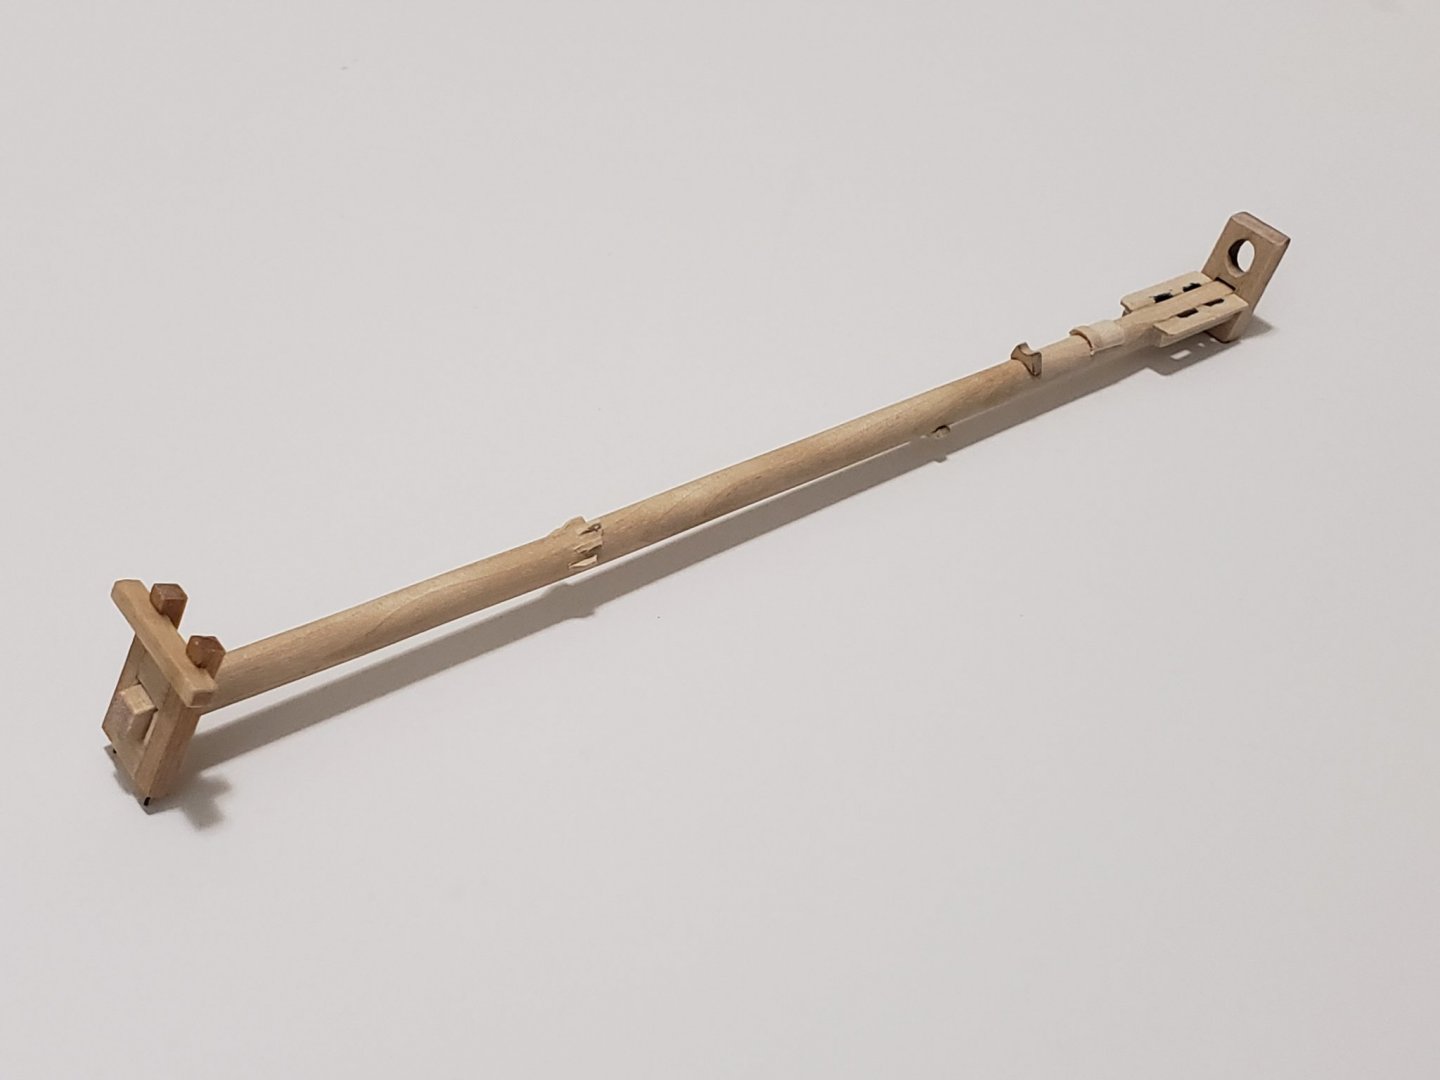
Started working a bit on the bowsprit. Instead of using a card/stiff paper for the saddle, I filed a scrap piece of wood with a round file, then stuck it and slowly chipped away then sanded the excess. This was done for both the layers. Not sure if the bowsprit looks too skinny or ok. I just used the supplied 1/4" dowel. Also need to experiment a bit for the iron bands.

- 950 replies
-
- 9
-
-
- syren
- model shipways
- (and 1 more)
-
Thank you Henry, that makes a lot of sense! I believe on the Syren they are seized to the bottom of the martingale, so I may skip serving them. Thanks again!
-
I've reached the rigging stage of the Syren, and am planning on serving the ropes. Would the inner and outer martingale stays and back rope be served for their entire length?
-
Thanks so much Thomas!! 😄
-
It's really coming together! Looking at this makes me want to try it out on mine. I'll probably give carving a shot in one of my next models. Hoping not to give up too soon 😅 I was also looking at your bowsprit. I noticed you put 2 sheaves on each side of the bees. I have reached this stage, and saw the instructions pointed out that there should be only one sheave per block. Thought I'd let you know before its all glued in permanently! Also, did you settle down on how you'll simulate the iron bands? I don't think the black strip came in my kit, but now looking at how shiny it is from your comparison pic, I want to try to make them myself.

-
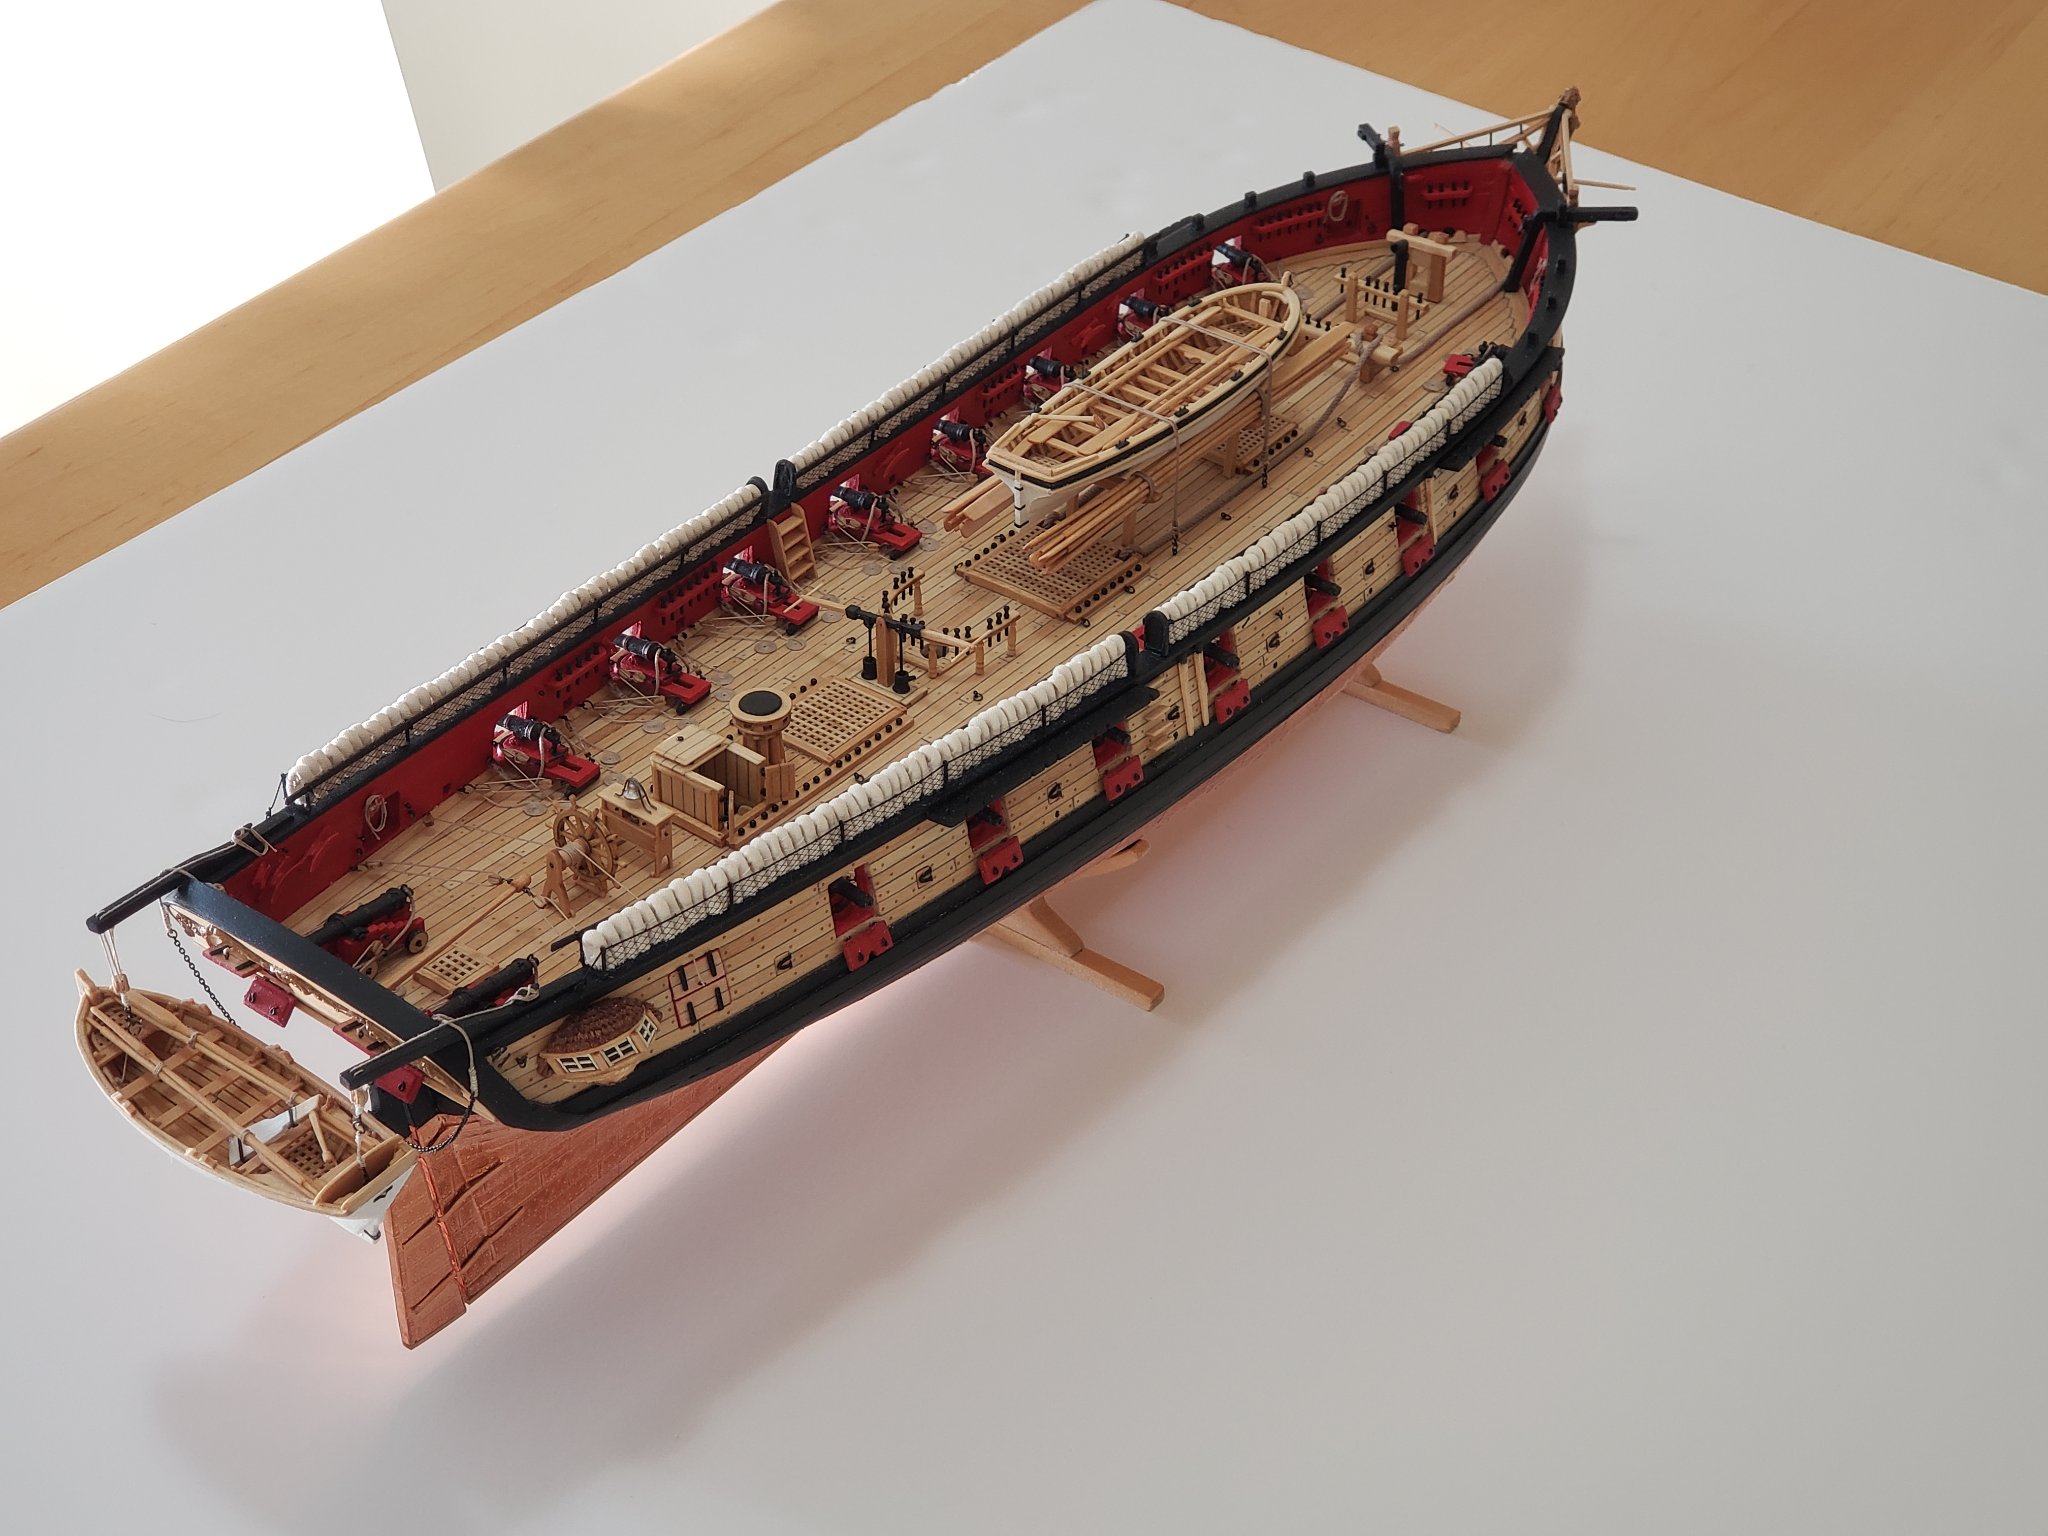
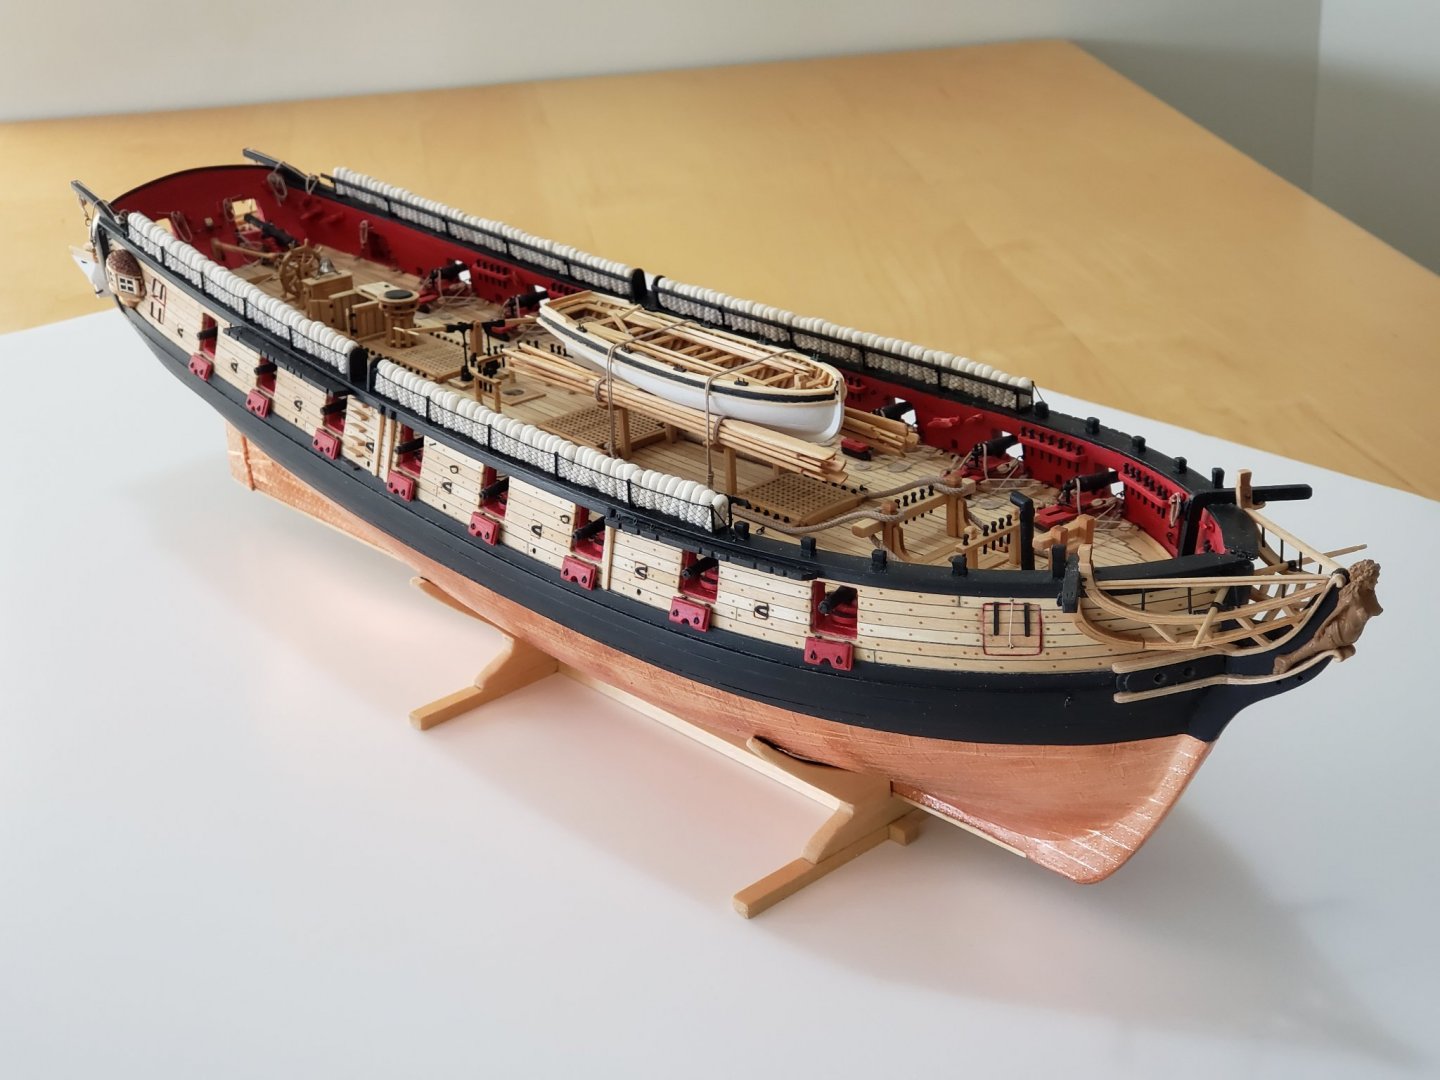
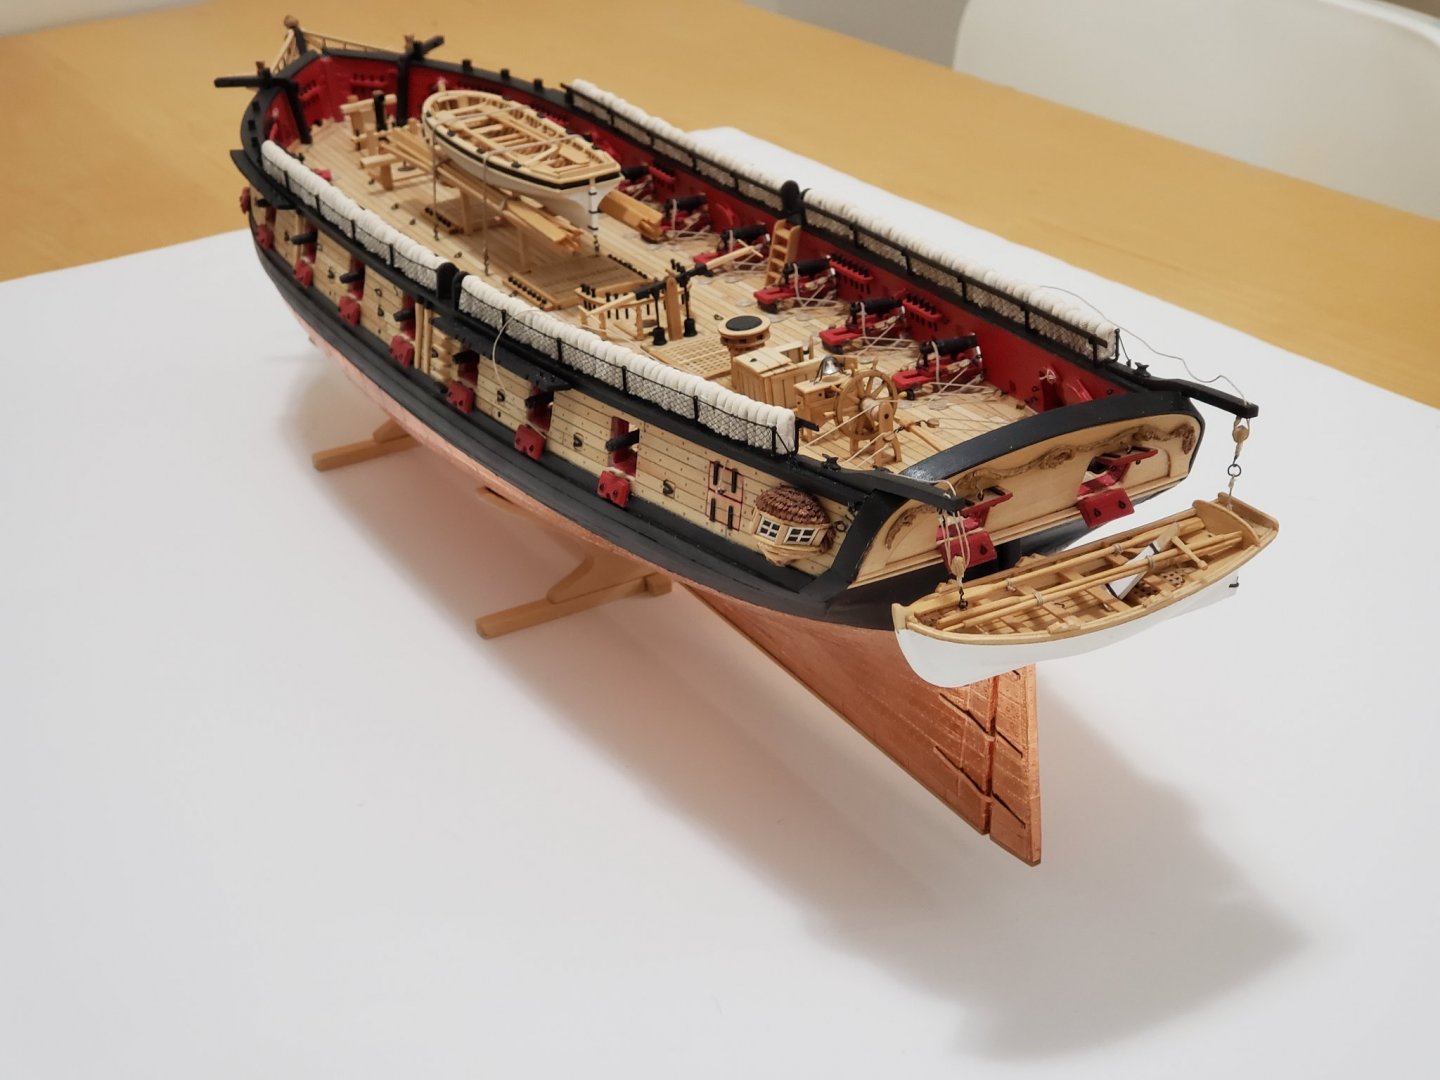
As promised, here are some more pics of the hull's completion:


- 950 replies
-
- 12
-
-

-
- syren
- model shipways
- (and 1 more)
-
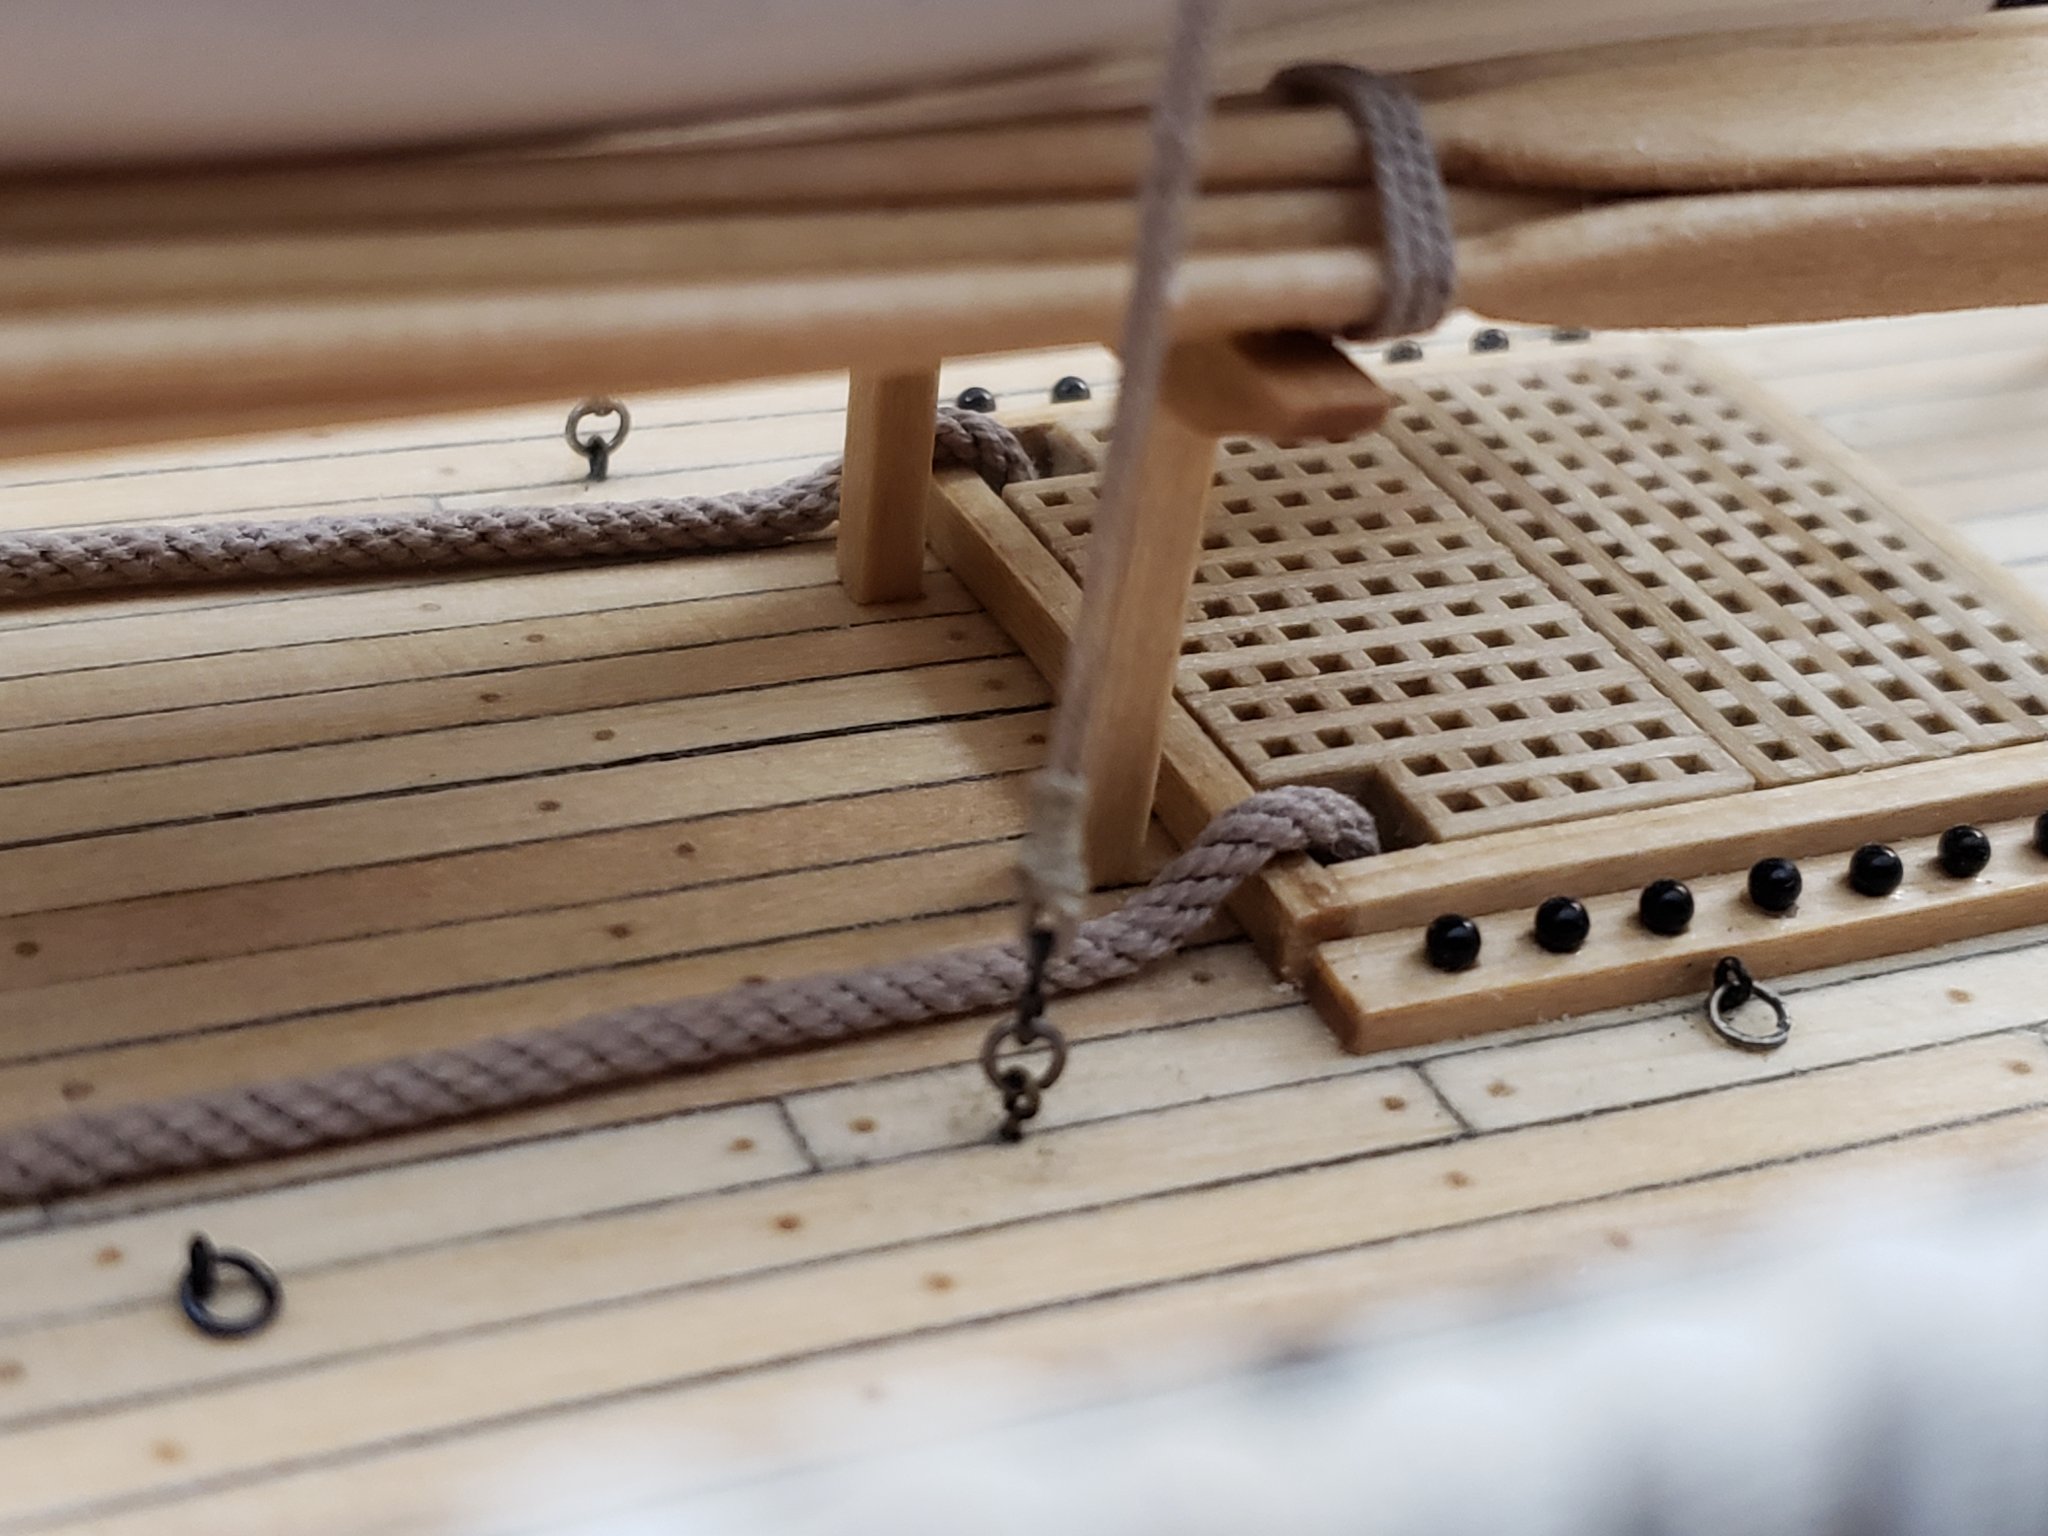
Thank you Jean-Paul and Bradley!! I have glued in the rope coils. Do you guys think there is room for improvement? I don't think I can replace them since I stuck them already, but will try to improve for the other thousands of upcoming coils (once rigging is done 😁) So, this then marks the end of the hull work. I'll be posting some more pics later in the day to mark this milestone of the build!


- 950 replies
-
- 9
-
-
- syren
- model shipways
- (and 1 more)
-
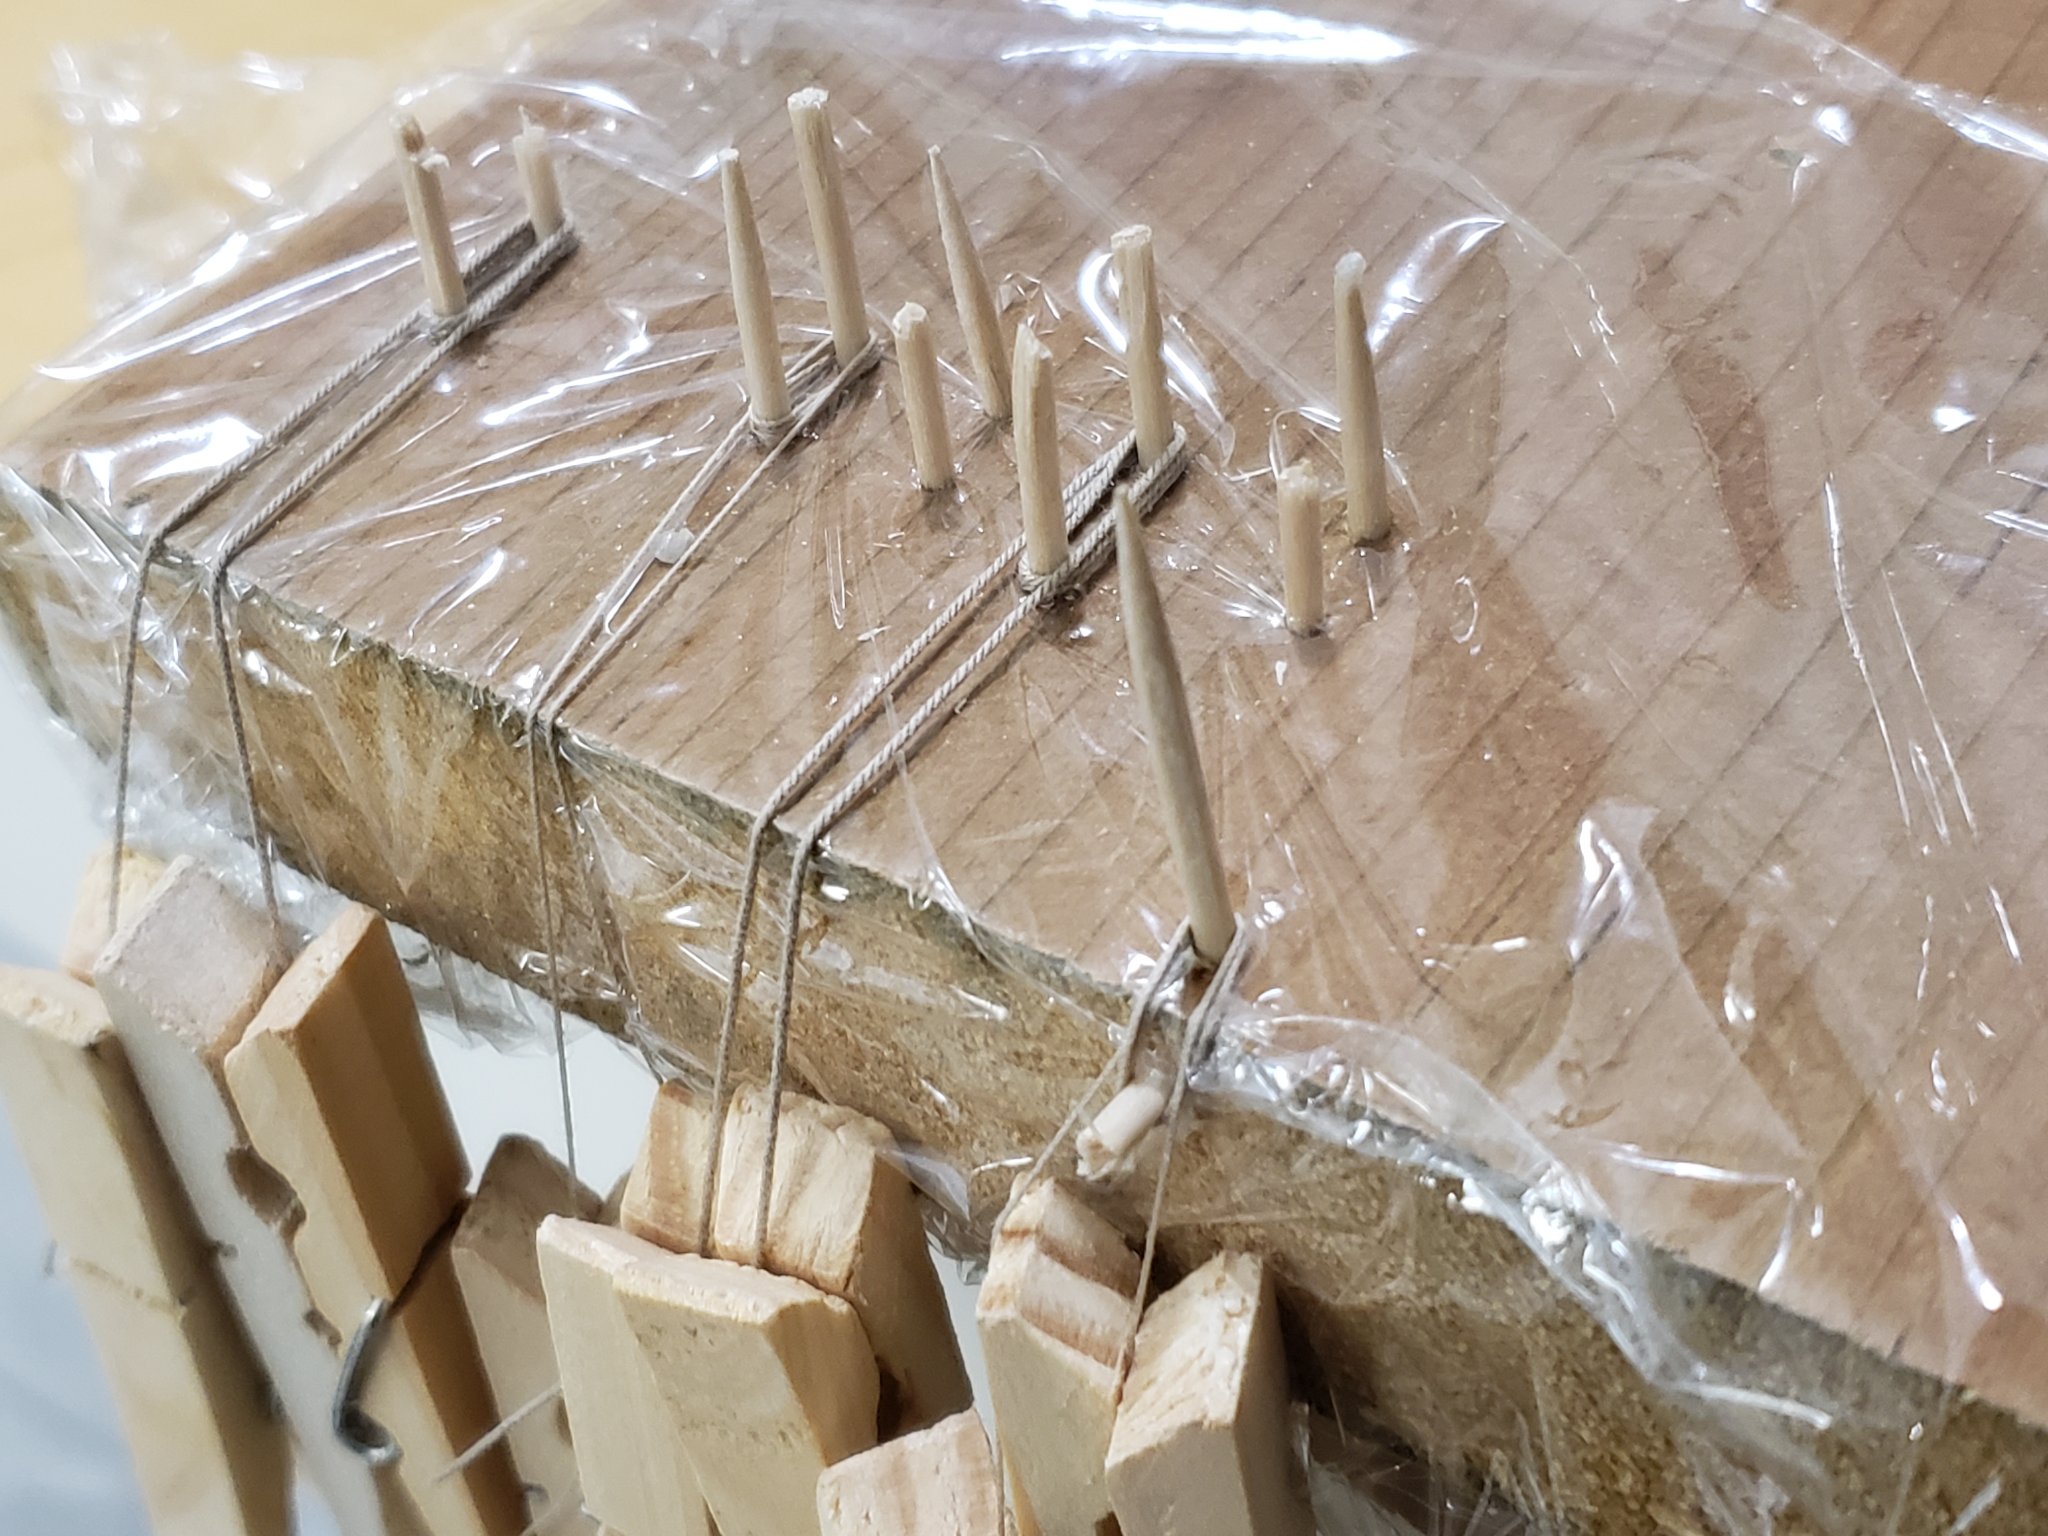
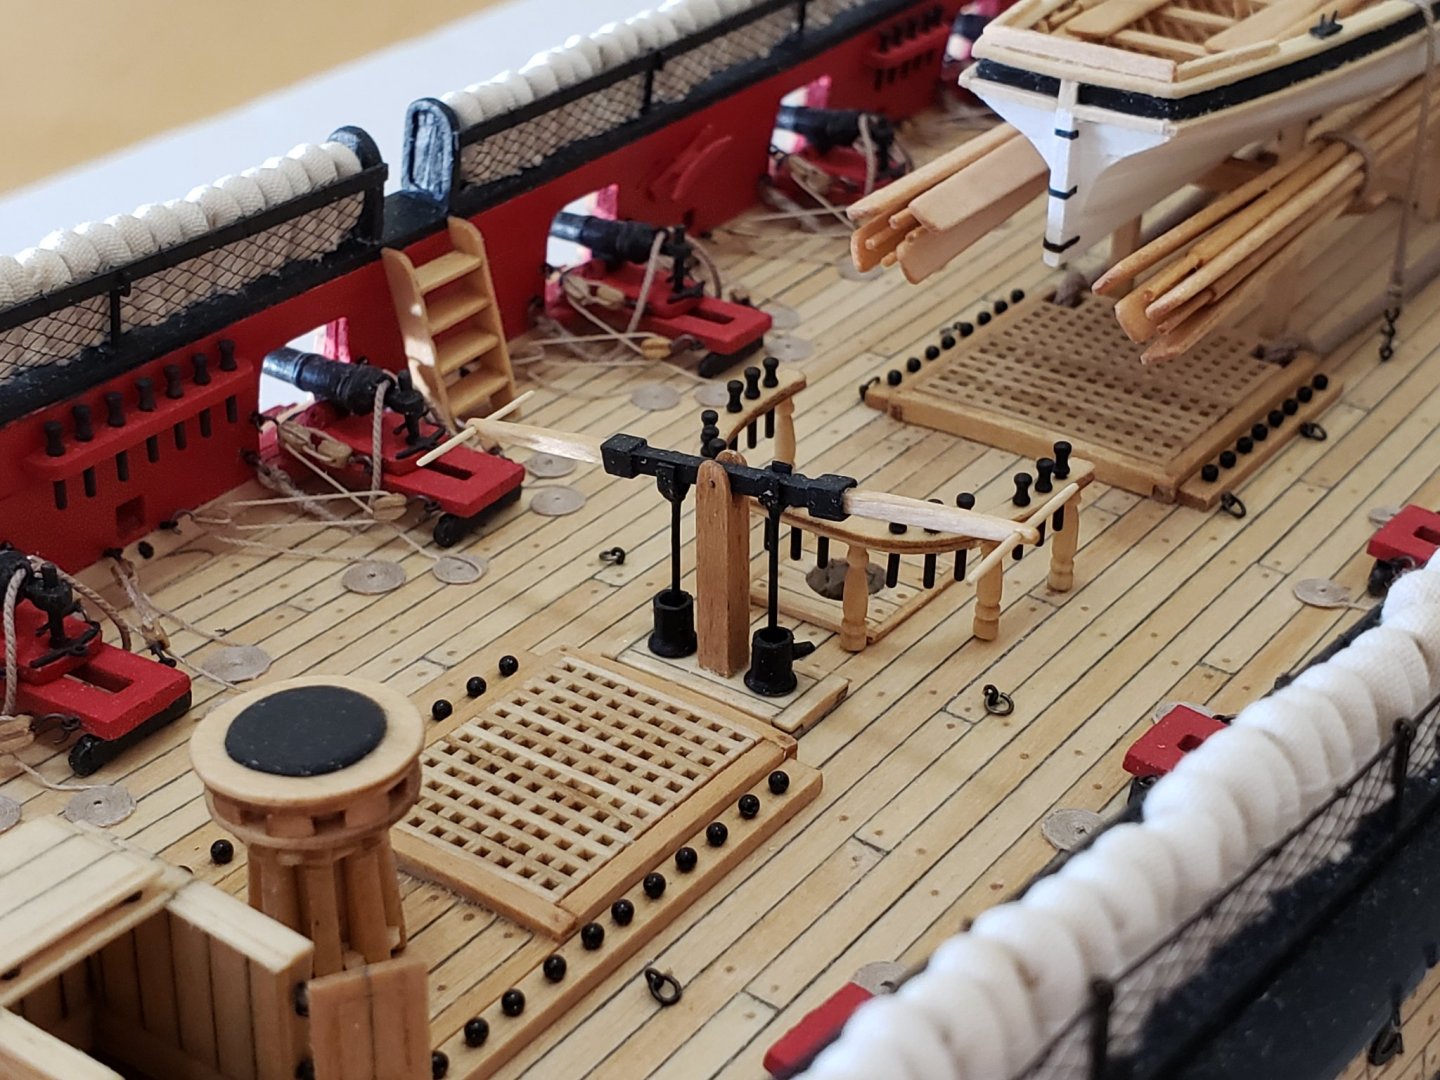
Thanks for the comments and likes! 100% agree. At first I was having a rigid mindset on "this is how it should be", but I'm becoming more flexible with these changes. The more I work on the model, the more I feel like these little details makes the model unique in its own way. I made this beautiful jig to make the rope coils. I made sure to not put glue where the rope touched the toothpicks. Just waiting for them to dry. Hoping they turn out ok! I also layed down the anchor cable with CA glue at various spots.


- 950 replies
-
- 10
-
-
- syren
- model shipways
- (and 1 more)
-
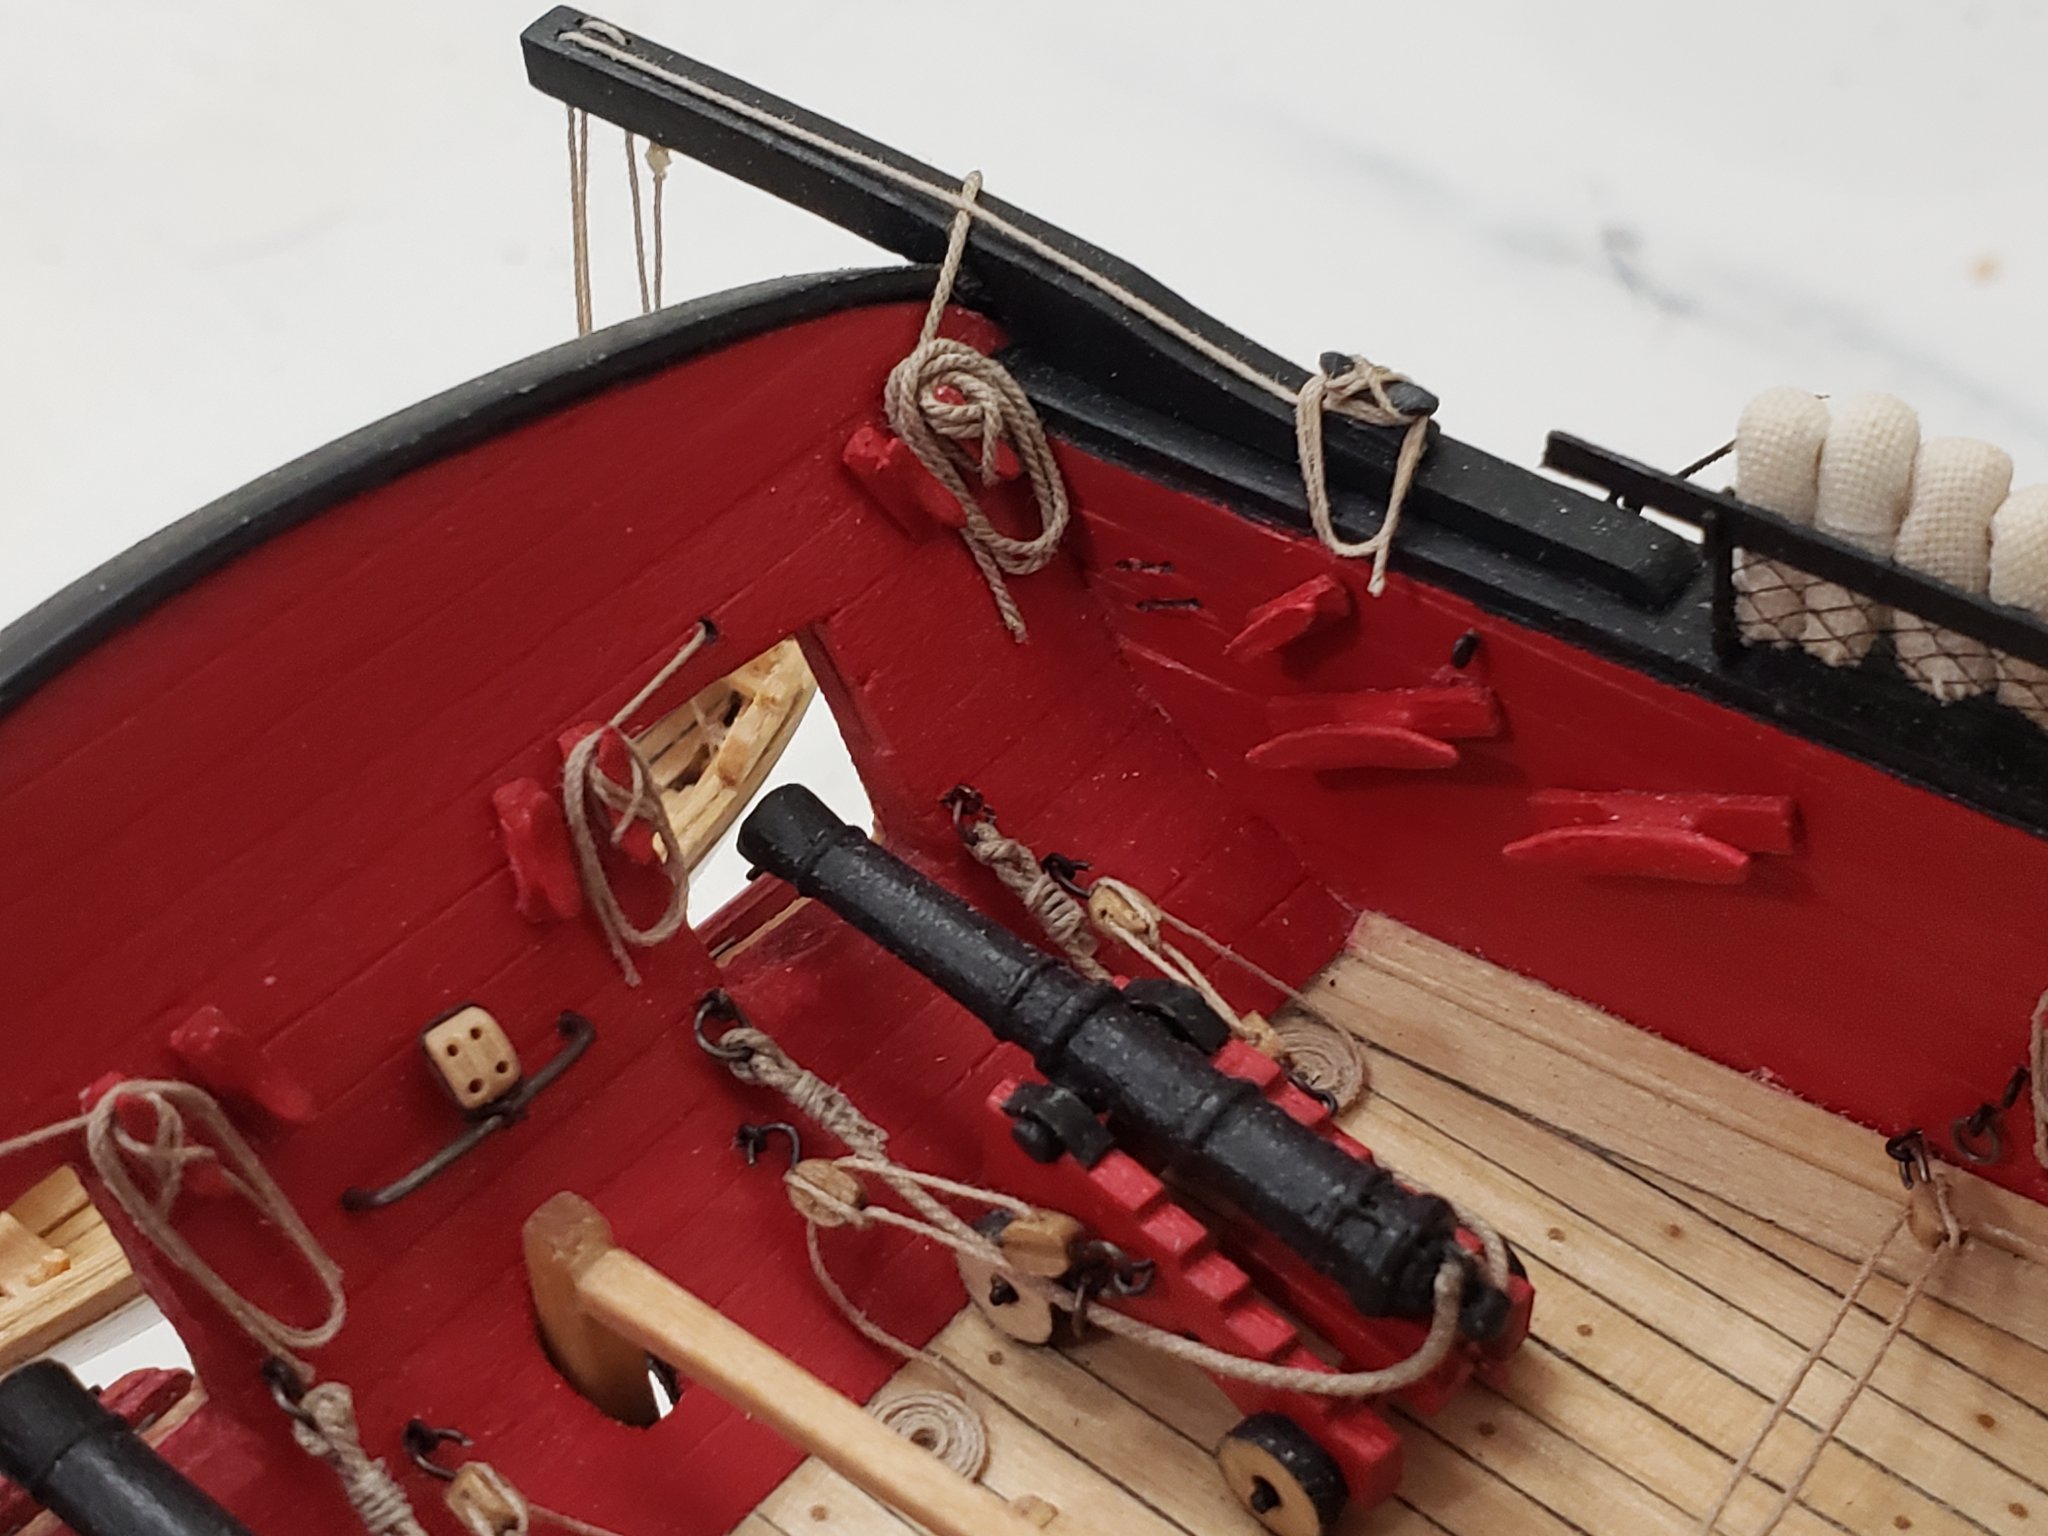
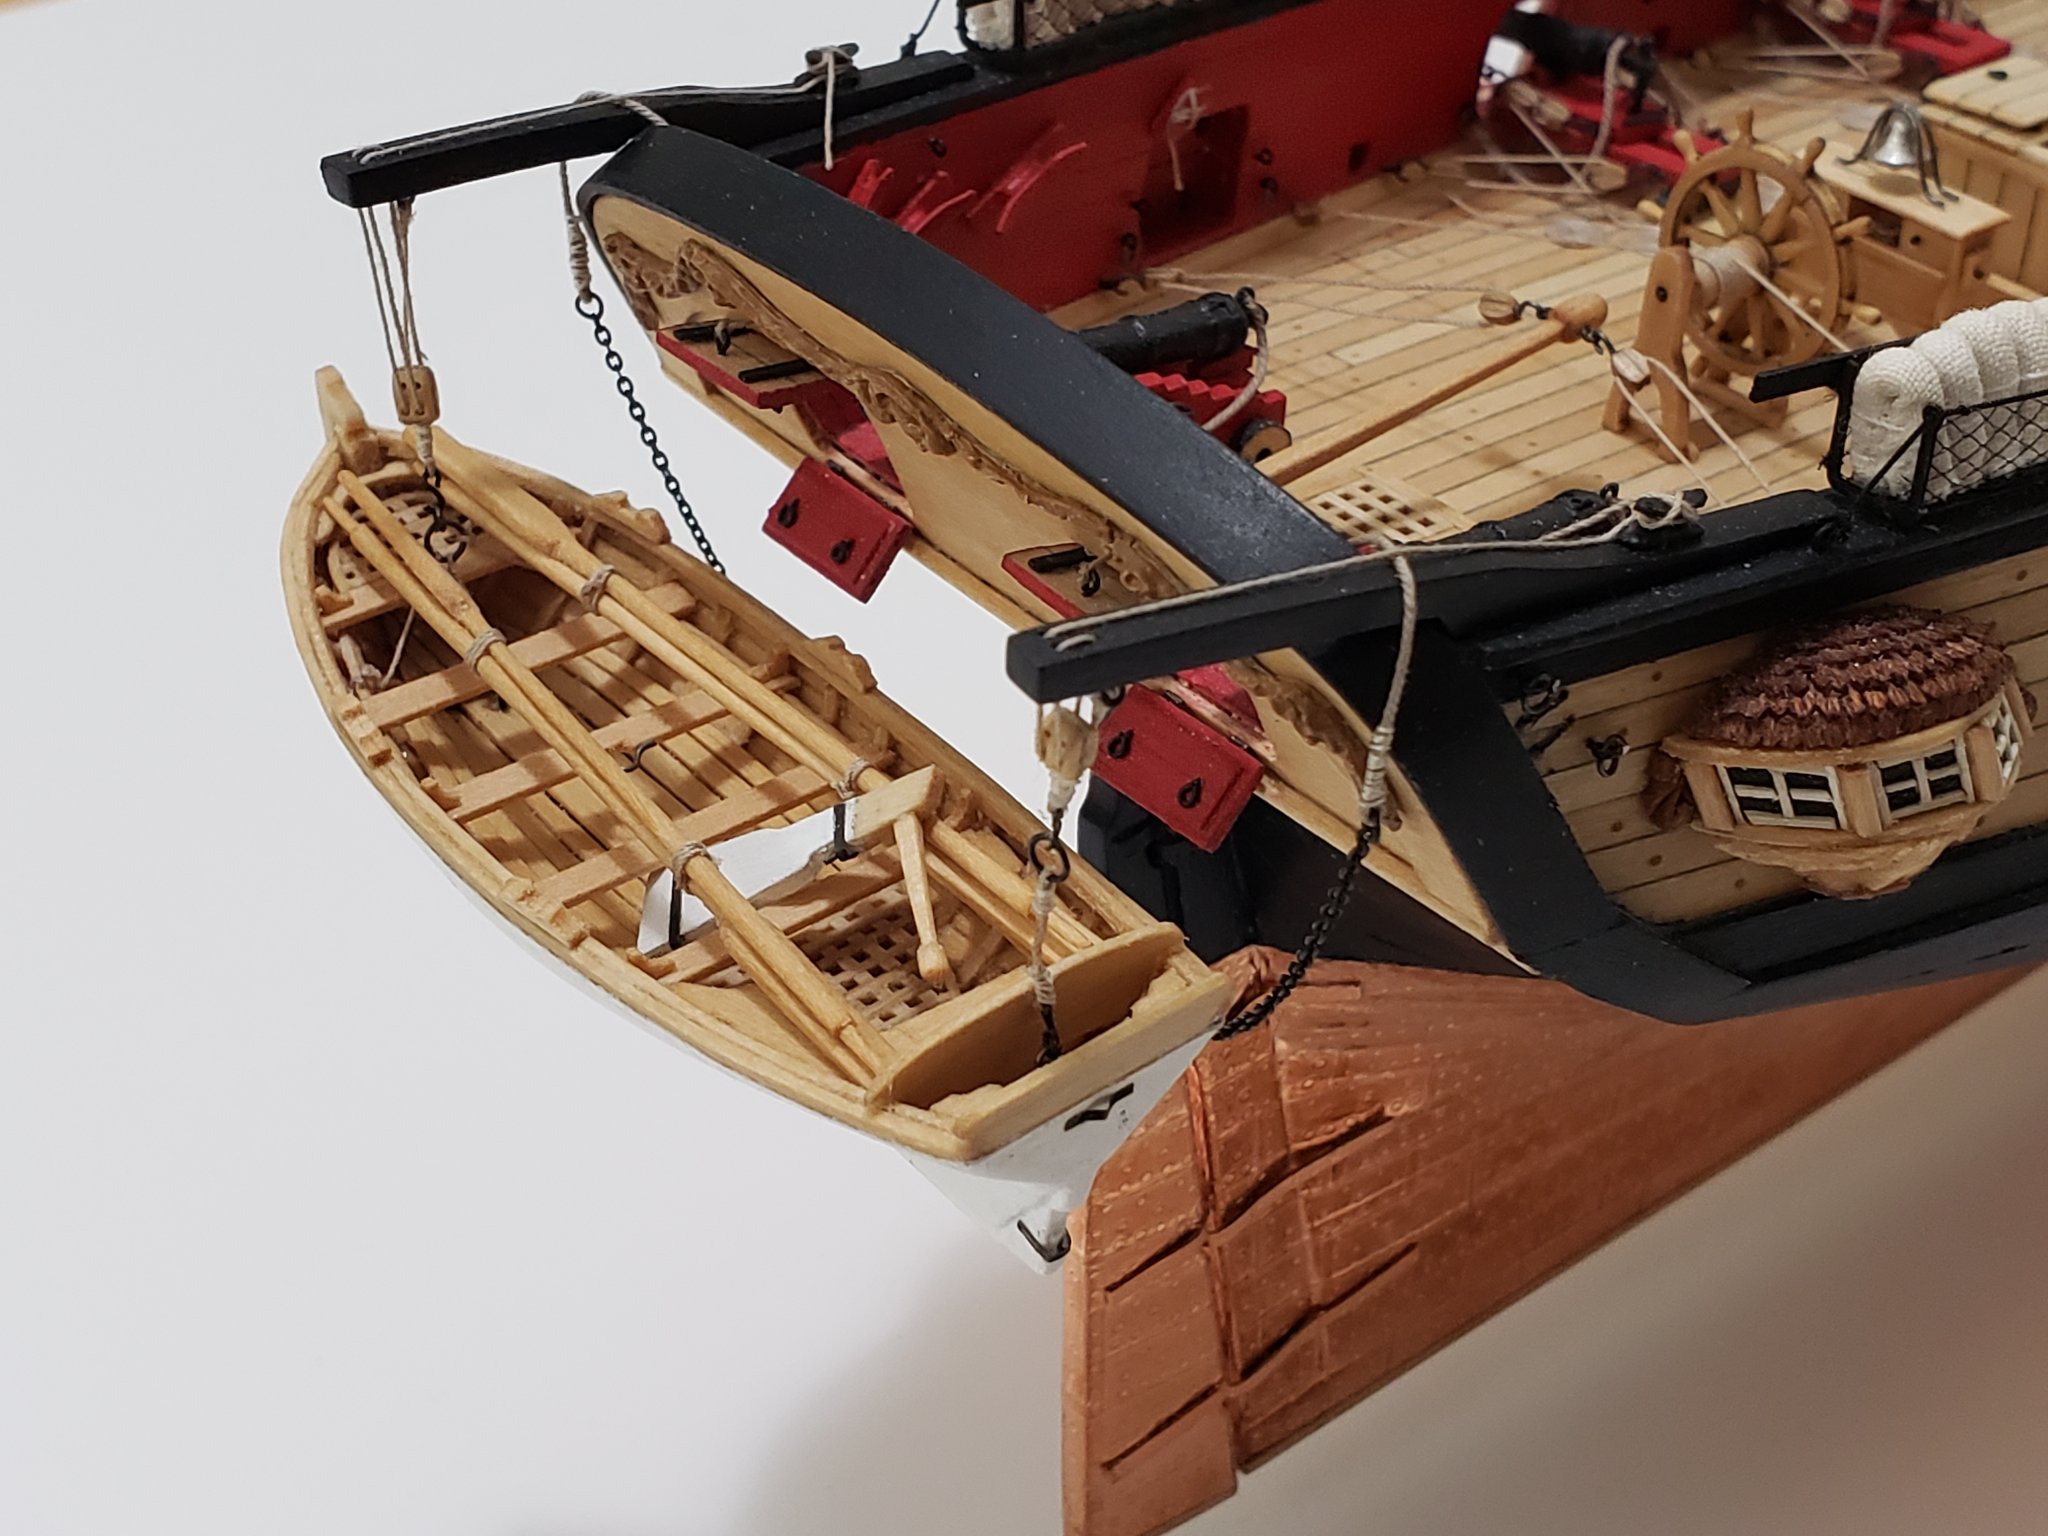
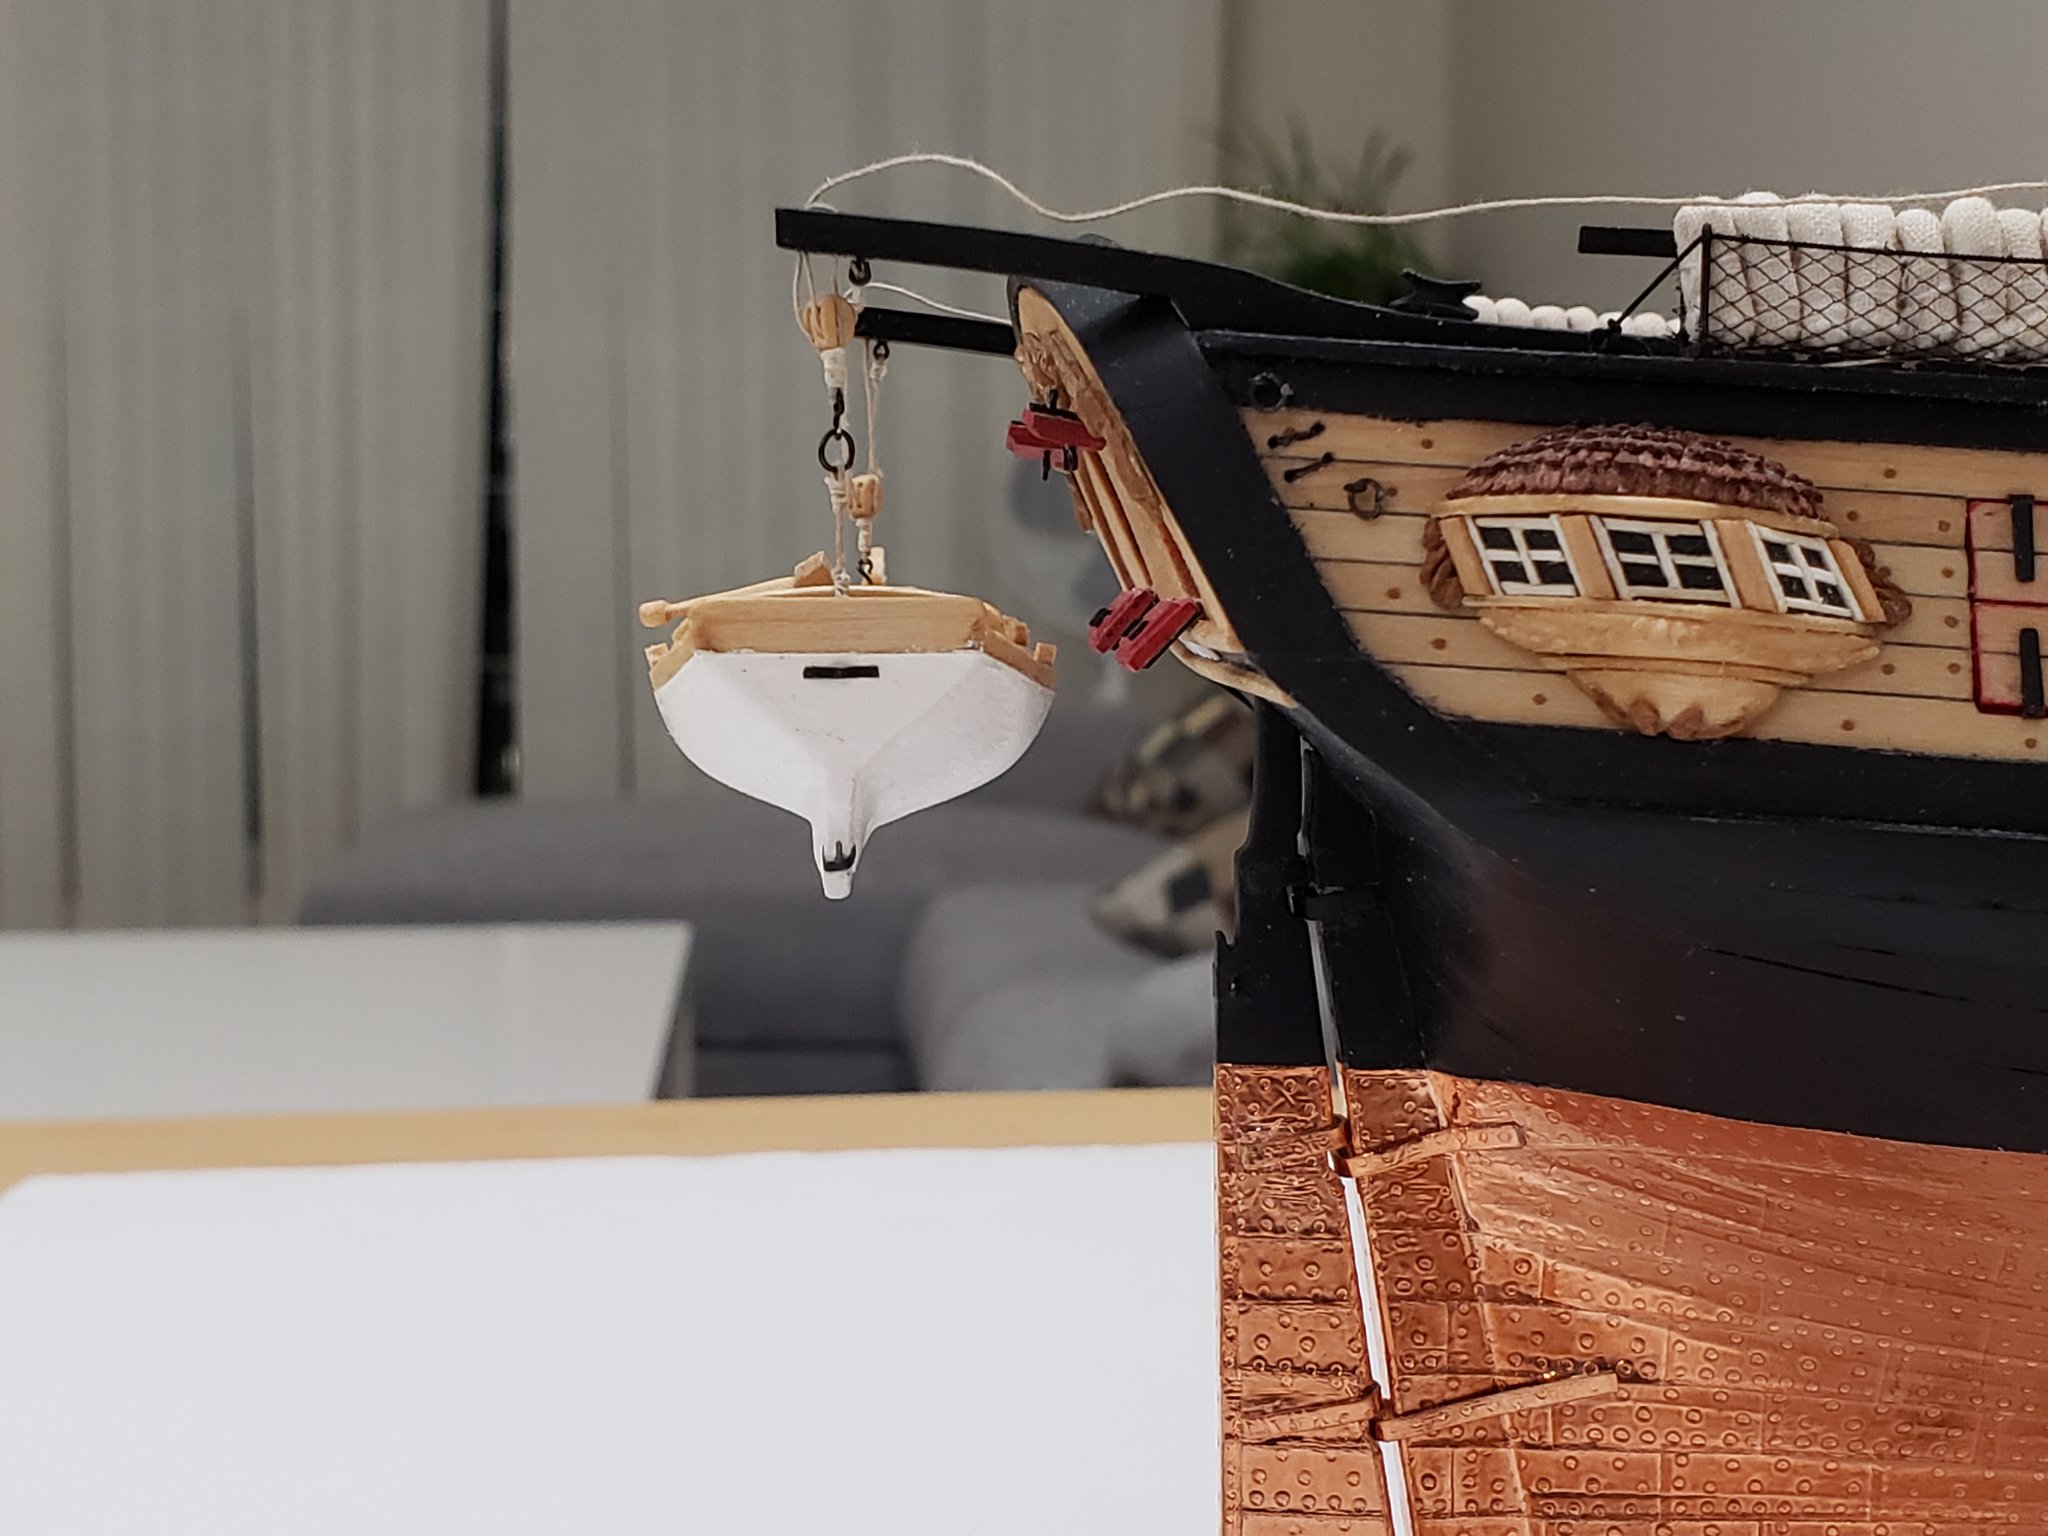
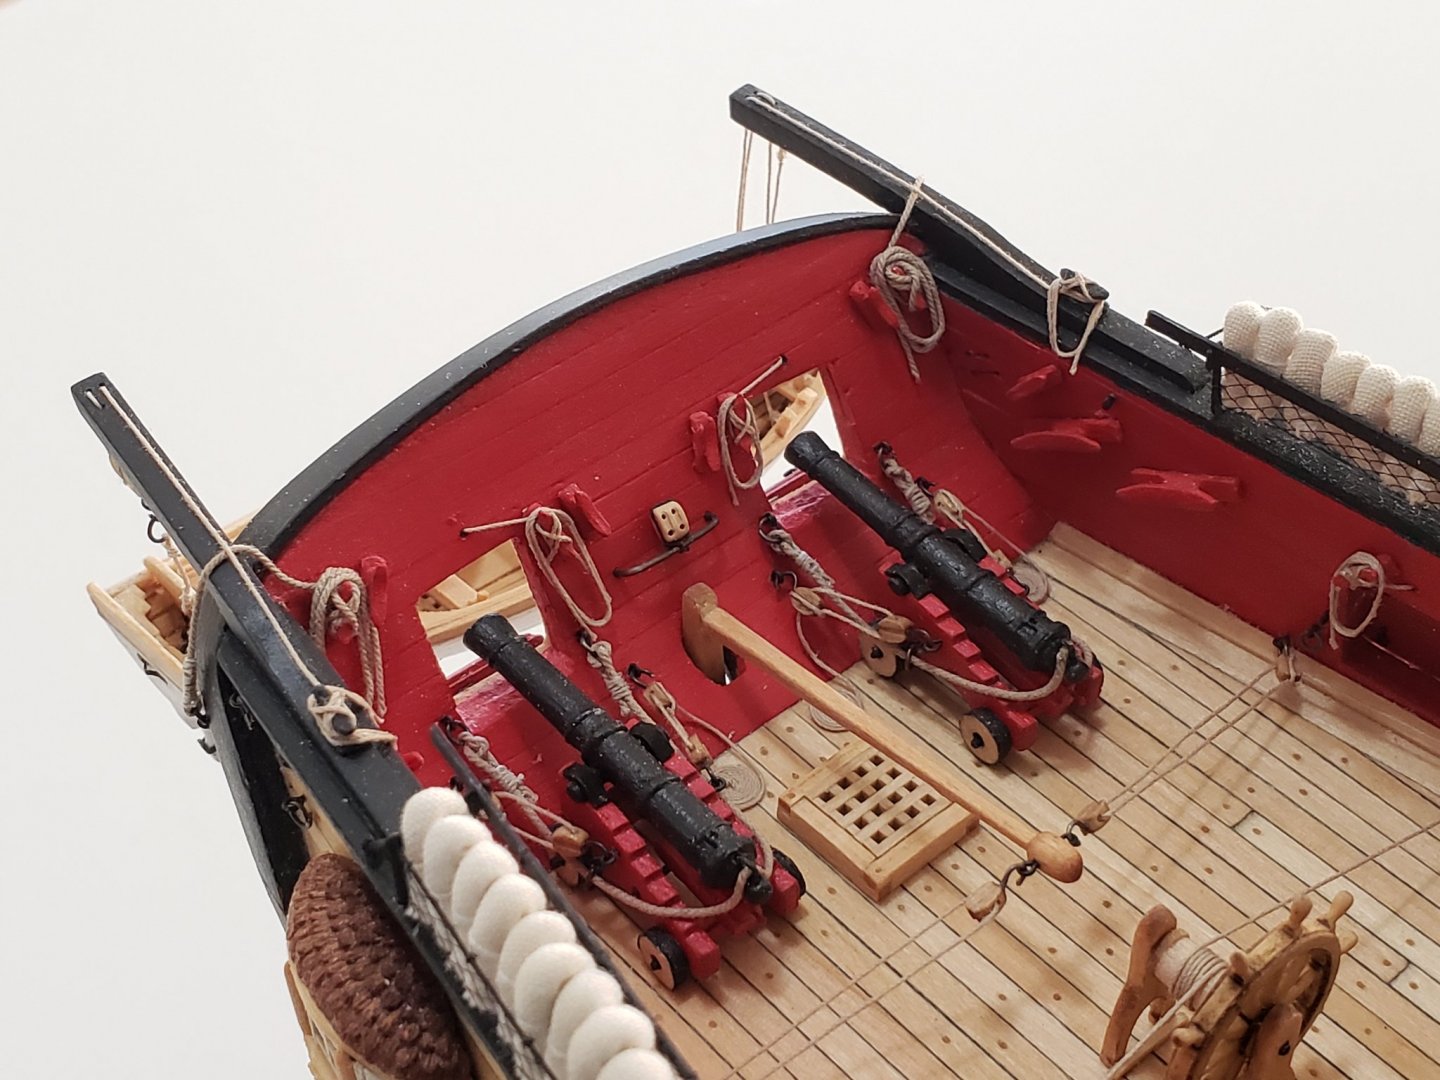
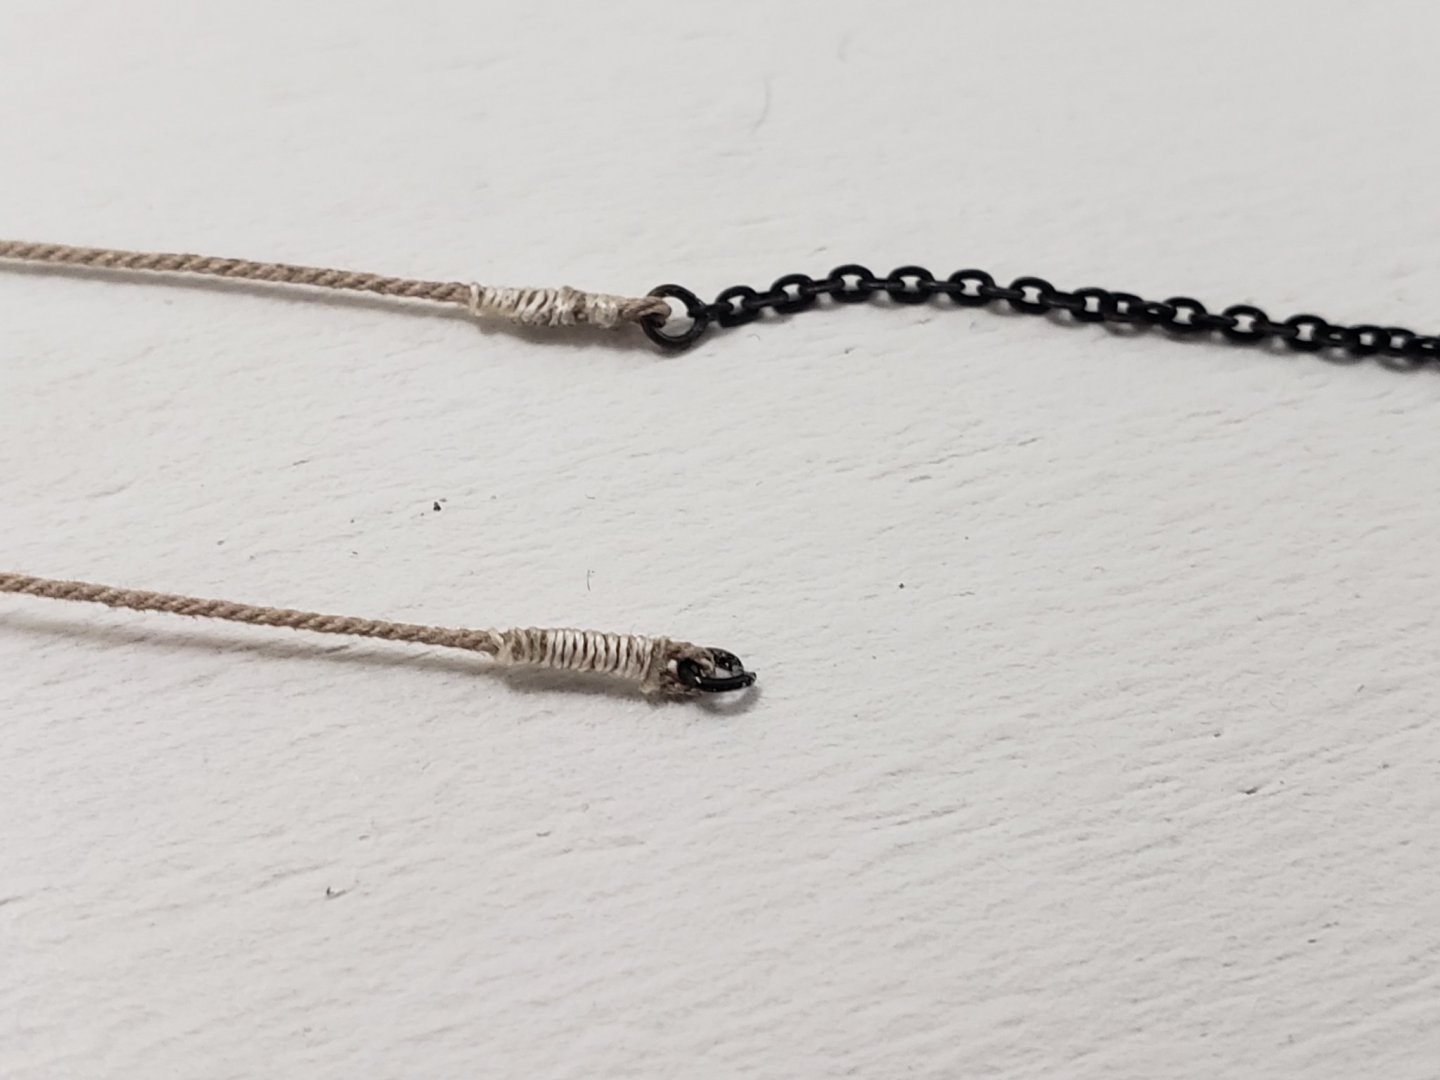
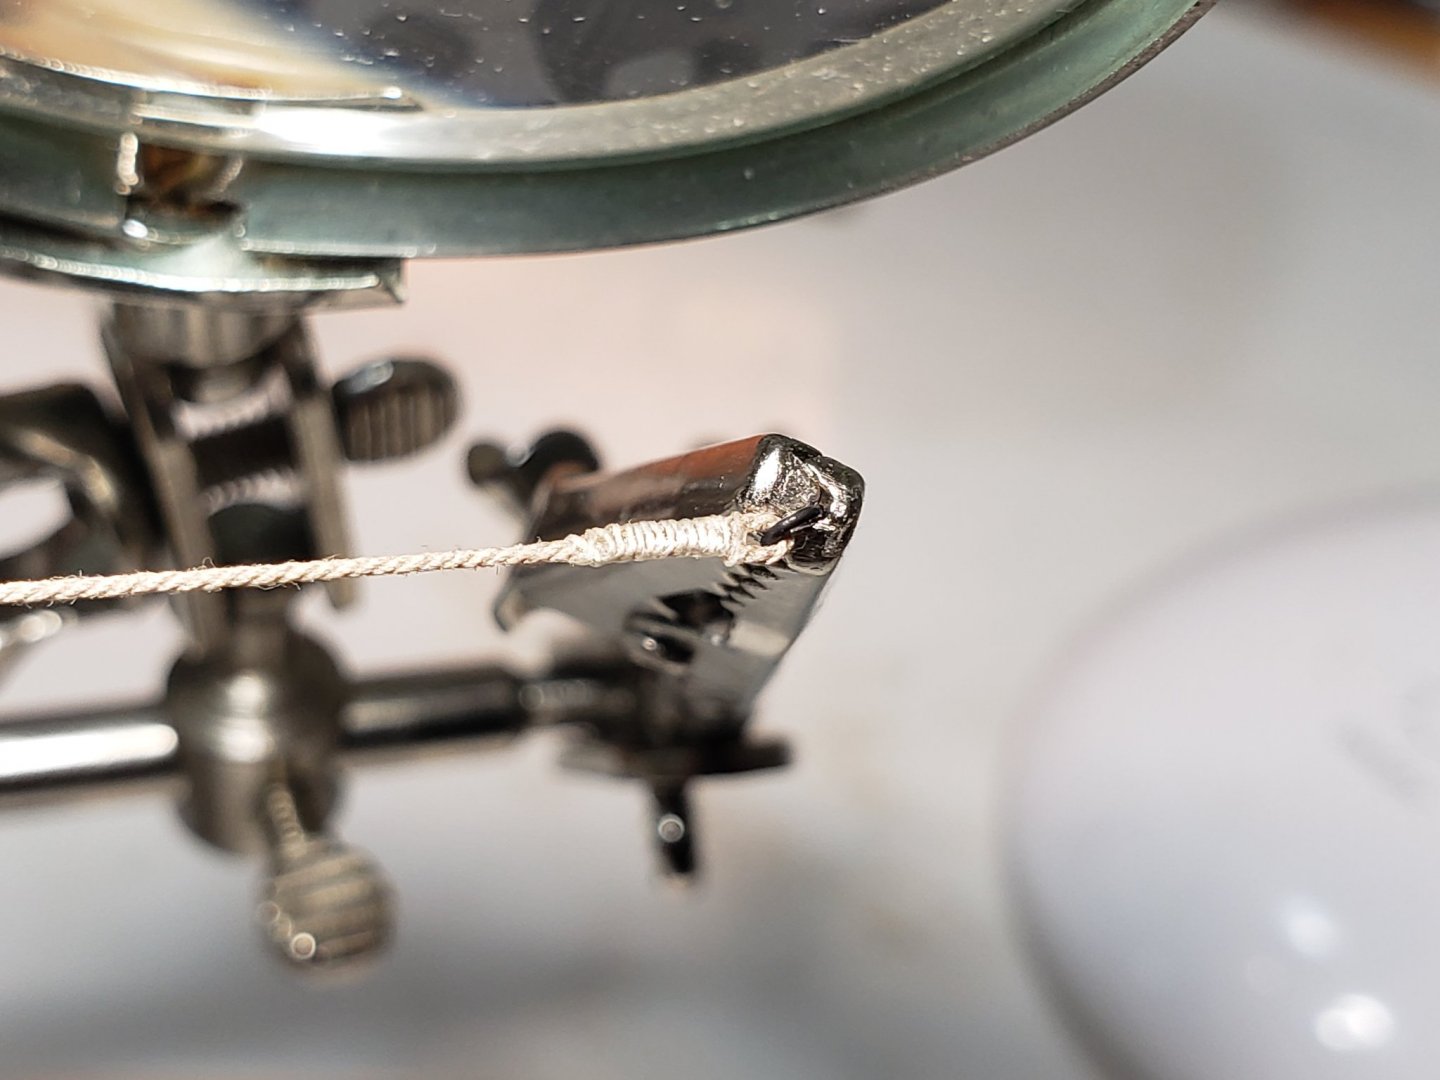
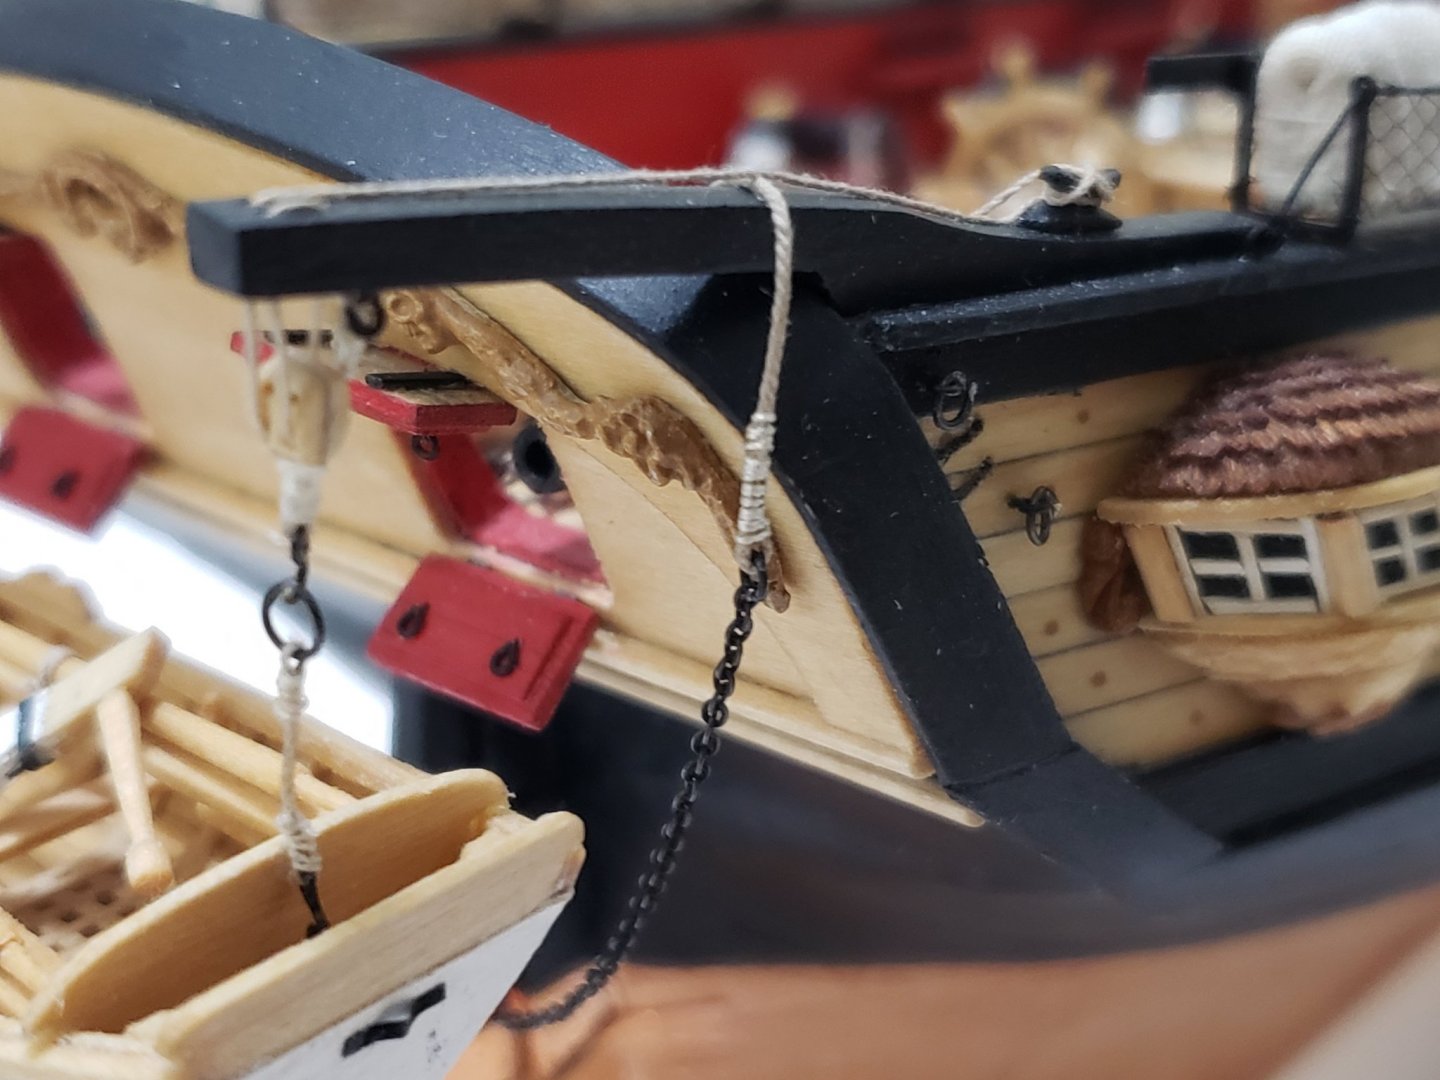
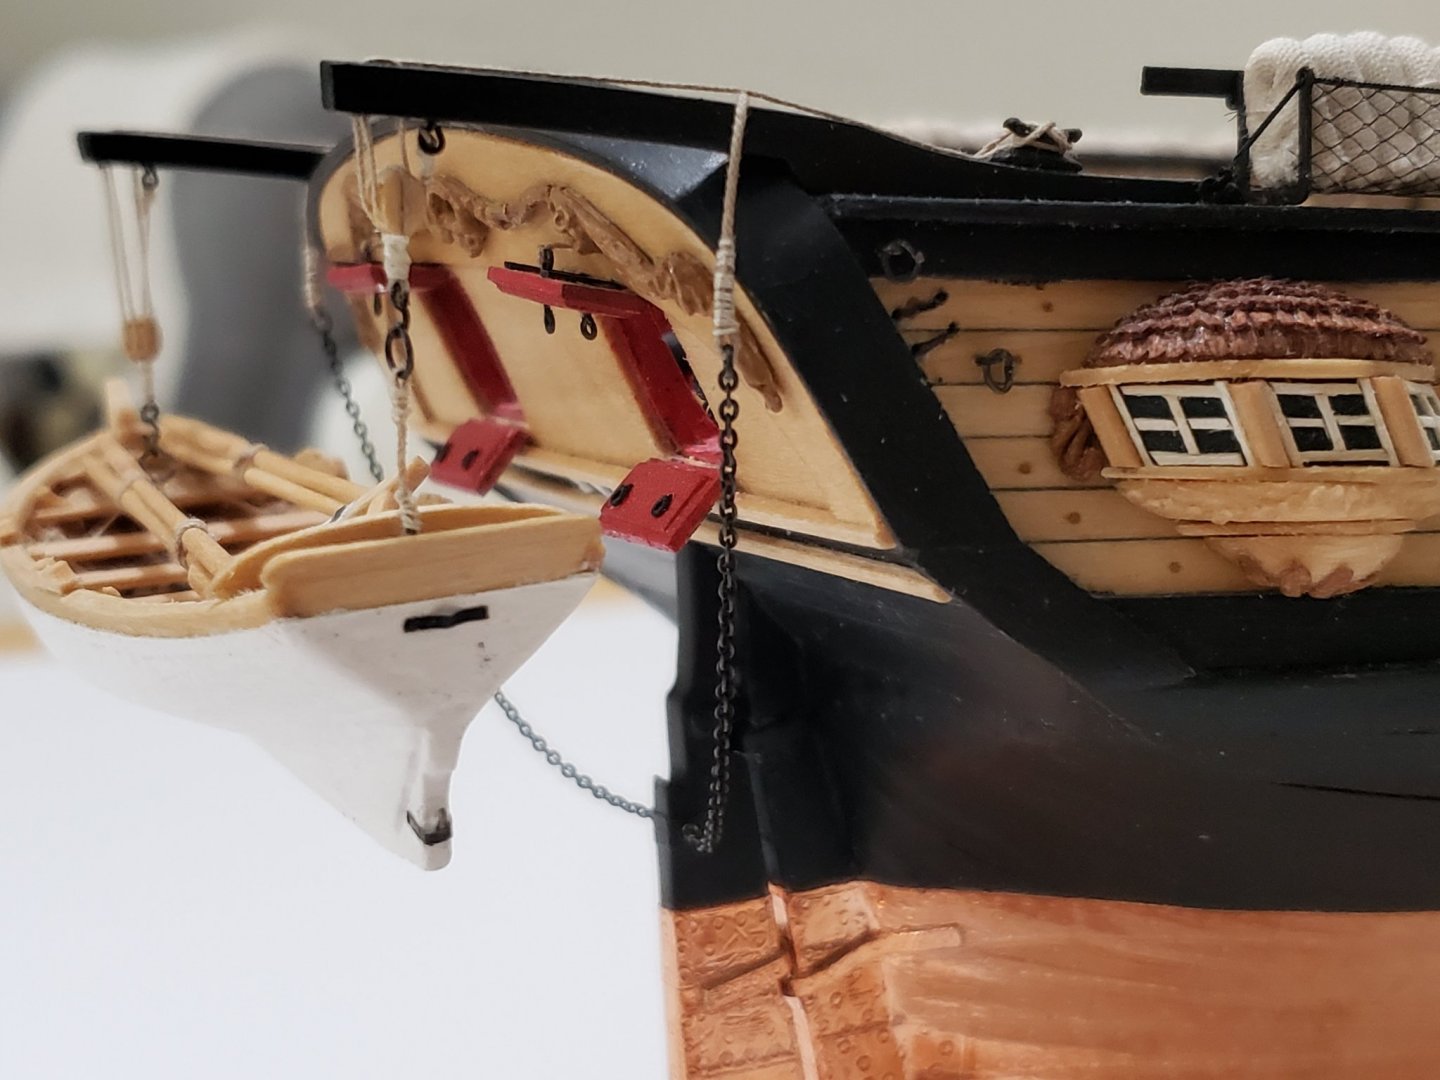
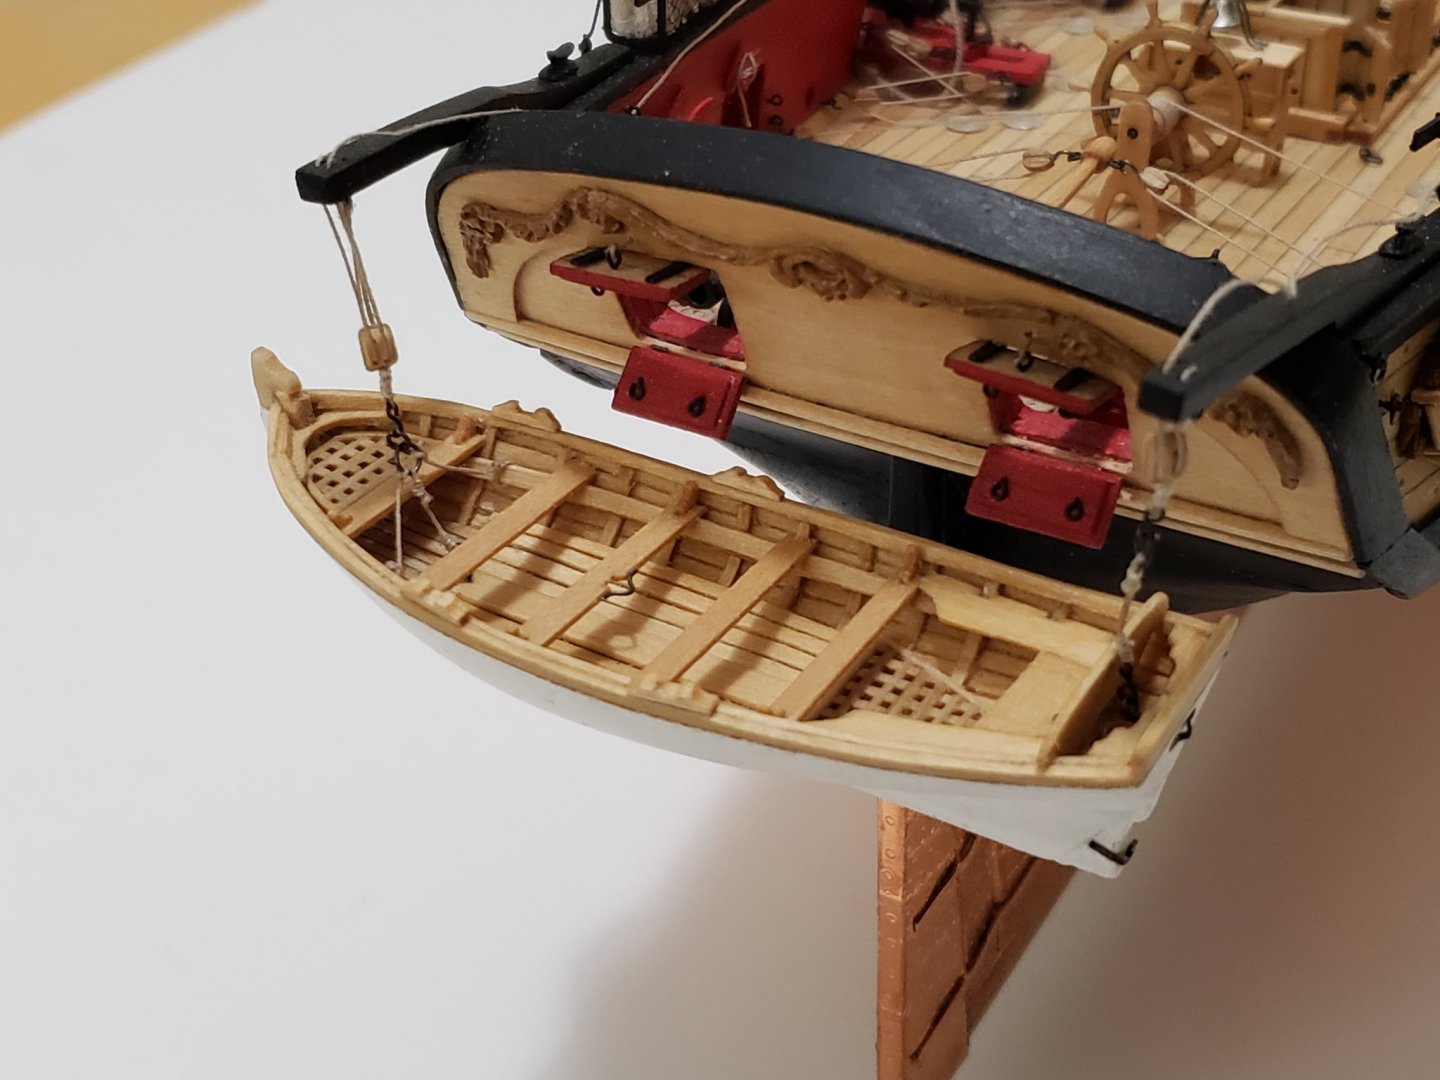
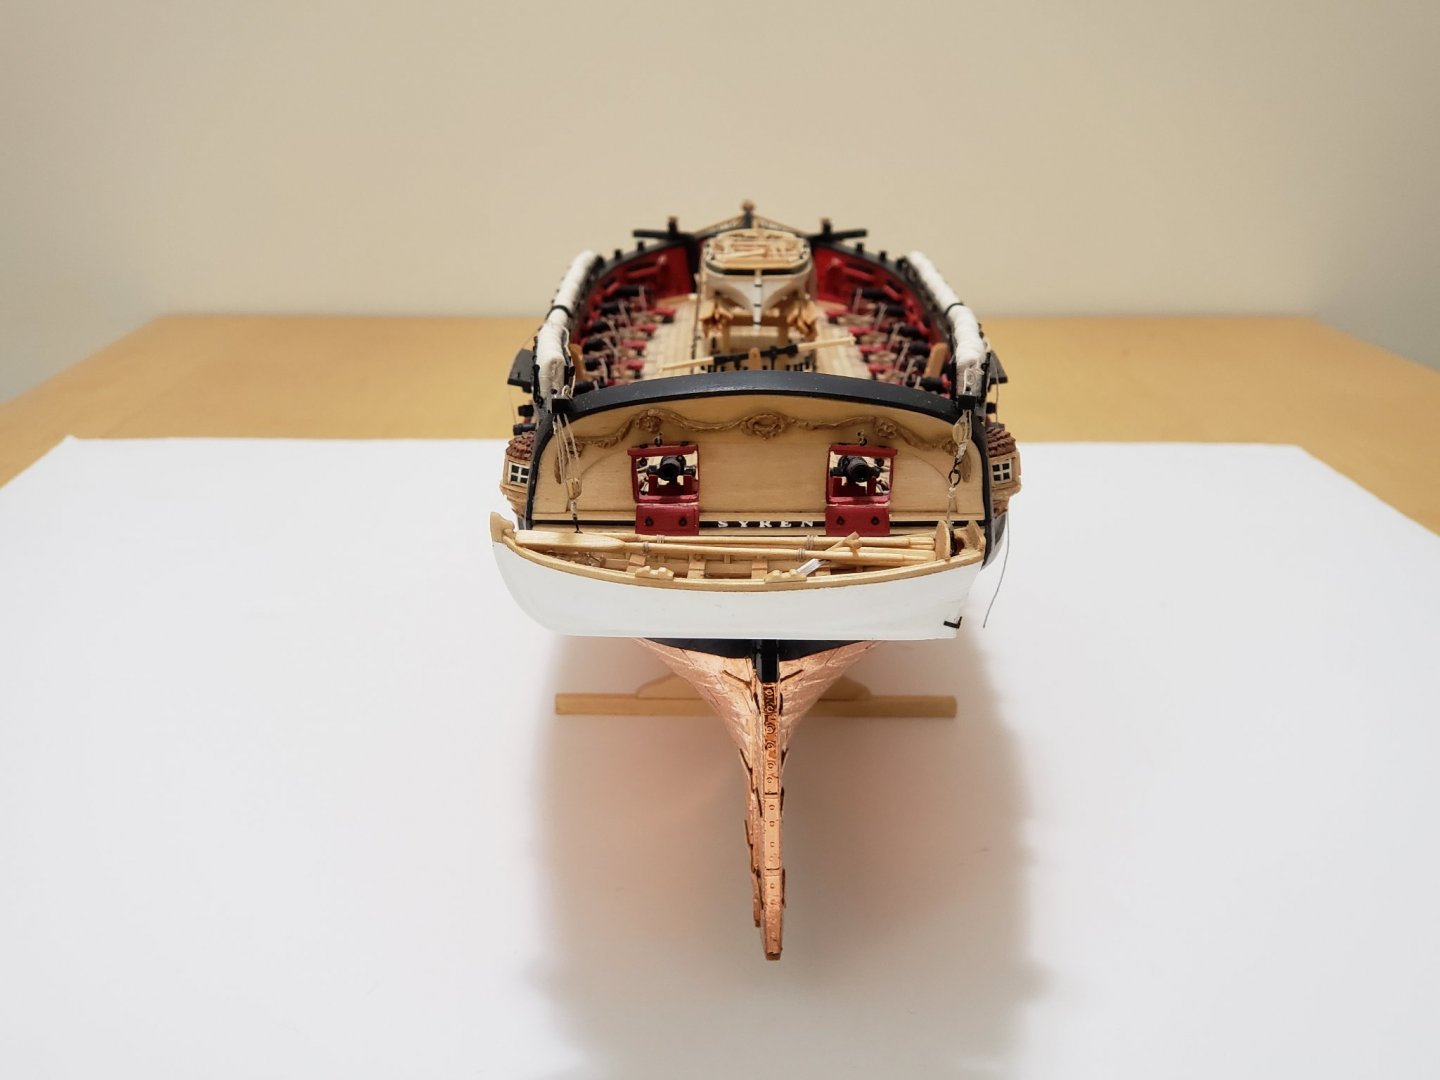
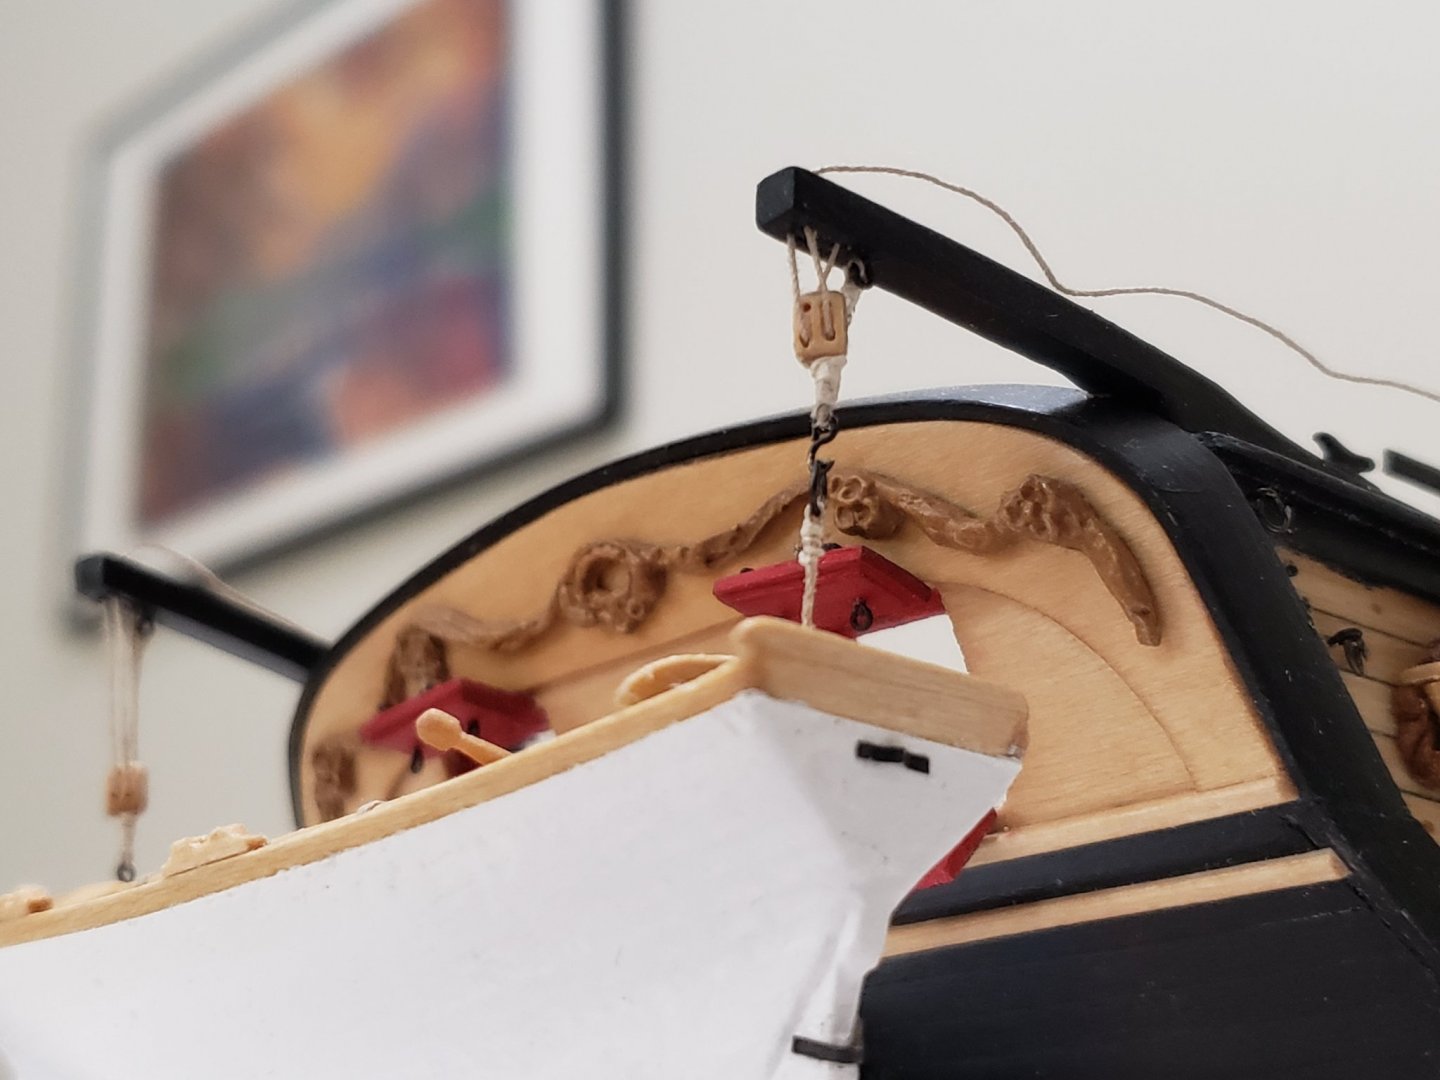
The rudder pendants have been installed. I first cut the chain to the appropriate length (by eyeballing). I then removed the eyebolts from the rudder to secure it easily in the chain. Then they were chemically blackened. To secure it to the rope, I made a ring with some steel wire, then inserted the rope through it which was looped and held it in position with CA. The overlap piece was then cut at a slant and seized with 100wt silk thread (just bought this the other week, very much worth it!!). It was then installed on the ship. I also permanently mounted the jollyboat by applying a bit of CA at the hook and one of the holes on the davits. Also, just to note, in my case, the rudder pendants are very far off from the boat. So, I opted to go for this method than securing the chain with multiple eyebolts. I also checked how I attached the hinges for the gun ports, and the holes were a bit too low. So if I were to close them, I'll definitely see the holes. So it's settled; they'll remain open (to prepare for battle 😄)! All left to do is lay down the anchor cable and make a few rope coils, and the hull will be completed!!


- 950 replies
-
- 11
-
-
- syren
- model shipways
- (and 1 more)
-
The start looks very good! Looking forward to see how she progresses!
-
It looks really good, Robin!
-
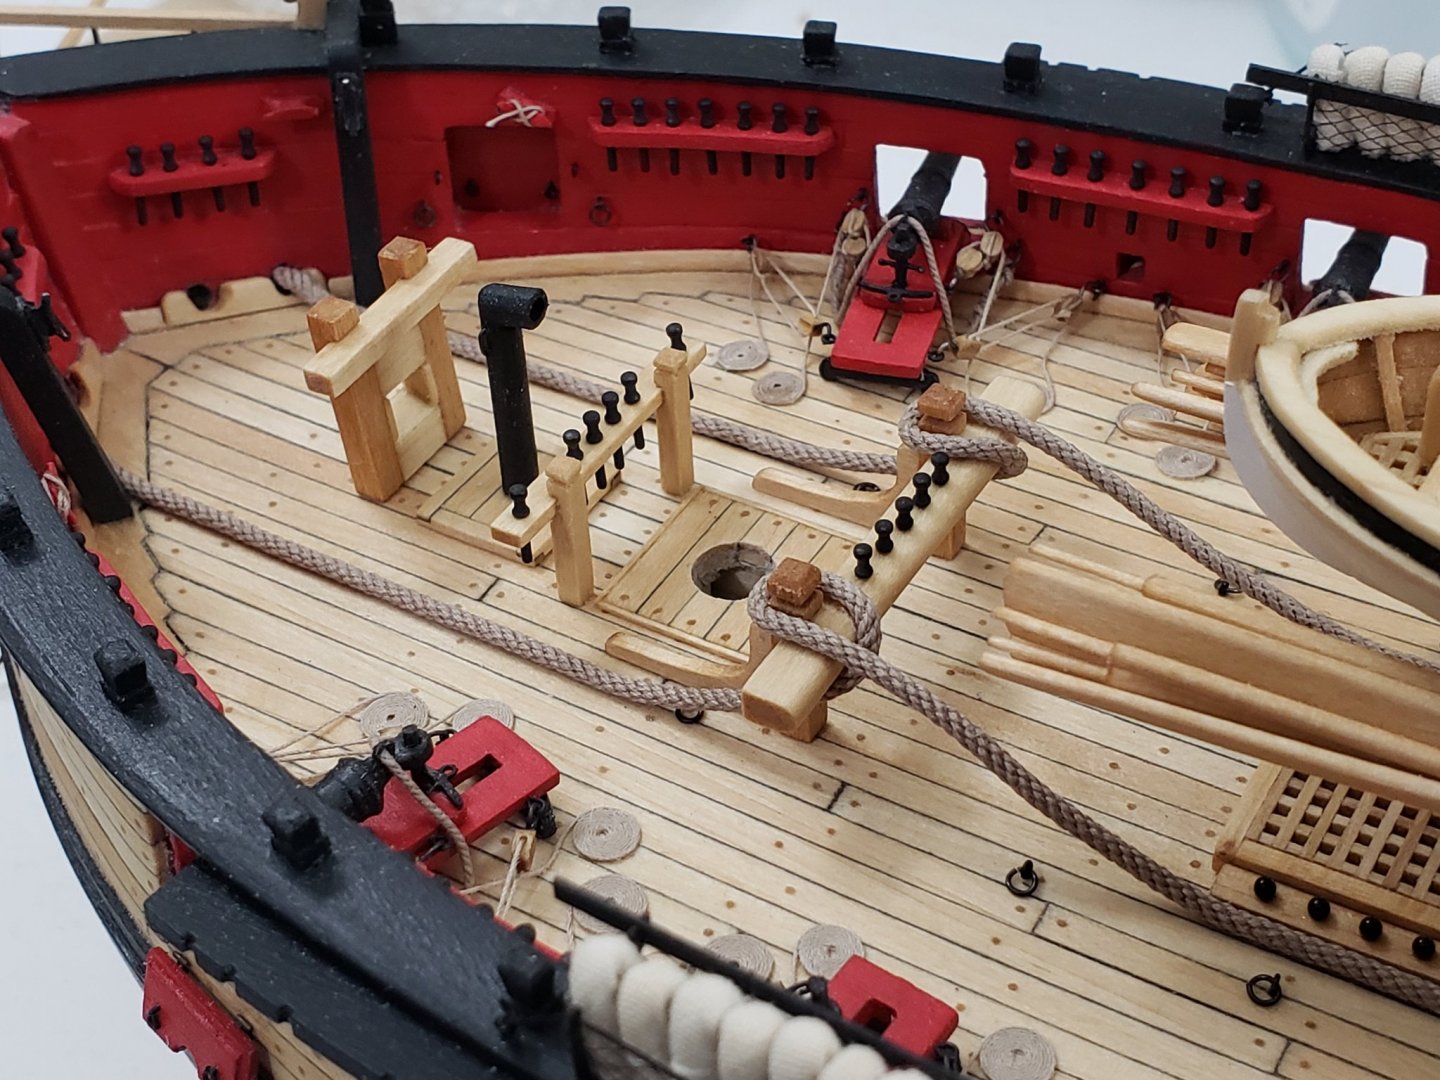
Thanks so much for the comments and suggestions 😊.. Based on the feedback, I'll just leave it as is and finish up working on the hull. Too scared to change things up at this point 😅. Thanks again! As for the gun ports, I'm leaning towards leaving them open. I like how it looks this way, and not too sure if closing them will reveal the holes I drilled to insert the hinges. This way I can assume the boat was lowered as to be ready to fire the guns (hoping this was actually a thing done back in the days...). I may change my mind if you guys convince me otherwise (i.e. peer pressure 😁)
- 950 replies
-
- 1
-
-
- syren
- model shipways
- (and 1 more)
-
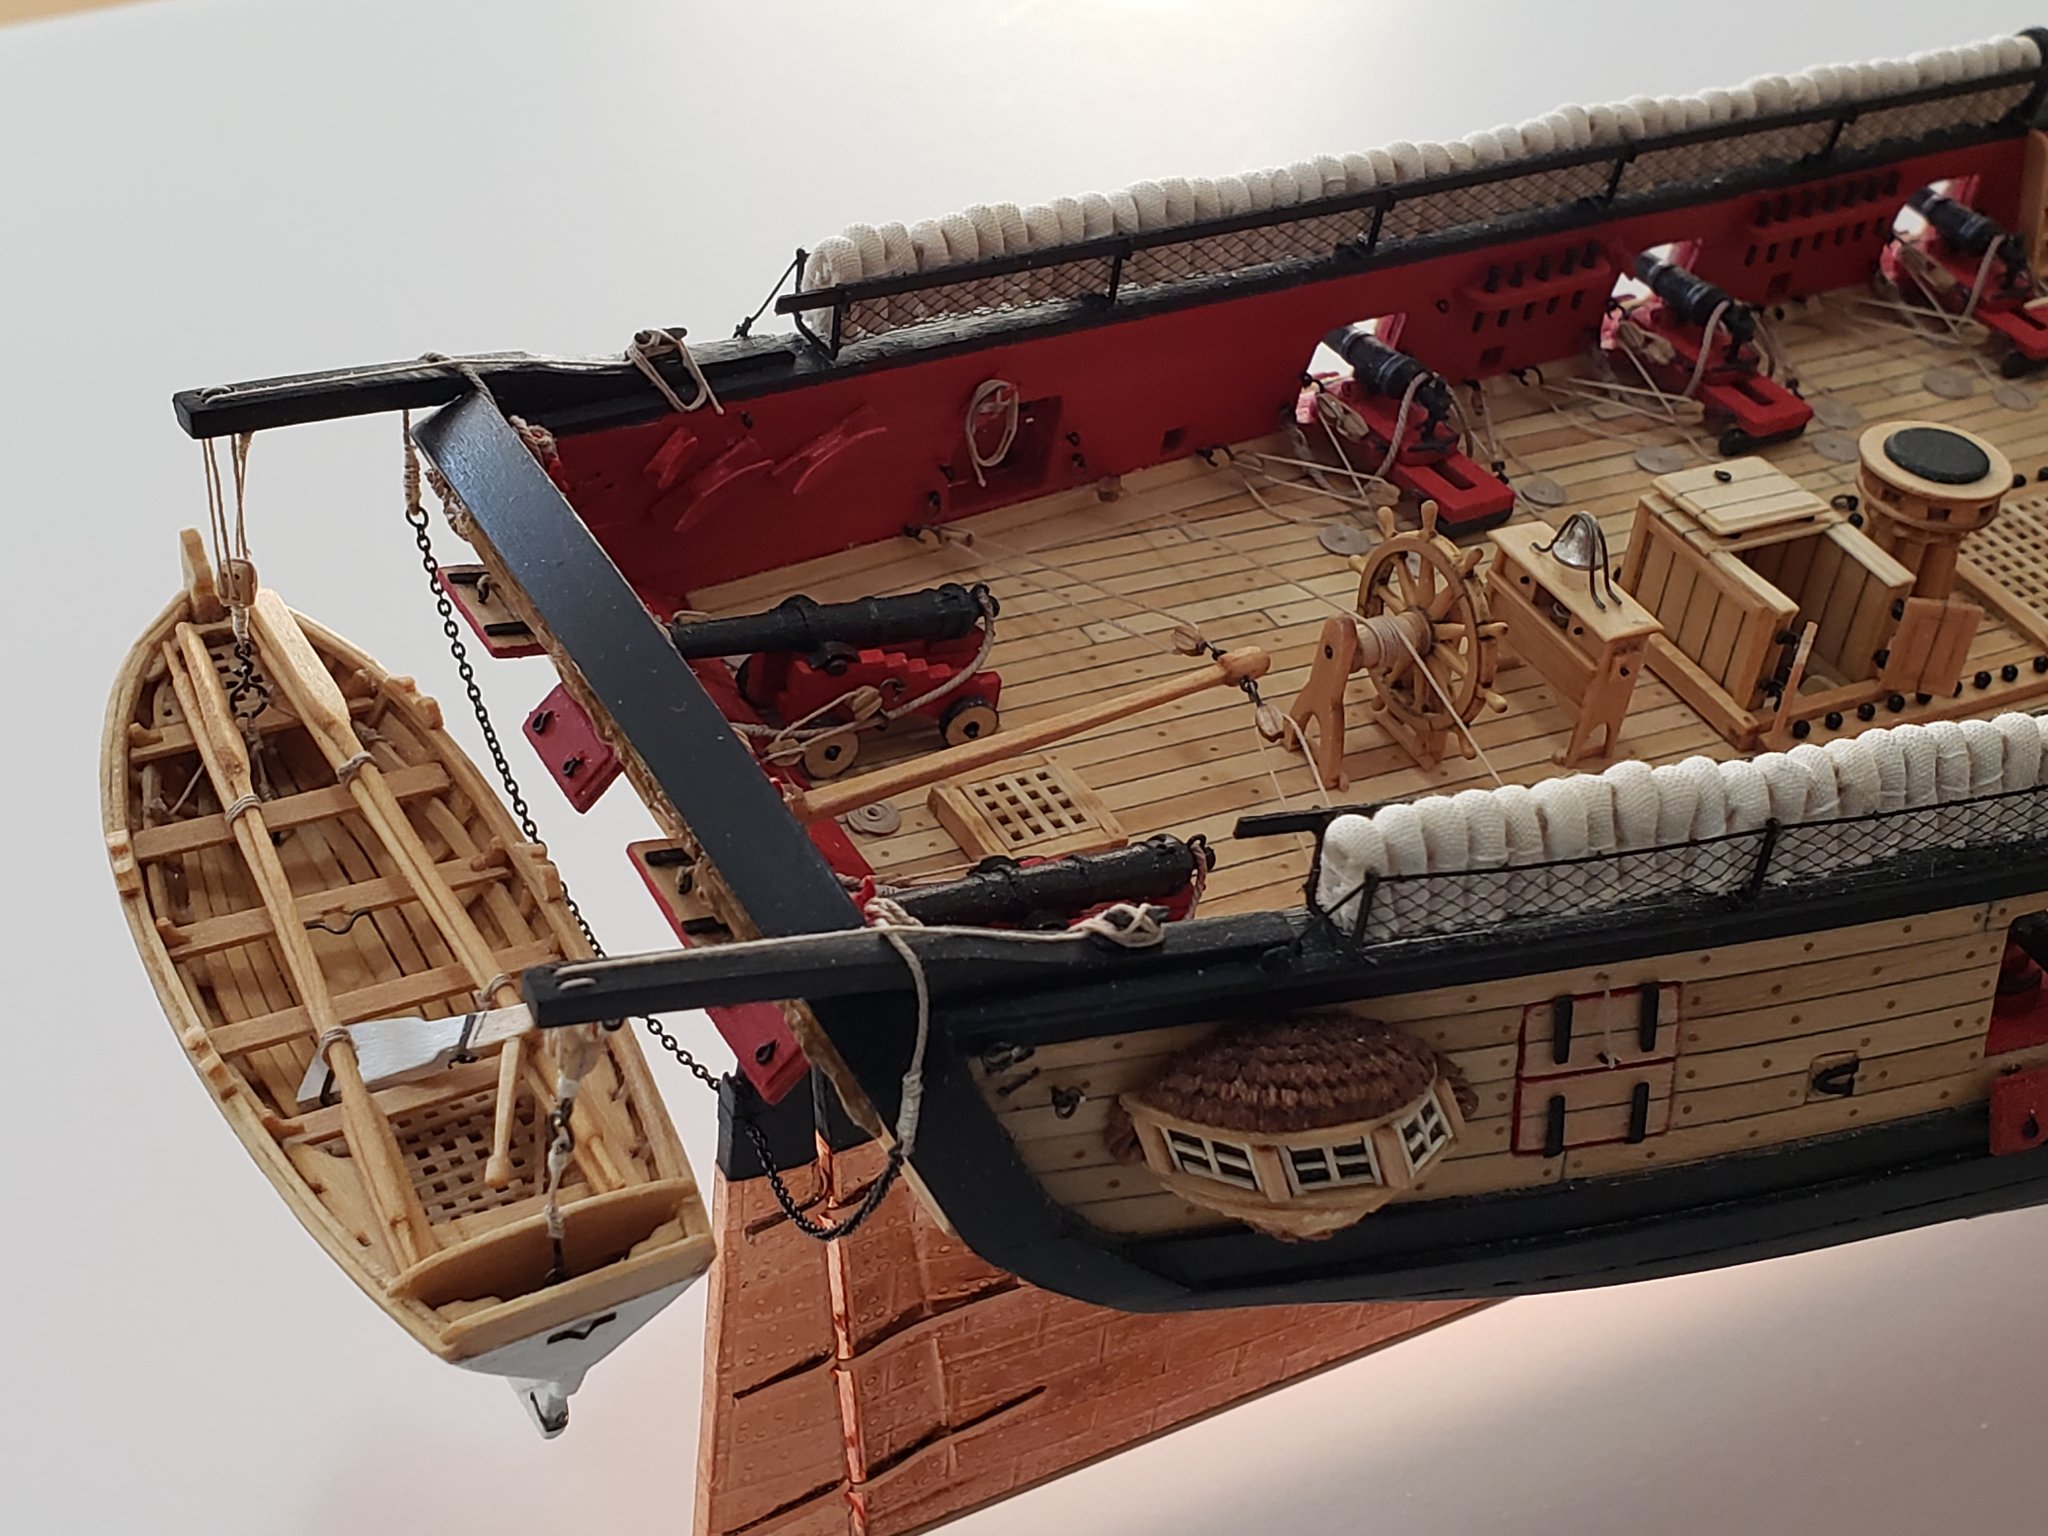
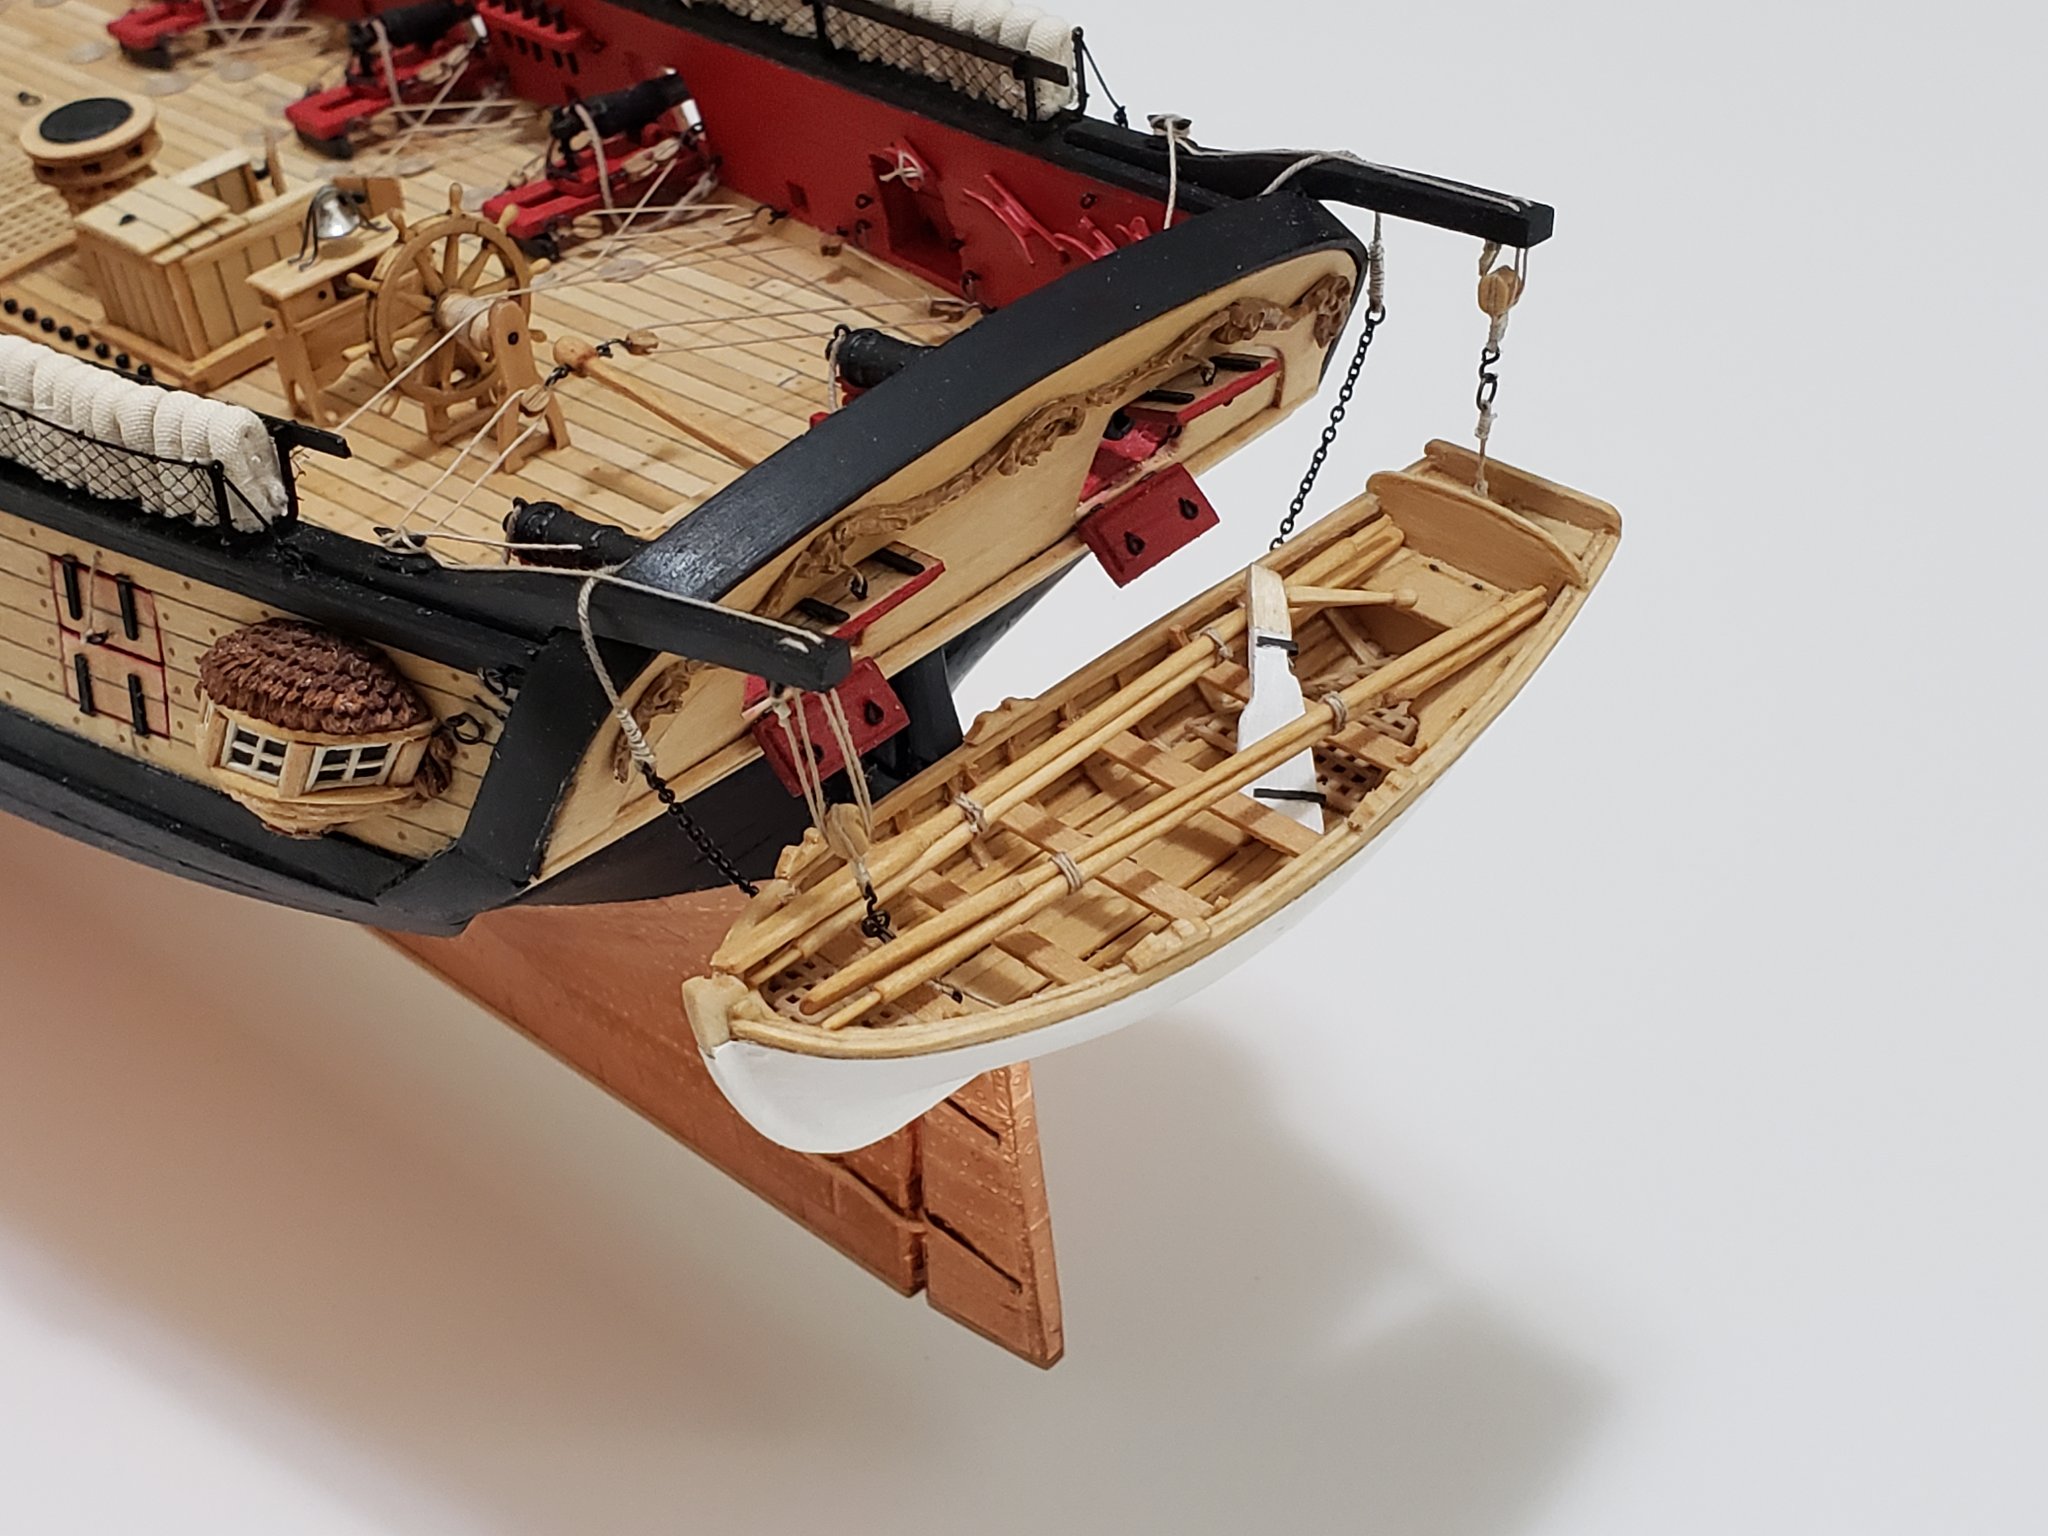
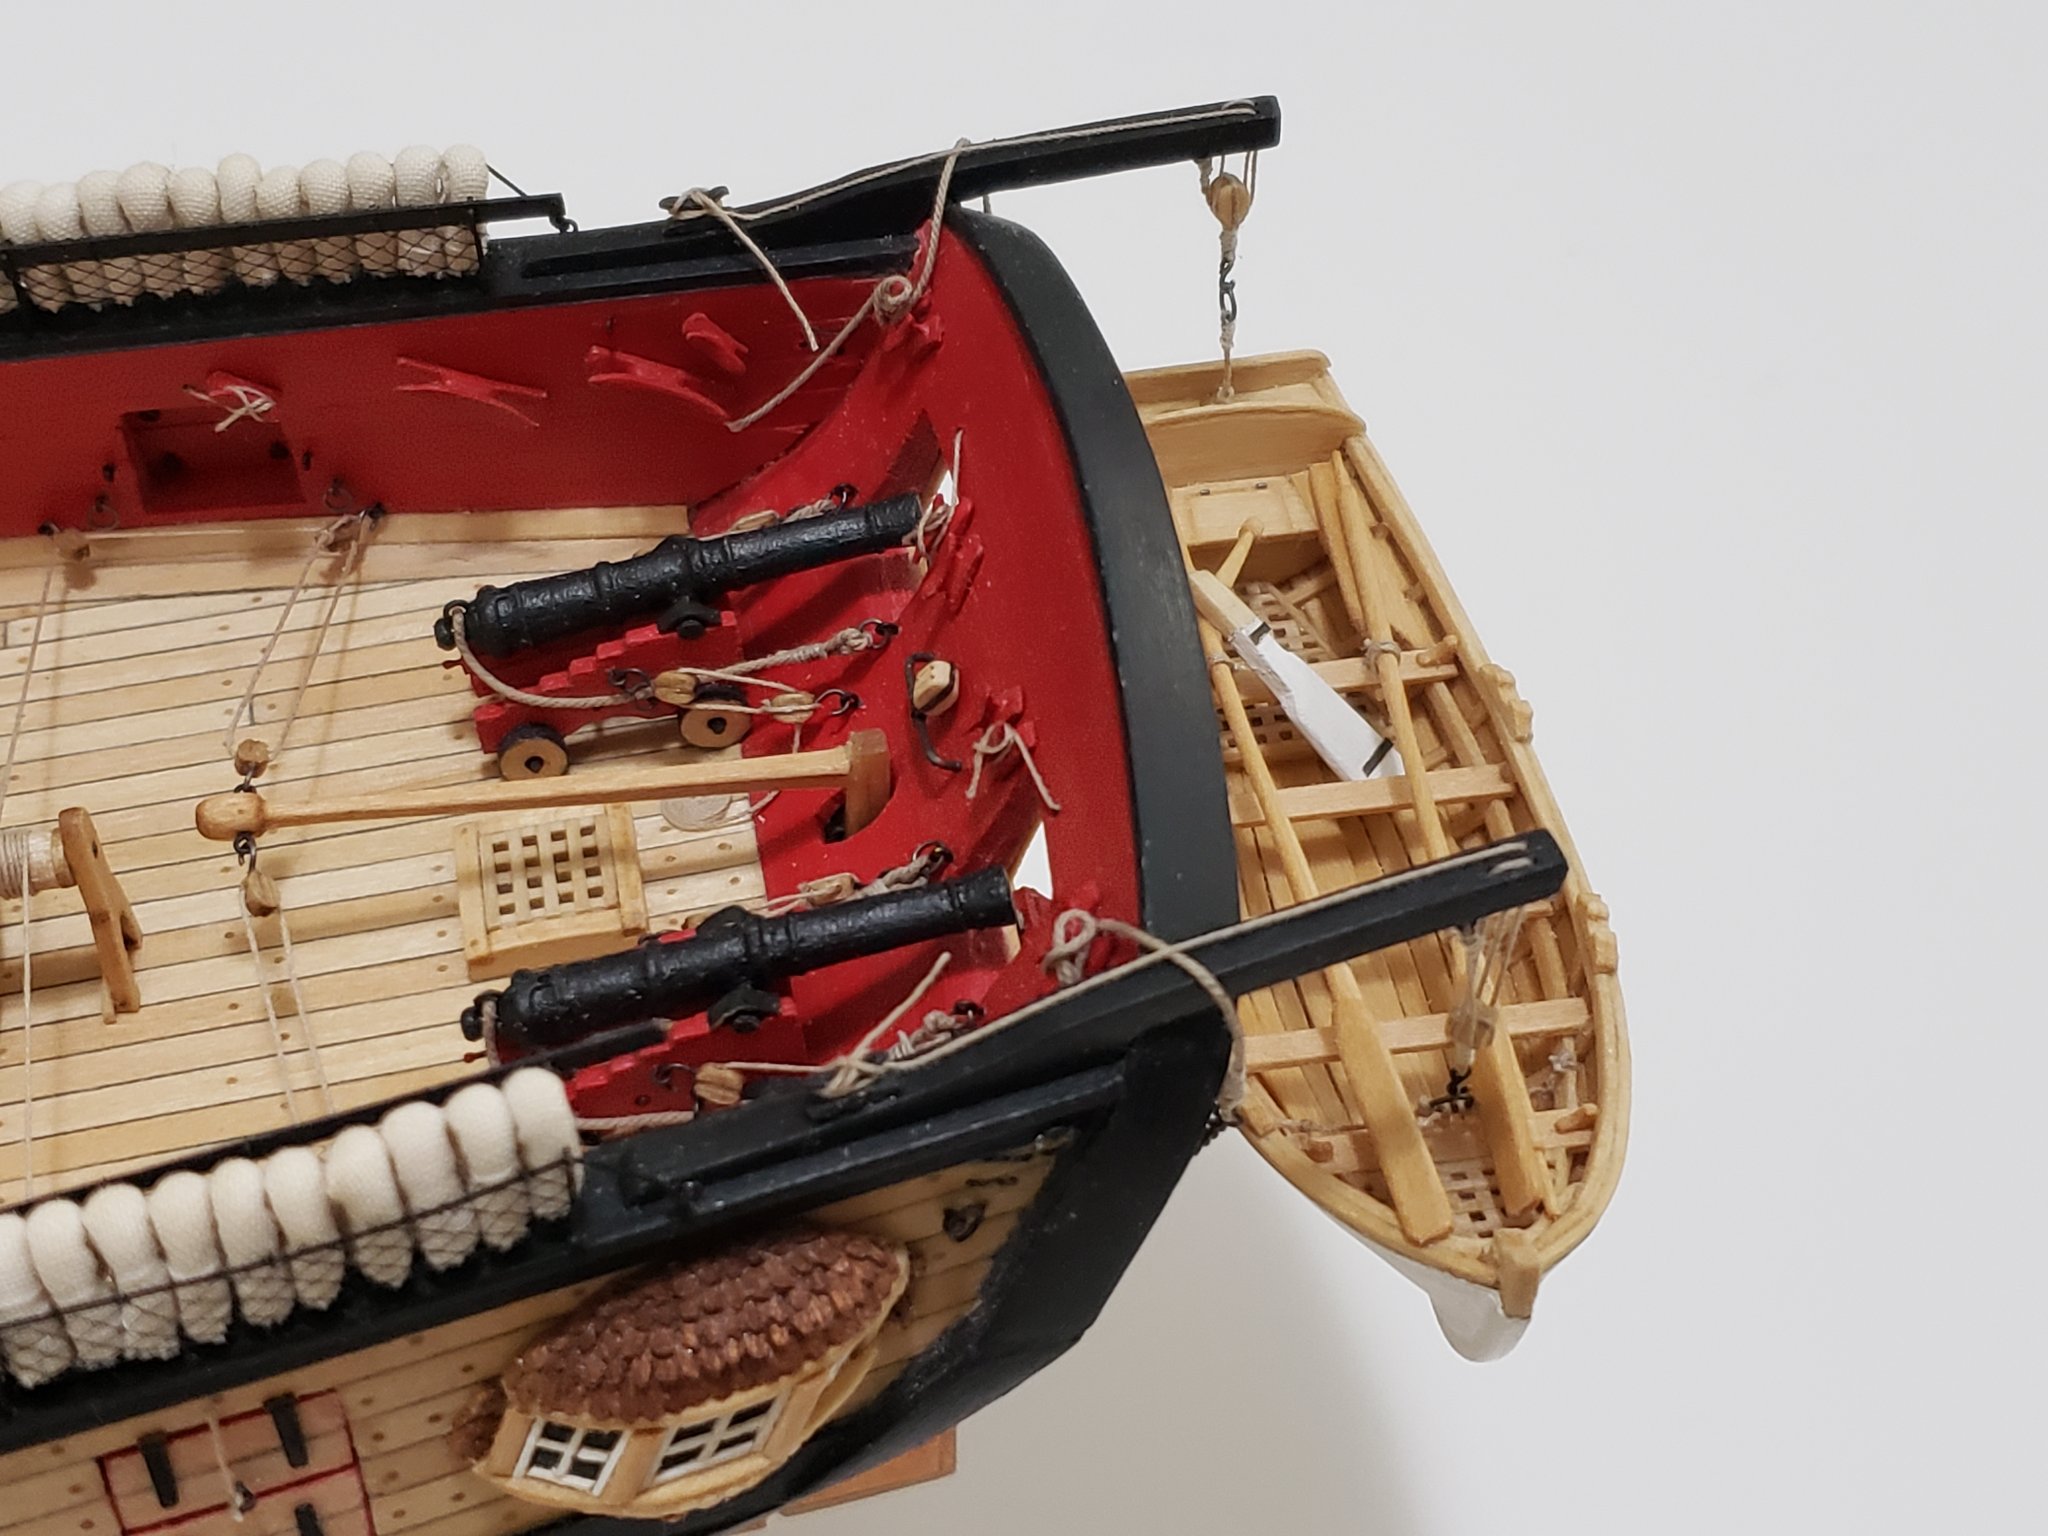
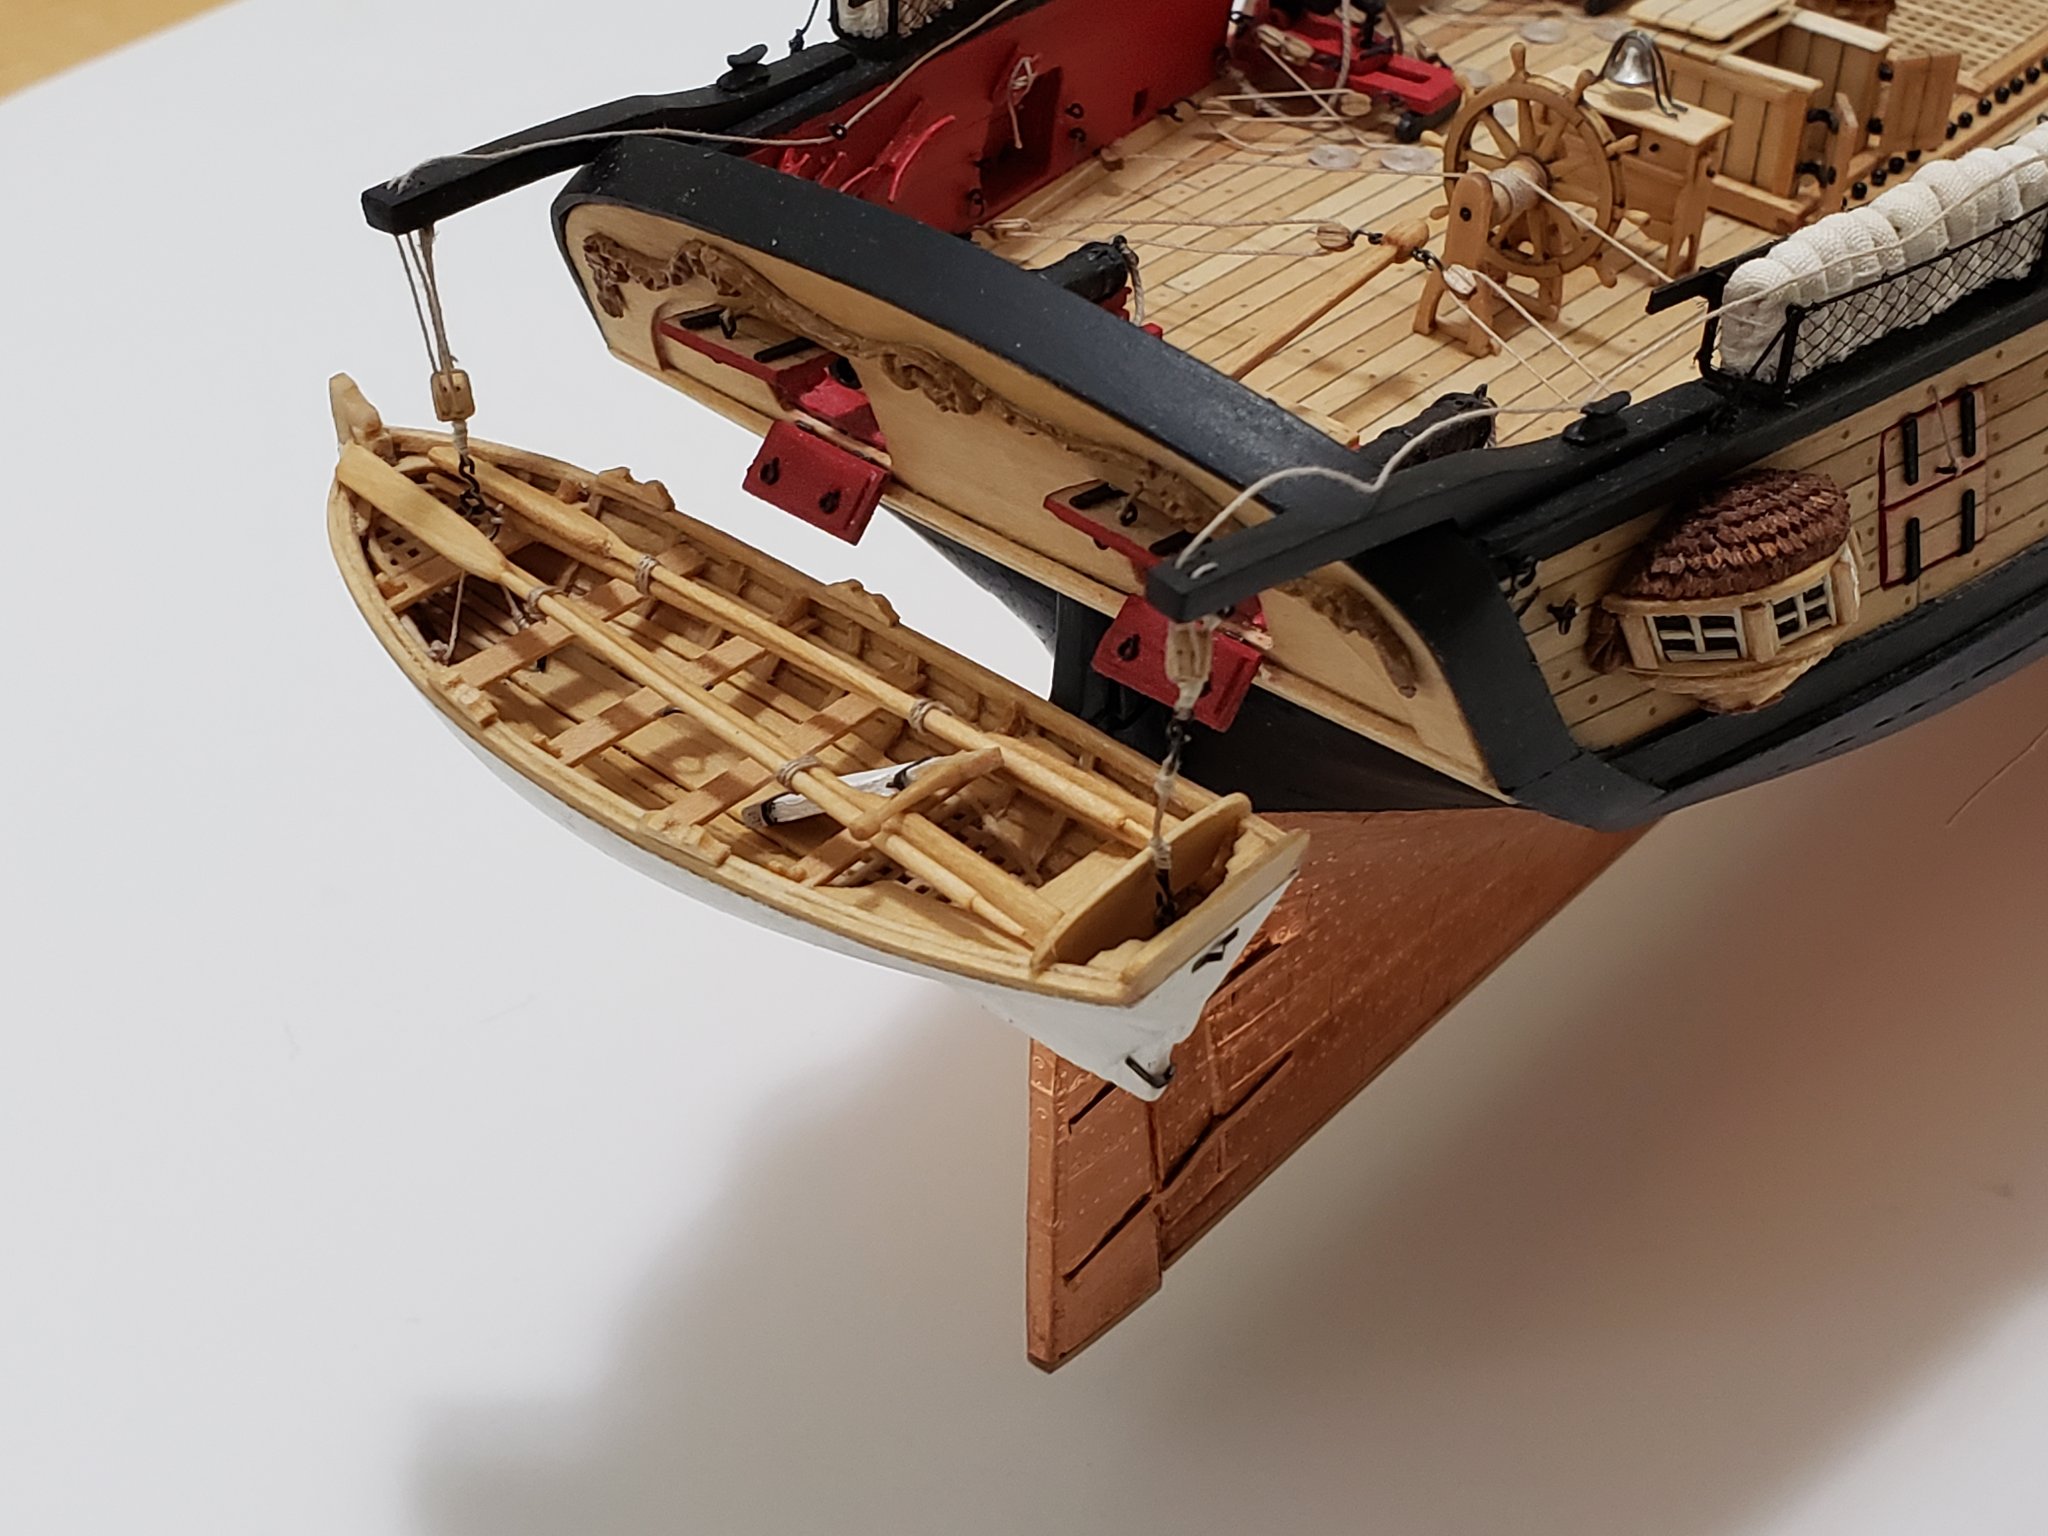
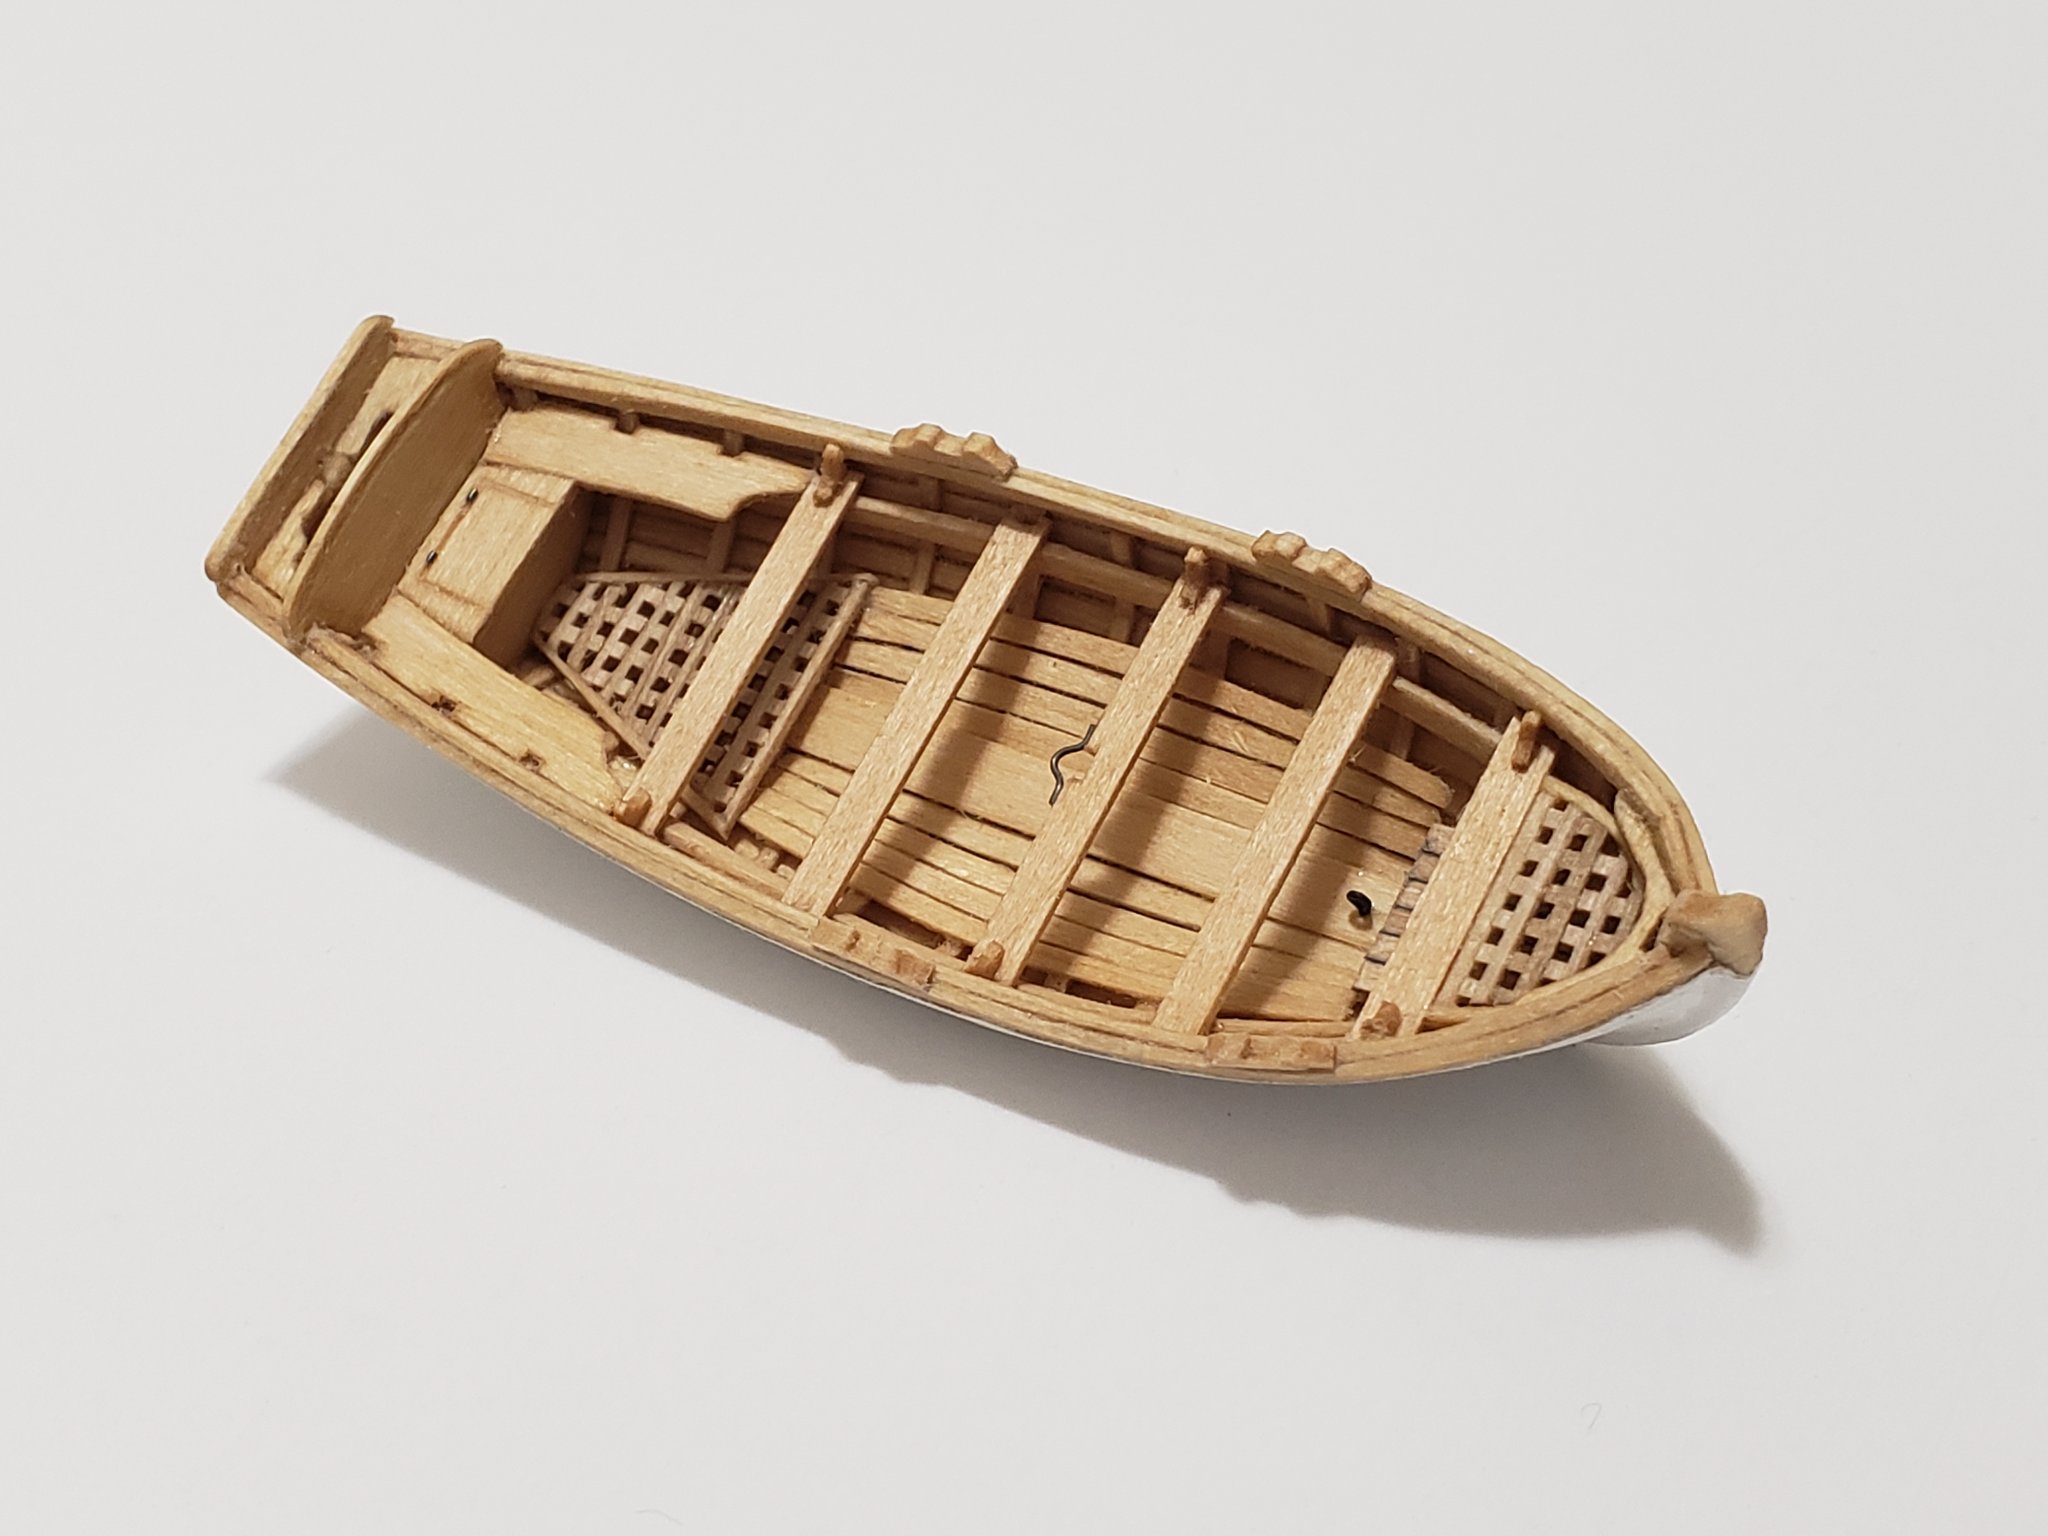
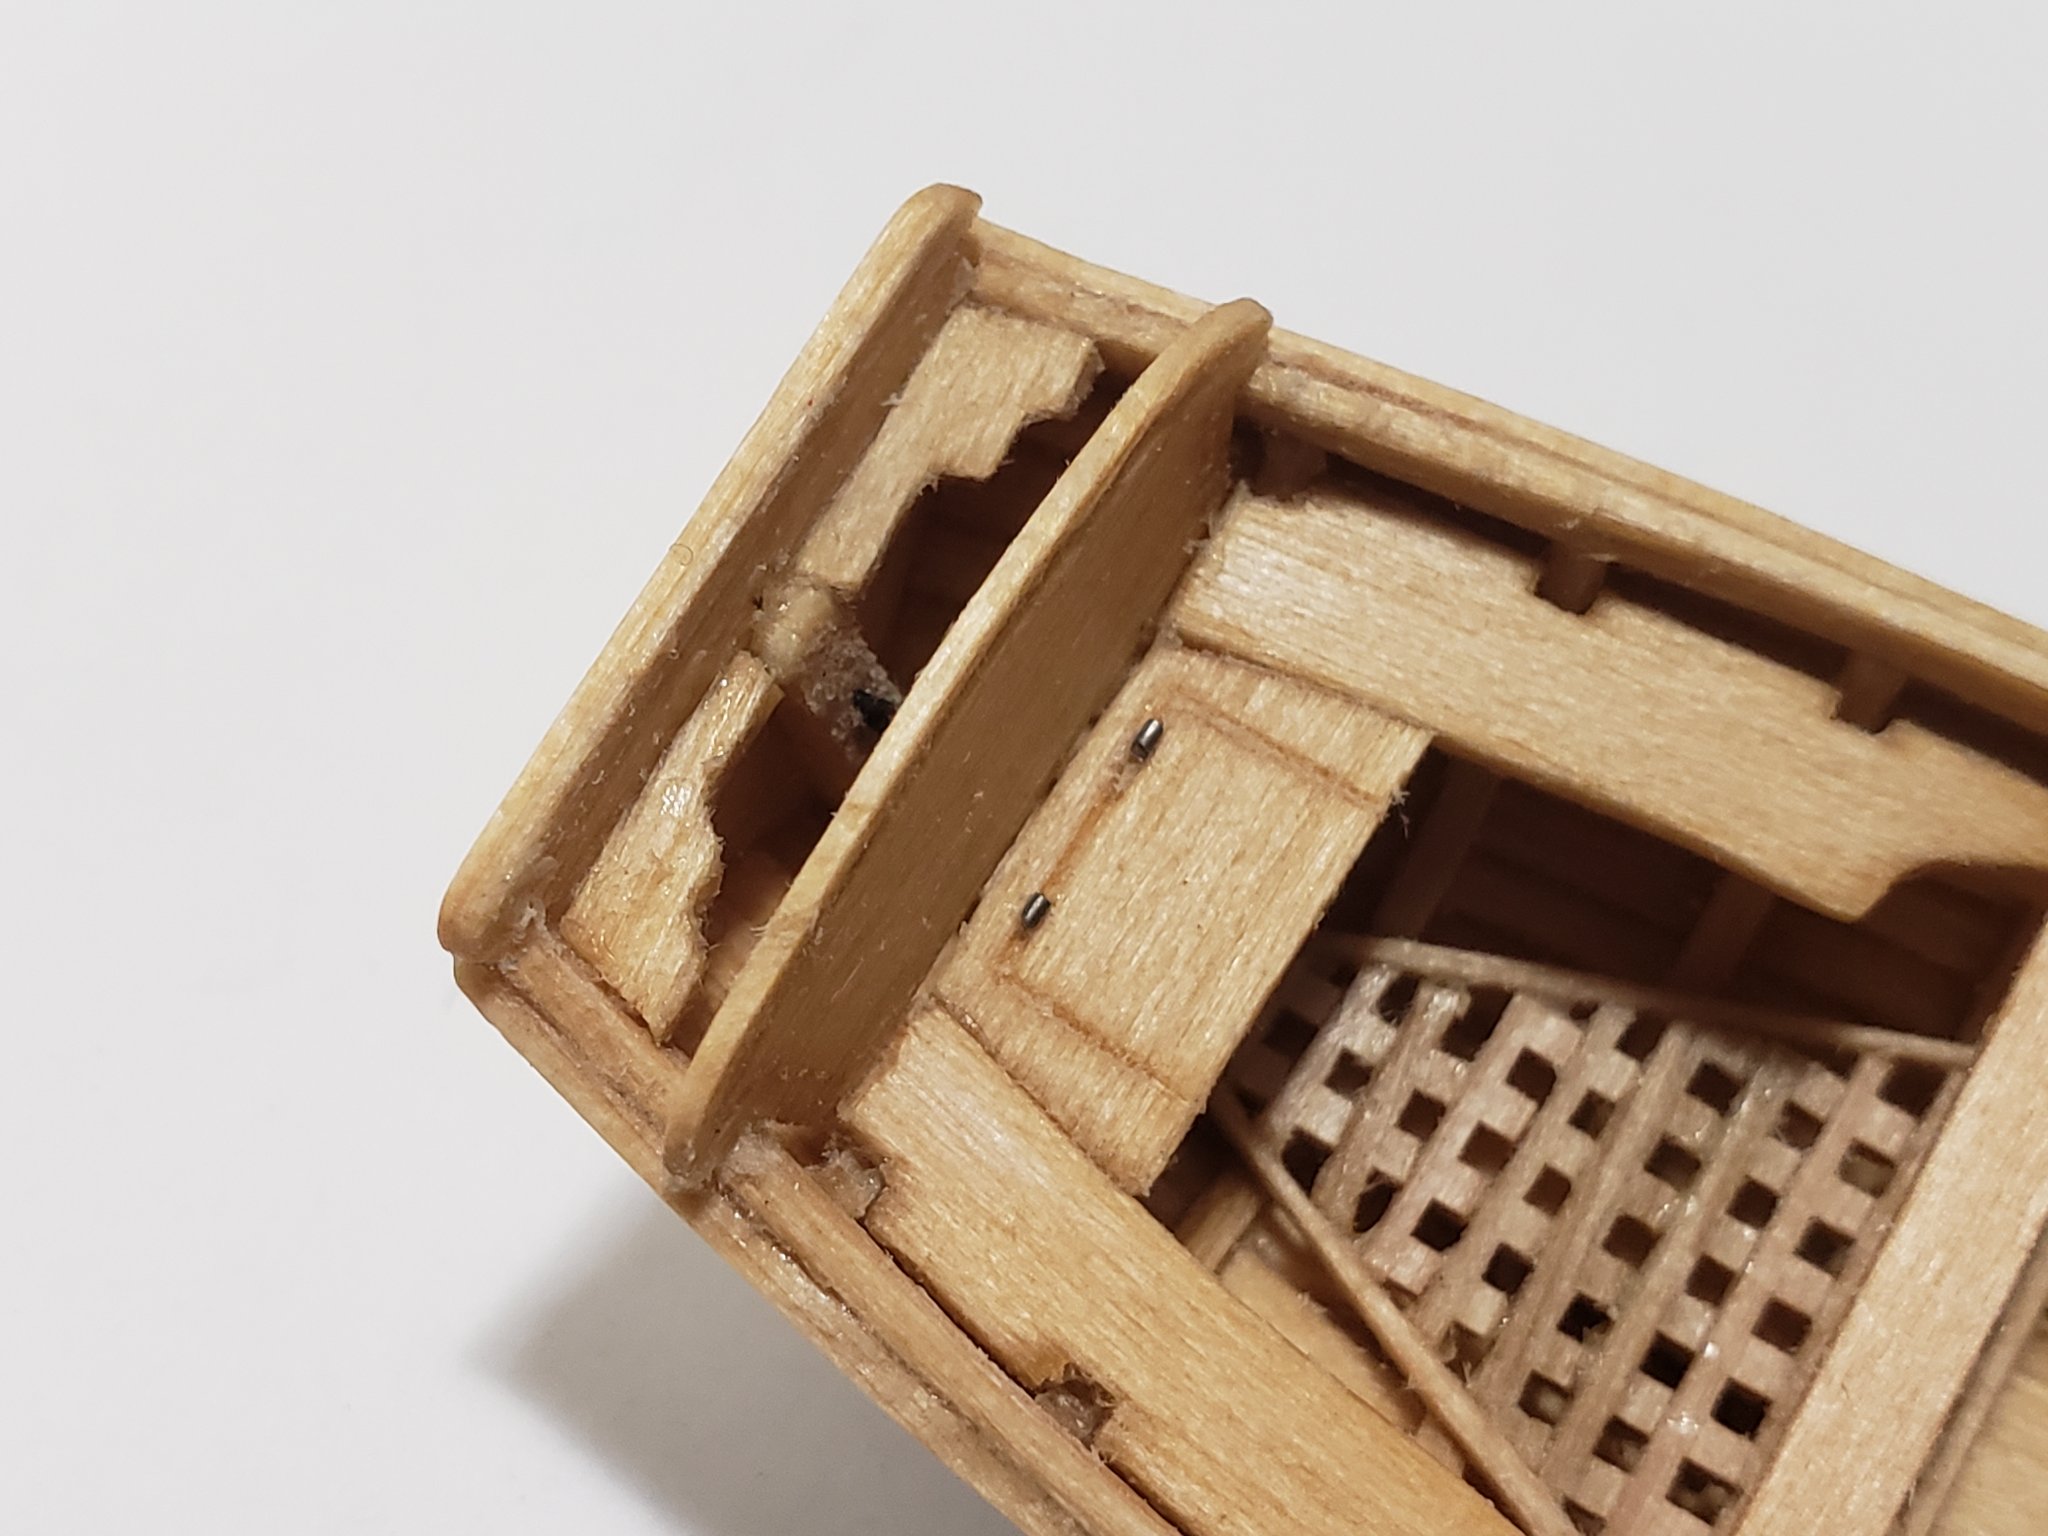
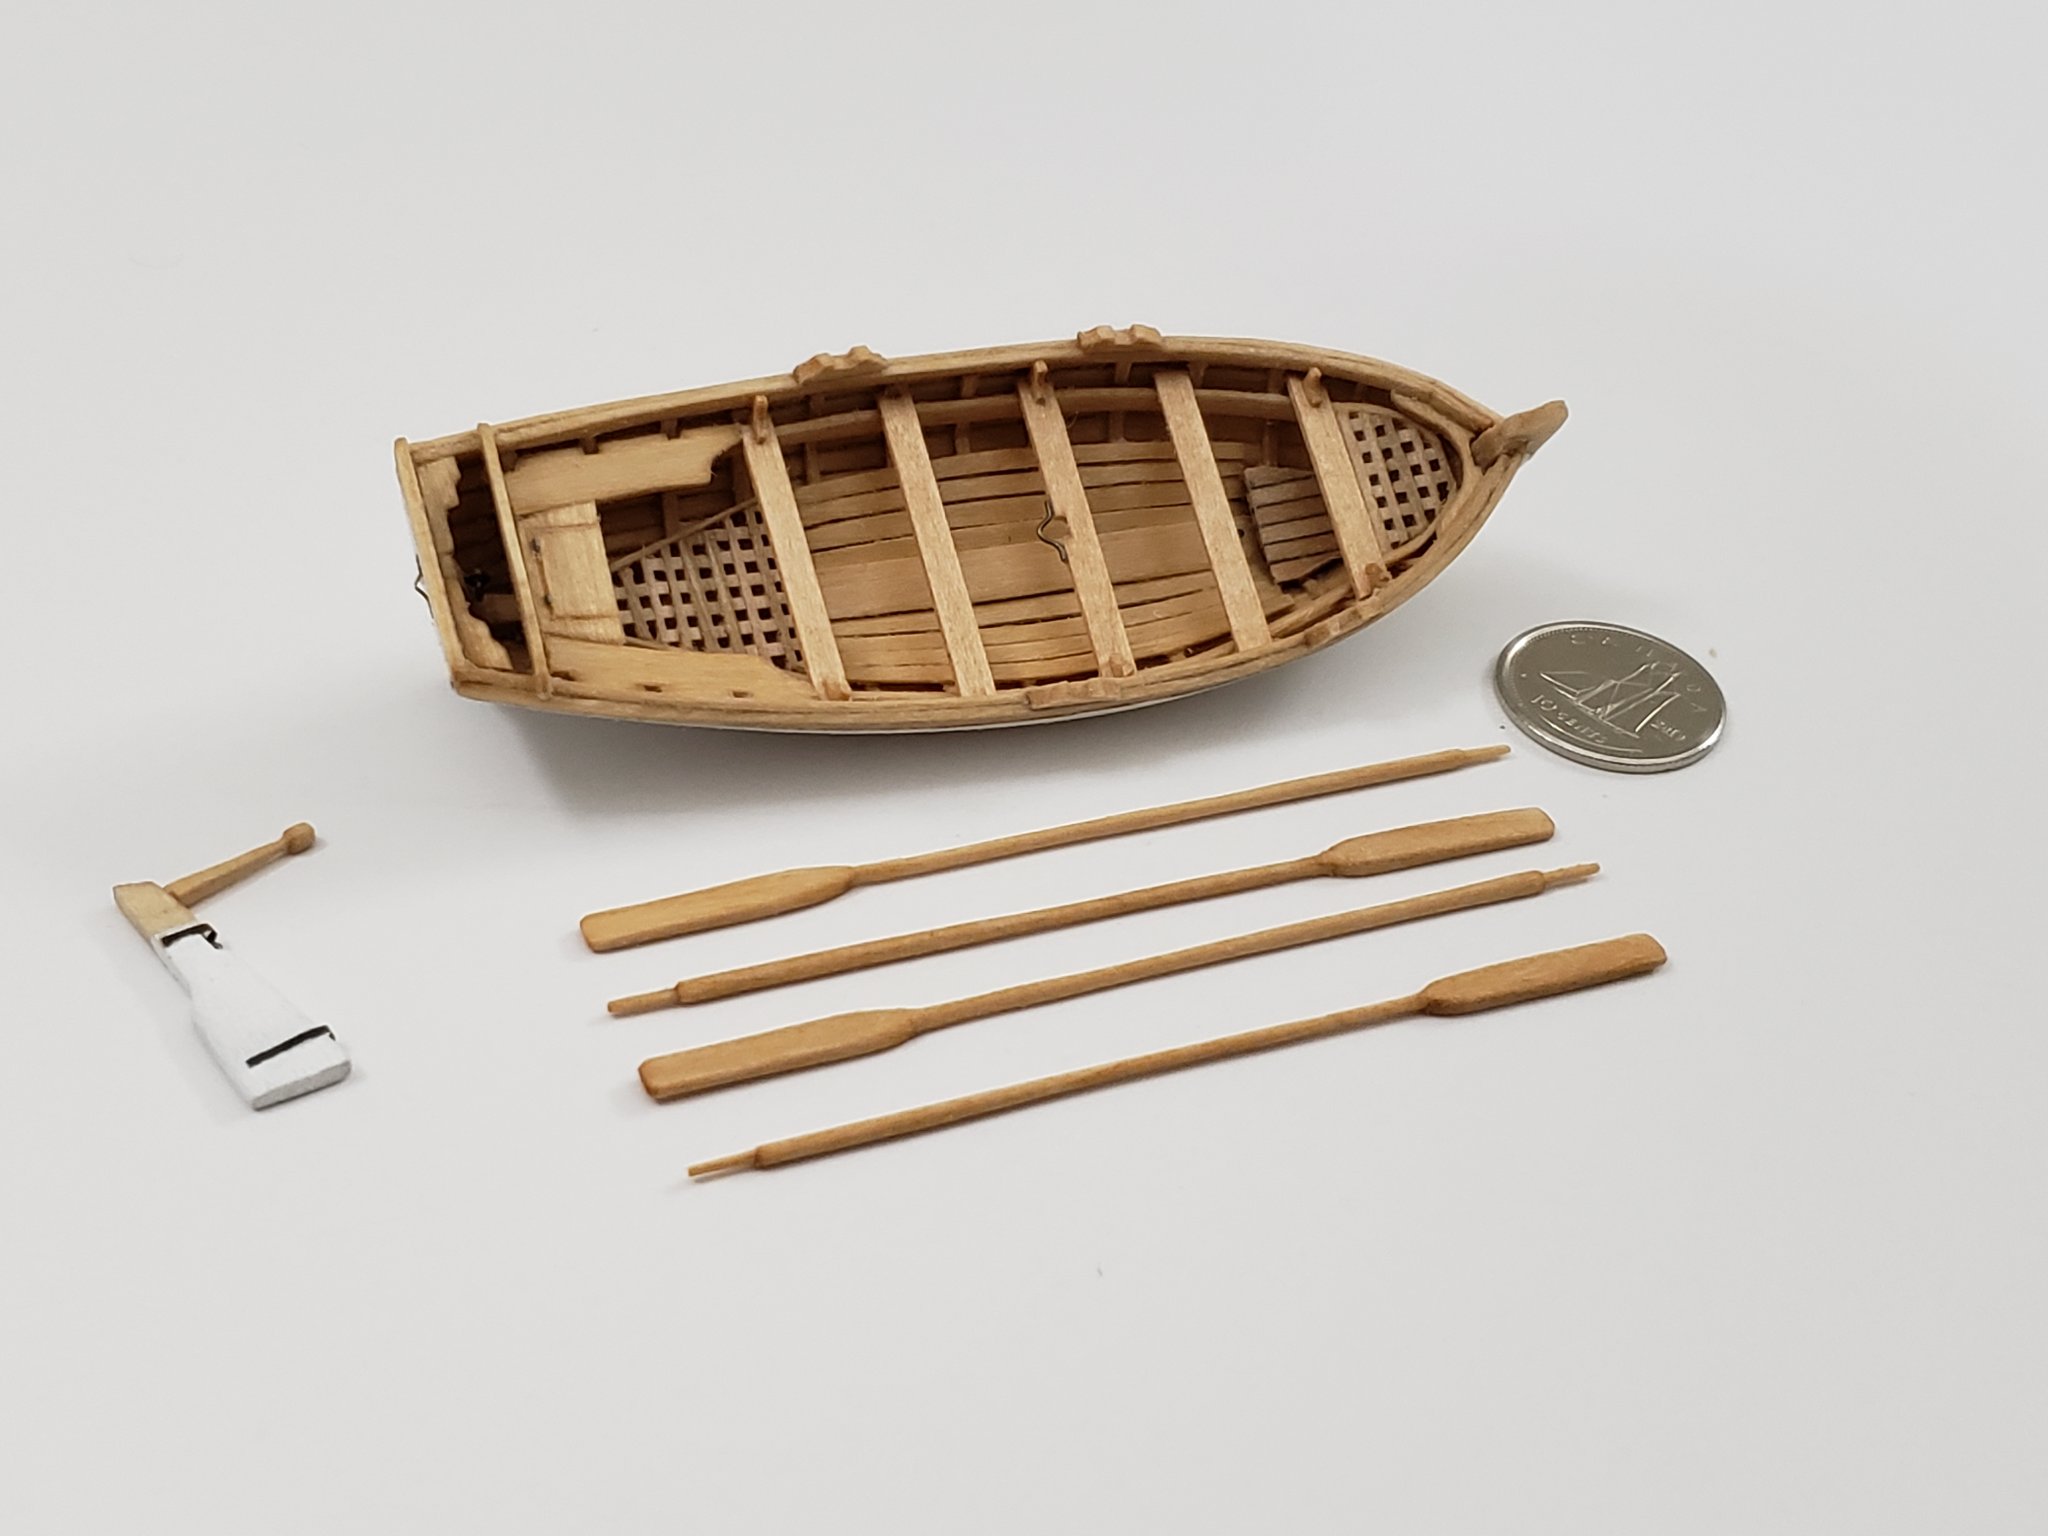
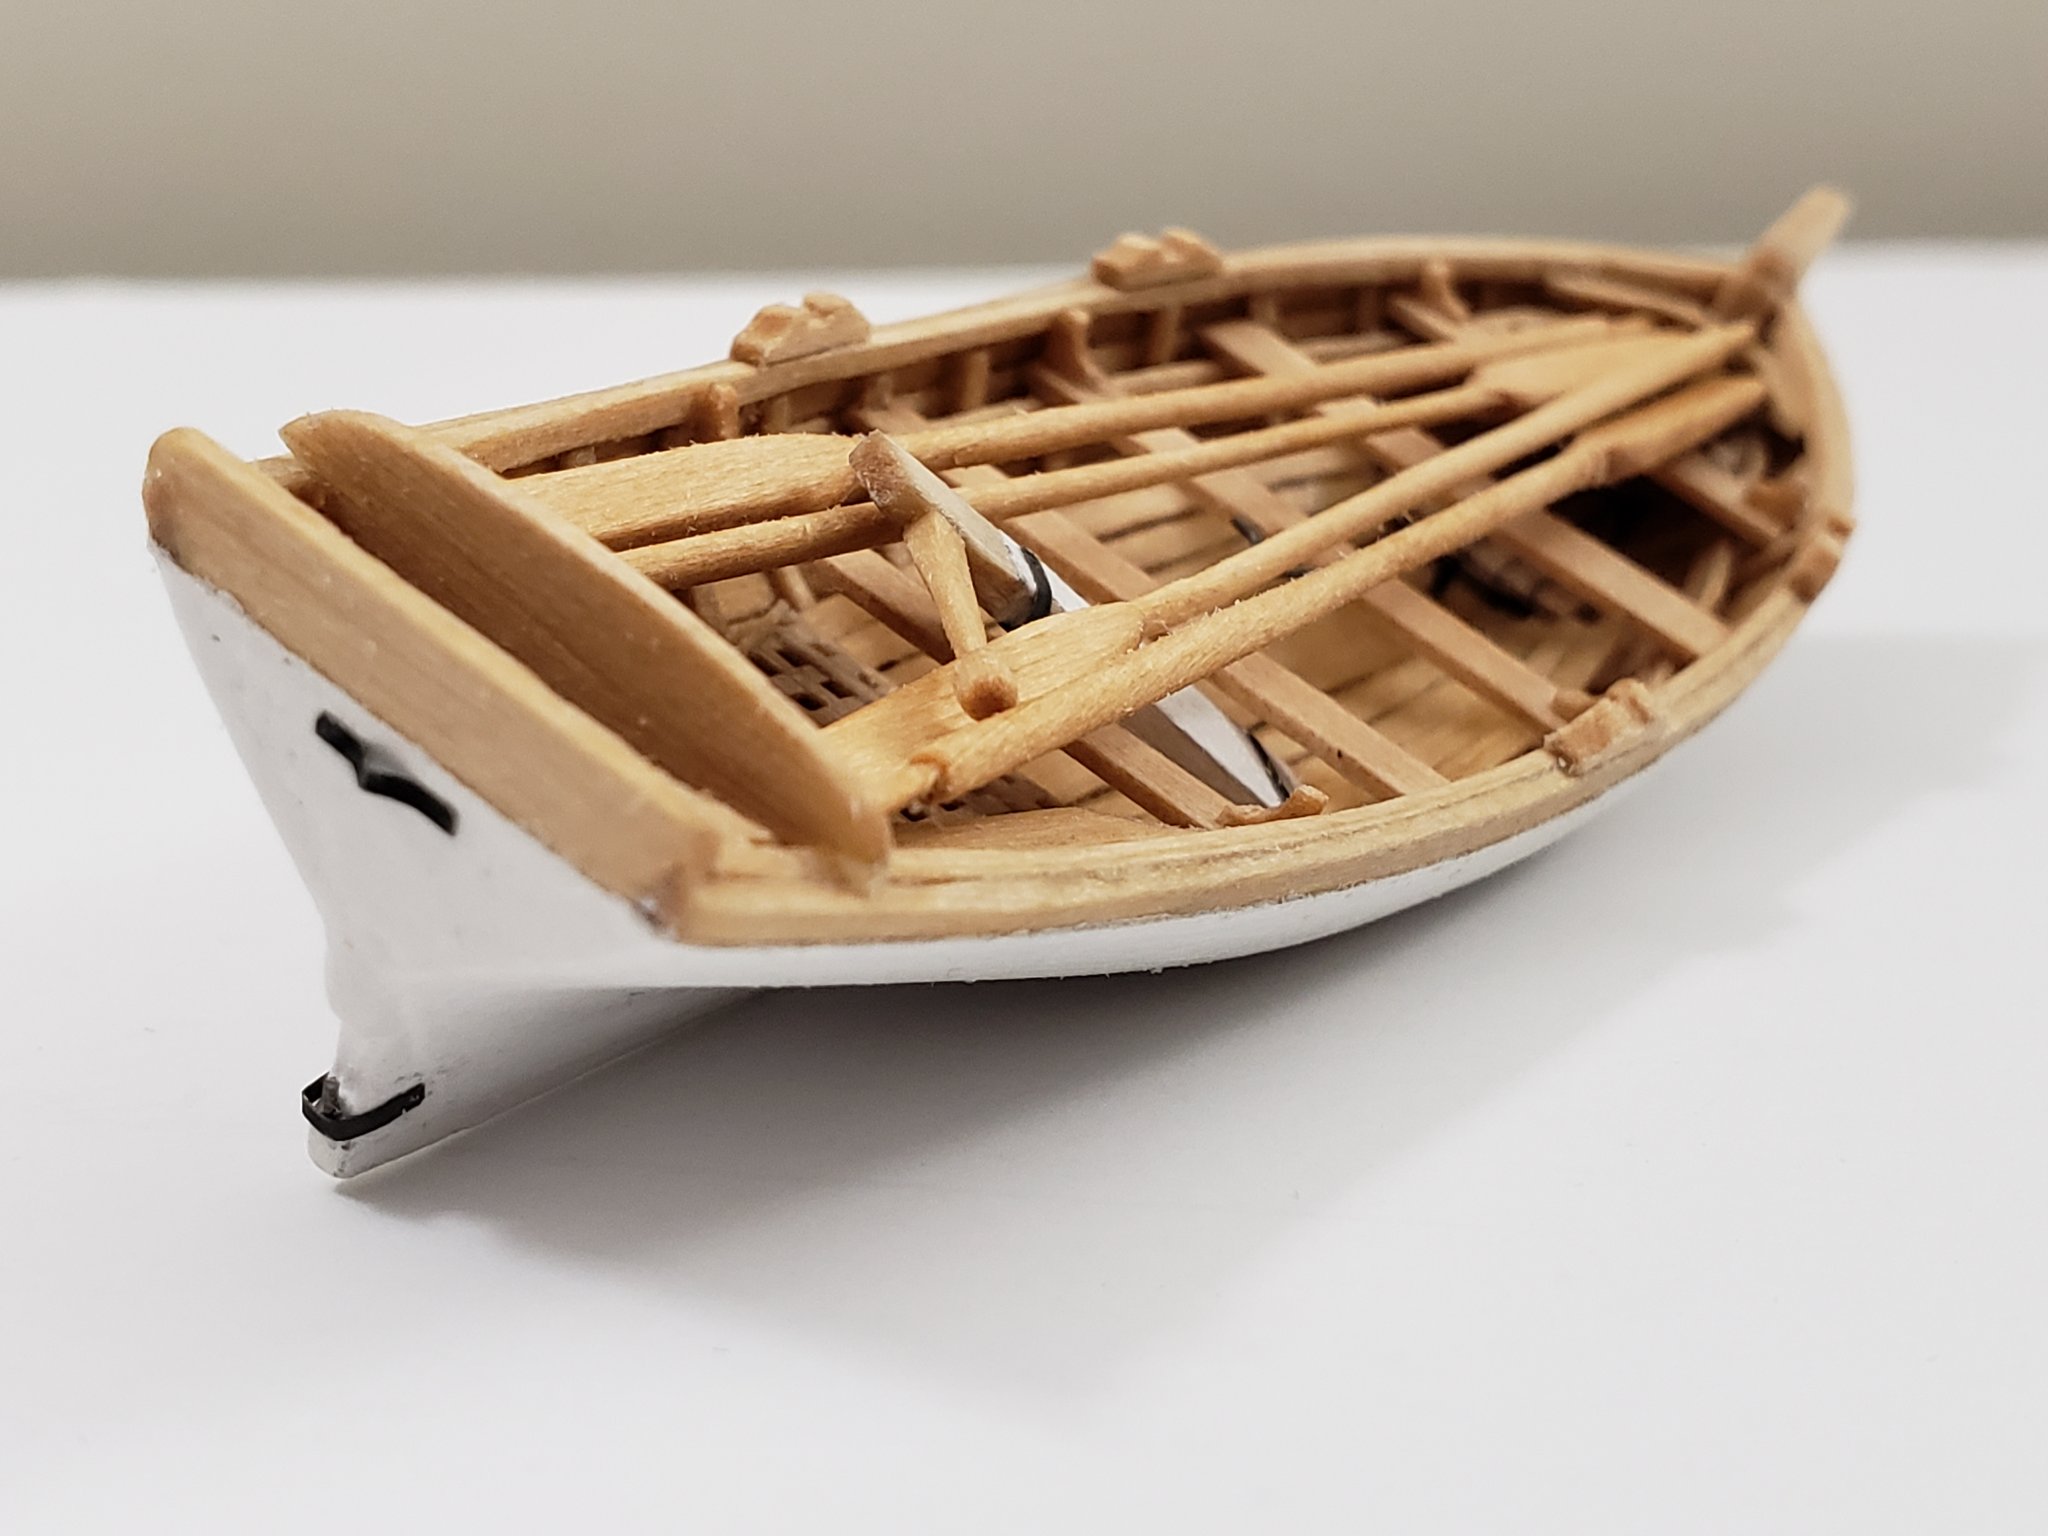
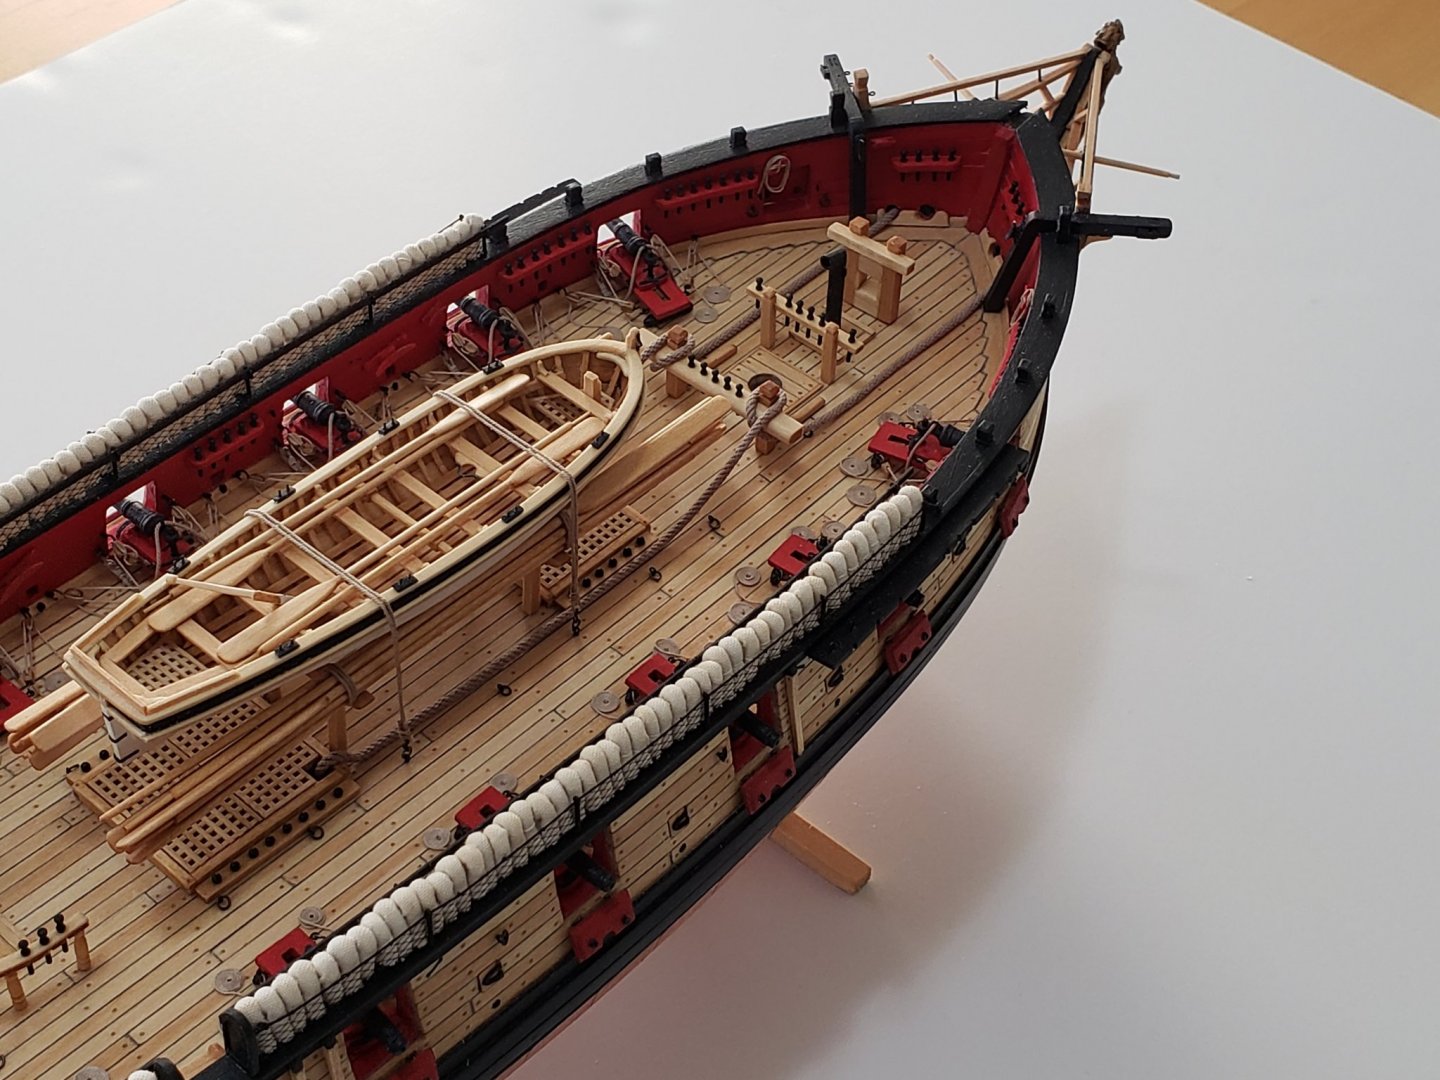
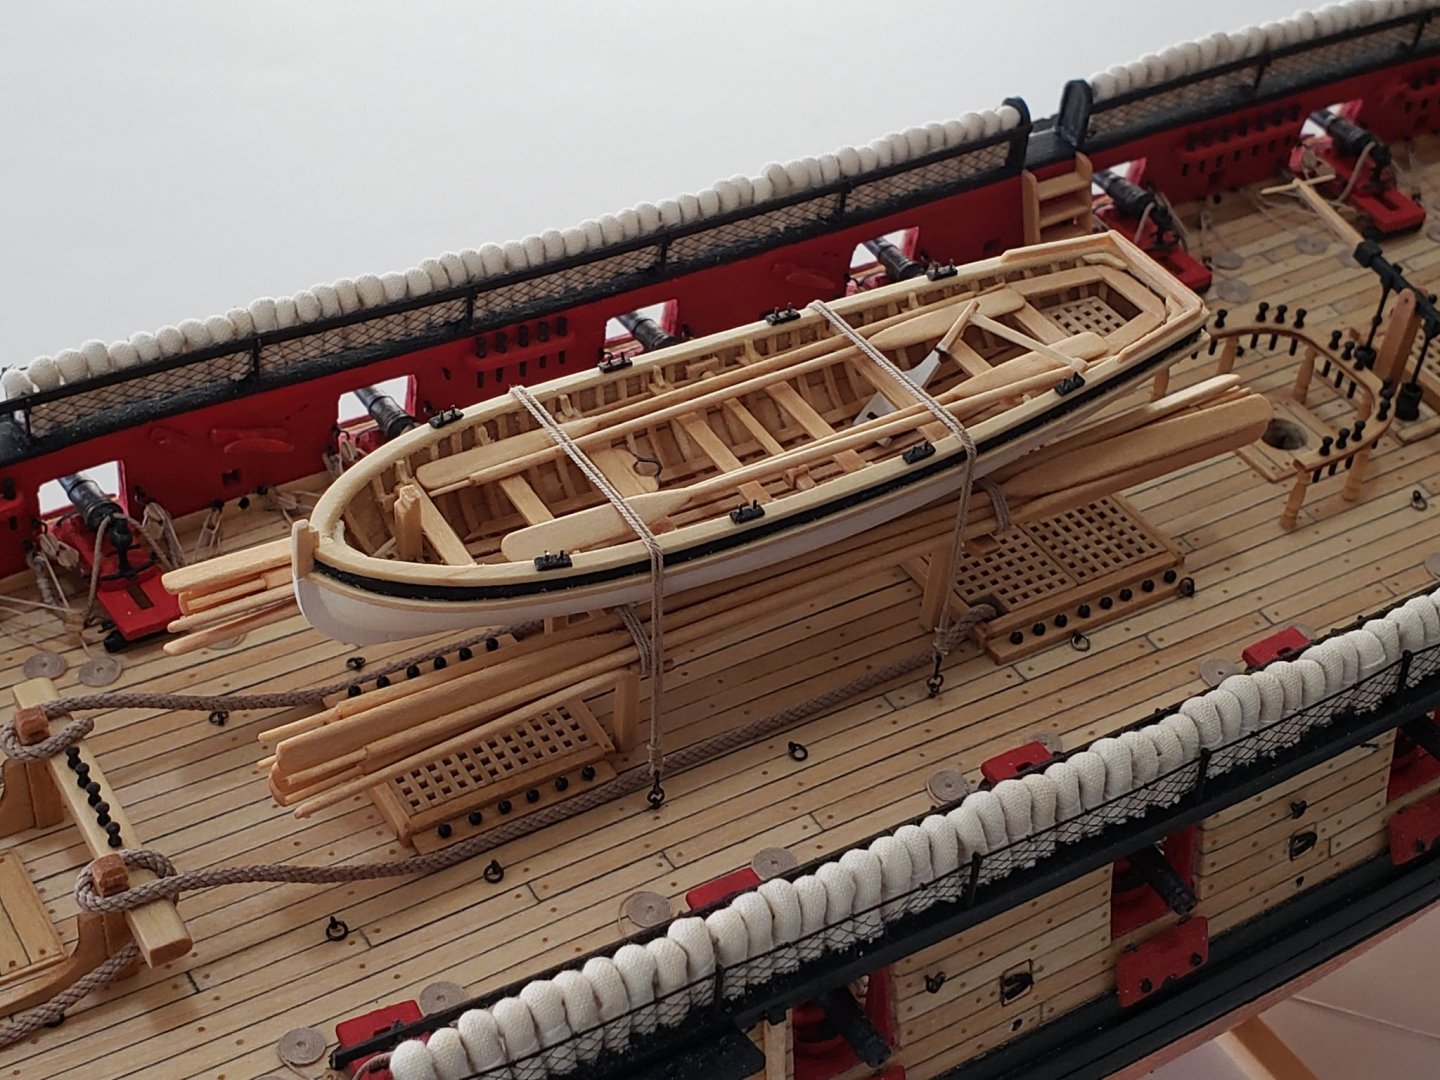
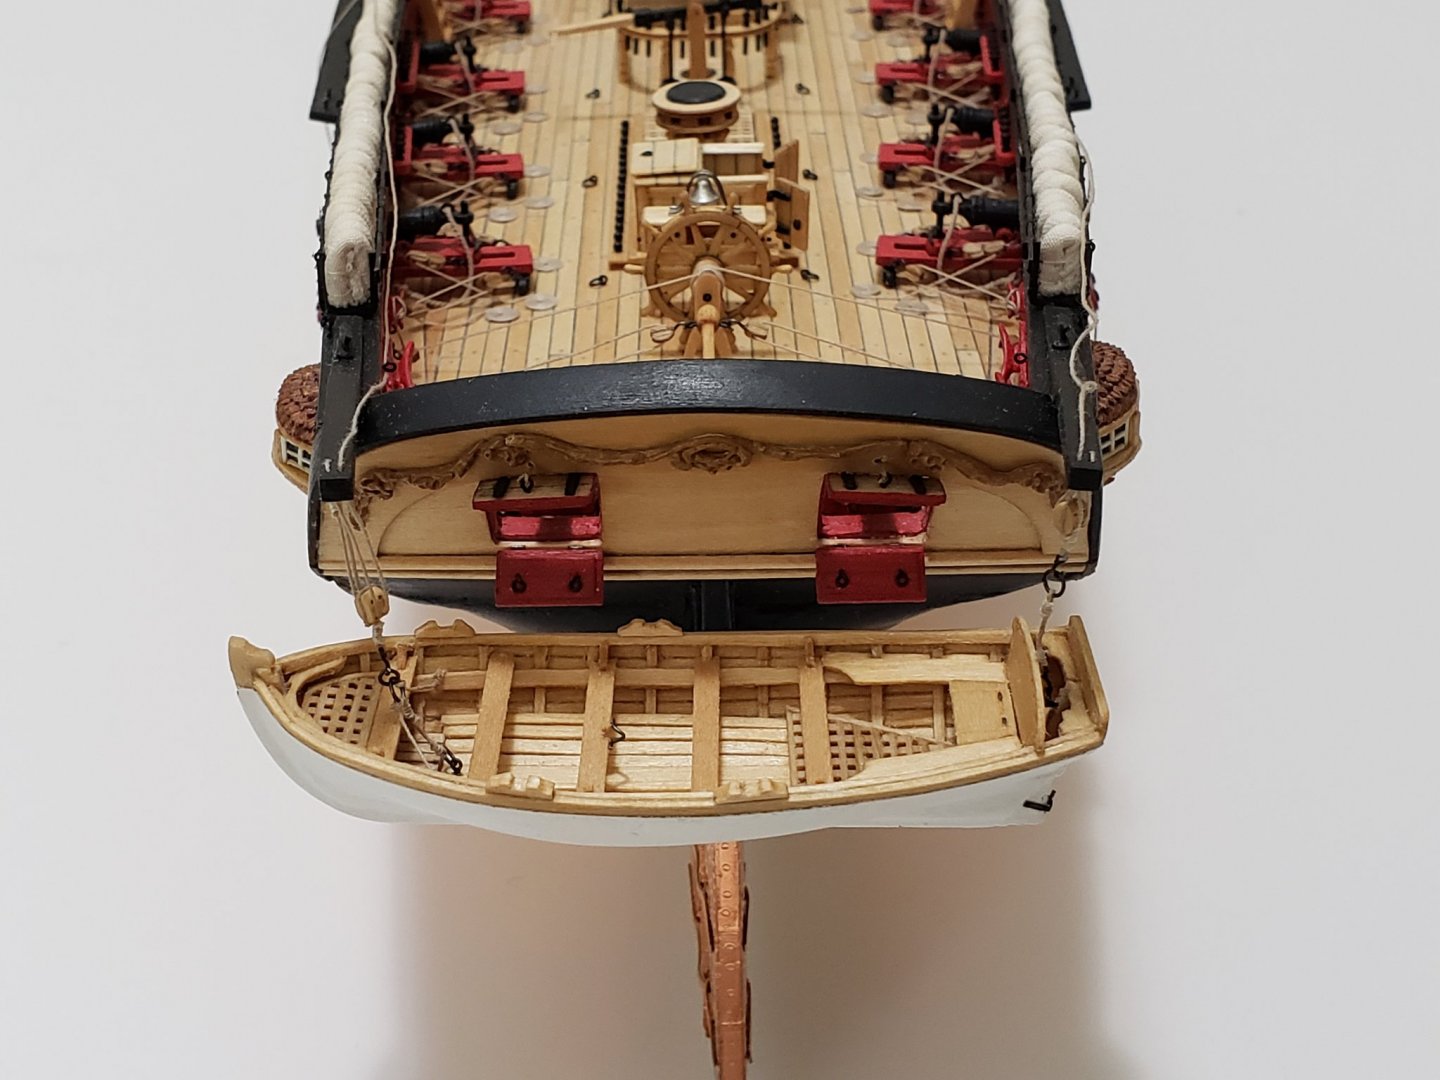
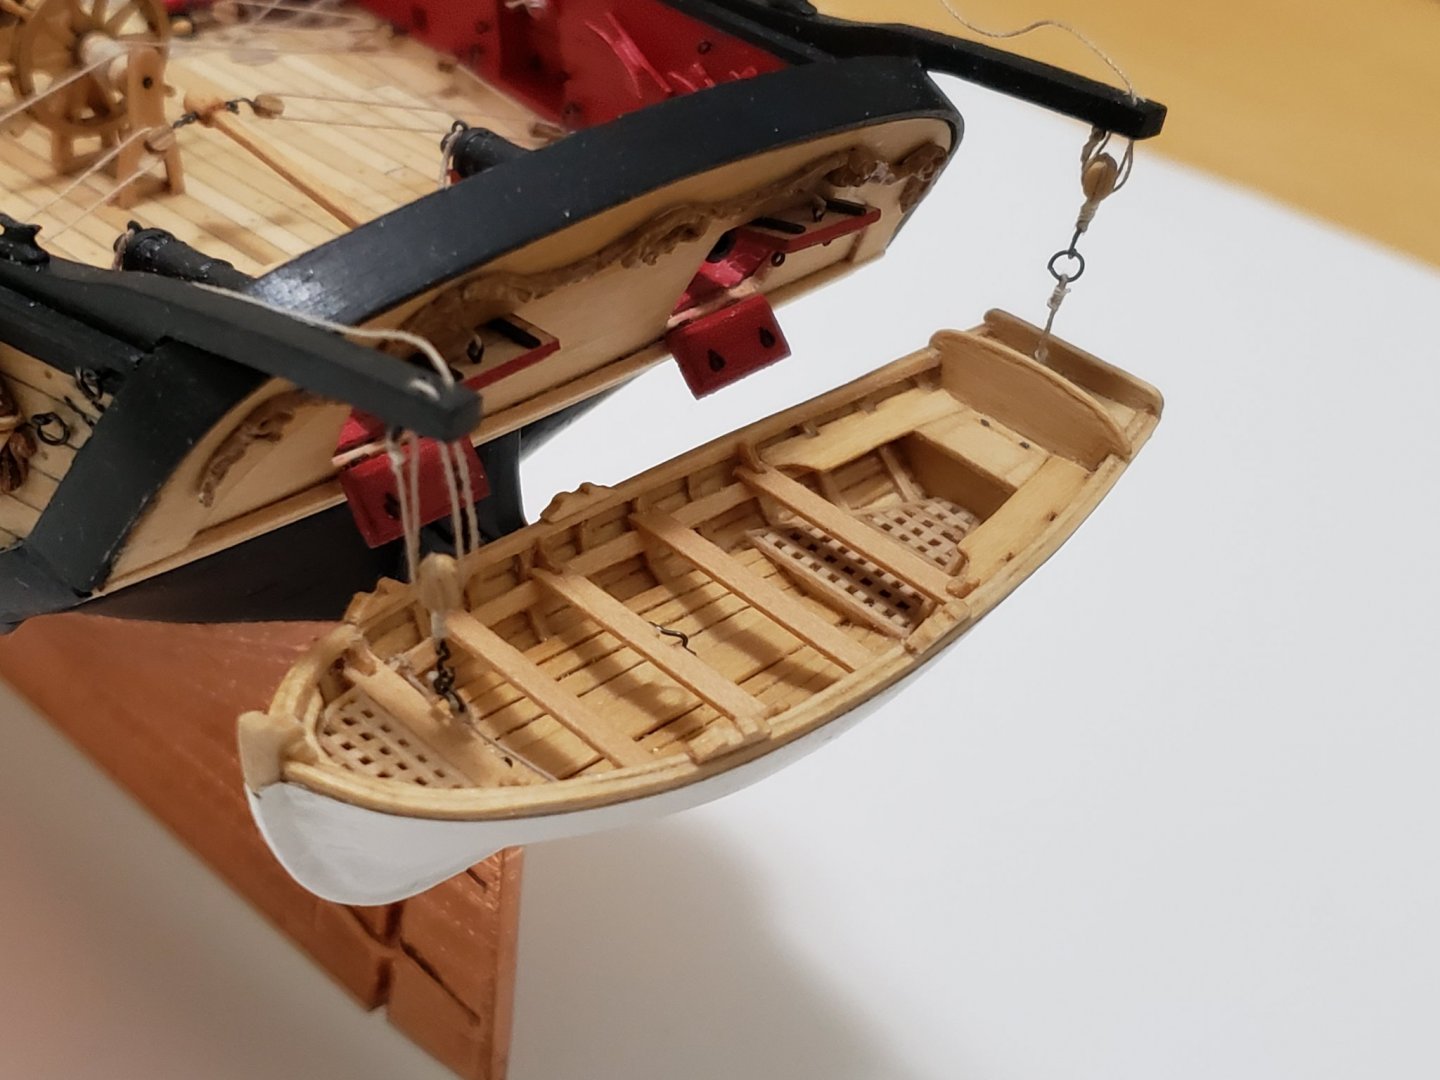
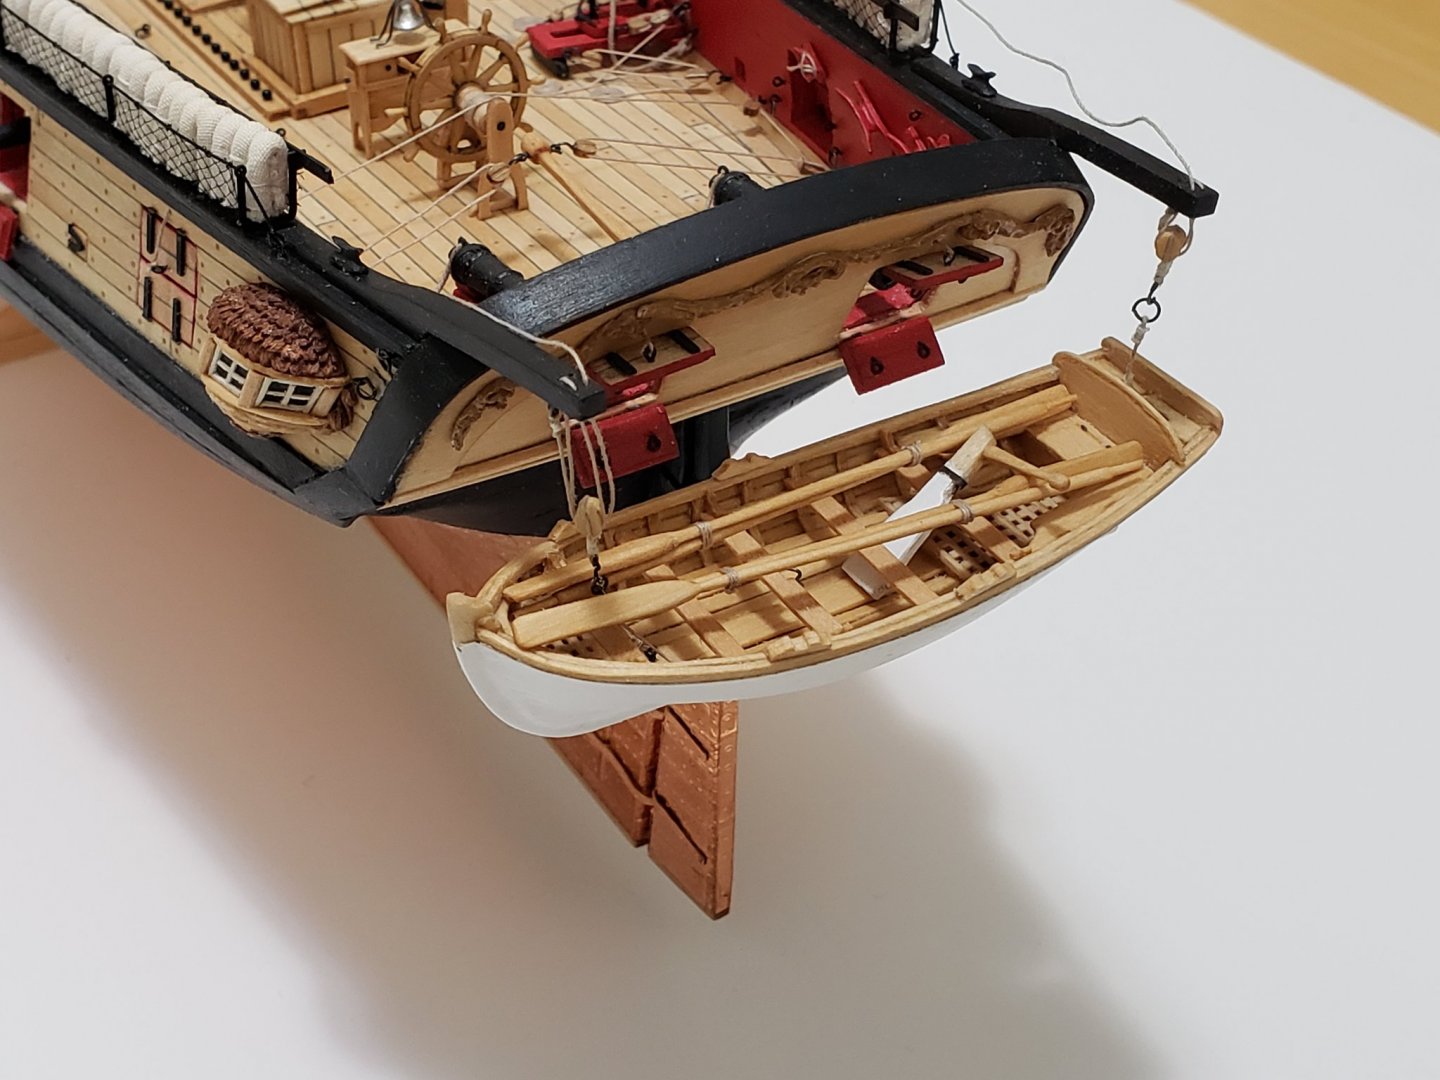
Thanks so much Steven!! Honestly, even now I'm kinda surprised I managed this. Thinking maybe it was just beginner's luck 😅 Anyways, before I close the gun ports and install the pendants, I wanted to see if the boat looked good at the stern. I used this link to help me strop a hook onto a double block. When I first hung the boat on the davits, it was off center by about an inch!! So then after many minutes of fiddling around, I decided to glue the ropes in specific sections of the boat align it better. I think it worked but wanted some opinions on it.. Here are the pics of the boat temporarily in place: Here are some pics with the oars and rudder: Also have some questions for you guys and gals: 1) the boat still looks a bit off center. do you think it looks ok or more fiddling around needed? 2) Is it obvious that I glued the rope on the wood for alignment? Or is it hidden with the oars and rudder in place? 3) at this position, is it ok for the gun ports to remain open? I like the look of them open, but also want to have an accurate representation 😄 Any comments or advice would also be very much appreciated!!


- 950 replies
-
- 12
-
-
- syren
- model shipways
- (and 1 more)
-
The carvings look really good, Robin. The leaf veins look very realistic. This is just my opinion, but would you be able to carve a second set that gradually gets smaller when approaching the sides (like towards the end of carvings)? Would be nice to see comparisons if it is possible! Do you plan on having the leaf pattern on all the droplets/leaves? That may change the perspective of size as well Also, I noticed the Master Korabel boat in the background. She looks very nice 🙂 And wishing you a Happy New Year!
-
Wow I can't wait to see you tackle the Young America. I wish to also build that beautiful ship one day
-
I had to thin the strip down for it to bend without cracks. It also looked more in scale with it thinned down.
- 436 replies
-
- 1
-
-
- Syren
- Model Shipways
- (and 1 more)
-
The planking looks so nice! It's breathtaking!!
-
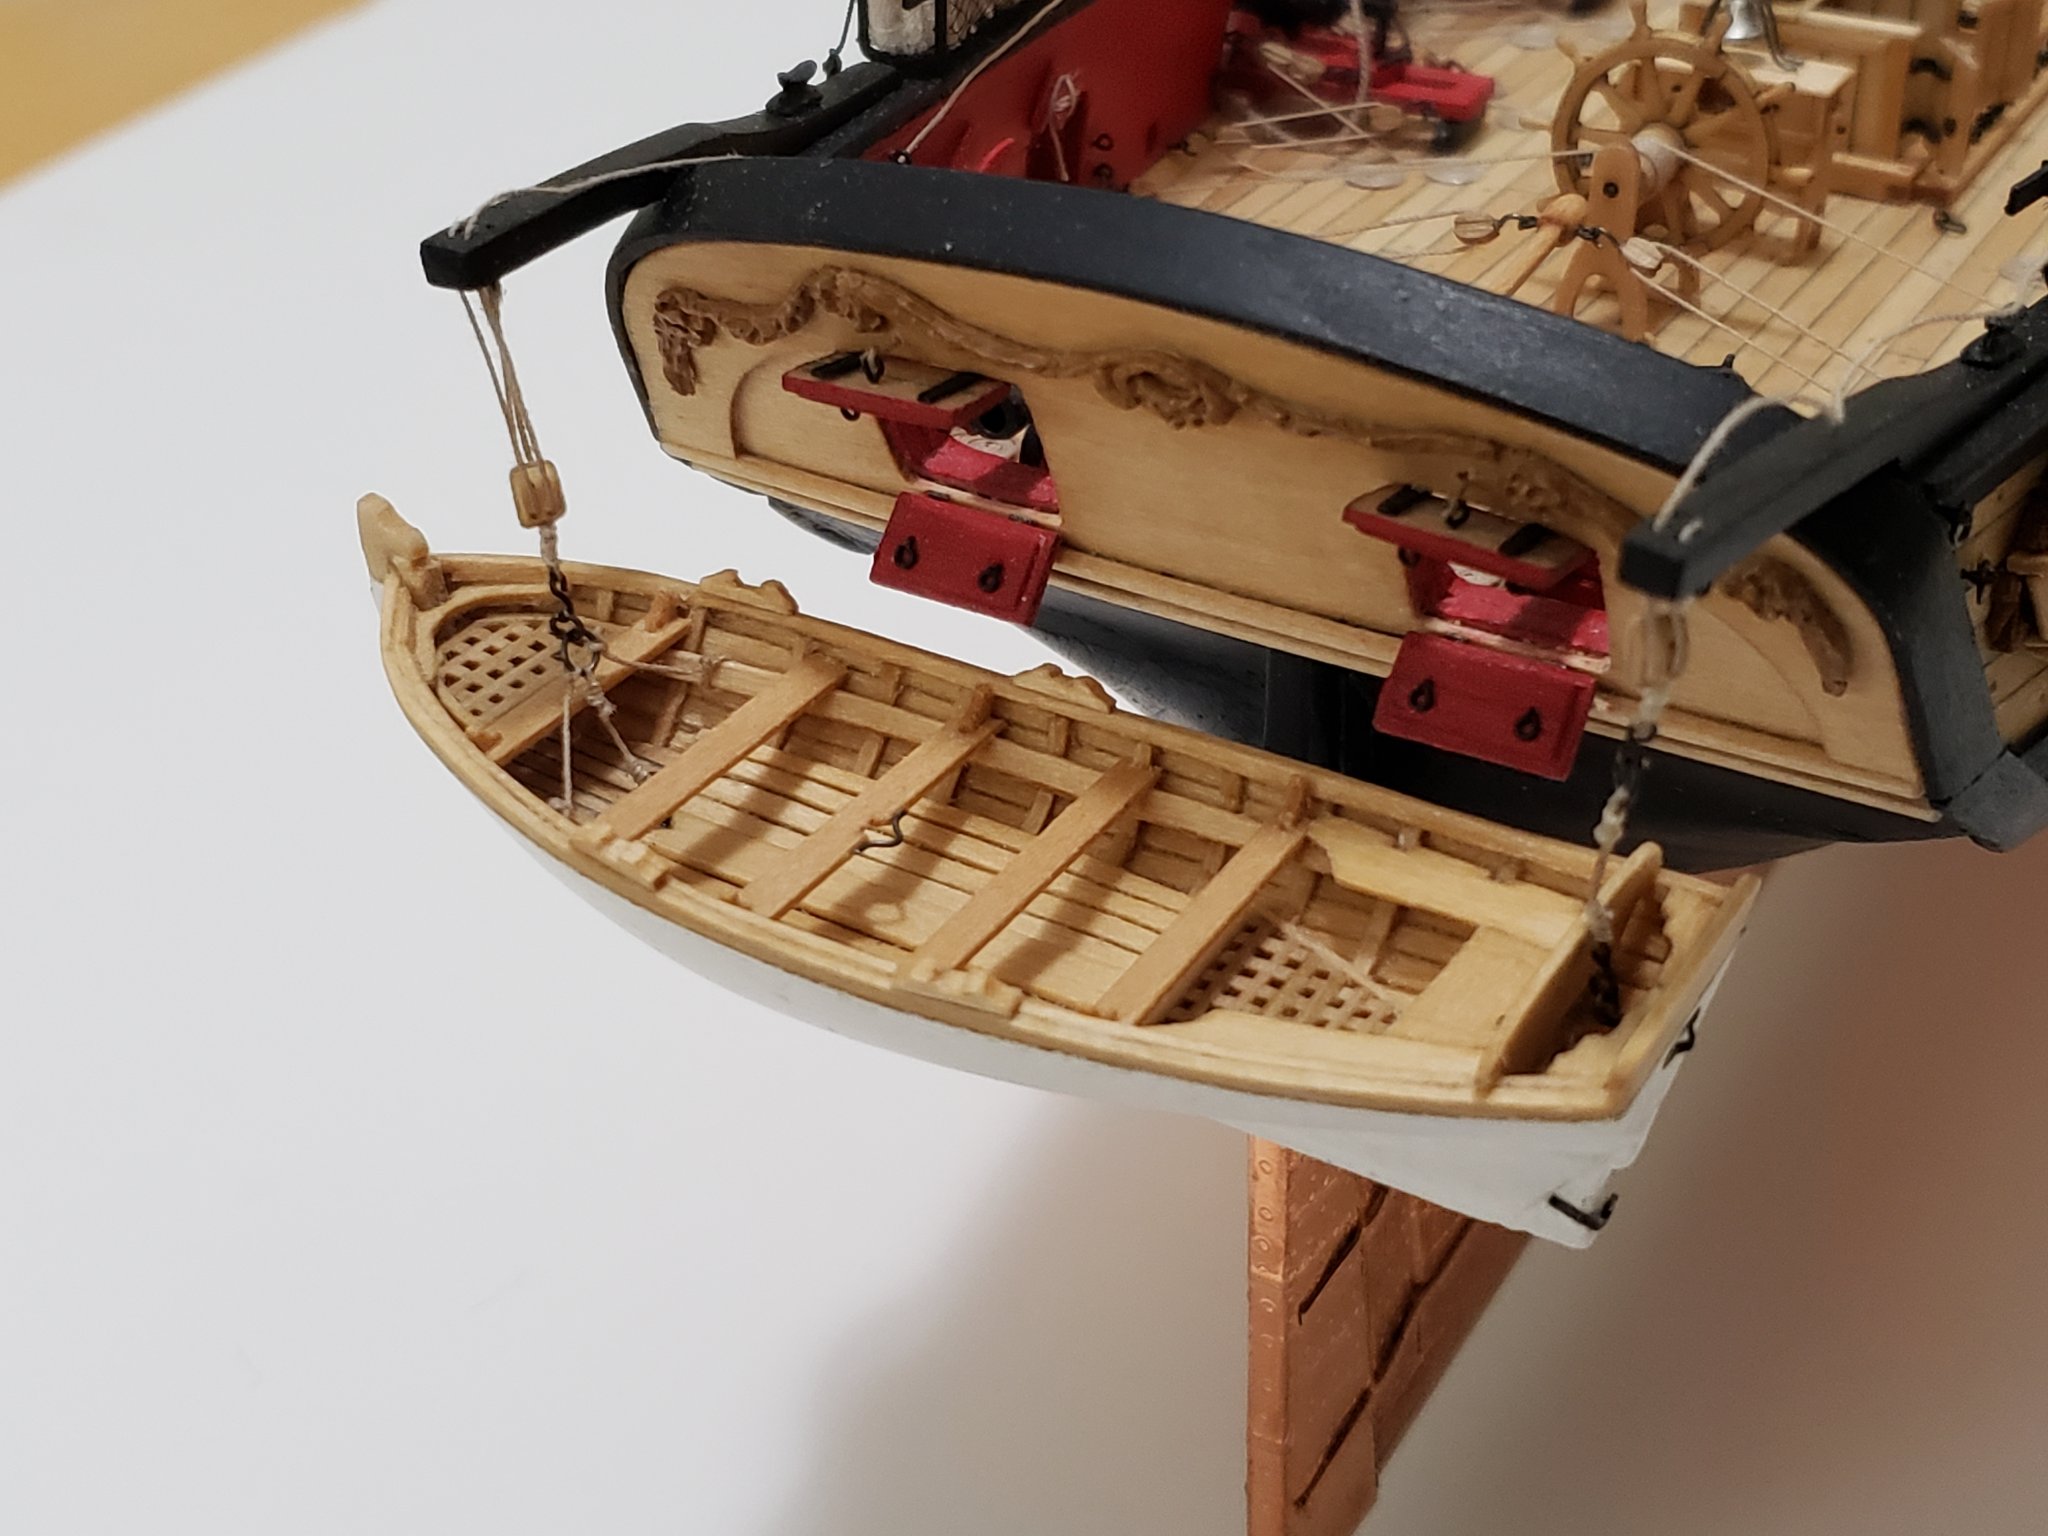
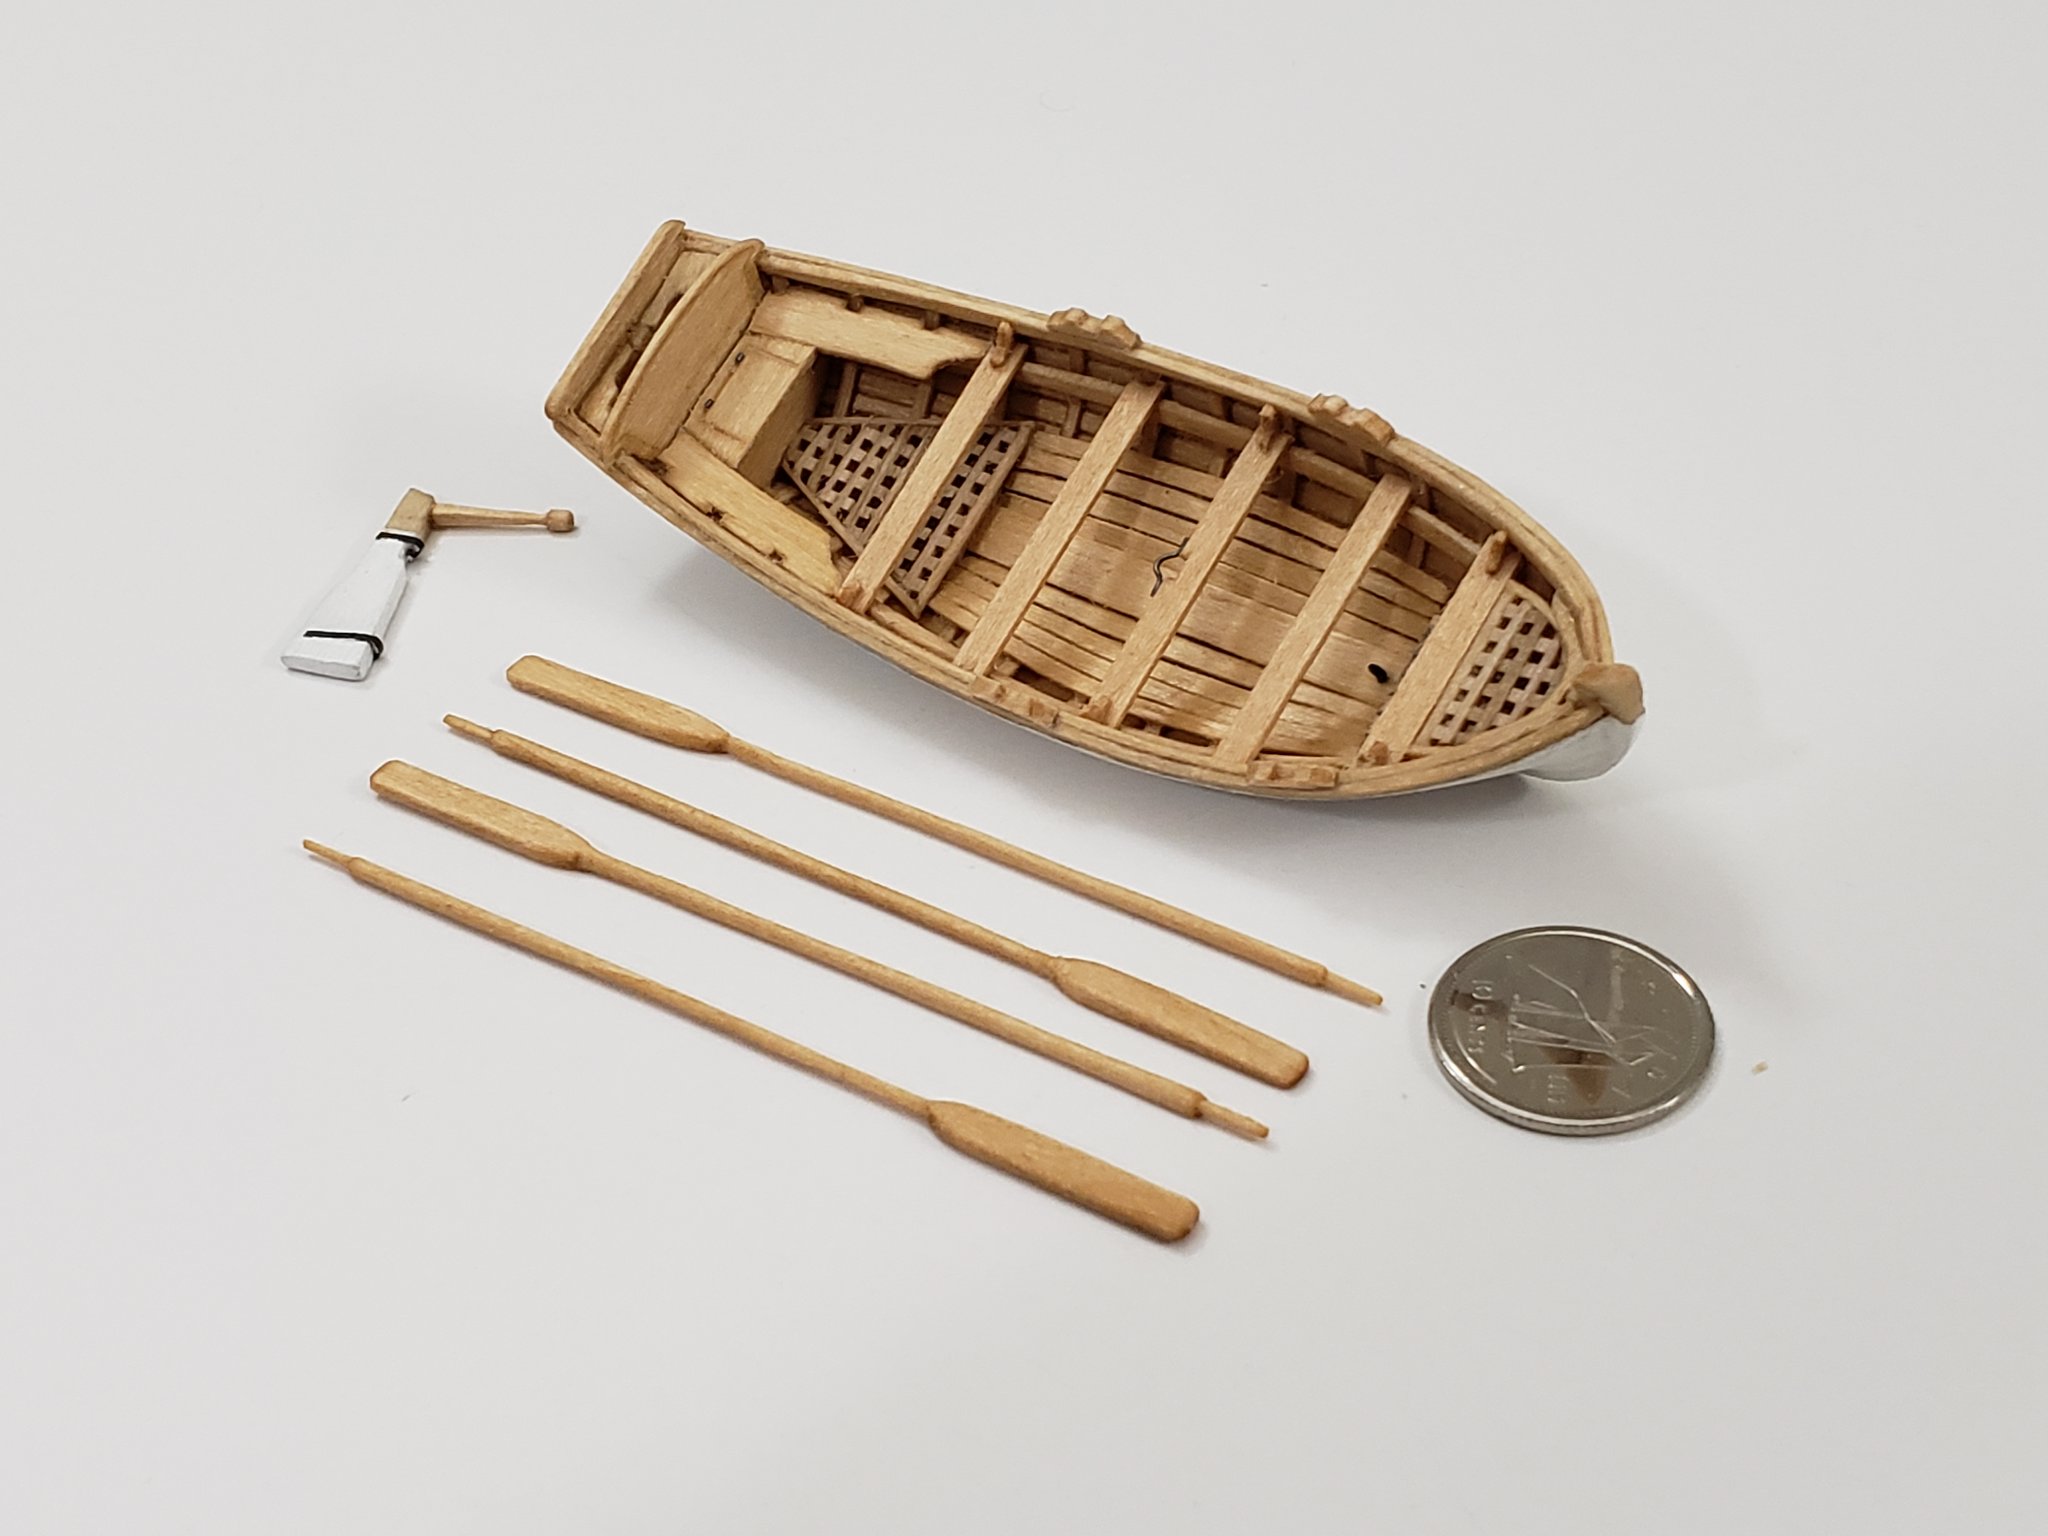
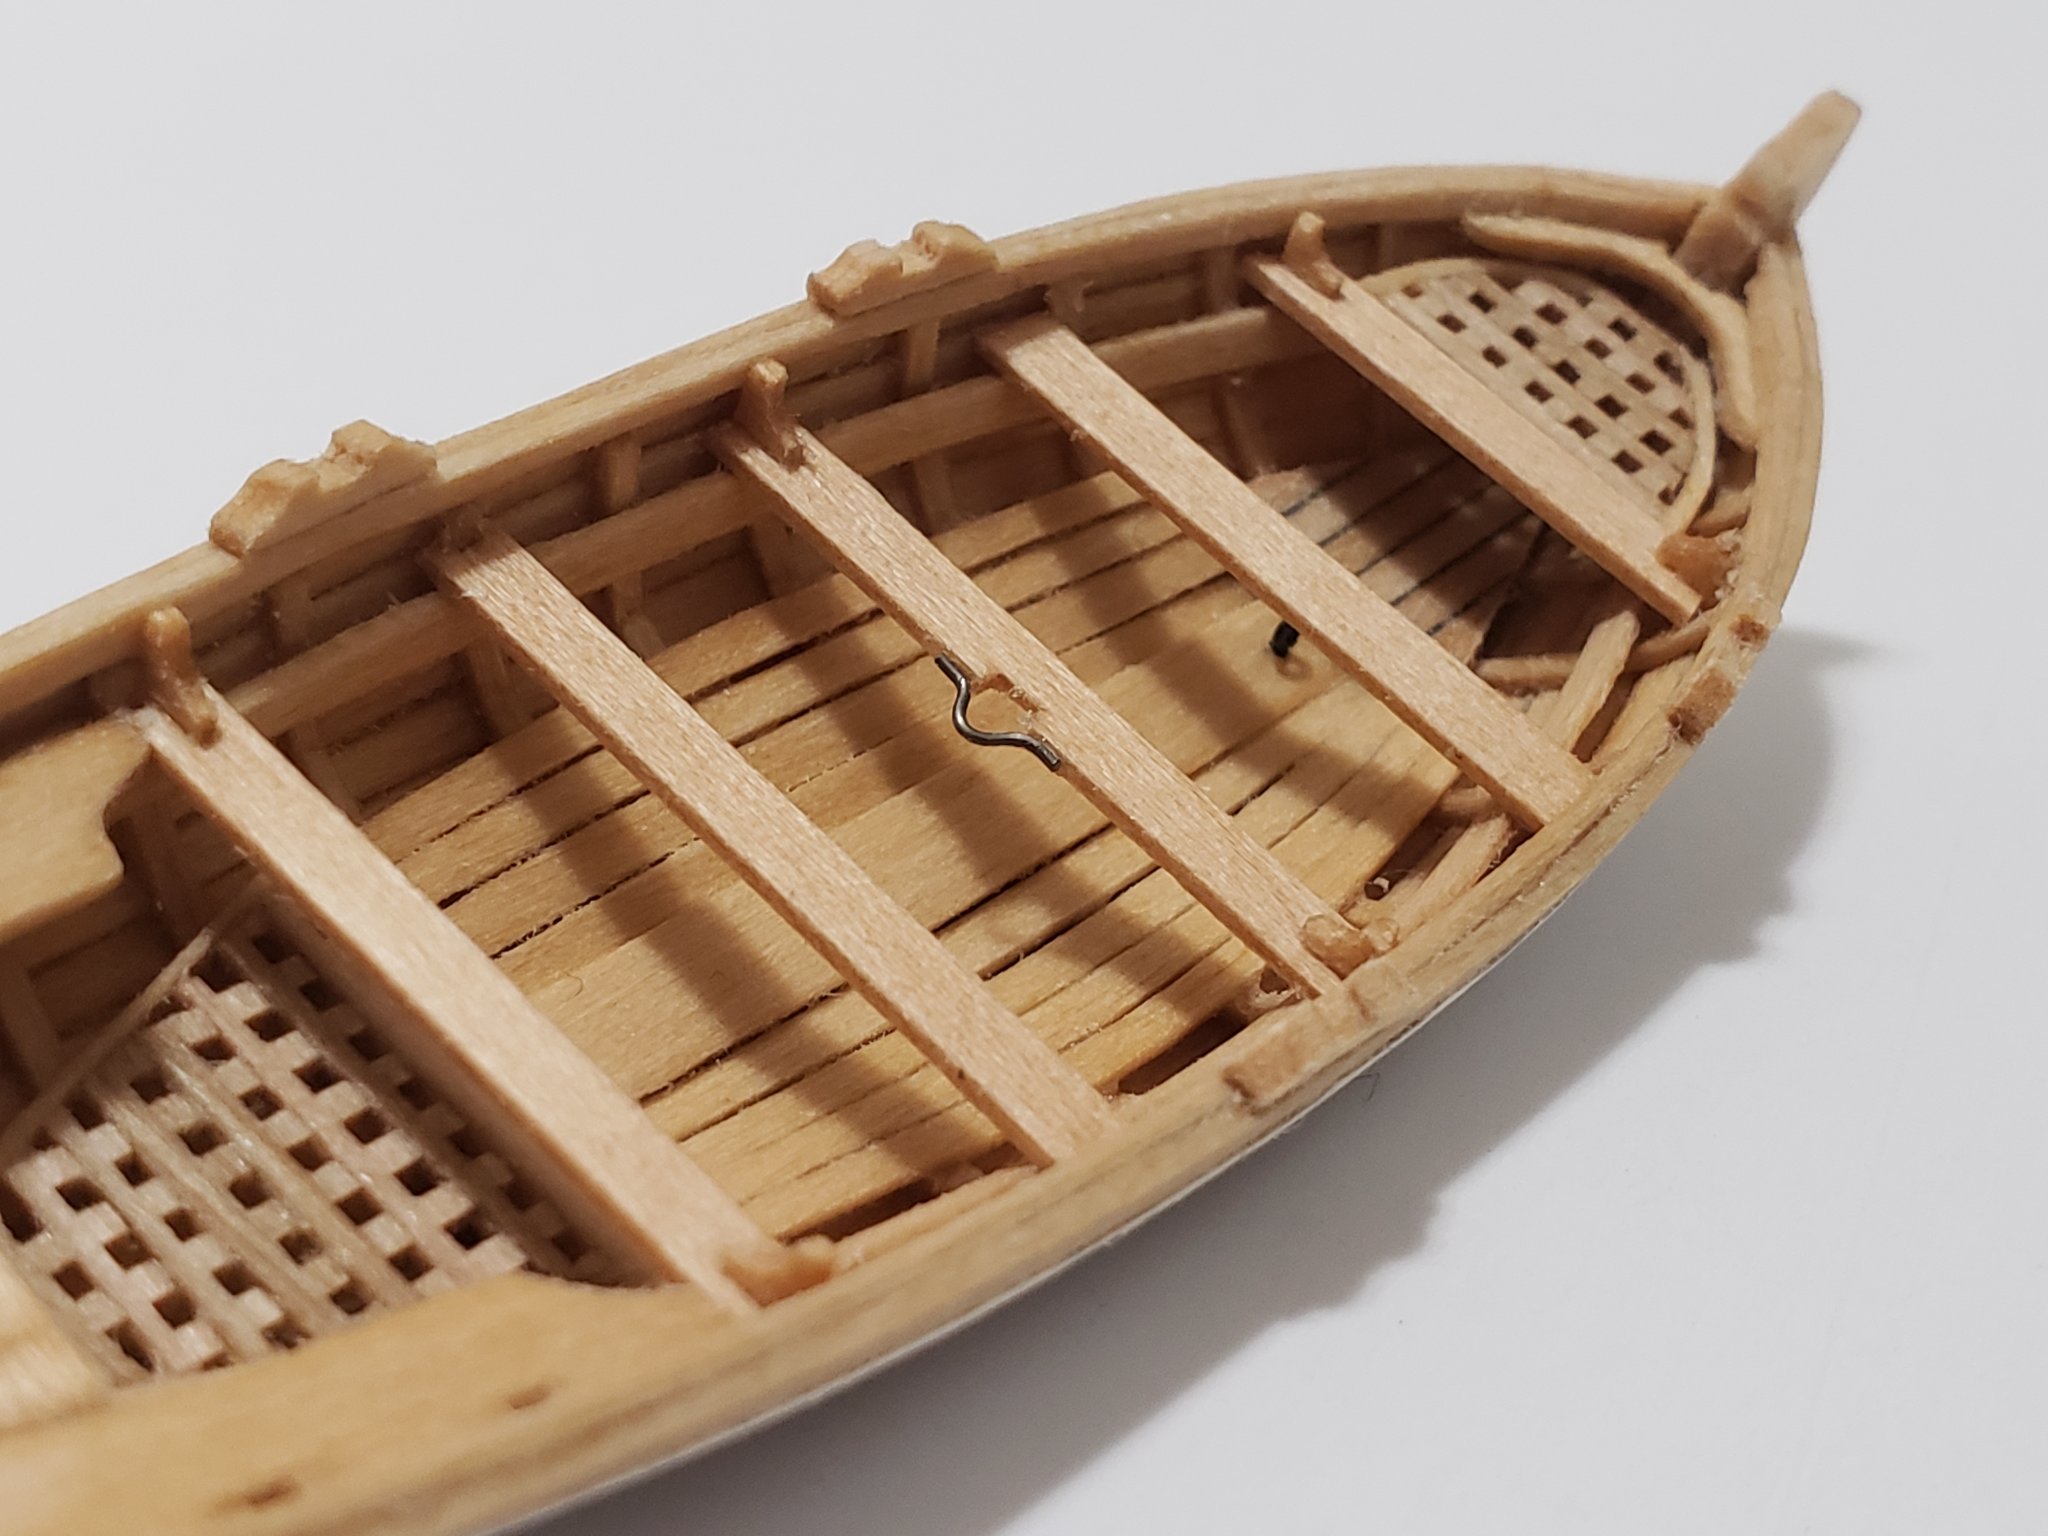
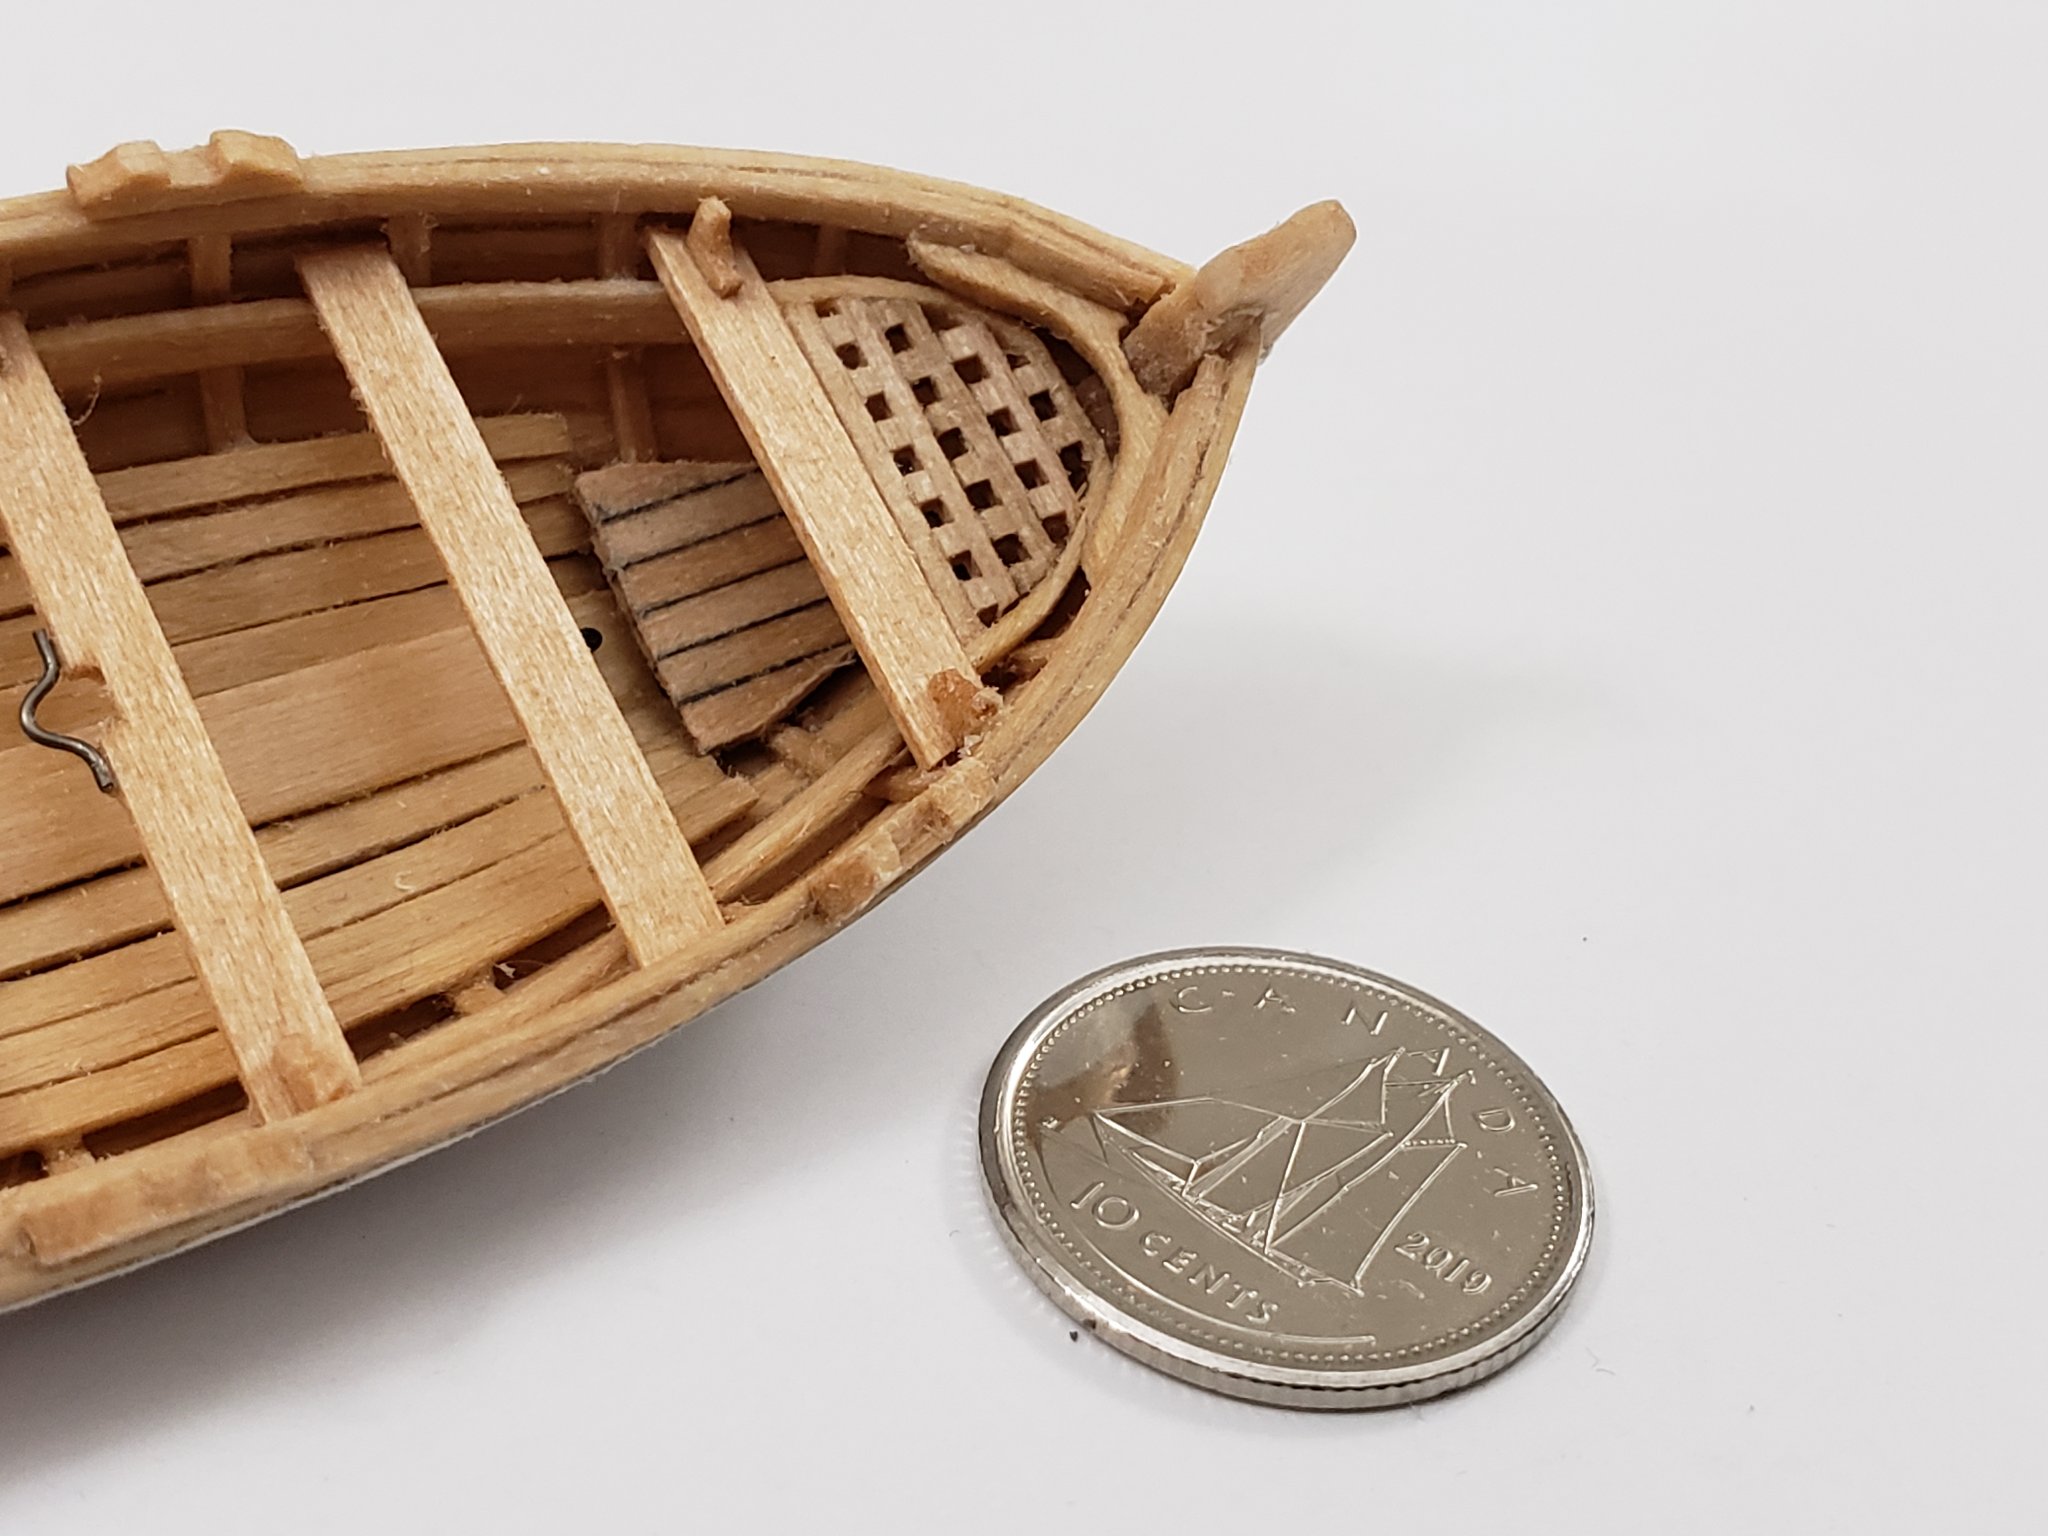
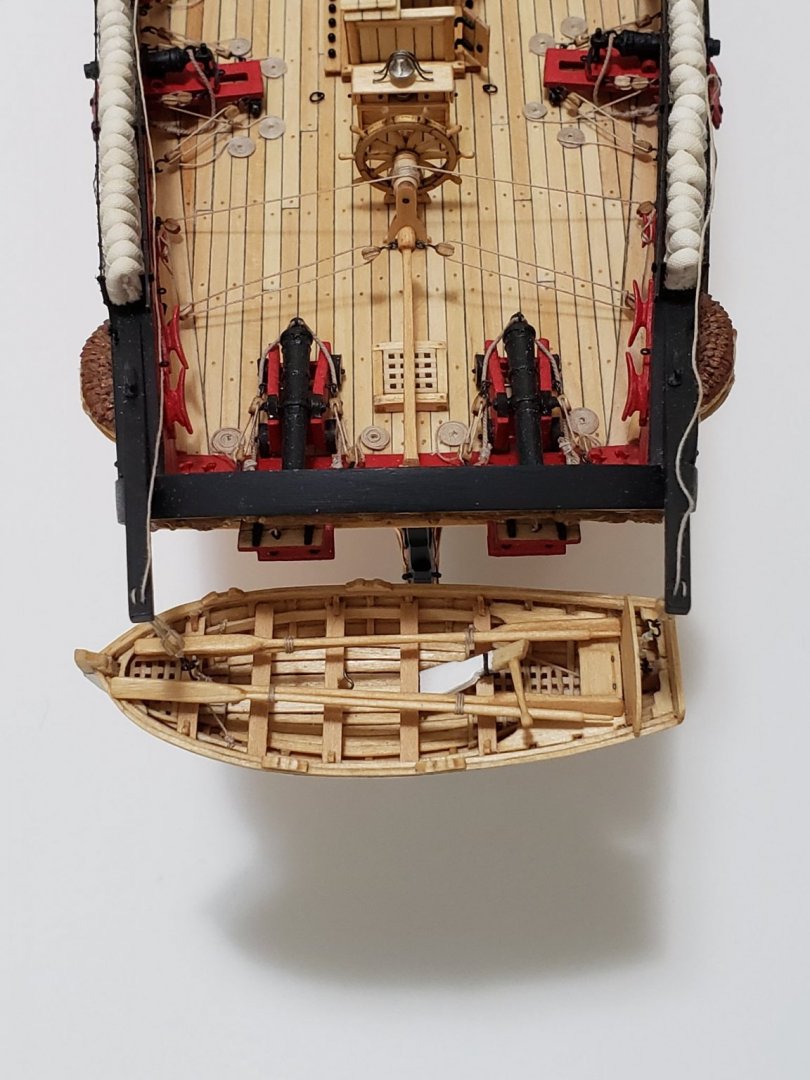
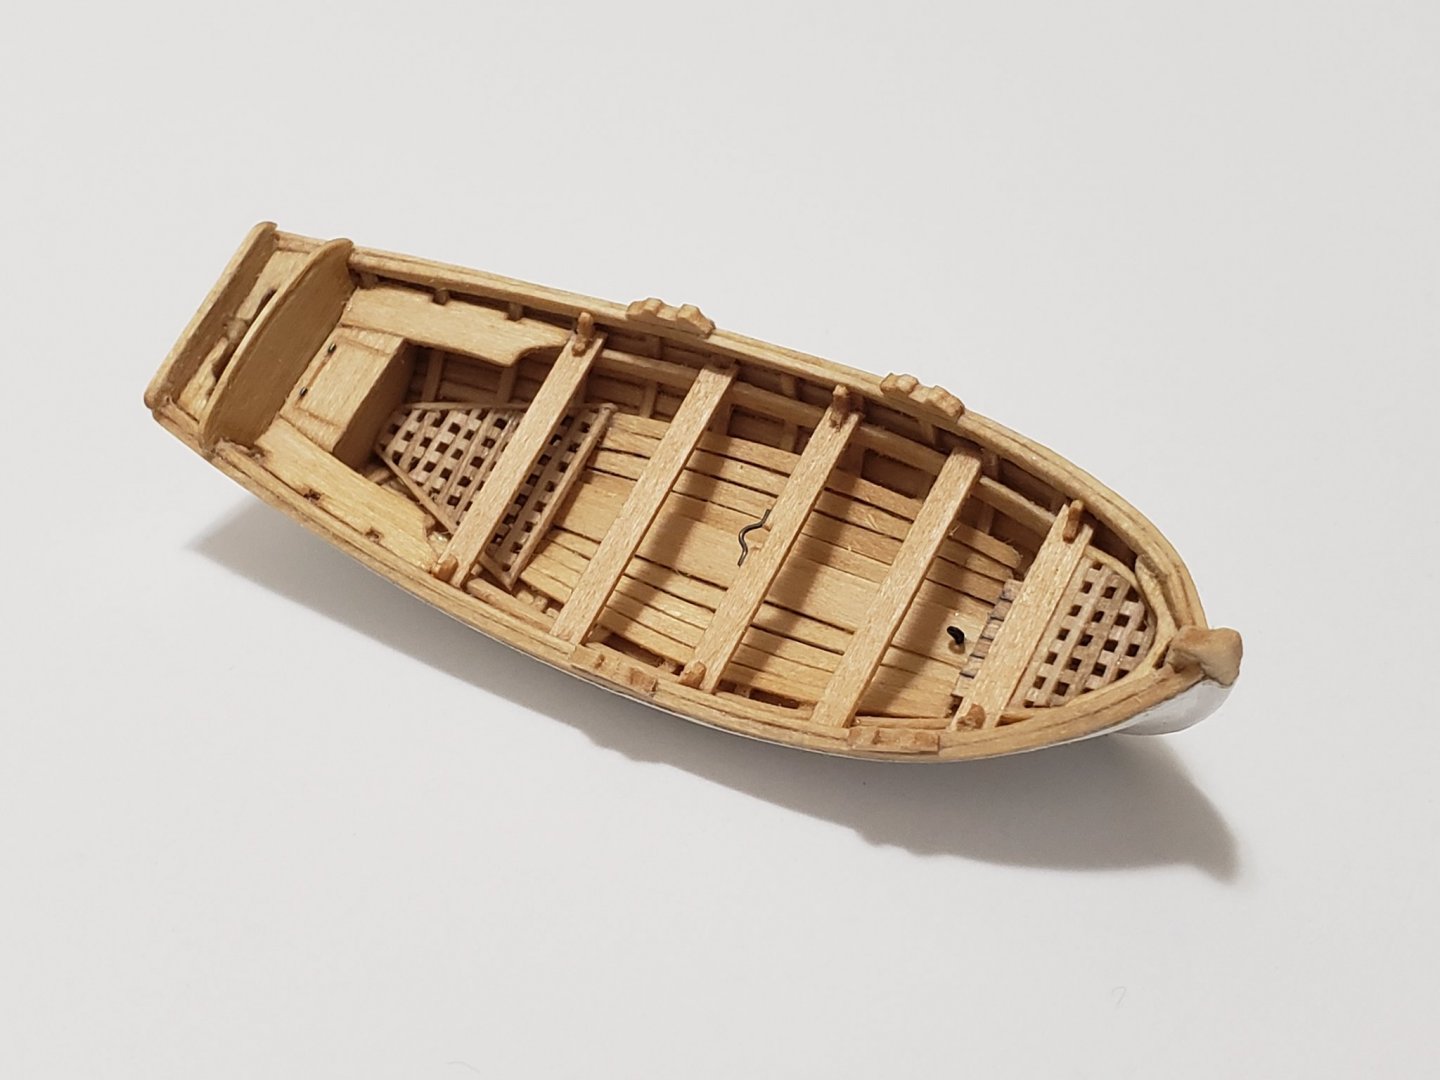
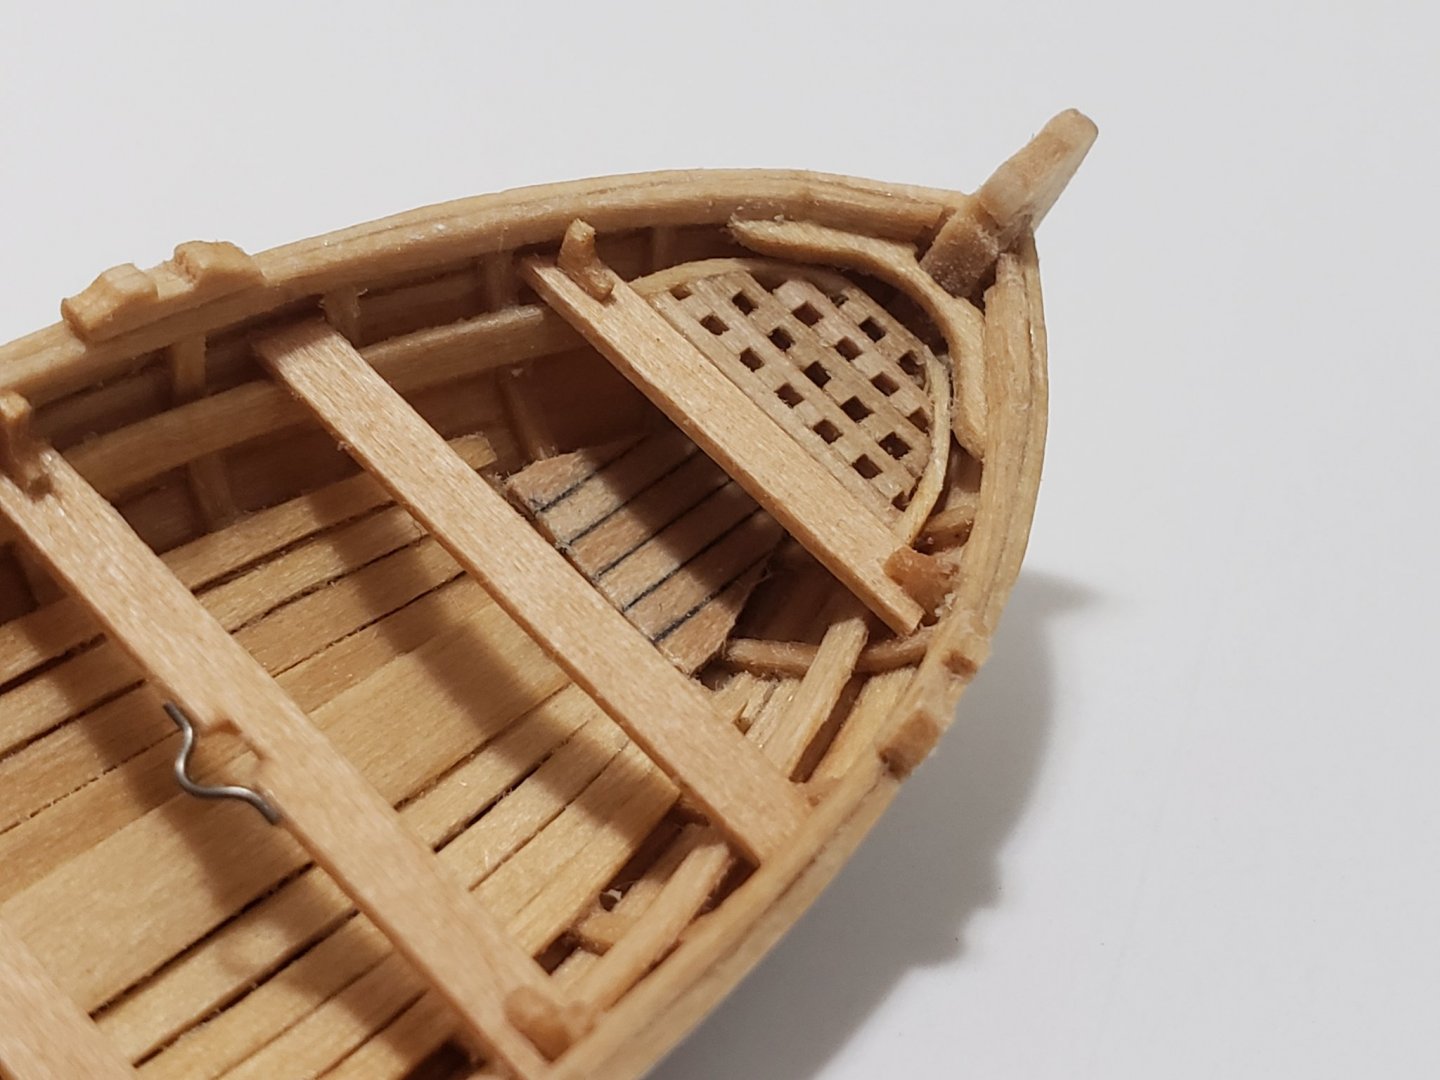
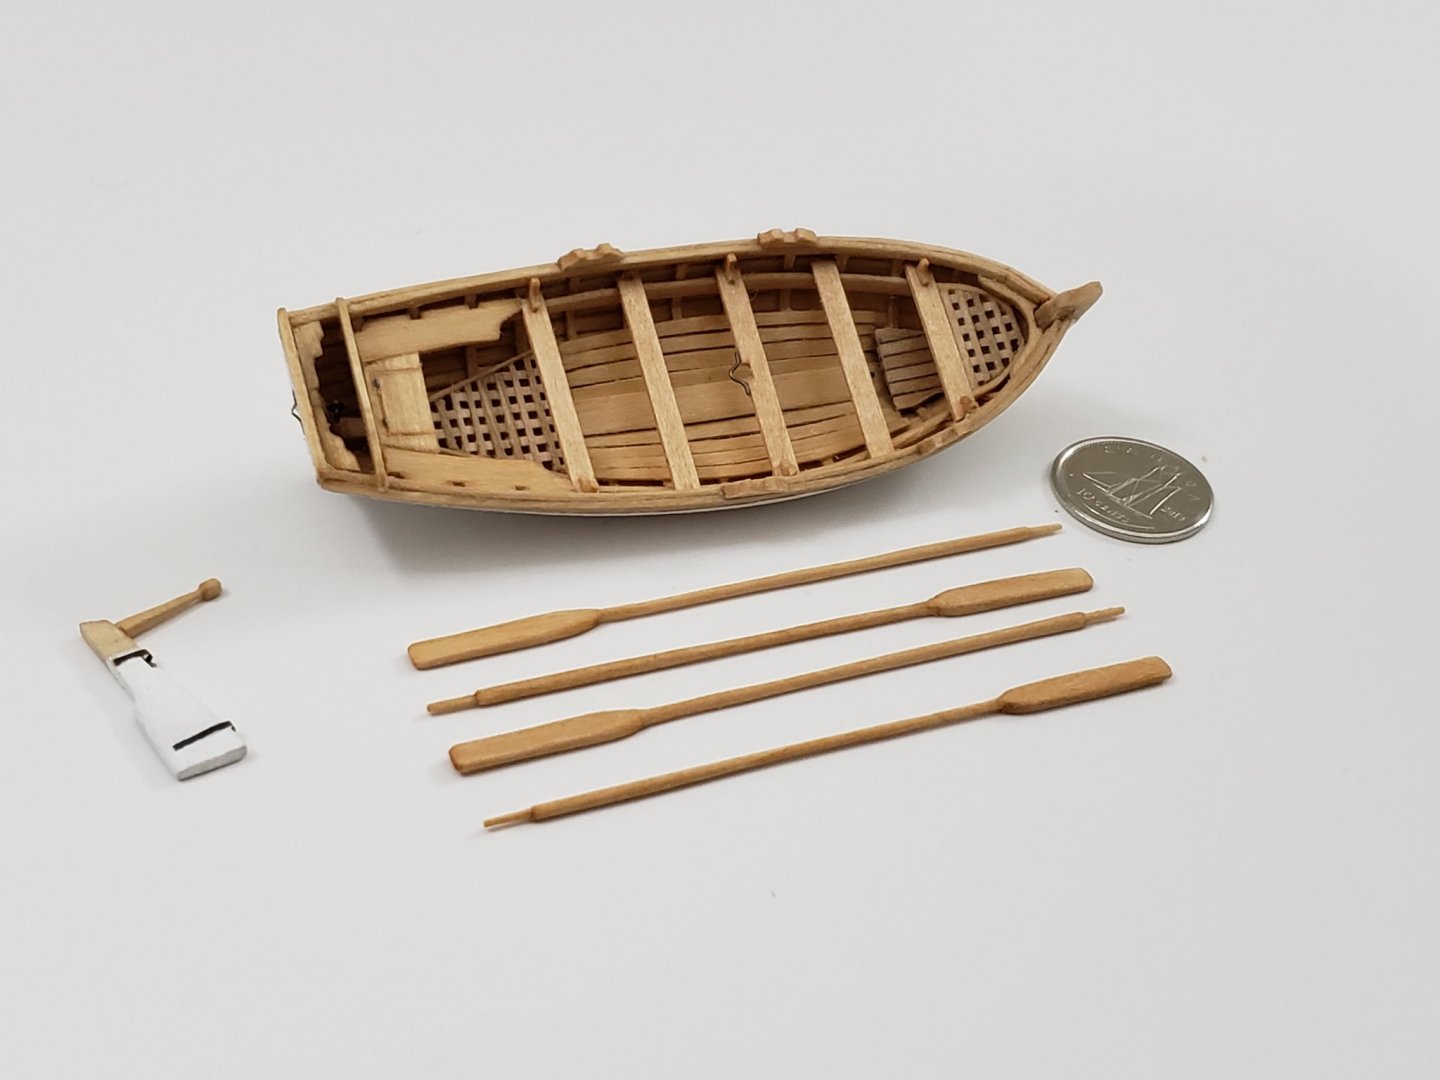
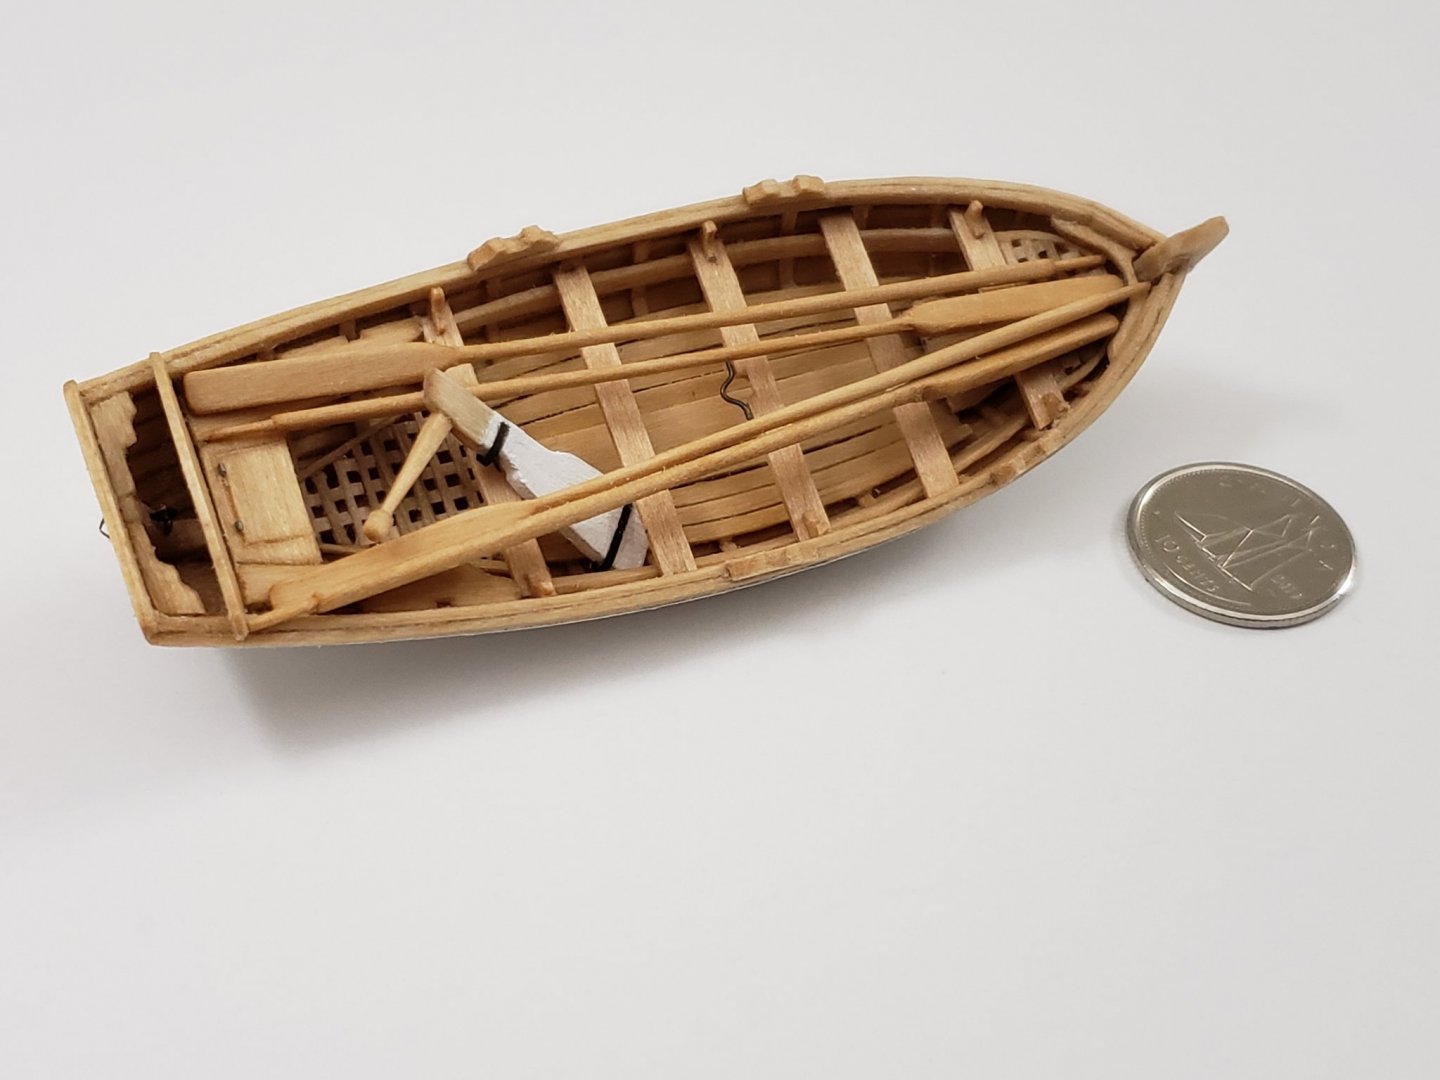
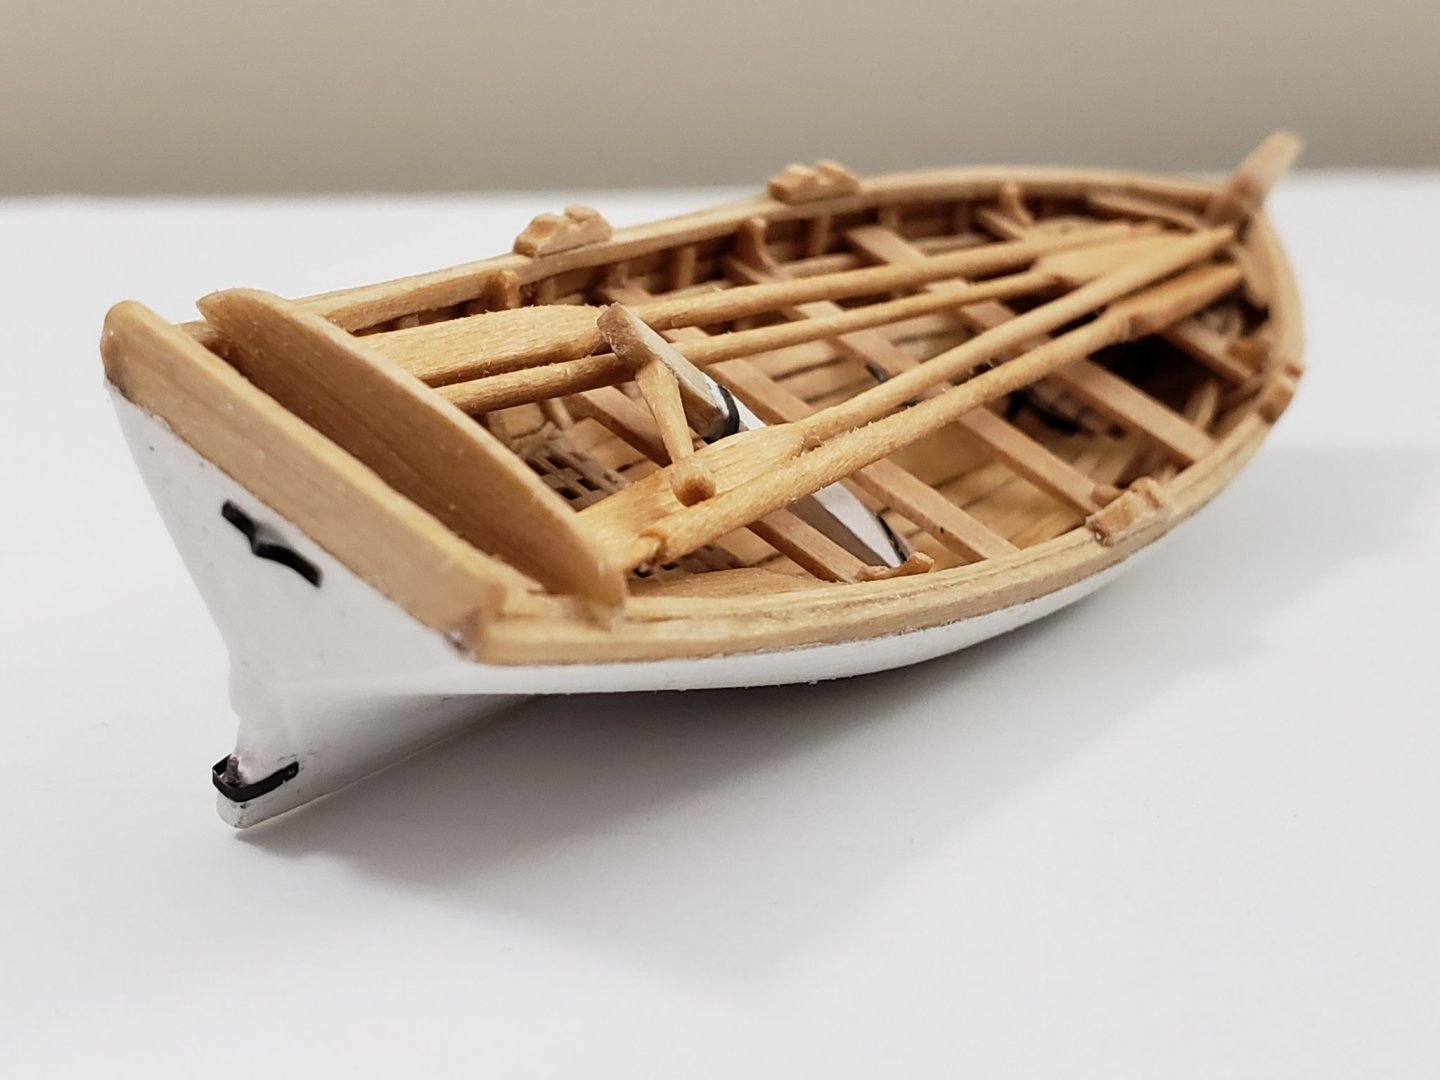
Thank you Justin 😁 I finished the entire jolly boat assembly. For the oars, 1/16" x 1/8" were first roughly shaped with a #11 blade and then shaped with files and sandpaper. Here are the pics: Next I'll work on the rudder pendant, close the stern gun port lids, then I can finally hang the boat on the davits.. Also wanted to add, thank you all for the encouragement throughout my build, and especially for the jollyboat. When making the jig for plank bending I was thinking it would be impossible to finish it, and I may have also given up. But with the encouraging and motivating words I managed to finish the entire boat. So thanks!!! 😄


- 950 replies
-
- 13
-
-
- syren
- model shipways
- (and 1 more)
-
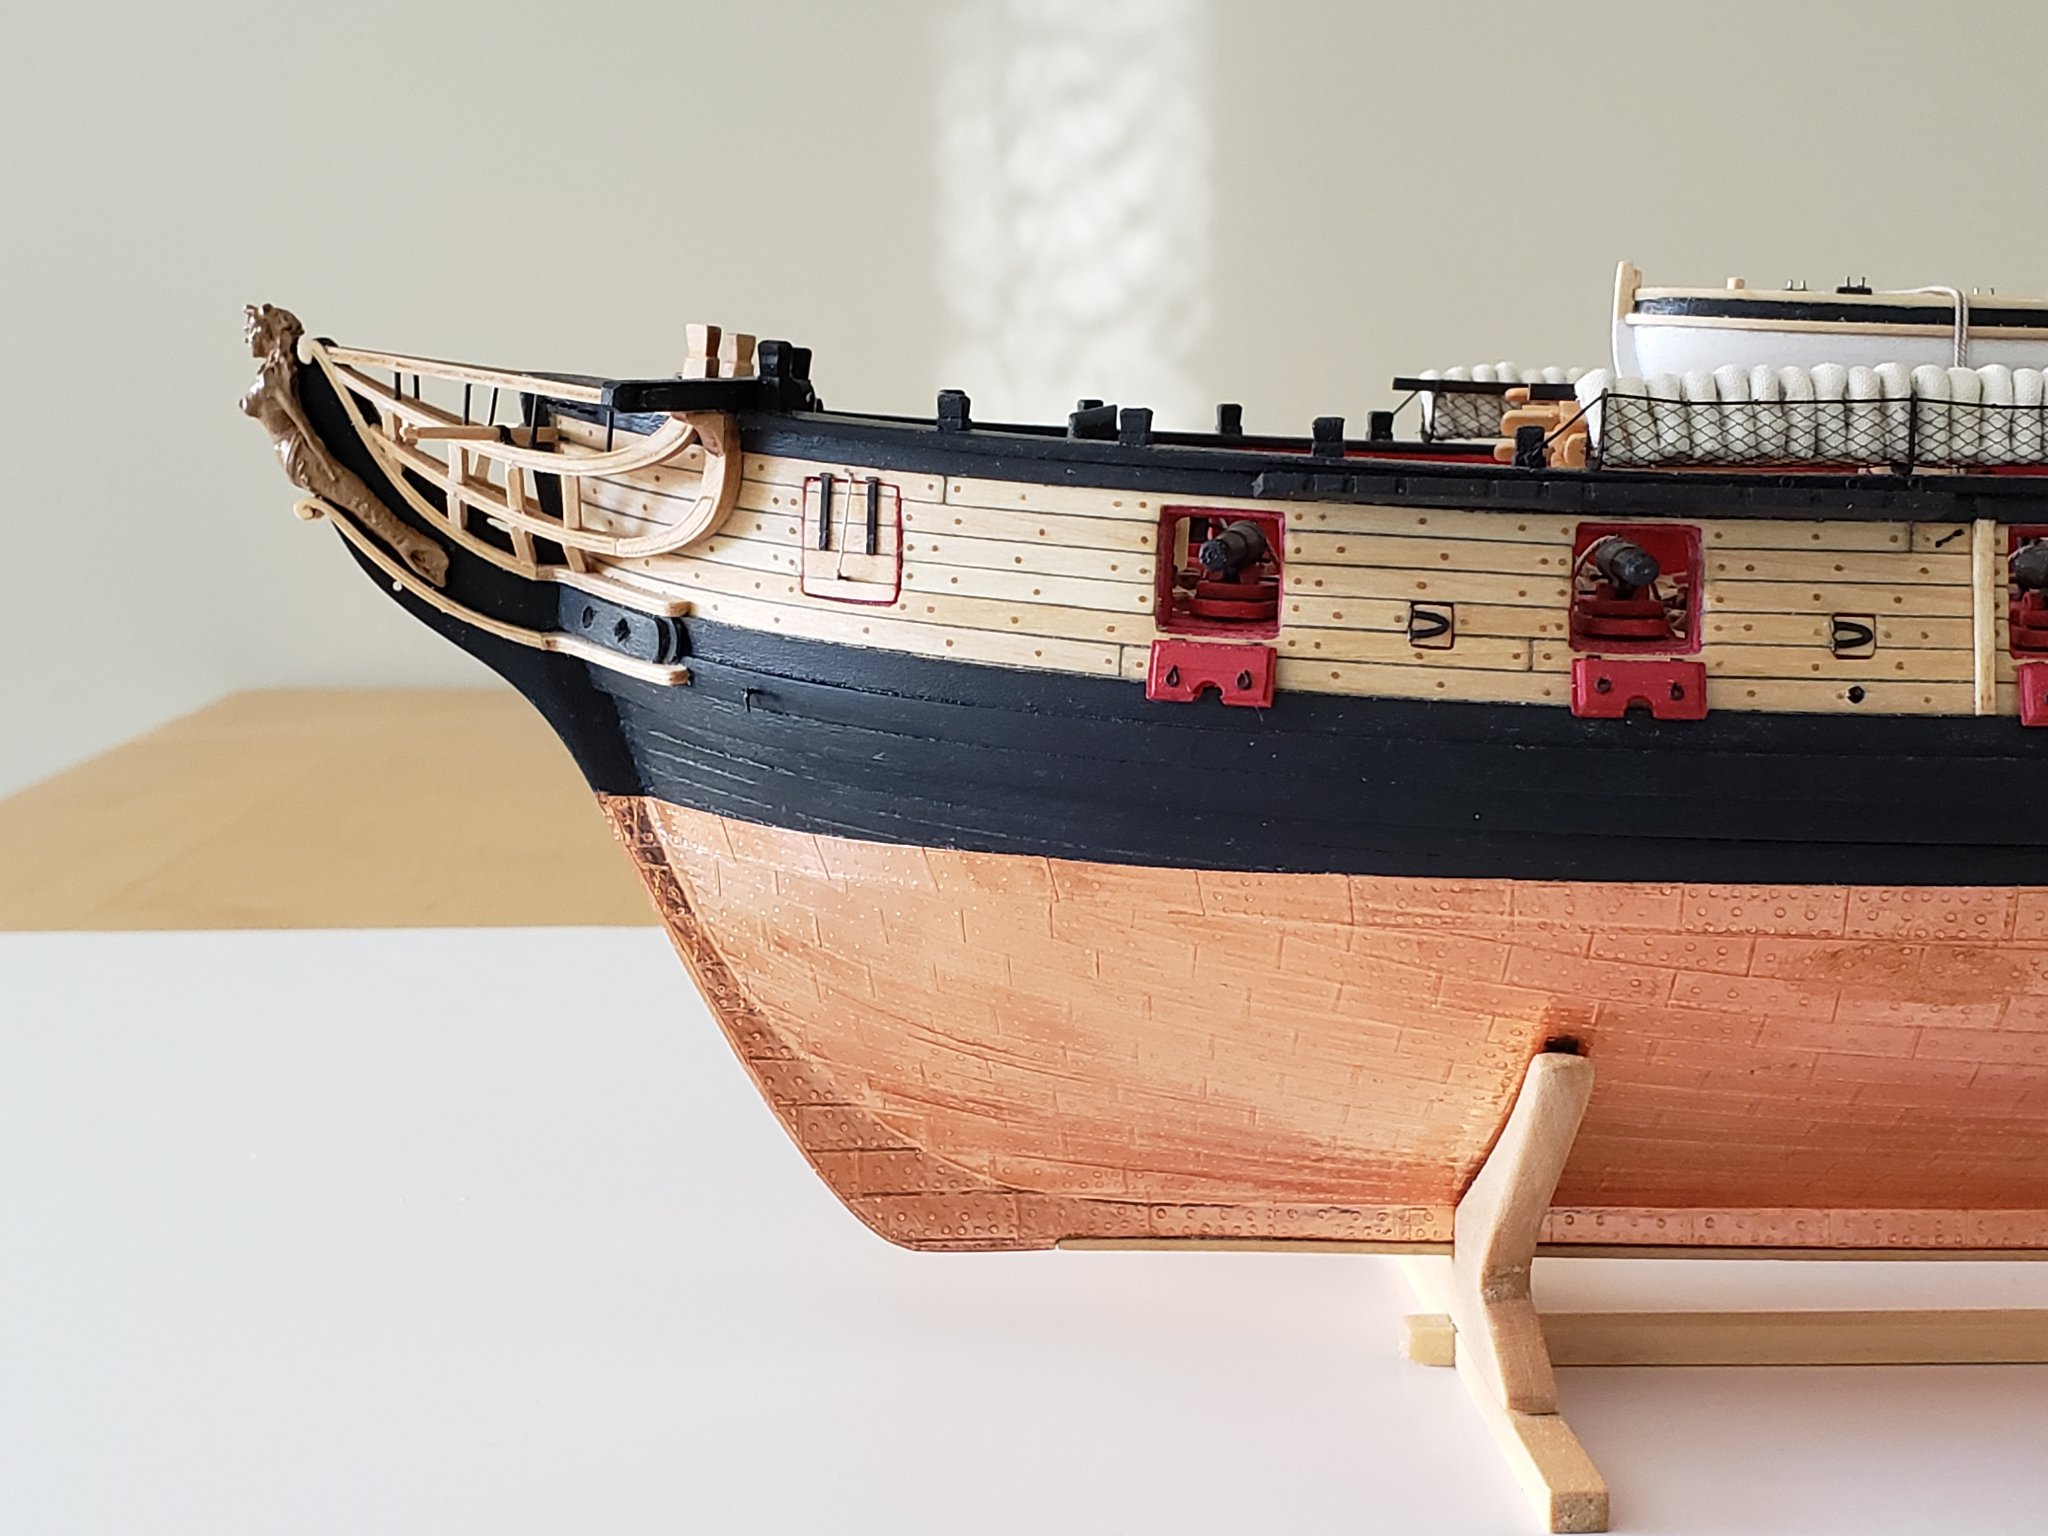
The copper plating looks great!! Which adhesive did you use to stick the plates and how were they aligned? It looks perfect 🙂