HOLIDAY DONATION DRIVE - SUPPORT MSW - DO YOUR PART TO KEEP THIS GREAT FORUM GOING! (Only 13 donations so far - C'mon guys!)
×

.jpg.1f80adf1a9b14a937cfcf2ca6af0f0d4.jpg)
WalrusGuy
-
Posts
1,007 -
Joined
-
Last visited
Content Type
Profiles
Forums
Gallery
Events
Everything posted by WalrusGuy
-
.thumb.jpg.62d1d69fed1f32364417cb1f9cdeb009.jpg)
Syren Servo-Matic mouse making attachment
WalrusGuy replied to WalrusGuy's topic in Masting, rigging and sails
Thank you Druxey and Jim. I may just opt to go the simple route of serving the mouse instead of it being weaved (the process looks very complicated!! 😅) -
Hope everyone is doing well and are safe in these troubling times. I just finished assembling the Servo-Matic machine from Syren Ship Model Company and came across this thread: Does anyone know how to modify it/make attachments that will help in making a mouse? I've never made a mouse before so I am not sure on what I'll need. I tried searching around in this forum but could not find anything. Any pics of mouse making jigs using this machine would be much appreciated! Thanks in advance!!
-
Great fix!! Looks much better.. Glad you didn't have to rip out the planking. Also this made me question my cap rail and saw its around 0.25". Btw mine doesnt overhang inboard except for a bit at the bow.
-
I think they are called stern davits and they are used to hang the ship's boat. The model is looking great btw! Really liking the lights in the Captain's cabin!
-
Very nice!! 😁
-
Thanks Bradley!! I have not yet used the flexshaft, and I'm still waiting for the workstation to arrive. Not sure on when I'll use these for this build since majority of woodwork has been done, but they will definitely come in handy for future projects!
-
Very nice and neat planking!
-
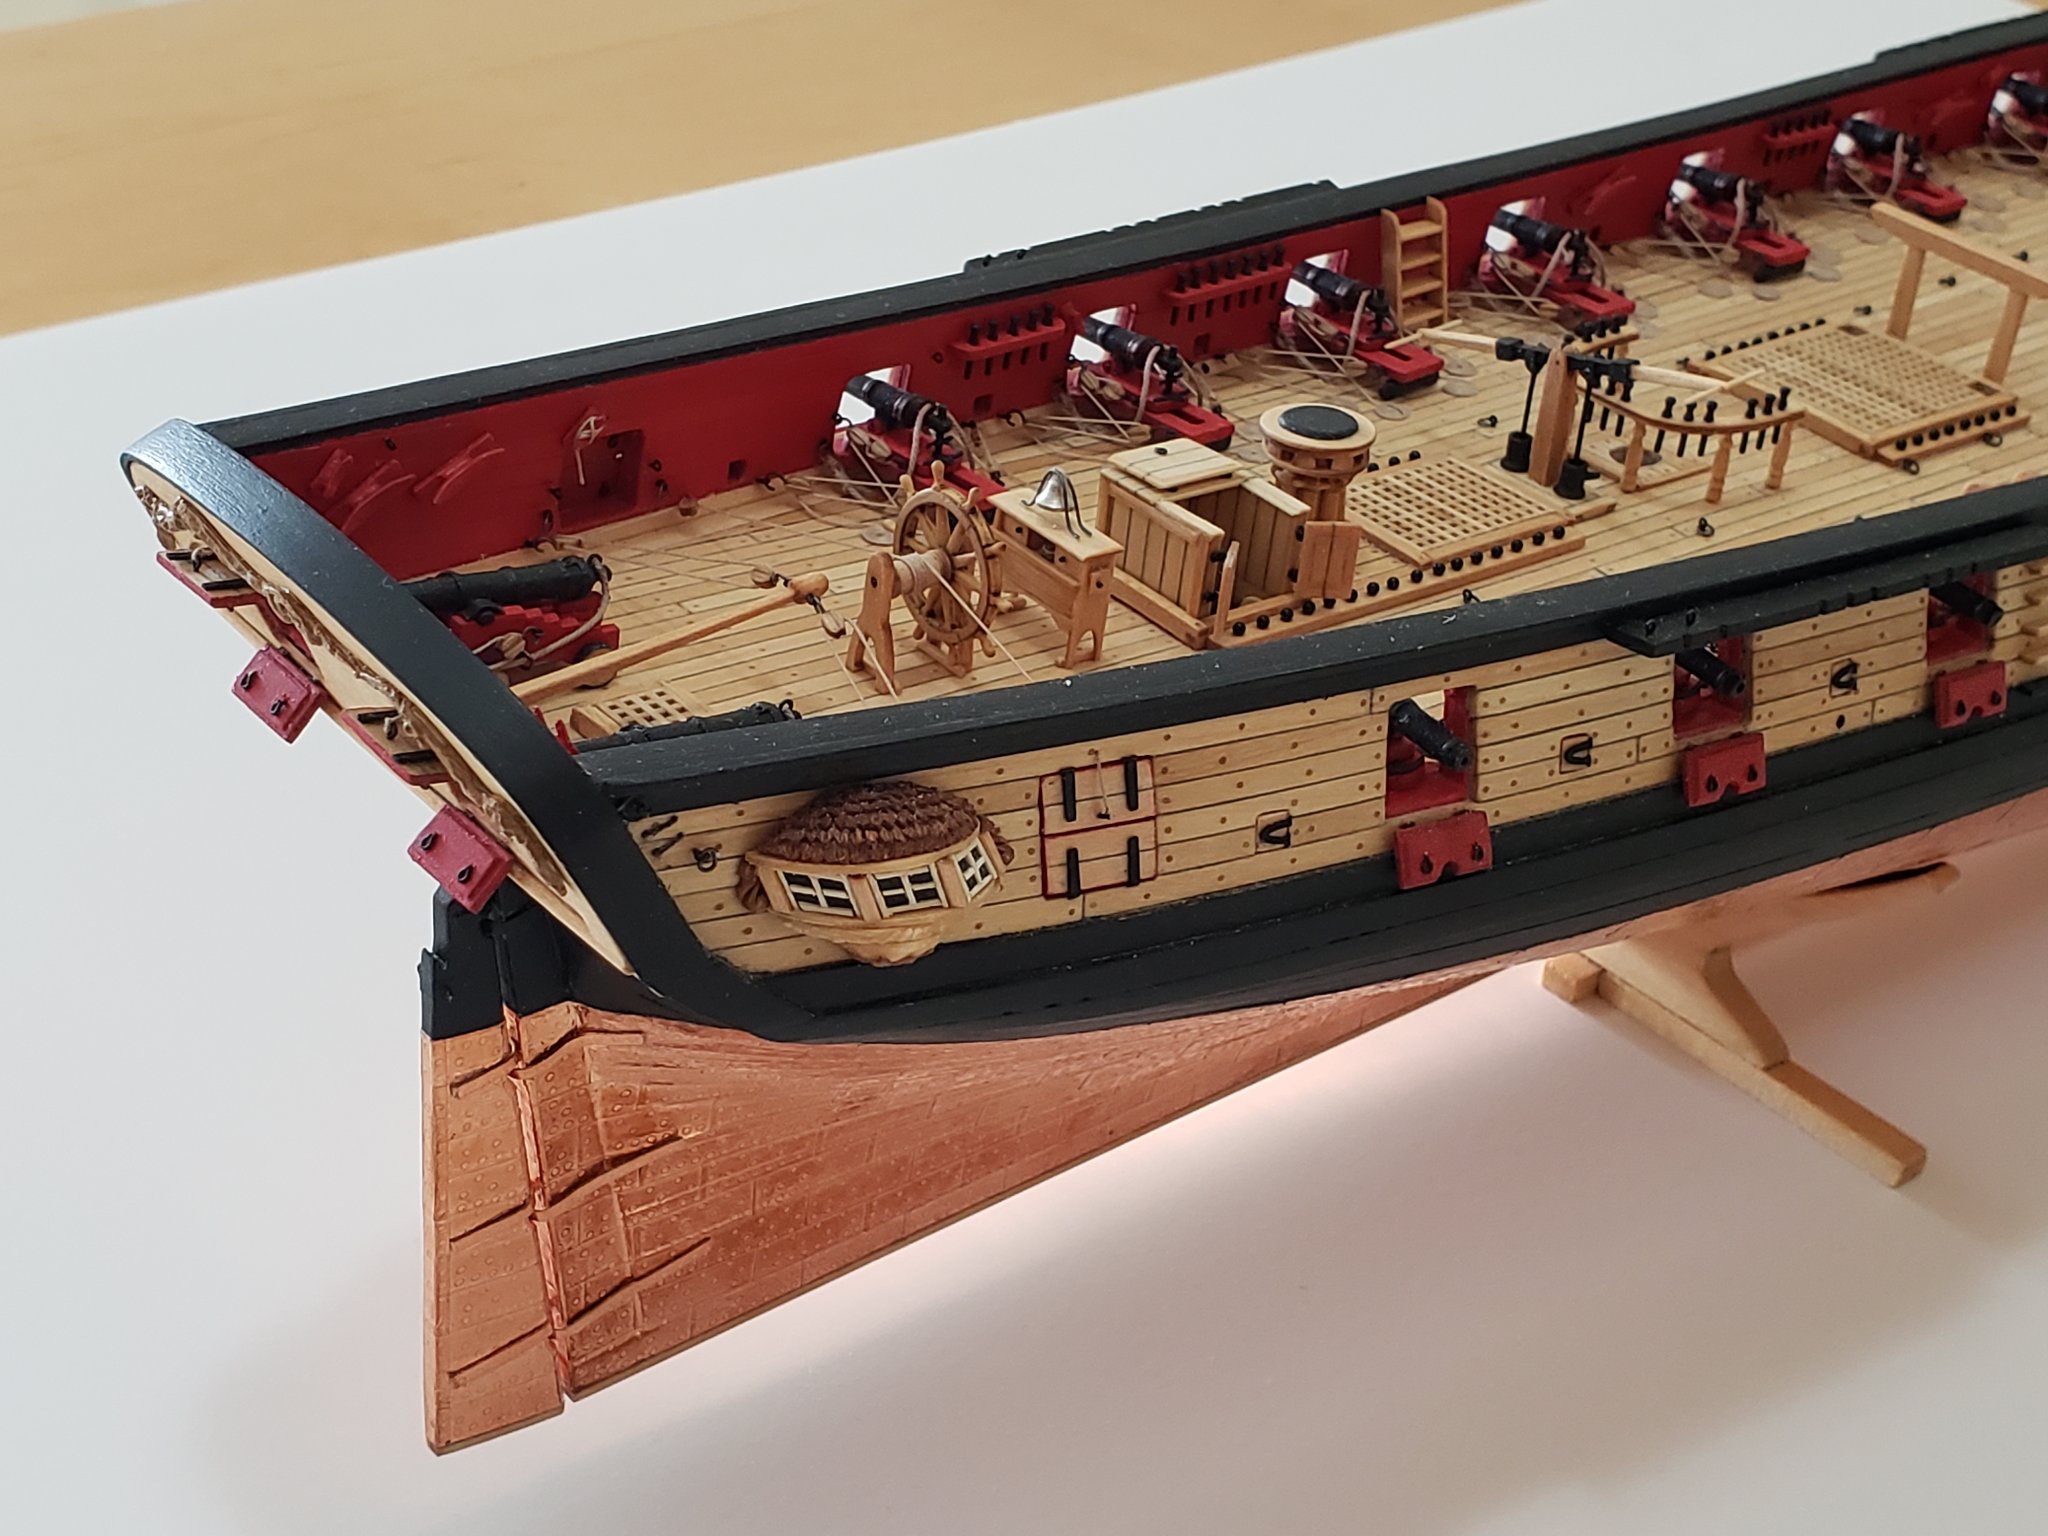
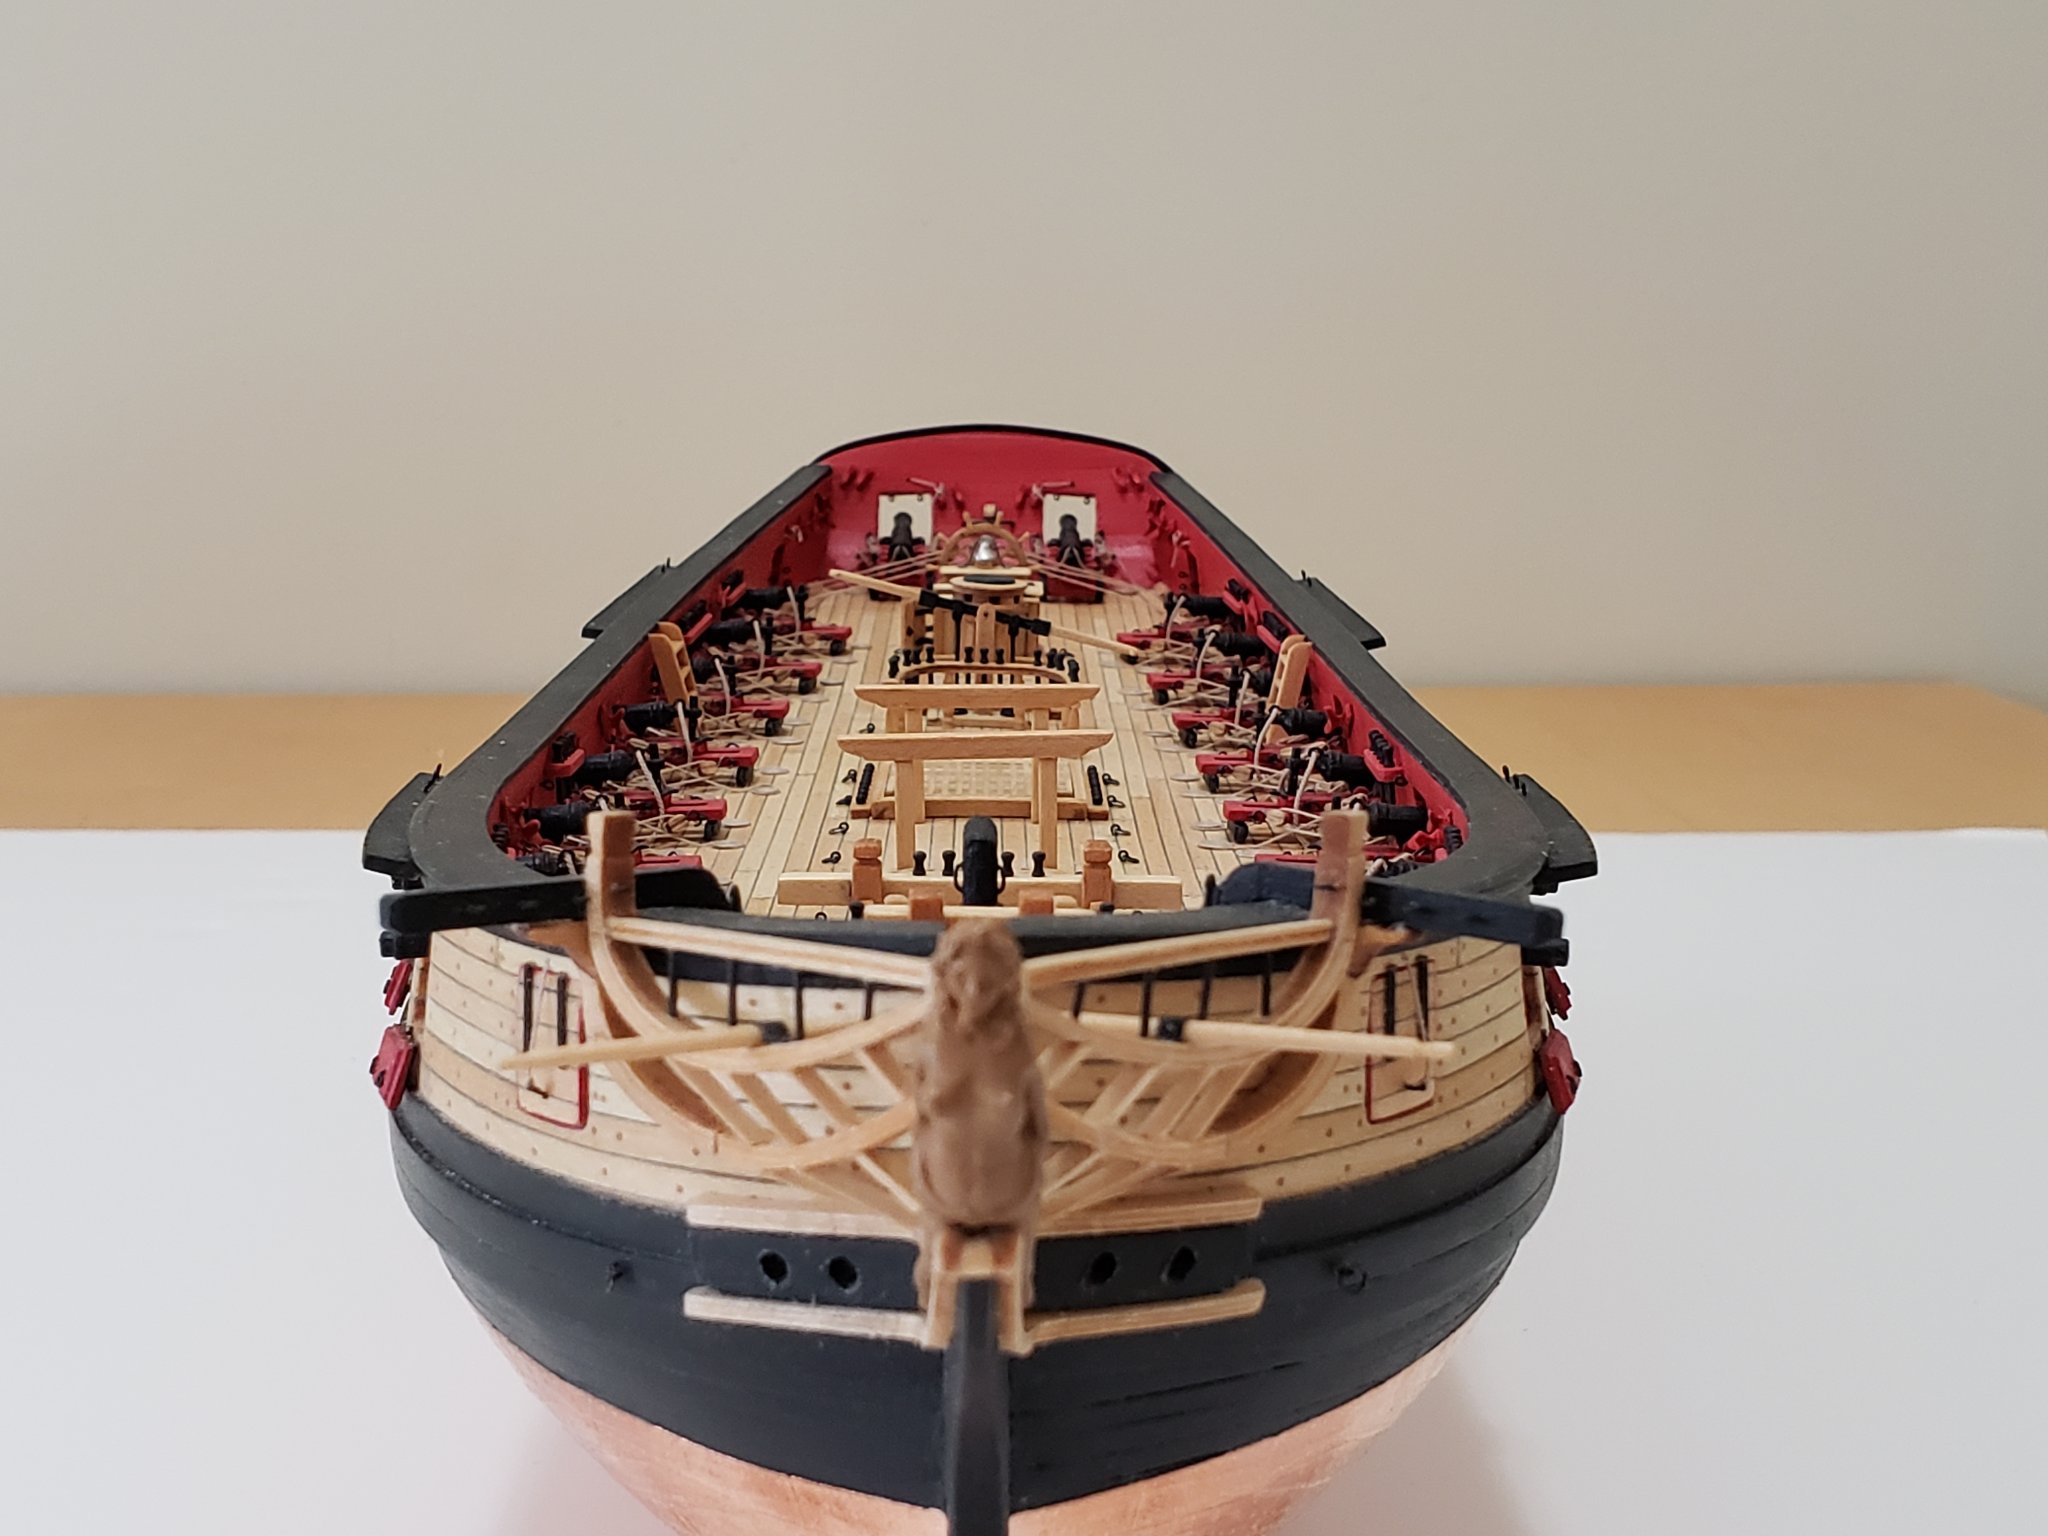
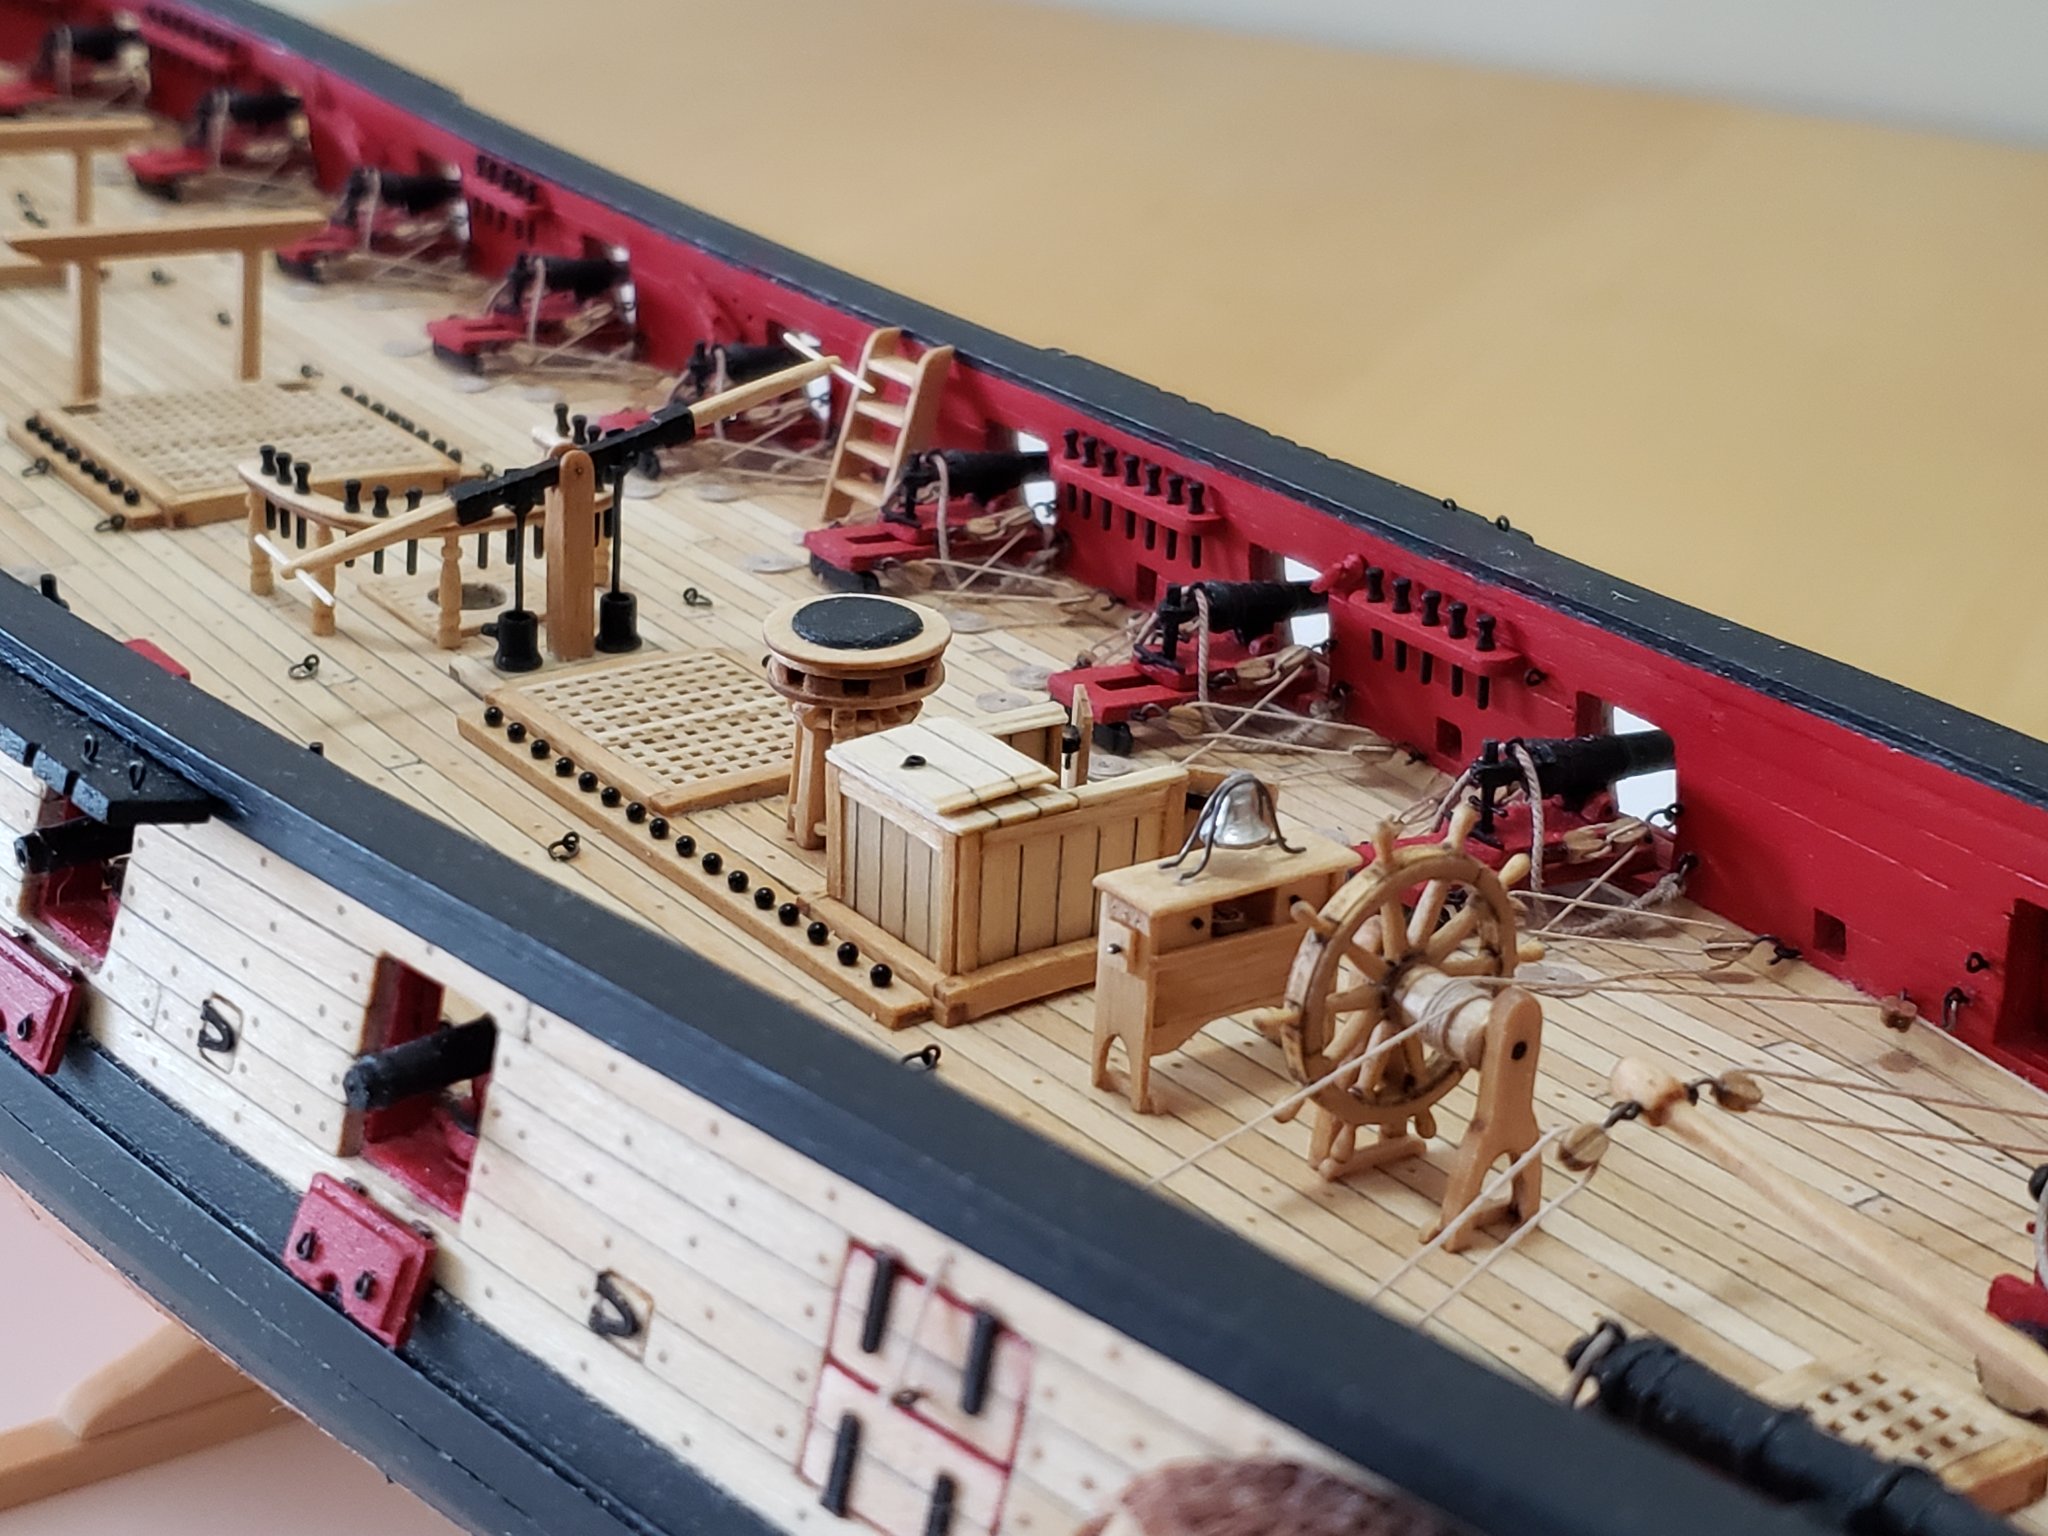
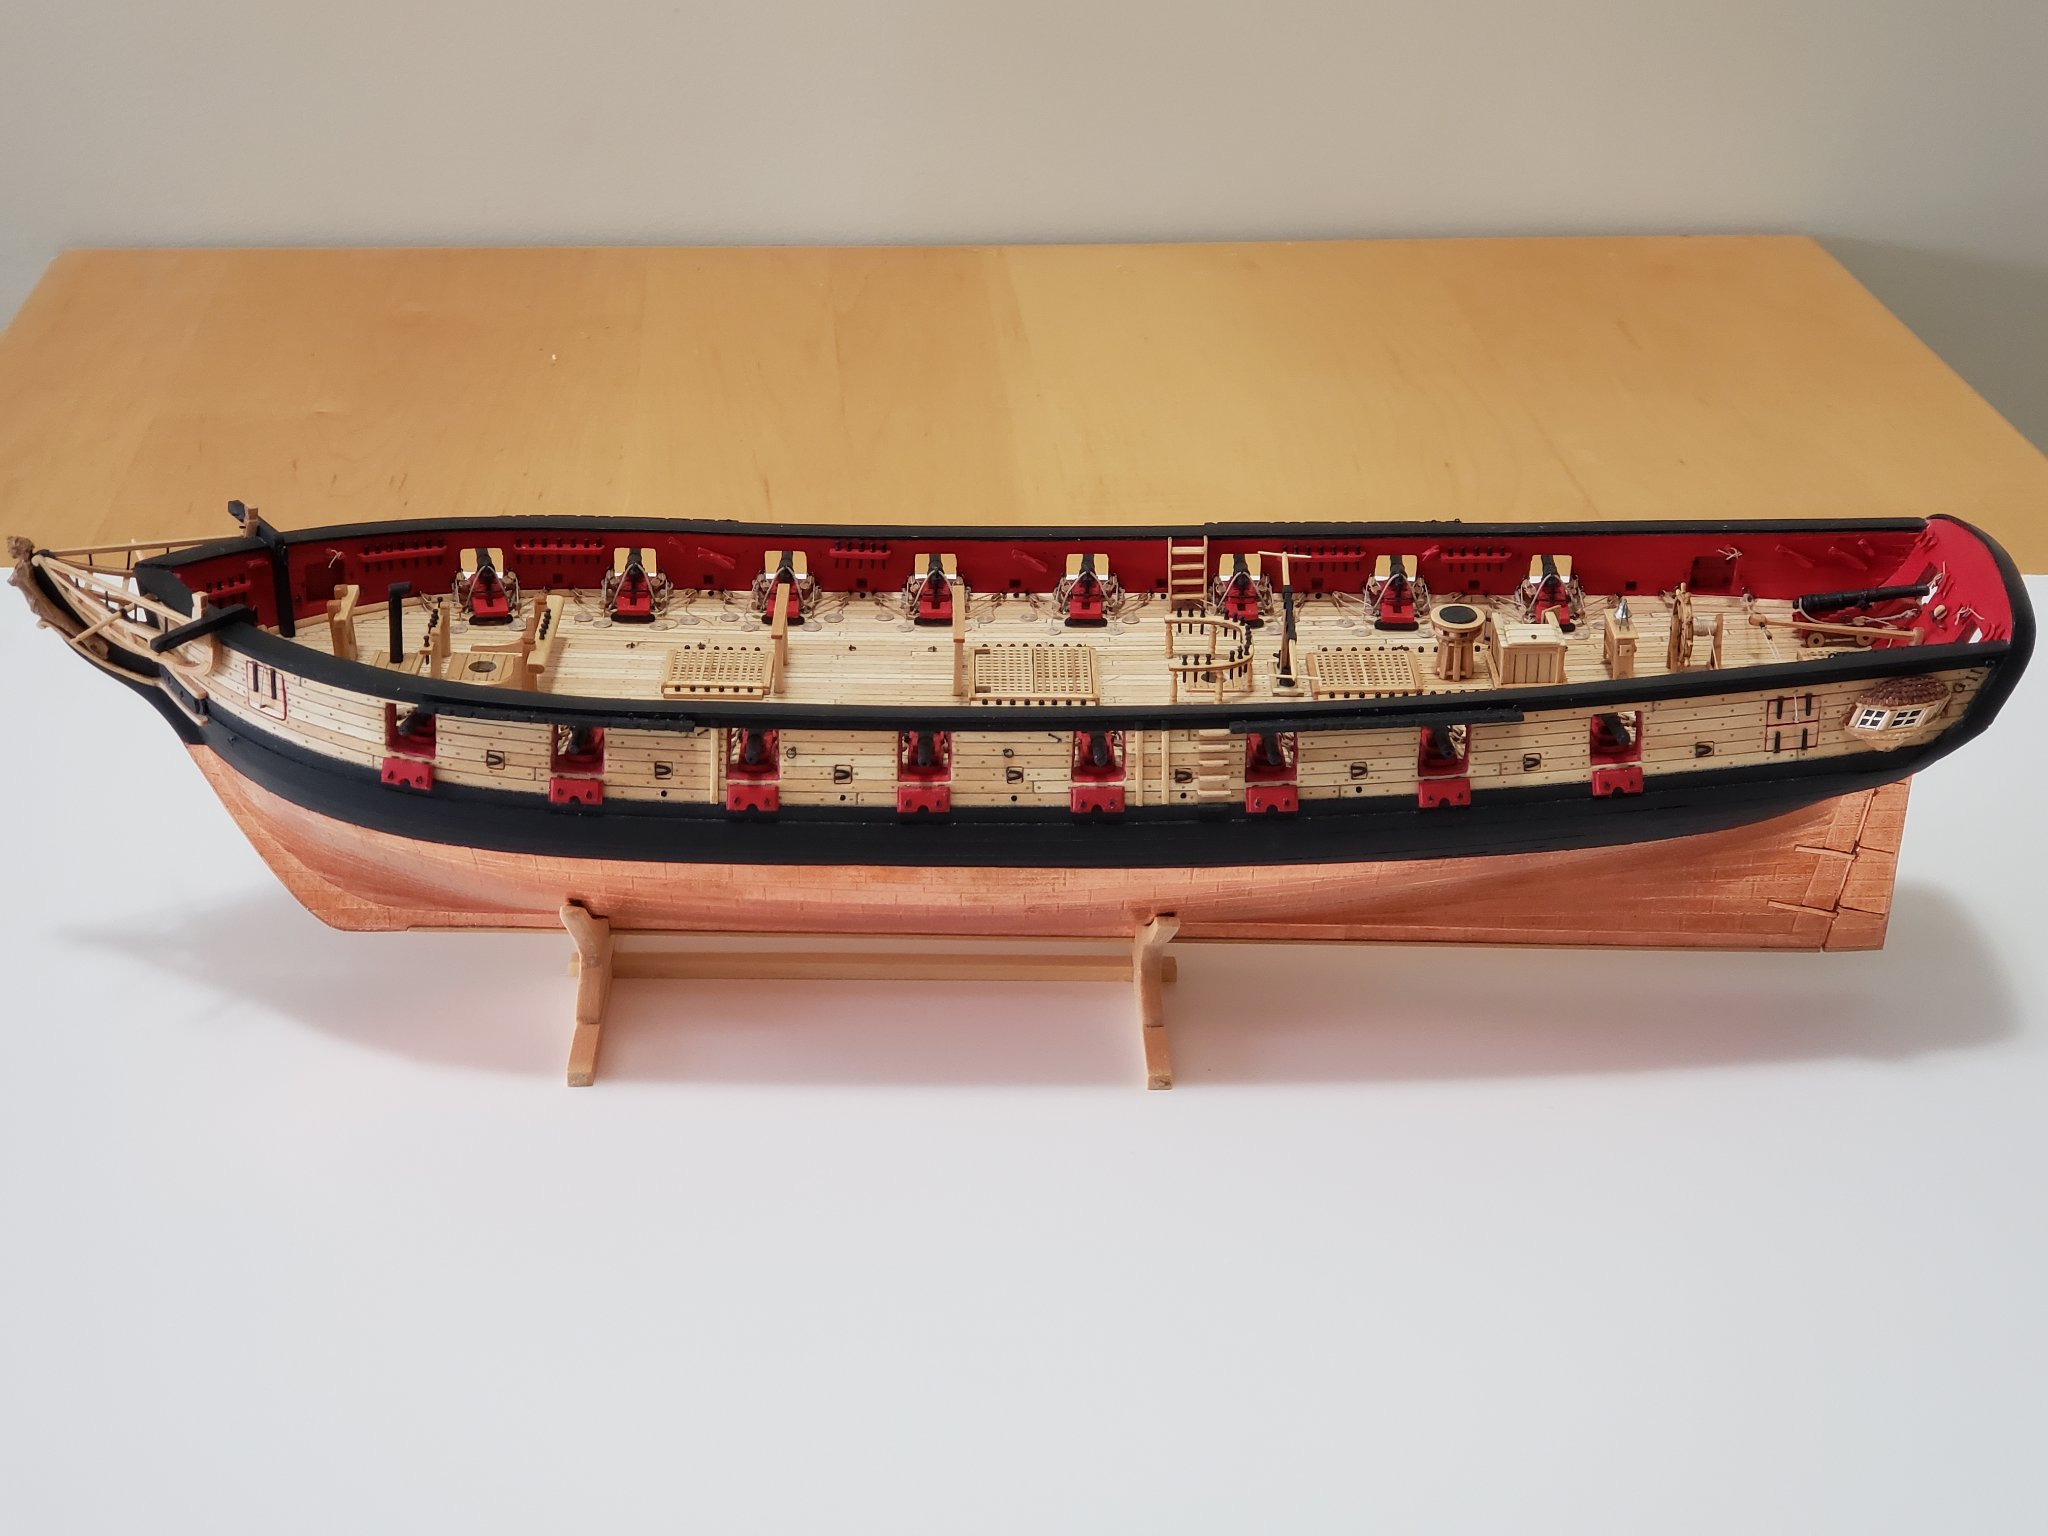
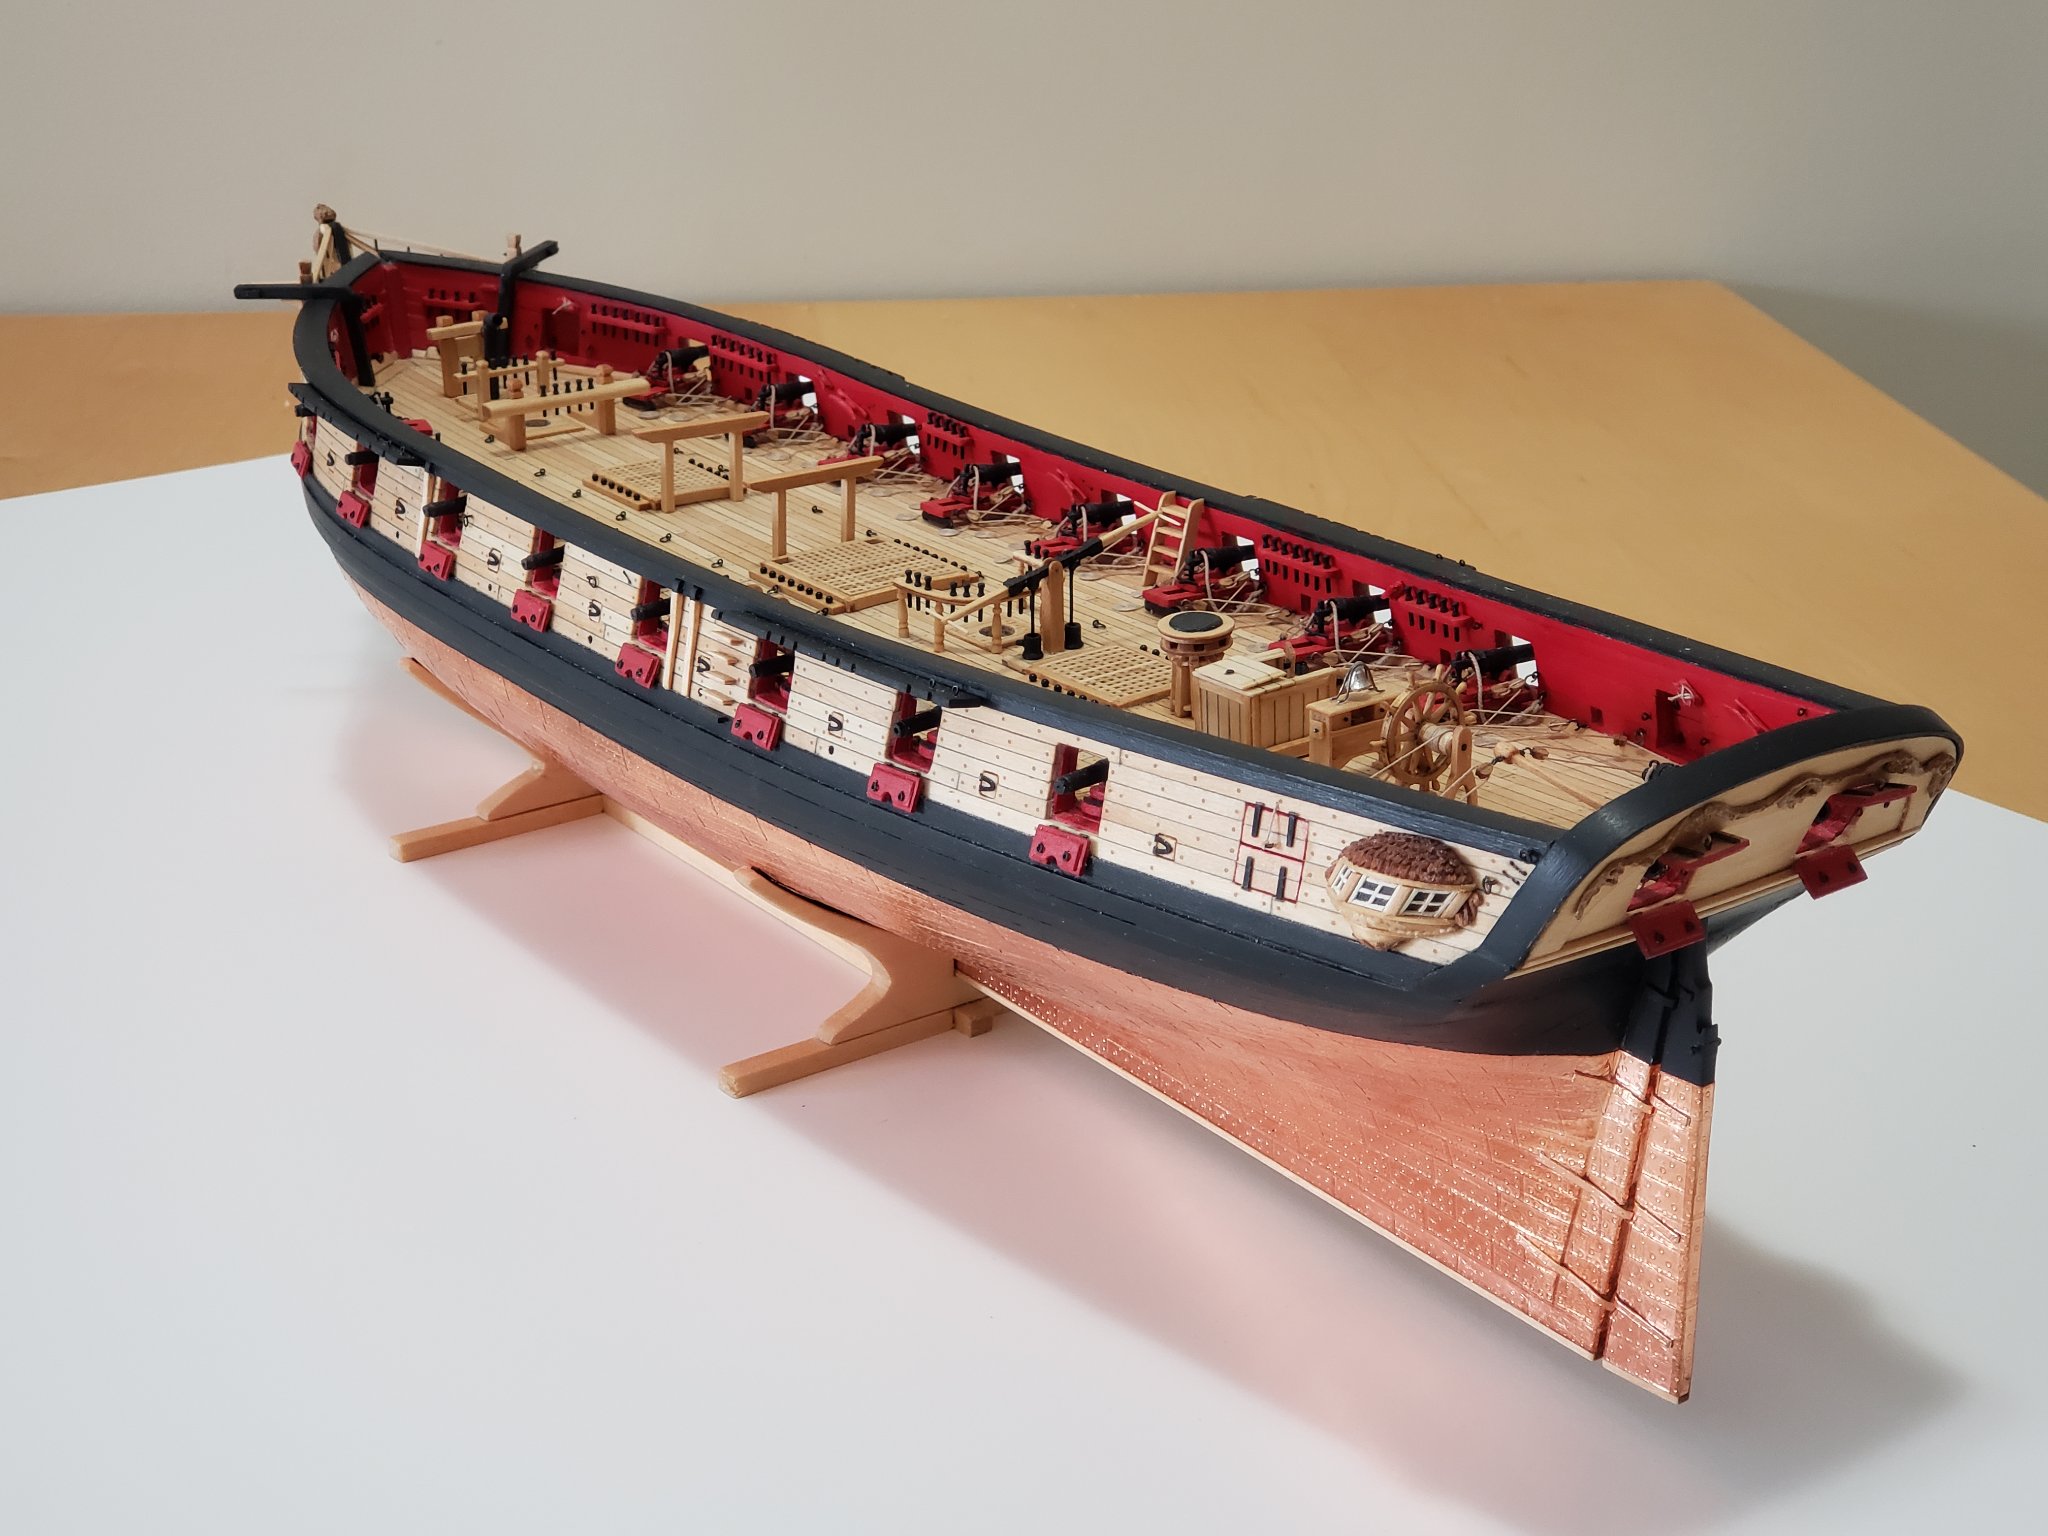
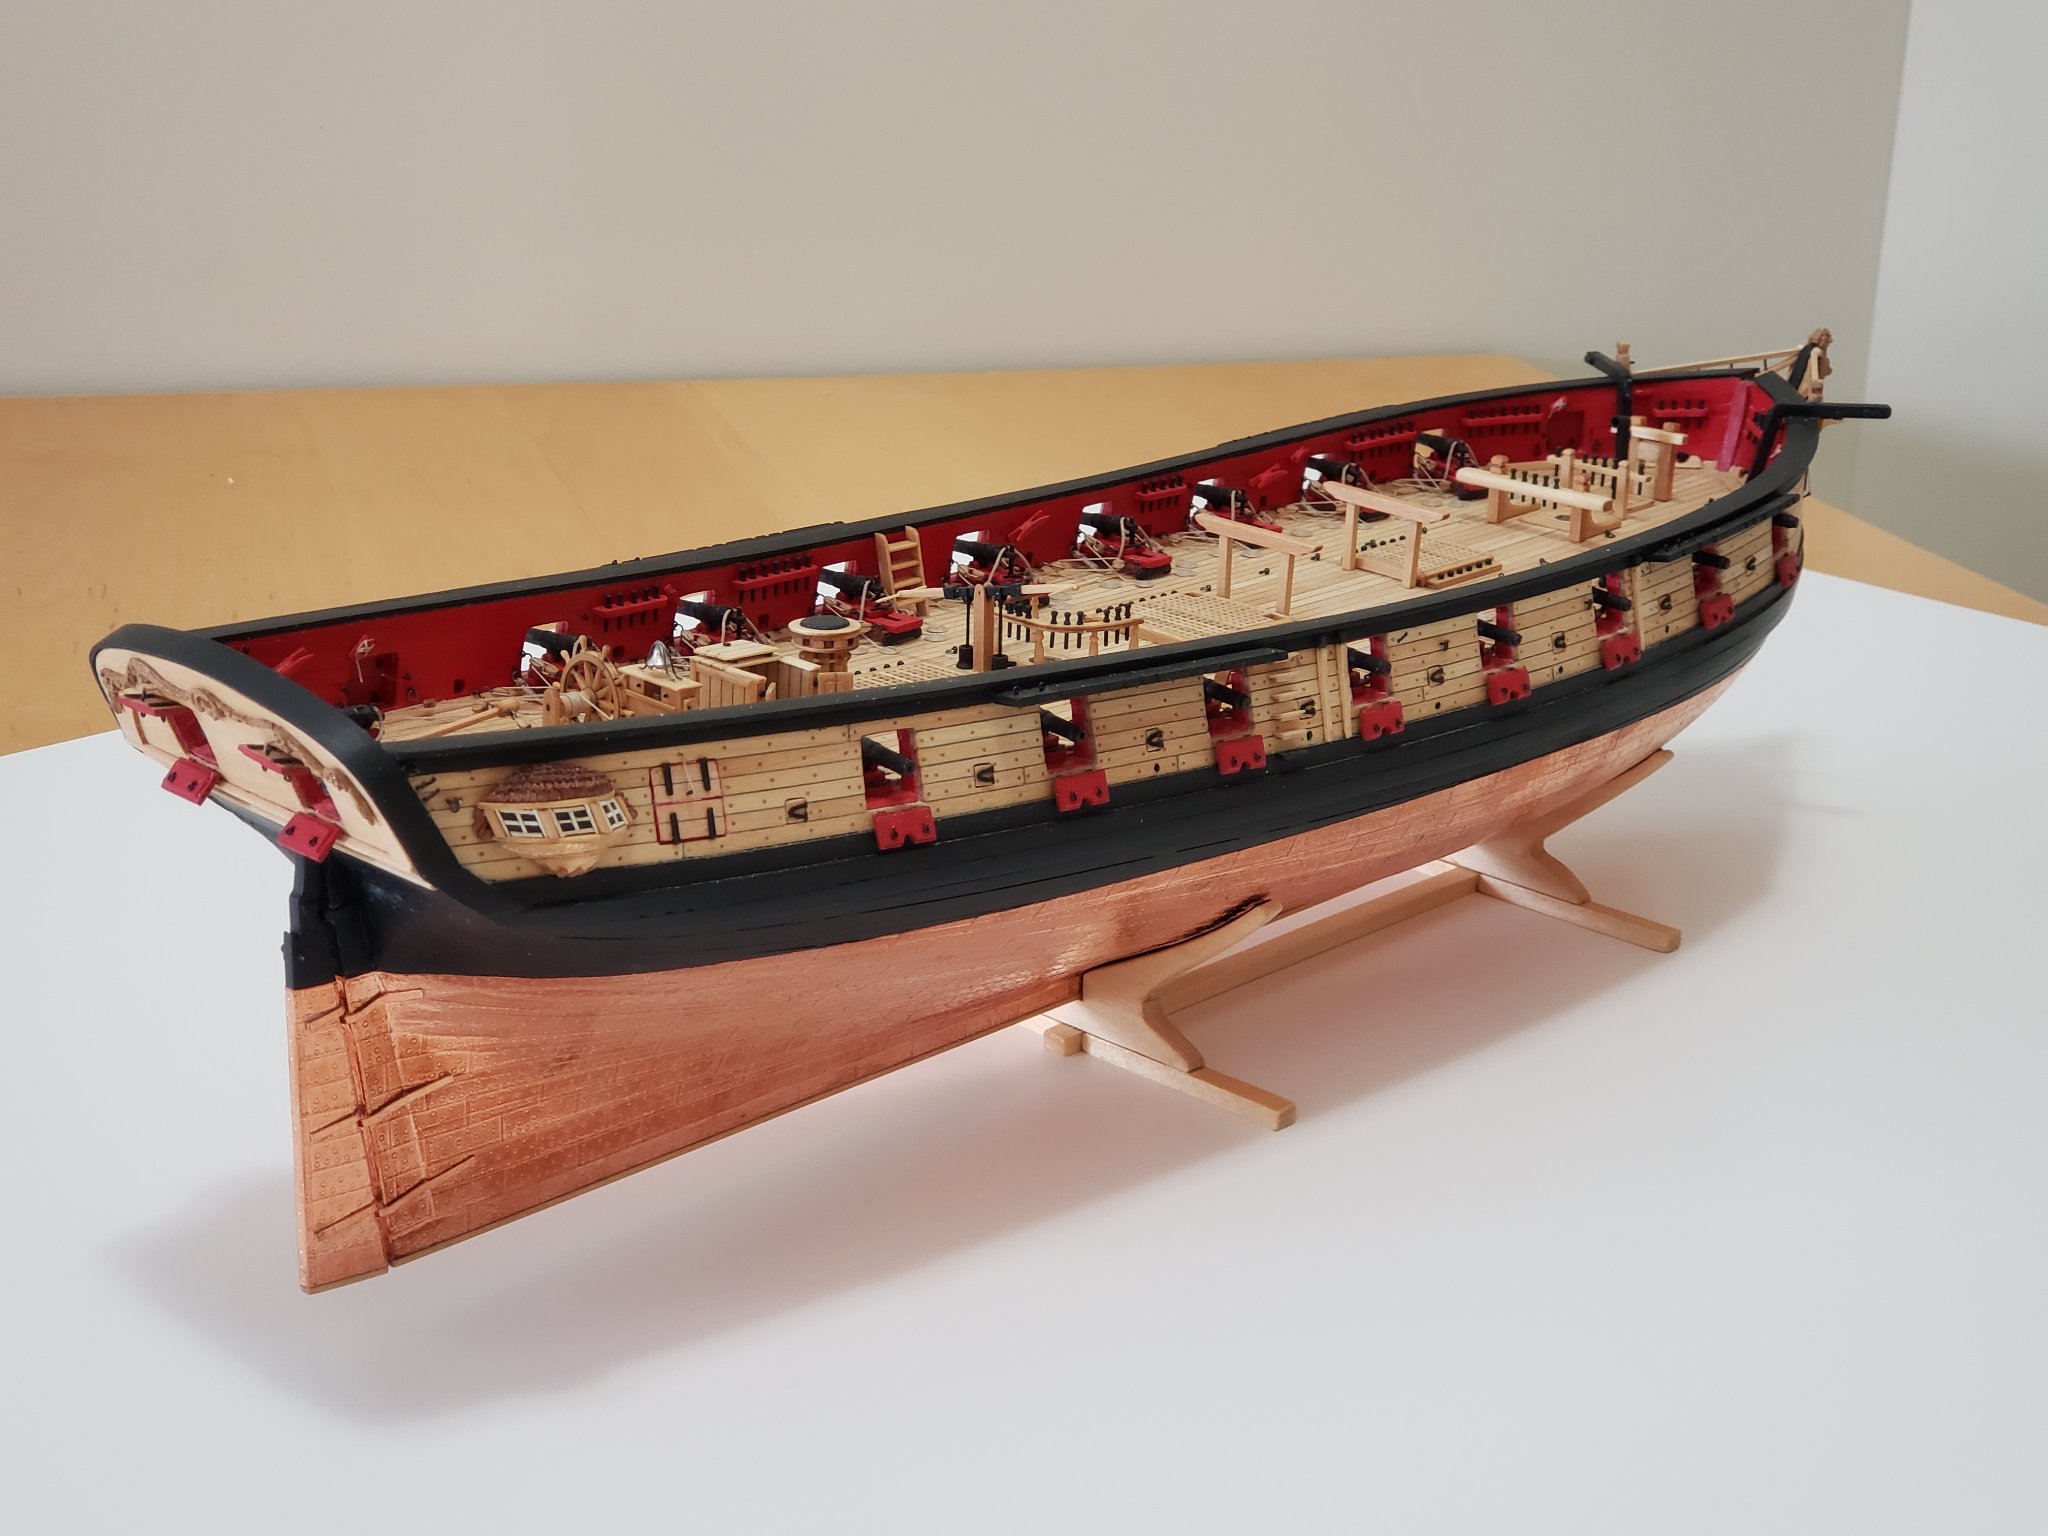
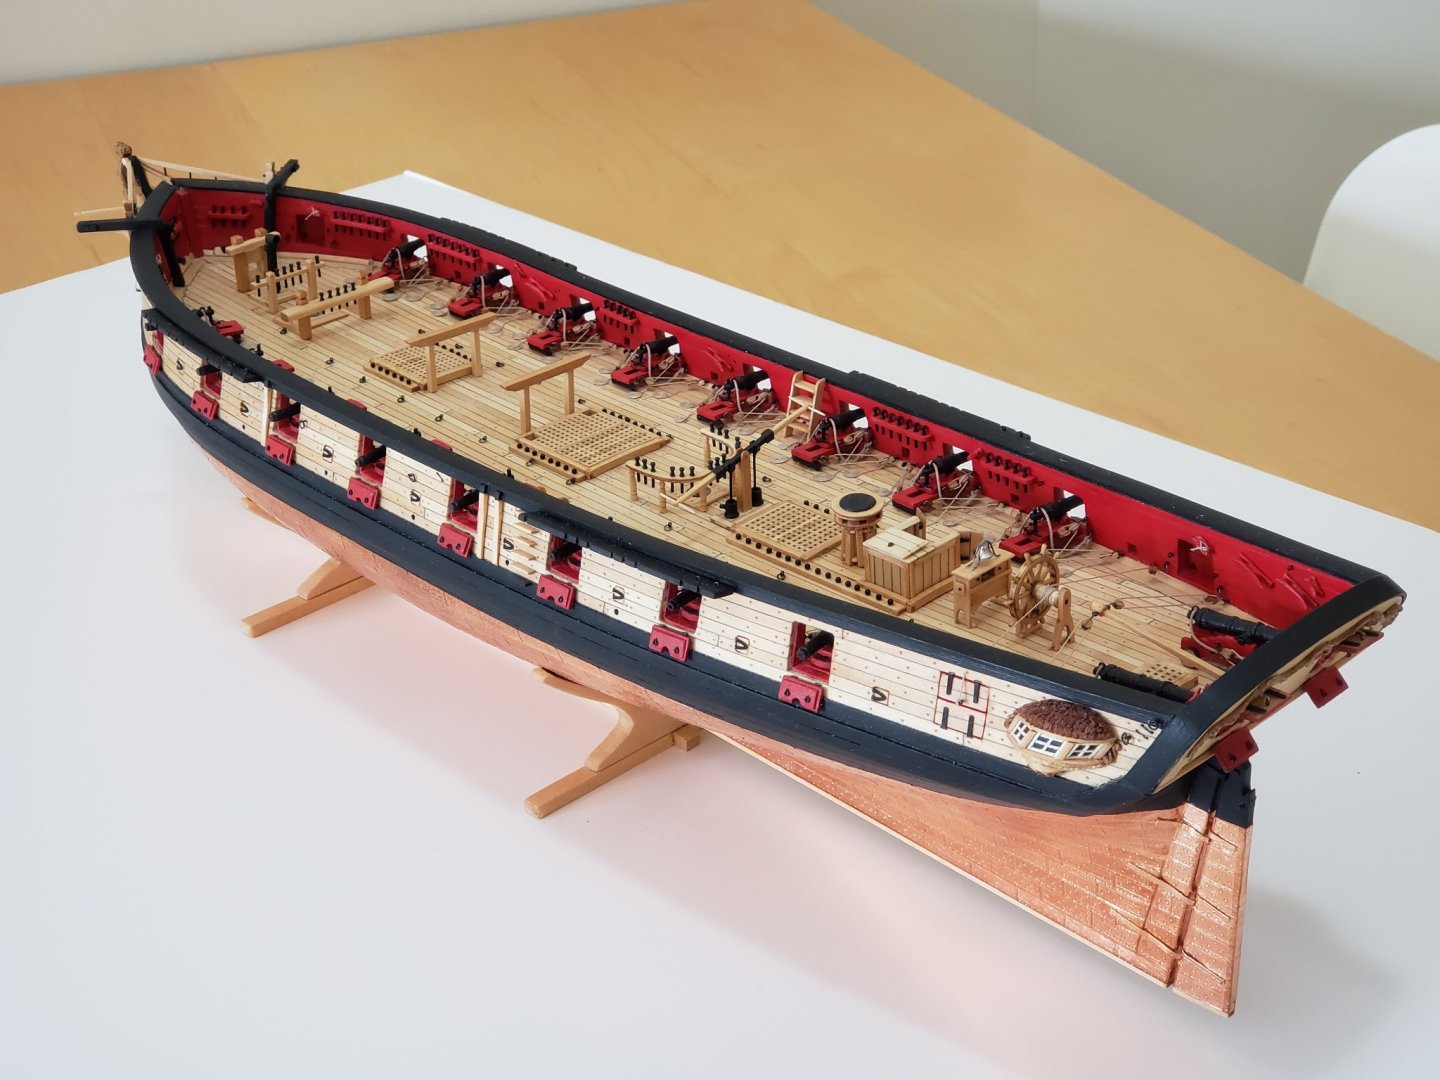
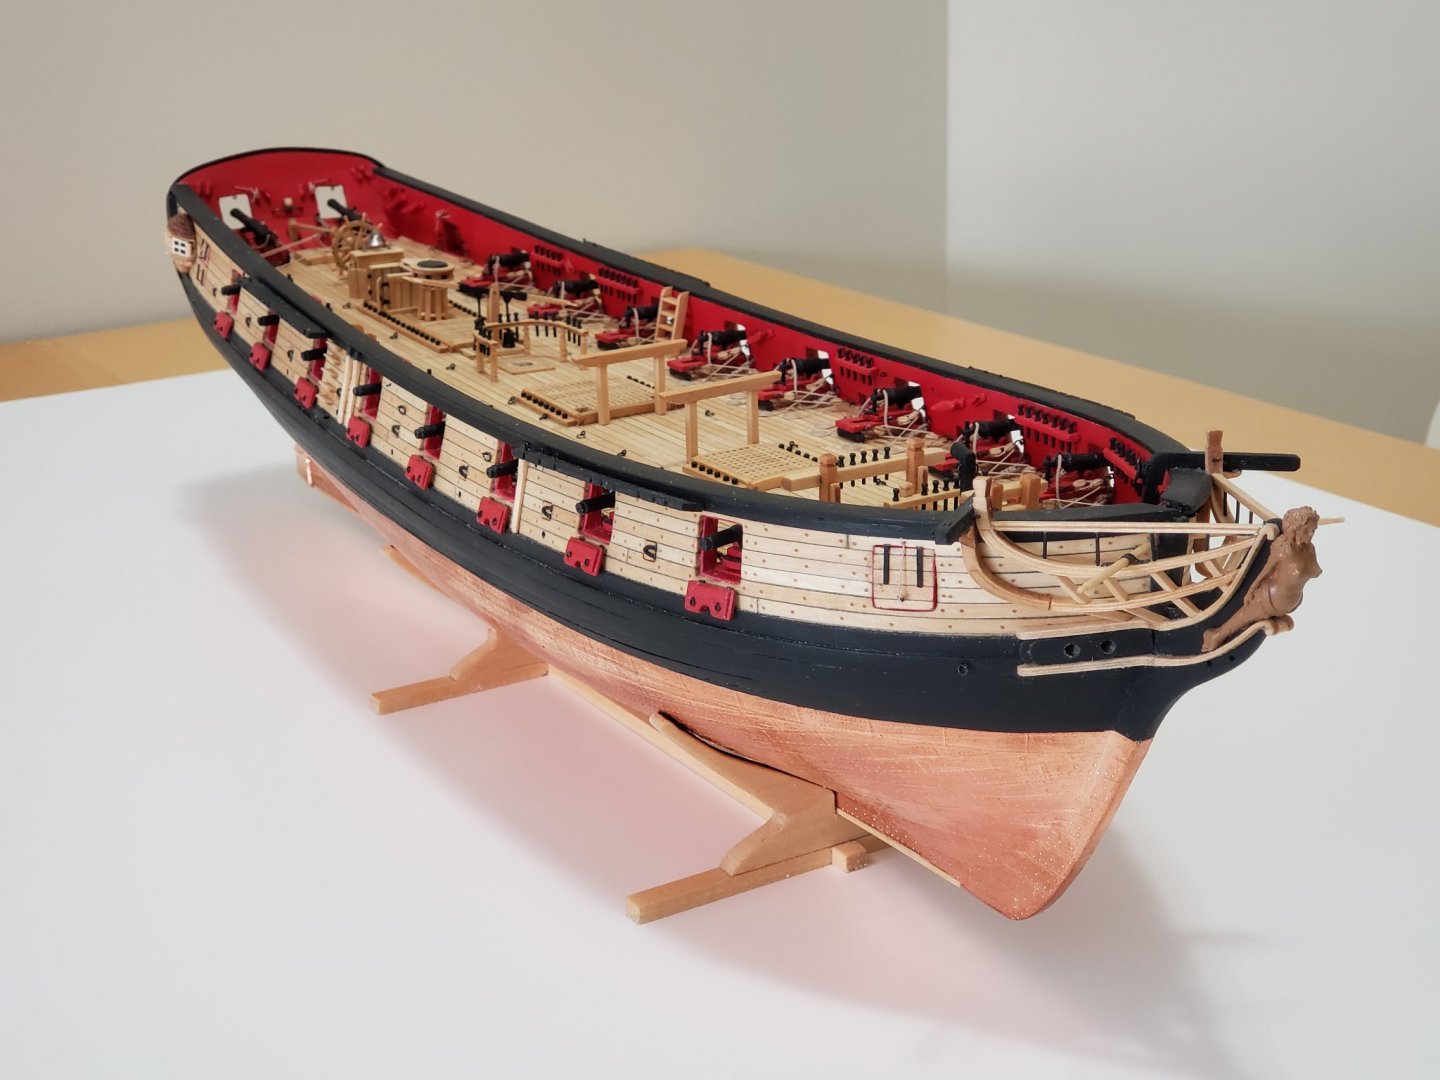
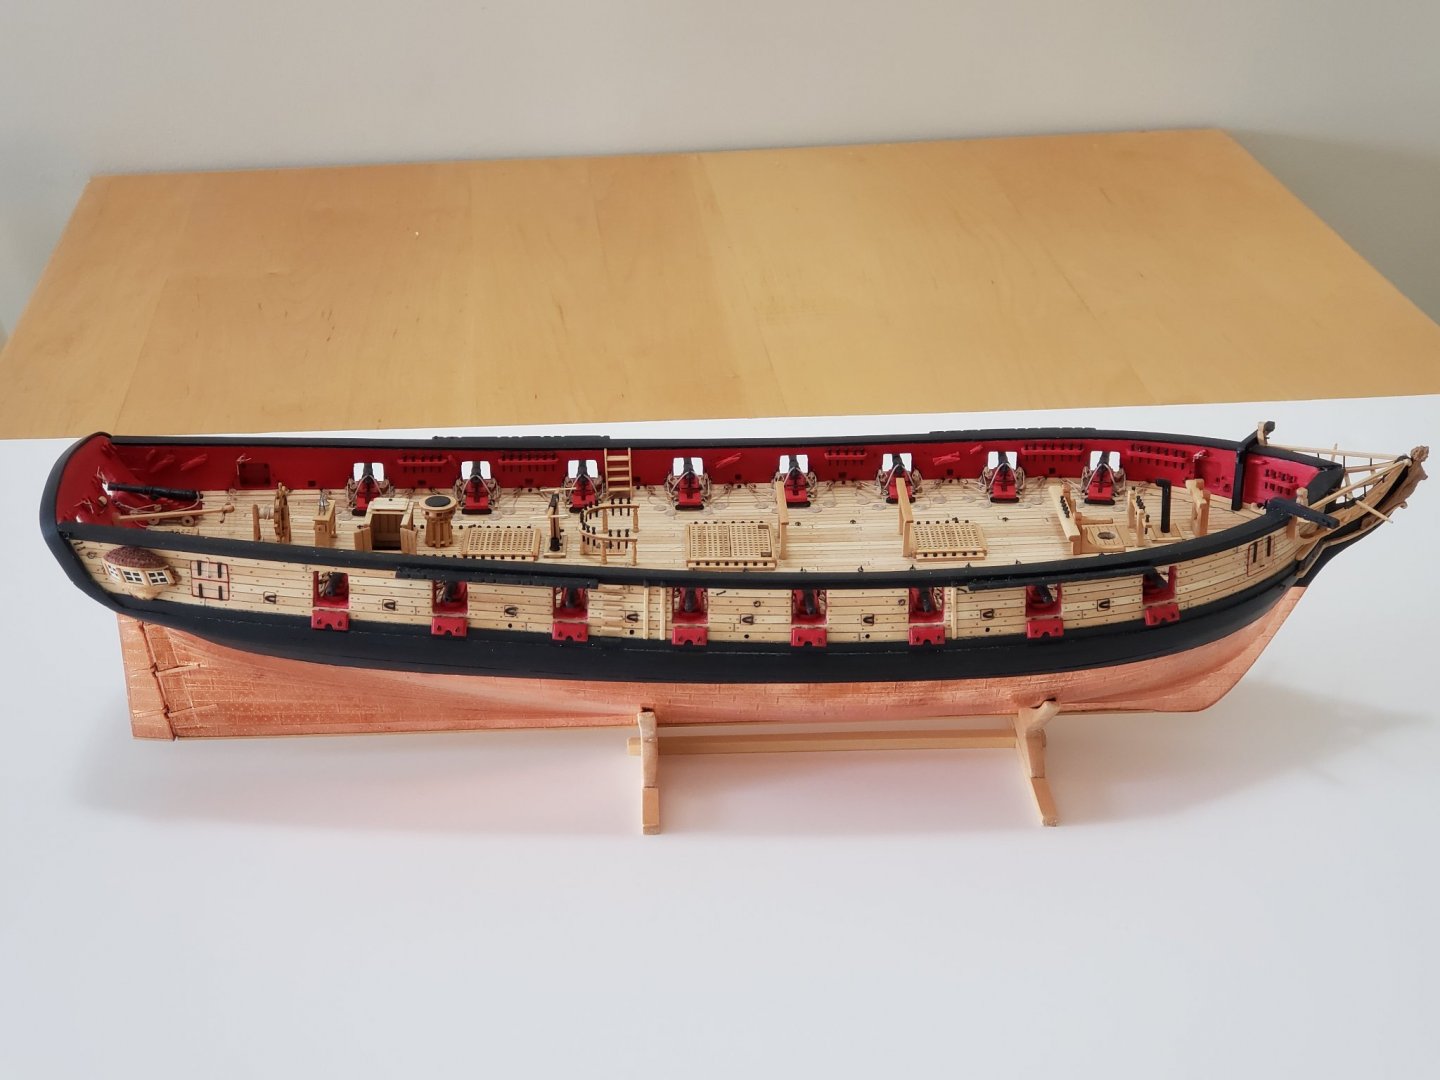
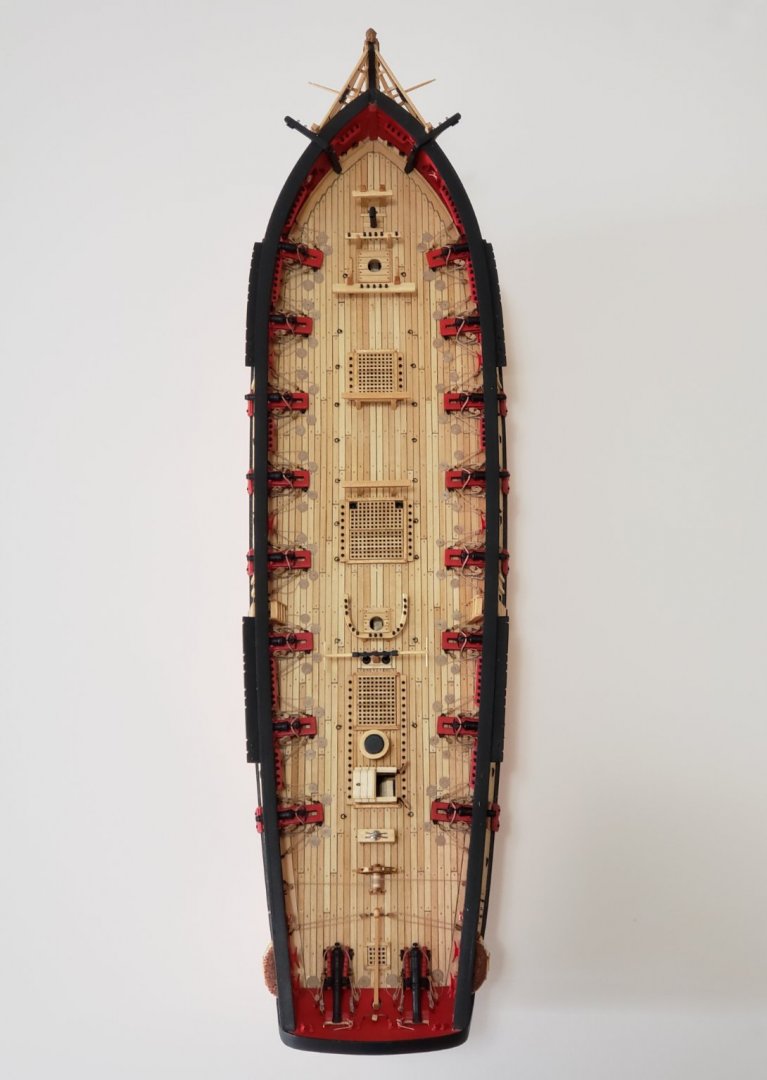
After many many hours, and very sore and dusty fingers, I finally finished sanding 😁. This part of the build made me come up with many different ways to fold the sandpaper to reach tricky spots. There was one spot near the stern where I may have sanded too much and can see it clearly when shining a light at the back, but other than that, no major mishaps.. Here are some pics And Happy Thanksgiving to our southern neighbors!
- 950 replies
-
- 12
-

-
- syren
- model shipways
- (and 1 more)
-
For the curved part I used a coping saw keeping a bit of access material then sanded it off. Maybe you could try this but it's time consuming given its not using a power tool. I used basswood for this which is relatively easy to sand manually, so not sure how cedar would react..
-
They look perfect!!
-
Patrick, are you planning on drilling the scuppers through the hull? Or part way like the instructions suggest? I went ahead to drill part way since I was scared of messing things up...
-
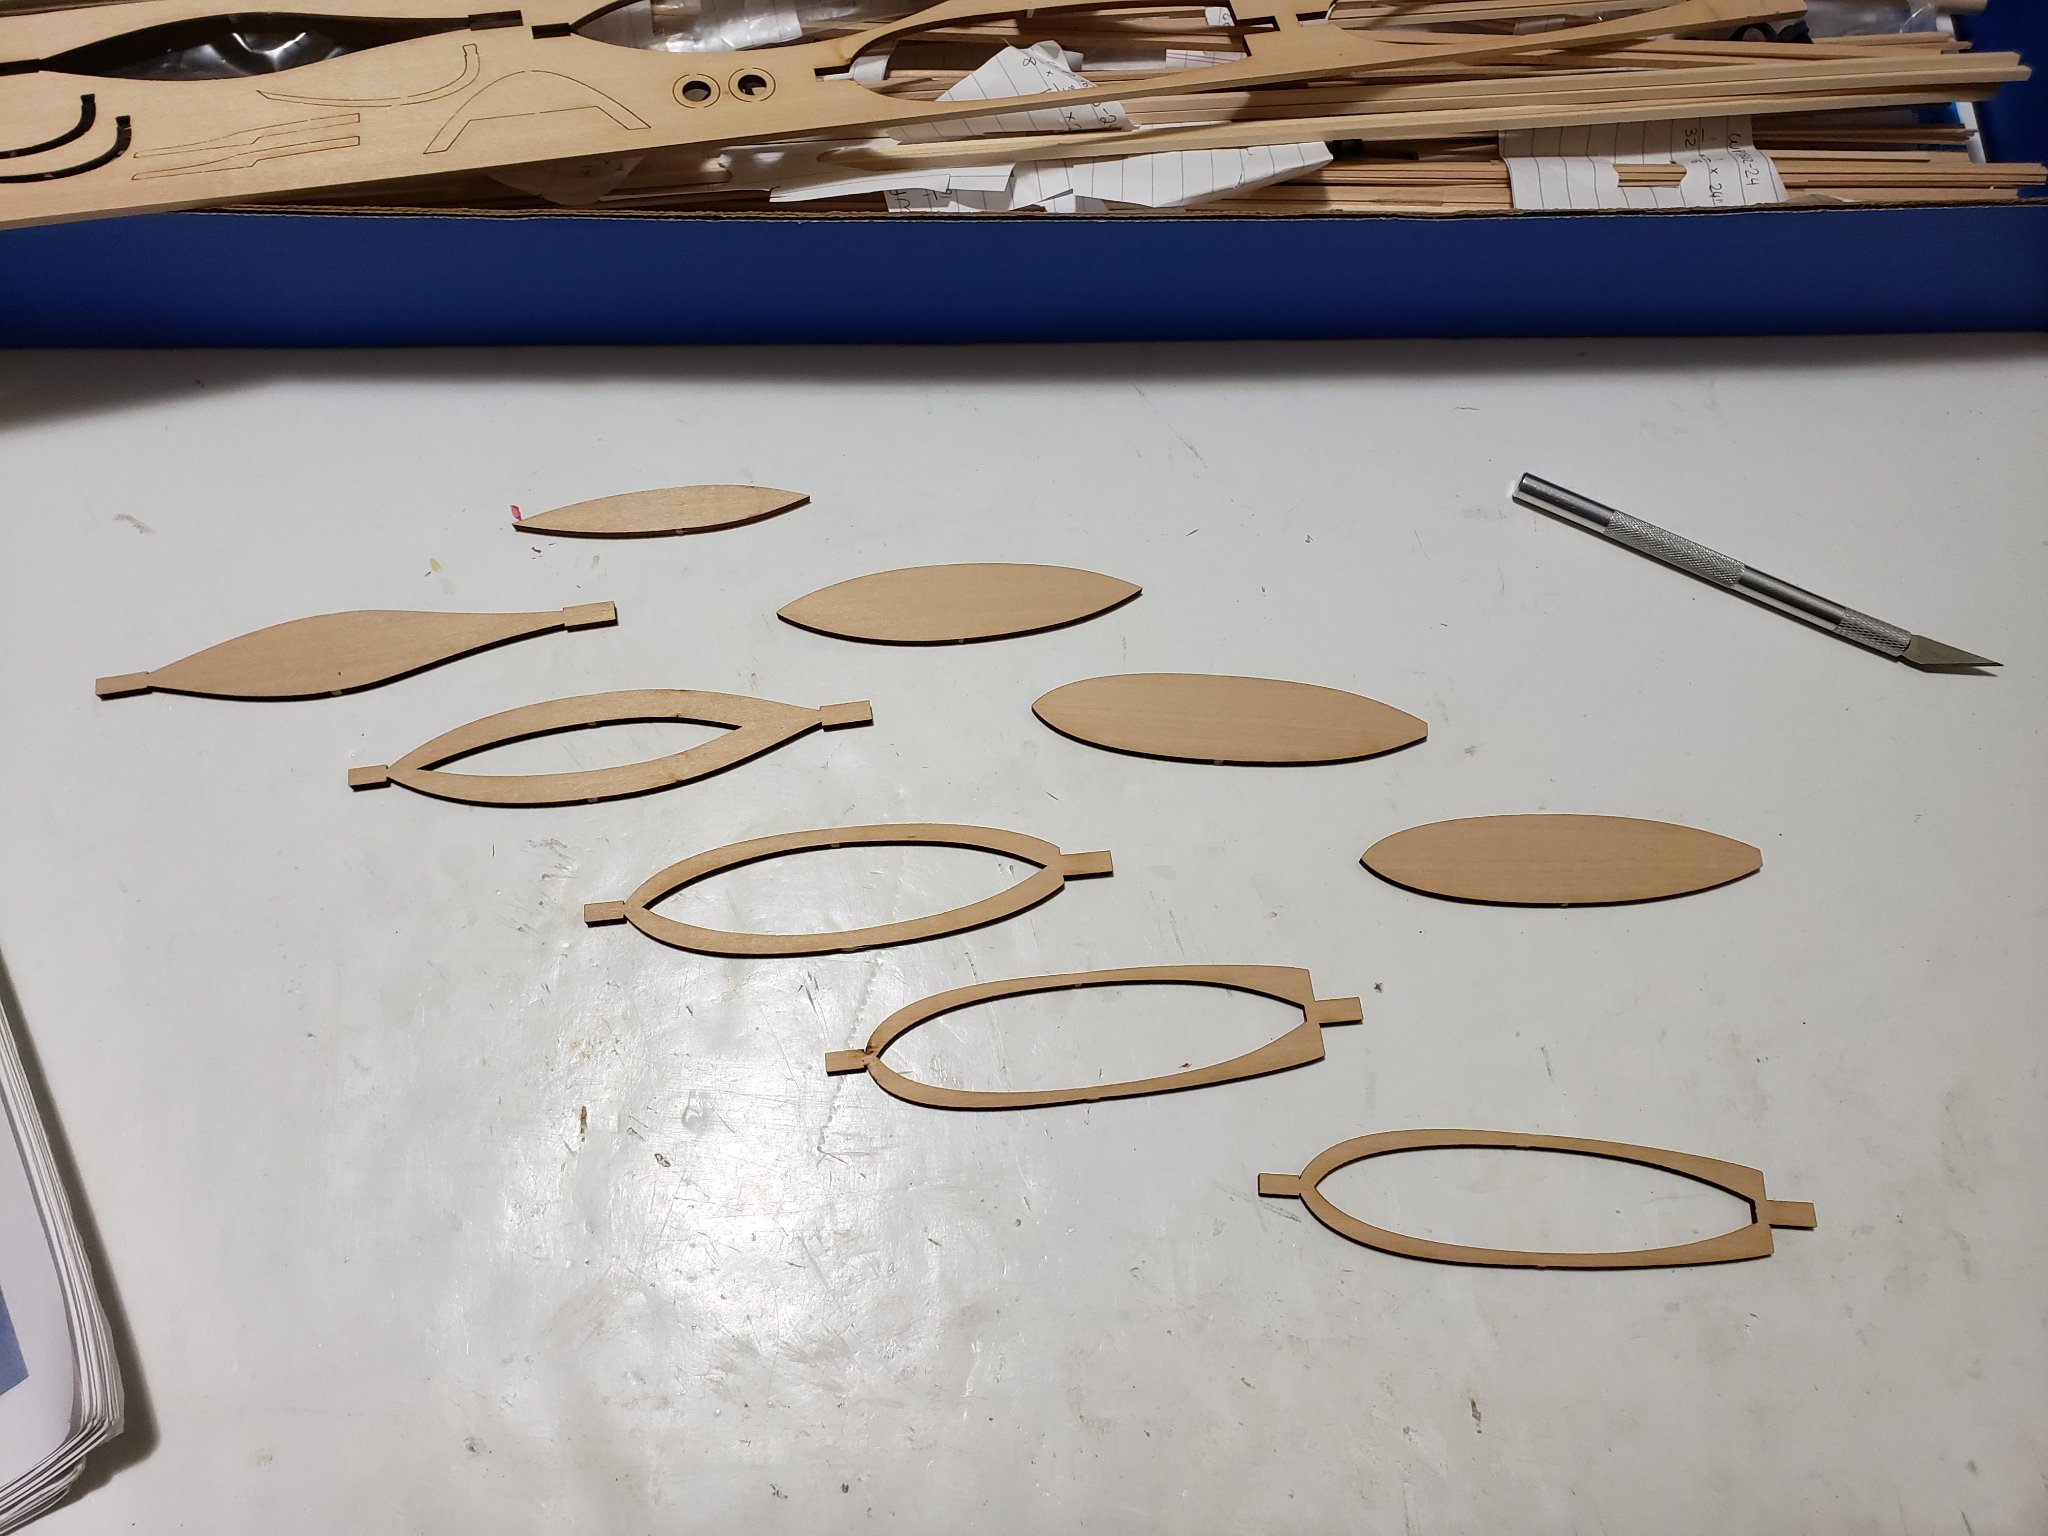
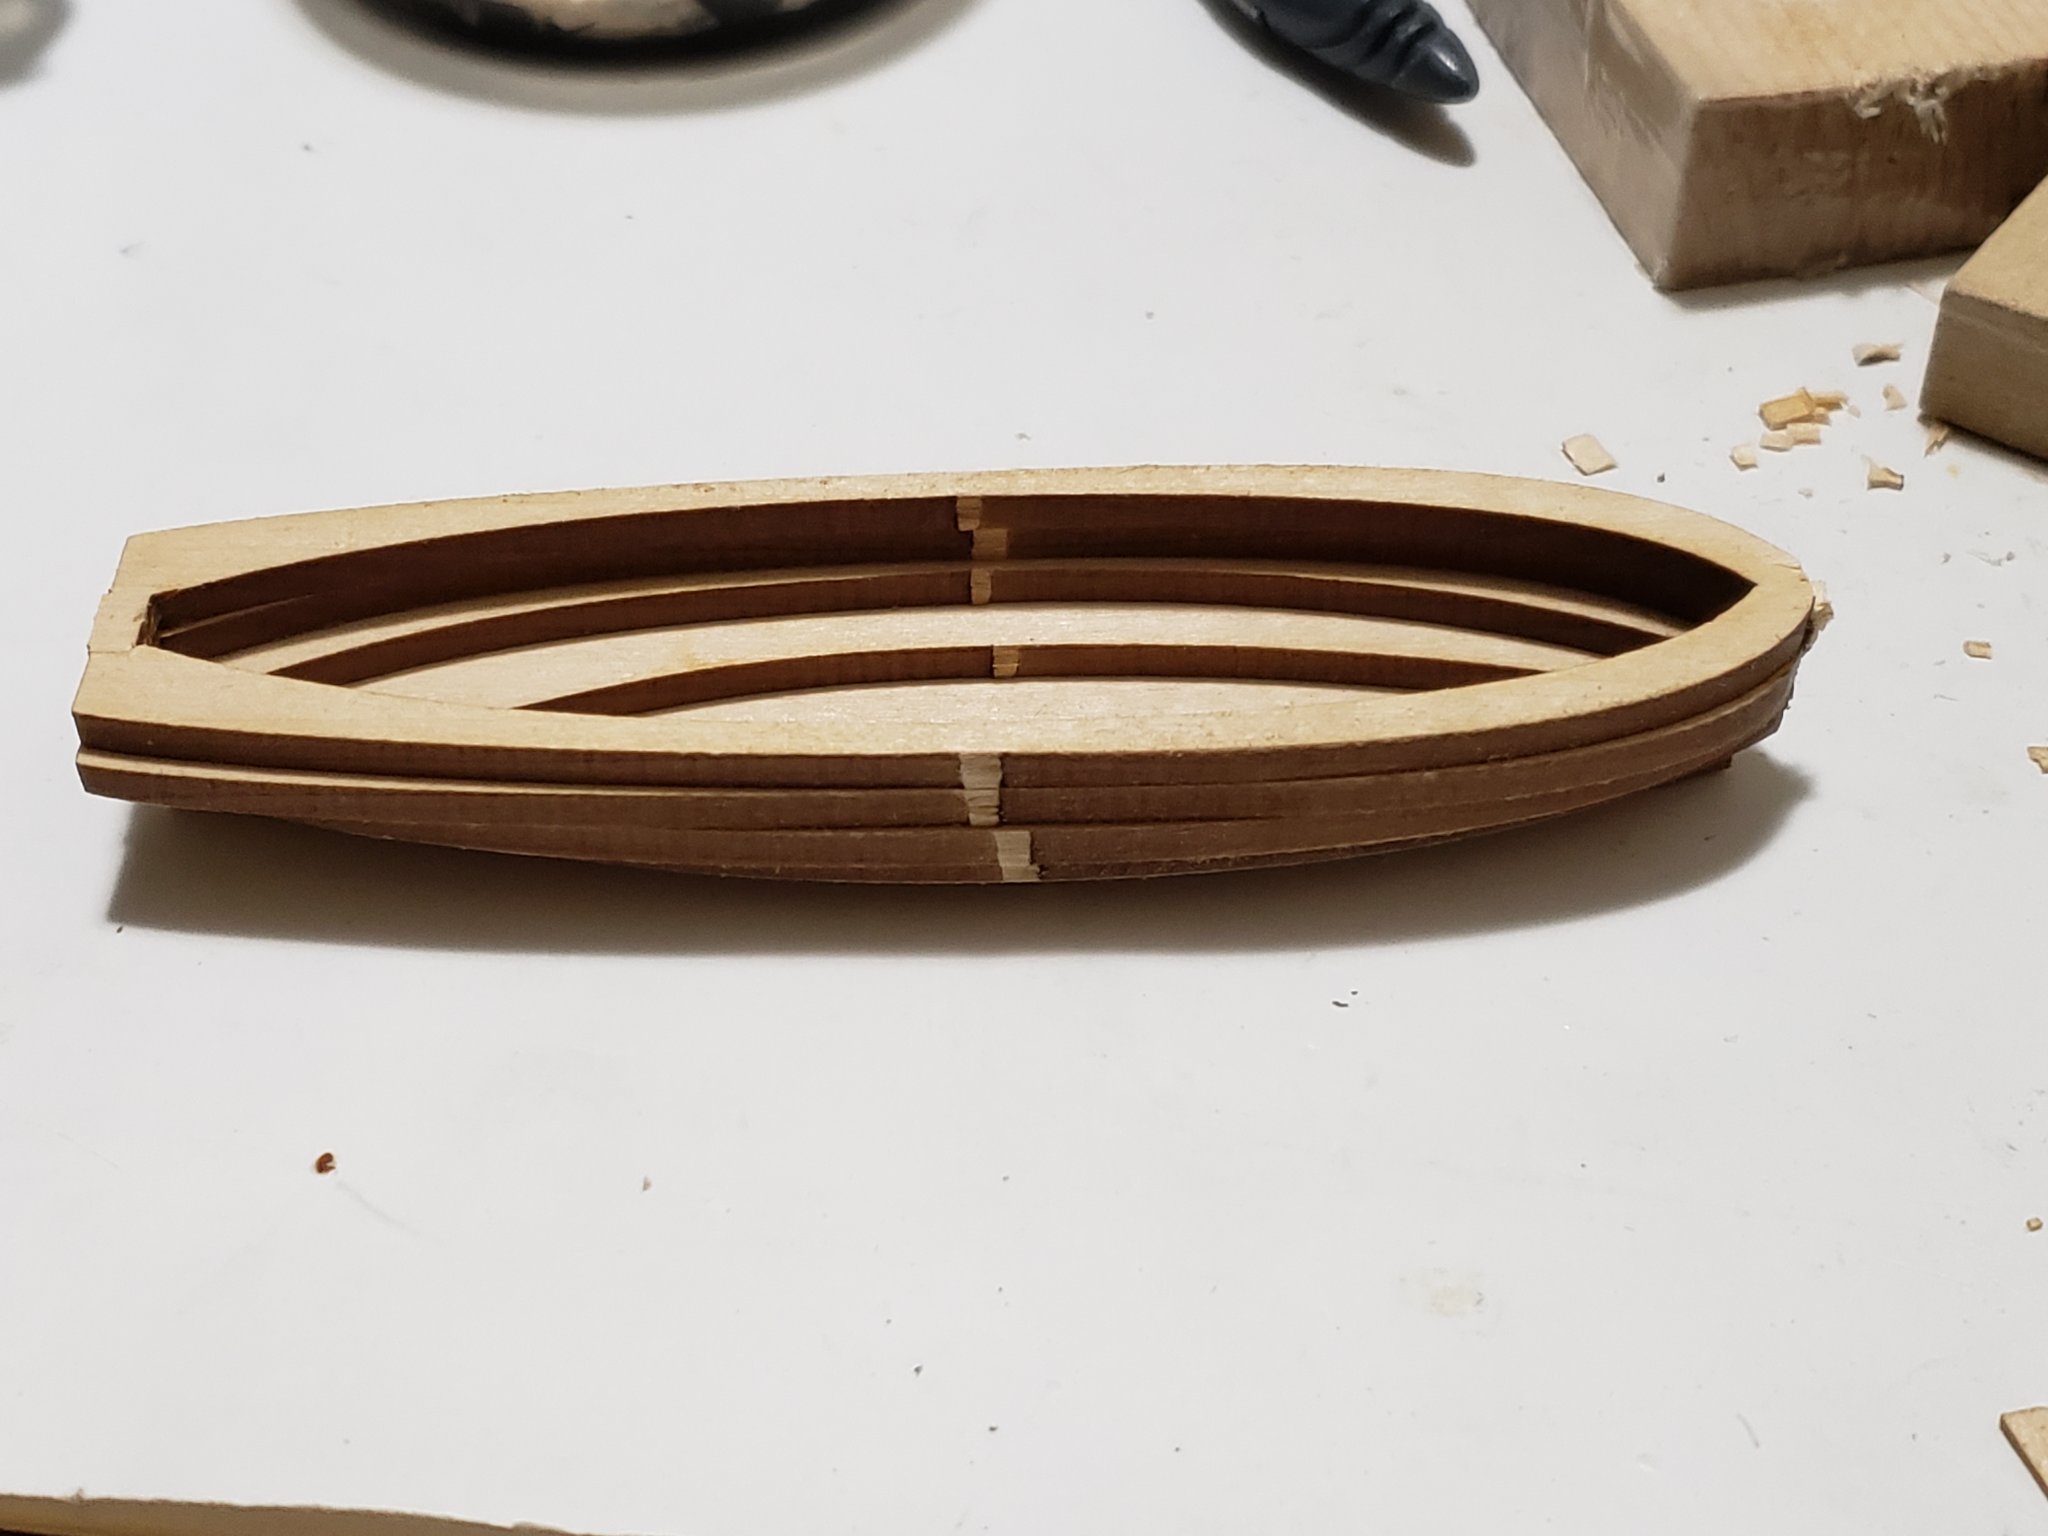
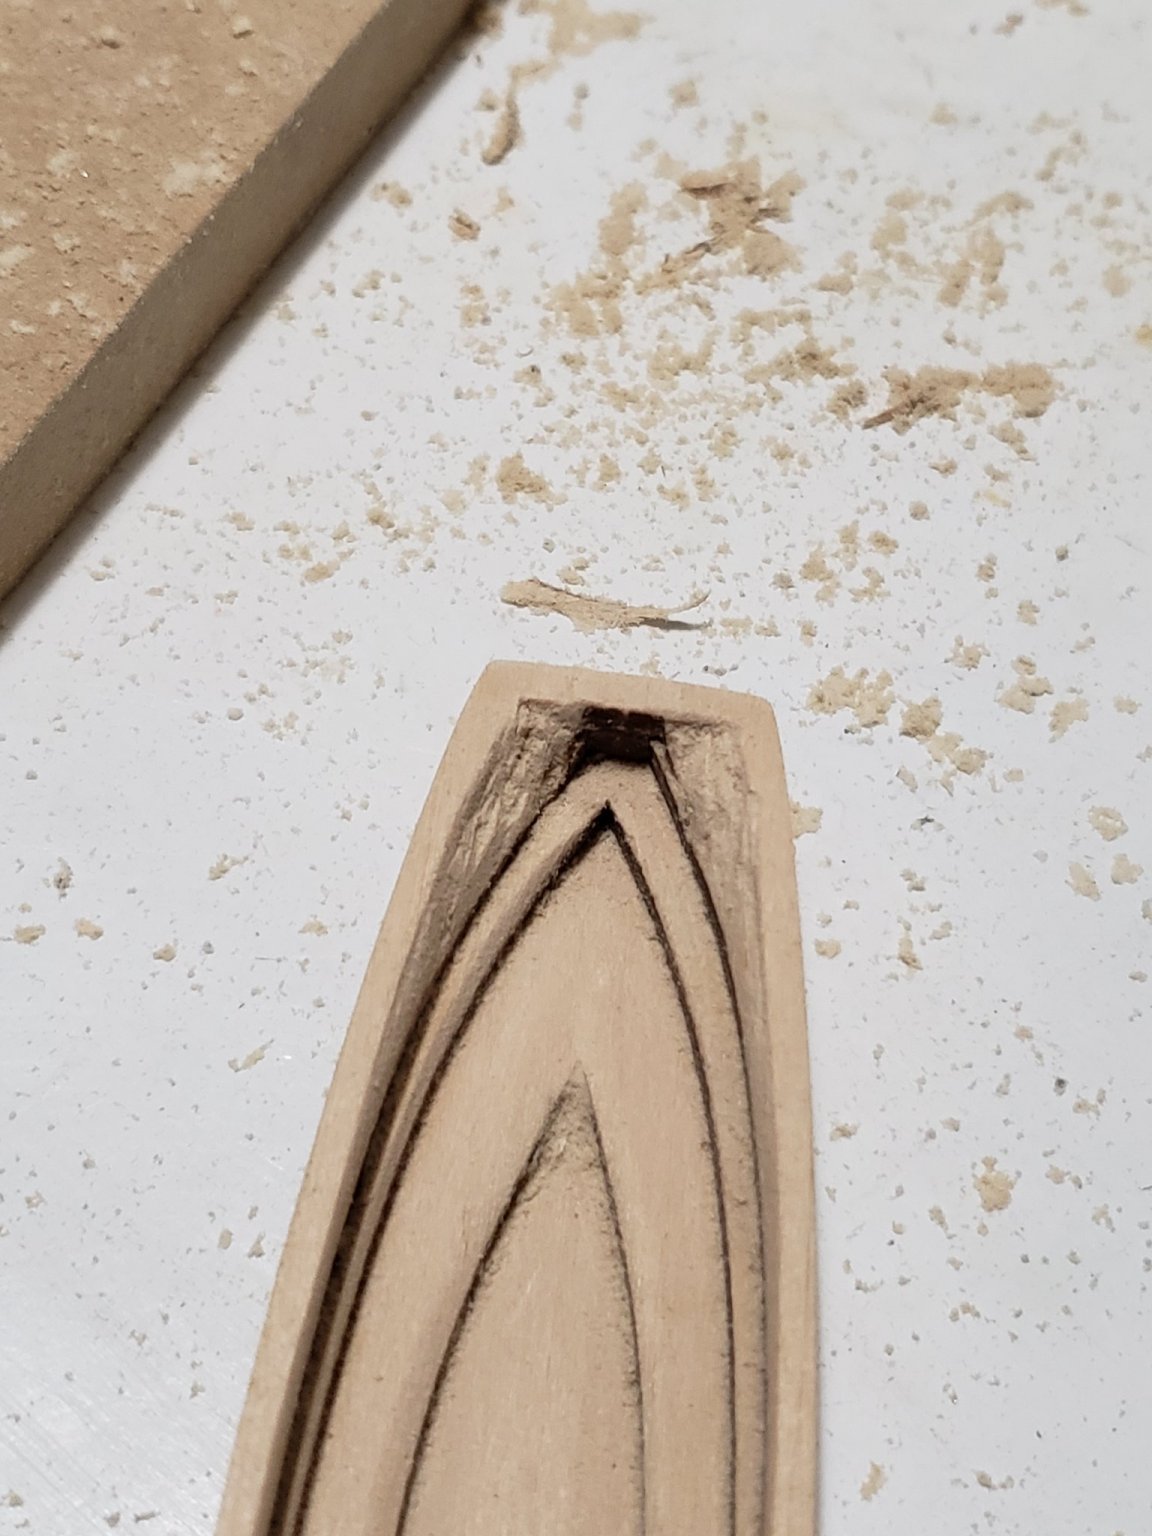
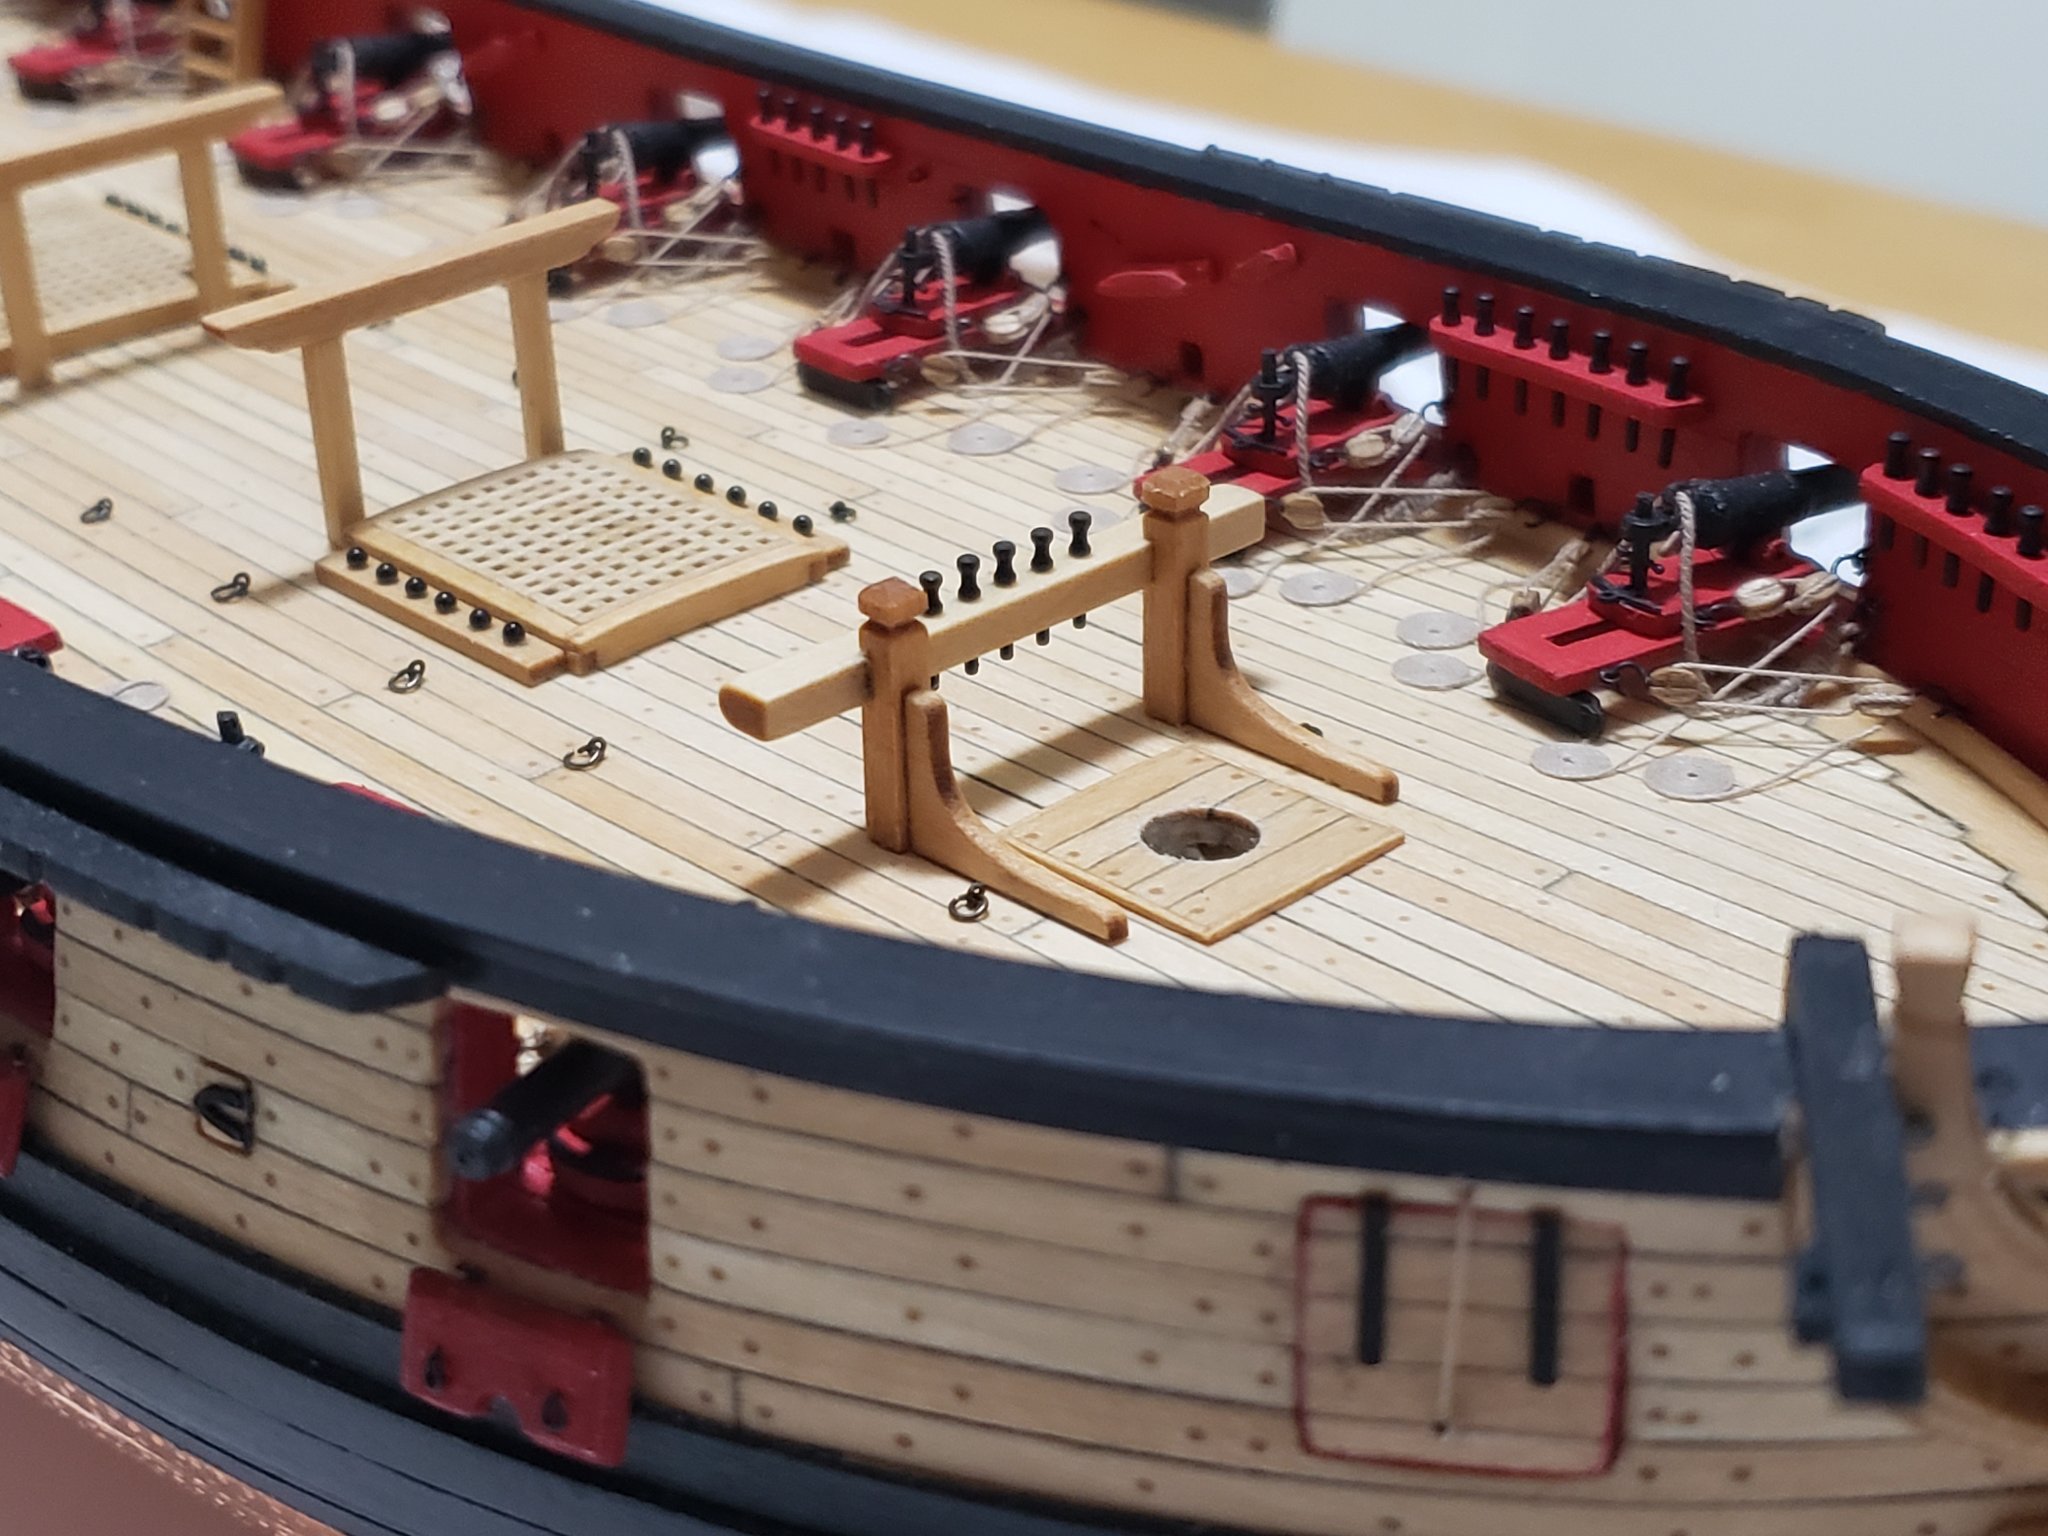
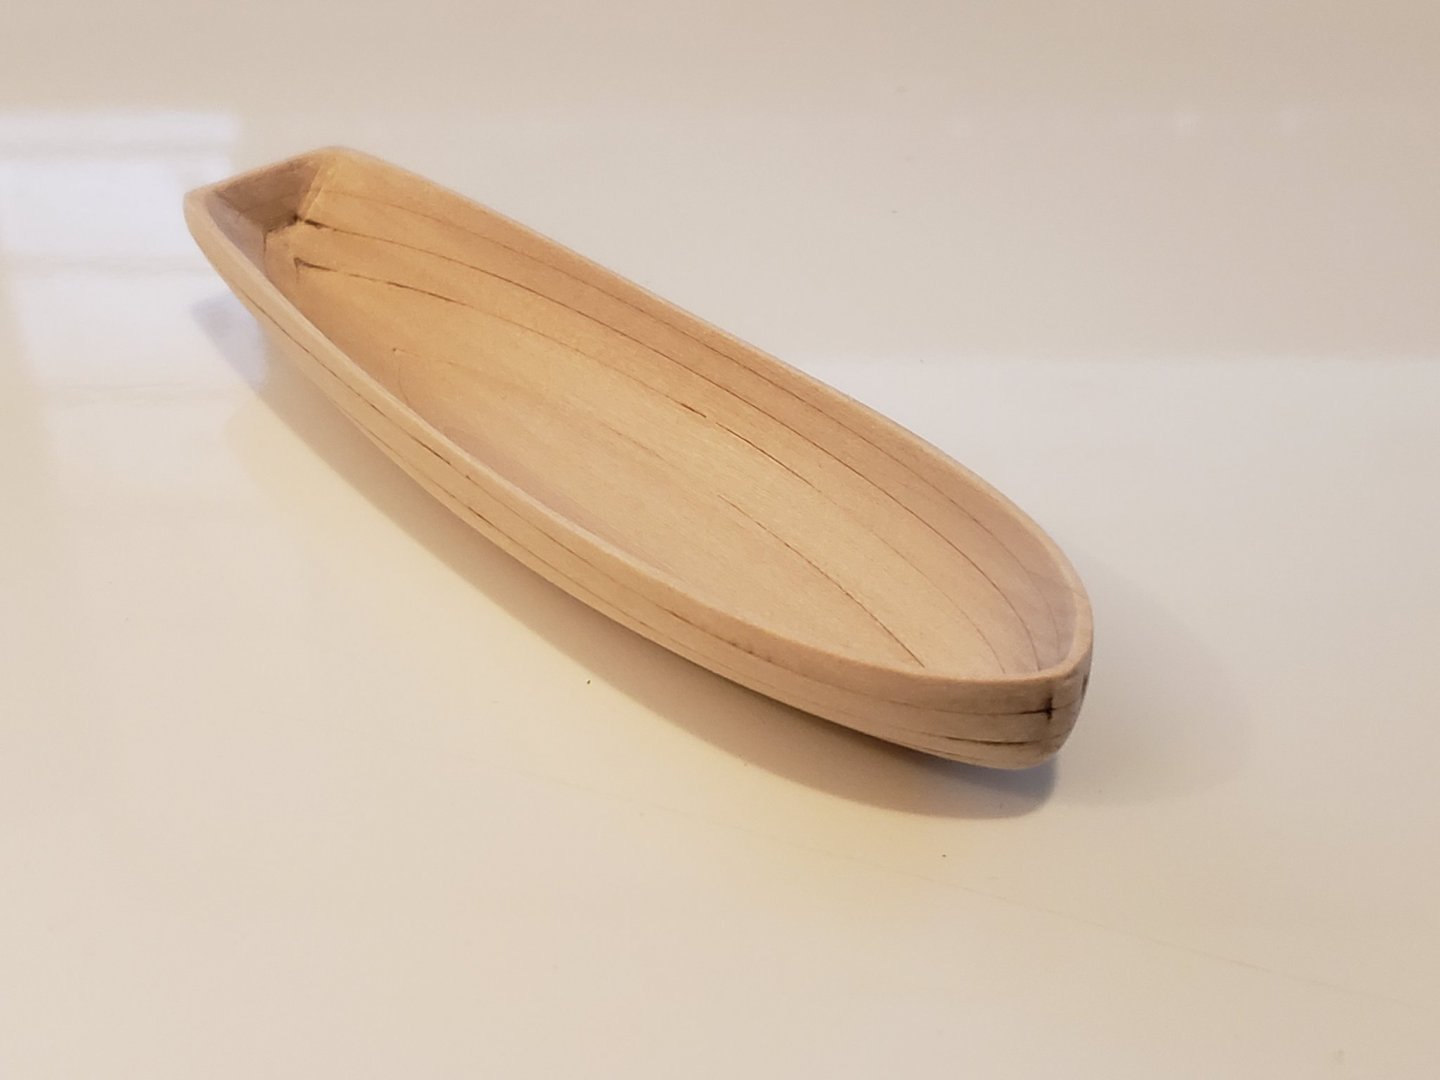
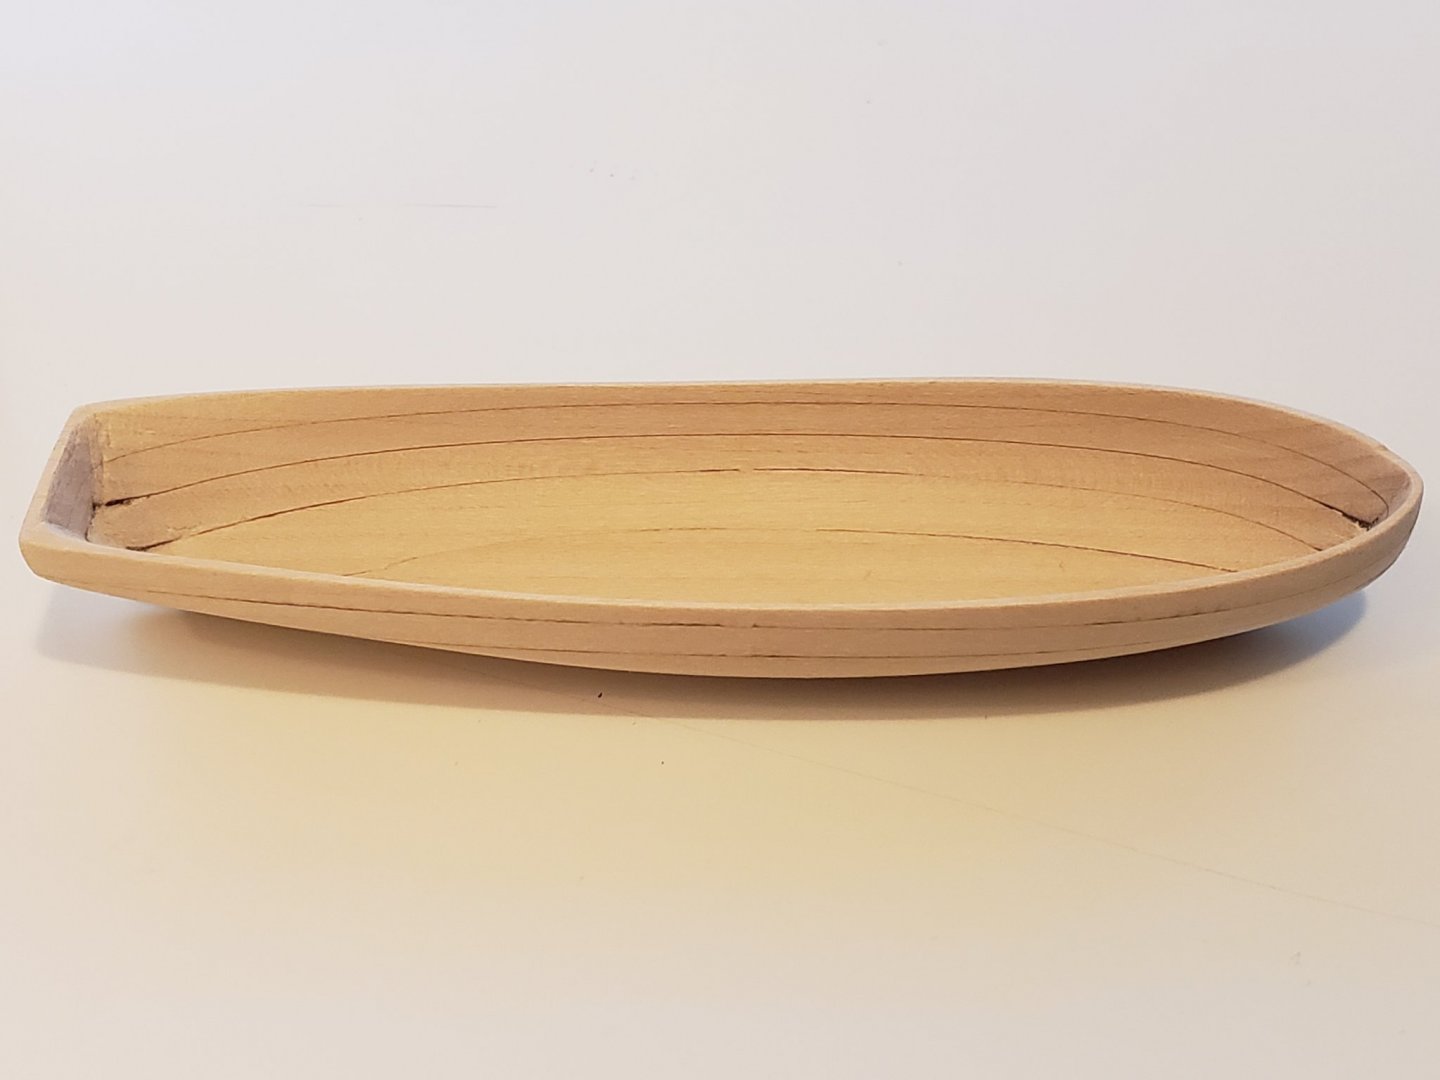
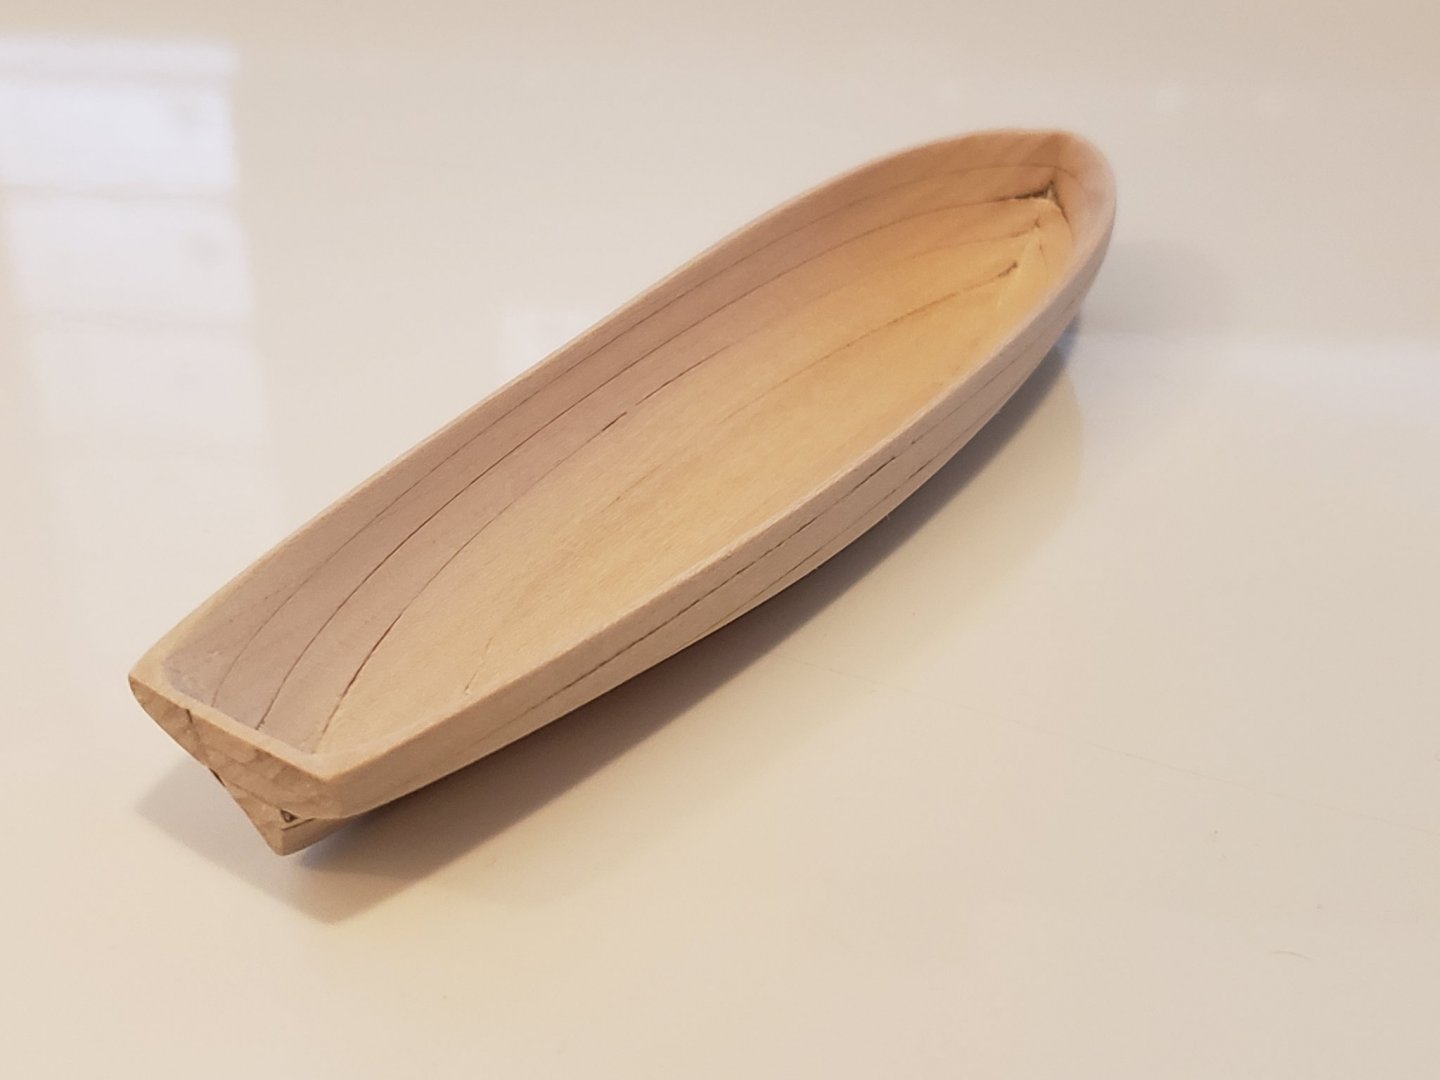
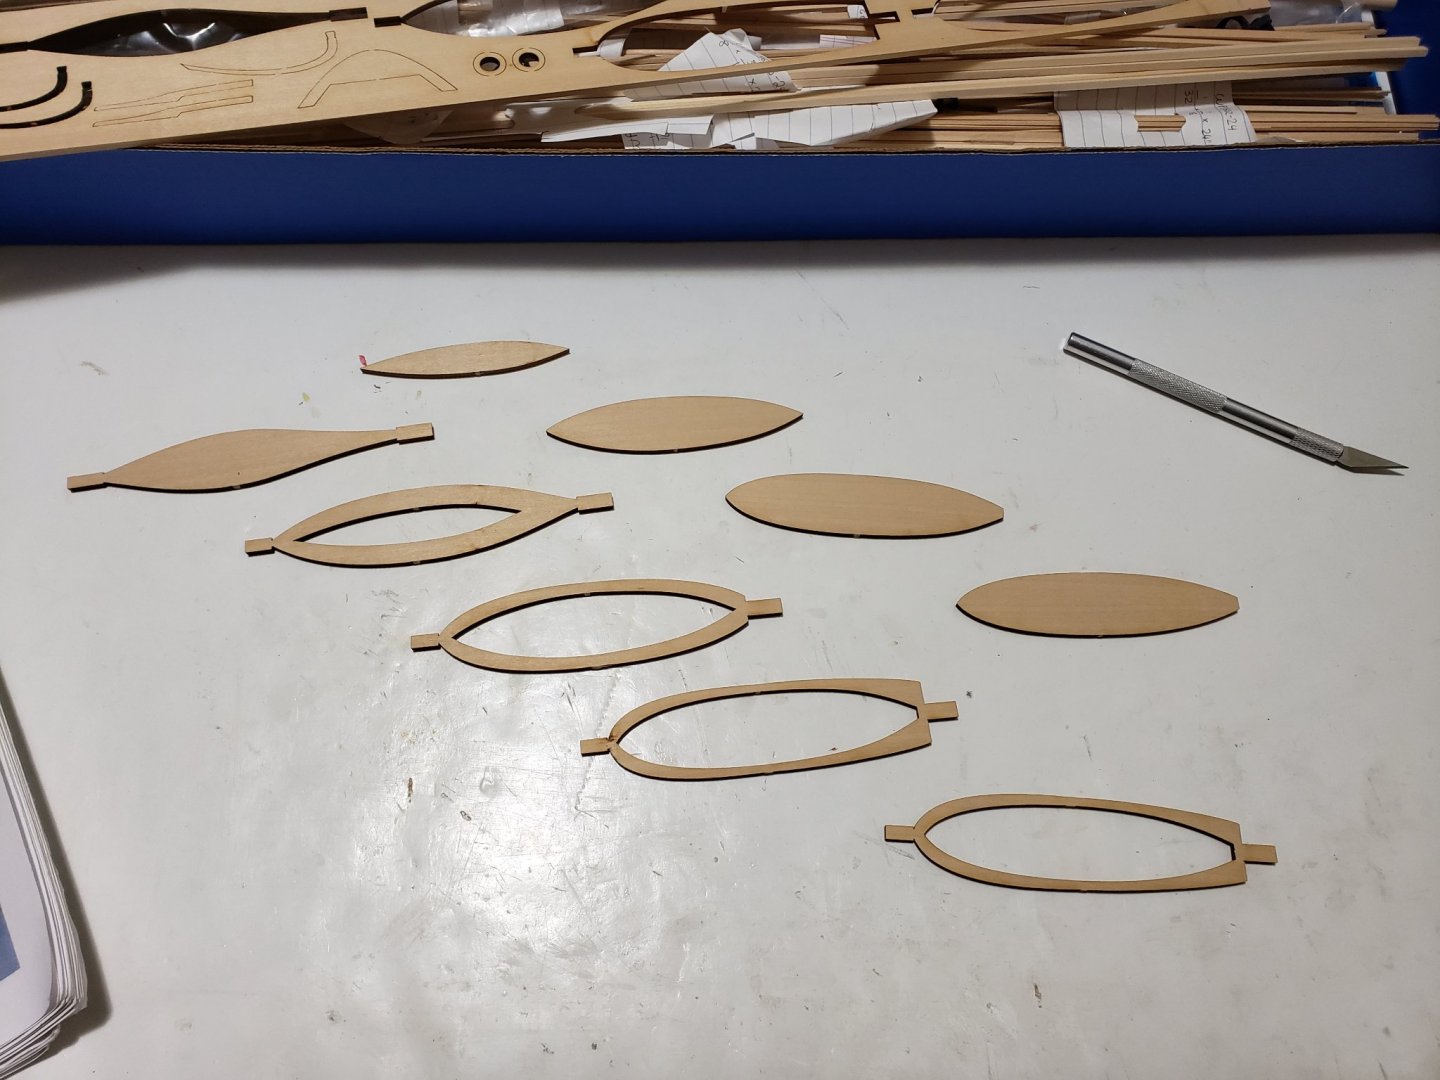
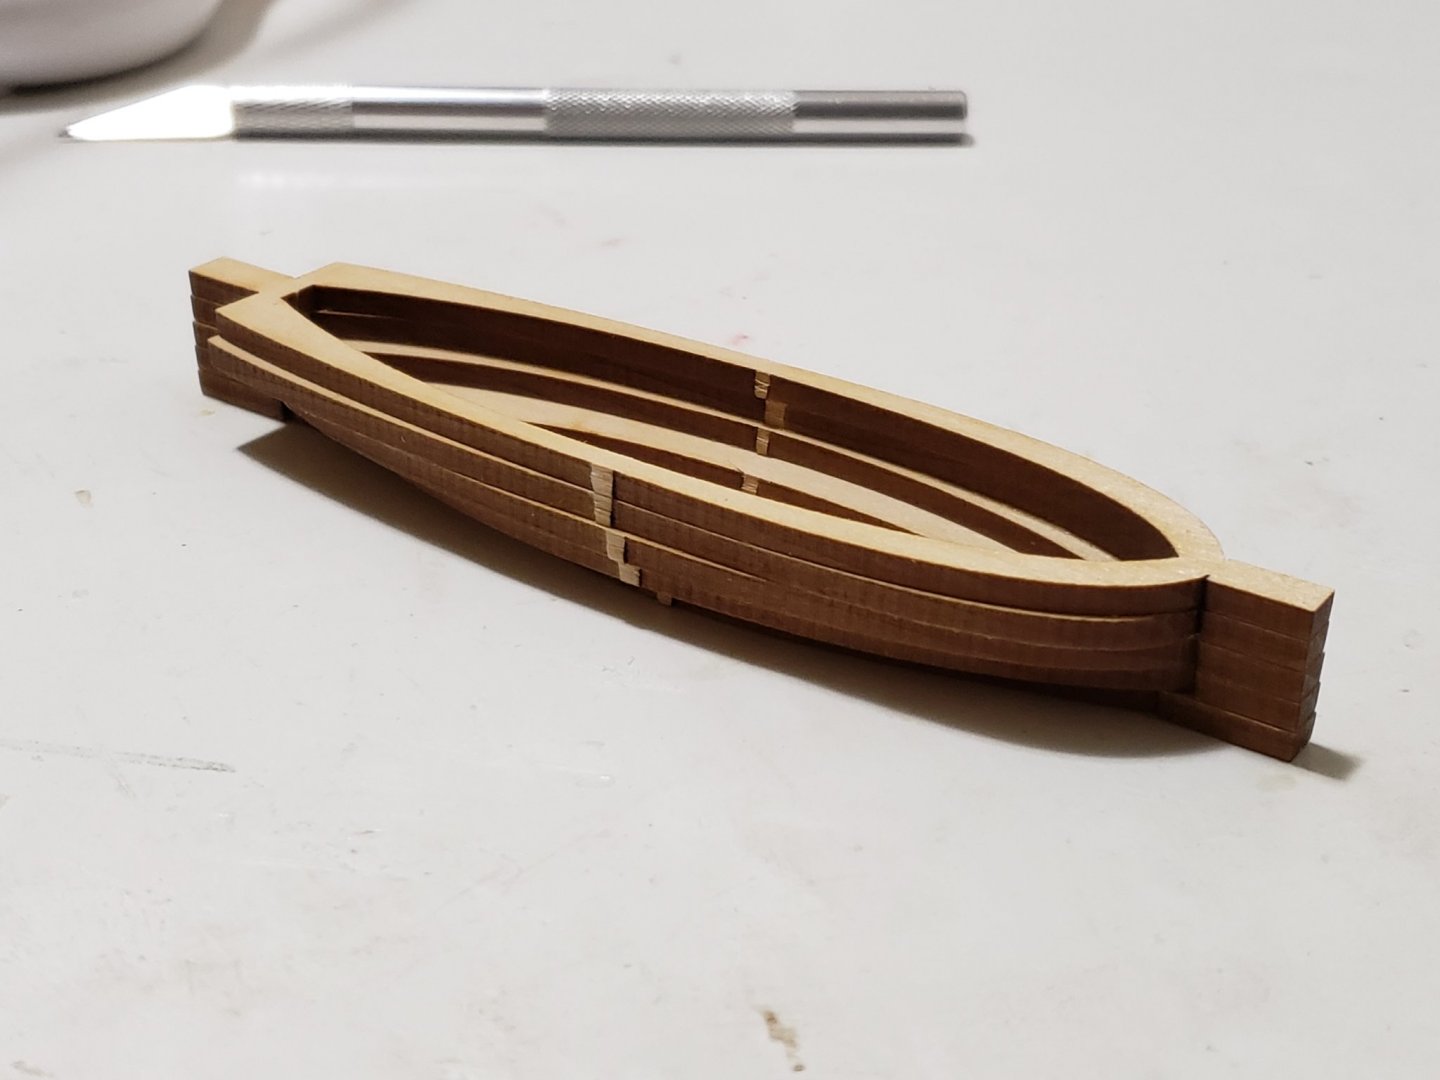
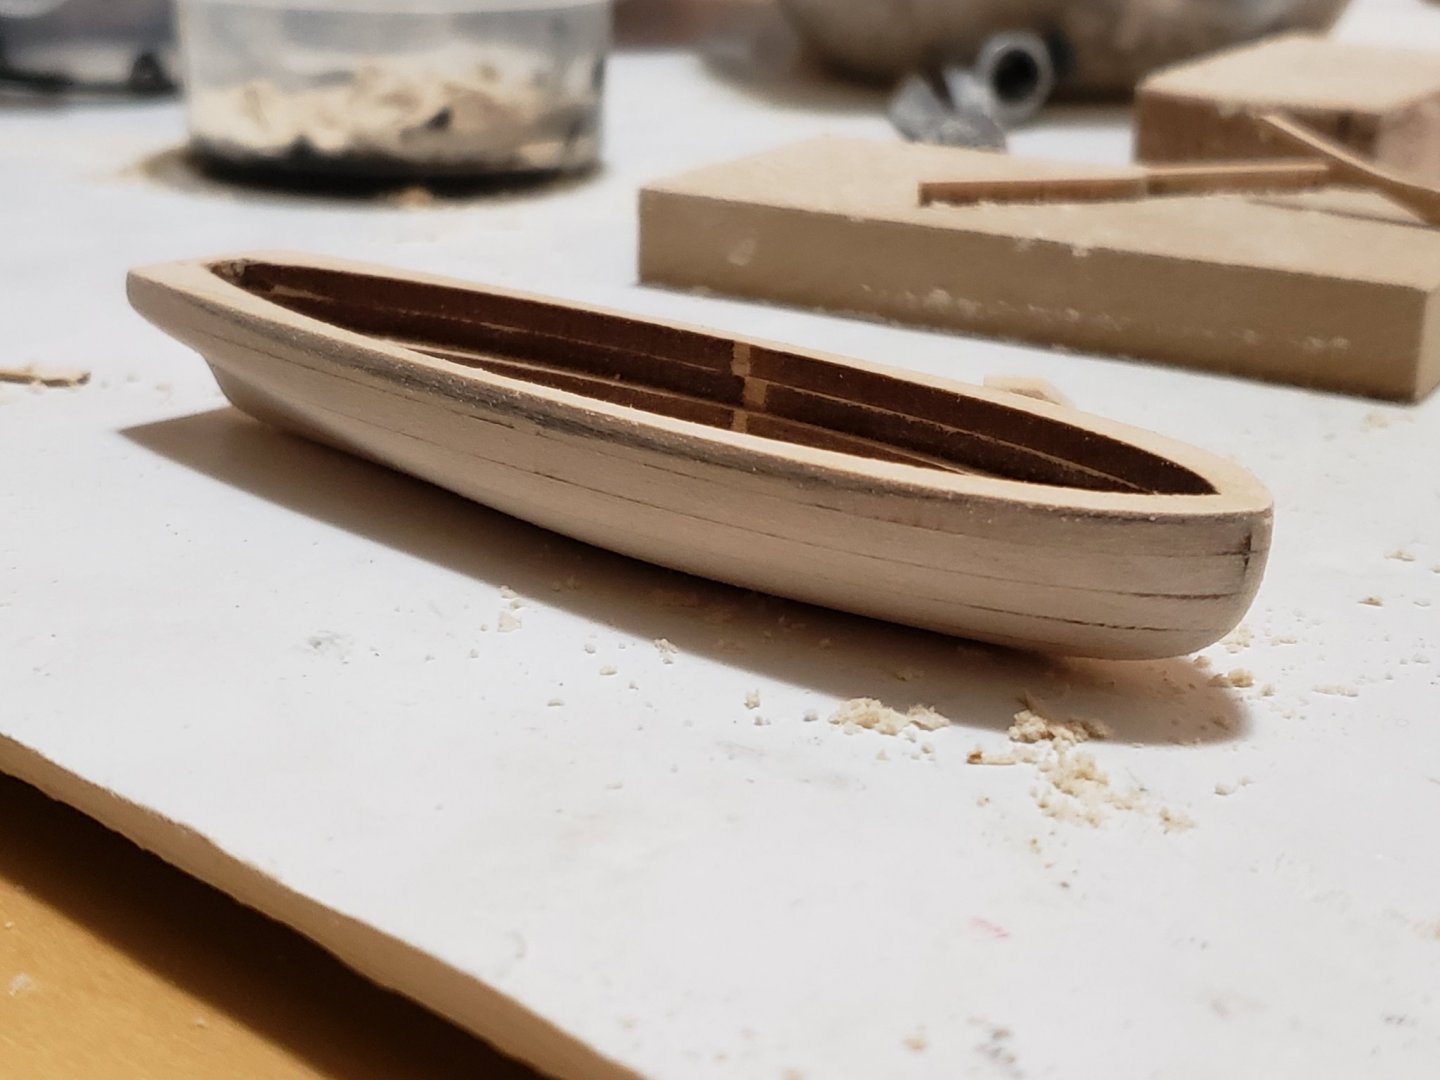
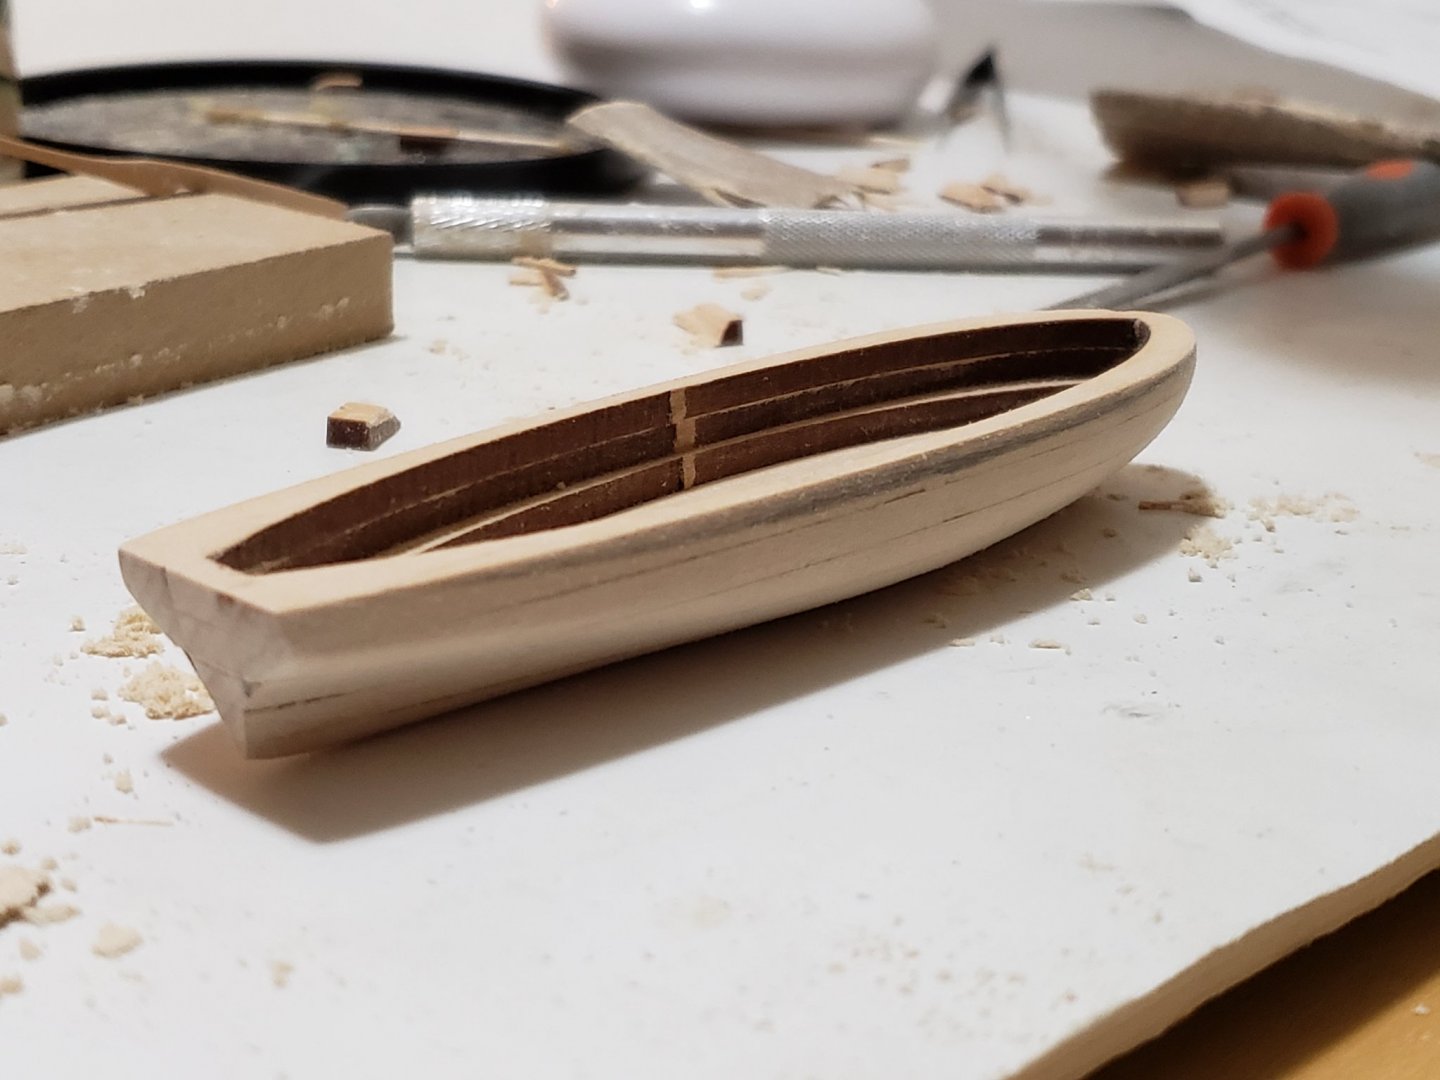
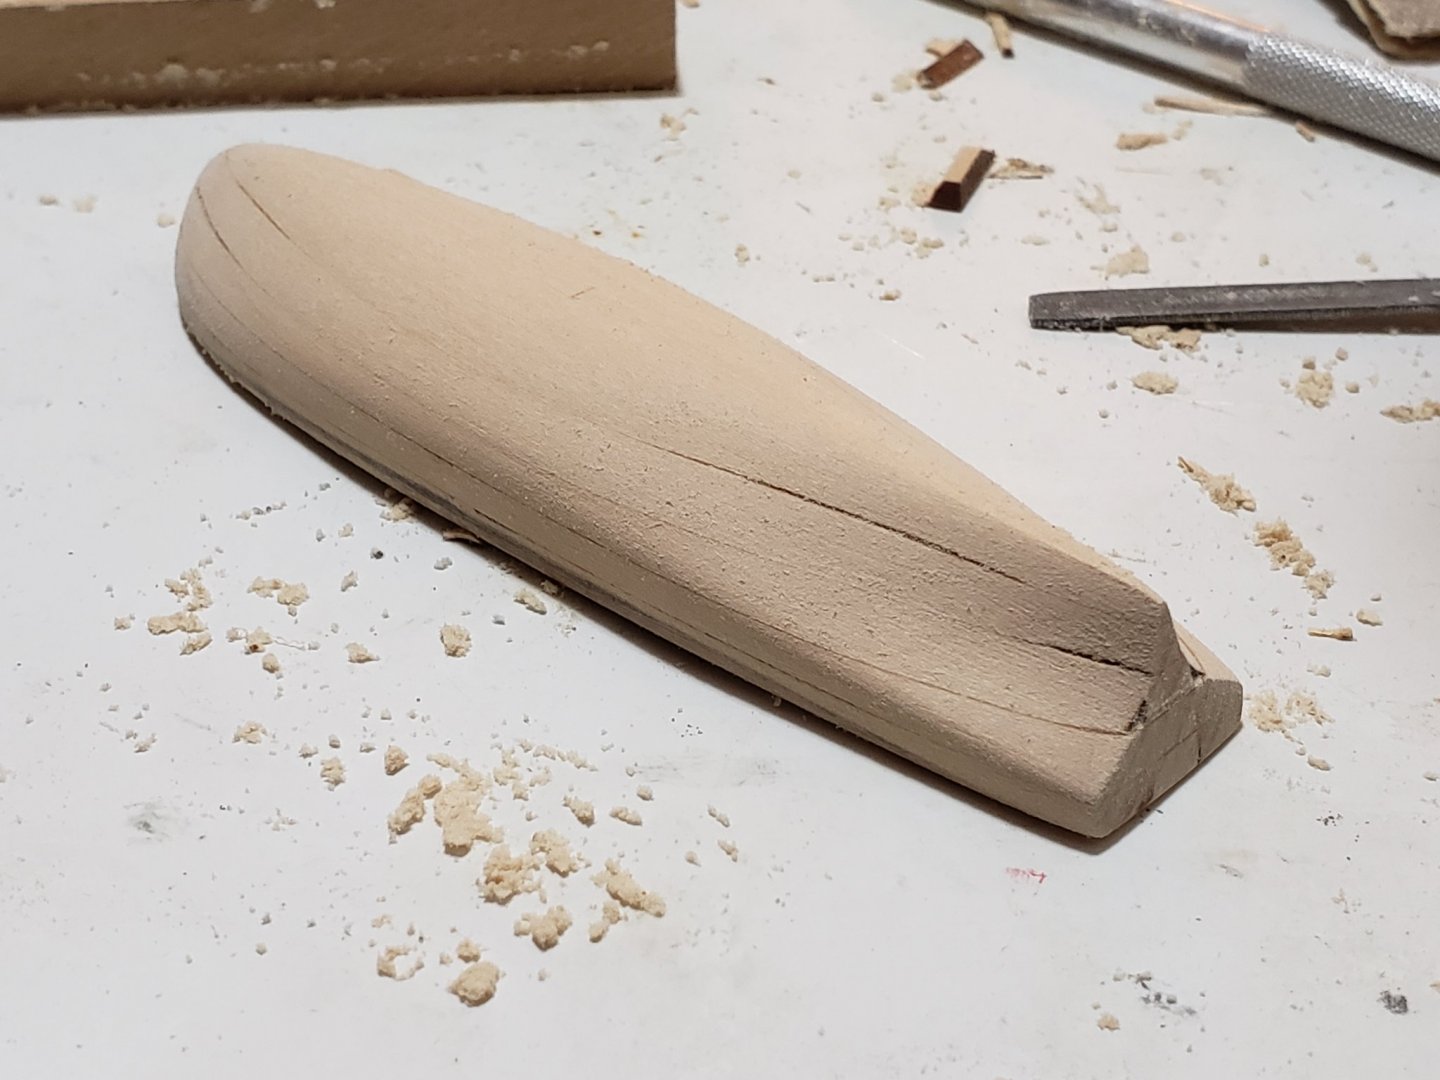
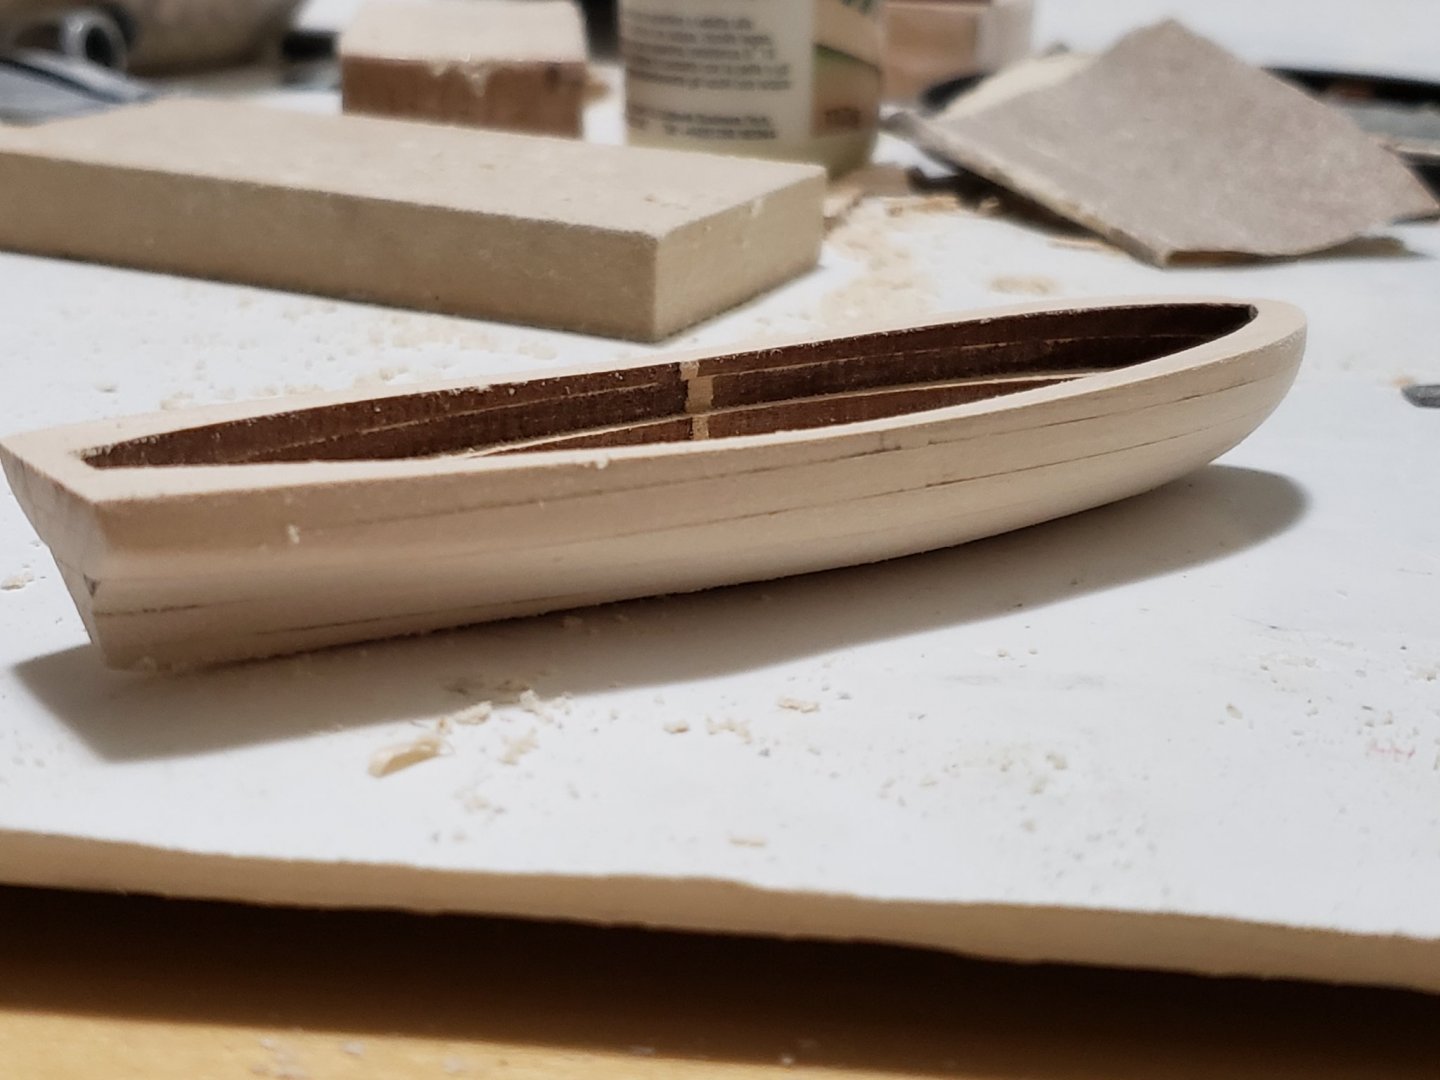
Many thanks Robin, Thomas and Kurt for the comments. Much appreciated!! I decided to go about starting with the longboat and do the cap rail details once I receive the brass parts from ModelExpo. They were just shipped today so it would probably be a couple of weeks till I receive them. For the longboat I ended up spending a couple of hours sanding the exterior. Here are some progress pics Here the sheer profile is sanded Here, I tried using an #11 blade to shape the stern bit which will be cleaned up with sanding The inner portion of the boat seems really difficult to sand, especially the tight spots at the stern and bow. Let's see if I can manage thinning down the shell... On a side note, I went ahead and bought some Dremel tools as an early Christmas present (Dremel Moto-saw, 4000 rotary tool and flex shaft) I also got the Dremel drill press attachment as per Robin's advice on his log. Realized I also need the multi-chuck, so will be getting that soon. Only thing is I need to figure out where to set them up because of the limited space I have 😅. May just keep them in the box and use them when required.. I was previously thinking of having all three boats mounted on the ship, but having placed the longboat on the gallow bitts, I am now thinking of only having that and the jollyboat (if I do build it successfully) on the ship. Depending on how my attempt on the pinnace turns out (or if I even try making it...), I may display it off-ship. I think these boats were rigged, so I may attempt doing that too, if I can find a rigging plan that is... Anyways... need to stop dreaming and focus on sanding 😣


- 950 replies
-
- 11
-
-
- syren
- model shipways
- (and 1 more)
-
Looks exceptional Robin!! The bigger cannon balls match the carronades and makes the ship look deadlier 😁. And the pearwood deck and fittings look awesome! Btw are you planning on building all the ship's boats? Or only the longboat?
-
Awesome!!!
-
Those pins look great!! Did you use a lathe to make them? Or using a drill?
-
The sail look so life-like and full of wind! Can't wait to see how she looks with all the sails on
-
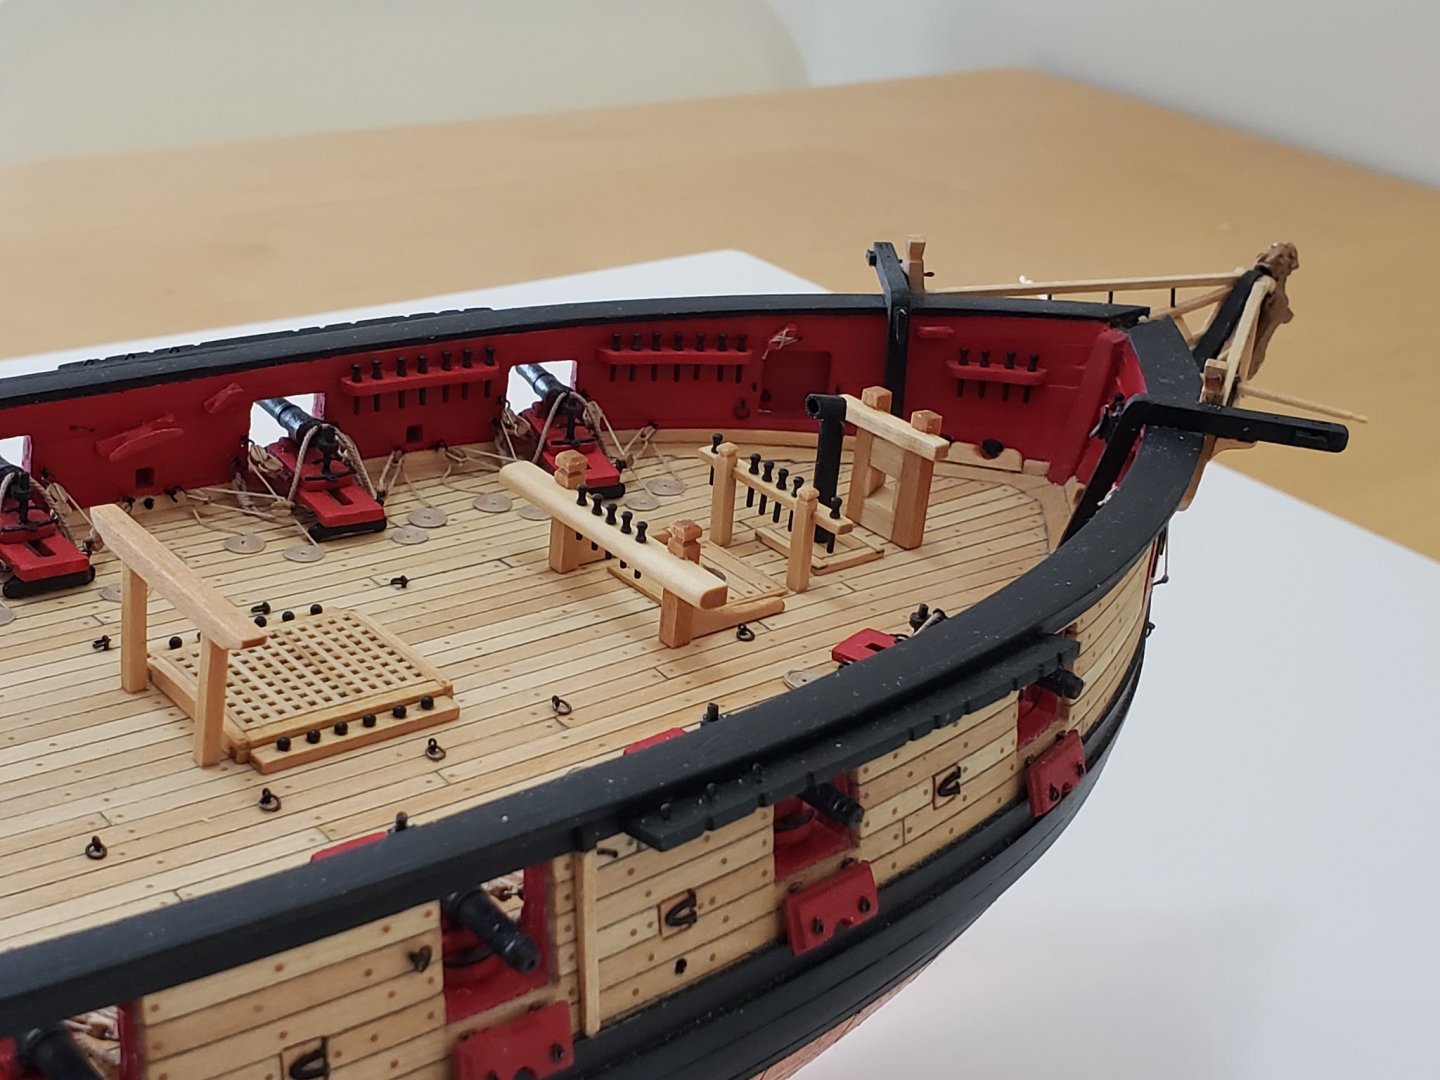
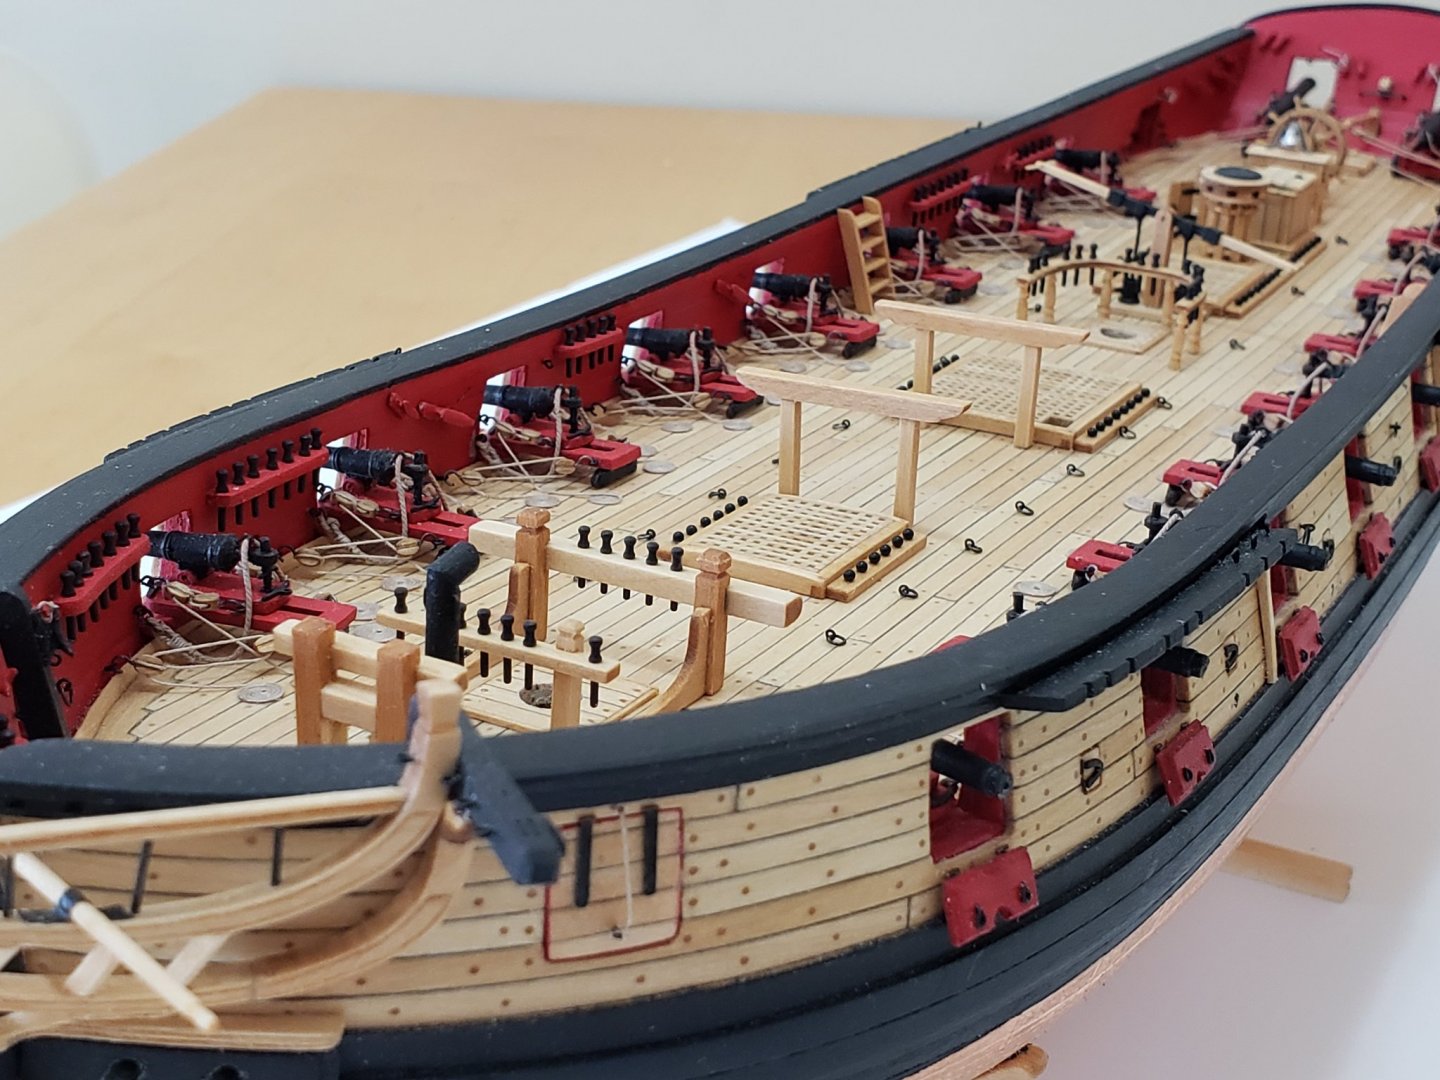
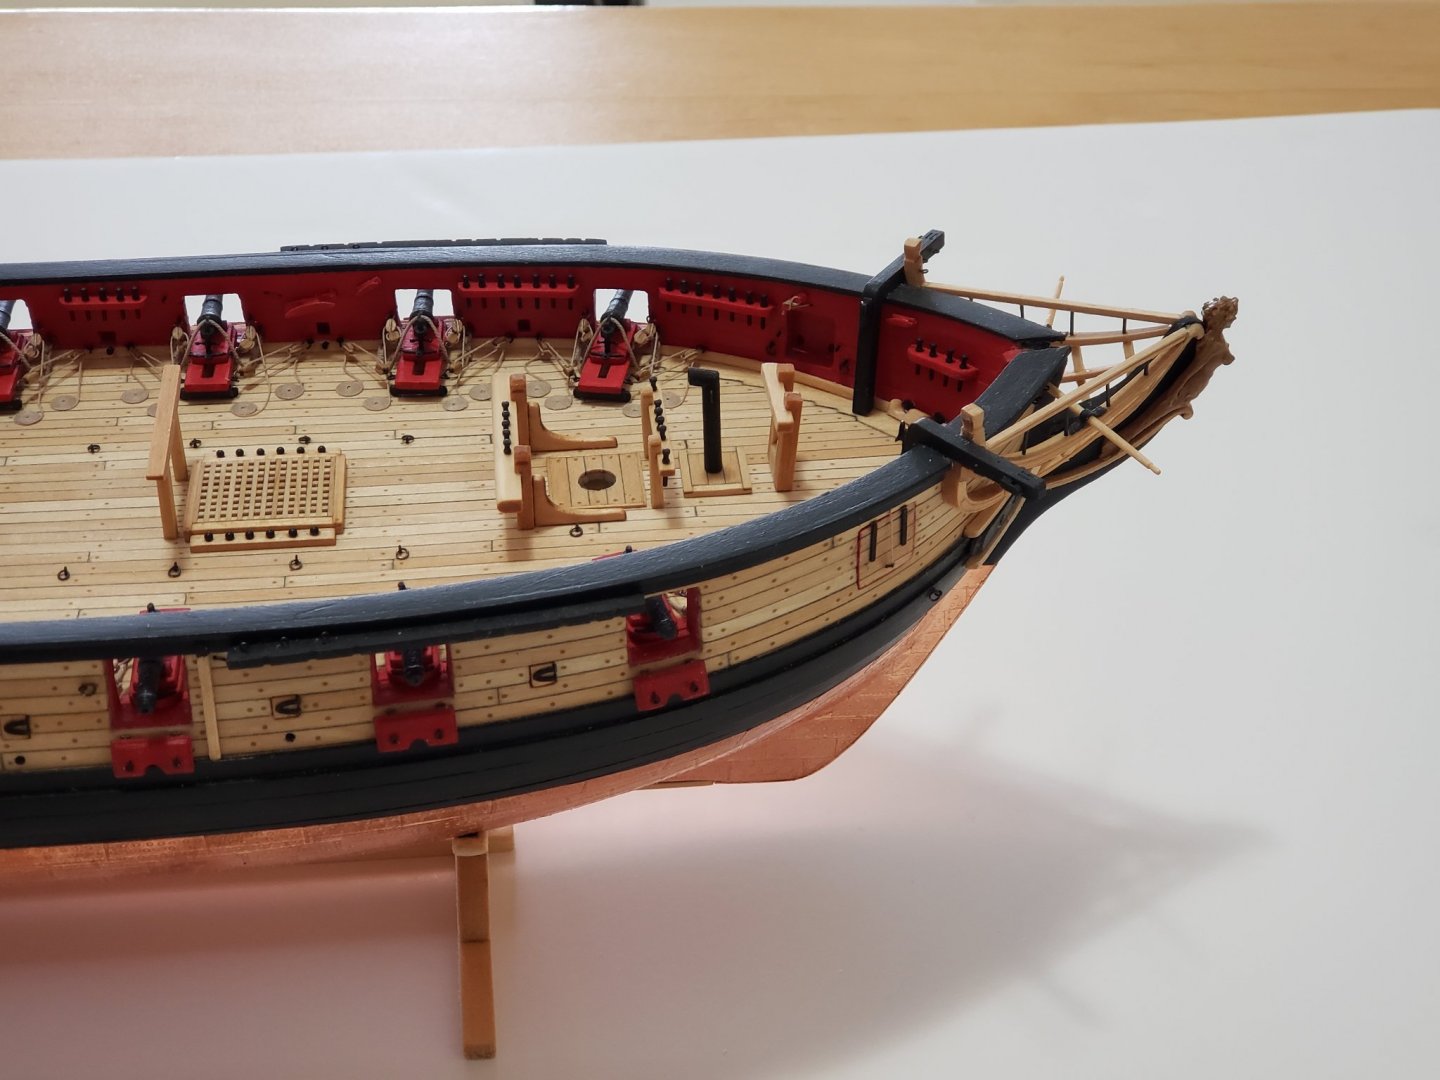
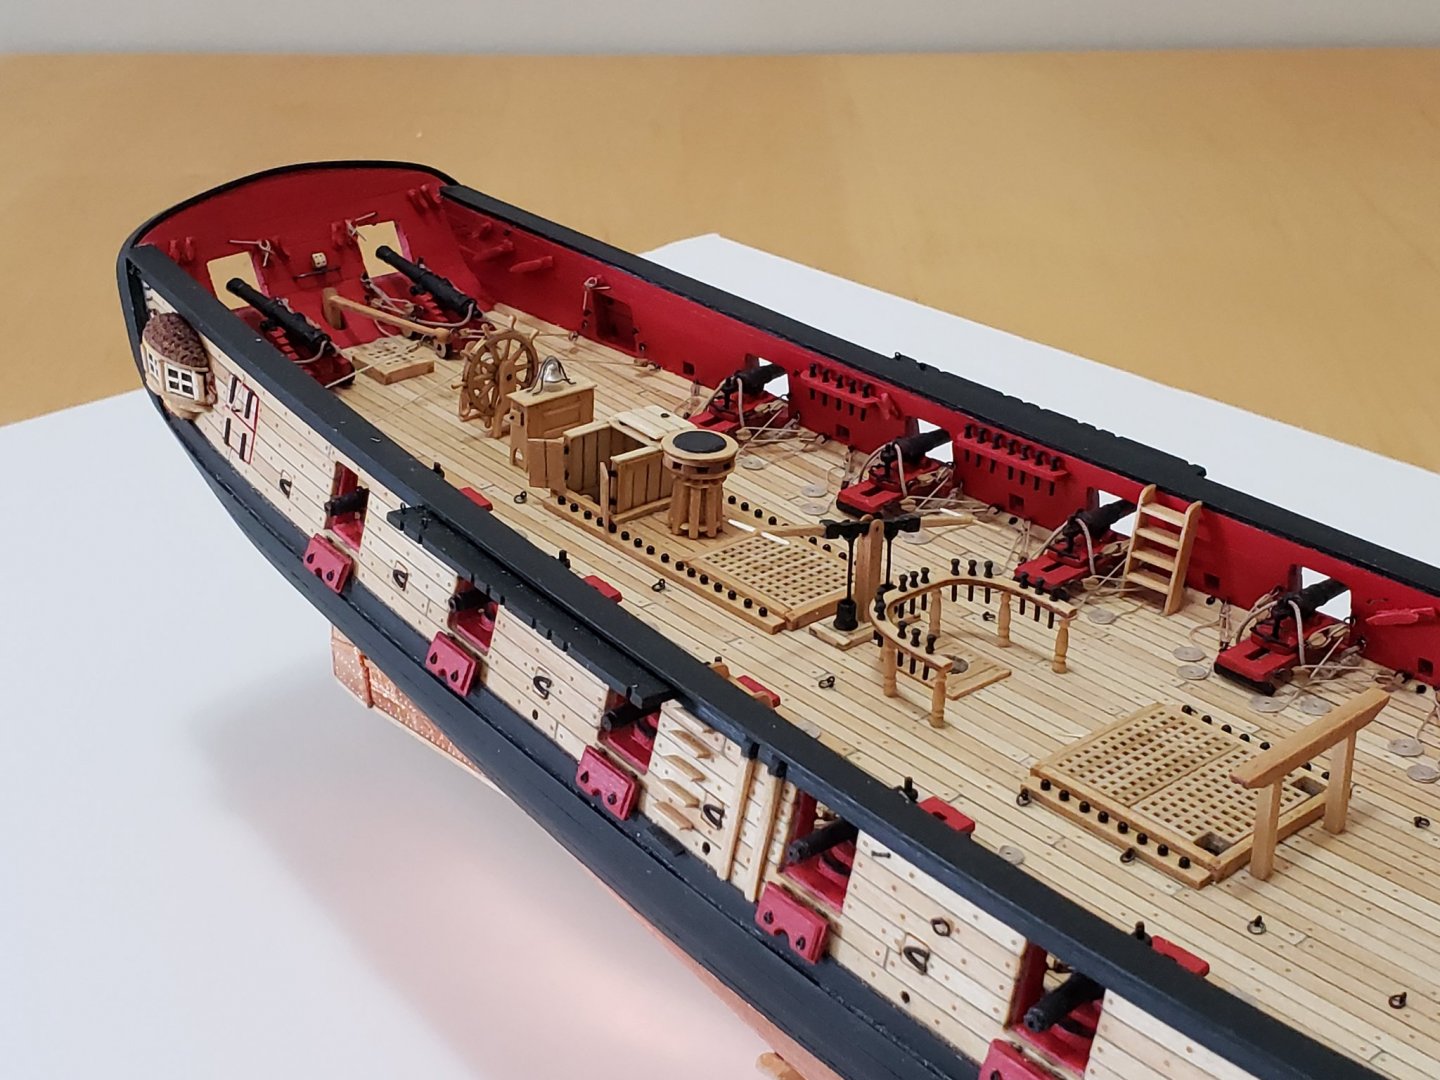
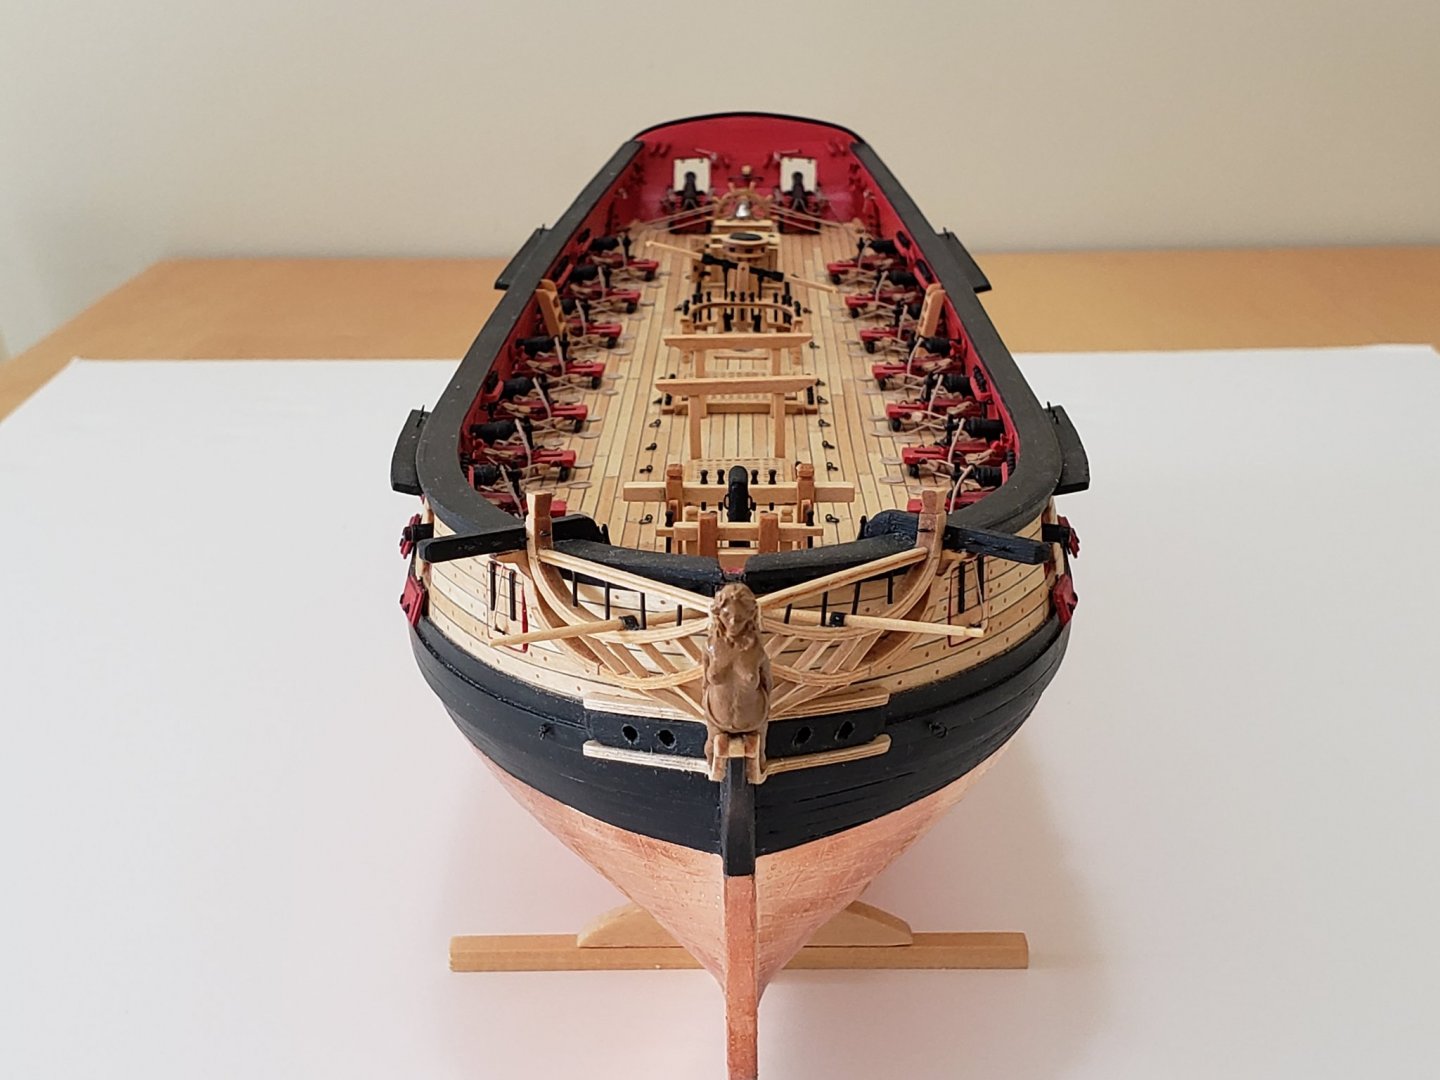
Thanks Robin! And thanks all for the likes as well So... deck details finally done!! Bowsprit bitts just dry fitted for now. Nevertheless, here are some pics to mark this milestone of the build Next I will start working on the cap rail details. Once I reach the stage of the hammock cranes, I may switch over to work on the longboat.. depending when I get the parts from ModelExpo.. I was also contemplating on building the other two boats, but it might be too hard given the tools (or lack of) I have 😅.


- 950 replies
-
- 16
-
-
- syren
- model shipways
- (and 1 more)
-
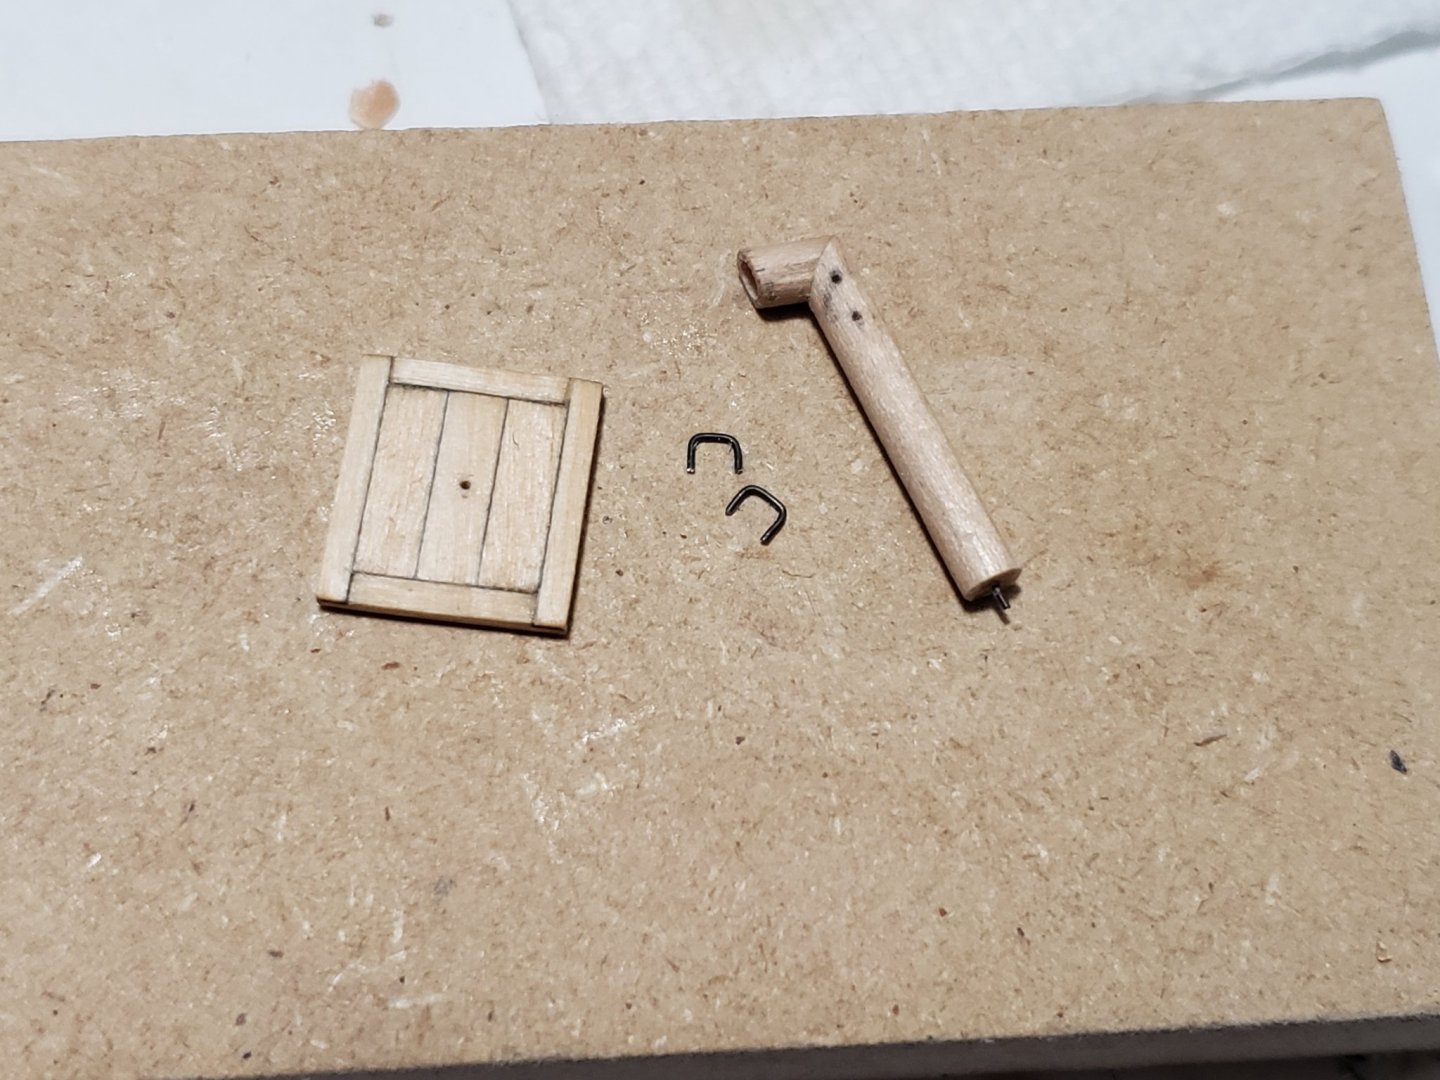
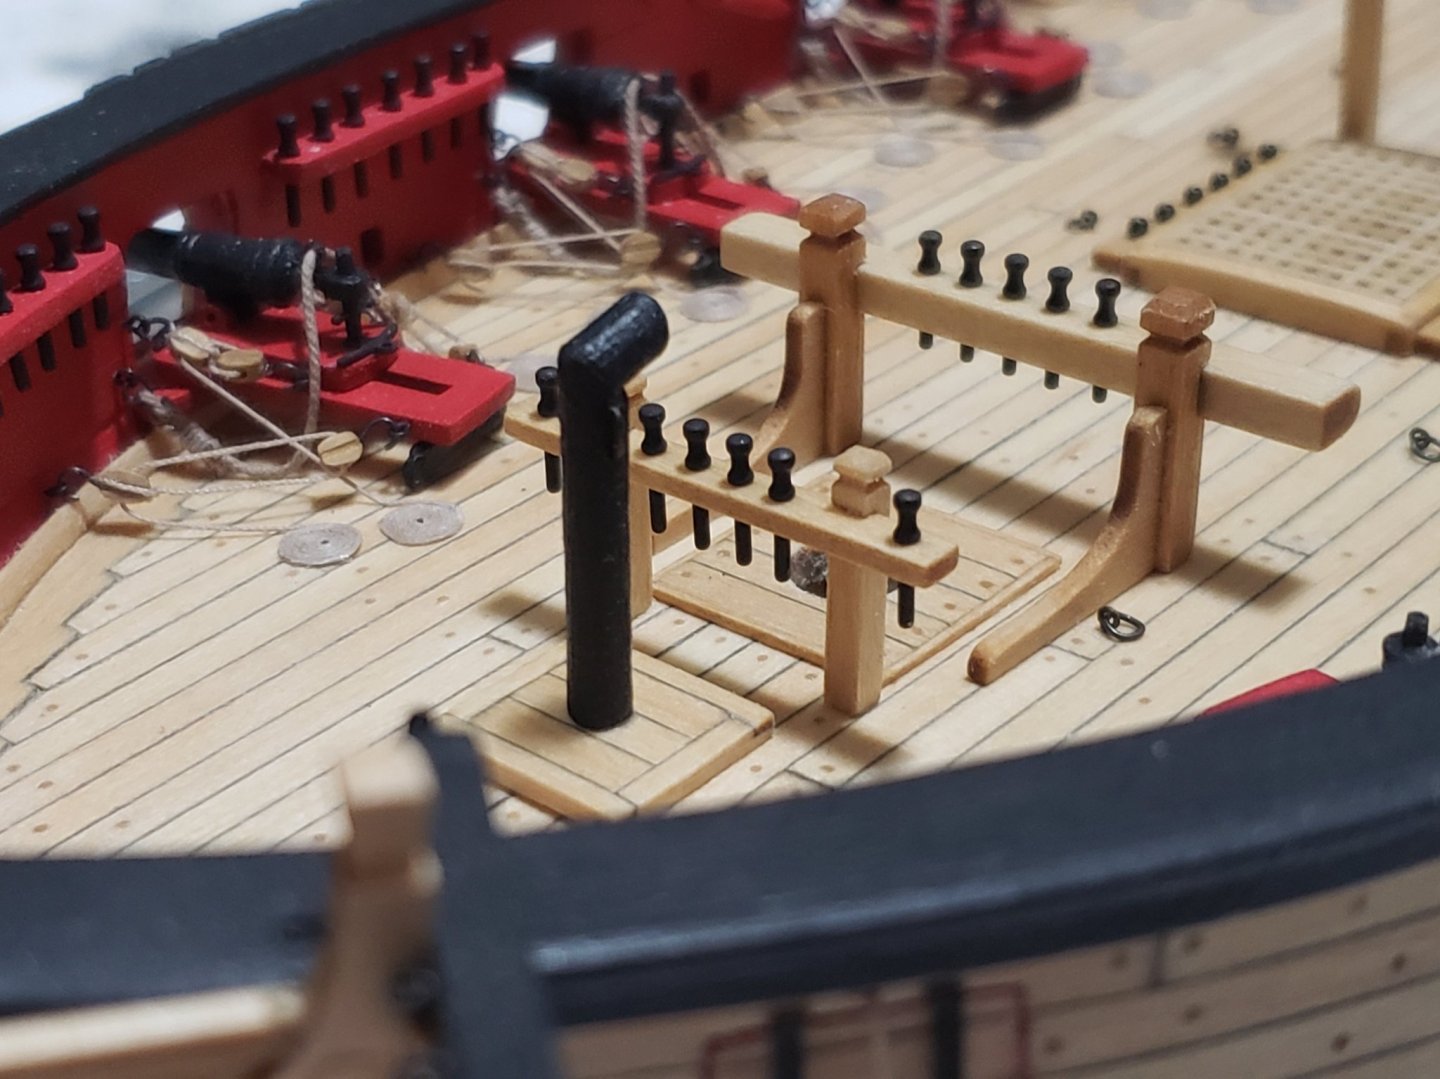
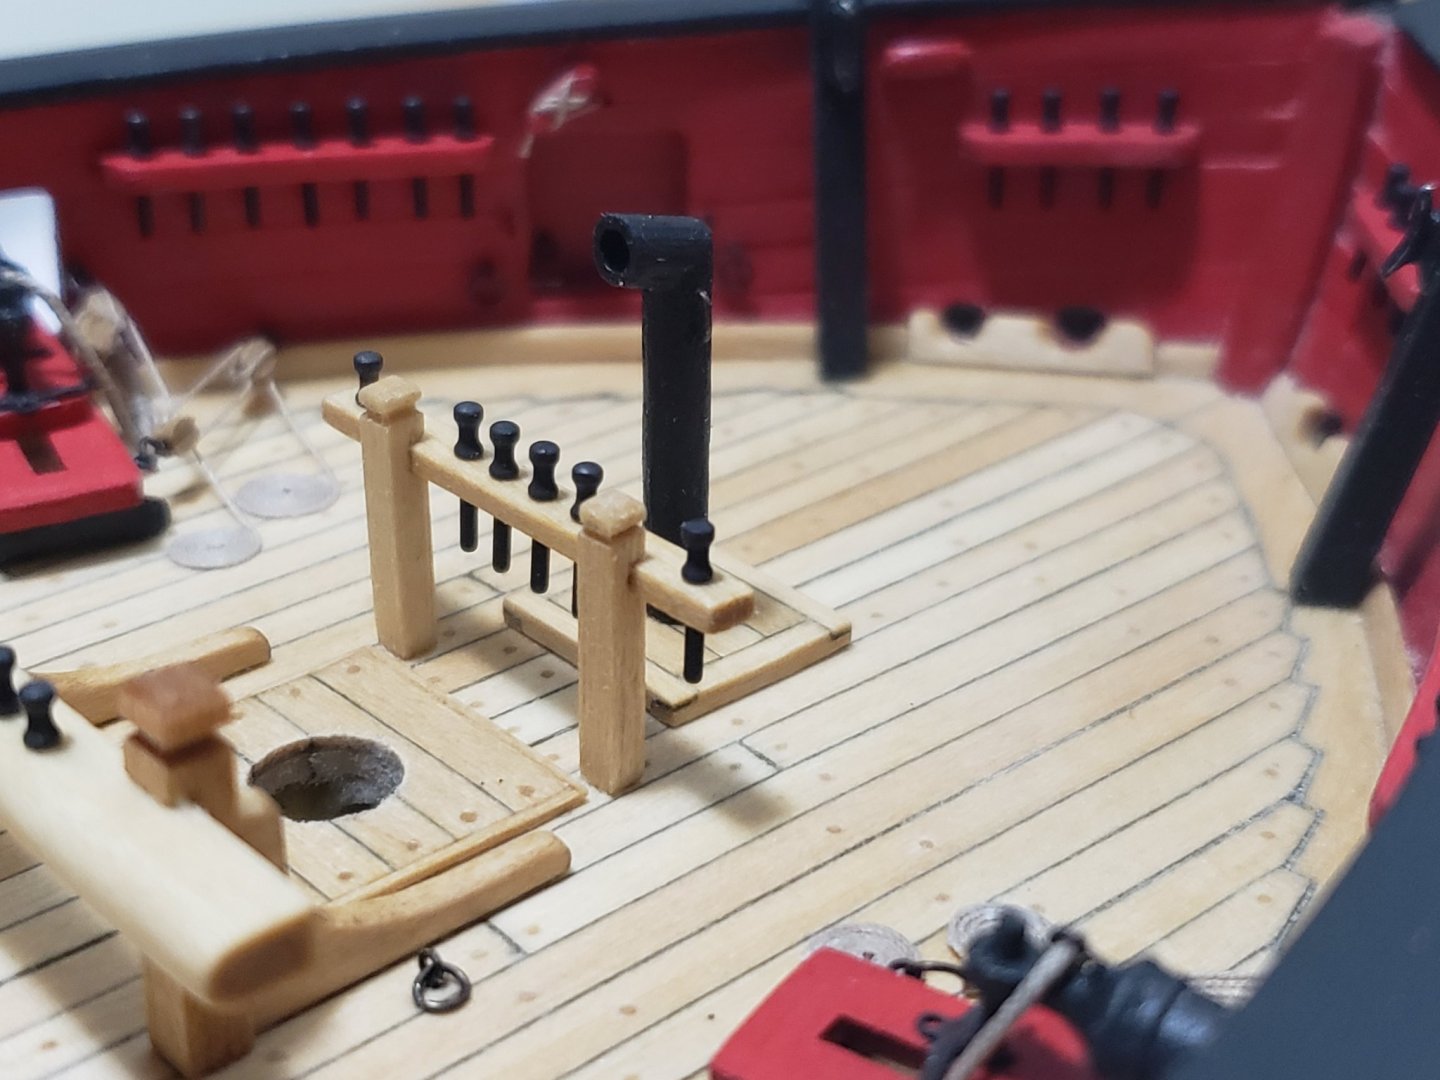
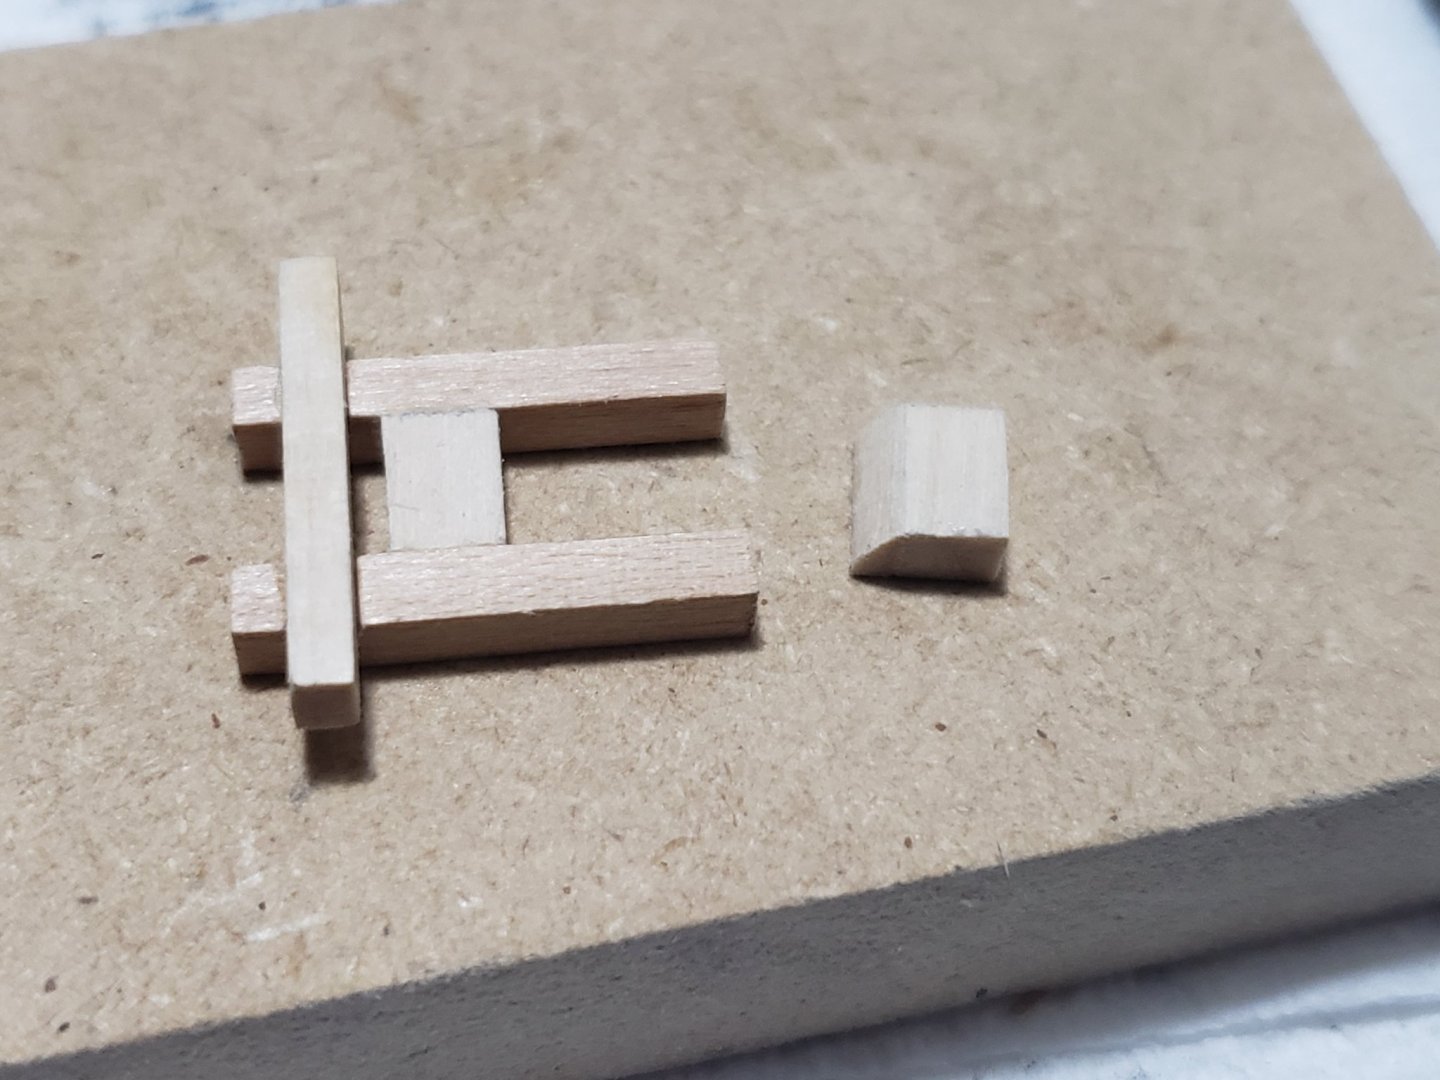
Fore bitts and galley stack are done! Here are some pics. Forebitts were pegged for extra support Also finished the bowsprit bitts. I think there is a typo in instructions for this part. I used 3/32" x 1/8" strip for the cross piece instead of the 1/16" x 1/16" mentioned. Also, for the angled parts, I used a 3/16" x 1/8" piece of wood stuck to other scrap pieces to create the angle shown on the plans. I think I won't stick this on the deck as of yet, and will only dryfit it for now until I start working on the bowsprit. This would ensure I have the right fitting between the mast and the square section in the bitts.


- 950 replies
-
- 12
-
-
- syren
- model shipways
- (and 1 more)
-
Thanks Will!! School has been busy but I take small breaks during the day to work on the ship. Helps me to de-stress and not think of research for a bit.. Working and studying from home does have its advantages 😉
- 950 replies
-
- 1
-
-
- syren
- model shipways
- (and 1 more)
-
Thanks Thomas!! The riding bitts took about 2-3 hours to make and refine 😮 so I feel quite the opposite 😅
-
Looks awesome!! I had no idea planking would be that quick!
-
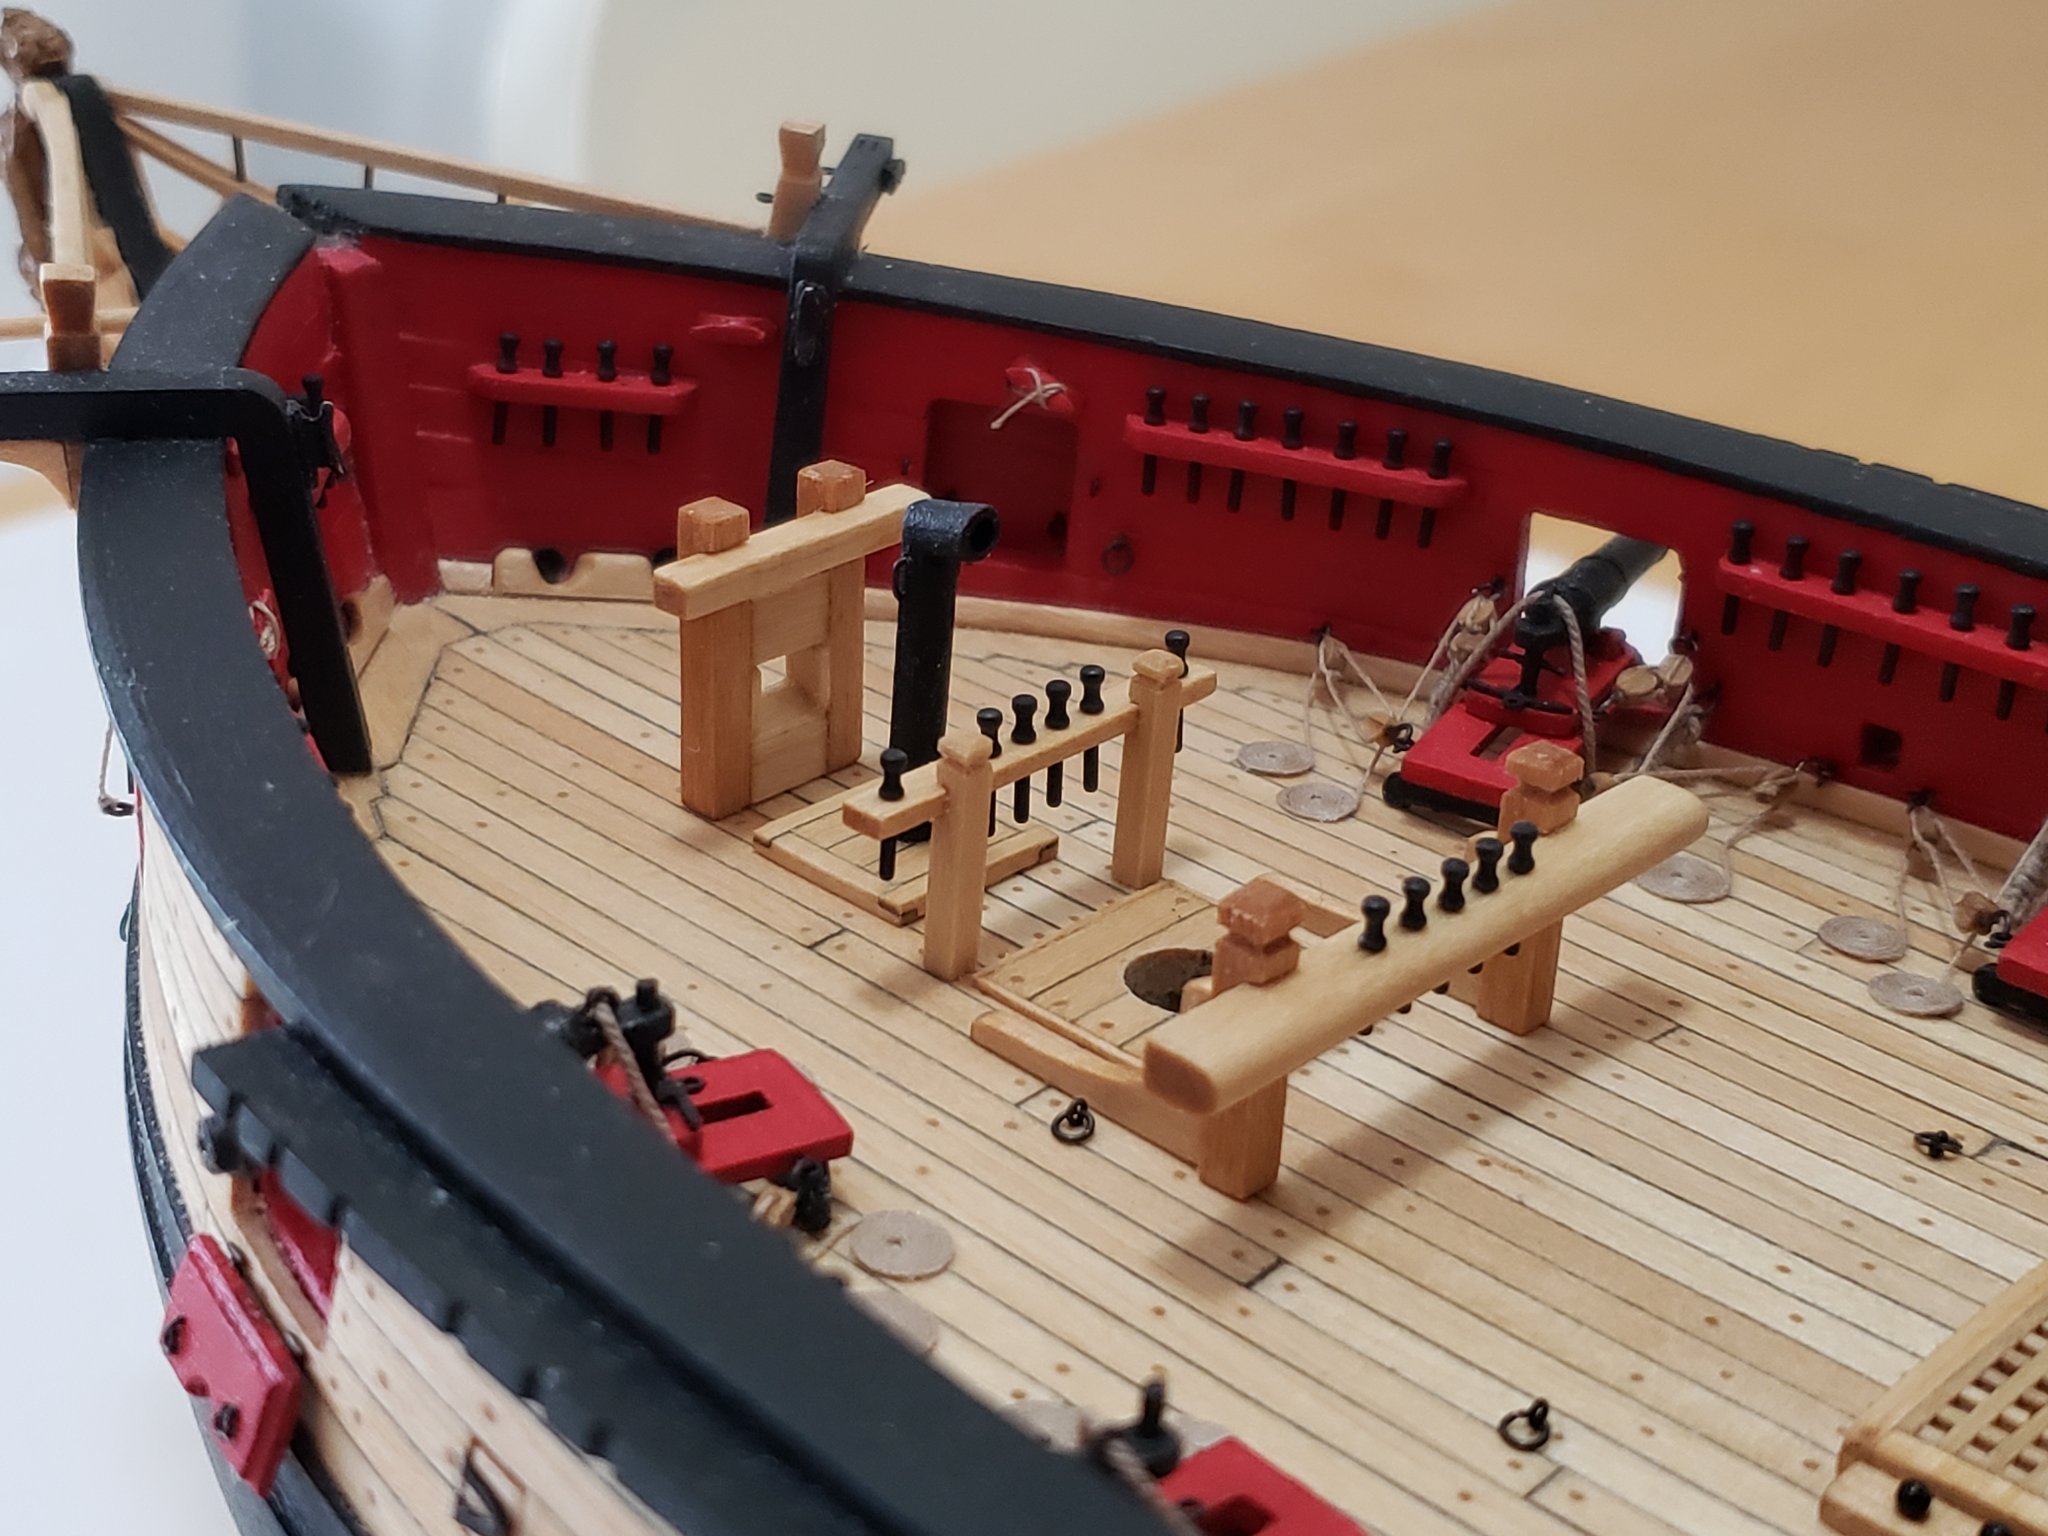
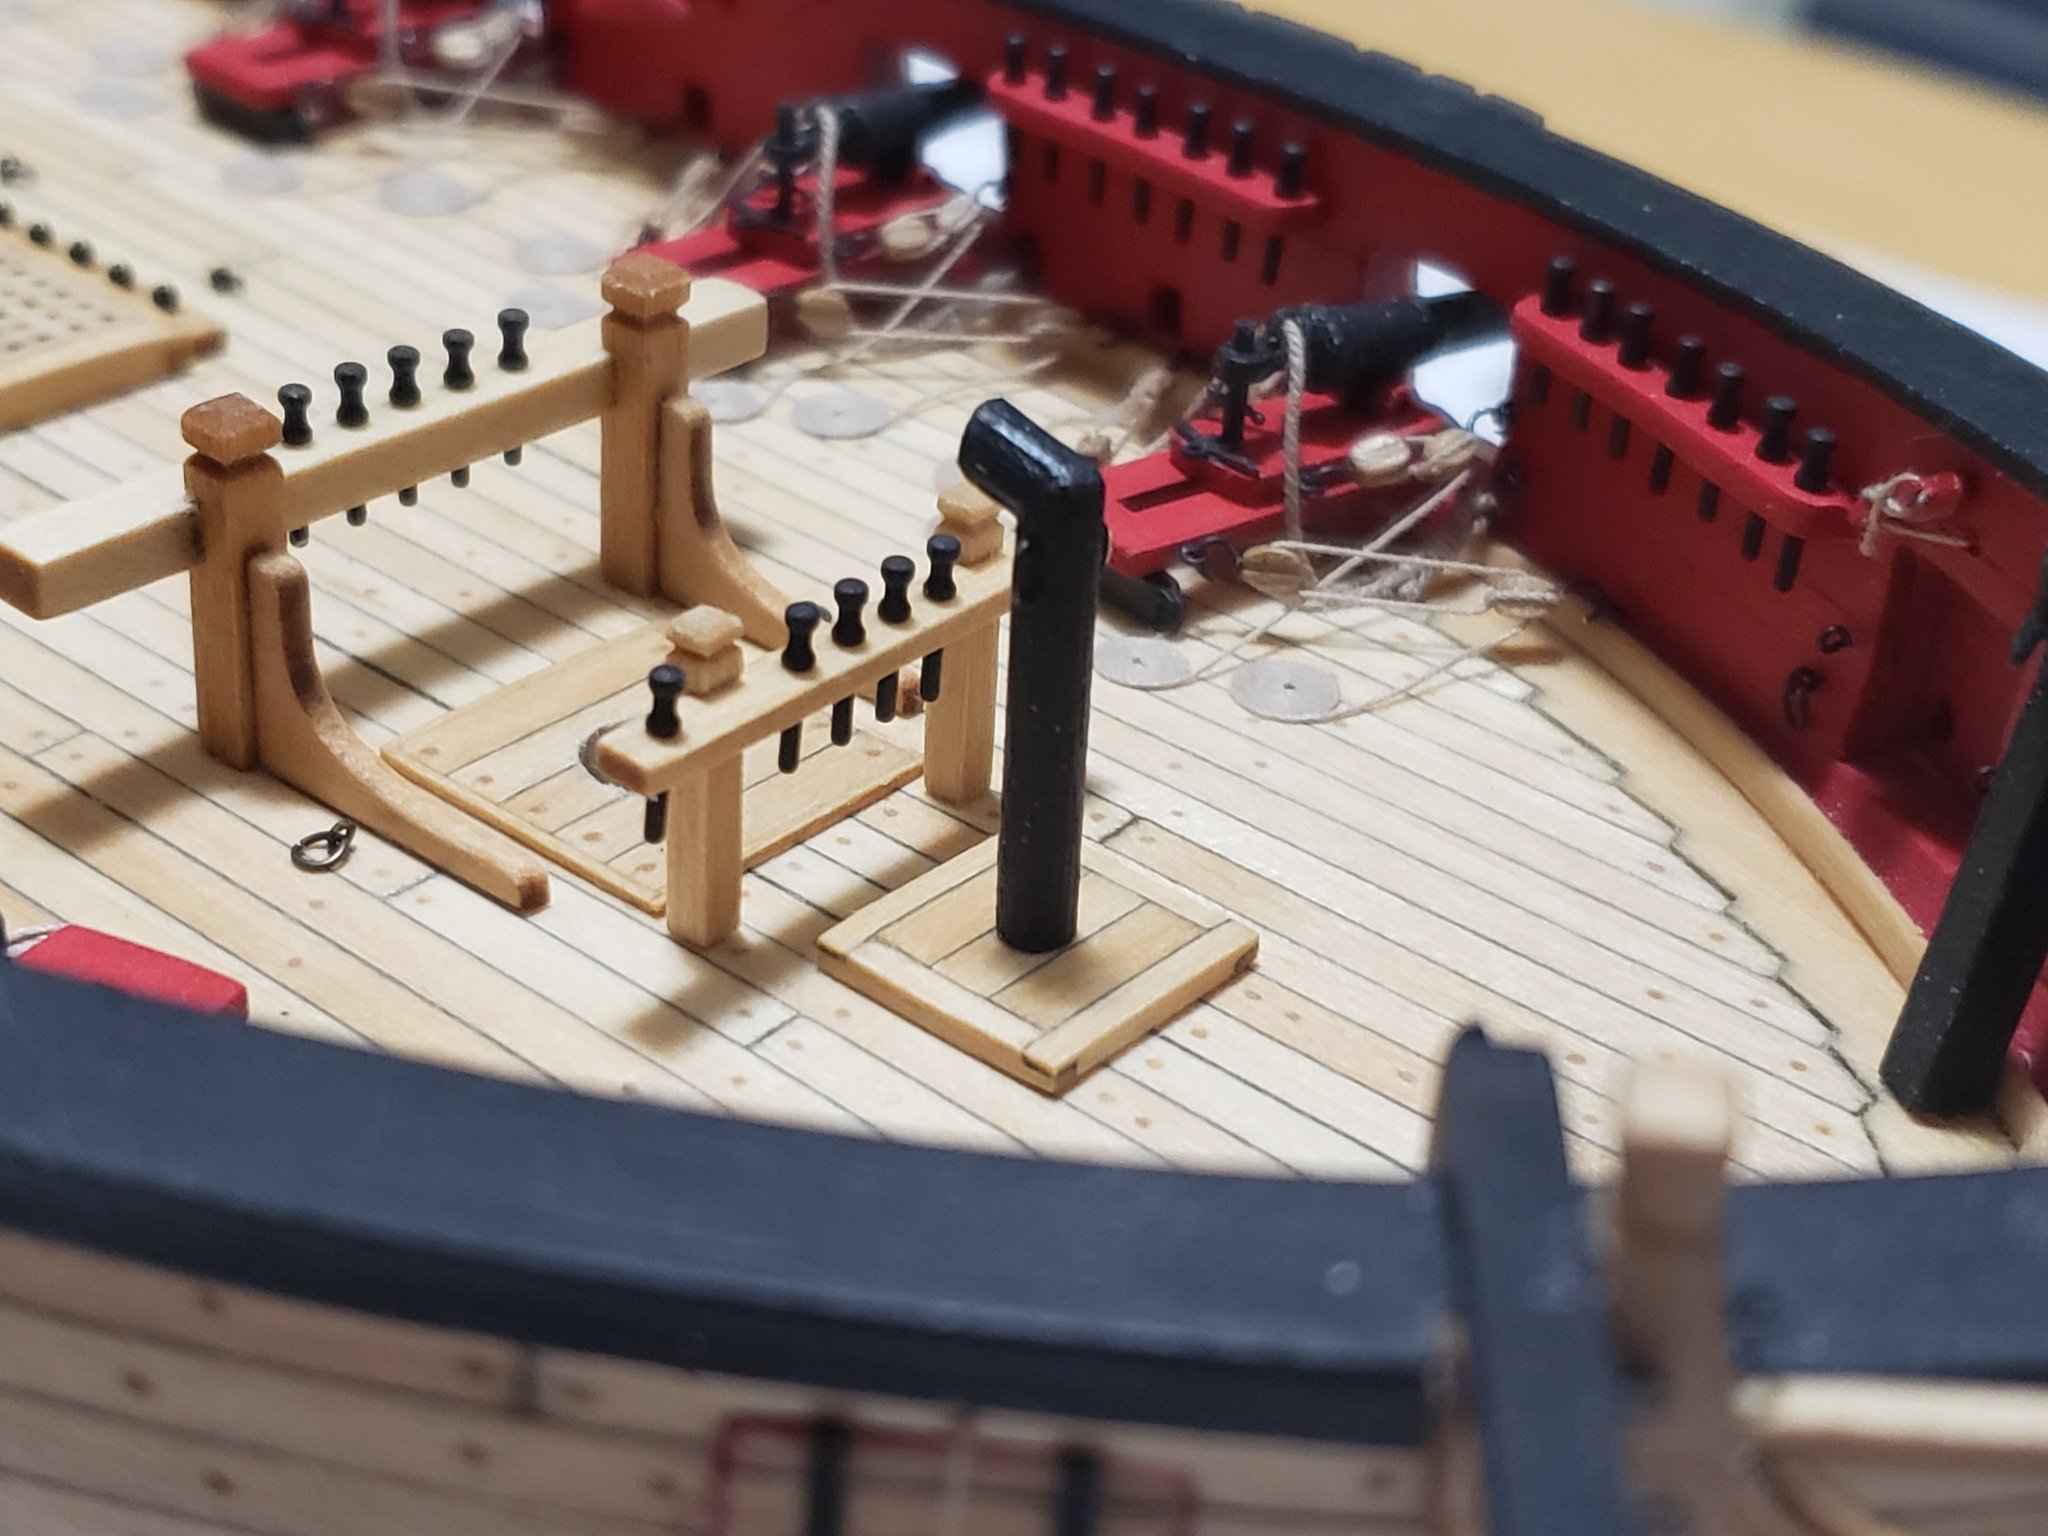
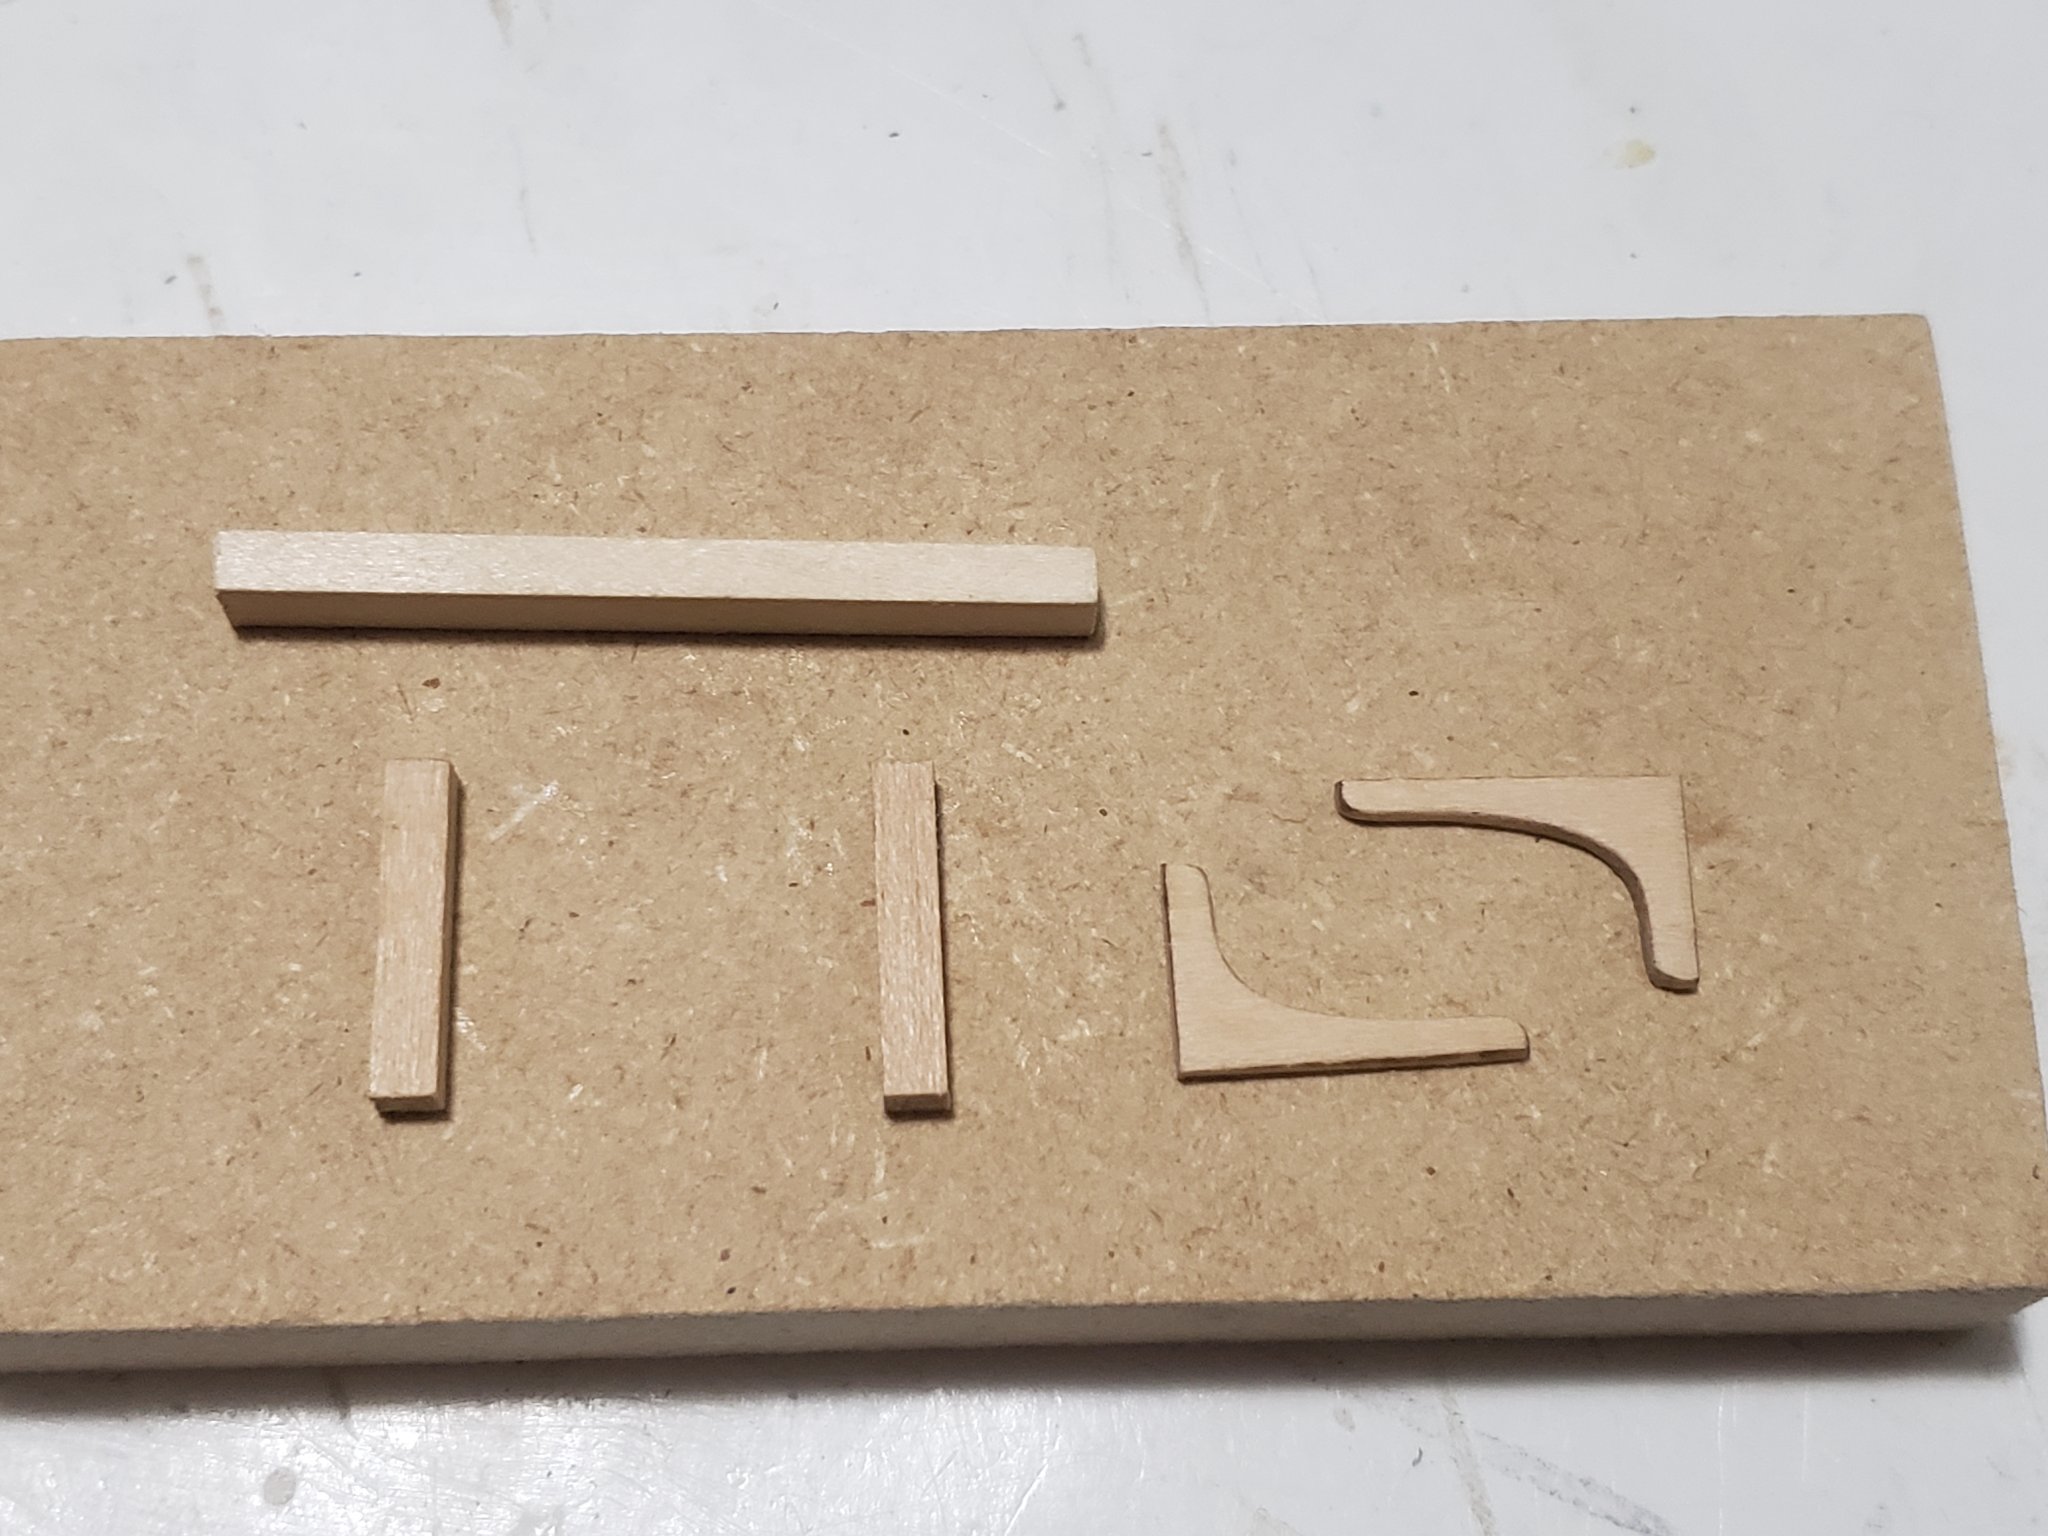
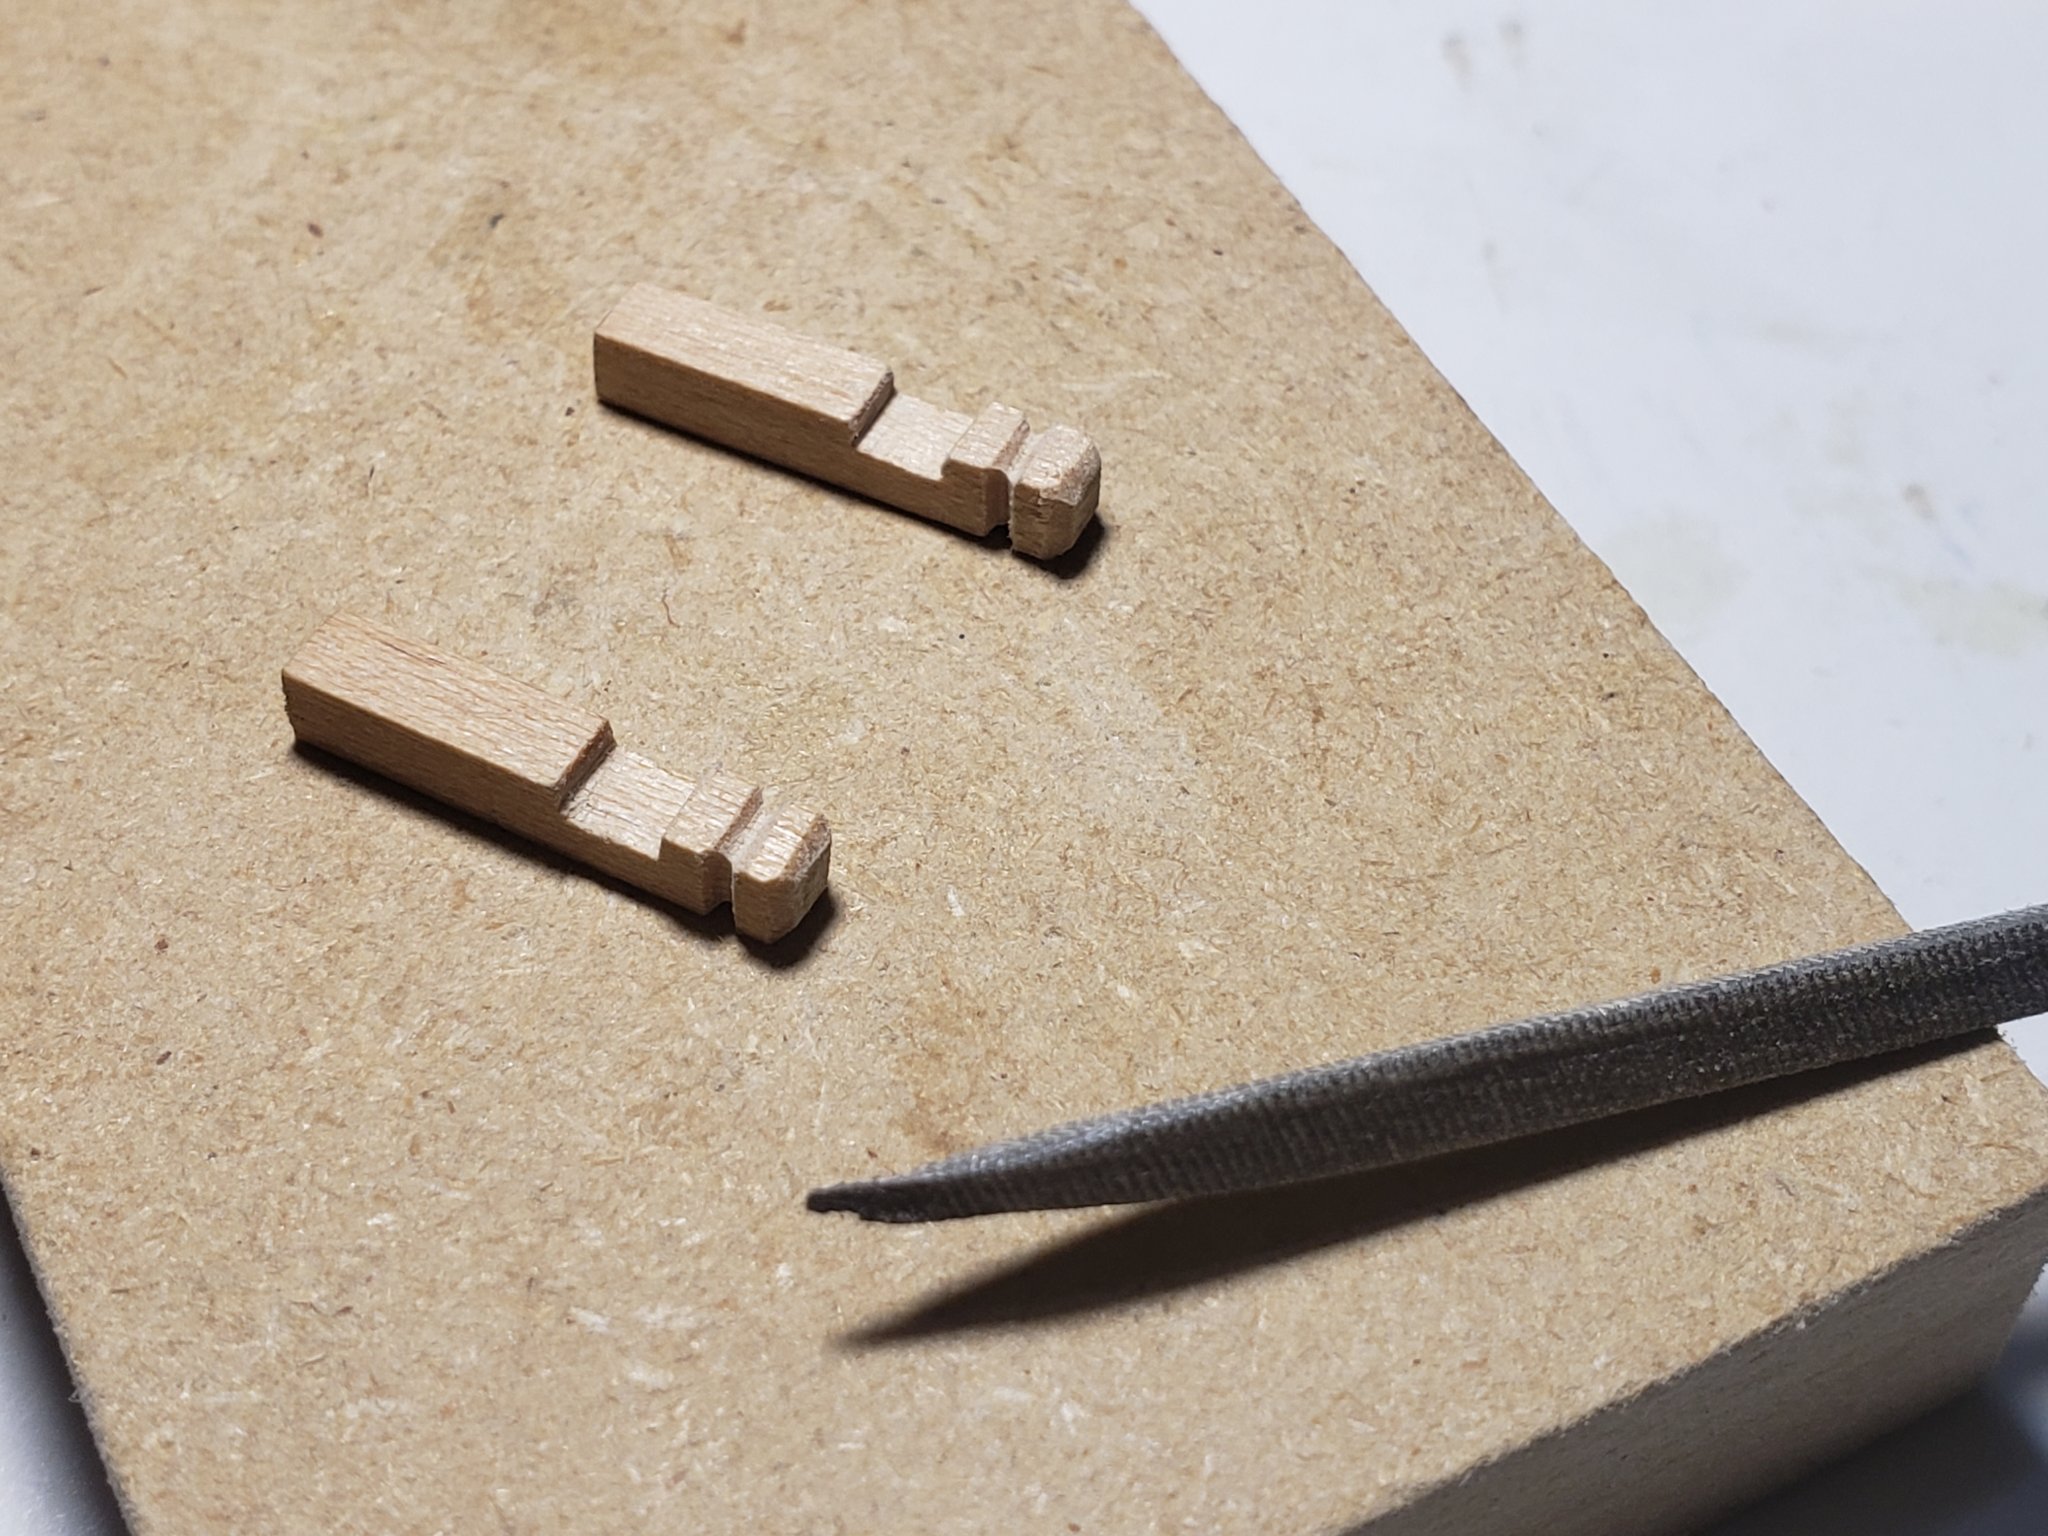
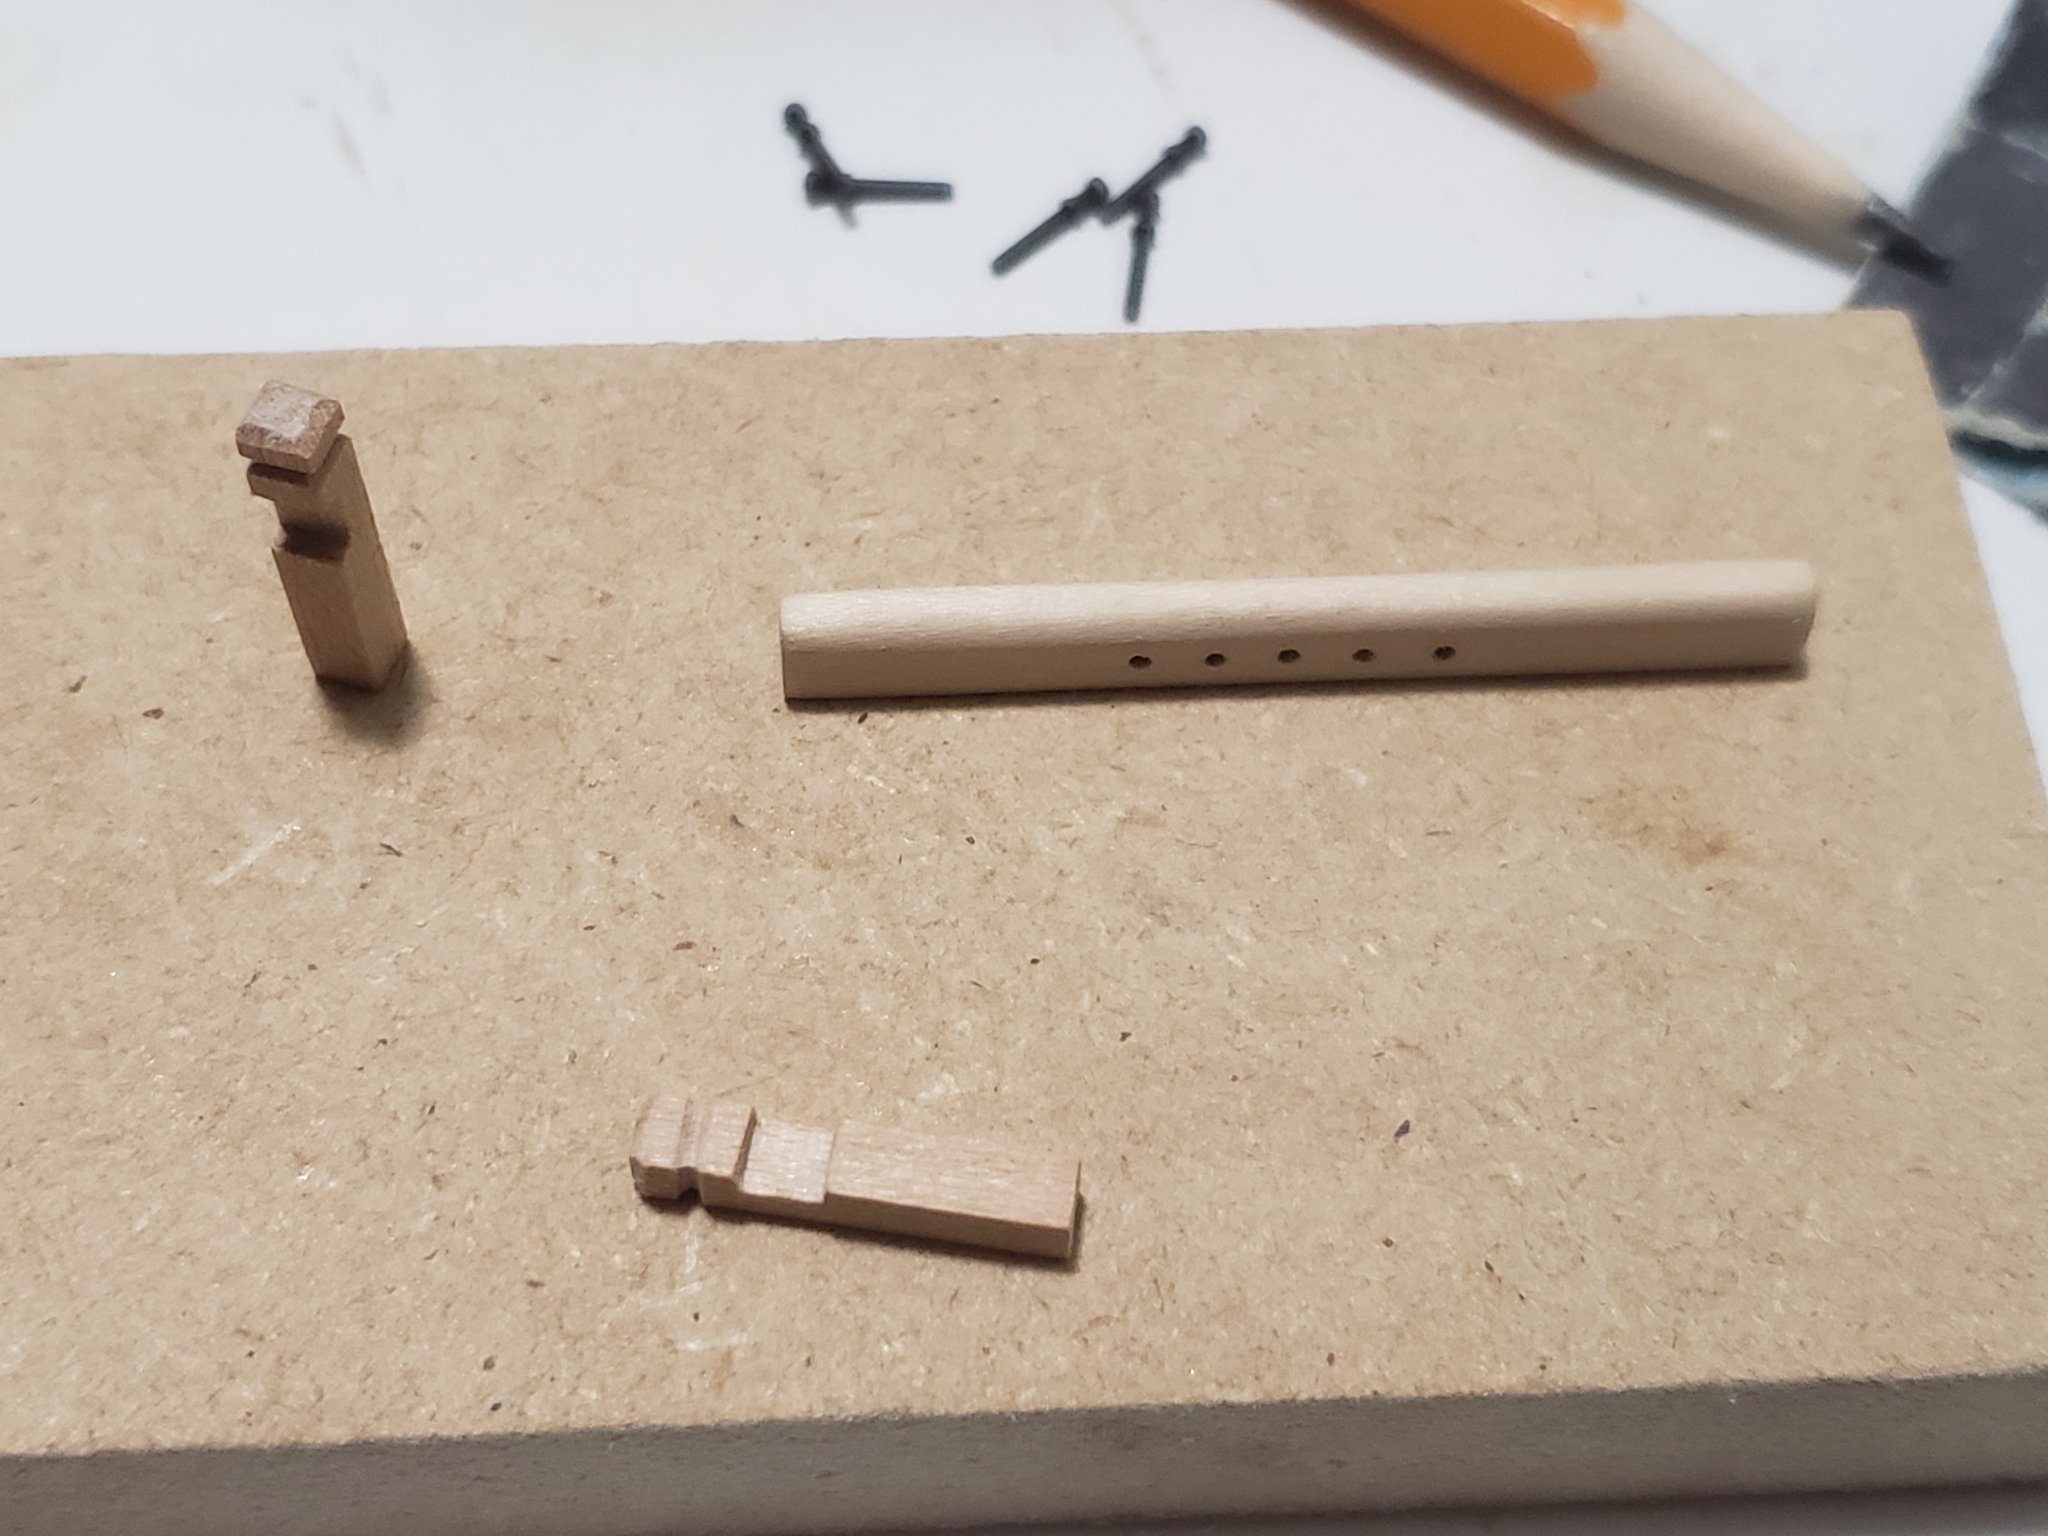
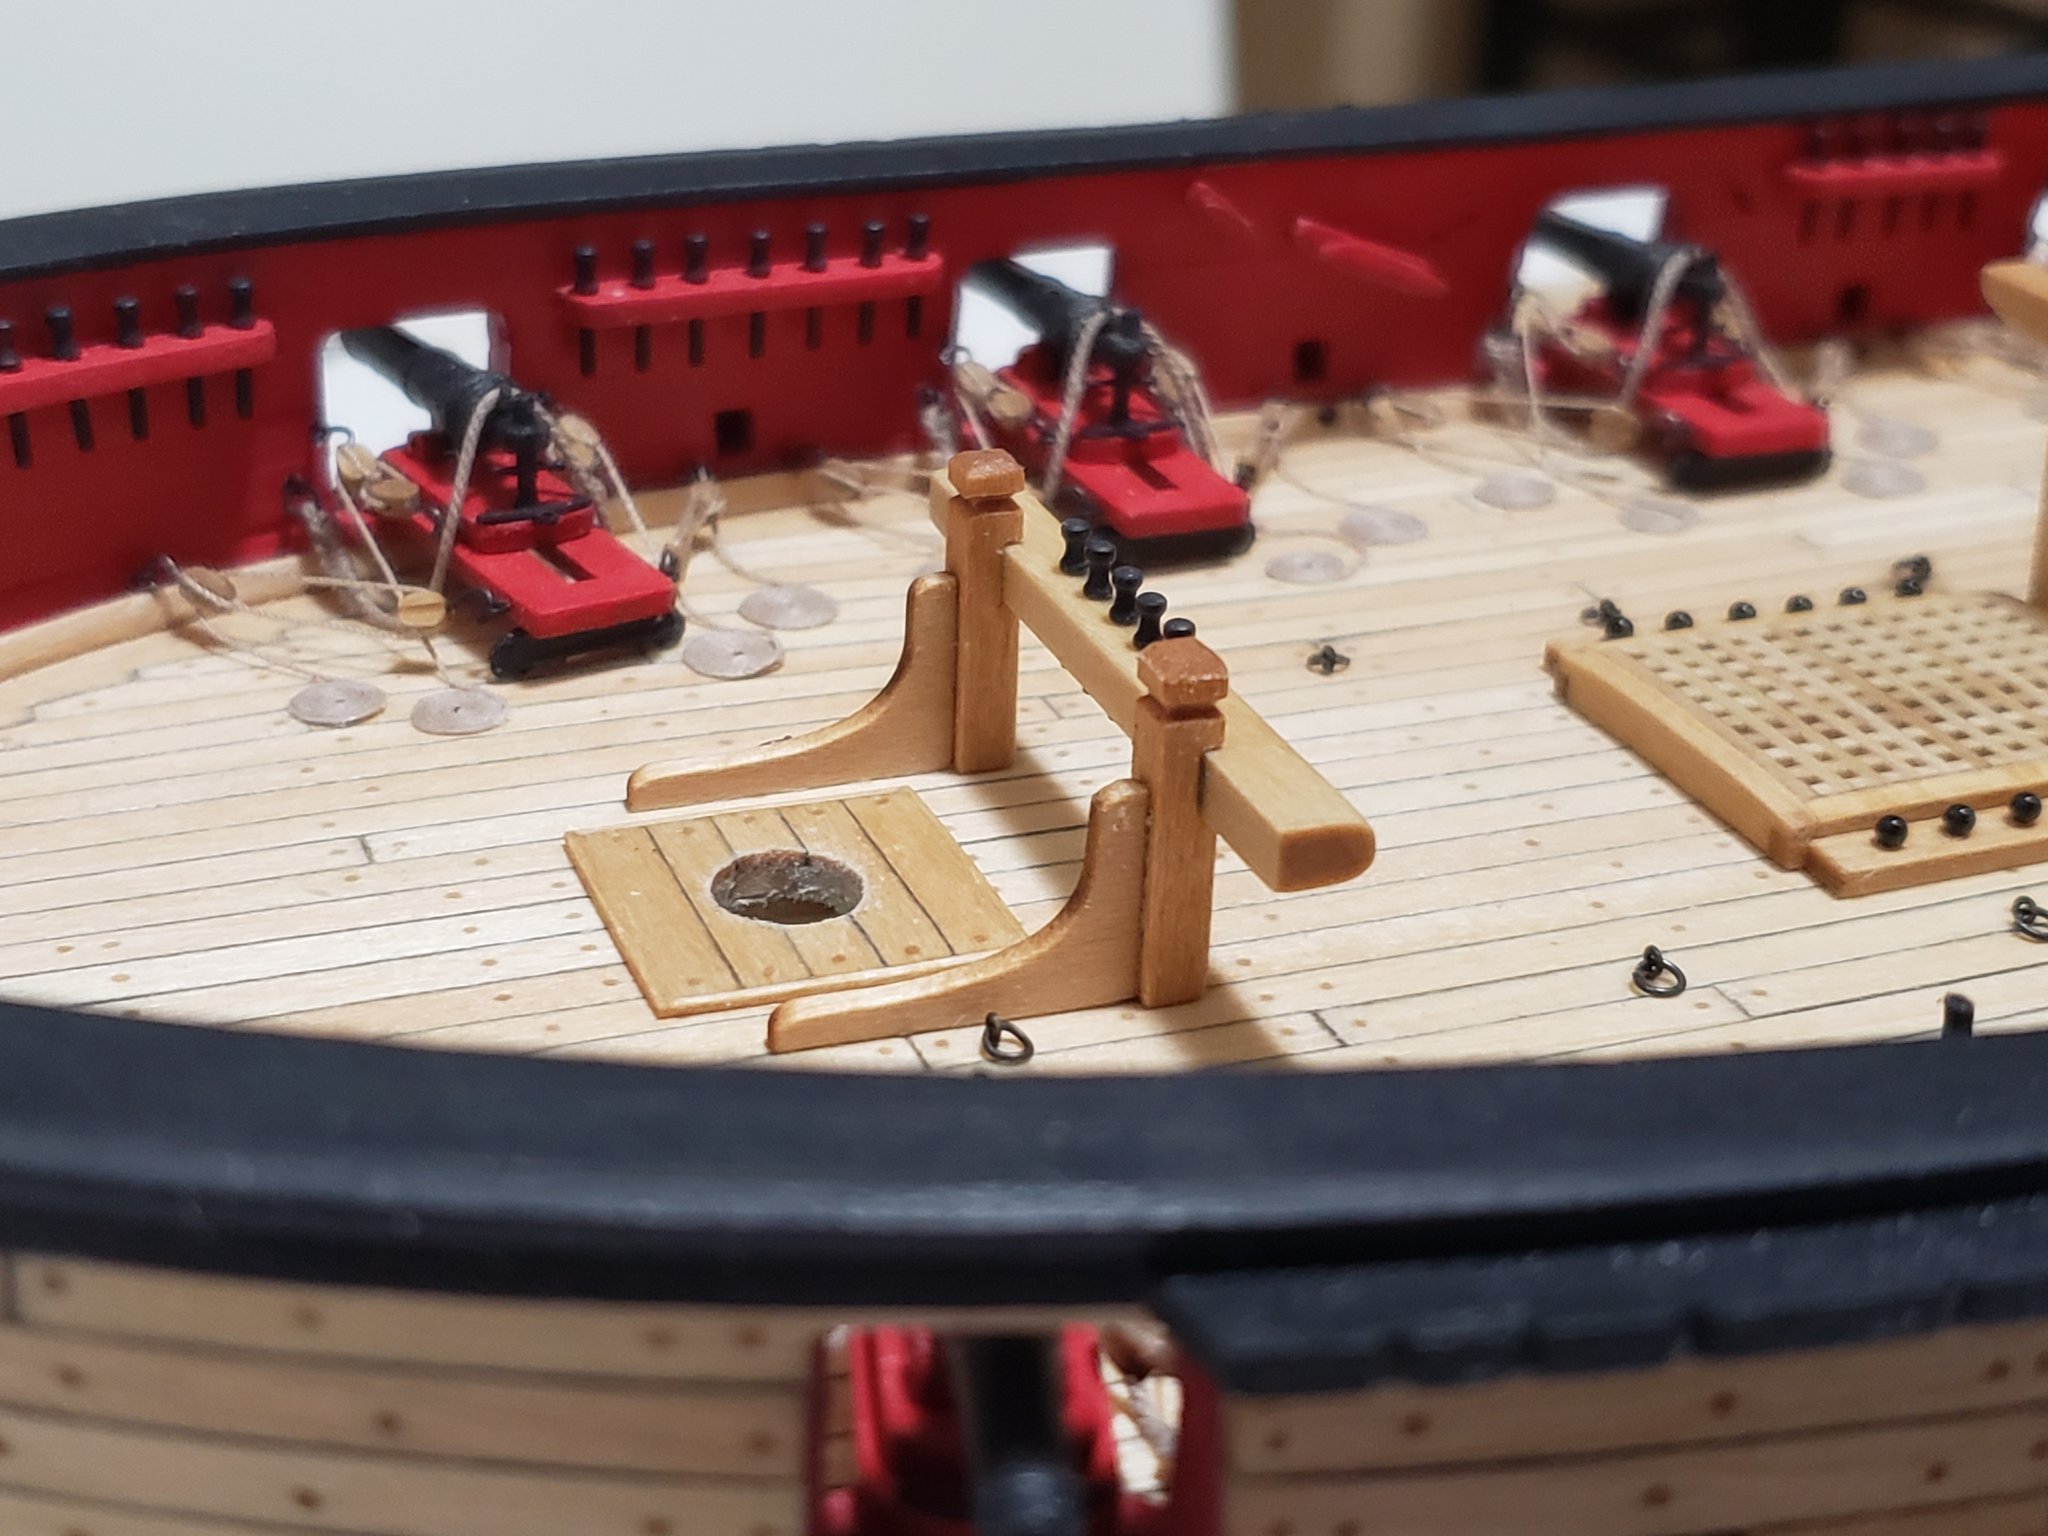
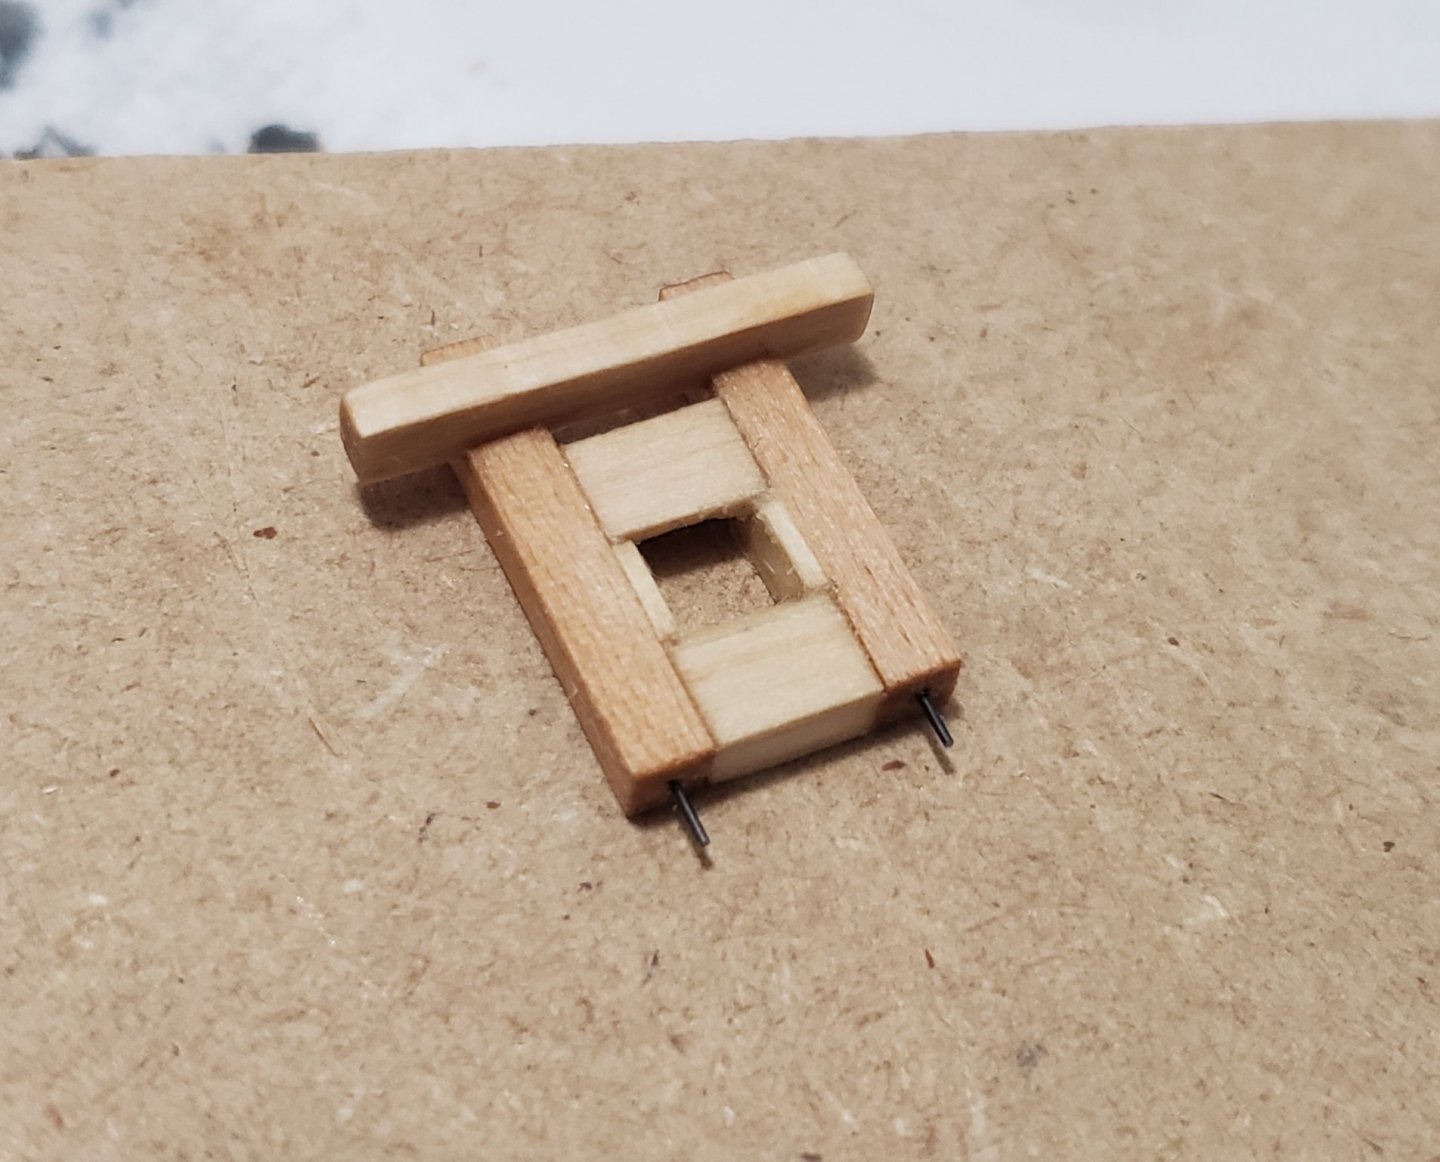
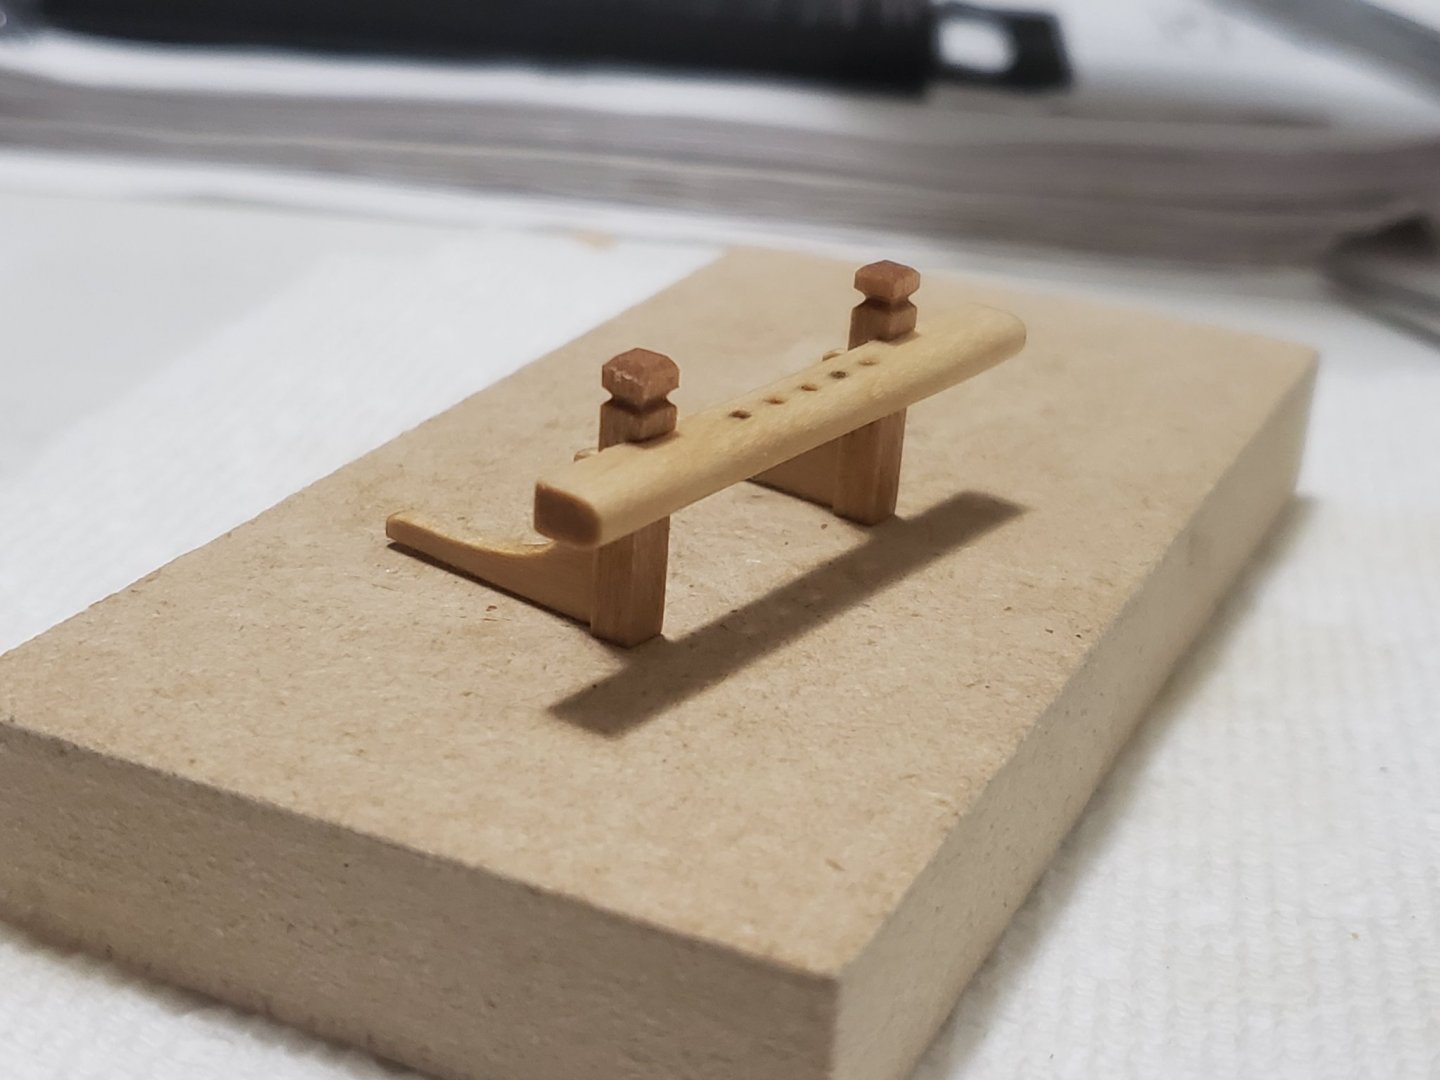
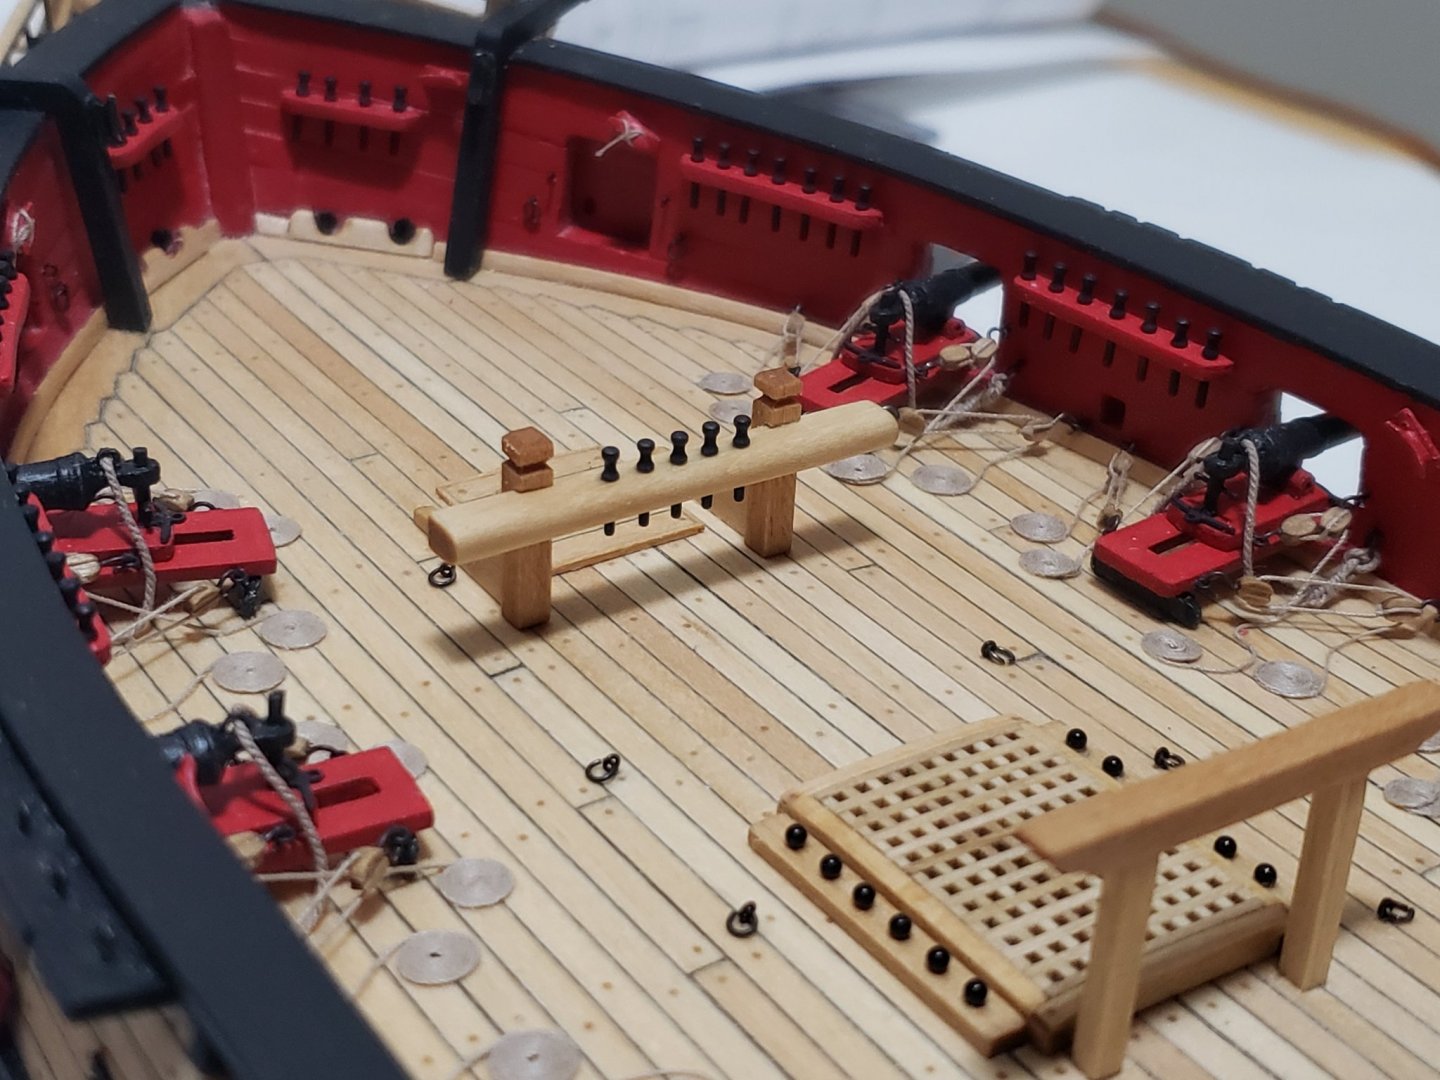
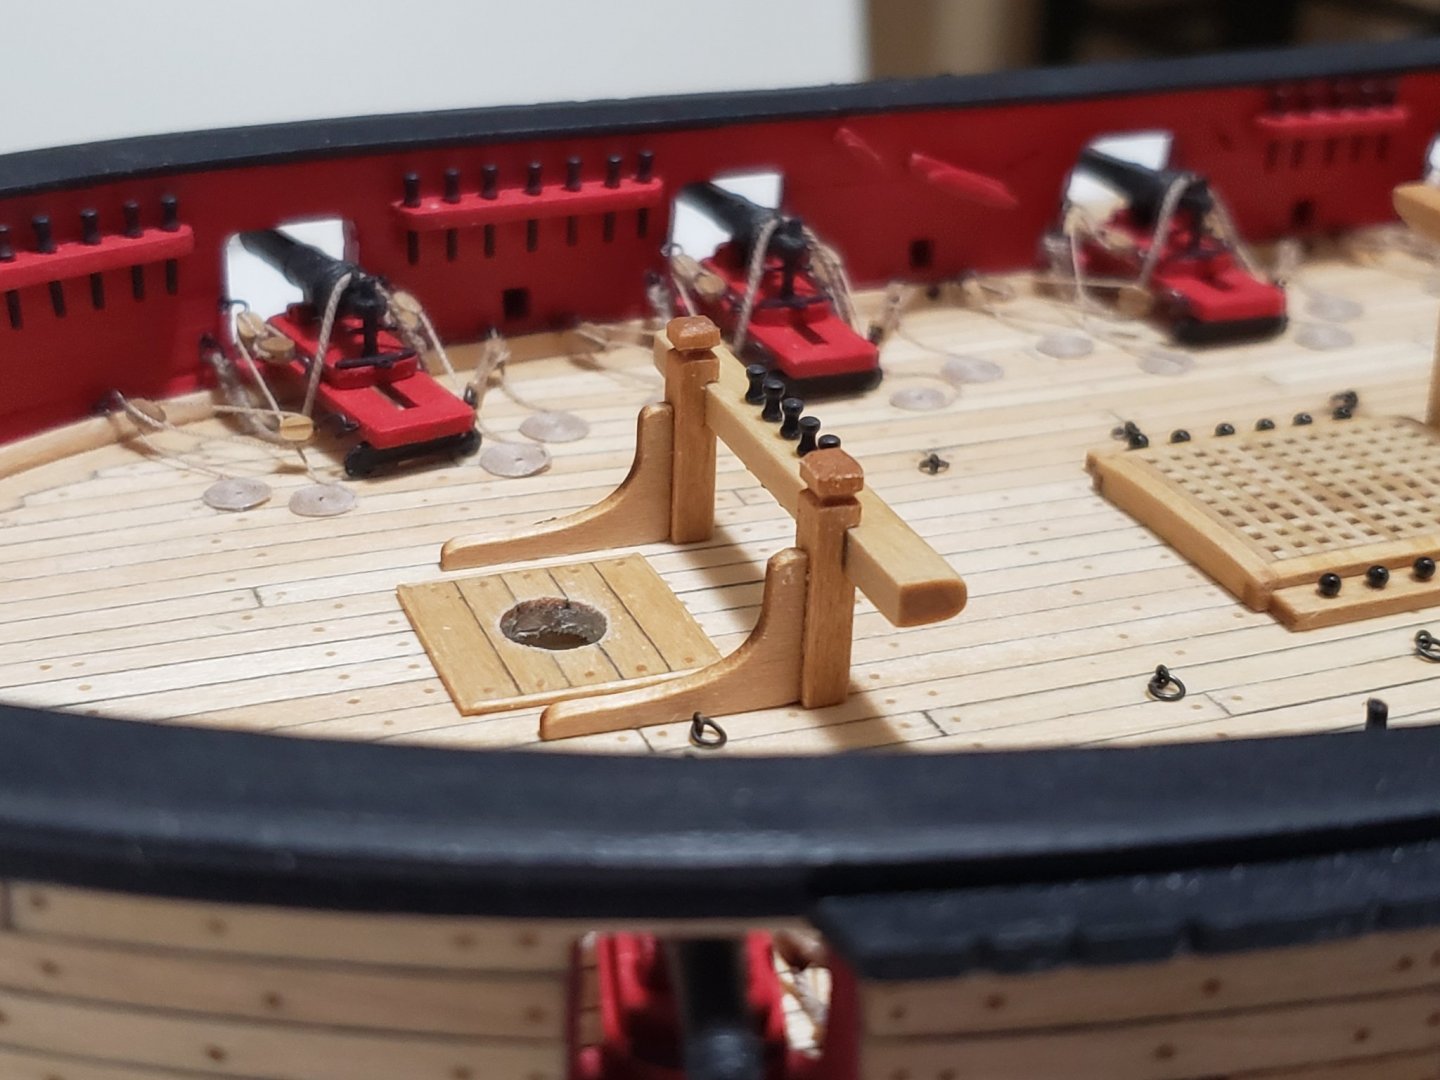
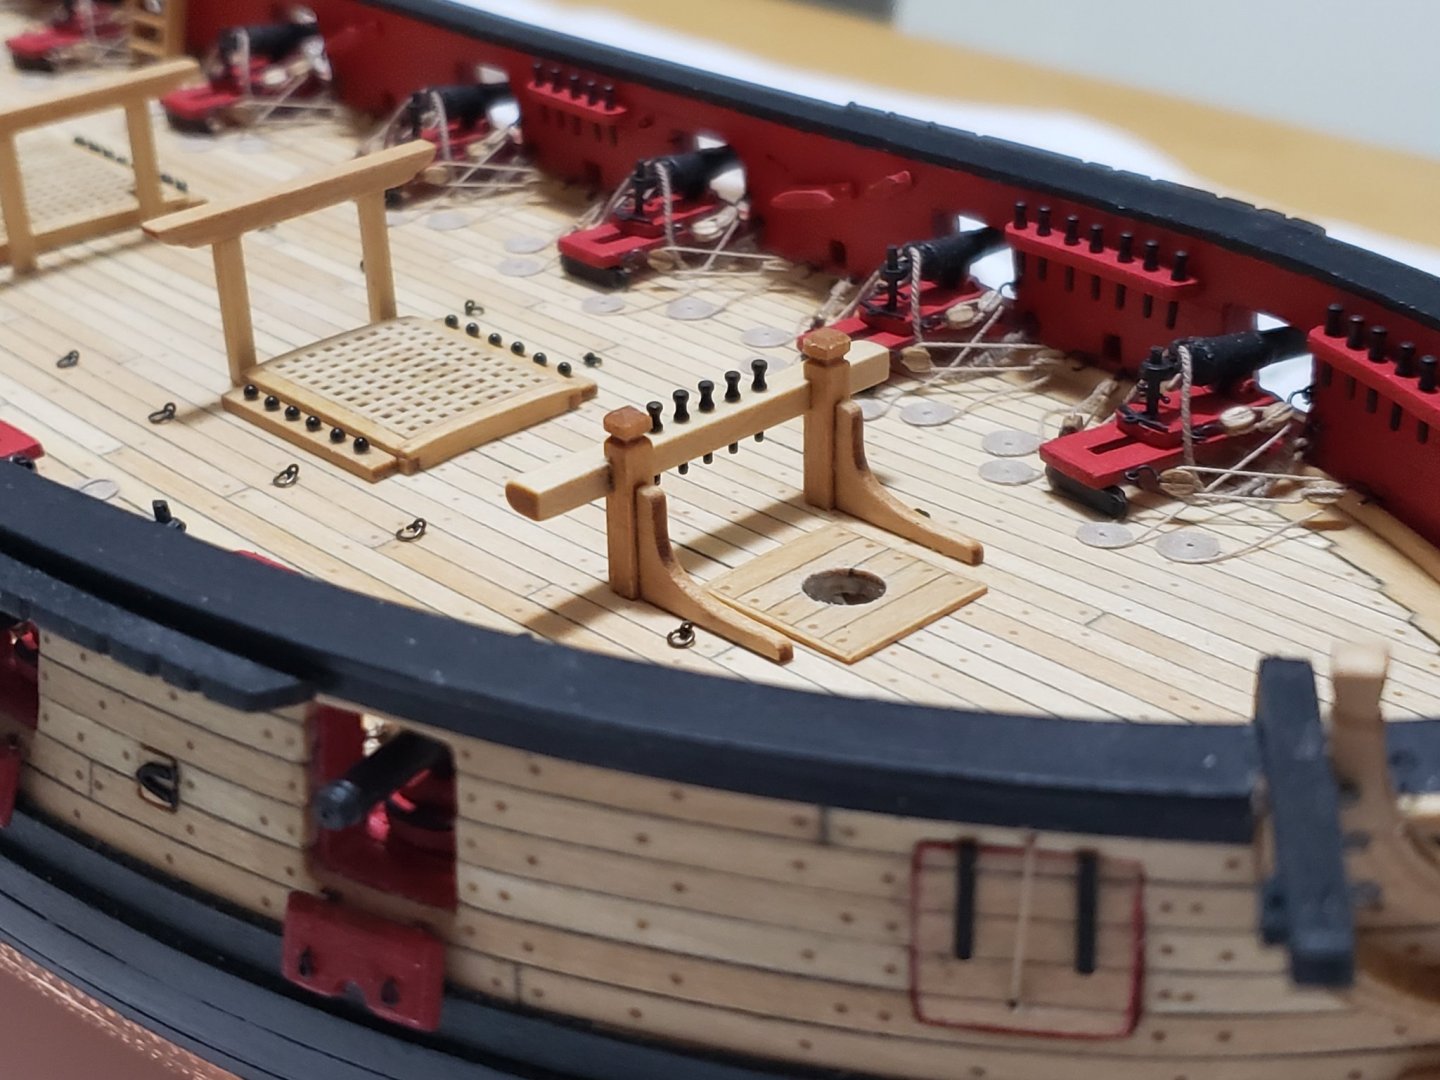
Finished with the riding bitts. Almost reaching the end of deck detailing!! Made small notches with a triangle needle file, and the wider ones with a square file Sanded to curve the big beam and drilled holes (part way either side to ensure they come out at the right spot)


- 950 replies
-
- 15
-
-
- syren
- model shipways
- (and 1 more)
-
Many thanks Robin!! 😄
-
Thanks Bradley! Seems like still a long way to go before rigging... Need to finish the deck details then work on cap rail details, then the longboat. But then again I remember saying the same for the deck details but here we are! 😄 Many thanks Matt! I followed the instructions to make the bits. I shaped the top section according to plans and glued the supports. Only deviation I made was the pegs since it gave me peace of mind in case I knock them over with a bit force. Most of the deck details were scratch made (following the awesome instructions) except for some laser cut parts which I treated like minikits.
- 950 replies
-
- 3
-
-
- syren
- model shipways
- (and 1 more)